This post contains affiliate links, meaning that if you click on a link I will recieve a small comission. This costs you nothing extra and I only promote products I use and love! You can read our full disclosure here

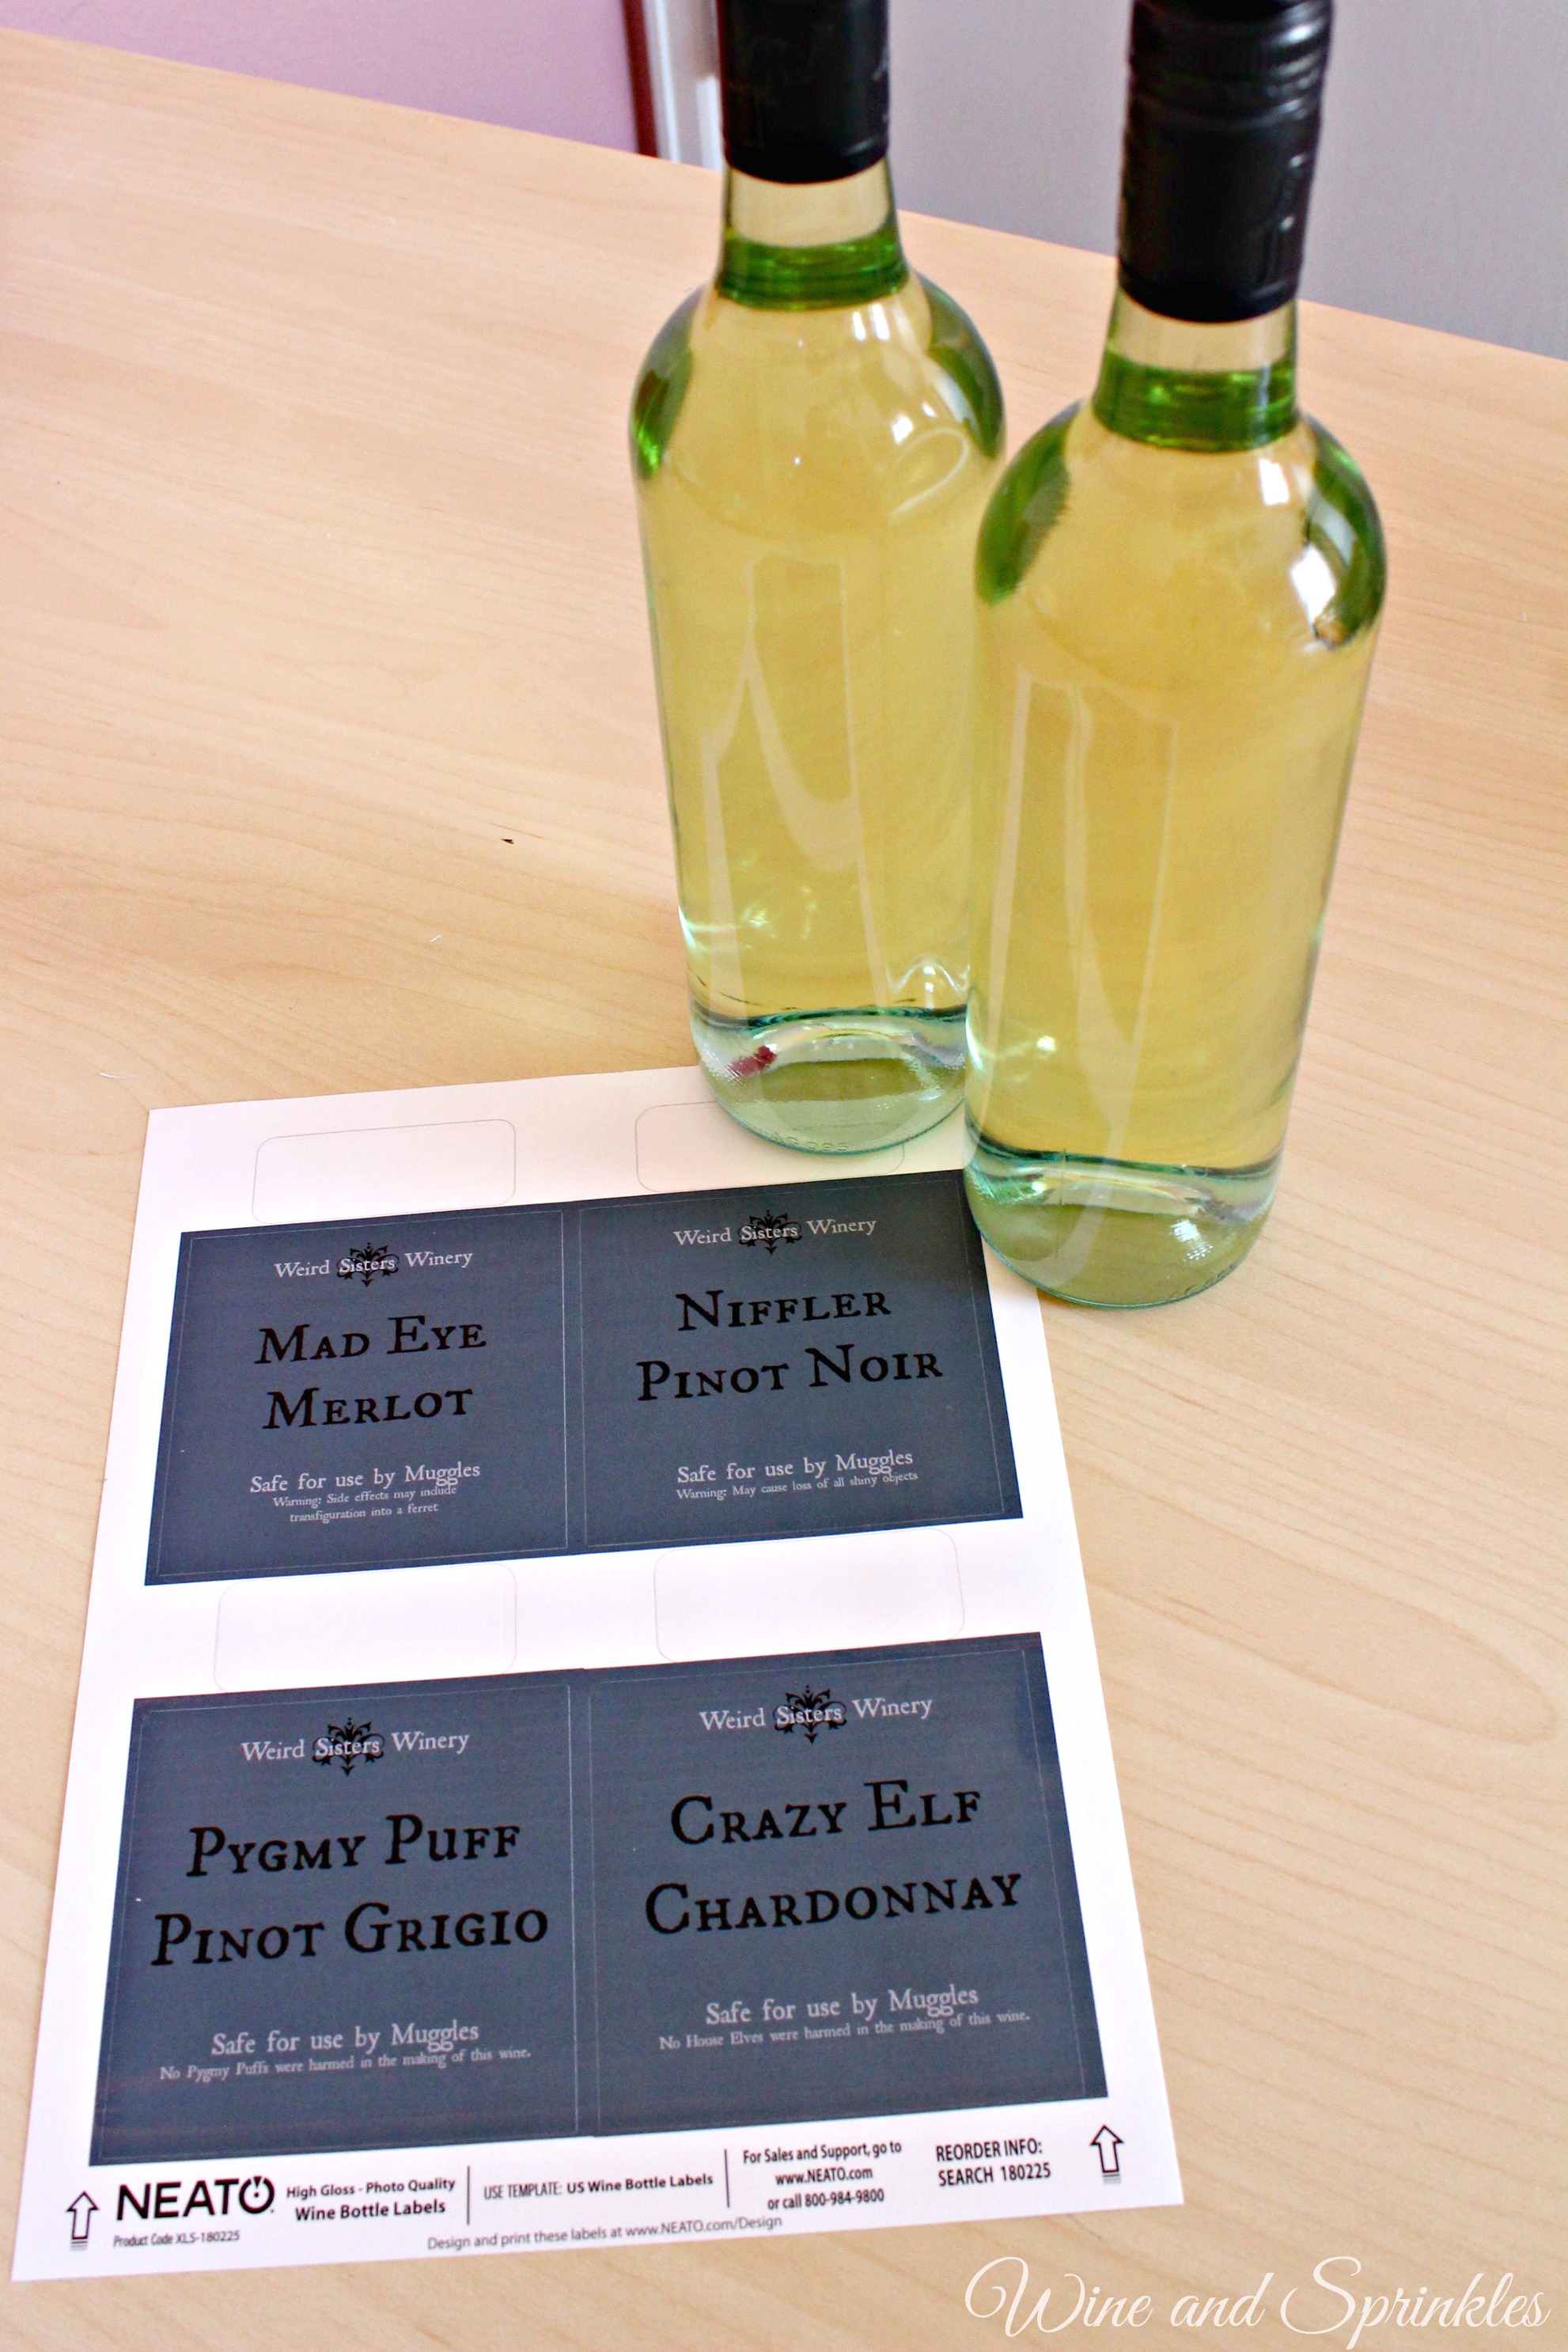
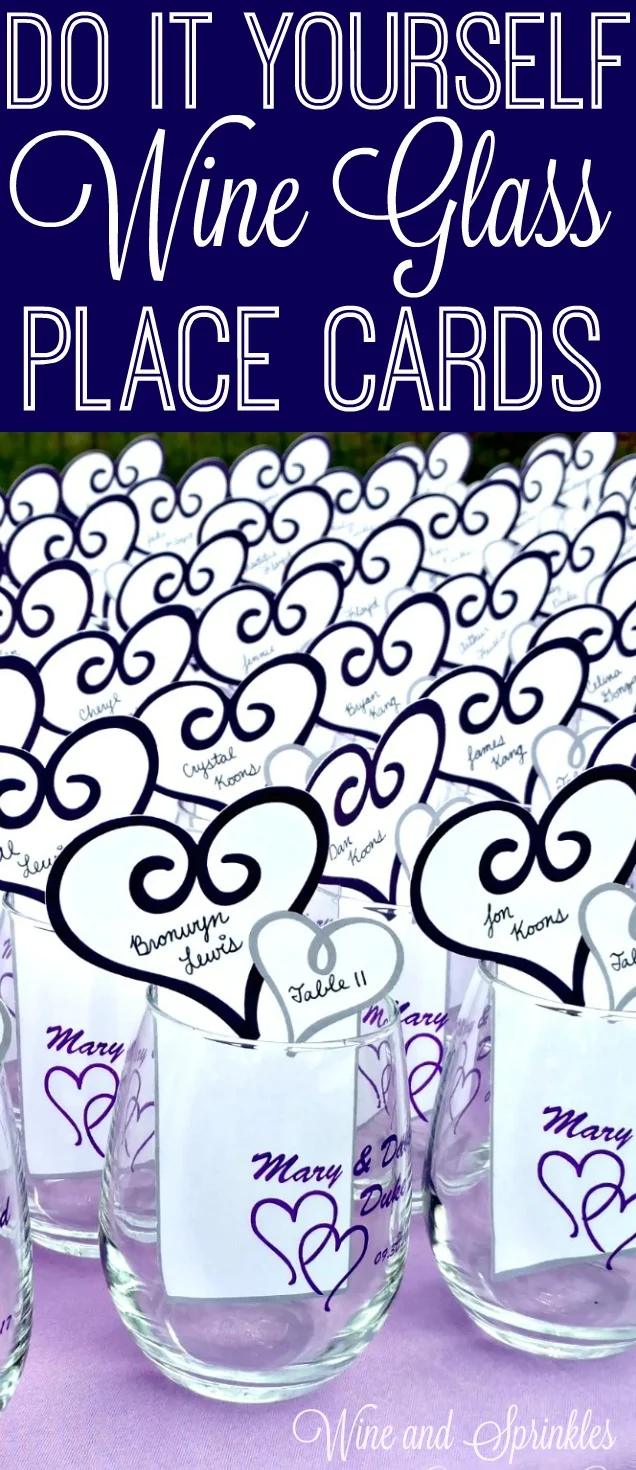
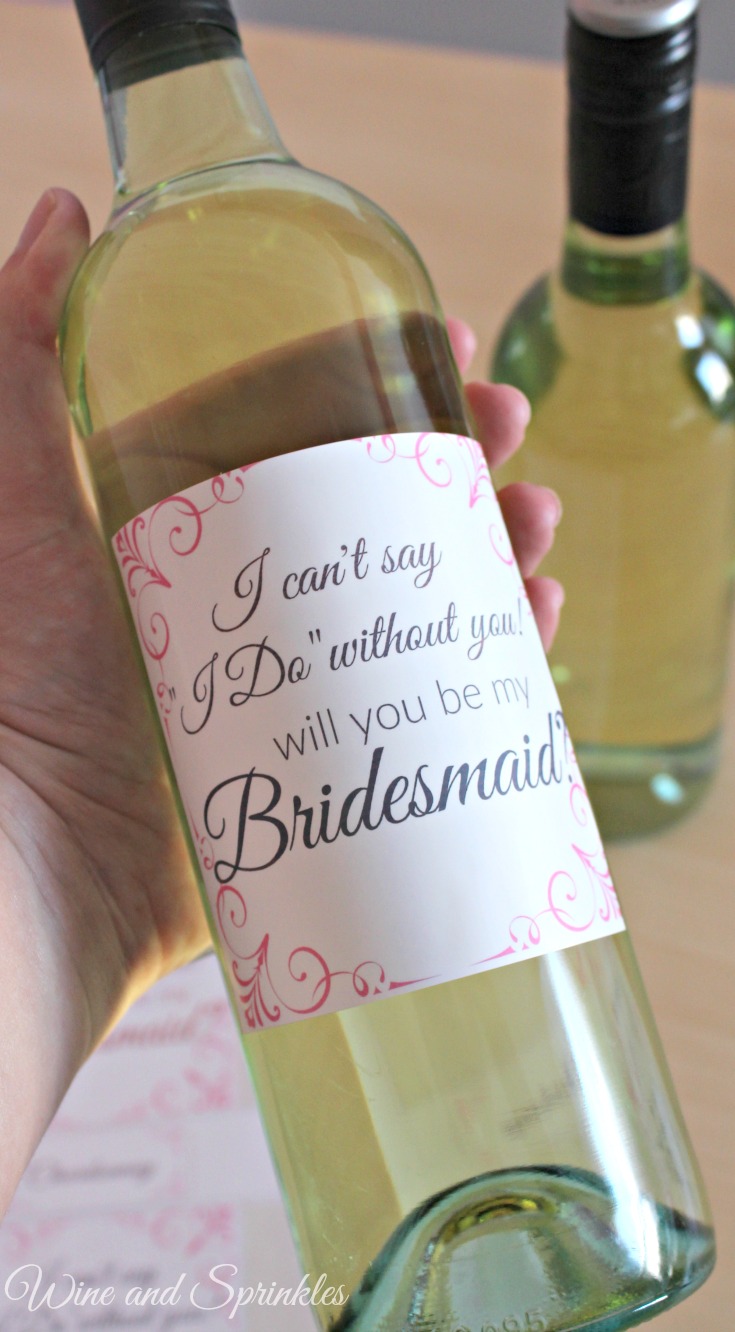
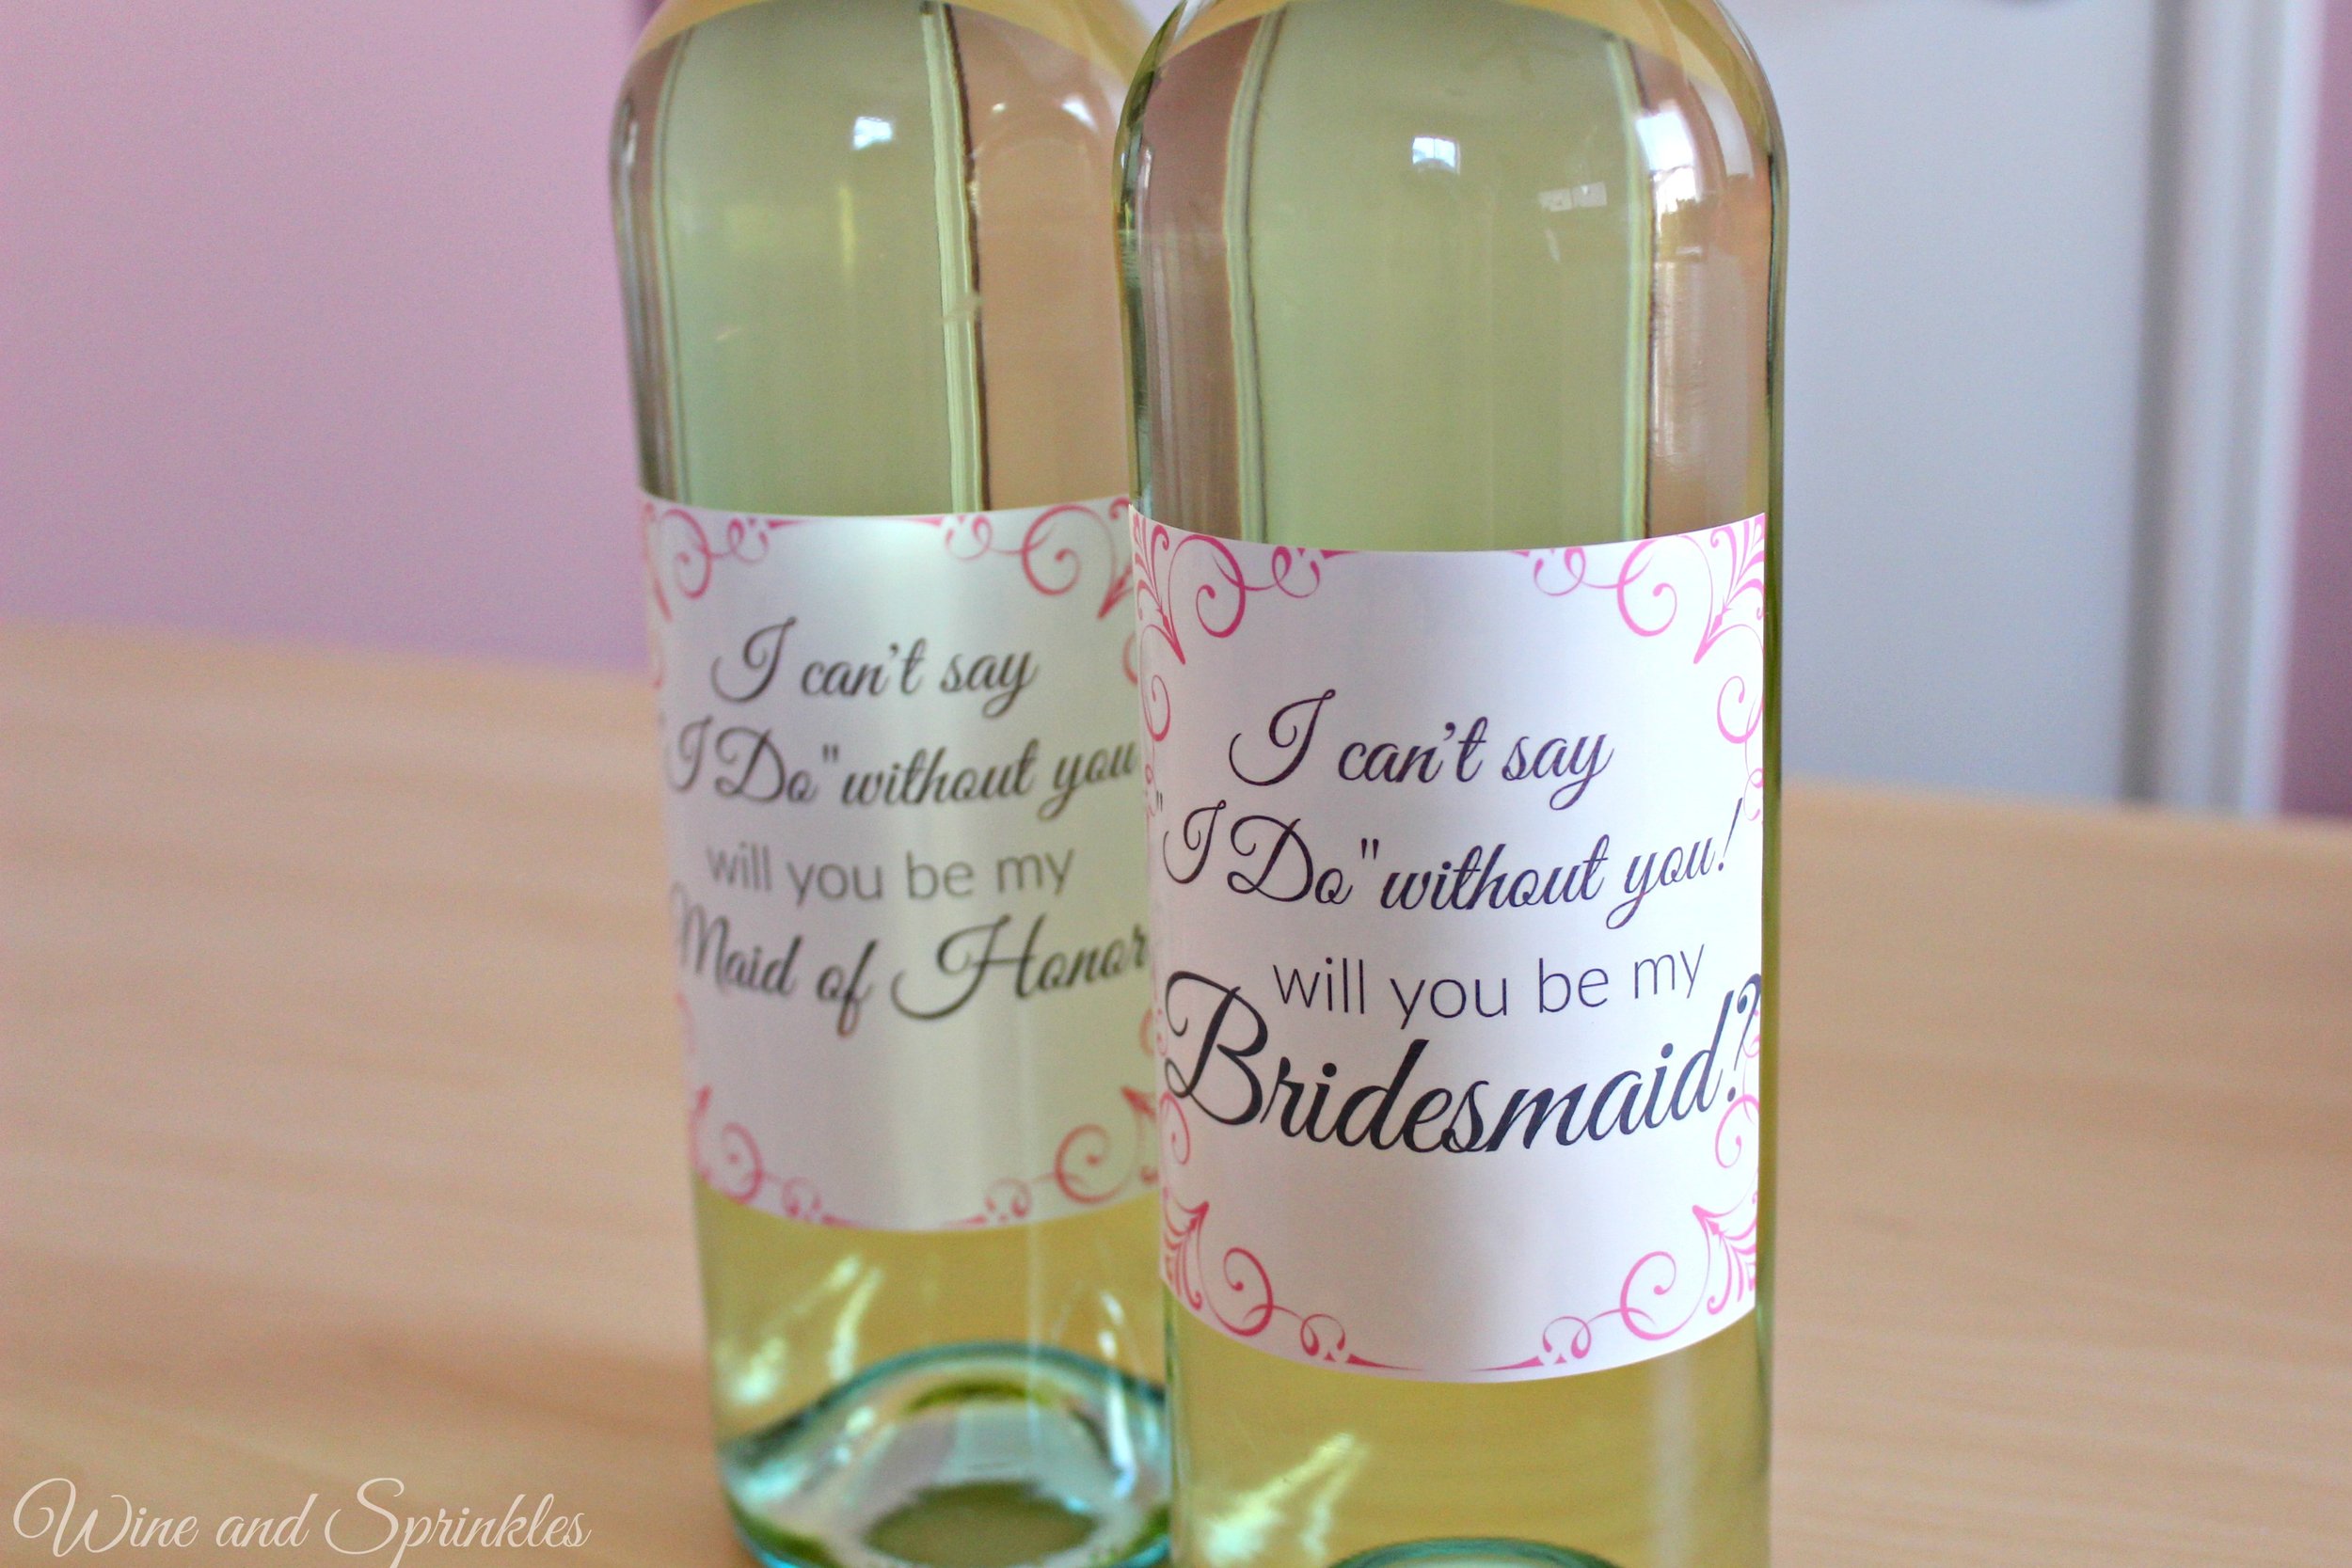
Tis the Season for Christmas Themed Wine Bottles! I had fun dressing up these bottles to take to a Christmas Party, but you could also use them for inexpensive gifts for friends! (Depending on the wine of course).
Neato Wine Bottle Labels
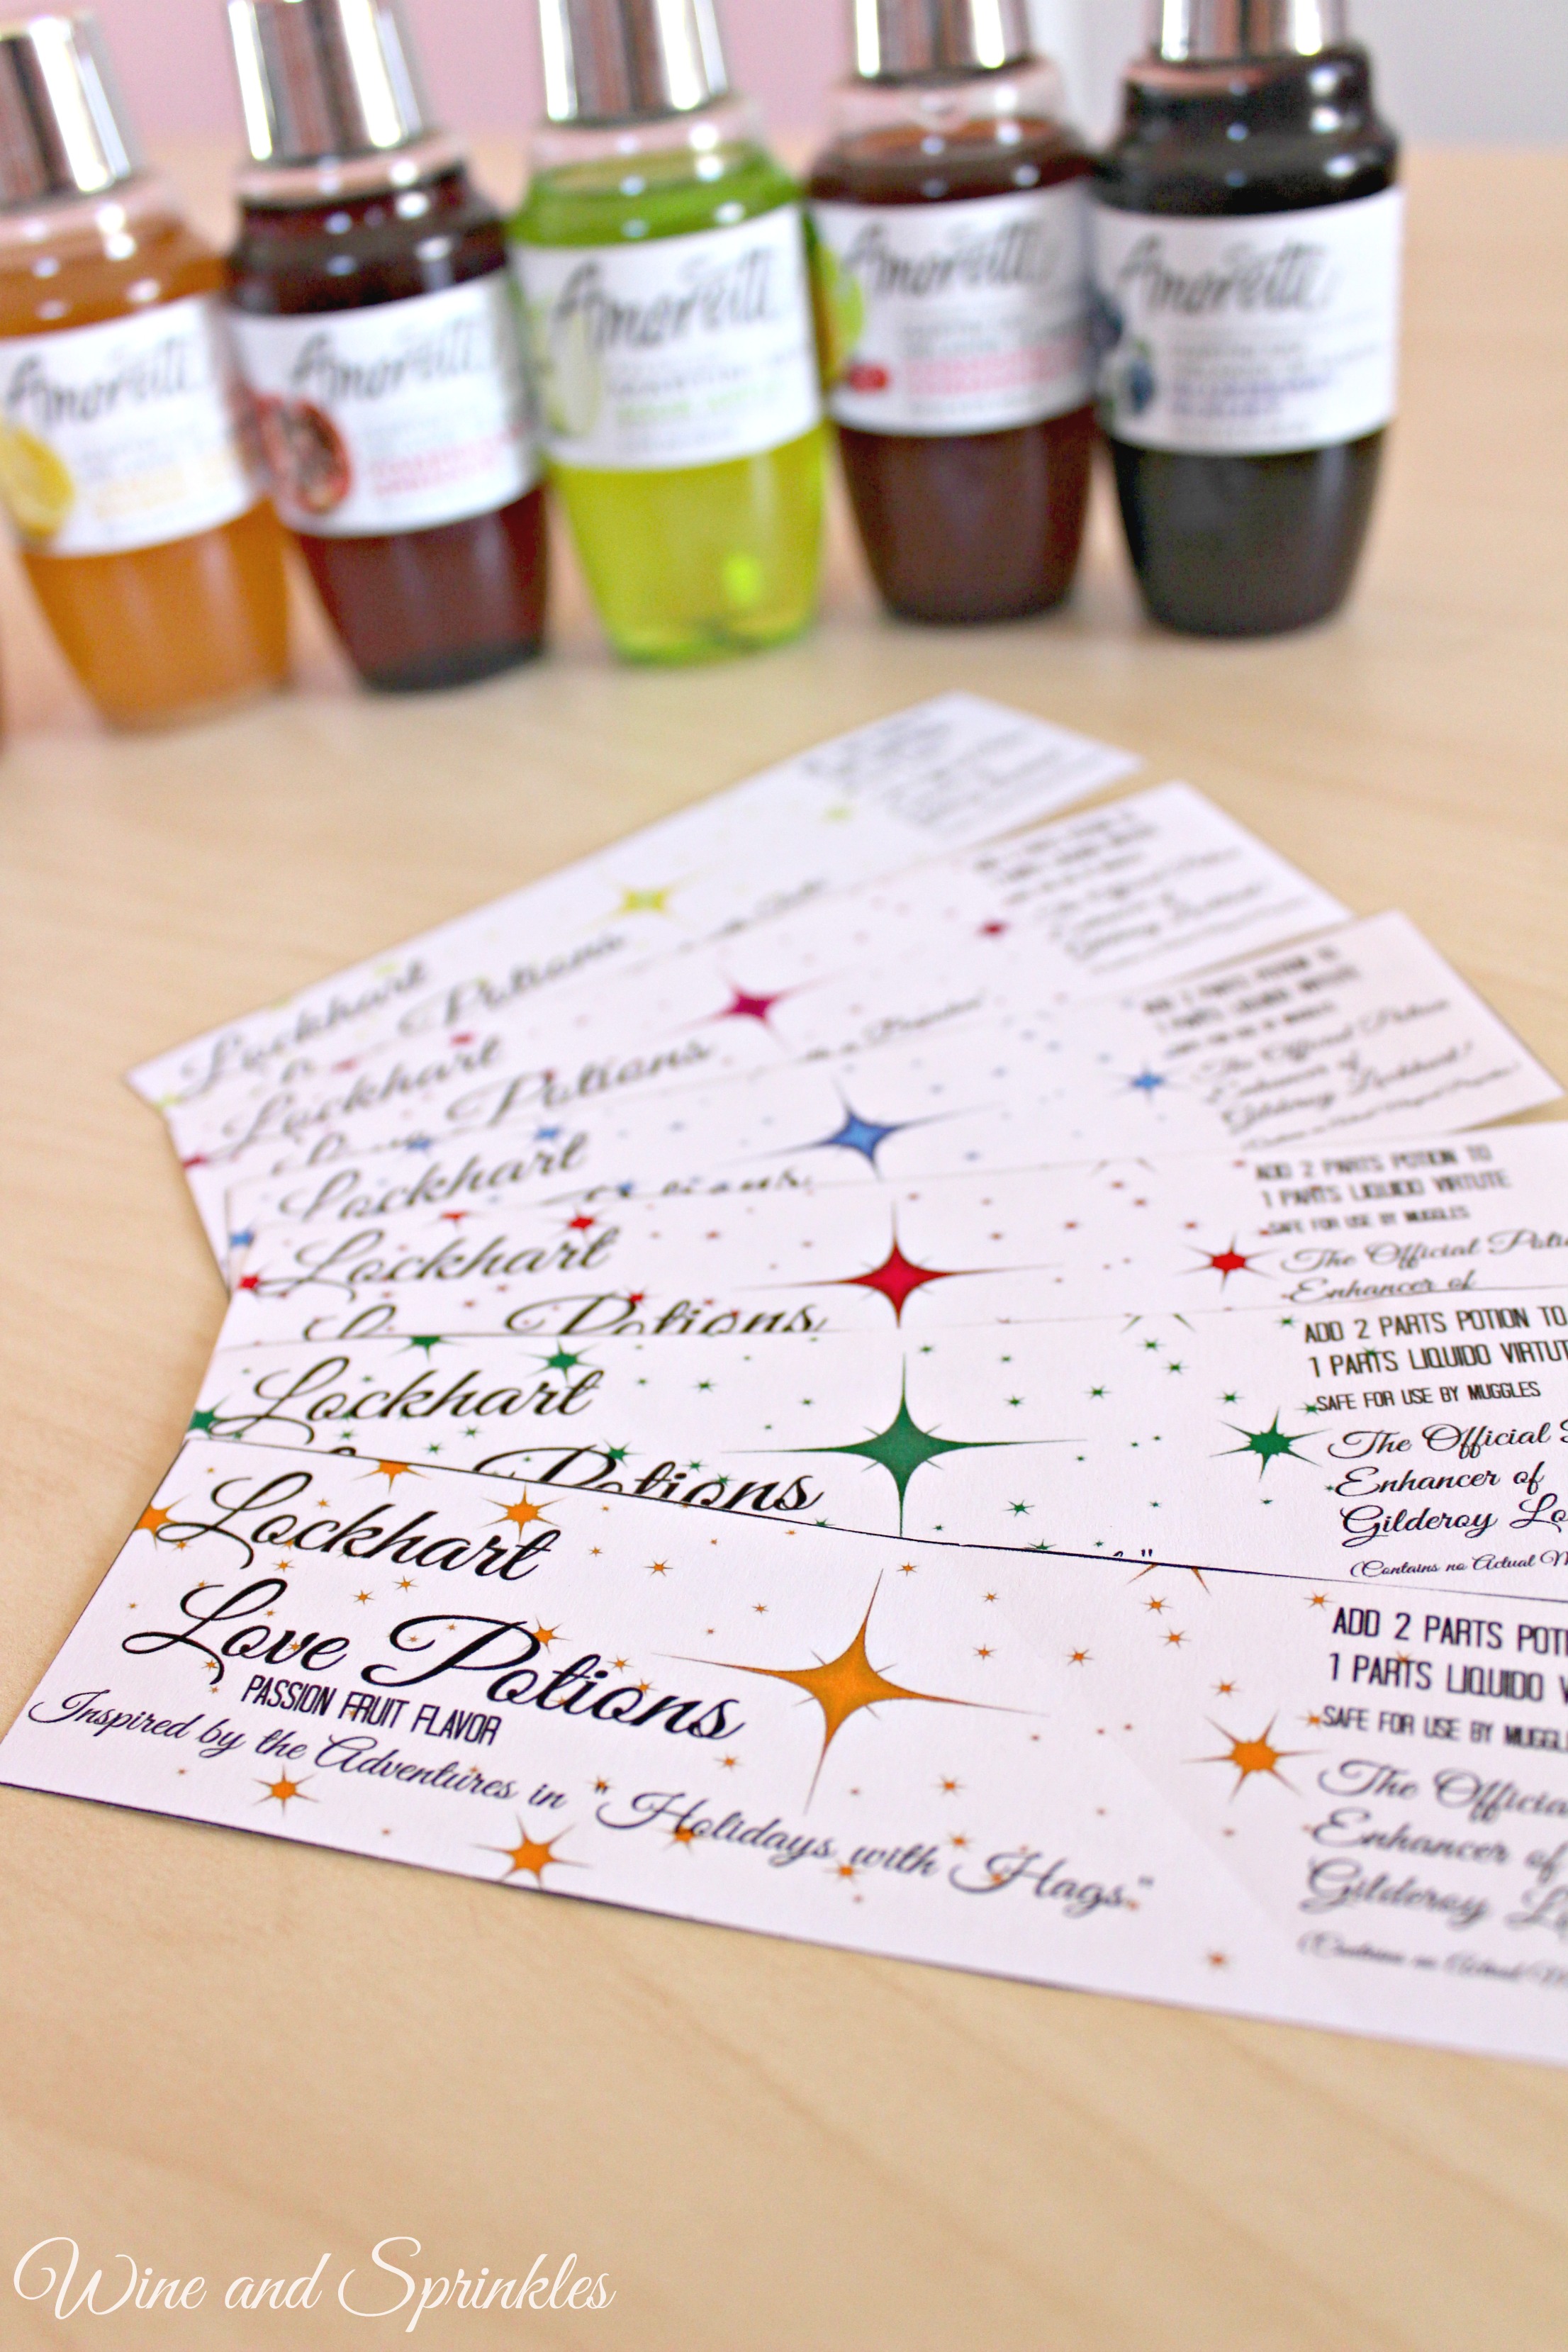
Christmas Wine Printable
Wine of Choice (Of course I would recommend a white given the text :) )

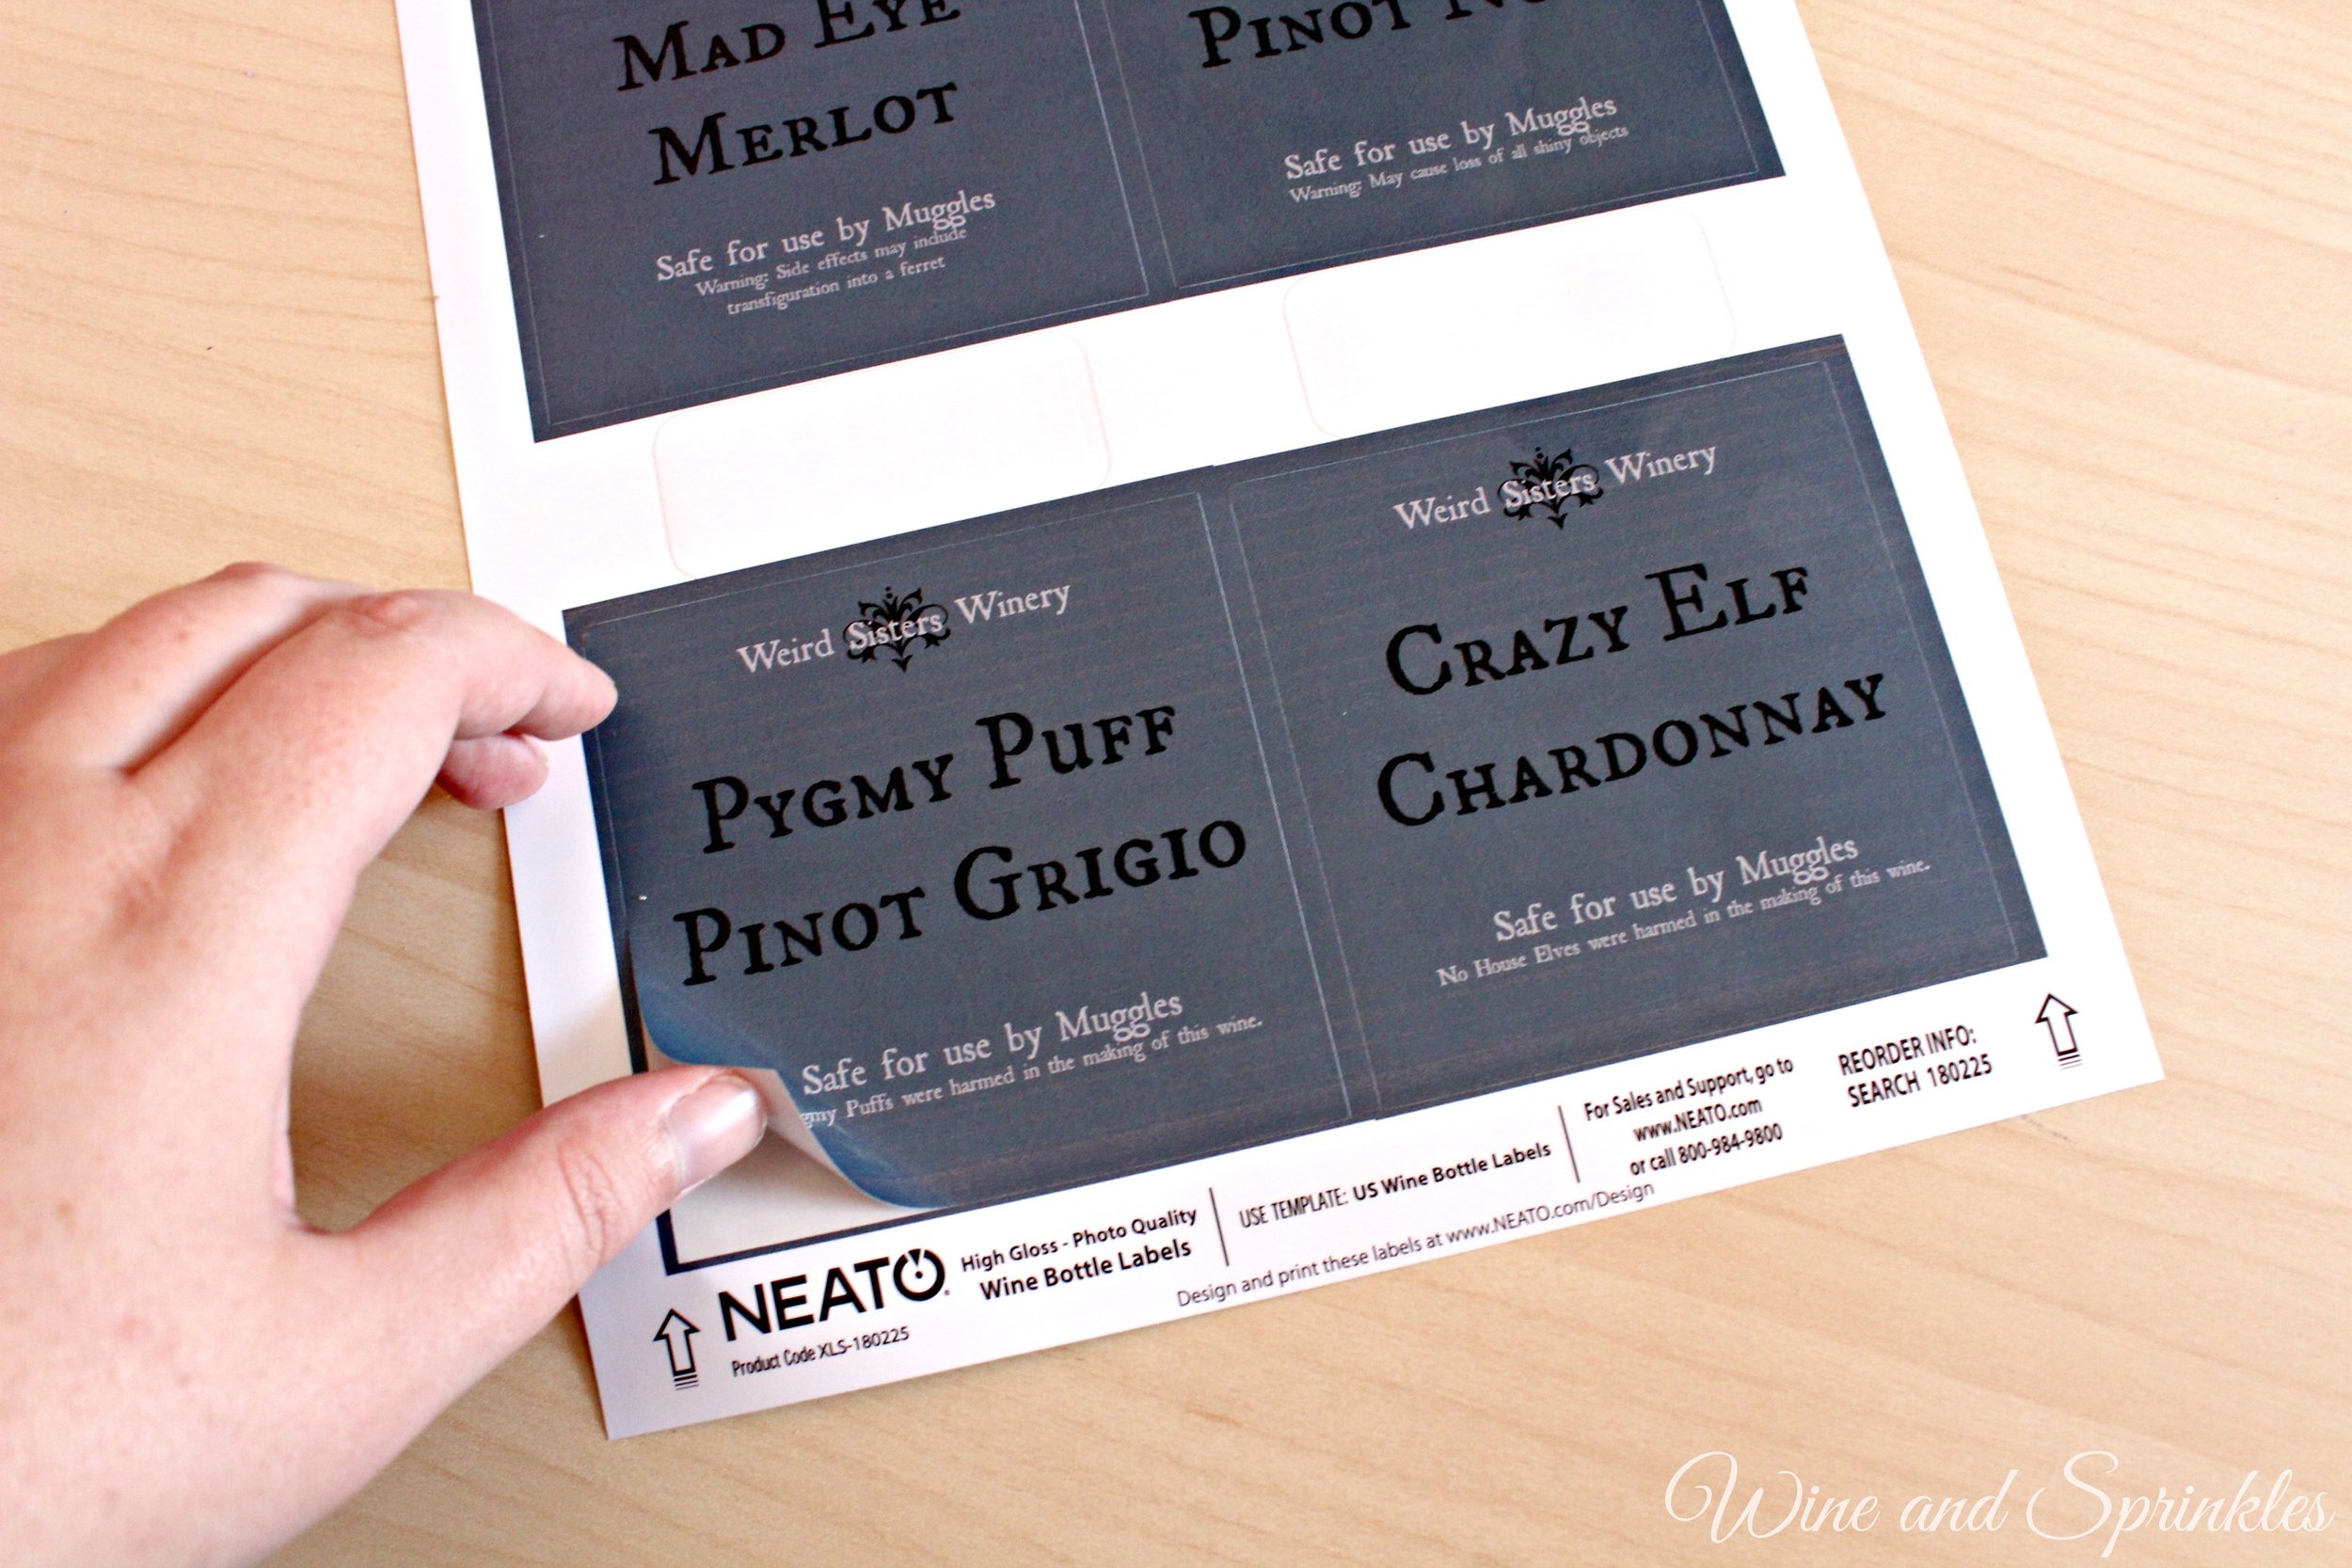
1. Download the Printable and Print your labels.

2. Soak off the Label from your wine bottles with hot soapy water. Scrub any remaining residue off with a sponge and dry the outside of the bottles.

3. Place the square label where the old label used to be and you are done!

I love the idea of giving one of these for a white elephant, mystery white wine! Never hurts to dress up cheap wine in a pretty label. :)


