This post contains affiliate links, meaning that if you click on a link I will recieve a small comission. This costs you nothing extra and I only promote products I use and love! You can read our full disclosure here
As you read this post, you’ll notice a lot of bolded words, some that highlight pink and link to other posts and products, and others that don’t do anything. That’s because I am still writing and working on the posts those words go to! As these posts get published, I’ll be updating this post until all the projects are complete! Subscribe to my Newsletter or Follow me on Facebook to keep updated on when I post new content!
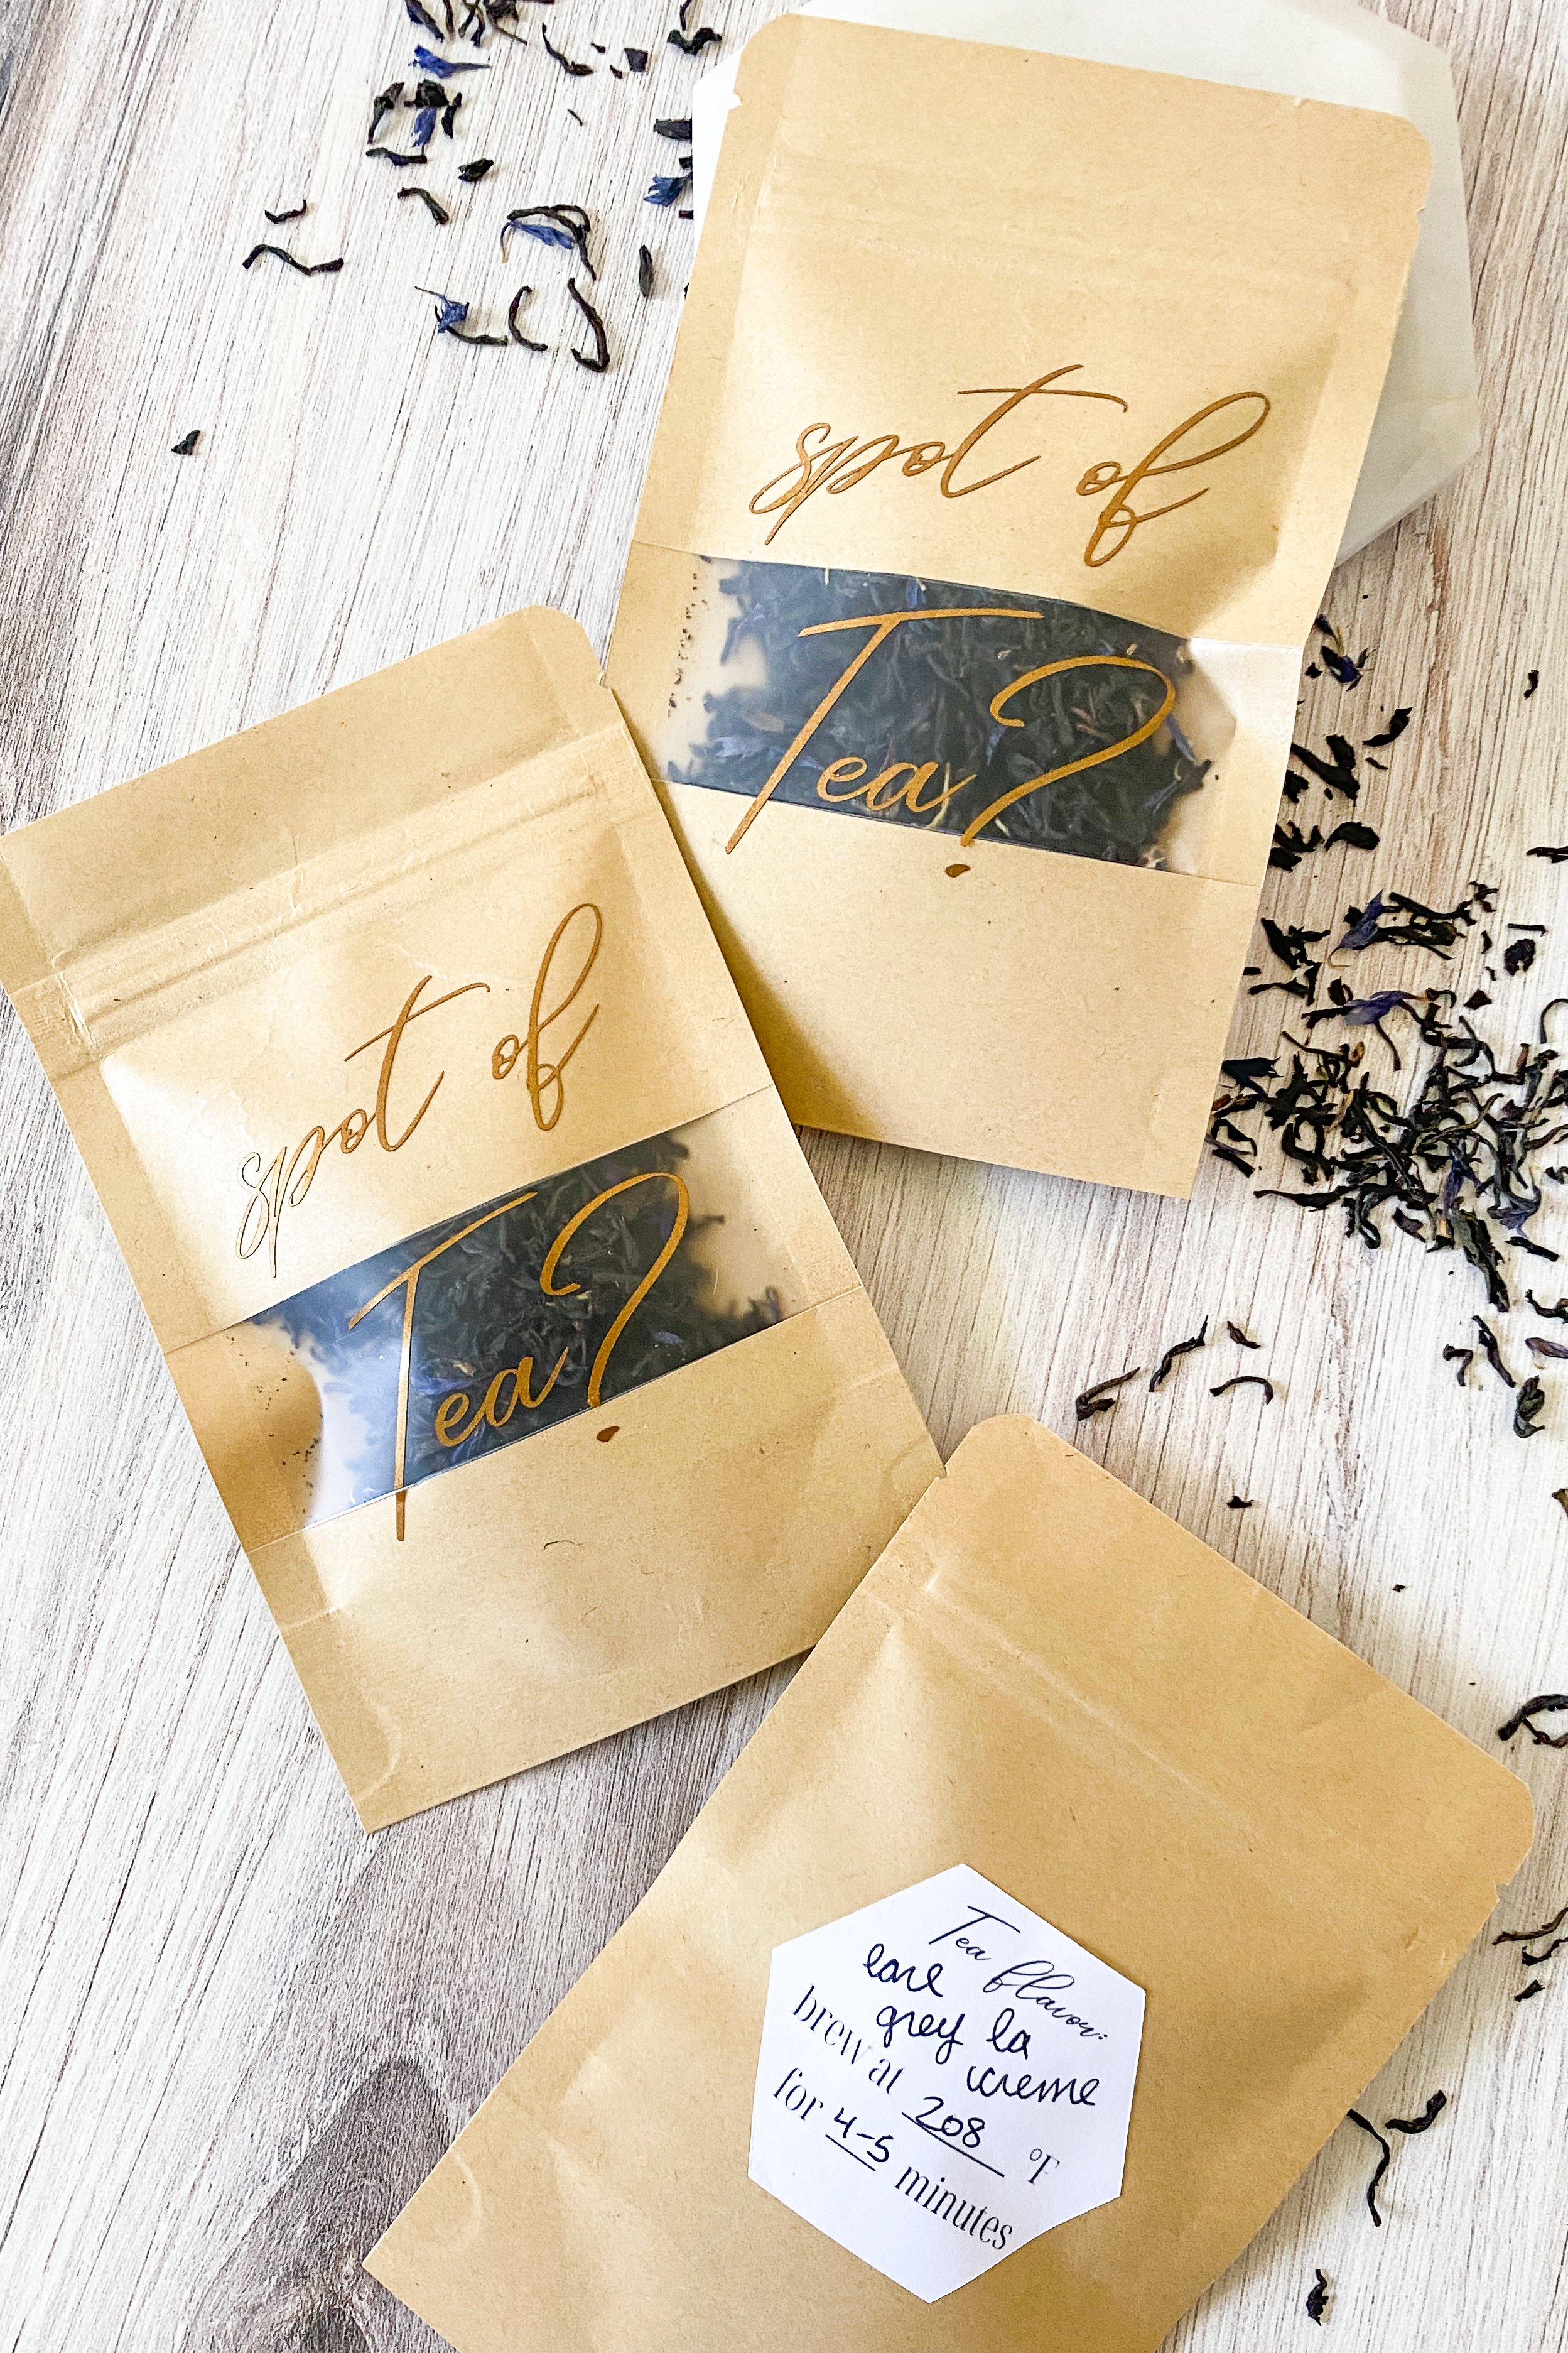
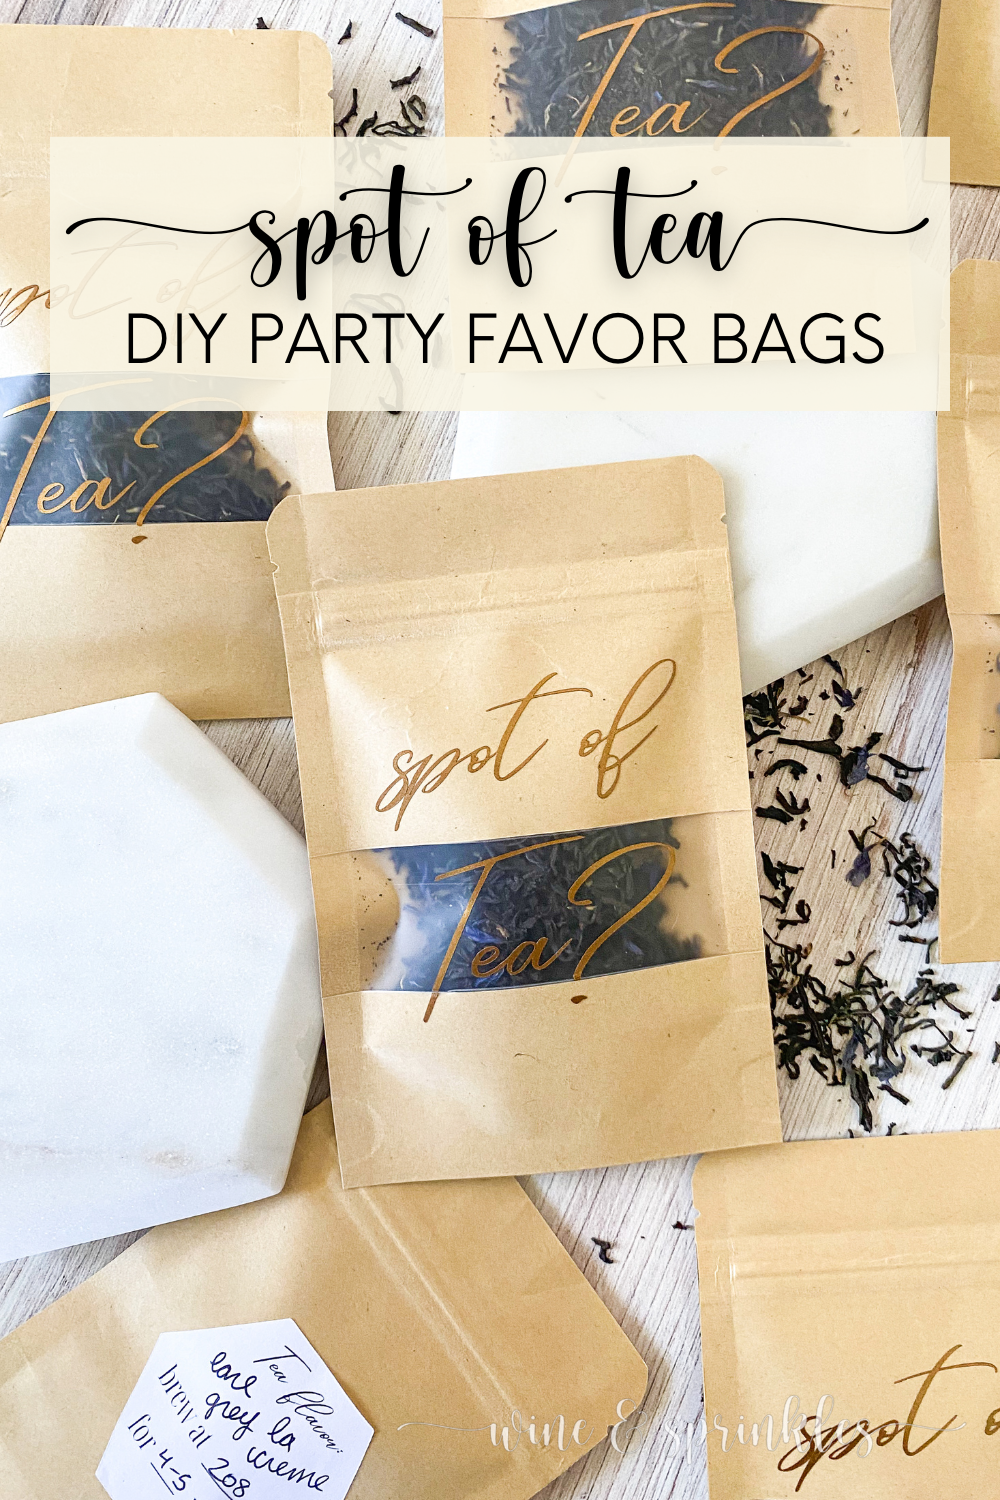
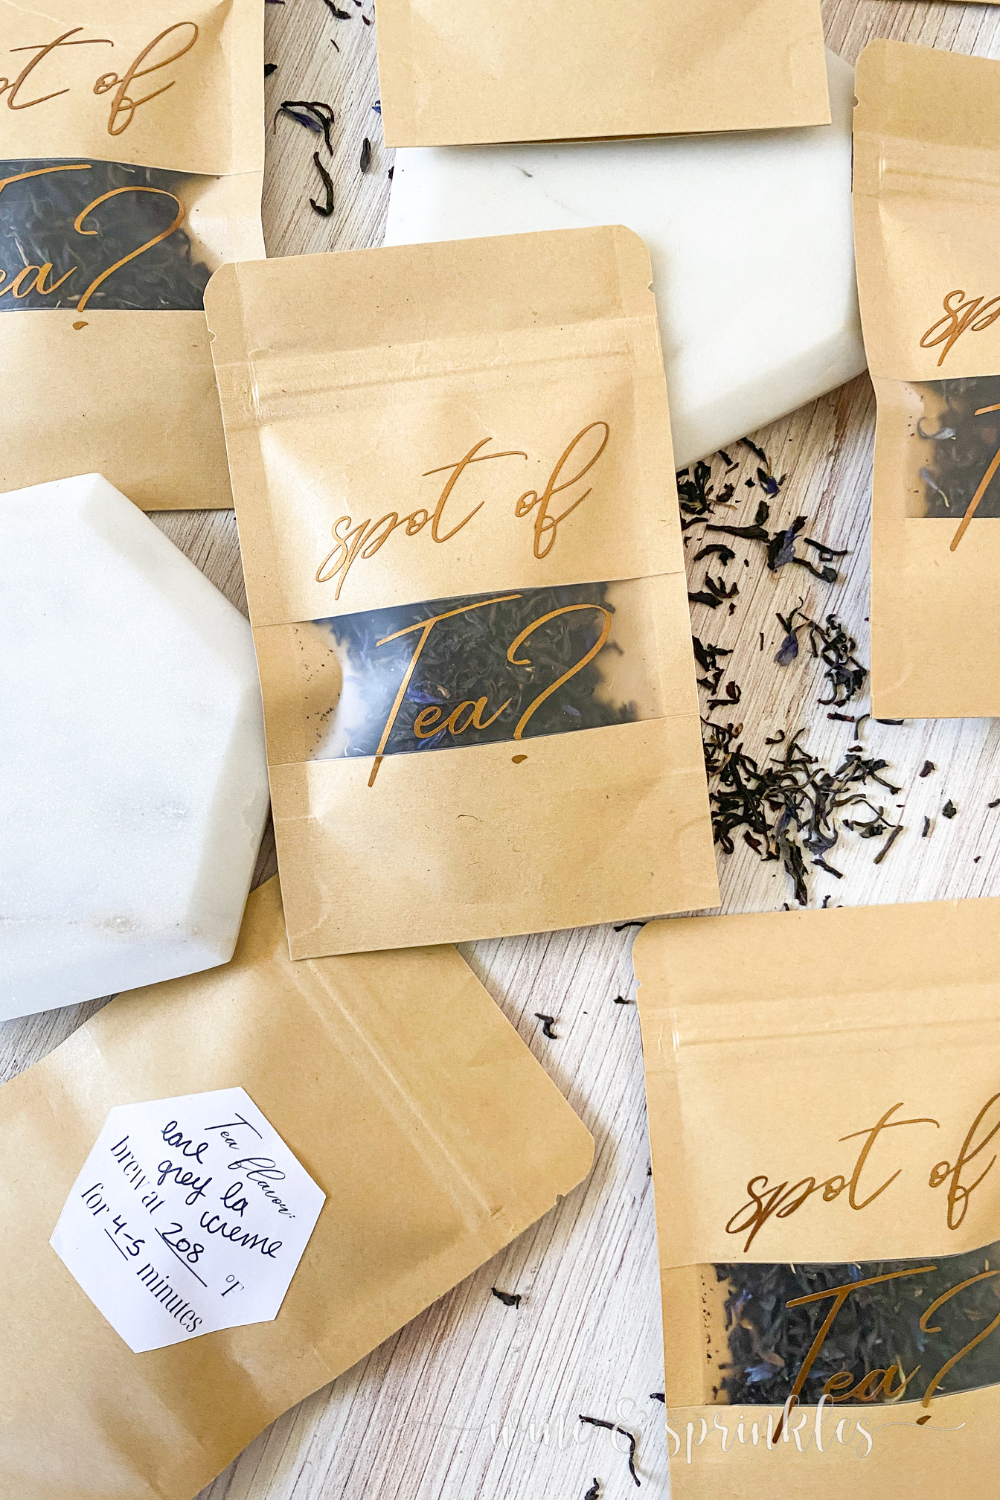
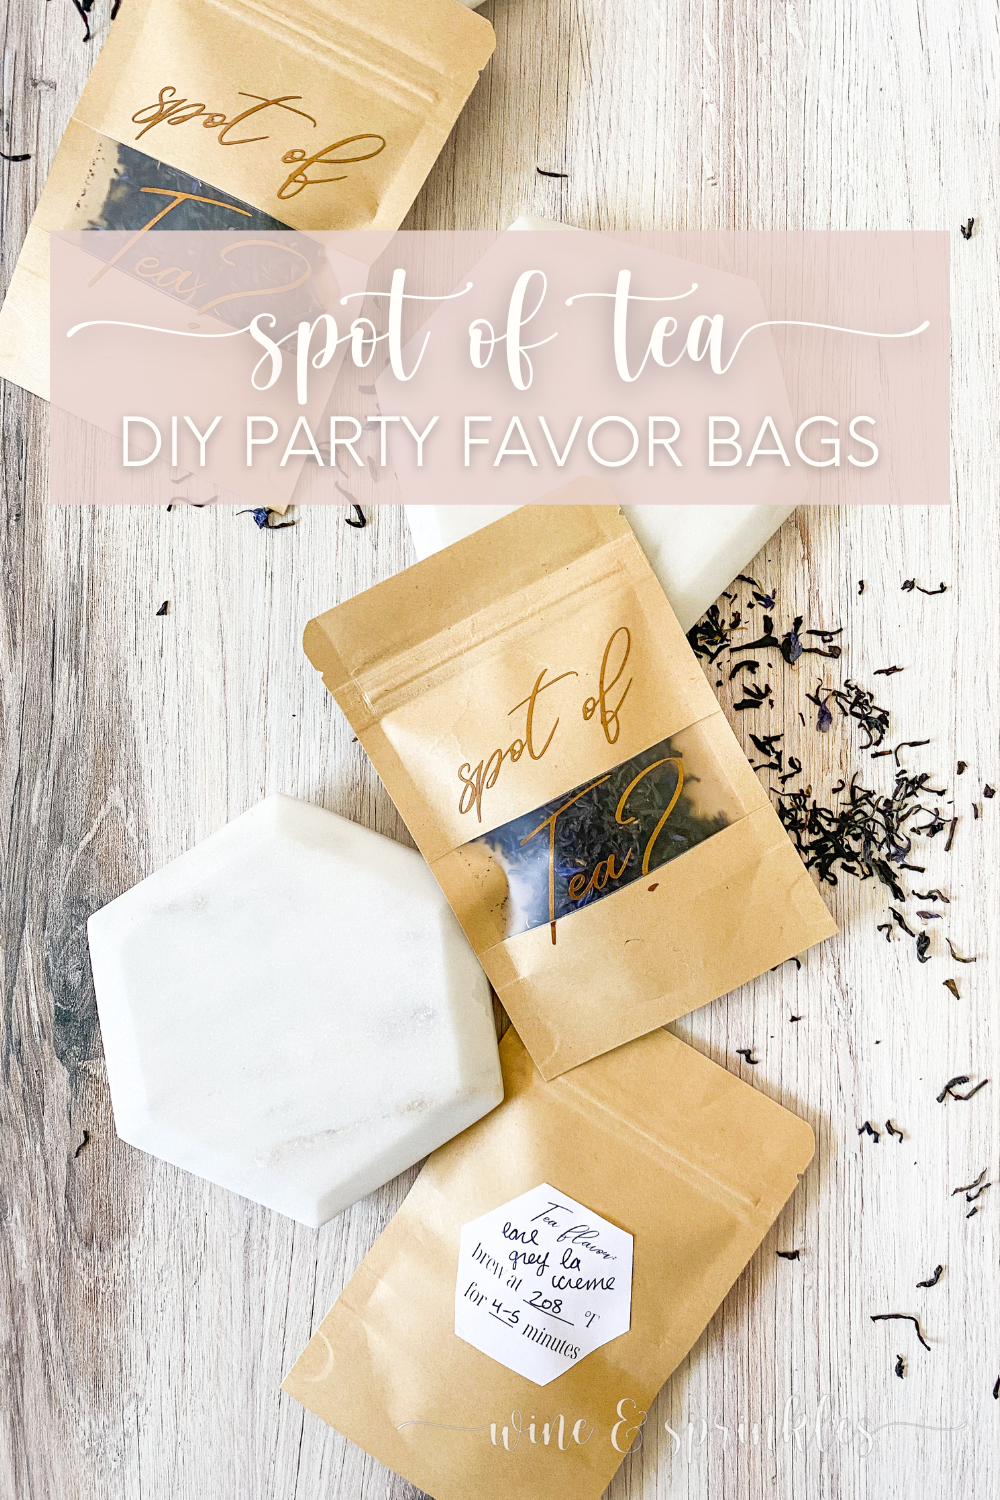
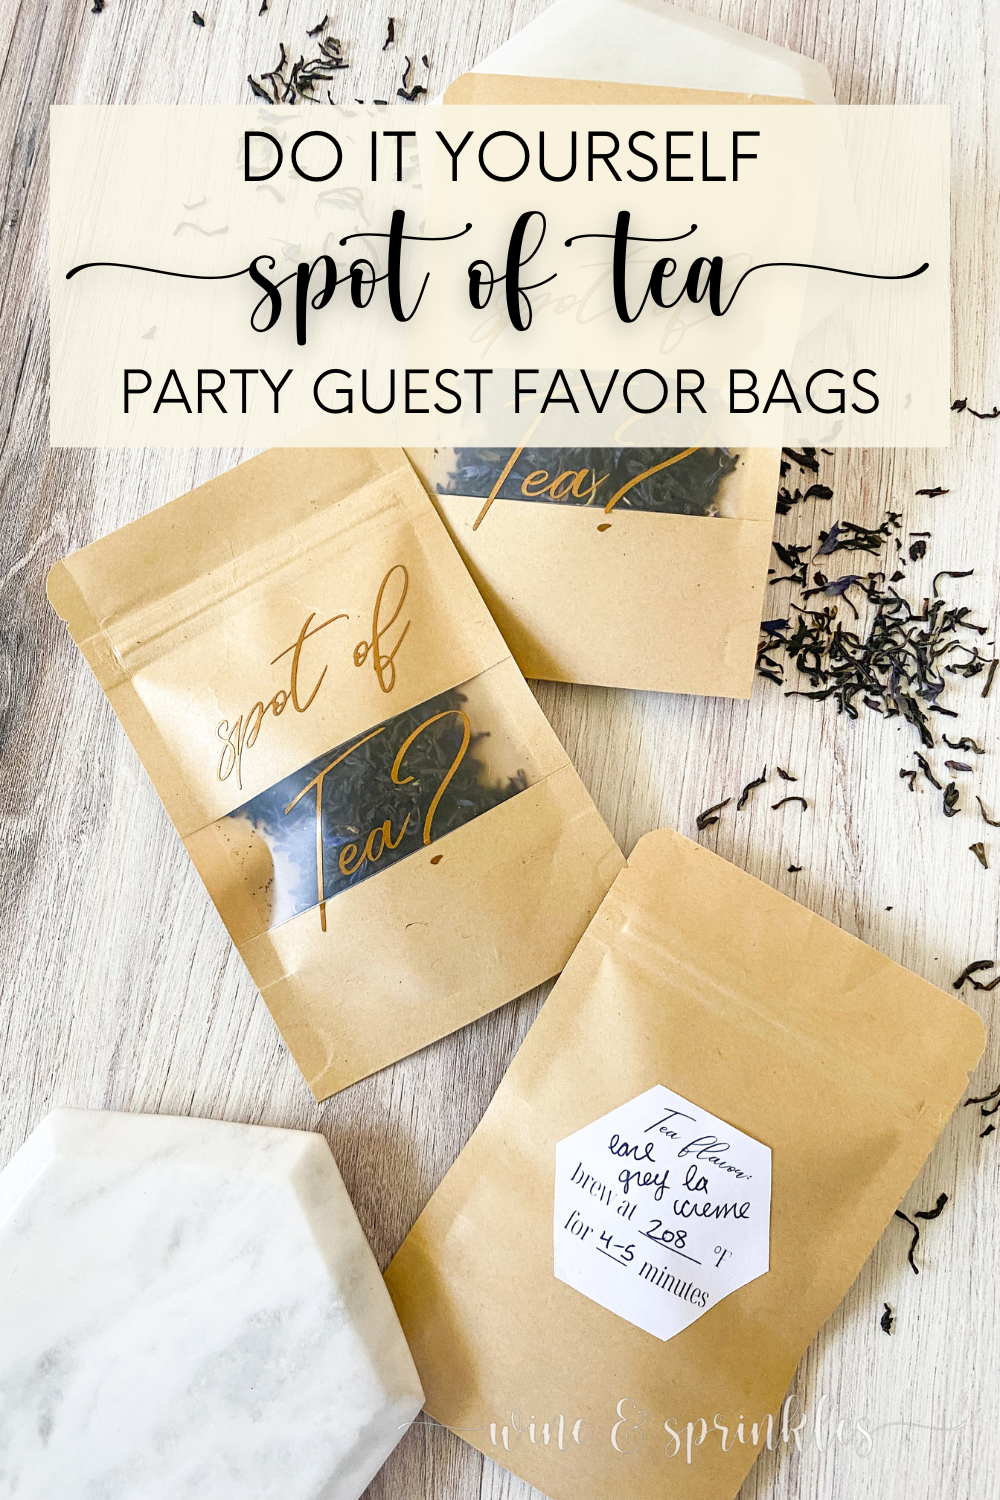
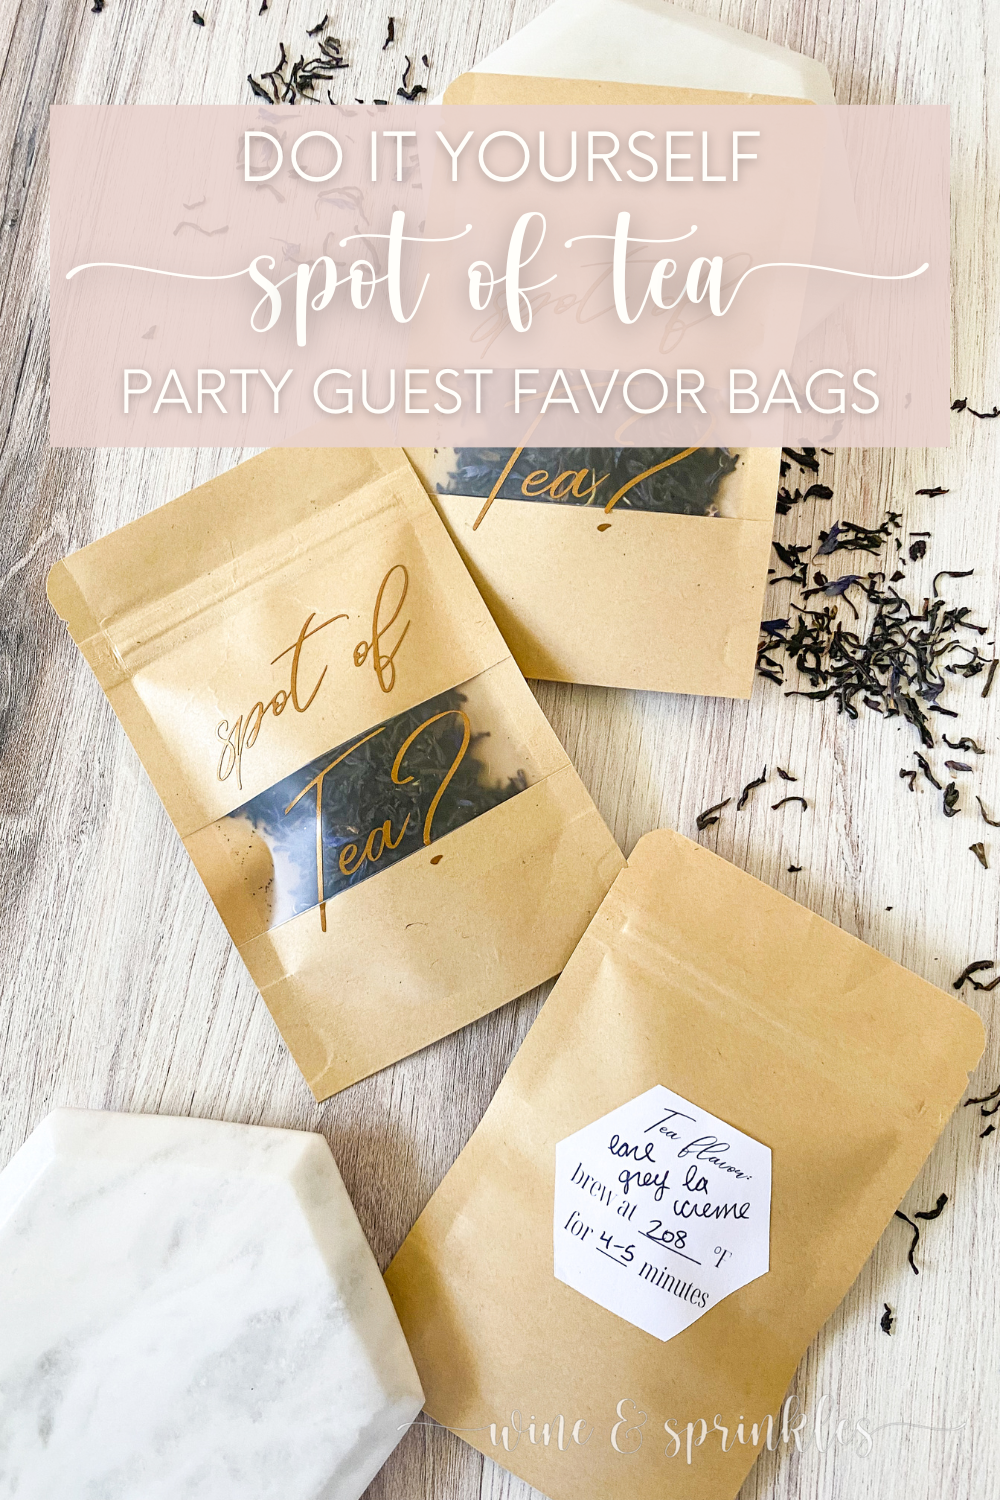
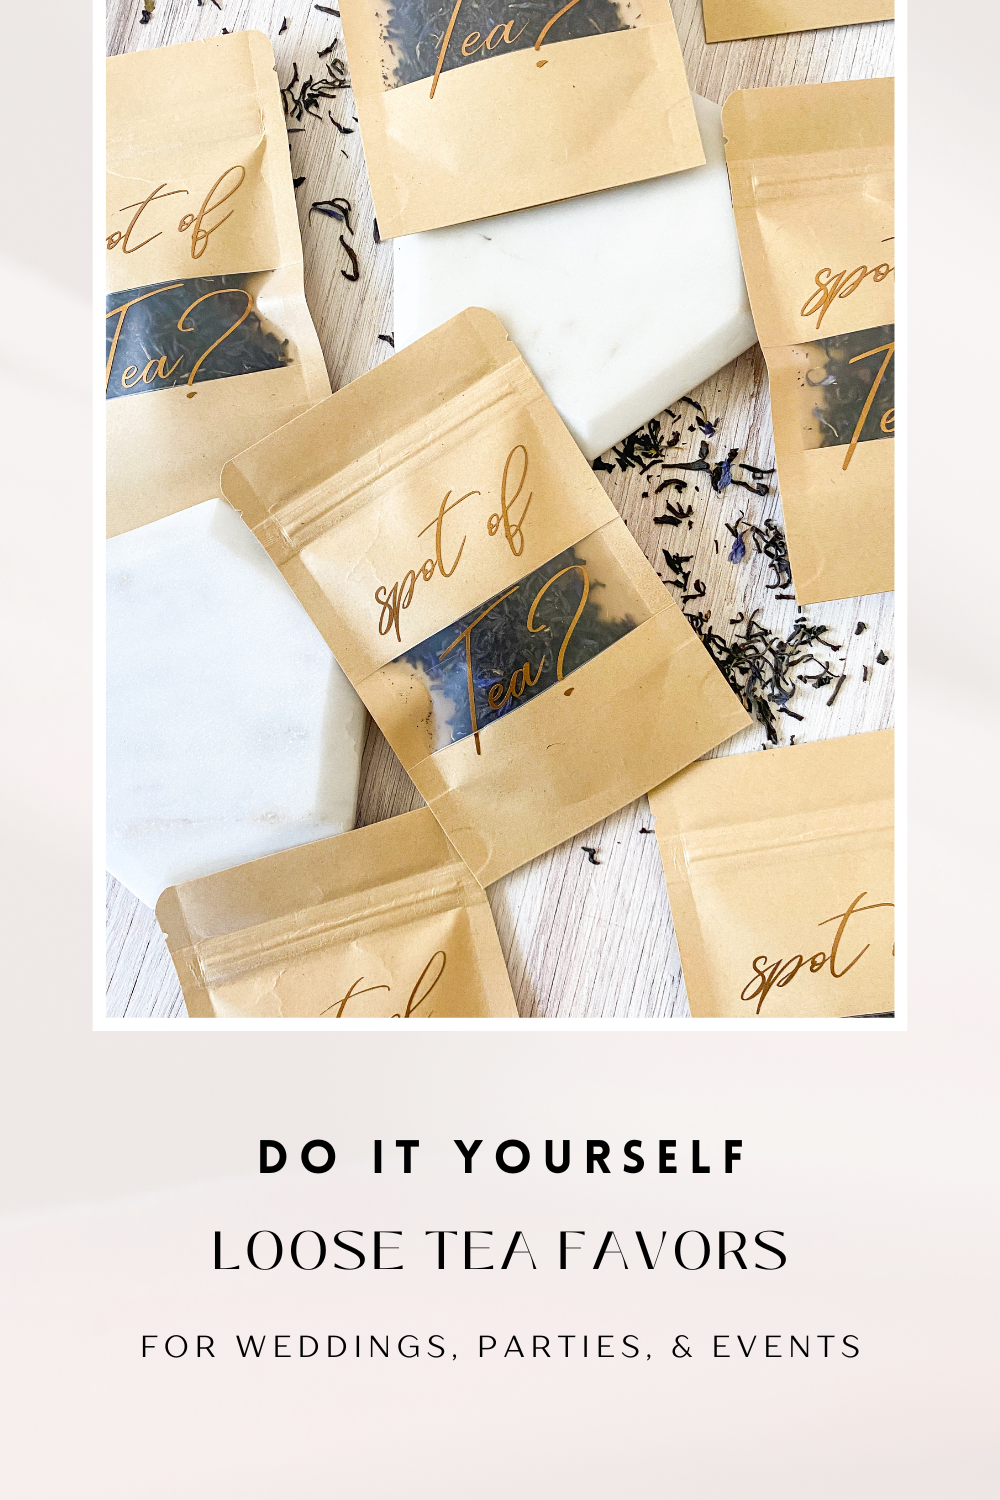
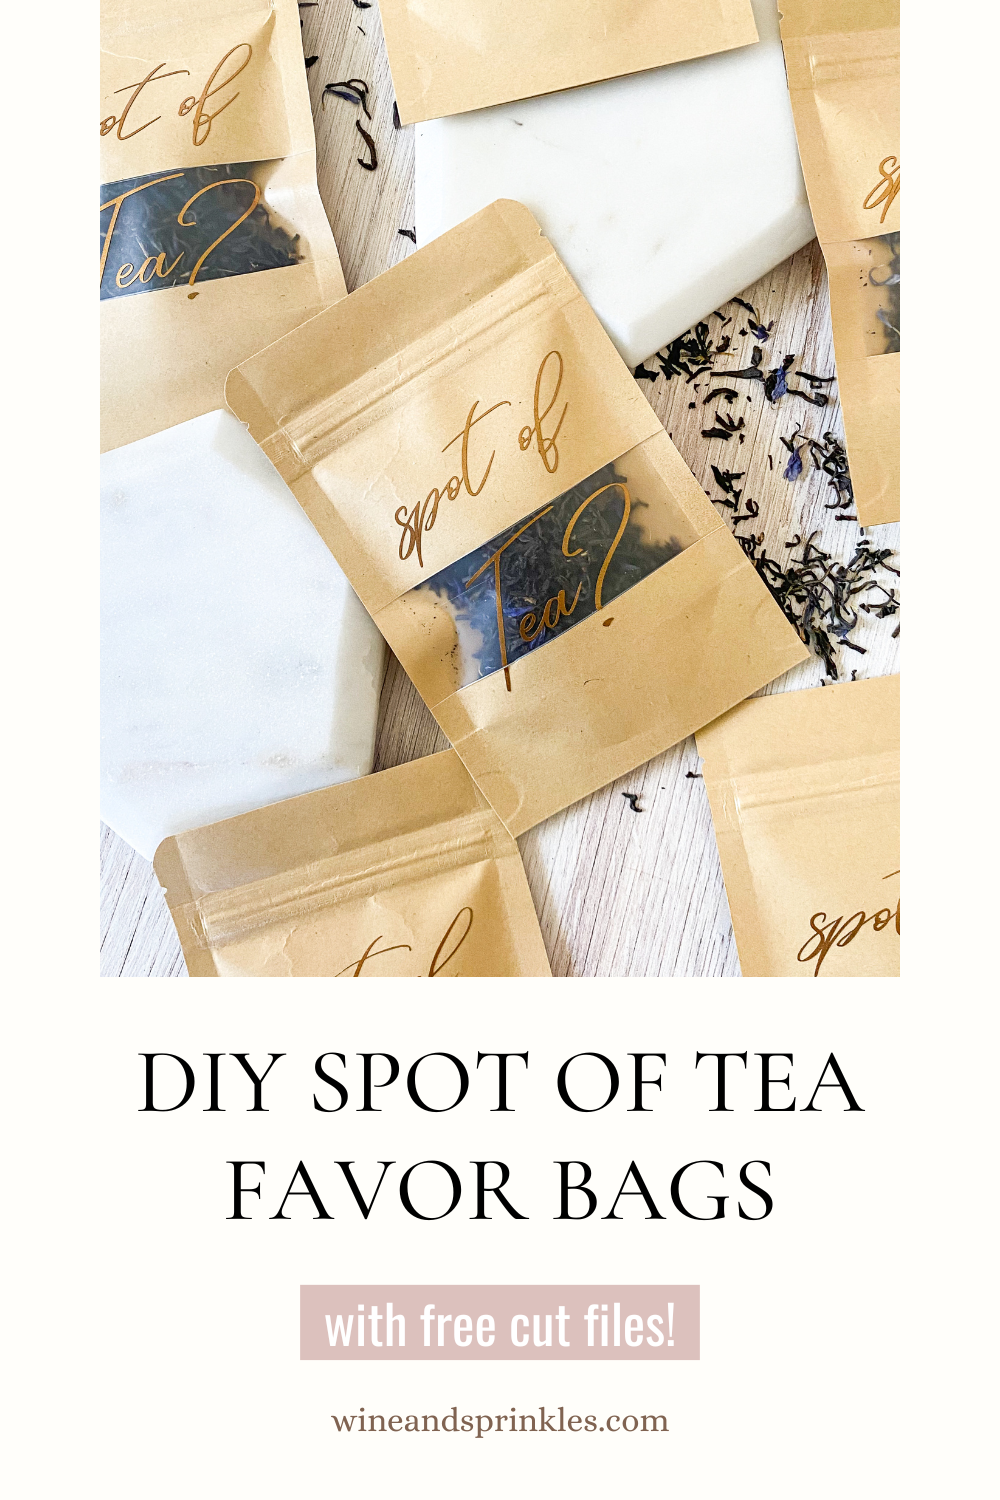
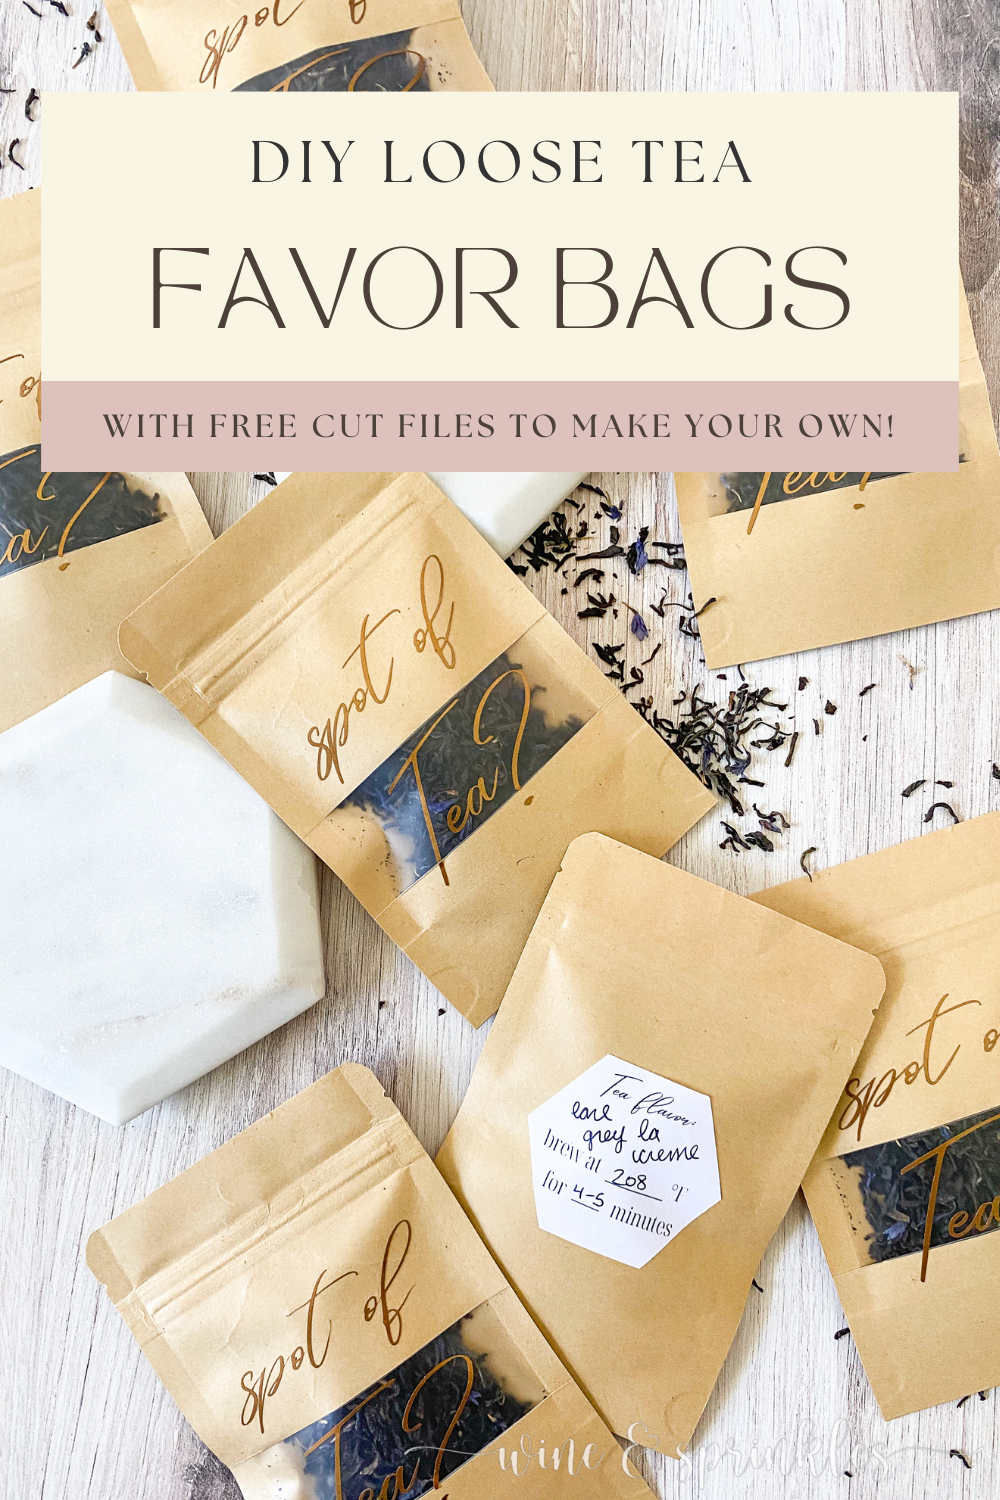
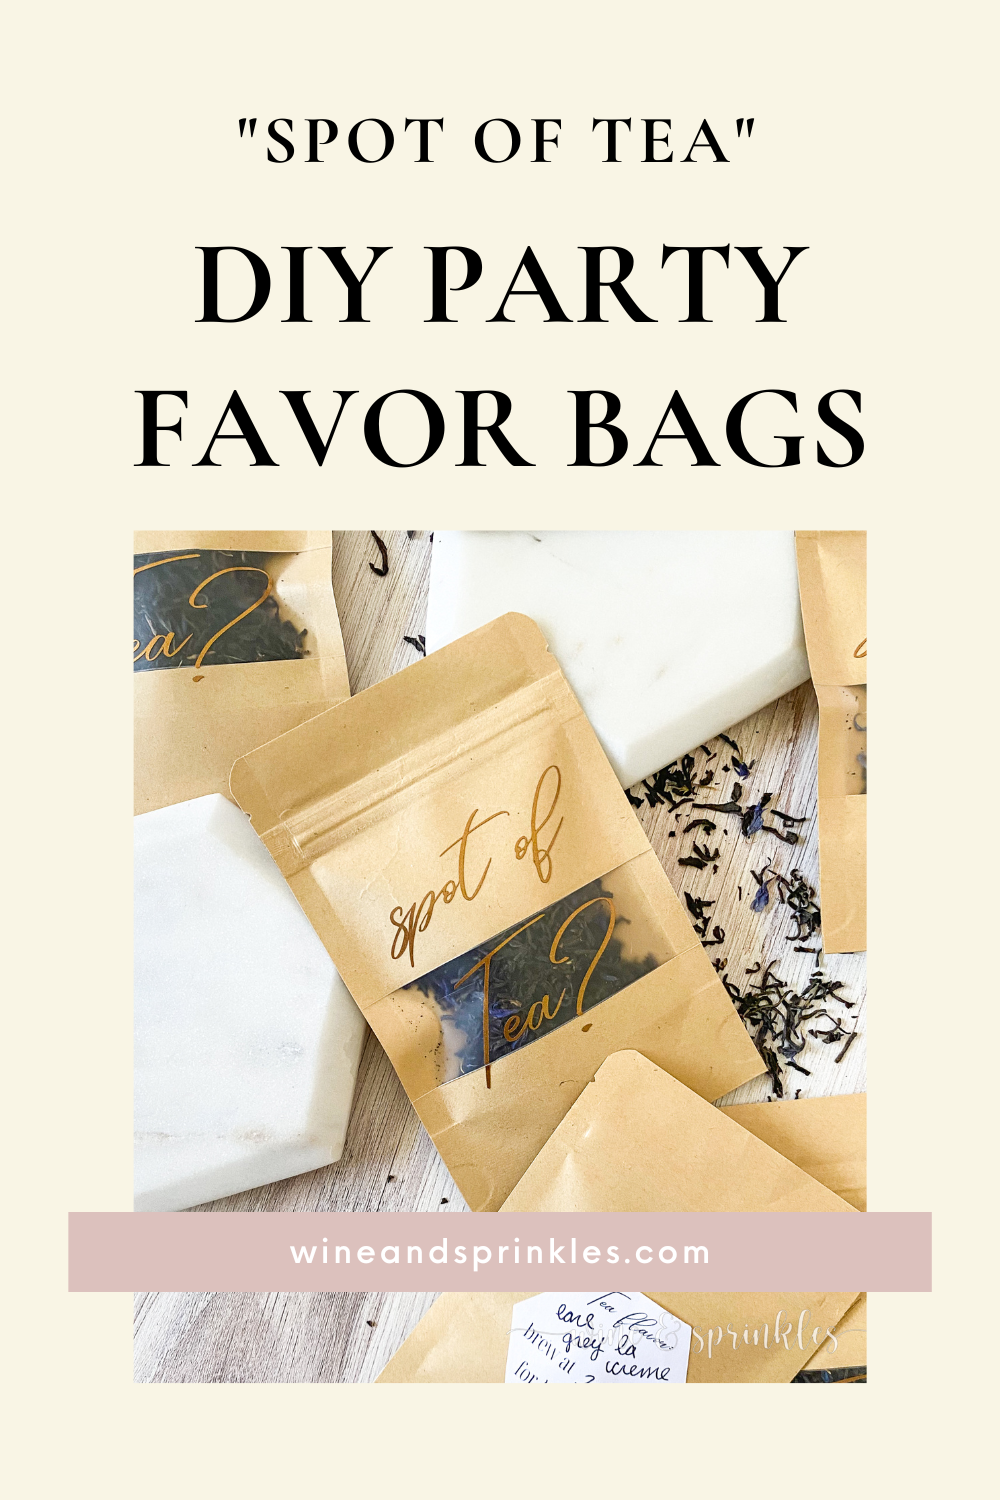
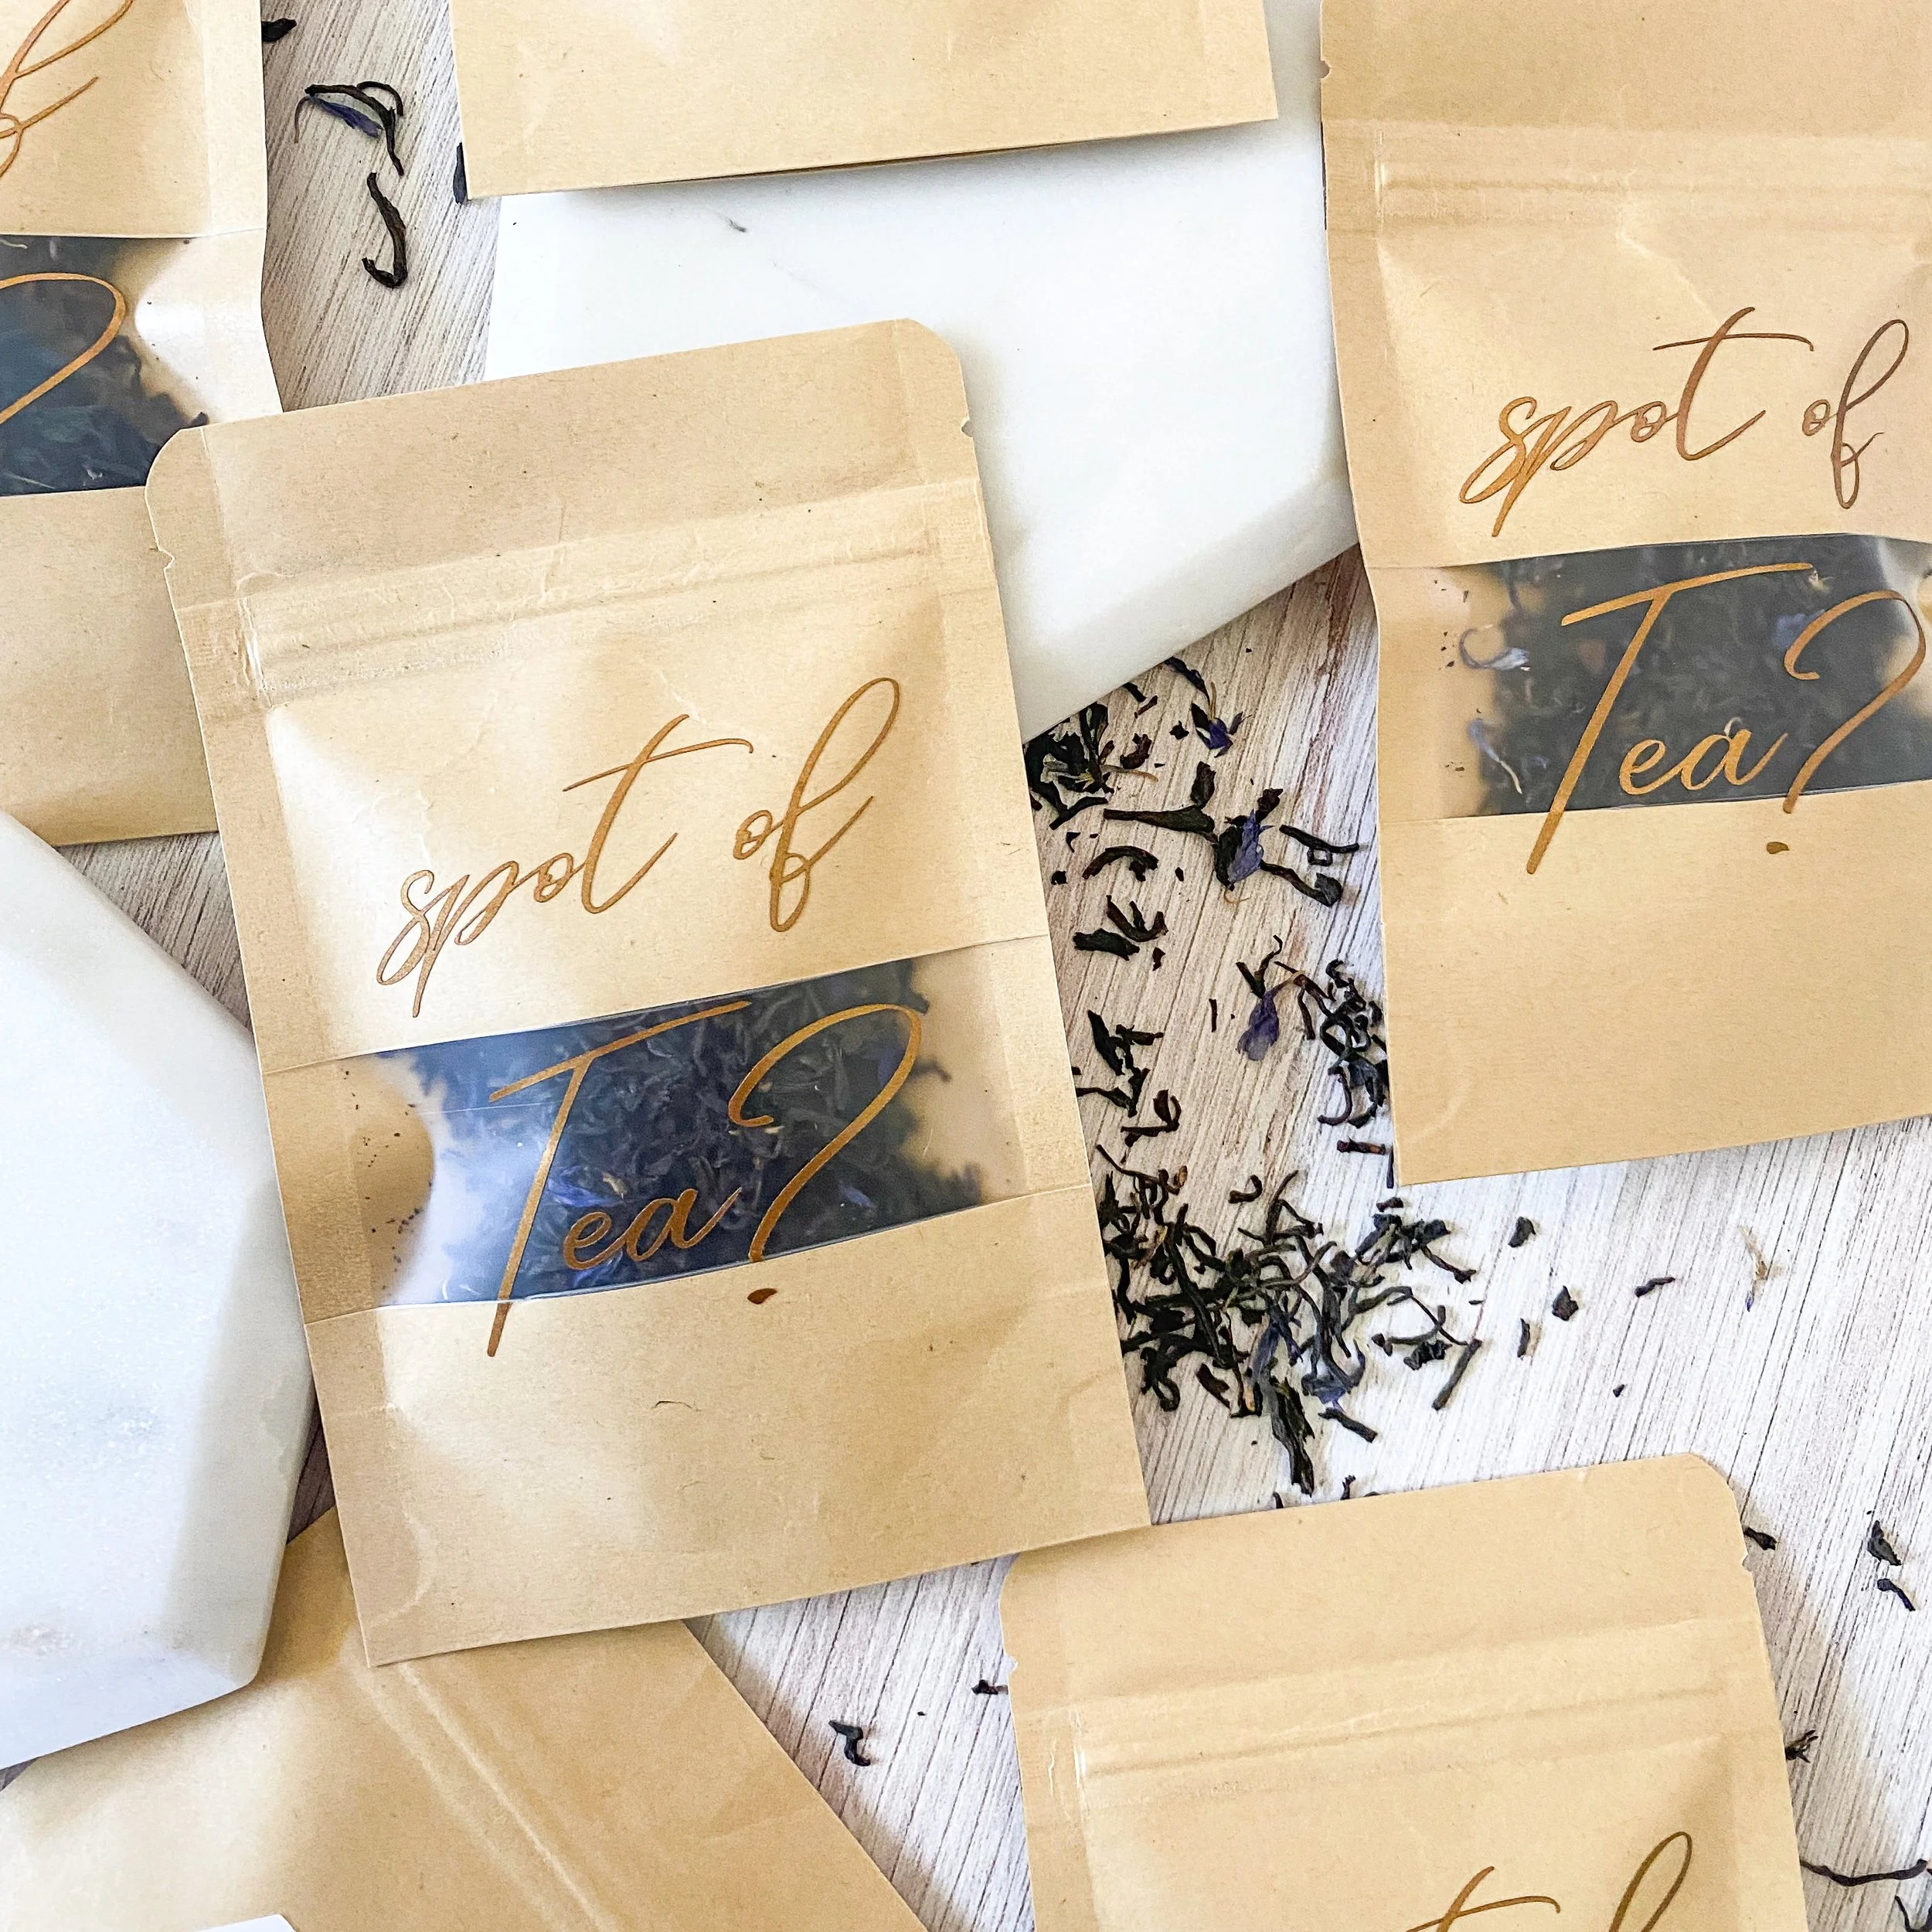
For a foodie favor with British flair, there’s nothing like a spot of tea for going with your morning scones! When I was creating my Tea and Scones Breakfast Boxes for Vintage Victorian Cocktail Party, I began knowing I wanted to include loose tea but what was missing was a pretty and not too pricey way to pack it! So with the help of my printer and trusty craft cutter, I took to designing a festive favor bag that could be used for everyone’s favorite flavor, and these Spot of Tea Favor Bags came to be!
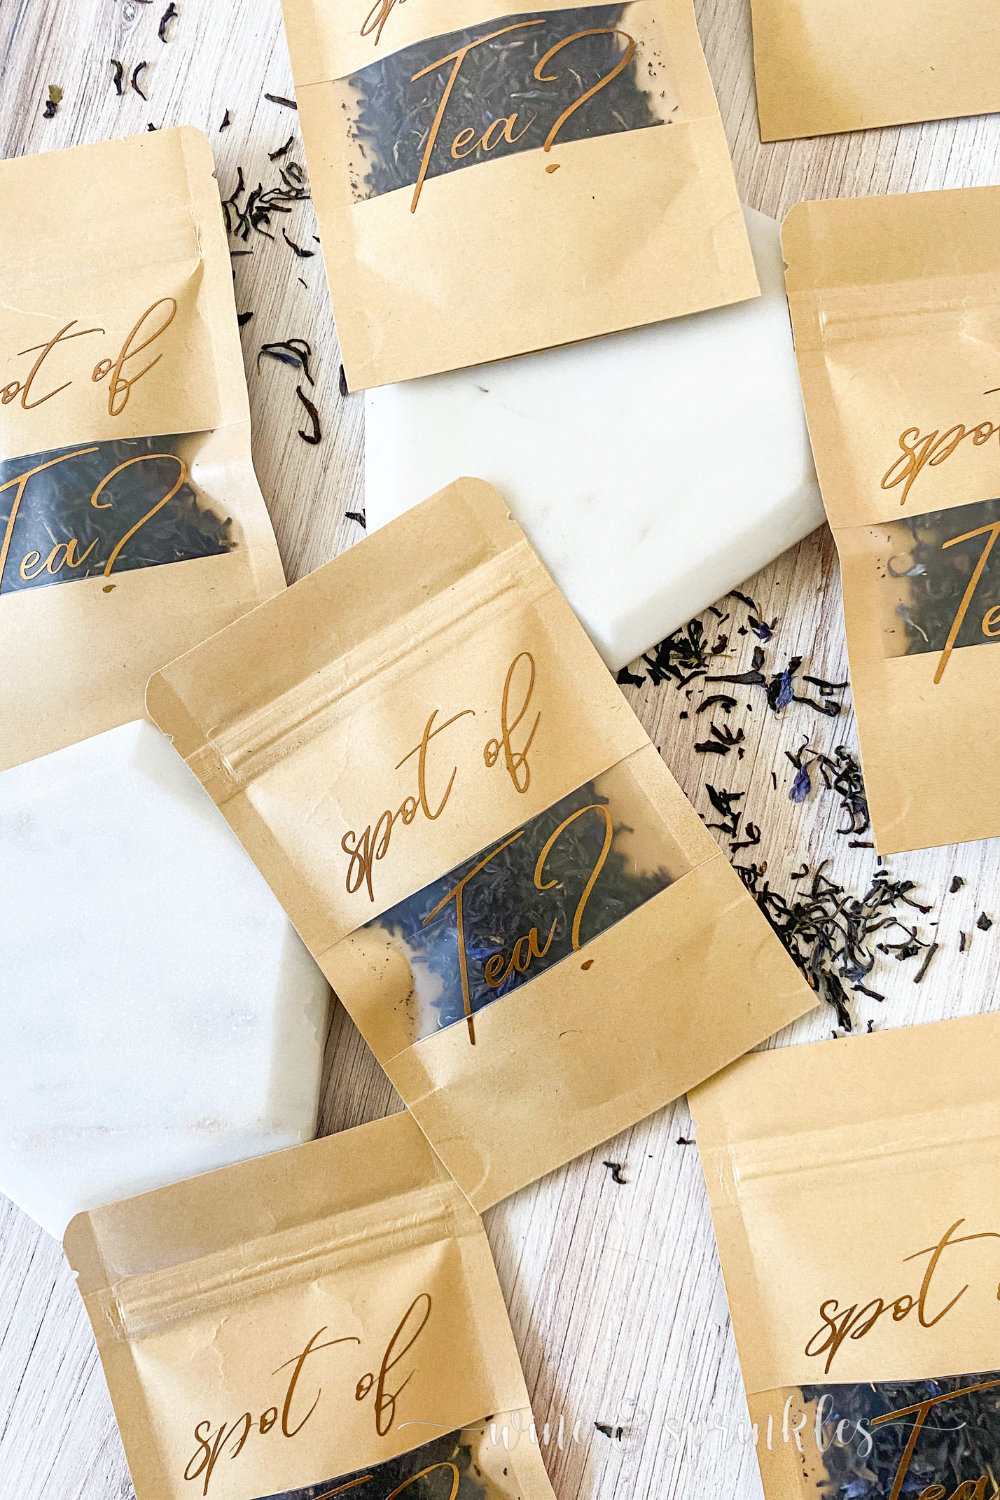
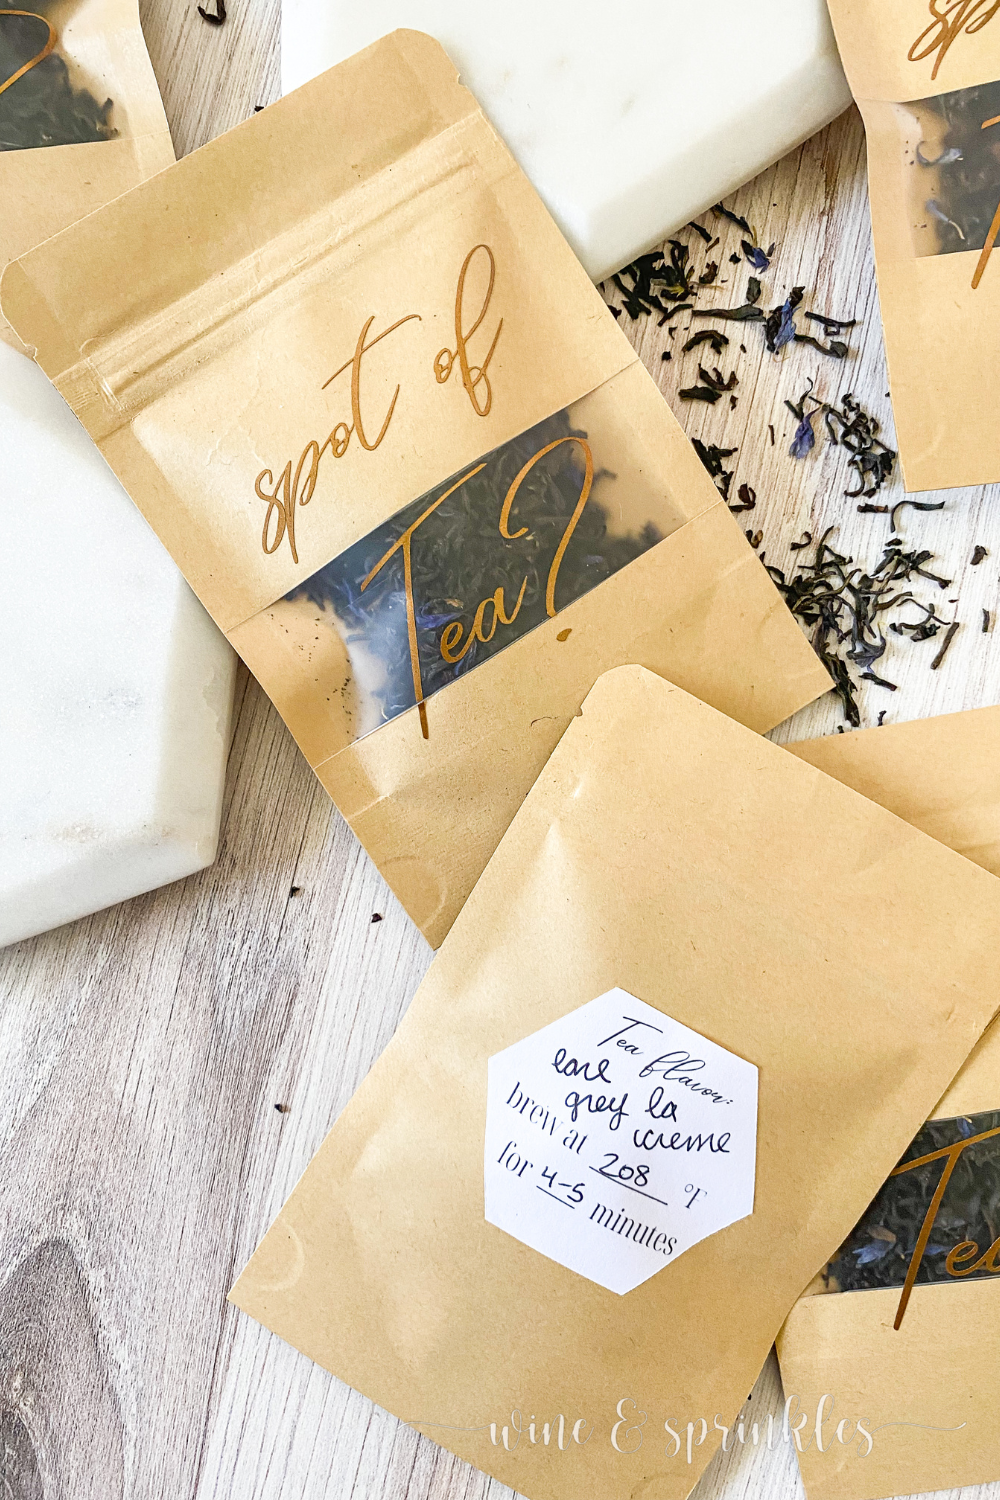
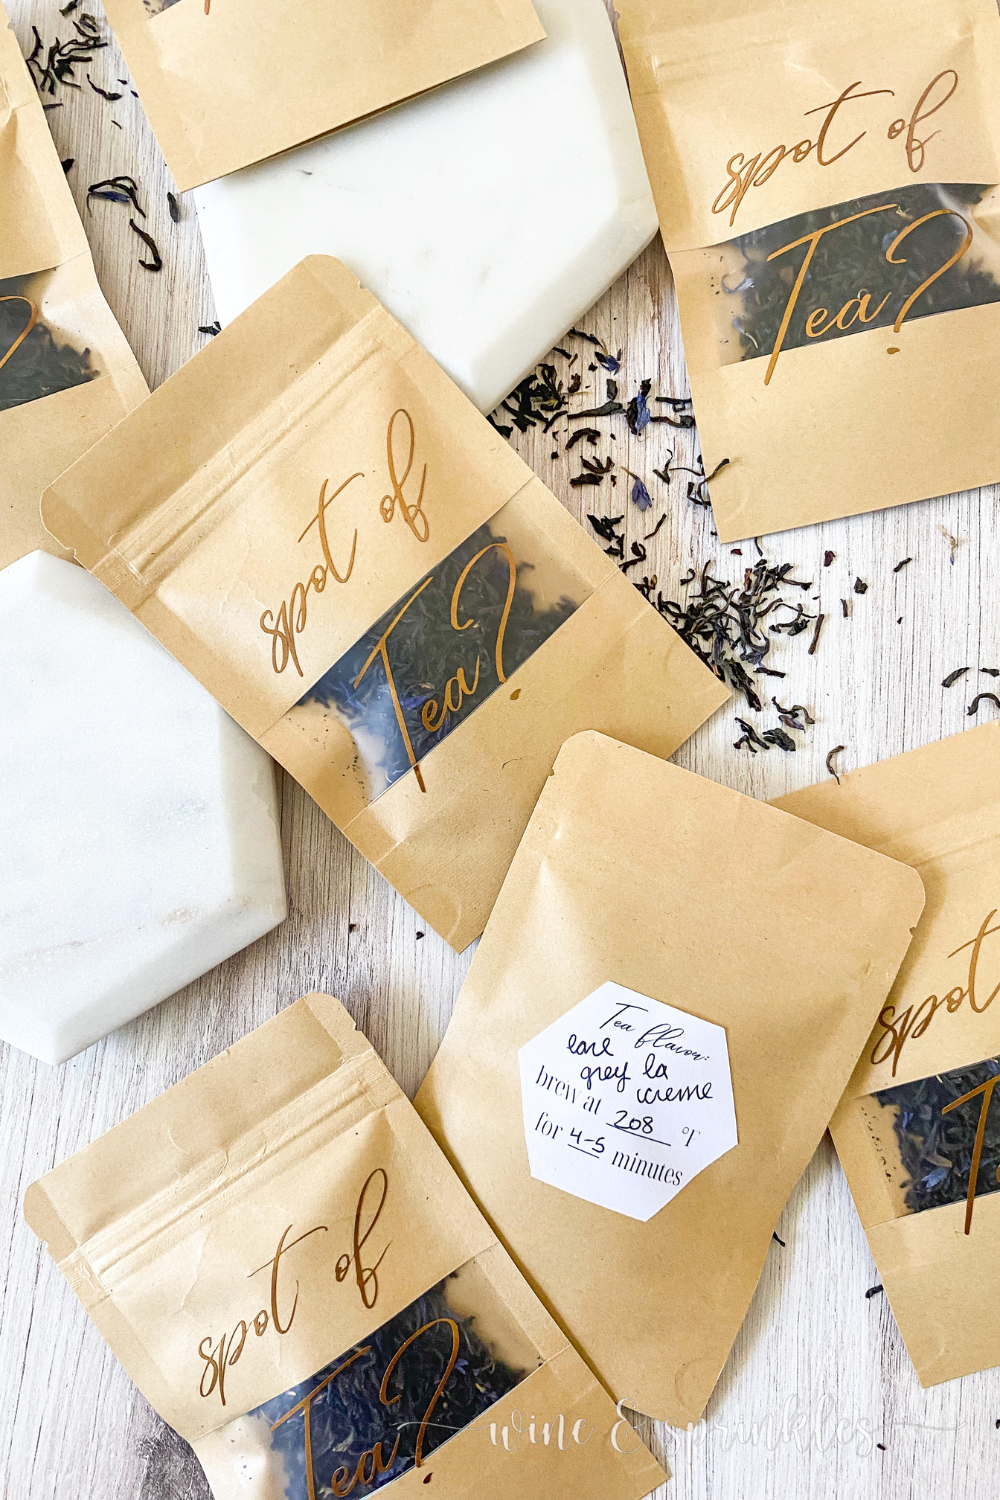
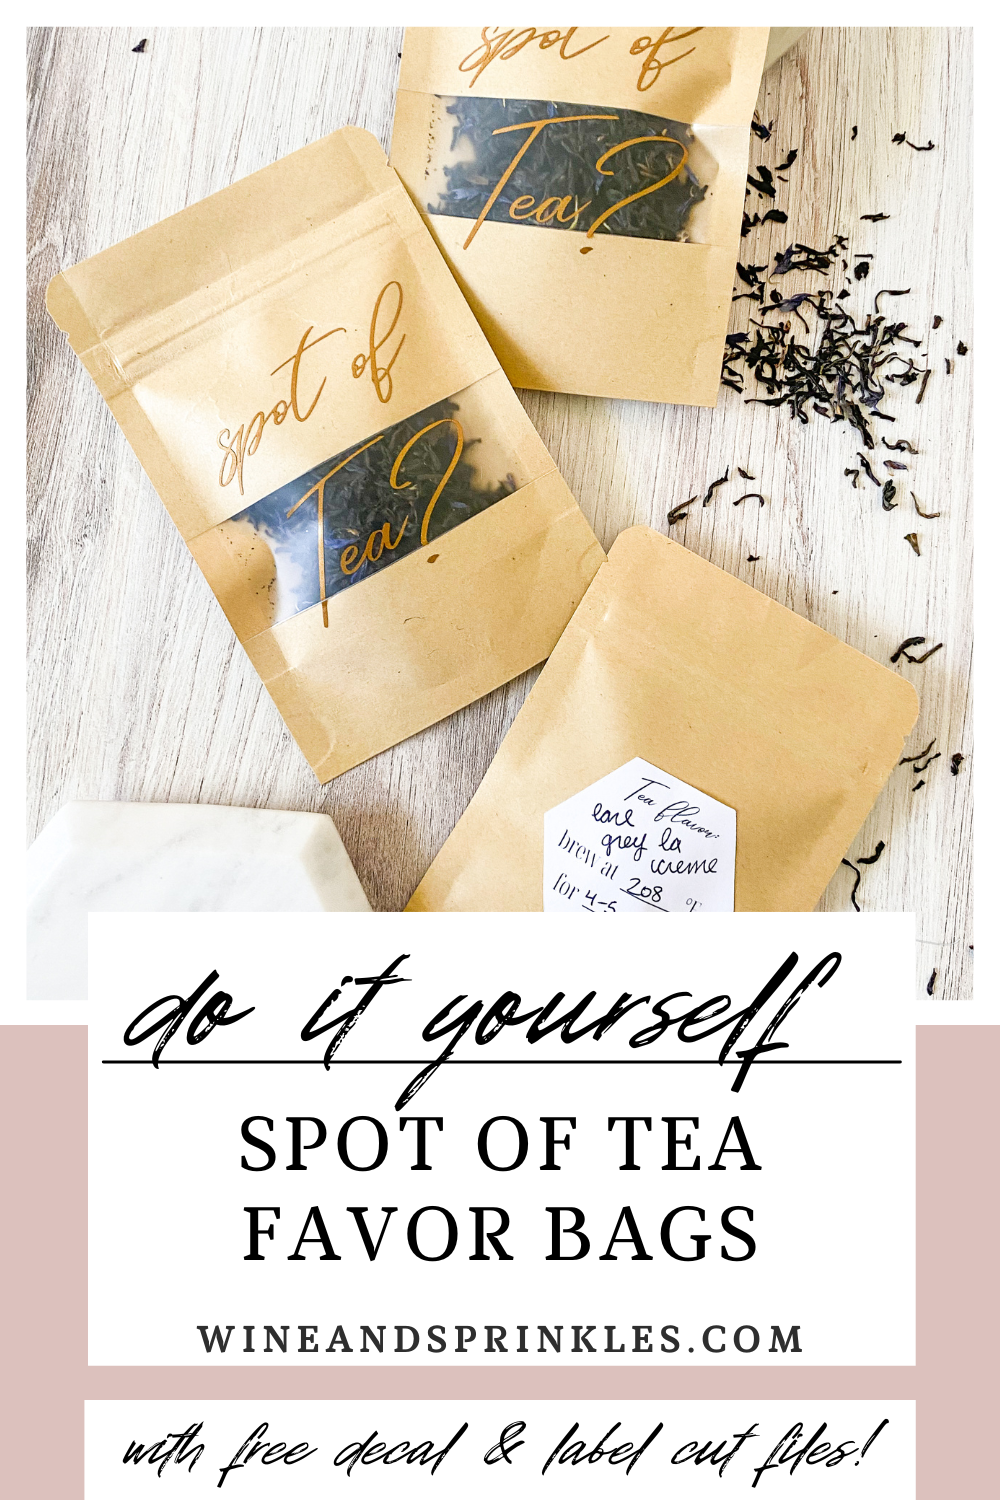
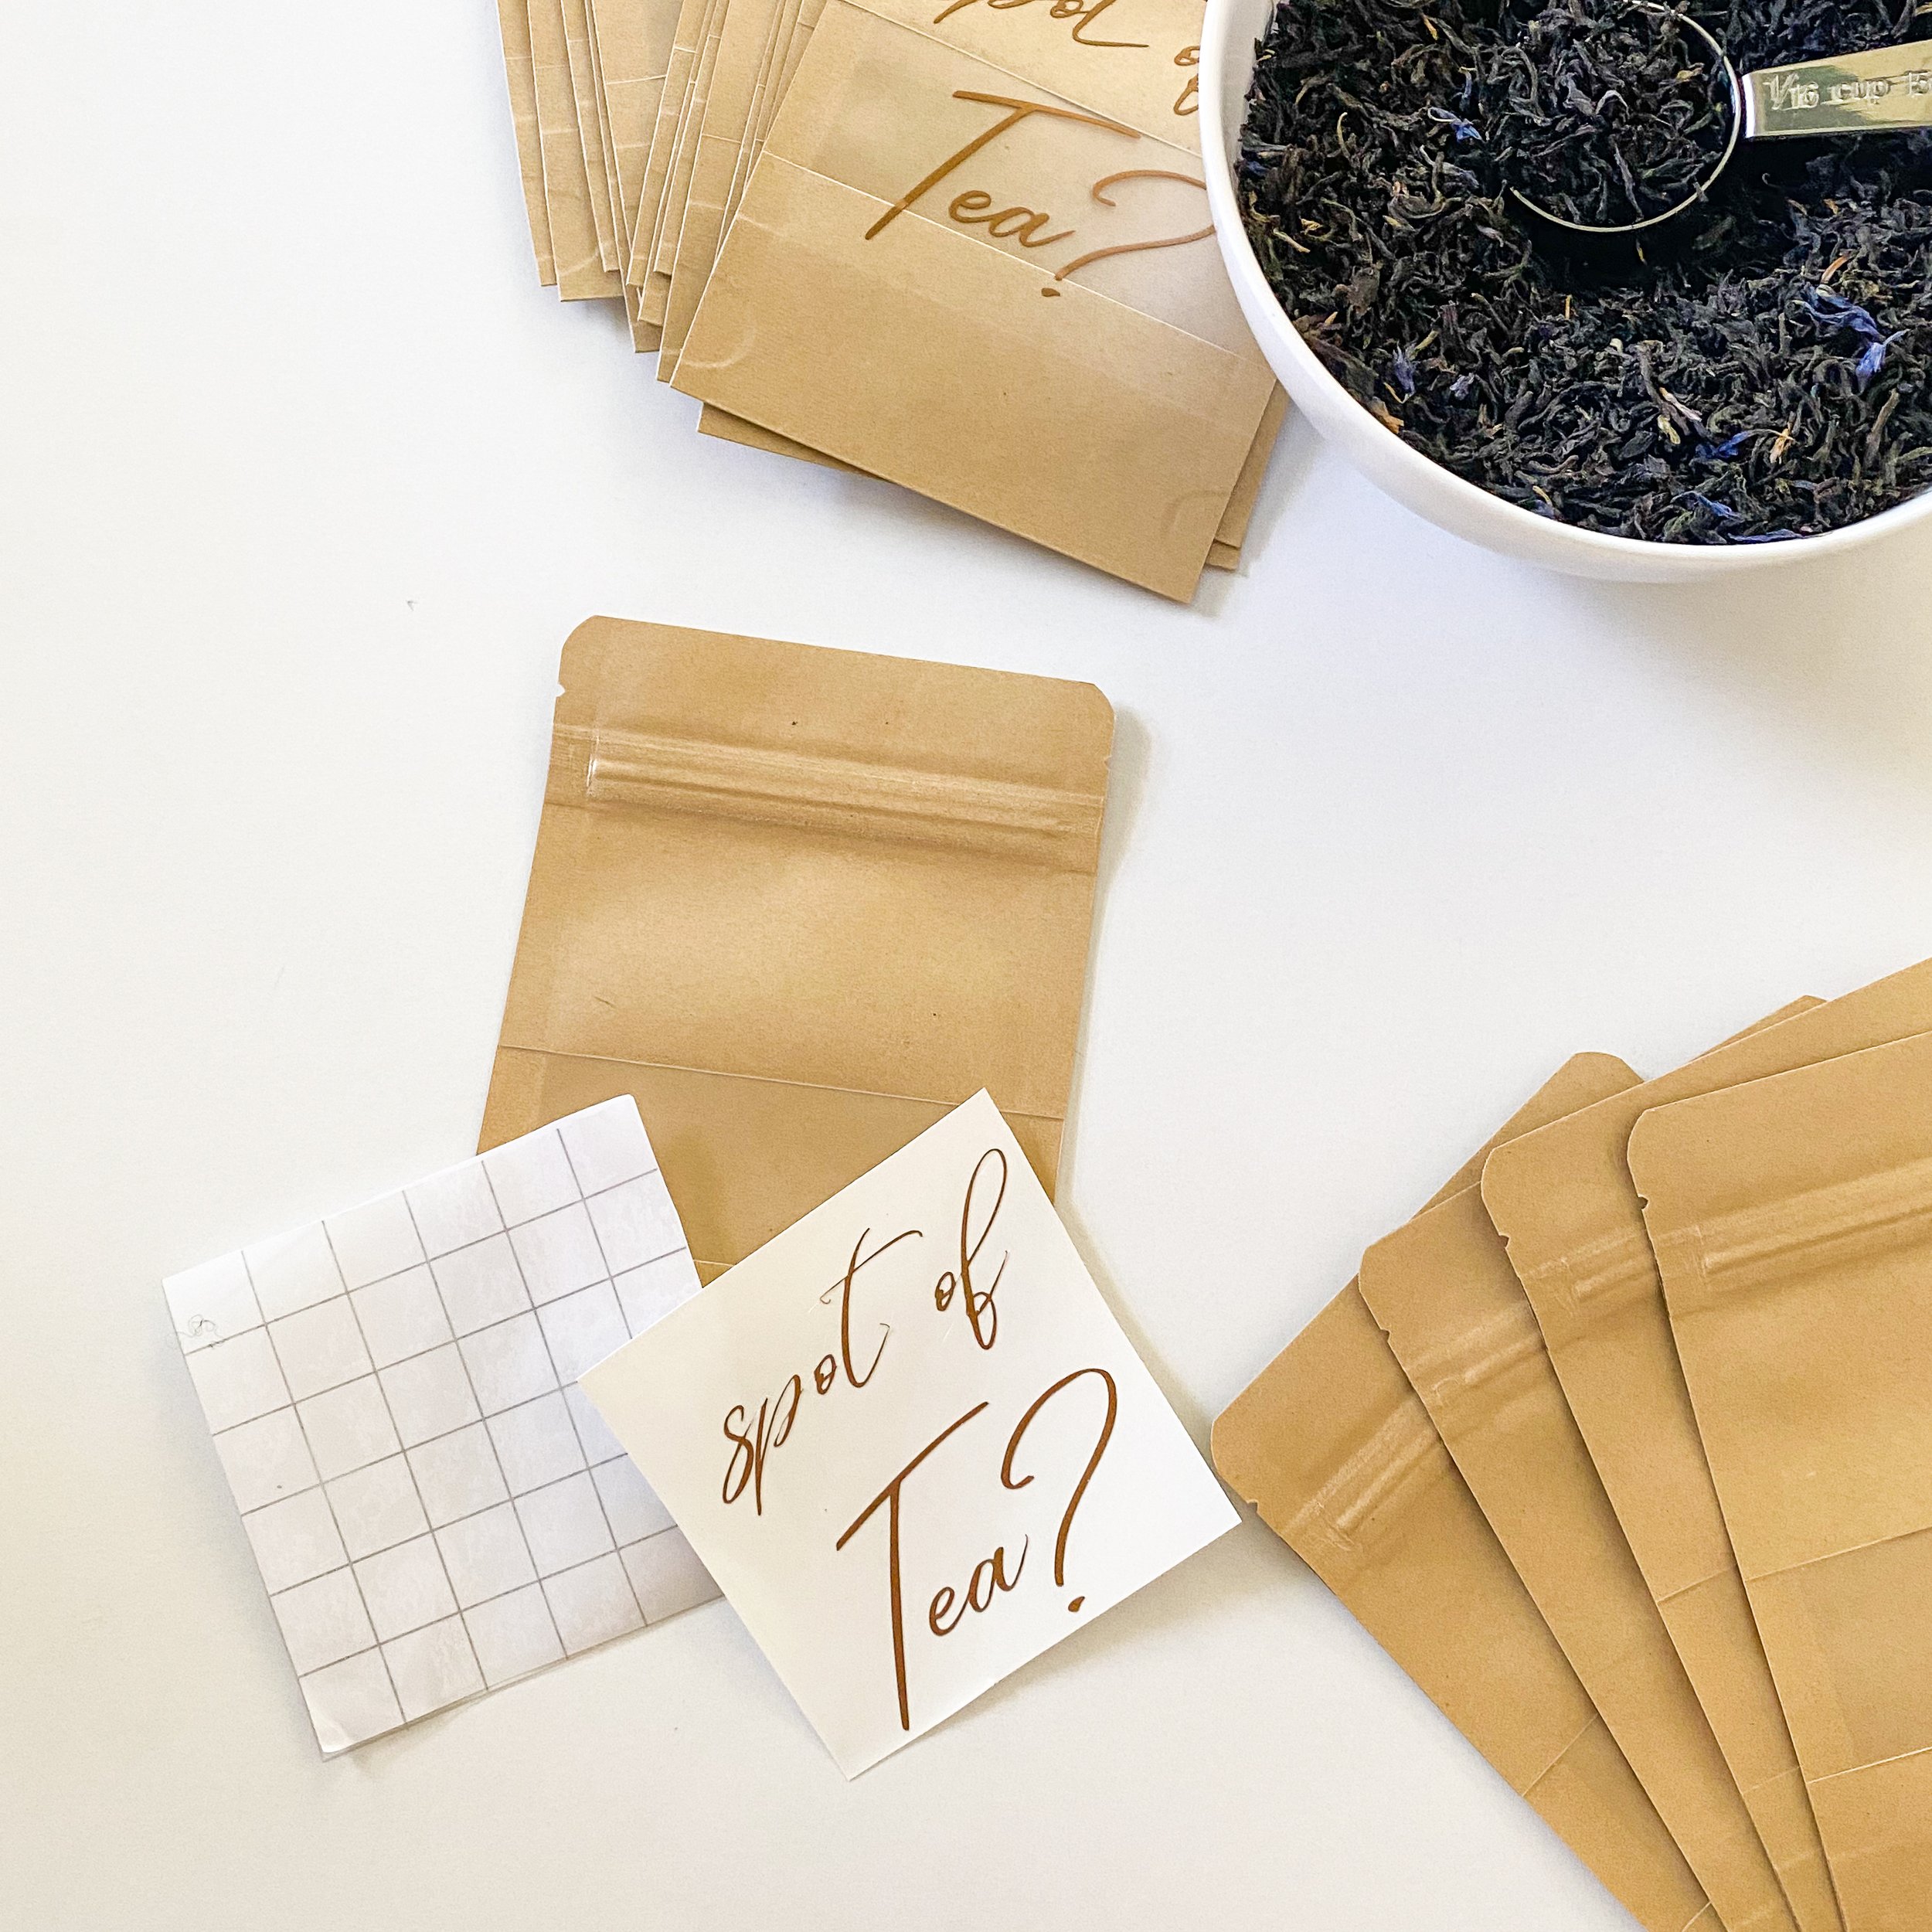
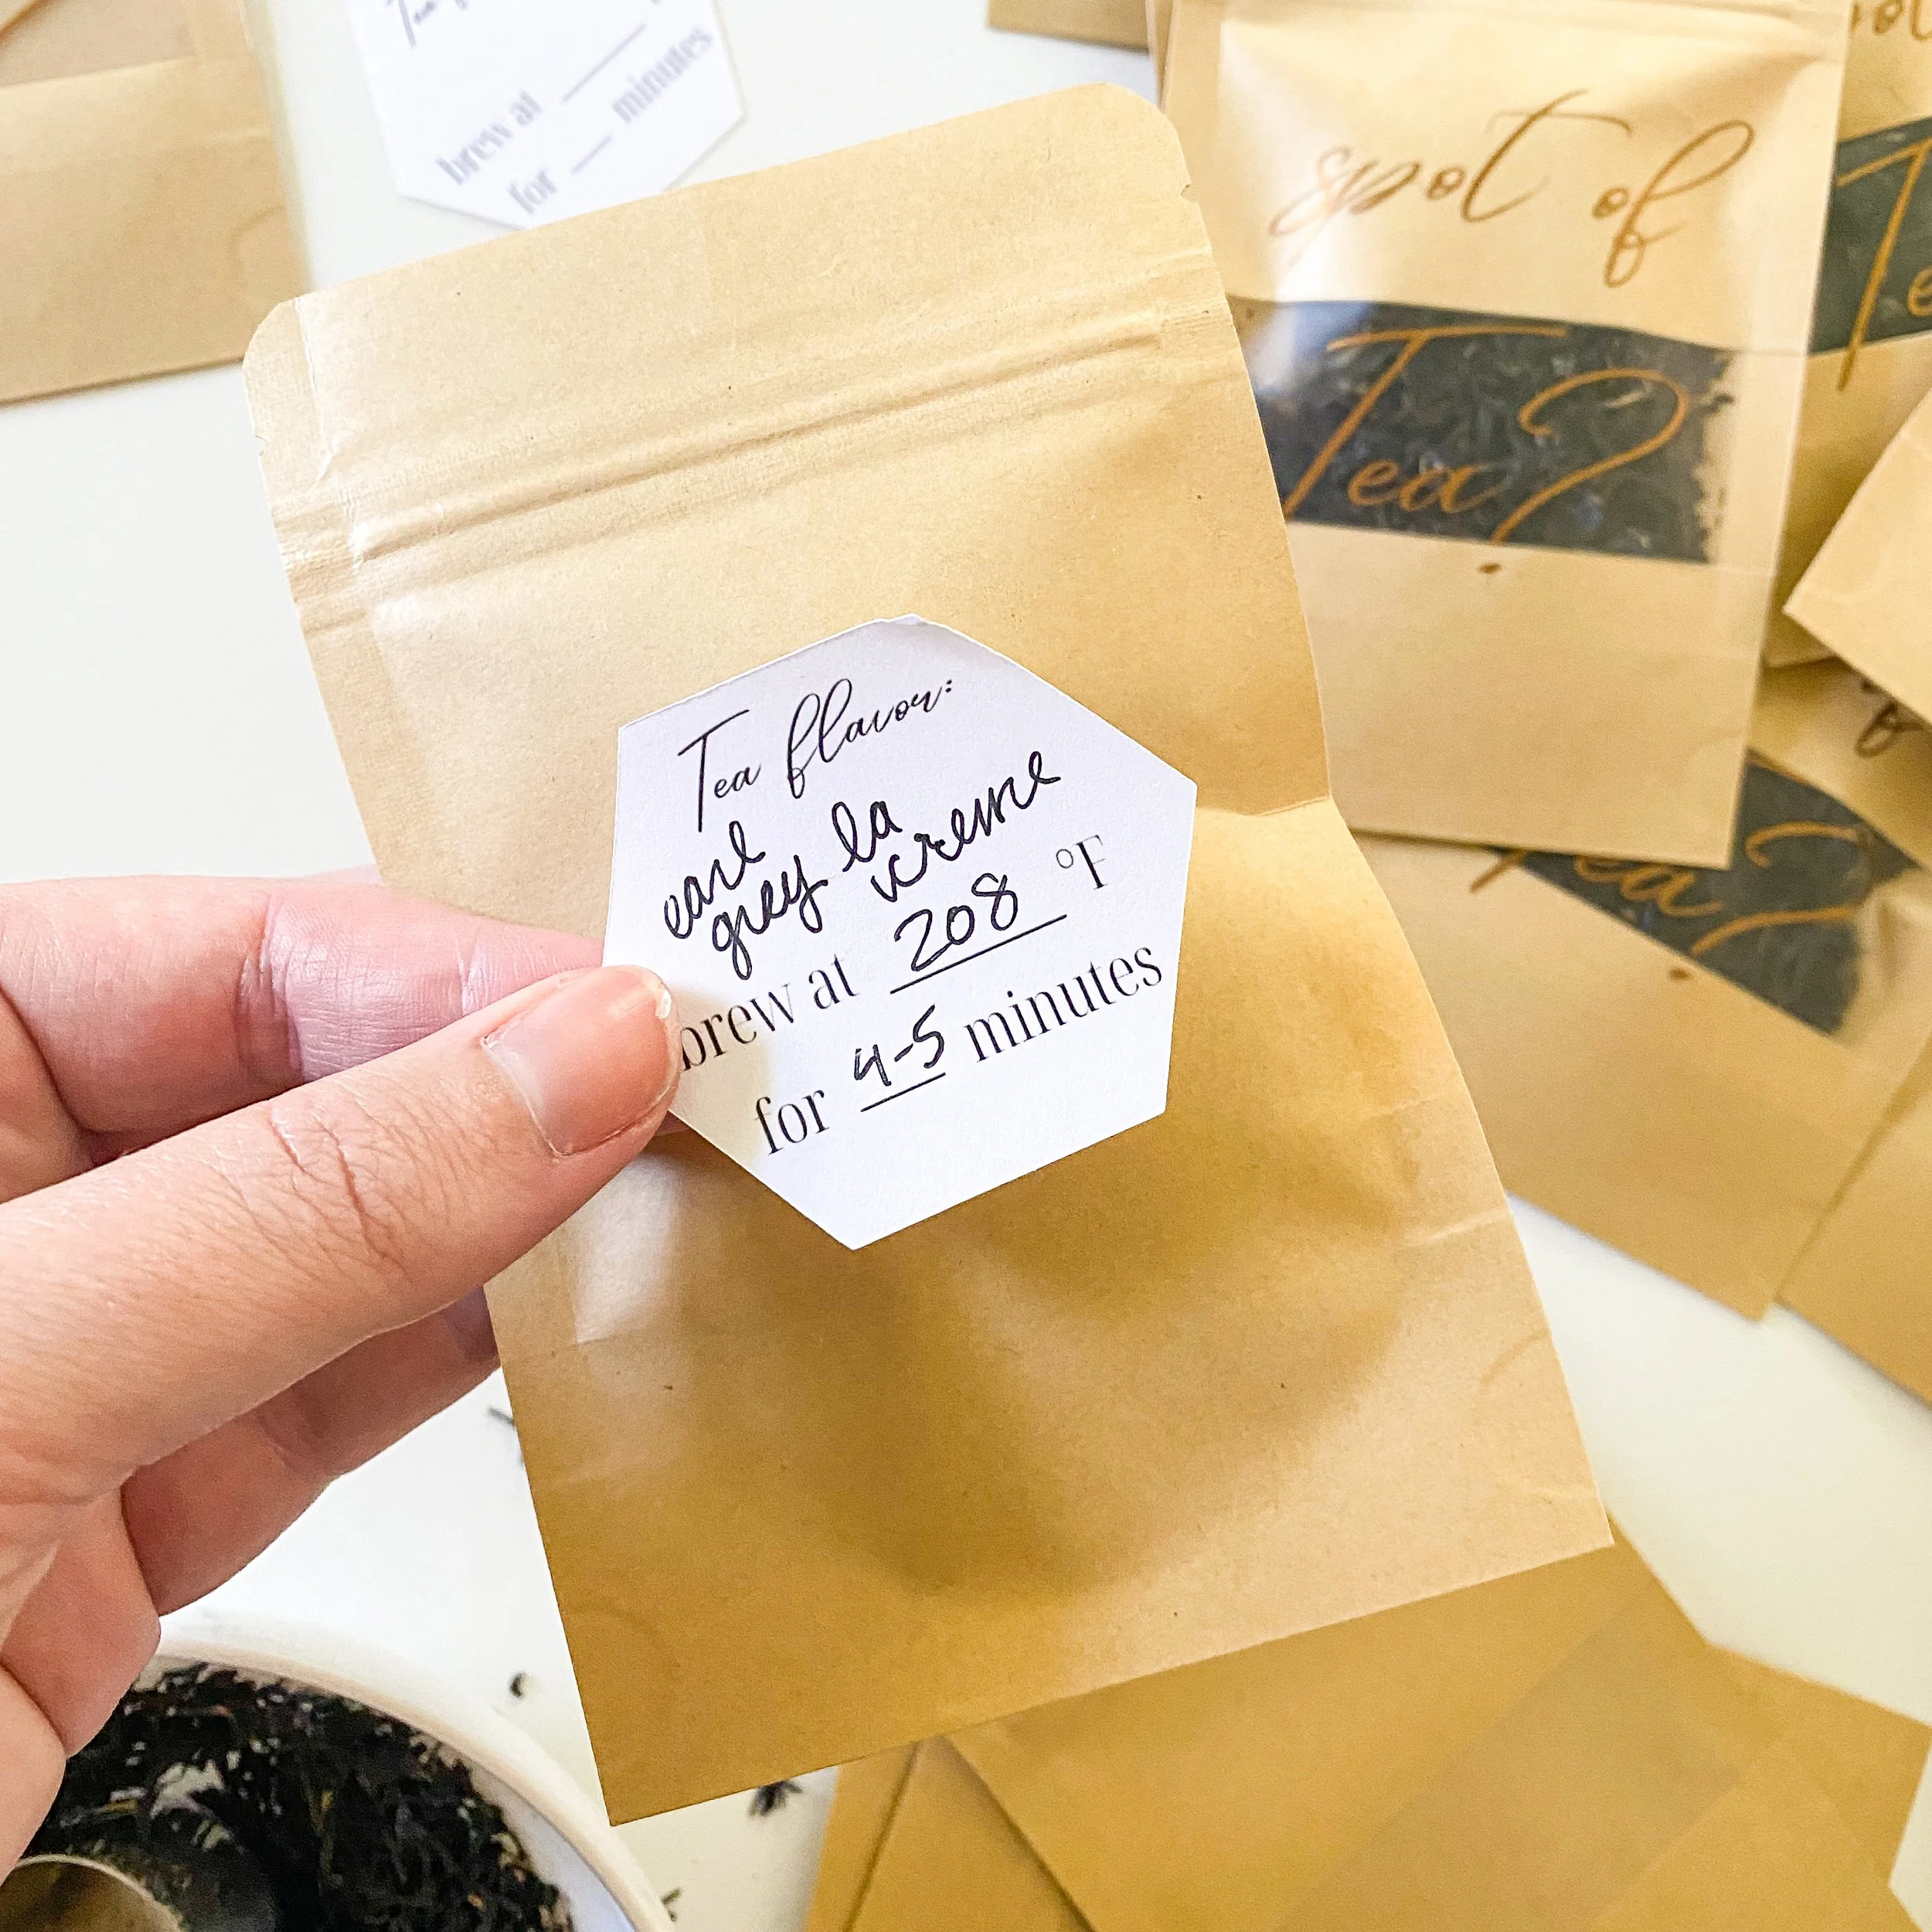
These favor bags consist of some cute little food safe window favor bags, a vinyl decal for the front with the window and a paper sticker on the back for giving the details about the tea you are gifting. When I was designing these tea bags, while I wanted the decal to be tea themed, I also wanted to have an easy way to personalize the bags to any tea I might want to put in them; so I added to my collection of Hexagon Favor Cards and Tags with some simple stickers where I could specify the type of tea as well as the steeping temperature and time. I chose for the tea type and temperature to be written in by hand, namely because when I buy loose tea I get it at The Tea Smith and each tea I get there has hand written details, so these get some handwritten details too!
This isn’t my only time making tea favors, and while I also enjoy giving guests Loose Tea Tin Favors, I love these bags for being the perfect size to give enough tea for a couple cups per guest but quite a bit less than what it takes to fill most favor tins, and affordable favor is always an adored favor for me!
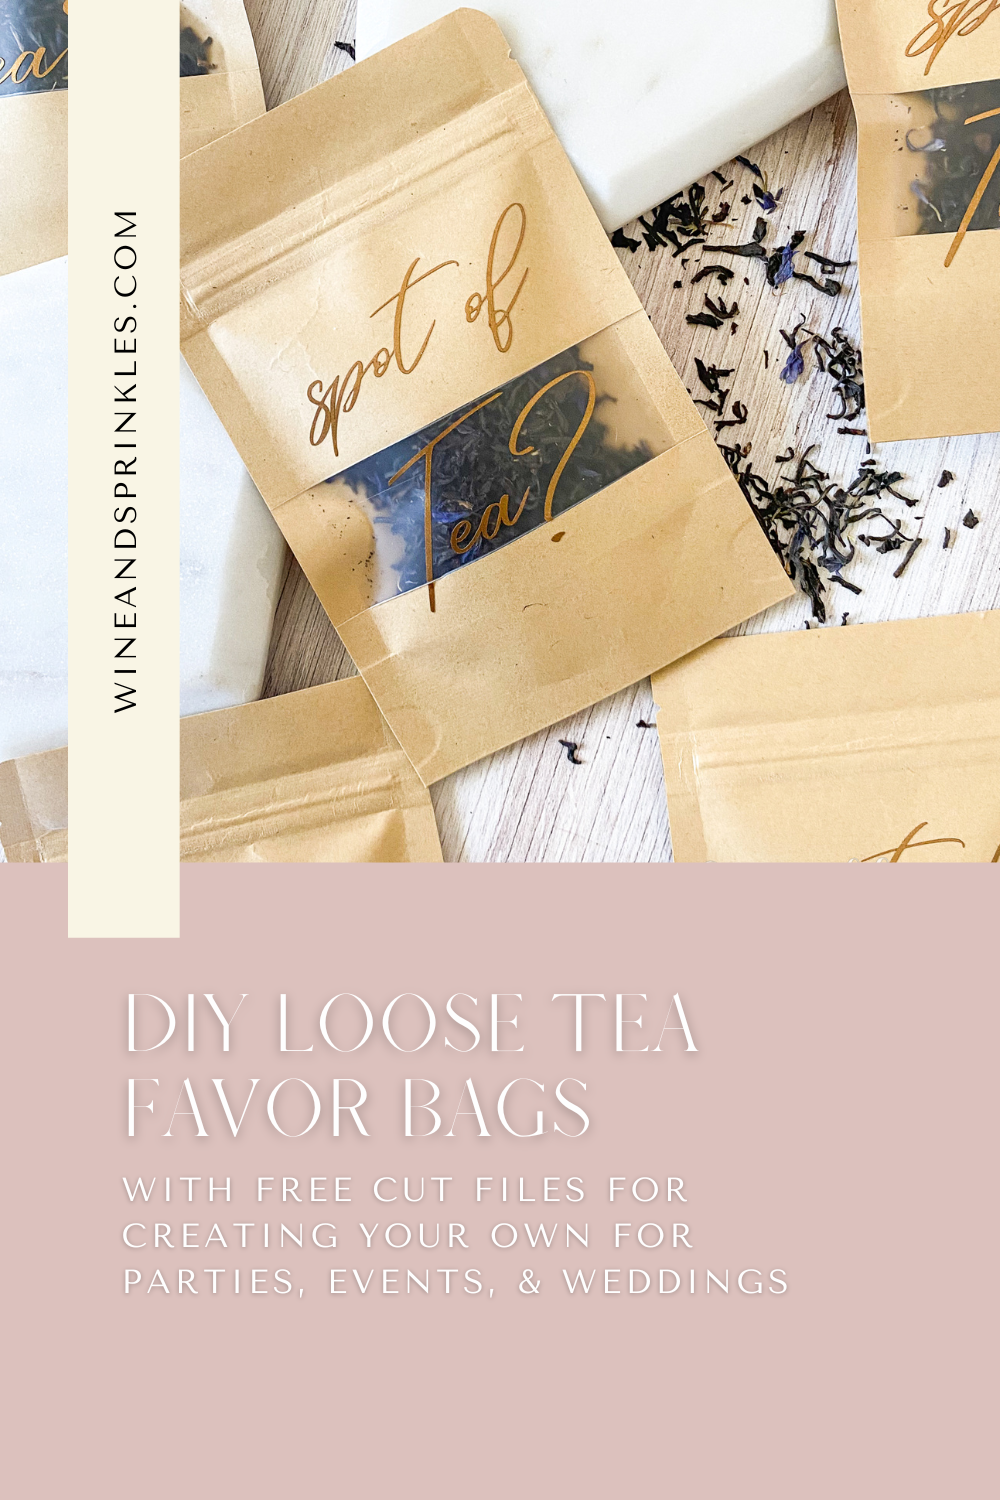
While I’m using my favor bags here for tea, I can’t wait to design other decals to give away spices, rubs, and other creative dry goods in these perfect sample sized bags. You can see the supplies I used and access the cut files for these favor bags below; I hope they inspire you to make some lovely loose tea favors for your next fête!
SUPPLIES
FAVOR SUPPLIES:
Window Favor Bags: for storing the tea and creating your base bag for your favors, food safe window bags are a must of safely and prettily storing your tea. These bags are great for all sorts of loose favors in addition to tea; like spice rubs, ground coffee, smoked salt or anything you can think of!
Permanent Adhesive Vinyl: talking about the product - each 12 x 12 sheet can make up to 16 decals at the size I have them, but fair warning that these delicate decals are a bit of a headache to weed, so you may want to cut extras!
Sticker Paper: for creating the hexagon shaped labels for the backs of the bags, which allow you to write what tea is in your bags along with its brewing temperature and time. For my size of label, I was able to print and cut 8 per sheet.
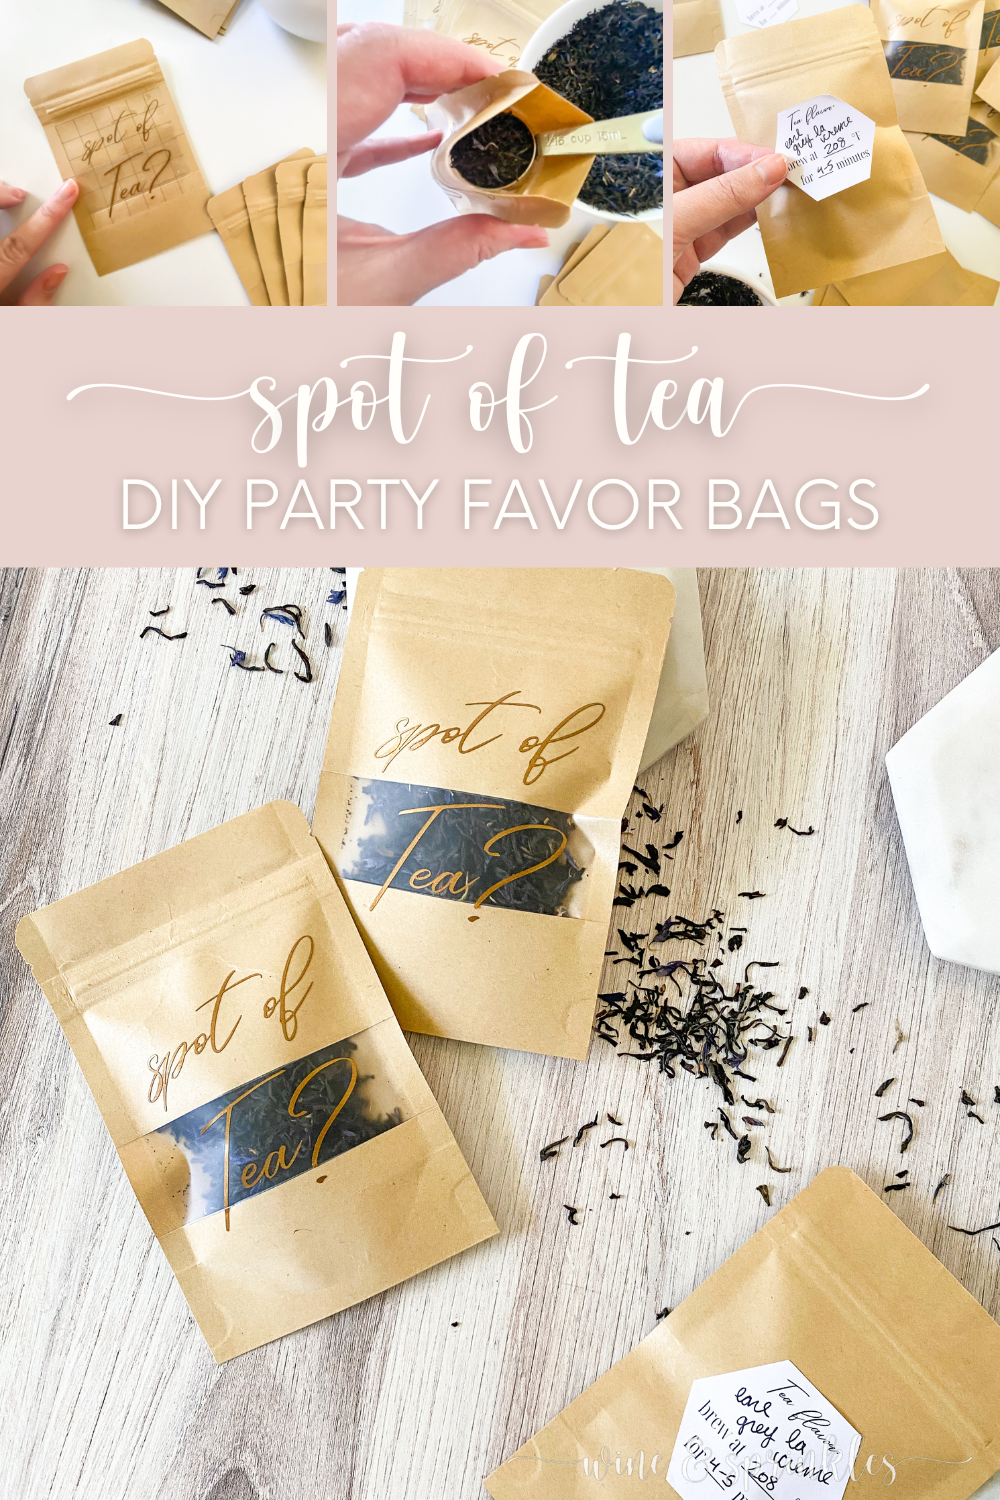
Loose Tea: for putting in each bag, of course we need some loose leaf tea! I chose to go with an Earl Grey Creme as it’s both my favorite and one I used in creating the simple syrup for the London Lemon Old Fashioned that made a reappearance for my Vintage Victorian Cocktail Party, but any loose leaf tea like it will do. Each bag was filled with 2 Tbsp of tea, keeping tea affordable for me but plenty for a couple cups for my guests!
TOOLS & OTHER SUPPLIES:
Craft Cutter: for both cutting the decals and creating print to cut labels, my Cricut Craft cutter was the star of the show! These were one of the last things I cut with my old Explore 2, and upon trying the cut again with the Maker it did a much better job at cutting the delicate font in the vinyl, but after having my Explore over 7 years, I can easily believe that the new Maker surpasses its accuracy!
Adhesive Mat: I use a Standard Grip Mat for my vinyl decals to keep them more secure for such delicate cuts, but I always use a Light Grip Mat to work with the sticker paper, or any paper projects in general so that I don’t have to worry about the paper tearing while I try to remove it!
Printer & Ink: for printing on the sticker paper to print and cut your back bag labels.
Weeding & Transfer Toolset: for weeding and transferring your favor decals.
DESIGN FILES & TEMPLATES:
Tea Bag Decal & Sticker Files: to make it easy to cut out these decals without having to upload and resize files, I’ve created the project in the Cricut Design software with a shareable link for all of you! I’ll teach you how to use it to cut your own decals and stickers in the tutorial below, and as a straightforward way for me to share my cuttable creations, you’ll be seeing the majority of my future Cricut Designs done this way.
SUPPLIES LIST:
[for 16 tea favors]
FAVOR SUPPLIES:
Window Favor Bags x 16
Permanent Adhesive Vinyl x 1 - [12” x 12”]
Sticker Paper x 2
Loose Tea x 2 cups
TOOLS & OTHER SUPPLIES:
Craft Cutter & Toolset
Adhesive Mat
Printer & Ink
Tea Bag Decal & Sticker Files
DIRECTIONS
STEP 1: ACCESS DESIGN & PREP TO CUT
Start by opening the design file by clicking the link here, in the supplies list, or the button below. This will send you to the Cricut Design Software, where the designs for both the front vinyl decal and back sticker are sized to the tea bags I was using. If you want to cut them exactly like mine are, select “Make it” and it will take you straight to the cut screens, but if you need to customize it or make multiples, select “Customize” to open it as a design file that you can manipulate. You’ll notice that for my stickers, I have attached the most I could fit on one print to cut page together to save on material, and kept the “Spot of tea” design as a single decal that you can copy and paste as many as you need!

If you need to resize these, use the padlock on the upper toolbar to change them to whatever size best fits your needs. If you don’t need one of the decals or stickers, you can exclude it from being cut either by selecting and deleting it, or hovering over its layer on the right side of the screen and clicking the eyeball on the right so that the symbol shows it crossed out. To Detach the stickers from each other to print less, use the Detach function in the lower right hand toolbar.
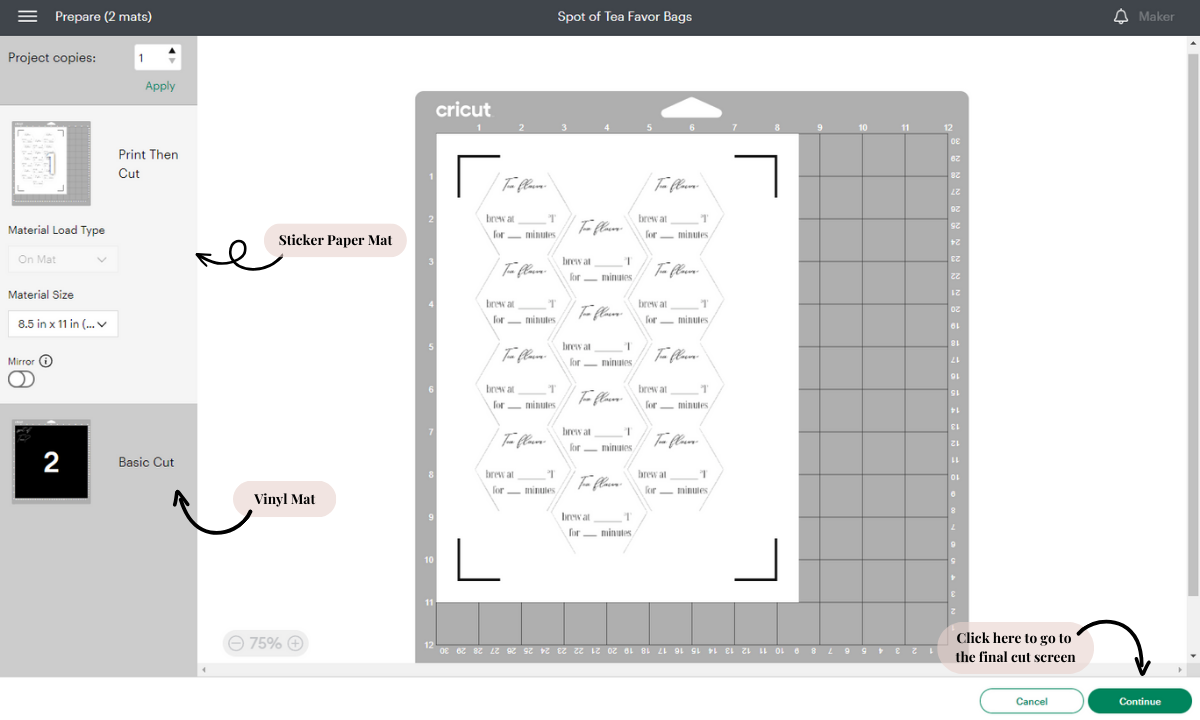
When you’re ready to cut, select “Make it” in the upper right of the screen to cut out your decals and stickers. This will bring up the mat preparation screen, where the Print to cut file and vinyl decals will be divided between two mats. Check your files on the mat set up screen and make sure the material size is 8.5 in x 11 in. for your stickers and 12 in x12 in for your vinyl decals, that neither has mirror mode selected, and that the stickers and decals appear properly sized in the mat setup pictures, then press Continue.
STEP 2: PRINT THEN CUT YOUR STICKERS

The design software starts with the print to cut files, so, Select the Send to Printer Button, which will open a separate popup screen for printing your stickers. Make sure the printer is set to the one you want to use, the number of sheets you want printed is the correct amount for the number of sticker sets you want to make, and that the “Add Bleed” Selection is off; then select Print. Print the stickers on the 8.5 x 11 in. full sheet sticker paper on the best quality settings your printer allows.
Load the printed sticker paper design face up, along the upper left hand side of your cutting mat oriented as shown in the mat picture screen. Set the Material from the Design software options to Printable Sticker Paper, then press the loading button on your craft cutter to load the mat into the machine.

Press the “Go” Button to start the scanning and cutting process, and when the cutter is complete the loading button will blink to indicate to unload the mat. Remove your mat and freshly cut stickers from the cutter and the sheet from the mat; then, load your next printed sheet onto the mat and repeat the cutting process until you have cut out all the stickers you need. Now it’s time to cut and weed the front vinyl decals!
You’ll notice that once you have cut one sheet of stickers, it will change the current cutting mat to the one with the vinyl decals. Simply click the image of your first mat again to go back and keep cutting multiple sheets of stickers!
STEP 3: WEED & TRANSFER DECALS
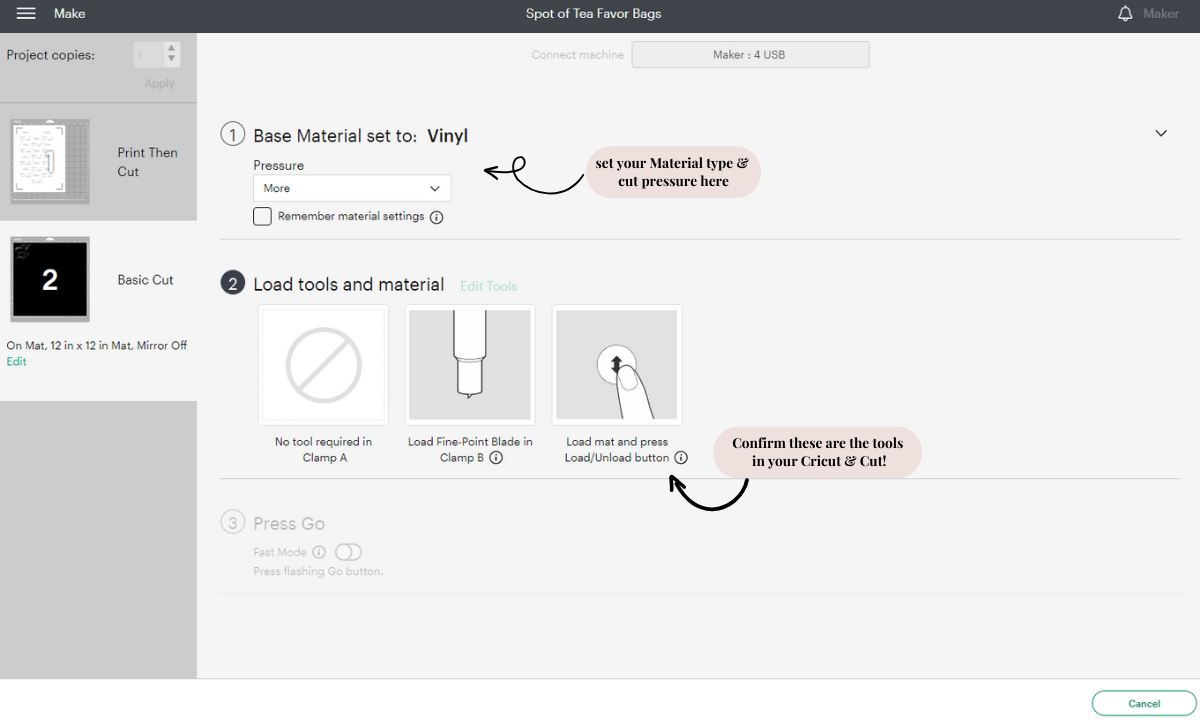
For your vinyl decals, load your Maker with the vinyl of your choice on its adhesive mat. Cut out with the material set from the options given, in my case Everyday Gold Vinyl. I also like to specify the pressure setting to “More,” so that I’m sure it cuts deeply enough on delicate decals like this! Press the “Go” Button to start the cut, and when the cutter is complete the loading button will blink to indicate to unload the mat.
Remove the mat from your cutter, keeping the material attached to make weeding easier. Weed away the excess vinyl, then remove from the mat and cut the backing so that each decal is separated. Now it's time to transfer them to the tea bags!

Using a piece of 3” x 3” piece of transfer tape, align your Save the Date decals as shown in the photo, with the bottom of the “ea” in “Tea” along the top of the bottom set of ½” blocks. Using the smoother tool, press the design into the transfer tape, then lift the tape with the design for transferring, making sure the entire decal transferred to the tape.

Lining up the top of the tape along the bottom of the bag seal, gently press the lettering into the front of the favor bag, centering the “Tea?” lettering of the decal in the window. Then, remove the transfer tape slowly to leave the decal on the bag. Now it’s time to fill up and finish the favor bags!


STEP 2: FILL WITH TEA & ADD STICKERS

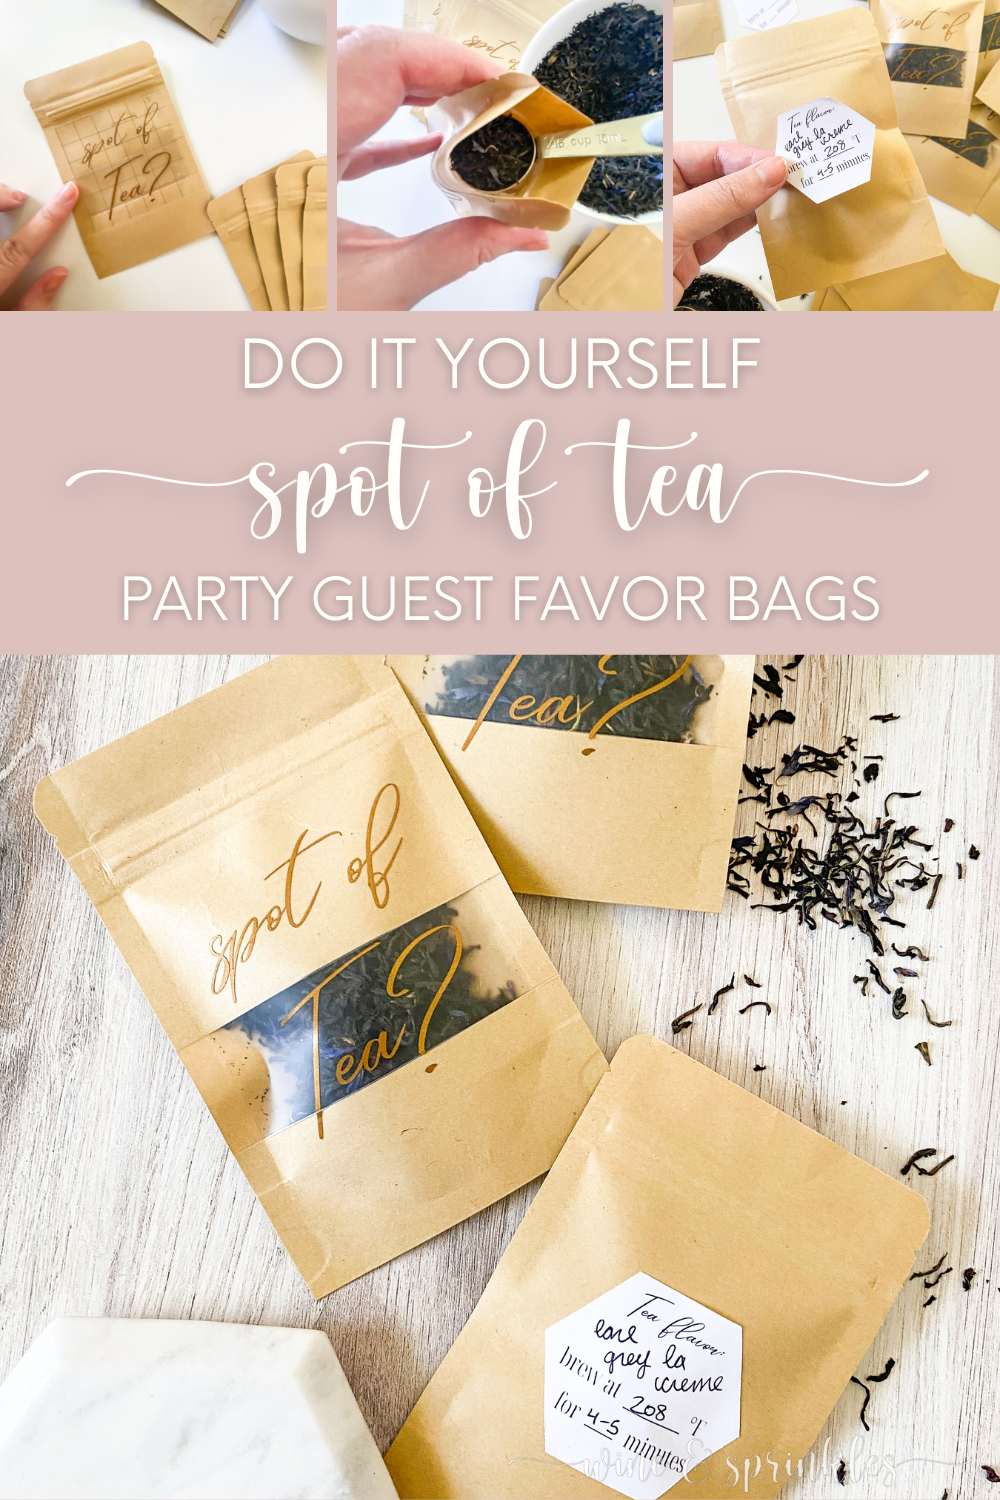
Using a pen, write the type, brewing temperature, and brewing time for your loose tea on each of the stickers you are using.
Open your favor bag and fill it with tea, in my case 2 Tbsp. each, then seal and gently shake to evenly distribute it in the bag. Peel and stick one of your hexagon stickers to the back of the bag, and your tea bag favor is ready to give to your favorite people!


While these decals were on the delicate side and took a little trouble to transfer, these bags were so cute they were totally worth it, as well as a great stepping stone to inspire more bag designs for edible favors in the future. While I find more flavorful favors for these bags and other packaging, plan a tea party to give away these tea favors yourself!

SEE OUR RELATED POSTS HERE:


OUR MOST RECENT BLOG POSTS:


OUR PINS FOR THIS POST: