This post contains affiliate links, meaning that if you click on a link I will recieve a small comission. This costs you nothing extra and I only promote products I use and love! You can read our full disclosure here
As you read this post, you’ll notice a lot of bolded words, some that highlight pink and link to other posts and products, and others that don’t do anything. That’s because I am still writing and working on the posts those words go to! As these posts get published, I’ll be updating this post until all the projects are complete! Subscribe to my Newsletter or Follow me on Facebook to keep updated on when I post new content!

Ever since I was a teenager, I’ve always loved baking cookies during the holiday season to give to my friends and family! Every year I bake dozens upon dozens, pack them up in tins and boxes, and mailing or delivering them to all my most special people. But when you are looking to bake hundreds of cookies in just a single season, you have to go in with a game plan to bake in bulk and to actually get it all done! From snickerdoodles to sugar cookies, I’m going over the basics of how I plan out my cookie recipes and baking schedule, along with my favorite ways to package my own sweet holiday treats!
STEP 1 - PICK YOUR HOLIDAY BAKES
The first and most important part of your cookie list is, of course, picking which holiday bakes to include in your boxes! I look for doughs that freeze well, are easy to make in double batches, and that are generally sturdy to hold up to the perils of shipping since many of my boxes are mailed out to all my family out of state! Below I’ve listed my favorite types of cookies for my own boxes, which all meet these requirements while also giving a fun assortment of shapes for packing and presenting!
Then it’s time to do, wait for it, math! I generally make three kinds of cookie boxes, singles, couples, and families. As you might imagine, singles are a sampling for one person, couples get double, and families usually get a couple extra cookies in their boxes depending on the kids in the house. I make my list, check it twice, then total each kind of cookie I’m baking so I know how many batches to make. If I’m between batches on a total number of cookies, I always round up for taste tests and husband treats! Once I know how many batches of each cookie I’m baking, I total the amount of flour, sugar, butter, and other ingredients first by recipe, then add all the recipes together for the total amount of each ingredient that I need. I’ll be honest, I should have a spreadsheet for doing this but I always end up writing up this shopping list by hand, adding up how much of each ingredient I’ll need based on what I choose to bake. When and if such a spreadsheet exists, I’ll be sure to add it in!
My Favorite Holiday Cookies for Boxes:
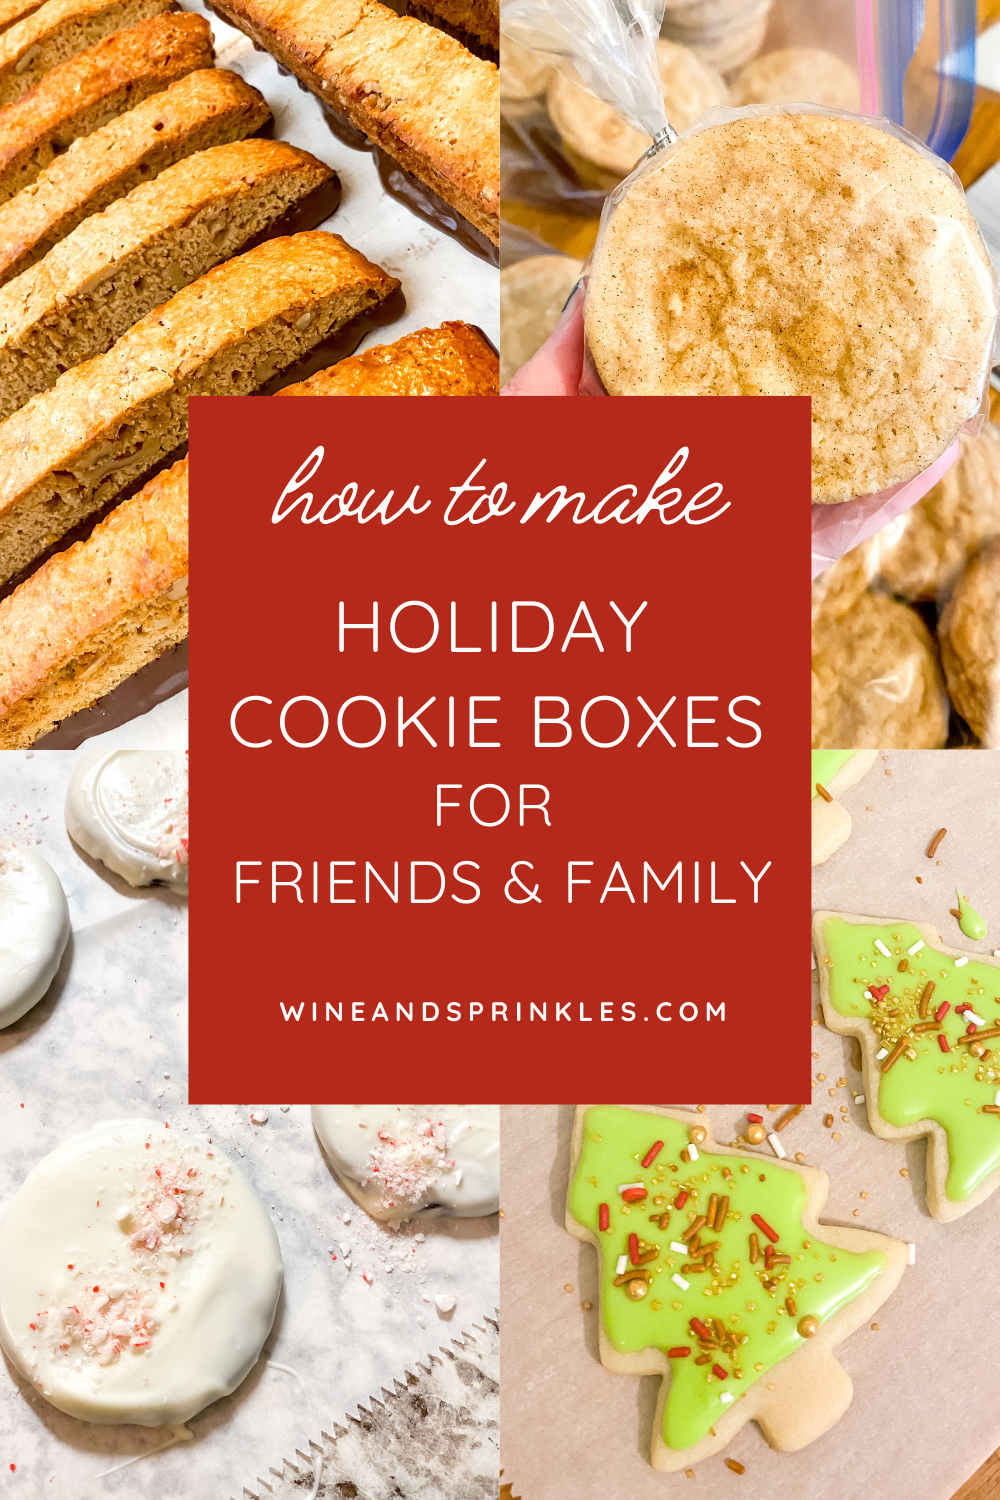
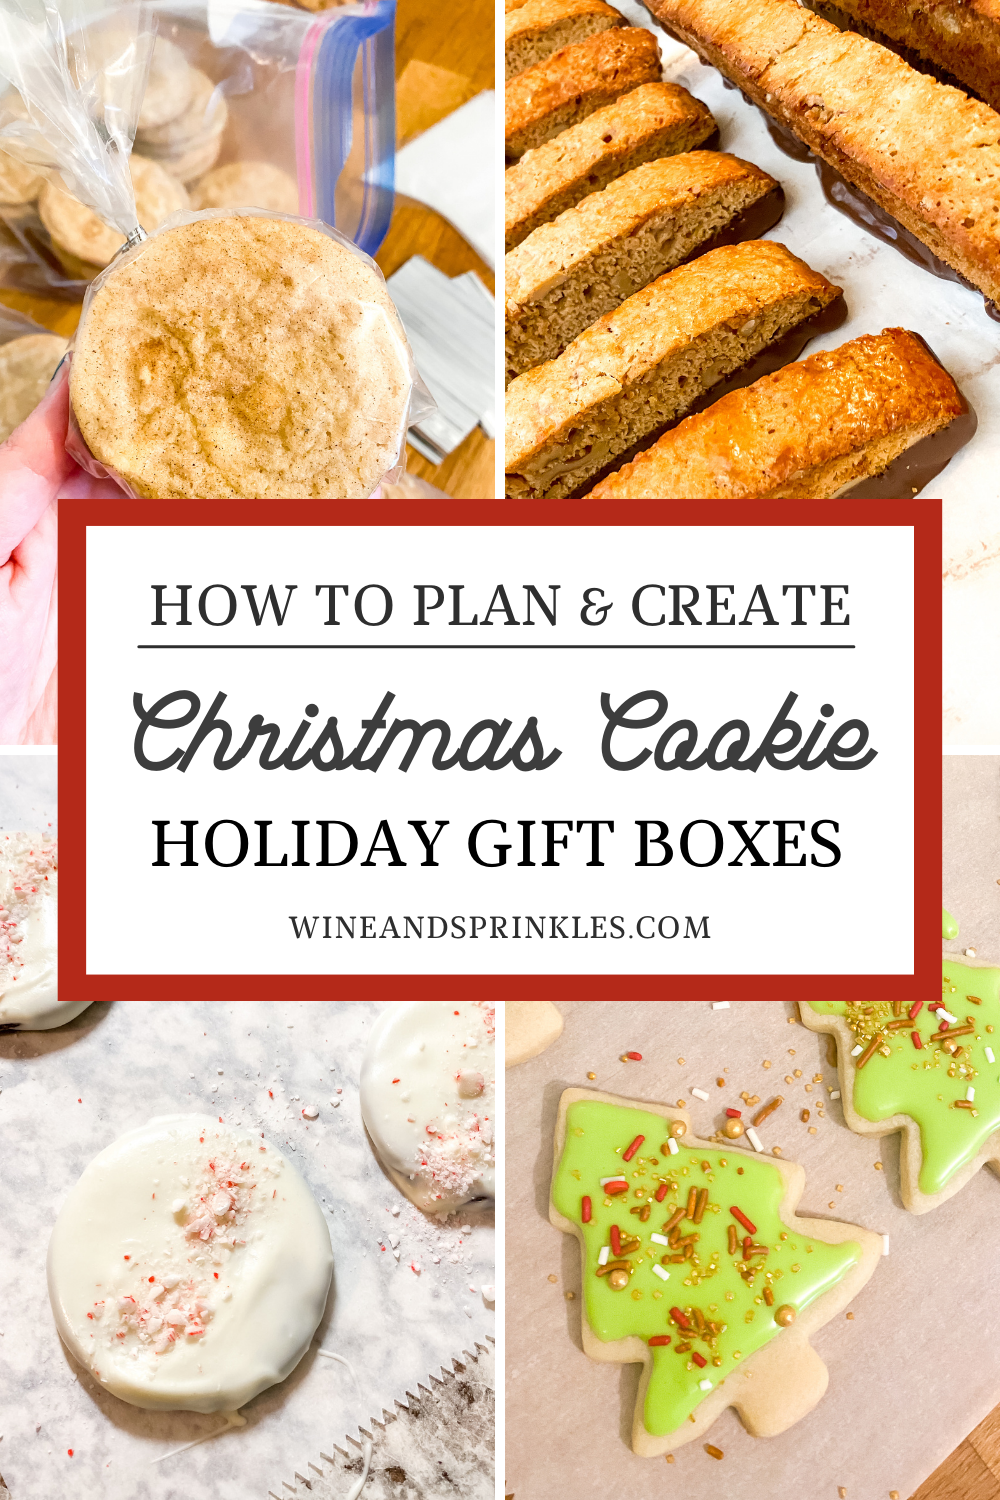
Biscotti - these beauties stay good forever, freeze well baked, and can be made in large batches. Plus the Italian side of my family loves receiving a traditional treat during the holidays!
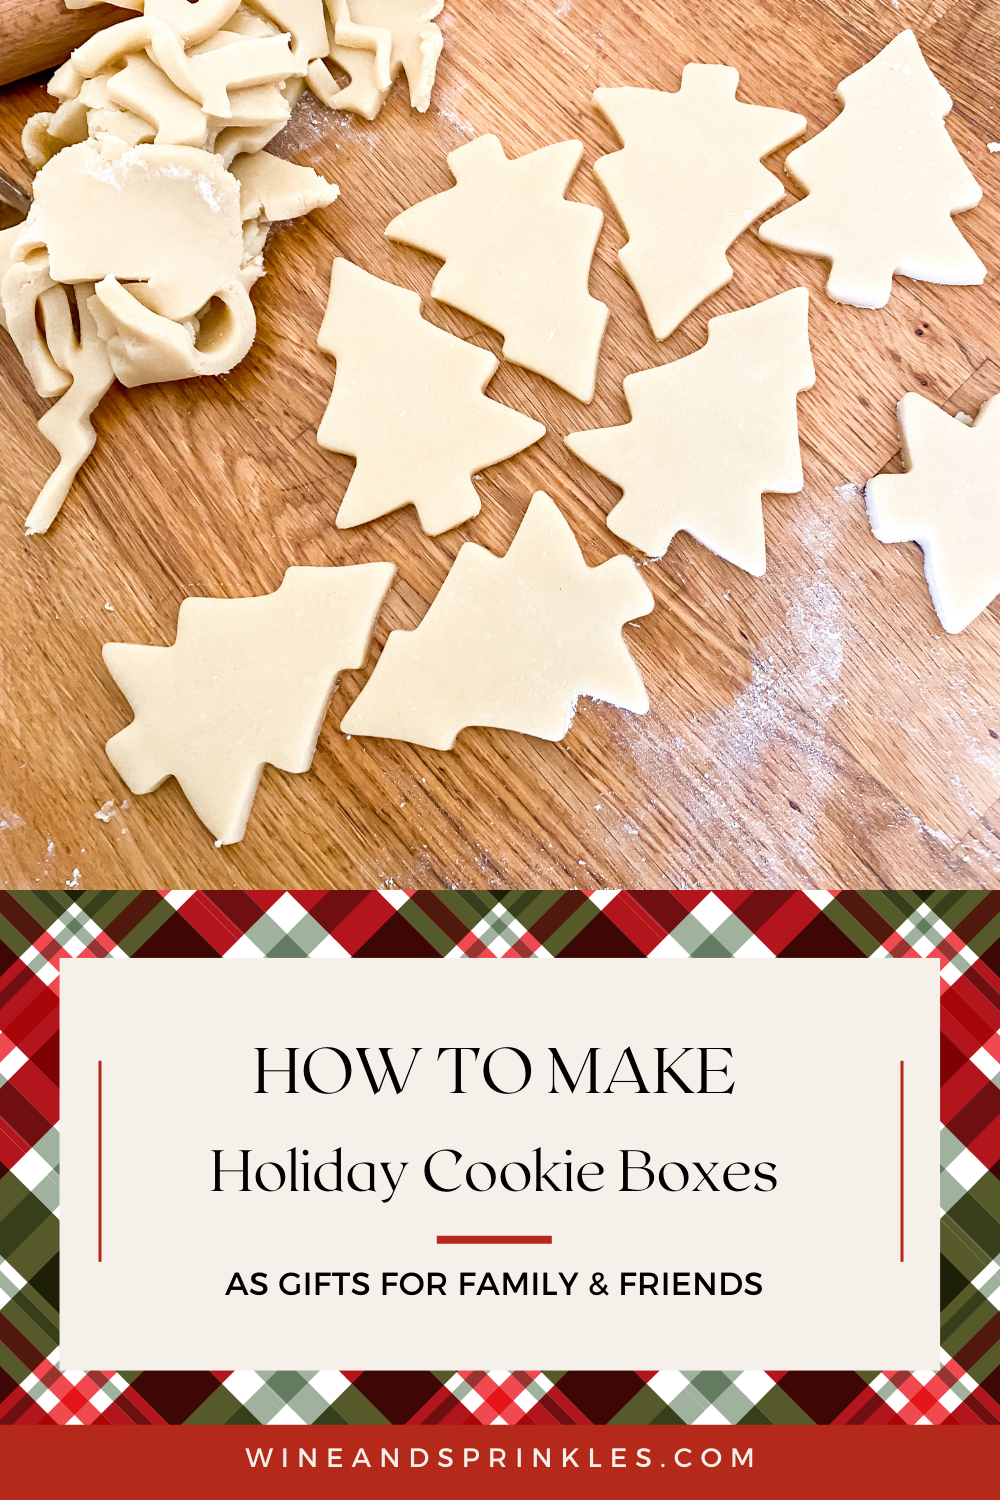
Sugar Cookies with Royal Icing - a holiday favorite in their own right, I love sugar cookies because both the dough and base cookies freeze well, so they are easy to make early and finish frosting later.
Traditional Drop Cookies - Snickerdoodles are always my favorite for the holidays, but I love drop cookies for holiday bakes in general because everyone likes them and I can use a melon baller style cookie scoop to make consistent sized cookies.
Chocolate Covered Cookies - Chocolate covered cookies are a favorite for lasting long and keeping fresh well in my cookie boxes, though candy cane and chocolate thin mints are my favorite for boxes because they can be all cut out to a nice little two inch disc and be so cutely stacked in alternating colors!


My favorite place to find my holiday cookie recipes has got to be Sally’s Baking Addiction, where I go for many of my party menus too! Below I’ve listed and linked my favorite recipes, which just happen to be the ones I used for these boxes, that are beloved year after year by my friends and family. They’re doughs that, in general, freeze well and can be made in bulk which makes them perfect for cookie box baking. Every year she comes out with even more recipes during the holiday season, so I’d recommend going through all her recipes to find your own favorite holiday bakes!
STEP 2 - PREP & FREEZE COOKIE DOUGHS
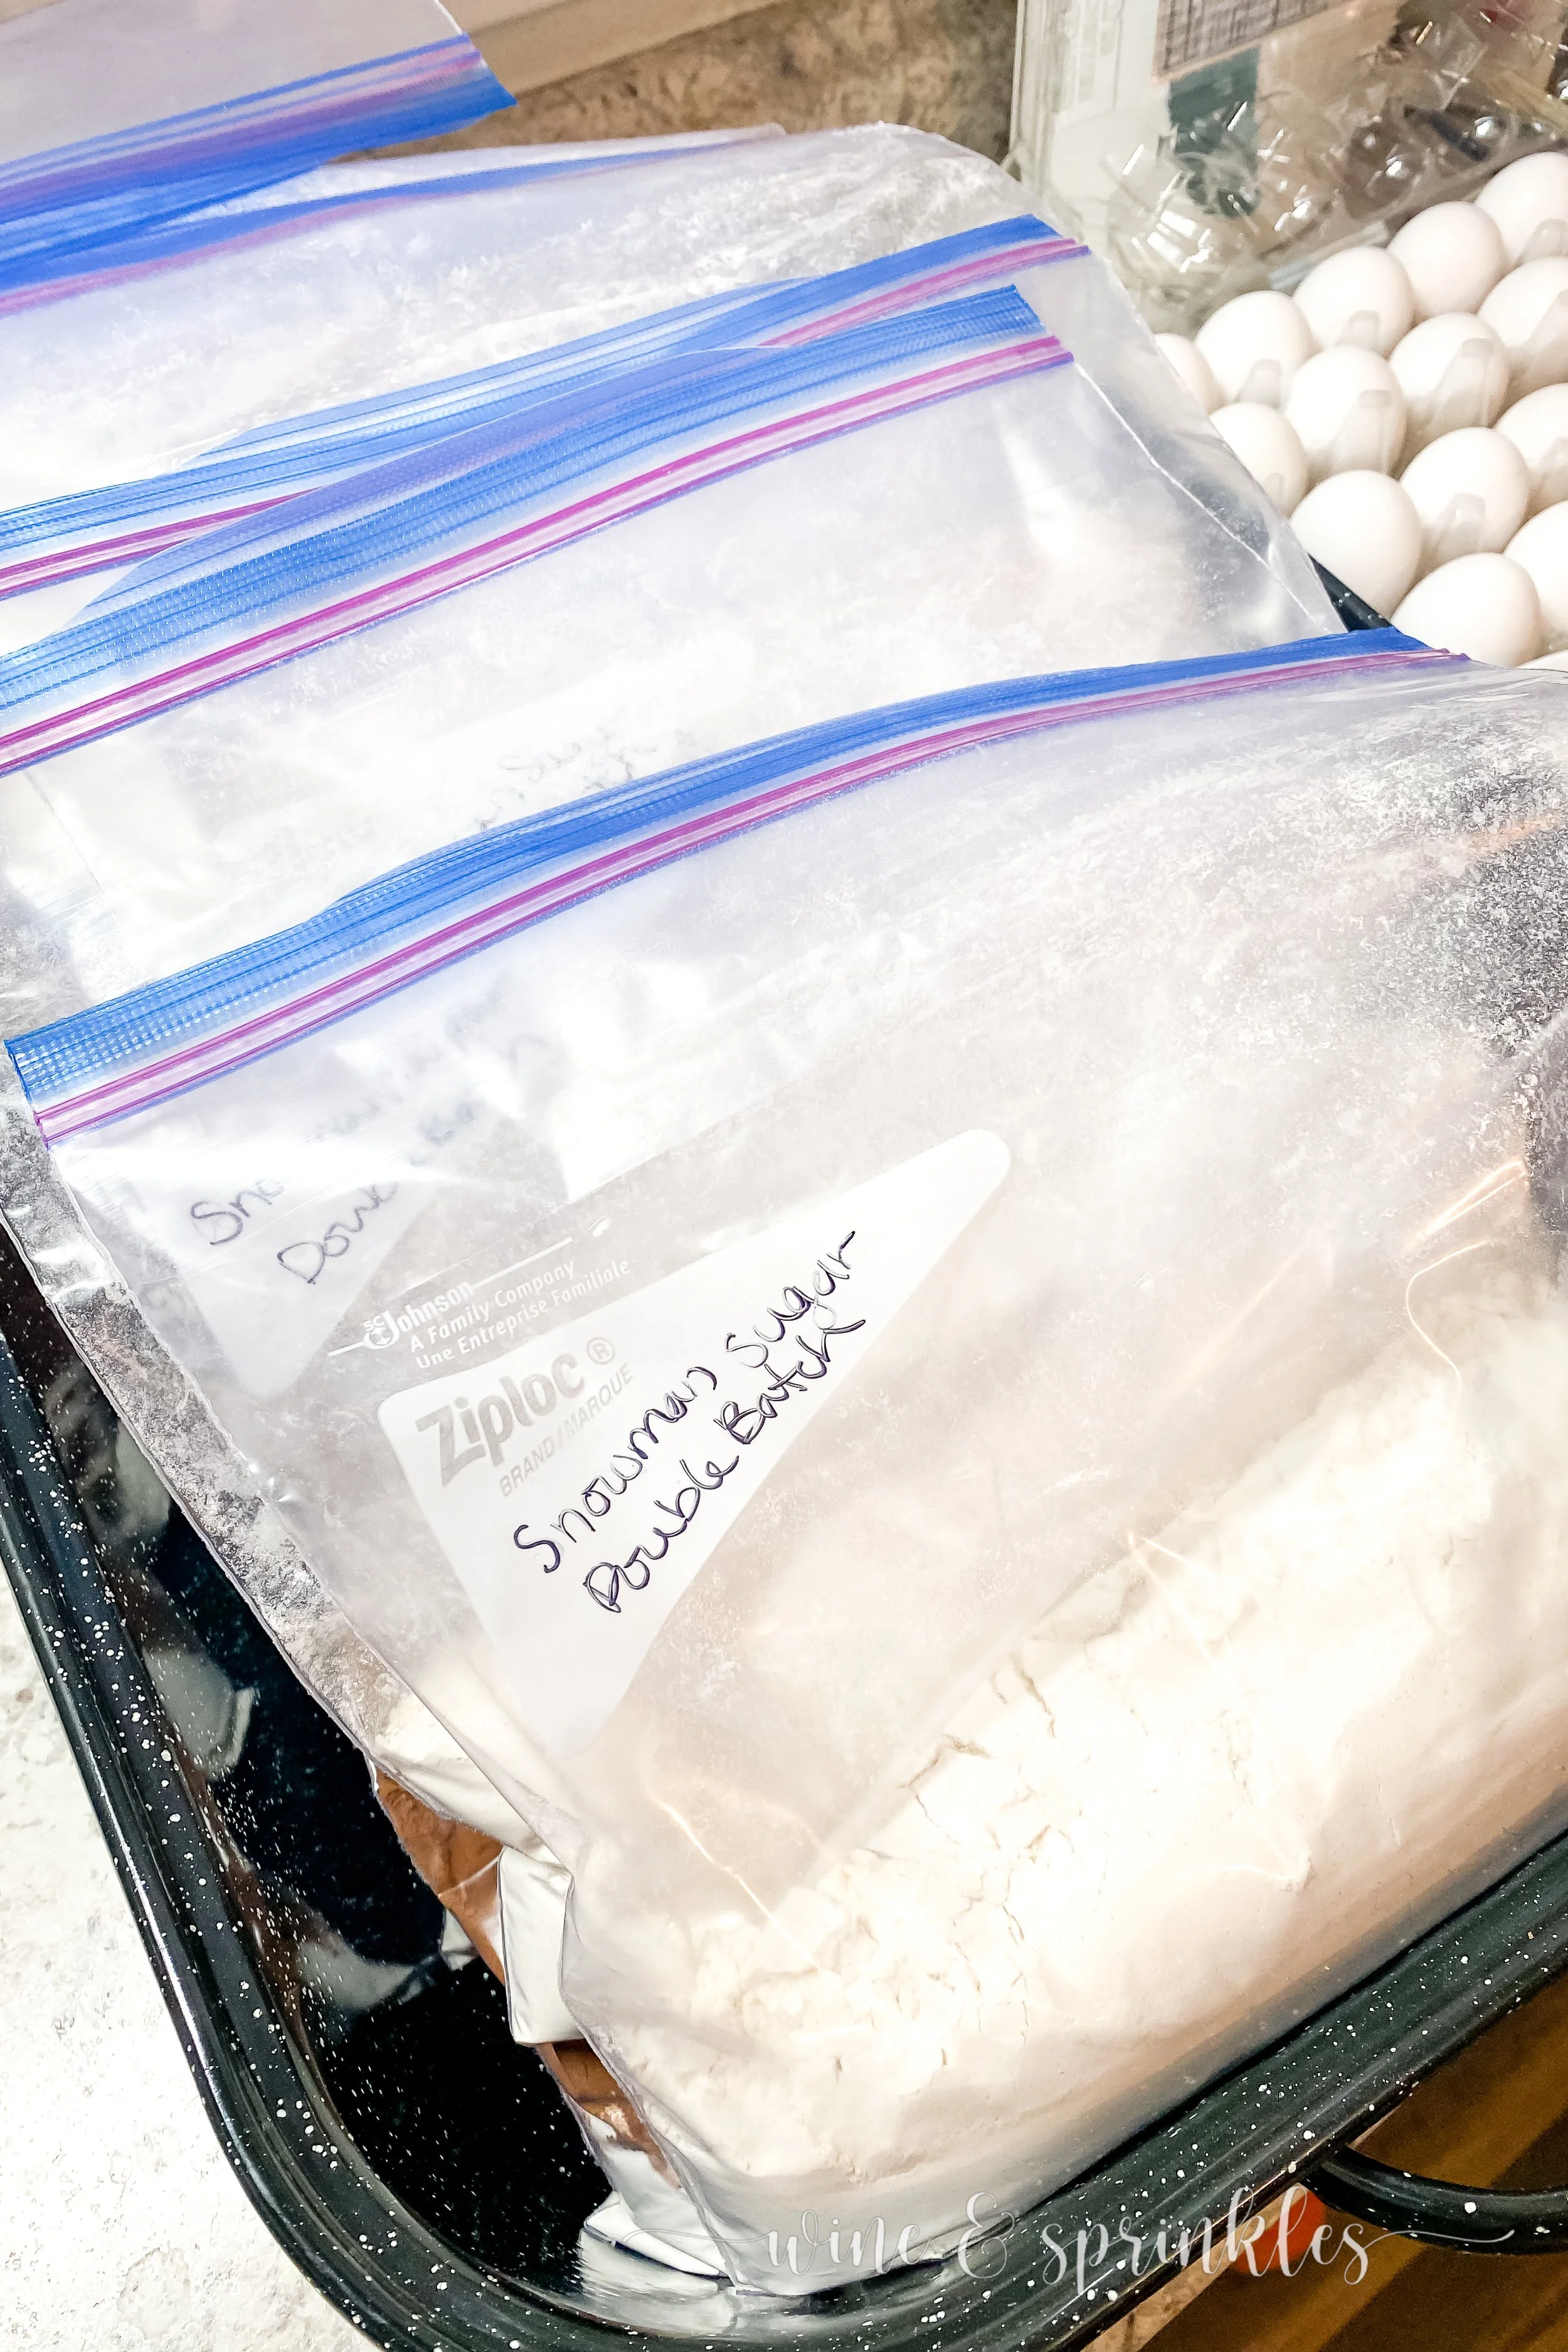

After you’ve picked out what you are baking and how many batches of each you’ll need, it’s time to start prepping the doughs to make all the cookies! I generally do this in two phases, bagging dry ingredients and mixing doughs.
#1 - Measuring Dry Ingredients & Leavening Agents
All cookies that I make in my boxes have the same basic process for making their doughs: creaming together butter and sugars, adding eggs and extracts, then a combination of dry ingredients where the base is flour accompanied by salt and either baking soda or baking powder. I like to measure and mix this set of dry ingredients into labeled gallon freezer bags before making doughs, it makes mass baking in my kitchen so much more manageable and after each dough is made it can be stored and frozen in the same labeled bag until you’re ready to bake it. I generally make one double batch of dough per bag because that’s how much my lovely 5 Qt. KitchenAid can comfortably handle. Also, highly recommend KitchenAids, it’s my most used and beloved kitchen appliance and a necessity for any home baker!
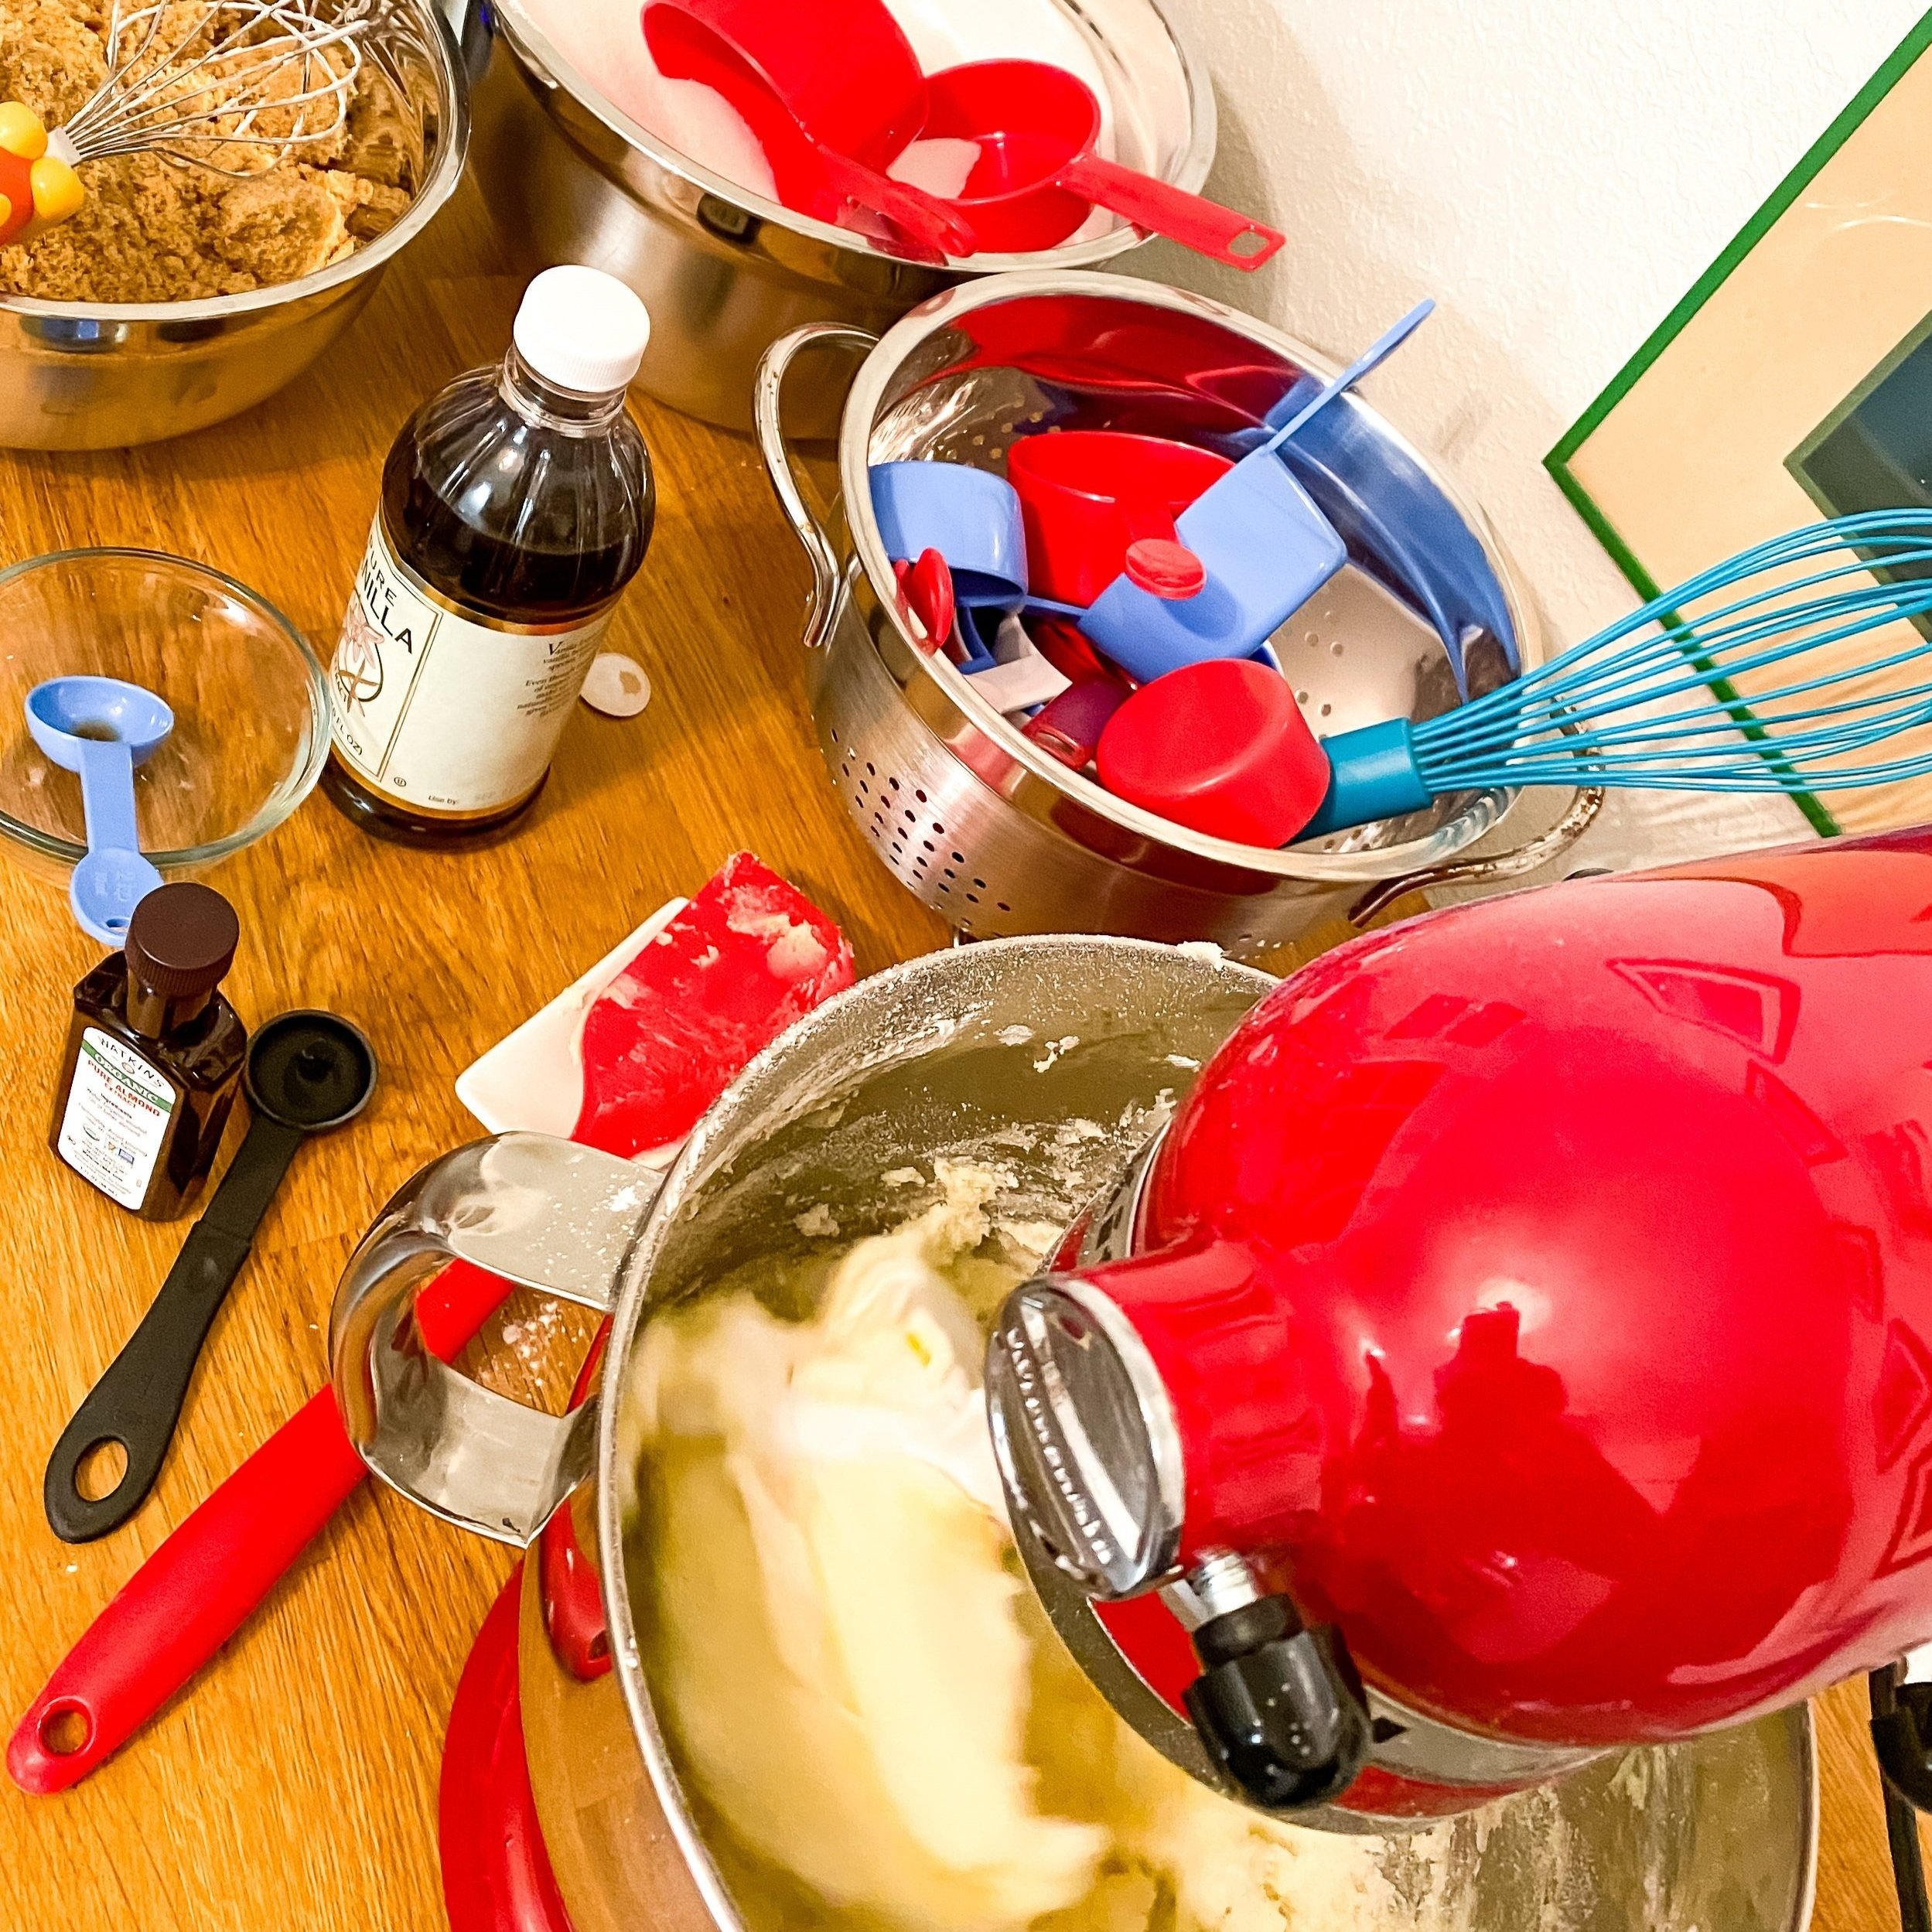
#2 - Mixing Doughs & Chilling
Once my dry ingredients are mixed and bagged, I make and freeze all my doughs one after the other by creating cooking stations for each part of my dough making process. The butter, sugars, vanilla, and measuring cups stay with the kitchen aid so they can be each measured based on the different recipe requirements, where the eggs and several bowls sit on another counter with the bagged dry ingredients. Any chocolate chips, nuts, candy bits and the like I kept in their original packaging and measured them out as needed, but for Christmas cookies I didn’t have many of these for my doughs.
Once I had made my stations, I make each recipe of dough one after the other, starting by cracking all the eggs each bagged dry mix needs into its own separate bowl. Once all the eggs are cracked, I follow the recipes as they are printed, using the KitchenAid’s station for the specific measuring then simply grabbing the premeasured eggs and dry ingredients when needed. Since I make double batches of dry mixes, all of my eggs and other ingredients are doubled, so make sure to keep your numbers right based on how many batches you want to make at once!
Once the dough was mixed, I scraped it right back into the labeled gallon bag, then flattened and sealed it, layering each bag in the fridge to chill. I was baking my cookies the next day so they only needed an overnight chill, but you can make your dough weeks in advance and freeze your bags instead! I just move them to the fridge the day before baking when I do this so they are easier to roll out, but its a nice way to break up the work in a big holiday baking project. After mixing and chilling all the batches of a recipe, I then washed out the bowl for the next set of cookies. Rinse and repeat for all the cookie doughs you are making.

STEP 3 - BAKING DAY


With the dough ready, it’s baking day everyone! I usually pick a weekend so that I can bake all the dough one day, then use the second for frosting, chocolate dipping, and packaging the cookies into their boxes. That being said, you can always split up your baking over a couple days: start baking the cookies based on what has the longest shelf life, generally cookies dipped in chocolate, sugar cookies, and biscotti last the longest. After these, bake the more perishable and drop style cookies, like Snickerdoodles and Chocolate Chip.
I baked my cookies in the following order:
Biscotti
Thin Mints & Peppermint Bark Cookies
Sugar Cookies
Snickerdoodles and other Drop Cookies
Once the cookies are cooled, store them to be packaged in gallon bags or airtight containers until you are ready to frost, dip, and package them for your friends and family.


STEP 4 - CHOCOLATE DIPPING & COOKIE COMPLETION DAY
Now its time to finish the cookies and get them ready to gift! For me, this includes frosting sugar cookies, dipping biscotti and thin mints in chocolate, and any last steps your cookie recipes have after the cookies bake and cool. I start with dipping the biscotti and any cookies where the chocolate isn’t being flavored, then following it up with the thin mint and white chocolate dipped cookies. After all of these had hardened and been returned to their storage bags, I laid out all the sugar cookies on parchment paper and frosted them so they had a couple hours to harden in the open air before being packaged.
TIPS & TRICKS:
For dipping biscotti, line a loaf pan with foil for a long and narrow dipping pan. I like to keep mine in a hot water bath I make in a square cake pan under it, it keeps the chocolate warm and liquid longer!
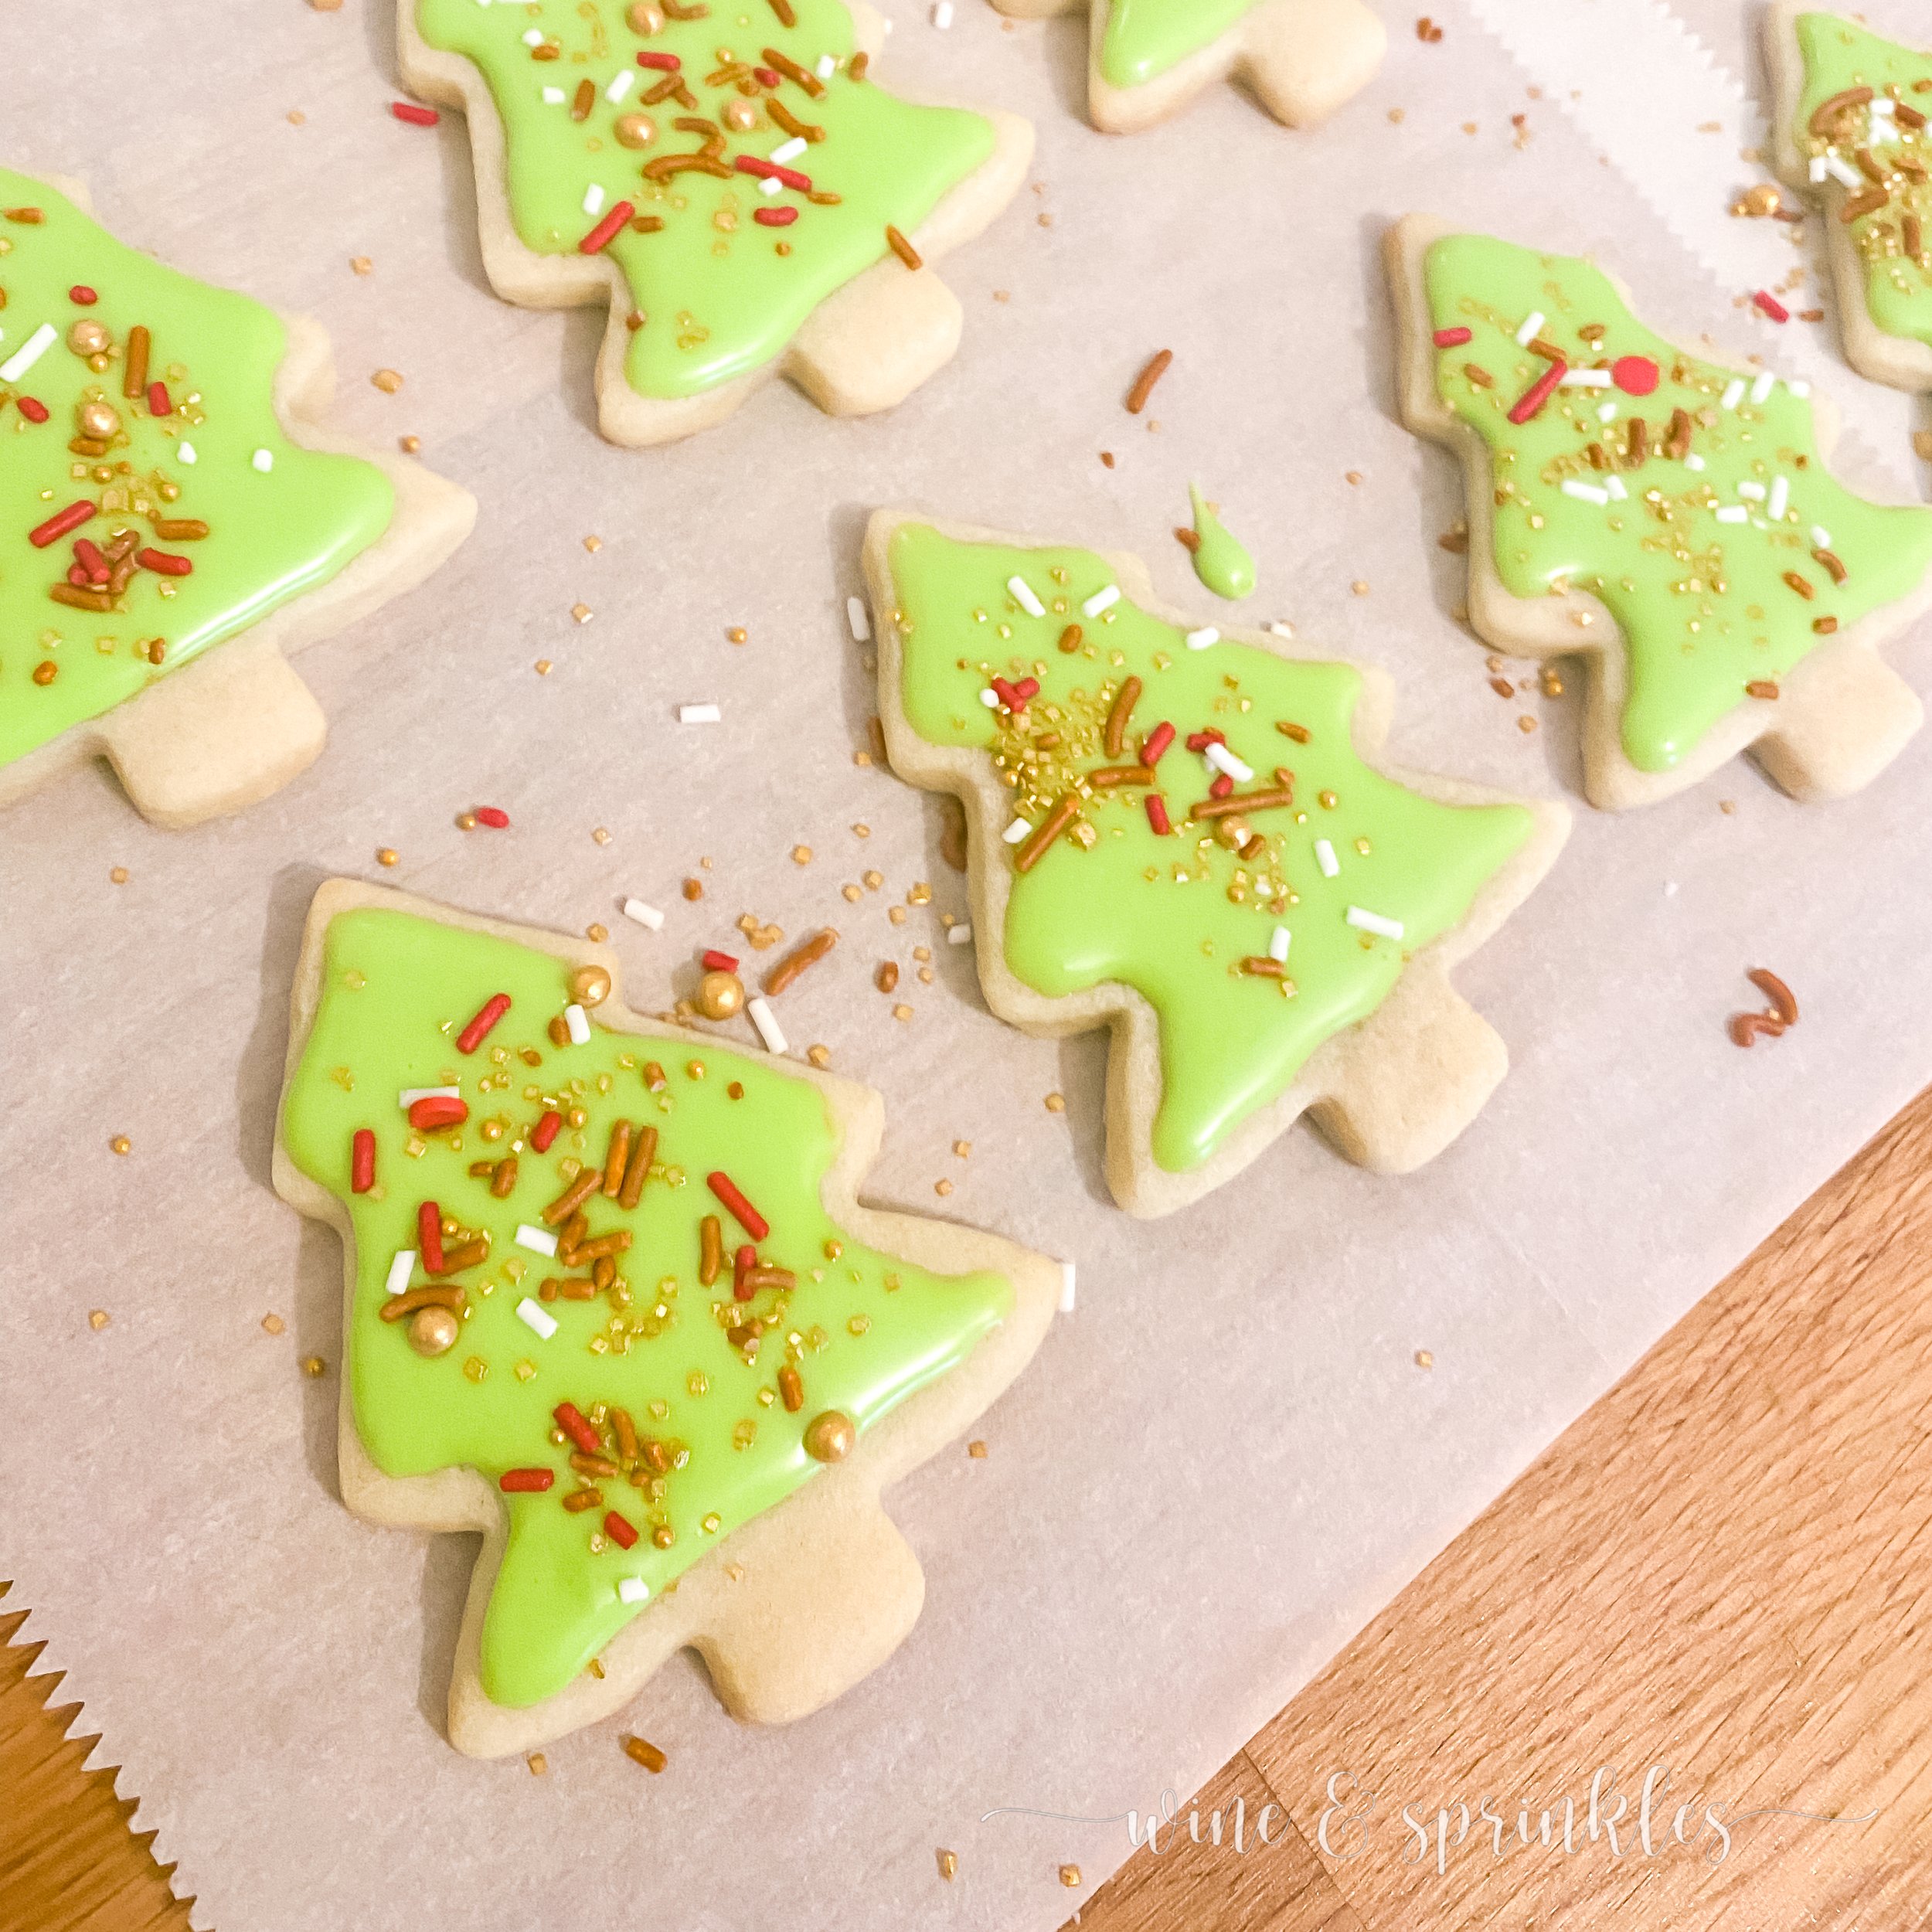
You don’t need to go overboard if you aren’t talented at royal icing cookie frosting. I just outlined and filled tree shaped sugar cookies with green and covered with sprinkles and they turned out adorable, and the more simple the frosting the more you can frost quickly!

COOKIE PACKAGING & BOX PACKING

Finally its time to pack these treats and get them ready to give, and it starts with packaging each cookie to keep them fresh, then arranging them in gift boxes for delivering and shipping out to your friends and family.
My favorite bags to use for this whenever I can are these Self Sealing Bakery Bags, which are just the right size for the thin mints and my little sugar cookie trees, but there are so many different sizes available for different cookie shapes you can find a set for whatever size cookies you’ve made, they even have longer bags for Biscotti! These bags making packing each cookie individually for freshness a breeze and gives each of them a professional finish which I love. I’ll certainly be taking advantage of this, but I’ve also packed bigger cookies in Twist Tie Treat Bag Cones which work well in a pinch. Once they are ready to pack, I set up all my cookie boxes and divide each cookie by type, starting with stacking the drop cookies and thin mints, then adding the biscotti and topping with the more decorative sugar cookies.
But the best part of packaging cookies is finding your own favorite way to arrange them and I’ve packed them in anything from gable boxes to cookie tins to wine bottle bags over the years, pick your bags and boxes based on how many cookies you are giving and your own creative flair! As I continue my own holiday baking adventures, I’ll be sure to be adding more details and tips to this guide to creating custom cookie boxes and all the fun ways I find to give them to my favorite people!
SEE OUR RELATED POSTS HERE:


MOST RECENT POSTS:


OUR PINS FOR THIS POST:
Calling all Aires, Pisces, and every sign in between! I think astrology is super fun, which any of my guests who attended my Zodiac Summer’s Eve Party can attest, and I love to make fun zodiac themed gifts for my favorite friends that love it too! For those who don’t have the time or astrological inspiration to make their gifts, this guide is for you!