This post contains affiliate links, meaning that if you click on a link I will recieve a small comission. This costs you nothing extra and I only promote products I use and love! You can read our full disclosure here
As you read this post, you’ll notice a lot of bolded words, some that highlight pink and link to other posts and products, and others that don’t do anything. That’s because I am still writing and working on the posts those words go to! As these posts get published, I’ll be updating this post until all the projects are complete! Subscribe to my Newsletter or Follow me on Facebook to keep updated on when I post new content!

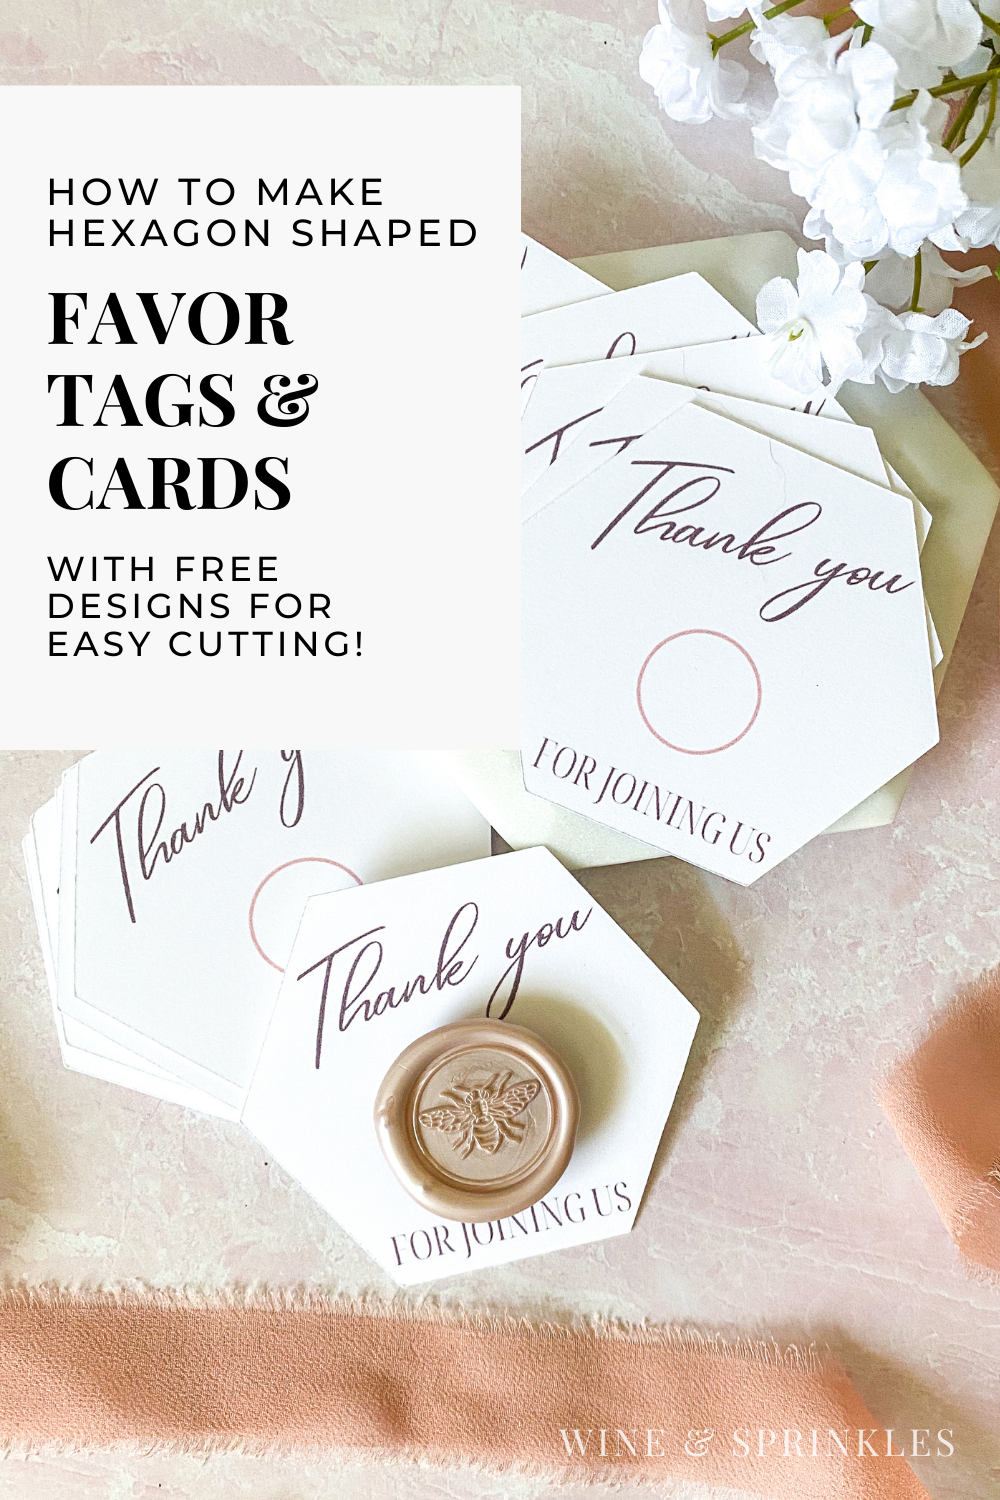
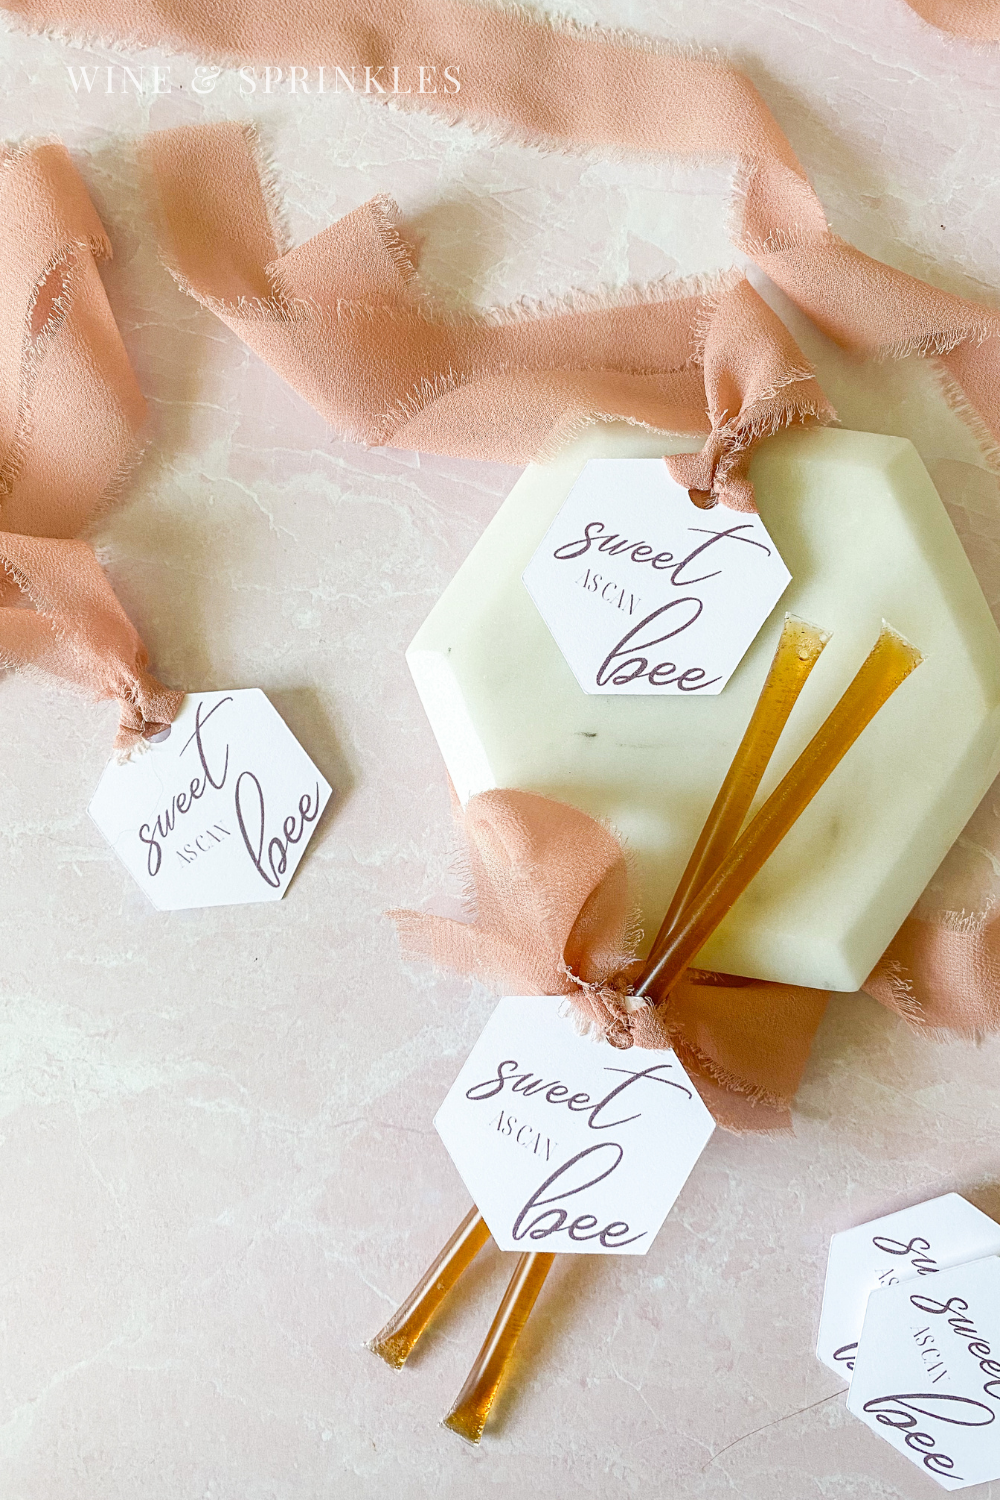
In any season that flowers are blooming, you better bee-lieve I love some honeycomb themed accents at my parties and events, so when I was designing the favors for my take home gifts for my Vintage Victorian Cocktail Party, I knew I wanted to design some bee themed paperie that I could use for all sorts of future favor fun too! Some simple designing and cardstock cutting later, these Honeycomb Hexagon Favor Tags and Cards were ready to bedeck all my favors while being an adorable and easy project for anyone looking to give away bee themed gifts to their guests!
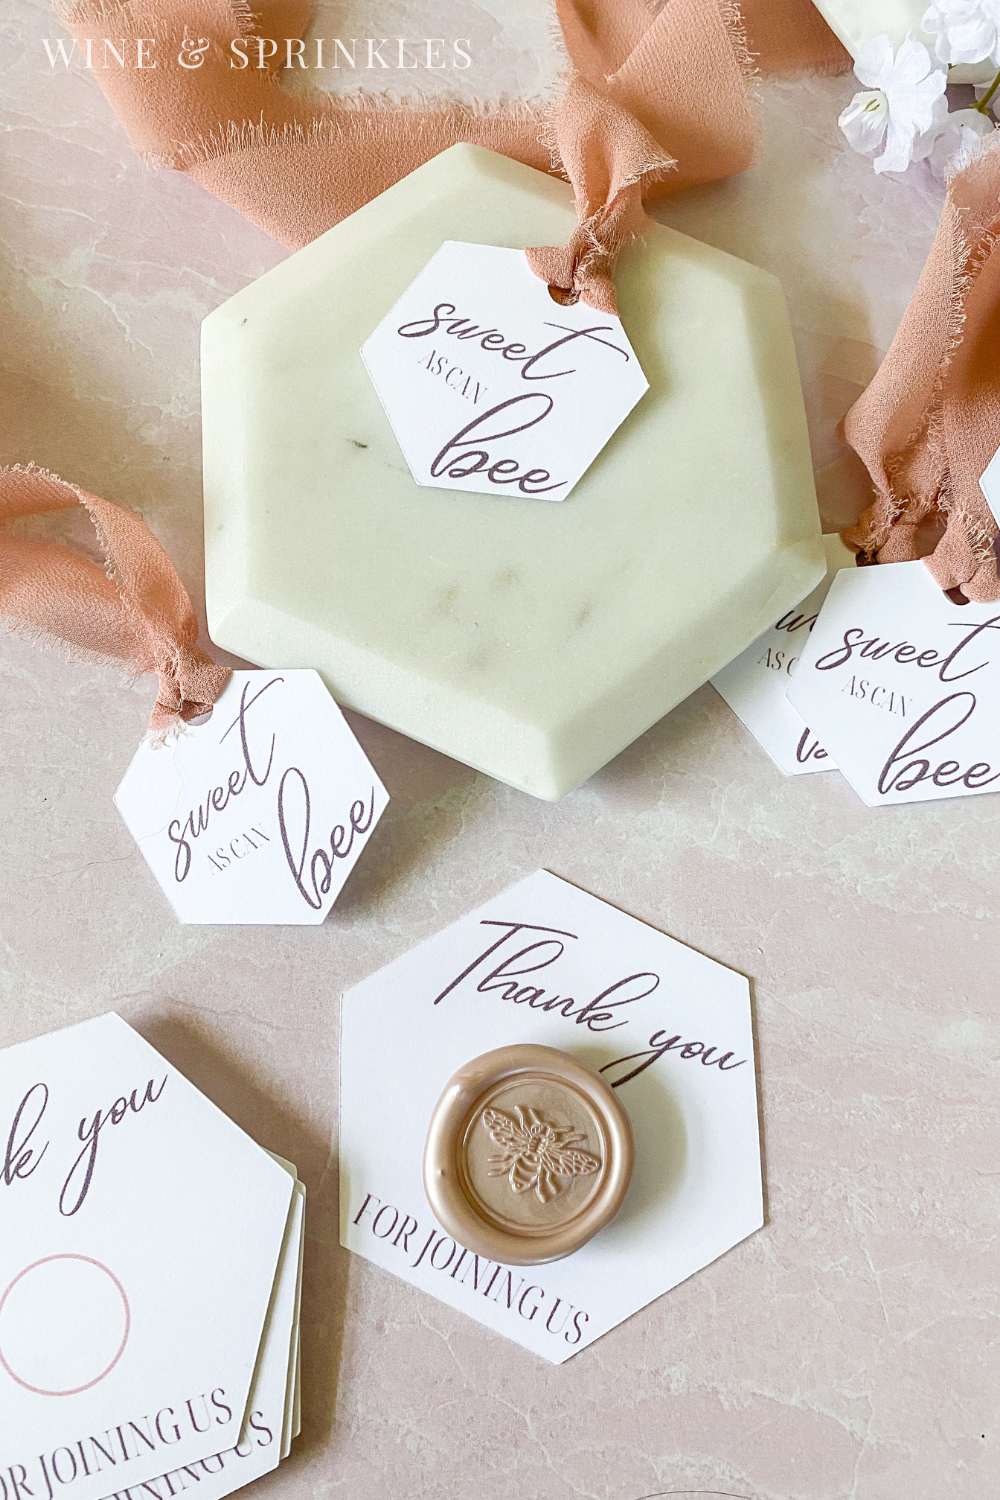
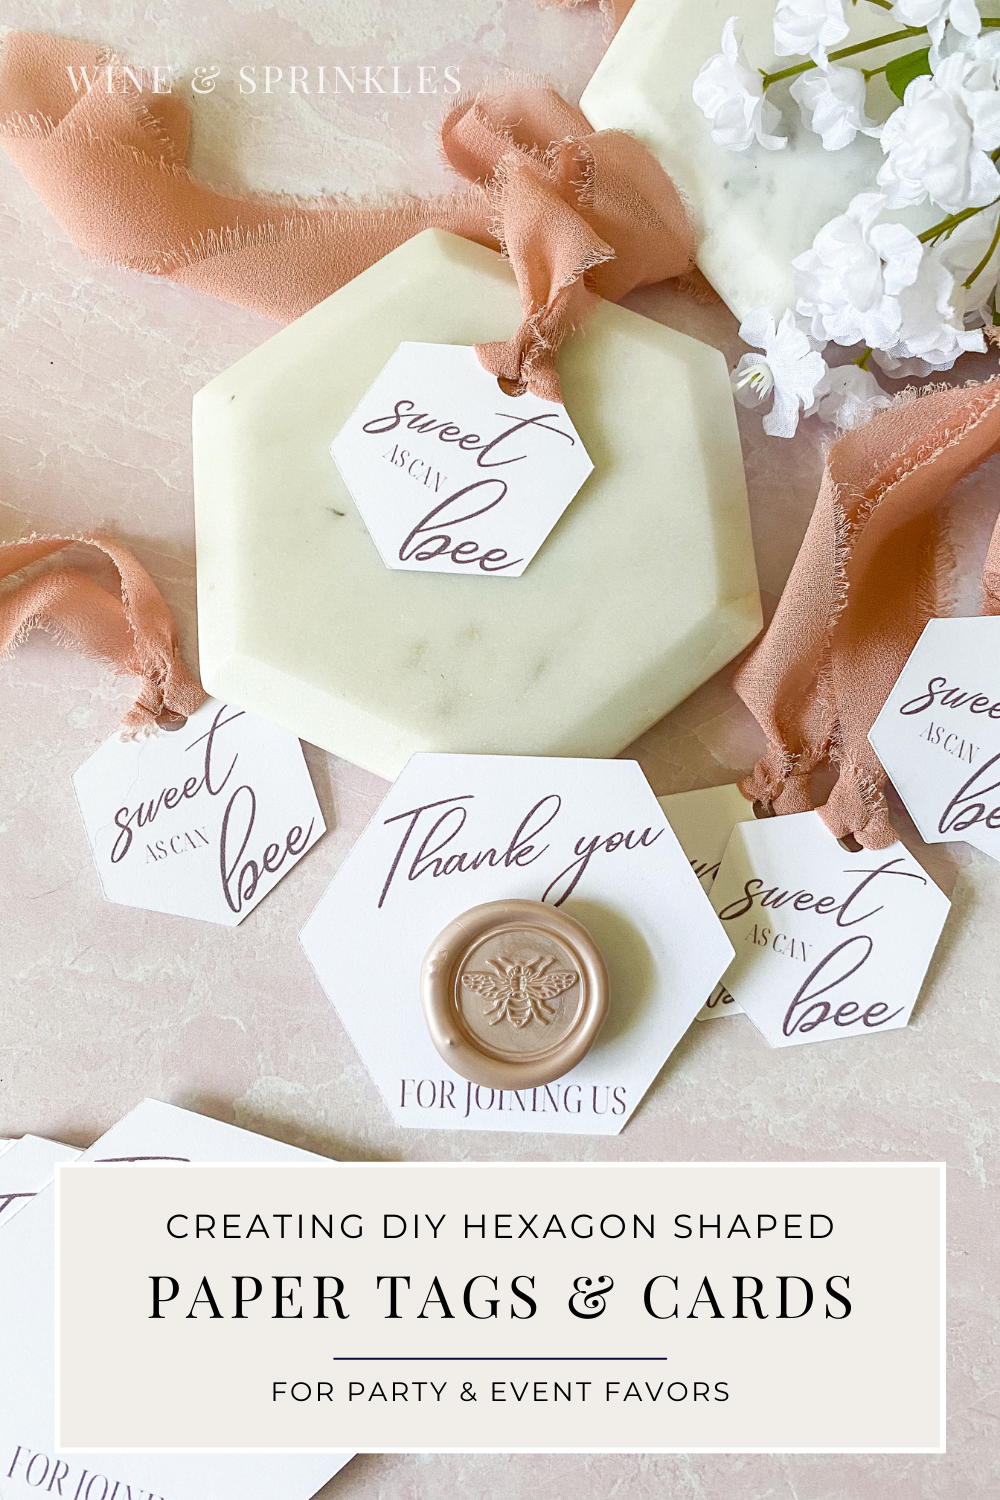
I started by designing the favor tags to accompany my Honey Stick Favors and loved them so much, I made another tag design that was a little more bridal shower and wedding themed and plan to use both again when I have the chance! I also found it to be the perfect time to try some beautiful frayed chiffon ribbon and it gave just the feeling I wanted, but these beauties could be easily secured with any twine, string or ribbon you think fits best.


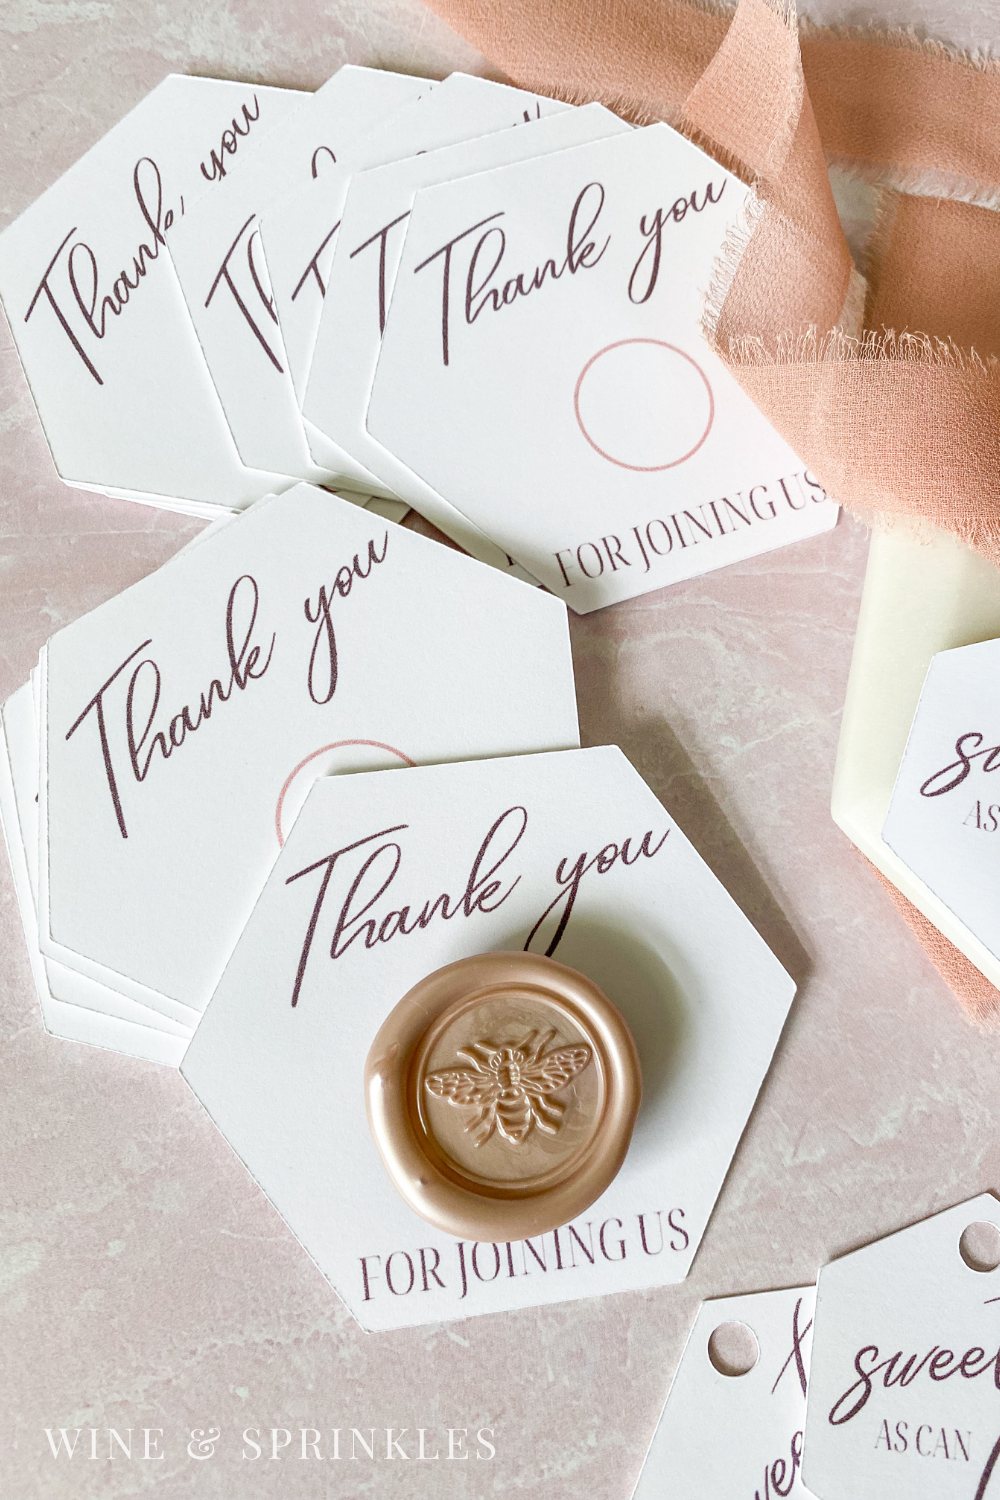
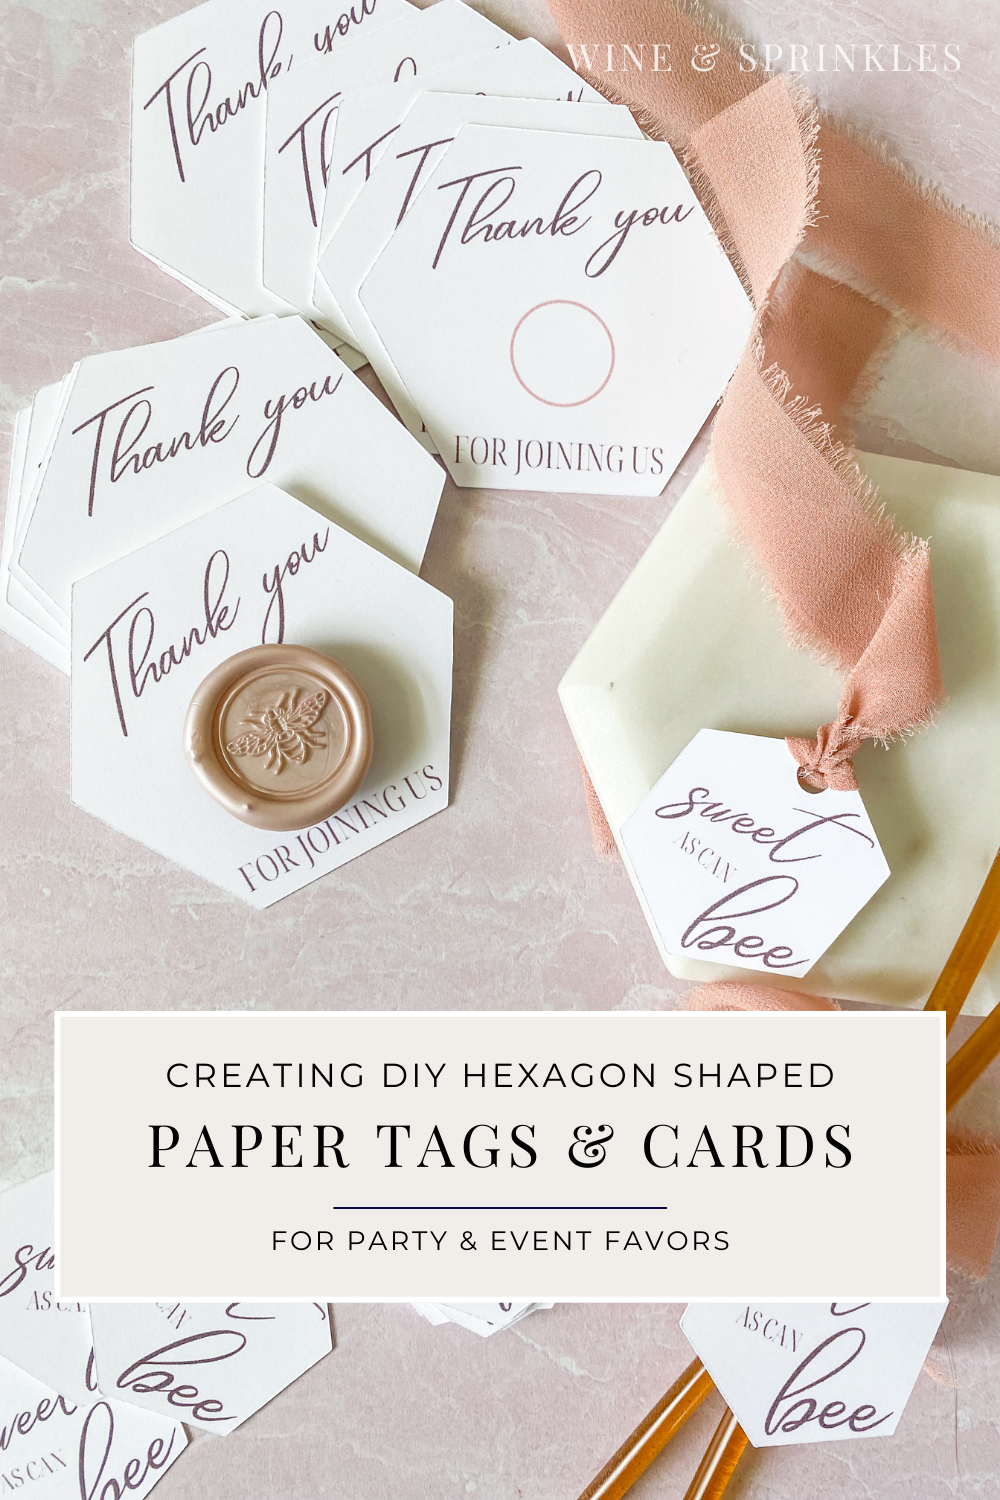
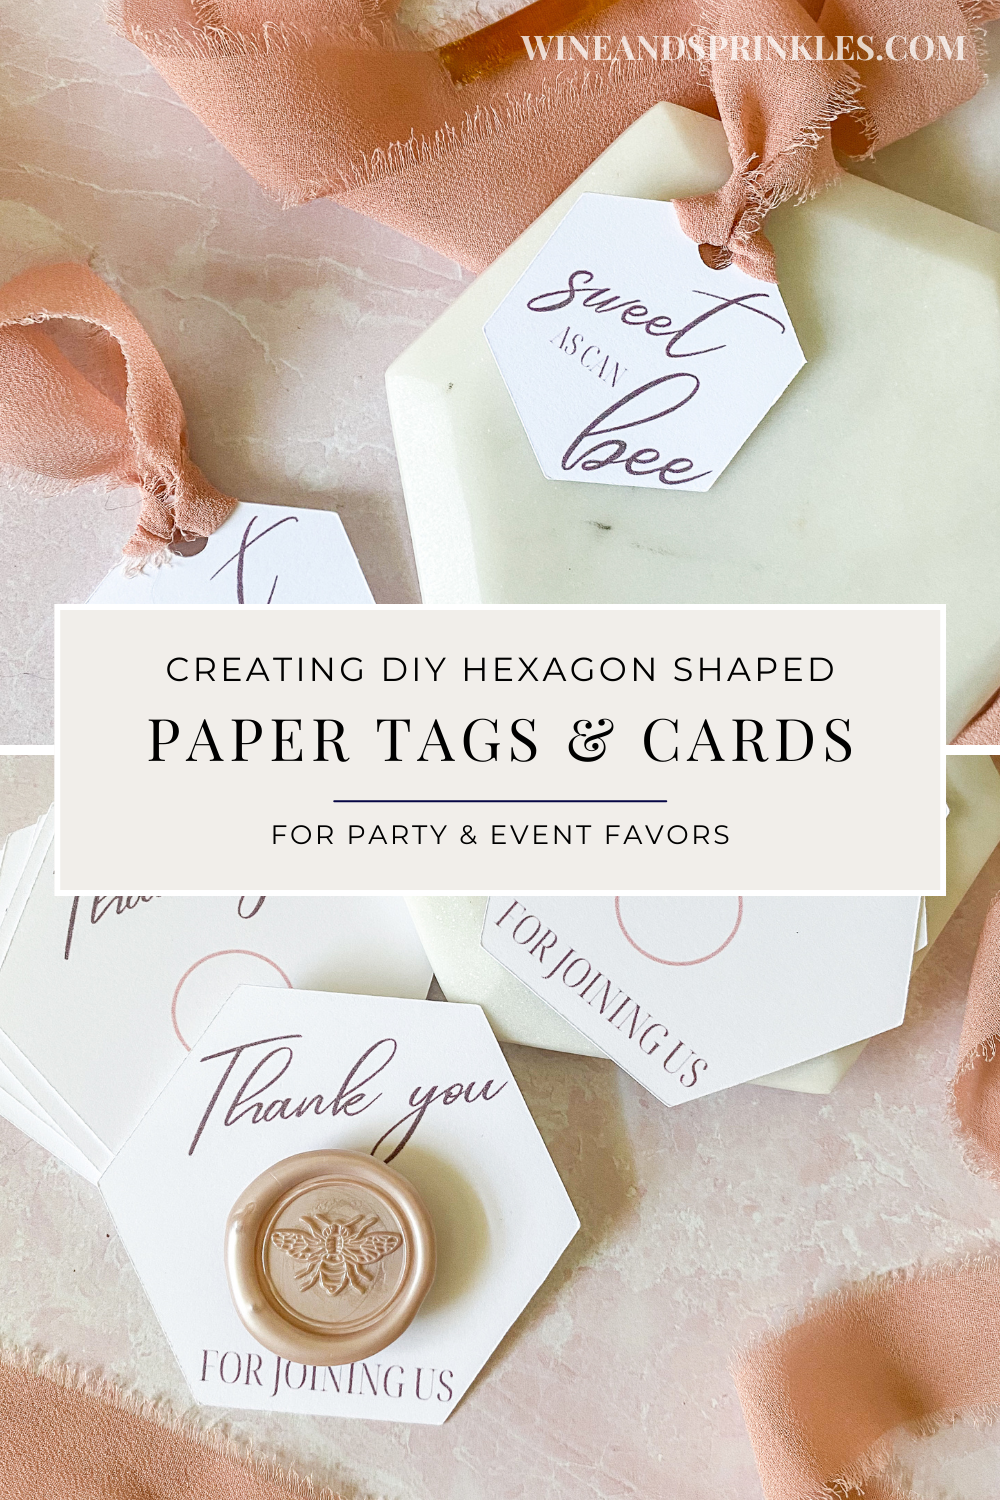
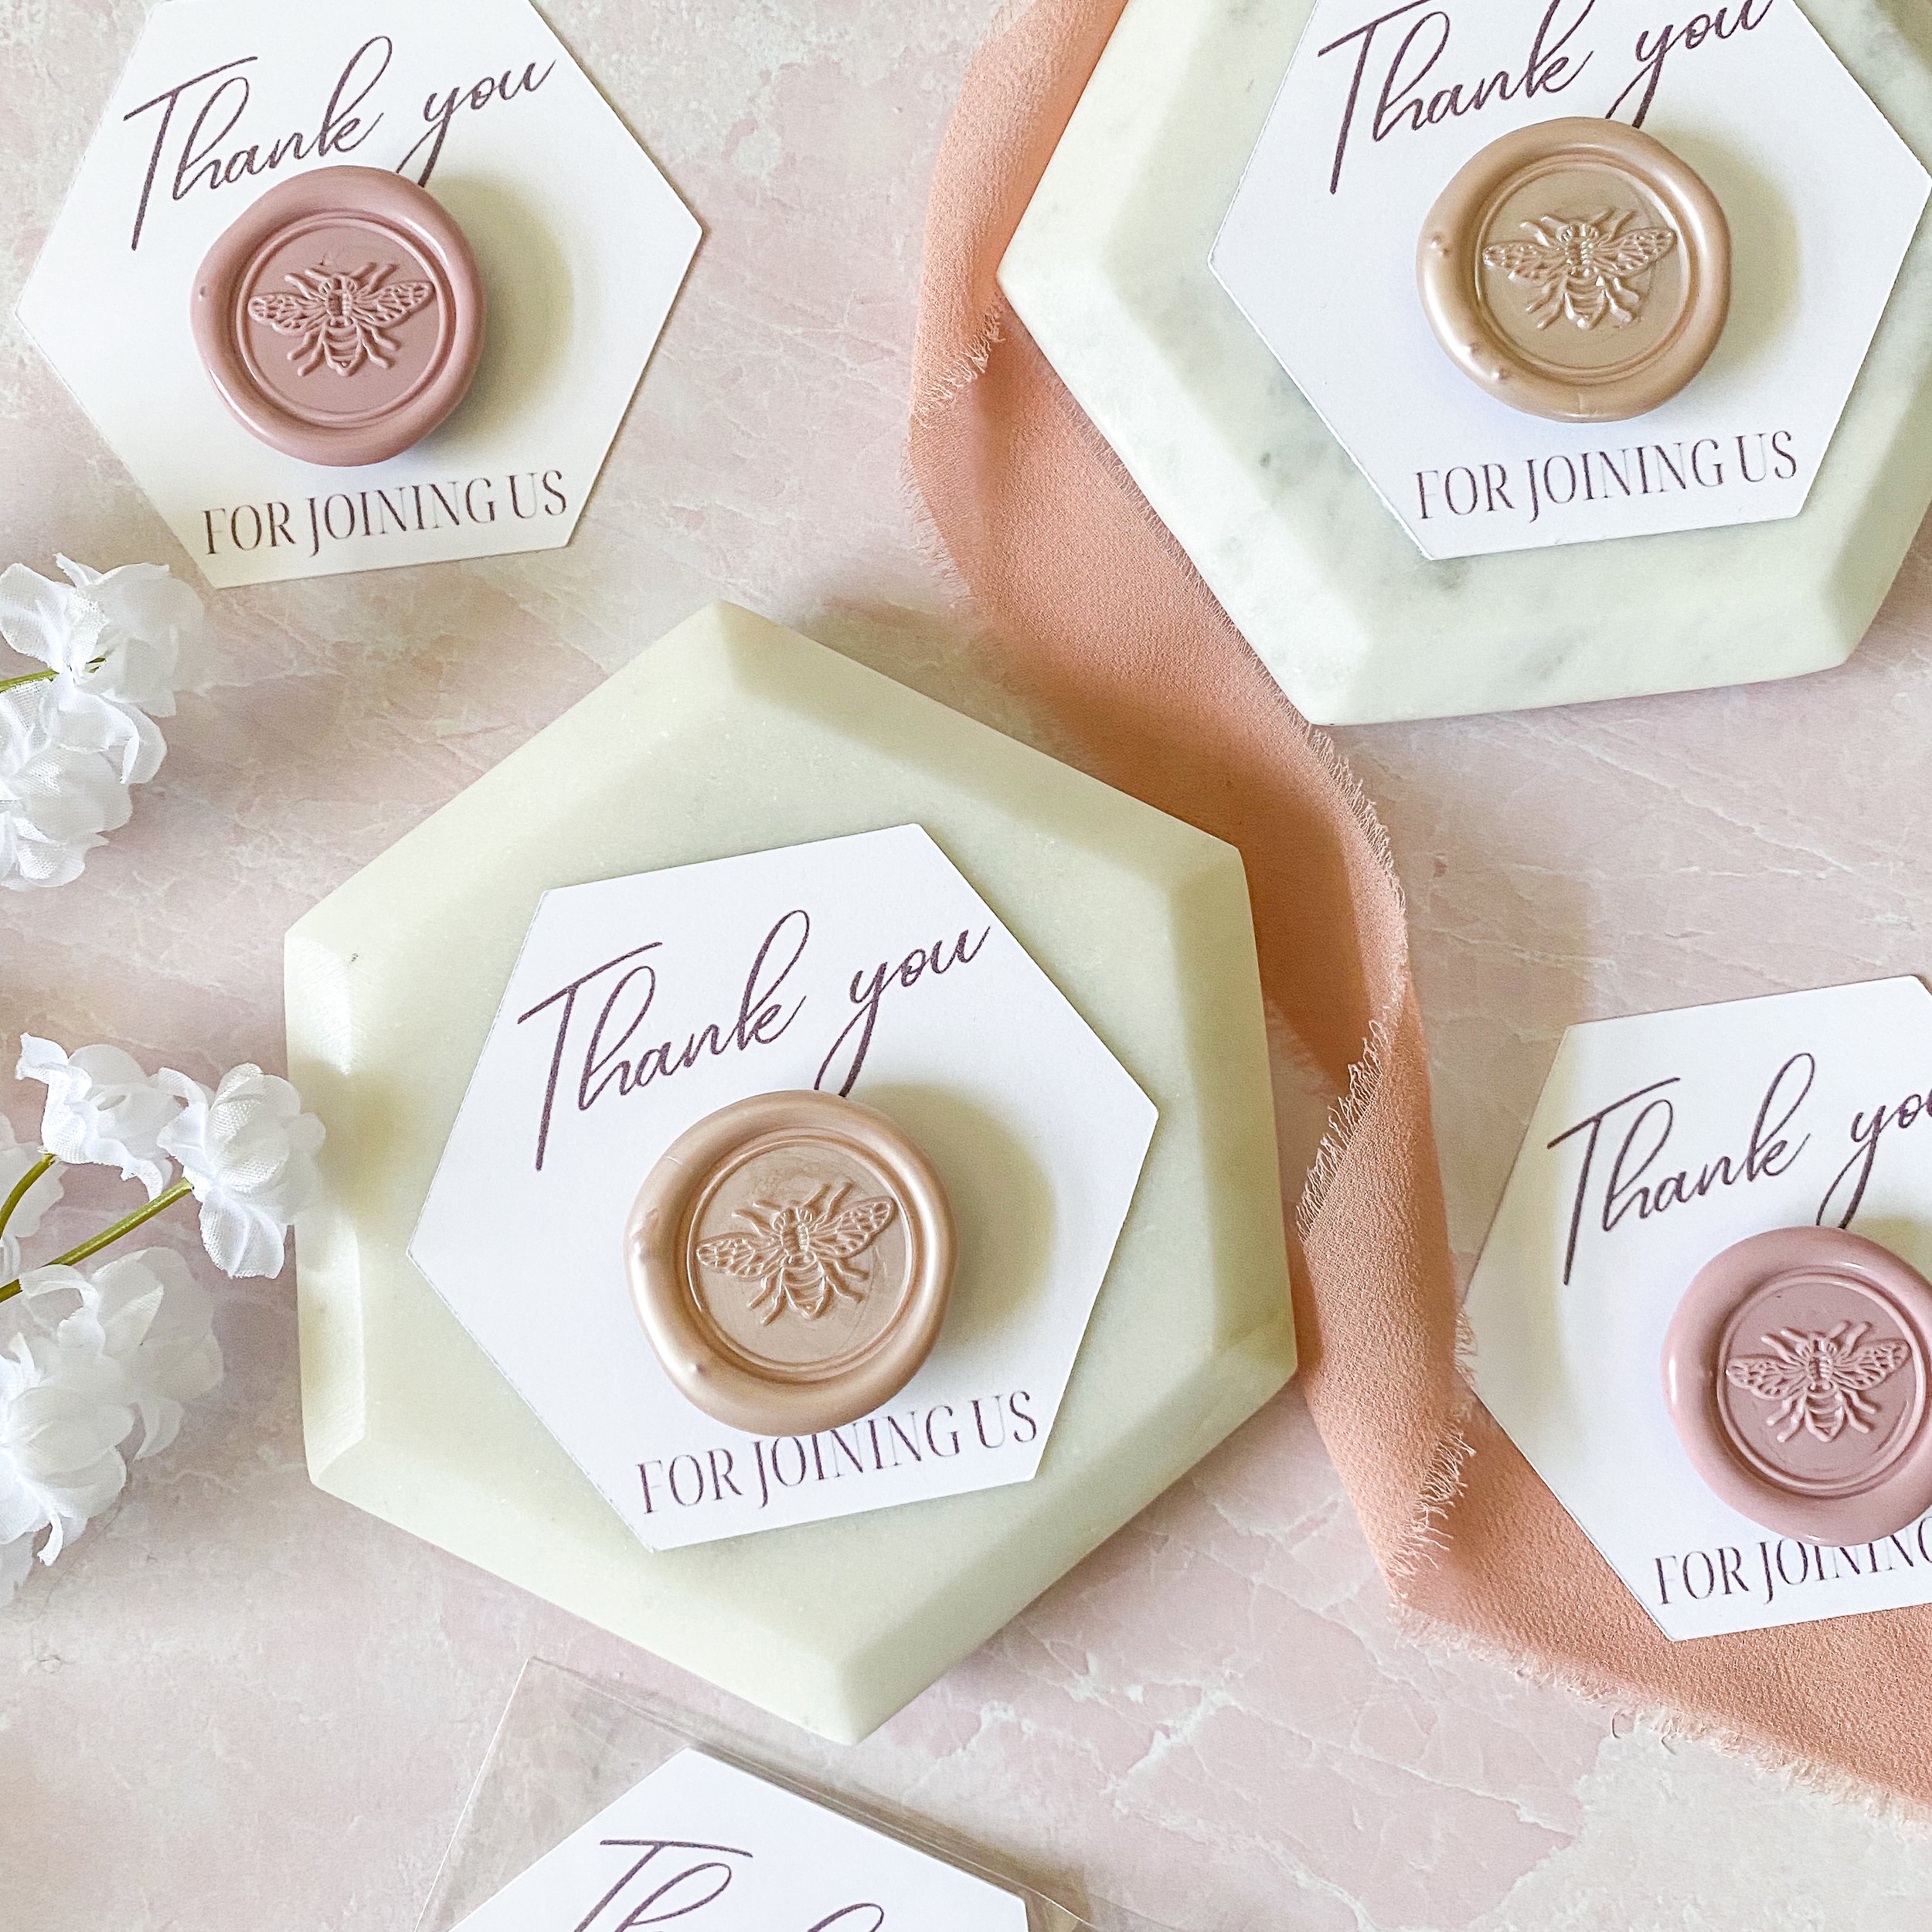
In addition to these tags, I still needed more hexagons in my life so I created a corresponding favor card that was the perfect follow up for favors that aren’t easy to tie tags around, and these became a perfect base for my favors. While other favors could be mounted to the cards I created, they were designed specifically for one of my favorite simple favors I’ve made so far, these Wax Seal Magnet Favors! These cute cards were perfect for mounting these bee themed magnets and slipped easily into my favorite Self Sealing Favor Bags for the perfect finishing touch, as well as helping keep the sealing wax protected while I stored them all together before giving them away.
Whether you are giving away honey sticks, springtime soaps, honeybee magnets, wine charms, or a unique offering that you love, these cardstock cuties are the perfect way to put that final polish on your favors in a fun and whimsical way that’s sure to impress your guests! Below you can learn how I made mine, access the files to make your own, and get to cutting out your own sets of un-bee-lievable favor tags and cards.
SUPPLIES
TAG & CARD SUPPLIES
Cardstock: for printing and cutting your paper tags and cards with your craft cutter. I found that 80-110lb cardstock worked well, with 4 favor cards with 4 favor tags fitting per page. If you only need one kind of tag or card, you’ll be able to fit more.
Chiffon Ribbon: for threading through the favor tags so you can tie them to your favors. For the favors I made, I needed about 18” of ribbon for each favor tag
Removable Glue Dots: for sticking to your favor cards to be able to stick your favors to them, removable glue dots were a great choice because I could transfer them to the cards, then keep one side of the backing on until they were ready to use, just peel off the clear backing and stick to the favor!
TOOLS & OTHER SUPPLIES
Craft Cutter: For creating a horde of precisely cut hexagons, there was no better tool than my Cricut craft cutter. I love using the print to cut feature for my various stationery and paper projects, and this project is one where it really shines! For unique shapes like these, the craft cutter makes quick work of the cuts while leaving no outlines and no laborious inaccurate cutting with scissors.
Light Grip Cutting Mat: for all of my paper projects, I tend to use a Light Grip mat, it keeps my material securely in place but doesn't tear or leave paper behind on removal.
Printer & Ink: to print your cards and tags to cut with your craft cutter.
DESIGN TEMPLATES & FILES
Hexagon Tag and Card Design File: to make it easy to cut out these tags and cards without having to upload files, I’ve created the project in the Cricut Design software with a shareable link for all of you! I’ll teach you how to use it to cut your own decals in the tutorial below, and as a straightforward way for me to share my cuttable creations, you’ll be seeing the majority of my future Cricut Designs done this way.
SUPPLIES LIST:
[for 24 tags & 24 favor cards]
TAG & CARD SUPPLIES
Cardstock x 6
Chiffon Ribbon x 36 ft
Removable Glue Dots x 24
TOOLS & OTHER SUPPLIES
Craft Cutter
Light Grip Cutting Mat
Printer & Ink
DESIGN TEMPLATES & FILES
Hexagon Tag and Card Design File

DIRECTIONS
STEP 1: CALIBRATE YOUR CRICUT CRAFT CUTTER
Before I start any Print then Cut Projects, I like to calibrate my craft cutter so that it cuts most accurately, and the process is pretty straight forward. After opening a new project, start by selecting the “Calibration” option on the list of choices under the Main Menu Icon, and follow the prompts the software gives you. I use the cardstock that I’m printing on for my calibrations. After your machine is calibrated, it’s time to begin the project!
STEP 2: ACCESS DESIGN FILE & CUT CARDS
Start by opening the design file by clicking the link here, in the supplies list, or the button below. This will send you to the Cricut Design Software, where the designs for both the favor cards and two styles of favor tags are sized to what I used for my project, grouped for as many as I could fit to one page in the Print to cut features. If you want to cut them exactly like mine are, select “Make it” and it will take you straight to the cut screens, but if you need to customize it or change quantities, select “Customize” to open it as a design file that you can manipulate.

You’ll notice each set of cards and tags is grouped so that they fit on a single sheet, so to work with them individually, click the “Detach” function in the lower right toolbar. If you need to resize these, use the padlock on the upper toolbar to change them to whatever size best fits your needs. If you don’t need one of the decals or stickers, you can exclude it from being cut either by selecting and deleting it, or hovering over its layer on the right side of the screen and clicking the eyeball on the right so that the symbol shows it crossed out.
Once the files are resized and manipulated as you choose, select “Make” in the upper right side of the screen to set up the files to be printed and cut.
STEP 3: PRINT THEN CUT YOUR FAVOR TAGS & CARDS

Check your files on the mat set up screen and make sure the material size is 8.5 in x 11 in. and that the cards and tags appear properly sized in the mat setup picture, then press Continue.

Next, Select the Send to Printer Button, which will open a separate popup screen. Make sure the printer is set to the one you want to use, the number of sheets you want printed is the correct amount for the number of cards and tags you want to make, and that the “Add Bleed” Selection is off; then select Print. Print the cards and tags on the cardstock you wish to use on the best quality settings your printer allows.


Load the printed cardstock, design face up, along the upper left hand side of your cutting mat as shown in the picture on the screen. As you can see, I like to secure the top and bottom of my cardstock with washi tape to provide extra security while cutting them out, but this is optional! Set the Material from the Design software options based on the weight of cardstock you used, then press the loading button on your craft cutter to load the mat into the machine.
Press the “Go” Button to start the scanning and cutting process, and when the cutter is complete the loading button will blink to indicate to unload the mat. Remove your mat and freshly cut cards and tags, disposing of the extra cardstock; then, load your next printed sheet onto the mat and repeat the cutting process until you have cut out all the favor cards and tags you need.


USING YOUR FAVOR CARDS & TAGS


To use your tags: Cut ribbon into lengths of 18” or twice as long as you would like the tails of your tags to be. Fold the ribbon in half, then thread it back to front through the hole in your tag. Pass the two tail ends of the ribbon through the loop and tighten, leaving an overhand knot of the tag and two chiffon ribbon tails for tying to your favor.


To use your favor cards: Remove a glue dot from its translucent backing, pressing it into the center of the circle on the card. Rub the glue dot through the clear backing to warm the adhesive and make removal easier, then peel off the clear backing side then stick your favor to the glue dot on the card, using the circle as a guide for centering it between the text.
While I used my paperie for magnet favors and honey sticks, there are so many options for favors that these cards and tags will beautifully accentuate, I encourage you to use your creativity and find other fun and unique favors all your own to give your guest an un-bee-lievable party gift to remember!

SEE OUR RELATED POSTS HERE:


OUR MOST RECENT BLOG POSTS:


OUR PINS FOR THIS POST: