This post contains affiliate links, meaning that if you click on a link I will recieve a small comission. This costs you nothing extra and I only promote products I use and love! You can read our full disclosure here
As you read this post, you’ll notice a lot of bolded words, some that highlight pink and link to other posts and products, and others that don’t do anything. That’s because I am still writing and working on the posts those words go to! As these posts get published, I’ll be updating this post until all the projects are complete! Subscribe to my Newsletter or Follow me on Facebook to keep updated on when I post new content!

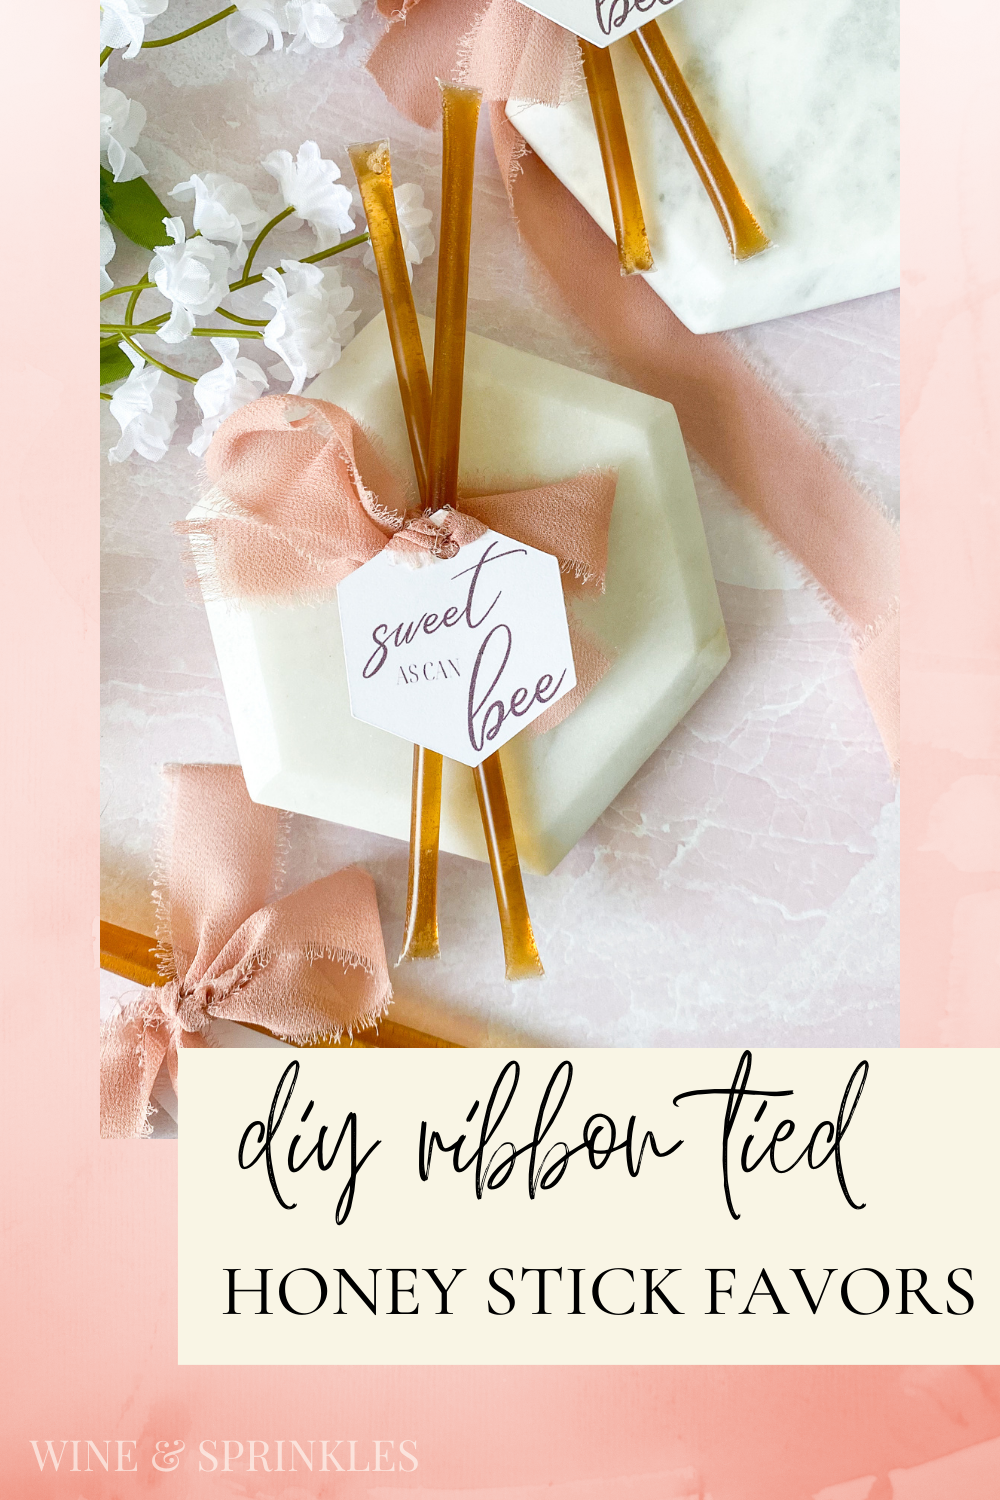
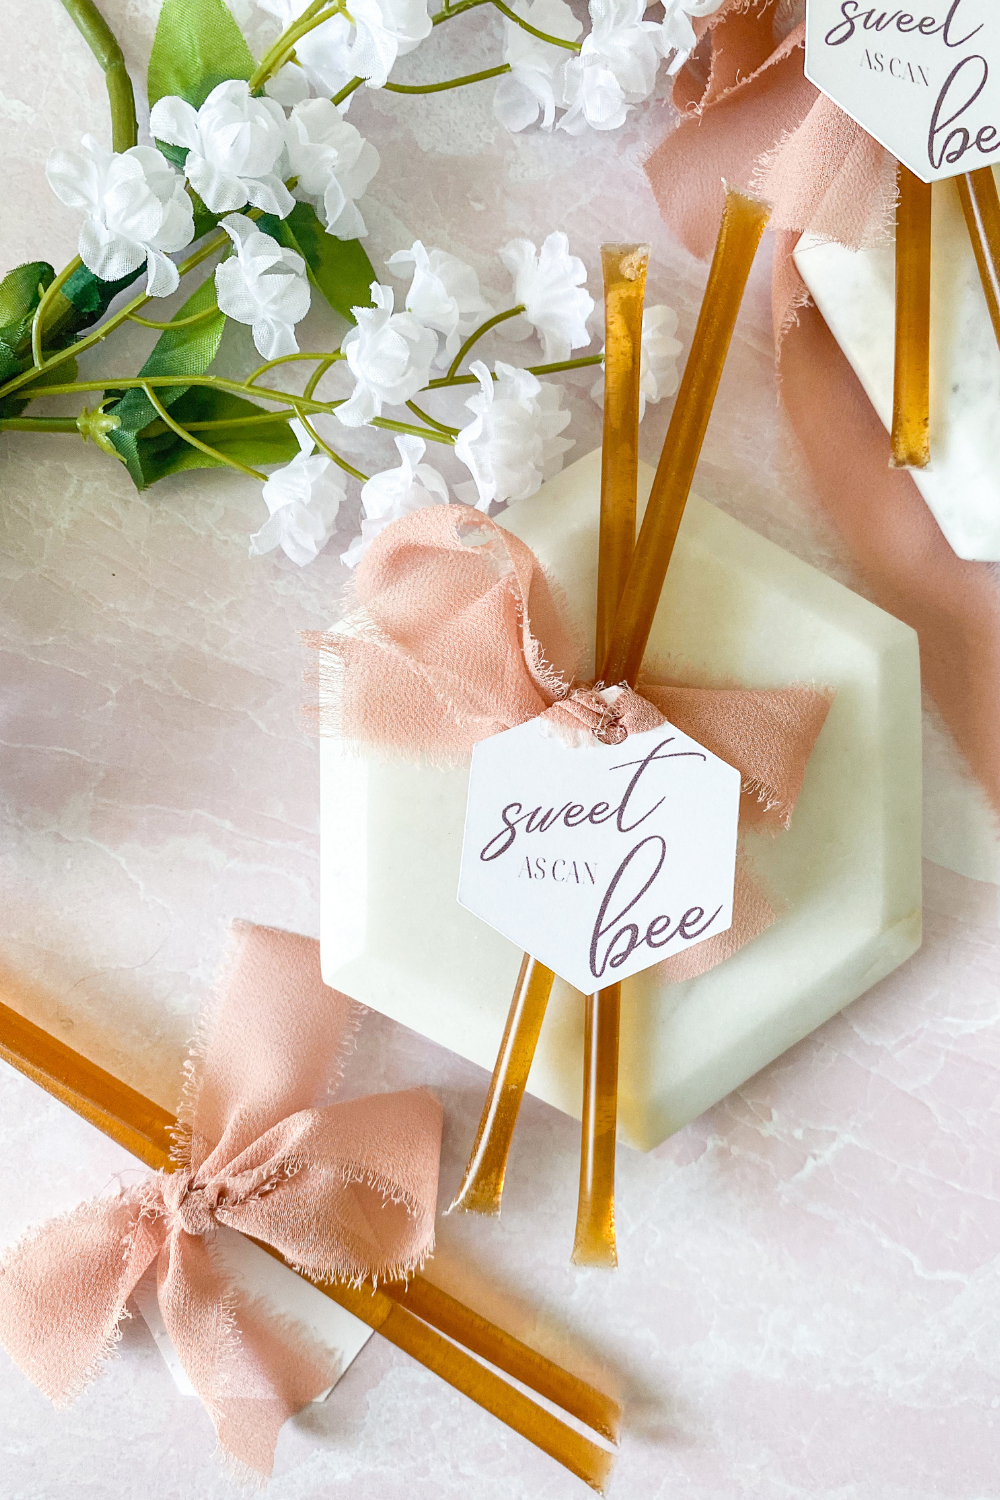
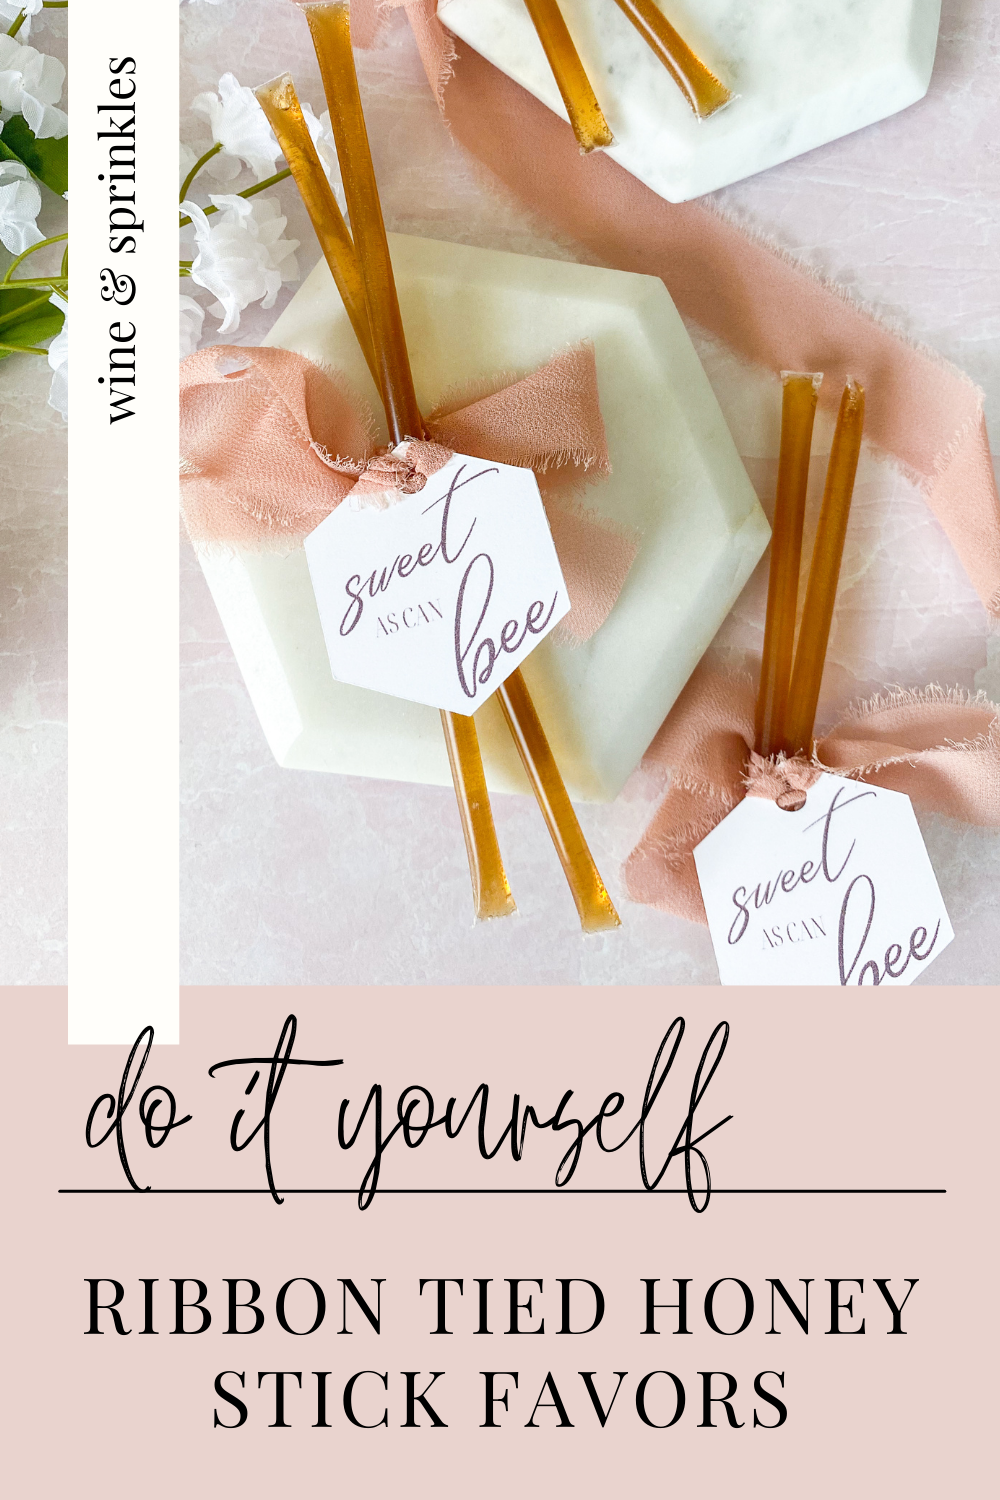
For sweetening your tea or enjoying as a farmer’s market treat, honey sticks are one of my favorite old school snacks, in fact my man buys me a couple anytime he sees them for sale! So when I was making Tea and Scones Breakfast Boxes to give away at my Vintage Victorian Cocktail Party, I knew that they just had to have some Ribbon Tied Honey Stick Favors!
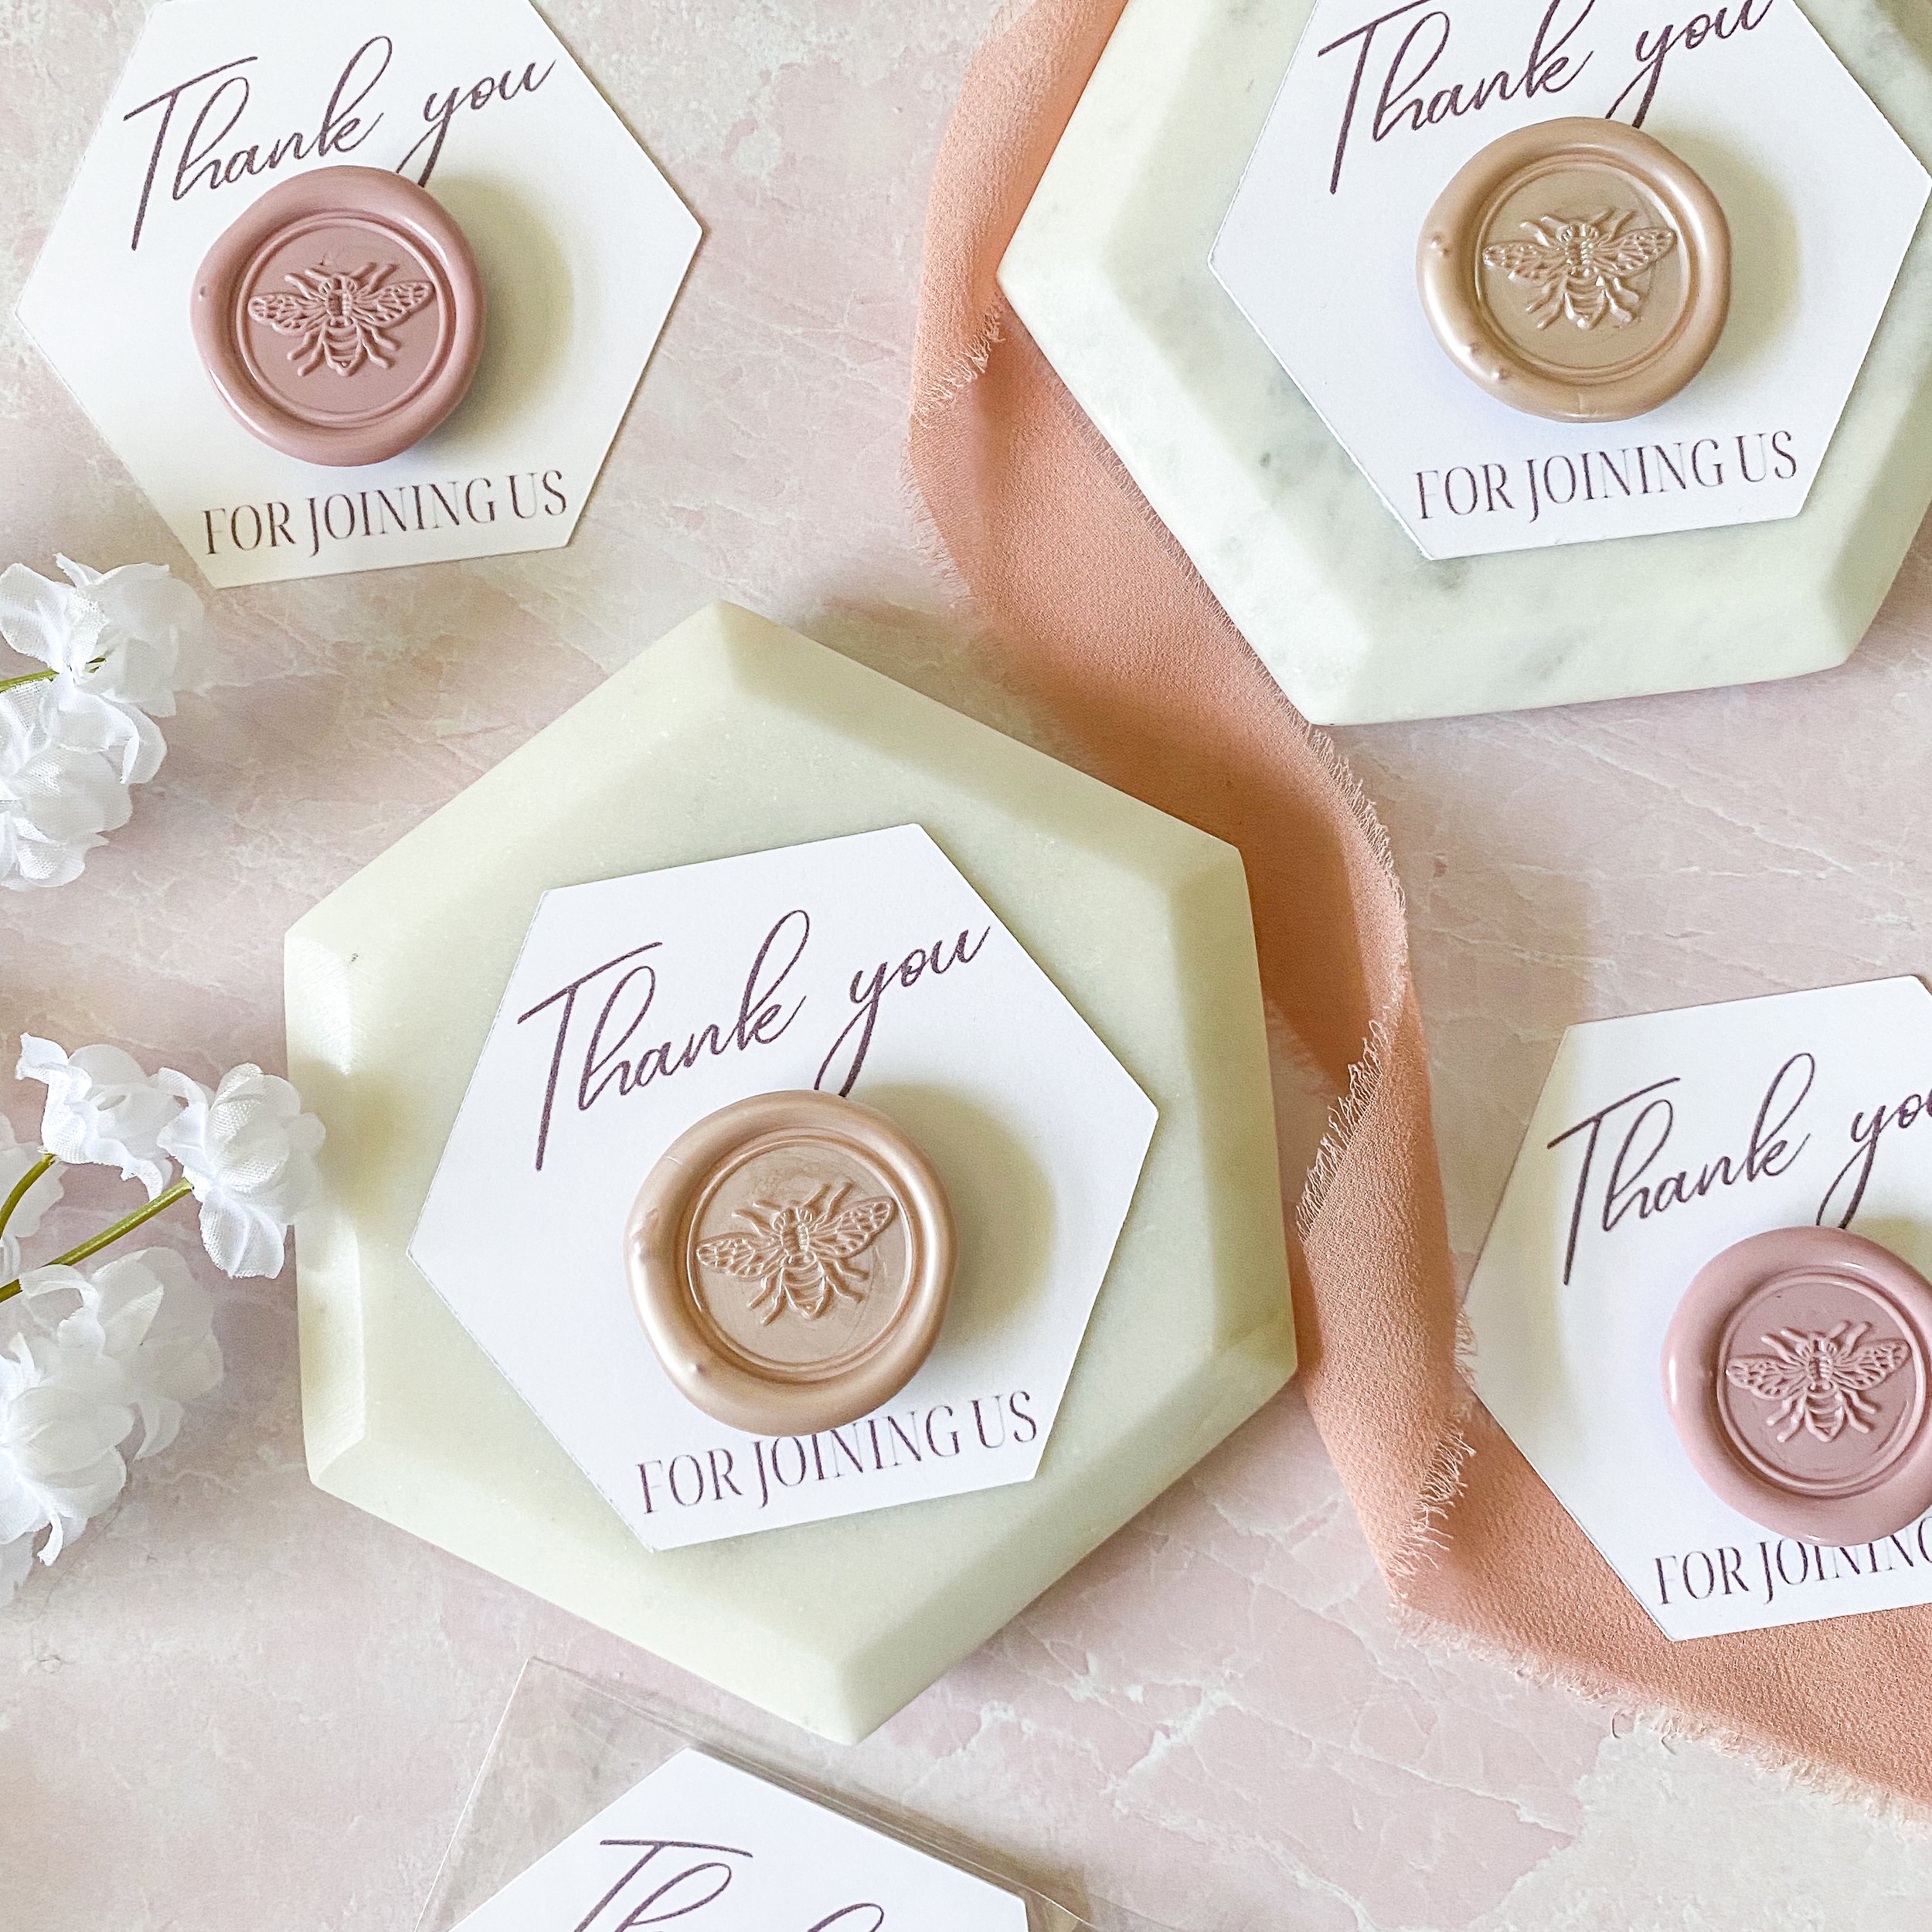
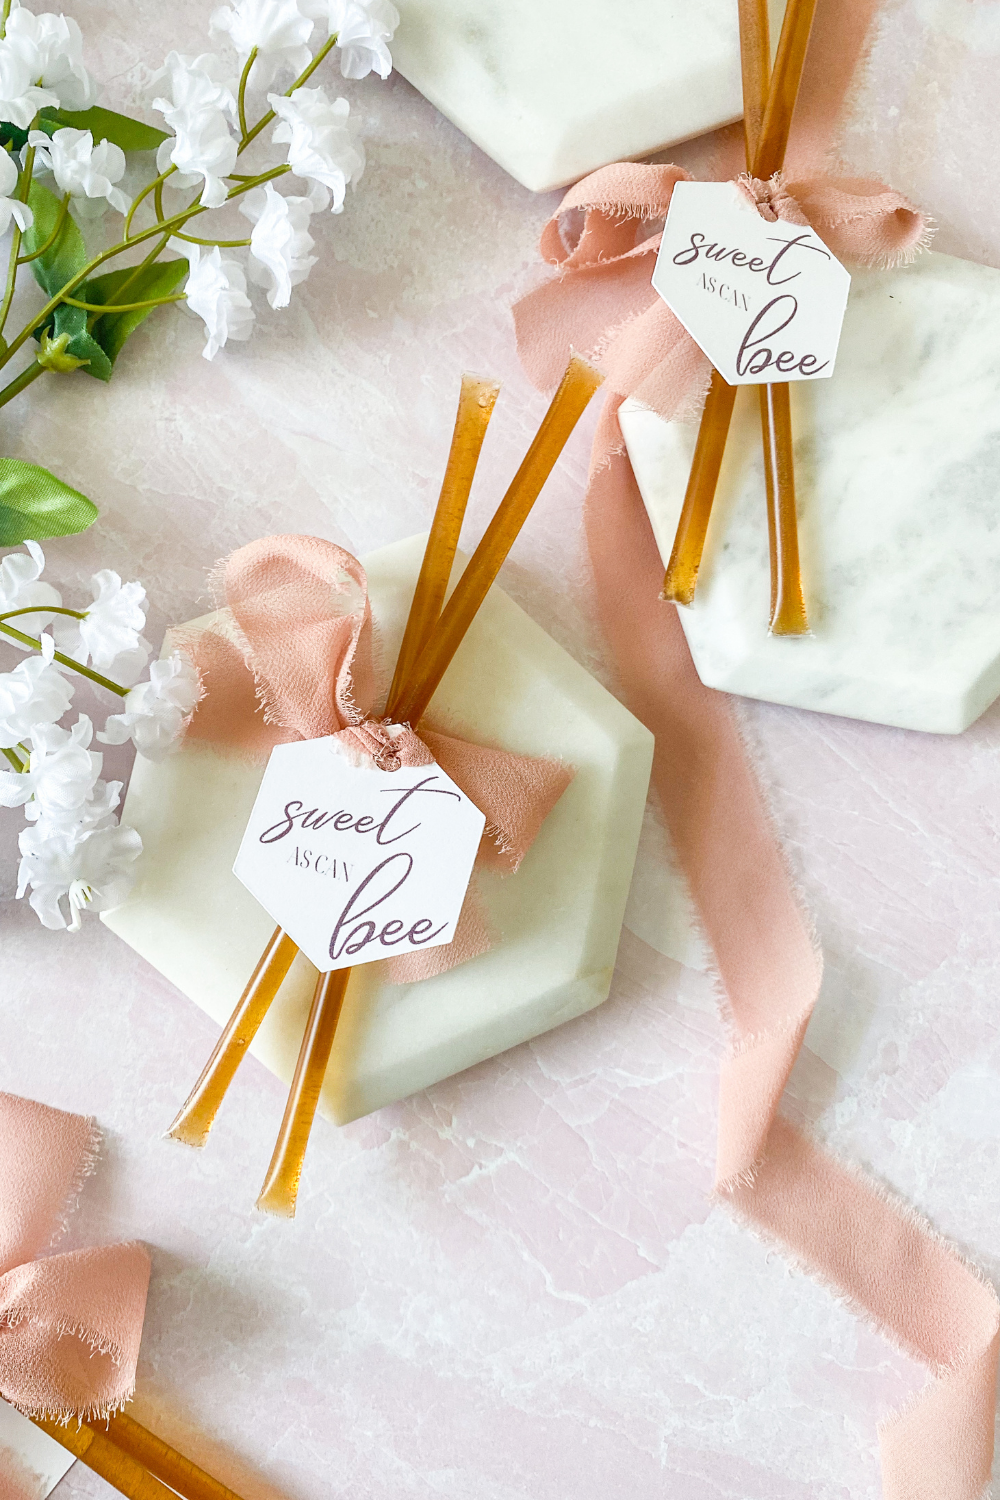
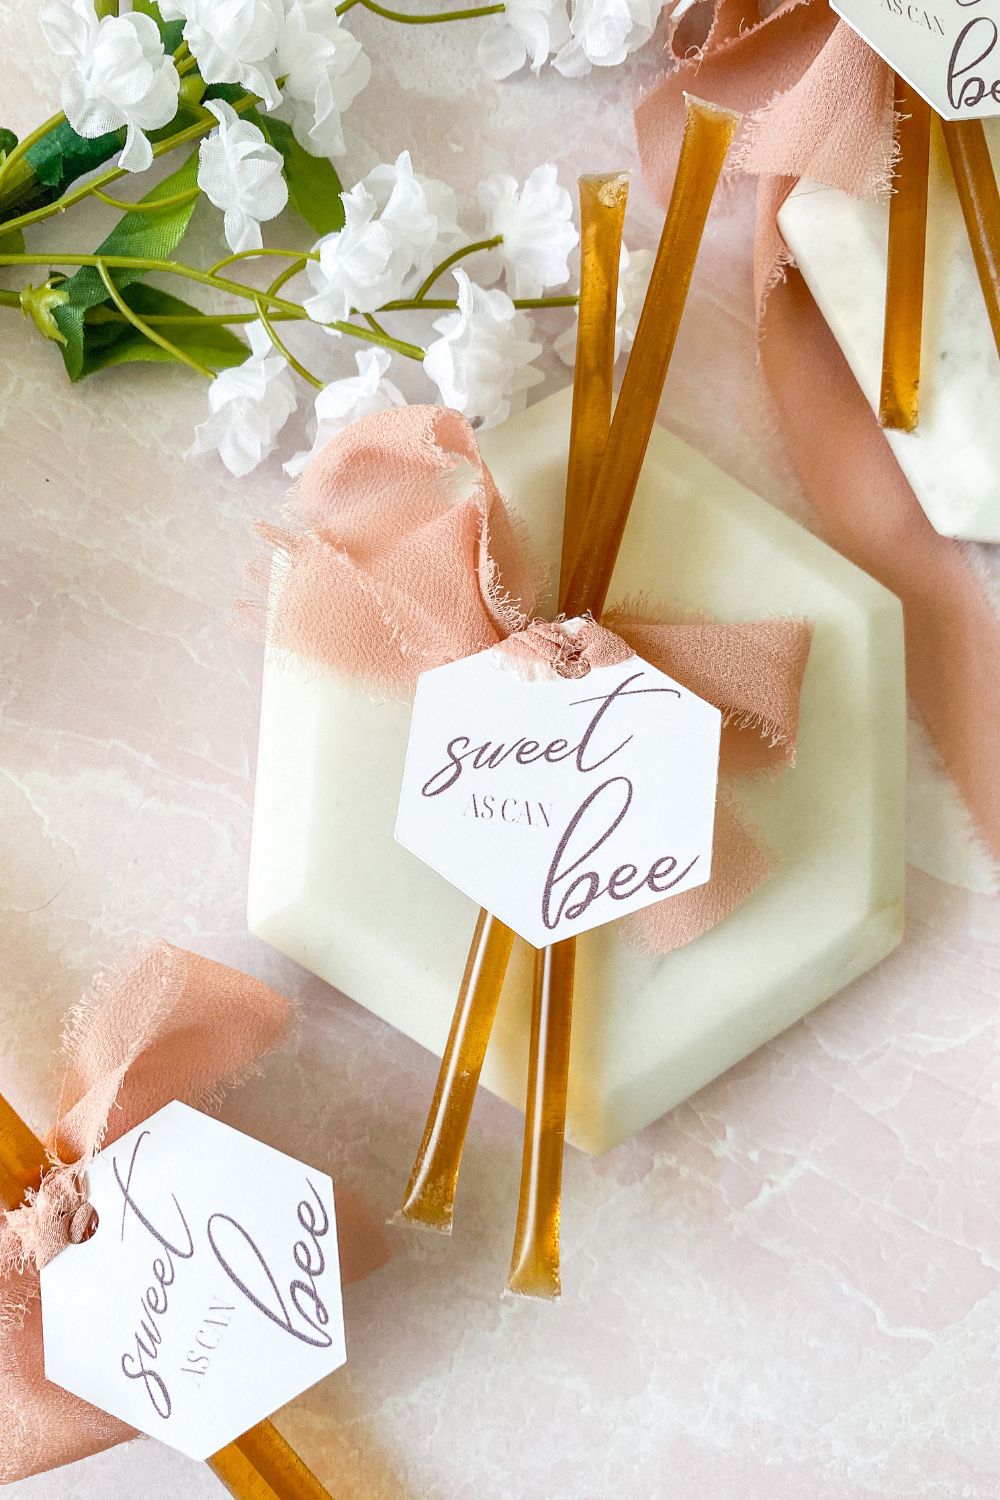
While the honey sticks I picked up from my farmers market are the main star, part of what makes every favor special is the packaging, and these honey sticks were no exception! I wanted something soft, simple, but also bee themed; so I designed some dapper little Hexagon Favor Tags and secured each set with some beautiful fringe chiffon ribbon in one of my favorite colors, rose gold! It gave that perfect special touch to these easy favors and it helped me perfect my technique for tying bows too!

As you might imagine, I included them as the sweetener for loose tea that was gifted in nifty little Spot of Tea Favor Bags but these simple and beautiful favors work great for tea parties, bridal showers, baby showers, or all sorts of springtime soirées! Below you will find the supplies and method I used for creating these easy and elegant favors, so craft some for your guests on your own for your own floral or bee themed festivities!
SUPPLIES
FAVOR SUPPLIES
Honey Sticks: as you might imagine, the main piece of these favors are honey sticks! I found mine locally from a store that also sells at my local farmers market, It’s All About the Bees, but you can also get some from the Etsy shop, The Honey Jar Home, which just happens to be based in my old hometown and has lots of honey stick flavors to choose from. For each favor, I used two honey sticks so you can mix and match flavors for your favorite combinations.
Hexagon Favor Tags: for a bee-utifully themed favor, these hexagon tags I made were the perfect honeycomb inspired choice! Each set of two sticks gets one tag, so cut out as many as you have favors. You’ll see that in both this tutorial and the one featuring how to make these tags, I explain how to thread them to create ribboned tags for any favor. I include the ribbon here too, but you only need the ribbon for tags so don’t count it twice!
Chiffon Ribbon*: for tying your tags to your honey sticks, I love this fringe chiffon ribbon for that soft romantic feel! You’ll need about 18 in of ribbon per favor to easily tie bows the size you see in my pictures.
*If you have already assembled your tags from the favor tag and card tutorial, you don’t need more ribbon here!
Scissors: for cutting ribbons and trimming tails after you tie honey sticks together.
SUPPLIES LIST:
[for 24 favors]
Honey Sticks x 48
Paper Tags x 24
Chiffon Ribbon x 36 ft
Scissors

DIRECTIONS
Cut the chiffon ribbon into 18” lengths for as many favors as you are making. Fold the ribbon in half, then thread the loop from back to front through the hole at the top of the tag.
Pass the two tail ends of the ribbon through the loop and tighten, leaving an overhand knot of the tag and two chiffon ribbon tails for tying around your honey sticks.


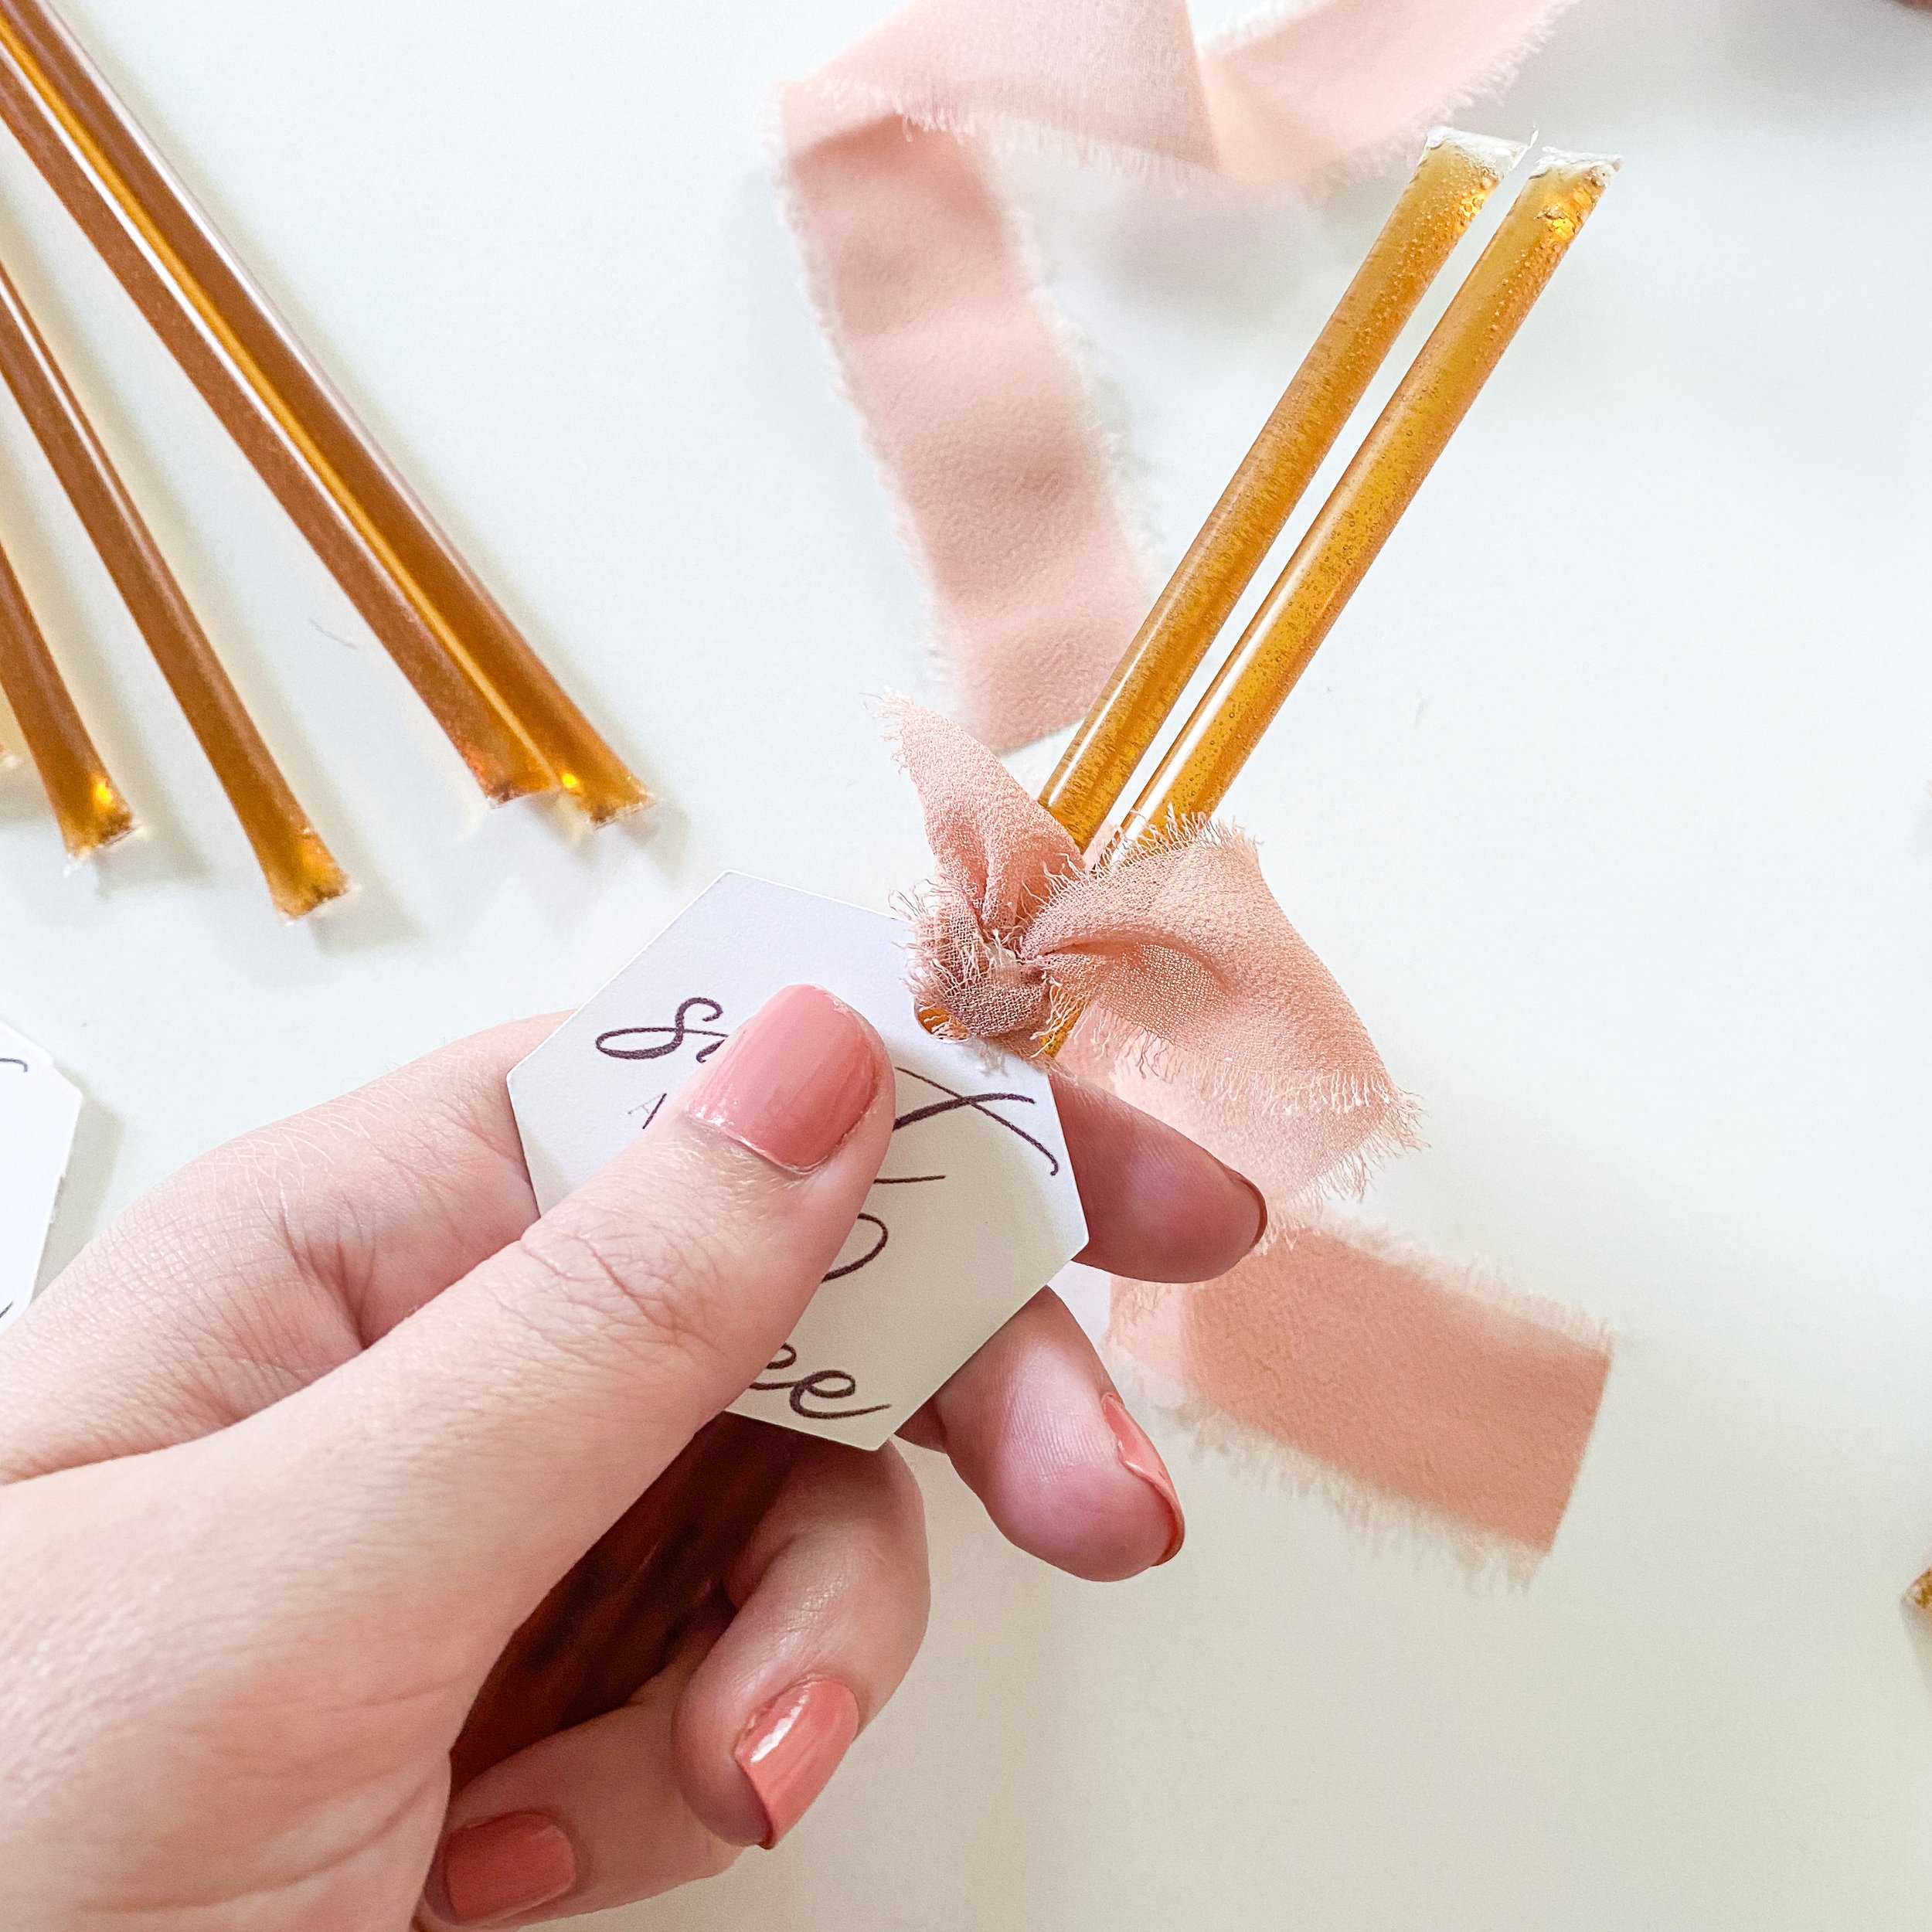
Take two honey sticks, then tie them together with a standard square knot with the tails of the ribbon to the tag, tightening them so that the honey sticks slightly overlap and form an x shape. Complete the favor by taking the ends of the ribbon and forming a bow over the square knot, then trim your bow tails as needed and your favors are ready to give away!


SEE OUR RELATED POSTS HERE:


OUR PINS FOR THIS POST:

OUR MOST RECENT BLOG POSTS:


