This post contains affiliate links, meaning that if you click on a link I will recieve a small comission. This costs you nothing extra and I only promote products I use and love! You can read our full disclosure here

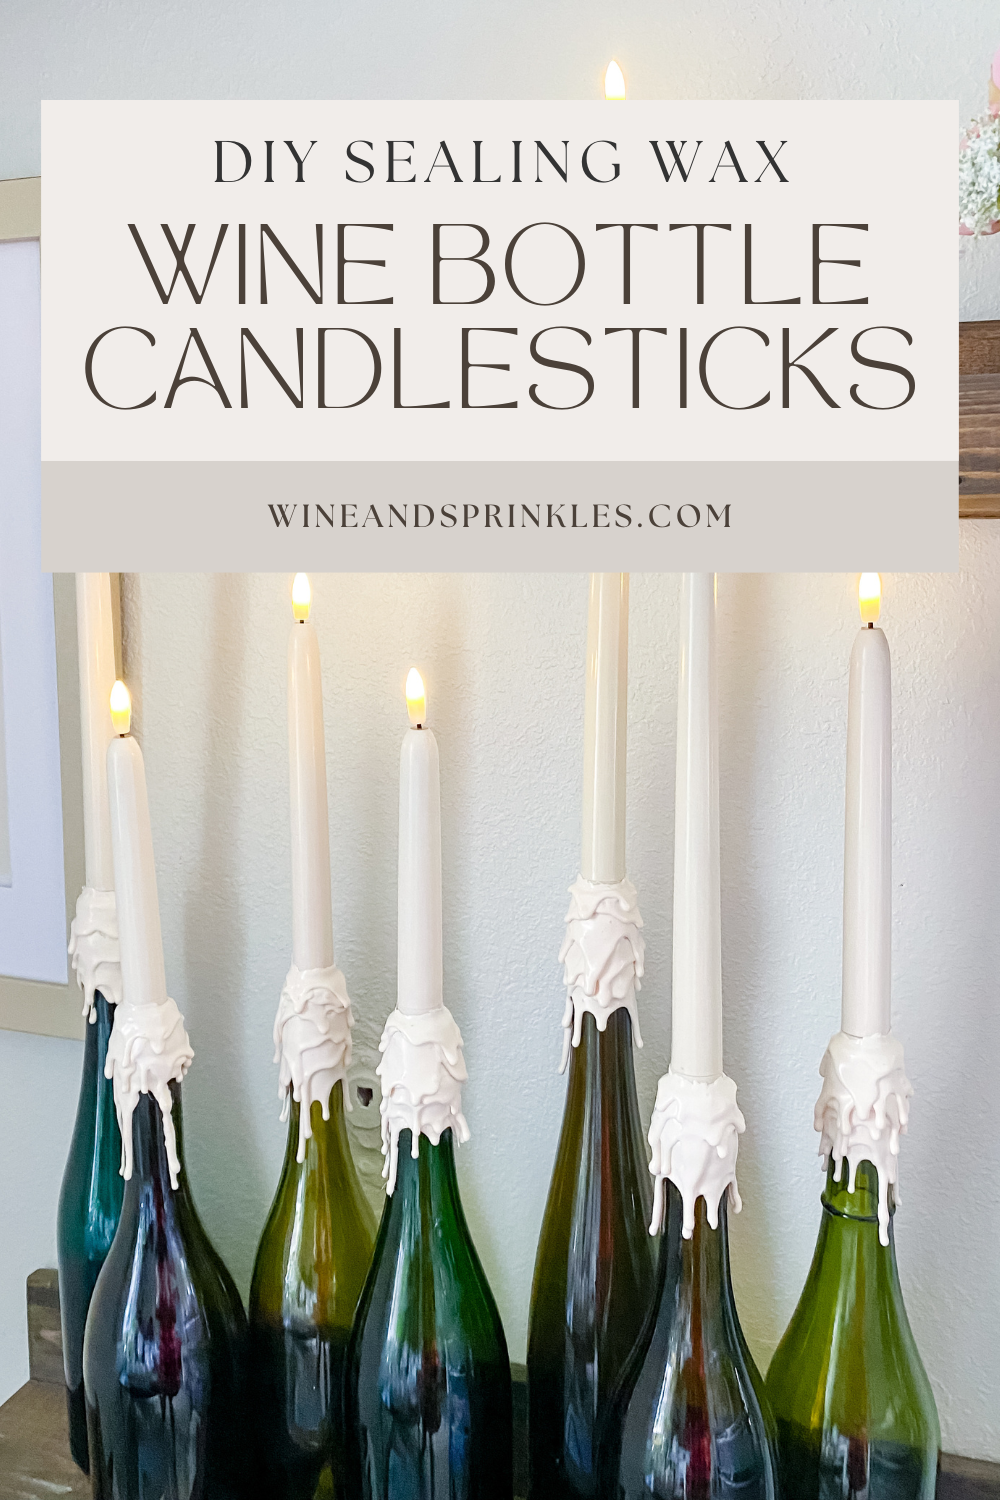
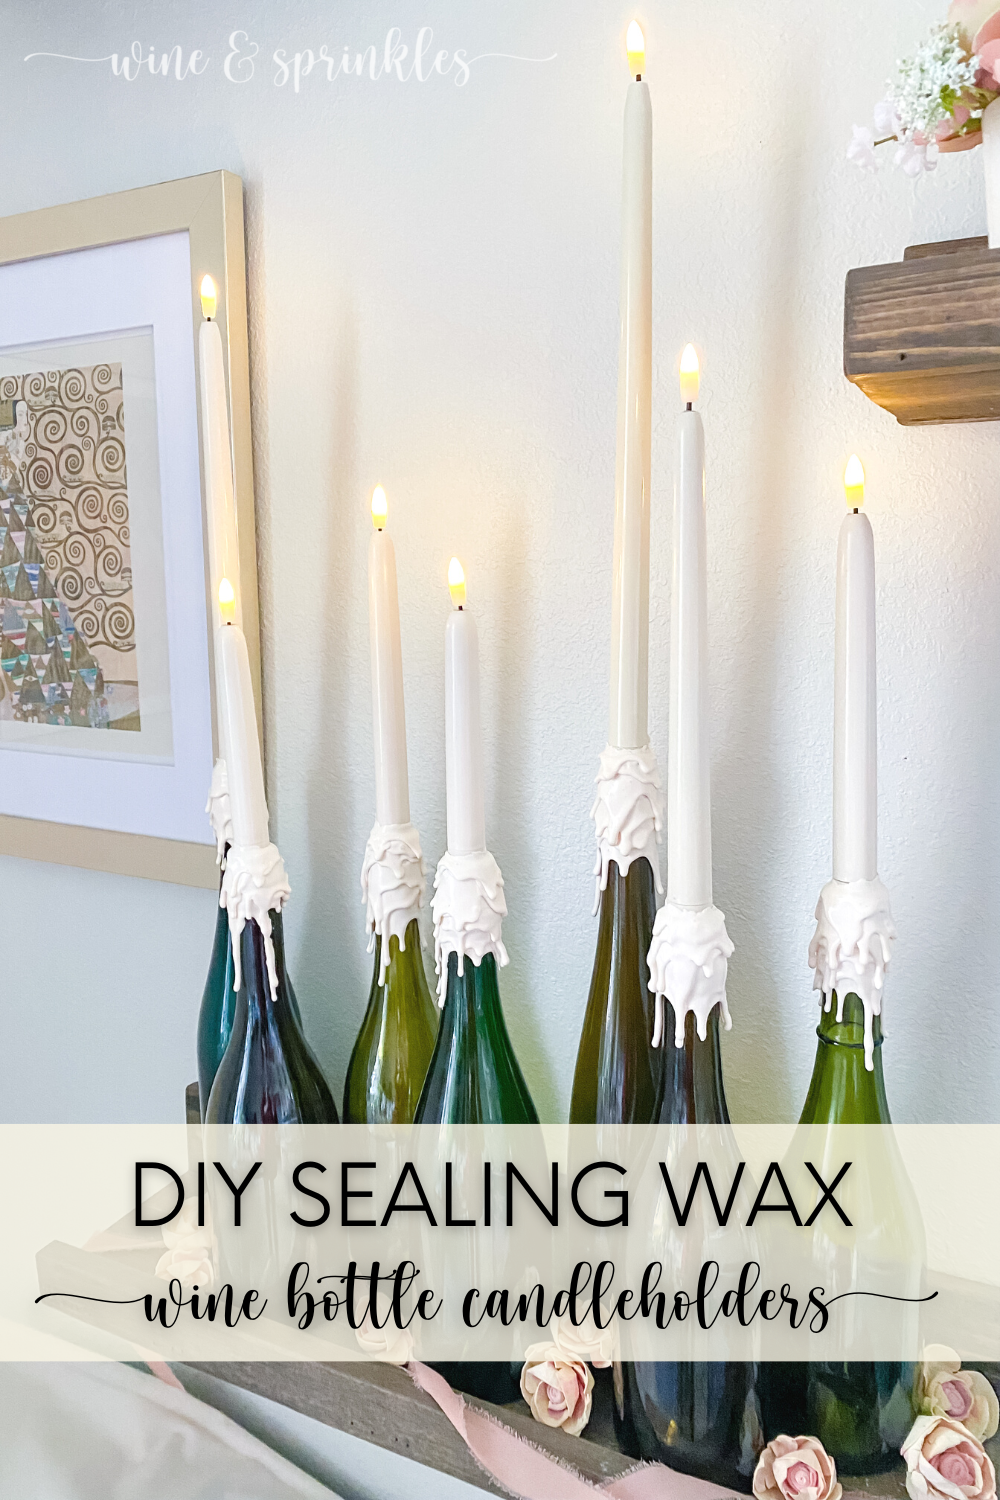
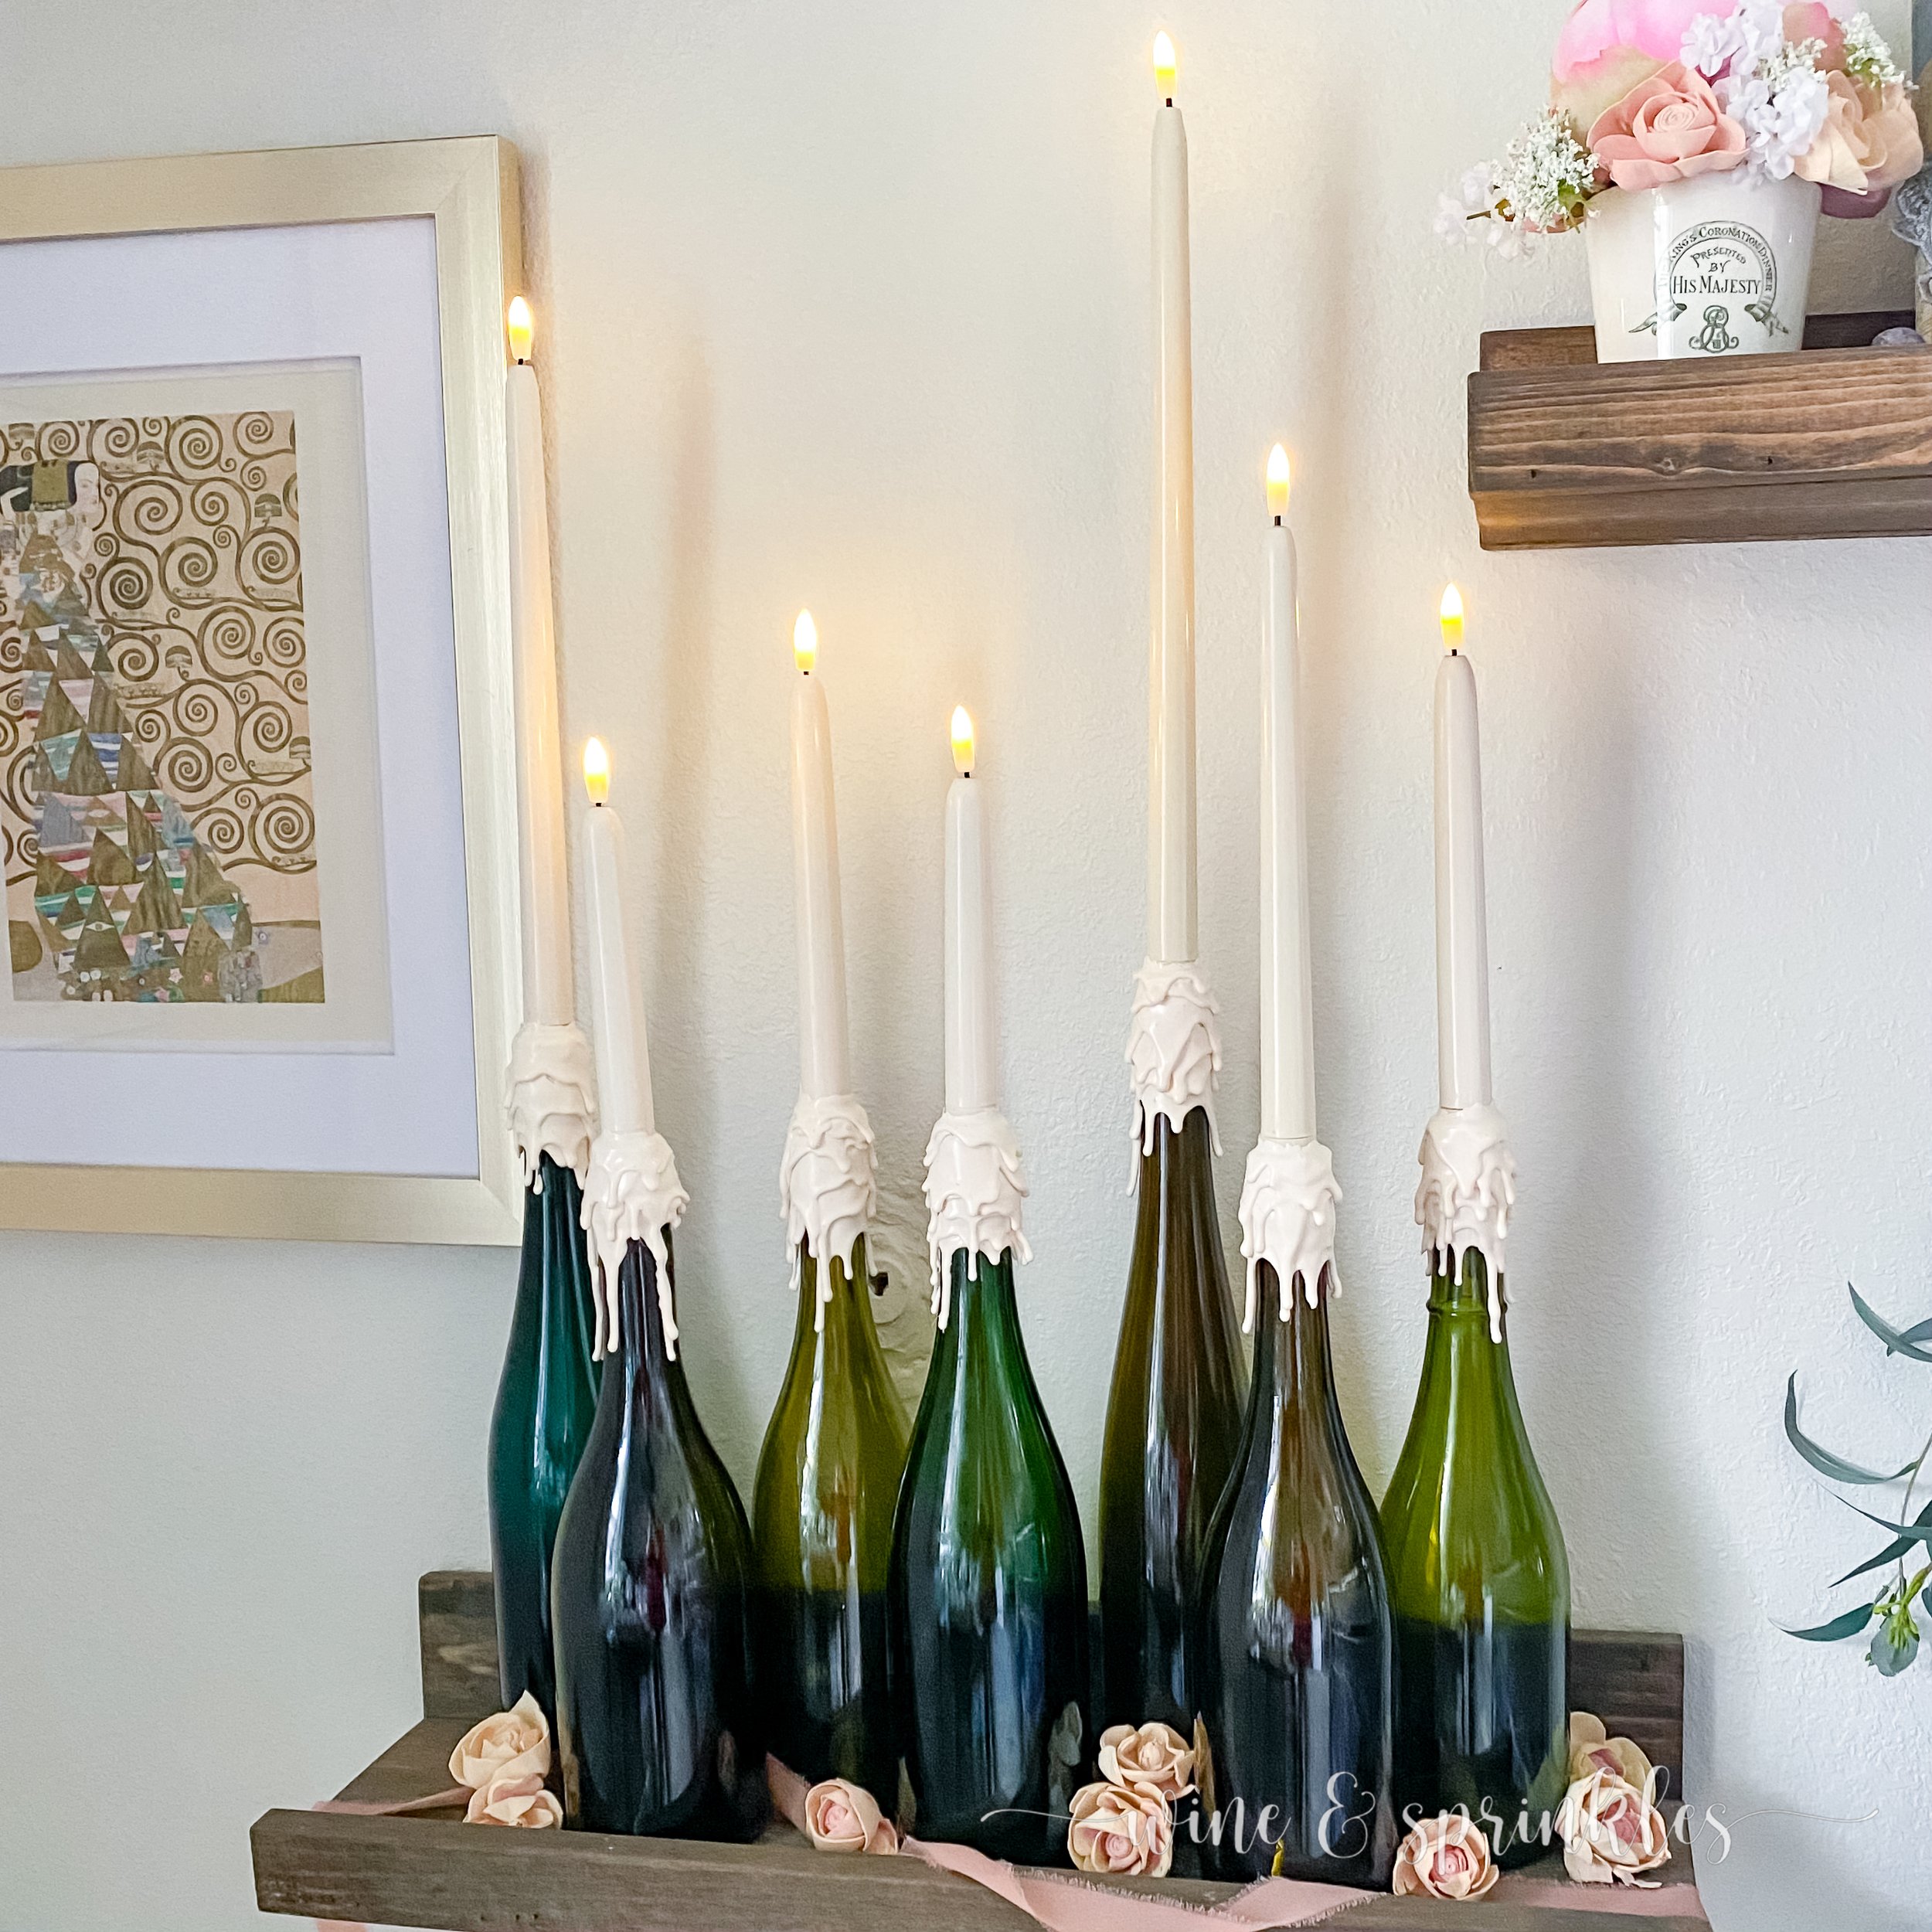
Be it a party or a date night at home, there’s nothing like a little romantic candle light to set the mood, and one of my favorite styles I’ve seen is when tapered candles are used to create candlescapes with wine bottles! Unfortunately for me, real candles are a little too much of a fire hazard for our home’s parties at present, but it was the perfect opportunity to create reusable candle holders from my existing wine bottles, with a little help from my favorite stationery sealing wax.
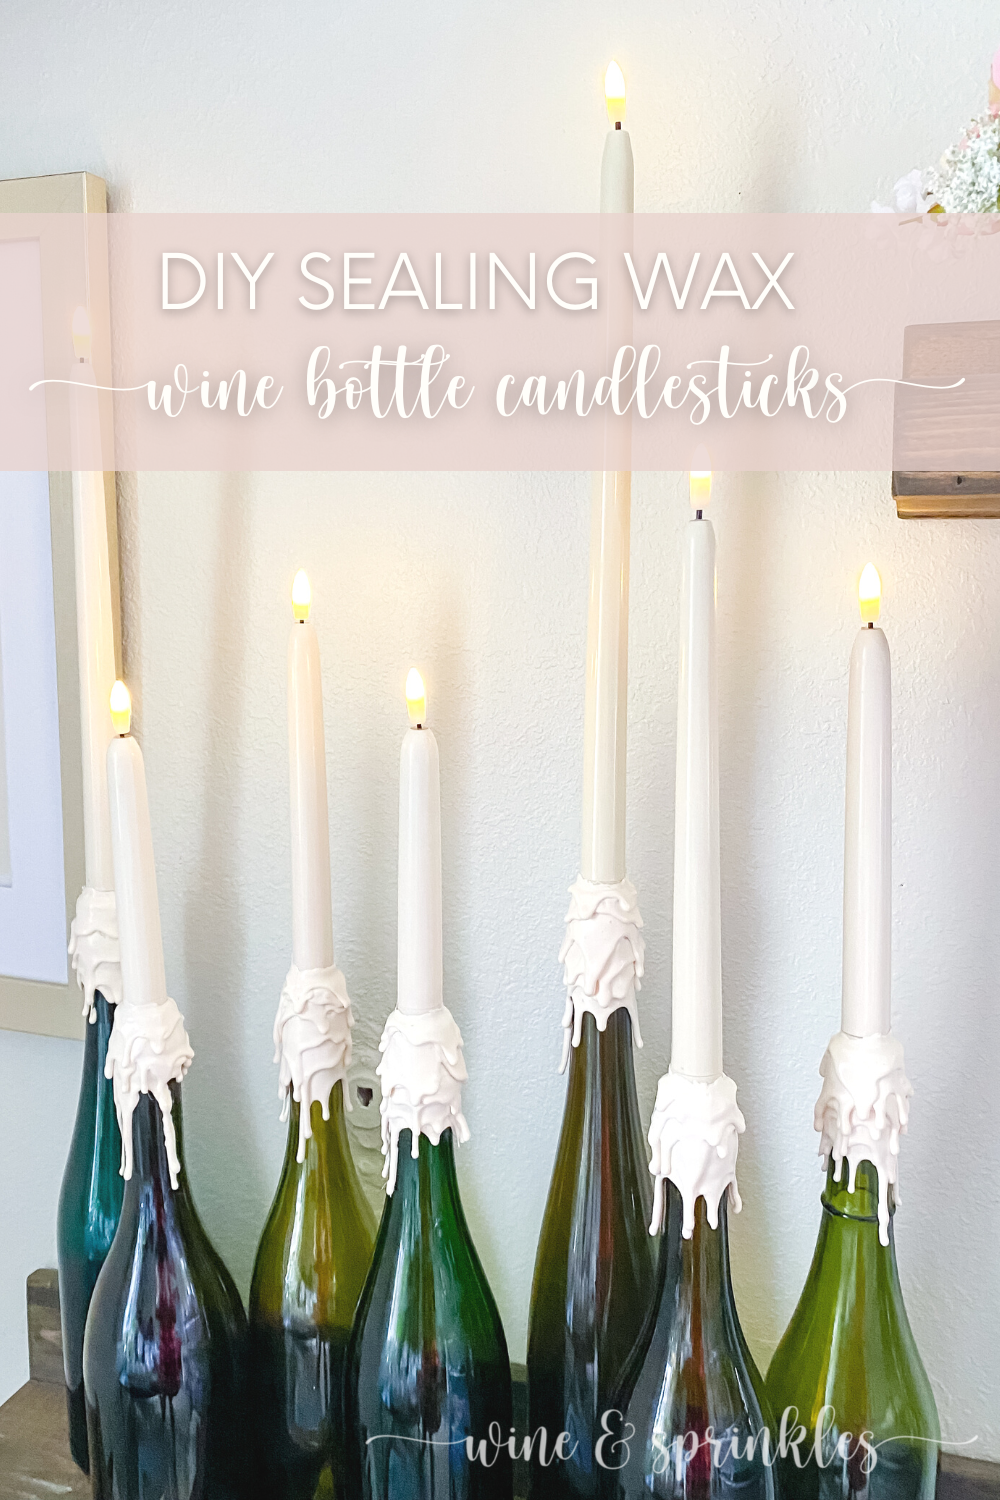
Sealing wax isn’t just for letters anymore! At least, I was very willing to use it to try to mimic candle wax dripping on the bottles as well as for securing the candle cups for my LED candles, and the result was perfect! The sealing wax created just the look I wanted while also staying flexible enough after hardening that the wax drips won’t crack off when you store them!
For creating this project easily as well as for procuring the beautiful Buttercream Wax, I looked to my favorite affiliate partner for sealing wax and stamp supplies, Artisaire! This Canadian based company specializes in all things sealing wax while also collaborating with talented artists for one of a kind wax stamp collections which I am obsessed with! Having already used their supplies and adored them on various Wax Seal Projects, I knew that they would have exactly what I was looking for, in this case their Sealing Wax Sticks.
To learn more about the different products I’ve tried as well as the different wax seal methods you can try with their products, check out my Artisaire Wax Stamp and Seals Review here!
This was a project where the low temperature glue gun wax sealing method shines, it was like using a glue gun to creatively drip wax around the bottle, but I did learn from my first attempt that forming a base for it from air dry clay is a must, both so you can smoothly cover the bottle with wax but more importantly so you don't have to use sealing wax to fill in all that empty space, keeping these candleholders much more cost effective with a much prettier end result! To learn more about the different sorts of sealing waxes and other ways I’ve crafted with them, read my review on all the products I’ve tried from Artisaire so far here.
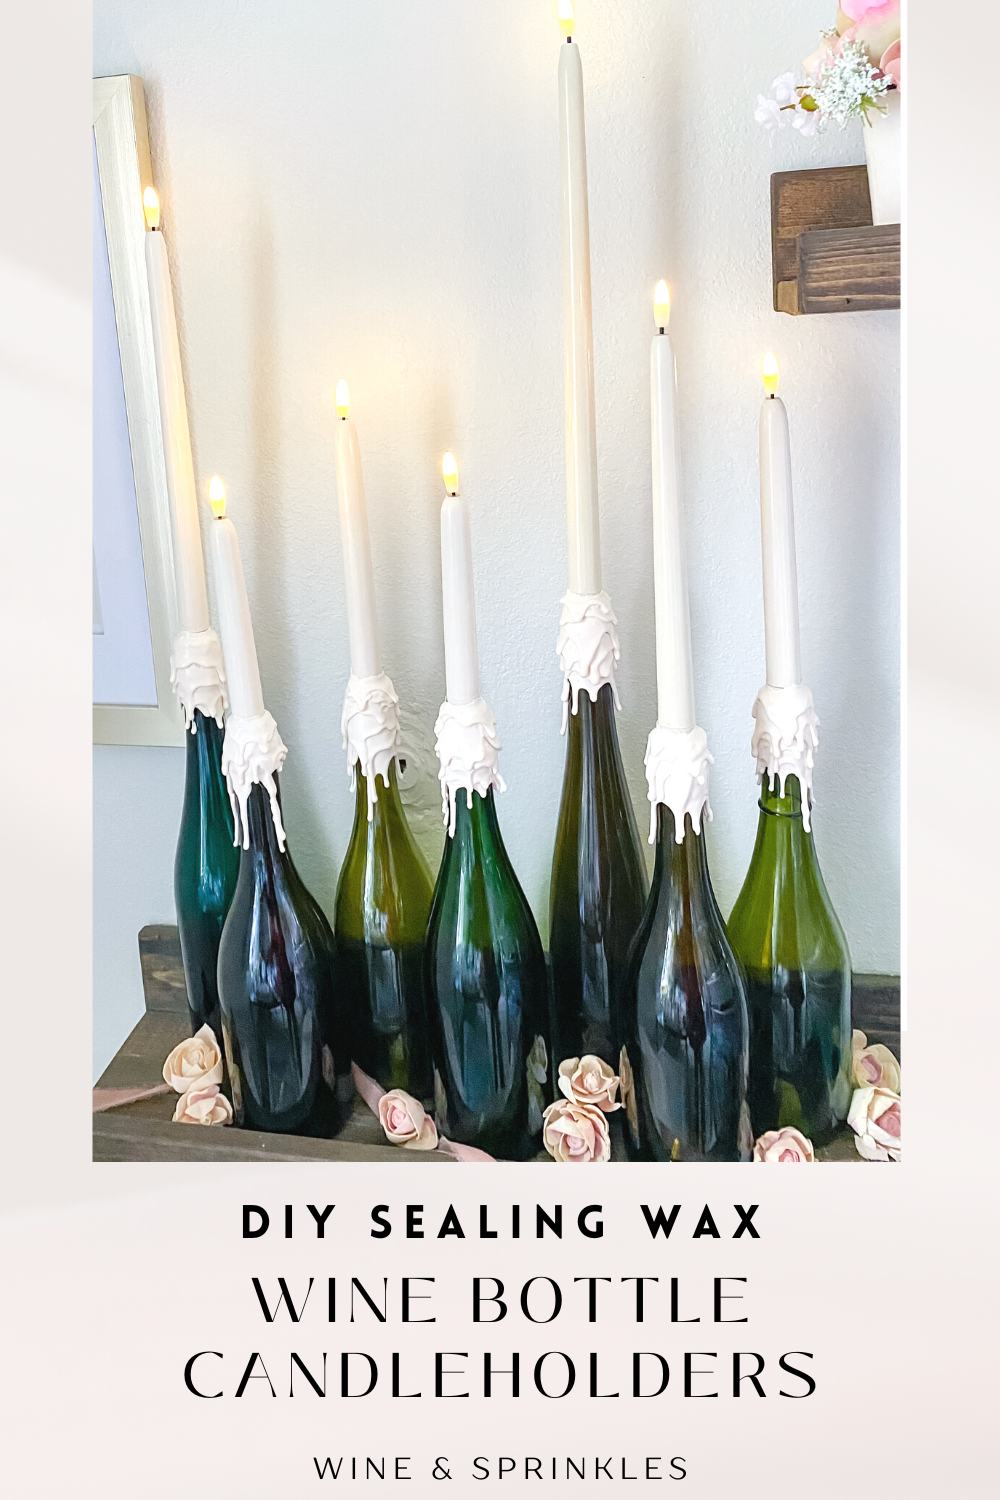
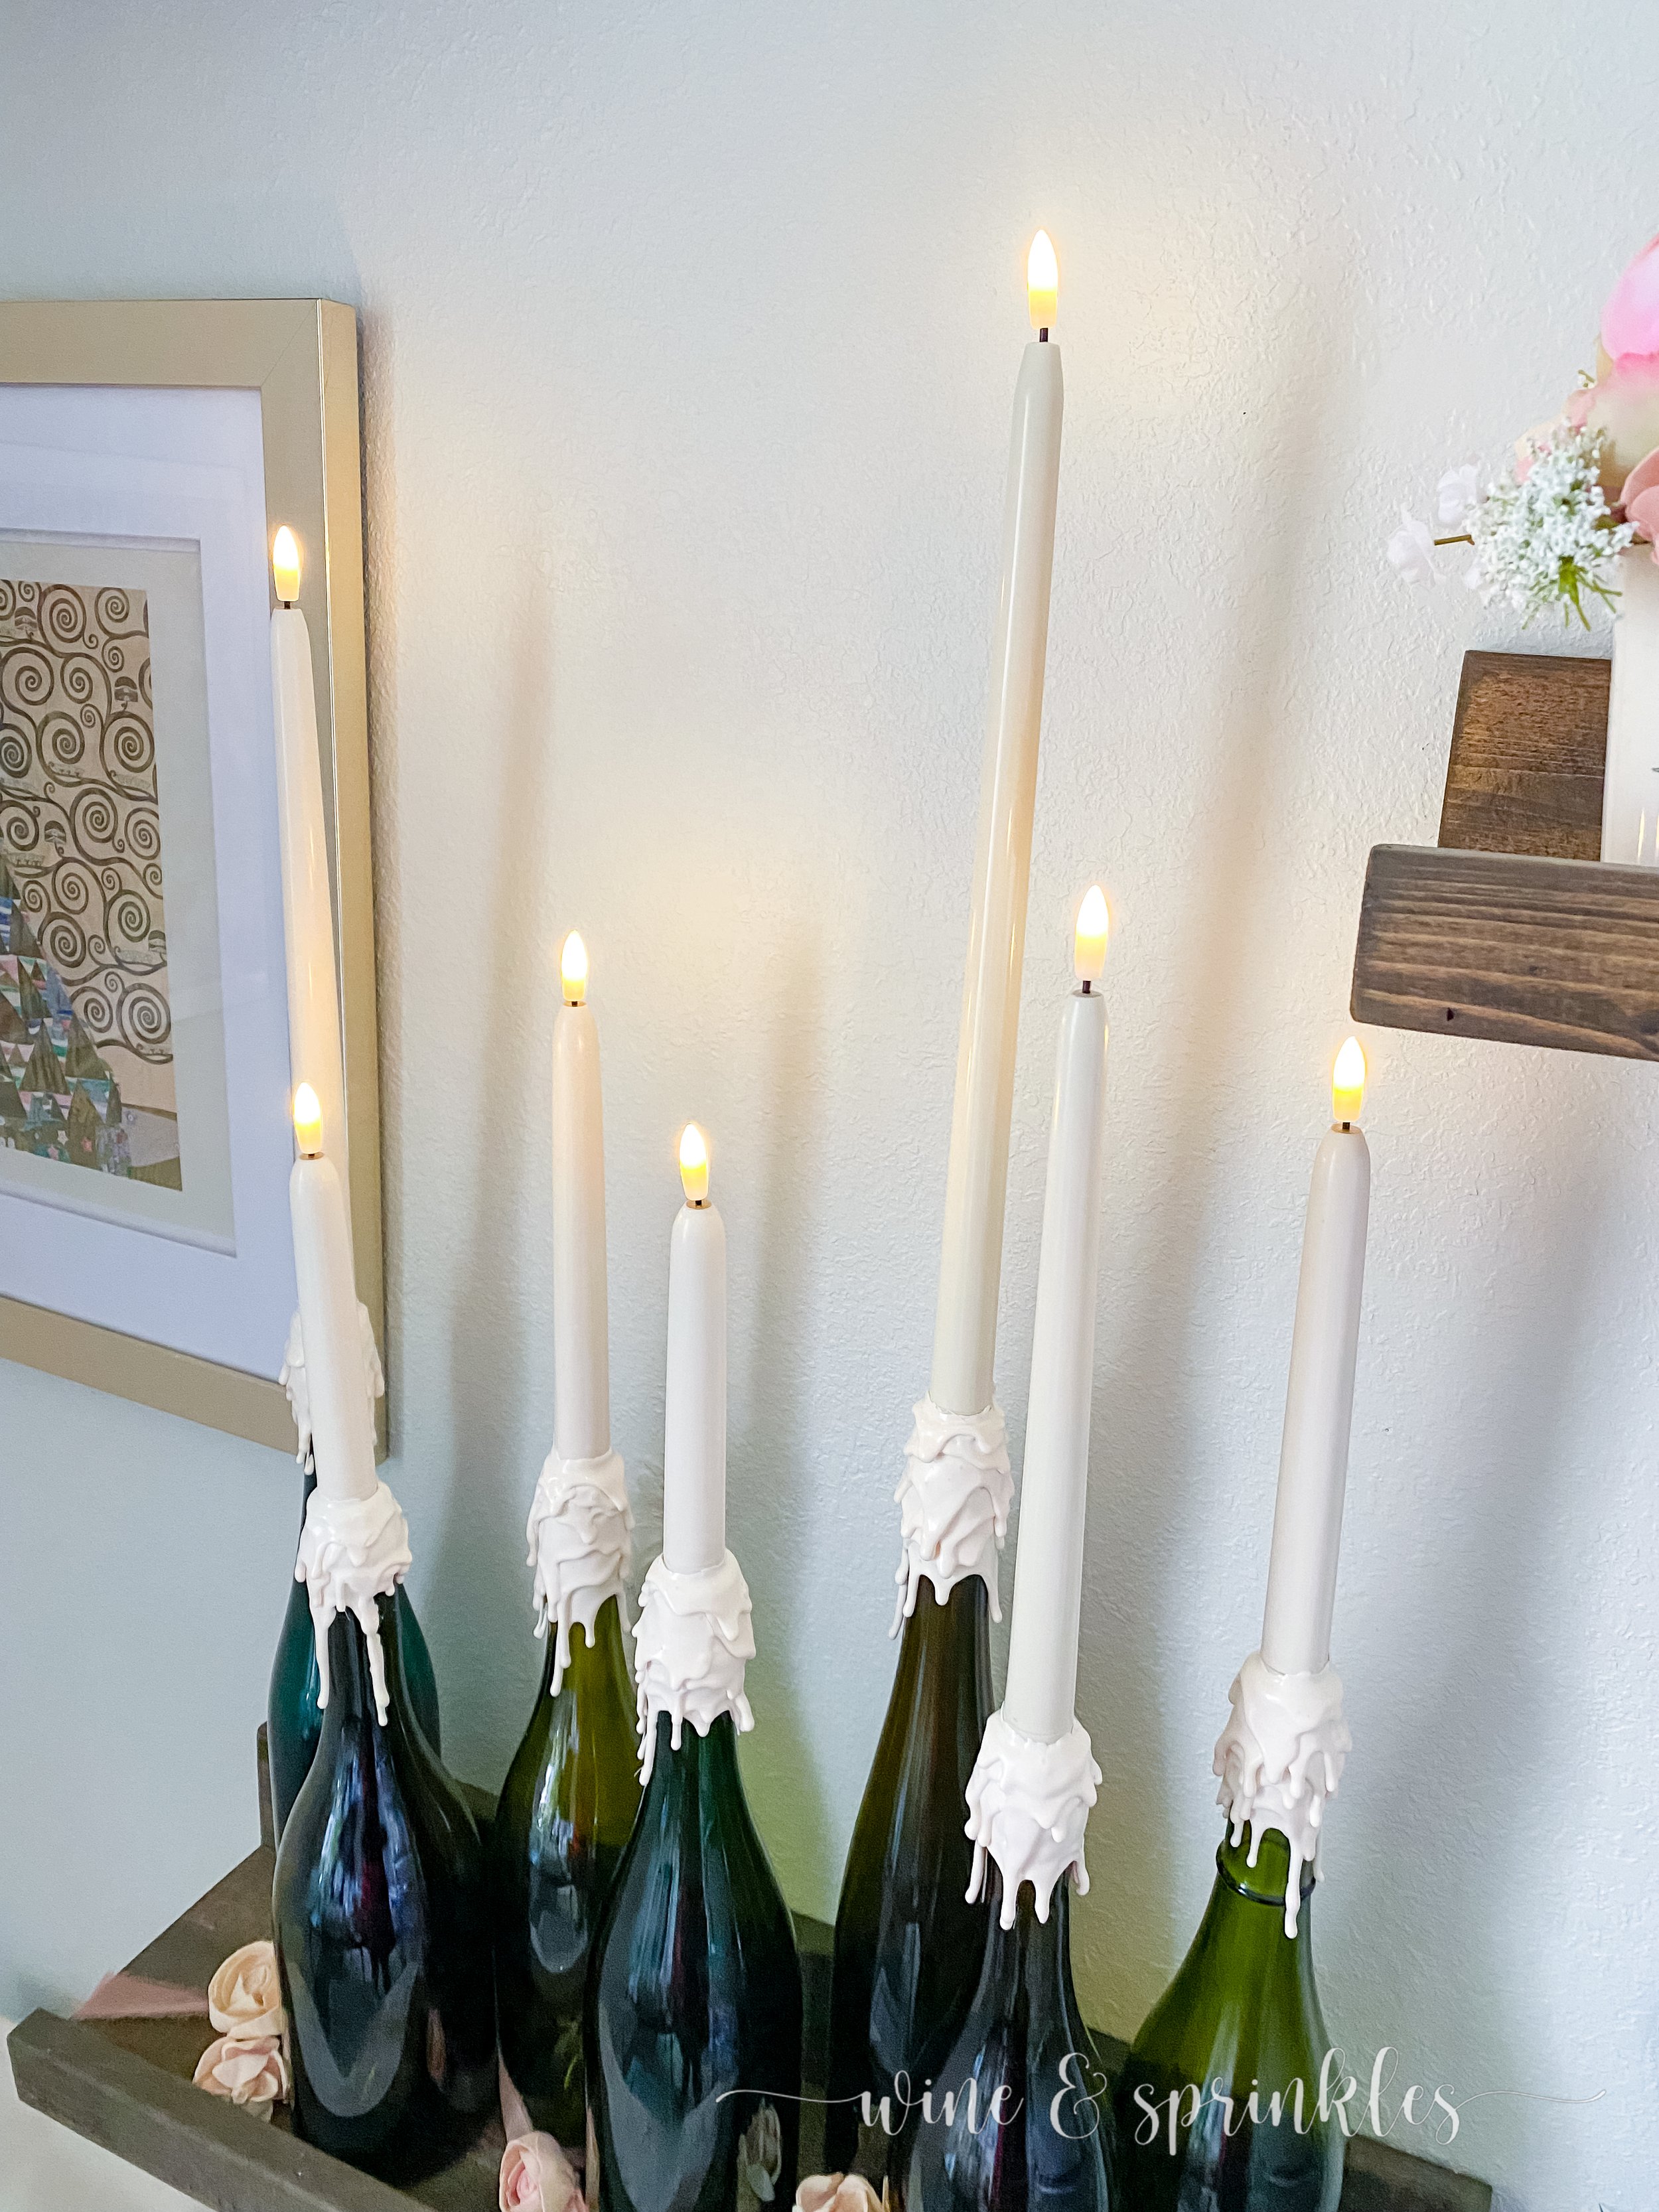
I used these candle holders to decorate my basement card room for my Vintage Victorian Cocktail Party, and can’t wait to make a few dozen more with other fun wine bottle decorations for a spooky party coming up this fall, and in the meantime you can craft your own set for a cocktail party, dinner, or any fun occasion to decorate!
SUPPLIES
CENTERPIECE SUPPLIES
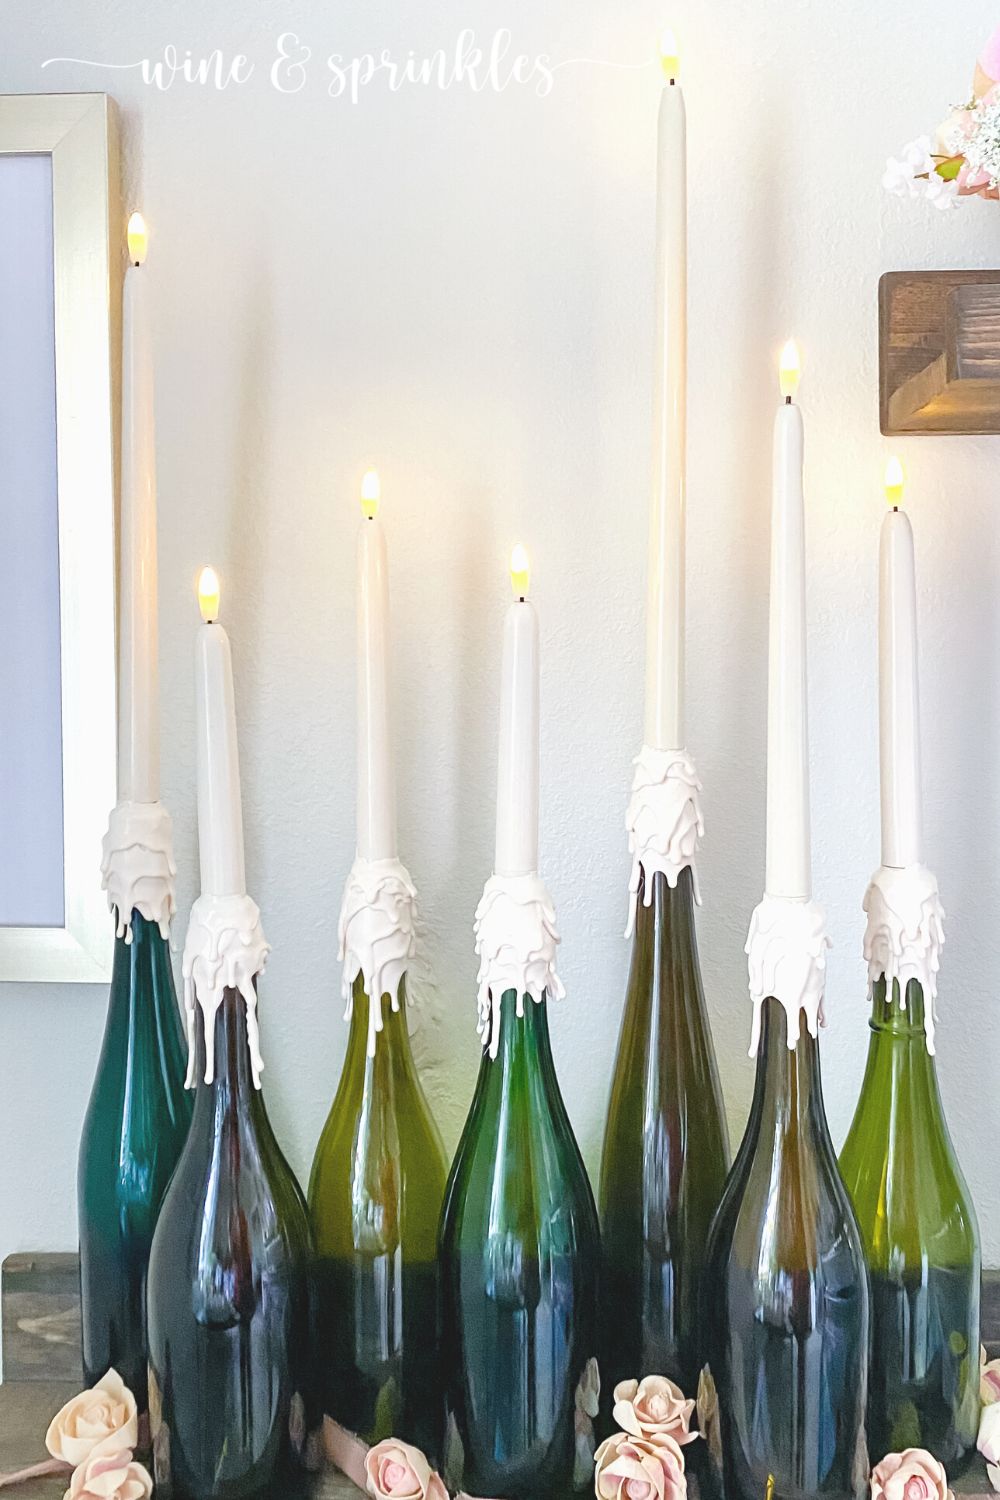
Empty Wine Bottles: empty wine bottles are the base of this project, but unlike my other wine bottle centerpieces, these bottles are becoming permanent candle holders rather than temporary vases like in my Wooden Flower Wine Bottle Centerpieces. Similar to other projects and centerpieces featuring bottles though, having a variety of heights give a lot more interest and dimension to the centerpiece!
Candle Cup Bases: these act both as holders for your taper candles and bases to seal the tops of each bottle after applying your wax. You’ll need one cup for each wine bottle you are using.
LED Taper Candles: you can also choose to use real taper candles here, but I love these LED ones for their realistic look, along with not getting wax everywhere and being a potential fire hazard!
Air Dry Clay: for creating a smooth surface on your wine bottle necks to drip wax onto as well as to build a base around the candle cup, since mine didn’t fit all the way in the bottle opening!
Sealing Wax Sticks: Used for both initially securing the candle cup and decorating the bottle, sealing wax is the star of this DIY show! While you could pick any color wax, I chose the beautiful warm Buttercream to match my candles best and give an appearance of wax dripping down the bottles, without the mess real candles make! I found that I used a little less than one stick of wax per holder, so I could make seven candle holders with one set of six sticks
TOOLS & OTHER SUPPLIES
Low Temperature Glue Gun: for melting your sealing wax sticks to decorate your candleholders.
Parchment Paper: for lining the bottom of your candles to easily remove them once your sealing wax hardens. I cut mine into 1” x 3” strips which were easy to use and remove.
SUPPLIES LIST:
[for 1 centerpiece]
CENTERPIECE SUPPLIES
Empty Wine Bottles x 7
Candle Cup Bases x 7
LED Taper Candles x 7
Air Dry Clay
Sealing Wax Sticks x 6
TOOLS & OTHER SUPPLIES
Low Temperature Glue Gun x 1
Parchment Paper

DIRECTIONS


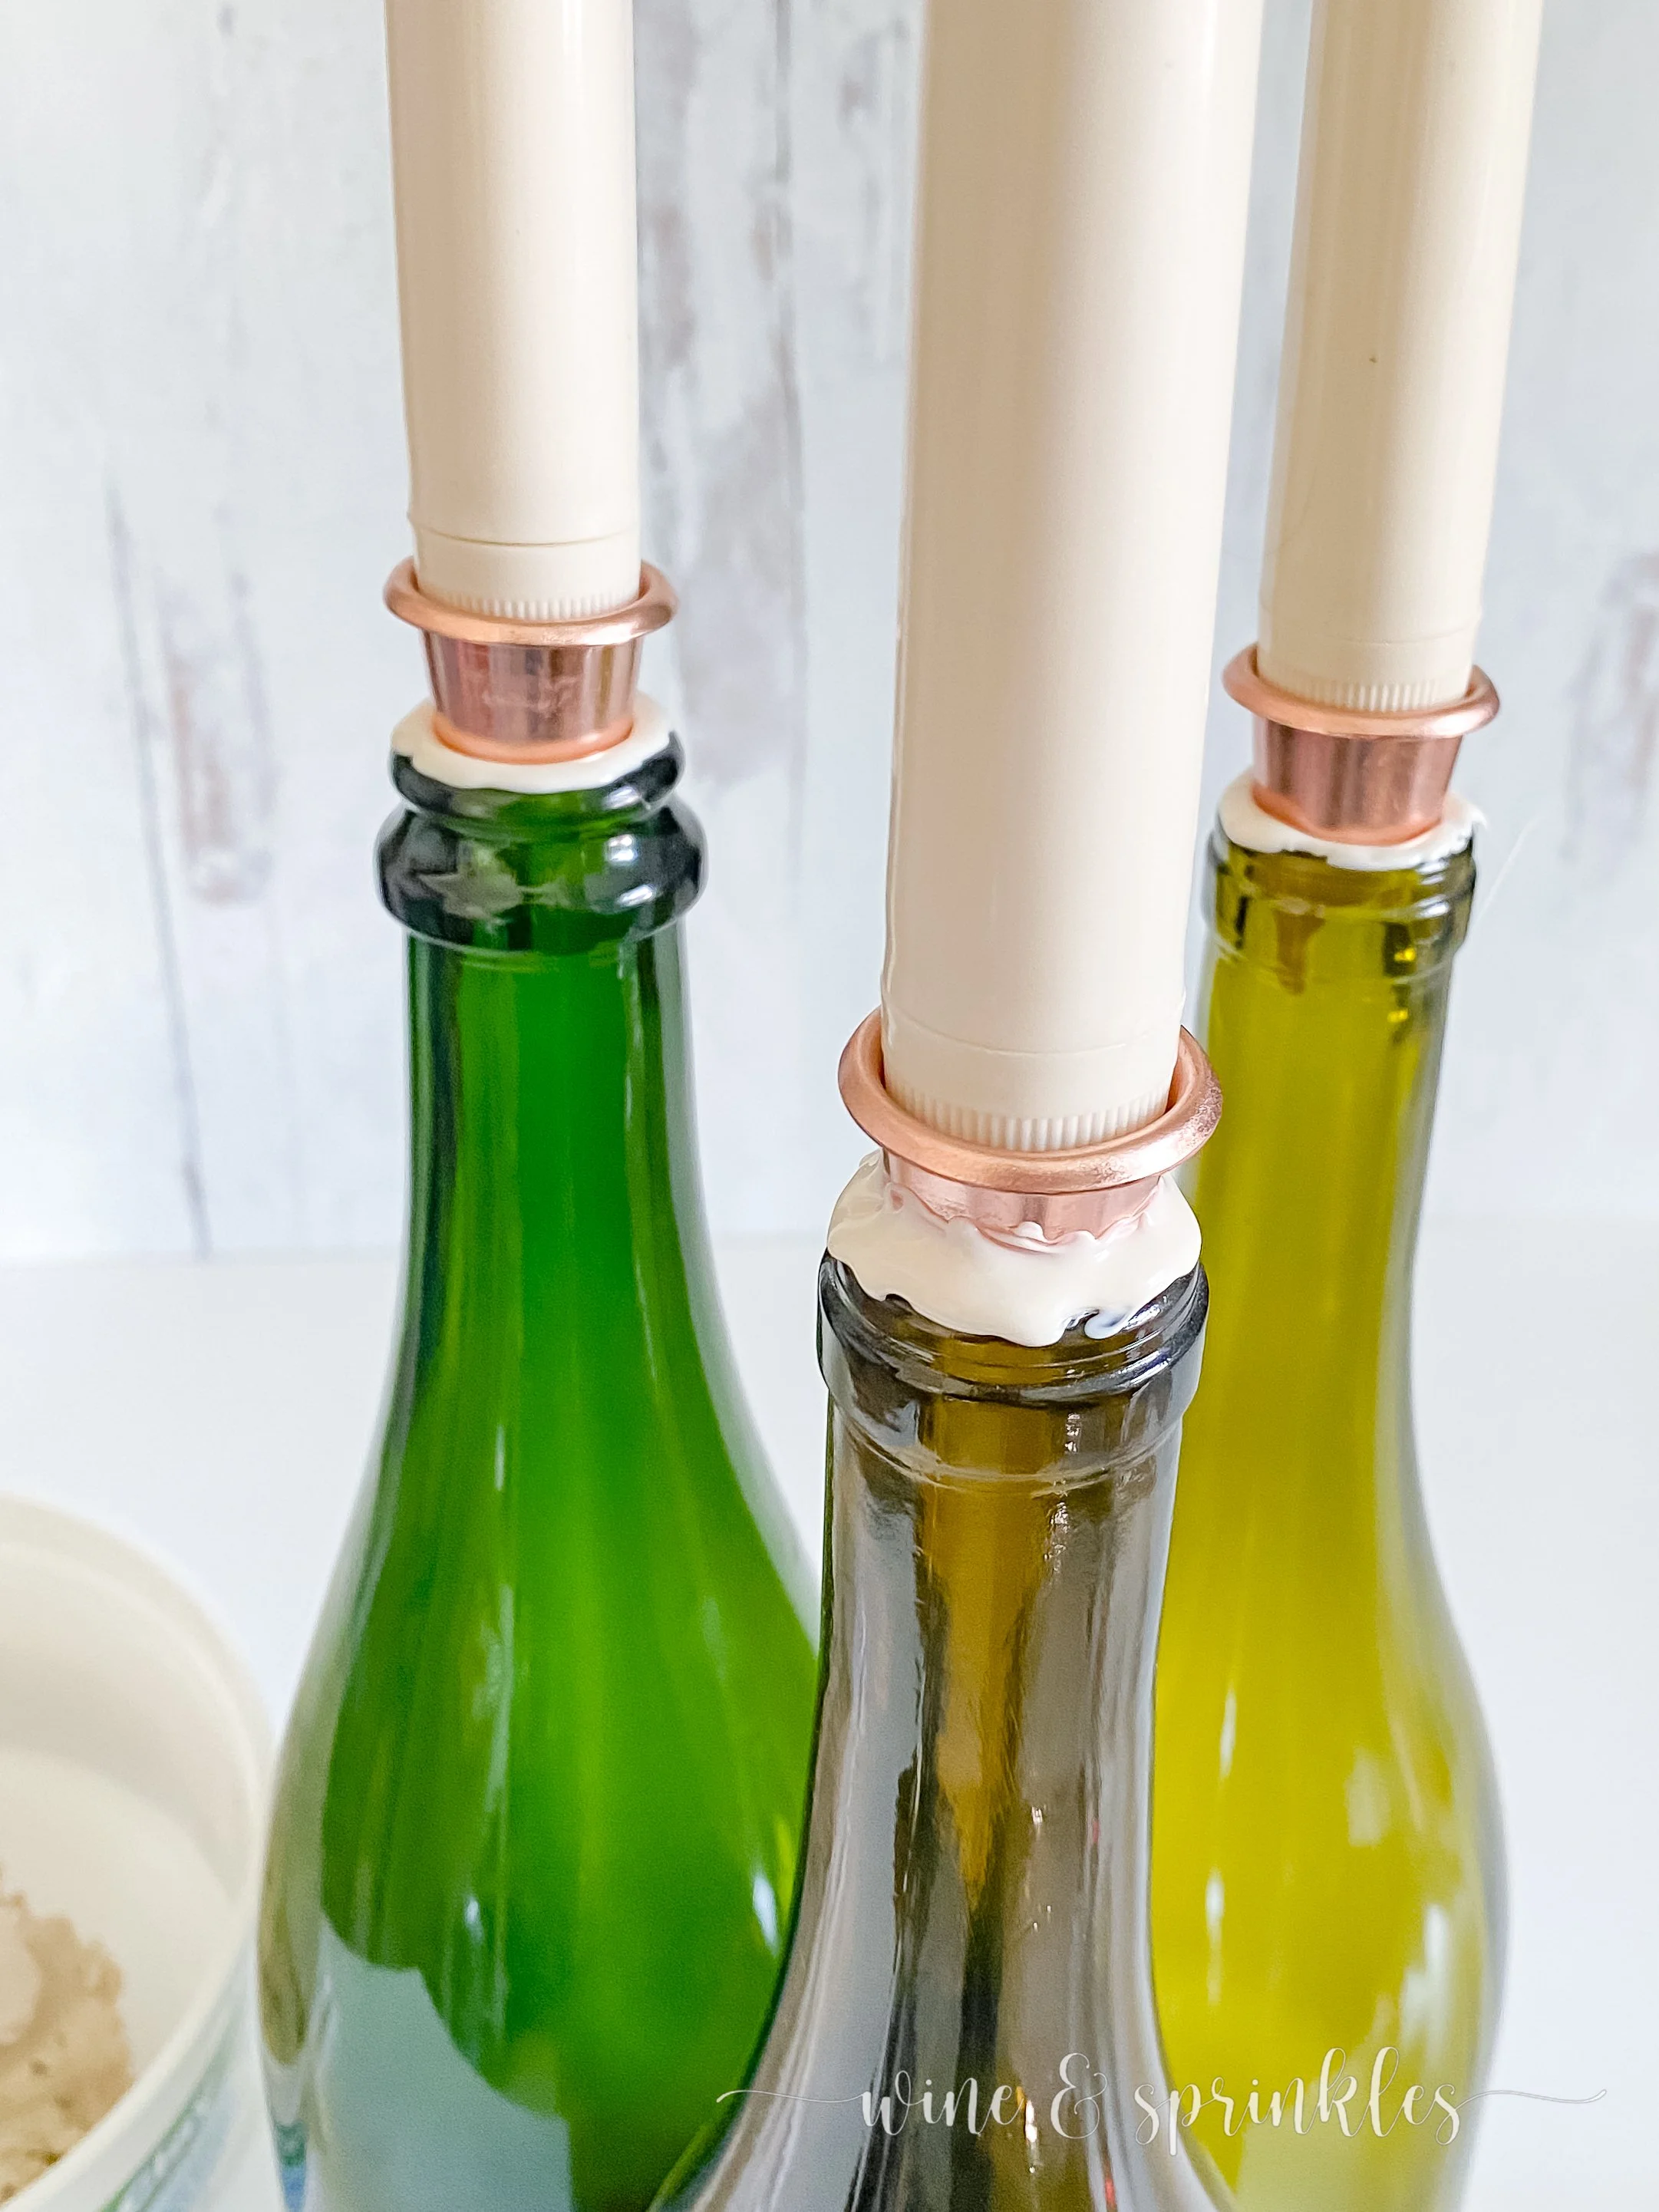
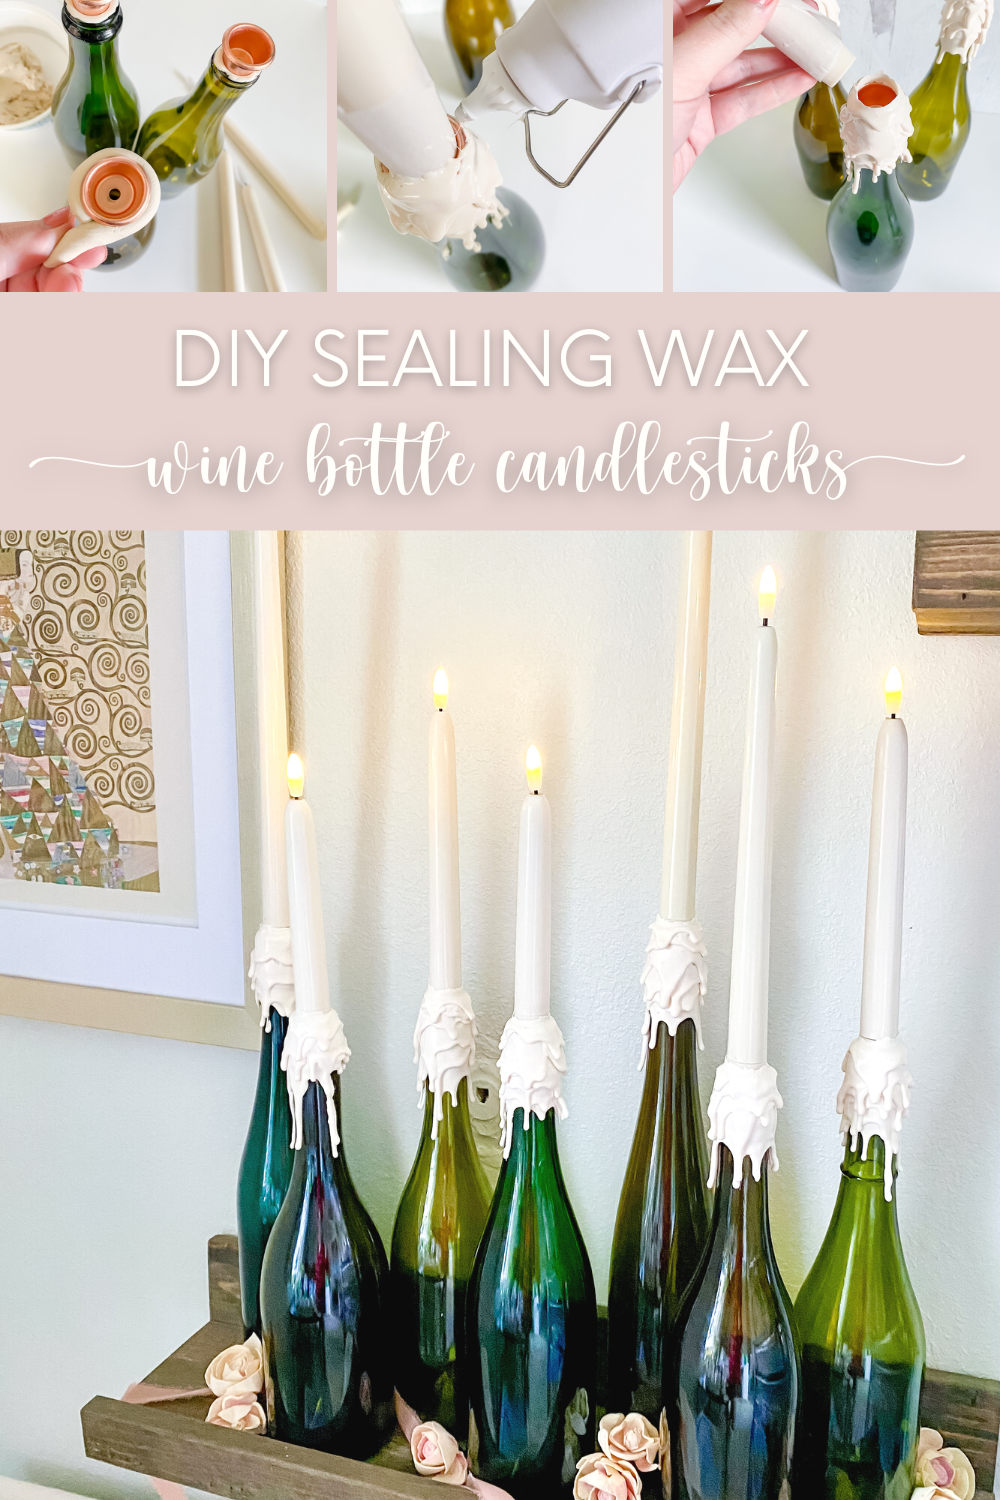
1. Remove the labels, wash, and dry the bottles you plan to use to make candle holders. Plug in your low temperature glue gun and preheat your sealing wax sticks for 7-10 minutes. Run a line of sealing wax along the inside lip of your bottle, pressing the candle cup into the wax and holding it level while it dries; repeat the process with your other bottles until each bottle has a candle cup.


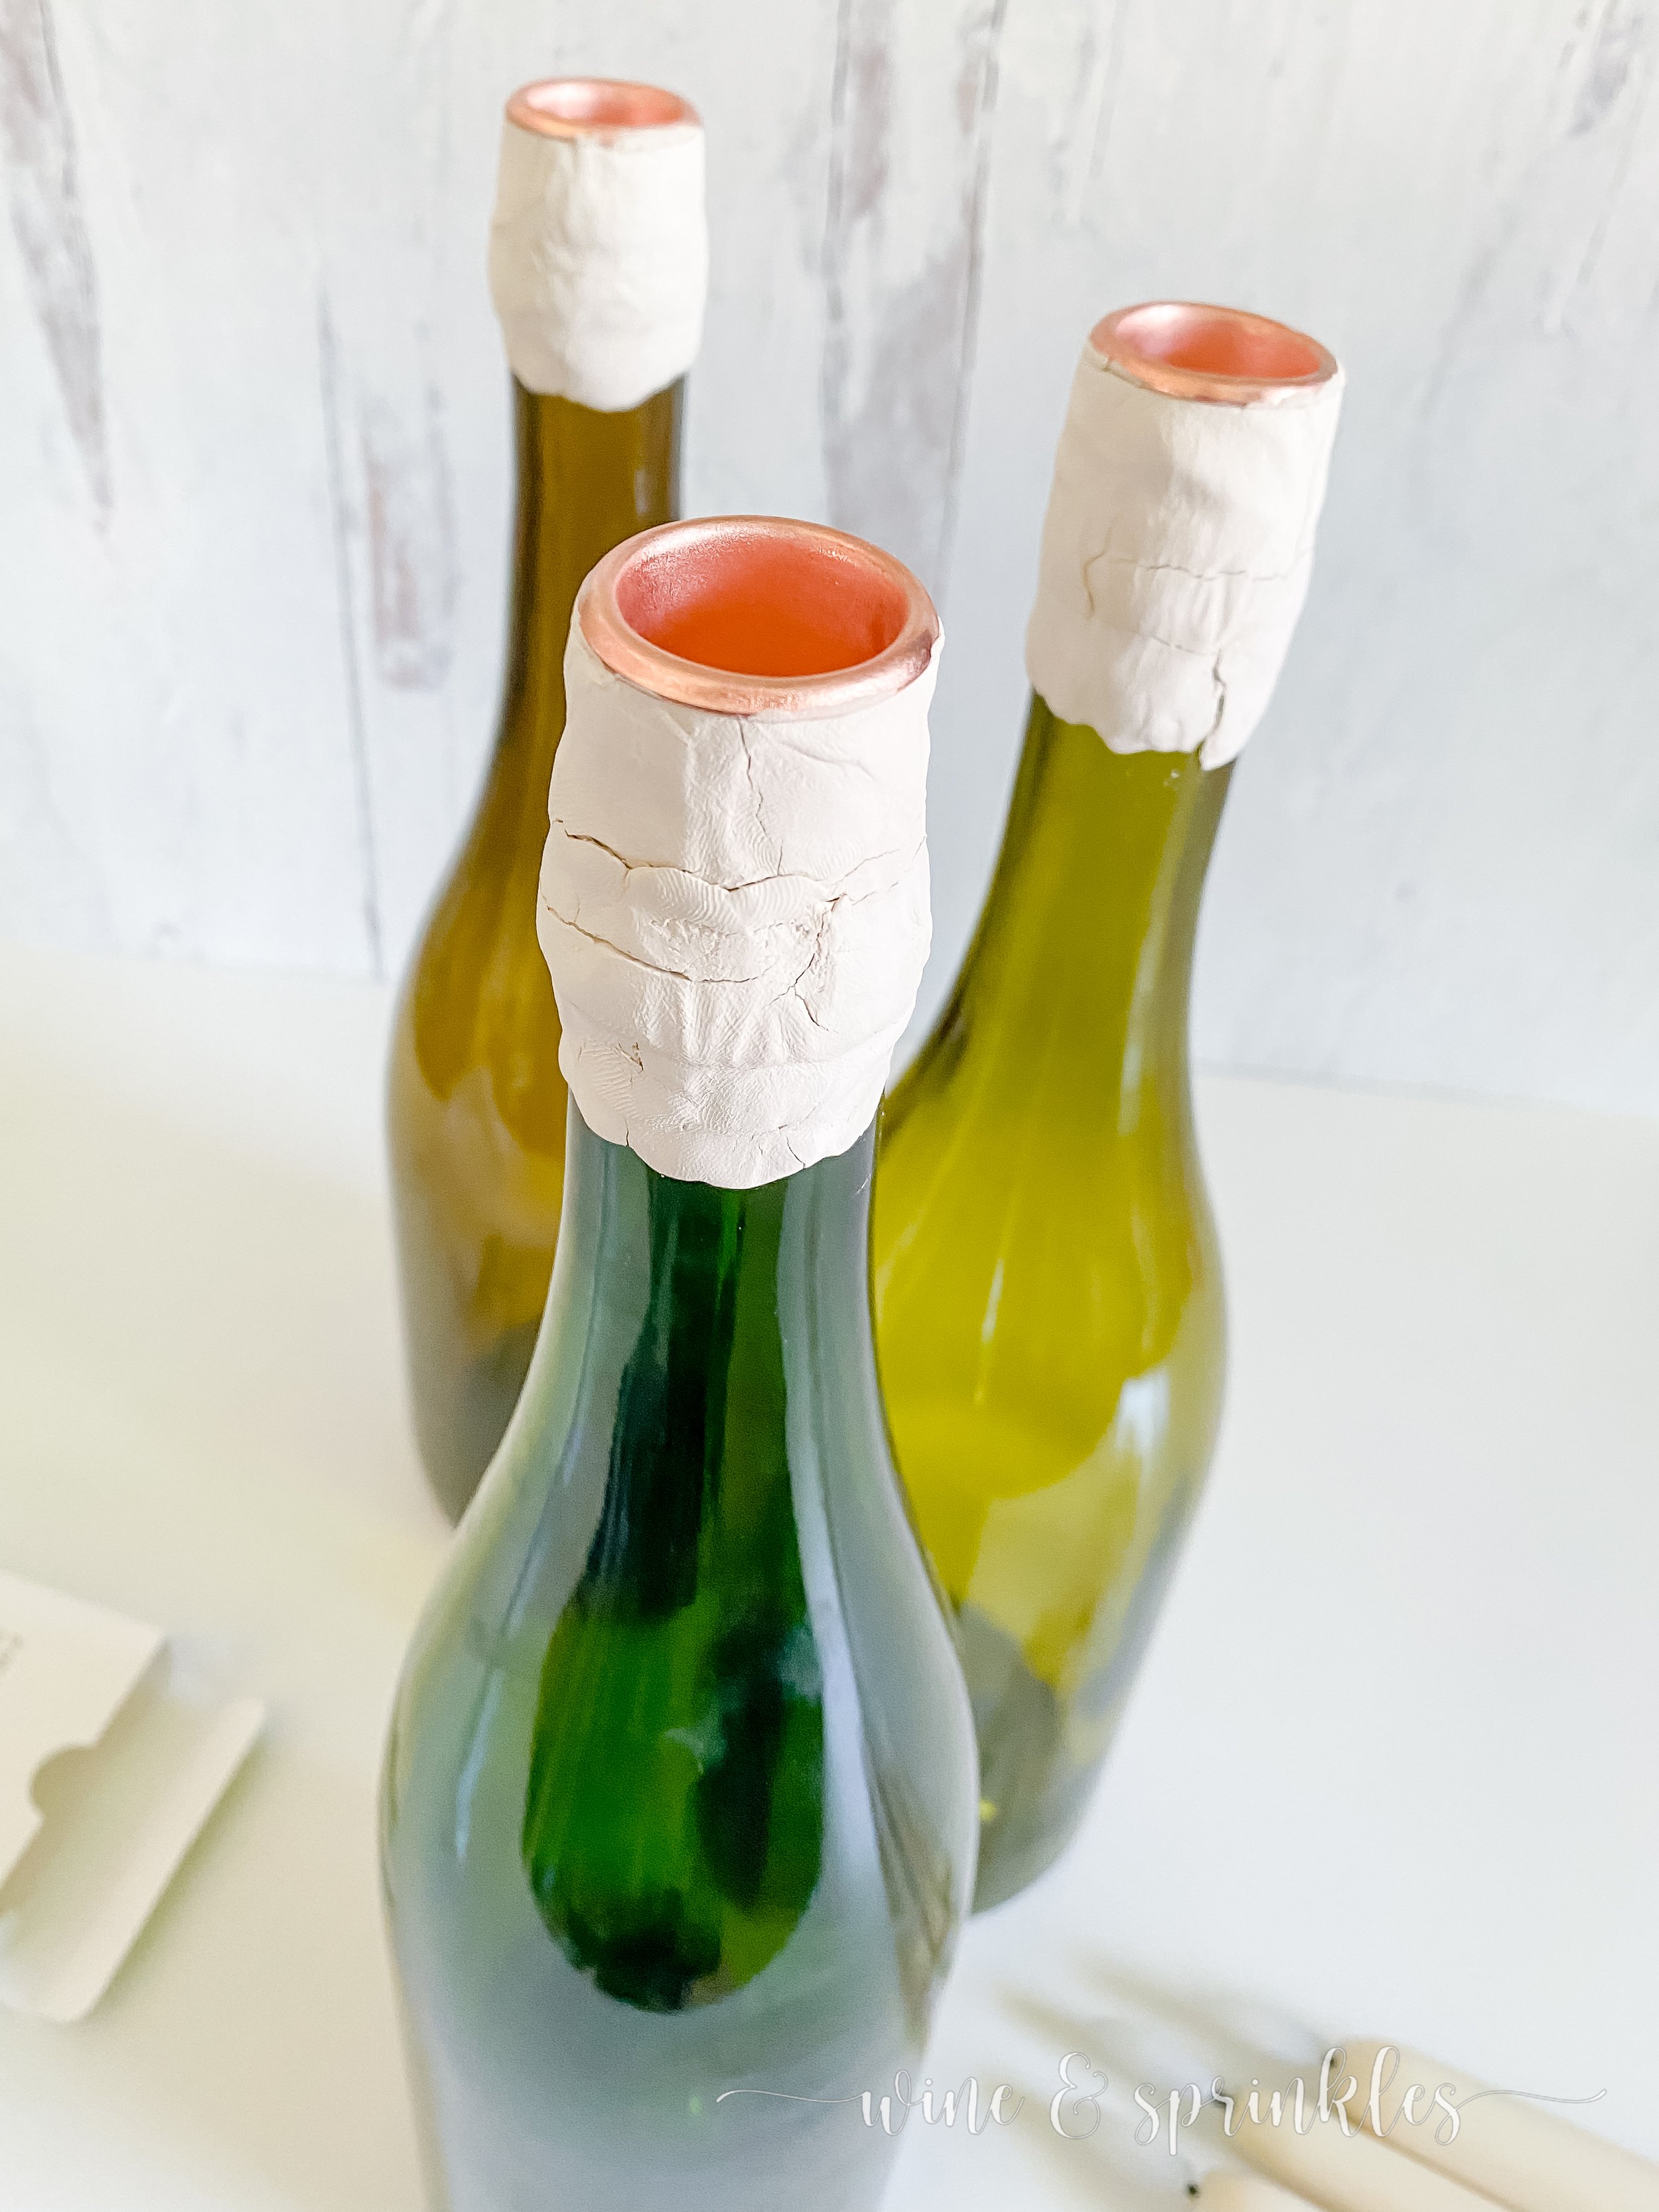
2. Form a long cylinder of air dry clay and wrap it around the candle cup and bottle as shown in teh photos, creating a smooth surface from the lip of the candle cup down a couple inches of the bottle. I smoothed my clay over any bumps or lips in the top of the bottle, to make it easier for the wax to drip down the sides and cover it completely in the next step. Let the clay dry according to its package directions, at least two days.


3. Once your clay is dry, preheat your glue gun again and wrap a small piece of parchment paper around your LED taper candle, placing it in the candle cup you are working on. Starting at the bottom of where your clay meets the bottle neck, start dispensing wax around the bottle, covering the clay and dripping down the sides. Rotate the bottle clockwise as you go, working up the neck until you have completely covered the clay and the candles cup, bringing it part way up the parchment paper around the candle. Let the way dry, they remove the candle and parchment to repeat with all your remaining bottles.


I’m already prepping bottles to paint to make some matte black versions of these beauties for a spooky party I’m planning this October, but I’ll be making more in this style as well because they are so easy to make and so fun to decorate with! You’ll be sure to be seeing them pop up at plenty of my future events and in my seasonal decorations, so create a set in your own colors for your own party closet!
SEE OUR RELATED POSTS HERE:


OUR MOST RECENT BLOG POSTS:


OUR PINS FOR THIS POST: