HTV Projects

DIY Personalized HTV Baby Hats

DIY Personalized HTV Baby Hats

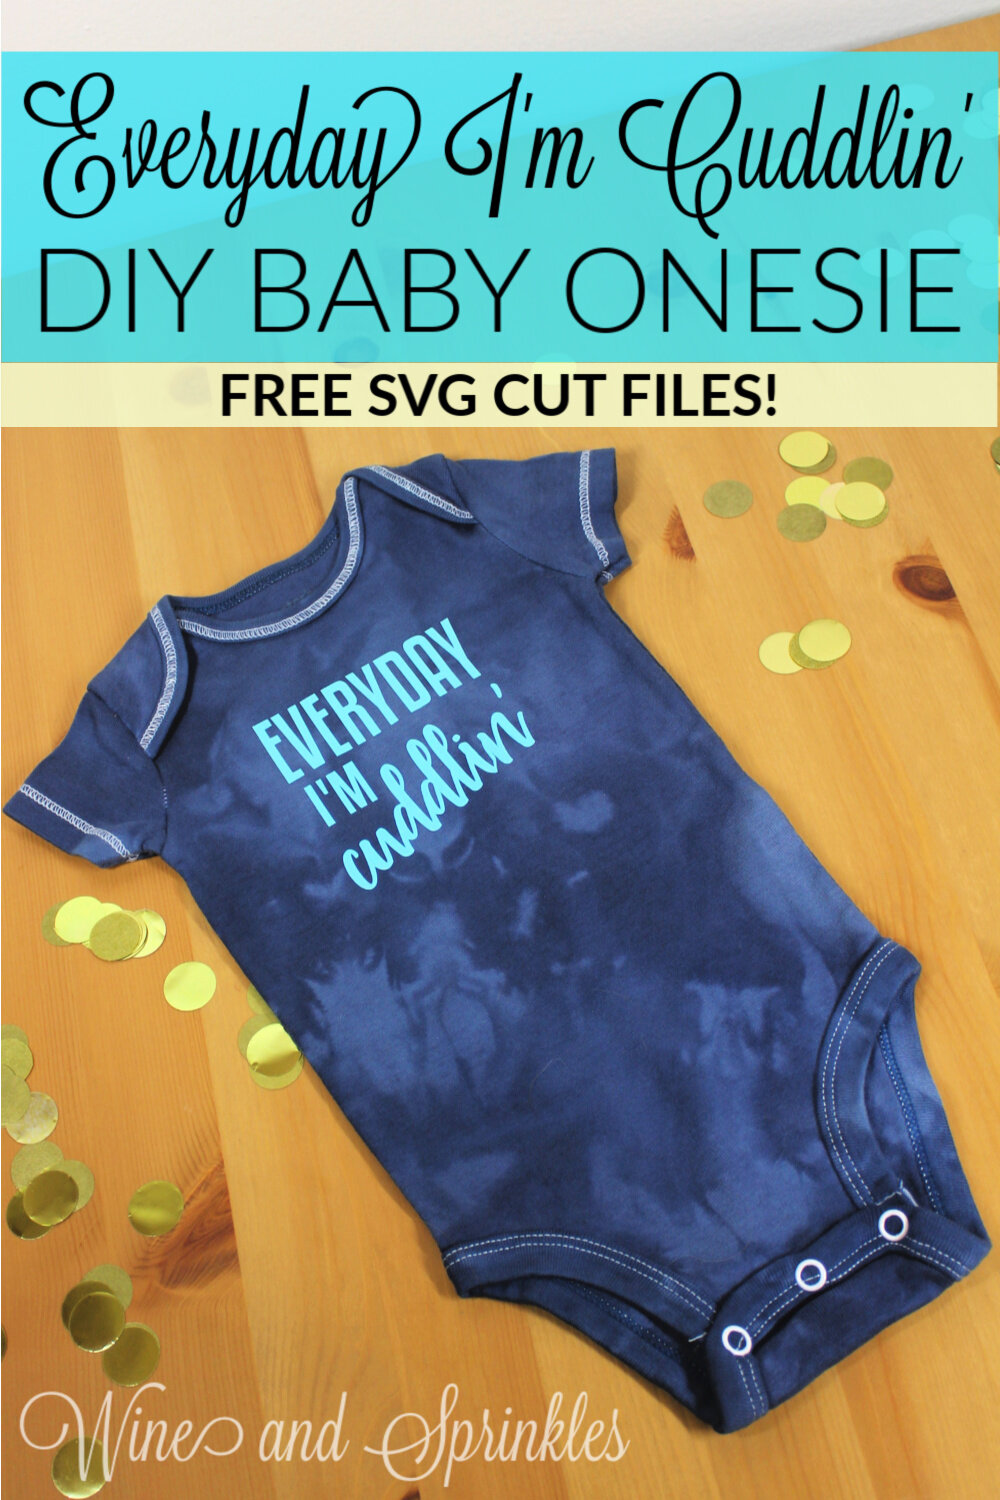
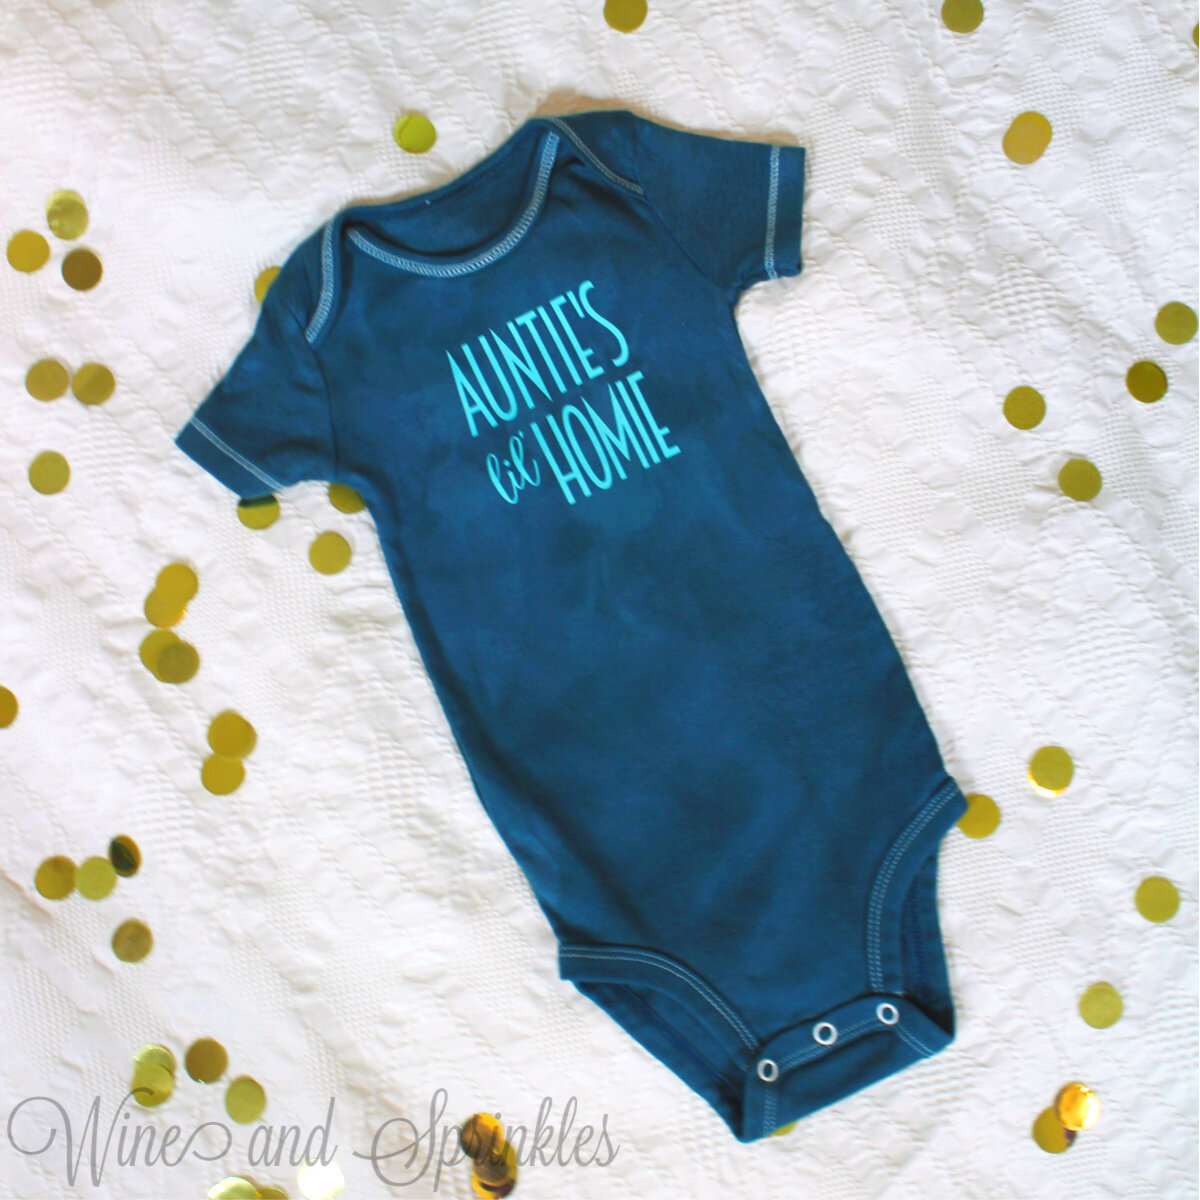
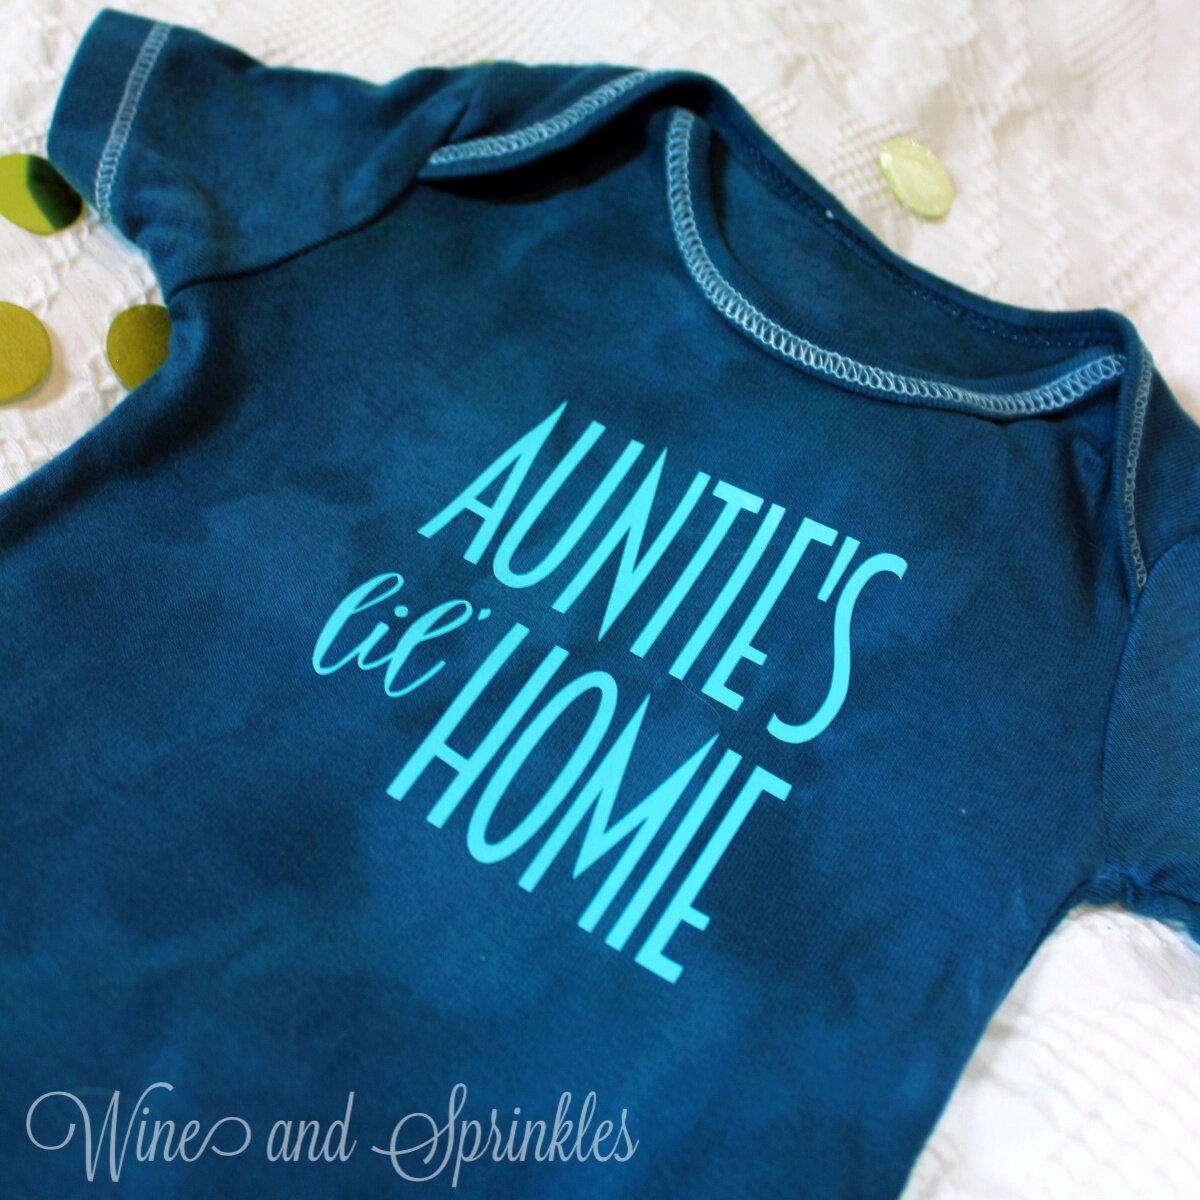
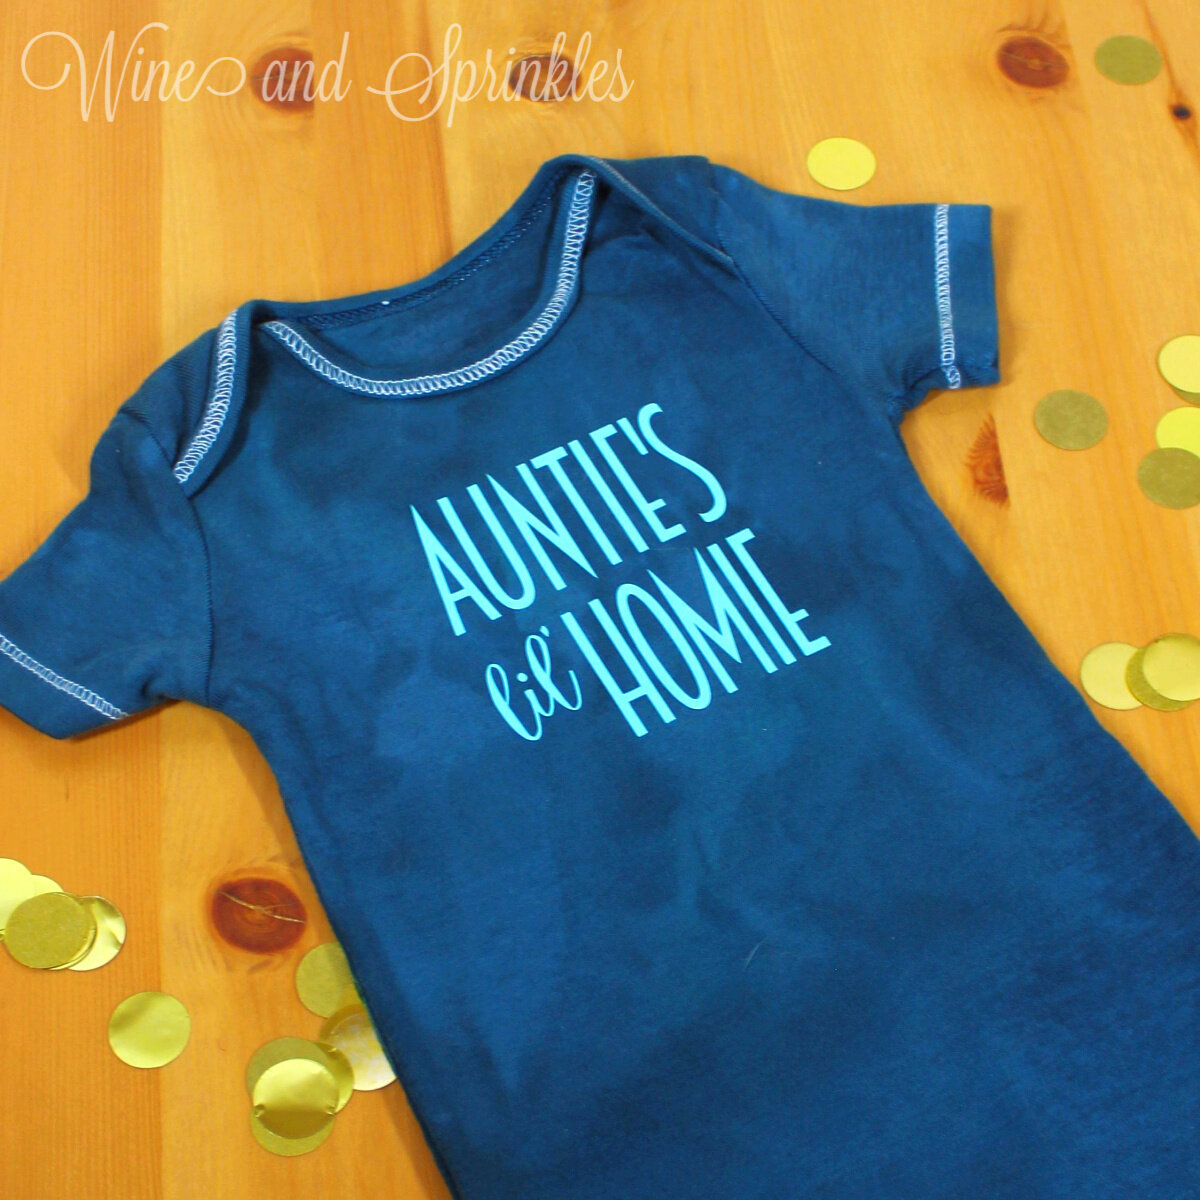
One of my favorite pictures I see of newborns are ones of them in adorable personalized hats for their hospital pictures, so when I was crafting a clothesline of baby wardrobe items I knew there was one thing that I had to include! For those that need some cute little customized caps too, I’ve shown you how for these Personalized Baby Hats!
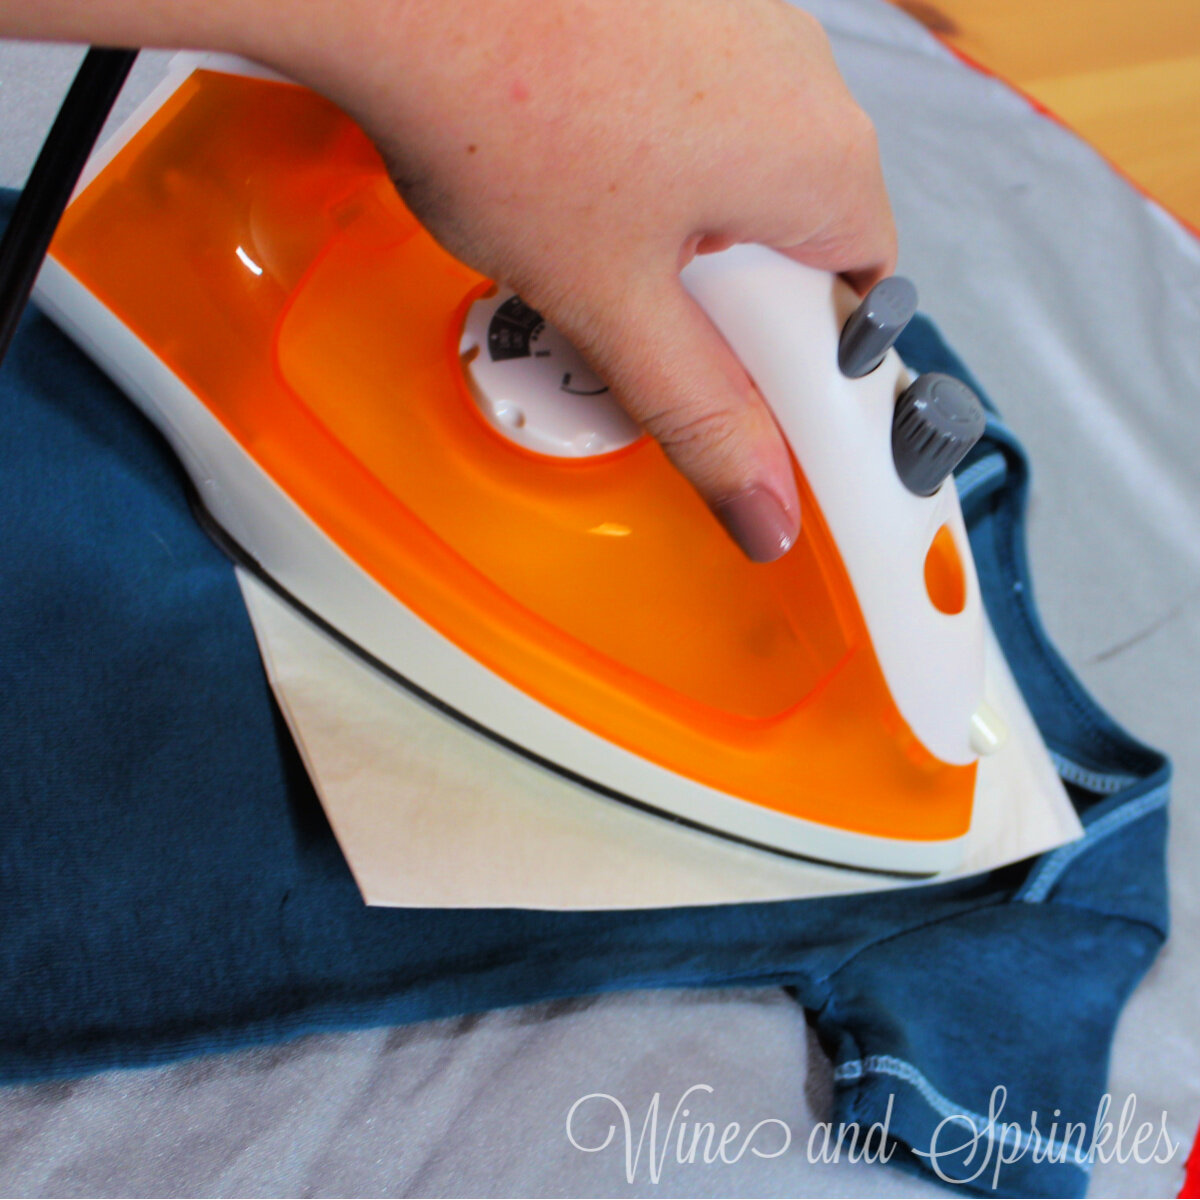
Read More

Cutie Pi HTV Baby Onesie

Cutie Pi HTV Baby Onesie

When it comes to easy and adorable HTV Projects, baby clothes have to be one of my favorites! So when I was designing decals for a clothing themed baby gift for one of my out of town friends, it was the perfect time to add to my collection of onesies from the past but with a fun nerdy twist, and thus this Cutie Pi Onesie was born!

Read More

DIY HTV Sassy Baby Socks

DIY HTV Sassy Baby Socks

I love all the adorable clothes you can craft for babies, so anytime one of my friends is expecting they are sure to receive something homemade from me to welcome their newest addition. So when some of my best friends were expecting their first child, I went all out on designing a whole wardrobe of tiny clothing and accessories, starting with these sets of sassy baby socks!

Read More

DIY Seasonal & Holiday HTV Baby Bibs

DIY Seasonal & Holiday HTV Baby Bibs

Tis the season for Bibs of all designs! When our dear friends were expecting their first little girl, I knew I wanted to make a Laundry Hamper Clothesline Baby Gift that had the clothing sets grow with the baby, but also include some seasonal fun too! Enter these HTV Seasonal Holiday Baby Bibs, a collection of dapper DIY bibs to wear as the baby grows, themed from spring to winter with lots of holidays in between!

Read More

Heart & Moon Patterned HTV Skinny Koozies

Heart & Moon Patterned HTV Skinny Koozies

There’s no better way to soak up the summer sun than with a tasty beverage, and for my friends and I that drink is all the delicious seltzers the world can offer! So when I was deciding on additions to some galentine’s gifts for my best girls, I broke into my new Cricut materials to create some pretty patterned koozies, and thus these Heart and Moon Patterned Skinny Koozies were born!

Read More

Personalized HTV Fuzzy Socks

Personalized HTV Fuzzy Socks

For those cold winter nights, nothing beats a delightful pair of fuzzy slipper socks! I feel like this is equally true all year round, so despite the fact I was jetting off from the cold to balmy beach weather, I wanted to include something in my friend’s Sleepover Spa Sorority Gift Boxes with a cozy vibe that still fit my theme for our college getaway vacation. Enter these Personalized Sorority Socks, that gave us the perfect matching accessory to share during the weekend, just like TShirts from our college days, while also being lovely for traversing those chilly tile floors of our rental home in the morning!

Read More

Personalized HTV Sleep Masks

Personalized HTV Sleep Masks

We’re back from some balmy southern weather and ready to show off all the cute gifts and favors I made for all my friends! So the next couple weeks of projects are devoted to all the fun goodies in the Sleepover Sorority Spa Gift Boxes I crafted for my wonderful college friends, starting with a lovely favor to make sure everyone gets some shut eye when it's time for bed after a day of chatting and vacationing!

Read More

Welcome to the Mountains Wedding Welcome DIY HTV Tote Bags

Welcome to the Mountains Wedding Welcome DIY HTV Tote Bags

With the new year starting, I’m in a winter wedding mood! And given I had a winter wedding in the mountains myself, I couldn’t resist adding a winter themed wedding guest tote to the collection! These cozy mountain inspired tote bags are perfect for filling with goodies for your guests, especially if you are giving away bulkier items like blankets or mugs. I can just see these totes filled with a blanket, cocoa, snack mix, and water bottles!

Read More

DIY I Do Crew Bridal Party TShirts

This post contains affiliate links, meaning that if you click on a link I will recieve a small comission. This costs you nothing extra and I only promote products I use and love! You can read our full disclosure here

DIY I Do Crew HTV Bridal Party TShirts #diywedding #svgfiles #idocrew

To go with our adorable I Do Crew Tumblers, I made some corresponding decals to use on shirts and other wearables! The shirts are great not only as Bridesmaid Proposals, but also for any pre-wedding events especially ones where you may have a large support group but not necessarily everyone is in the bridal party. These would be perfect to make, for example, to give to people going wedding dress shopping with you!

 I made the “I Do Crew” decals on Mermaid Blue Glitter HTV and I made the Bride decal out of Gold Foil HTV and I love the color combination! 

DIY I Do Crew HTV Bridal Party TShirts #diywedding #svgfiles #idocrew

You can see our other Bridesmaid Proposal and Gift Projects here, so whether you were looking for tumblers, tank tops, or something else you can find the perfect set to propose to your best girls!


DIY I Do Crew HTV Bridal Party TShirts #diywedding #svgfiles #idocrew
  1. After downloading the cut files, import them into the Cricut Software. After creating a new project, select Upload Image. Select the file you wish to upload and it will automatically take you to the final upload screen, where you can name the file the select Save. The SVG Files are sized so that they will automatically cut to the size you see in the photos, but if you want to change the size you can do so to fit the tank tops the way you like.

  2. After selecting “Make It” Make sure to select the Mirror Mode on the cutting screen. Cut the design in your choice of heat transfer vinyl with the Iron On (for Easyweed Vinyl) or Iron On+ (for Glitter Vinyl) Setting on your Cricut, with the shiny side of the material down.

DIY I Do Crew HTV Bridal Party TShirts #diywedding #svgfiles #idocrew

3. Weed the additional material off of the backing material so that, looking down with the shiny side up, you can see your design with the correct orientation.

4. Iron your tshirt or tank top to remove any creases, then center the design over the top half of the tank top. Arrange the design shiny side up, then cover with parchment paper. Make sure to keep the parchment paper between the design and the iron.

DIY I Do Crew HTV Bridal Party TShirts #diywedding #svgfiles #idocrew

5. Set your Iron to the second Highest setting and press the iron down firmly on the design, not ironing but rather using it as a small heat press. I worked from the upper left to lower right on the design, pressing the iron on each part of the design for at least 20-30 seconds, then overlapping the last position as you move the iron across the design.

6. Remove the backing from the design, leaving the design on the fabric. Repeat with all remaining tshirts.

You can find more designs for your bridal party in our Tank Top and TShirt Projects!

DIY I Do Crew HTV Bridal Party TShirts #diywedding #svgfiles #idocrew
 

OUR PINS FOR THIS POST:

DIY Poppin Bottles Bachelorette Tank Tops

This post contains affiliate links, meaning that if you click on a link I will recieve a small comission. This costs you nothing extra and I only promote products I use and love! You can read our full disclosure here

Poppin Bottles DIY HTV Bachelorette Party Tank Tops

If you are your girls are ready to celebrate your engagement, champagne style, these Poppin’ Bottles Bachelorette Tank Tops are the perfect accessory for your crew! I’m always a fan of bachelorette parties matching, and these black and gold sparkly tank tops are a great choice for a bar crawl or any party hard bachelorette party. I also love the idea of having a New Years Eve Bachelorette, which would go amazingly with these tops as well!

For these designs, I used two different fonts, Philosophy and Generica, which are both available for free for both personal and professional use from DaFont.com! I did have to do some stretching on the Generica Font to give it some height for the decal design though, so keep that in mind if you are designing for other projects.

For the Tank Tops, I used a Black Tank top with Old Gold Glitter HTV and I love how they turned out! I was a little worried on how such a thin font would do with weeding and cutting, but I had no problems at all. In fact, it turned out that the entire design was very easy to weed and transfer in general, so its a great project for beginners or masters alike! also easy designs for those who are still beginners to the HTV world.

For more Bachelorette DIY Projects, see our Bachelorette Party Projects & Posts Here!

Poppin Bottles DIY HTV Bachelorette Party Tank Tops


1. After downloading the cut files, import them into the Cricut Software. After creating a new project, select Upload Image. Select the file you wish to upload and it will automatically take you to the final upload screen, where you can name the file the select Save. The SVG Files are sized so that they will automatically cut to the size you see in the photos, but if you want to change the size you can do so to fit the tank tops the way you like.

Poppin Bottles DIY HTV Bachelorette Party Tank Tops

2. After selecting “Make It” Make sure to select the Mirror Mode on the cutting screen. Cut the design in your choice of heat transfer vinyl with the Iron On (for Easyweed HTV) or Iron On+ (for Glitter HTV) Setting on your Cricut, with the shiny side of the material down.

3. Weed the additional material off of the backing material so that, looking down with the shiny side up, you can see your design with the correct orientation.

4. Iron your tank top to remove any creases, then center the design over the top half of the tank top. Arrange the design shiny side up, then cover with parchment paper. Make sure to keep the parchment paper between the design and the iron.

Poppin Bottles DIY HTV Bachelorette Party Tank Tops

5. Set your Iron to the second Highest setting and press the the iron down firmly on the design, not ironing but rather using it as a small heat press. I worked from the upper left to lower right on the design, pressing the iron on each part of the design for at least 20-30 seconds, then overlapping the last position as you move the iron across the design.

6. Remove the backing from the design, leaving the design on the tank top.

7. Repeat with all remaining tank tops! :) If you are ready to try more tank tops, check out our other tank top projects here!

Poppin Bottles DIY HTV Bachelorette Party Tank Tops
 

Looking for more Bachelorette Party Inspiration?

SEE MORE BACHELORETTE TANKS & TOPS HERE:


OUR PINS FOR THIS POST:

Pop Fizz Clink Bachelorette Tote Bags

This post contains affiliate links, meaning that if you click on a link I will recieve a small comission. This costs you nothing extra and I only promote products I use and love! You can read our full disclosure here

Pop Fizz Clink DIY HTV Bachelorette Party Tote Bags

It's the first day of December, so it's time to pop some bottles in honor of the holidays or maybe this crazy year being almost over! In that spirit, there’s no better way to end 2020 than with a fun champagne inspired DIY Tote Bag Project. Group Tote Bags for all your ladies to keep their belongings in are a great addition to any Bachelorette Party. I love these Tote Bags not only for Bachelorette Parties, but also for any New Years bar crawl or casual party!

For my totes, I used Old Gold Glitter HTV for the decal on a plain black tote bag and I absolutely love how it turned out!  The only parts of the design that had any trouble weeding were some of the smaller bits of the bubble outlines, but mainly just me remembering they were there and to remove them rather than it being hard to weed. This super fun design goes with any bachelorette or champagne poppin celebration and is an easy project for people who are new to Iron on Transfer Projects. :)

Pop Fizz Clink DIY HTV Bachelorette Party Tote Bags

For more Bachelorette DIY Projects, see our Bachelorette Party Projects & Posts Here!


1. After downloading the cut files, import them into the Cricut Software. After creating a new project, select Upload Image. Select the file you wish to upload and it will automatically take you to the final upload screen, where you can name the file the select Save. The SVG Files are sized so that they will automatically cut to the size you see in the photos, but if you want to change the size you can do so to fit the tank tops the way you like.

2. After selecting “Make It” Make sure to select the Mirror Mode on the cutting screen. Cut the design(s) in your choice of heat transfer vinyl with the Iron On (for Easyweed Vinyl) or Iron On+ (for Glitter Vinyl) Setting on your Cricut, with the shiny side of the material down.

Pop Fizz Clink DIY HTV Bachelorette Party Tote Bags

5. Set your Iron to the second Highest setting and press the the iron down firmly on the design, not ironing but rather using it as a small heat press. I worked from the upper left to lower right on the design, pressing the iron on each part of the design for at least 30 seconds, then overlapping the last position as you move the iron across the design.

Pop Fizz Clink DIY HTV Bachelorette Party Tote Bags

3. Weed the additional material off of the backing material so that, looking down with the shiny side up, you can see your design with the correct orientation.

4. Iron your tote bag to remove any creases, then center the design in the middle of the tote. Arrange the design shiny side up, then cover with parchment paper. Make sure to keep the parchment paper between the design and the iron.

Pop Fizz Clink DIY HTV Bachelorette Party Tote Bags

6. Remove the backing from the design, leaving the design on the Tote Bag. Repeat with all the remaining tote bags.

Check out more of our Tote Bag Projects Here! :)

Pop Fizz Clink DIY HTV Bachelorette Party Tote Bags
 
Pop Fizz Clink DIY HTV Bachelorette Party Tote Bags
 

Looking for more Bachelorette Party inspiration?

SEE MORE BACHELORETTE TOTE BAGS HERE:


OUR PINS FOR THIS POST:

DIY HTV NAPtorious KID Baby Onesie

This post contains affiliate links, meaning that if you click on a link I will recieve a small comission. This costs you nothing extra and I only promote products I use and love! You can read our full disclosure here

NAPtorious KID DIY HTV Baby Onesie #naptoriouskid #babydiy #babygift #svgfile

While it sometimes feels like the parents are more in need of a good nap than their kiddos, babies are notorious for their cute sleepy ways! And no better way to celebrate naps than this adorably punny Naptorious K.I.D. onesie!

The decal was cut in Black Easyweed HTV on a Denim Blue Hand Dyed Onesie, and although both are on the darker end of their color families I think they went great together and didn’t have any issues with the decal standing out, which sometimes is hard with dark color combinations. I used the font Freshman when I designed this decal; which you can download for free from dafont.com to personalize onesies or any of your other craft projects!

NAPtorious KID DIY HTV Baby Onesie #naptoriouskid #babydiy #babygift #svgfile

Make sure to check out our other Baby Onesie Projects for more DIY Baby Shower Gift Inspiration!


NAPtorious KID DIY HTV Baby Onesie #naptoriouskid #babydiy #babygift #svgfile
  1. After downloading the cut files, import them into the Cricut Software. After creating a new project, select Upload Image. Select the file you wish to upload and it will automatically take you to the final upload screen, where you can name the file, then select Save. The SVG Files are sized so that they will automatically cut to the size you see in the photos, but if you want to change the size you can do so to fit your onesies the way you like.

  2. After selecting “Make It” Make sure to select the Mirror Mode on the cutting screen. Cut the design in your choice of heat transfer vinyl with the Iron On (for Easyweed HTV) or Iron On+ (for Glitter HTV) Setting on your Cricut, with the shiny side of the material down.

  3. Weed the additional material off of the backing material so that, looking down with the shiny side up, you can see your design with the correct orientation.Iron your onesie to remove any creases, then center the design over the top half of the onesie. Arrange the design shiny side up, then cover with parchment paper. Make sure to keep the parchment paper between the design and the iron.

NAPtorious KID DIY HTV Baby Onesie #naptoriouskid #babydiy #babygift #svgfile

4. Set your Iron to the second Highest setting. Cover the parchment paper and decal with your iron, pressing down firmly on the design. Using your iron like a small heat press, press the design for at least 20-30 seconds, repeating and overlapping the last position as you move across the design. Luckily, onesie decals are so small, you should be able to fit the whole decal under the iron in a single press!

5. Remove the parchment paper and peel the clear  backing from the decal, leaving the design on the onesie. I love pairing this design with our other funny punny Everyday I’m Cuddlin’ Onesie for a fun onesie combo perfect for any new mom and baby!

NAPtorious KID DIY HTV Baby Onesie #naptoriouskid #babydiy #babygift #svgfile

Check out our other Baby Onesie Projects for more DIY Baby Shower Gift Inspiration!

NAPtorious KID DIY HTV Baby Onesie #naptoriouskid #babydiy #babygift #svgfile

Everyday I’m Cuddlin’ DIY HTV Baby Onesie

This post contains affiliate links, meaning that if you click on a link I will recieve a small comission. This costs you nothing extra and I only promote products I use and love! You can read our full disclosure here

Everyday I’m Cuddlin’ DIY HTV Baby Onesie #babydiy #onesie #svgfile

One of the best things about babies is that they are the cutest cuddle bugs! Nothing beats baby cuddles and snuggles, so I had to include this punny Everyday I’m Cuddlin’ Onesie in my design collection!


I made the decal with Tiffany Blue Easyweed HTV on a Denim Hand Dyed Onesie and the color combination is wonderful! I love the contrast of the light decal on the darker onesie and the blue shades in them both make it an easy pairing. I used the fonts Kenyan Coffee and Passengers Script in the design, which is free to download on dafont.com for additional customization on this onesie or any other baby projects you can think of!

Make sure to check out our other Baby Onesie Projects for more DIY Baby Shower Gift Inspiration!

Everyday I’m Cuddlin’ DIY HTV Baby Onesie #babydiy #onesie #svgfile


Everyday I’m Cuddlin’ DIY HTV Baby Onesie #babydiy #onesie #svgfile
  1. After downloading the cut files, import them into the Cricut Software. After creating a new project, select Upload Image. Select the file you wish to upload and it will automatically take you to the final upload screen, where you can name the file, then select Save. The SVG Files are sized so that they will automatically cut to the size you see in the photos, but if you want to change the size you can do so to fit your onesies the way you like.

  2. After selecting “Make It” Make sure to select the Mirror Mode on the cutting screen. Cut the design in your choice of heat transfer vinyl with the Iron On (for Easyweed HTV) or Iron On+ (for Glitter HTV) Setting on your Cricut, with the shiny side of the material down.

  3. Weed the additional material off of the backing material so that, looking down with the shiny side up, you can see your design with the correct orientation.Iron your onesie to remove any creases, then center the design over the top half of the onesie. Arrange the design shiny side up, then cover with parchment paper. Make sure to keep the parchment paper between the design and the iron.

Everyday I’m Cuddlin’ DIY HTV Baby Onesie #babydiy #onesie #svgfile

4. Set your Iron to the second Highest setting. Cover the parchment paper and decal with your iron, pressing down firmly on the design. Using your iron like a small heat press, press the design for at least 20-30 seconds, repeating and overlapping the last position as you move across the design. Luckily, onesie decals are so small, you should be able to fit the whole decal under the iron in a single press!

5. Remove the parchment paper and peel the clear  backing from the decal, leaving the design on the onesie.

Everyday I’m Cuddlin’ DIY HTV Baby Onesie #babydiy #onesie #svgfile

Check out our other Baby Onesie Projects for more DIY Baby Shower Gift Inspiration!

Everyday I’m Cuddlin’ DIY HTV Baby Onesie #babydiy #onesie #svgfile

Auntie’s Little Homie DIY HTV Baby Onesie

This post contains affiliate links, meaning that if you click on a link I will recieve a small comission. This costs you nothing extra and I only promote products I use and love! You can read our full disclosure here

Auntie’s Little Homie DIY HTV Baby Onesie #auntie #babydiy #onesie #svgfile

As a new Auntie this year with the birth of my sister’s first child, I had so much fun crafting for the newest little one to join our family! I was also not above making a onesie for my own benefit, and as I always use the super cool phrase “home-skillet” with other little ones in my life, my newest niece needed an Auntie’s Little Homie Onesie!

I made the decal out of Tiffany Blue Easyweed HTV on a Blue Green Hand Dyed Onesie and I love the color combination of light and dark blueish greens! At the time we thought my niece was a nephew (suprise!) so if I made it now I’d probably want to make it in light and dark pinks, but she will still look adorable in it with a nice big bow! :) I used the fonts Breamcatcher and Belista while designing this decal, which are both free to download at dafont.com for future crafts and designs of your own!

Auntie’s Little Homie DIY HTV Baby Onesie #auntie #babydiy #onesie #svgfile

Make sure to check out our other Baby Onesie Projects for more DIY Baby Shower Gift Inspiration!


Auntie’s Little Homie DIY HTV Baby Onesie #auntie #babydiy #onesie #svgfile
  1. After downloading the cut files, import them into the Cricut Software. After creating a new project, select Upload Image. Select the file you wish to upload and it will automatically take you to the final upload screen, where you can name the file, then select Save. The SVG Files are sized so that they will automatically cut to the size you see in the photos, but if you want to change the size you can do so to fit your onesies the way you like.

  2. After selecting “Make It” Make sure to select the Mirror Mode on the cutting screen. Cut the design in your choice of heat transfer vinyl with the Iron On (for Easyweed HTV) or Iron On+ (for Glitter HTV) Setting on your Cricut, with the shiny side of the material down.

  3. Weed the additional material off of the backing material so that, looking down with the shiny side up, you can see your design with the correct orientation.Iron your onesie to remove any creases, then center the design over the top half of the onesie. Arrange the design shiny side up, then cover with parchment paper. Make sure to keep the parchment paper between the design and the iron.

Auntie’s Little Homie DIY HTV Baby Onesie #auntie #babydiy #onesie #svgfile

4. Set your Iron to the second Highest setting. Cover the parchment paper and decal with your iron, pressing down firmly on the design. Using your iron like a small heat press, press the design for at least 20-30 seconds, repeating and overlapping the last position as you move across the design. Luckily, onesie decals are so small, you should be able to fit the whole decal under the iron in a single press!

5. Remove the parchment paper and peel the clear backing from the decal, leaving the design on the onesie.

Check out our other Baby Onesie Projects for more DIY Baby Shower Gift Inspiration!

Auntie’s Little Homie DIY HTV Baby Onesie #auntie #babydiy #onesie #svgfile

DIY HTV Never Grow Up Baby Onesie

This post contains affiliate links, meaning that if you click on a link I will recieve a small comission. This costs you nothing extra and I only promote products I use and love! You can read our full disclosure here

Never Grow Up DIY HTV Baby Onesie #nevergrowup #babydiy #svgfile

If there is a universal truth among mothers, it's that babies grow up too darn fast! While I can’t decide if I like it most because it reminds me of Peter Pan and his motto, or that little one’s time as babies is too short, this Never Grow Up Onesie catches my feelings perfectly!


I used Black Easyweed HTV for the decal on a Orange Hand Dyed Onesie and it turned out beautifully, but you could try literally any combination of onesie and HTV for the simple modern decal! While the lettering is thin, I had no issues with cutting or weeding this design, making it great for both beginners and those experienced with HTV transfer projects. I used the fonts Geo Sans Light and Clarissa for the design, which are both free to download at dafont.com to customize your onesie further or to include in your other crafting projects!

Make sure to check out our other Baby Onesie Projects for more DIY Baby Shower Gift Inspiration!

Never Grow Up DIY HTV Baby Onesie #nevergrowup #babydiy #svgfile


Never Grow Up DIY HTV Baby Onesie #nevergrowup #babydiy #svgfile
  1. After downloading the cut files, import them into the Cricut Software. After creating a new project, select Upload Image. Select the file you wish to upload and it will automatically take you to the final upload screen, where you can name the file, then select Save. The SVG Files are sized so that they will automatically cut to the size you see in the photos, but if you want to change the size you can do so to fit your onesies the way you like.

  2. After selecting “Make It” Make sure to select the Mirror Mode on the cutting screen. Cut the design in your choice of heat transfer vinyl with the Iron On (for Easyweed HTV) or Iron On+ (for Glitter HTV) Setting on your Cricut, with the shiny side of the material down.


Never Grow Up DIY HTV Baby Onesie #nevergrowup #babydiy #svgfile

3. Weed the additional material off of the backing material so that, looking down with the shiny side up, you can see your design with the correct orientation.Iron your onesie to remove any creases, then center the design over the top half of the onesie. Arrange the design shiny side up, then cover with parchment paper. Make sure to keep the parchment paper between the design and the iron.

Never Grow Up DIY HTV Baby Onesie #nevergrowup #babydiy #svgfile

4. Set your Iron to the second Highest setting. Cover the parchment paper and decal with your iron, pressing down firmly on the design. Using your iron like a small heat press, press the design for at least 20-30 seconds, repeating and overlapping the last position as you move across the design. Luckily, onesie decals are so small, you should be able to fit the whole decal under the iron in a single press!

5. Remove the parchment paper and peel the clear  backing from the decal, leaving the design on the onesie.

Never Grow Up DIY HTV Baby Onesie #nevergrowup #babydiy #svgfile

Check out our other Baby Onesie Projects for more DIY Baby Shower Gift Inspiration!

Never Grow Up DIY HTV Baby Onesie #nevergrowup #babydiy #svgfile