This post contains affiliate links, meaning that if you click on a link I will recieve a small comission. This costs you nothing extra and I only promote products I use and love! You can read our full disclosure here

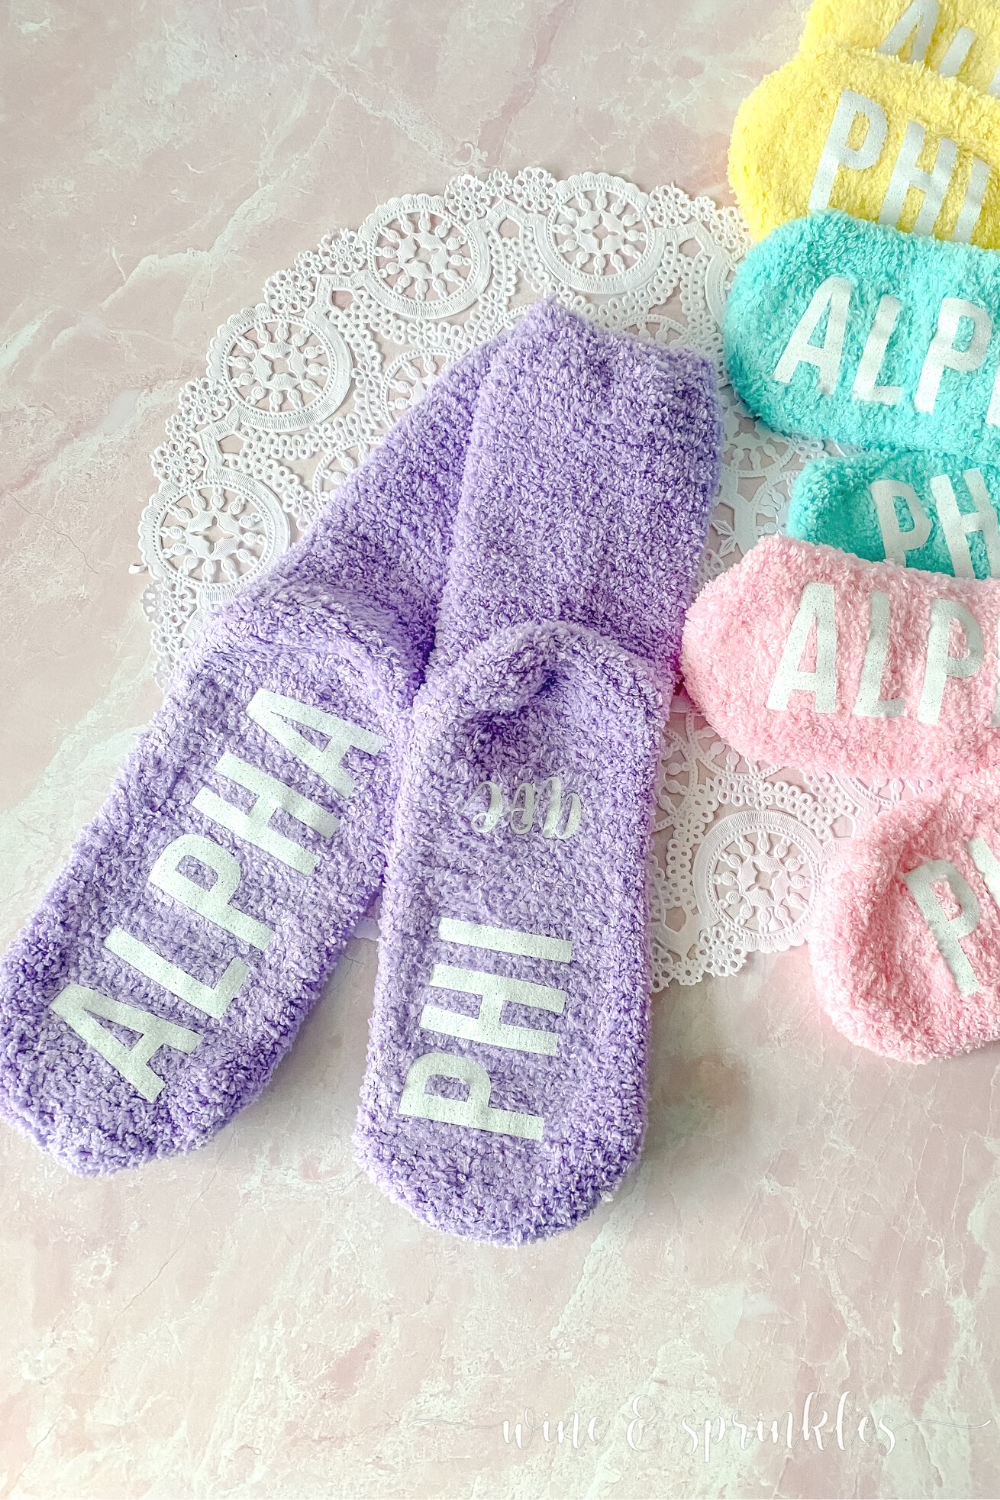
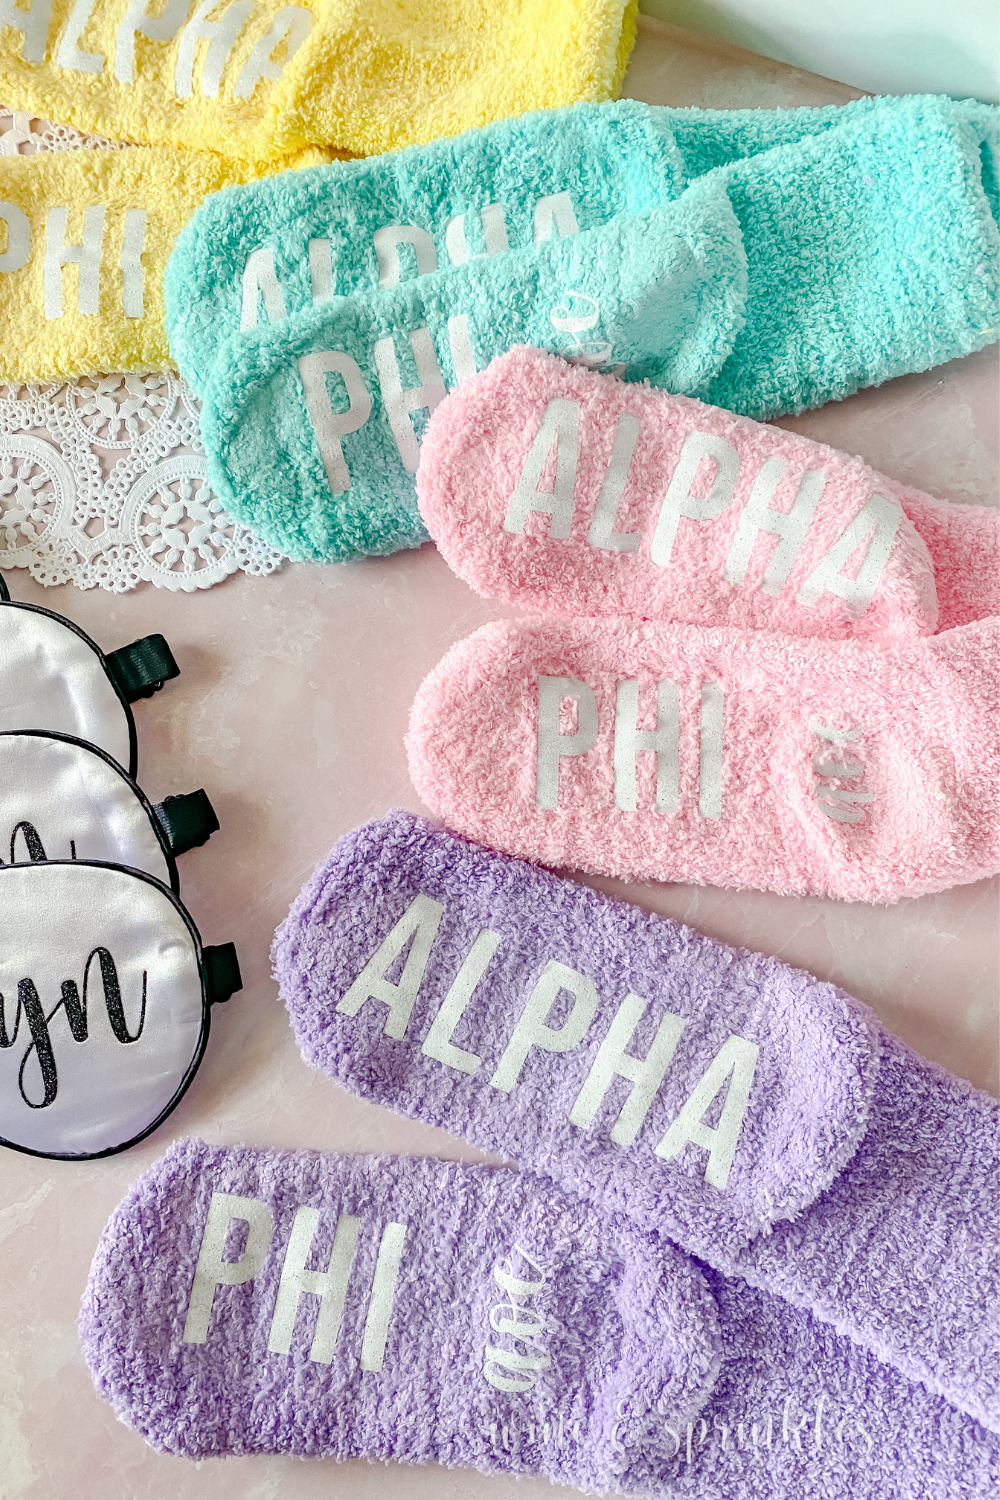
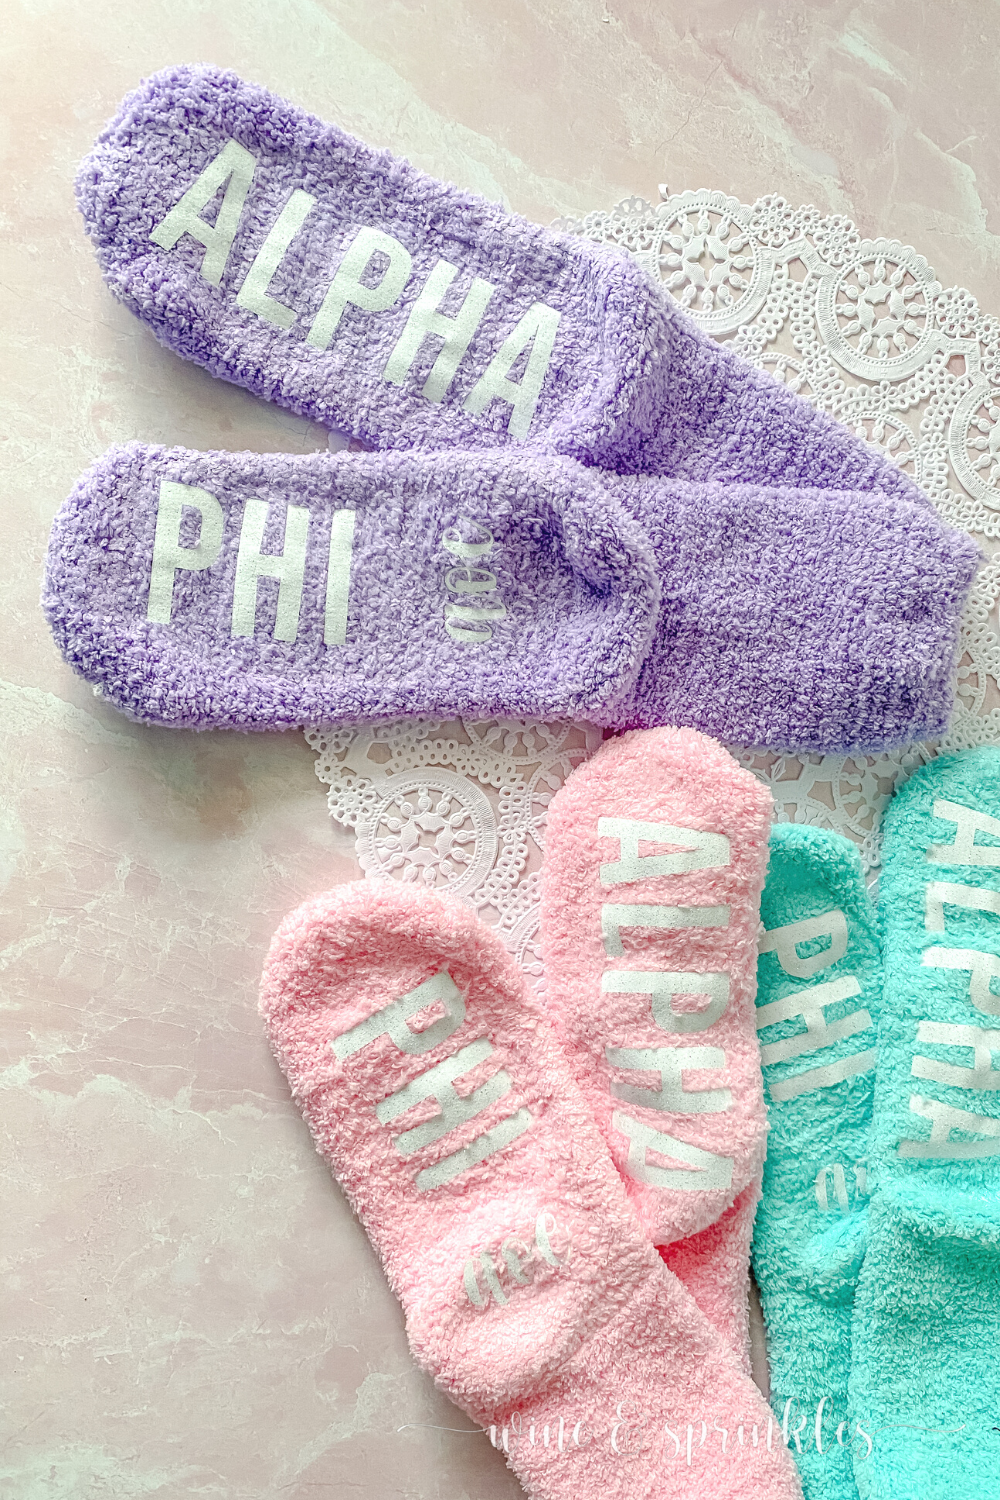
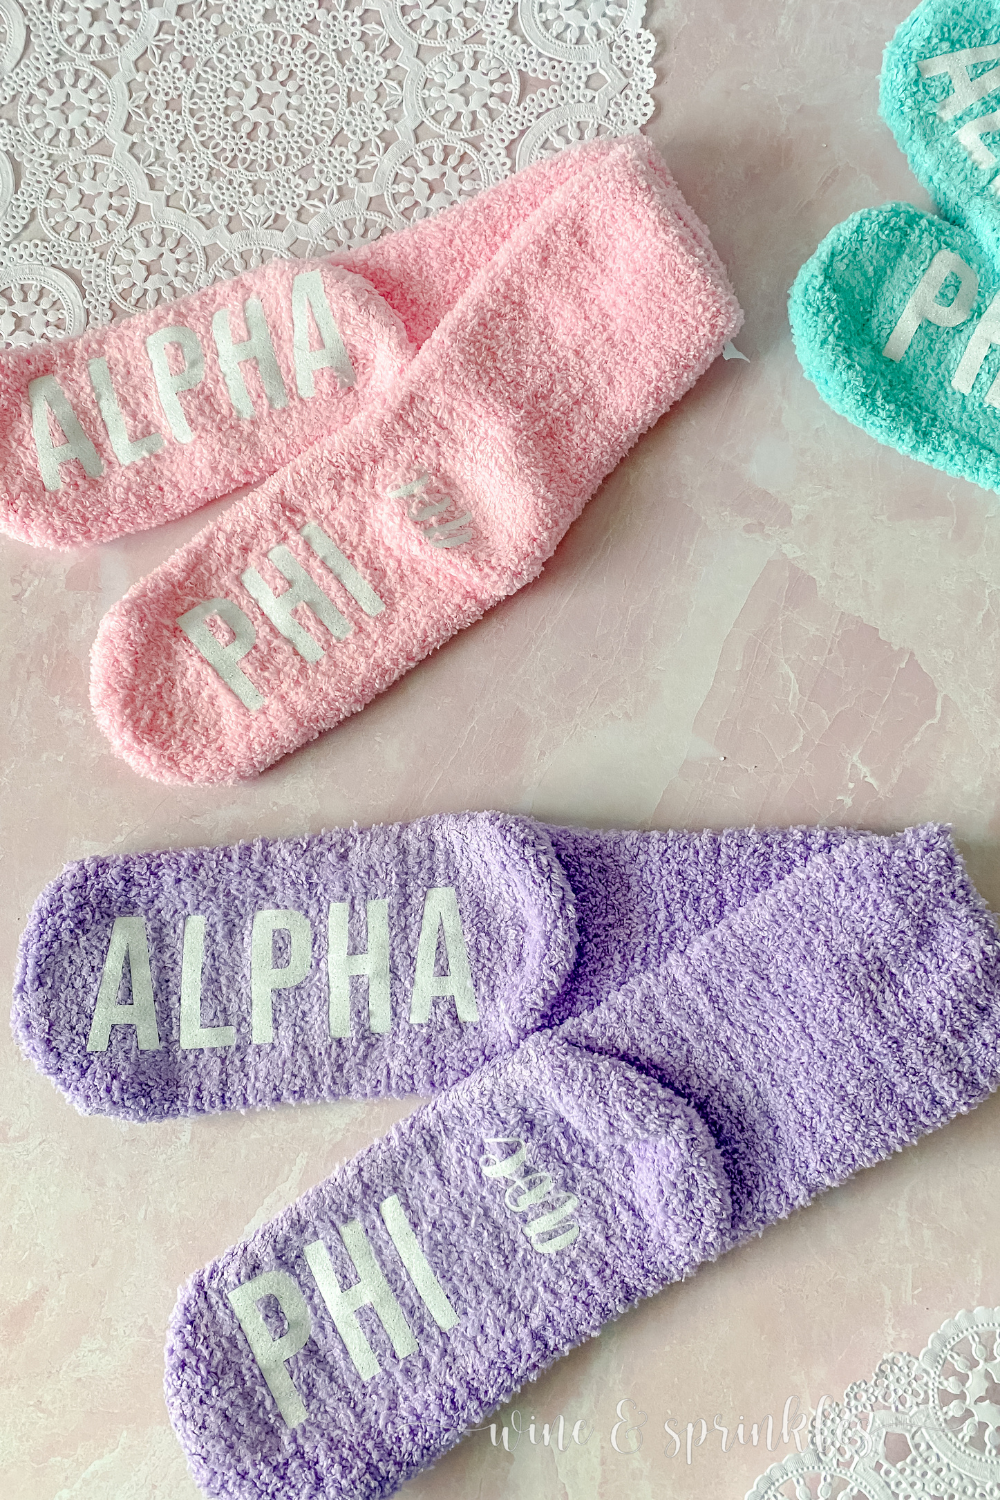
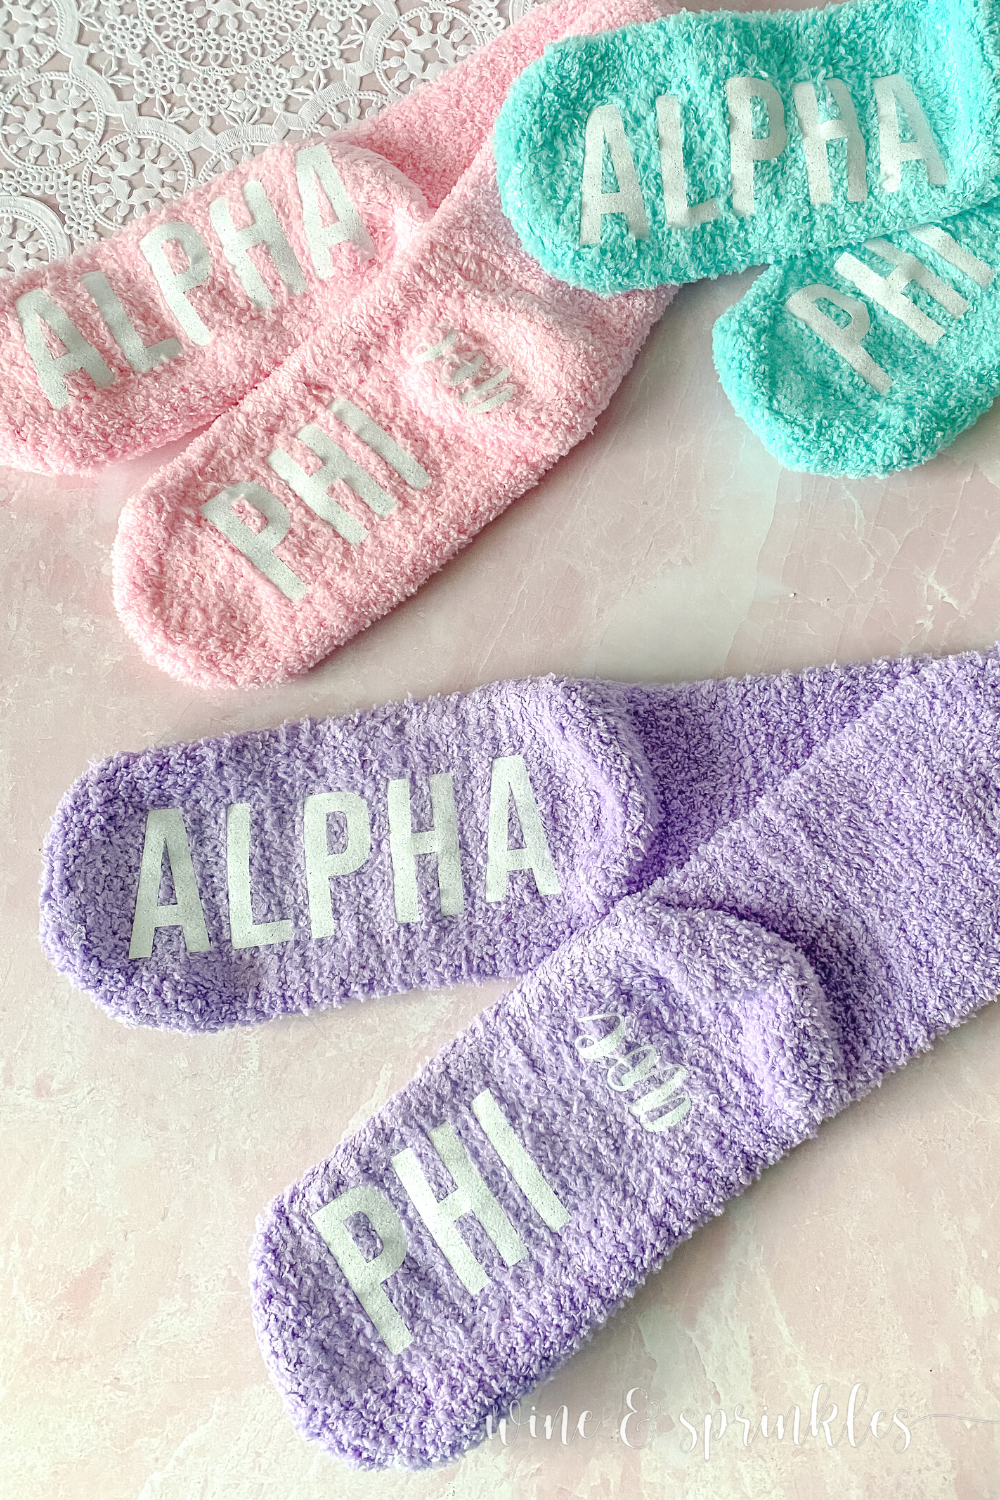
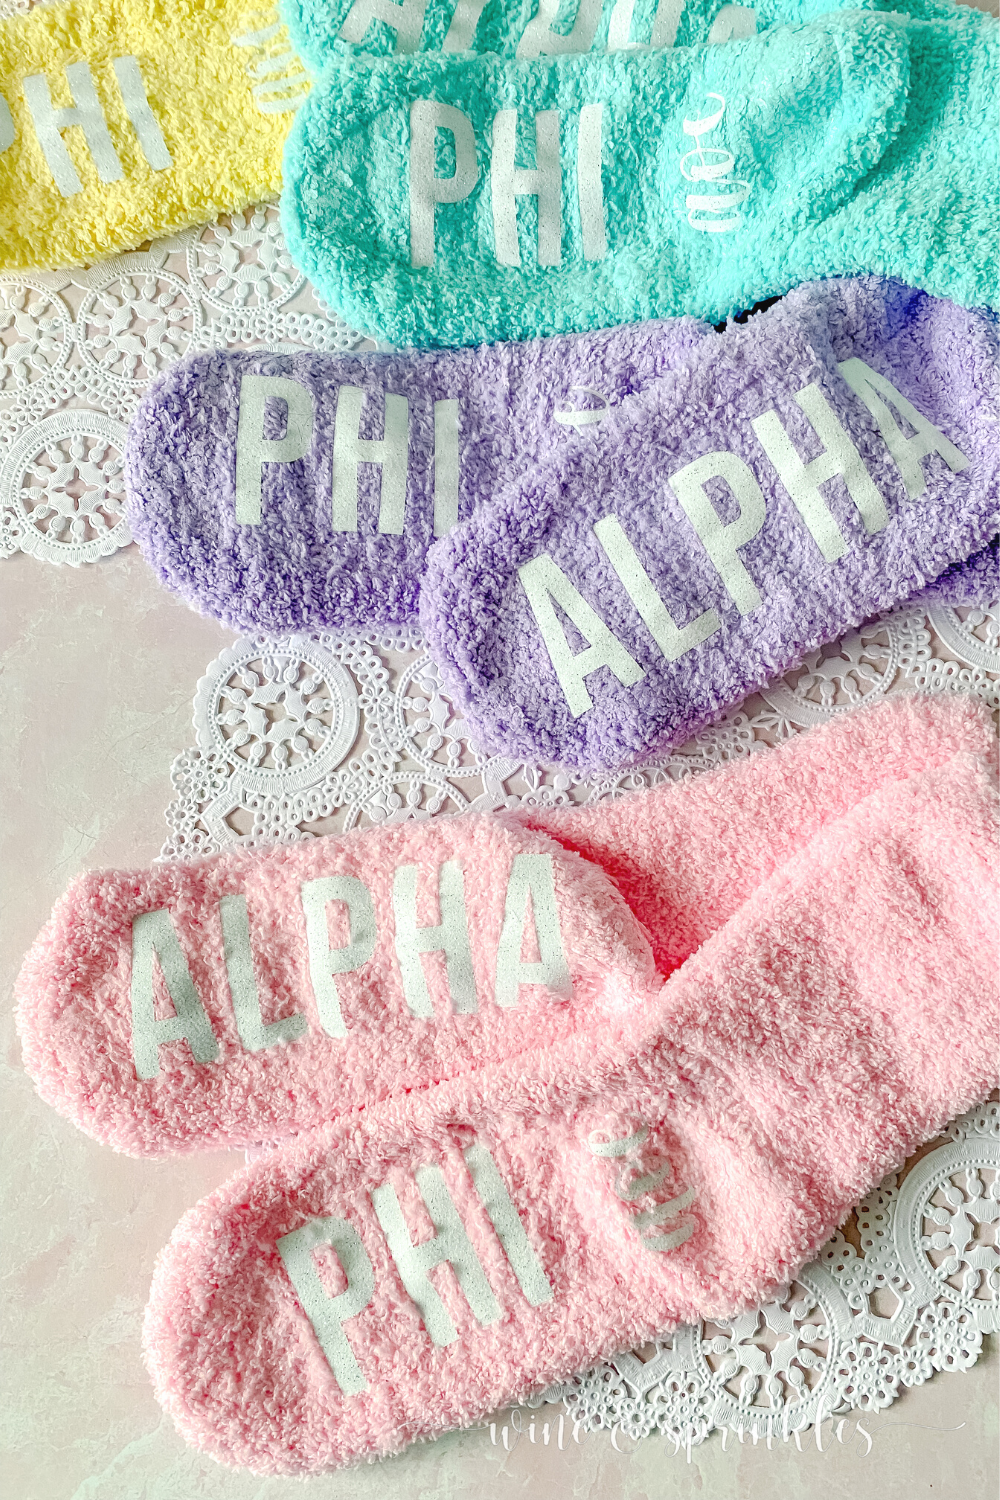
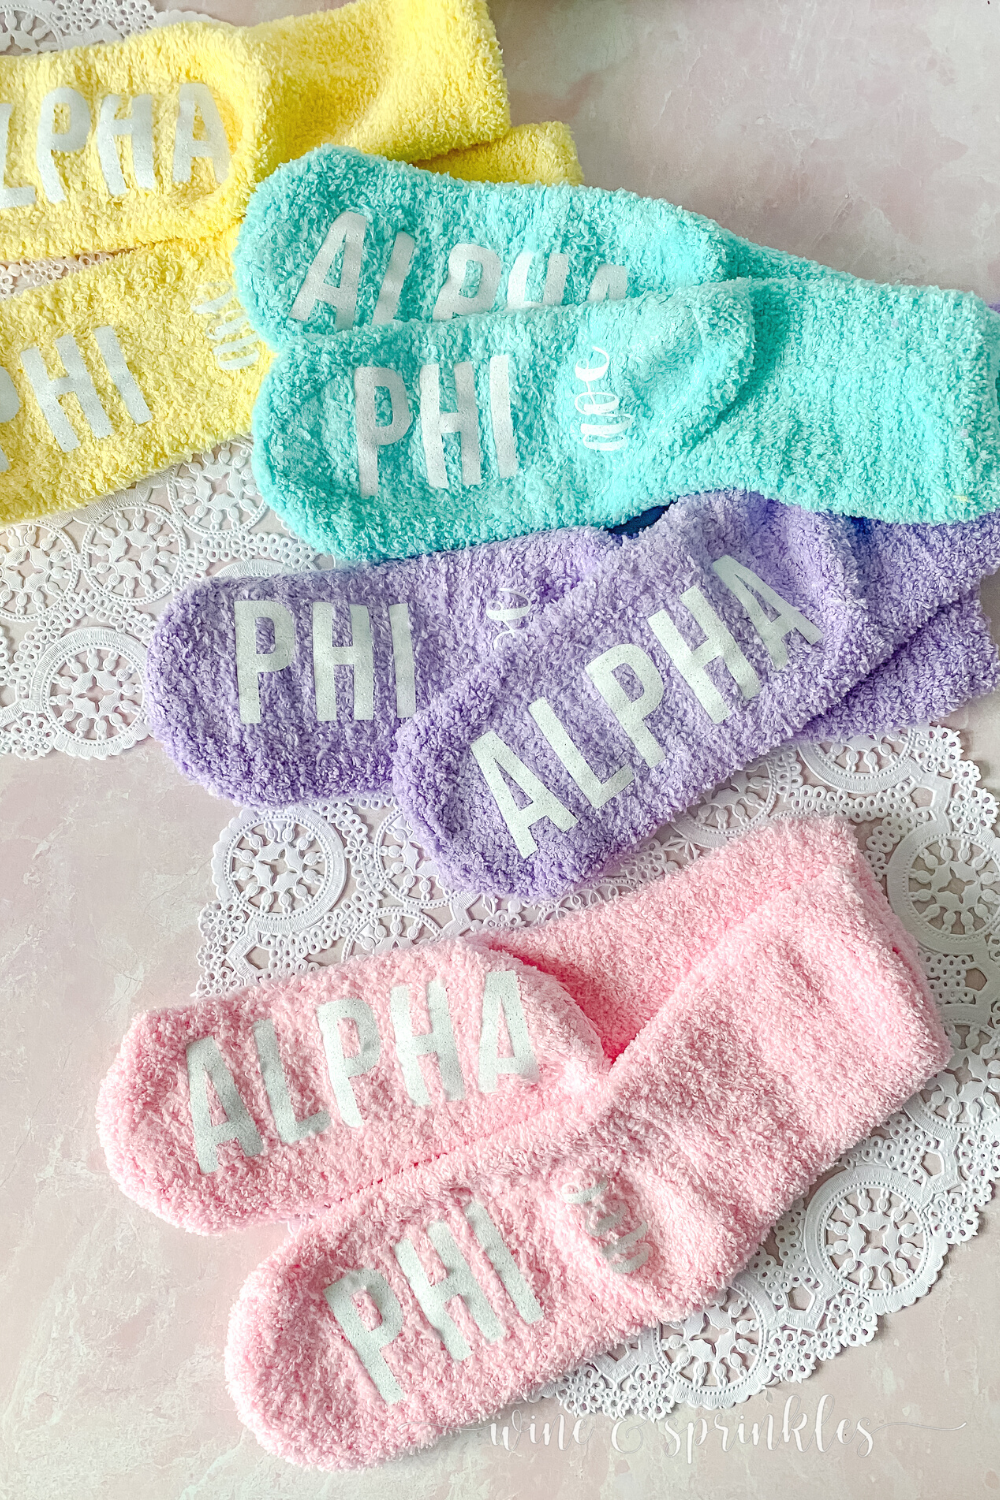
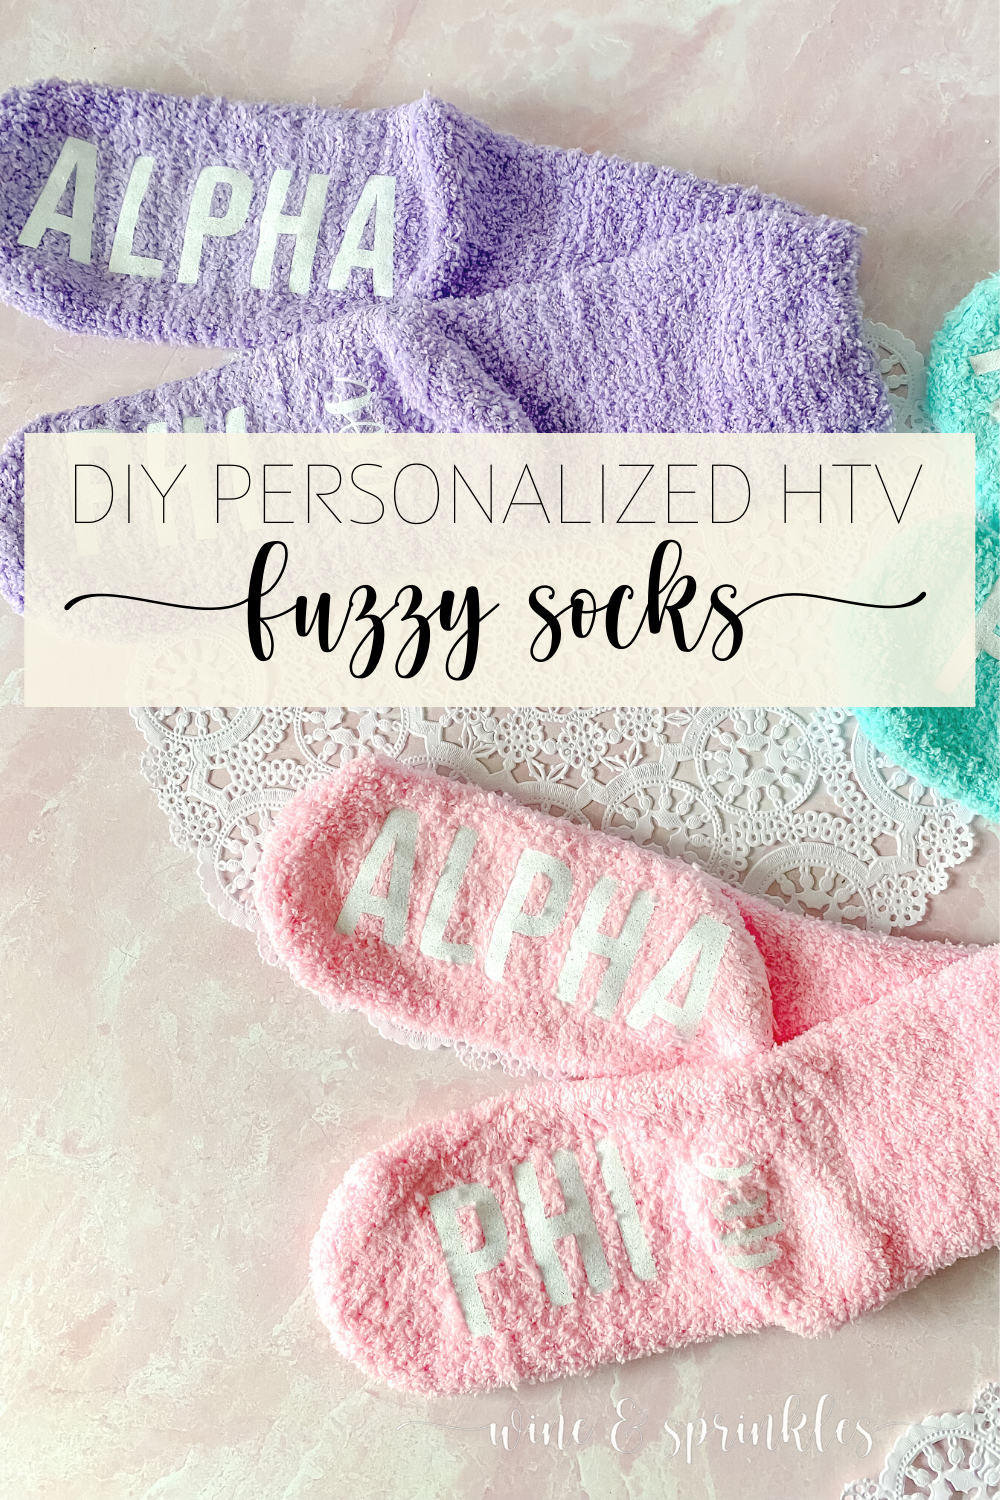
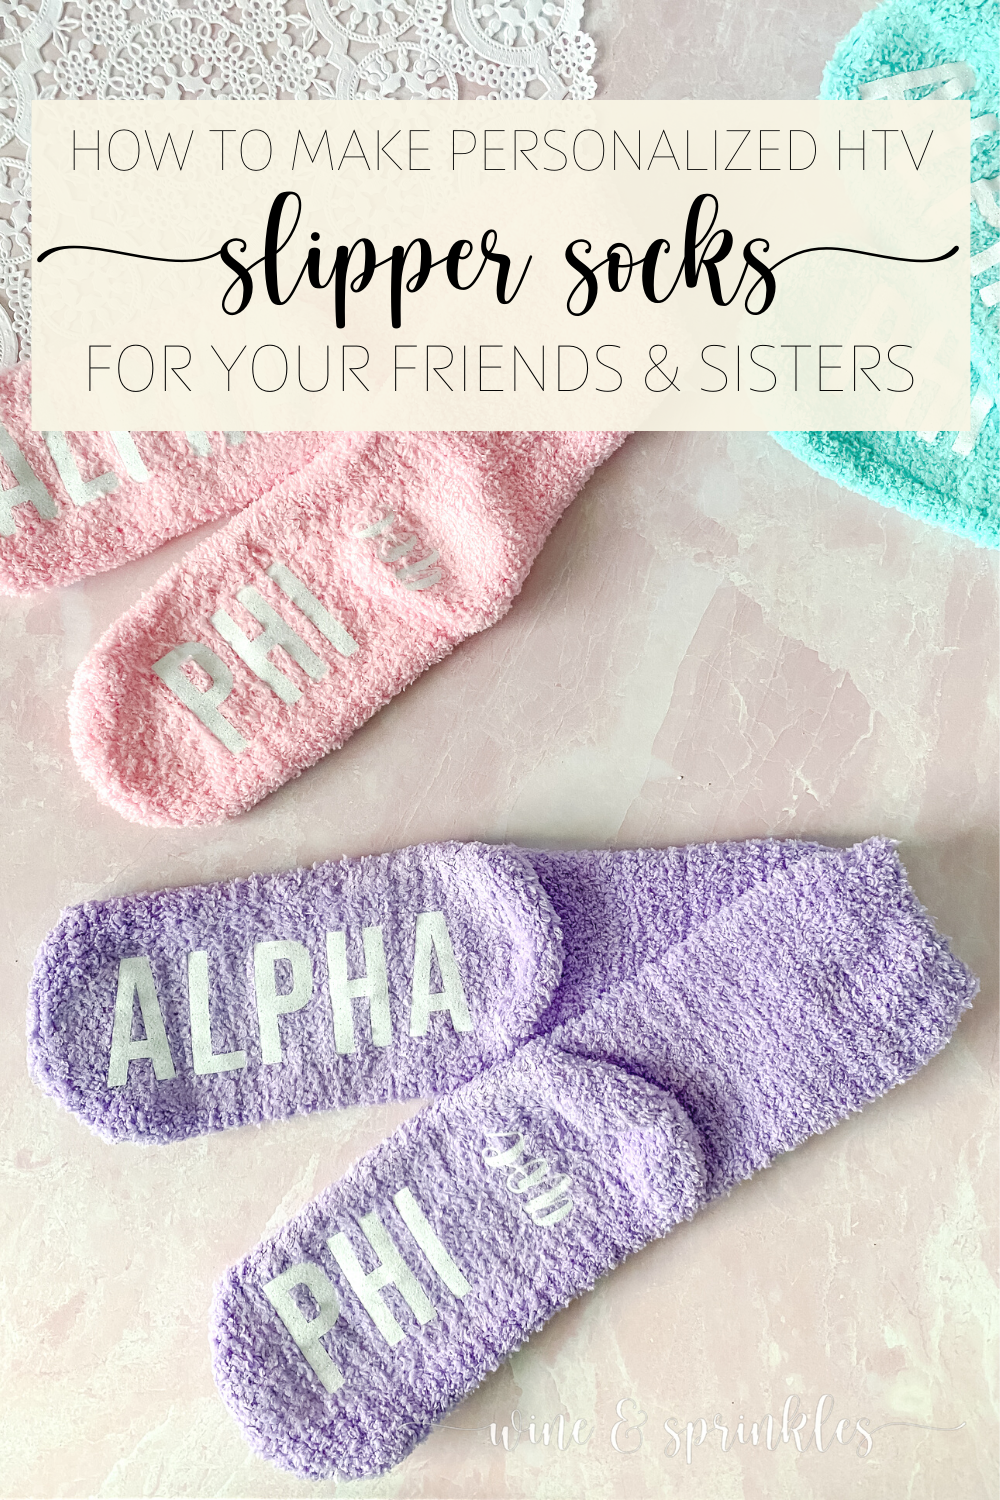
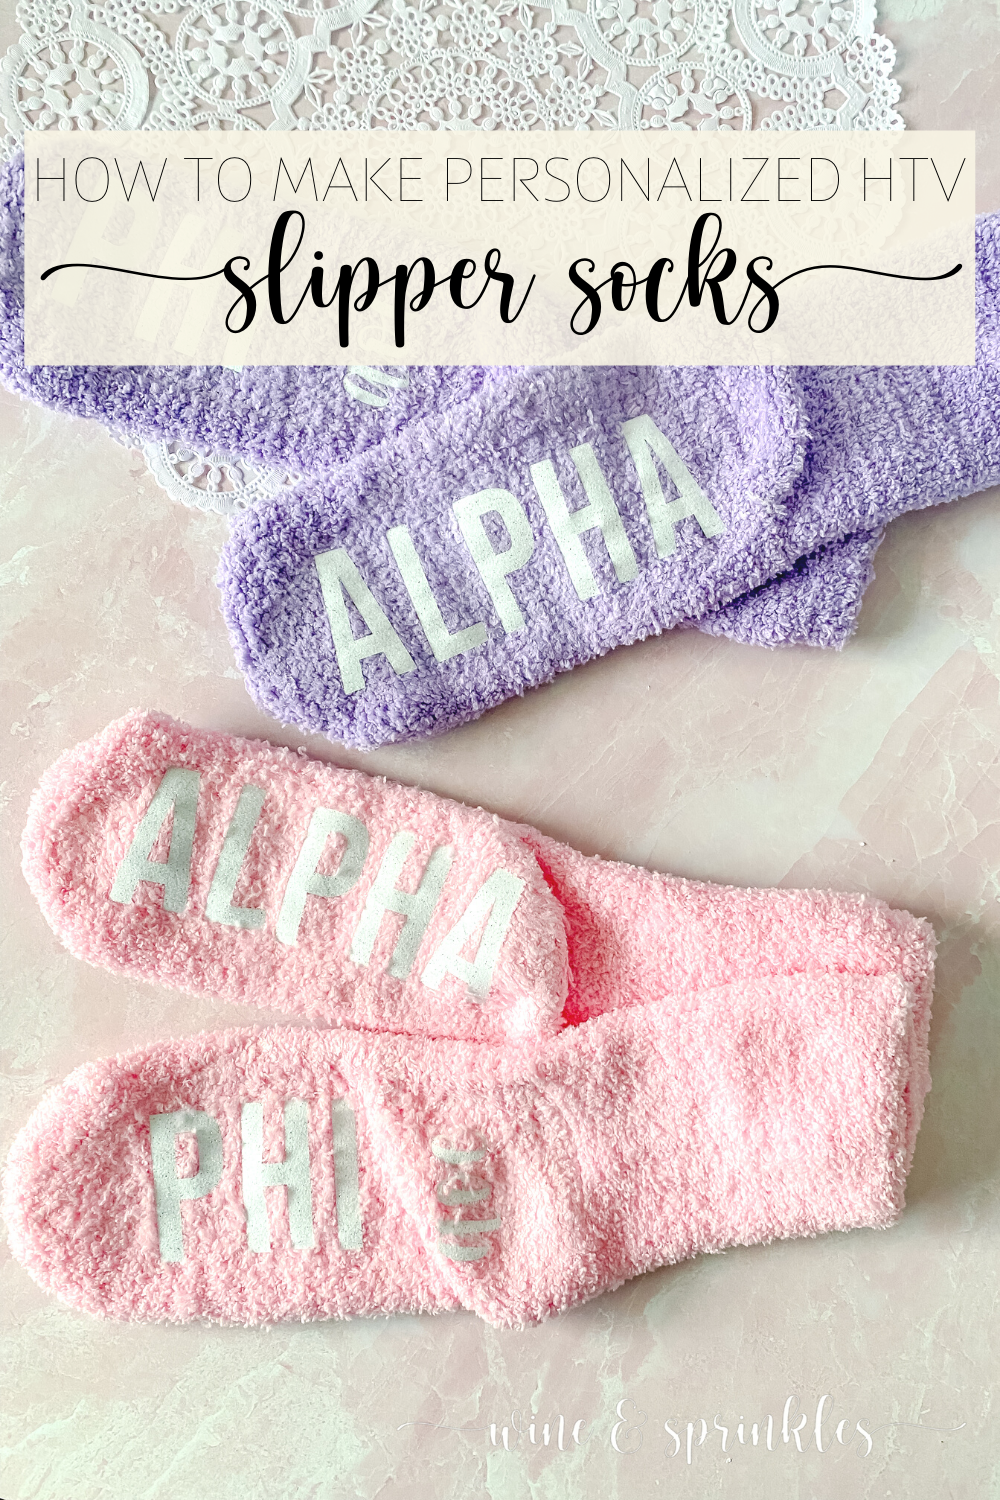
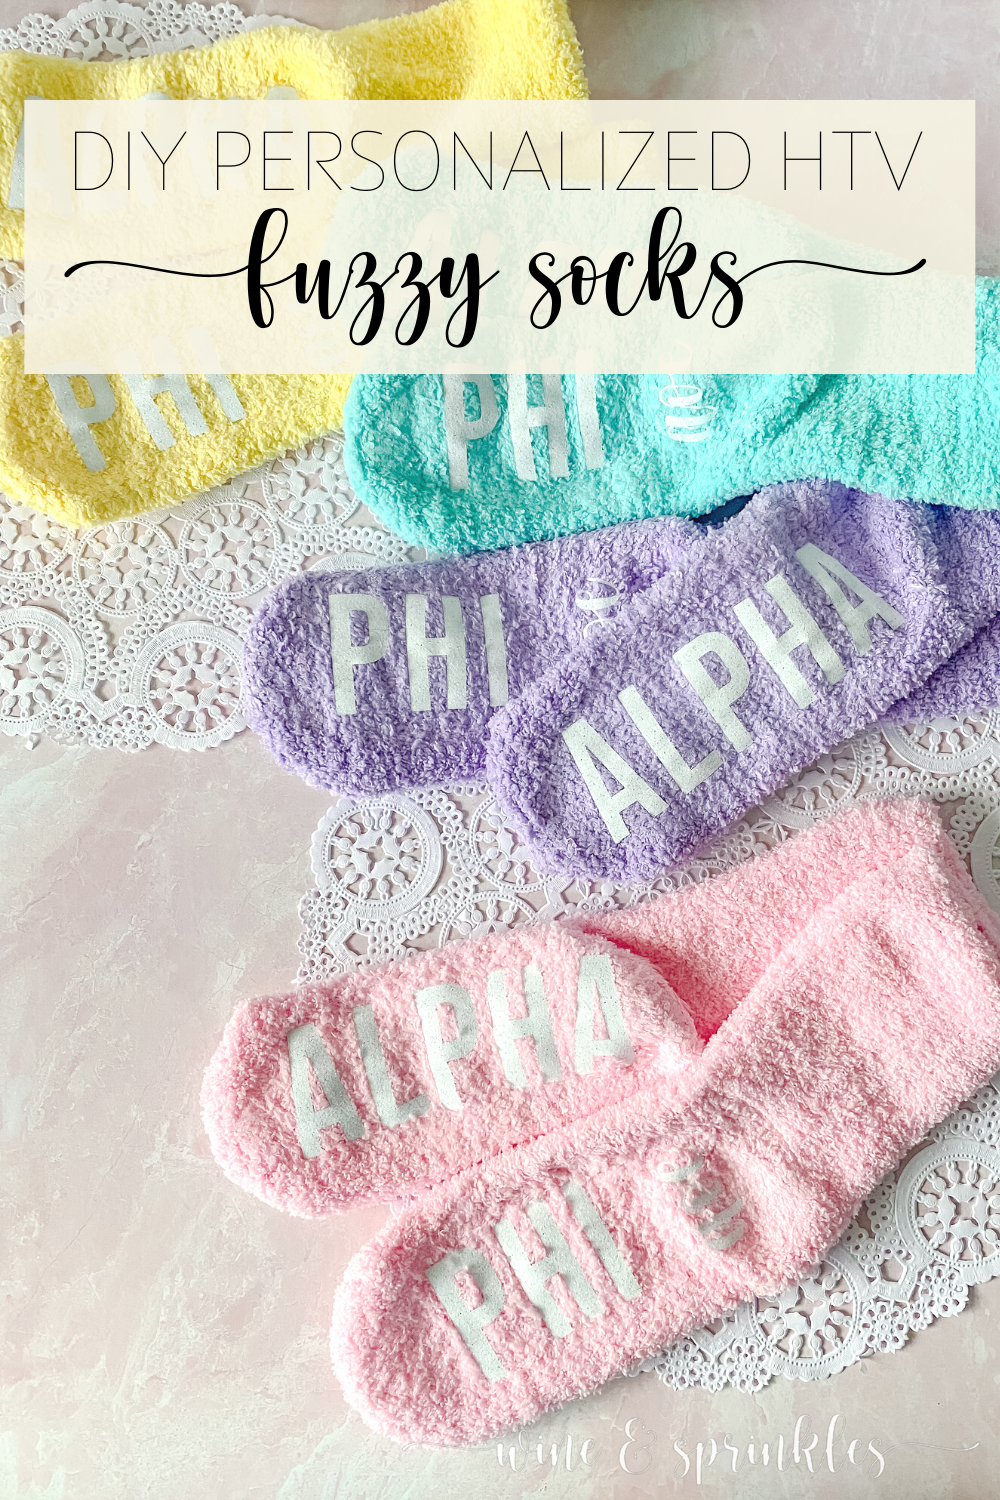
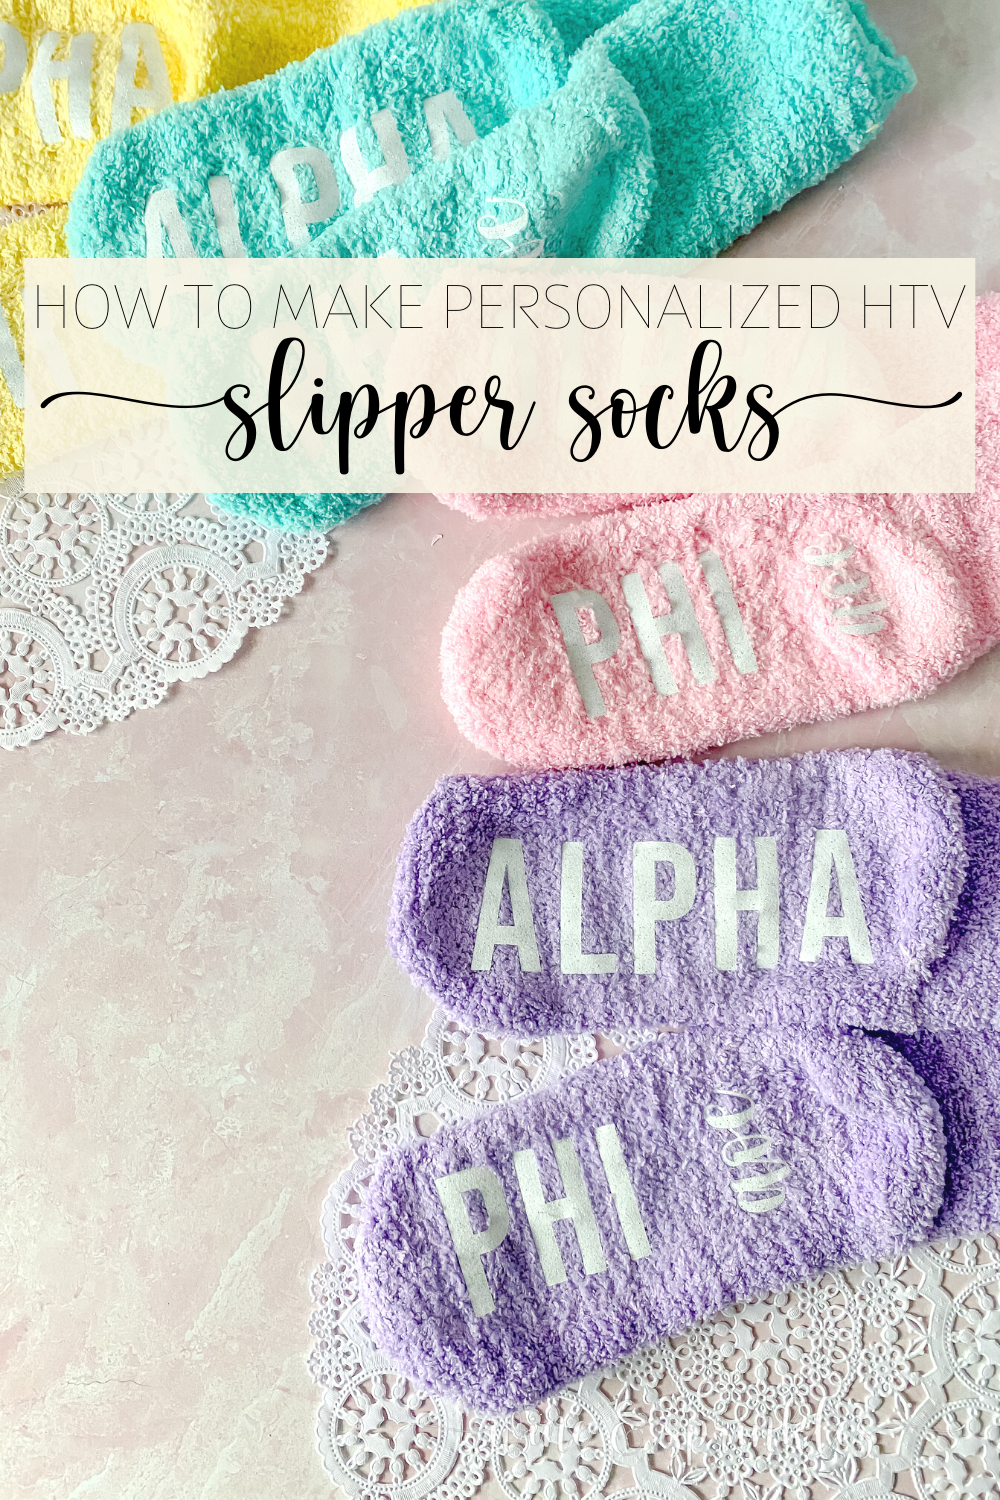
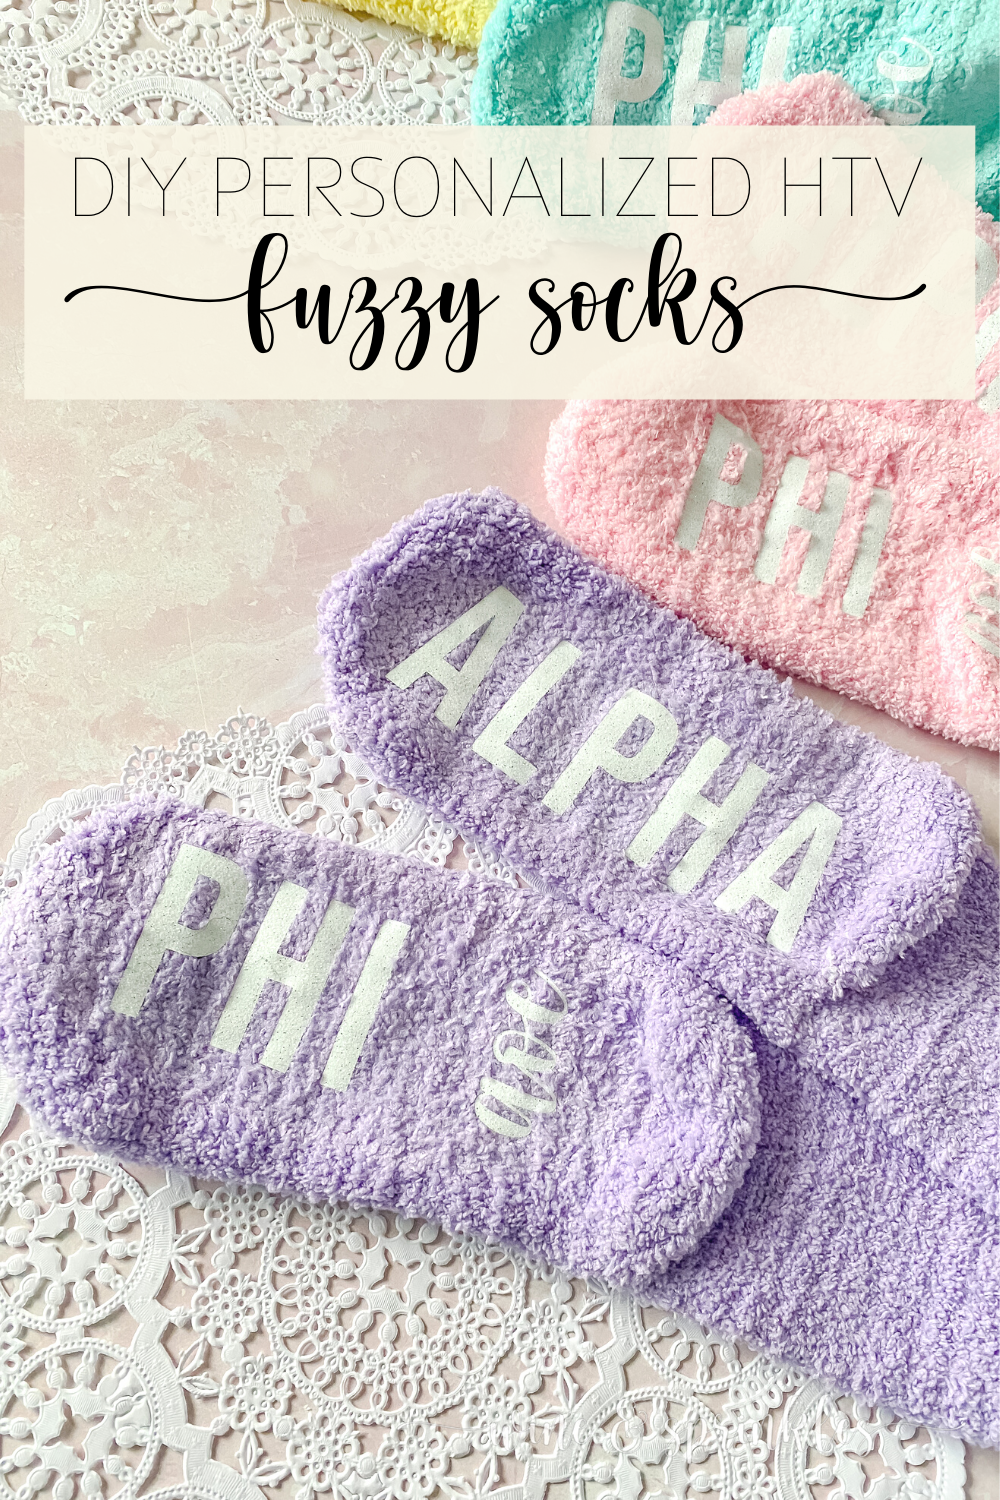
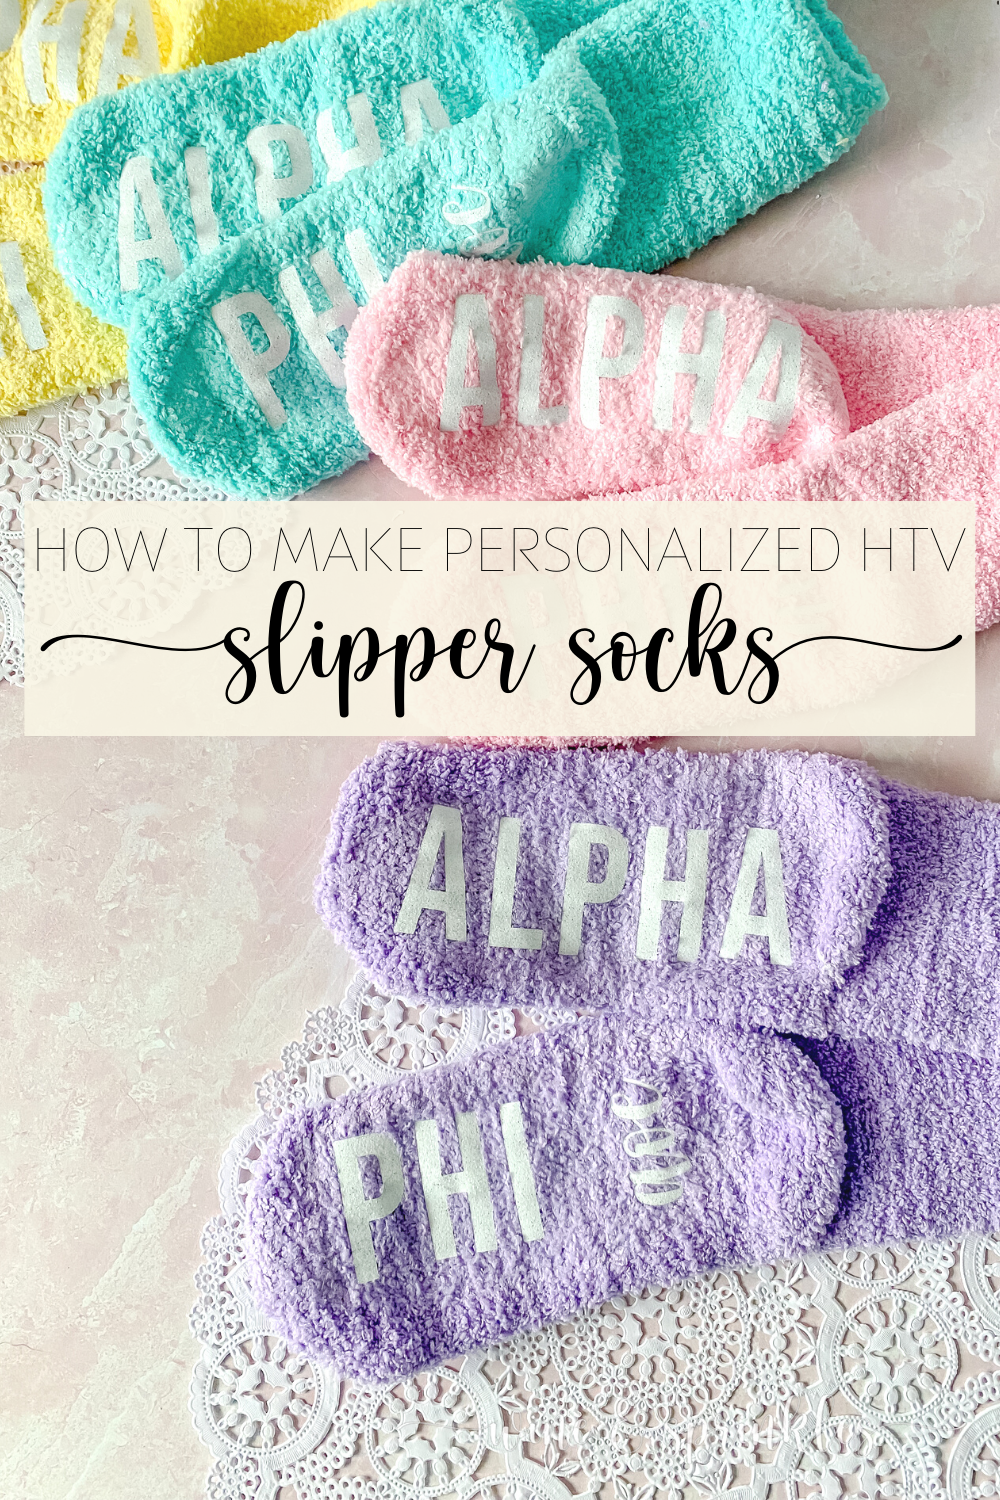
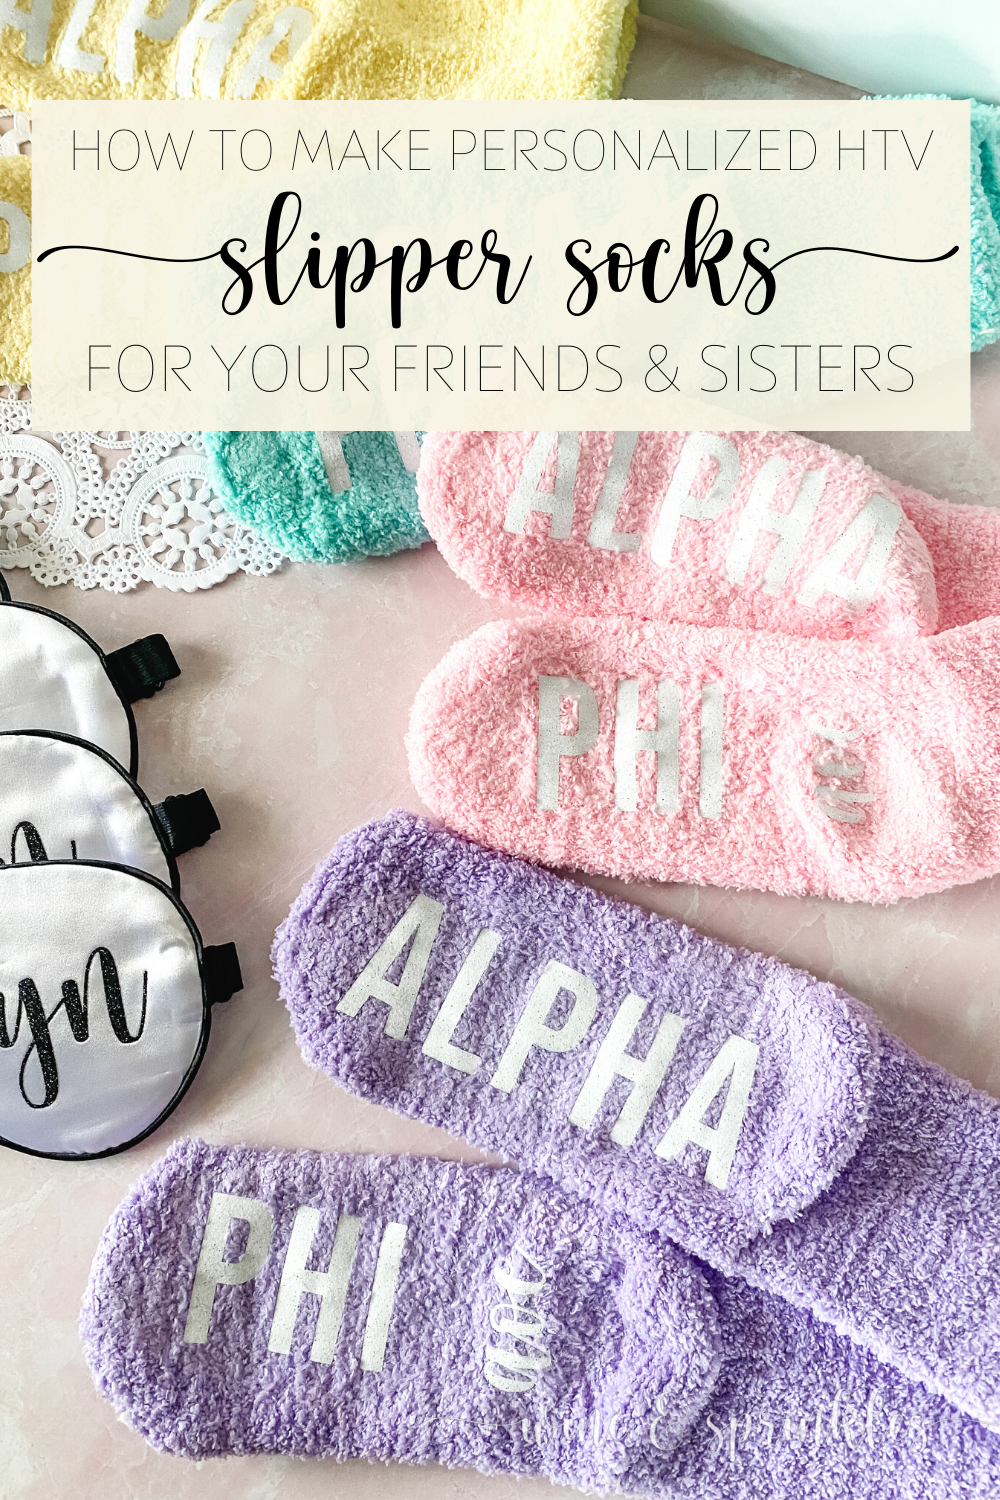
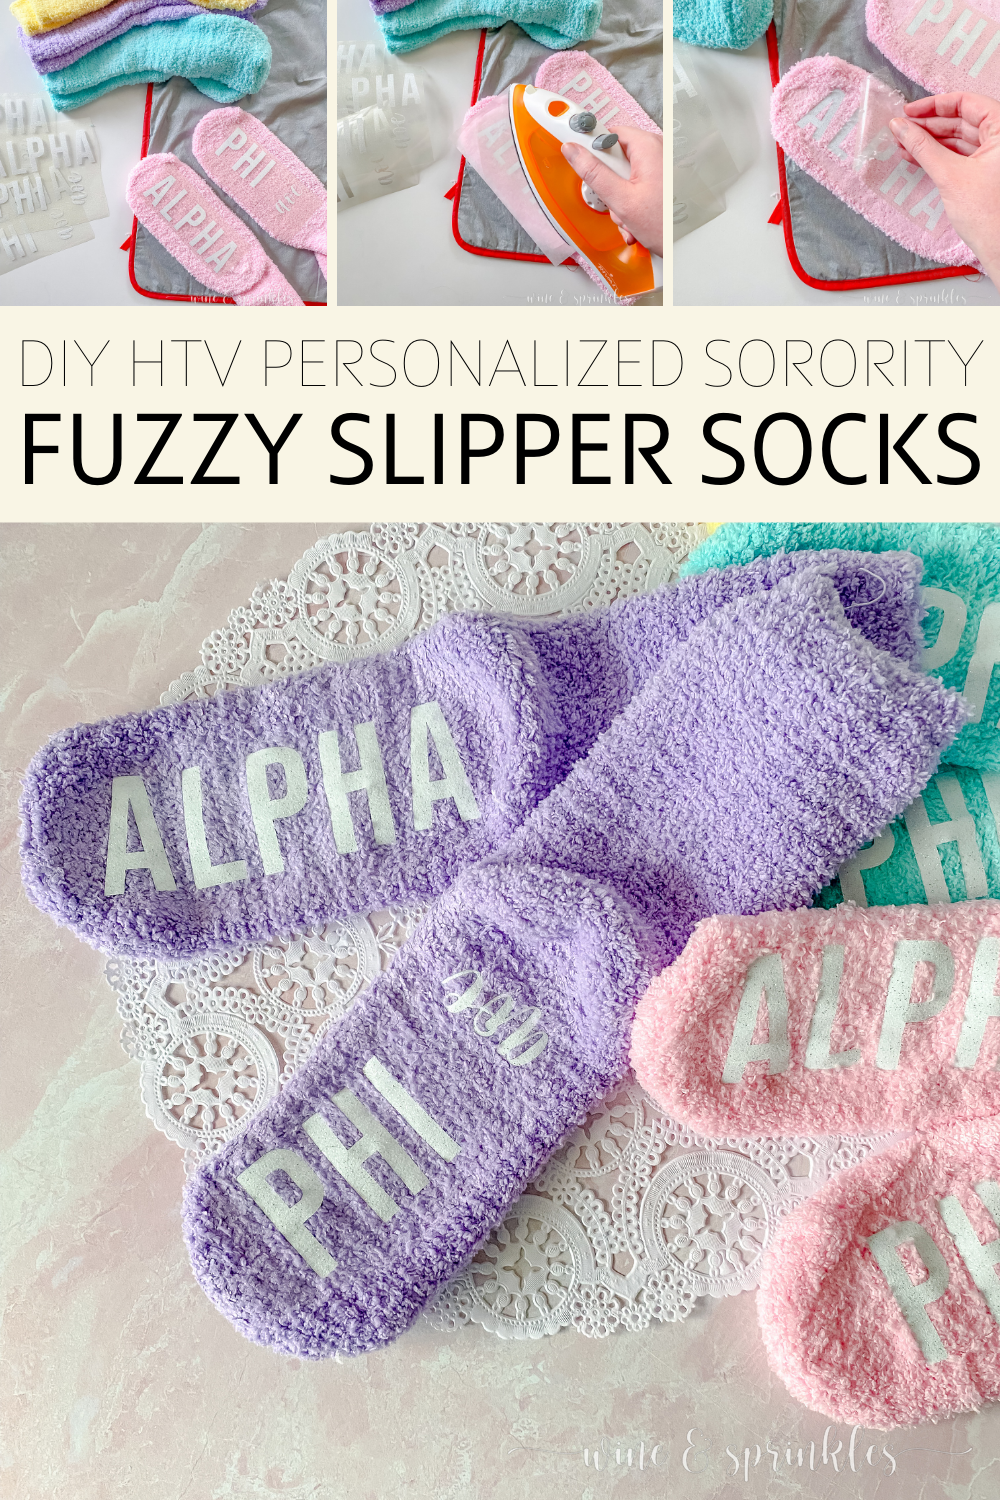
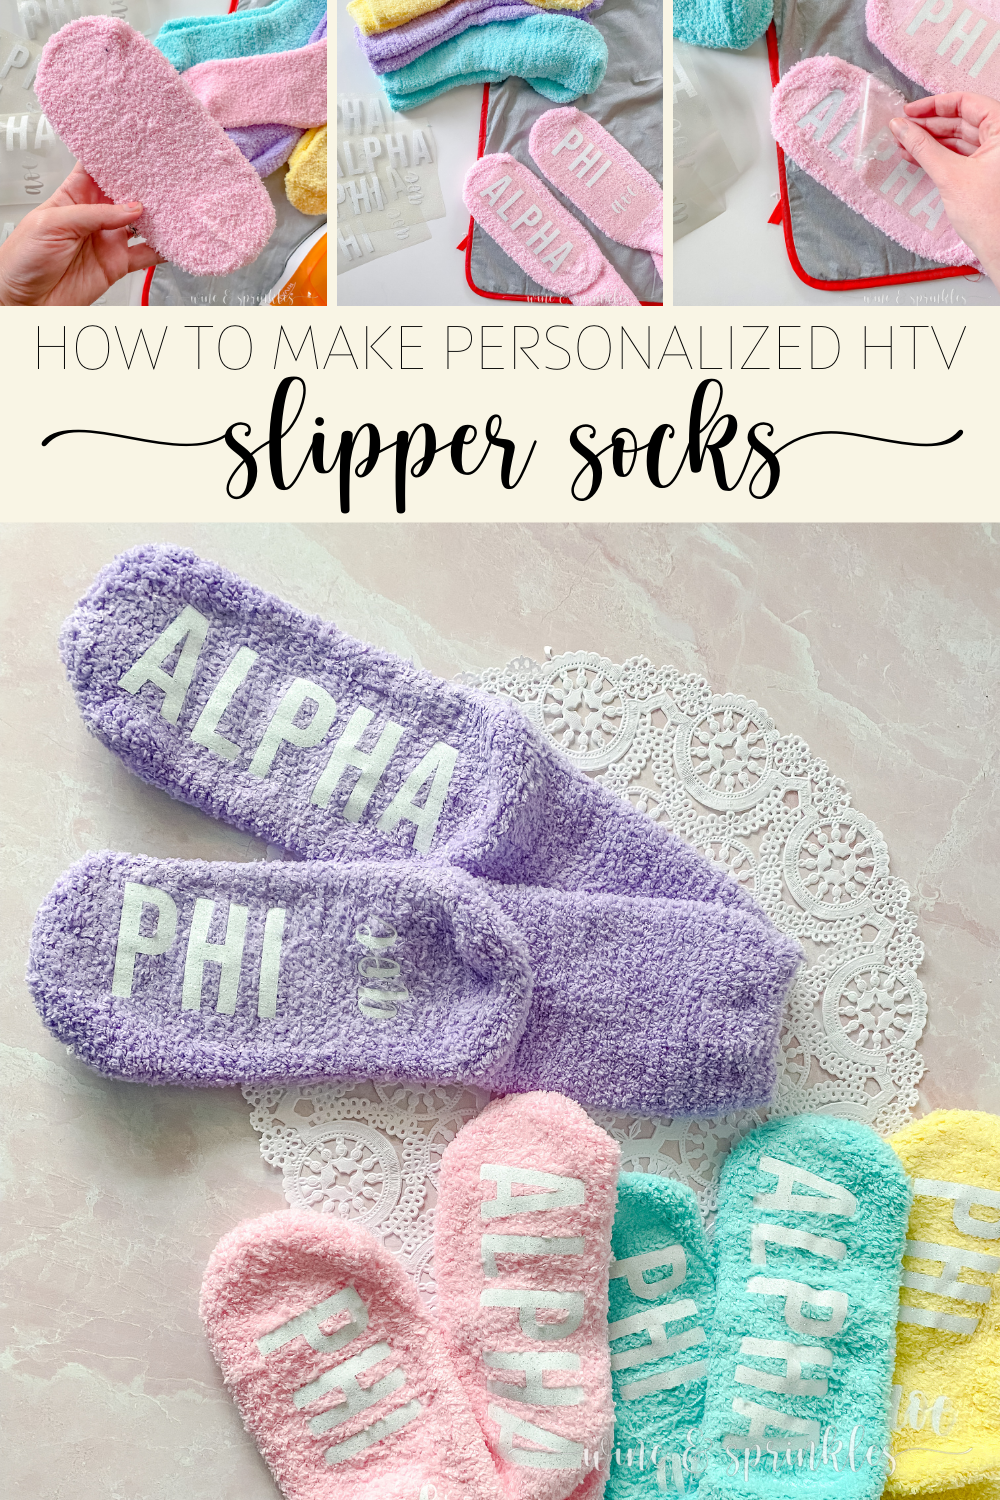
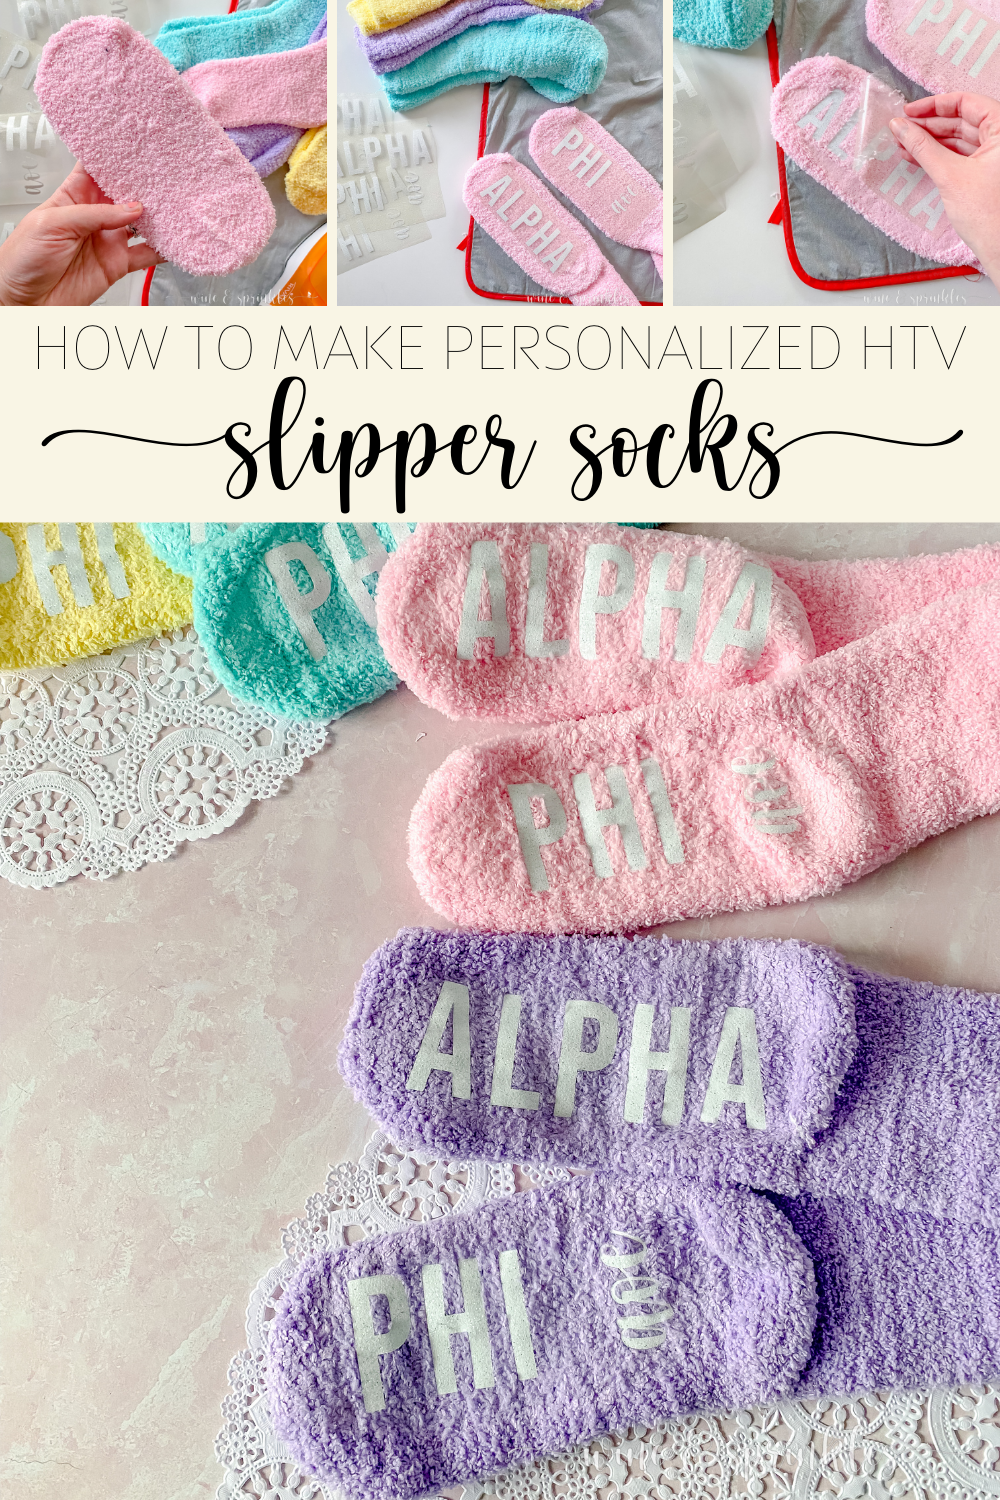
For those cold winter nights, nothing beats a delightful pair of fuzzy slipper socks! I feel like this is equally true all year round, so despite the fact I was jetting off from the cold to balmy beach weather, I wanted to include something in my friend’s Sleepover Spa Sorority Gift Boxes with a cozy vibe that still fit my theme for our college getaway vacation. Enter these Personalized Sorority Socks, that gave us the perfect matching accessory to share during the weekend, just like TShirts from our college days, while also being lovely for traversing those chilly tile floors of our rental home in the morning!
While I was designing these decals and deciding how I was going to go about transferring them, the biggest things I thought about was how much the socks stretch and how to make sure the decals stayed on their fuzzy texture. It went without saying that I was going to do a glitter HTV to try to have the bottoms of my socks more textured and grippy, so once I found the Strong Bond Glitter HTV from Cricut, I knew I had the best material for my first try!


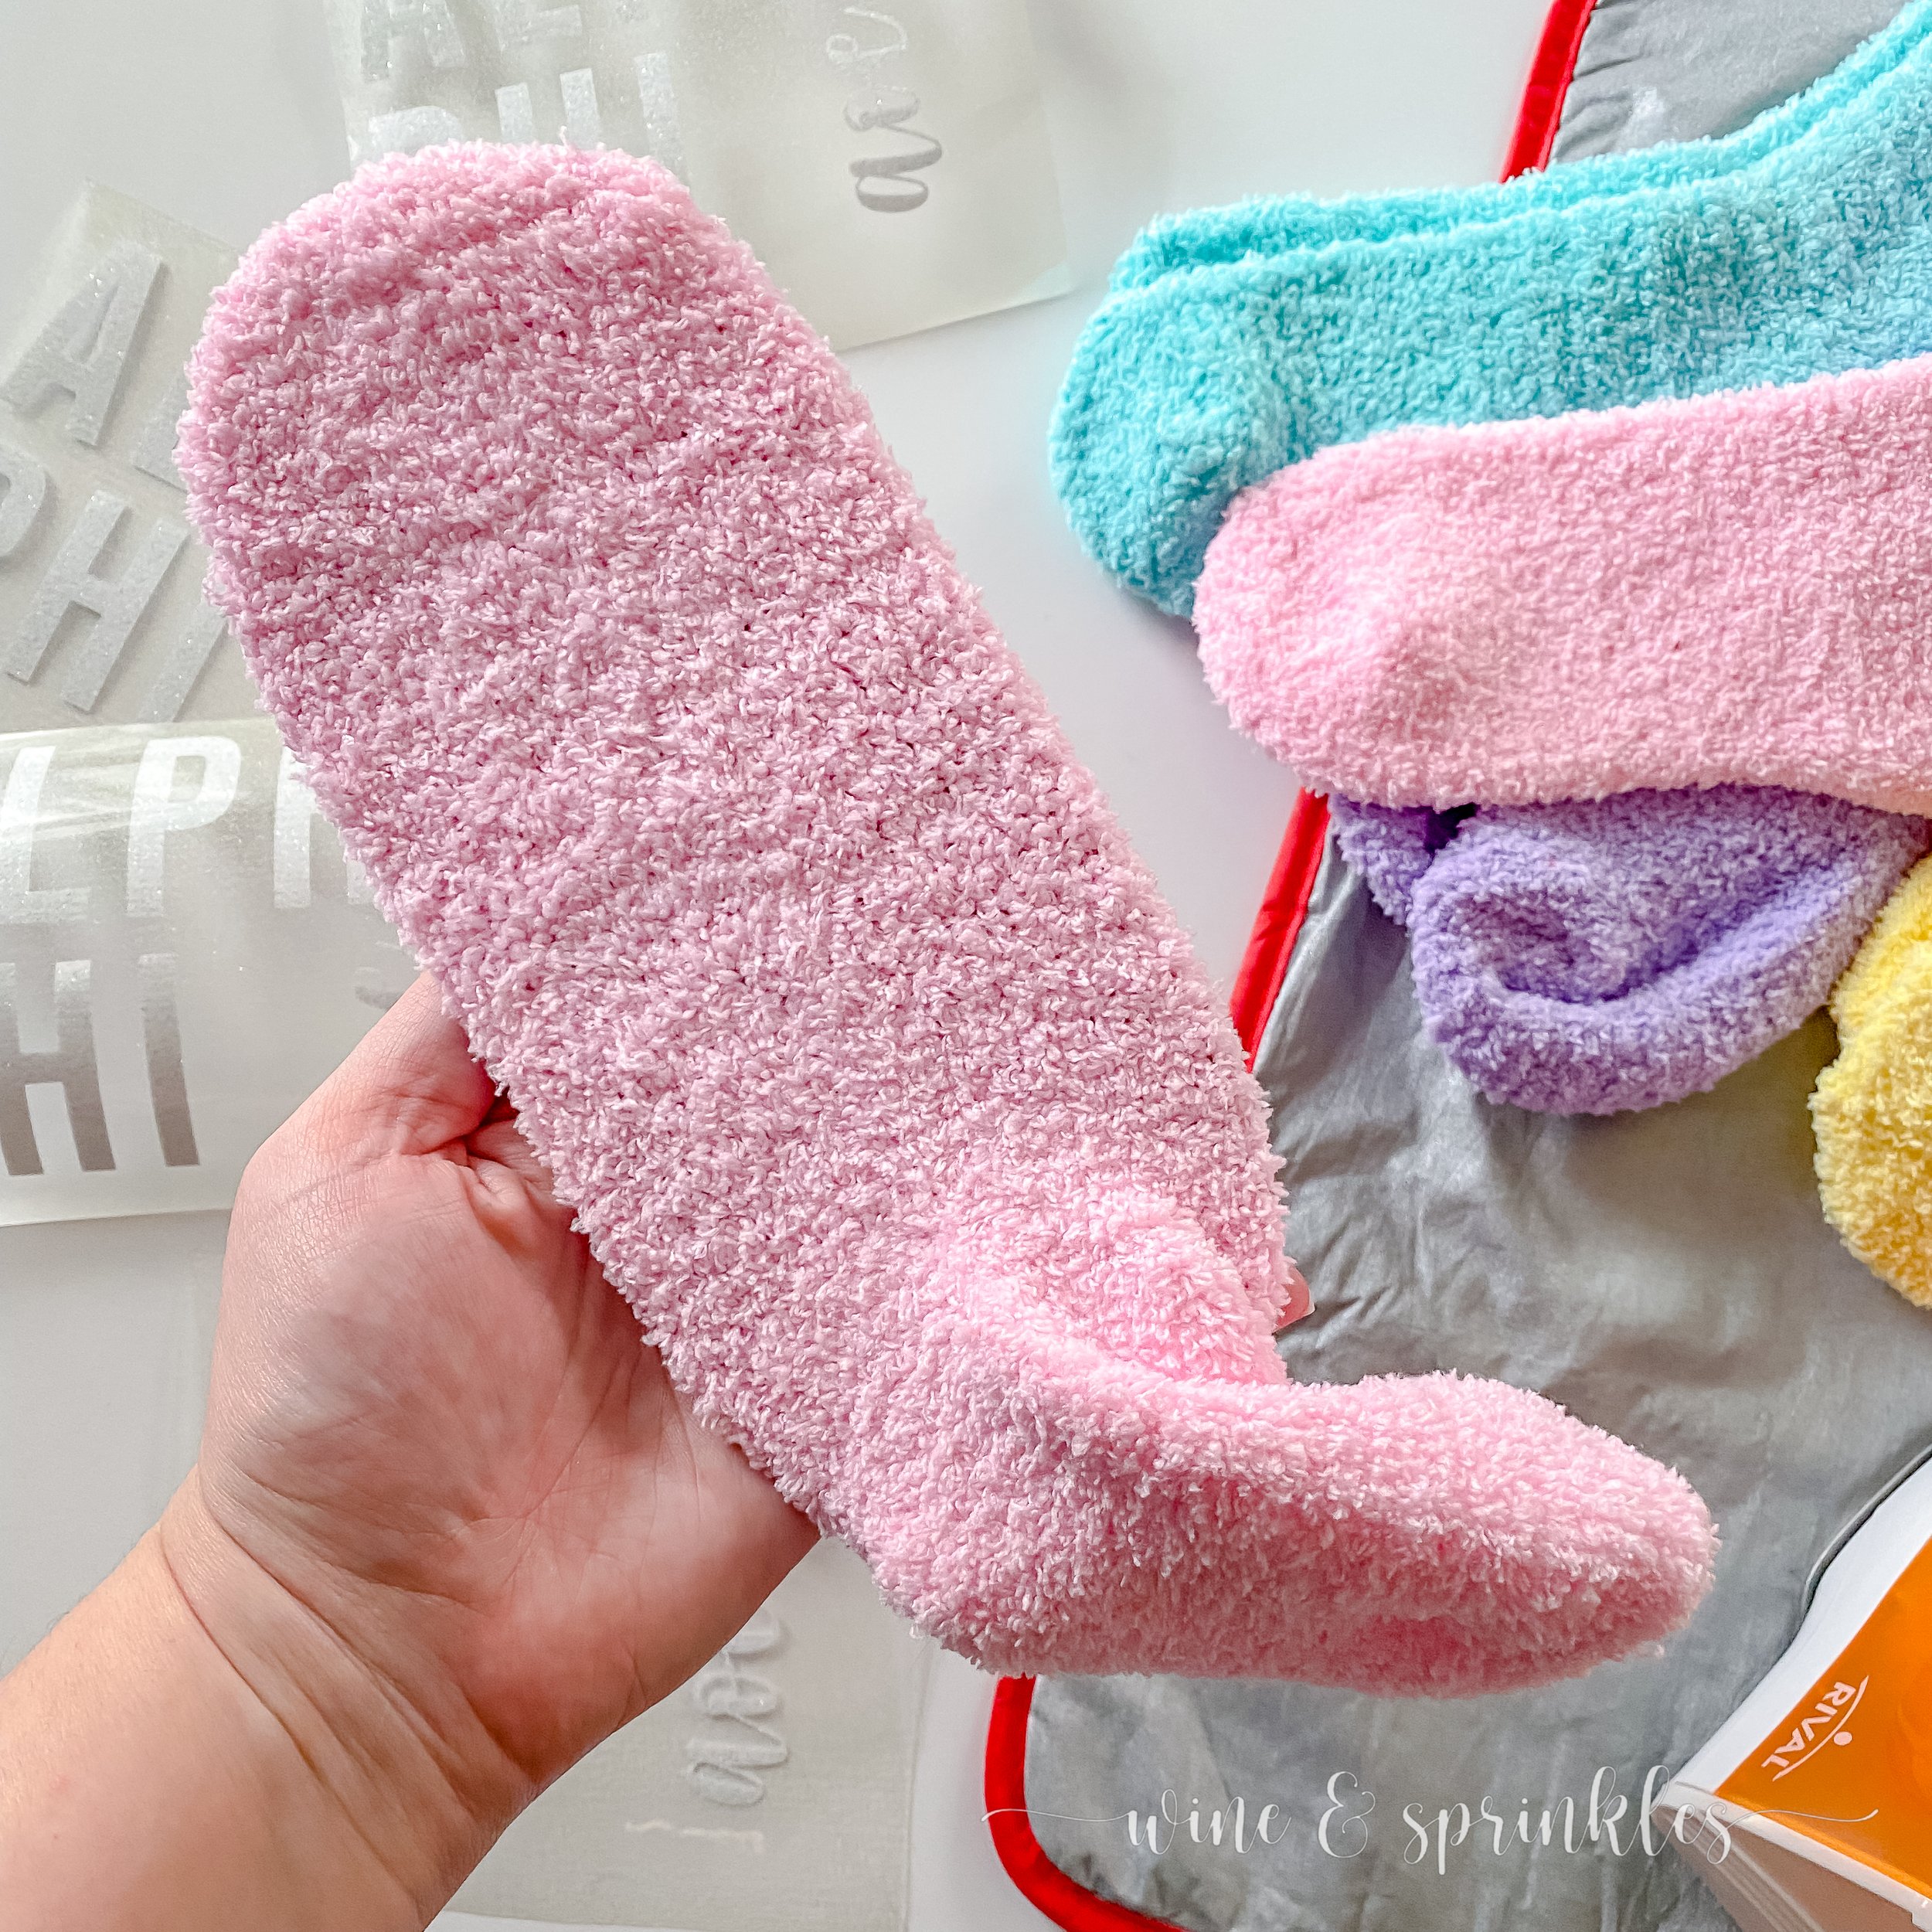
To combat the stretchiness, I traced my own foot on cardboard, then used it as a guide to create cardboard ovals. I used these to stretch out the bottom of the foot of the sock before transferring, and they were also incredibly helpful to make sure I centered my decals on the bottoms of the foot correctly! So far my socks have been working like a charm, grippy like I want but with no letters being lost to poor transferring!
Since I started with my socks stretched, I also took care to provide extra letter spacing when I was designing the decals, so for the larger fonts on the socks I would recommend a bold font like Bebas Neue, which is the font I used myself! The small details like the “aoe” can be made with a curly cursive font like Hello Honey, which I used on both the heel of one sock and for the lettering on my Personalized Sleep Masks.
While I designed these socks after my old sorority, the lettering can be personalized for anything you like, be it your own greek house, bridal party titles, names, or funny sayings! In the tutorial below, I show how I sized, spaced, and created my decals in my craft cutter’s software, so you can use the same method for your own creatively crafted fuzzy socks.

SUPPLIES
HTV BLANK SUPPLIES
Fuzzy Socks: I wanted a thick fuzzy style sock for this project so they were warm for the cold AirBnB floors, along with feeling more sleepover spa themed than traditional socks. I wanted each box to be themed off of a different color, so this multicolored sock pack was the perfect fit!
CRAFT CUTTER & HTV SUPPLIES
Strong Bond Glitter HTV: I’d highly recommend strong bond glitter HTV for this project, it's perfect for making a grippy bottom on the socks that last as long as possible, especially with the stretchy and fuzzy nature of these socksI bought strong bond HTV for this project in a couple colors to decide which I liked best, using White Glitter HTV on this project and the leftover over Black Glitter HTV on the Personalized Sleep Masks that were gifted along with these socks.
Craft Cutter: there are a couple of craft cutters on the market, but the only one I’ve ever had has been a Cricut, so all my tutorials and projects are designed around them! I’ve had my Cricut Explore for almost six years, and it's still going strong and helping me create all sorts of fun projects! I can’t wait to update my craft cutter arsenal soon, and rest assured it will still be part of the Cricut family.
Cutting Mat: I generally use a standard strength cutting mat for my HTV projects, and this project is no exception!
OTHER SUPPLIES
Iron & Ironing Mat: to heat transfer the decals and protect the surface you are ironing on.
Parchment Paper: to protect your decal backing from the iron.
Cardboard: for cutting out ovals to make bases for stretching out the bottom of socks.
SUPPLIES LIST:
[for 4 pairs fuzzy socks]
HTV BLANK SUPPLIES
Fuzzy Socks x 4
CRAFT CUTTER & HTV SUPPLIES
Strong Bond Glitter HTV x 12” x 8”
Craft Cutter
Cutting Mat x 1
OTHER SUPPLIES
Iron & Ironing Mat
Parchment Paper

DIRECTIONS
STEP 1: DESIGNING & CUTTING YOUR DECALS

Start by creating a new project, then select the text button to create a text box on the screen. Choose the font for your socks and type the text you want to personalize your first sock with. I chose a font called Bebas Neue that you can download here for personal use!


2. The max size I made my sock decals was 1.75” x 6”, so now it's time to adjust your text so that your lettering is spaced out while still staying within that size. Adjust the height to the max height for the socks, then, using the line spacing function, adjust the letters as far apart as you can, while making sure that the length is less than the max length. For my five character worded sock bottom, I had a line spacing of 1, which I then copied for my three character lettering on the second sock whose height was likewise sized to the max decal height of 1.75”.


3. If using two fonts like I did on the second sock, type the text you want as your second font, then rotate the text 270 degrees, changing the width of your font to be the height of your sock decal, in my case 1.75”. I used the font Hello Honey for the lettering on this part of the sock, which you can also download for personal use!


4. Finally, it's time to align the rotated text on your second sock to make sure it lines up correctly with the bolder text. The easiest way I found to do this is to use the position tool, first setting the bold text at position [X:1 Y:4], then setting the cursive text to position [X:5 Y:4], then used the weld function to merge the two texts into a single decal cut. Finally, I lined up my top five character lettering to the second sock decal, welding the entire group together to create a single cut file.


5. Copy and Paste the cut file for as many pairs of socks as you need, then select Make it to cut out your decals. Cut out on mirror mode, with HTV shiny side down. I cut mine out in strong hold glitter HTV on the HTV+ setting. Weed away the excess HTV, then cut the backing so each line of text is separated to transfer to each individual sock.
STEP 2: TRANSFERRING YOUR DECALS
1. Cut two rectangles out of cardboard to form into bases for stretching your socks for decal transfer. My rectangles were 8.25” x 3.5”. Round the corners so that the rectangles become two ovals, becoming bases for ironing onto the feet of your socks. Using your hand as a guide, slide your cardboard bases to the toe to the socks, so the oval creates the bottom the foot, with the front short end against the toe seam of the sock and the back end against the heel.


2. Then, place your decal, shiny side up, centered on the bottom of the foot of each sock. I positioned my text so that the text started at the toe and went to the heel, reading from left to right across the bottom of the socks.
3. Cover the decals with parchment paper. Heat the iron to the cotton setting, then using it as a small heat press, completely cover the decal with the face of the iron while keeping the parchment paper between it and the HTV backing. Press down firmly for 15-20 seconds, then remove the parchment paper and let decal and backing cool.


4. Carefully peel off the cooled backing, leaving the lettering firmly on the sock. Using your fingers, refluff the bottom of the sock to make the bottoms of the sock fuzzy again, then remove the cardboard ovals to use on the next pair of socks. Repeat this process for all the socks you are making.


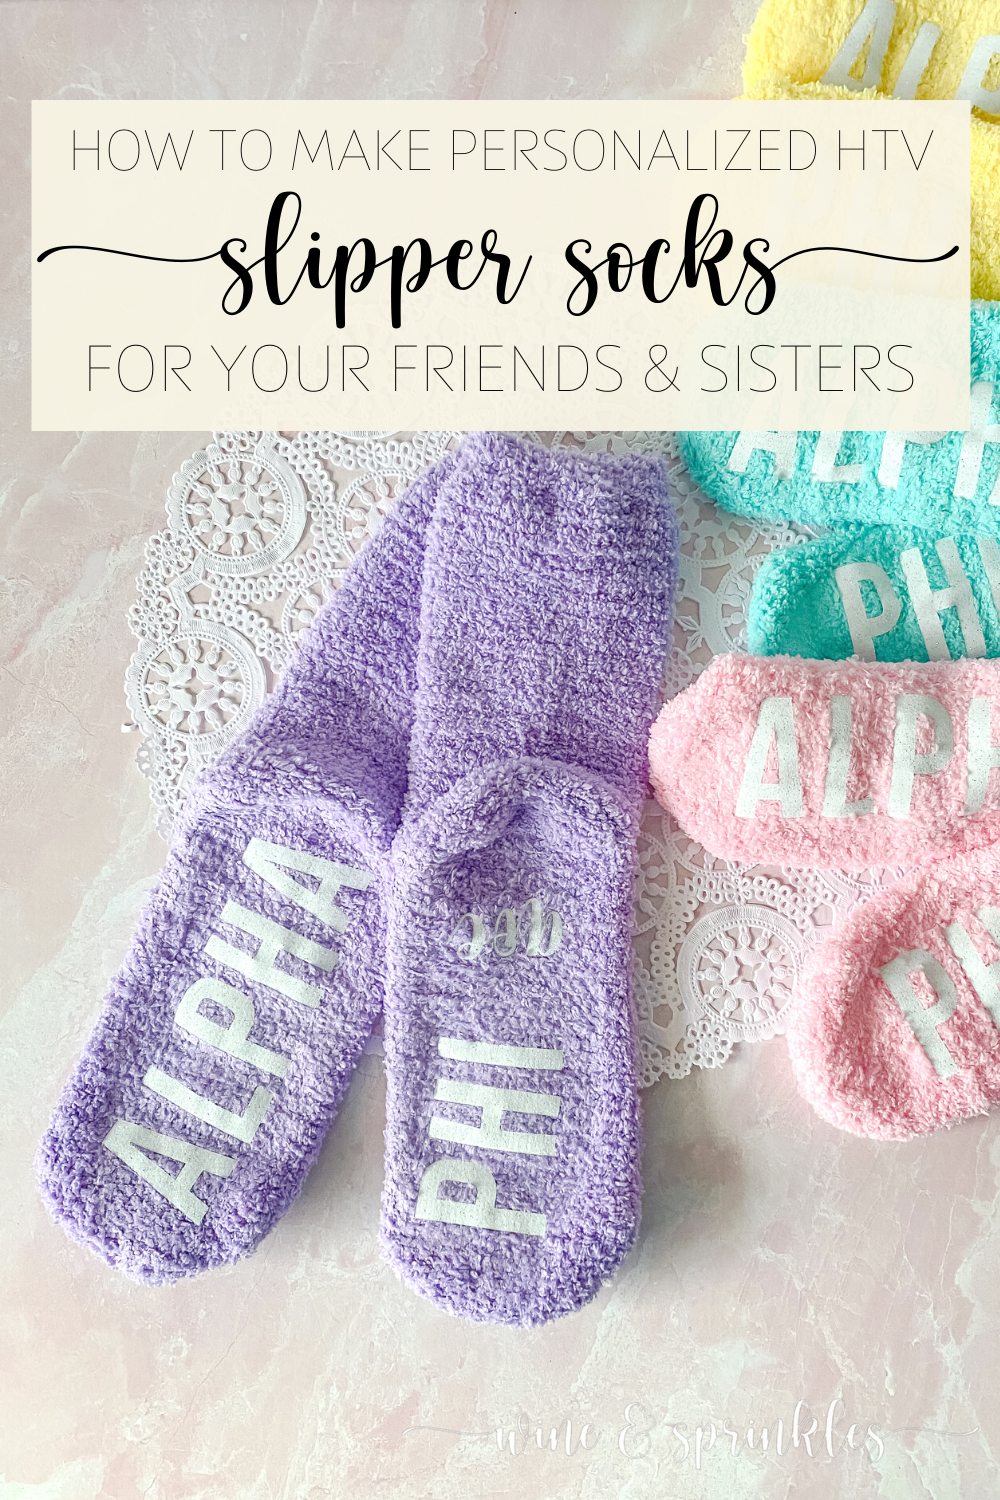
These socks were by far my favorite project I made for my girls trip gift boxes and now I wear them around my house all the time! Though I have personalized mine for my sorority house, there are so many ways that socks like these could be personalized that I can’t wait to see what other designs I can come up with for future gift boxes, holiday gifts, and cozy girls nights!
SEE OUR RELATED POSTS HERE:


OUR PINS FOR THIS POST: