This post contains affiliate links, meaning that if you click on a link I will recieve a small comission. This costs you nothing extra and I only promote products I use and love! You can read our full disclosure here
As you read this post, you’ll notice a lot of bolded words, some that highlight pink and link to other posts and products, and others that don’t do anything. That’s because I am still writing and working on the posts those words go to! As these posts get published, I’ll be updating this post until all the projects are complete! Subscribe to my Newsletter or Follow me on Facebook to keep updated on when I post new content!

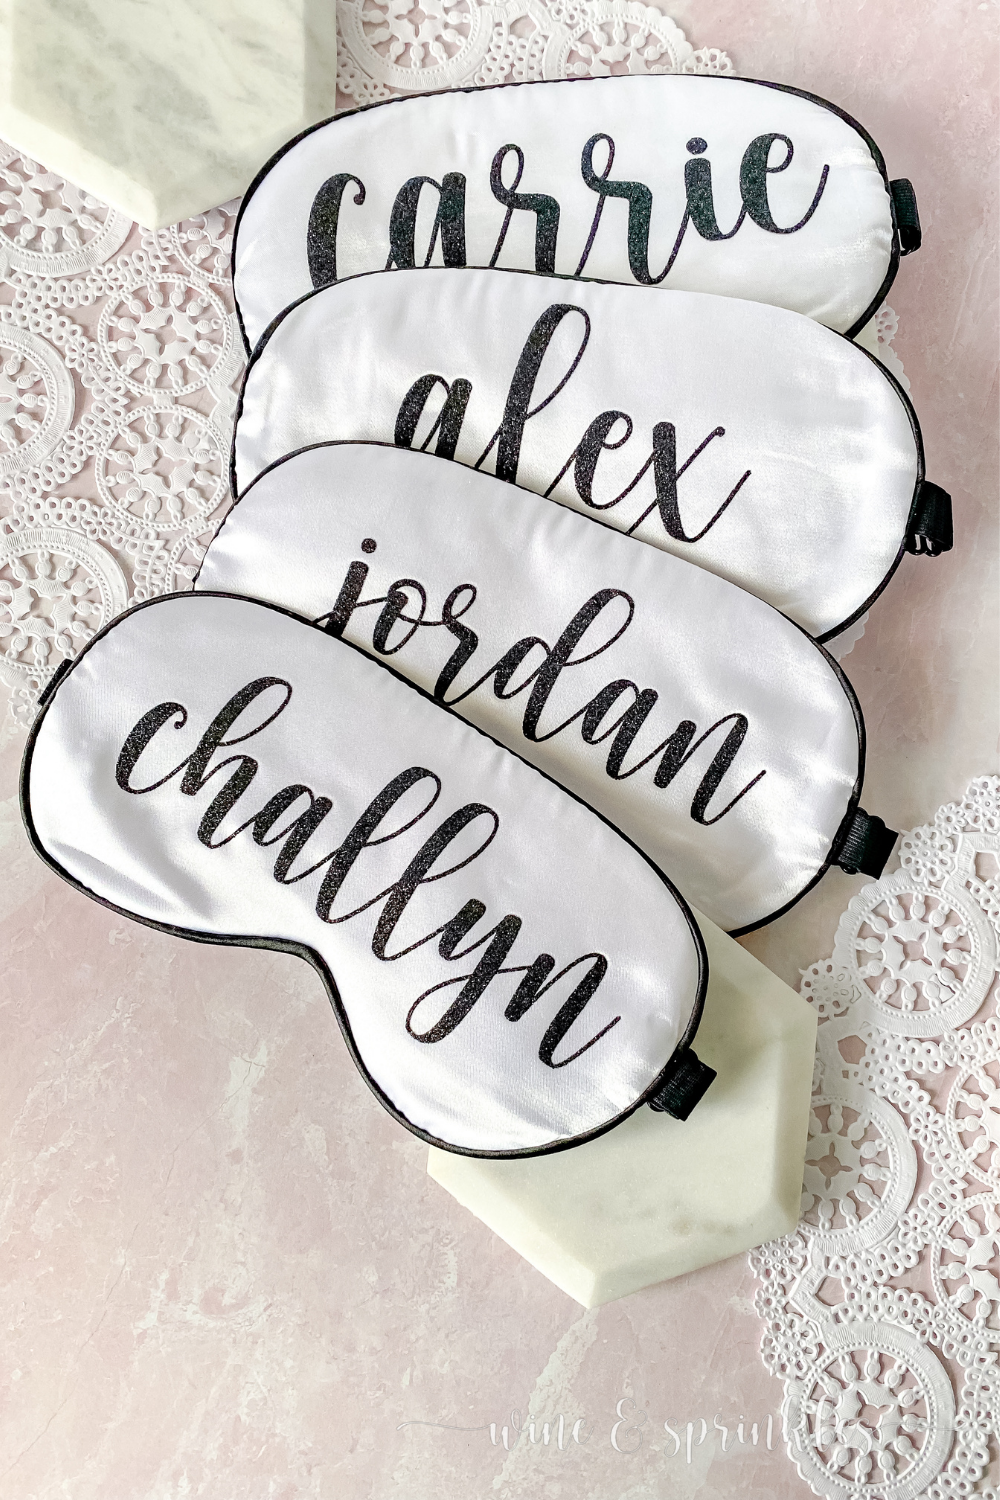
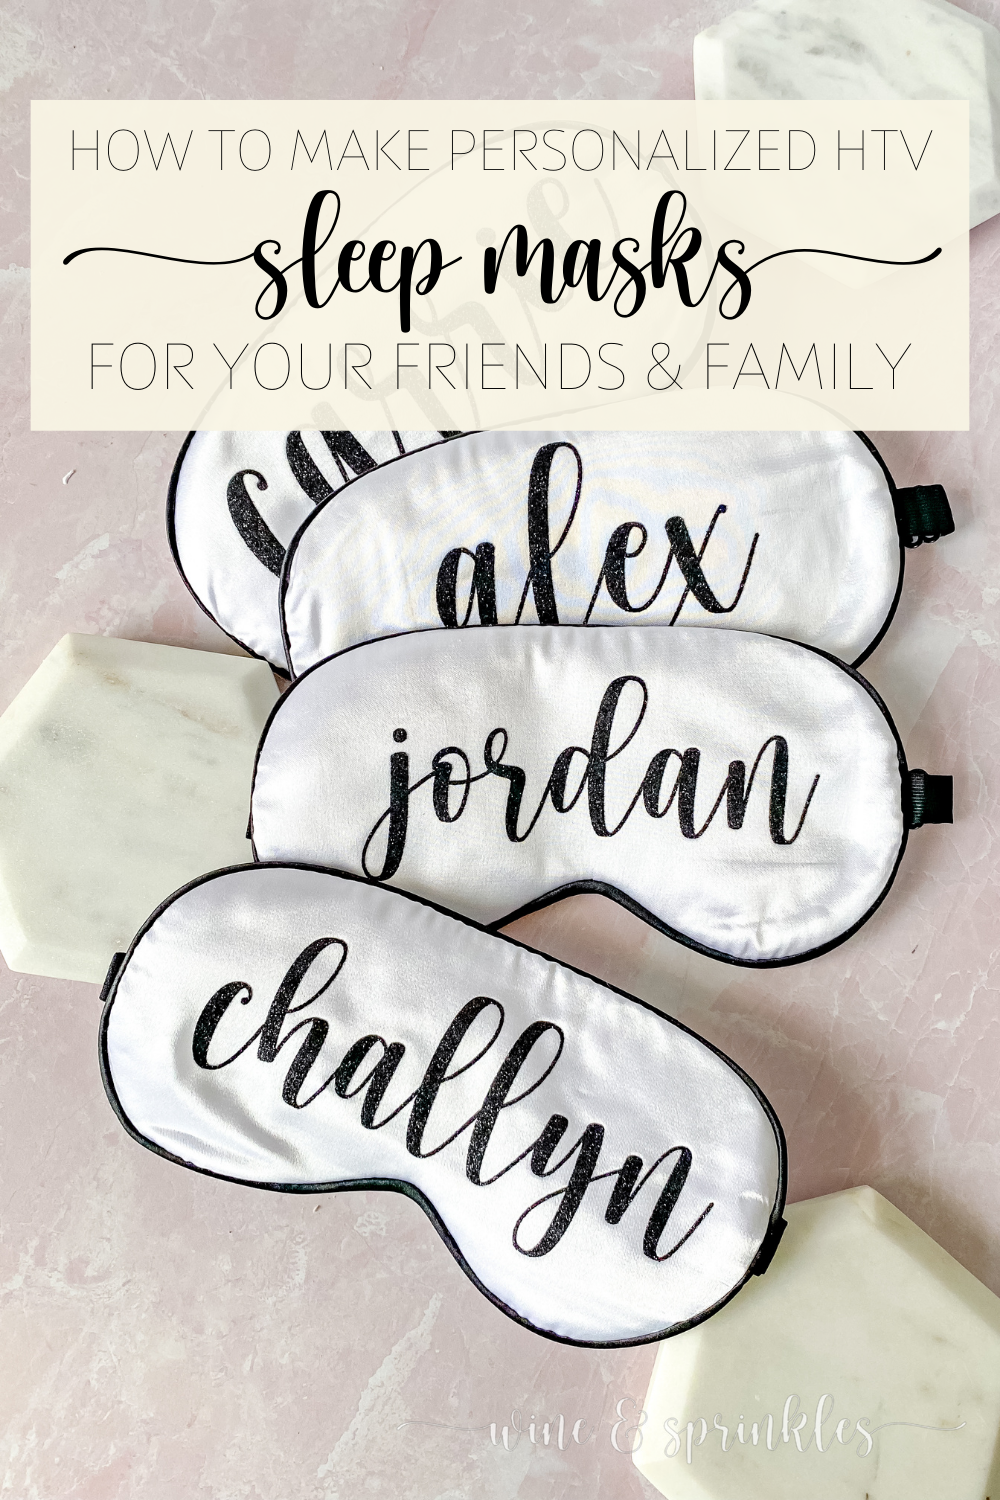
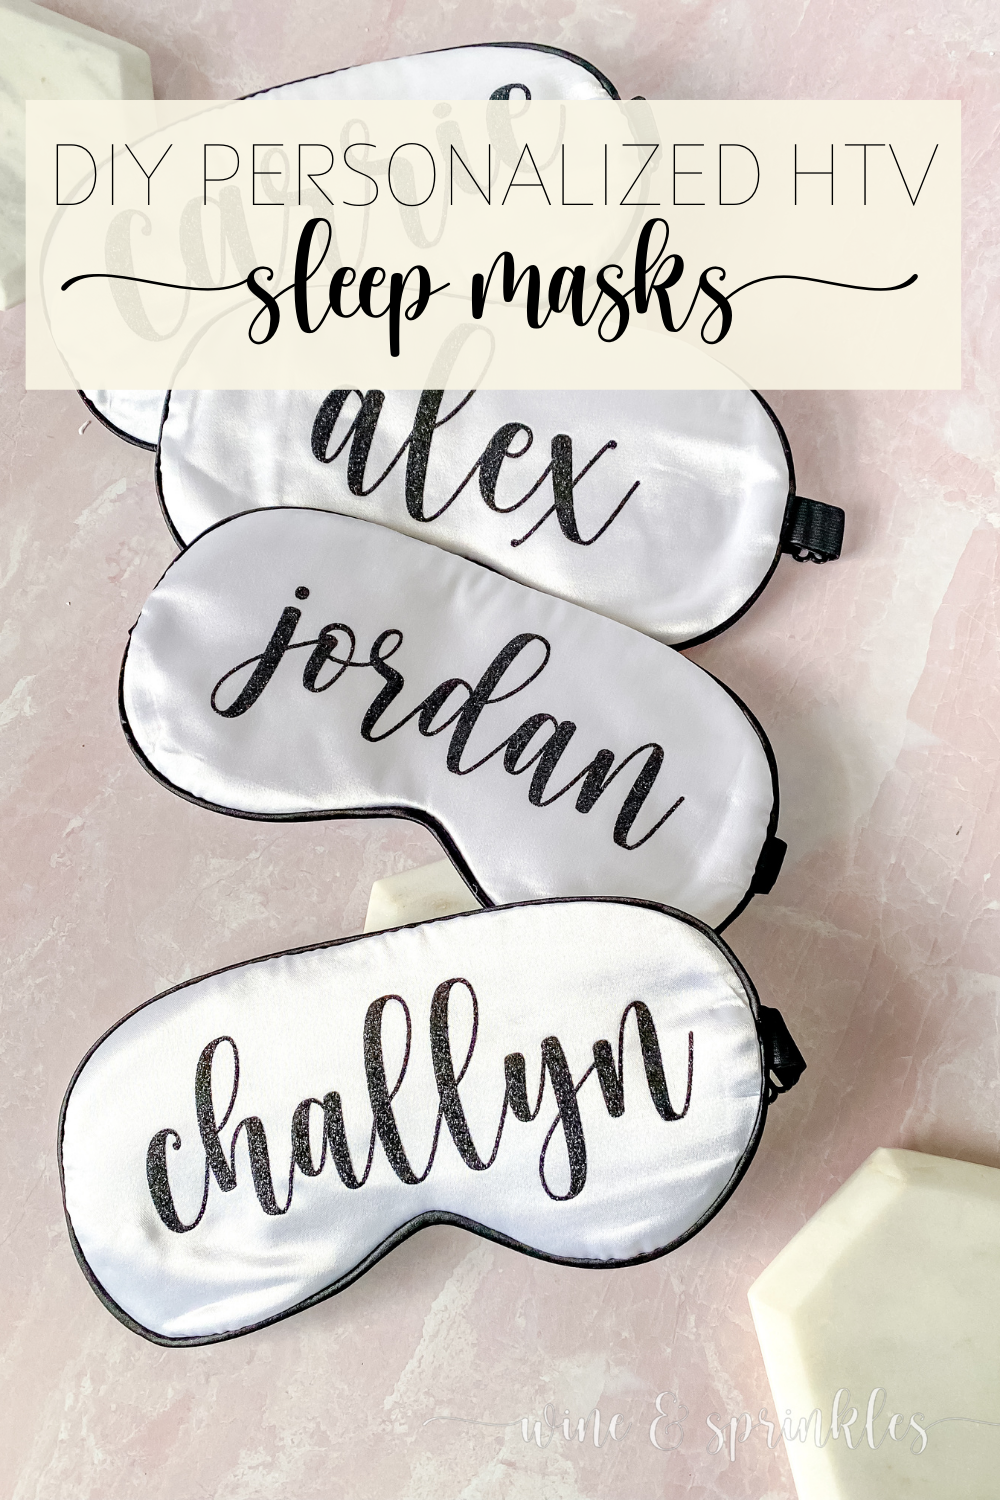
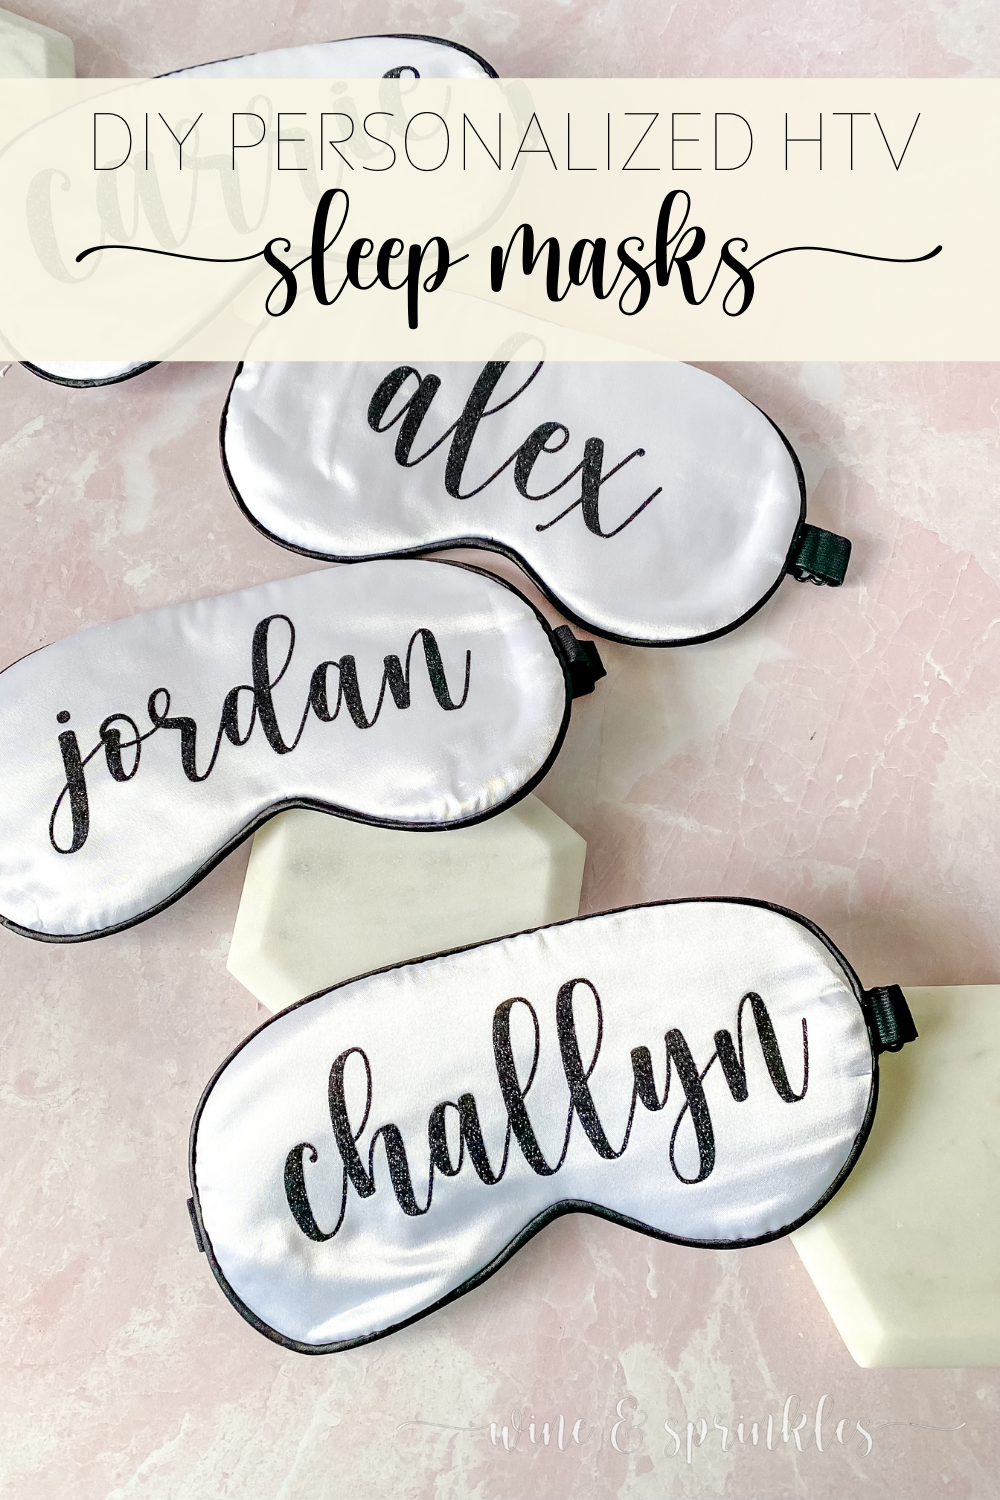
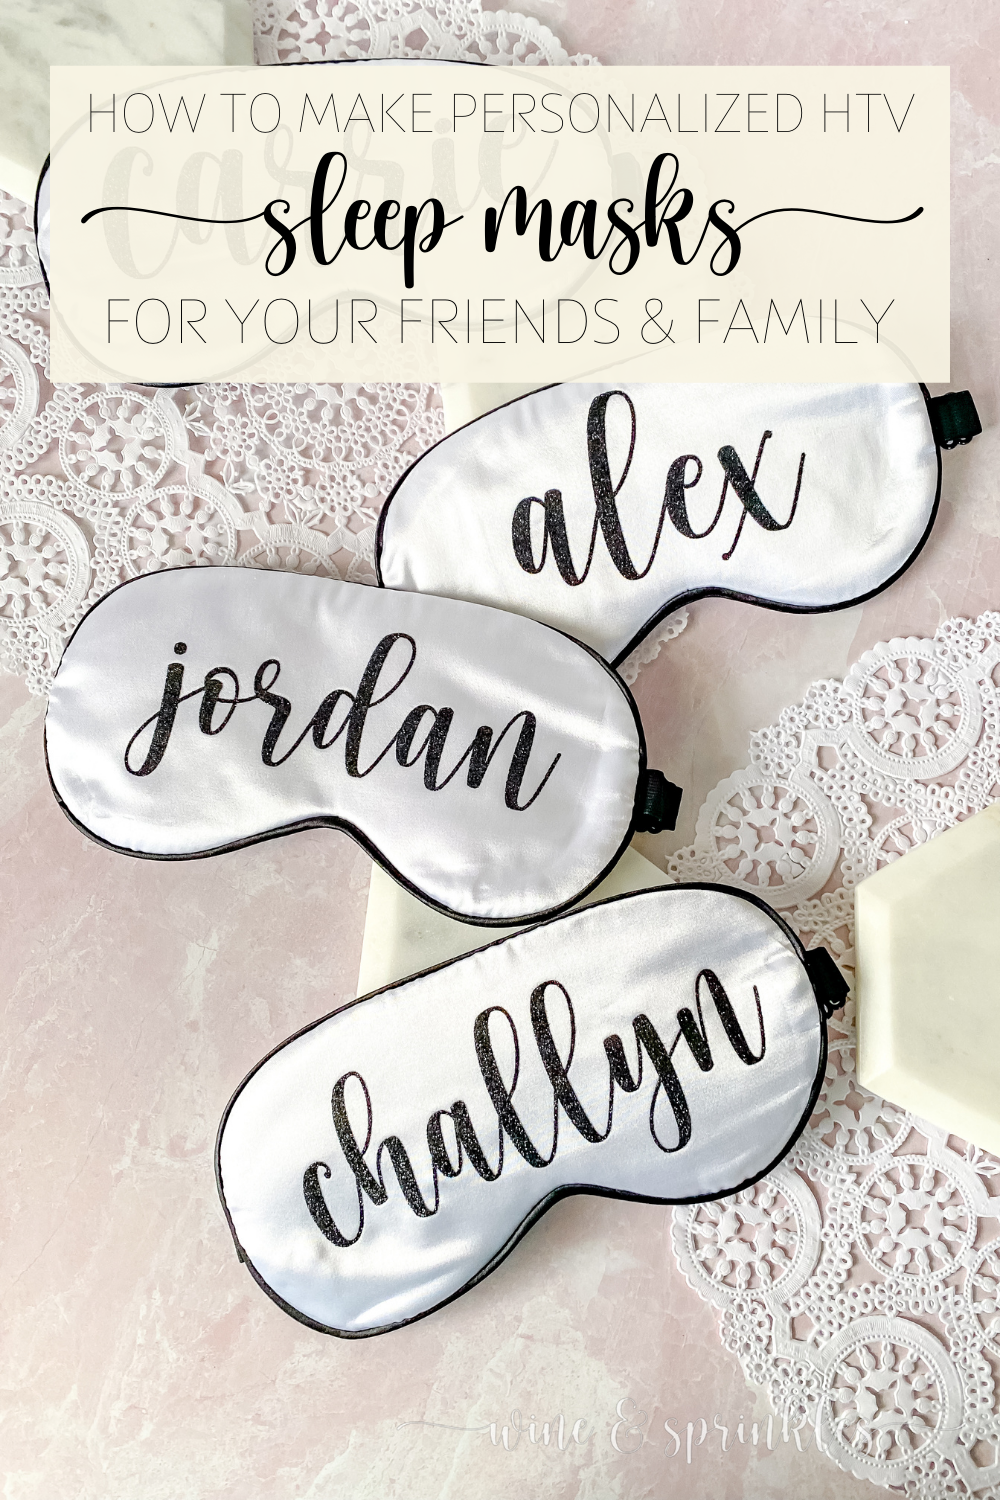
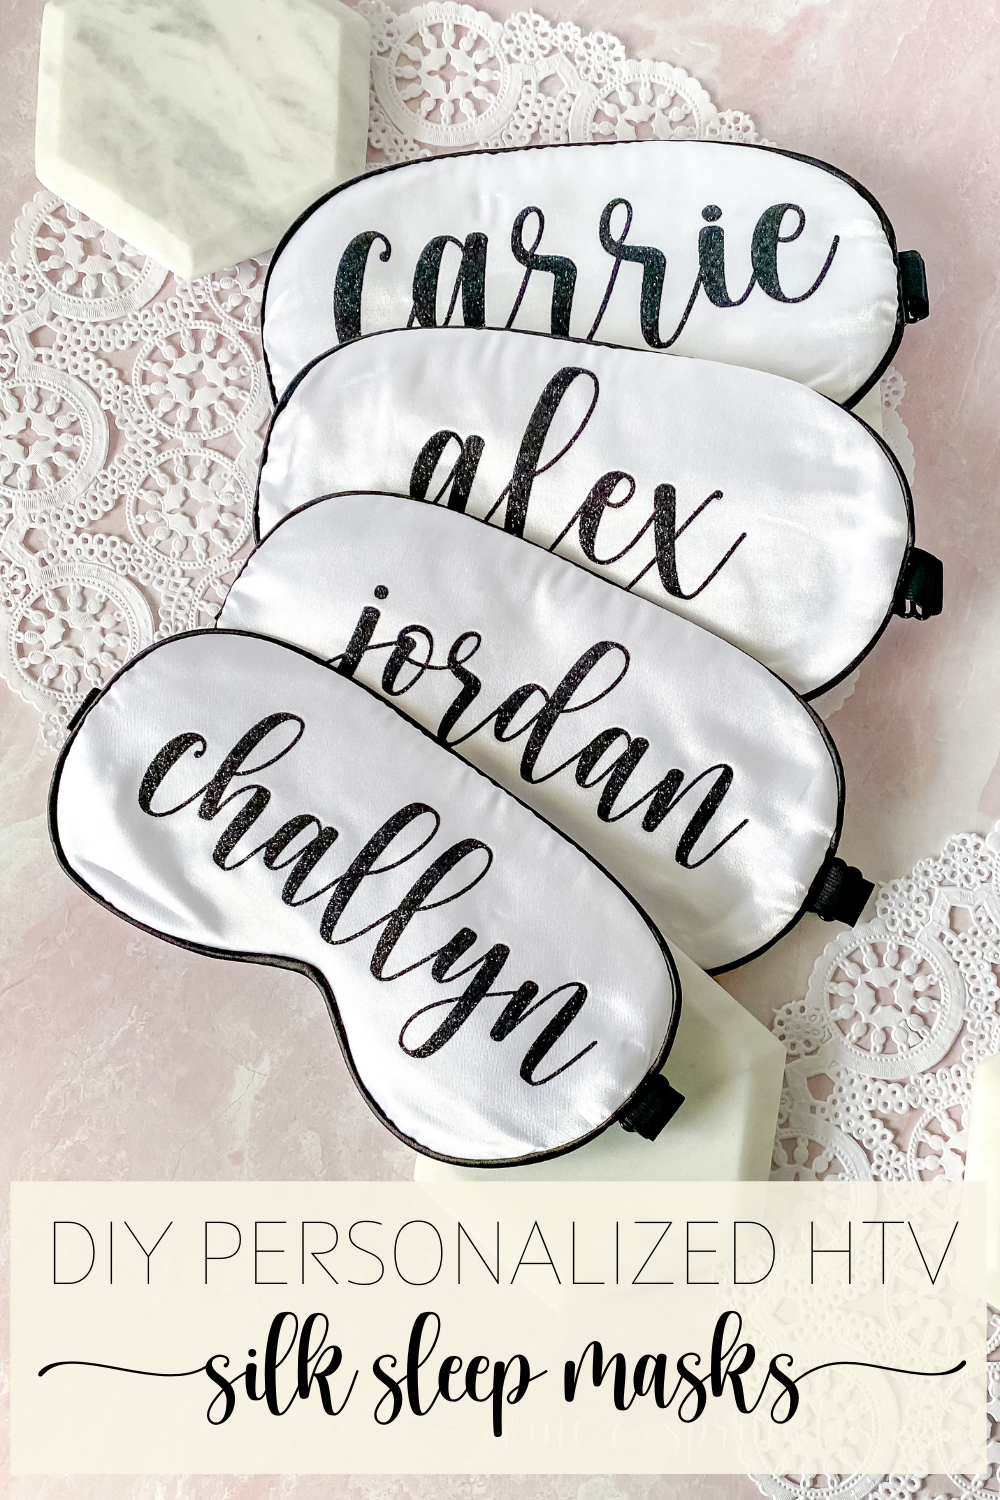
We’re back from some balmy southern weather and ready to show off all the cute gifts and favors I made for all my friends! So the next couple weeks of projects are devoted to all the fun goodies in the Sleepover Sorority Spa Gift Boxes I crafted for my wonderful college friends, starting with a lovely favor to make sure everyone gets some shut eye when it's time for bed after a day of chatting and vacationing!
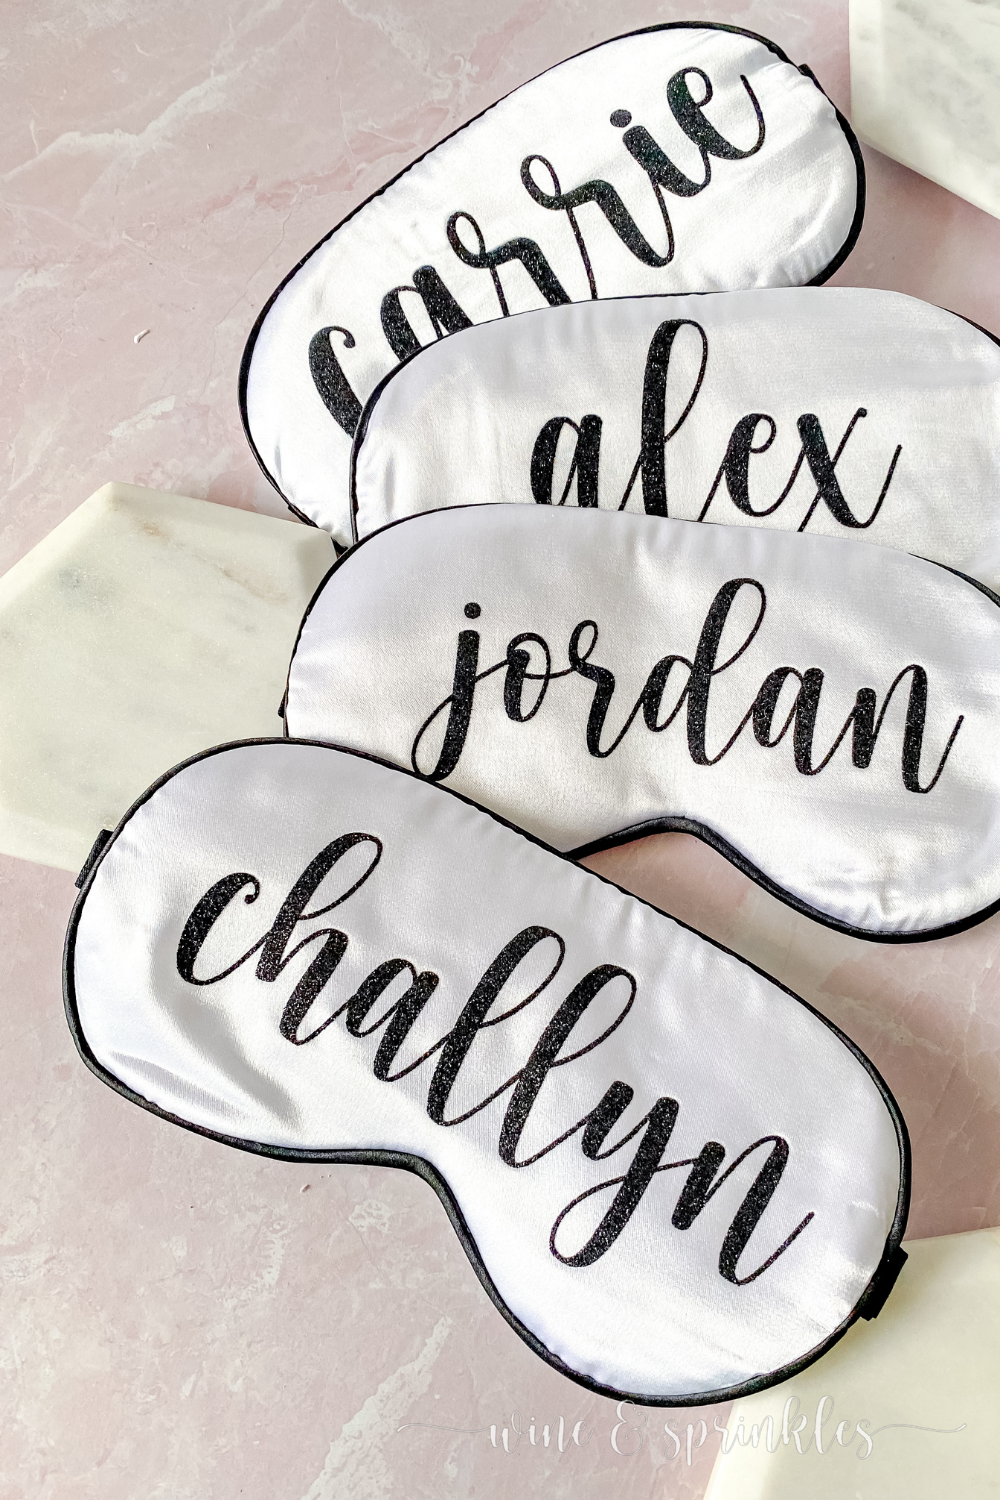
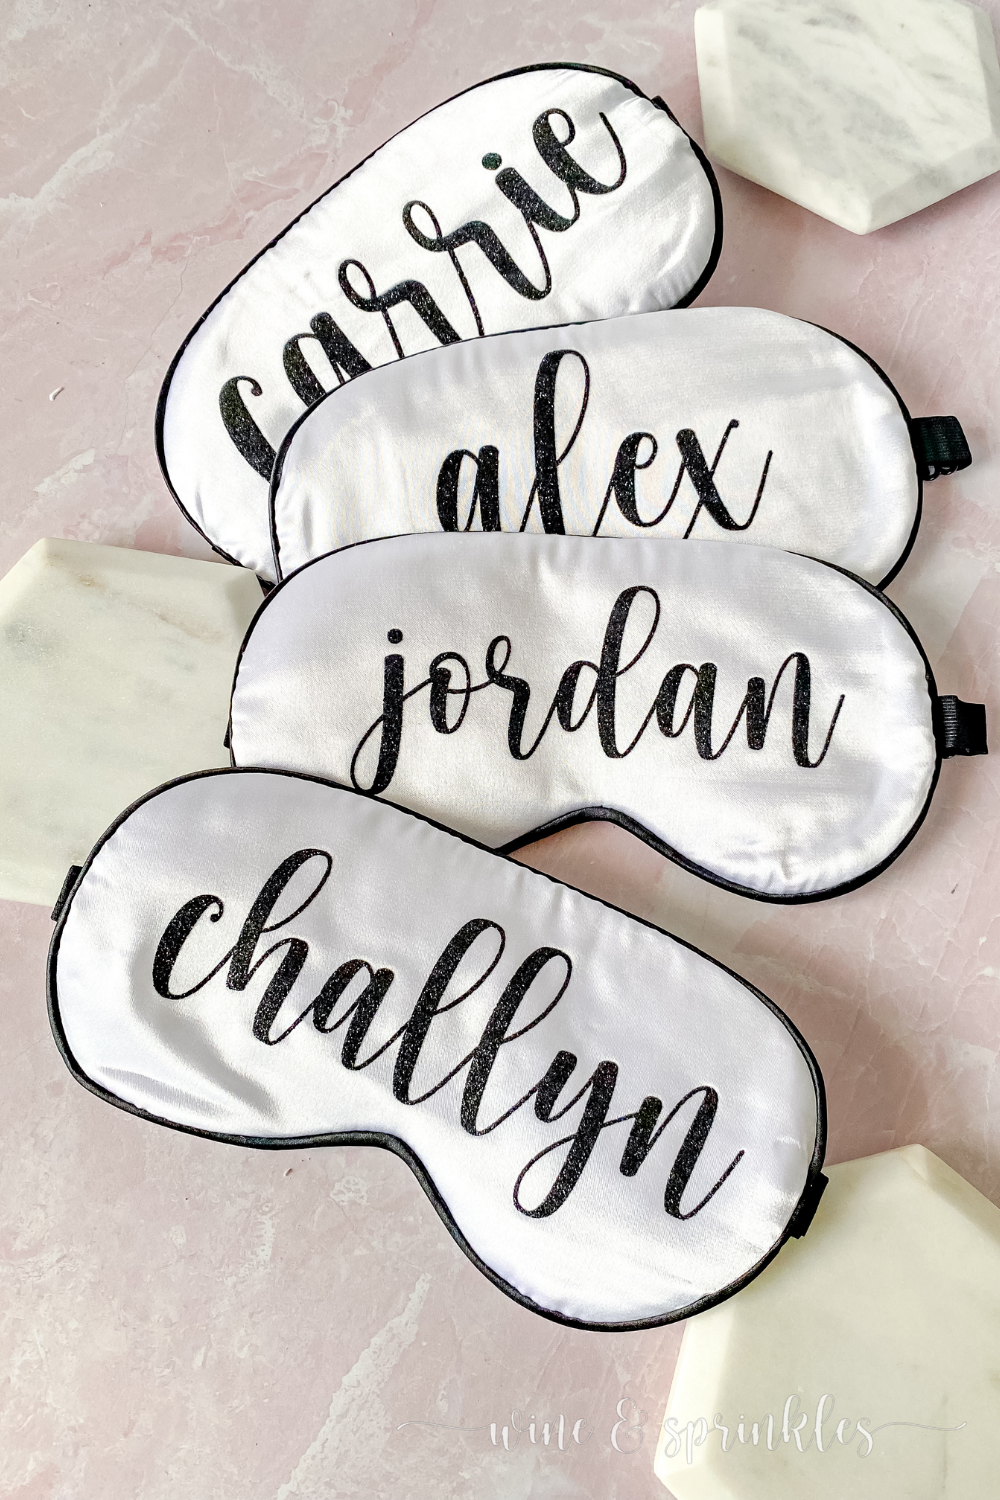
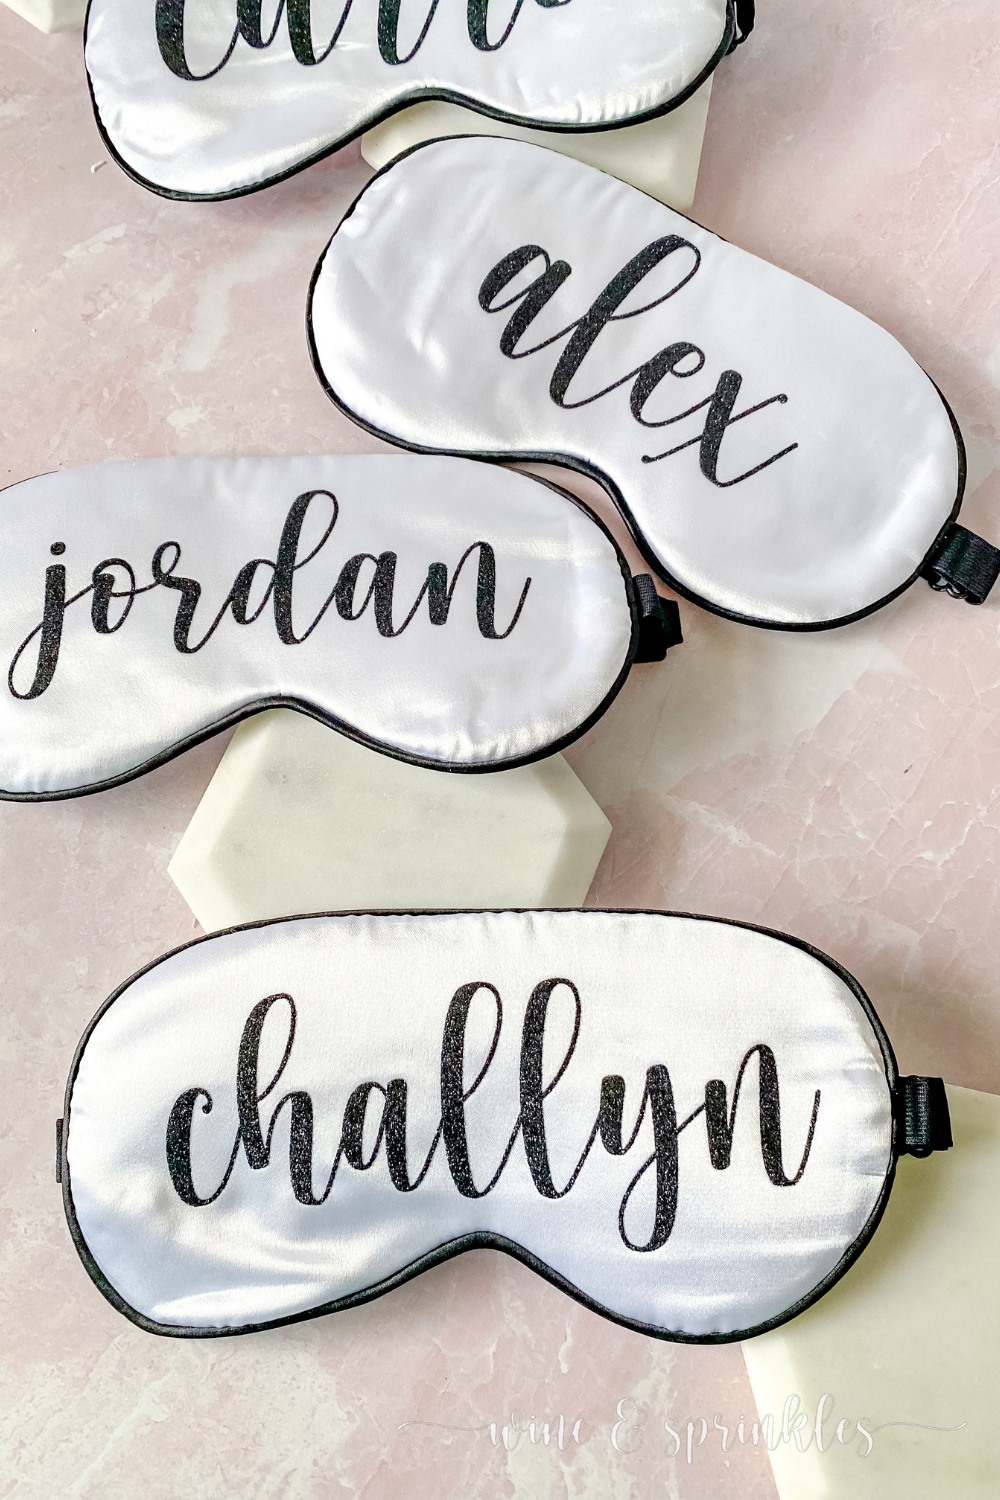
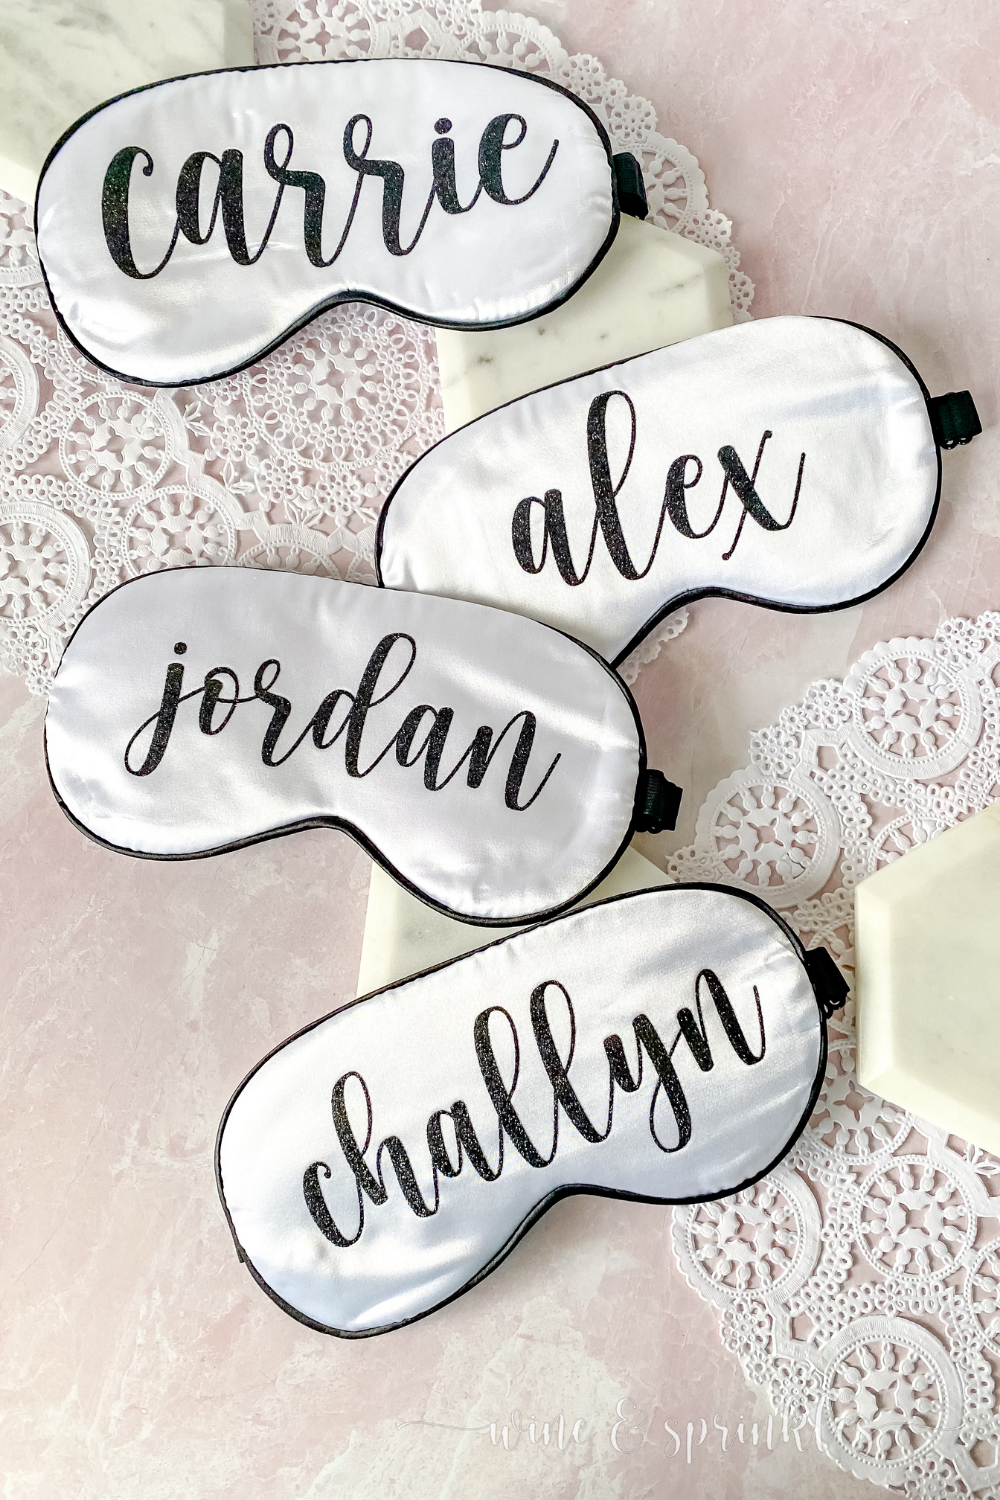
When I was first brainstorming gift ideas for this trip, I wanted something that could be useful while traveling, still spa or sleepover themed, while also being light and easy to pack in a suitcase for my plane flight. These personalized sleep masks were the perfect fit, along with becoming the perfect way to personalize each box for my friends, so each knew whose was whose!
These sleep masks are the easiest project I made for my gift boxes and a great project for beginners to craft cutting and HTV decal transferring! I give you my guidelines for how I designed the HTV lettering decals for each mask in the tutorial below, using the font Hello Honey for my lettering and I love the result!
While I personalized each of these sleep masks with names, you can personalize them with any text you like, whether it be names for gift boxes like mine, bridal party titles, or cheeky sayings for bachelorette parties. I chose to use Cricut Strong Bond Glitter Black HTV to use on these masks, though regular glitter HTV would work well too!
I have plenty of extra masks so I will certainly be making more for the new friends joining me on my next beach trip, with fun new designs to share with you soon!
SUPPLIES
HTV BLANK SUPPLIES
Silk Sleep Masks: Blank silk sleep masks come in multipacks for crafting, so I picked up a twelve pack on Amazon to use for my projects. I used white masks for my projects, but there are plenty of different color and pattern options out there depending on your ideas and budget!
CRAFT CUTTER & HTV SUPPLIES
Glitter HTV: Any HTV would work well for this project, but I used a Strong Bond Black Glitter HTV from Cricut and it worked perfectly! I originally bought it to make Personalized Fuzzy Socks, but ended up using it here too!
Craft Cutter: there are plenty of craft cutters on the market, but the only one I’ve ever had has been a Cricut, so all my tutorials and projects are designed around them! I’ve had my Cricut Explore for almost six years, and it's still going strong and helping me create all sorts of fun projects! I can’t wait to update my craft cutter arsenal soon, and rest assured it will still be part of the Cricut family.
Cutting Mat: I generally use a standard strength cutting mat for my HTV projects, and this project is no exception!
OTHER SUPPLIES
Iron & Ironing Mat: for transferring your decals to the masks and protecting the surface you are ironing on.
Parchment Paper: to keep between the iron and backing while you press your decals.
SUPPLIES LIST:
[for 4 sleep masks]
HTV BLANK SUPPLIES
Silk Sleep Masks: x 4
CRAFT CUTTER & HTV SUPPLIES
Glitter HTV x 12” x 8”
Craft Cutter
Cutting Mat x 1
OTHER SUPPLIES
Iron & Ironing Mat
Parchment Paper

DIRECTIONS
STEP 1: DESIGNING & CUTTING YOUR DECALS


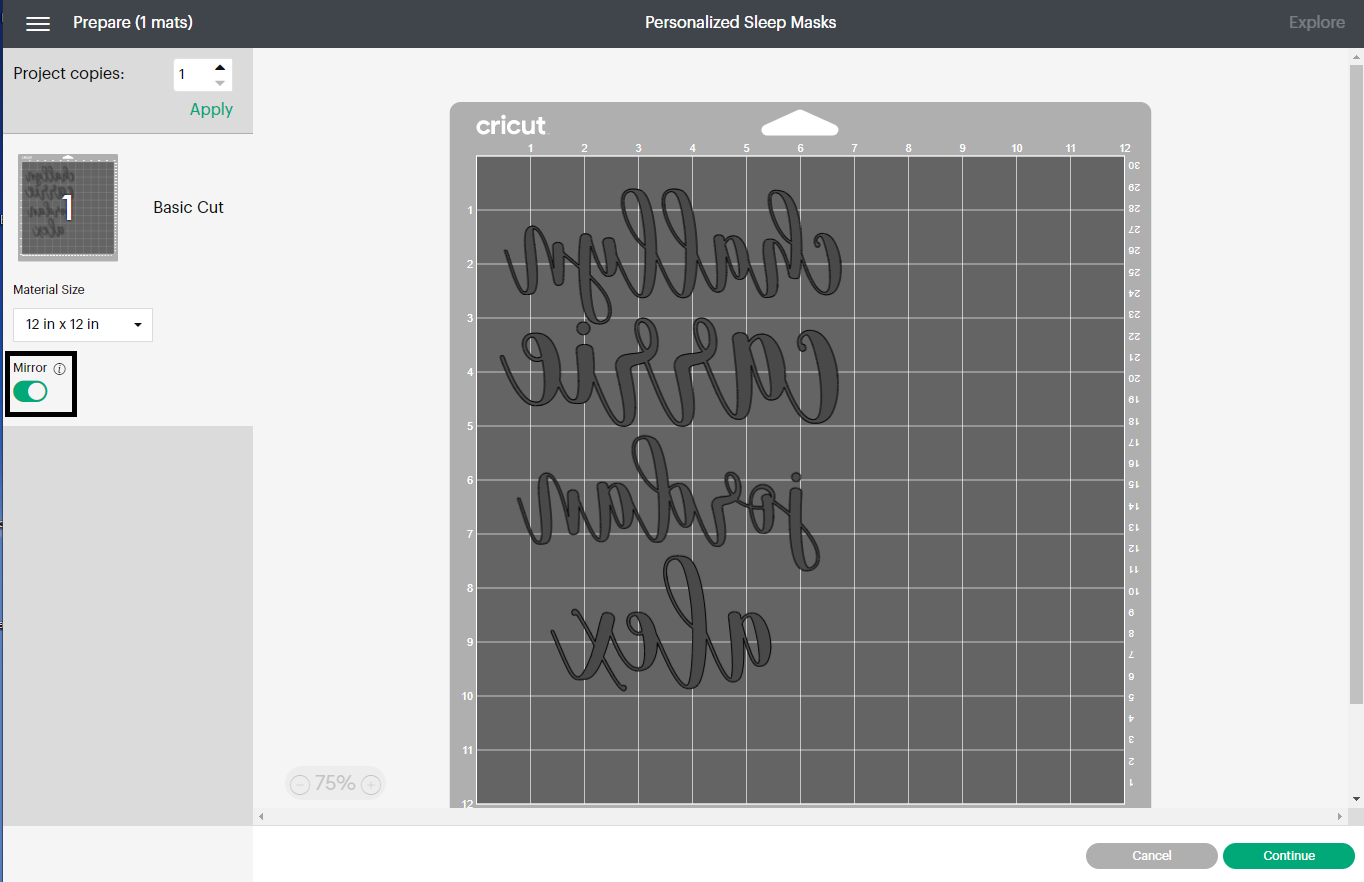
1. Start by creating a new project, then select the text button to create a text box on the screen. Choose the font for your sleep mask and type the first name or text your want to personalize your mask with. I chose a font I own called hello honey that you can download here for personal use!
2. The max size you can make your sleep mask decals is 2.5” x 6.25”, so now it’s time to adjust your text so that all your lettering fits. Adjust the height to the max height for the masks. Then, using the line spacing function, adjust the letters closer together if needed, making sure that the length is less than the max length.
Note: If you cannot get your letters spaced close enough to be under the max length, move them as closer together as you can reasonably make them, then go back into the sizing and change the width of the name to your max length, so it can stay as close to the heights of the other masks as you can.


3. Once your letters are spaced to your liking, use the weld function to make your text a single cut curve. Repeat the process for all your names, then select Make it to cut out your decals.
Cut out on mirror mode, with HTV shiny side down. I cut mine out in strong hold glitter HTV on the HTV+ setting. Weed away the excess HTV, then cut the backing so each name is separated to transfer to the sleep masks.
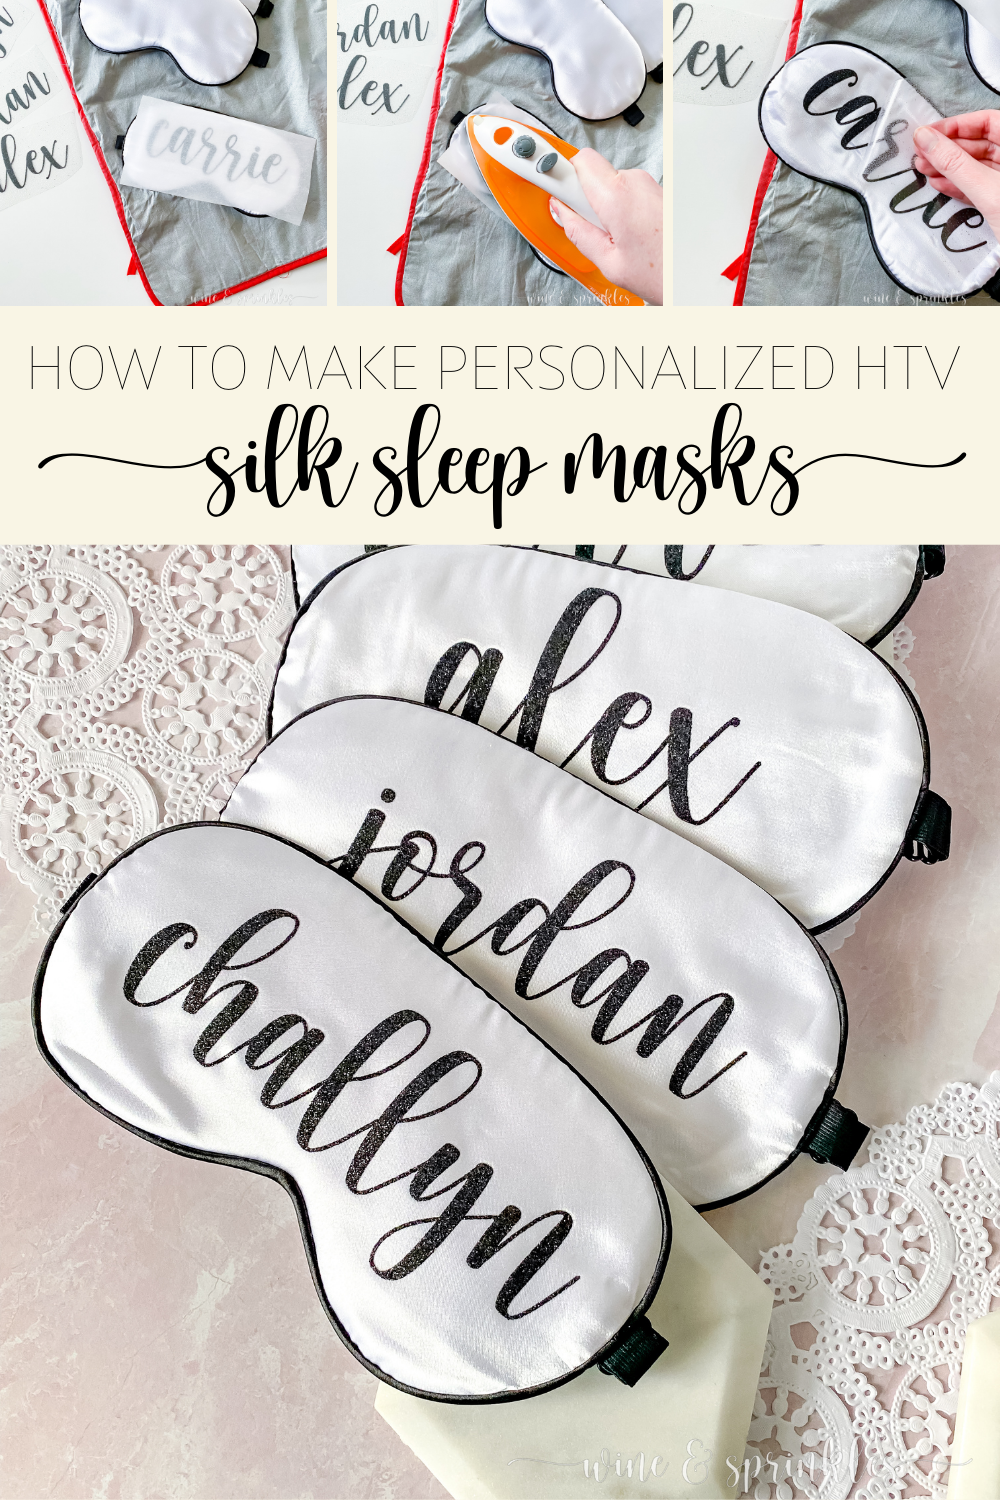
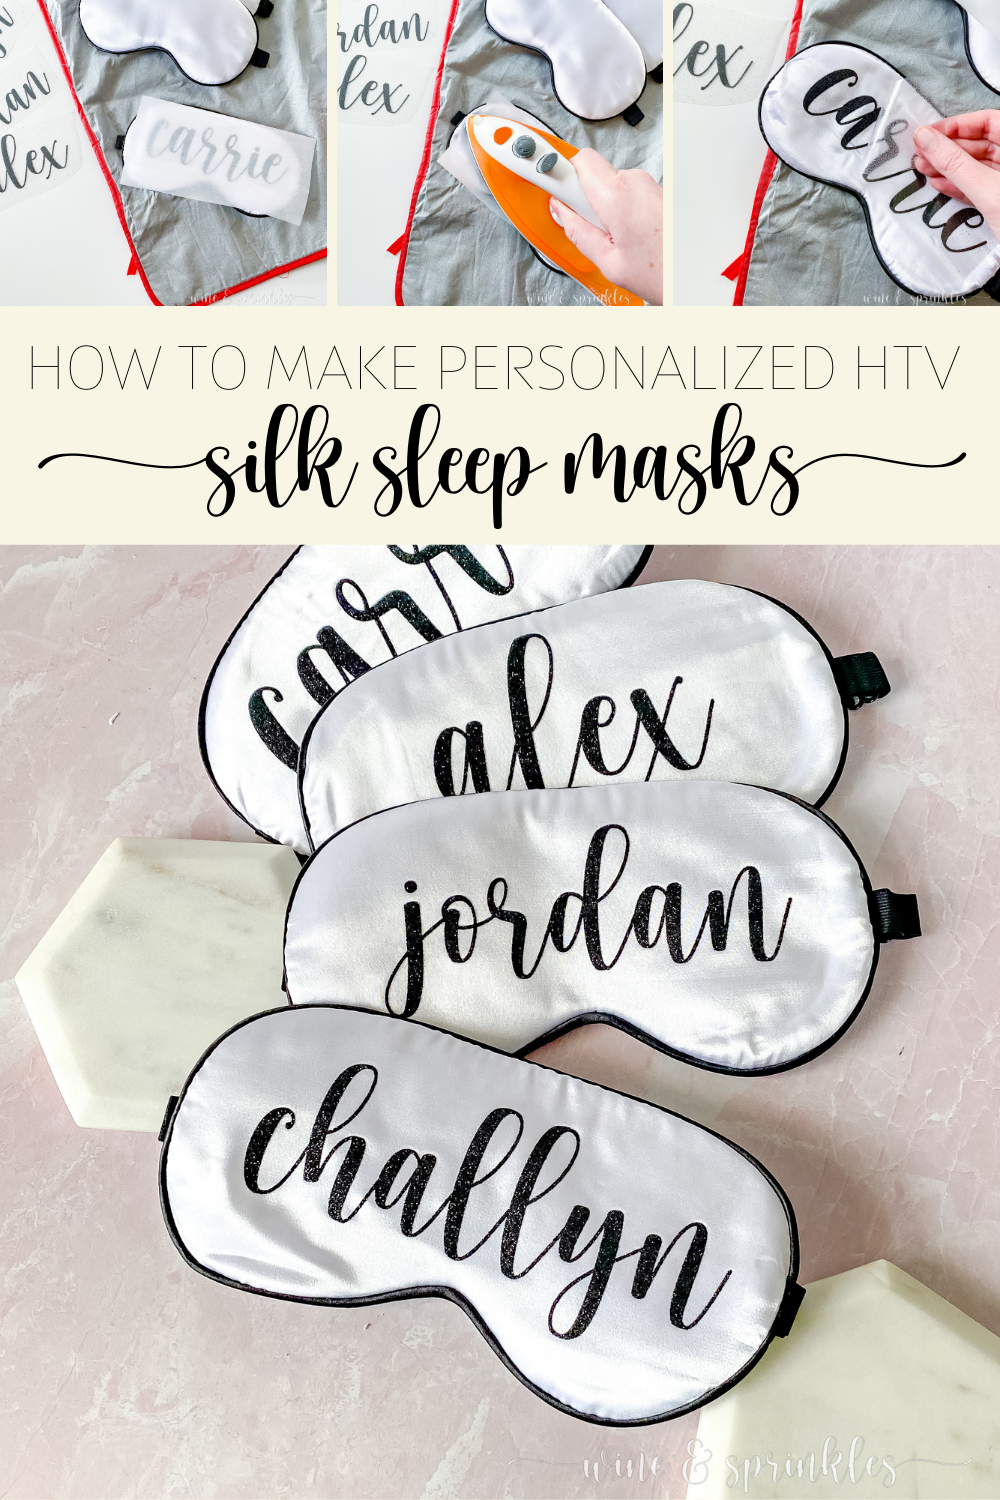
STEP 2: TRANSFERRING YOUR DECALS

1. Heat your iron to the silk setting and Iron your sleep masks to remove any wrinkles. Then, place your decal, shiny side up, centered on the mask. Cover with parchment paper.
2. Heat the iron to the cotton setting, then using it as a small heat press, completely cover the decal with the face of the iron while keeping the parchment paper between it and the HTV backing. Press down for 15-20 seconds, then remove the parchment paper and let decal and backing cool.


3. Peel off the backing, leaving the lettering on your sleep mask. If you like, you can cover the mask again with parchment paper and press it for 5-10 seconds, making the seal between the HTV and the mask more secure.


Now your sleep masks are done and you and your ladies are ready to snooze away your mornings in style! These beauties were a perfect packable gift for my vacation and a perfect present for any bridal party proposal box, bachelorette favor, or girls trip gift!
SEE OUR RELATED POSTS HERE:


OUR PINS FOR THIS POST: