This post contains affiliate links, meaning that if you click on a link I will recieve a small comission. This costs you nothing extra and I only promote products I use and love! You can read our full disclosure here
As you read this post, you’ll notice a lot of bolded words, some that highlight pink and link to other posts and products, and others that don’t do anything. That’s because I am still writing and working on the posts those words go to! As these posts get published, I’ll be updating this post until all the projects are complete! Subscribe to my Newsletter or Follow me on Facebook to keep updated on when I post new content!

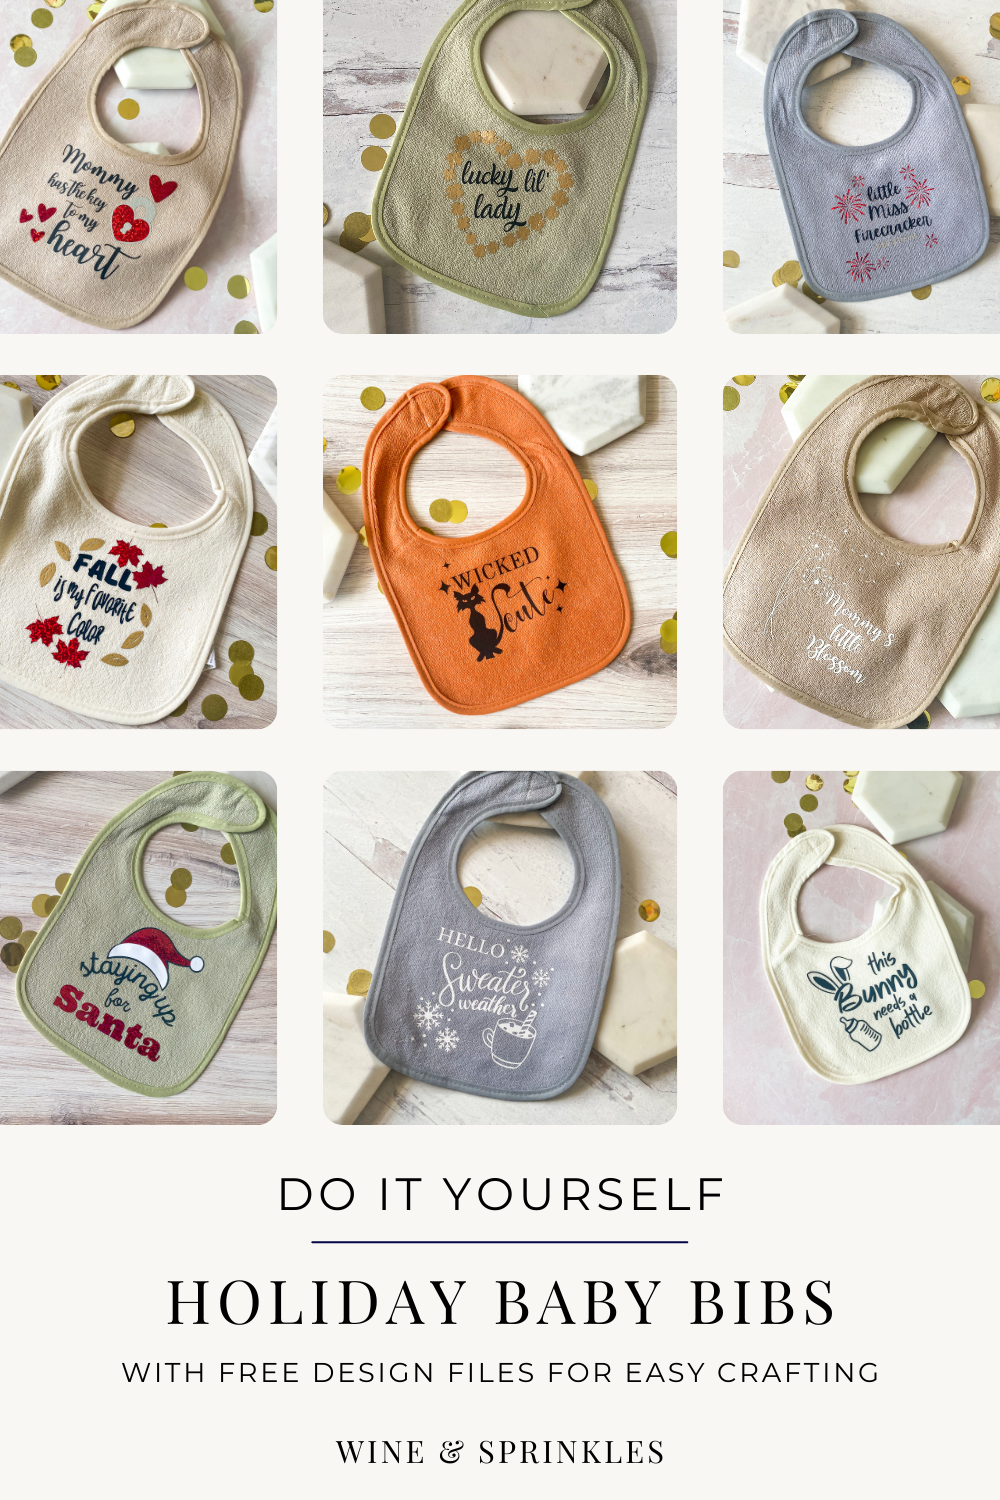
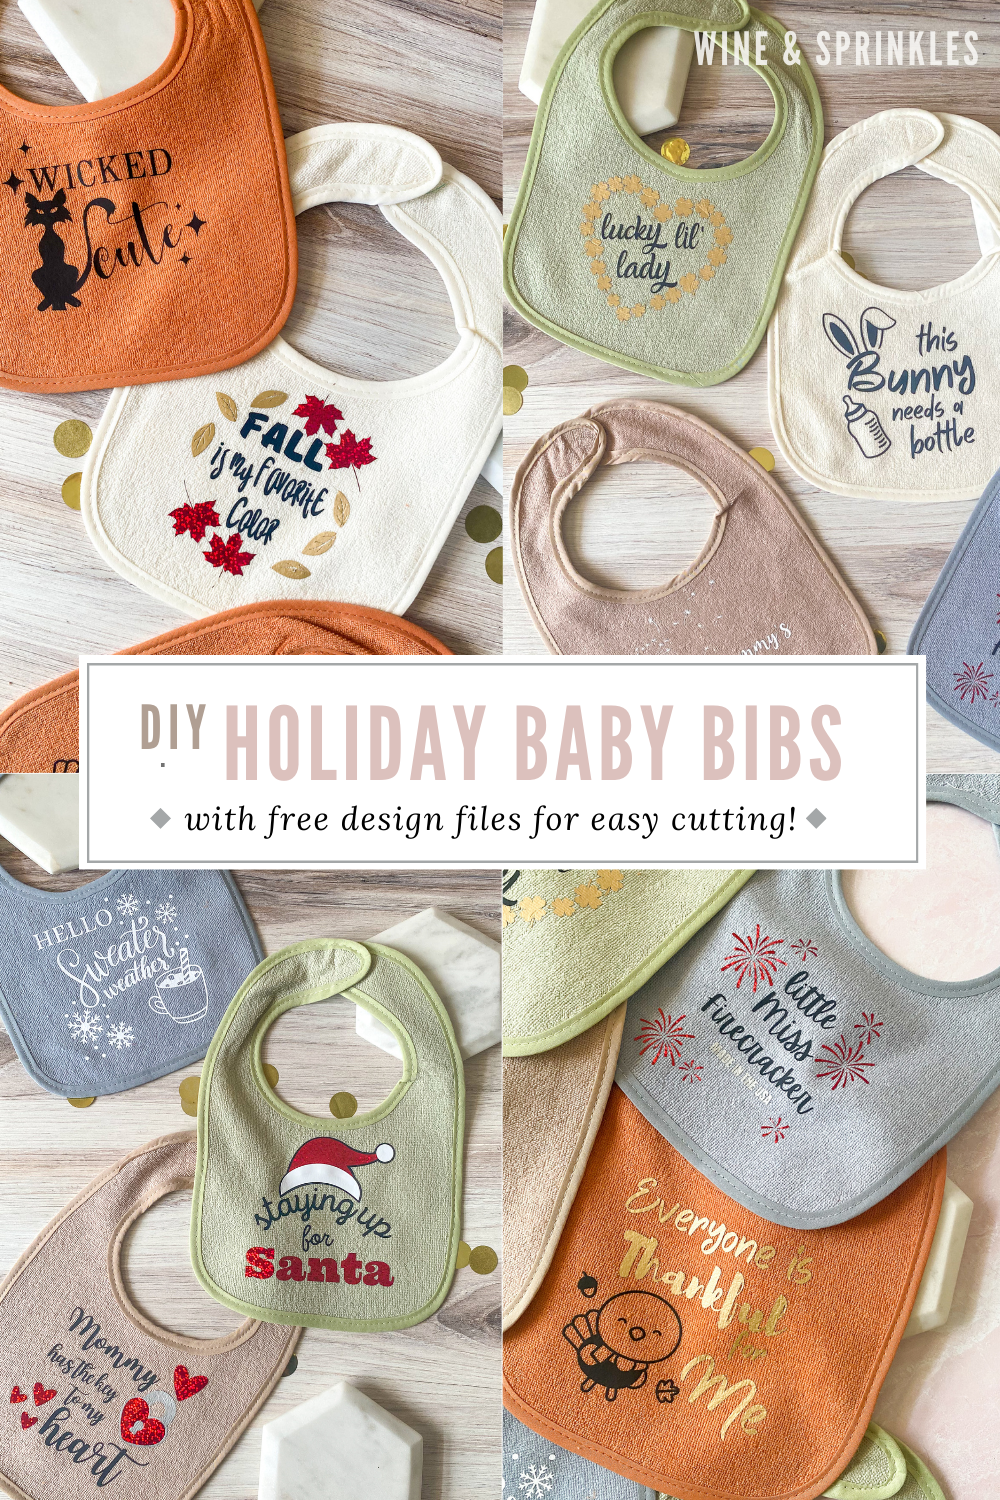
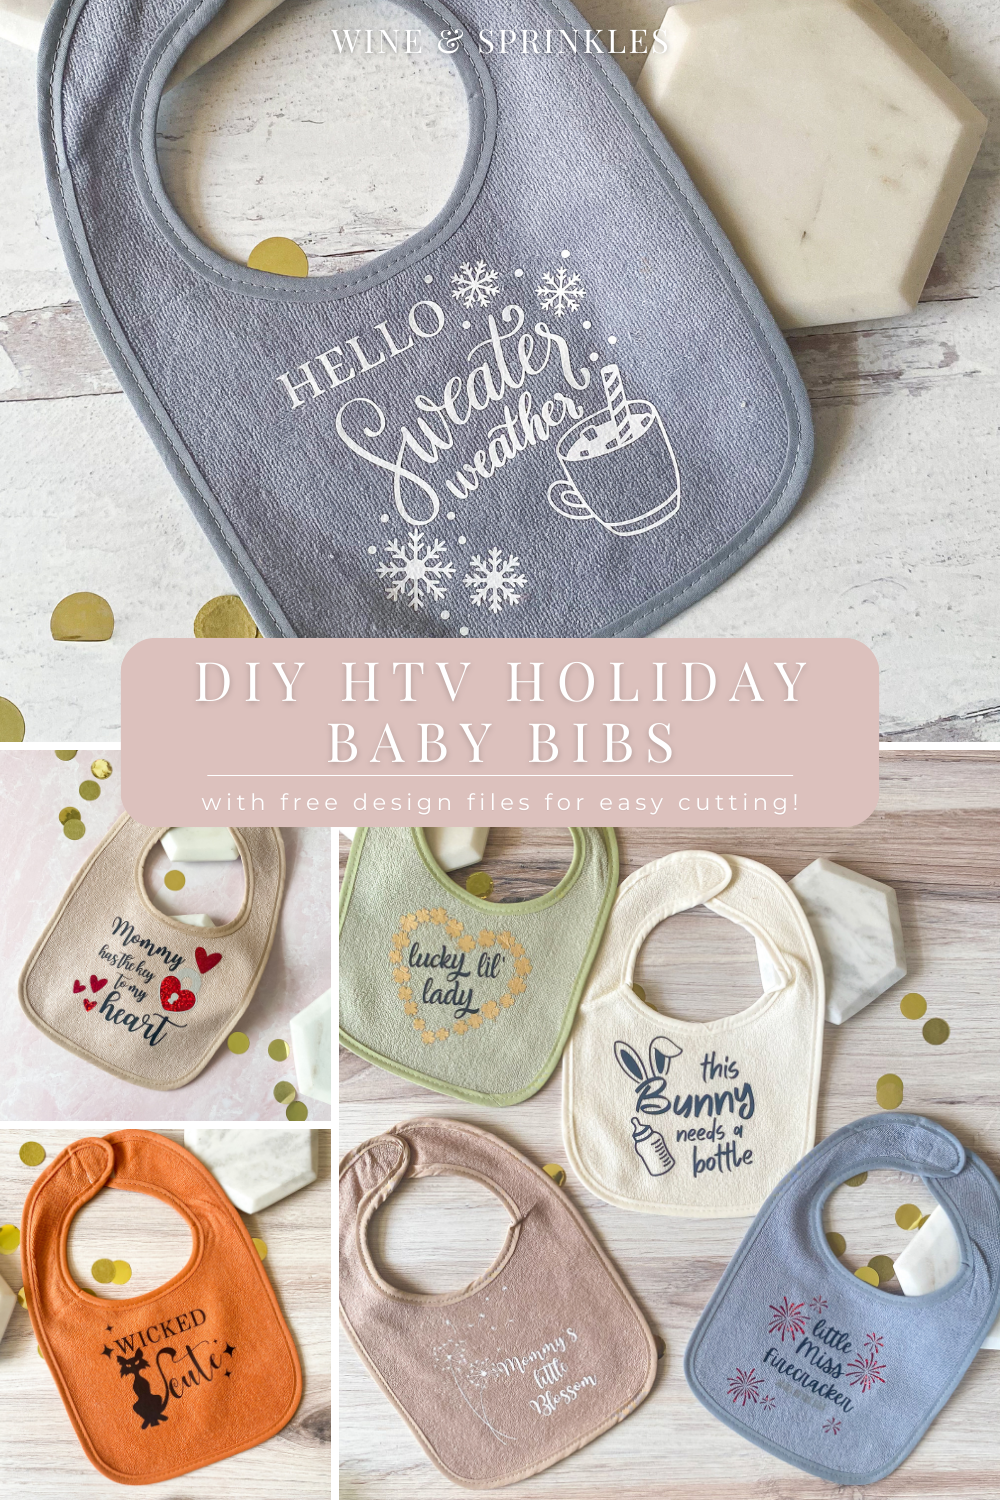
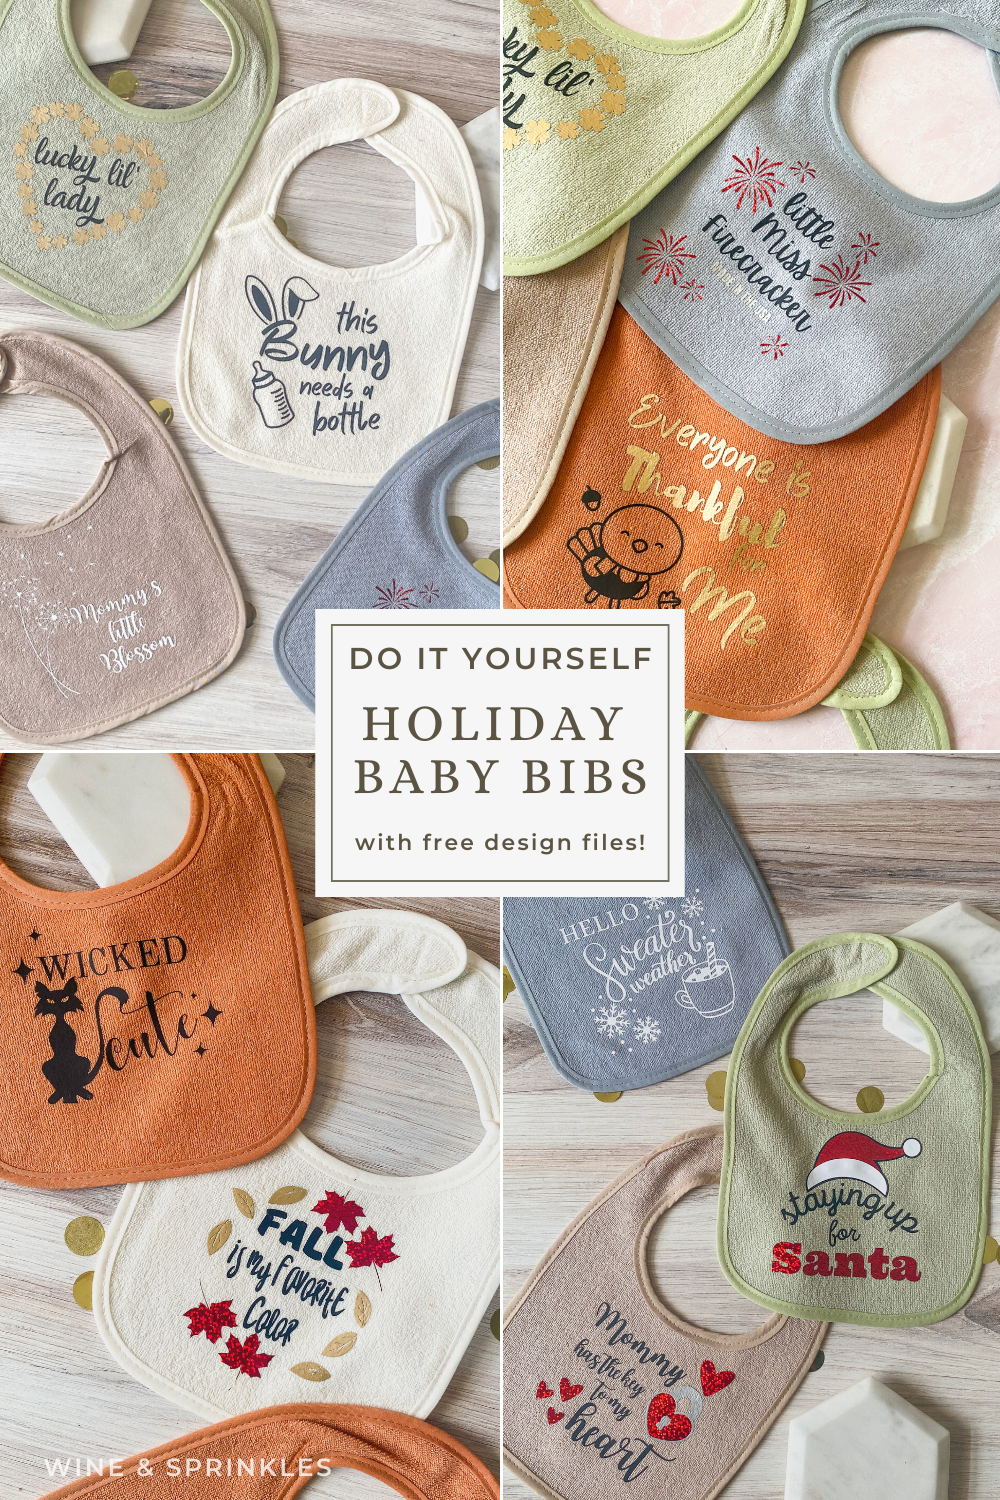
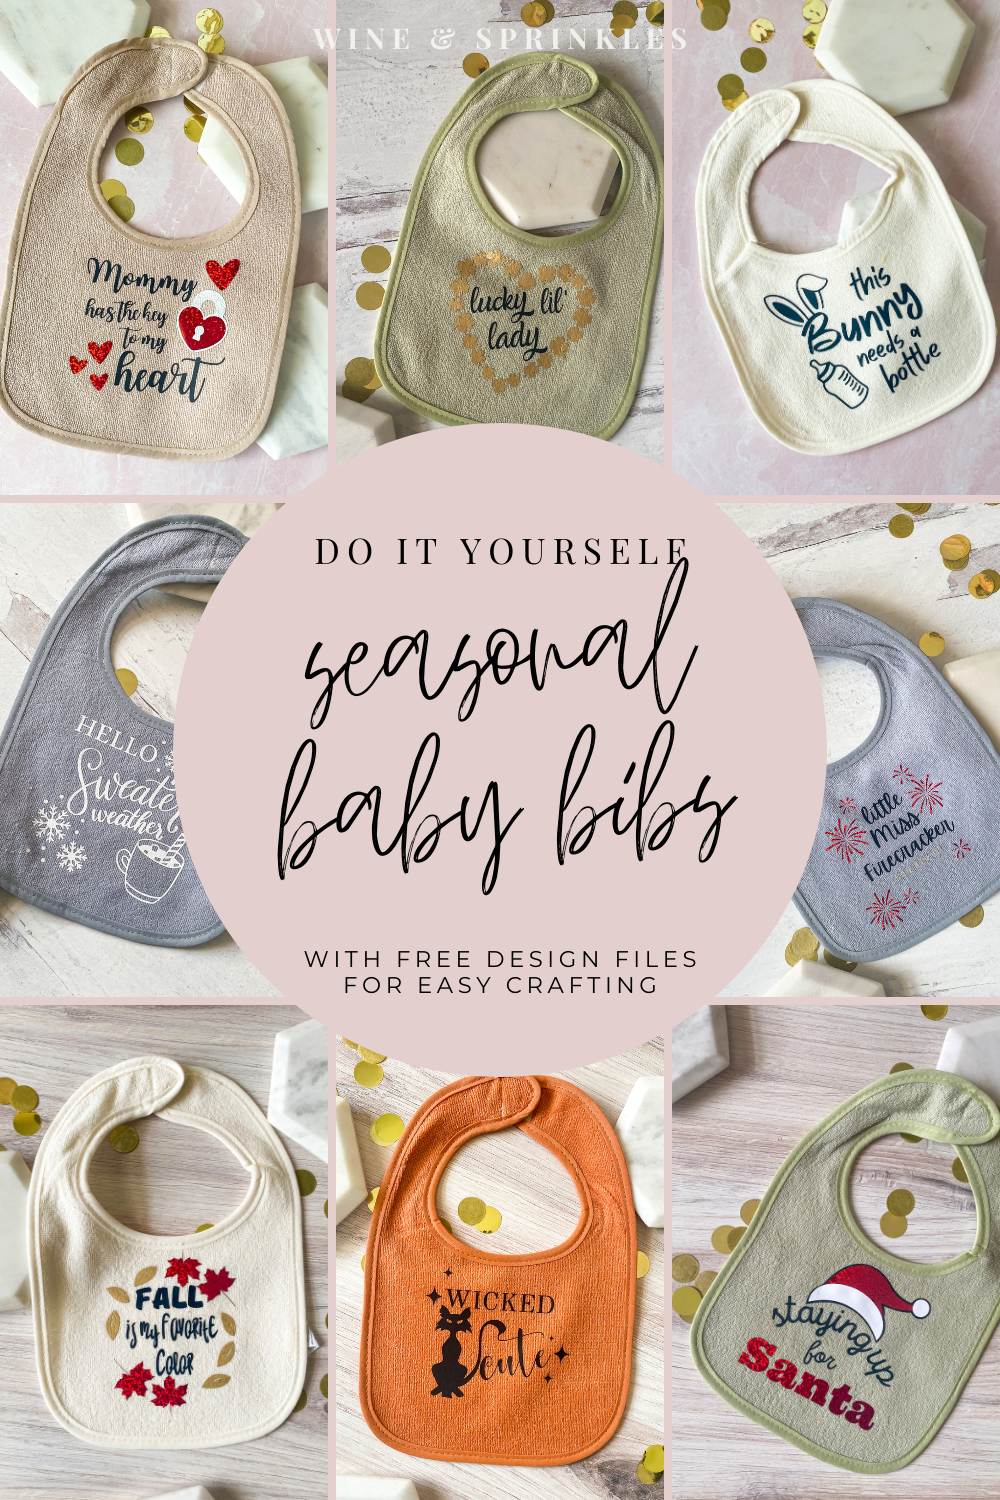
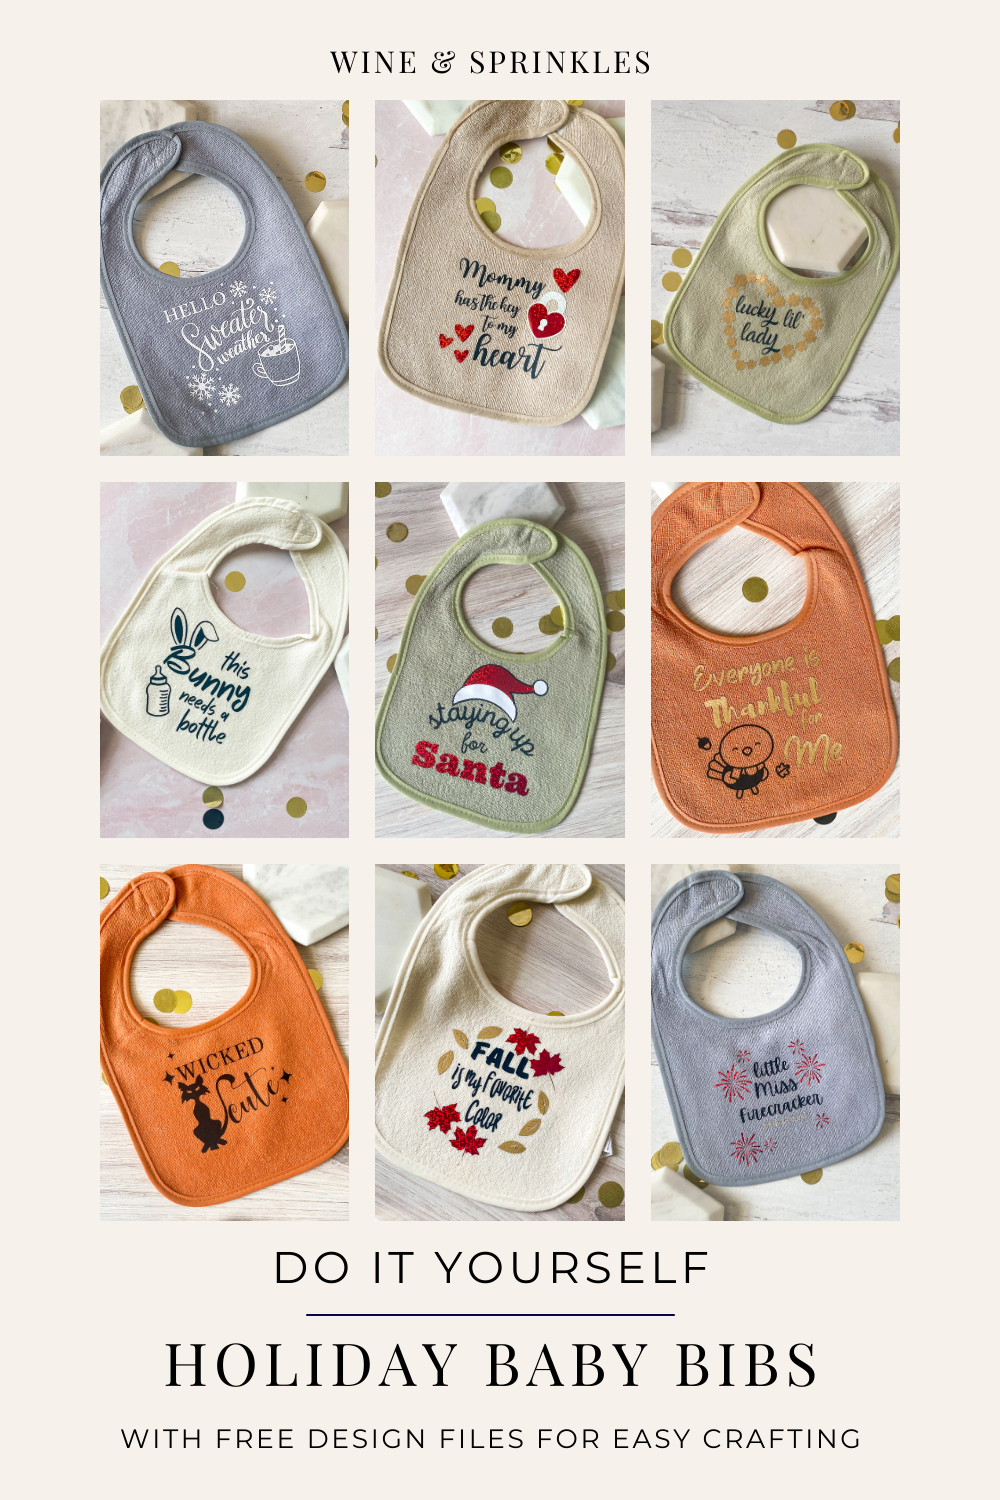
Tis the season for Bibs of all designs! When our dear friends were expecting their first little girl, I knew I wanted to make a Laundry Hamper Clothesline Baby Gift that had the clothing sets grow with the baby, but also include some seasonal fun too! Enter these HTV Seasonal Holiday Baby Bibs, a collection of dapper DIY bibs to wear as the baby grows, themed from spring to winter with lots of holidays in between!
Several years ago when I first started designing the Baby Onesies for the Baby Bento Boxes for my sister’s first baby, I quickly created a library of onesie designs that were a lot of the same process with different decals, so for this first batch of seasonal bibs I wanted to keep them all together and give the option to take out any that you don’t want to use instead. So, you’ll see that there are ten different designs, ranging for different seasons and holidays throughout the year, which starting at the beginning of the year are:


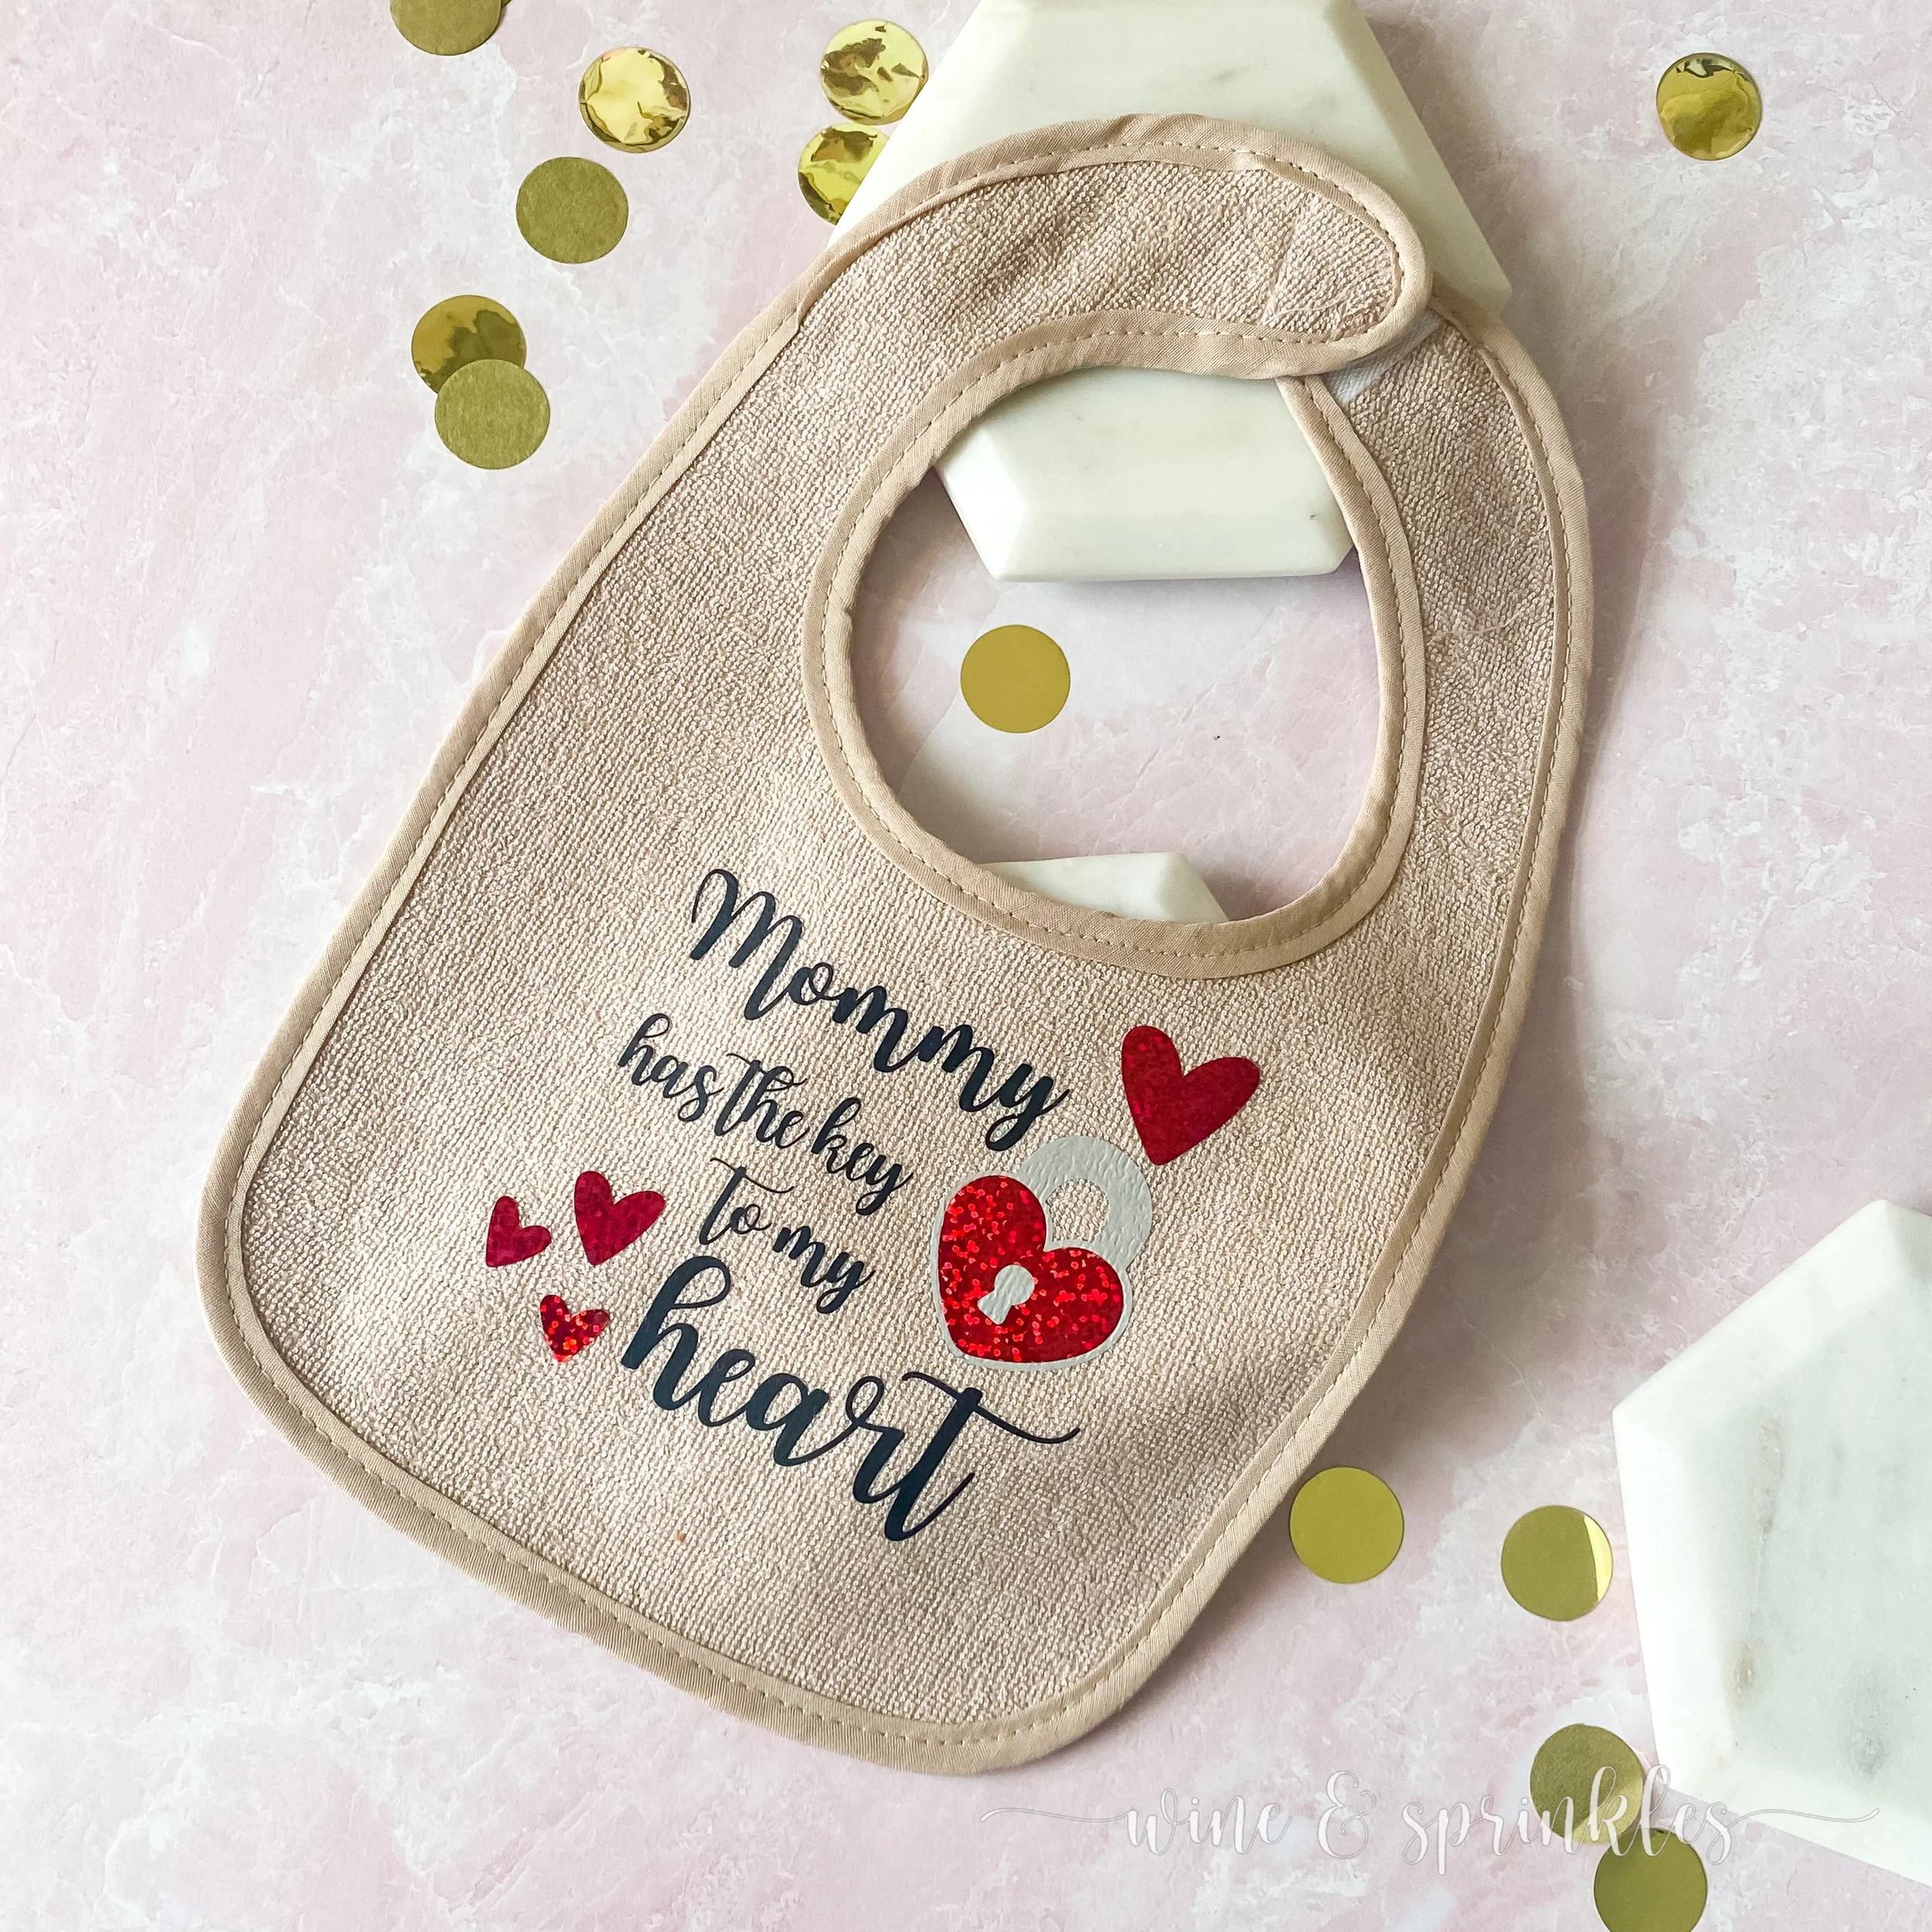
Mommy’s Got the Key to my Heart
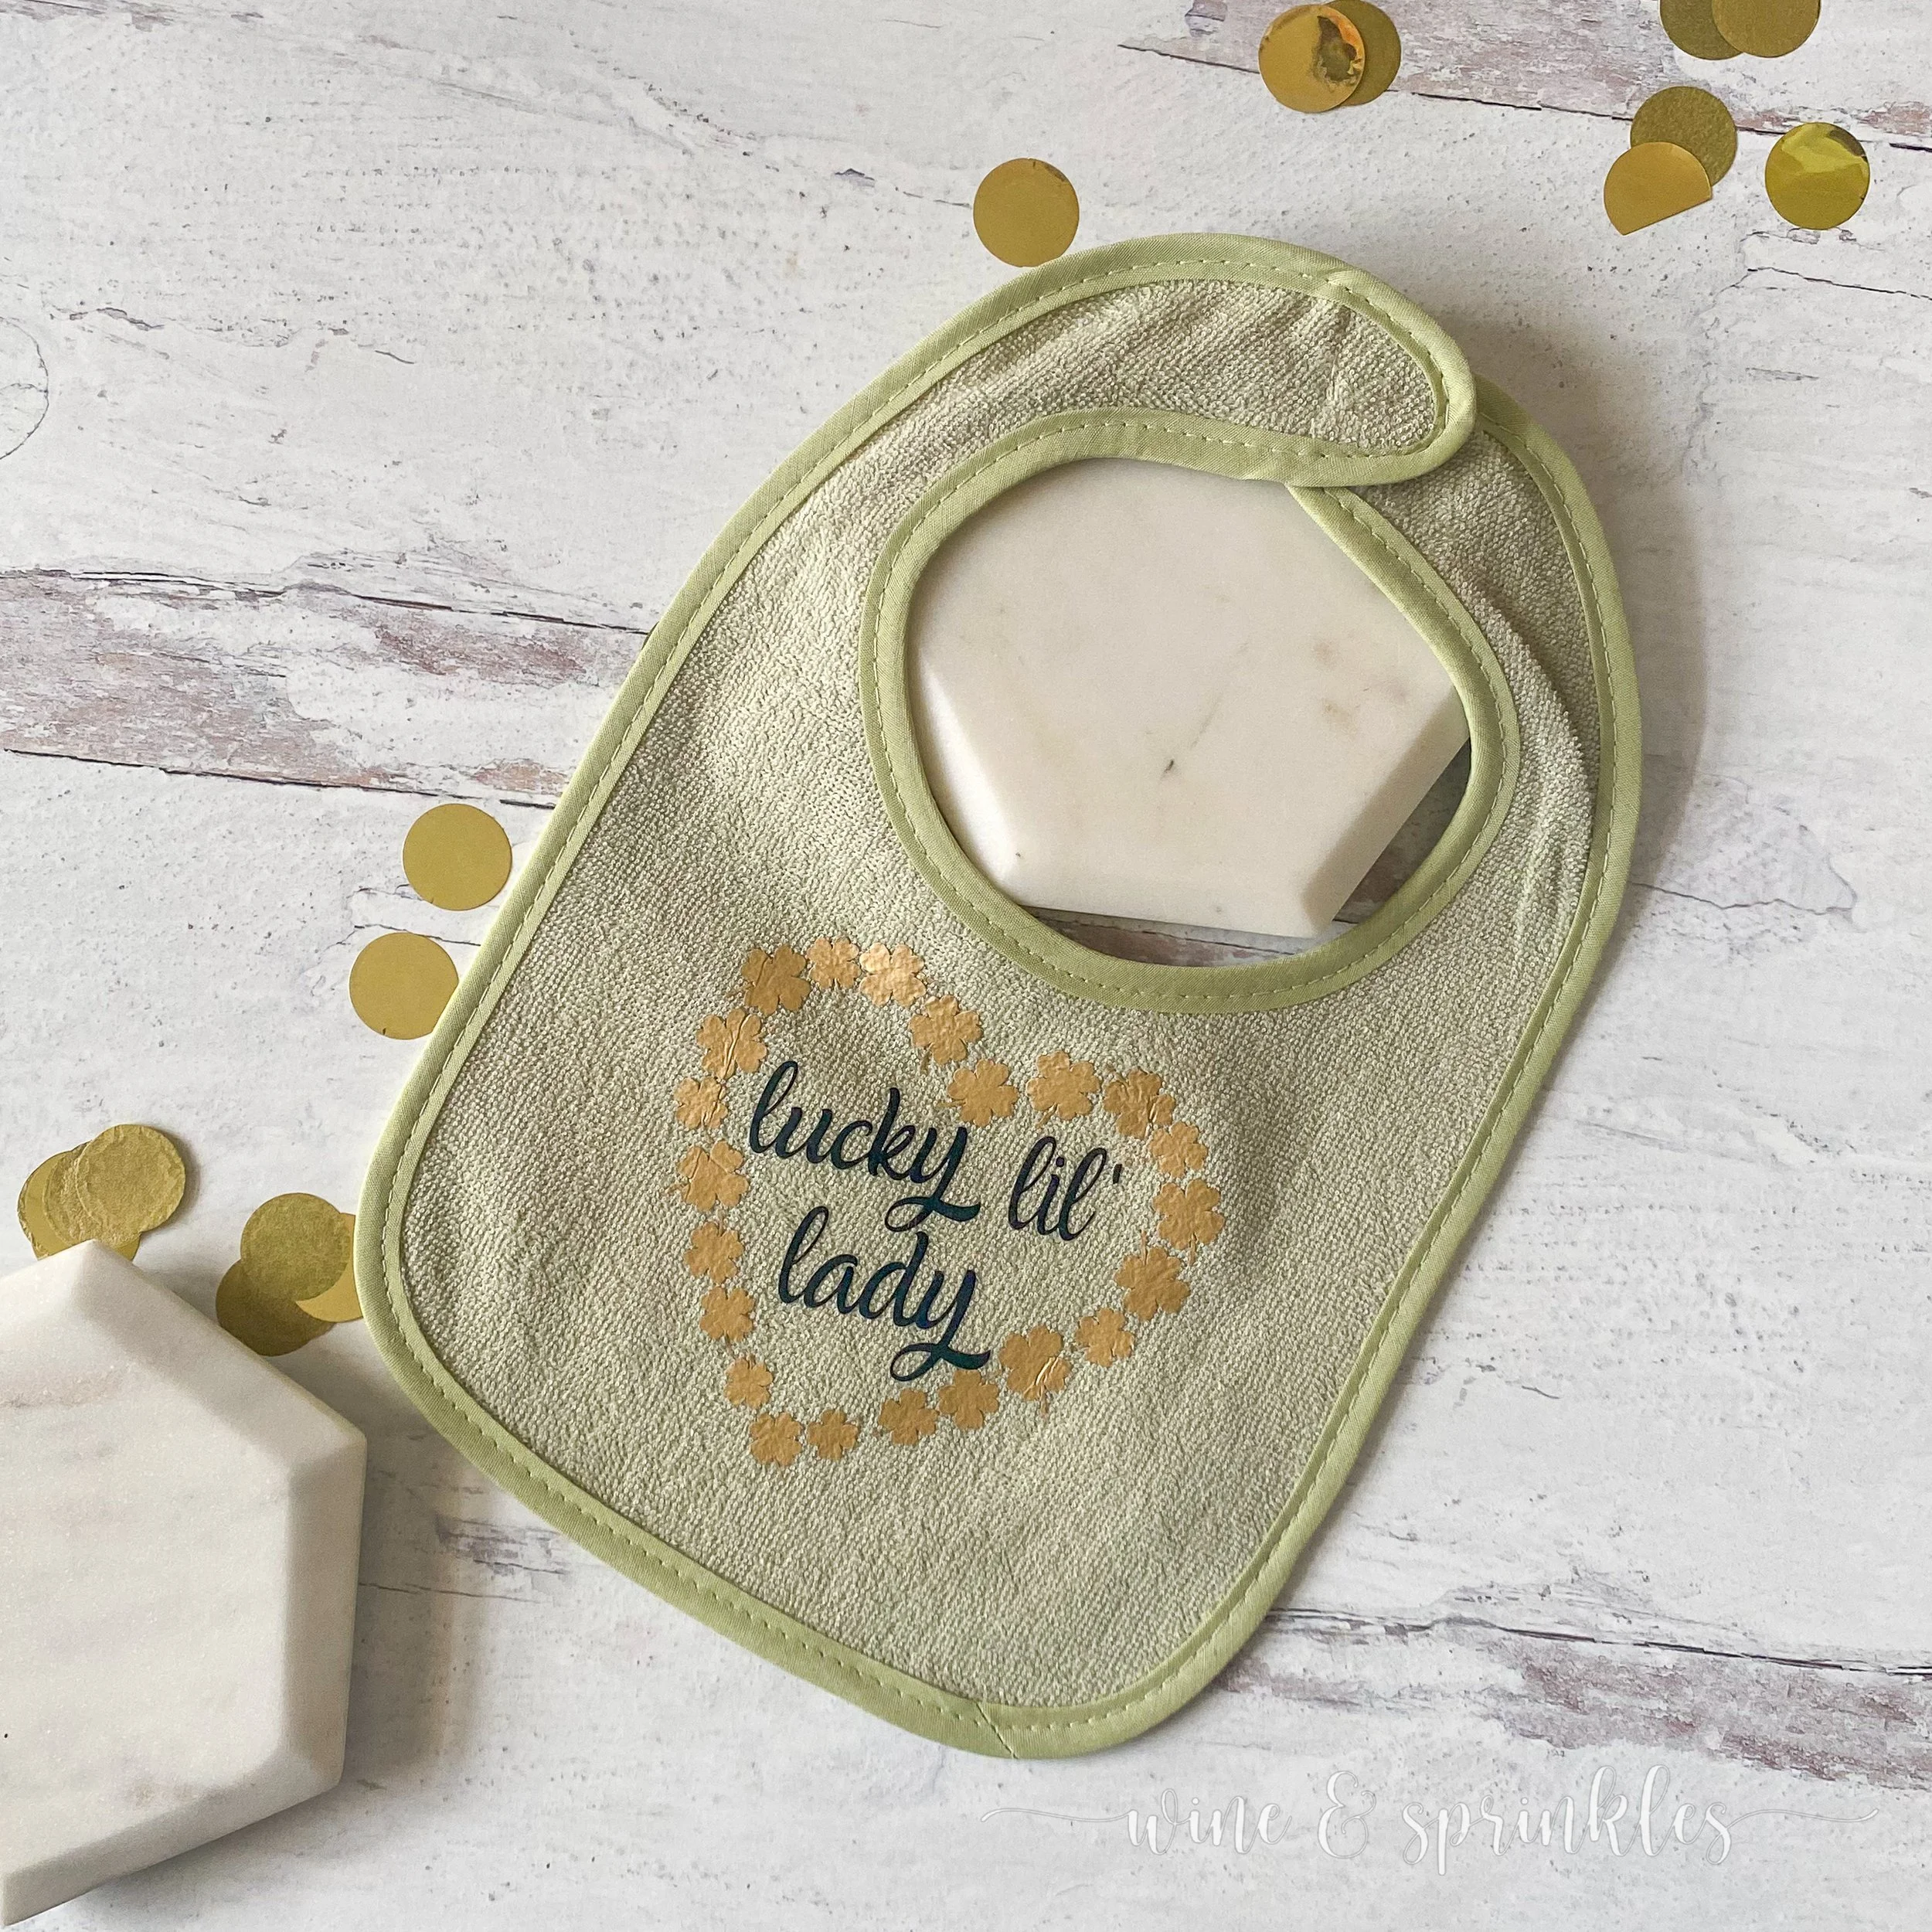
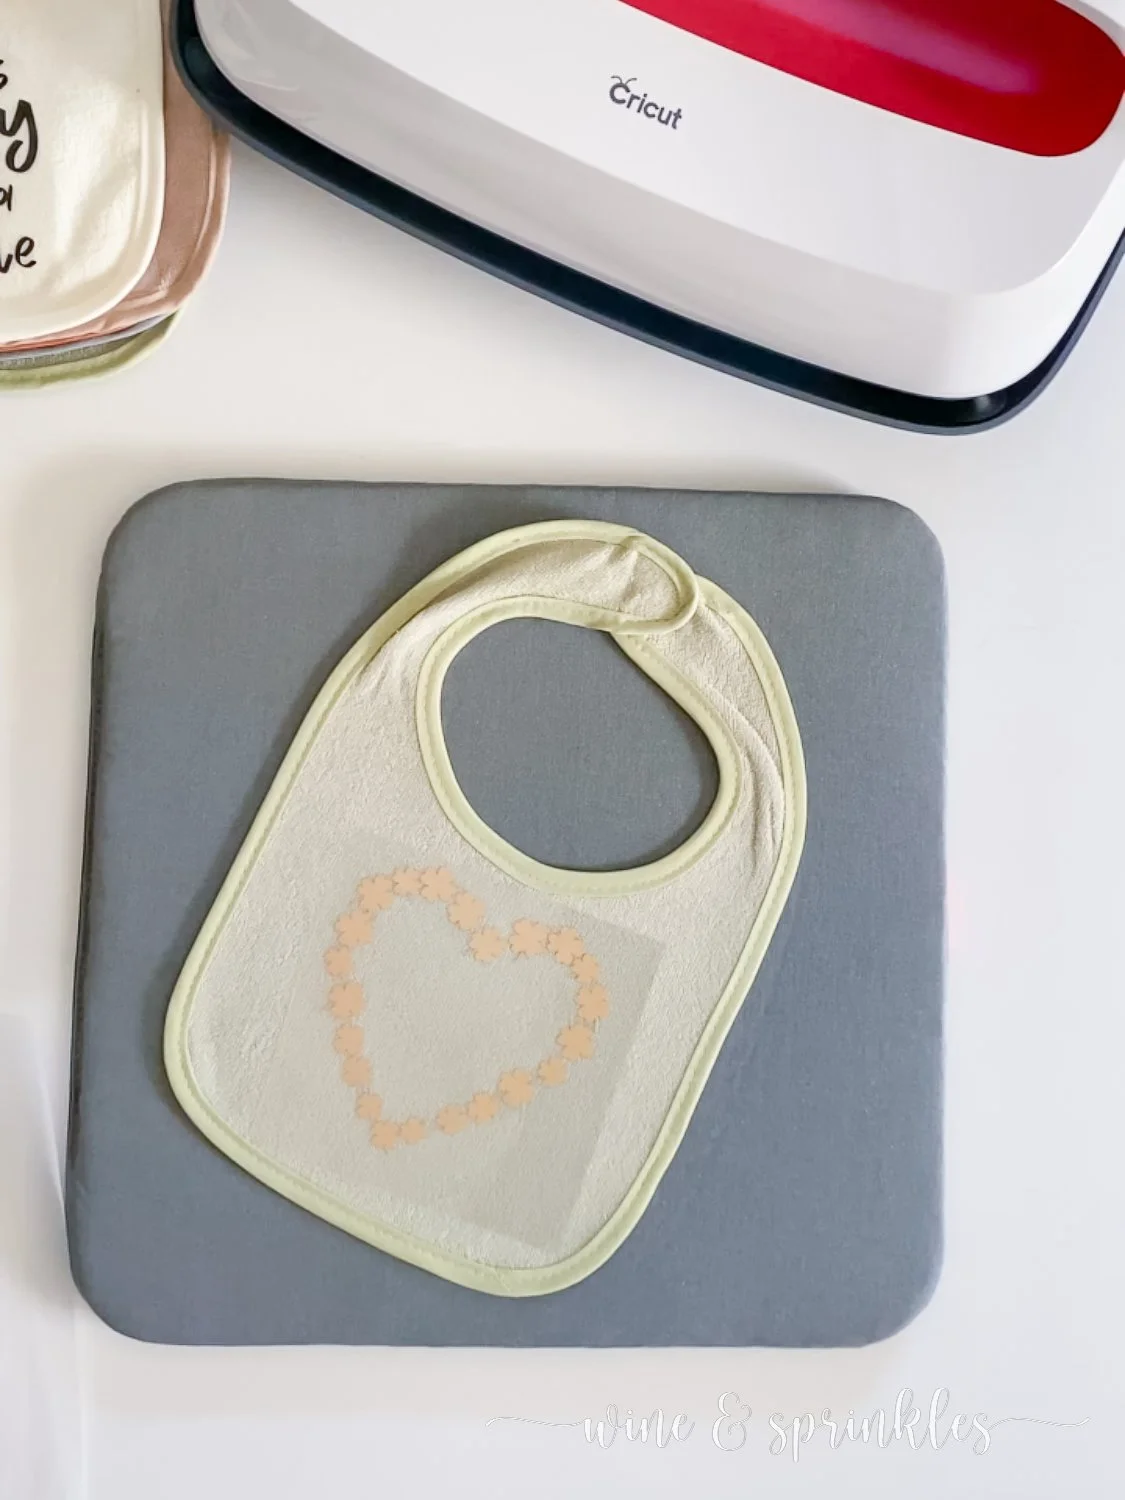
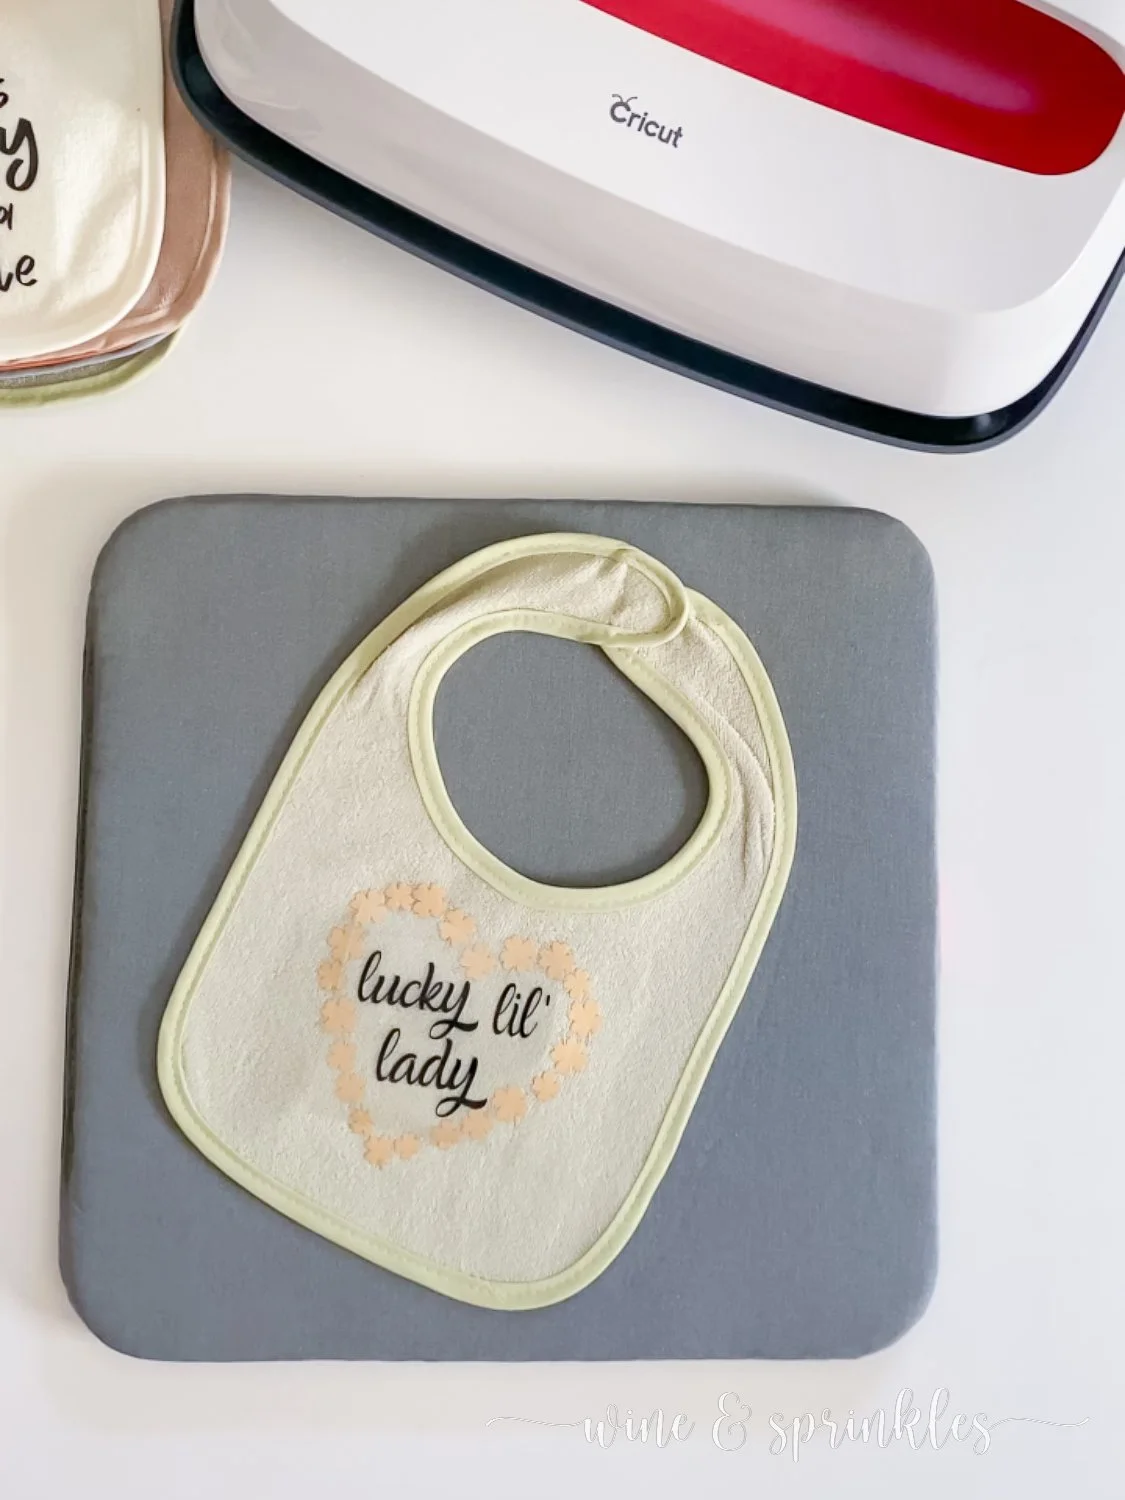
Lucky Lil Lady
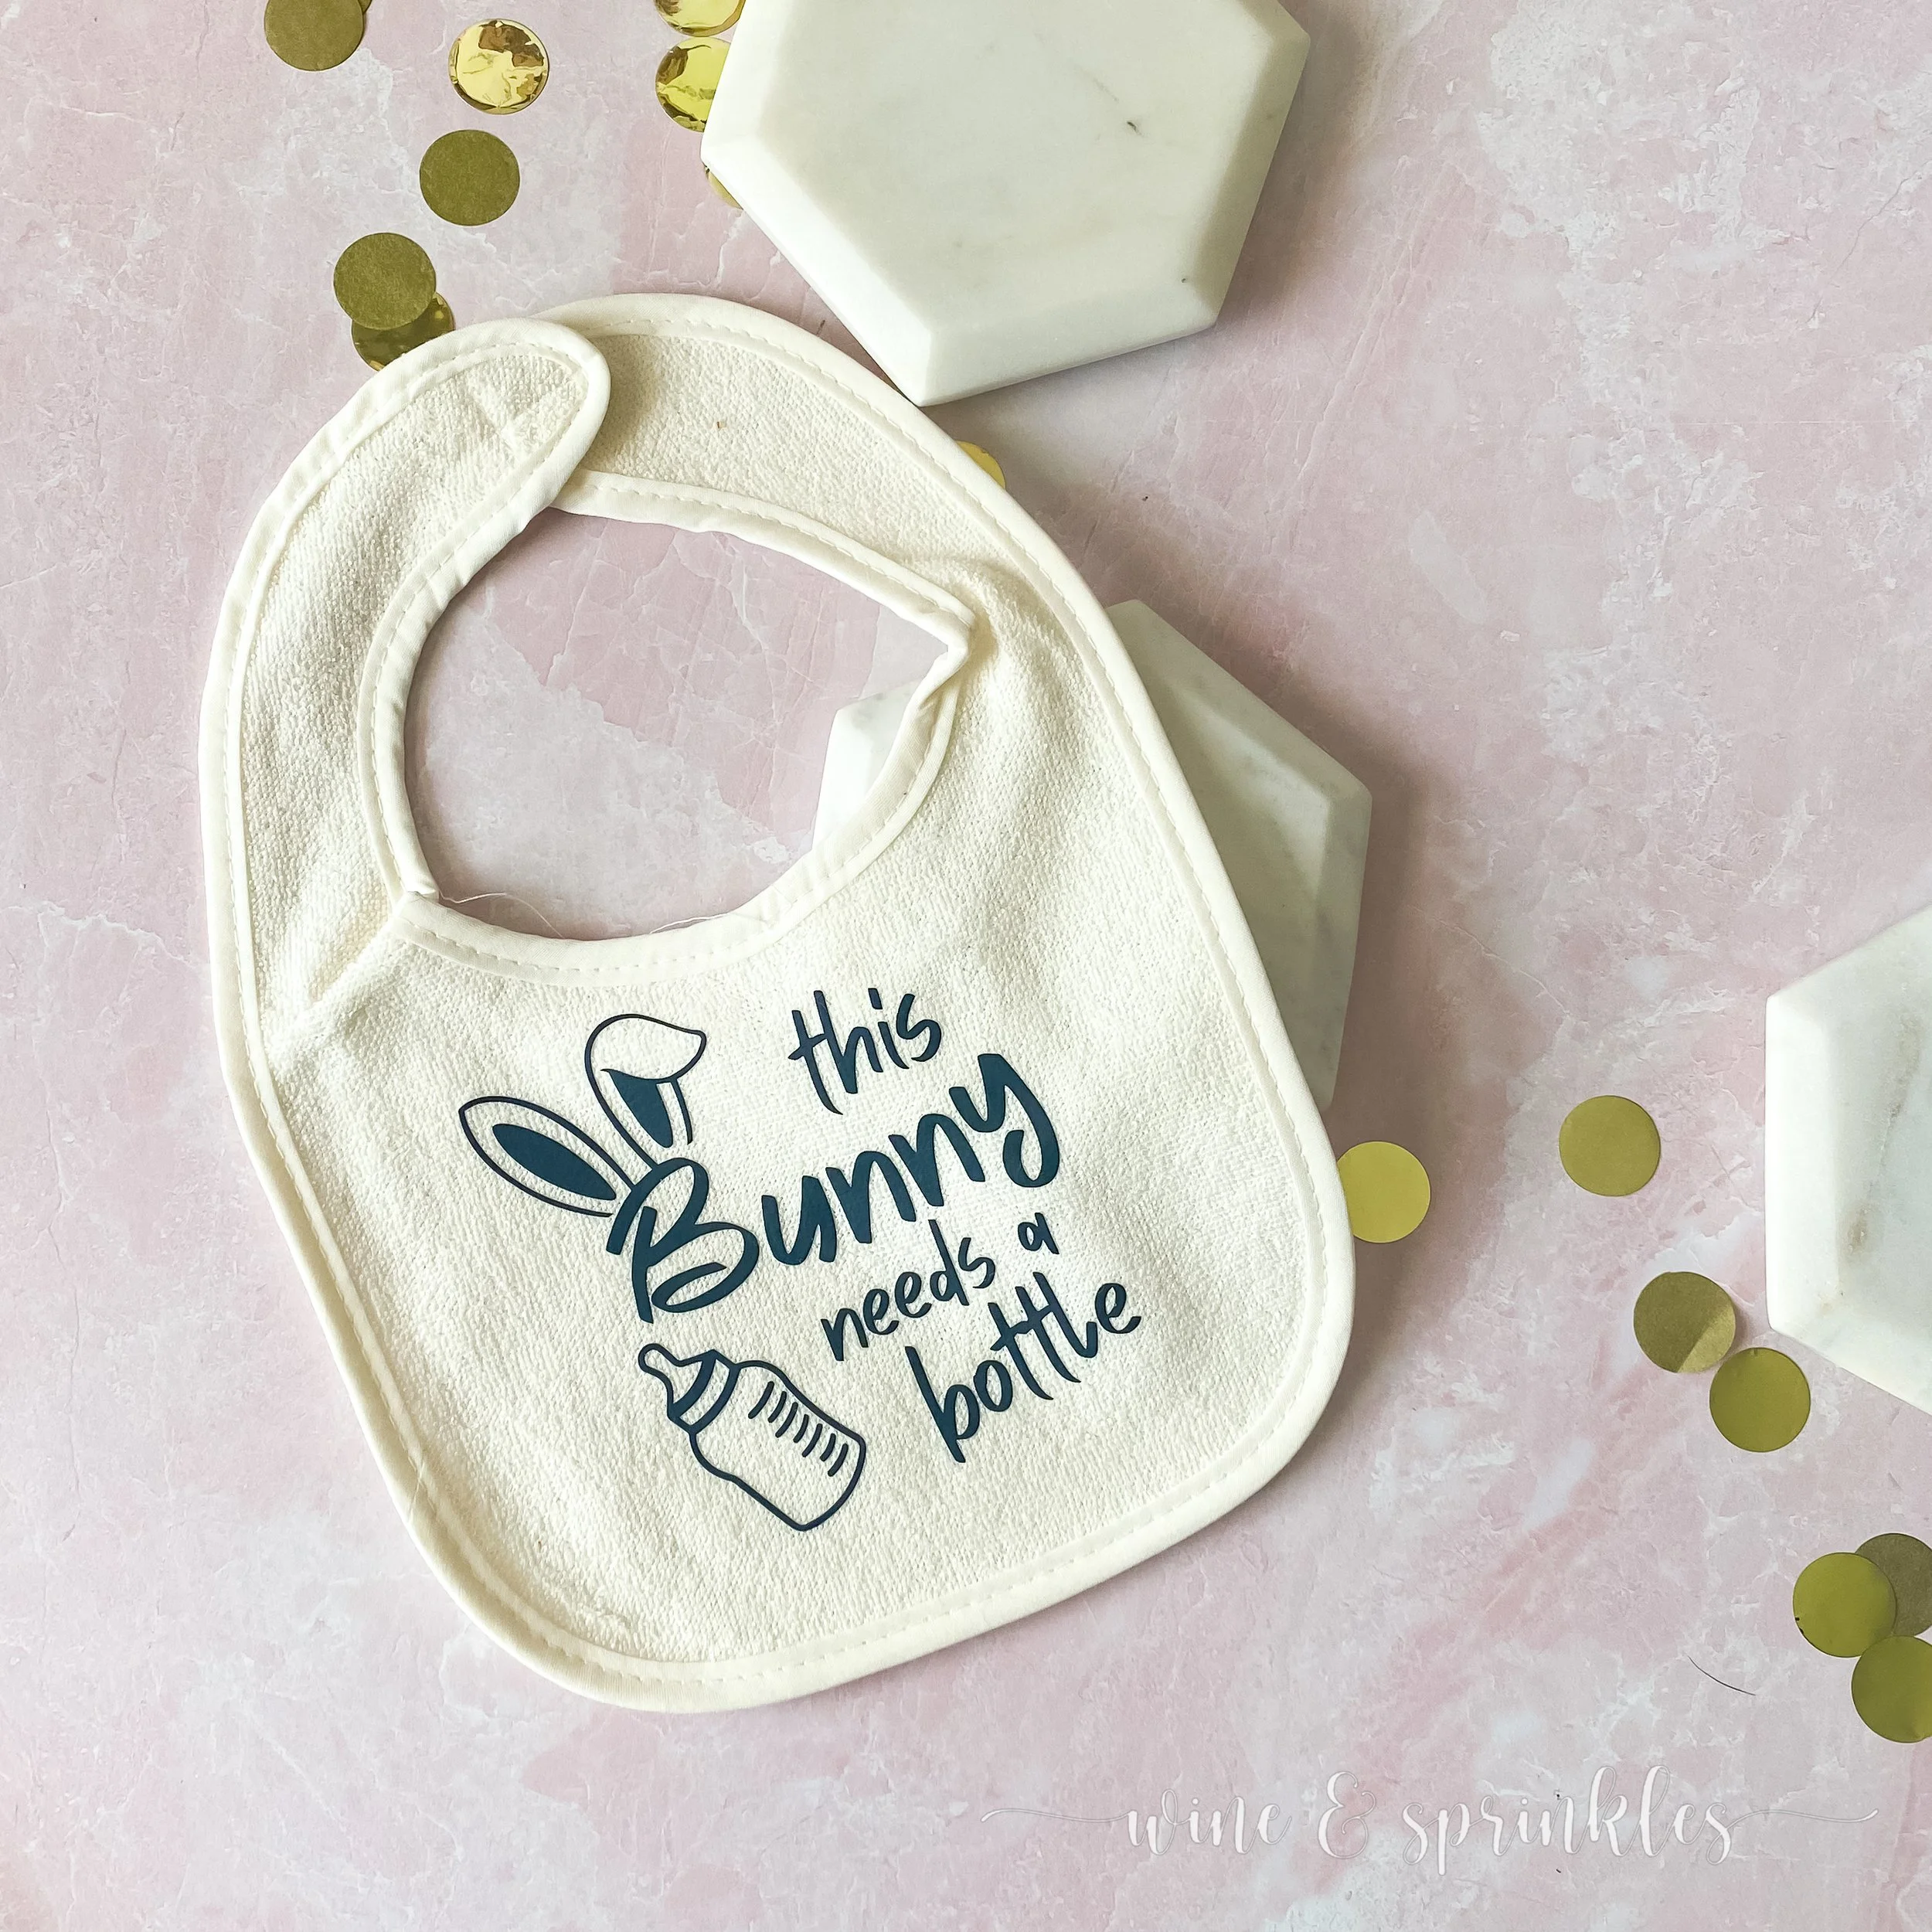
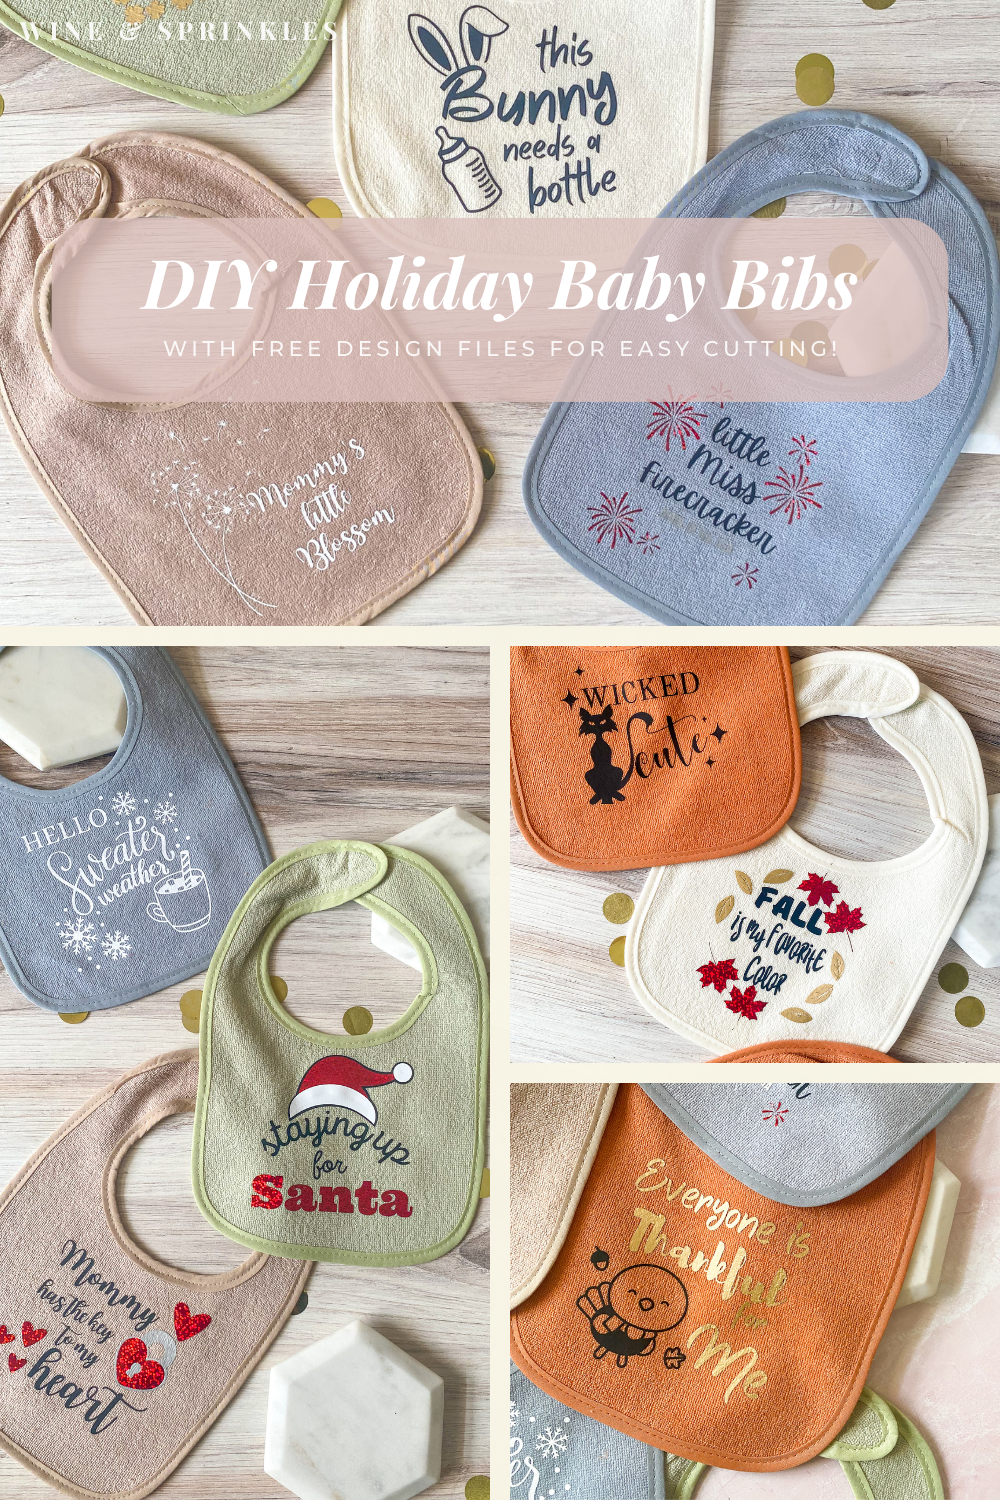
This Bunny Needs a Bottle
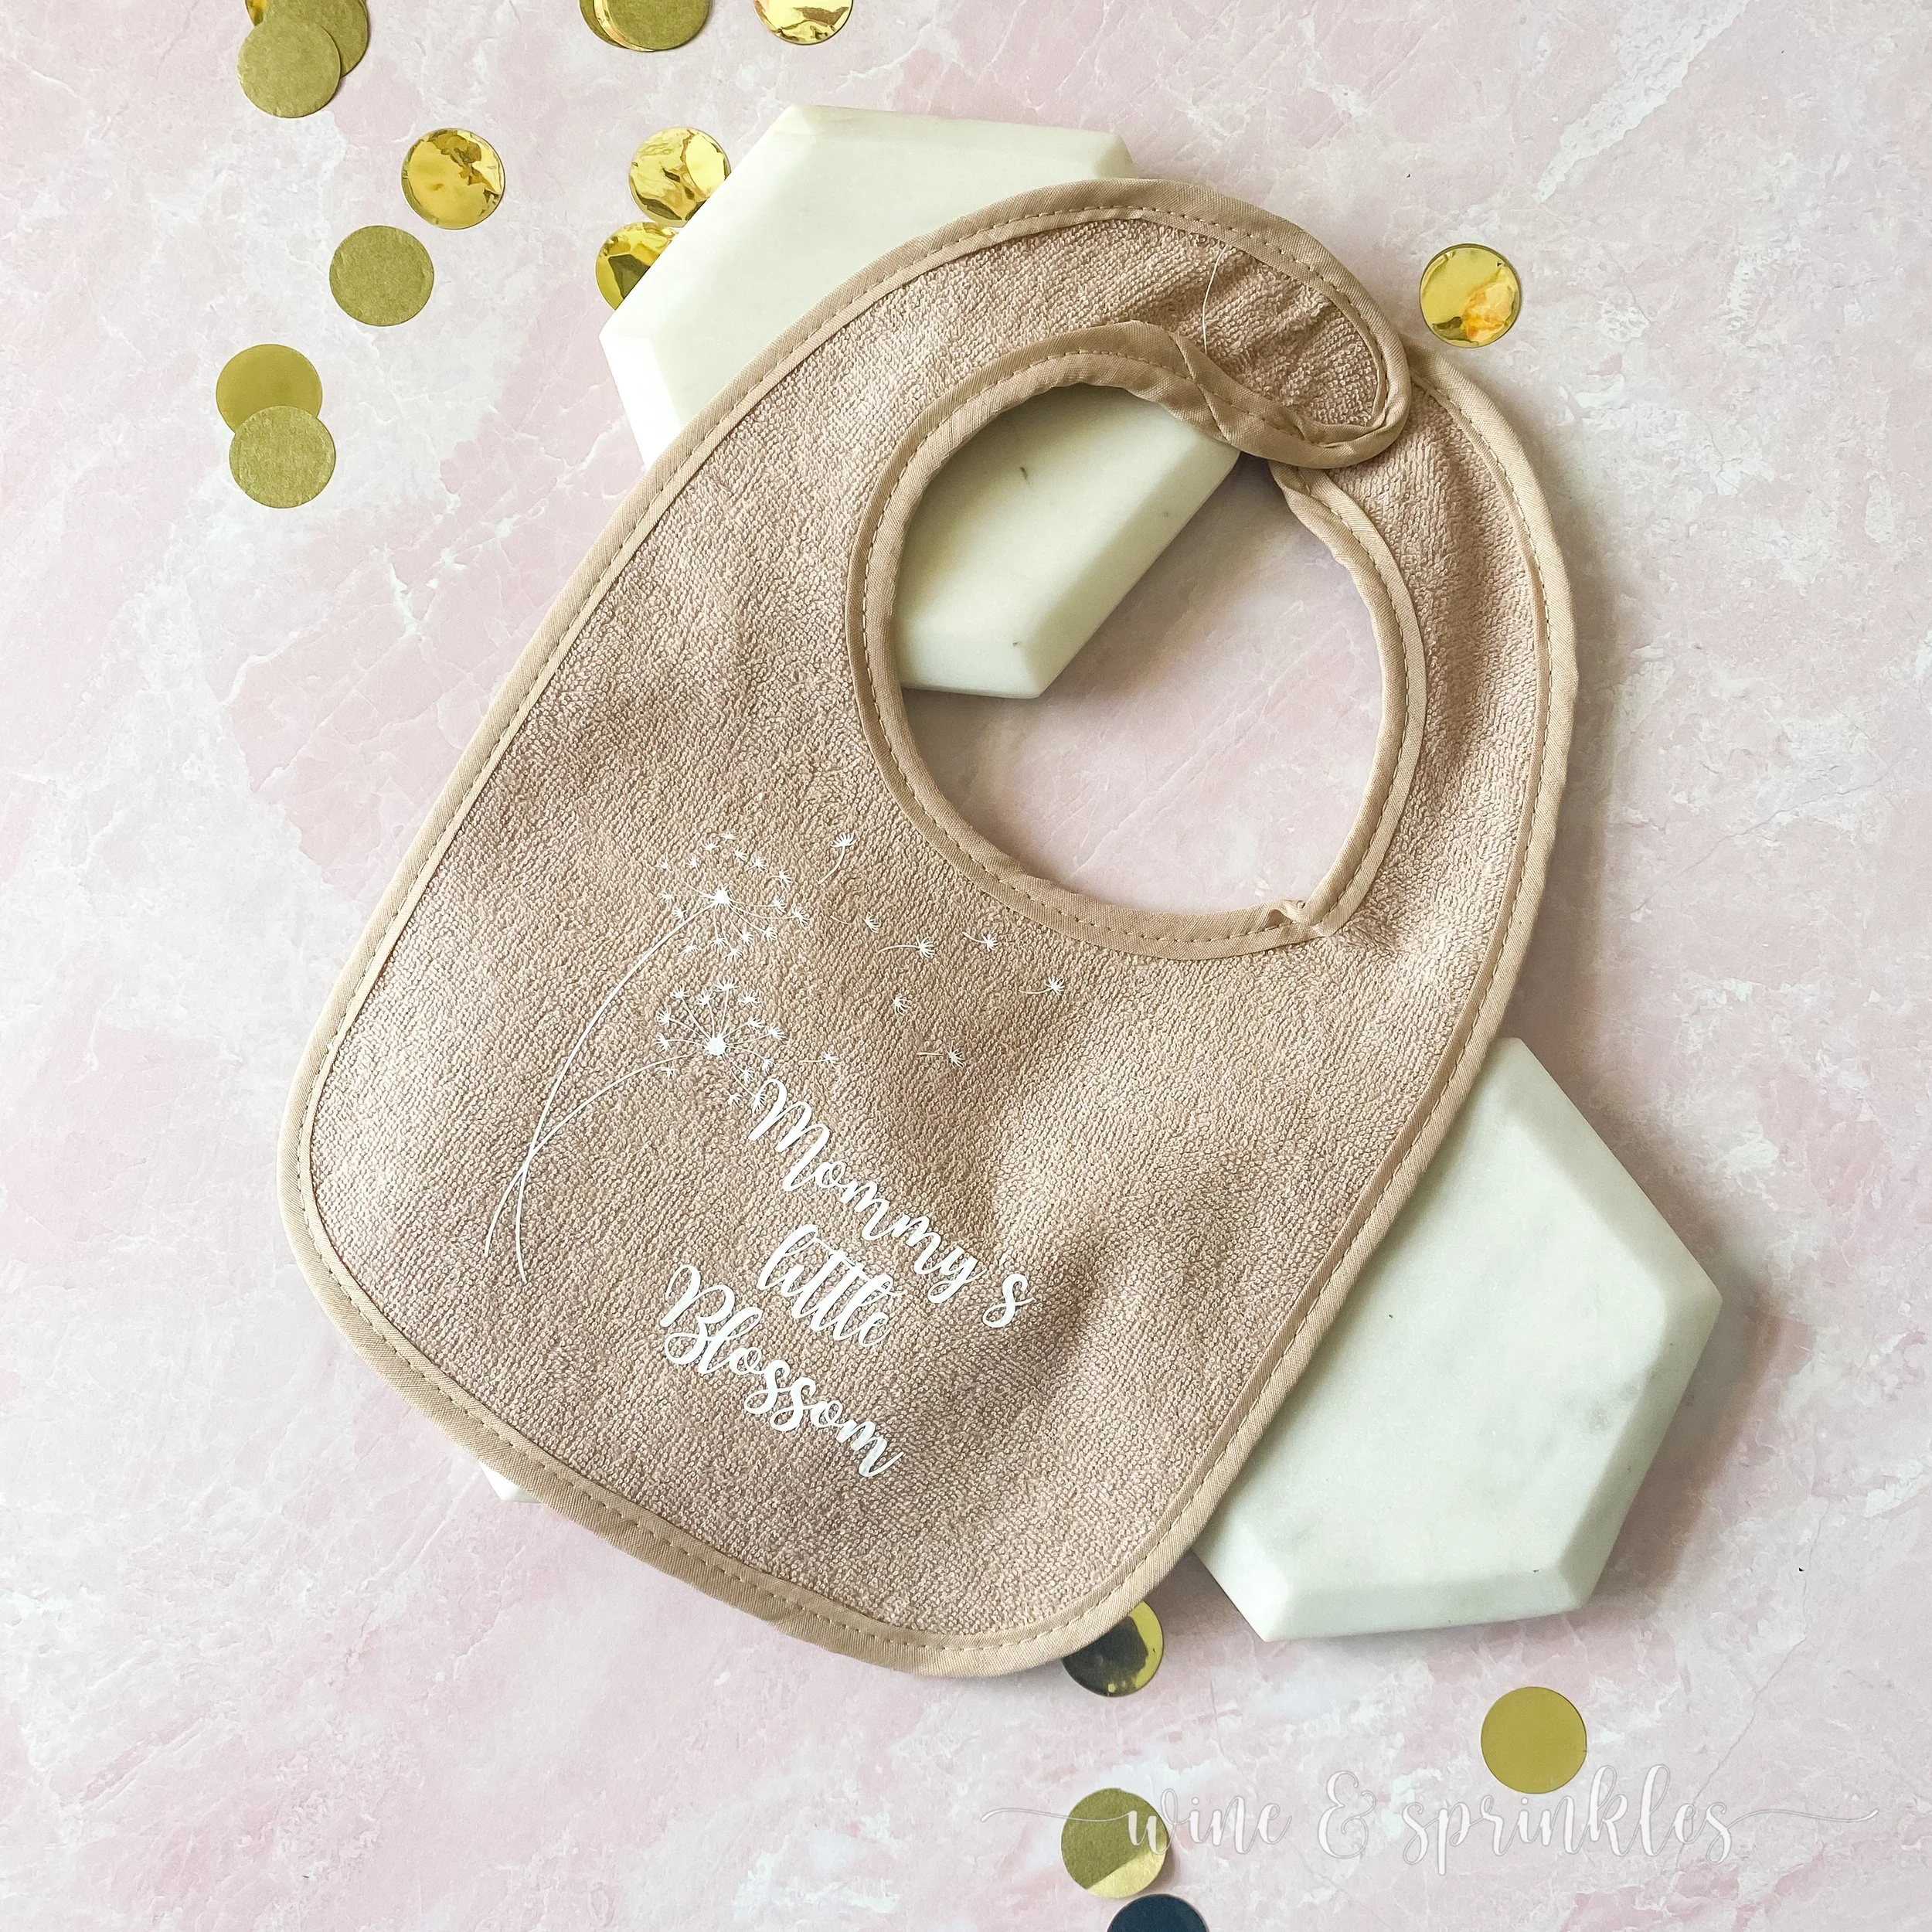
Mommy’s Little Blossom
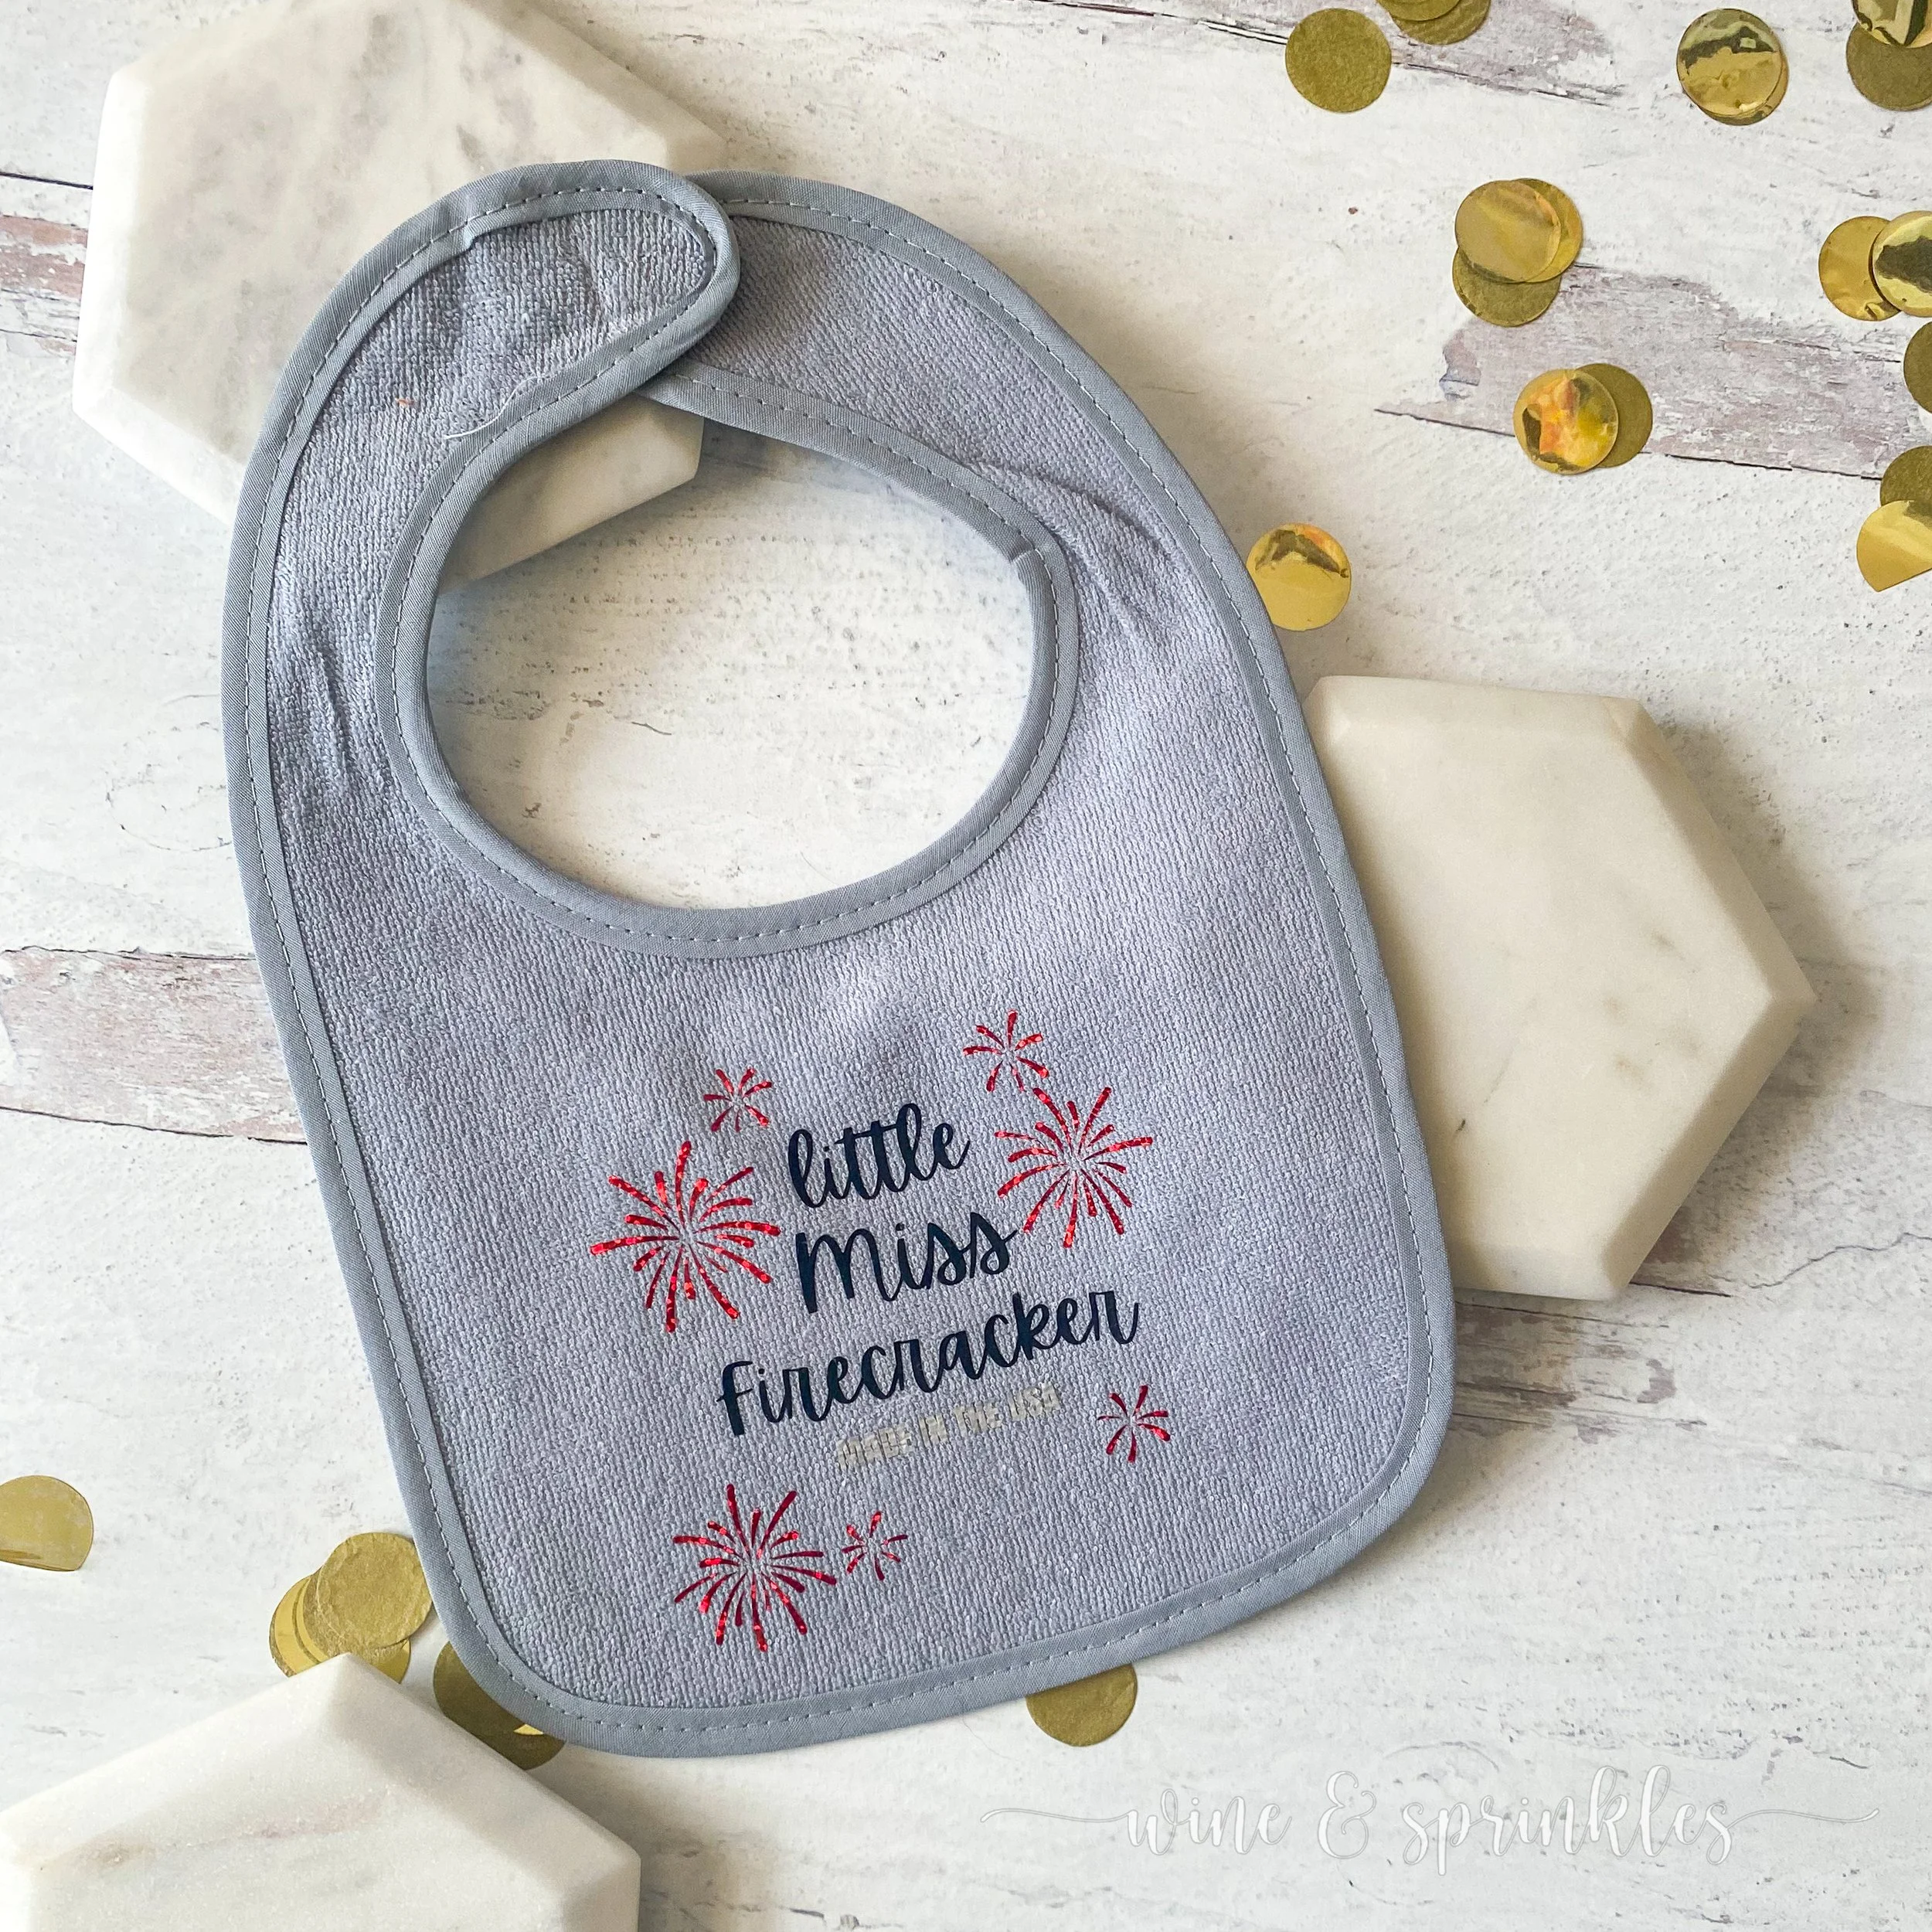
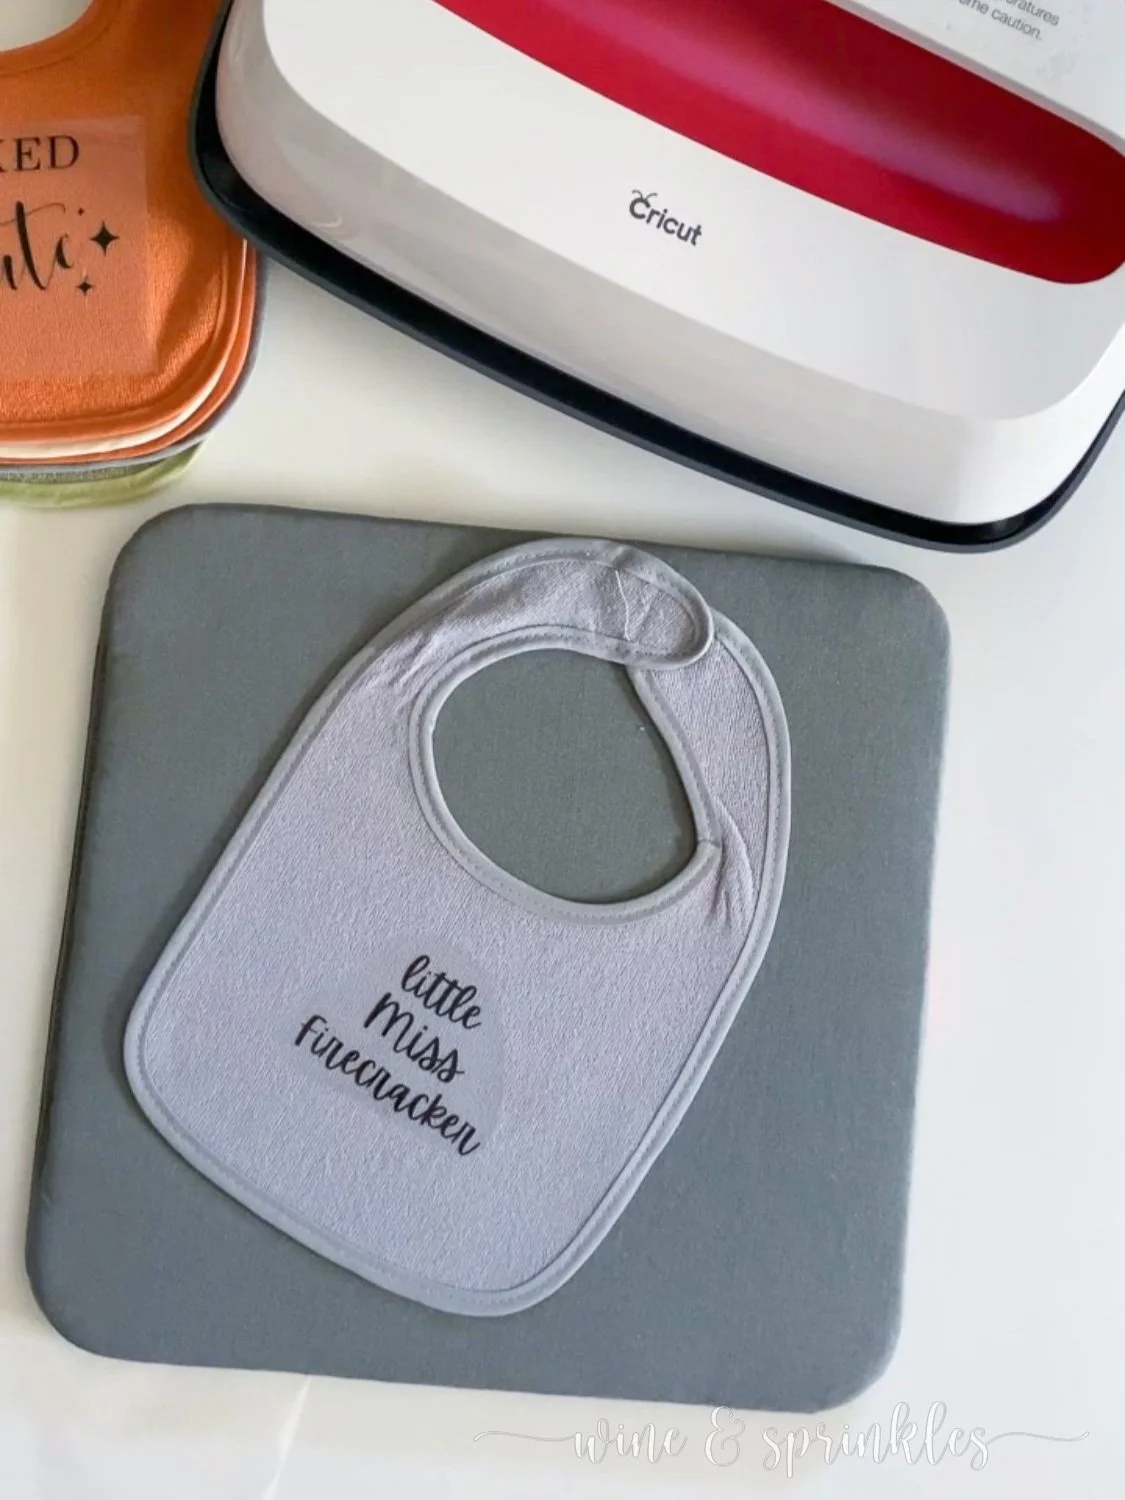
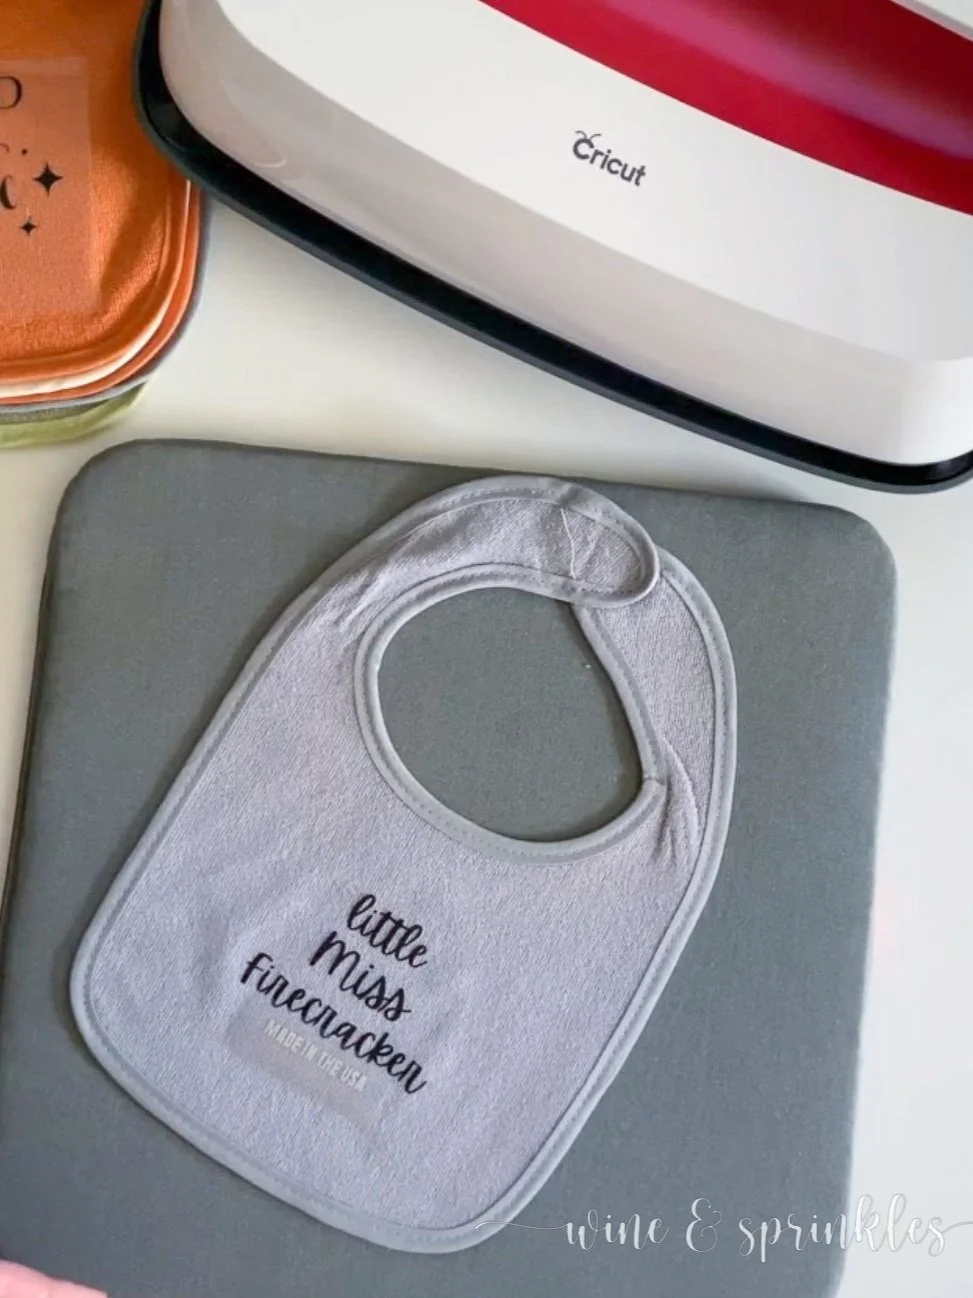
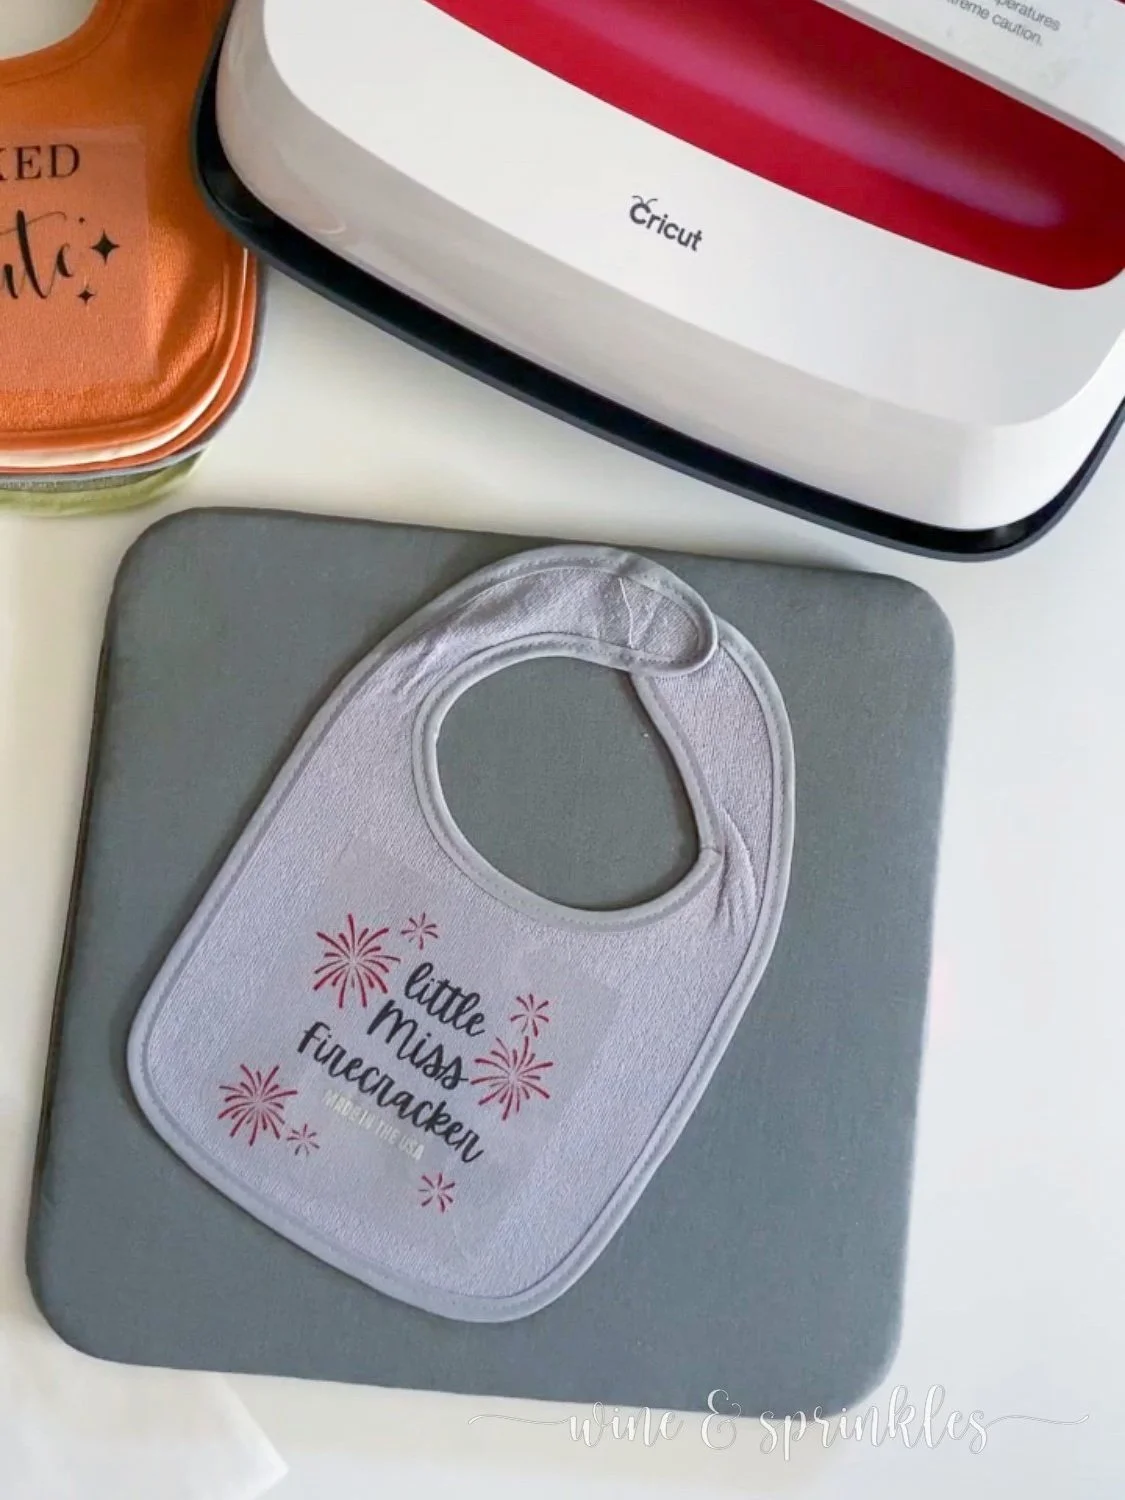
Little Miss Firecracker
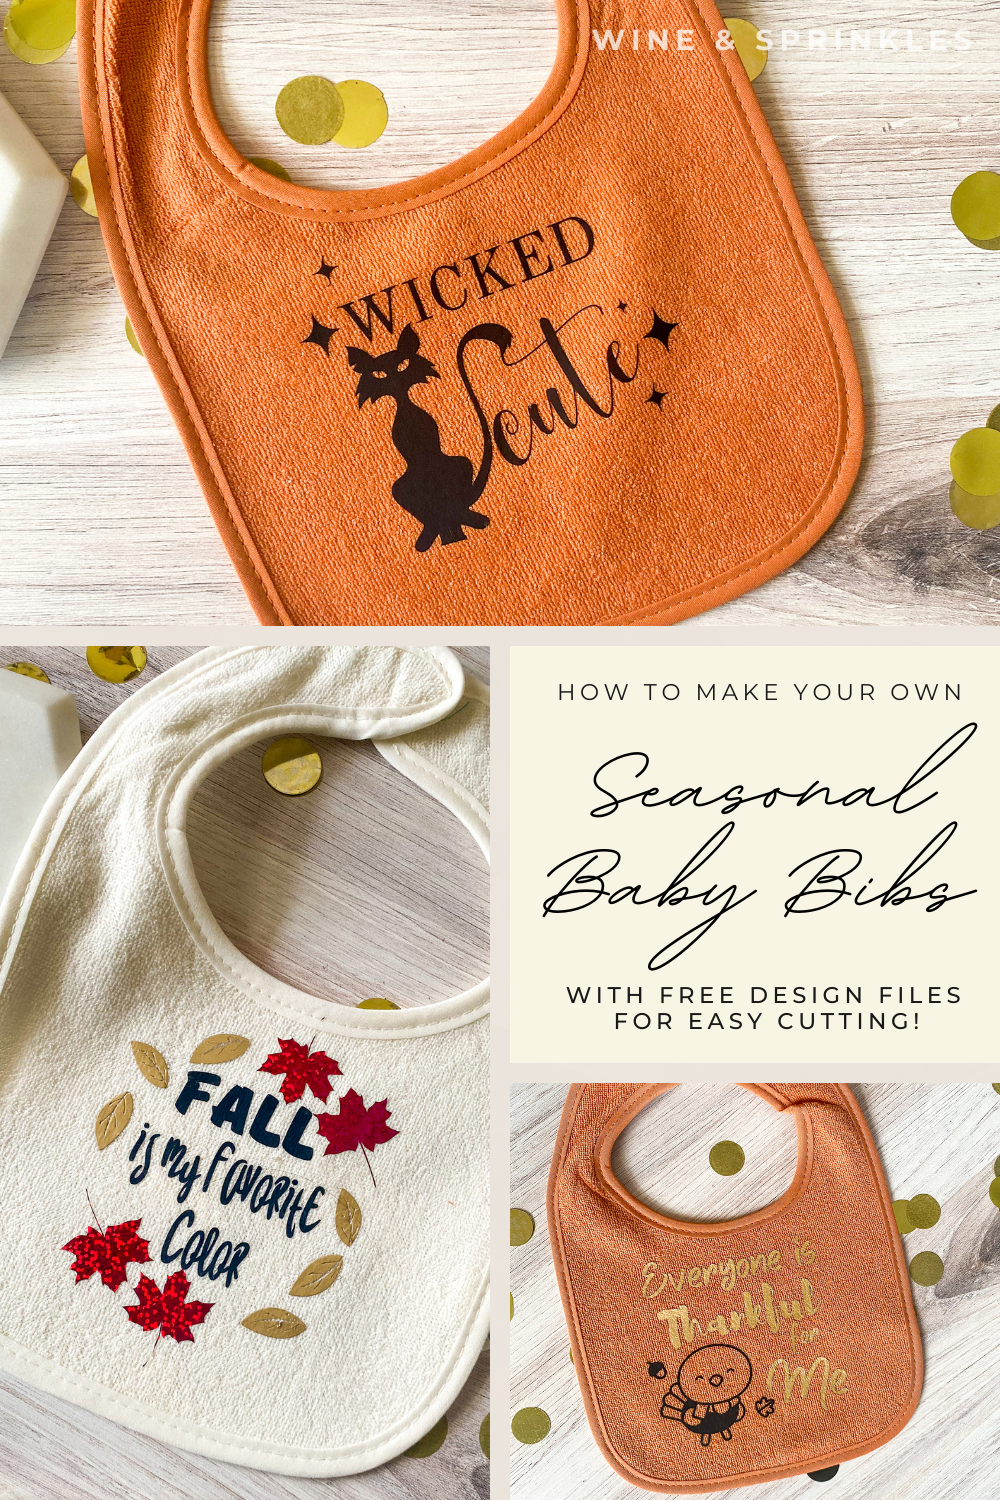
Wicked Cute
Fall is my Favorite Color
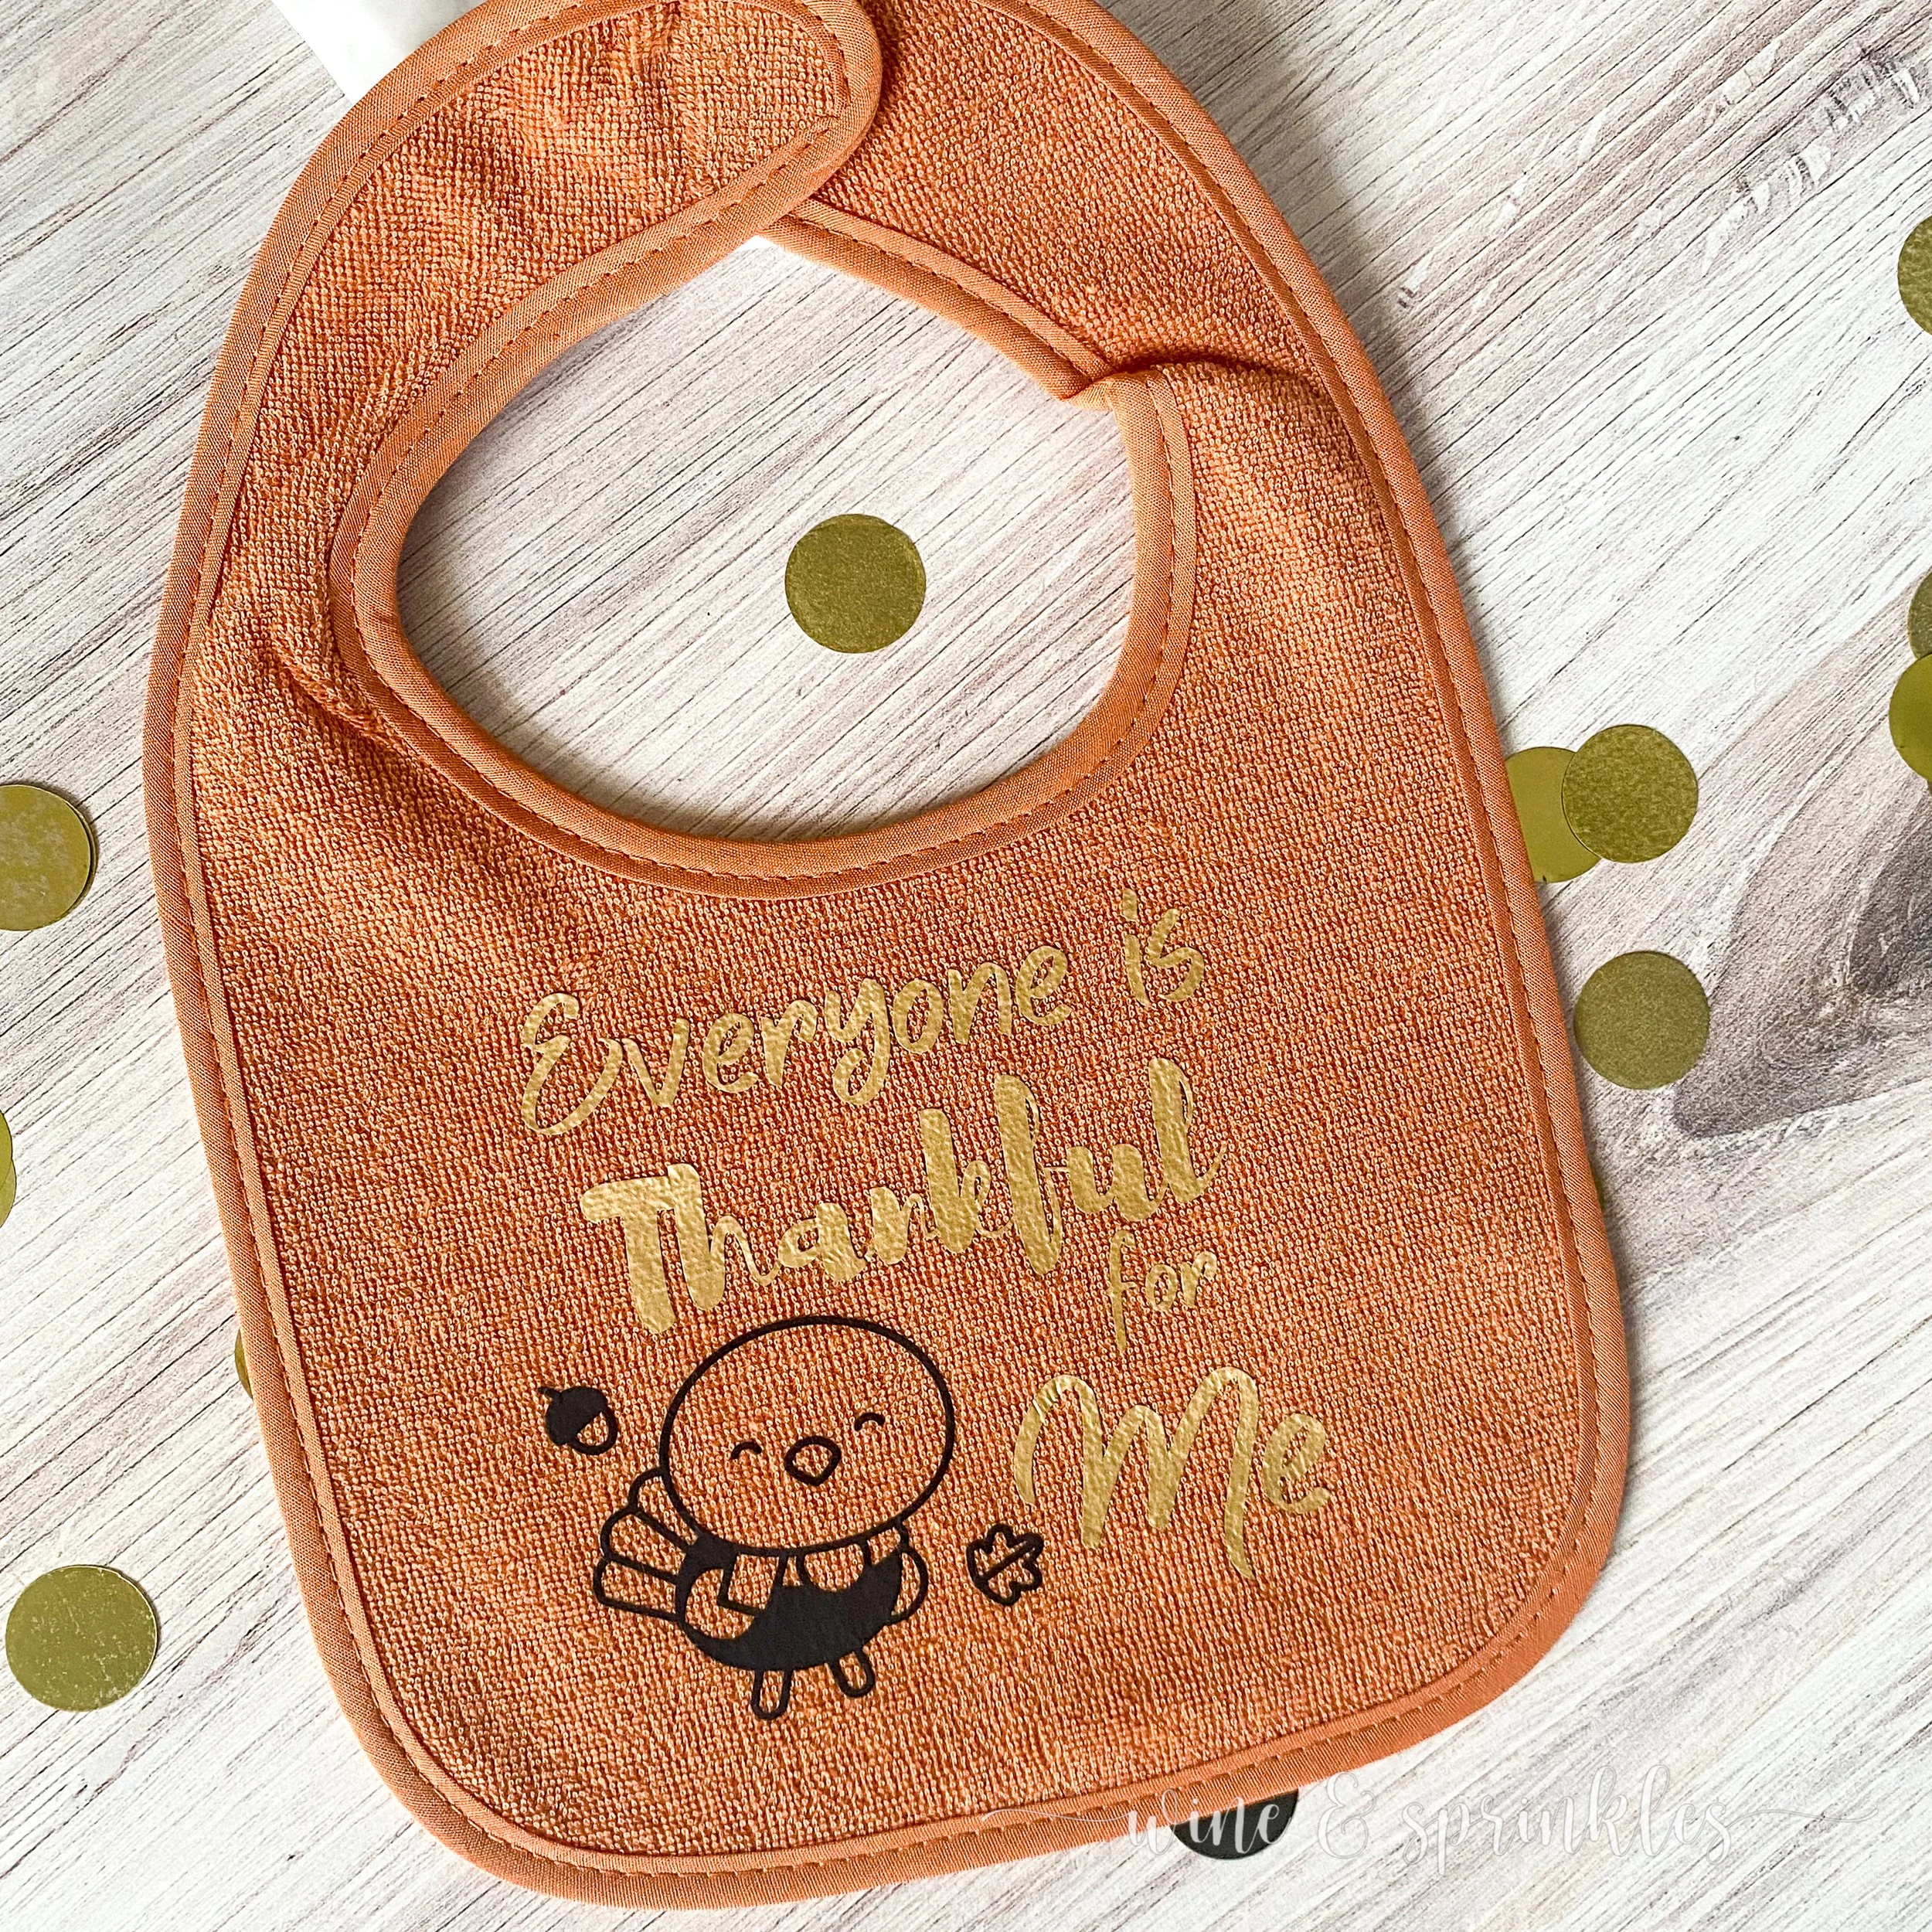
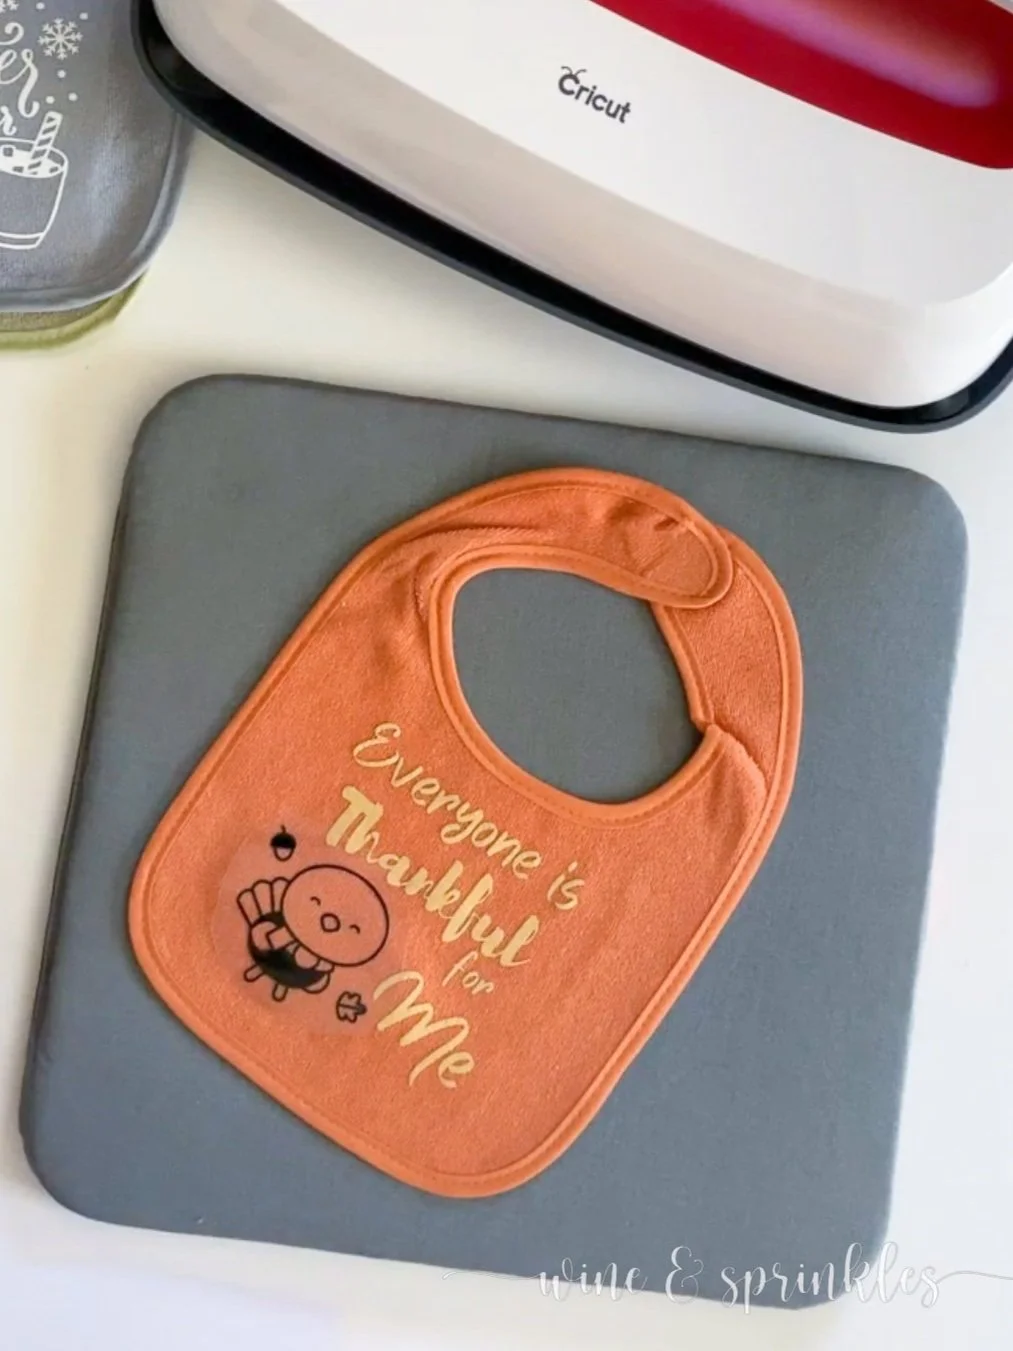
Everyone is Thankful for Me
Sweater Weather
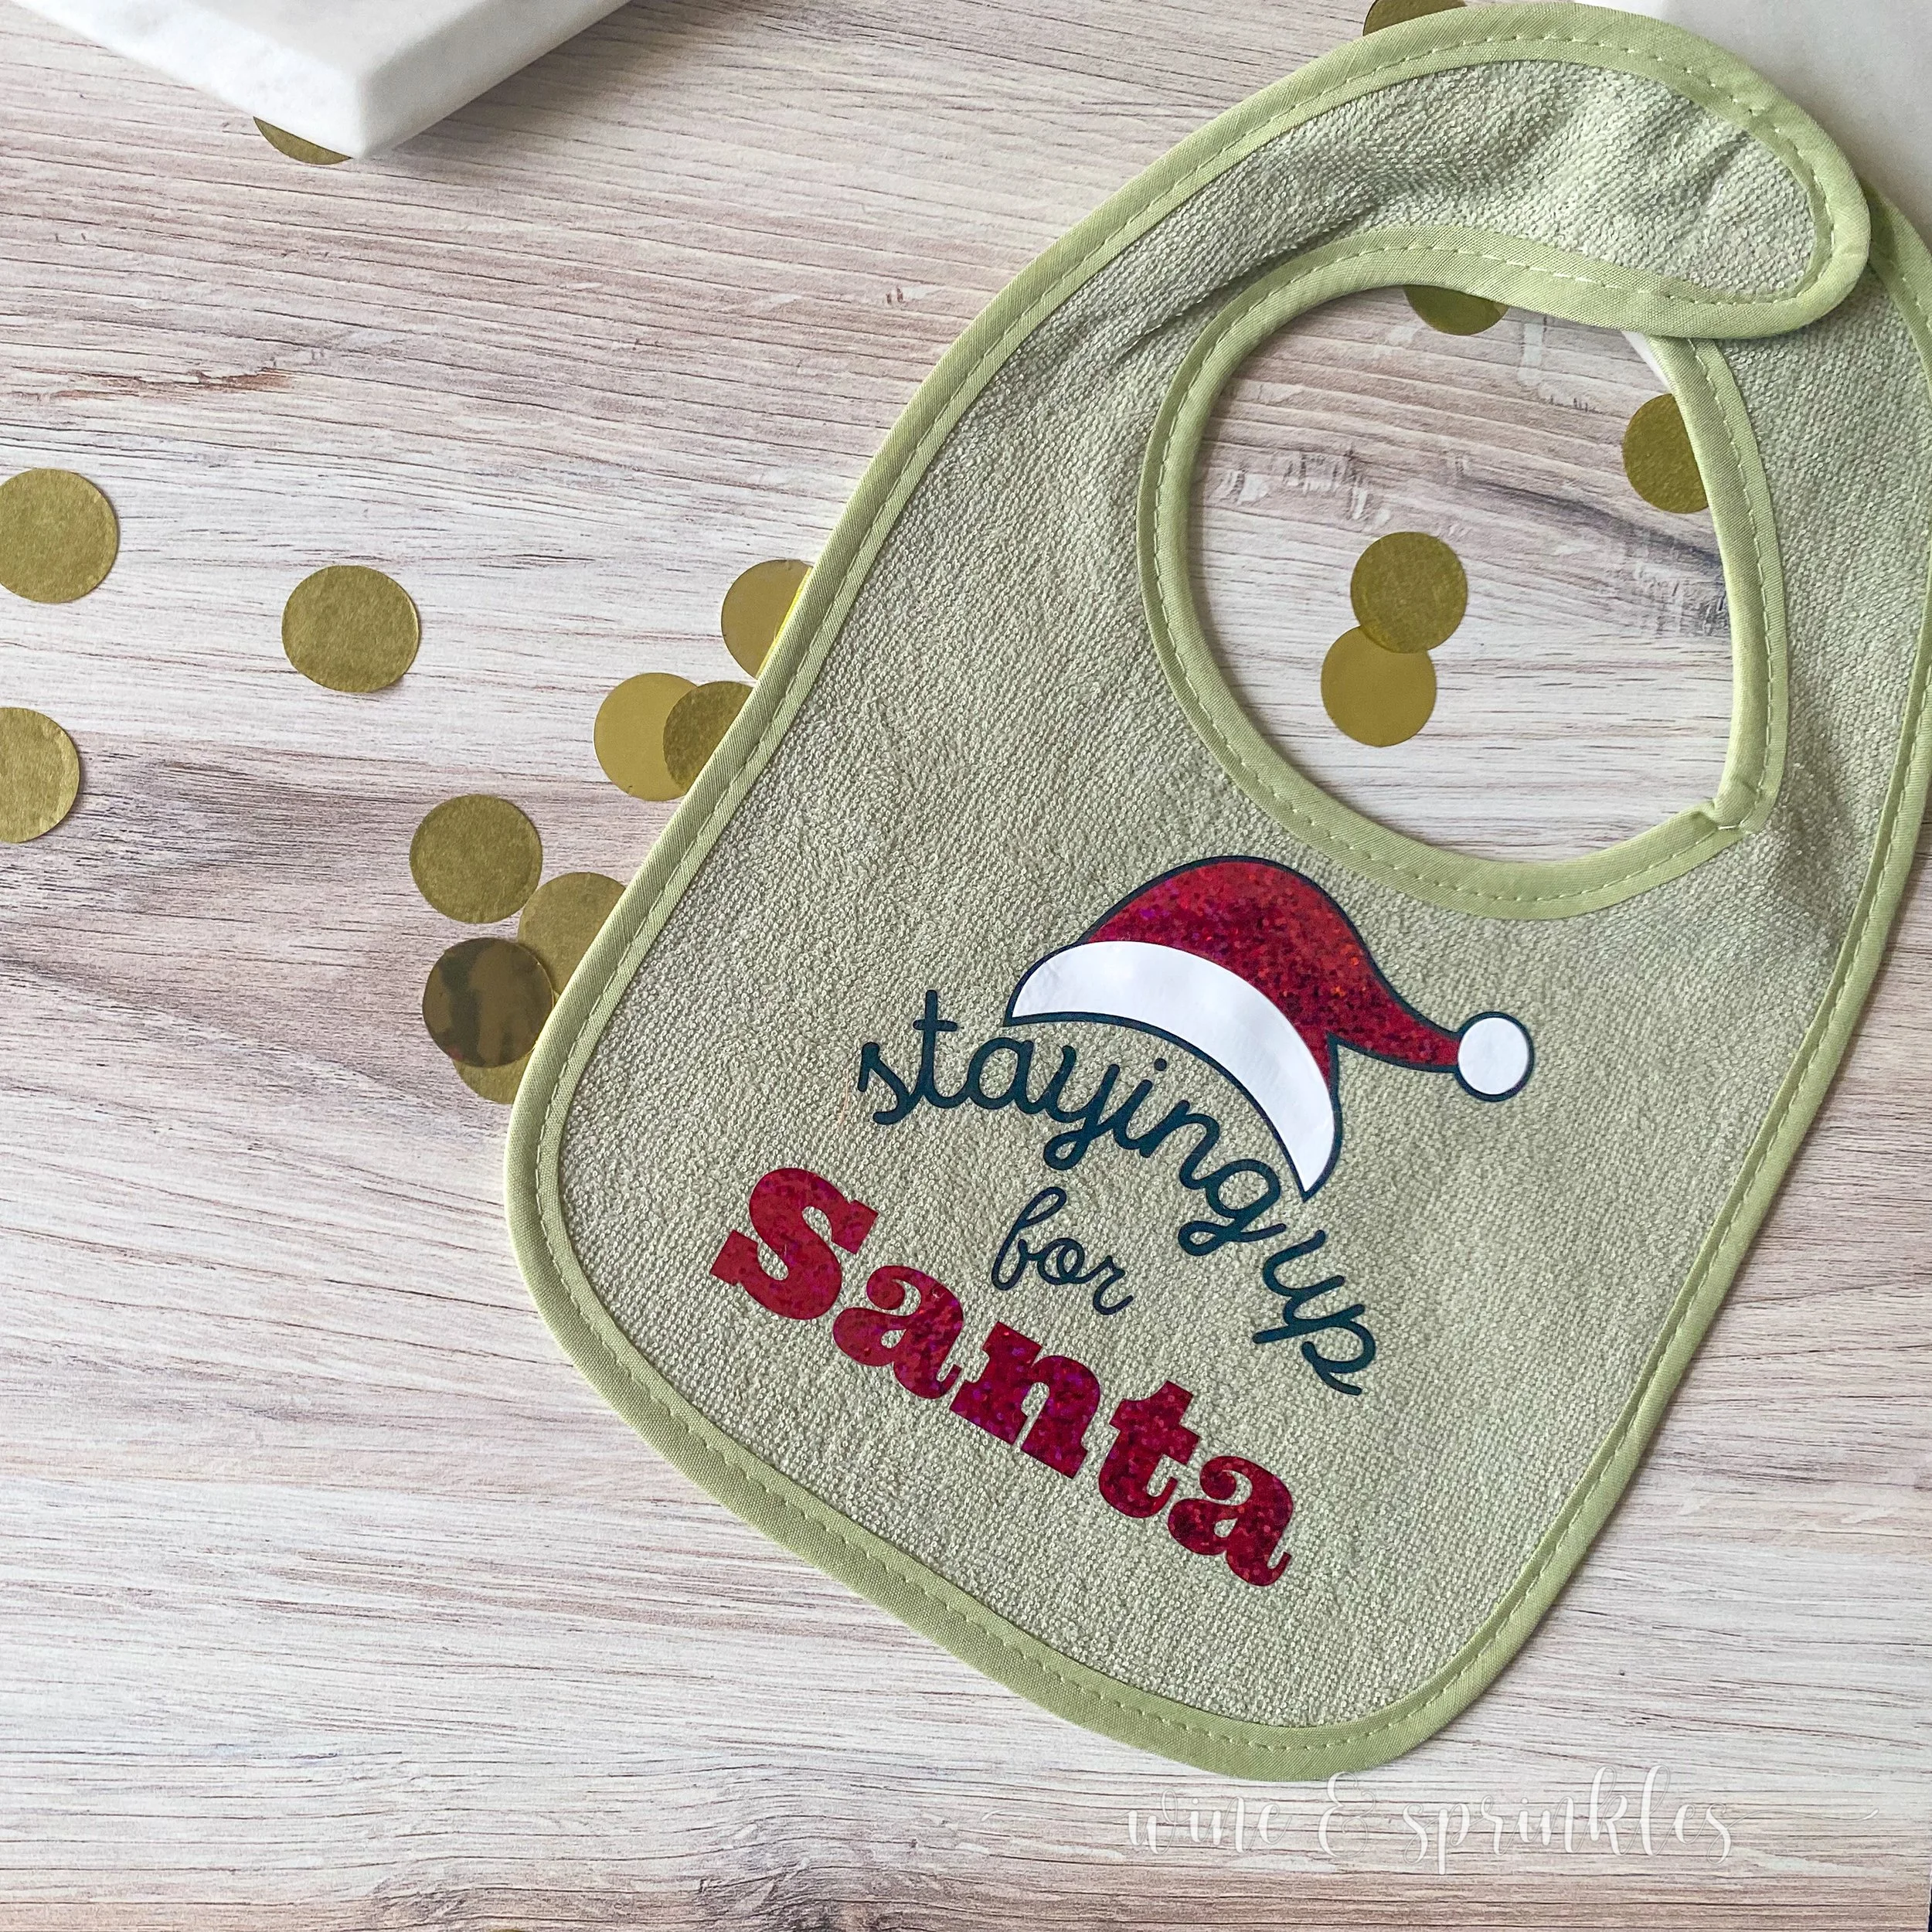
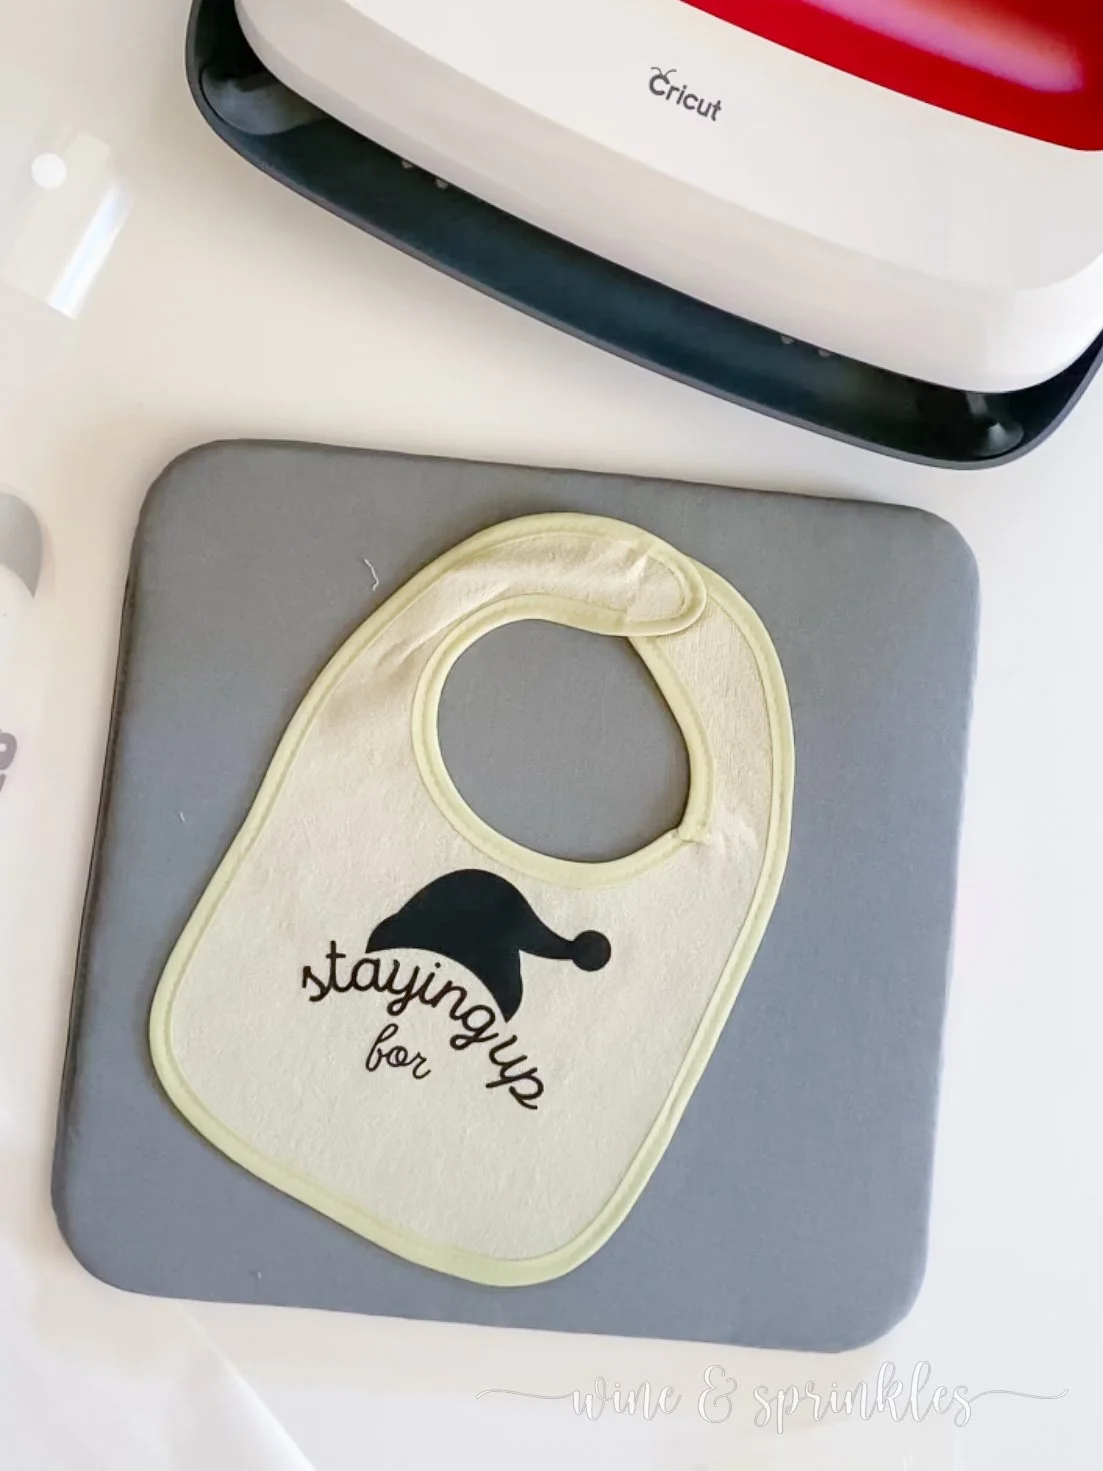
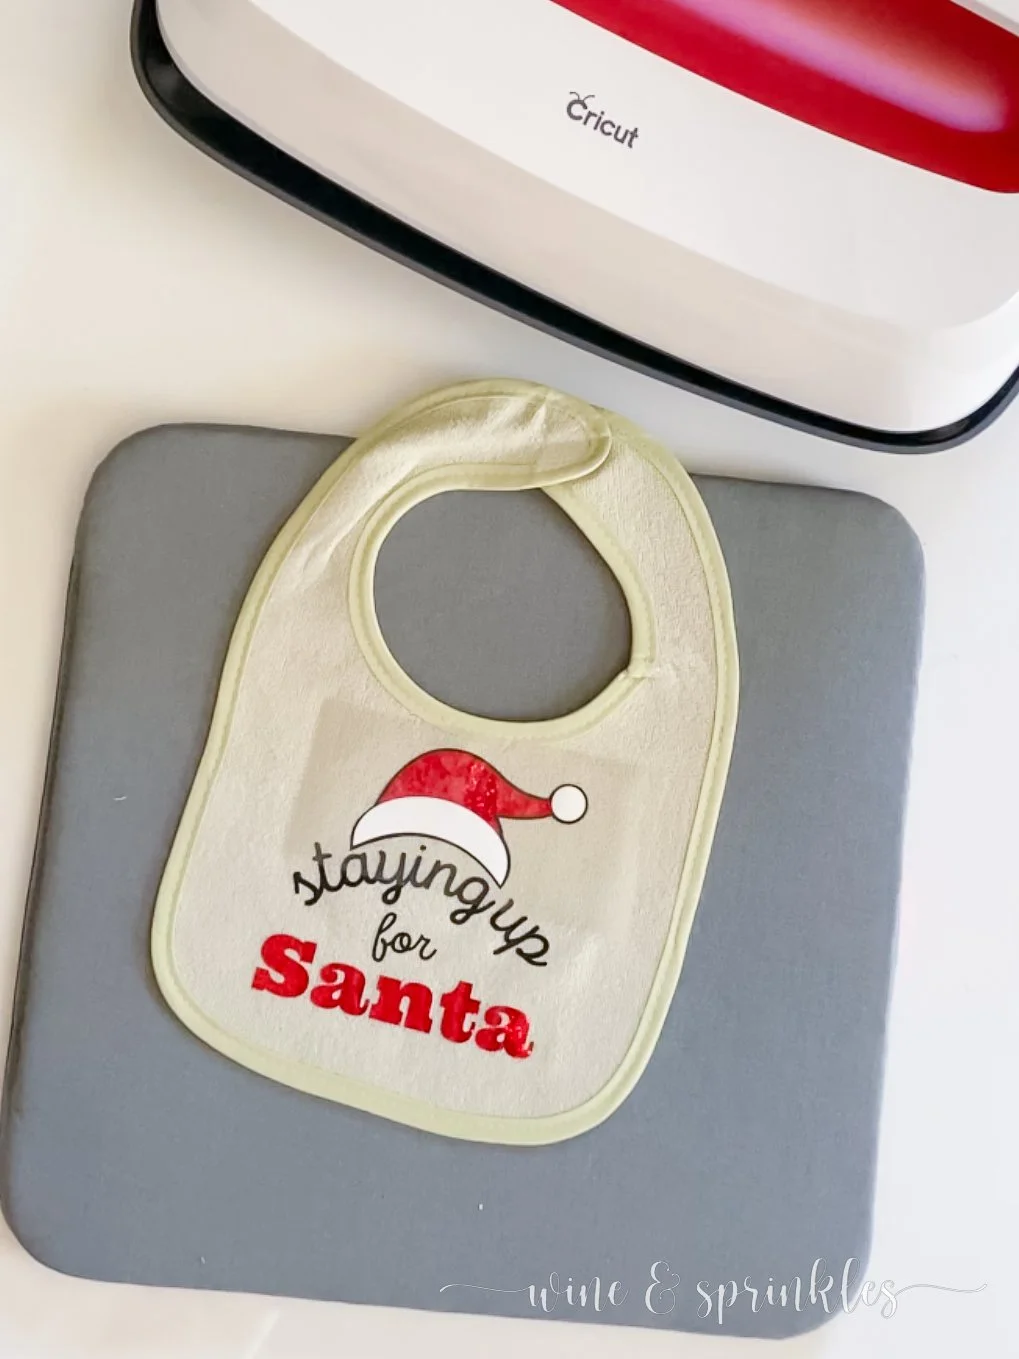
Staying up for Santa

My friend was having a little girl, so you can see that many are themed for a little lady, but rest assured the first little boy I design for will get a set all their own too! It’s also worth noting that I used four different colors for all the designs on these bibs, which made the cutting and transferring of all the designs at once much easier, I just cut out each color, sorted them into piles, then transferred them one at a time which is all outlined below along with the materials I used for this project. I can’t wait for another opportunity to design a whole new set of bibs and in the meantime will enjoy my friend’s little one showing them off all season long!
SUPPLIES
HTV BLANKS & MATERIALS
Baby Bibs: for the base of the project, I used terry cloth bibs as I thought they would be easier to transfer designs to, and while I have no other bibs I’ve tried, these ones worked great for my purposes! I found a sweet little multicolored ten pack of these out shopping, but I linked the brand that I used with the colors closest to the ones I found myself.
Heat Transfer Vinyl (HTV): For creating the decals to transfer to these onesies, I used the Red Holographic HTV for some sparkly details as well as leftover HTV from the Everyday Iron On Classics Sampler Pack and the Everyday Iron On White HTV from making all the different Baby Onesies for my Clothesline Baby Gift. These can be purchased individually, but for me were part of the Essentials Iron-On Bundle I received with my heat press. I love baby projects for using up spare bits of HTV, and this project consisting of small decals and details to layer on top certainly helped with thinning out my scrap supply!
TOOLS & OTHER SUPPLIES
Cricut Heat Press: for transferring your decals to your bibs, you’ll need either a heat press or an iron, but I have to say I've been in love with my heat press since I first tried it! The Cricut Heat Guide makes it easy to always know what temperature and time to heat press my projects, which takes so much stress out of me worrying about scorching my fabrics! It’s also great and evenly and easily transferring all my decals, whether layered or not, and it’s a huge timesaver for mass making a bunch of HTV projects at once! When I made this and all sorts of different items for my Clothesline Basket Baby Gift, it made my assembly line of transferring and layering go quickly and smoothly with zero headaches!
Cricut Craft Cutter: for cutting out HTV decals, my new Cricut Maker was the perfect choice for the job! I love how the design software lets you specify the materials for whatever type of HTV you are using and like all of the craft cutters I’ve purchased from them, it did a great job at cutting smoothly and accurately.
Standard Grip Mat: to secure your material for cutting, I prefer the standard grip mat for my HTV projects. It keeps everything in place for cutting and easy weeding, but is easy to remove the decal from afterwards.
Heat Press Mat: for protecting the surface you are using to heat press your decals on.
Parchment Paper: to put between your decal backing and your iron or heat press. While not required for the heat press, I like to use it when layering HTV so I don’t have to be paranoid about the backing melting or transferred layers being damaged, and from having used an iron for many years to transfer HTV, old habits die hard!
Weeding & Transfer Toolset: for weeding away excess HTV and prepping decals to transfer to your bibs.
DESIGN TEMPLATES & FILES
Baby Bib SVG Files: to make it easy to cut out these decals without having to upload files, I’ve created the project in the Cricut Design software with a shareable link for all of you! I’ll teach you how to use it to cut your own decals in the tutorial below, and as a straightforward way for me to share my cuttable creations, you’ll be seeing the majority of my future Cricut Designs done this way.
SUPPLIES LIST:
[for 10 bibs]
HTV BLANKS & MATERIALS
Baby Bibs x 10
HTV x 4 - [12 x 12”]
TOOLS & OTHER SUPPLIES
Cricut Heat Press
Cricut Craft Cutter
Standard Grip Mat
Parchment Paper
Weeding & Transfer Toolset
Baby Bib SVG Files

DIRECTIONS
STEP 1: ACCESS DESIGN & CUT DECALS
Start by opening the design file by clicking the link here, in the supplies list, or the button below. This will send you to the Cricut Design Software, where all the various designs are sized based on what I thought fit my bibs best. In general, I always try to keep any of my baby bib designs within the range of 3.5” x 4” which sizes them well for bibs or as onesie designs too! If you want to cut them exactly like mine are, select “Make it” and it will take you to the cut screens, but if you need to customize it, remove designs for bibs you don’t want to cut, or make multiples, select “Customize” to open it as a set of design files that you can manipulate.

For any of the bib designs you don’t want to cut, you can either select and delete them or by hovering over its layer on the right side of the screen and clicking the eyeball on the right so that the symbol shows it crossed out.
If you need to resize these, use the padlock on the upper toolbar to change each to whatever size you wish, then copy and paste to make as many of each decal as you want to cut.
You’ll notice that these designs range between 1 - 3 colors, whose colors I have specified based on my choices for the project, so it will divide the designs between multiple colored mats automatically to cut each color of HTV separately. If you are making all the bibs at once, this is by far the easiest way to do it while keeping all the different HTV colors straight easily!

Select “Make it” in the upper right of the screen to cut out your decals. Cut out all colors on mirror mode, with HTV shiny side down, with the material set from the options given, in my case Everyday Iron On HTV for the majority of the colors and Holographic HTV for the red I used. I also like to specify the pressure setting to “More” when cutting out Holographic Vinyl, though this isn’t a requirement and instead a preference so that I’m sure it cuts deeply enough on my fancy HTV


STEP 2: WEED & TRANSFER DECALS
Remove the mat from your cutter, keeping the material attached to make weeding easier. Weed away the excess HTV, then trim the backing so each individual decal is separated. After you have cut and weeded all the colors of HTV you need, it's time to transfer the designs!
You’ll notice that some of these designs have multiple colors and some are single layer decals, so below I’ve divided them based on that and what colors I used:
Single Color:
Bunny needs a Bottle - Black HTV
Mommy’s Little Blossom - White HTV
Wicked Cute - Black HTV
Hello Sweater Weather - White HTV


Two Color:
Lucky Lil’ Lady - Gold & Black HTV
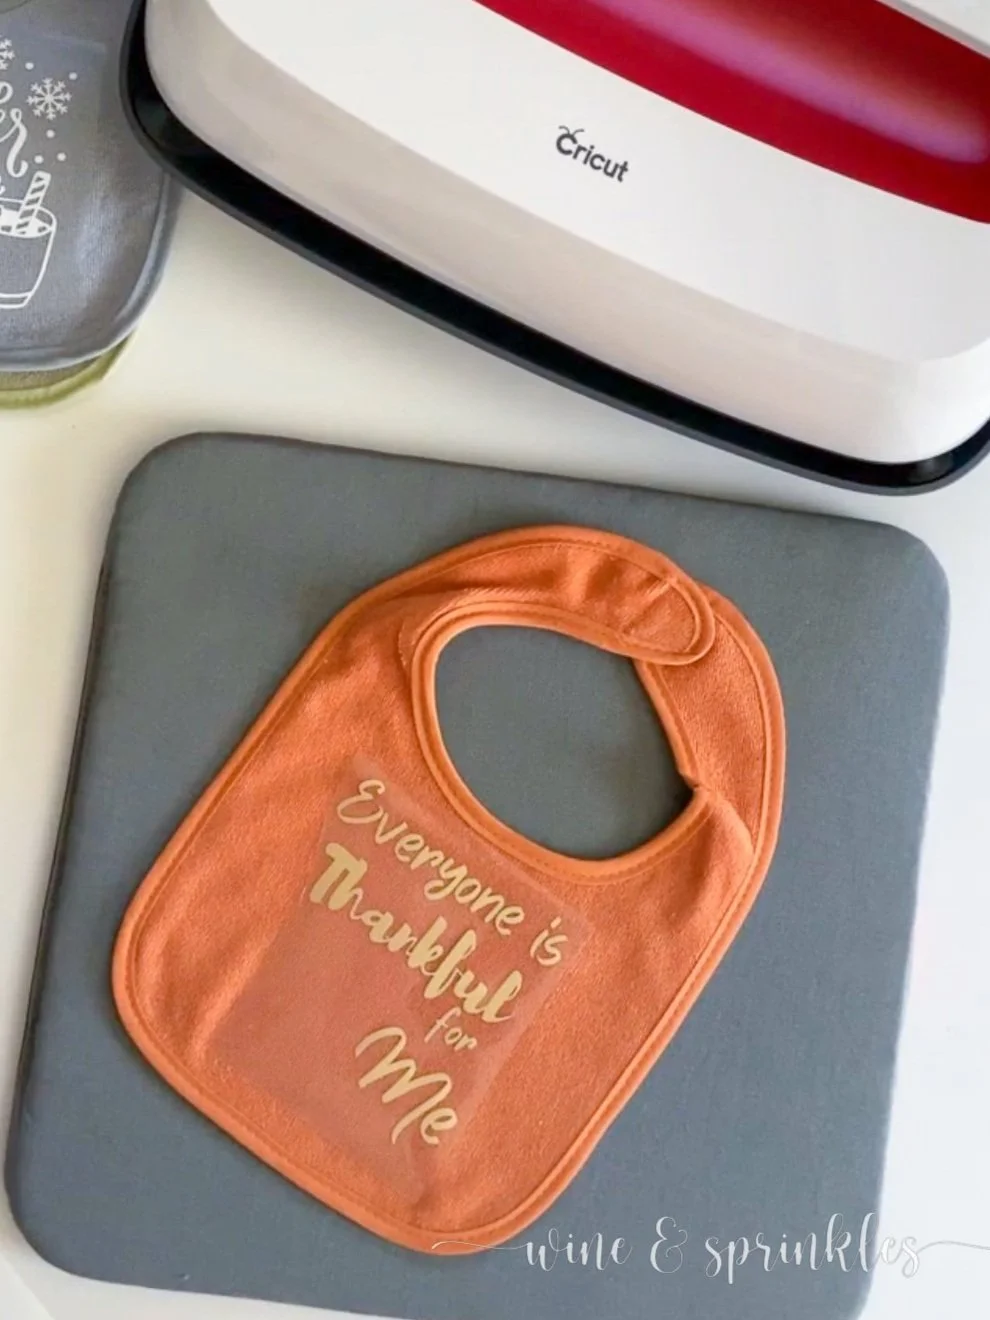
Everyone is Thankful for Me - Gold & Black HTV
3 Colors:
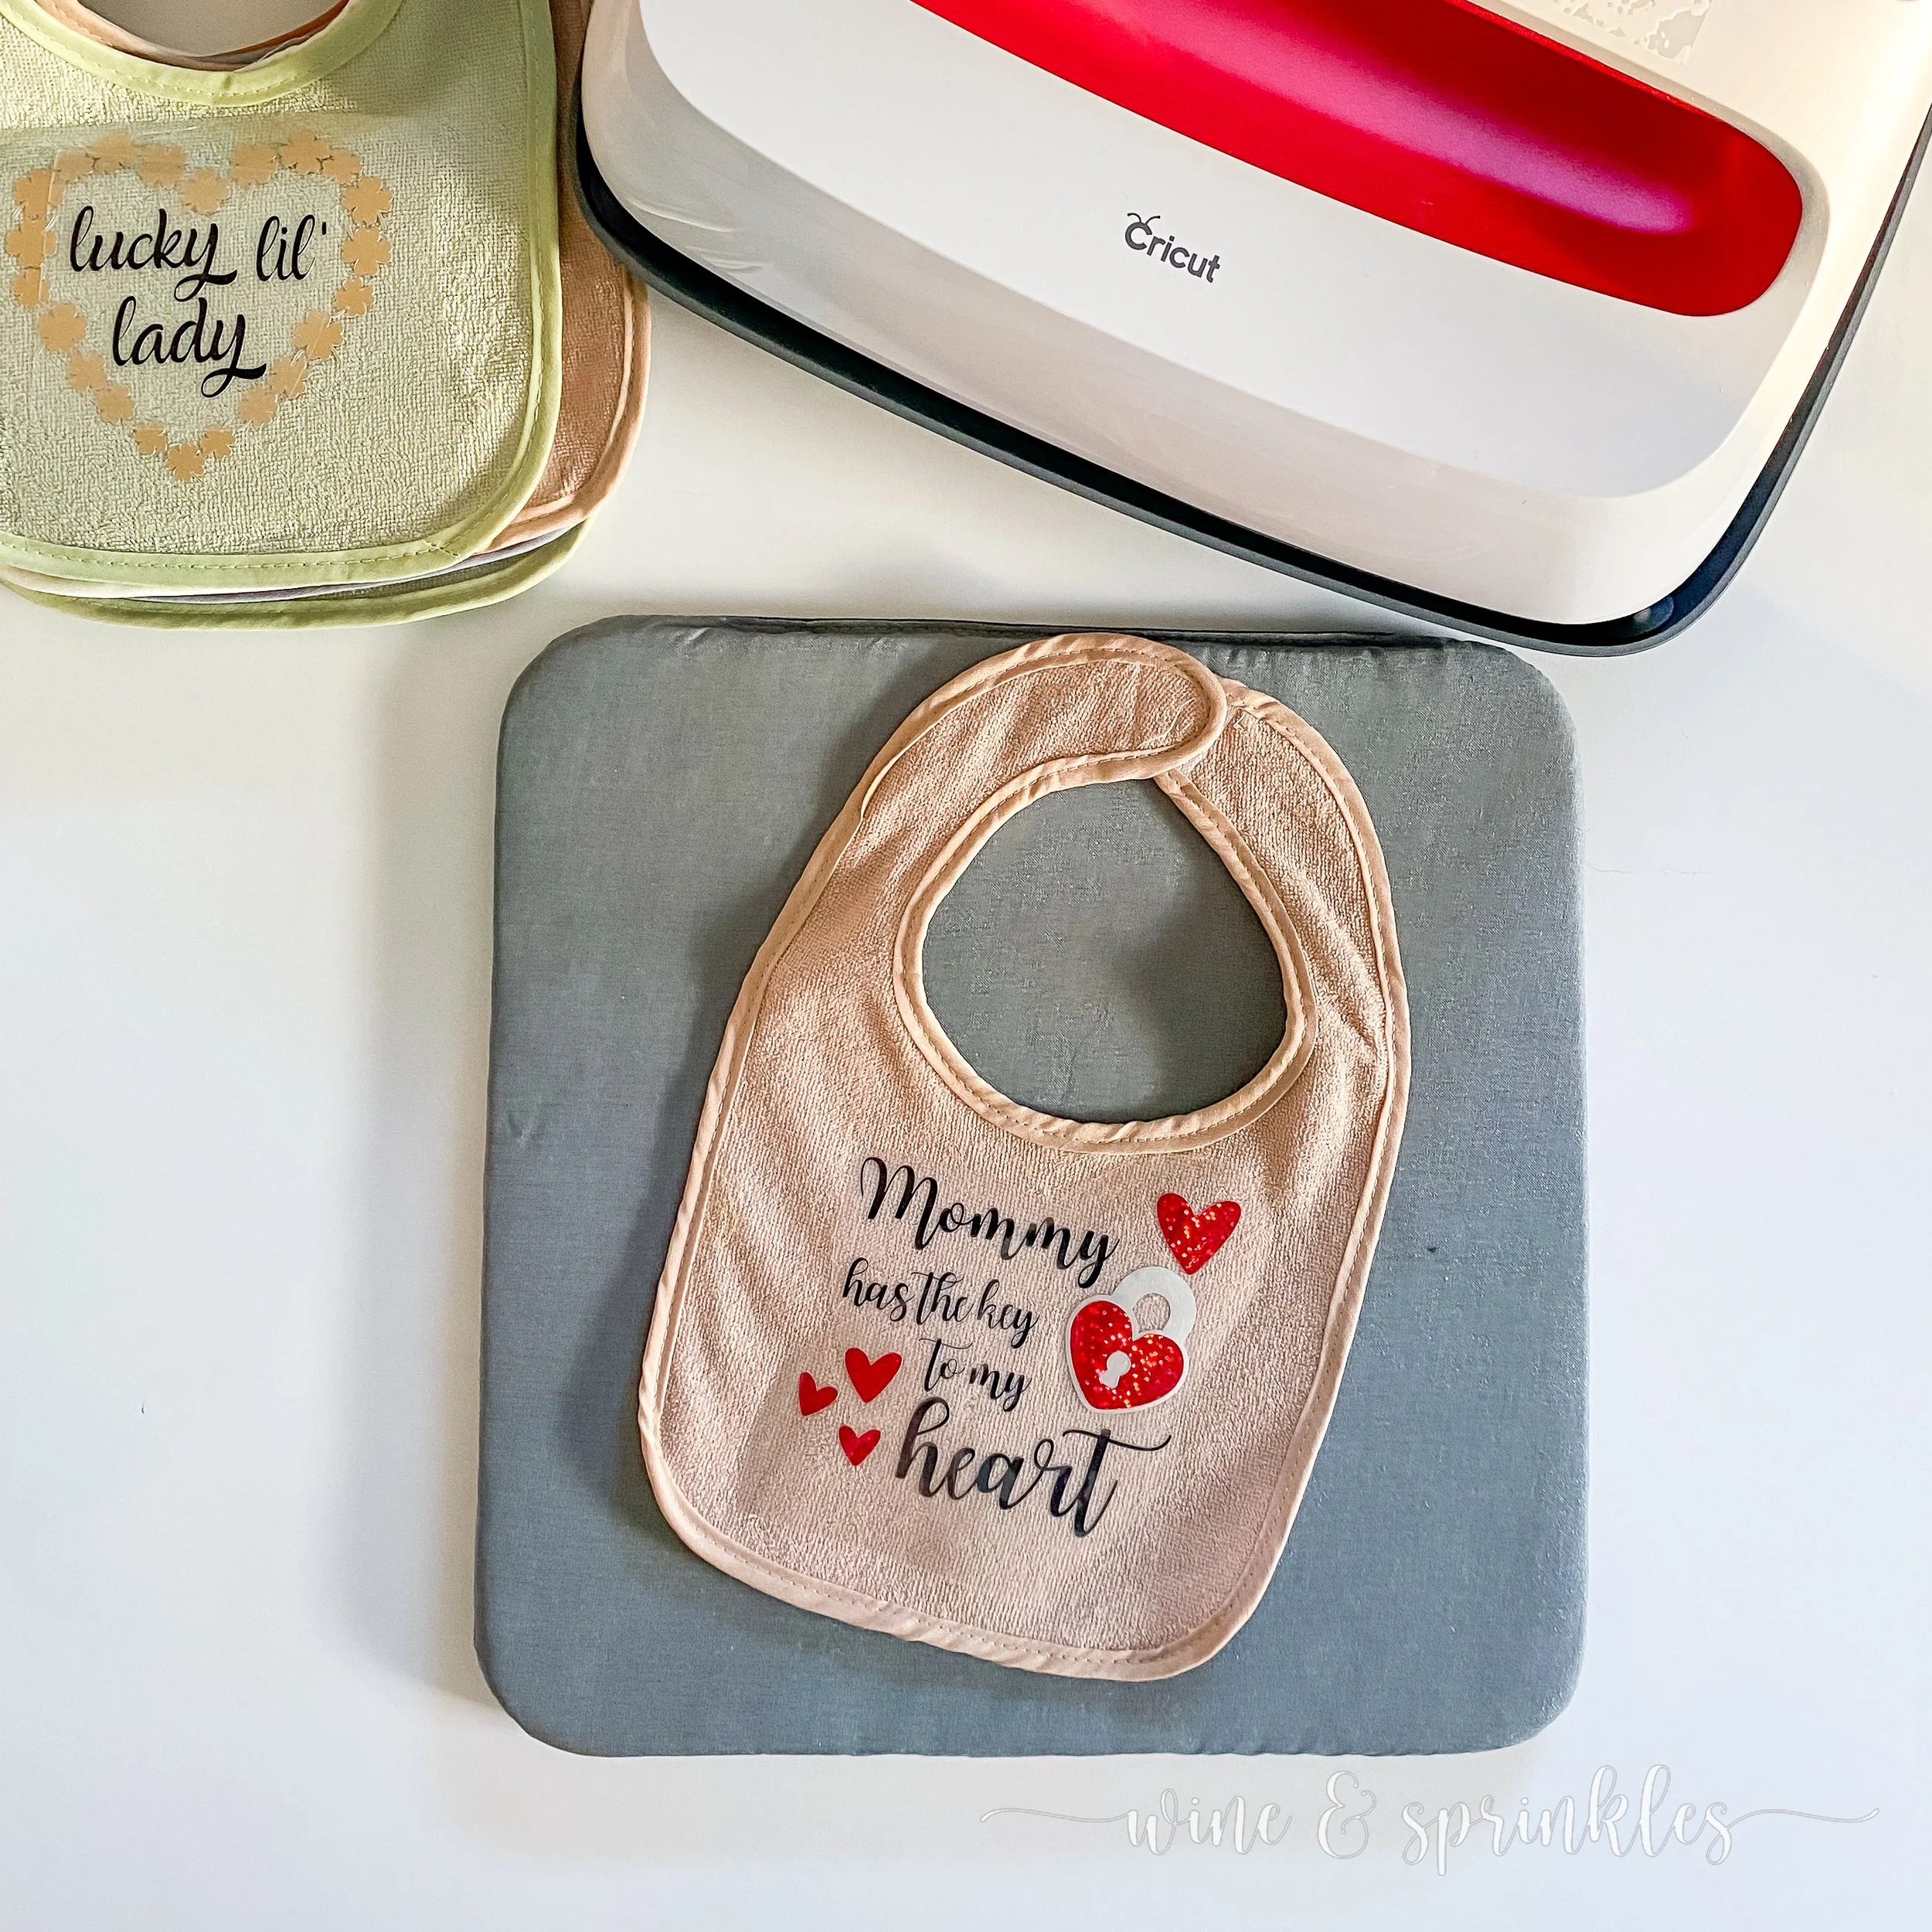
Mommy has the key to my Heart - Black, Silver, & Holographic Red HTV
Little Miss Firecracker - Black, Silver, & Holographic Red HTV
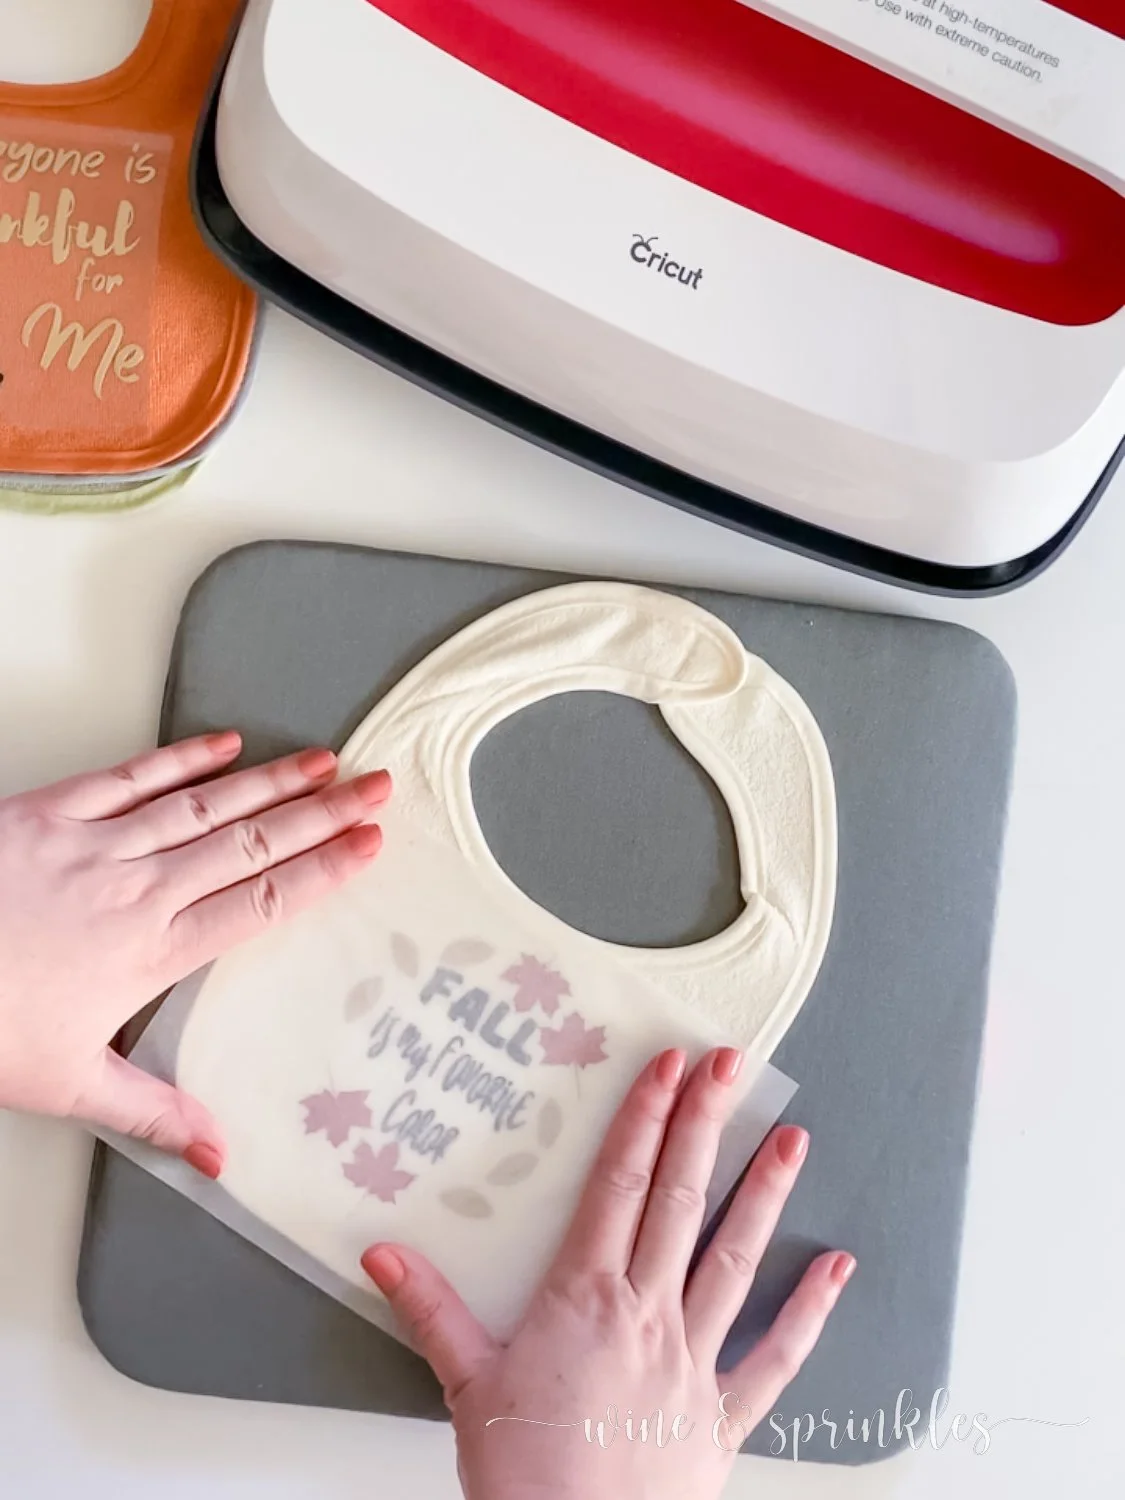
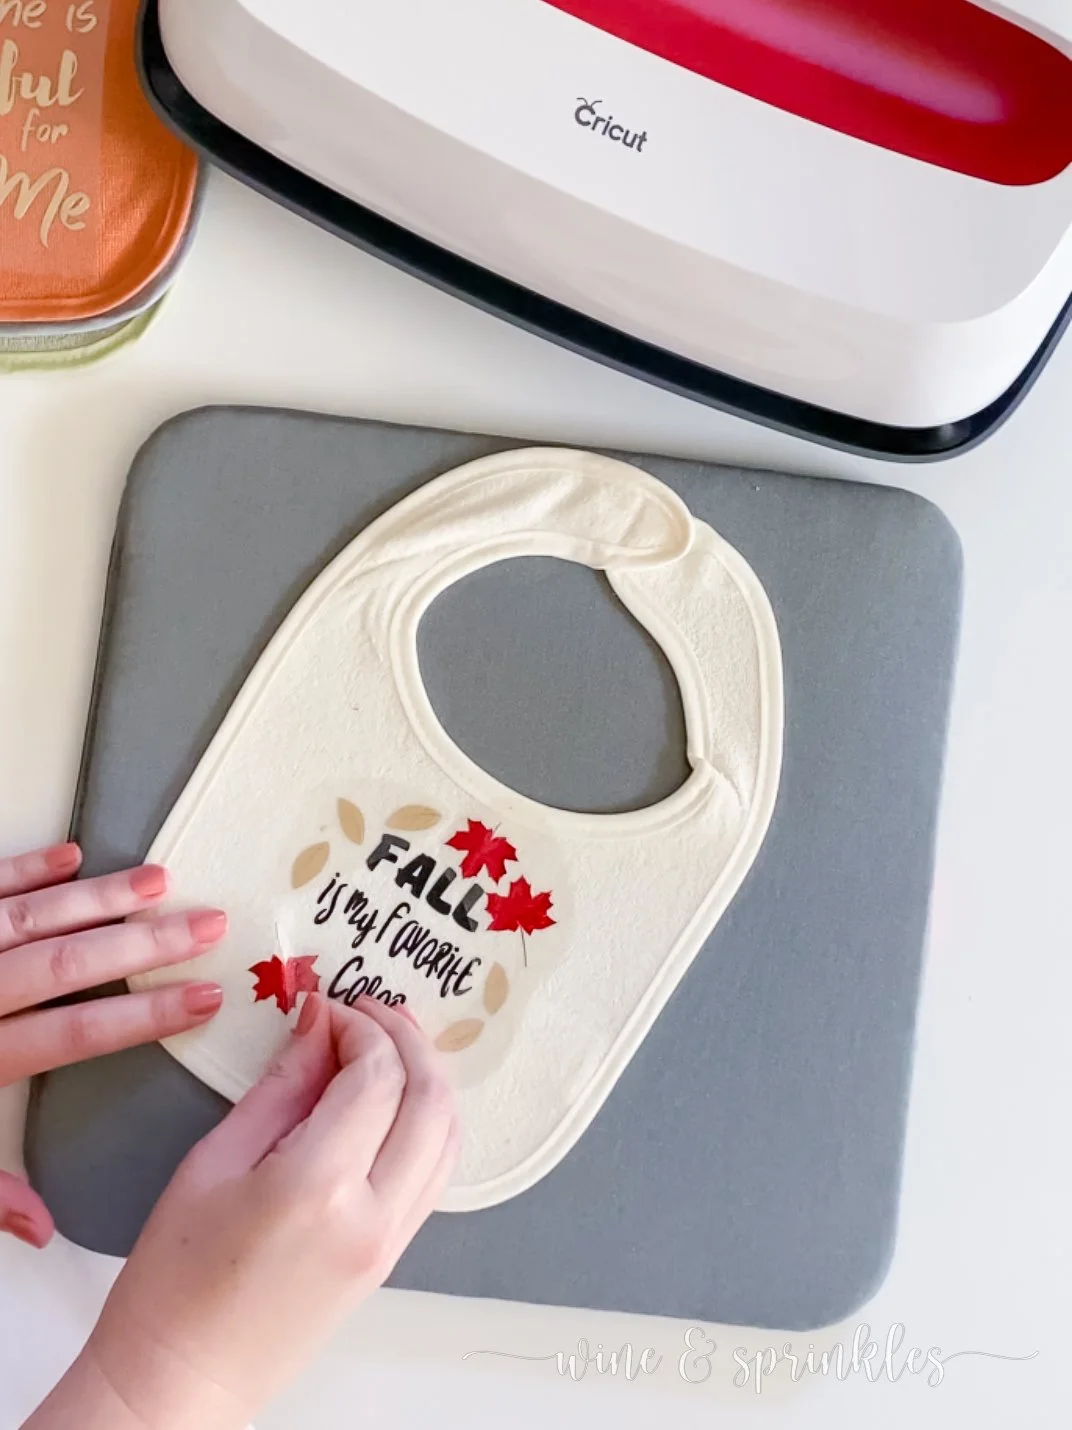
Fall is my Favorite Color - Black, Gold, & Holographic Red HTV
Staying up for Santa - Black, White, & Holographic Red HTV

As I cut and weeded each HTV color, I divided them based on which bib they went to to make the process of pressing them all easier, and it was a great choice! In reality, the only difference between pressing single and multi color designs is that each color gets pressed on individually, so for single colors a bib will get pressed once where for a multi color bib, each color or “layer” of the design must be pressed individually. You can follow the same pressing procedure outlined below for all layers of these bibs, and I’ve made collages at the end so you know what order I arranged each color!
Preheat your heat press to the right temperature based on the bibs and HTV you are using, which can be found by using the Cricut Heat Guide. Change the temperature by pressing the thermometer button until the temperature on the screen blinks, then use the arrows to the right of the screen to change the temperature to what you wish. You can likewise do this for the timer by pressing the watch icon button and, once the timer is blinking, change it with the same arrows. Keep your heat press in its stand while it's preheating and anytime it's hot and you aren’t pressing something to keep you and your work surface safe! For my cotton-poly bibs and both types of HTV pressed on the heat press mat, my press was set to 315℉ for 30 seconds.
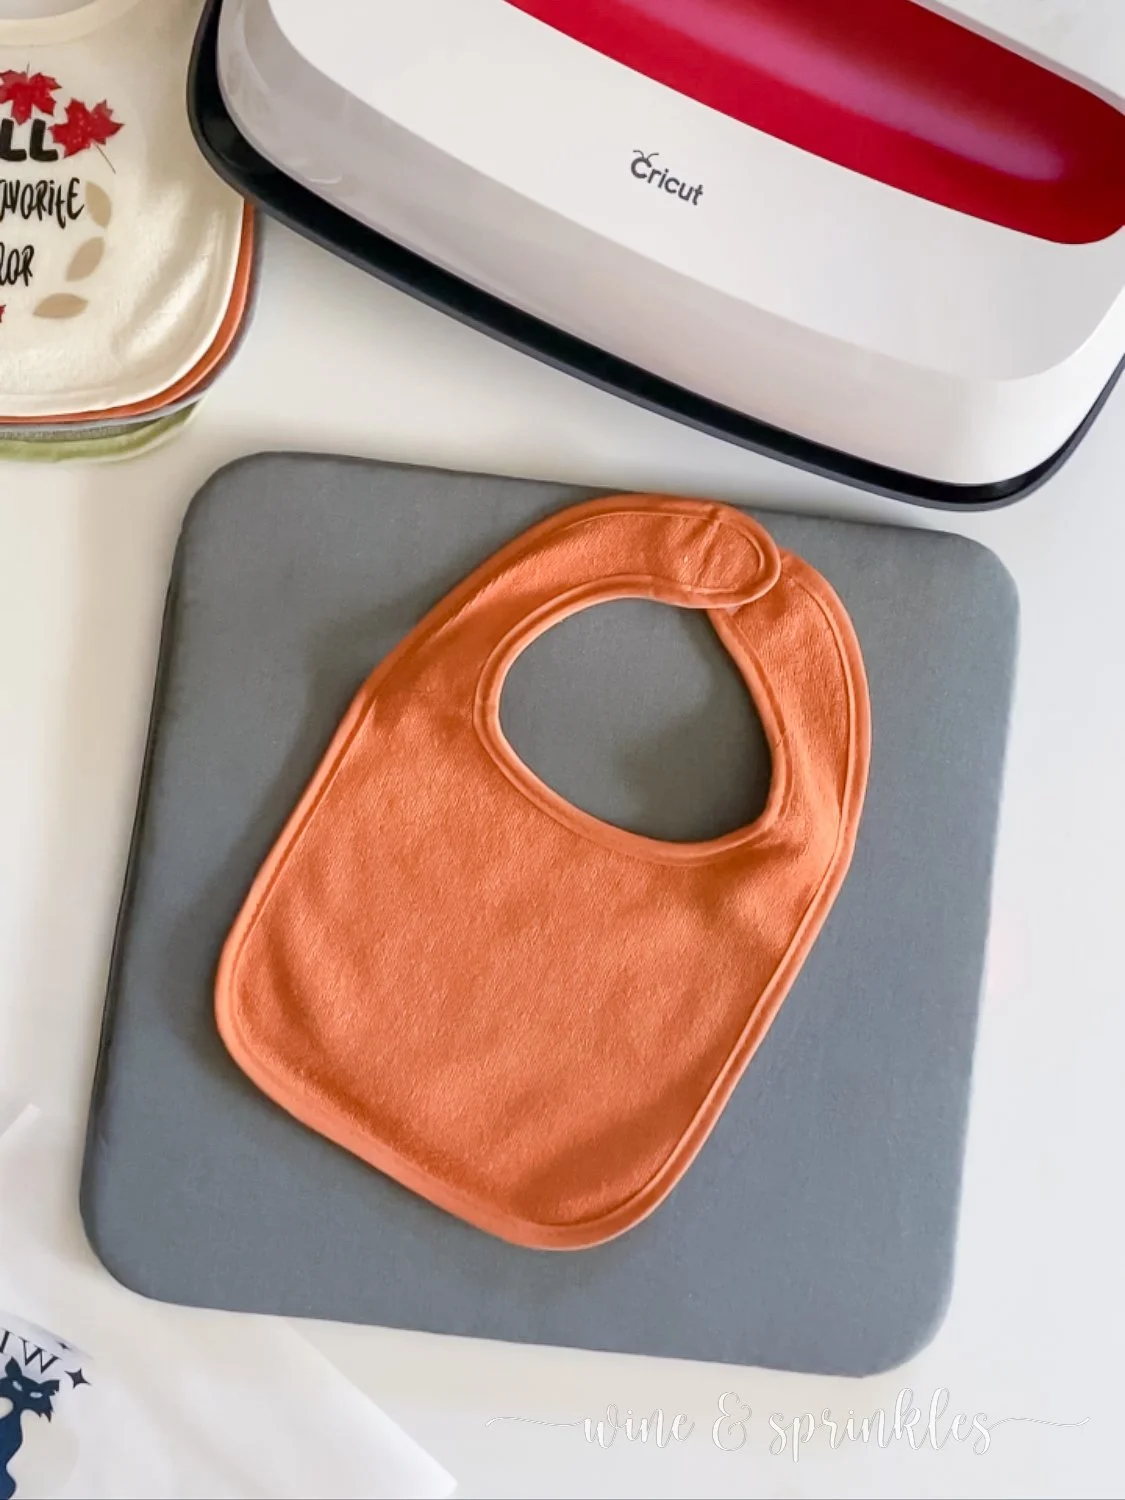
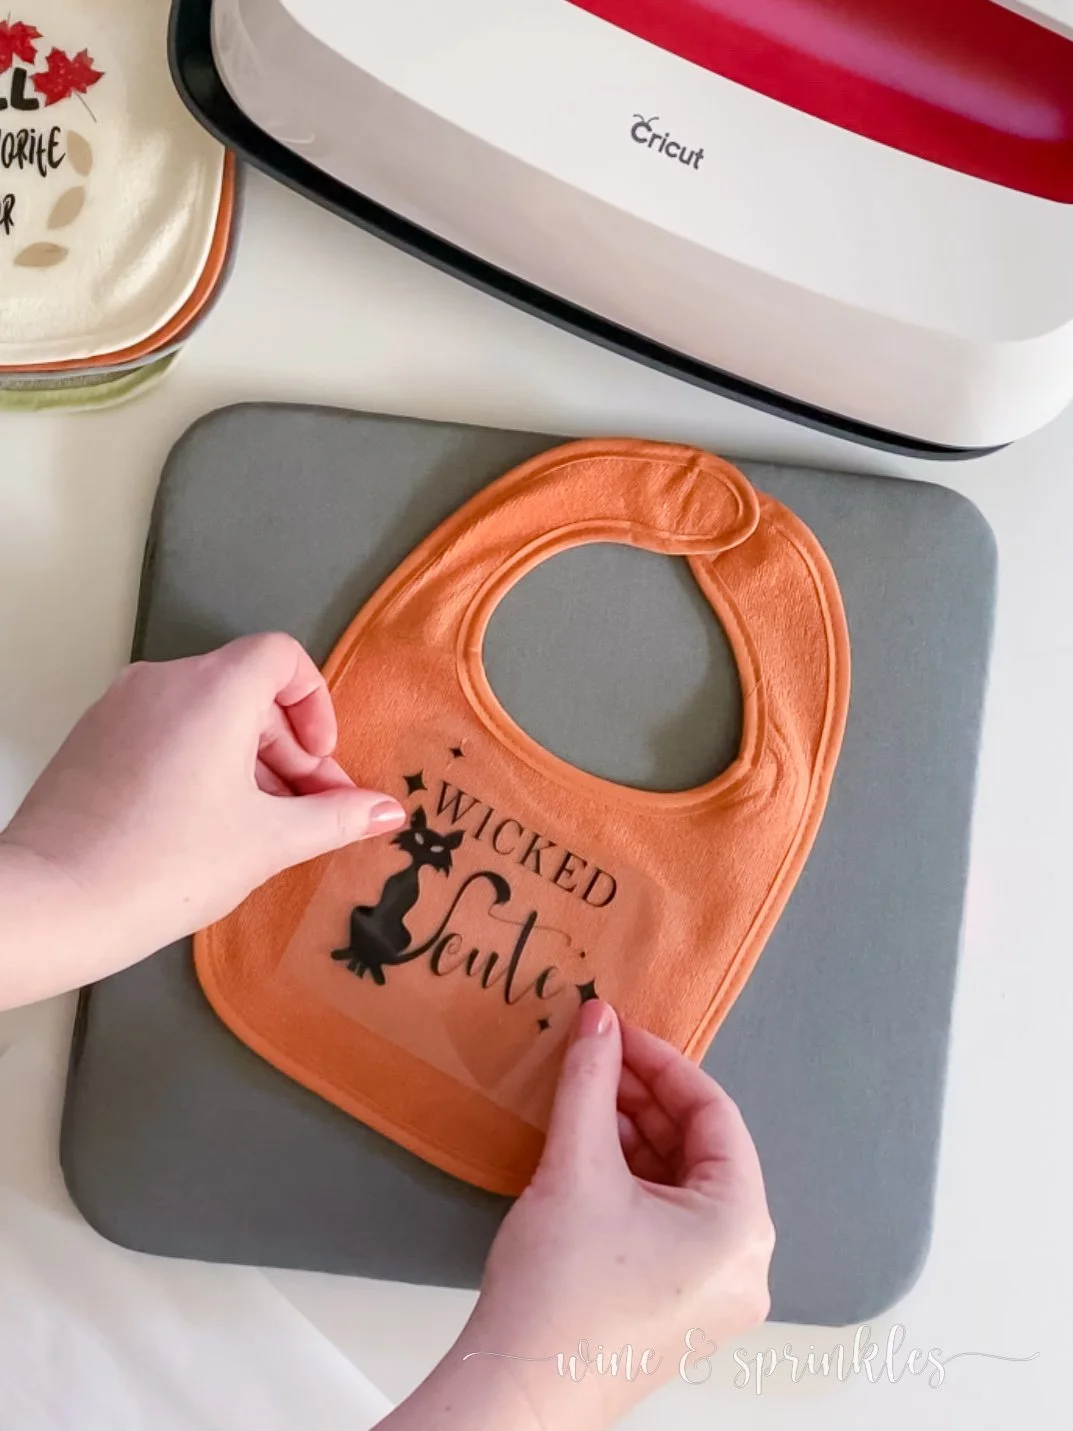
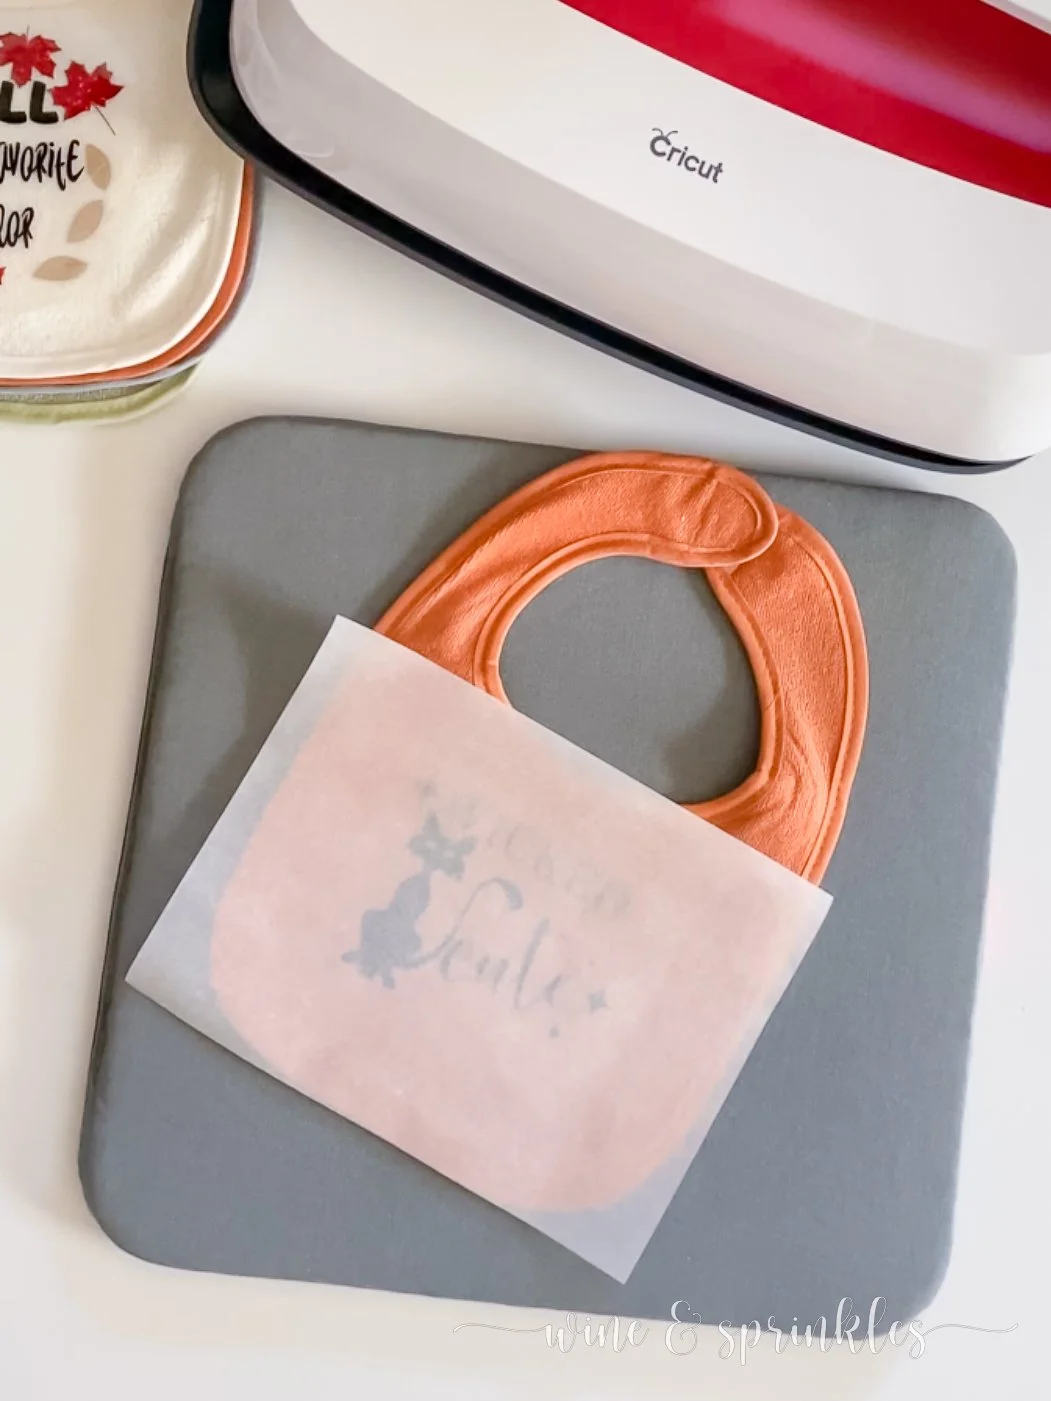
Once your press is preheated, place your bib centered on the heat mat, then press it for 5 seconds to preheat the material and remove any creases. Then, place one of your decals, backing side up, over your bib, aligning it so that the pattern is centered or by the layer collages below, then cover with parchment paper.
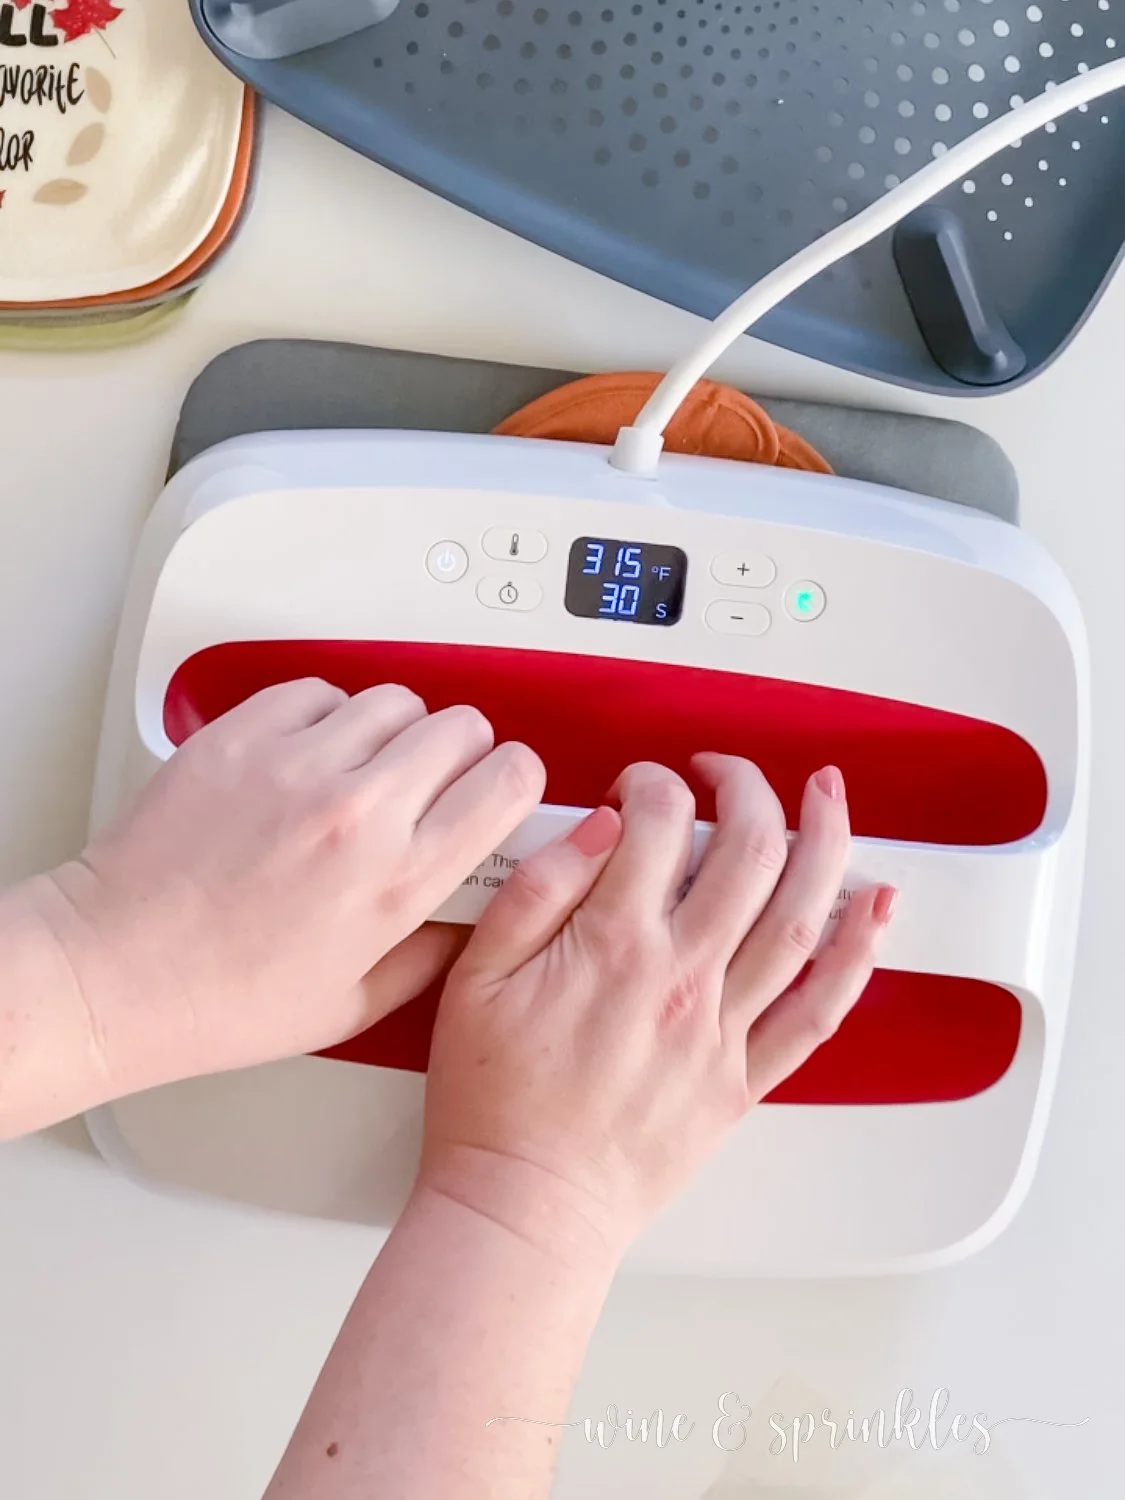


Using firm pressure, press the decal into the bib with your heat press, using the timer by pressing the Cricut symbol button, then remove the press when the timer runs out. Once the backing is cool enough to touch, carefully remove it to leave the decal on the bib. Repeat this heat pressing process, making sure to use parchment paper to protect previously pressed layers as you add each color, for each of the bib designs you are crafting, then you’re done!
LAYERS FOR MULTICOLORED BIBS
MOMMY HAS THE KEY TO MY HEART

LUCKY LIL LADY
LITTLE MISS FIRECRACKER
FALL IS MY FAVORITE COLOR

EVERYONE IS THANKFUL FOR ME
STAYING UP FOR SANTA

SEE OUR RELATED POSTS HERE:


OUR MOST RECENT BLOG POSTS:


OUR PINS FOR THIS POST:

Calling all Aires, Pisces, and every sign in between! I think astrology is super fun, which any of my guests who attended my Zodiac Summer’s Eve Party can attest, and I love to make fun zodiac themed gifts for my favorite friends that love it too! For those who don’t have the time or astrological inspiration to make their gifts, this guide is for you!