This post contains affiliate links, meaning that if you click on a link I will recieve a small comission. This costs you nothing extra and I only promote products I use and love! You can read our full disclosure here
As you read this post, you’ll notice a lot of bolded words, some that highlight pink and link to other posts and products, and others that don’t do anything. That’s because I am still writing and working on the posts those words go to! As these posts get published, I’ll be updating this post until all the projects are complete! Subscribe to my Newsletter or Follow me on Facebook to keep updated on when I post new content!
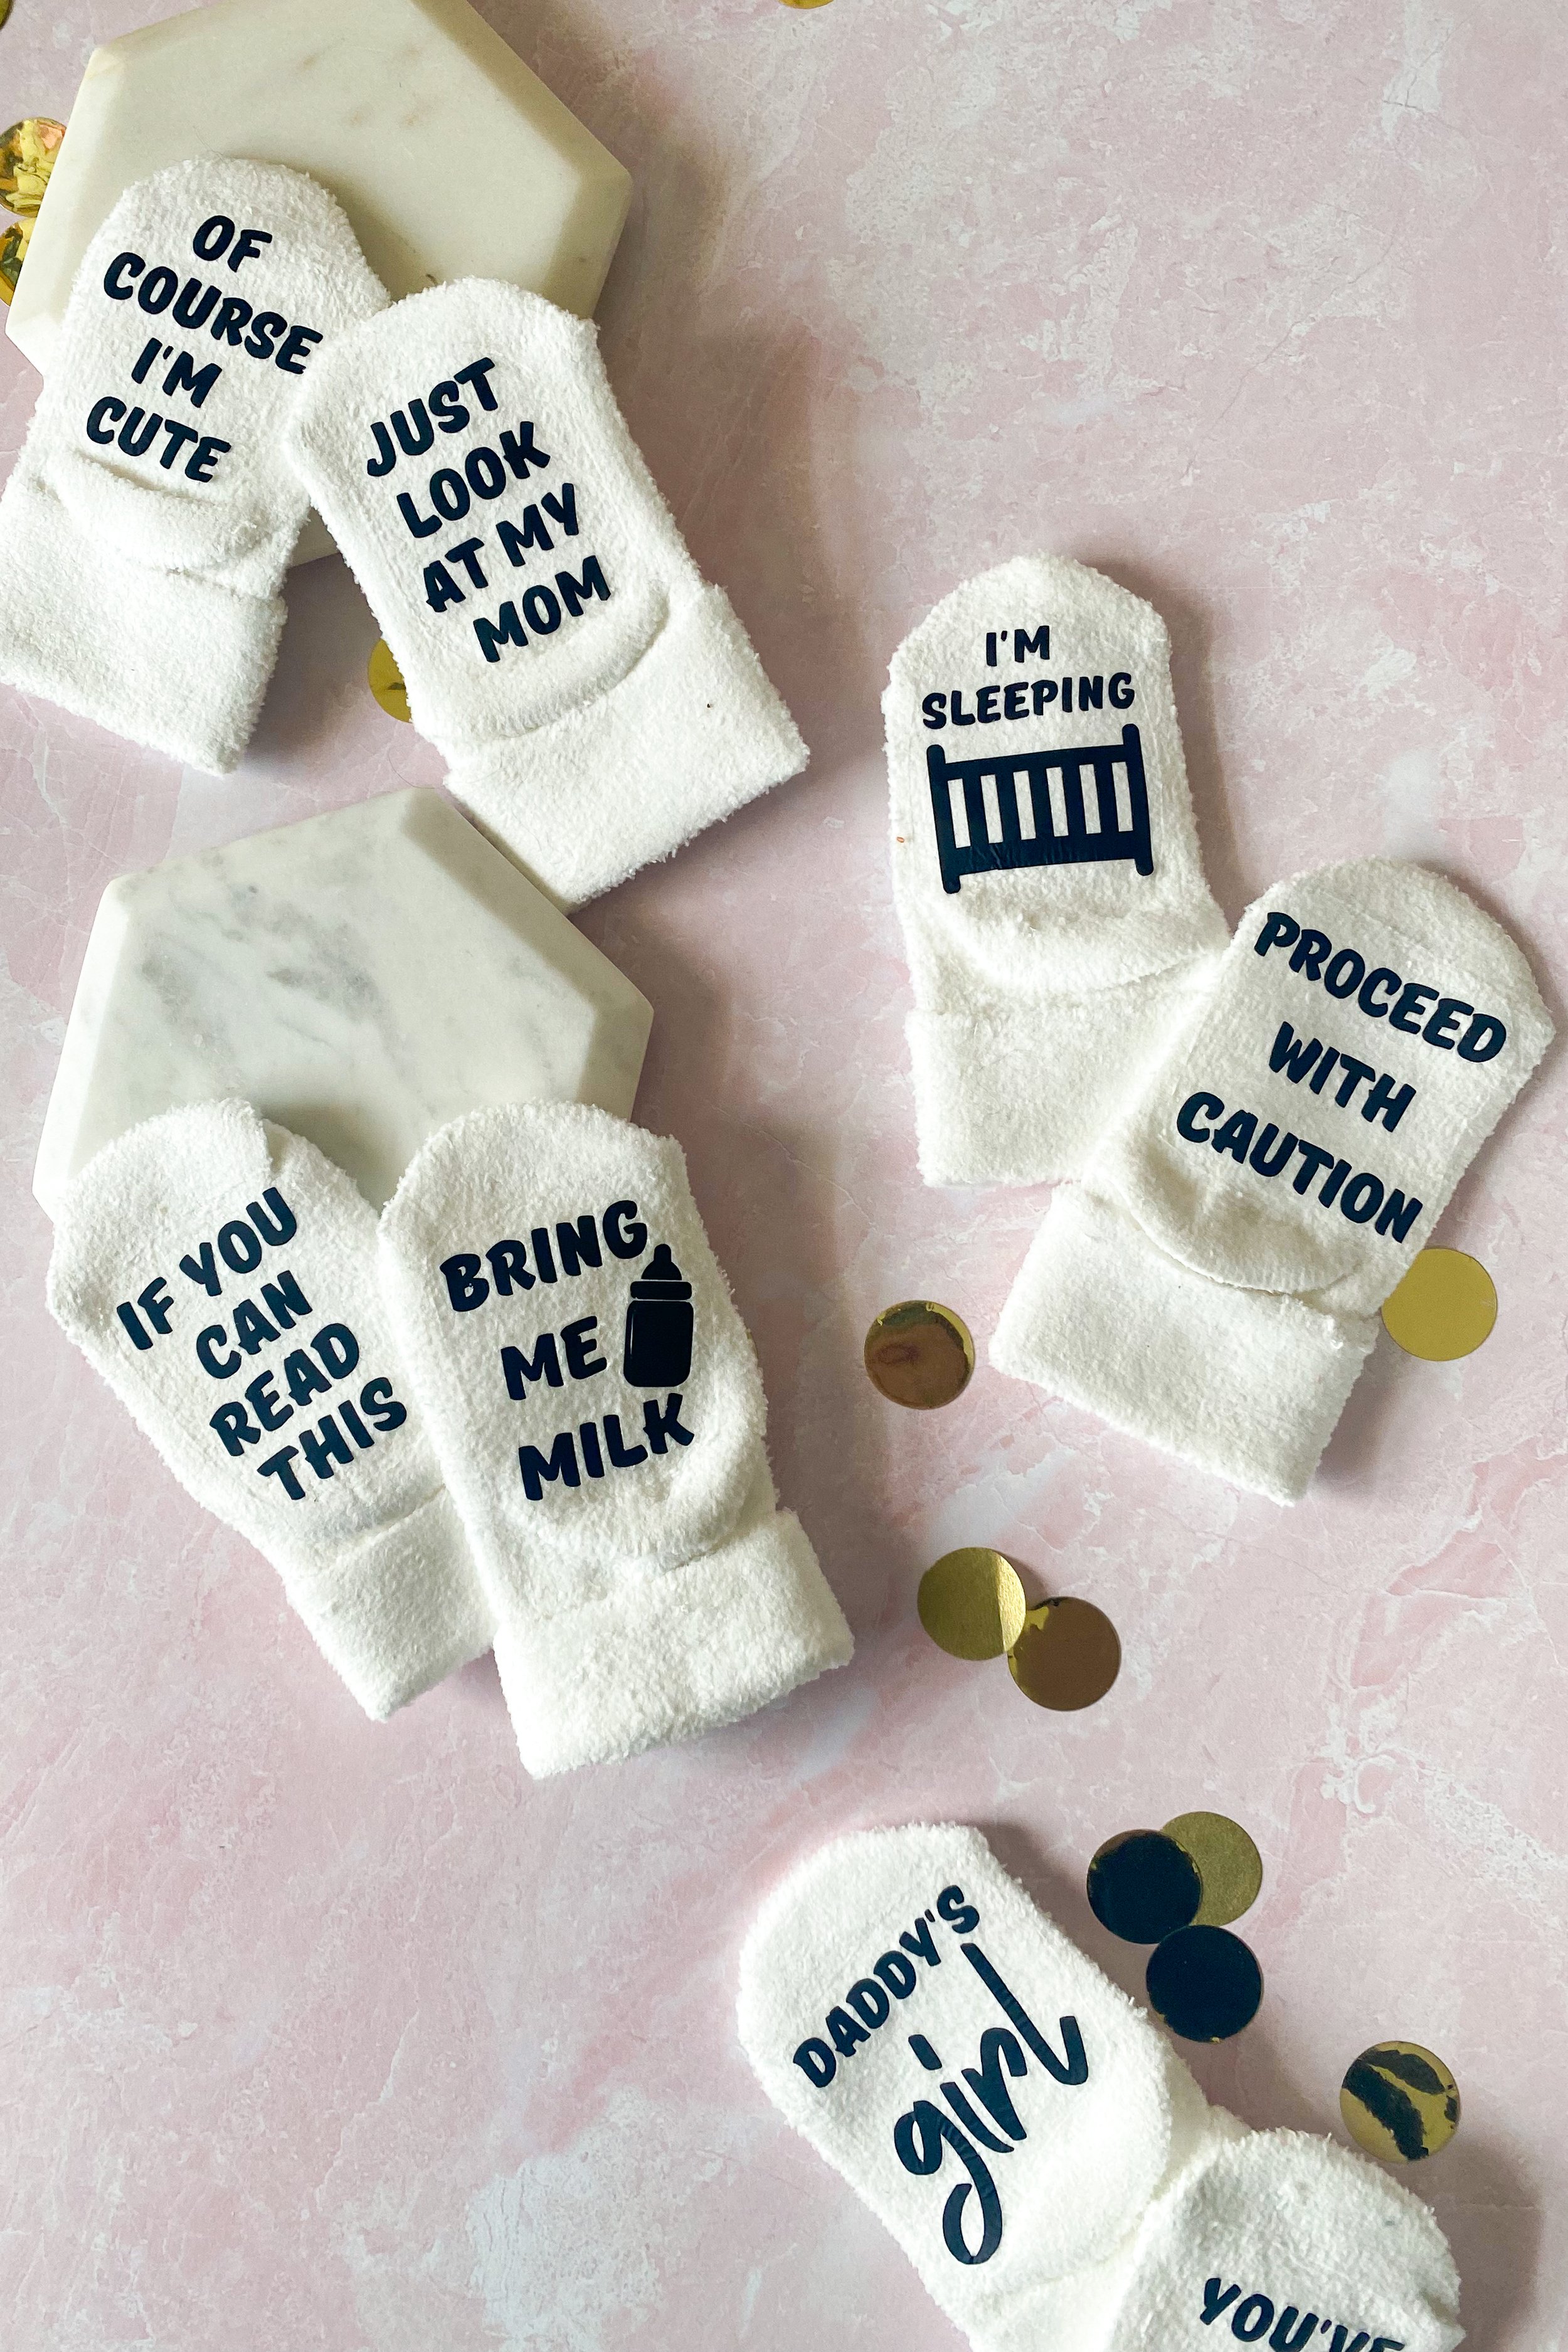
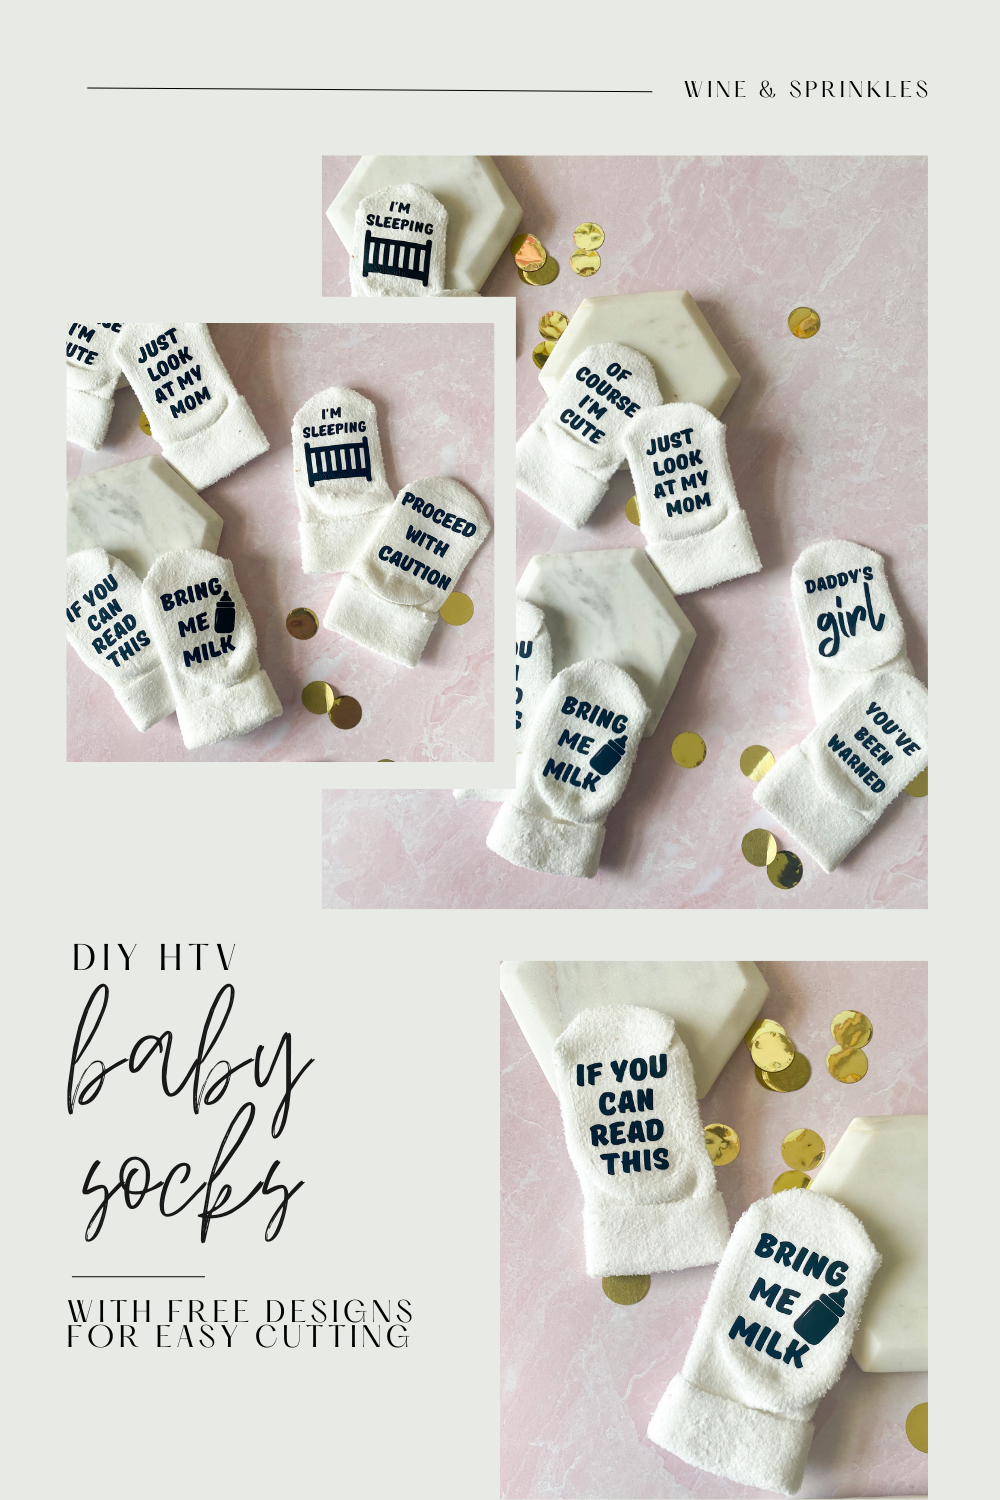
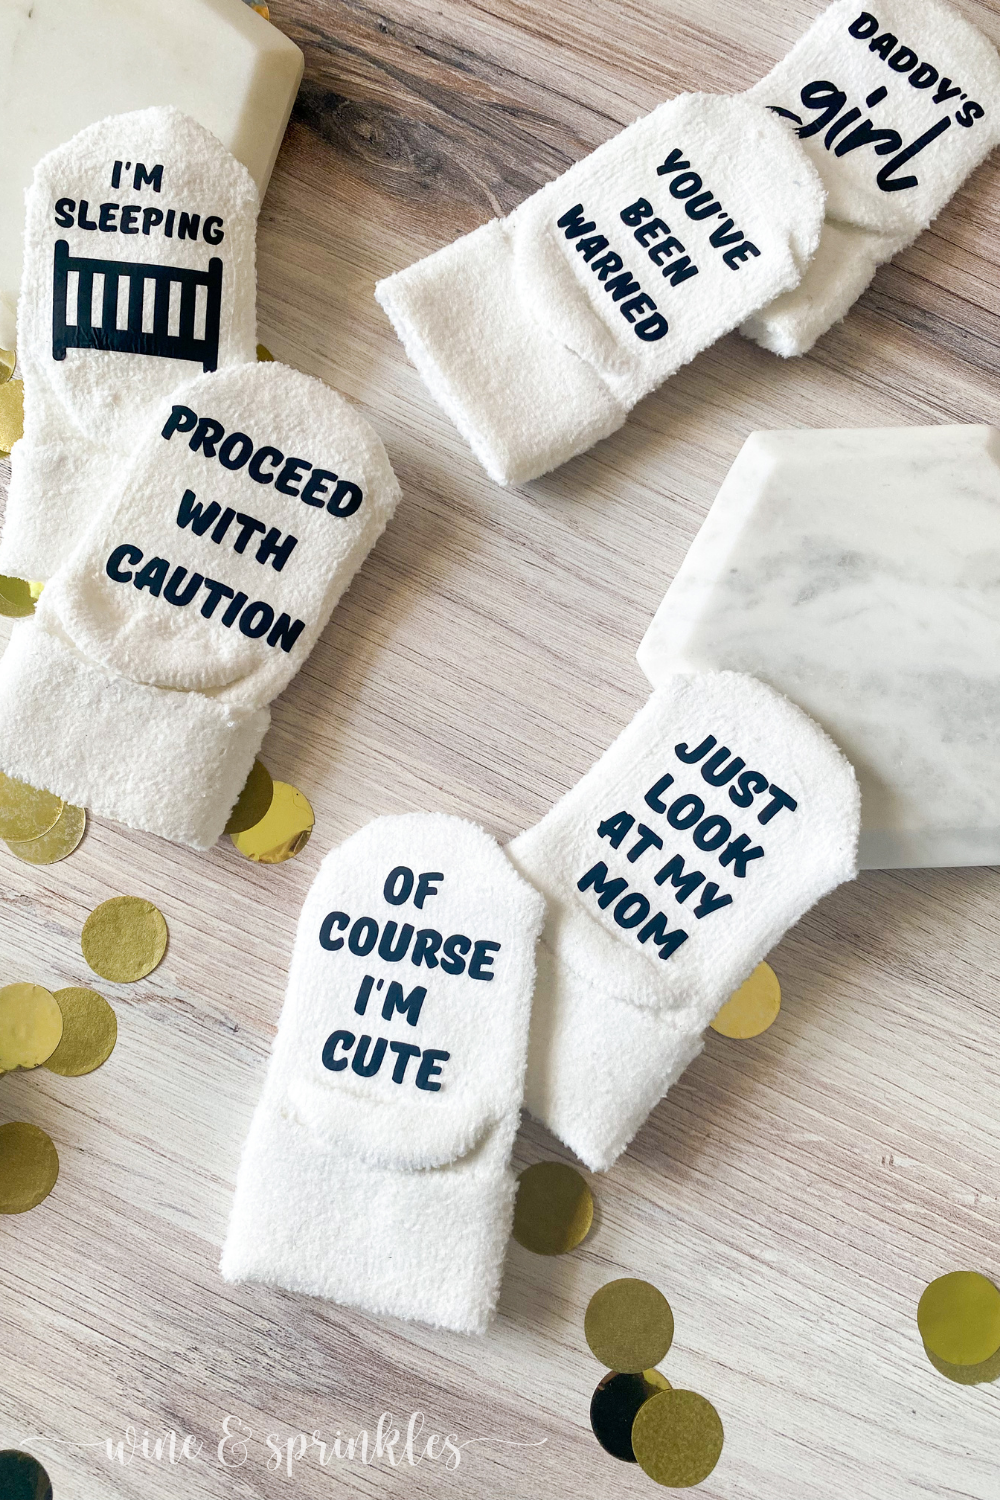
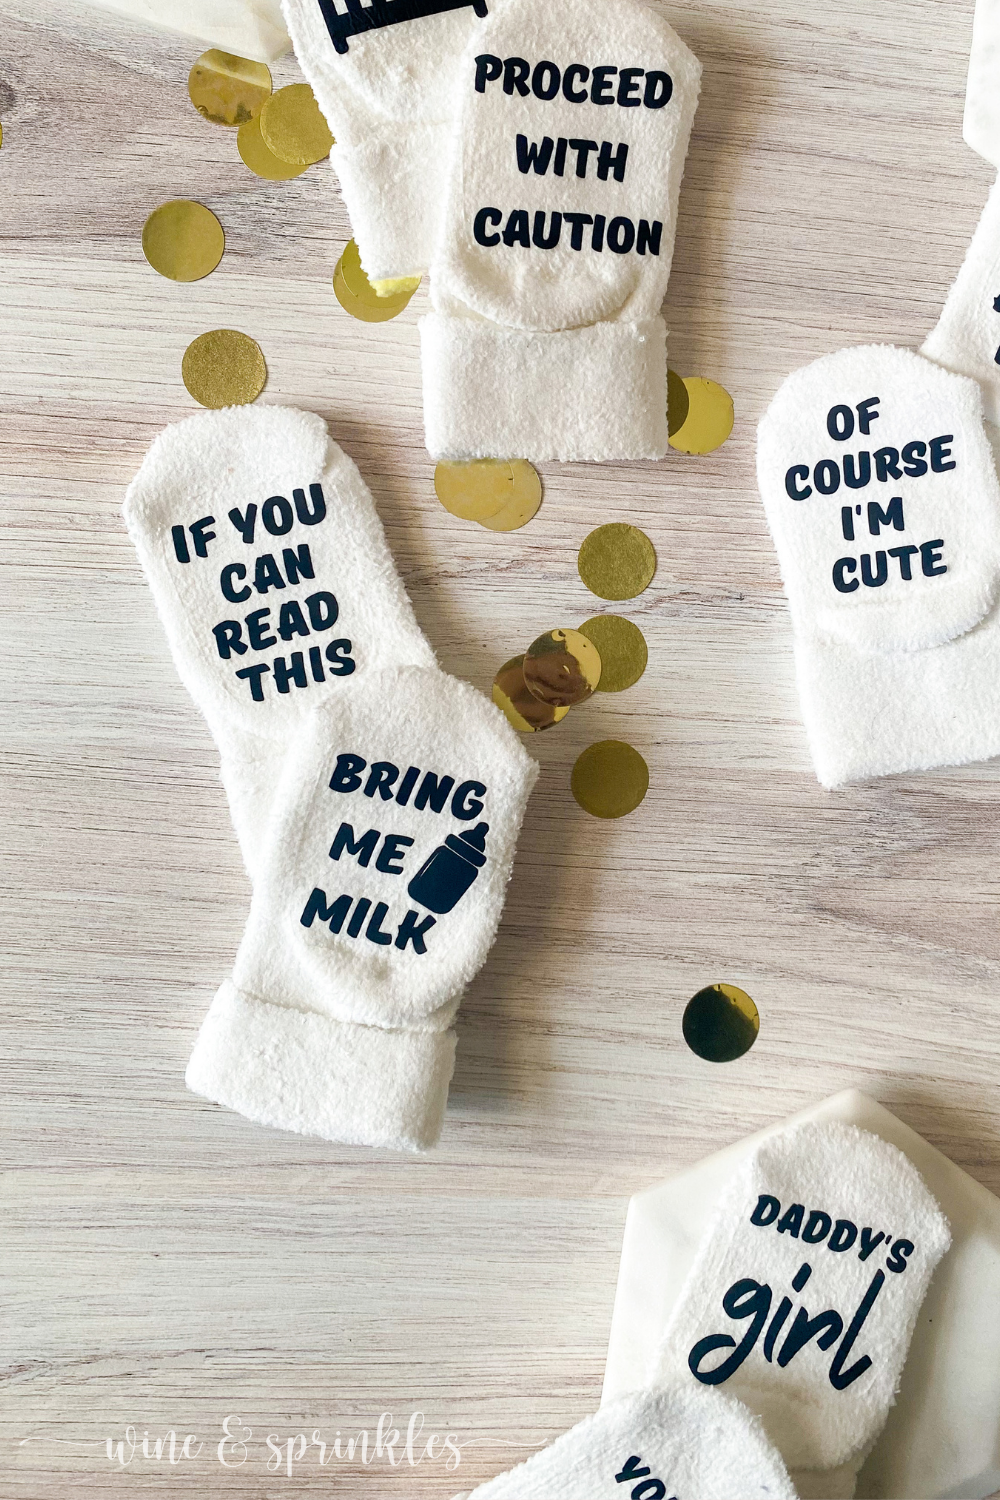
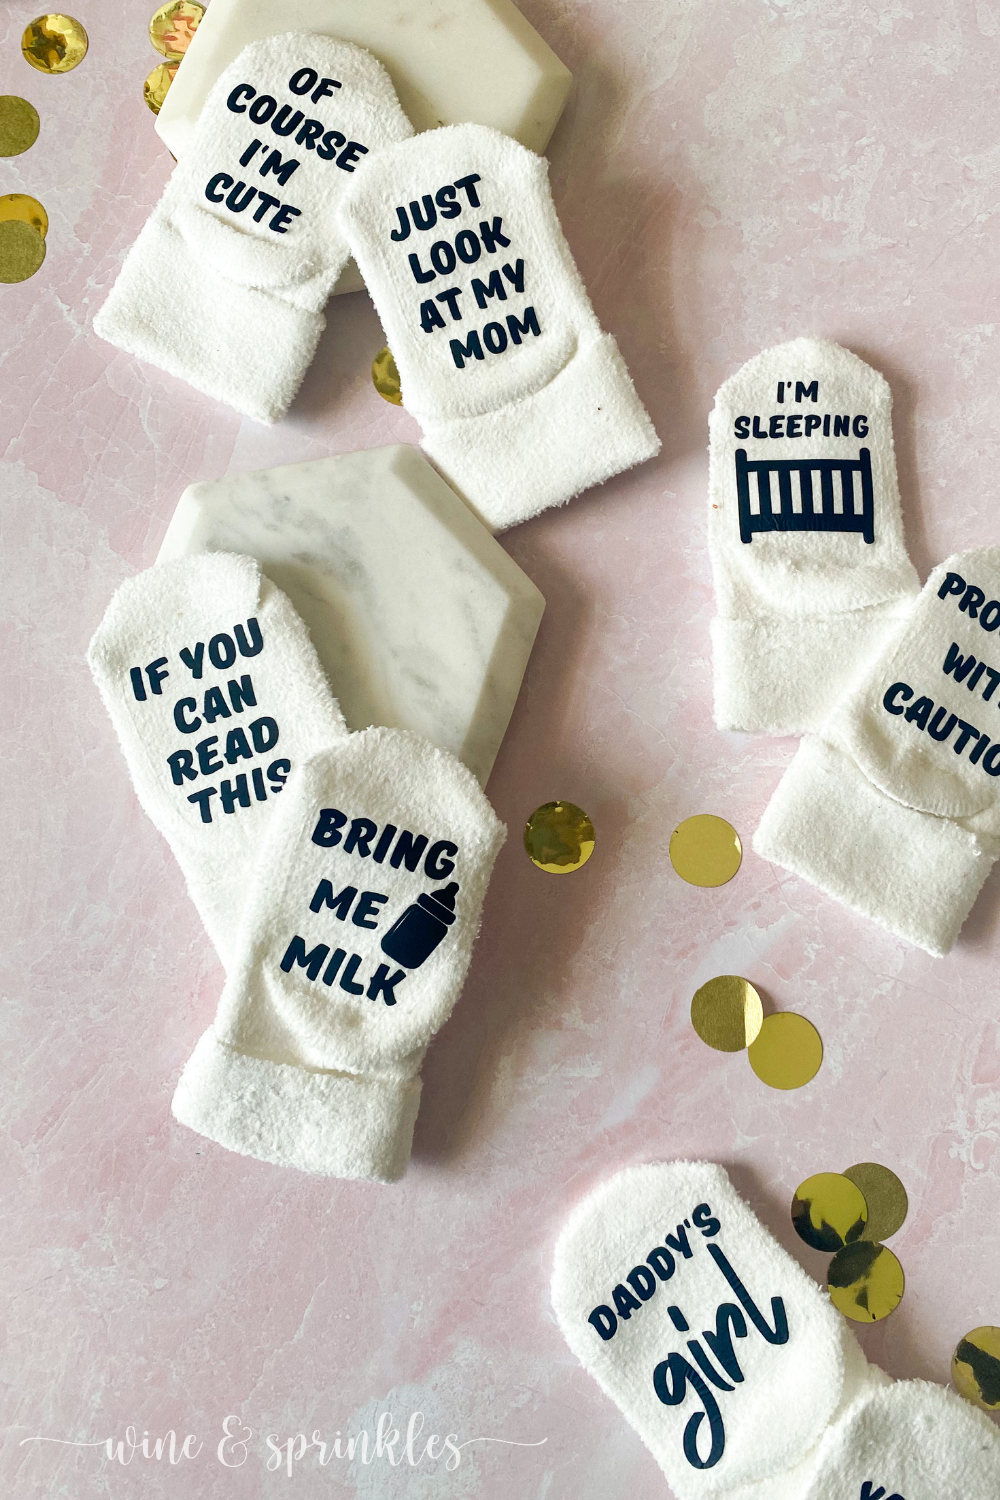
I love all the adorable clothes you can craft for babies, so anytime one of my friends is expecting they are sure to receive something homemade from me to welcome their newest addition. So when some of my best friends were expecting their first child, I went all out on designing a whole wardrobe of tiny clothing and accessories, starting with these sets of sassy baby socks!
After making Fuzzy Personalized Socks for my Sorority Spa Sleepover Boxes, I knew the next time I had the chance I would try it out with baby socks, and while I began a little hesitant due to their tiny footprint (literally), it turns out they were super straightforward and easy to make! These were some of the first projects I tried out with my new Cricut Maker, Heat Press, and other materials, and just like any of their products I’ve used before they did a great job helping me make just what I needed. Another plus is that with each foot decal being so small this is a great project to use up extra scraps of HTV for, especially when my Cricut cuts little decals just as easily as the big ones!
In truth the hardest part to decide for me was the orientation of the decals, and I finally decided on the tops being the toes so that, as the baby is sitting or lying on their back, the parents can read the socks! For older babies that crawl, they could also be flipped upside down so that you can read them as they putter about on the floor instead, either orientation works and it's all just based on your preference!


These make for a great gift on their own but are even better as an accent to other clothing themed gifts, which I certainly took advantage of by featuring them as one of the pieces I made for my Clothesline Laundry Basket Baby Gift, with these little beauties breaking up the Baby Onesies, Baby Bibs, and Personalized Baby Hats on the line. Regardless of how you choose to give them, or if you just want to make them for your own little one, this simple and straightforward project is a great place to start your HTV cutting and crafting adventures!

SUPPLIES
HTV BLANKS & MATERIALS
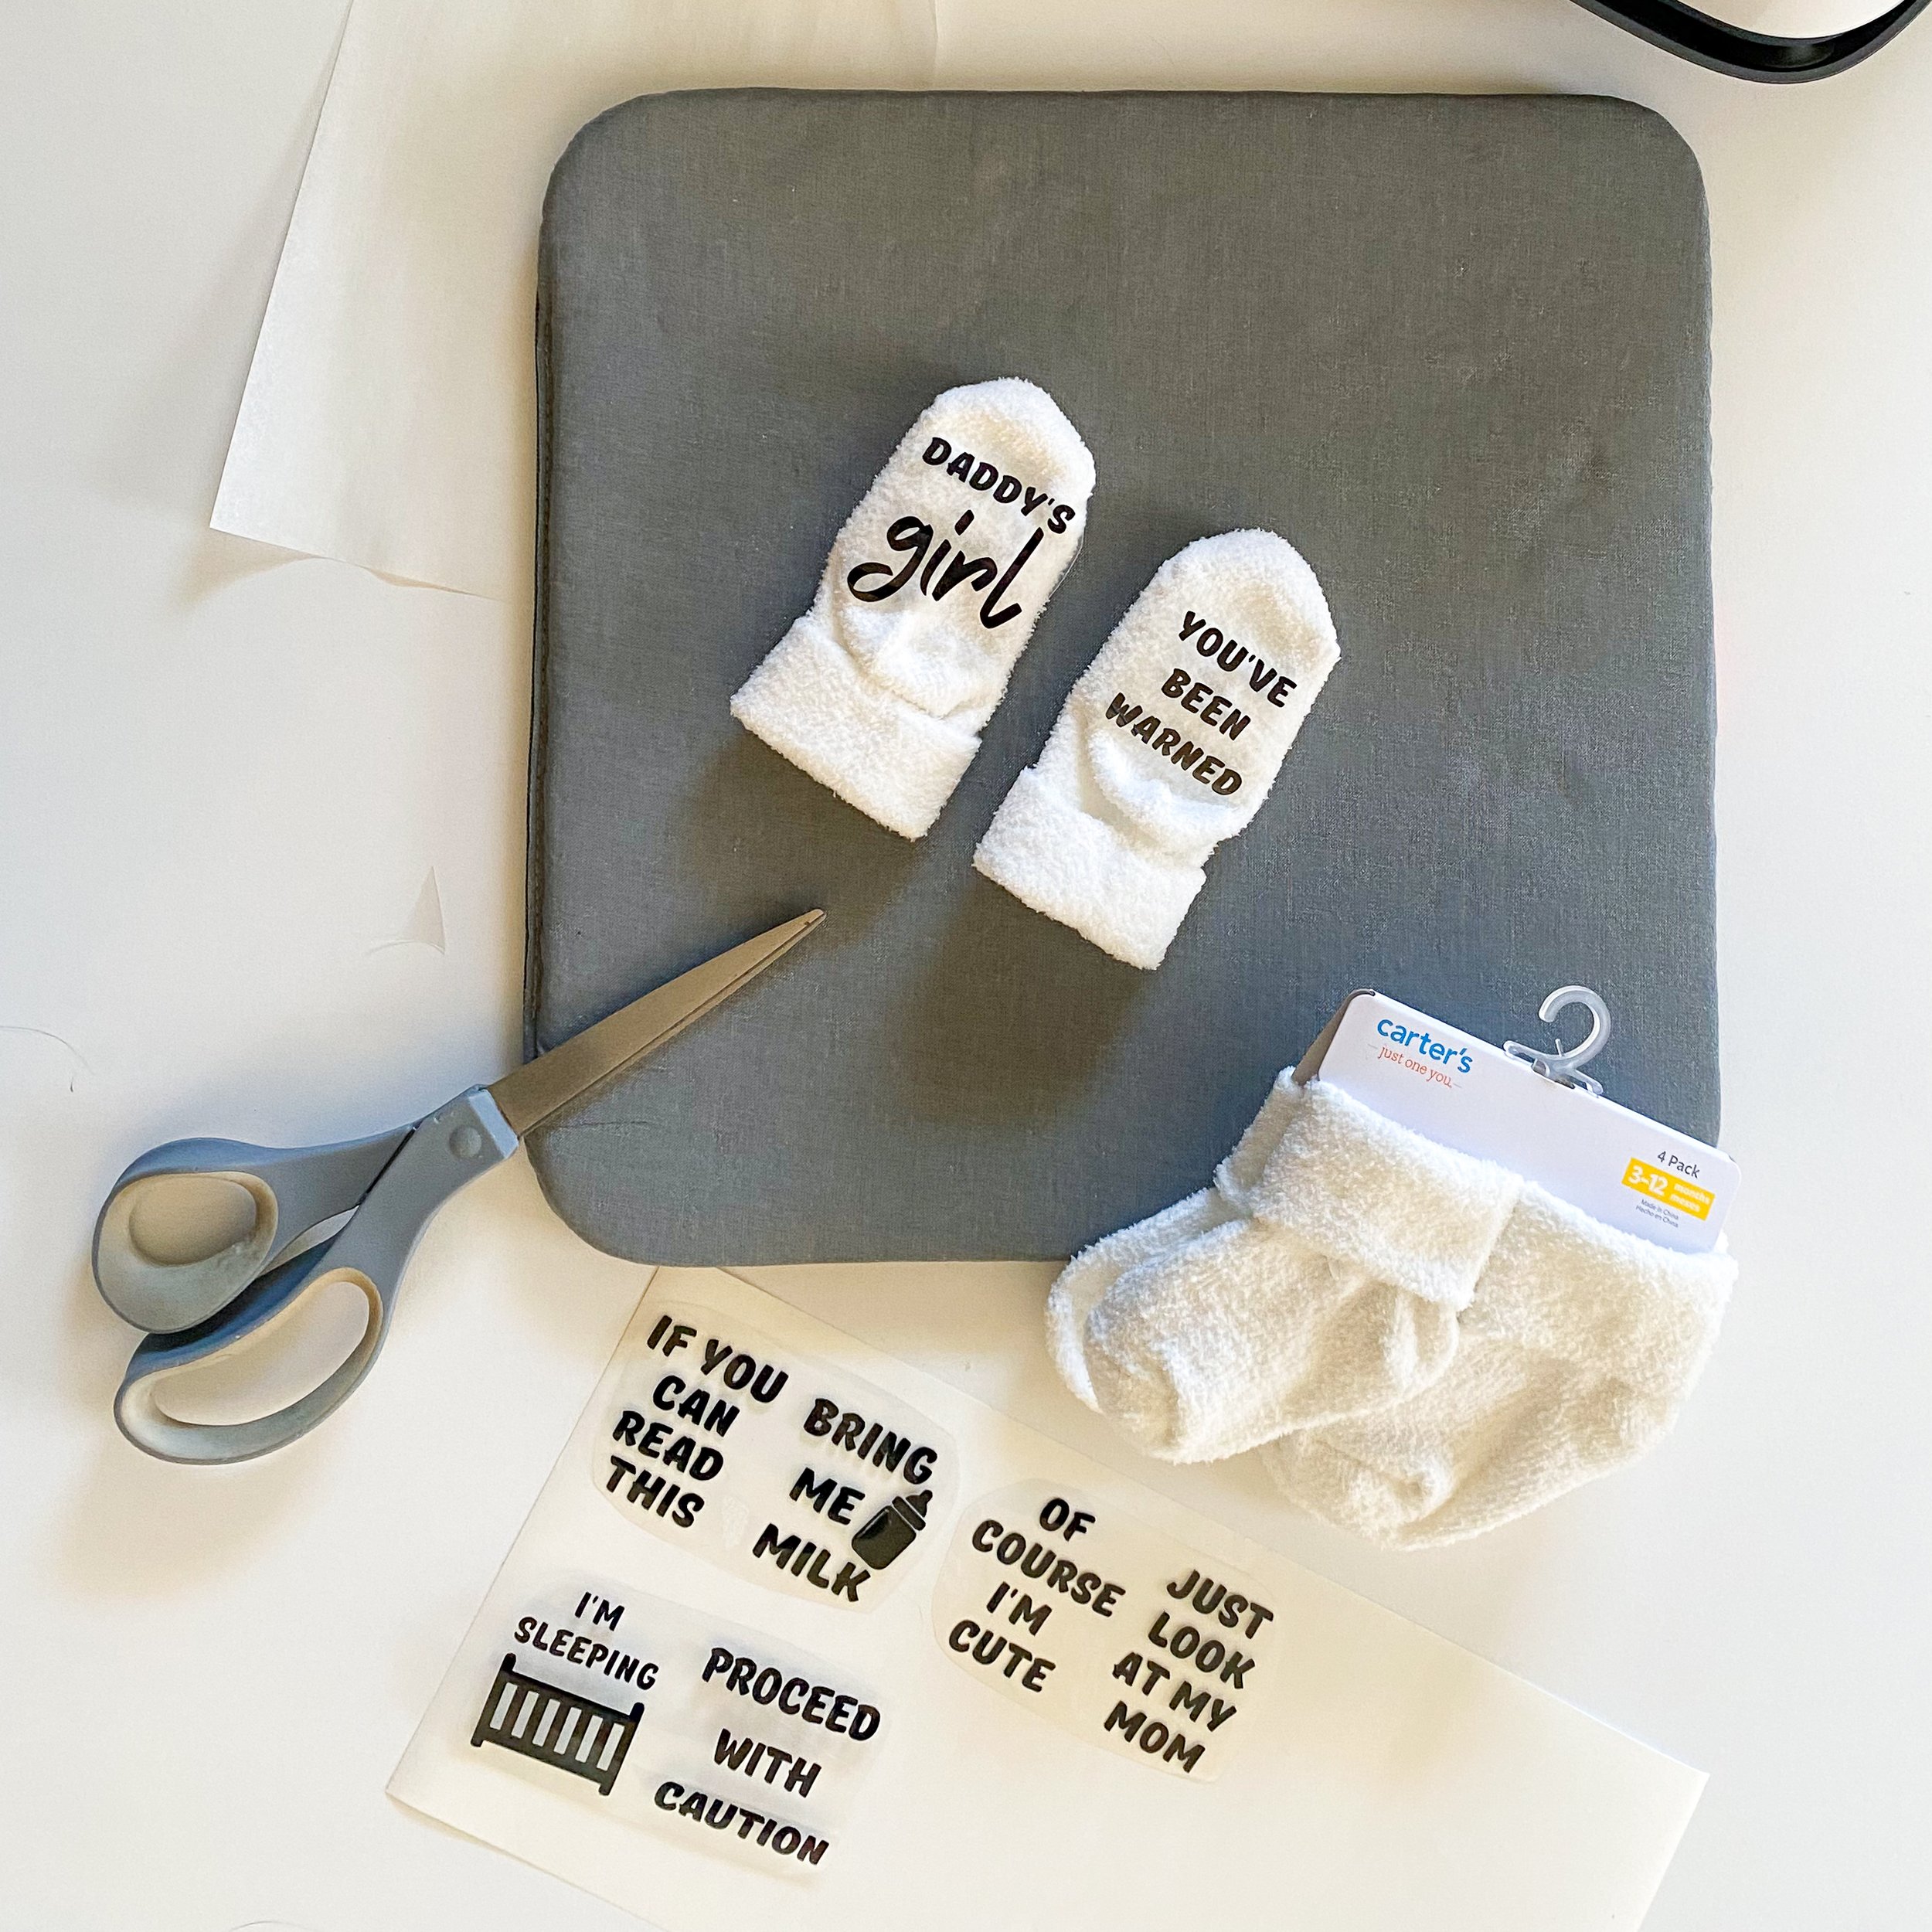
Baby Socks: for this project, I chose simple white bootie baby socks though any color would be adorable, the most important thing is that there isn’t anything grippy on the soles of the socks already to interfere with the decal transfer. I chose these 3-12 month socks, but I’d imagine any size of baby sock would work, I just wanted larger than the newborn size since I didn’t want them to be grown out of by the baby too fast!
Heat Transfer Vinyl (HTV): for creating the decals to transfer to the sock feet, I chose standard HTV for this project, mainly because the decals are so small I wanted the material to be as easy to cut as possible, especially when these socks don’t need grip like my Sorority Fuzzy Socks did! each pair of socks only needs a 2” x 2” piece of HTV, so this was a great project to use the leftover scraps of HTV from the Everyday Iron On Classics Sampler Pack that I also used on my Personalized Baby Hats, Baby Bibs, and all the DIY Baby Onesies I created for my Clothesline Baby Gift.
TOOLS & OTHER SUPPLIES
Cricut Heat Press: for transferring your decals to your socks, you’ll need either a heat press or an iron, but I have to say I've been a heat press convert ever since I first tried it! I love that Cricut gives a Heat Guide so that I always know what temperature and time to heat press my projects, and for when I was mass making these as well as all the other items for my Clothesline Basket Baby Gift, it made my assembly line of transferring go quickly and smoothly. I was a little worried about keeping things aligned when pressing with my big press on such tiny socks, but it did a great job and I was even able to do two easily at once!
Cricut Craft Cutter: for cutting out HTV decals, there’s no better tool than my Cricut craft cutter! I used my new Maker for these projects and love how the design software lets you specify the materials for whatever type of HTV you are using and like all of the craft cutters I’ve purchased from them, it did a great job at cutting beautifully and accurately.
Standard Grip Mat: to secure your material for cutting, I prefer the standard grip mat for my HTV projects. It keeps everything in place for cutting and easy weeding, but is easy to remove the decal from afterwards.
Heat Press Mat: for protecting the surface you are using to heat press your decals on.
Parchment Paper: to put between your decal backing and your iron or heat press. While not required for the heat press, I like to use it so I don’t have to be paranoid about the backing melting on such tiny fuzzy little socks, and from having used an iron for many years to transfer HTV, old habits die hard!
Weeding & Transfer Toolset: for weeding away excess HTV and prepping decals to transfer to your socks.
DESIGN TEMPLATES & FILES
Baby Sock Design Files: to make it easy to cut out these decals without having to upload and resize files, I’ve created the project in the Cricut Design software with a shareable link for all of you! I’ll teach you how to use it to cut your own decals in the tutorial below, and as a straightforward way for me to share my cuttable creations, you’ll be seeing the majority of my future Cricut Designs done this way.
SUPPLIES LIST:
[for 4 pairs of socks]
HTV BLANKS & MATERIALS
Baby Socks x 4 pairs
HTV x 4 - [2” x 2” pieces]
TOOLS & OTHER SUPPLIES
Cricut Heat Press
Cricut Craft Cutter
Standard Grip Mat
Parchment Paper
Weeding & Transfer Toolset
Baby Sock Design Files
DIRECTIONS
STEP 1: ACCESS DESIGN & CUT DECALS
Start by opening the design file by clicking the link here, in the supplies list, or the button below. This will send you to the Cricut Design Software, where the designs for each decal pair are sized to the baby socks I was using, with each foot’s decal about 1.65” x 1.85” and each pair welded together to be a little over double that width. If you want to cut them exactly like mine are, select “Make it” and it will take you straight to the cut screens, but if you need to customize it or make multiples, select “Customize” to open it as a design file that you can manipulate.

If you need to resize these, use the padlock on the upper toolbar to change them to whatever size best fits your needs, in this case the height of the socks are the best.
You will see that each sock pair of decal designs are together, so copy and paste them to make as many decals as pairs of socks you’d like the design on. If you don’t need one of the decals, you can exclude it from being cut either by selecting and deleting it, or hovering over its layer on the right side of the screen and clicking the eyeball on the right so that the symbol shows it crossed out.
When you’re ready to cut, select “Make it” in the upper right of the screen to cut out your decals. Cut out on mirror mode with the material set from the options given, in my case Everyday Iron On HTV, with HTV shiny side down. I also like to specify the pressure setting to “More,” though this isn’t a requirement and instead a preference so that I’m sure it cuts deeply enough on little decals like this!
STEP 2: WEED & TRANSFER DECALS
Remove the mat from your cutter, keeping the material attached to make weeding easier. Weed away the excess HTV, then remove from the mat and cut away the extra backing around the sock foot decals so each individual foot design is separated. Now it's time to transfer them to the socks!

Start by preheating your heat press to the right temperature based on the koozies and material you are using, which can be found by using the Cricut Heat Guide. Change the temperature by pressing the thermometer button until the temperature on the screen blinks, then use the arrows to the right of the screen to change the temperature to what you wish. You can likewise do this for the timer by pressing the watch icon button and, once the timer is blinking, change it with the same arrows. Keep your heat press in its stand while it's preheating and anytime it's hot and you aren’t pressing something to keep you and your work surface safe! For my cotton socks and Everyday Iron on Vinyl pressed on the heat press mat, my press was set to 315℉ for 30 seconds
Once your press is preheated, place two socks centered on the heat mat, feet side up and as flat as possible, then press it for 5 seconds to preheat the material and flatten the feet for an easy work surface. Place a decal on each sock foot, backing side up, then cover with parchment paper. You can see I placed mine such that the design top is at the toe and bottom is at the heel of the sock


Using firm pressure, press the design into the socks with your heat press, using the timer by pressing the Cricut symbol button, then remove the press when the timer runs out. Once the backing is cool enough to touch, carefully remove it to leave the pattern on the feet of the socks. Repeat this process for all of the socks you are crafting, then you’re done!


These sweet, simple and sassy socks are the perfect DIY addition to any baby closet and I can’t wait to be making more in the future and designing new decals to bedeck them! Pair these with a DIY Onesie or Personalized Baby Hat for a thoughtful gift, and be on the lookout for more fun DIY Baby Projects coming your way!

SEE OUR RELATED POSTS HERE:


OUR MOST RECENT BLOG POSTS:


OUR PINS FOR THIS POST:

Calling all Aires, Pisces, and every sign in between! I think astrology is super fun, which any of my guests who attended my Zodiac Summer’s Eve Party can attest, and I love to make fun zodiac themed gifts for my favorite friends that love it too! For those who don’t have the time or astrological inspiration to make their gifts, this guide is for you!