This post contains affiliate links, meaning that if you click on a link I will recieve a small comission. This costs you nothing extra and I only promote products I use and love! You can read our full disclosure here

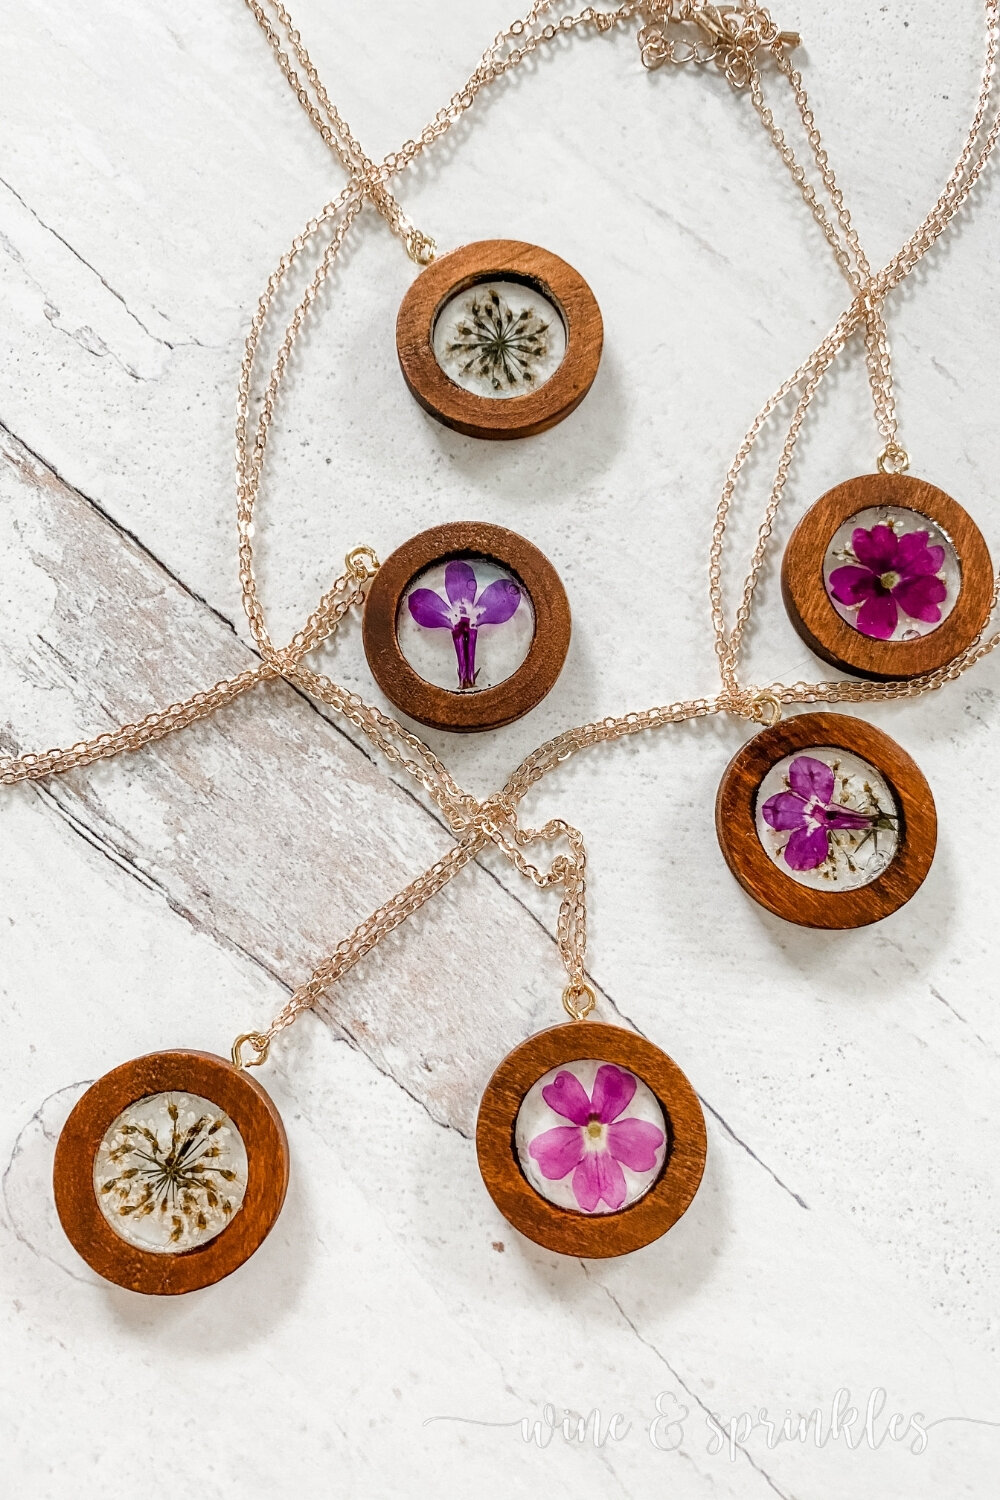
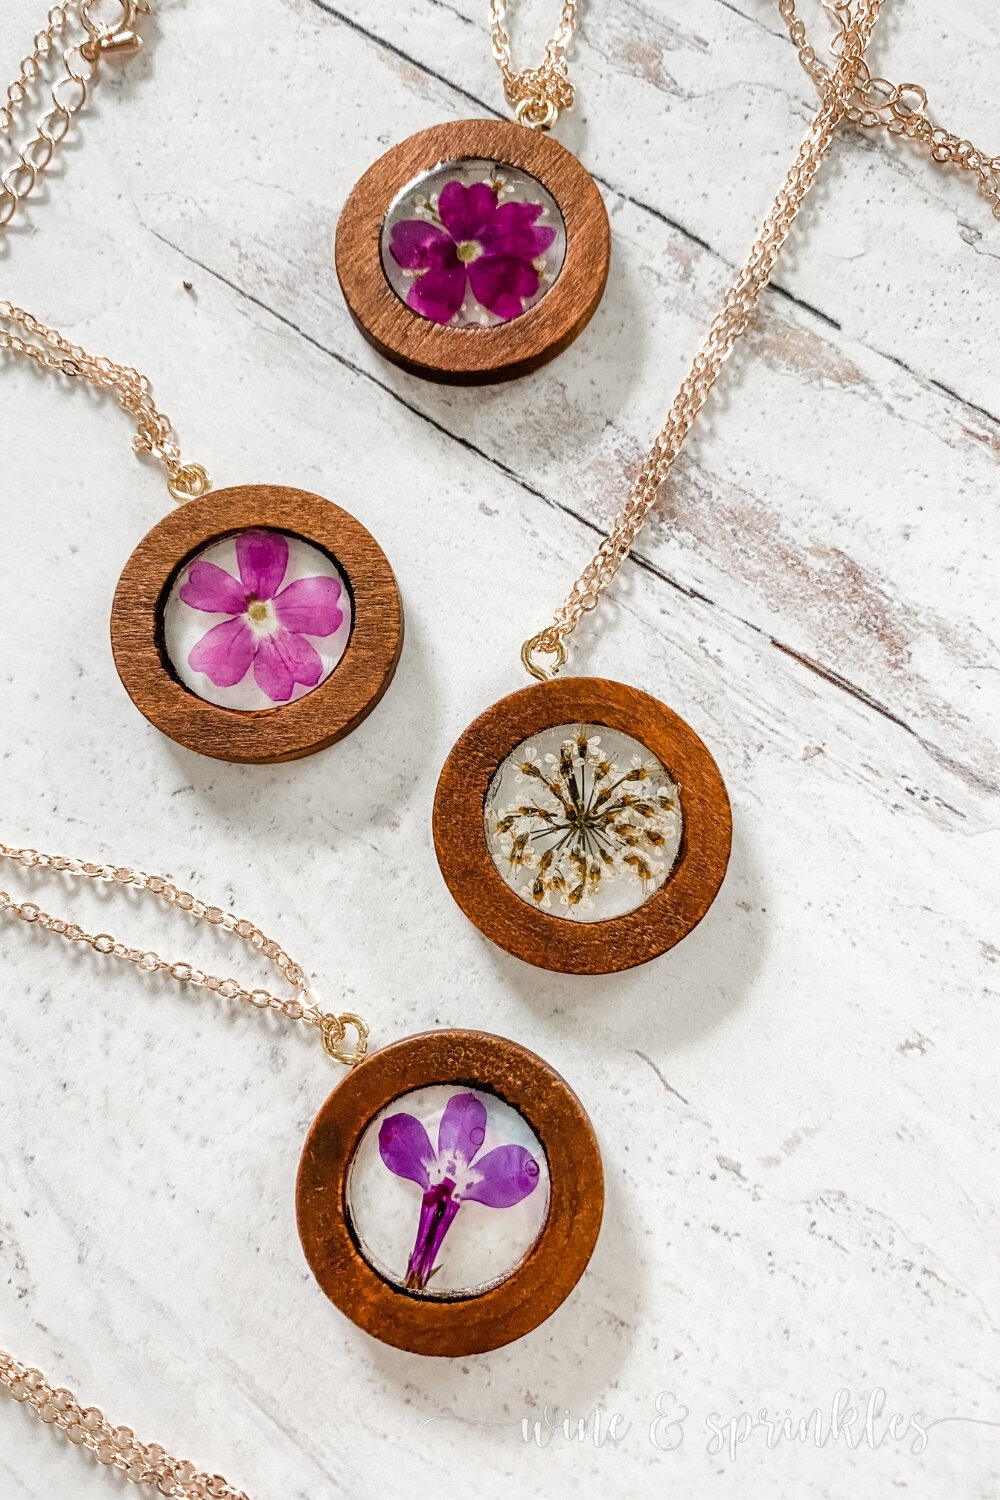
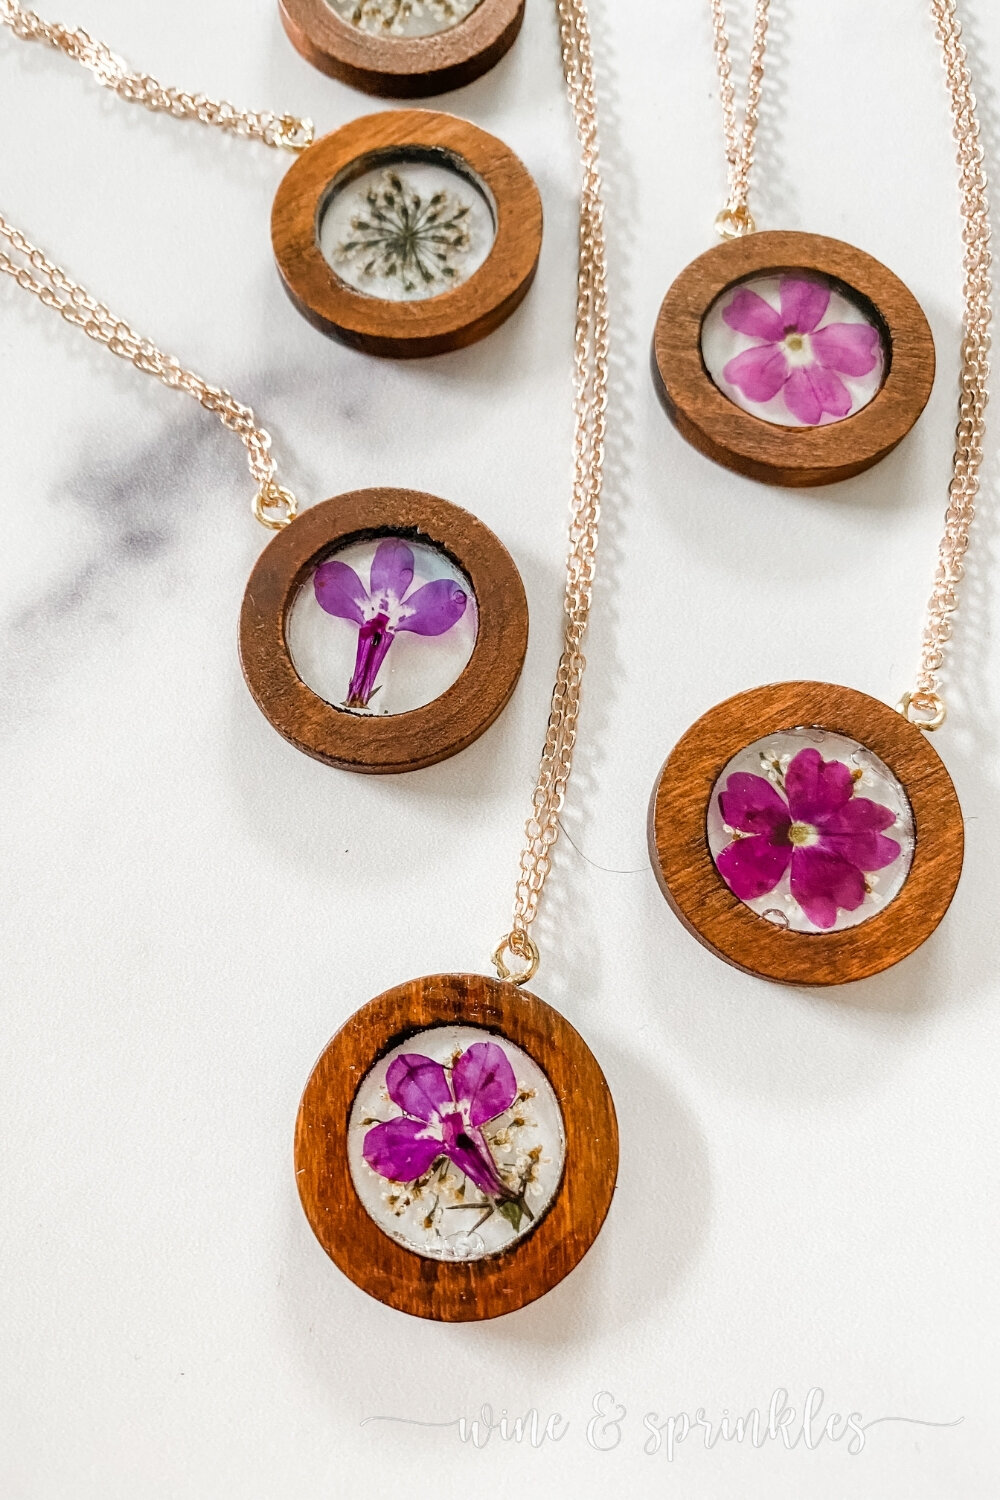
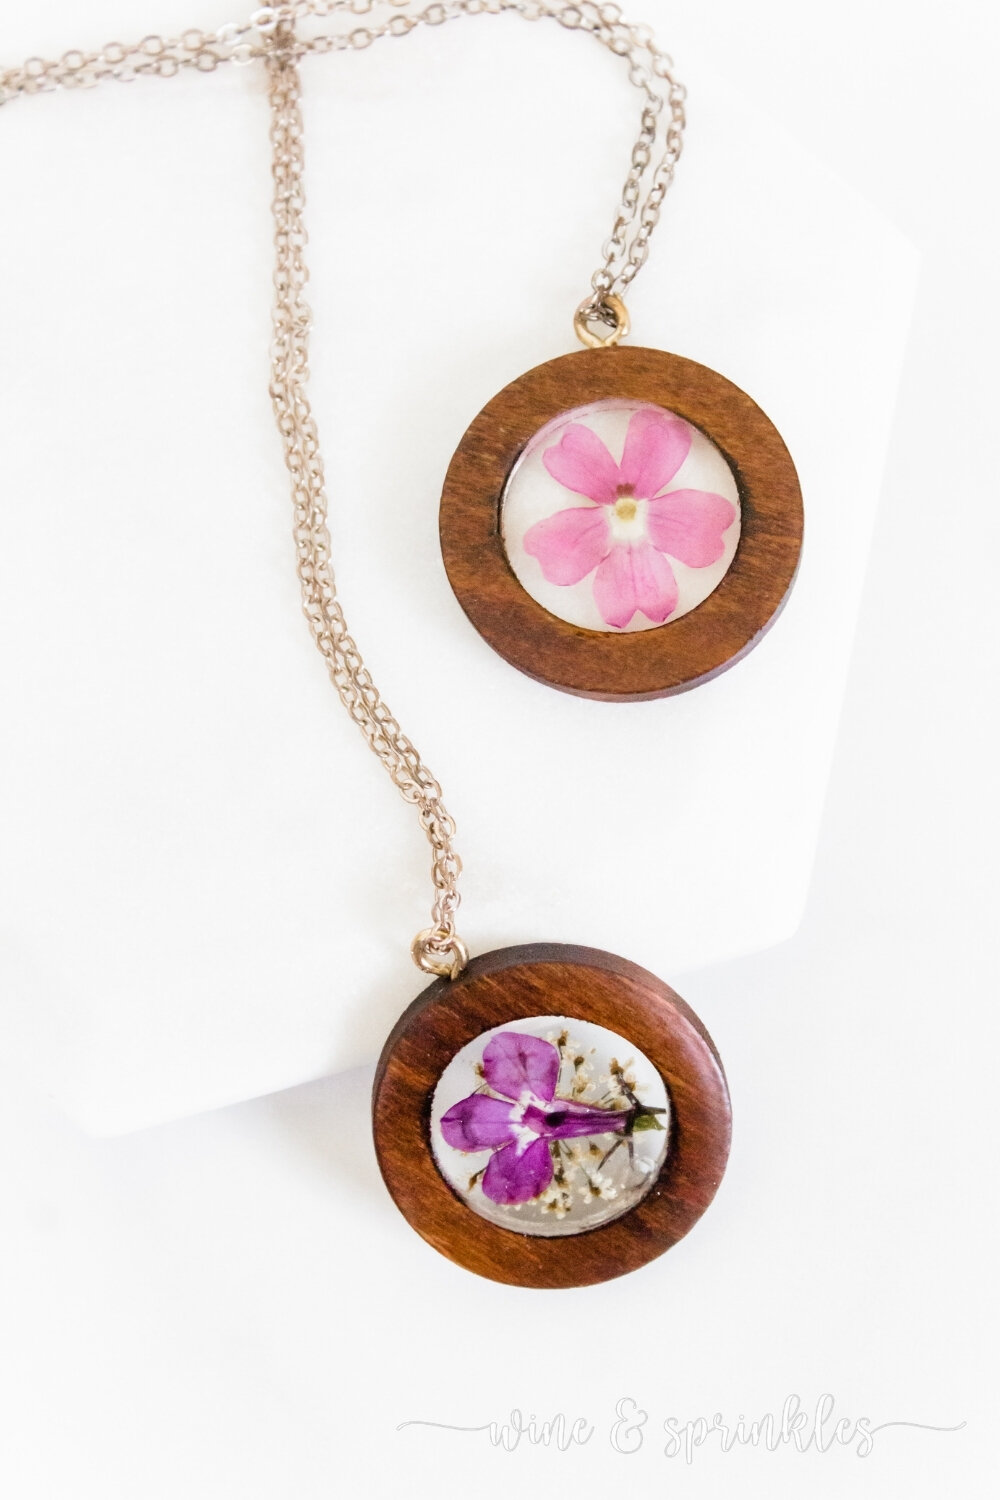
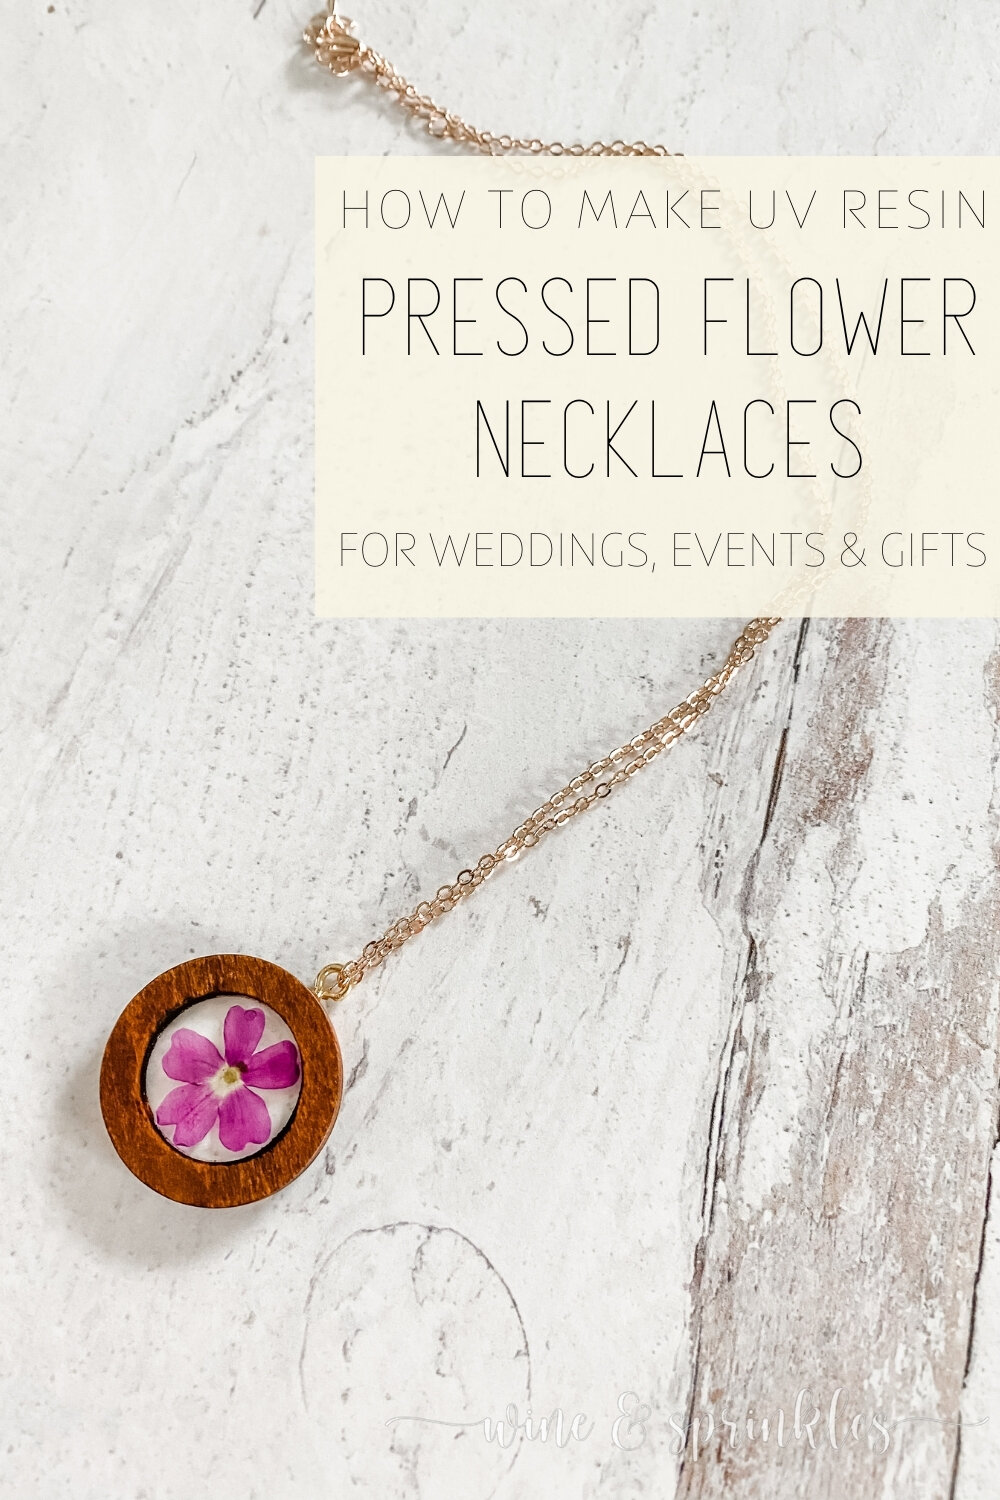
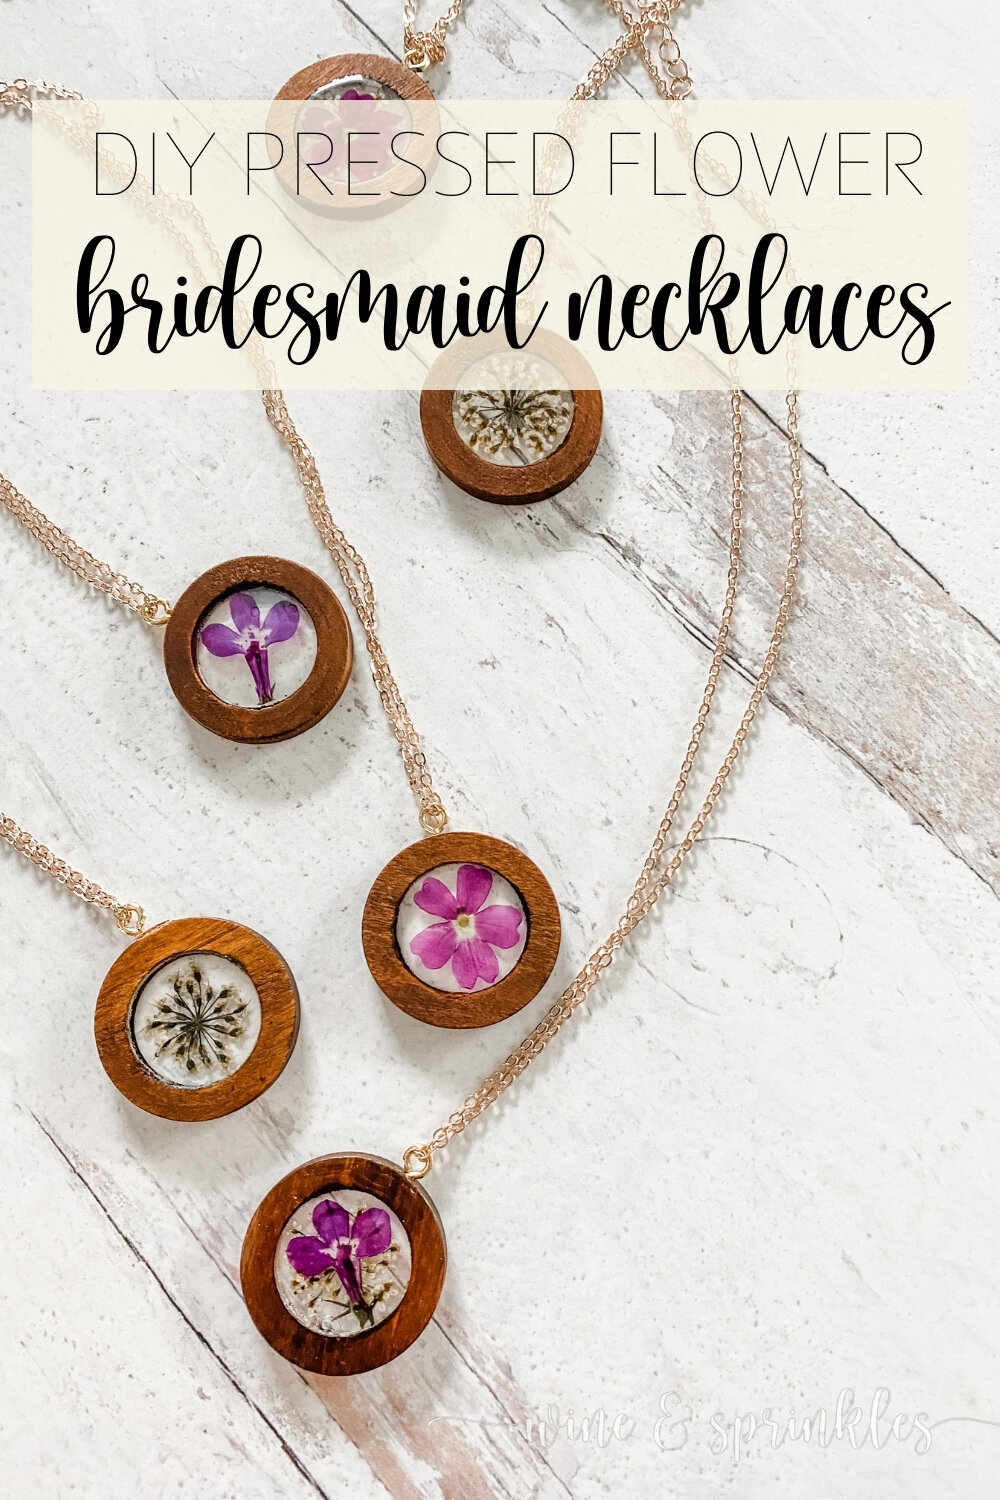
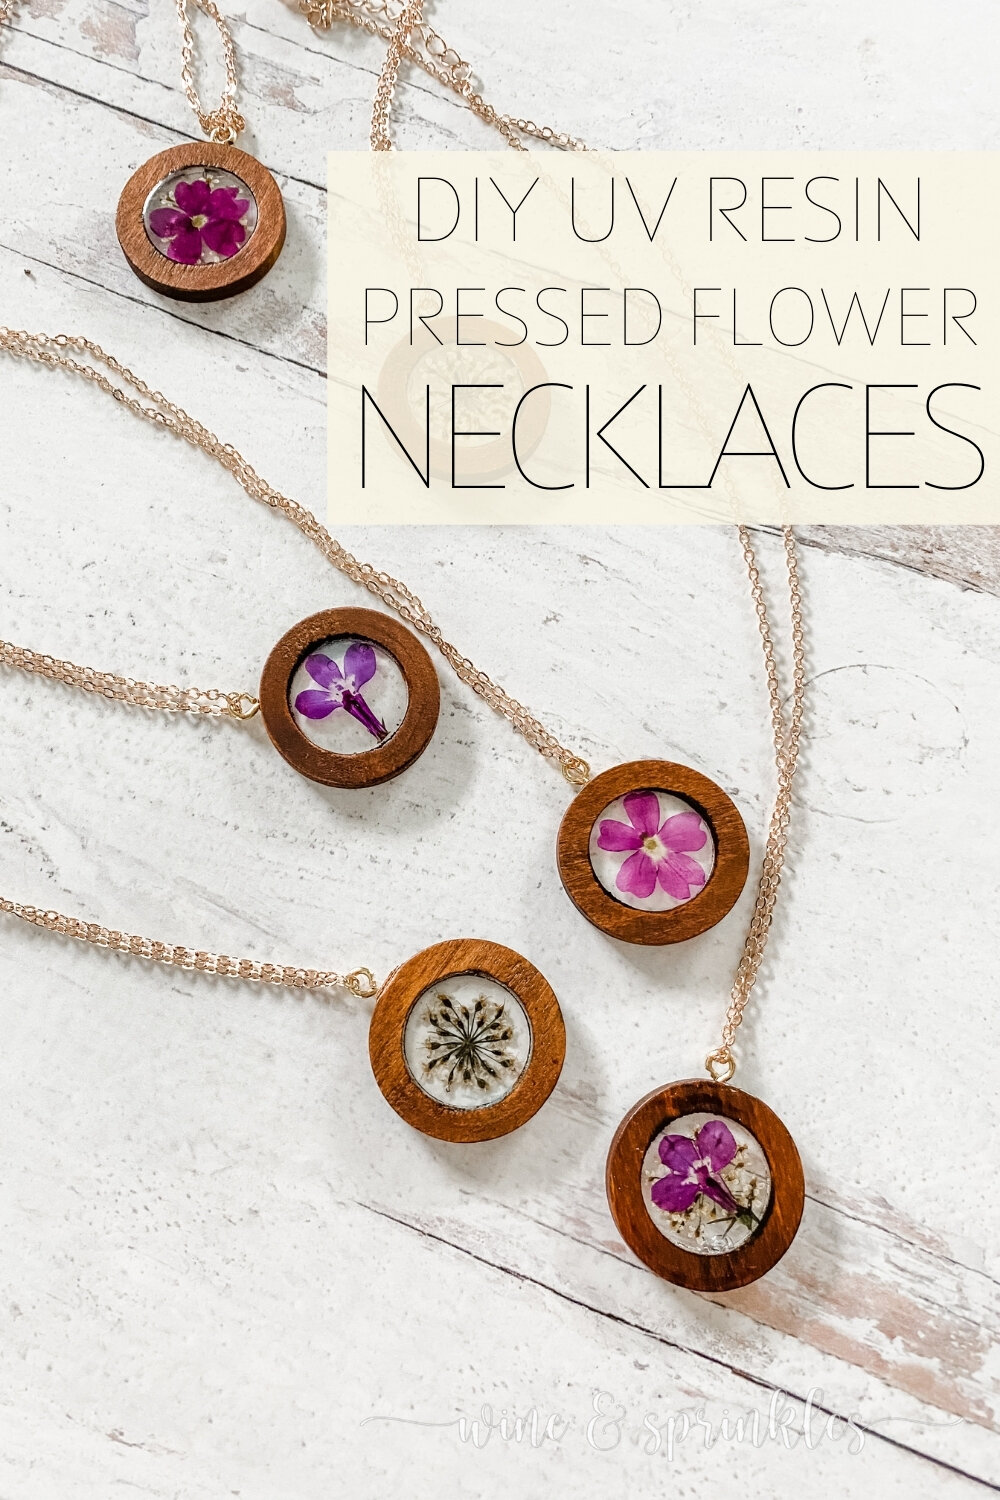
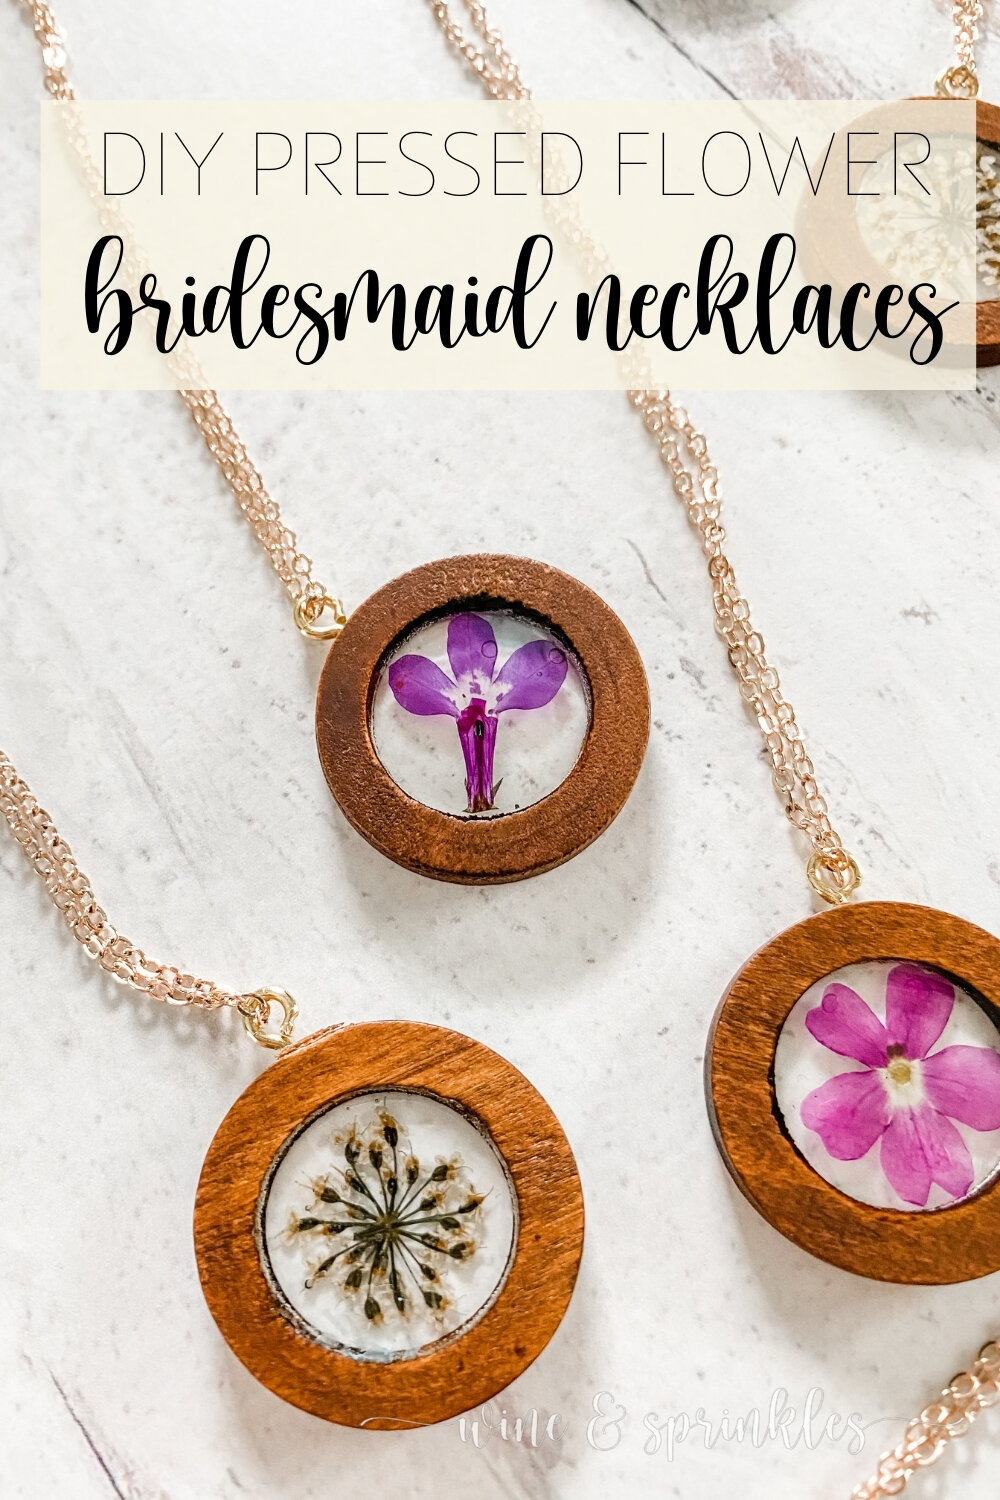
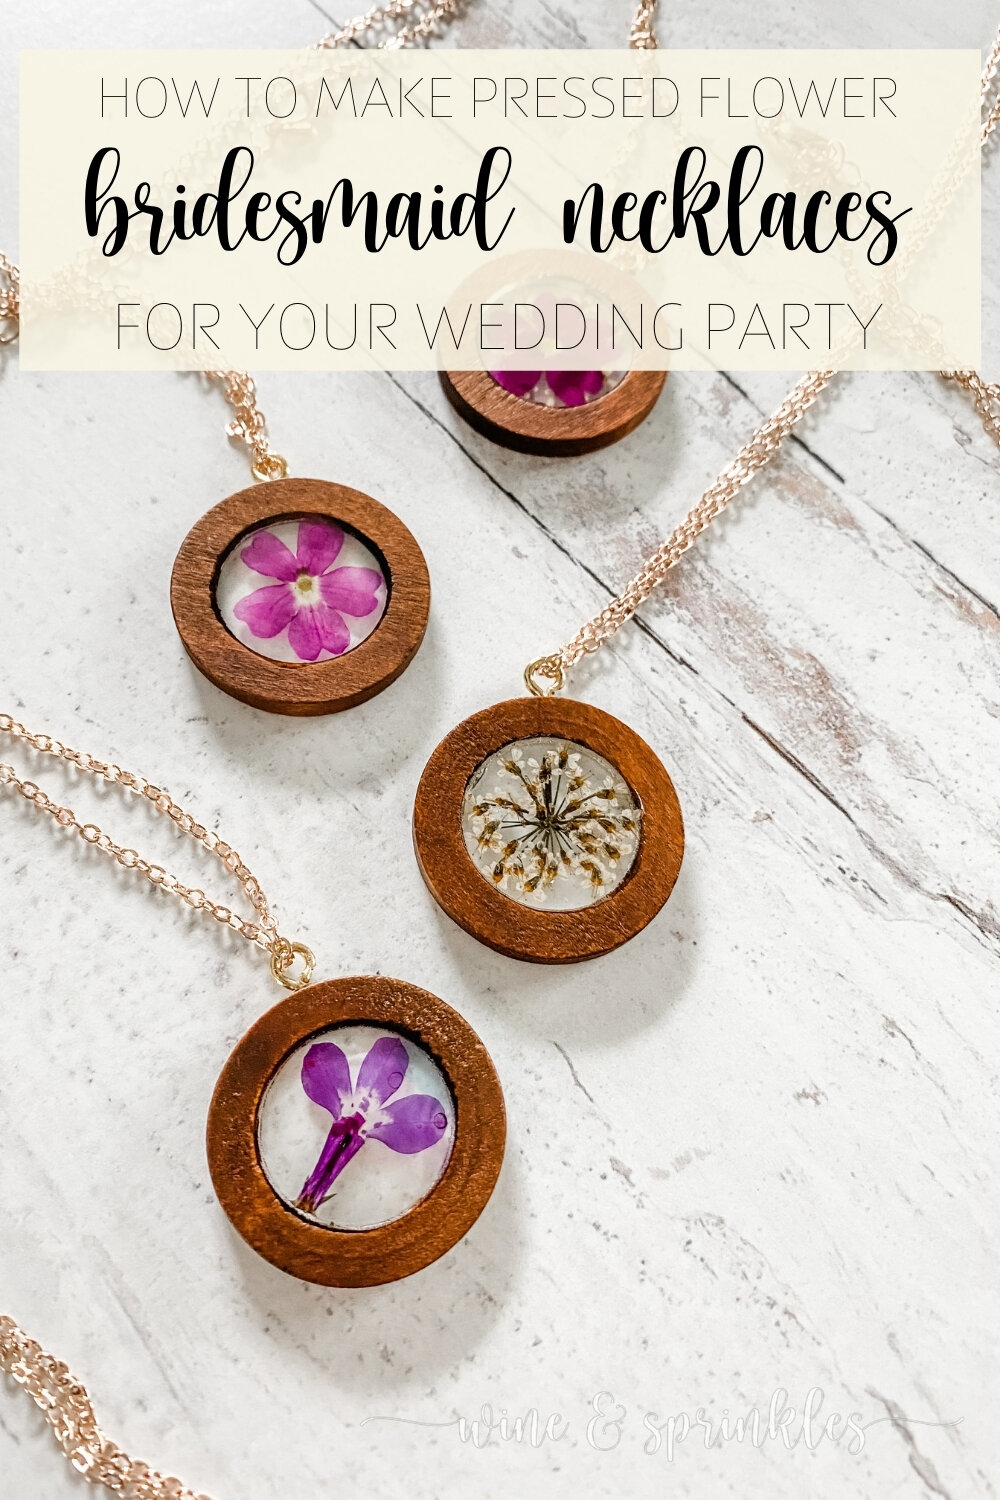
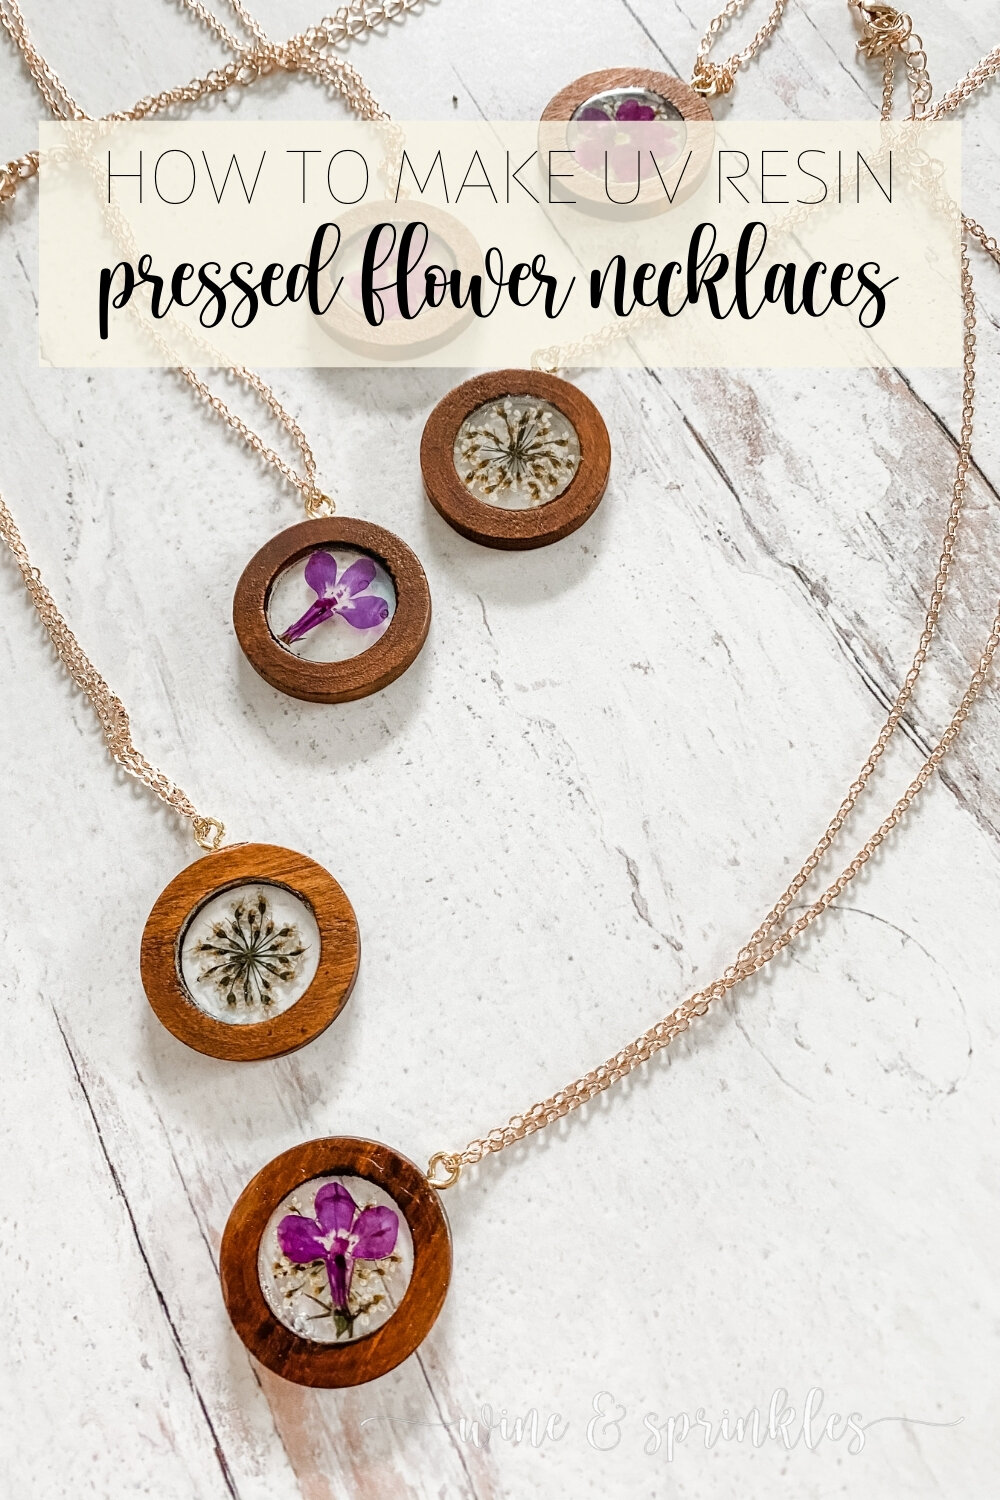
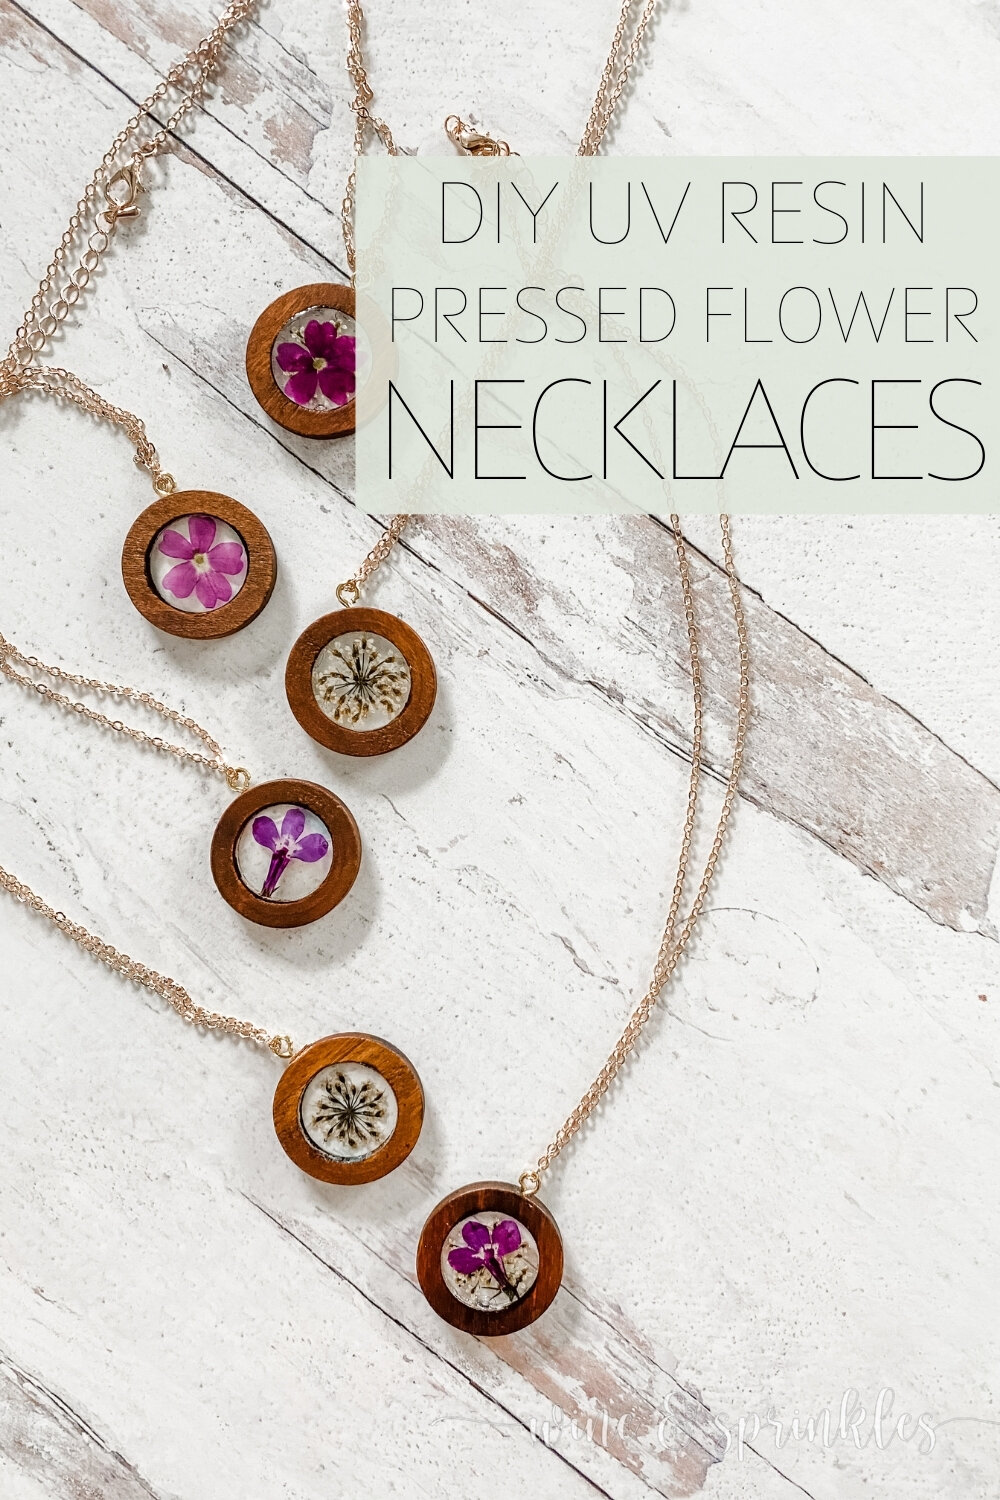
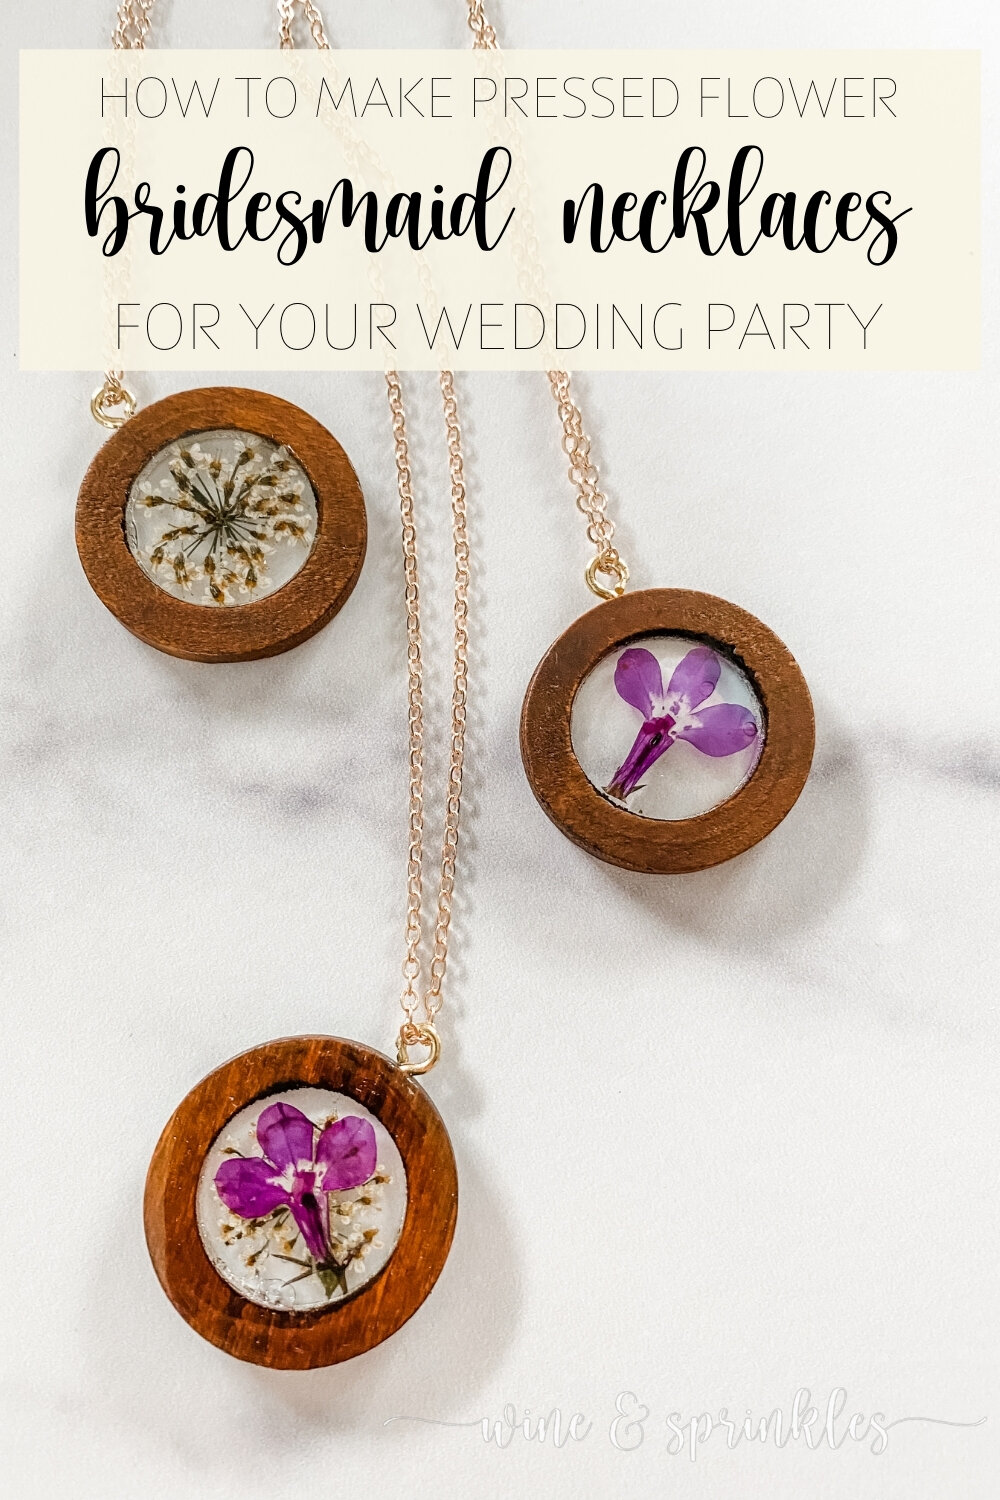
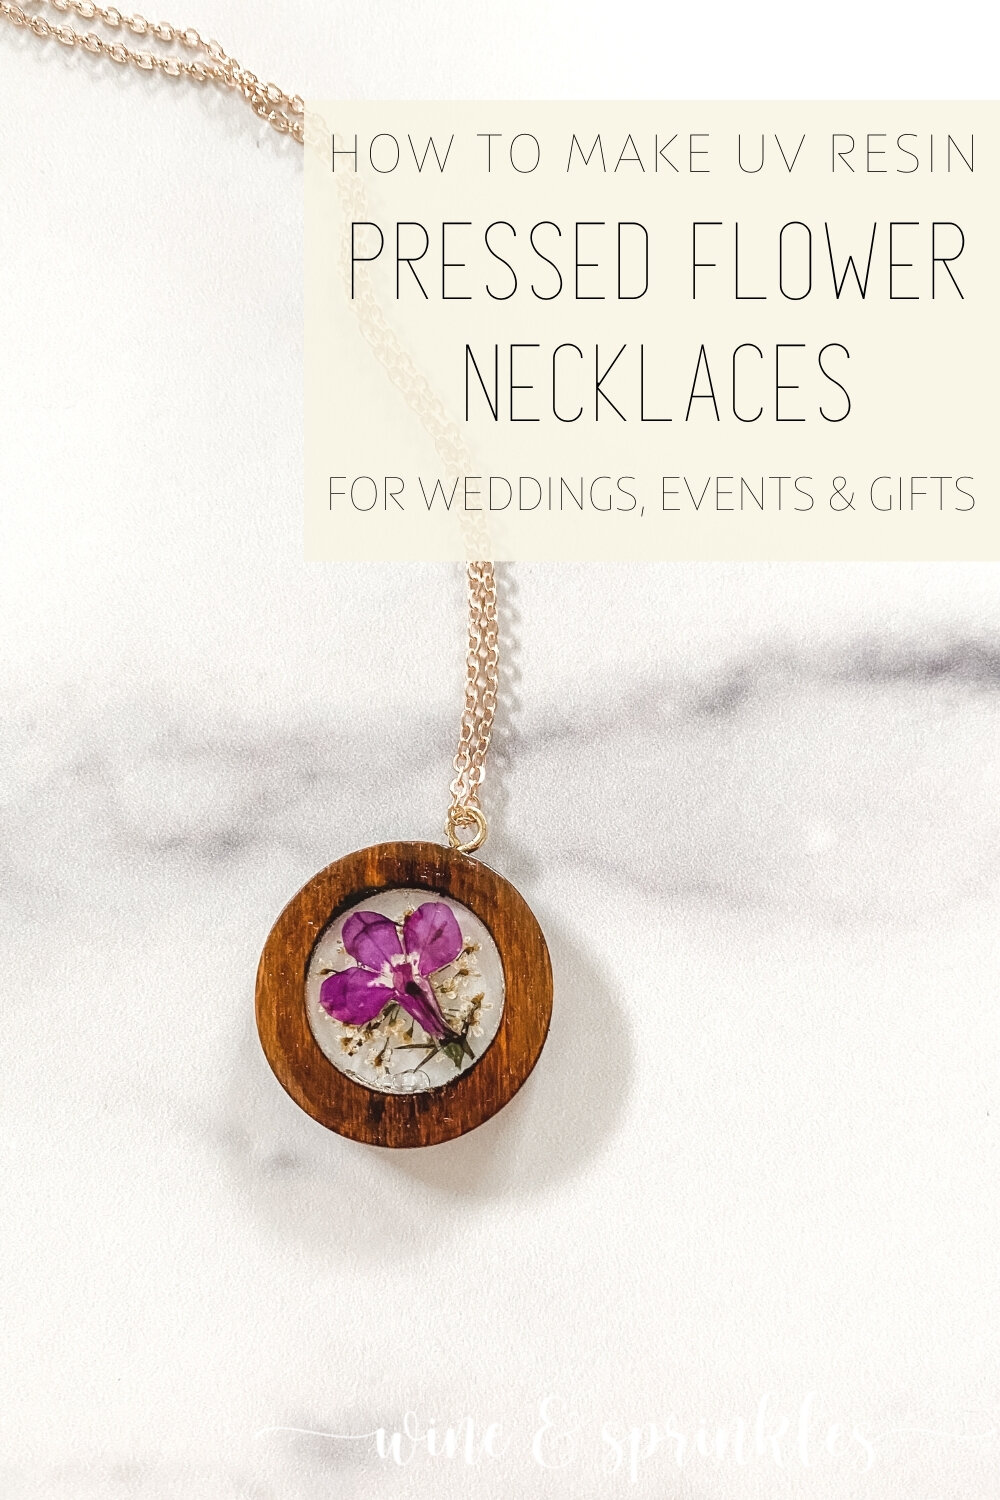
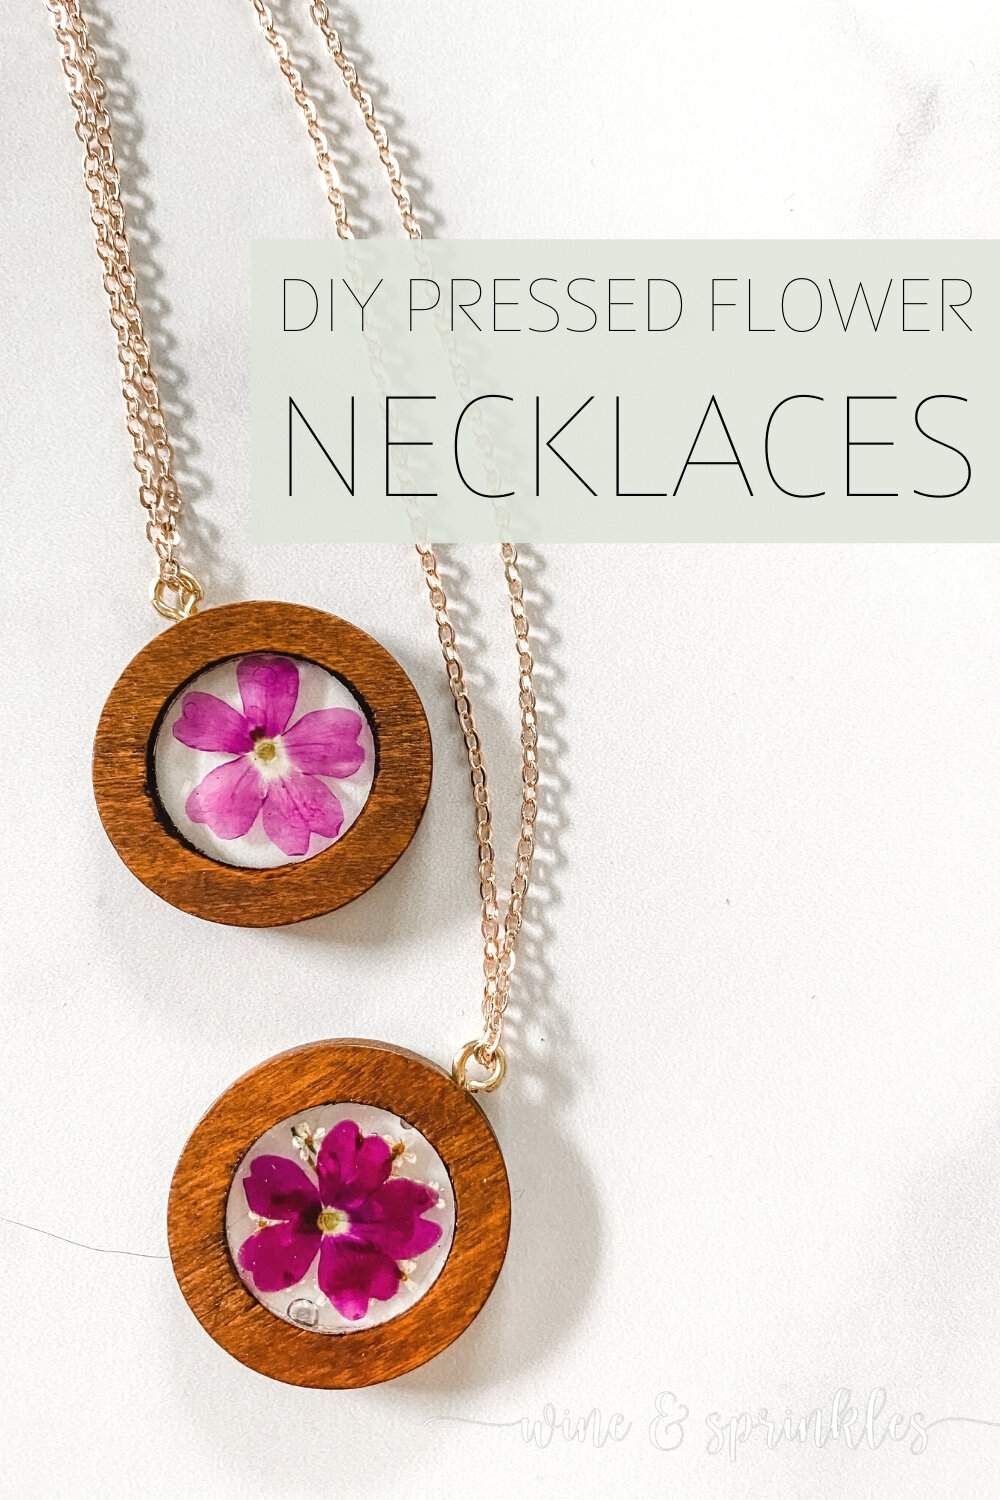
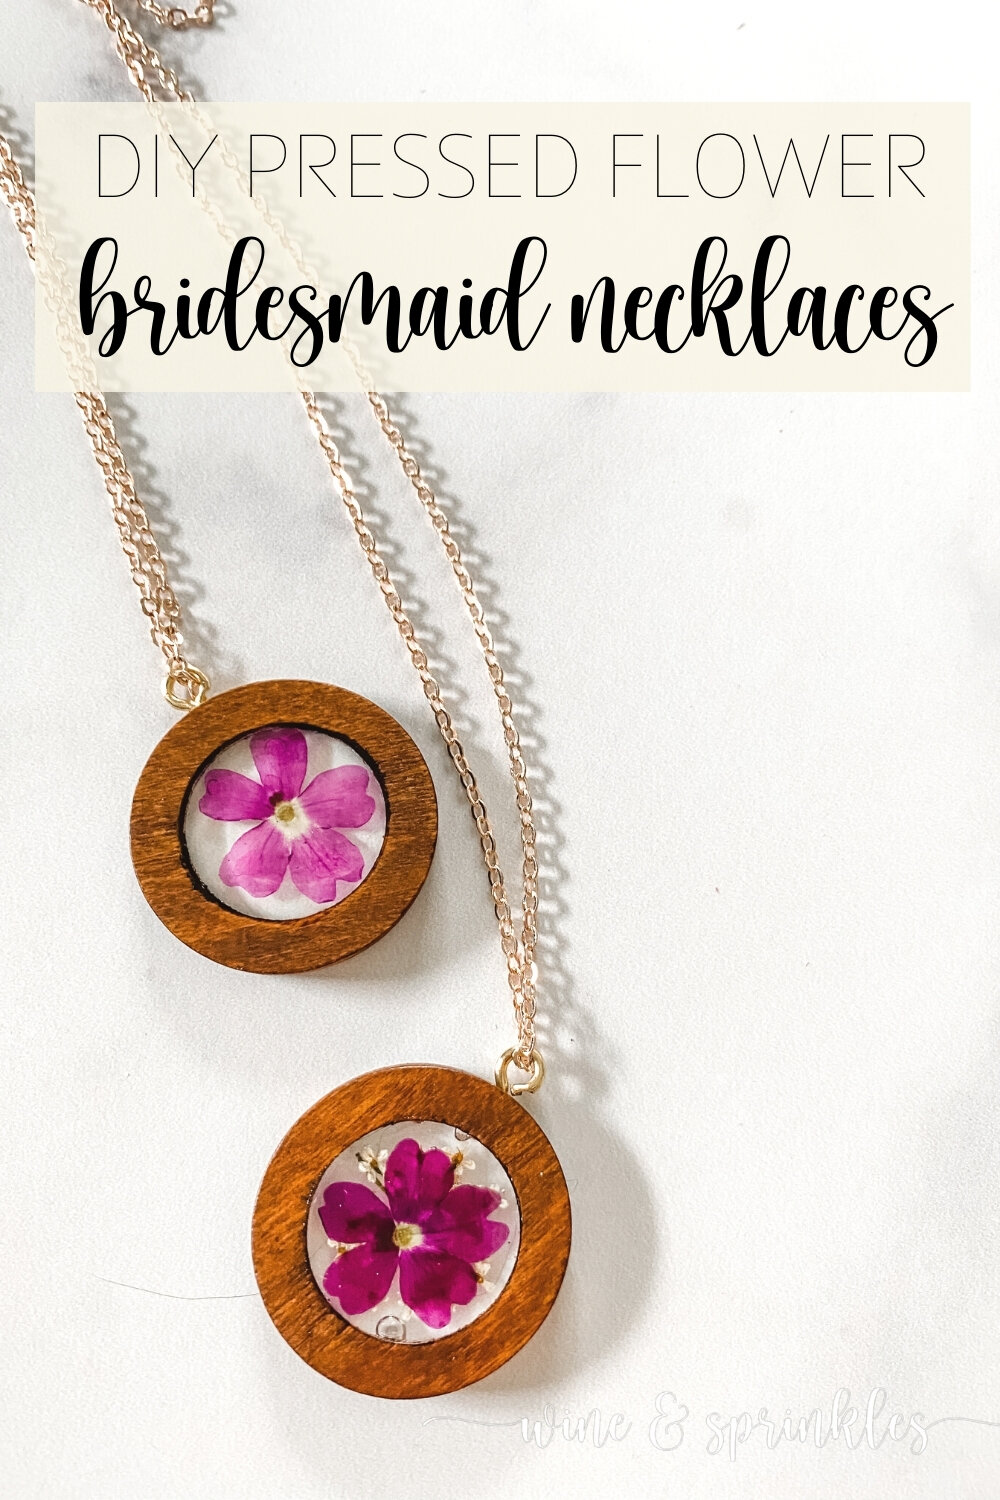
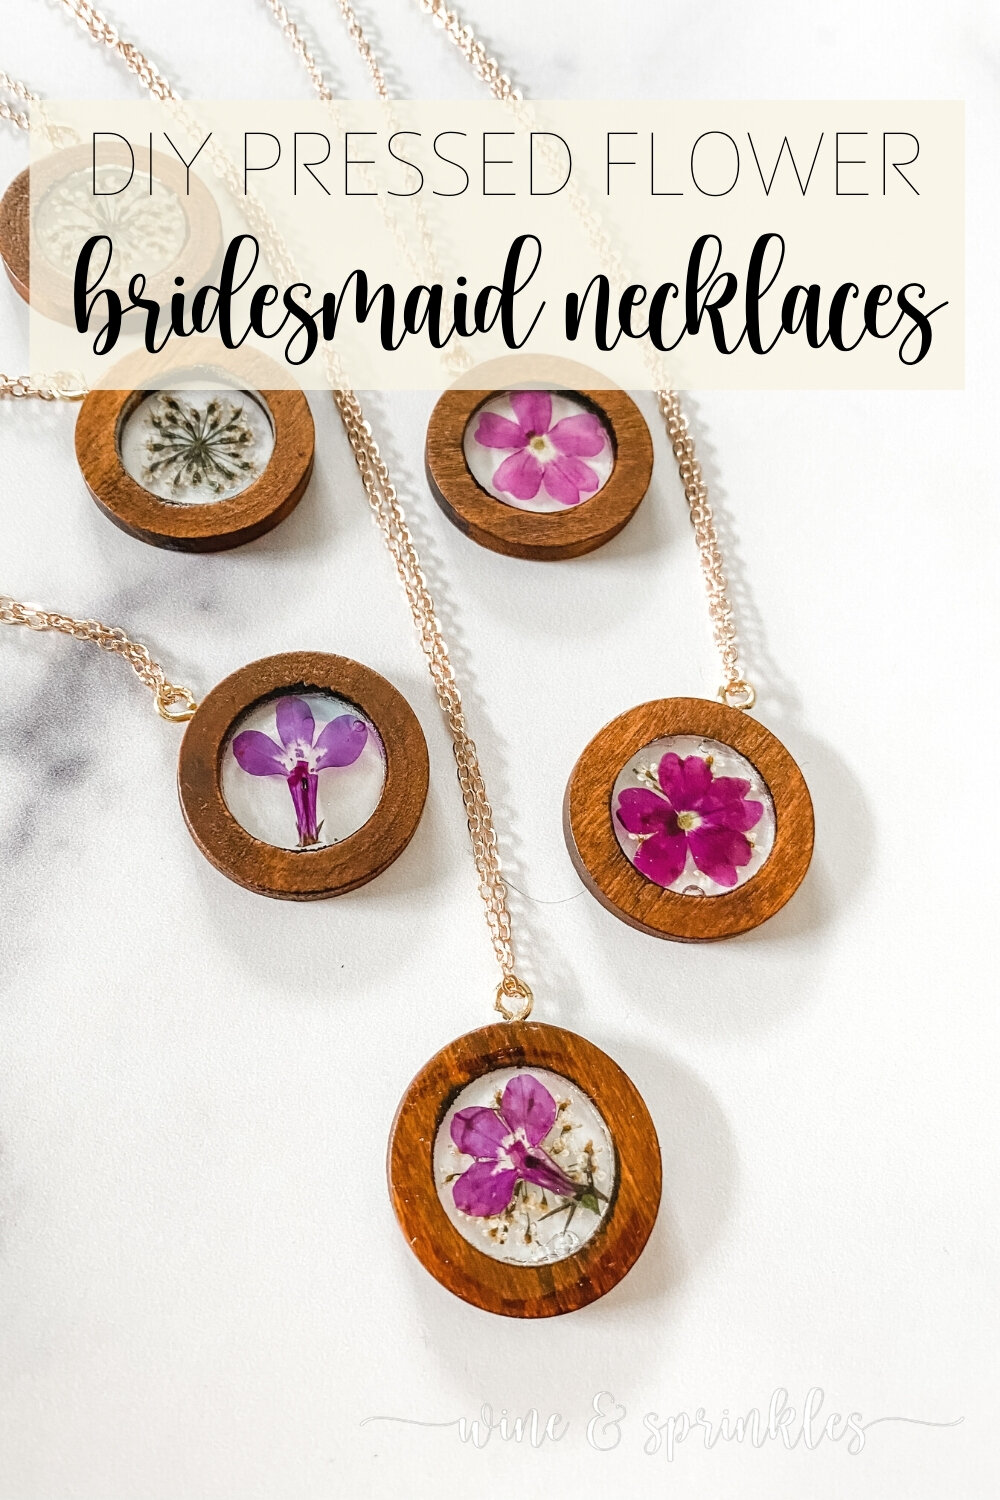
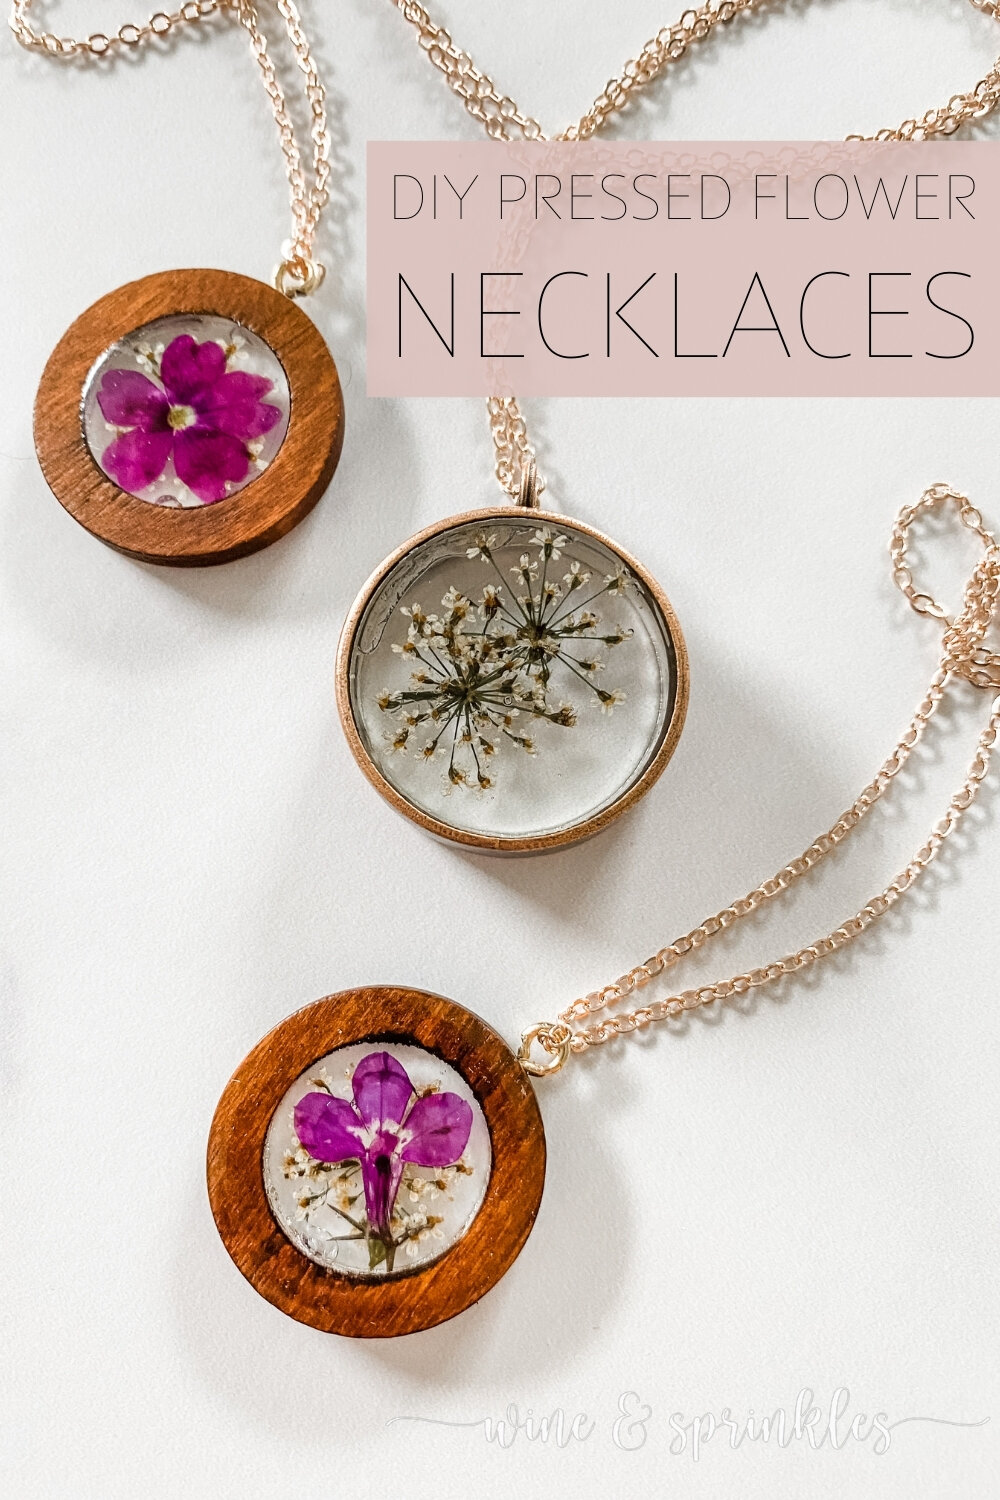
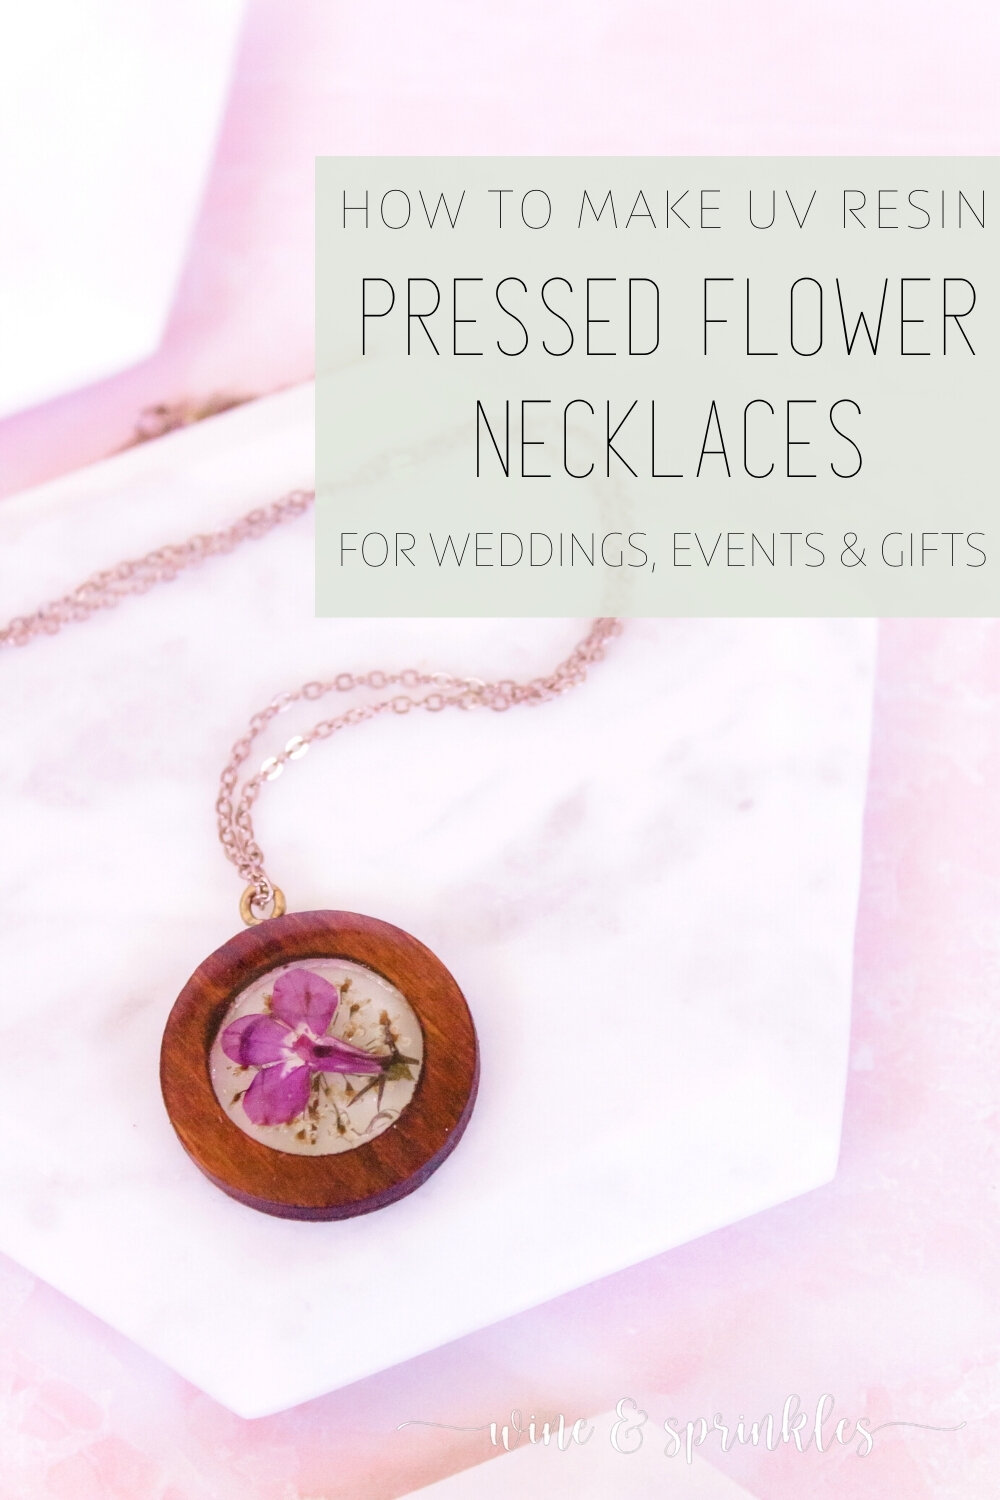
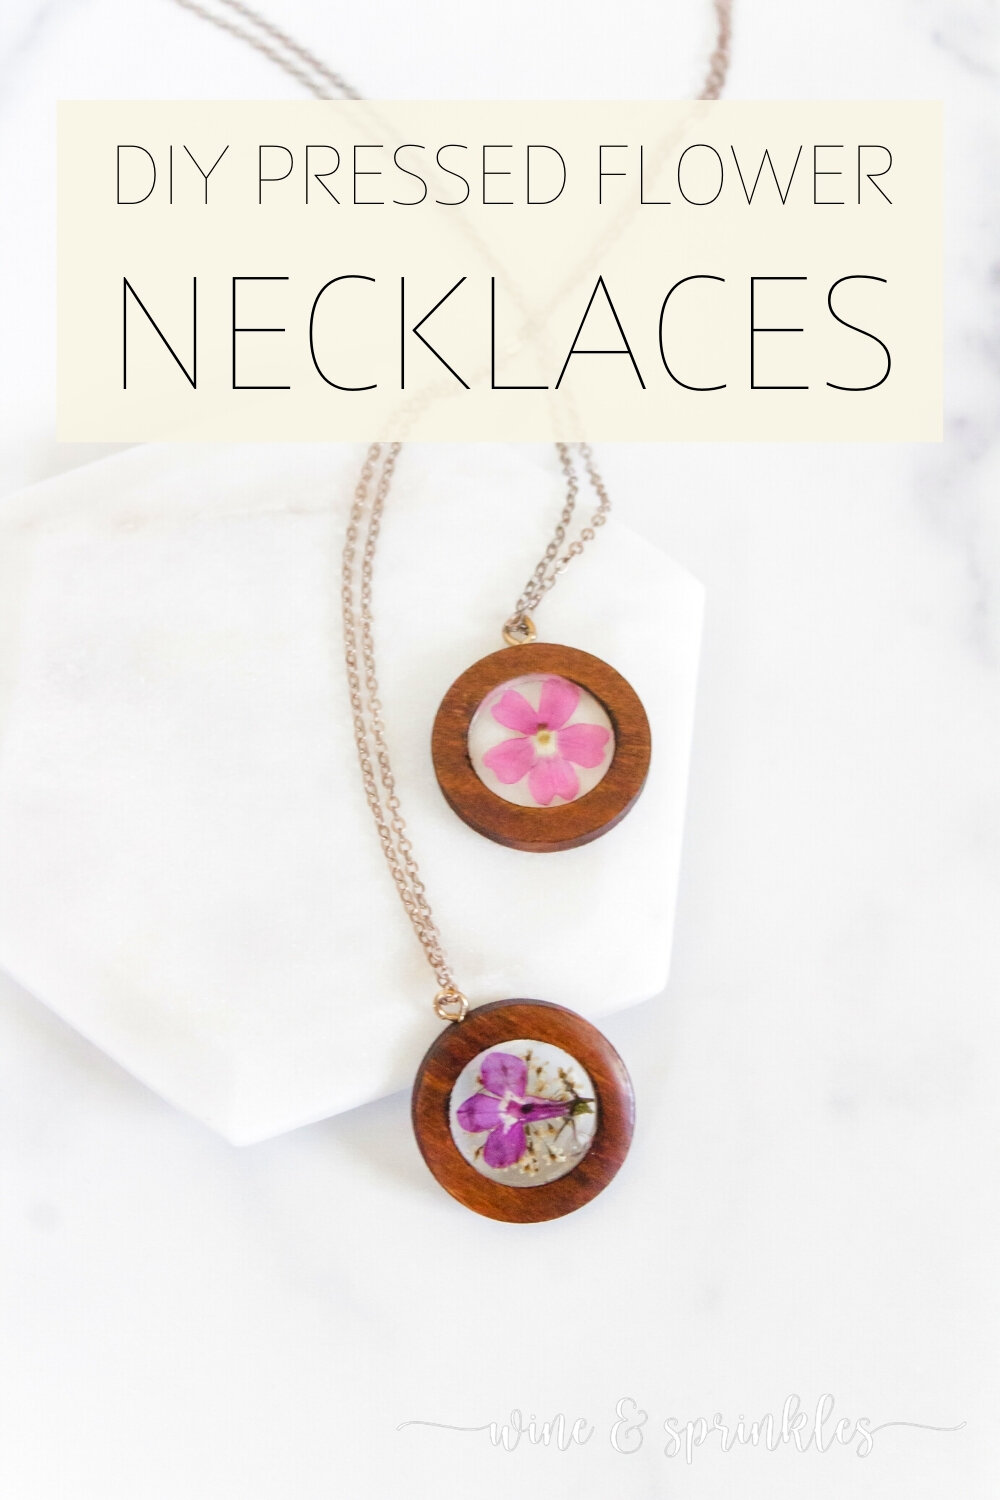
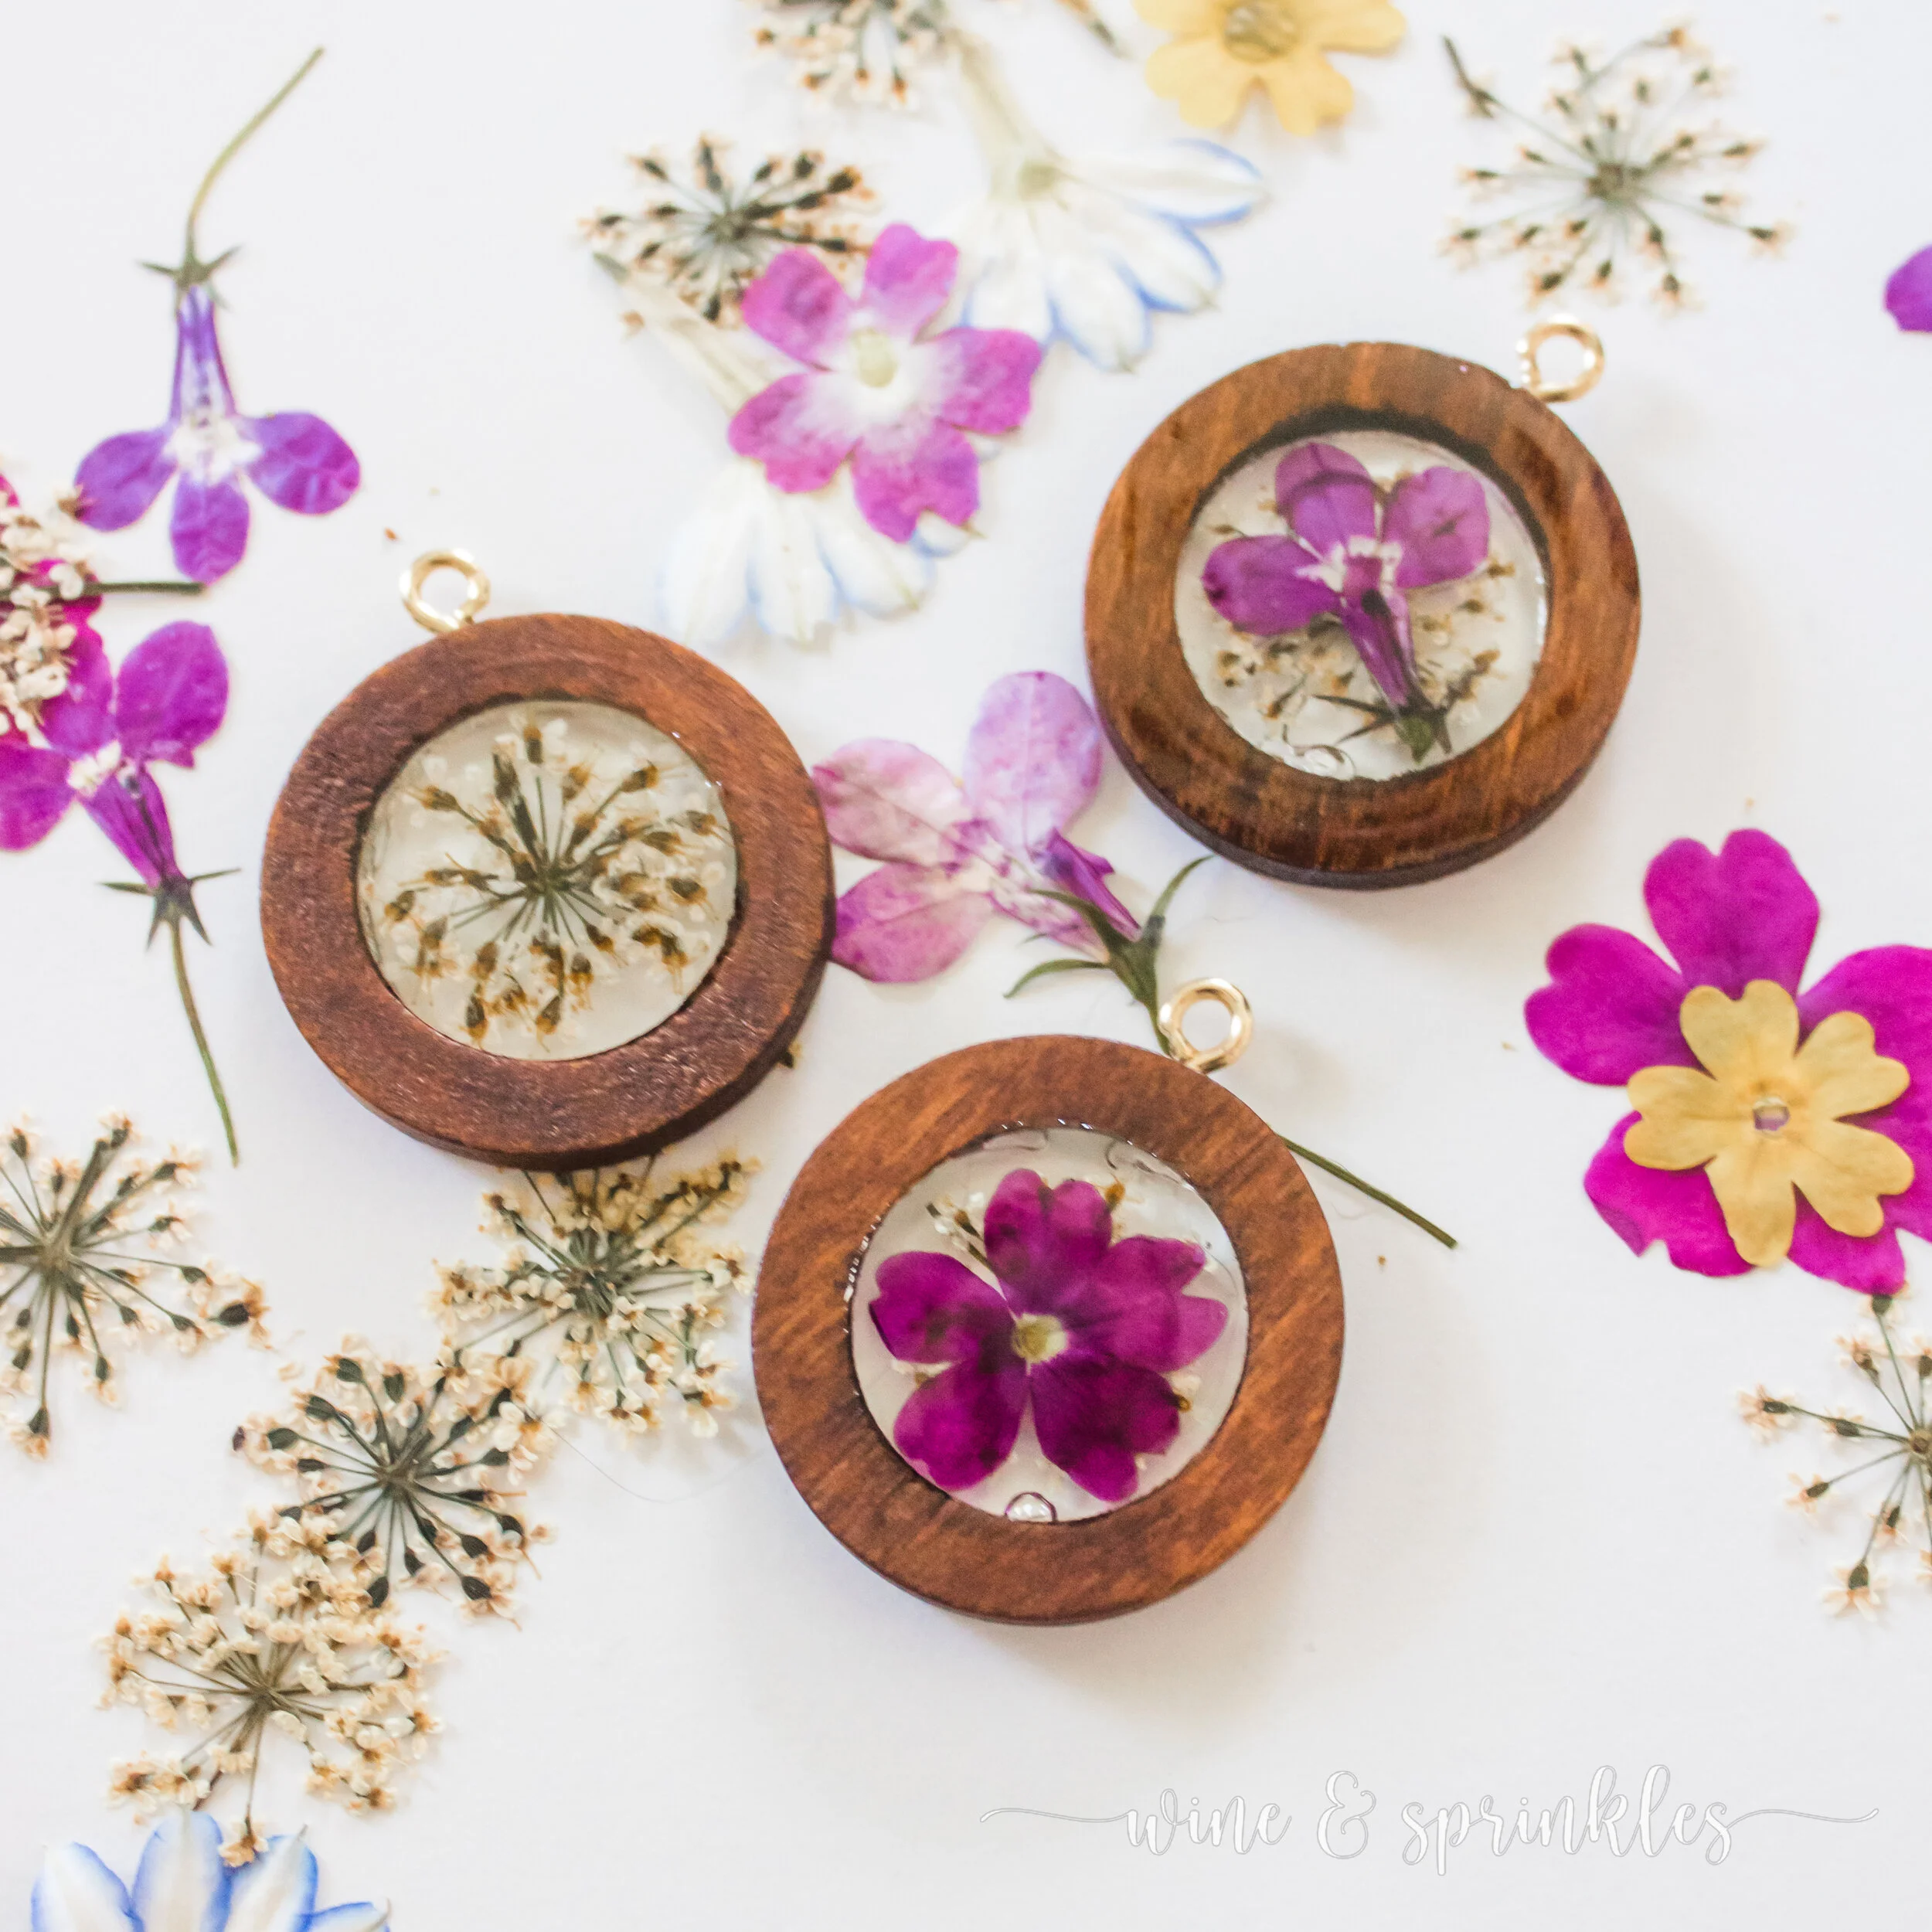
The best part of spring and summer for me are all the beautiful blooms that come out after the cold snowy winter, and I’m always wanting to find new ways to use flowers in my DIY Projects. For my Goddess of Spring Cocktail Party, I wanted to send all my guests home with a little something to commemorate the day and for them to wear during the party, so all my ladies went home with beautiful necklaces, each inlaid with pressed flowers between two layers of resin. While I used these as upscale party favors for my 30th birthday, they are perfect to give as Holiday Gifts, Bridesmaid Gifts, or to make for yourself and add a little flower power to your wardrobe!
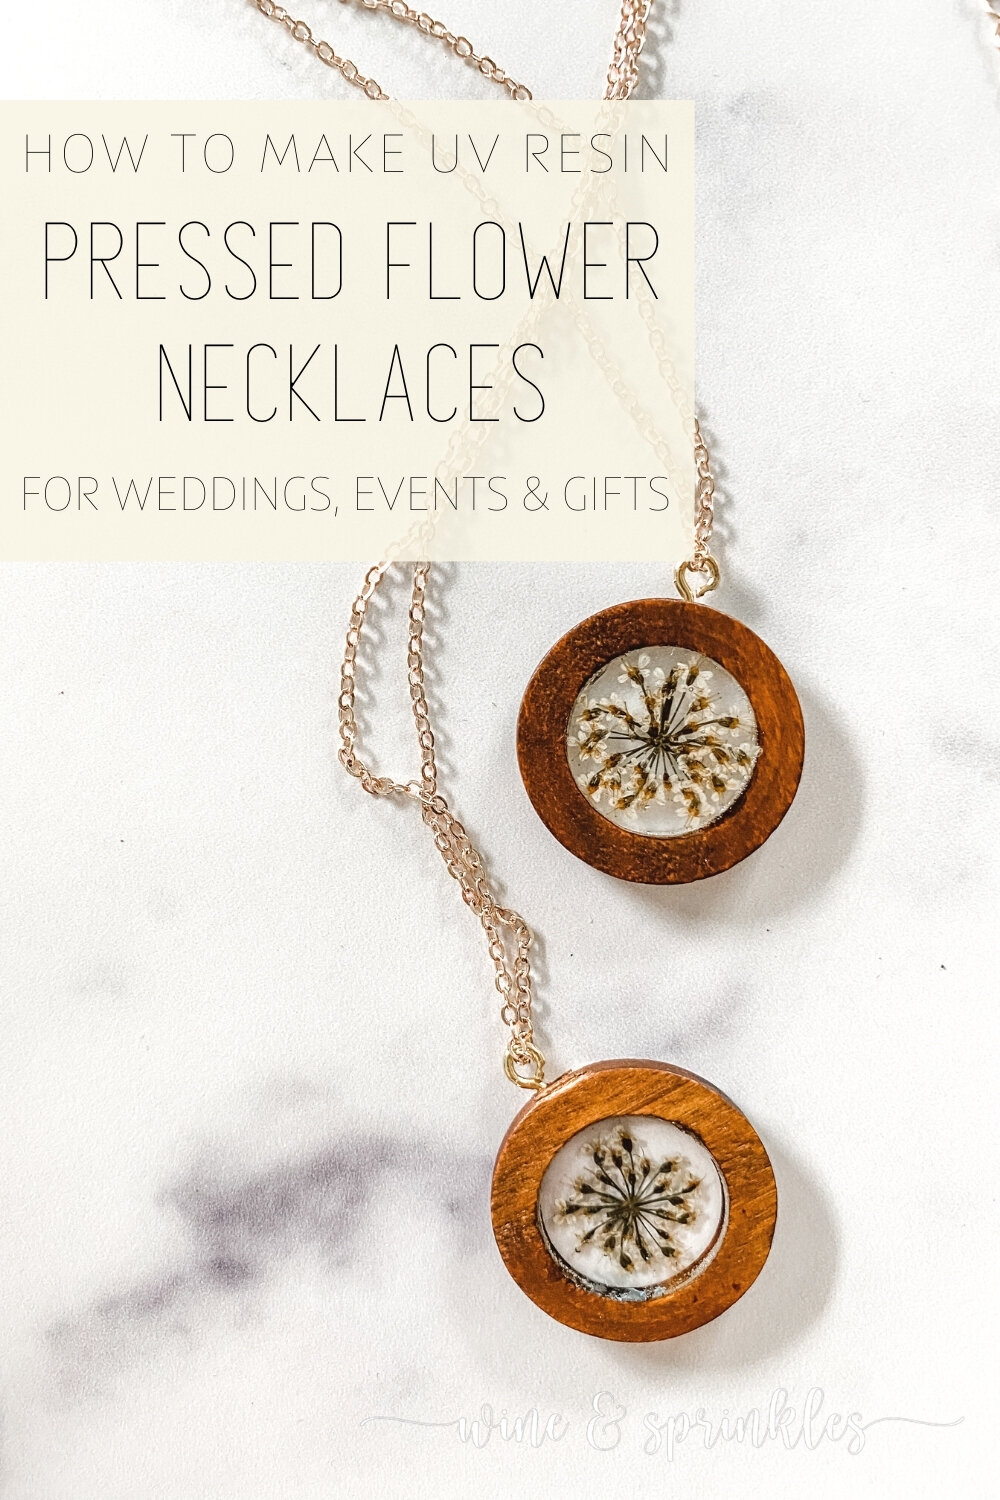
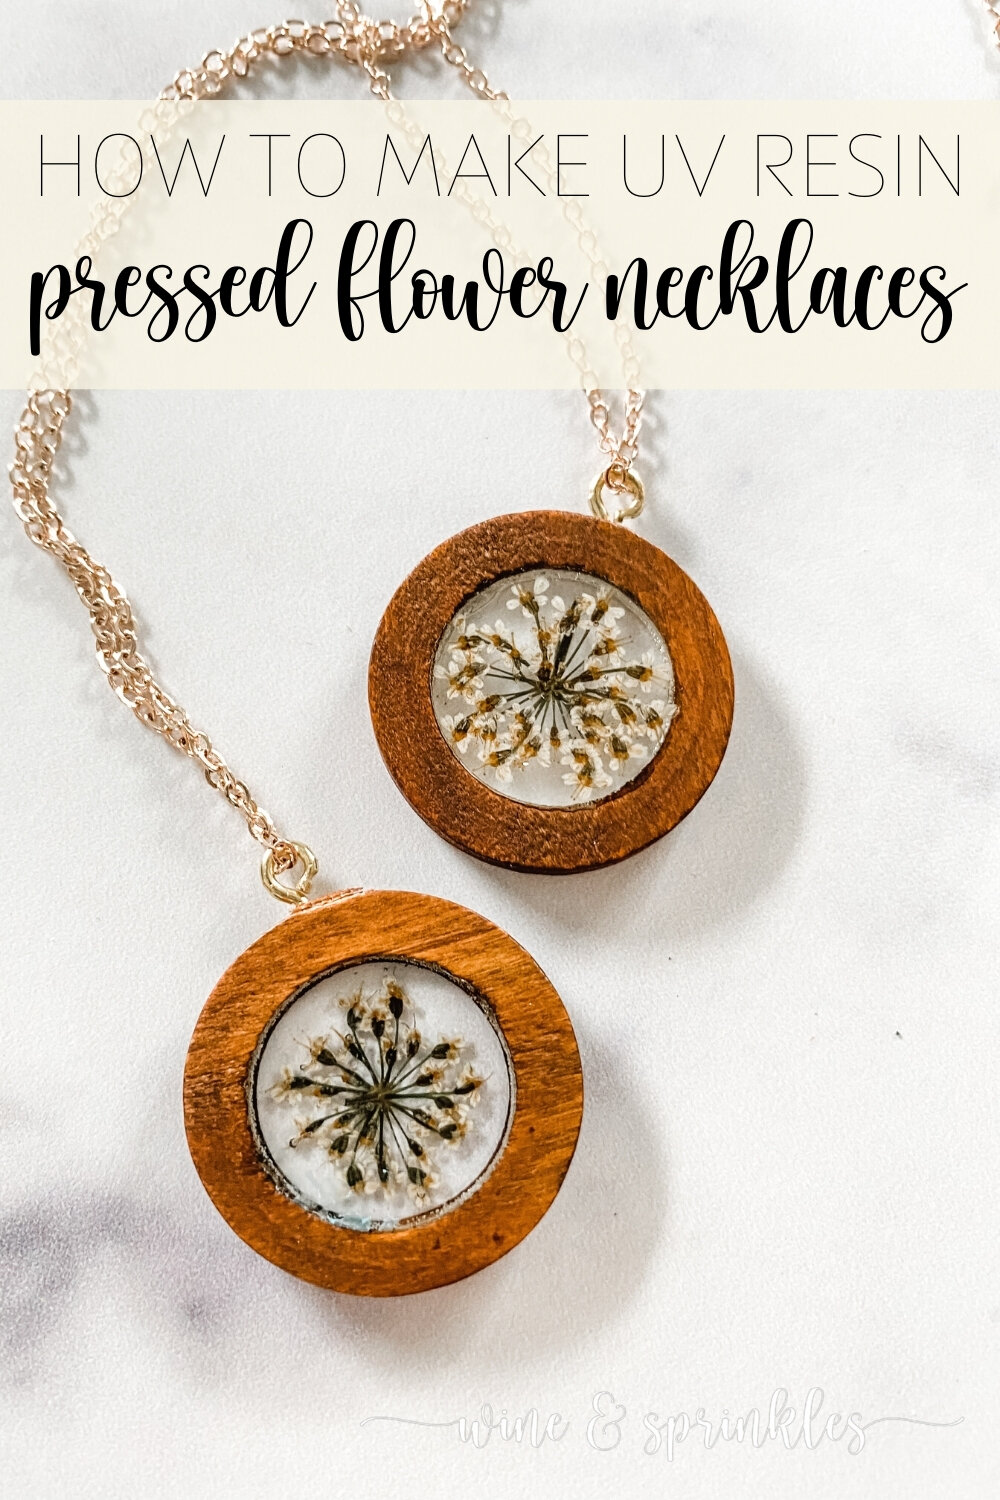
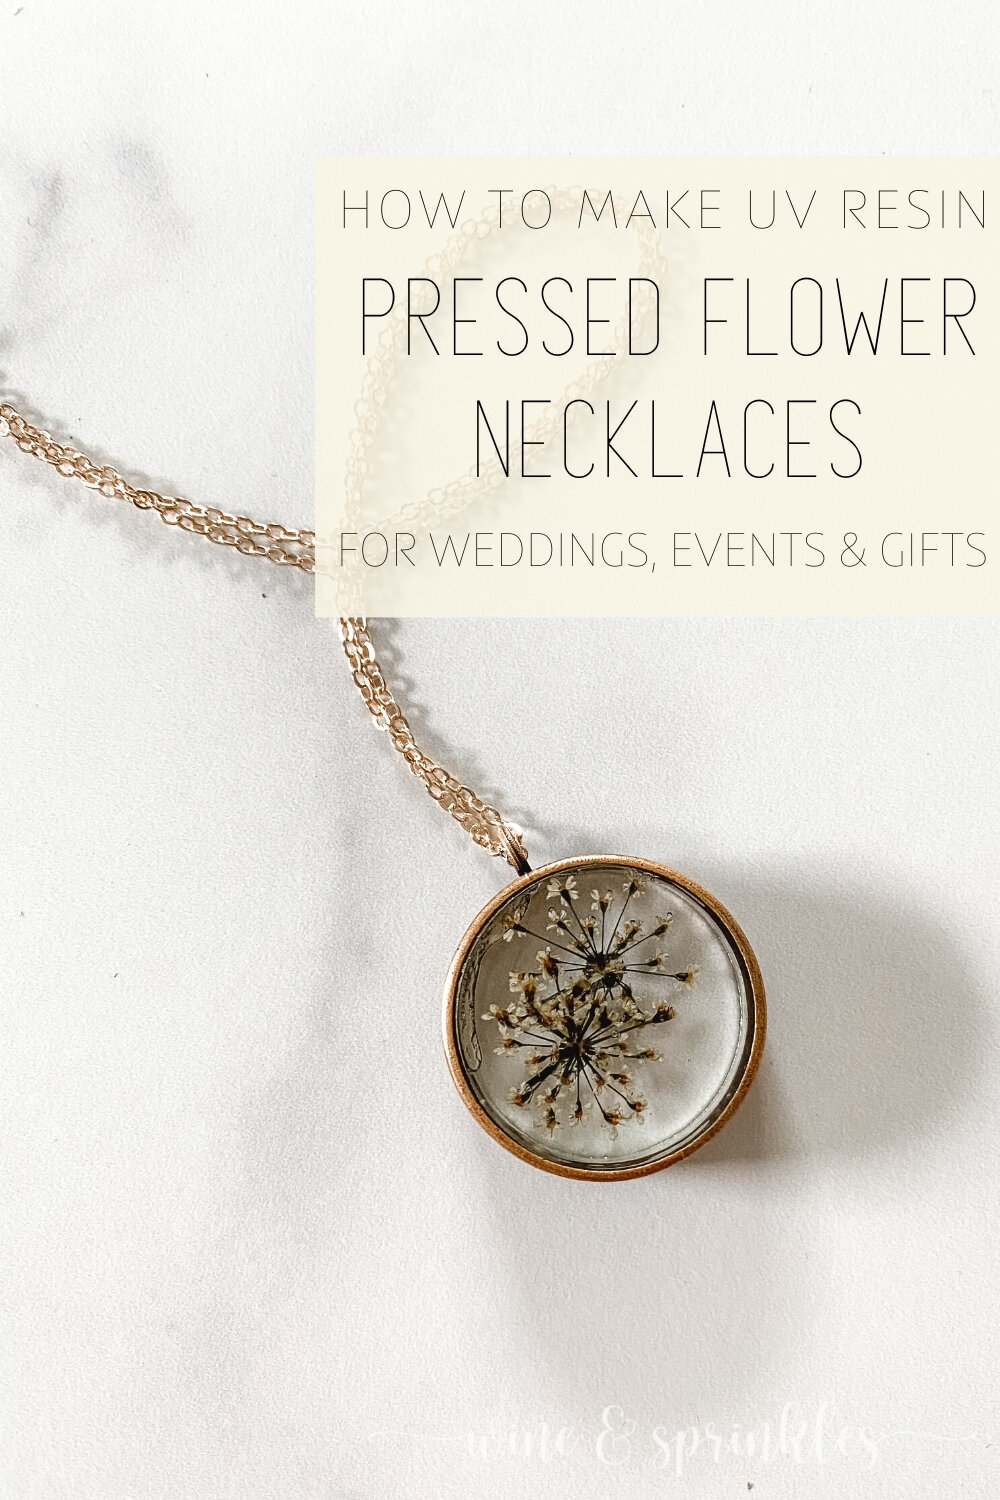
For these necklaces as well as their Tie Clip and Cufflink counterparts, I used UV resin because my previous experiences trying cast resin with flowers led to colors bleeding and fading, which led to trying multiple layers of resin spray before casting. This sealed the flowers only part of the time, and worse, many would stick them to the wax paper I was using, then rip when I tried to remove them, so I couldn’t use them at all! Enter the faster curing UV Resin, which solved these problems with its quick cure time!


This was my first time working with UV Resin, and I will say it is a little trickier to cure than traditional cast resin. Anything that isn’t clear for UV Resin interferes with its ability to cure, so the flower’s colors and the quicker cure times under UV lights will sometimes cause bubbles to form during the curing process. The best way I found to avoid this was by creating a bottom layer in each pendant, curing it, then placing my flowers and a top coat, then curing a second time. This worked well, but there were still several pendants that would form bubbles, so having the pendants and flowers to make more than you need is a good idea.
Bubbles or no, these beautiful necklaces stunned my guests, were beloved at the time, and still are a part of all our spring and summertime accessories! I can’t wait to continue working with different jewelry pieces and resin projects, but these were the perfect place to start my journey as well as being the perfect floral footnote to a springtime flower fête.

SUPPLIES
JEWELRY MAKING SUPPLIES:

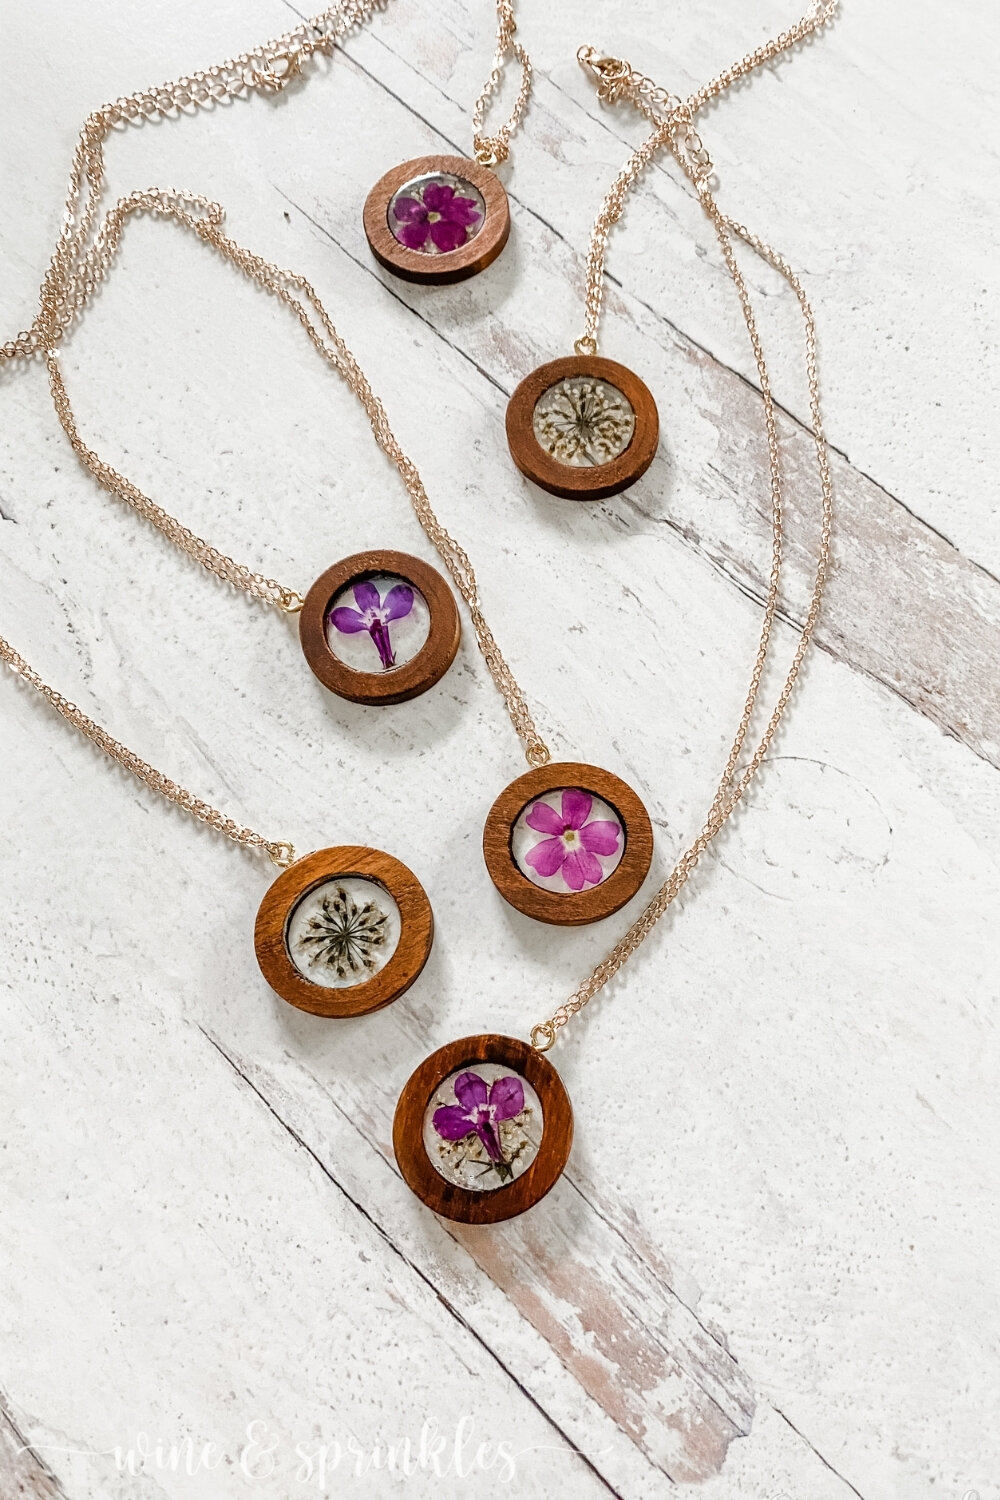
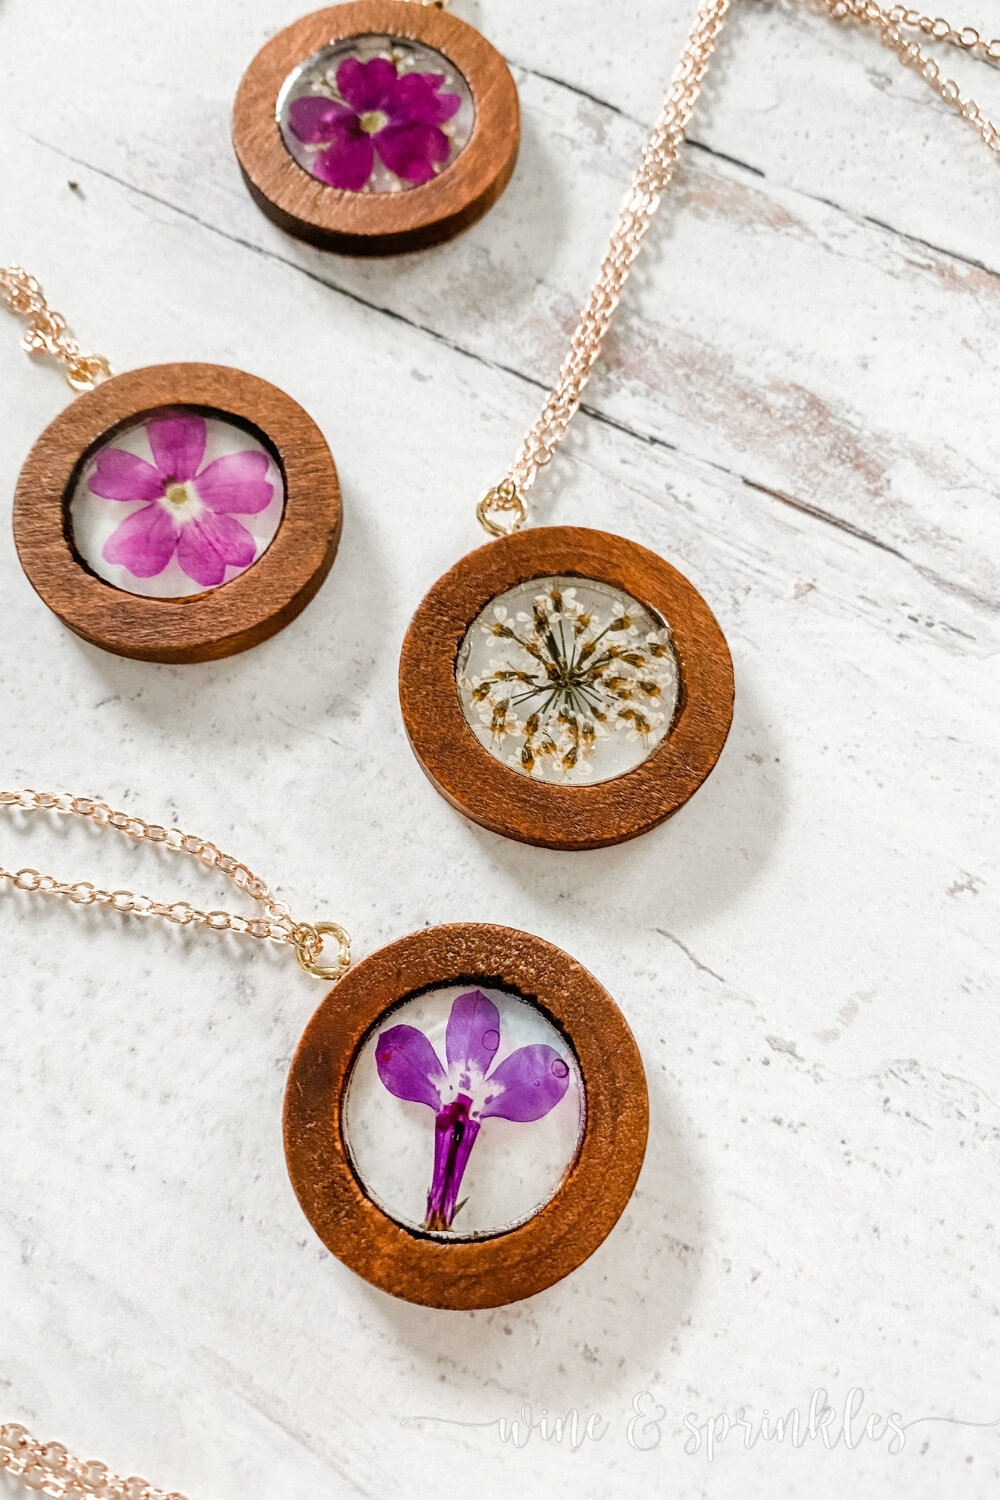
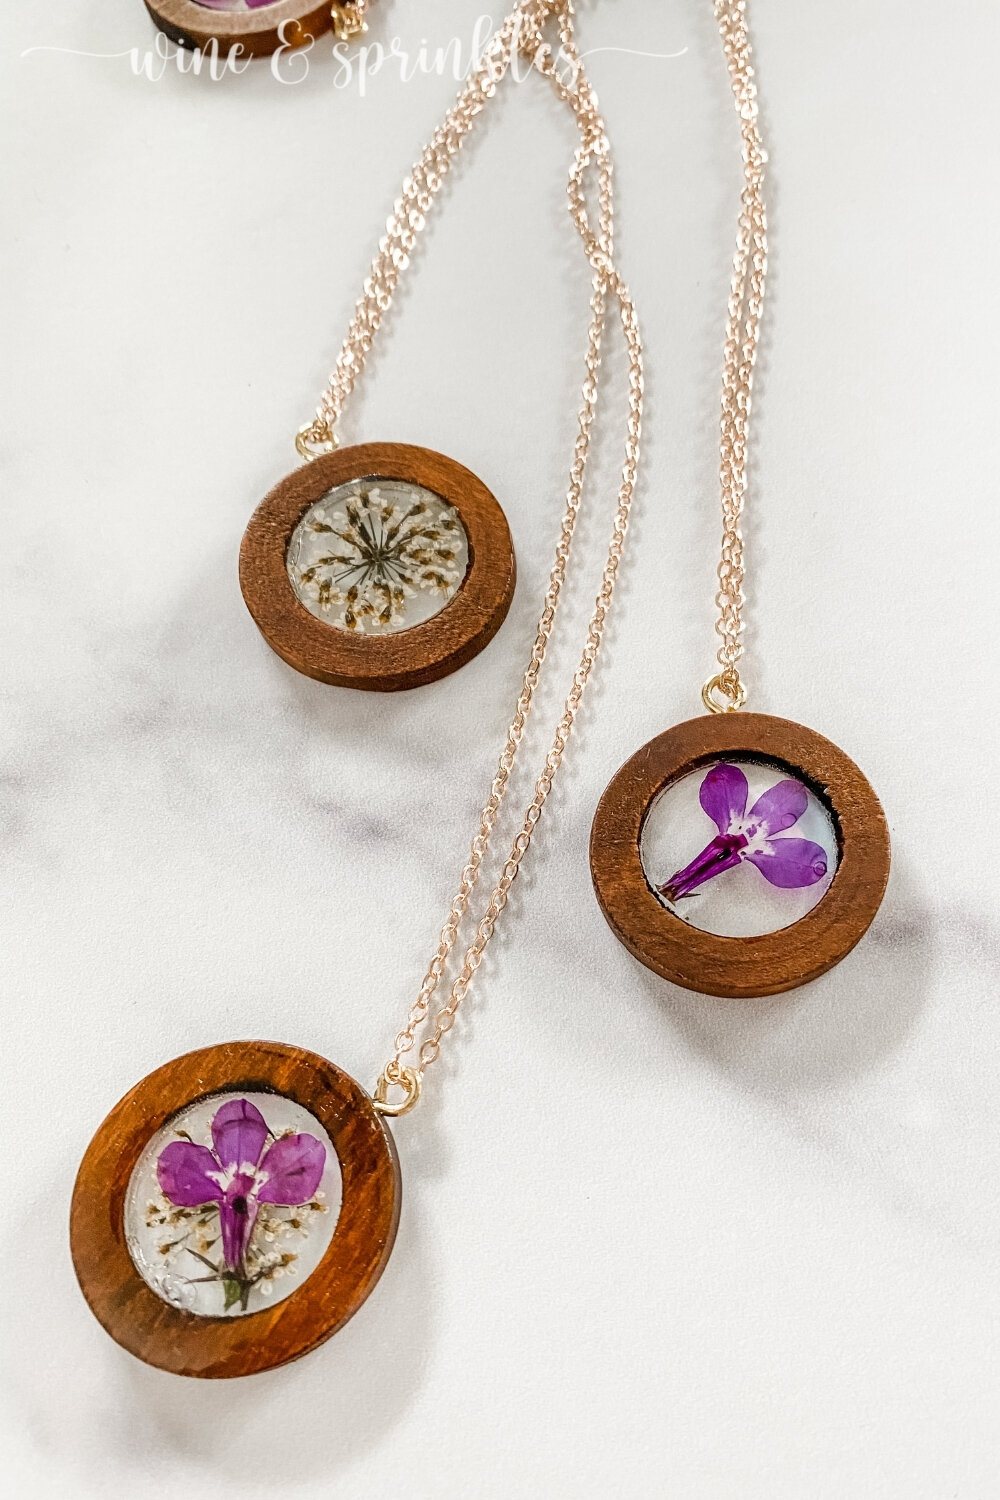
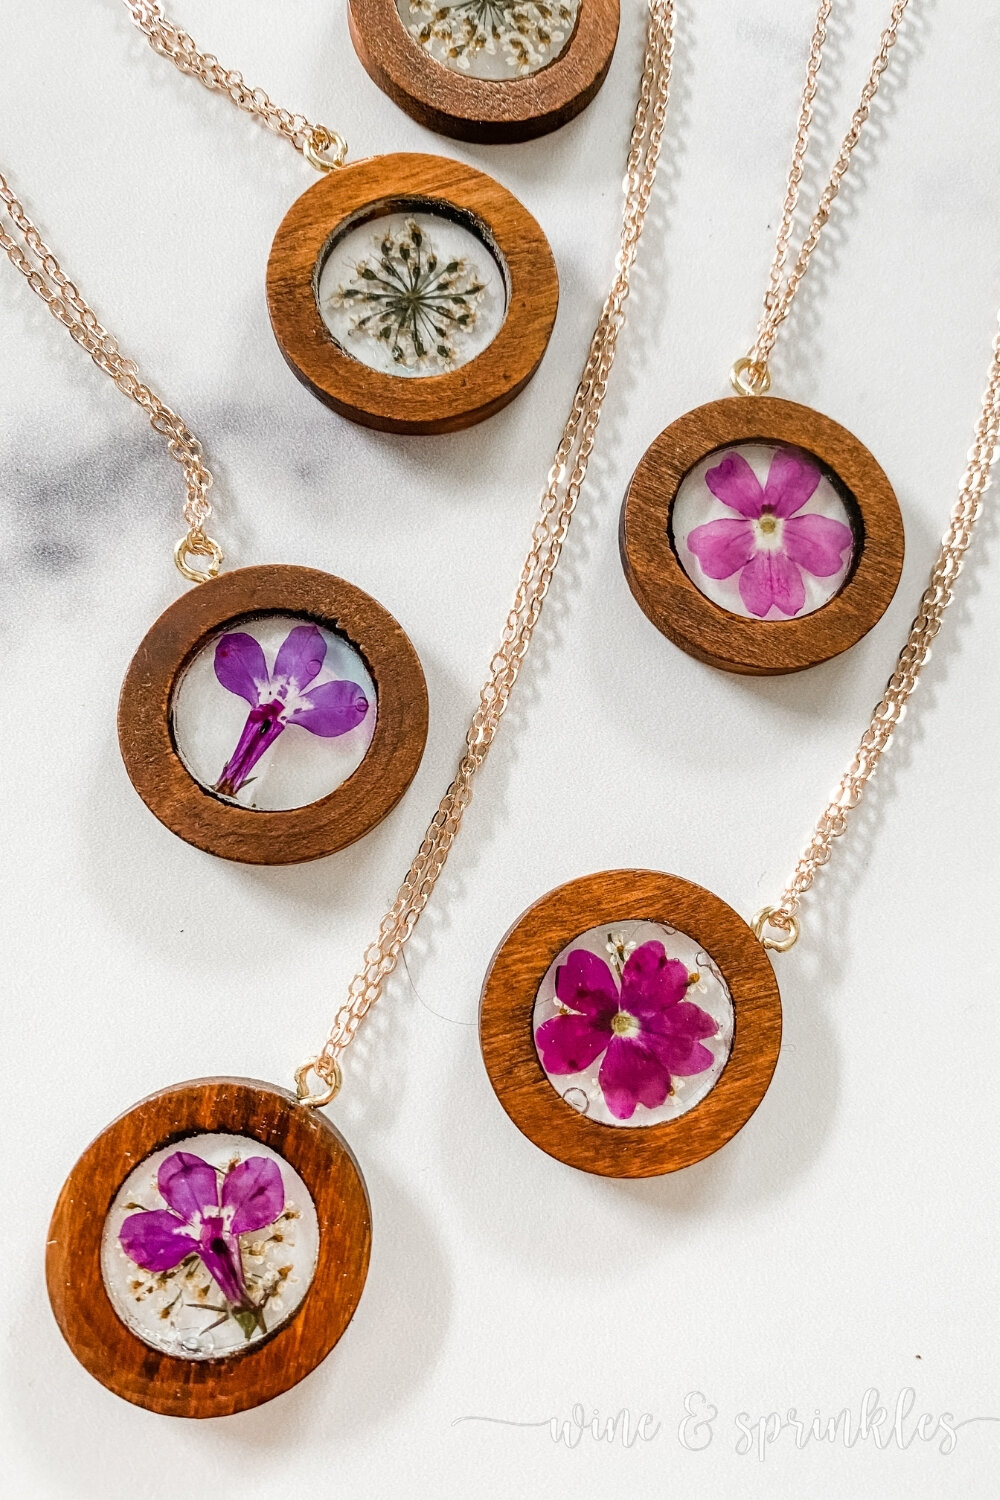
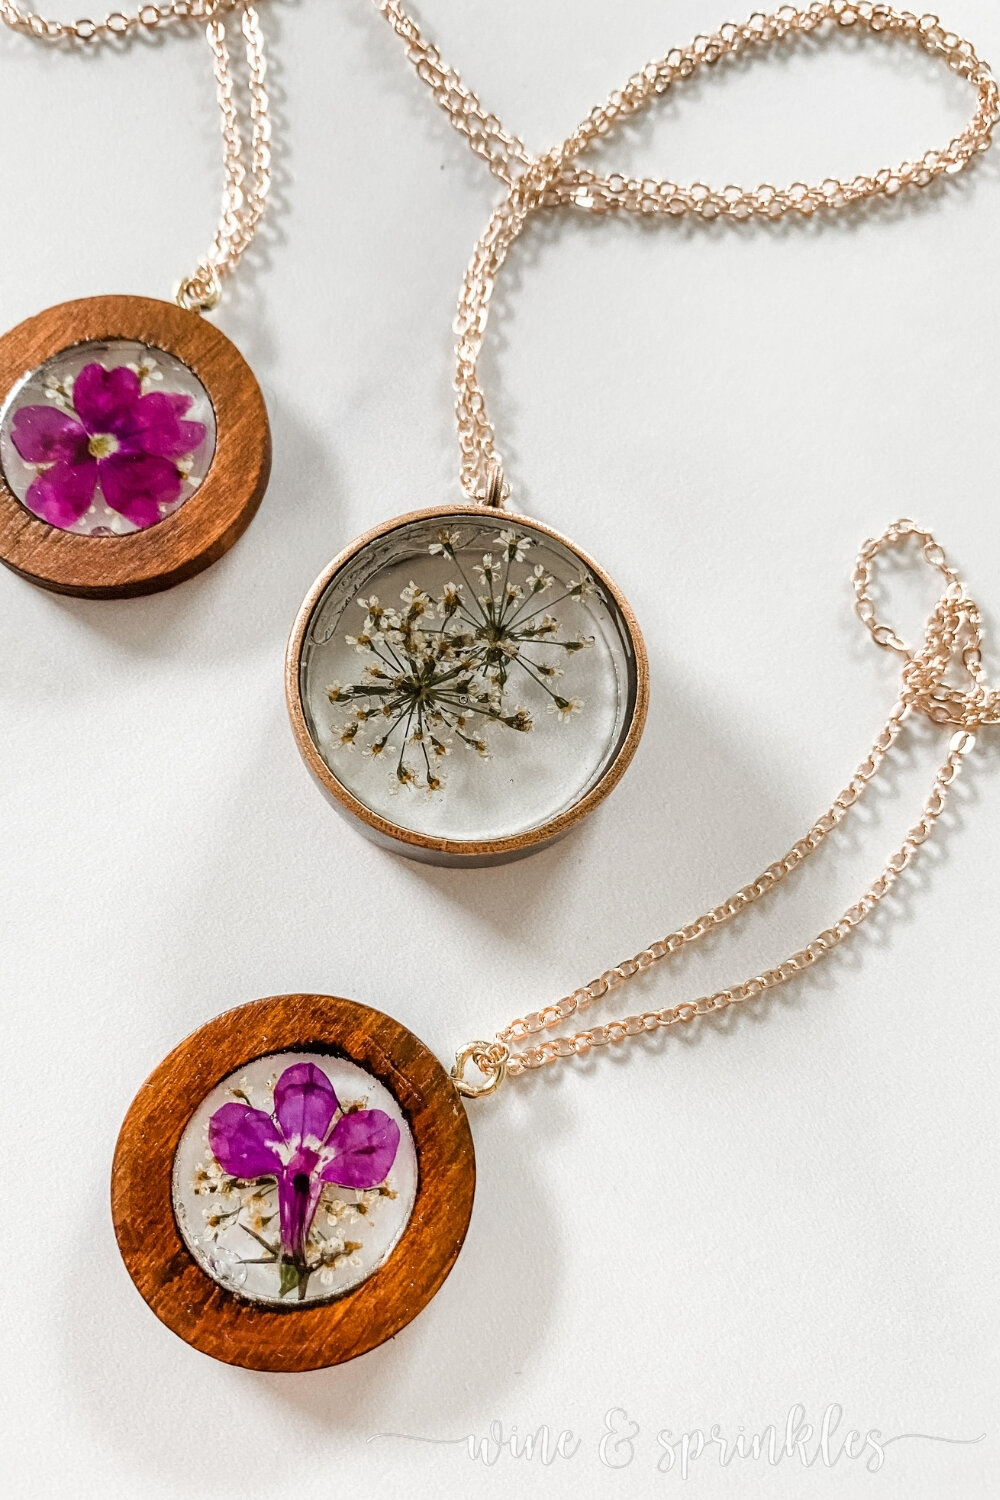
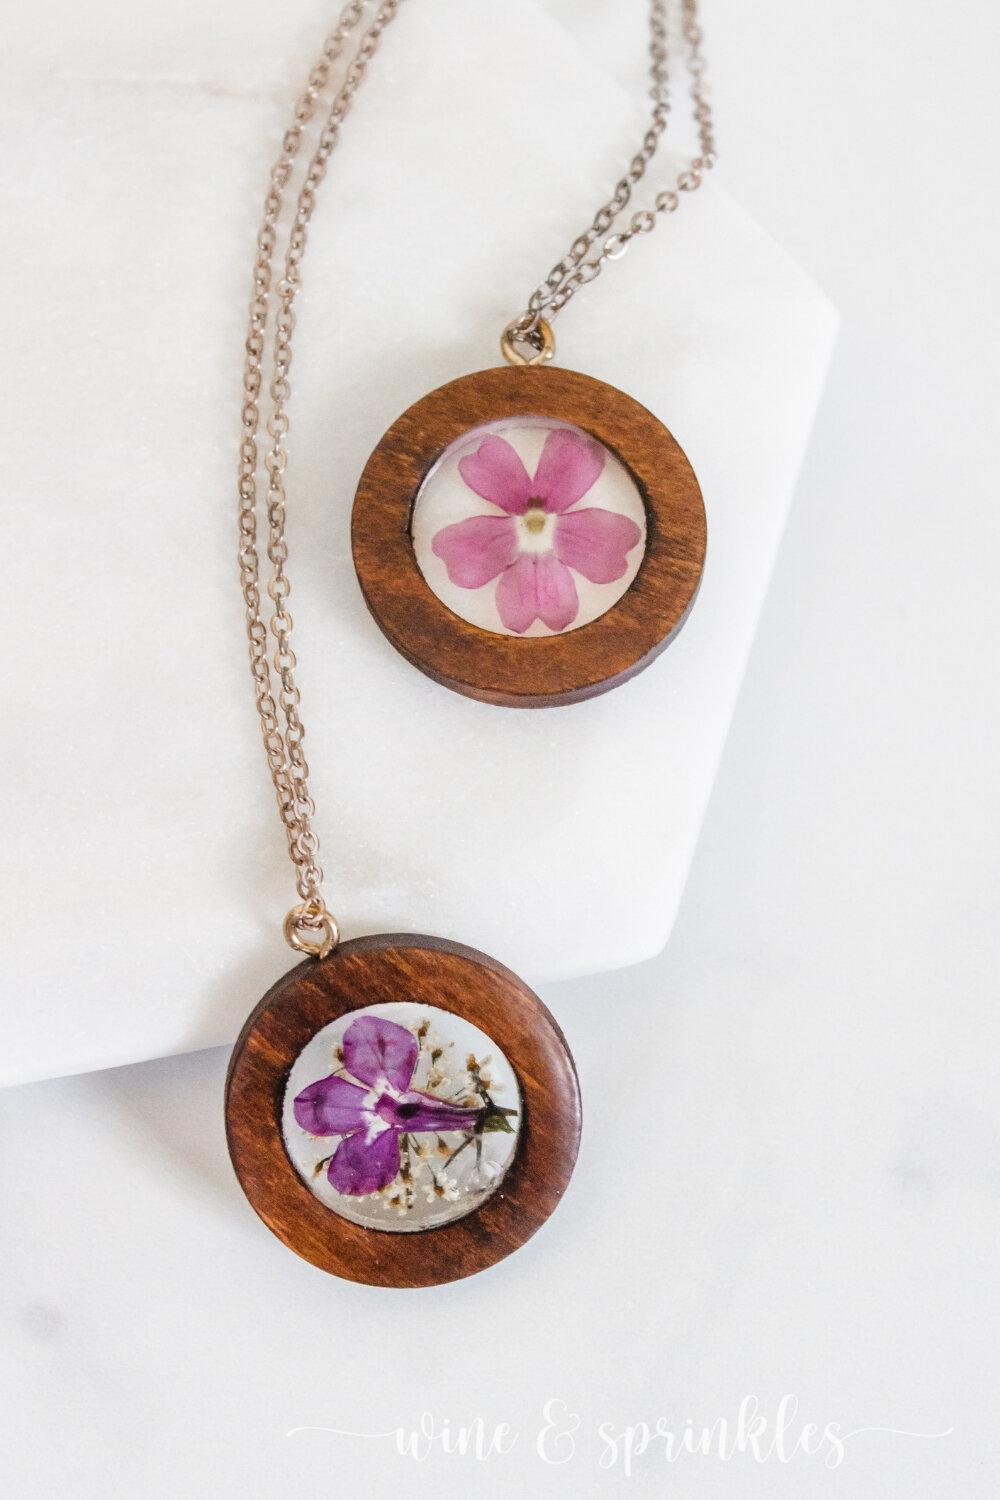
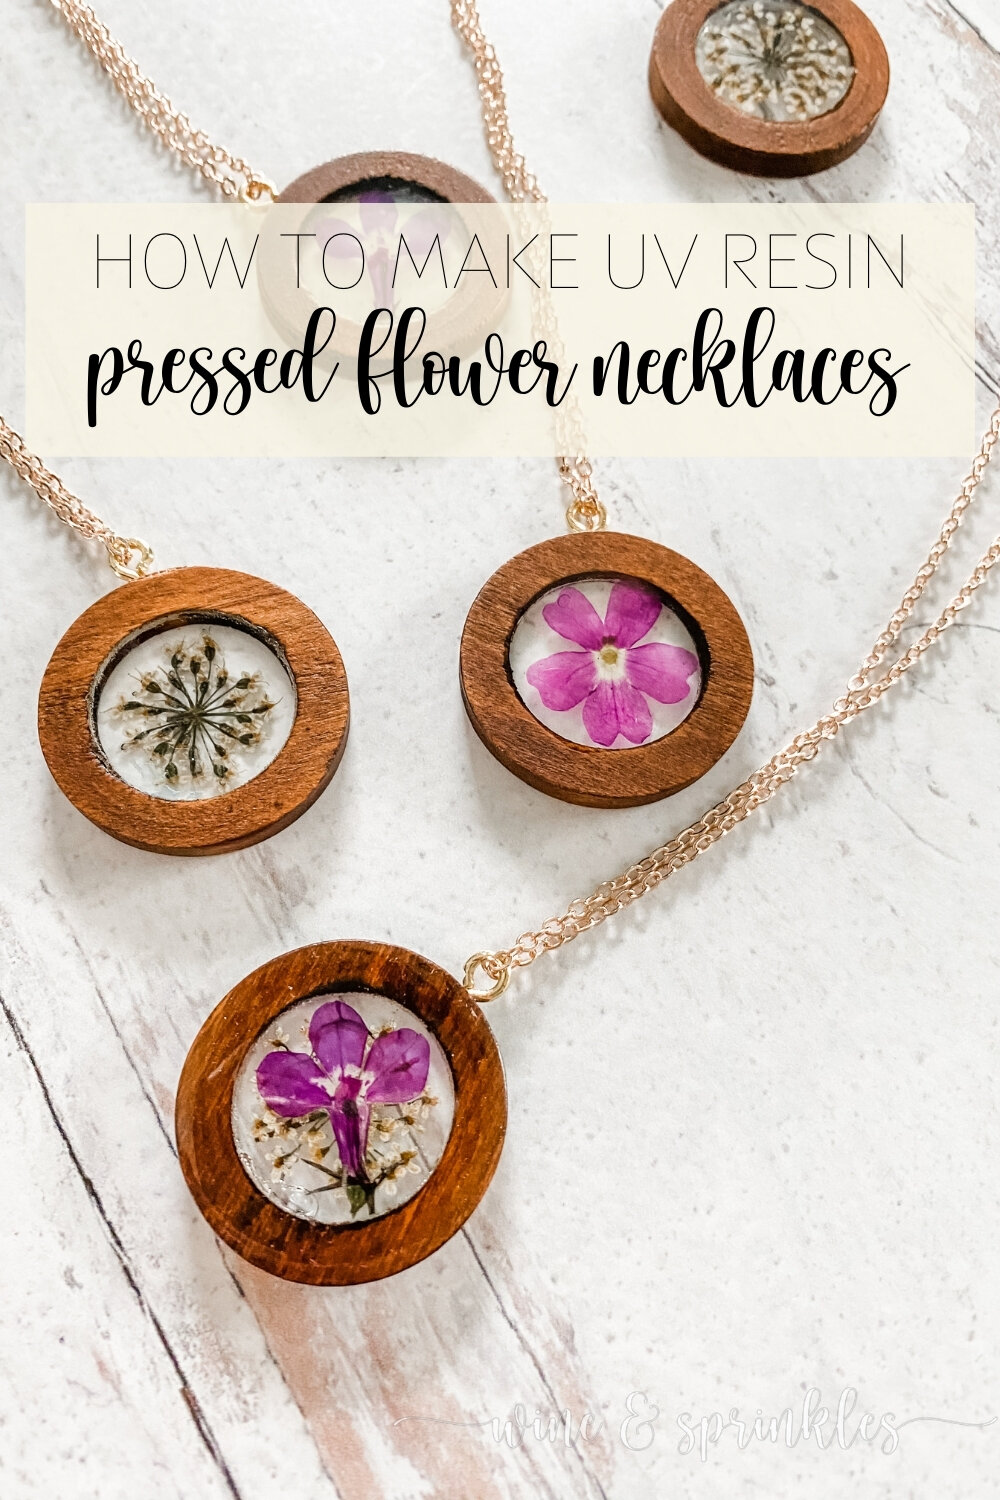
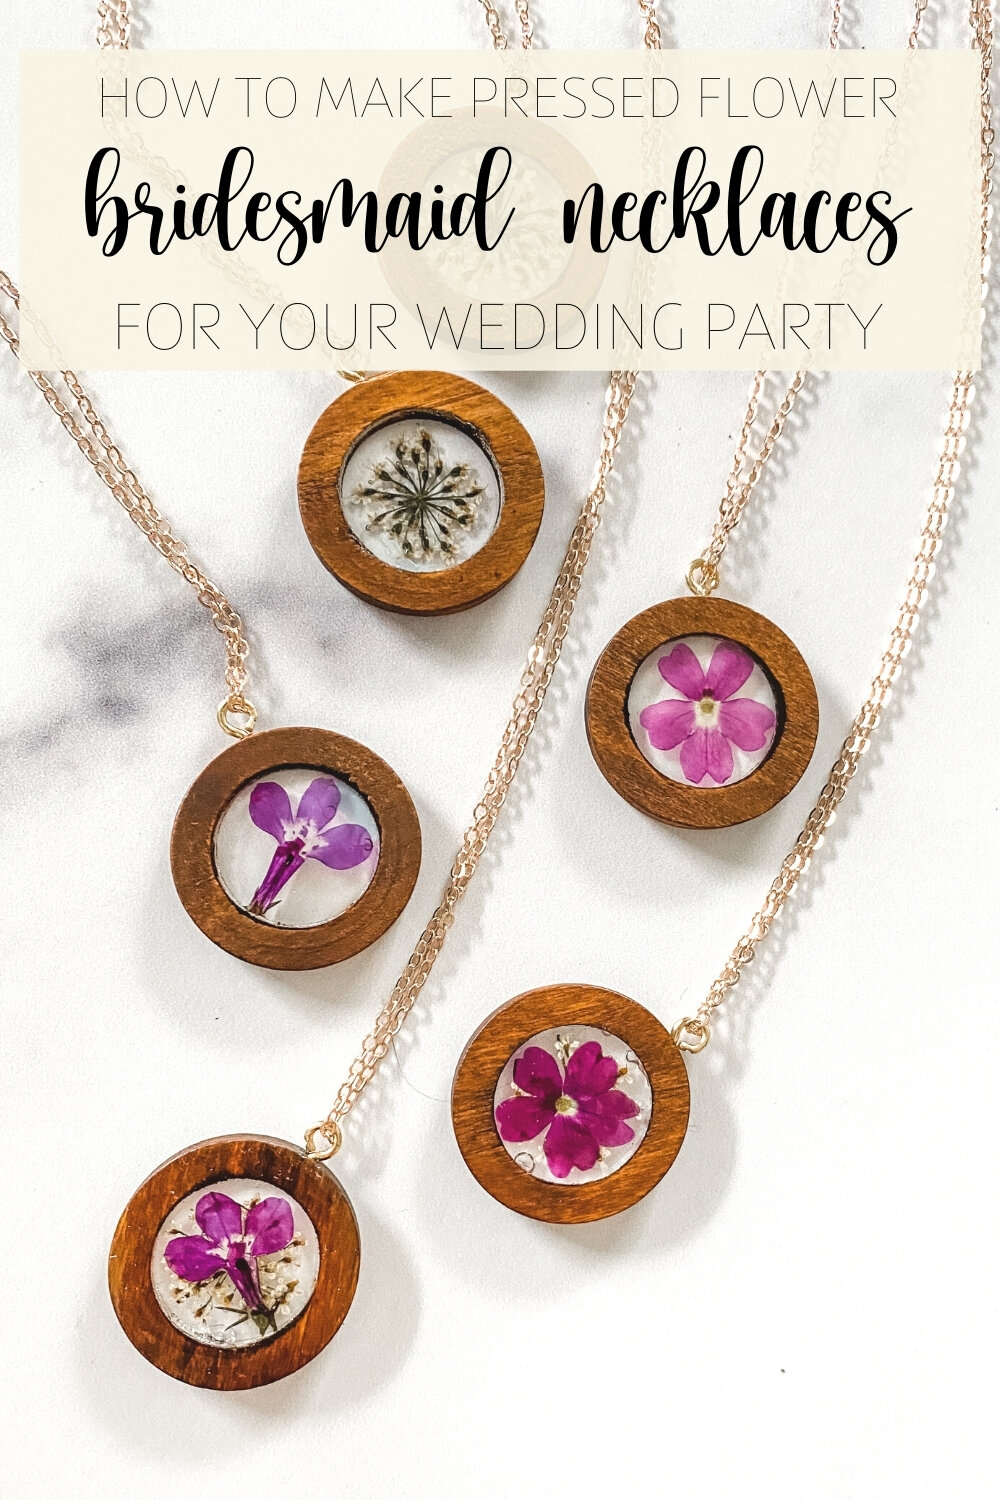
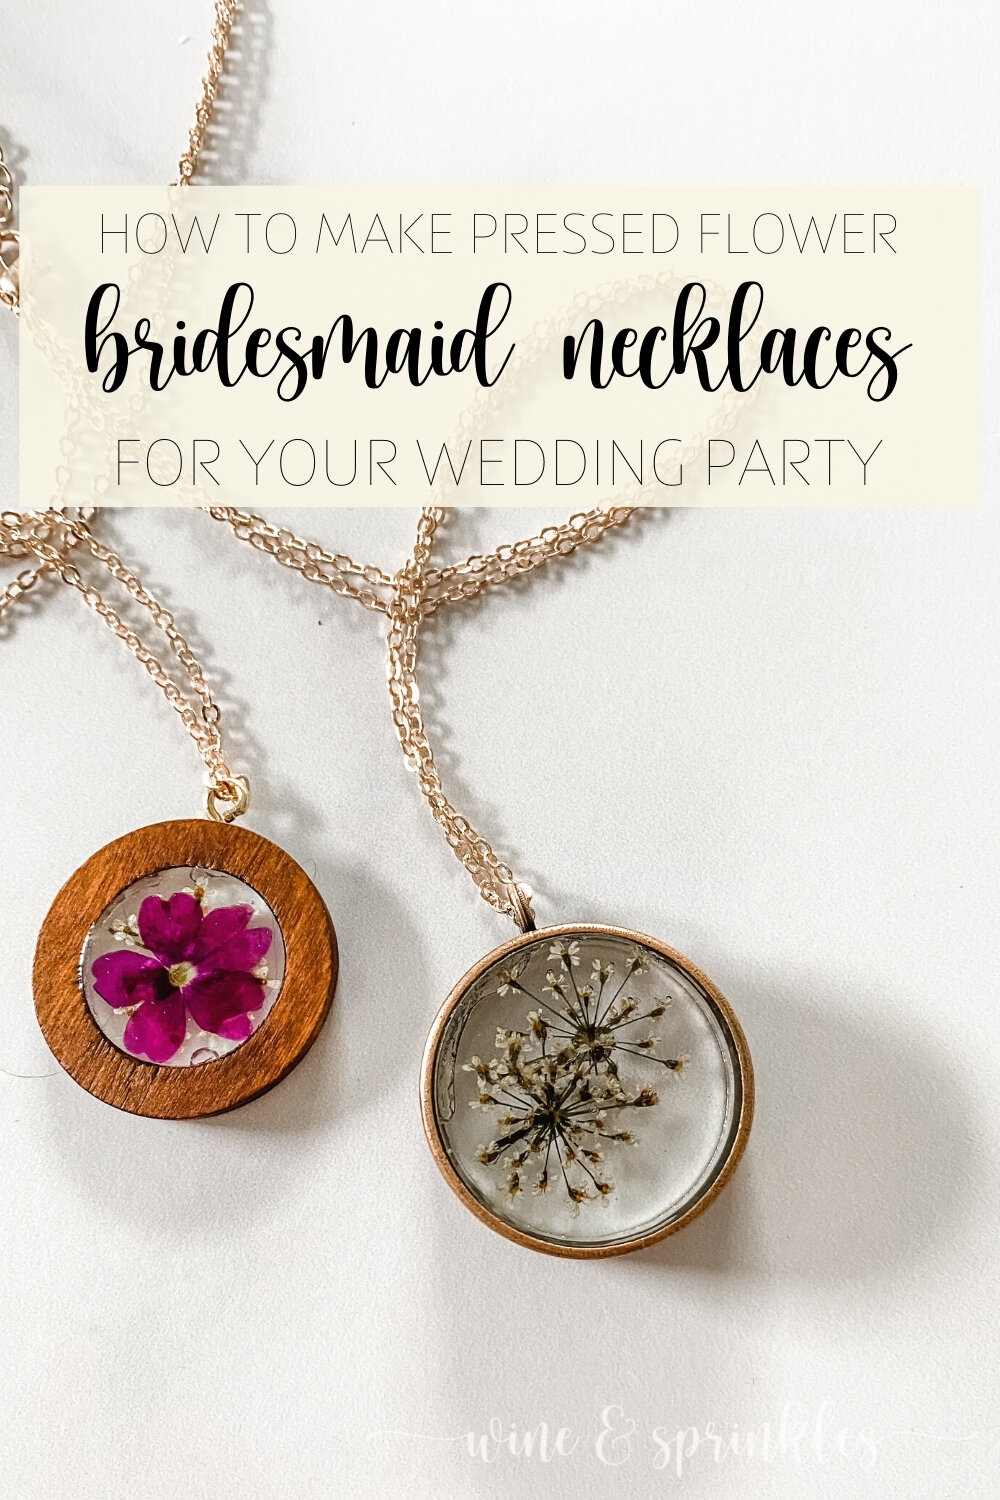
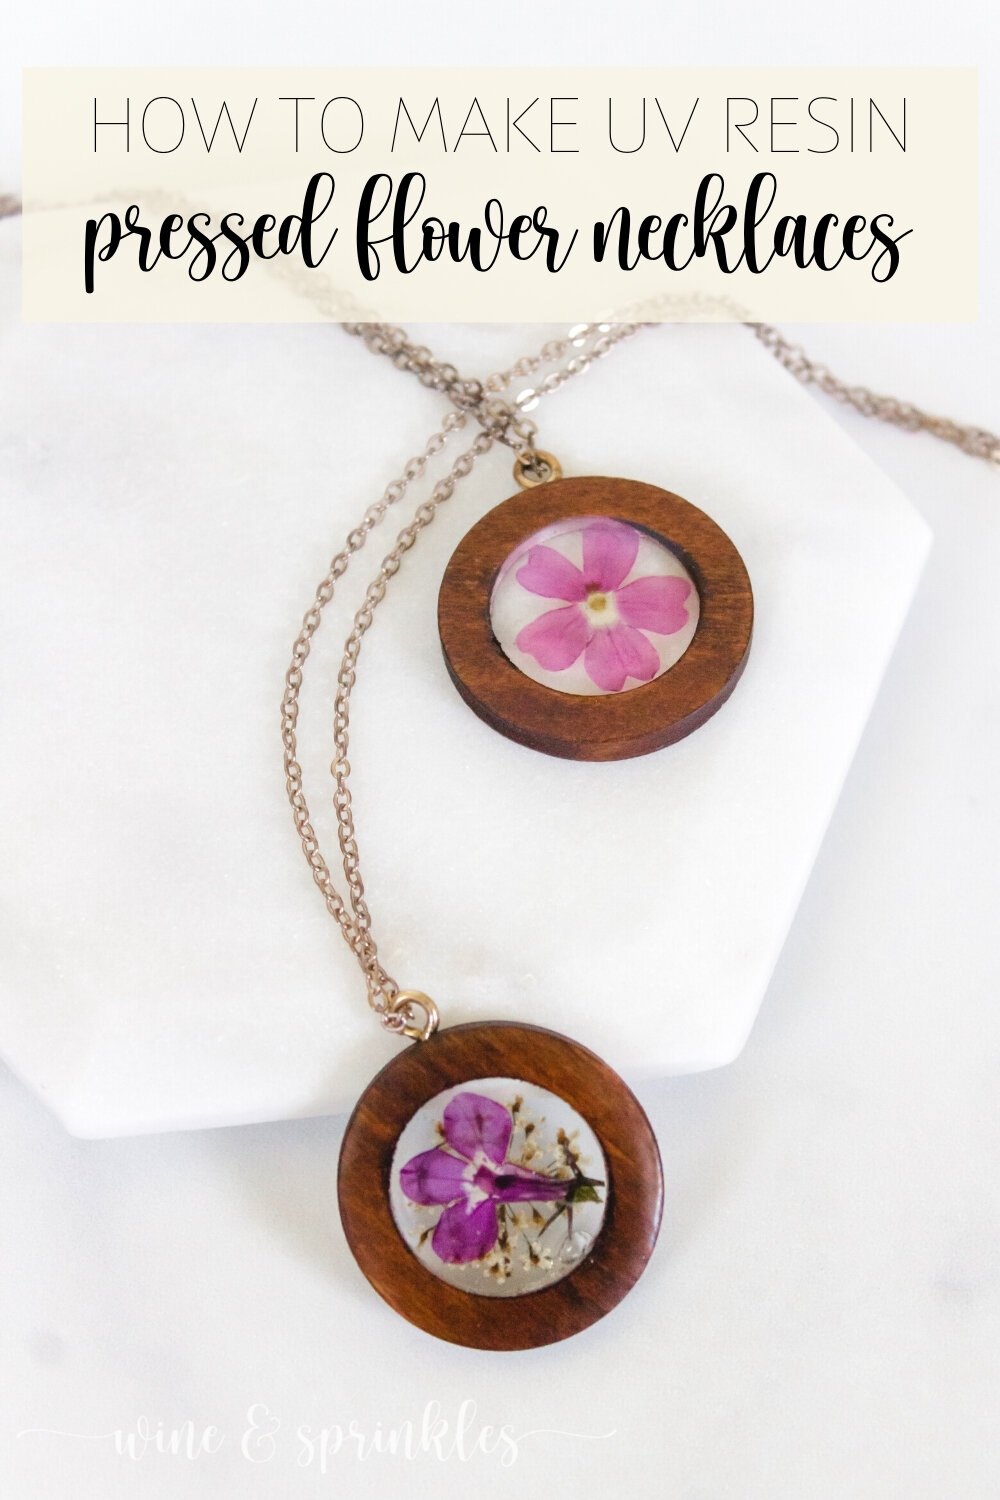
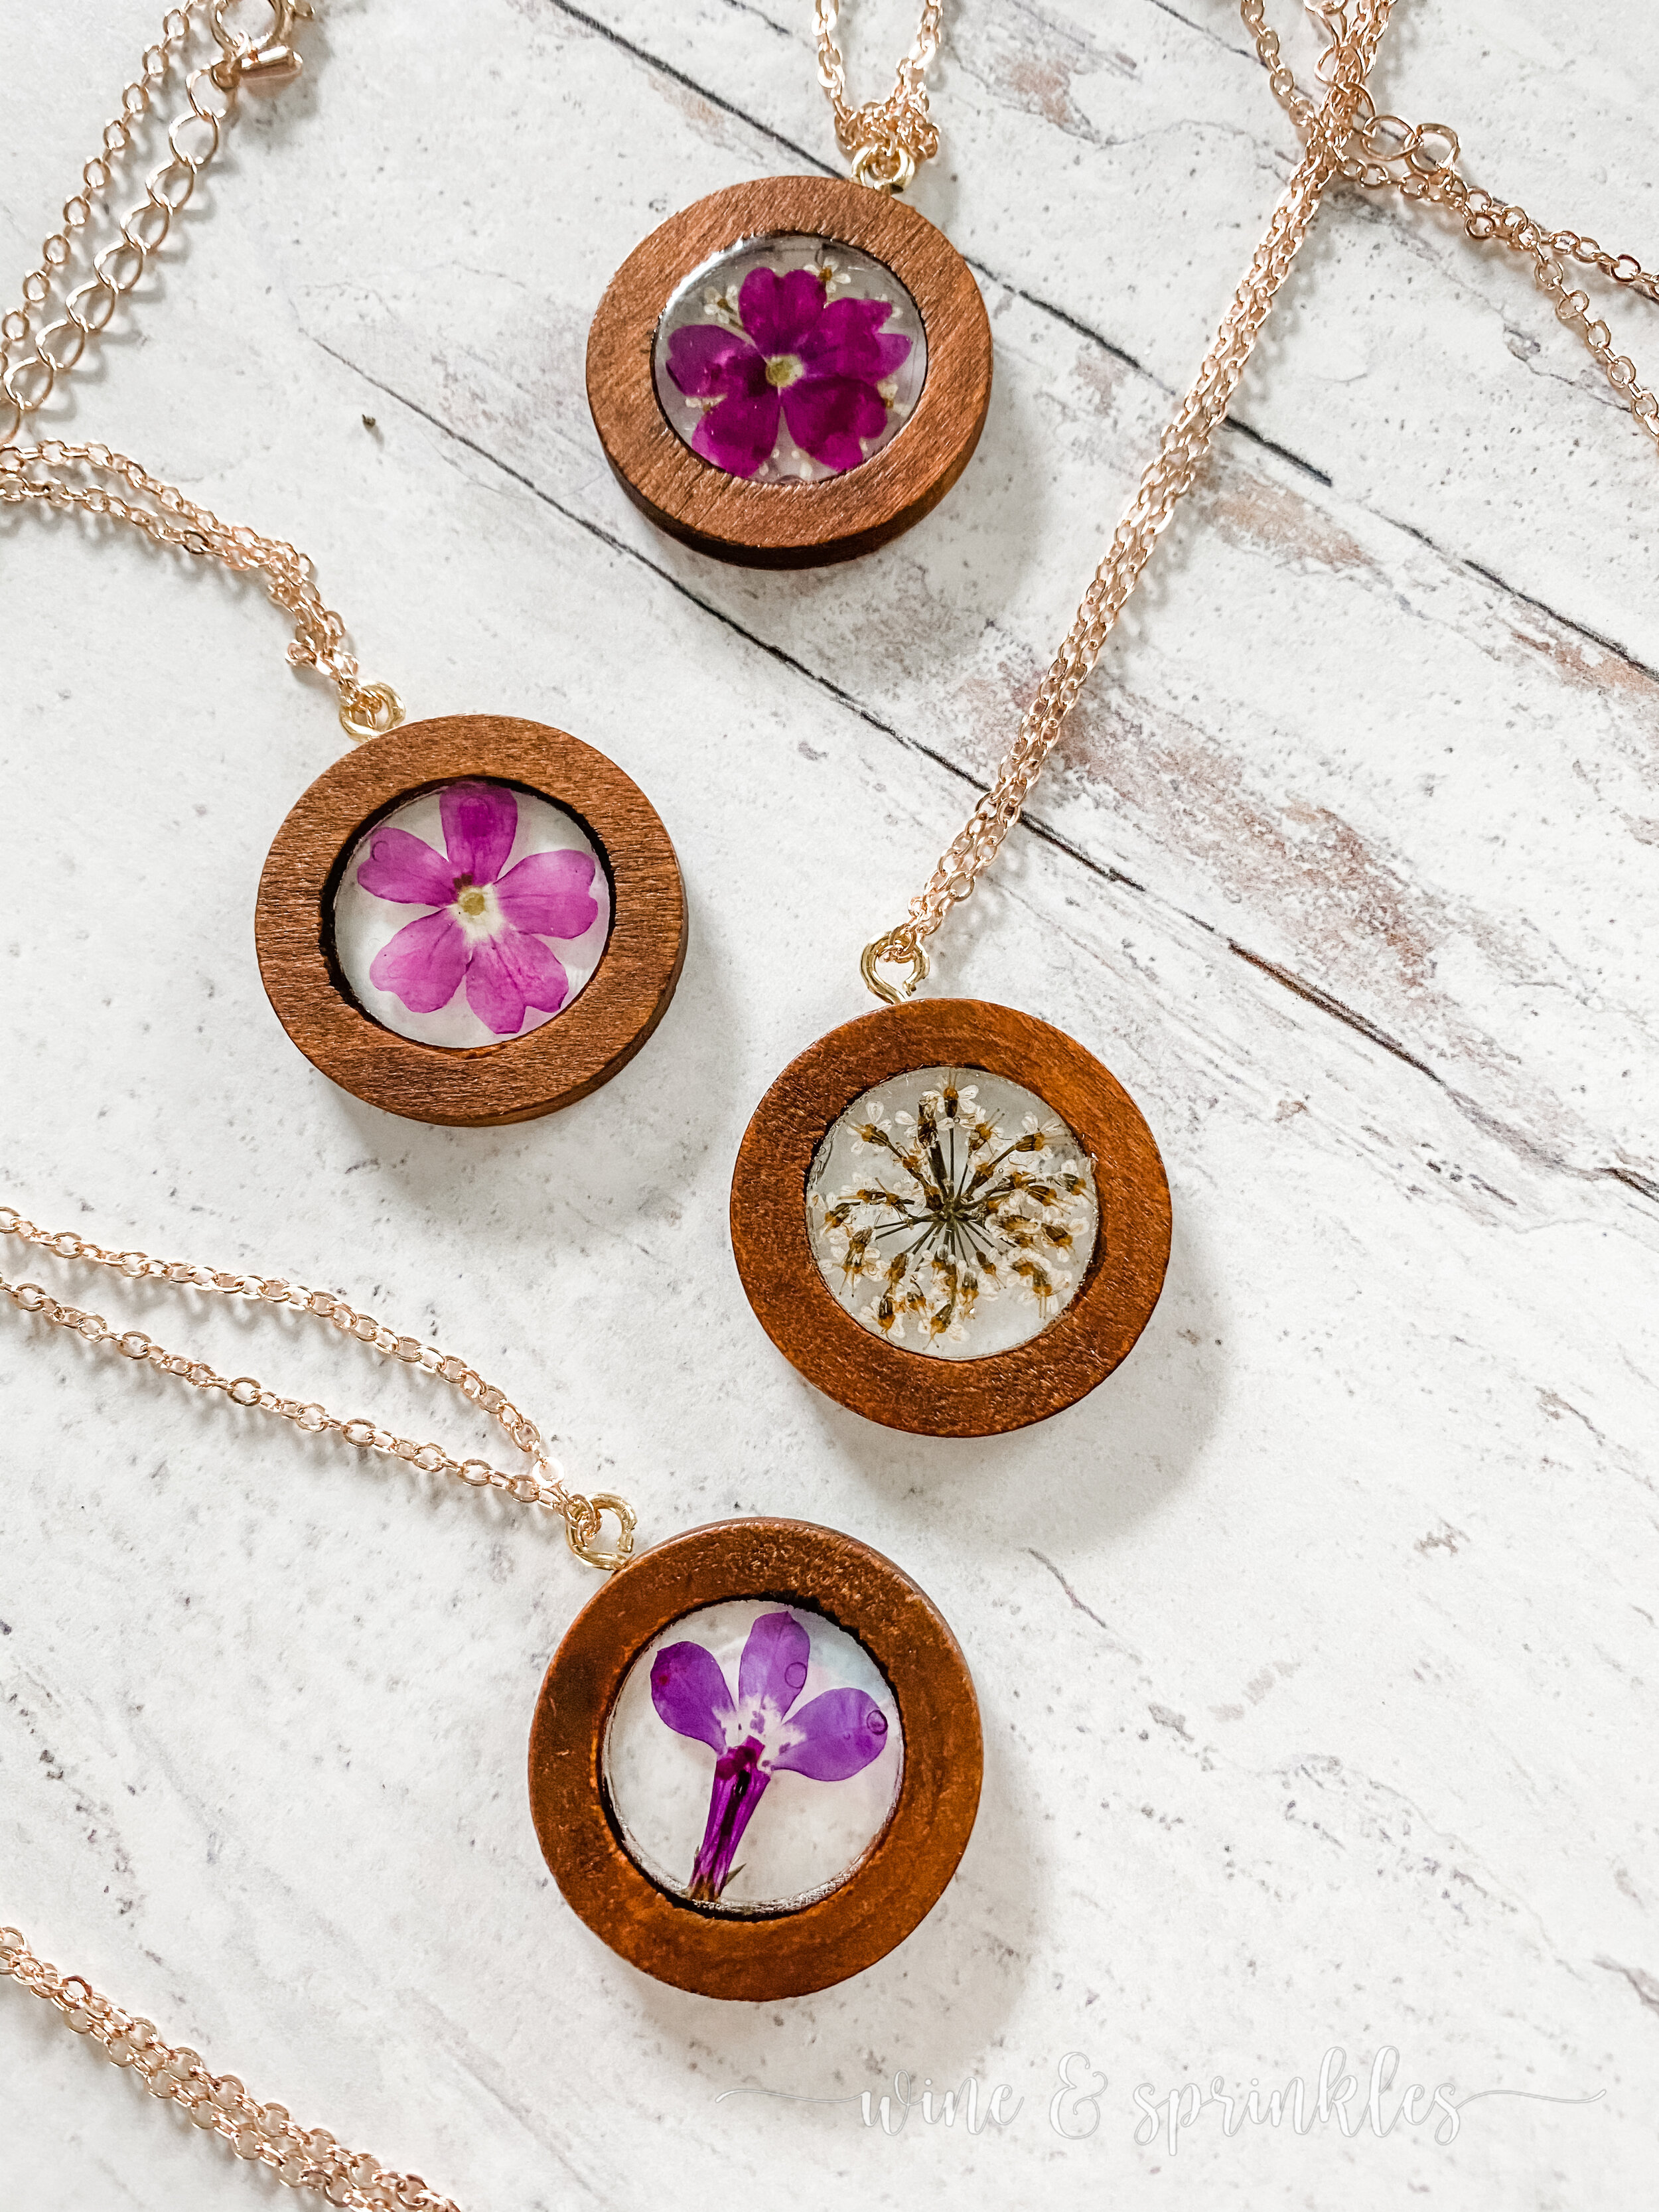
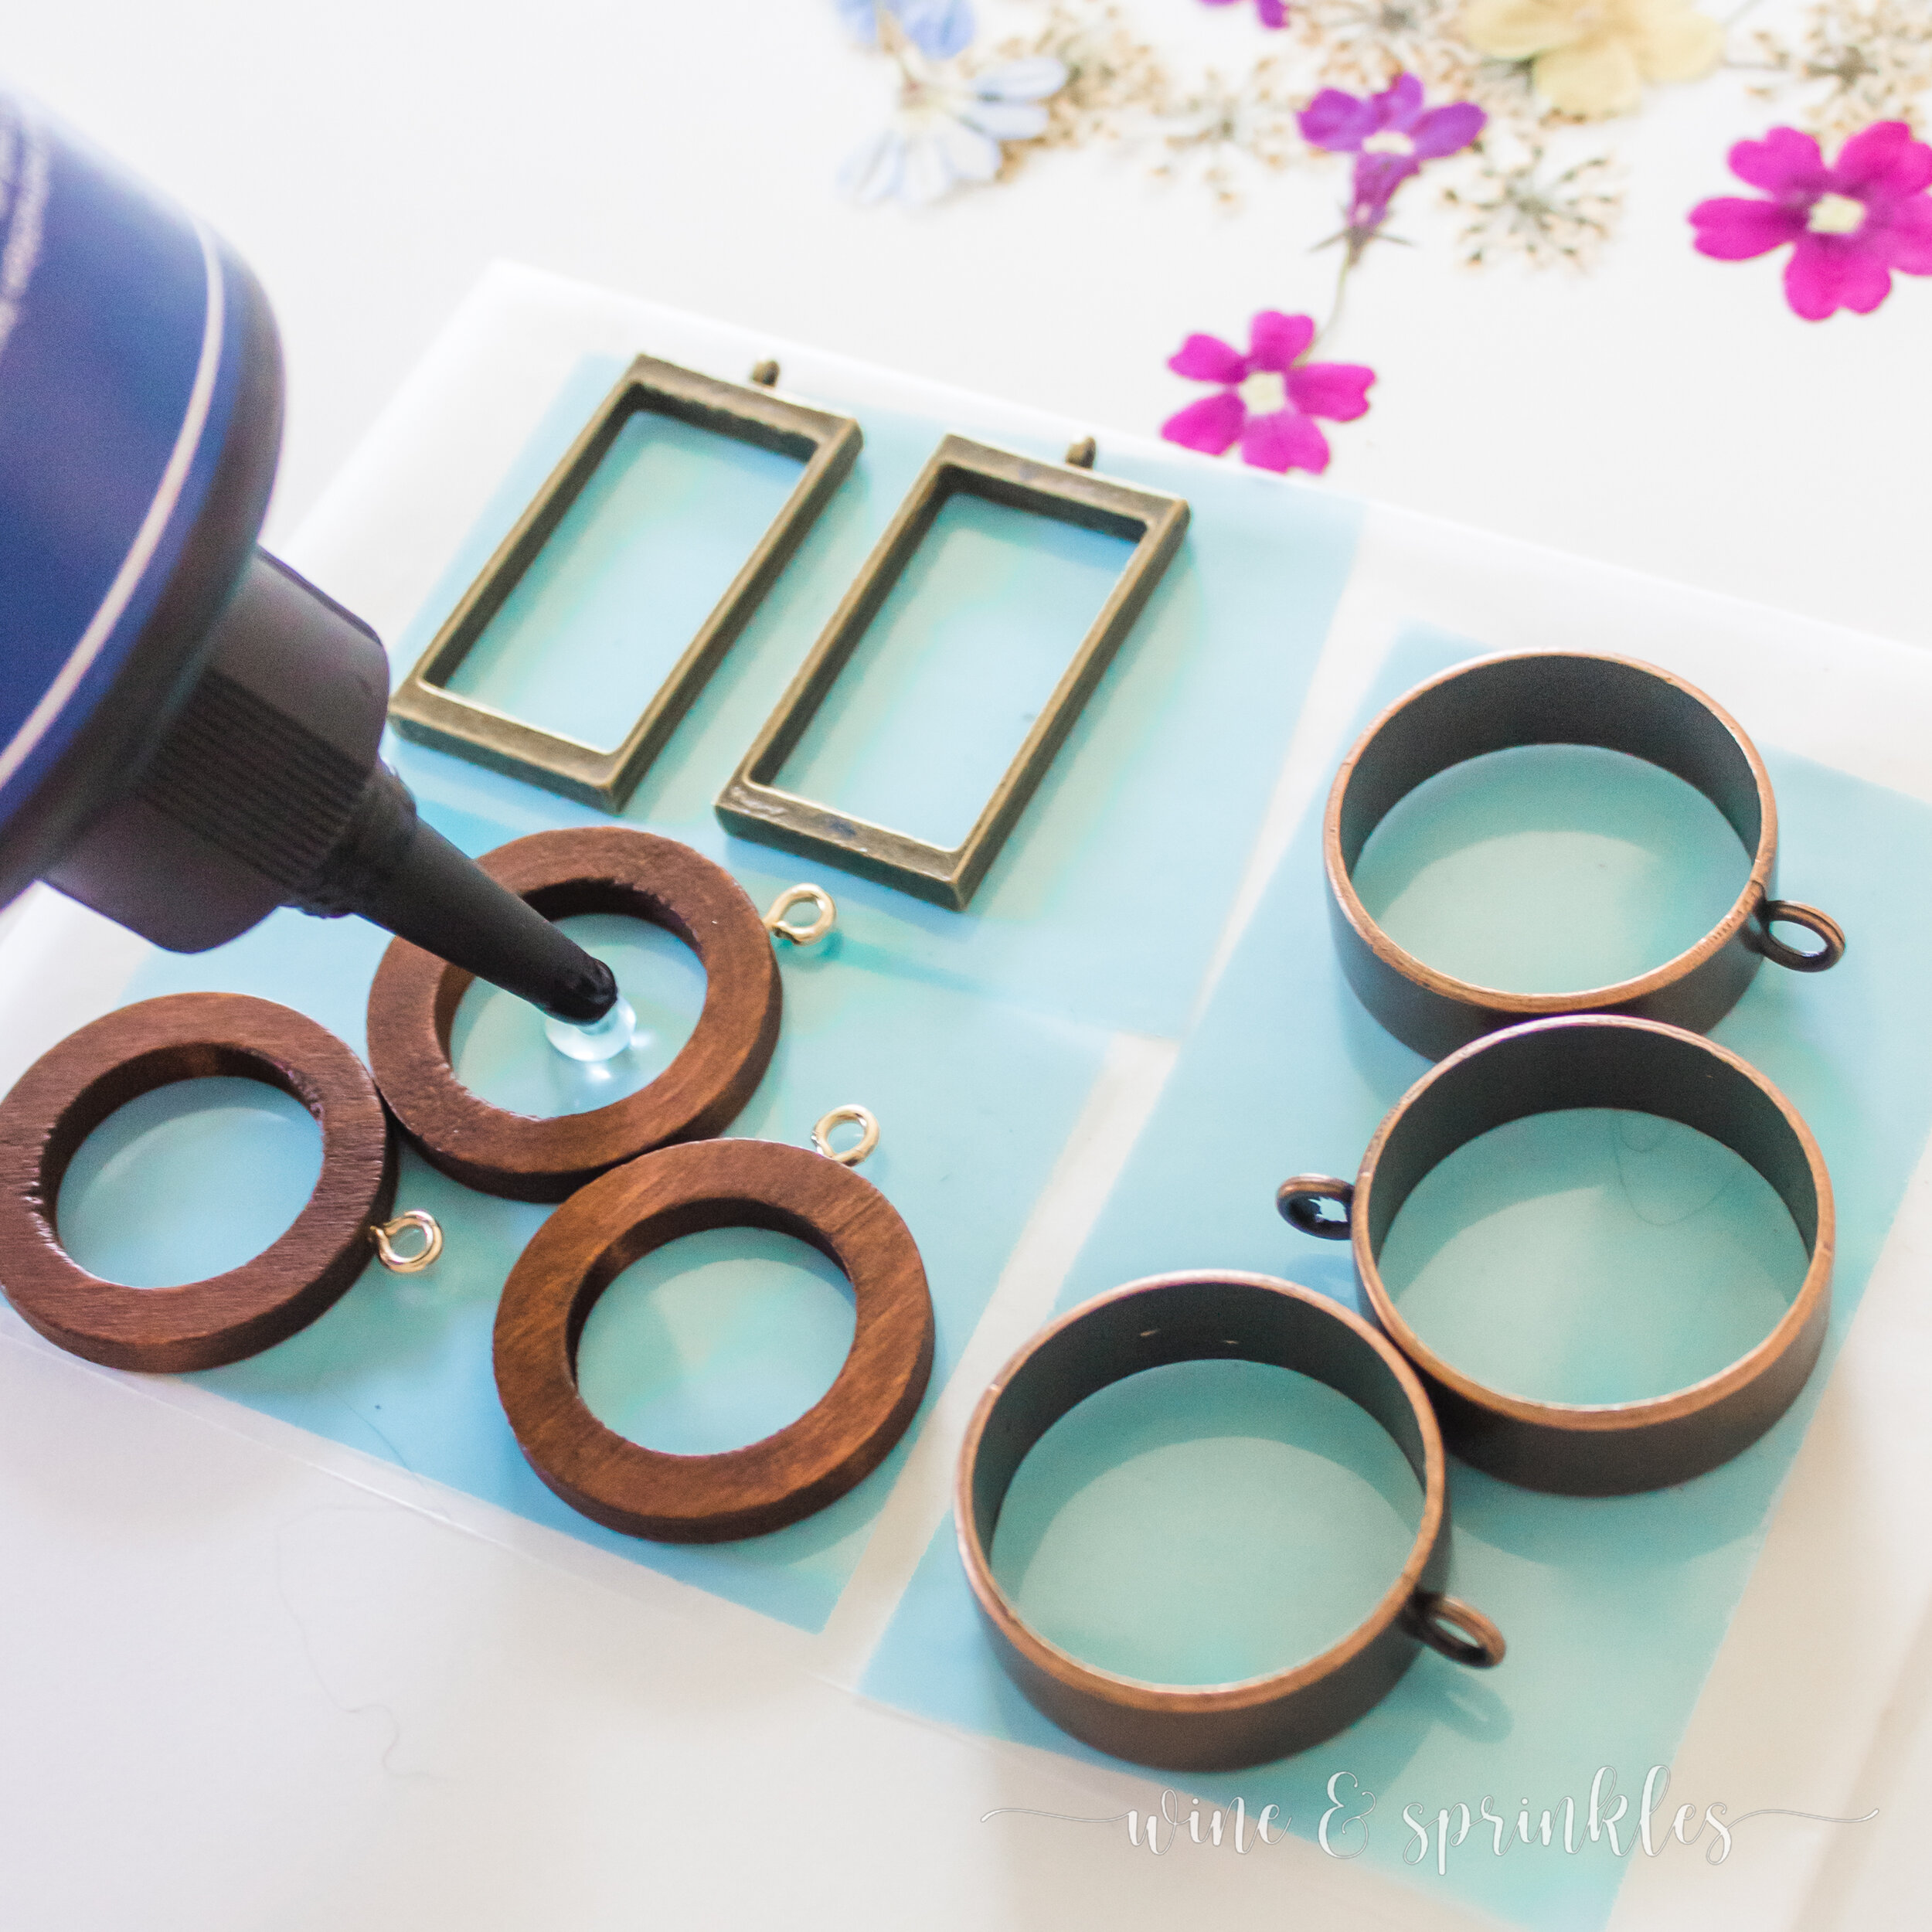
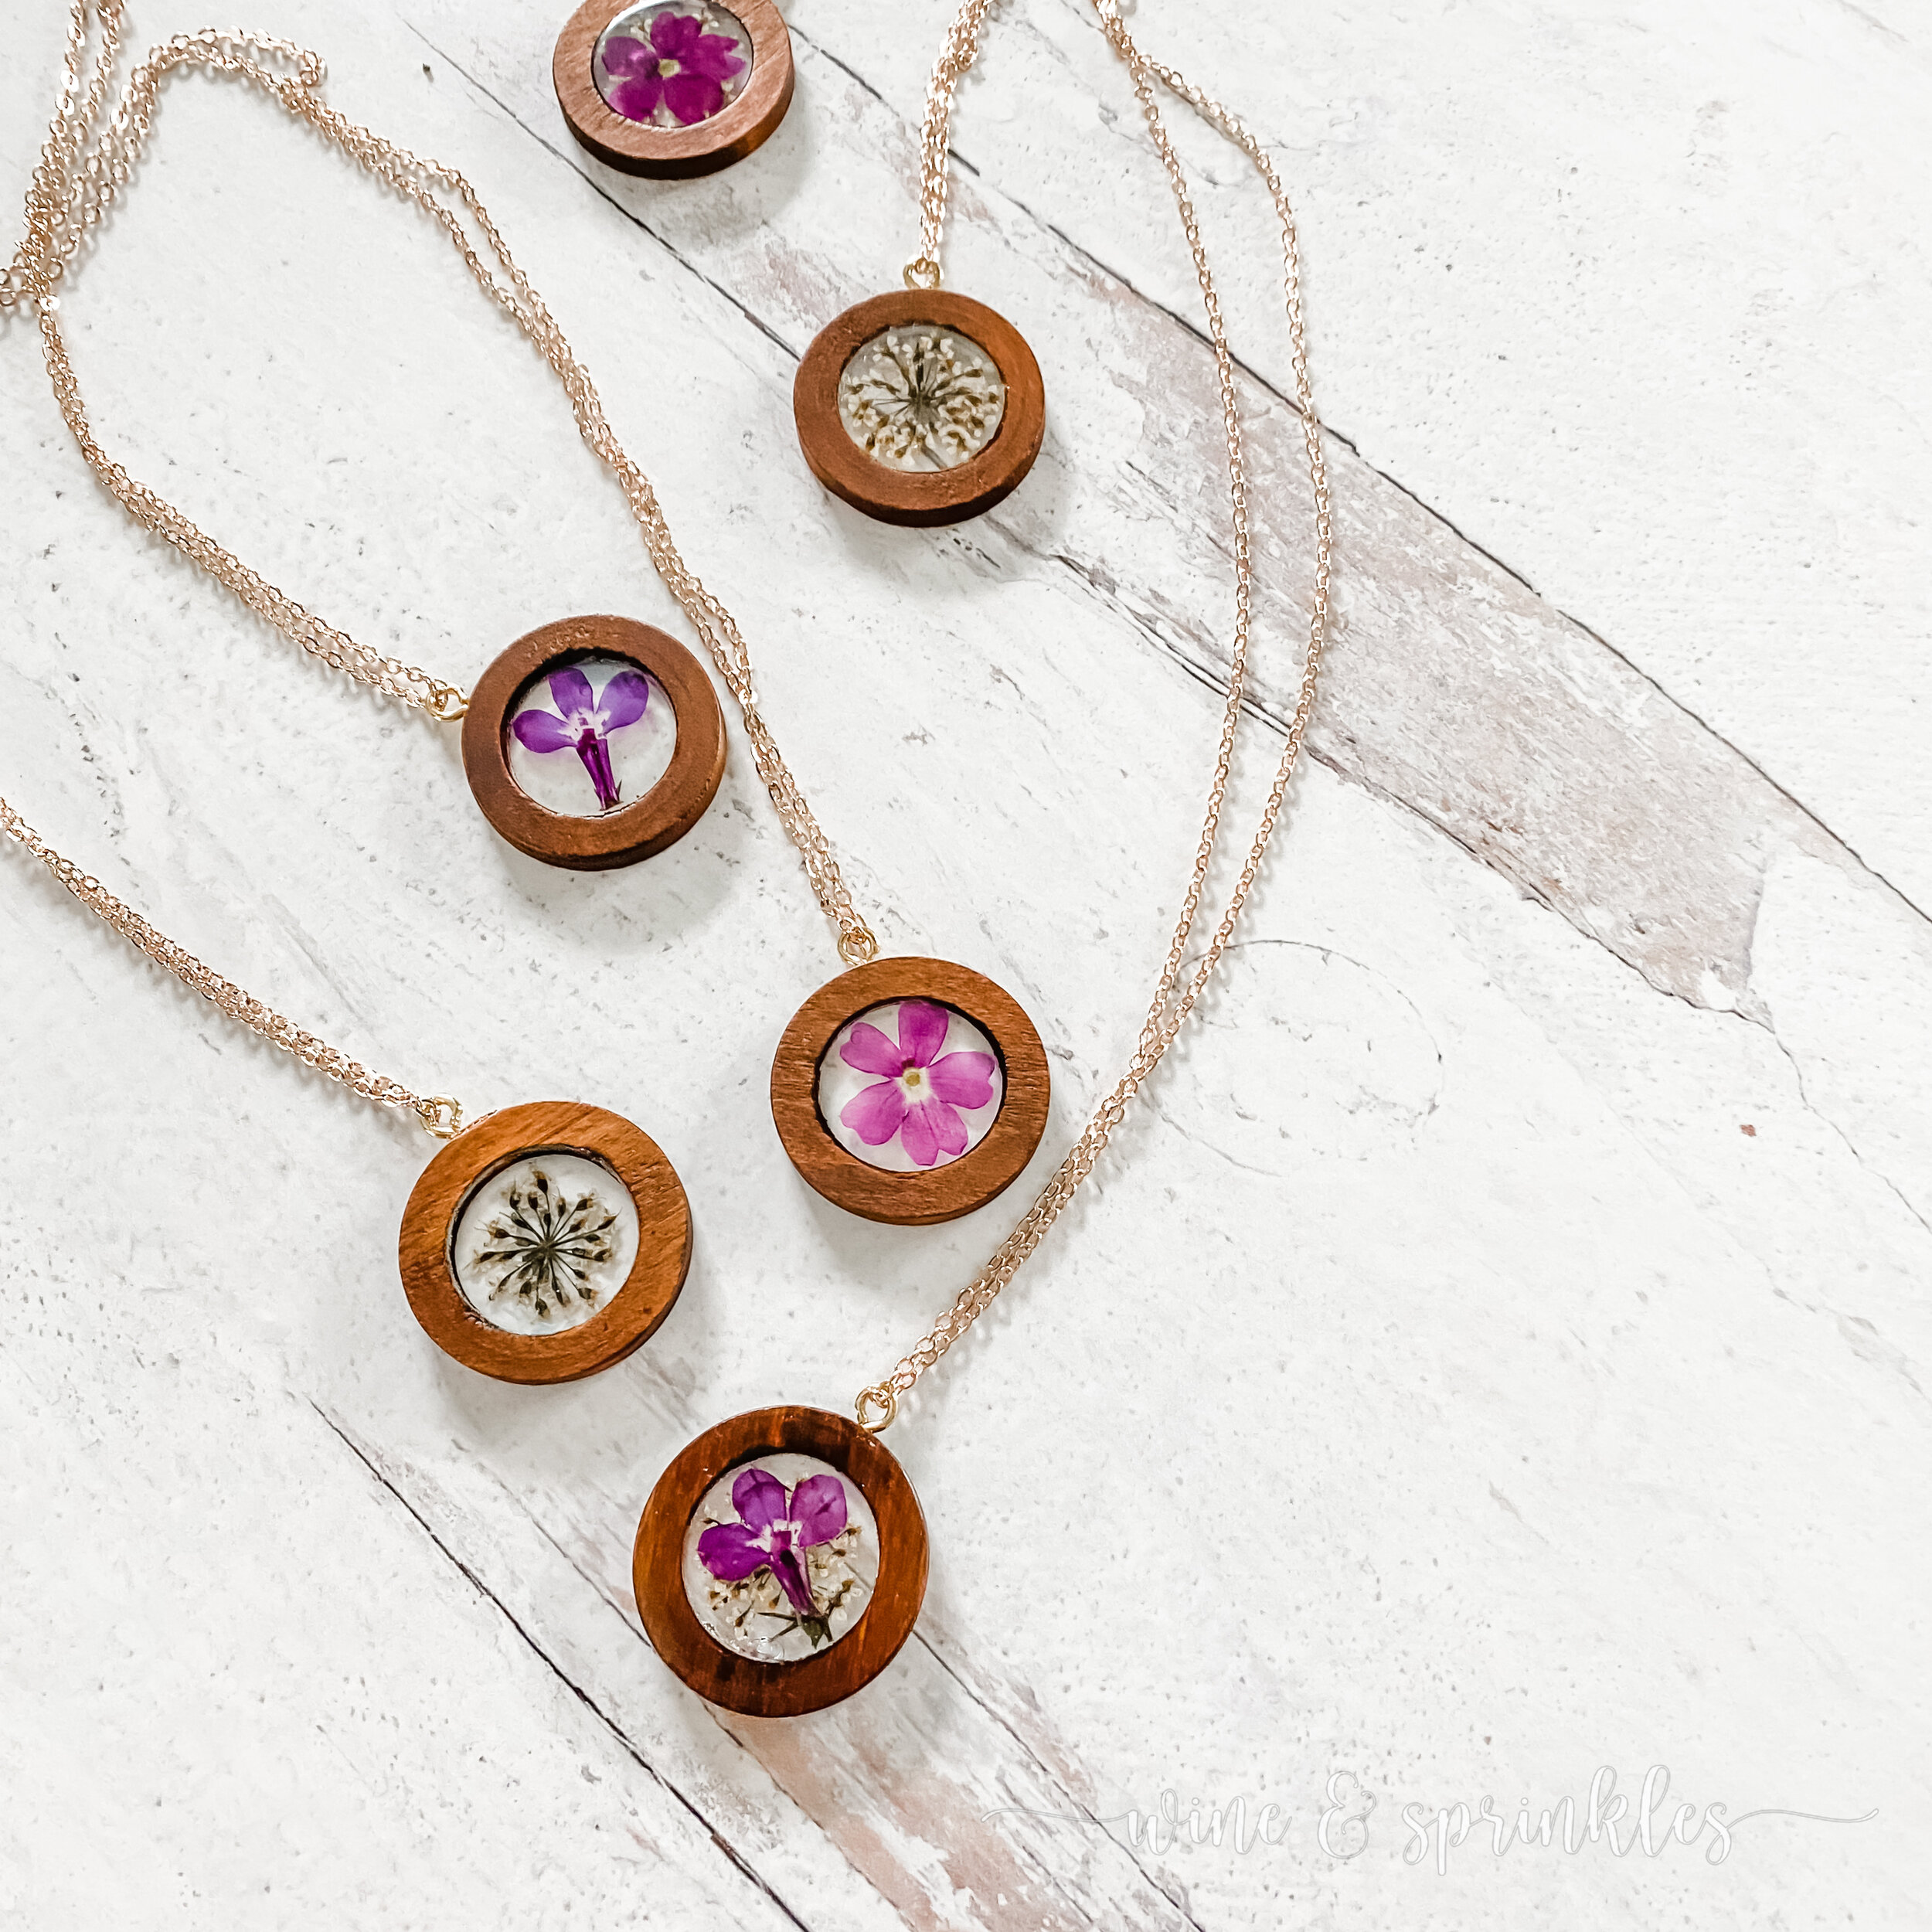
Open Back Bezel Pendants: For framing my pressed flowers, I opted to use a mix of wood and metallic open back pendants for a unique mix of necklaces, as well as to try out several shapes of pendants. The biggest thing I found that mattered with the pendants I picked wasn’t material, but rather the thickness of the frame itself. The thinner the frame, the easier it is to cure, but too thin and it's hard to to cure two layers of resin without overfilling the frame. I recommend grabbing a few different sets to try and see which you like best!
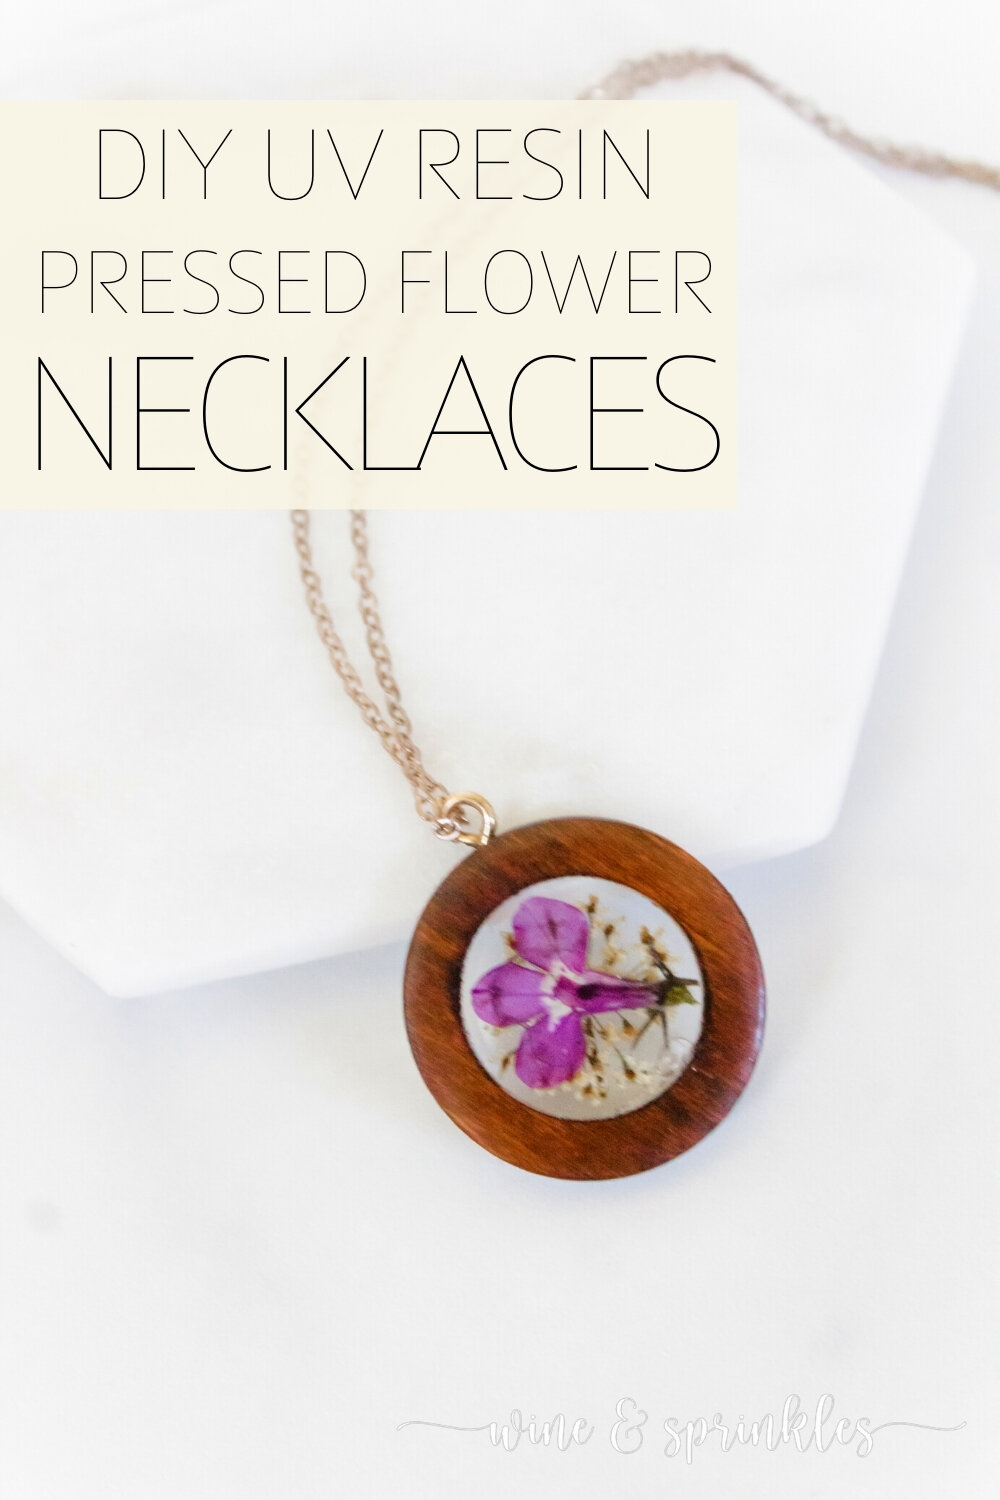
Wooden Open Bezel Pendants: I ended up finding the wooden pendants I used for these necklaces at my local craft store, but for a more affordable and bulk ordering option these pendants from the ScrappinCop Etsy Shop are the perfect substitute, as well as hosting several wooden shapes to choose from.
Metal Open Bezel Pendants: I bought the different metallic open Bezel Pendants for this project from Rosebeading, an Etsy shop that hosts a variety of different resin jewelry bases and pendants. They are all highly affordable and you can buy in bulk, but I always order extras in case a couple pieces come in warped since this shop has longer shipping times.
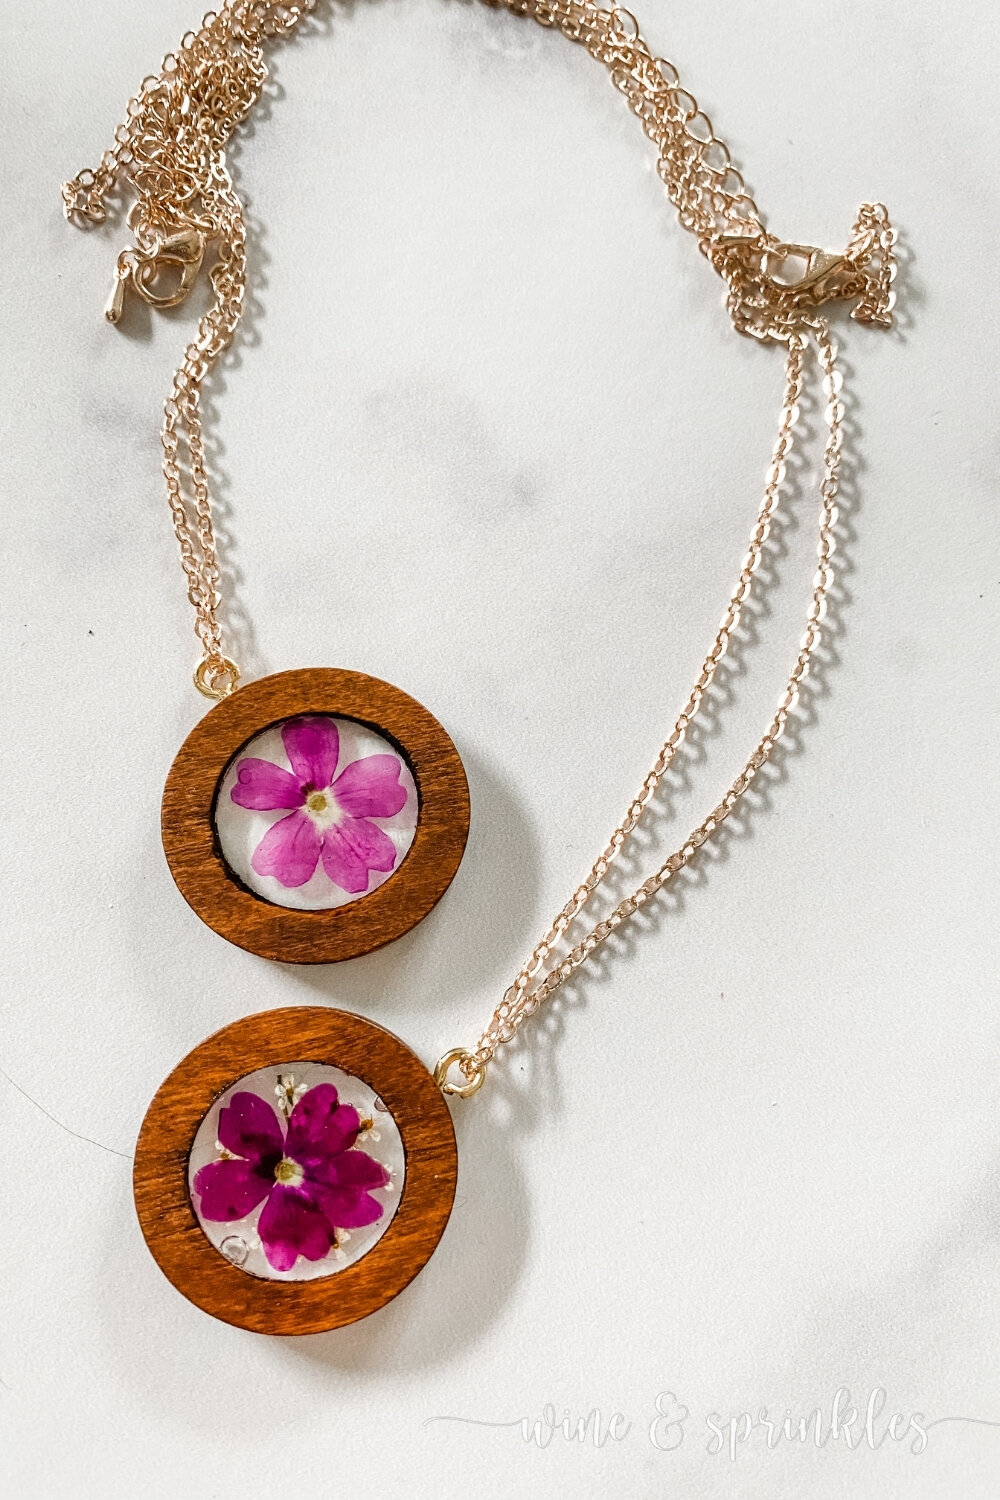
Necklace Chains & Rings: to make your pretty floral pendants into necklaces, Open Jump Rings and necklace chains are a must! The jump rings are used to attach the metal frame pendants to your chains, though they can be used on the wooden charm as well so you don’t have to worry about damaging the wood trying to open the ring on the charm itself. Along with their many pendant options, Rosebeading also hosts several colors of chains to buy in bulk for all your necklaces, or you can pick them up at your local craft shop. I used a mix of these chains and ones I bought locally, based on which I thought went best (and to use up some of my extra jewelry making supplies!).
RESIN SUPPLIES:

UV Resin: When I first started working with UV Resin, I used this kind as well as another brand from a craft store, and let's just say this one was so much better! Compared to what I bought in store, this one had very few problems curing and gave a beautiful clear finish with almost no yellowing.
Pressed Dried Flowers: I got the flowers I used for this project from a wonderful little dried flower shop on Etsy called My Love Meadow, where the stock changes based on the flowers of the seasons. I used mainly dried lace flowers and purple lobelias for my necklaces, but any small vibrant flowers would work well.
UV Resin Tape: when you work with open frame pendants and resin, UV Resin Tape is used as the base for your pendant, sealing the bottom edge so that the liquid resin can cure without seeping out of the bottom of the frame.
TOOLS & OTHER SUPPLIES:
UV Light: while you can technically use the sun to UV cure your pendants, I prefer using a small UV light like this one, plus it's handy for when I’m painting my nails too!
Resin Work Supplies: Tweezers, Gloves, Wax Paper, & Heat Gun: when working with resin, these are some of the typical tools of the trade. Wax Paper is great for covering the work surface you are using to keep it resin free, with gloves for keeping your own hands nice and clean. Tweezers are a must for picking up and positioning your dried flowers in your pendants. Finally, a Small Heat Gun is perfect for popping any air bubbles before curing. Some like to use a torch for this, but I worry about what would happen to the dried flowers and the heat gun feels safer!
Needle Nose Pliers: these are a must for assembling the necklace pendants to their chains and rings.
SUPPLIES LIST:
[for 8 necklaces]
JEWELRY MAKING SUPPLIES:
Open Frame Bezel Pendants: x 8
Necklace Chains & Rings x 8
RESIN SUPPLIES:
UV Resin - 7 oz. x 1
Pressed Dried Flowers x 8-16
UV Resin Tape x 1
TOOLS & OTHER SUPPLIES:
UV Light
Tweezers
Gloves
Wax Paper
Heat Gun
Needle Nose Pliers

DIRECTIONS
PART 1: CREATE & CURE NECKLACE PENDANTS
-WARNING-
make sure you are in a well ventilated area, so open those windows before you start this project! When your pendants are curing under the light, you will see them smoke a little but this is normal; however, it’s certainly not something you want to be inhaling! Use fans with caution, for me I just used an open window because my attempts with fans sent my dried flowers all over my office in a gust.

1. Create a work surface from a piece of wax paper, folding it into quarters to make a translucent base for the UV tape that can slide under your UV light. Cut and place the UV tape, sticky side up, on your wax paper. Press your pendant frames into the UV tape, sealing the bottom edge with it to keep the resin from seeping out while curing.
2. Now, fill each frame up to halfway full with resin, enough that the entire bottom of the frame is filled and so that you can still pour another layer to cover the pressed flower. Using your heat gun, gently heat your pendants from above to pop any bubbles in the resin before curing.


3. Slide your pendants under the UV light and cure according to the package directions, for mine it was 2-4 minutes. Once cured, slide your pendant out, touching only the wax paper, as your metal charms may be hot!
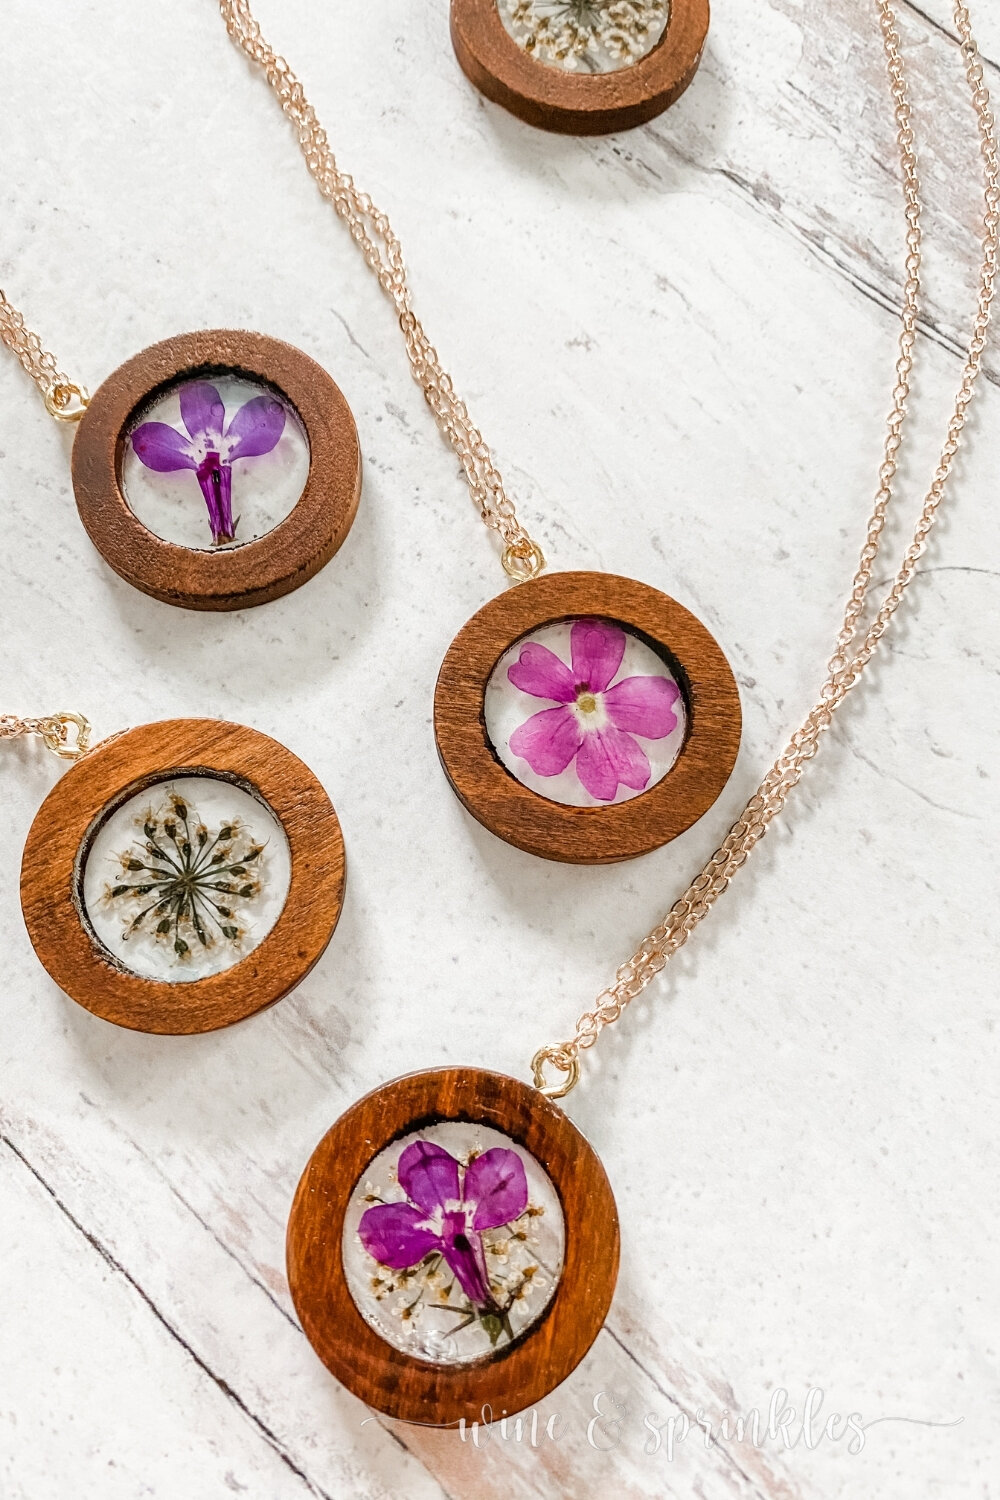
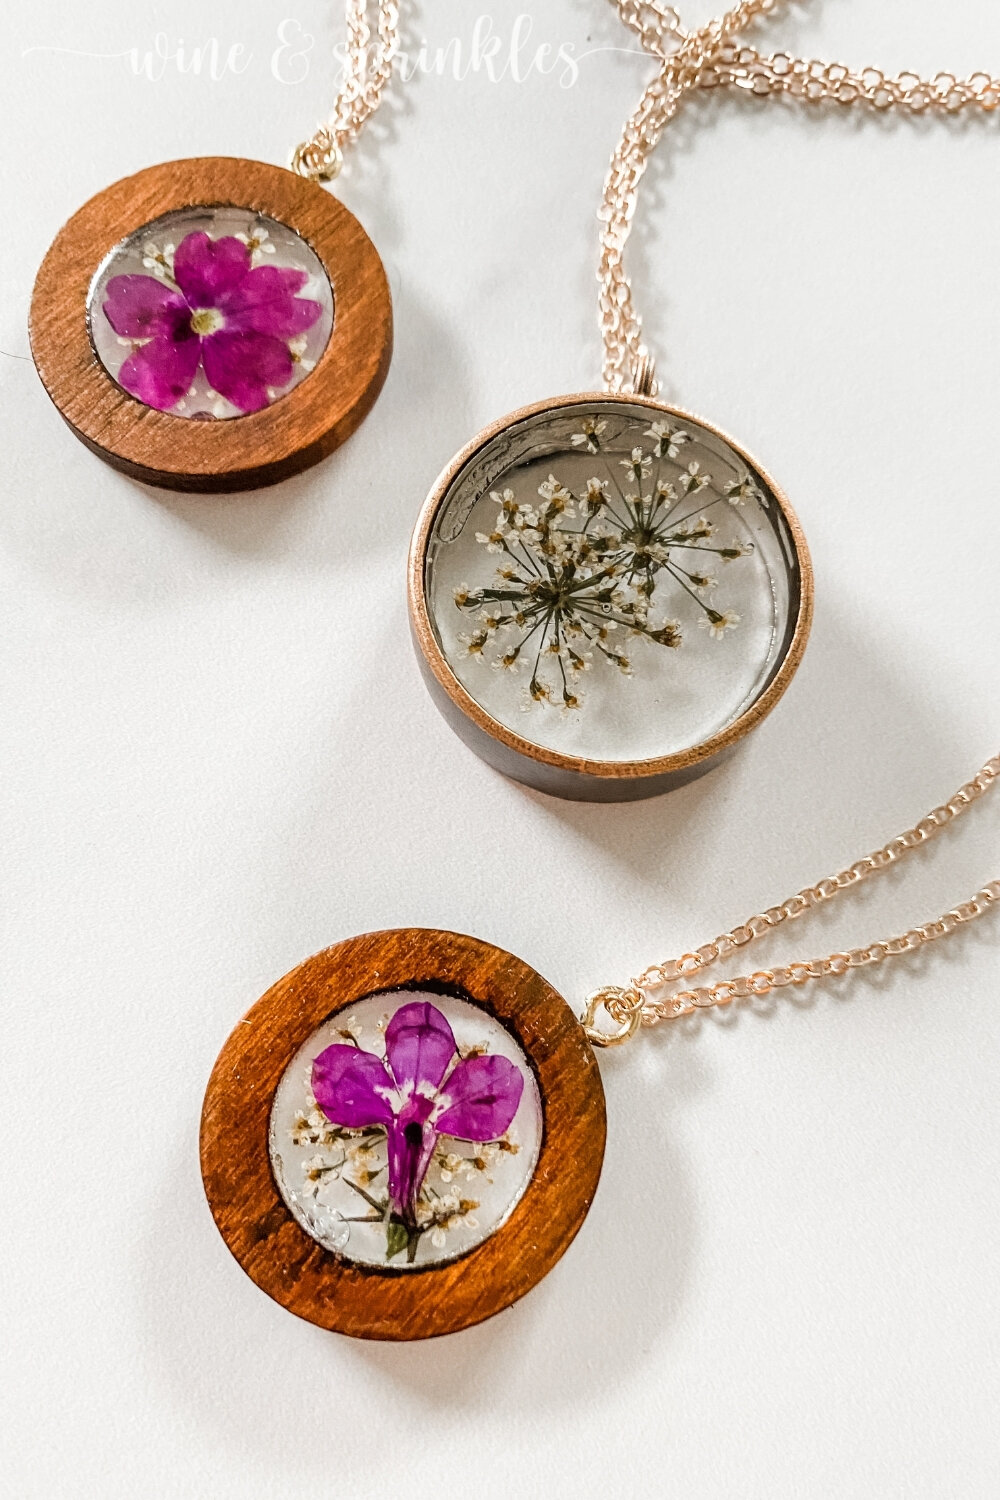
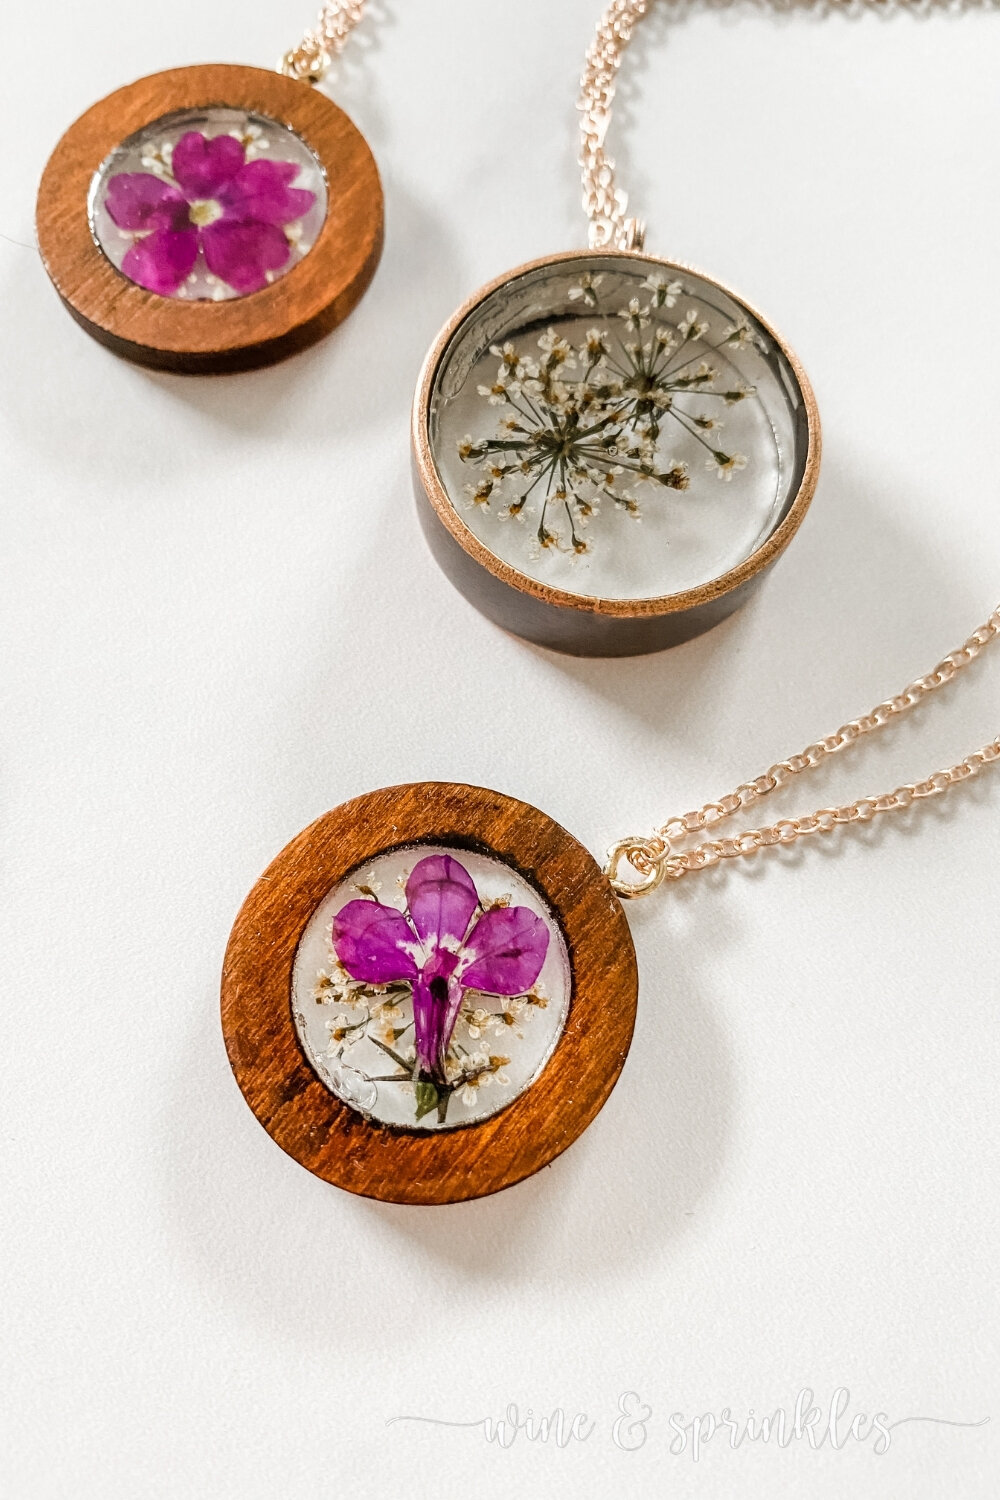
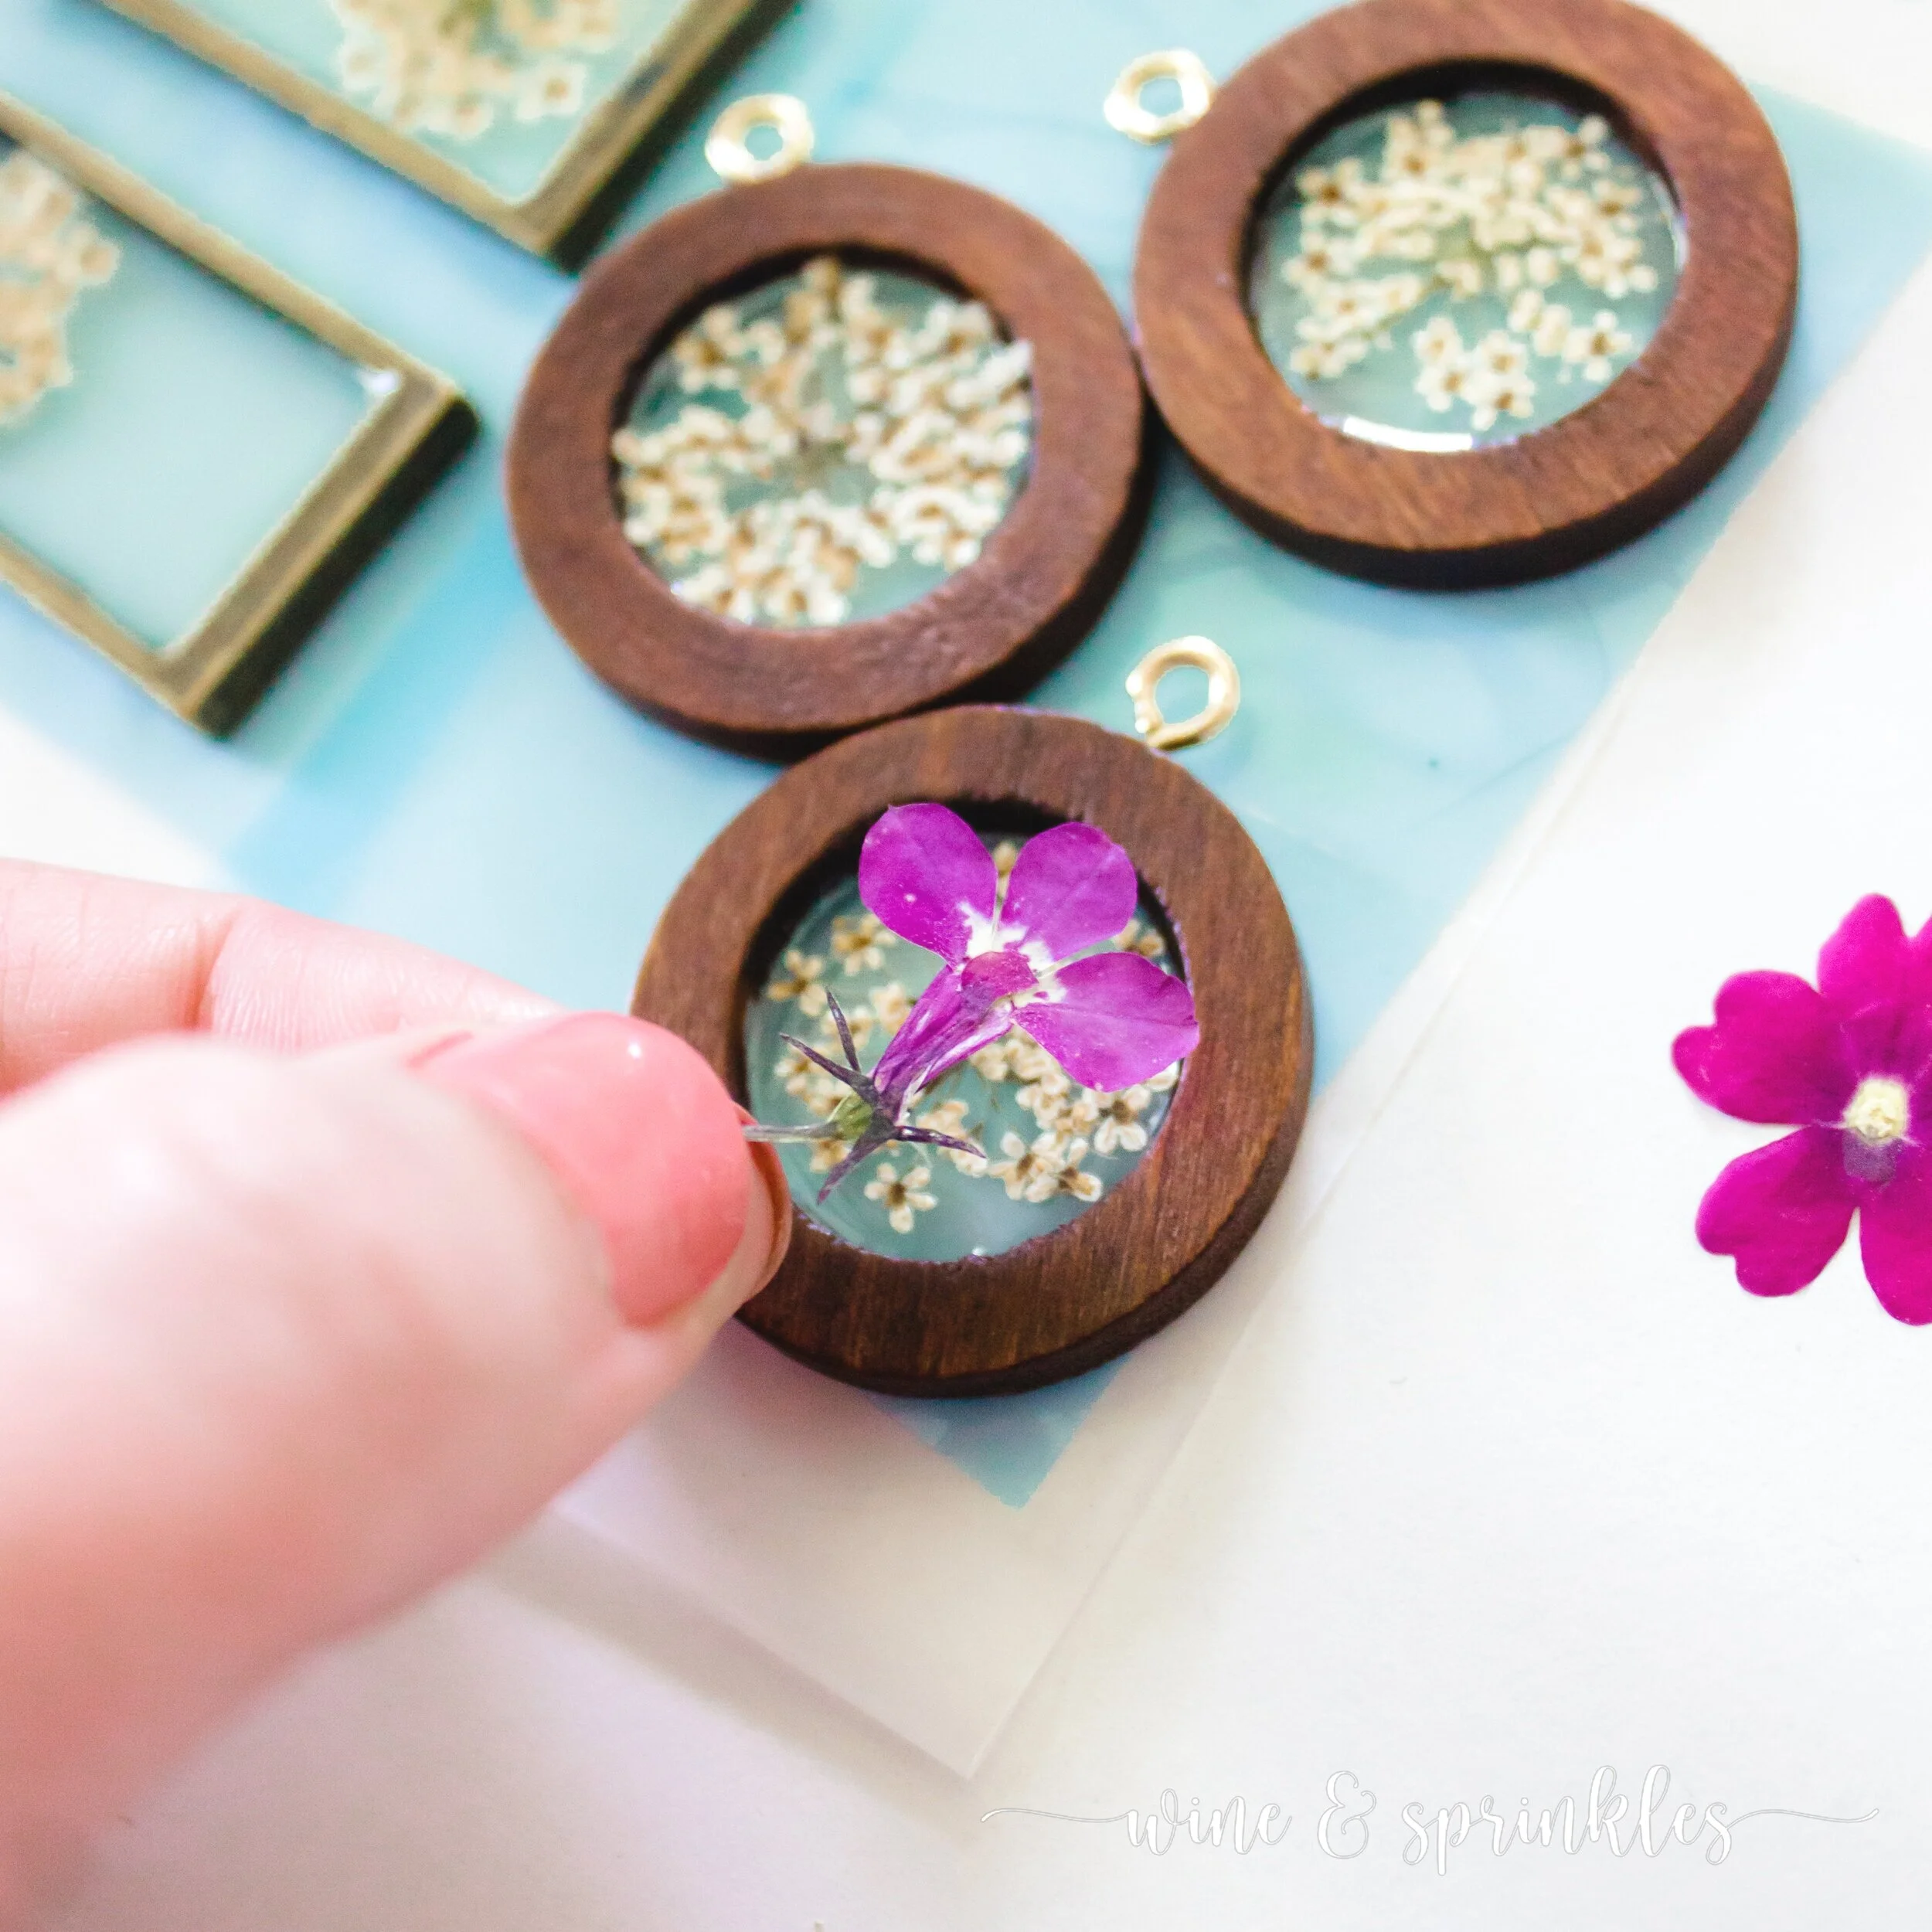
4. Pick out the flowers you want to use in each pendant and place them on the newly cured surface using your fingernails or a pair of tweezers, trimming them to fit your frames.. I use tweezers to move and place my flowers, and if they were a little big, I would place the part I wanted, then use the tweezer to snap off extra bits, but you can also use cuticle scissors for a more precise cut. For my pendants I generally did 1 or two flowers per pendant, using the white lace flowers as both standalones and background to my purple and yellow blooms.


5. Once your flowers are placed, fill each pendant frame with a second layer of UV resin, completely covering the flowers and filling the frame to the edge. In the case of the wooden frames, you can choose either to fill it to the edge or make the entire front shiny and go to the frame edge; I tried both and both looked great! Pop bubbles with your heat gun and cure your second layer like the first, letting your pendants cool before removing them from the UV tape and assembling them into necklaces.


PART 2: ASSEMBLE PENDANTS INTO NECKLACES
6. Using needle nose pliers, open your jump rings. Thread your pendant through the ring, then hook the ring around the chain. Finish your necklace by closing the jump ring again with needle nosed pliers
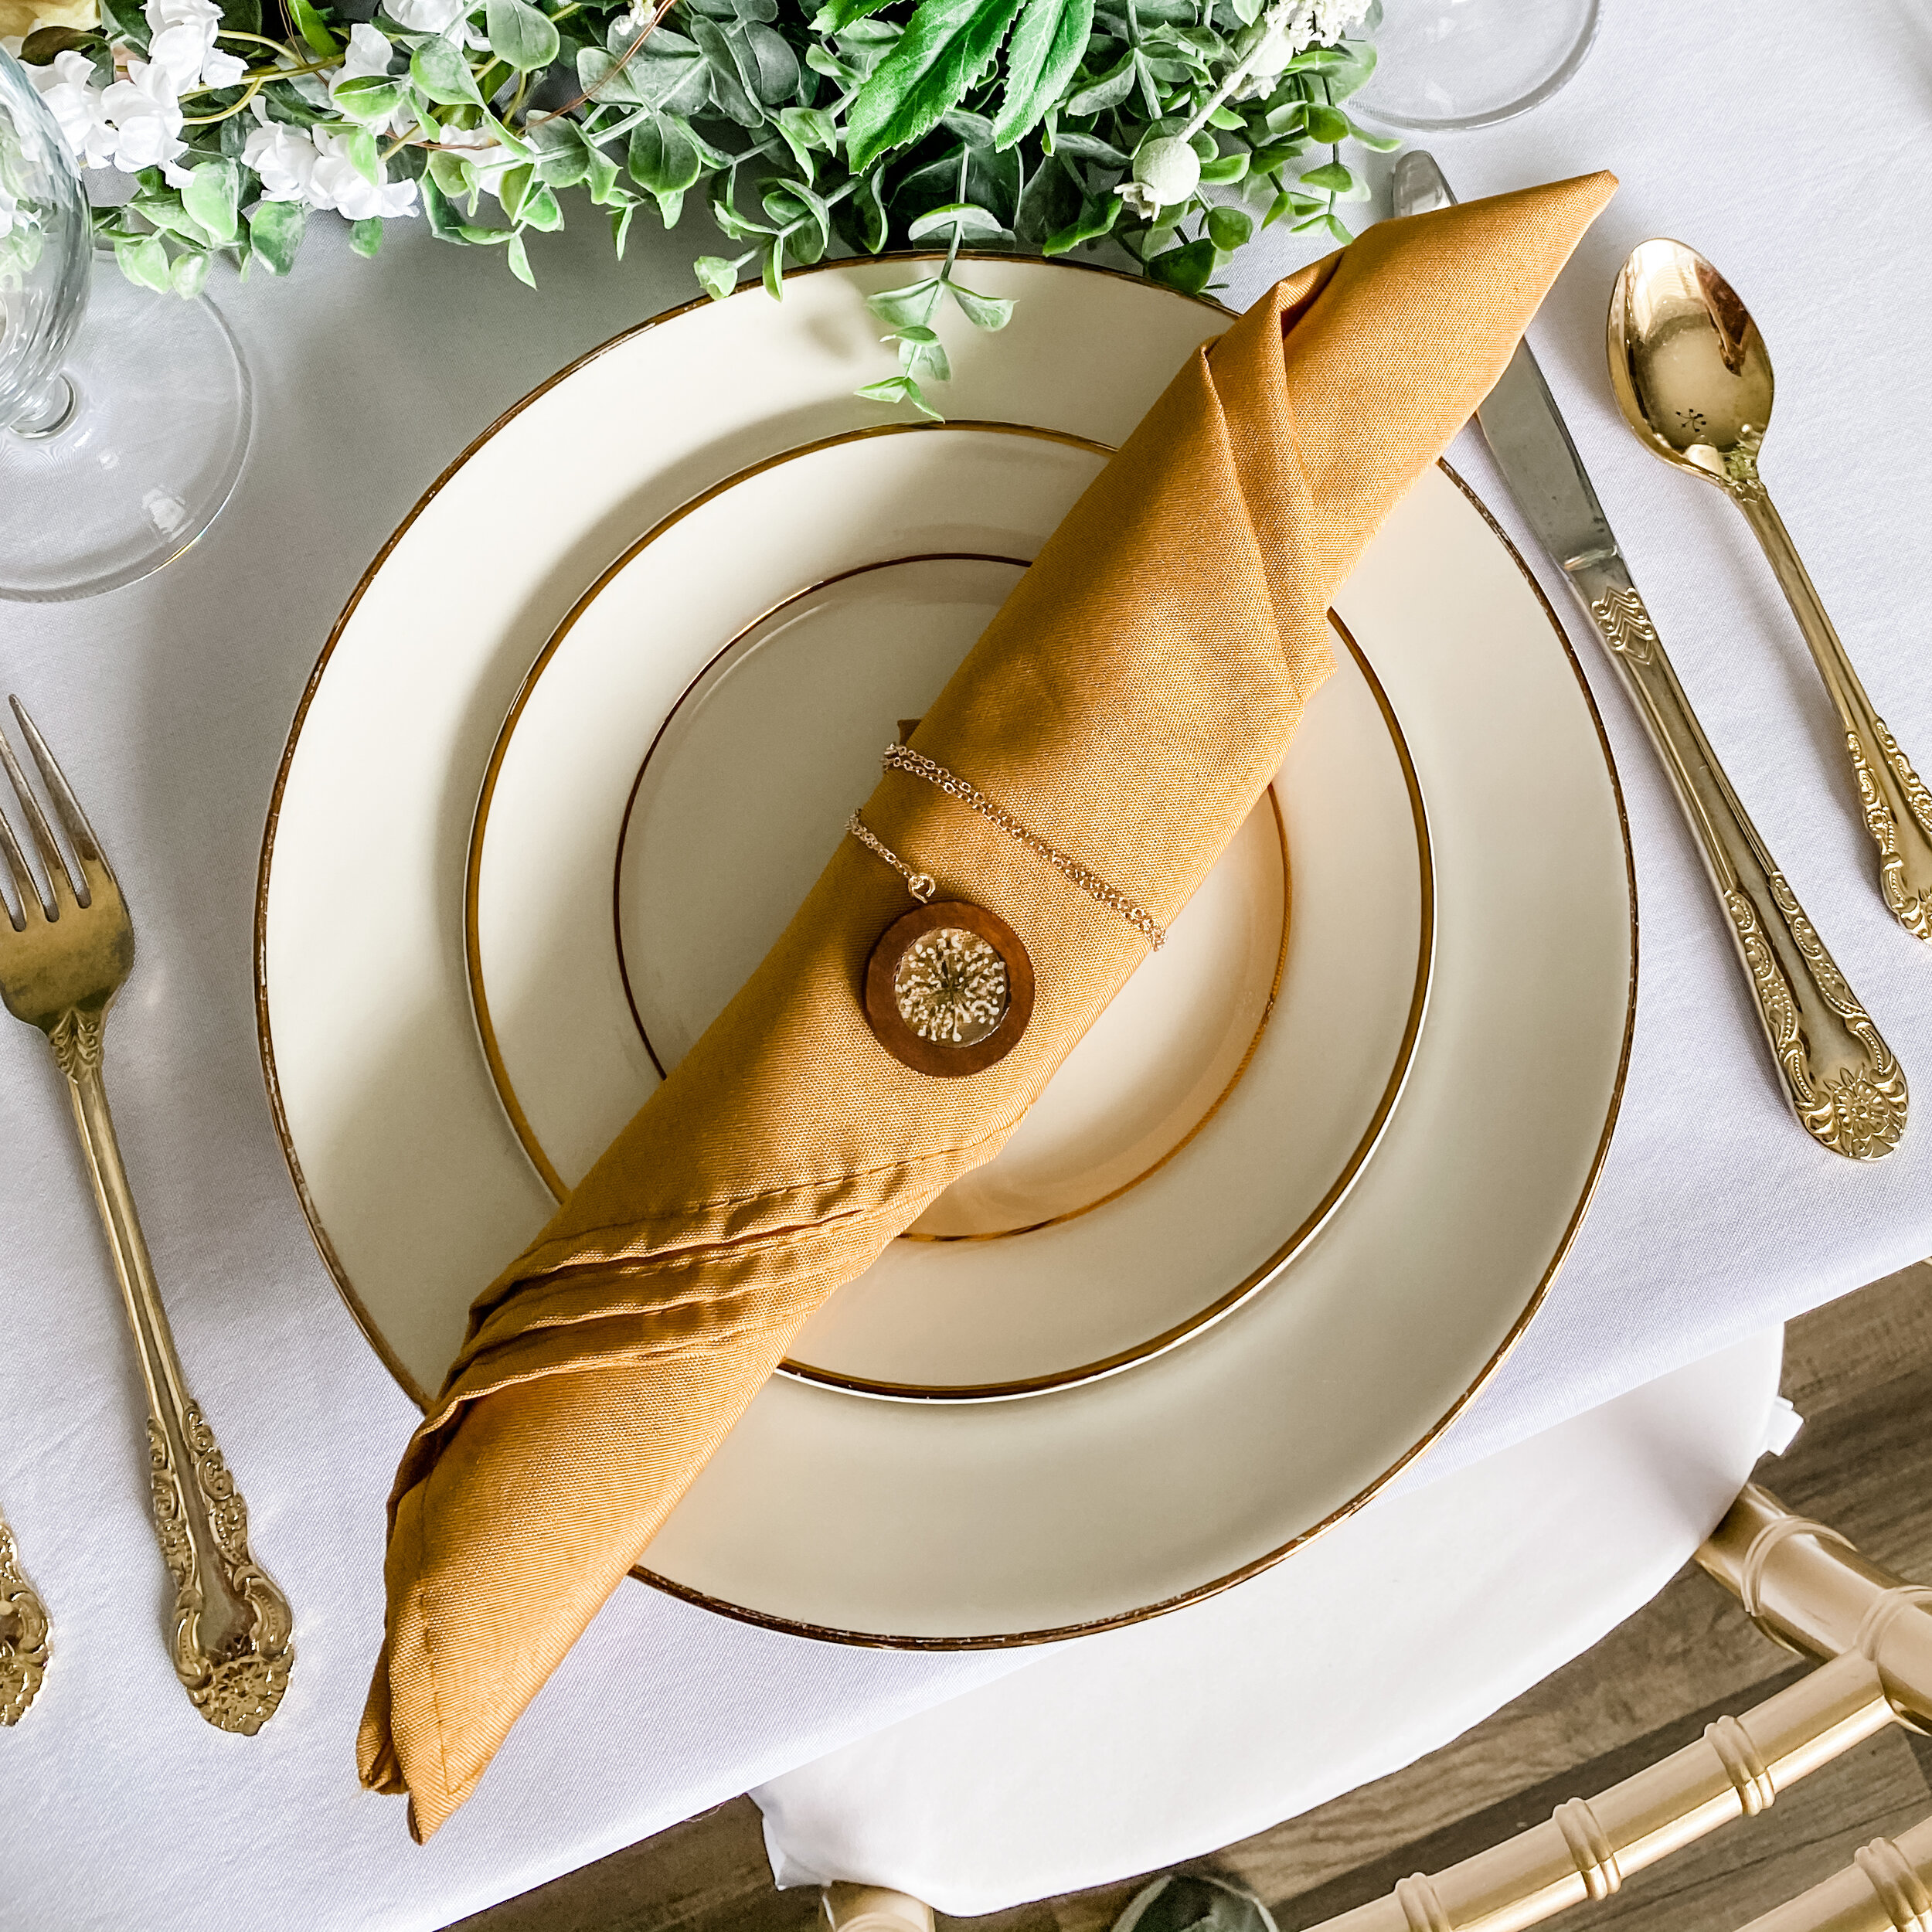
PACKAGING & PRESENTATION
Using my necklaces as take home gifts and as table setting decor perfectly set off the floral vibes of my Goddess of Spring Party; however, most times you will be looking for ways to package your beautiful jewelry creations for gifting and shipping. There are several choices of boxes here, but certainly the least expensive are cotton filled cardboard gift boxes, like the ones sold by US Jewelry Supply. You can get them either as a larger almost square box or a long and skinny box depending on how you want to gift them, as well as there being a variety of box colors to choose from! For a more upscale box, they also have several Velvet Lined Boxes, Leatherette Gift Boxes and Wooden Gift Boxes to perfectly display your pressed flower pendant necklaces.
SEE OUR RELATED POSTS HERE:


OUR PINS FOR THIS POST: