This post contains affiliate links, meaning that if you click on a link I will recieve a small comission. This costs you nothing extra and I only promote products I use and love! You can read our full disclosure here
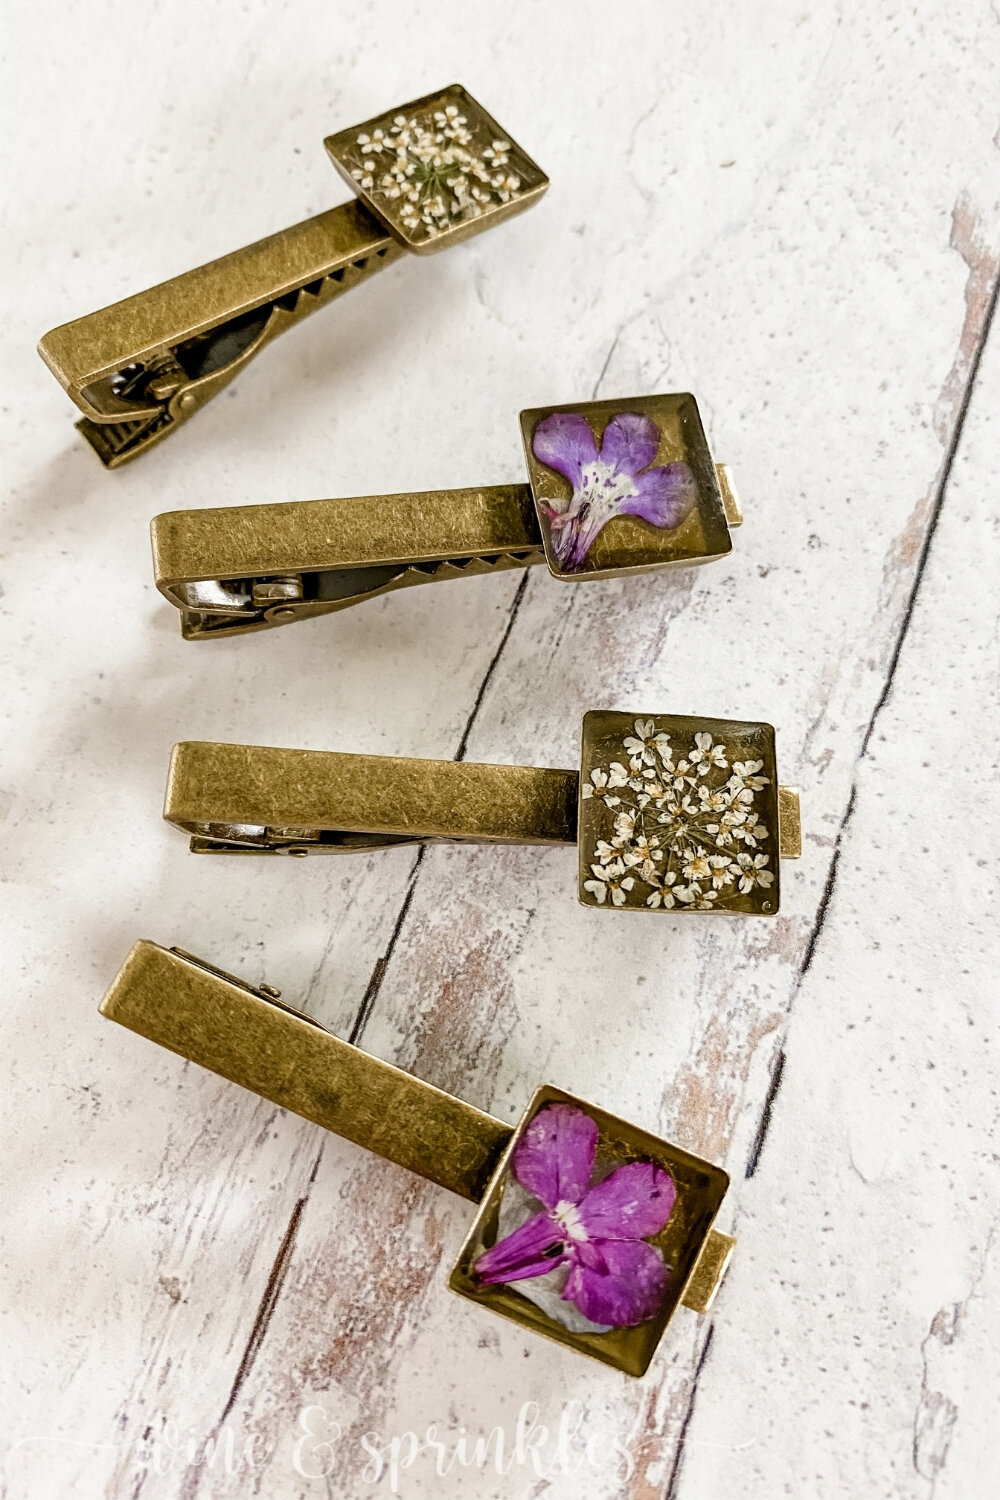
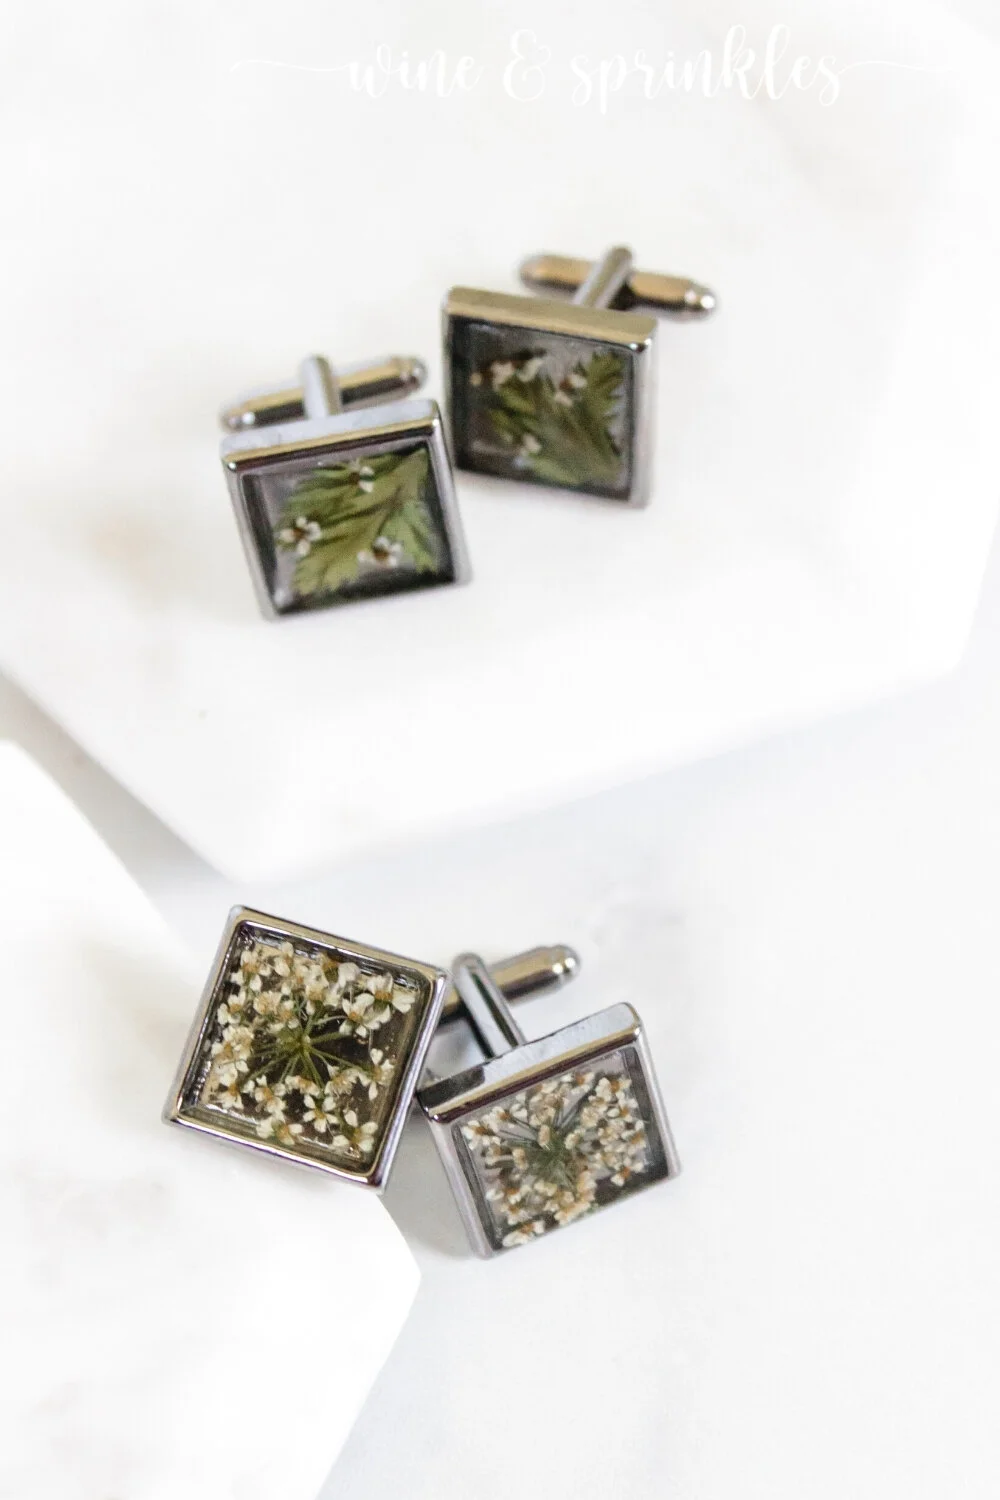
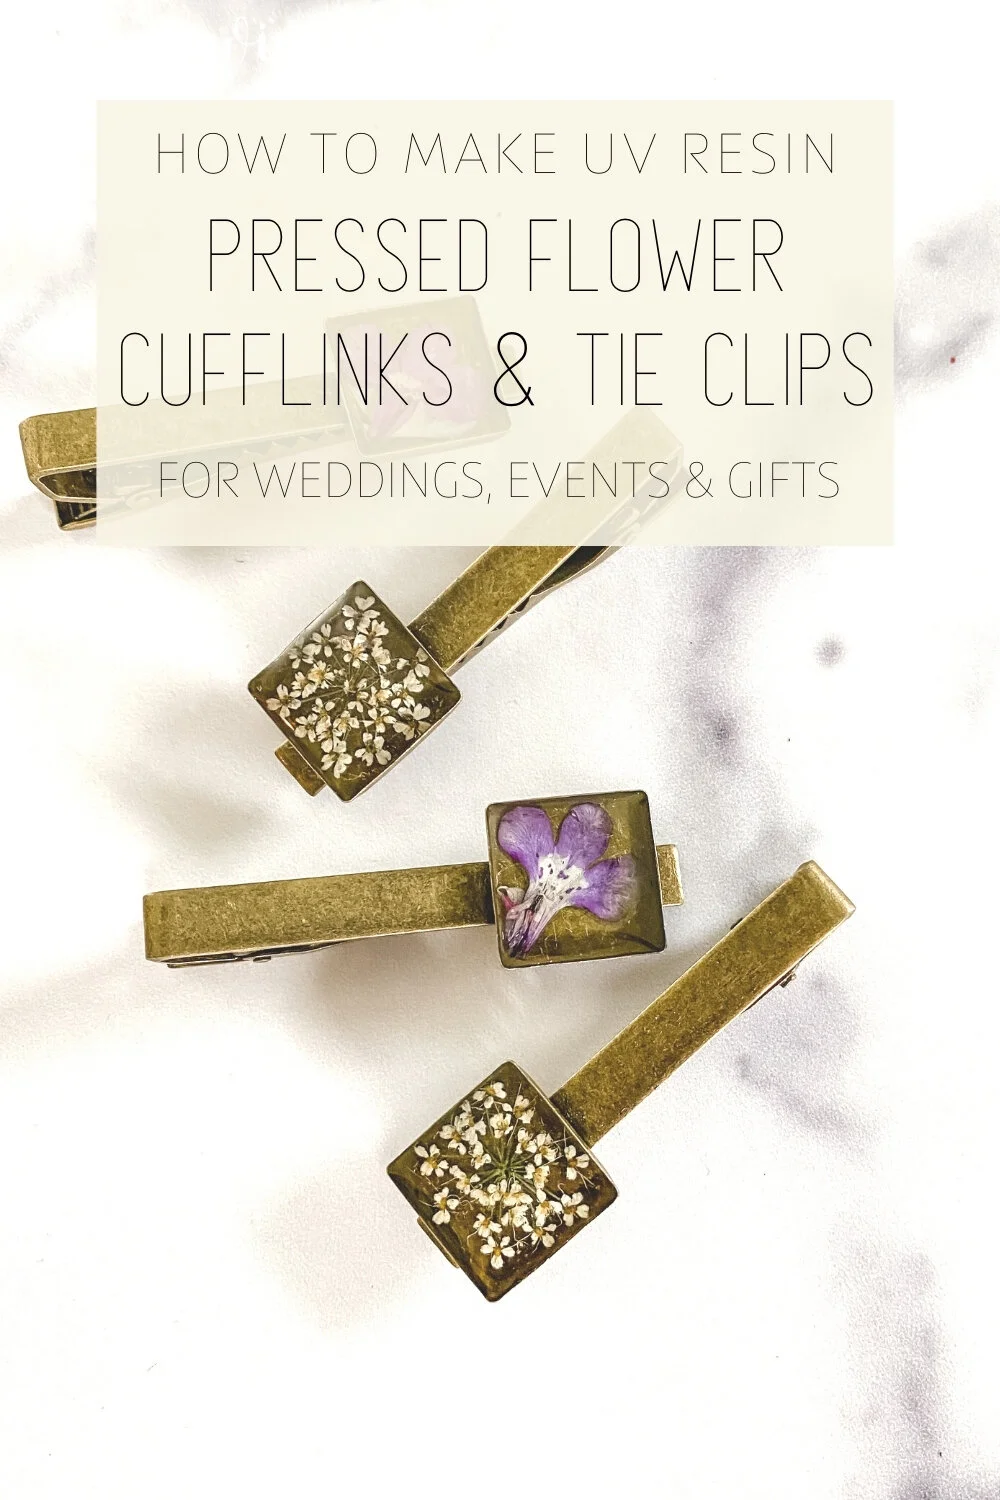
This was my first time working with UV Resin, and I will say it is a little trickier to cure than traditional cast resin. Anything that isn’t clear for UV Resin interferes with its ability to cure, so the flower’s colors and the quicker cure times under UV lights will sometimes cause bubbles to form during the curing process. While the cufflink and tie clip bases are certainly not clear, by placing the pressed flowers first, topping them with resin, and then curing I had very few problems with bubbles forming during the curing, unlike the necklaces.
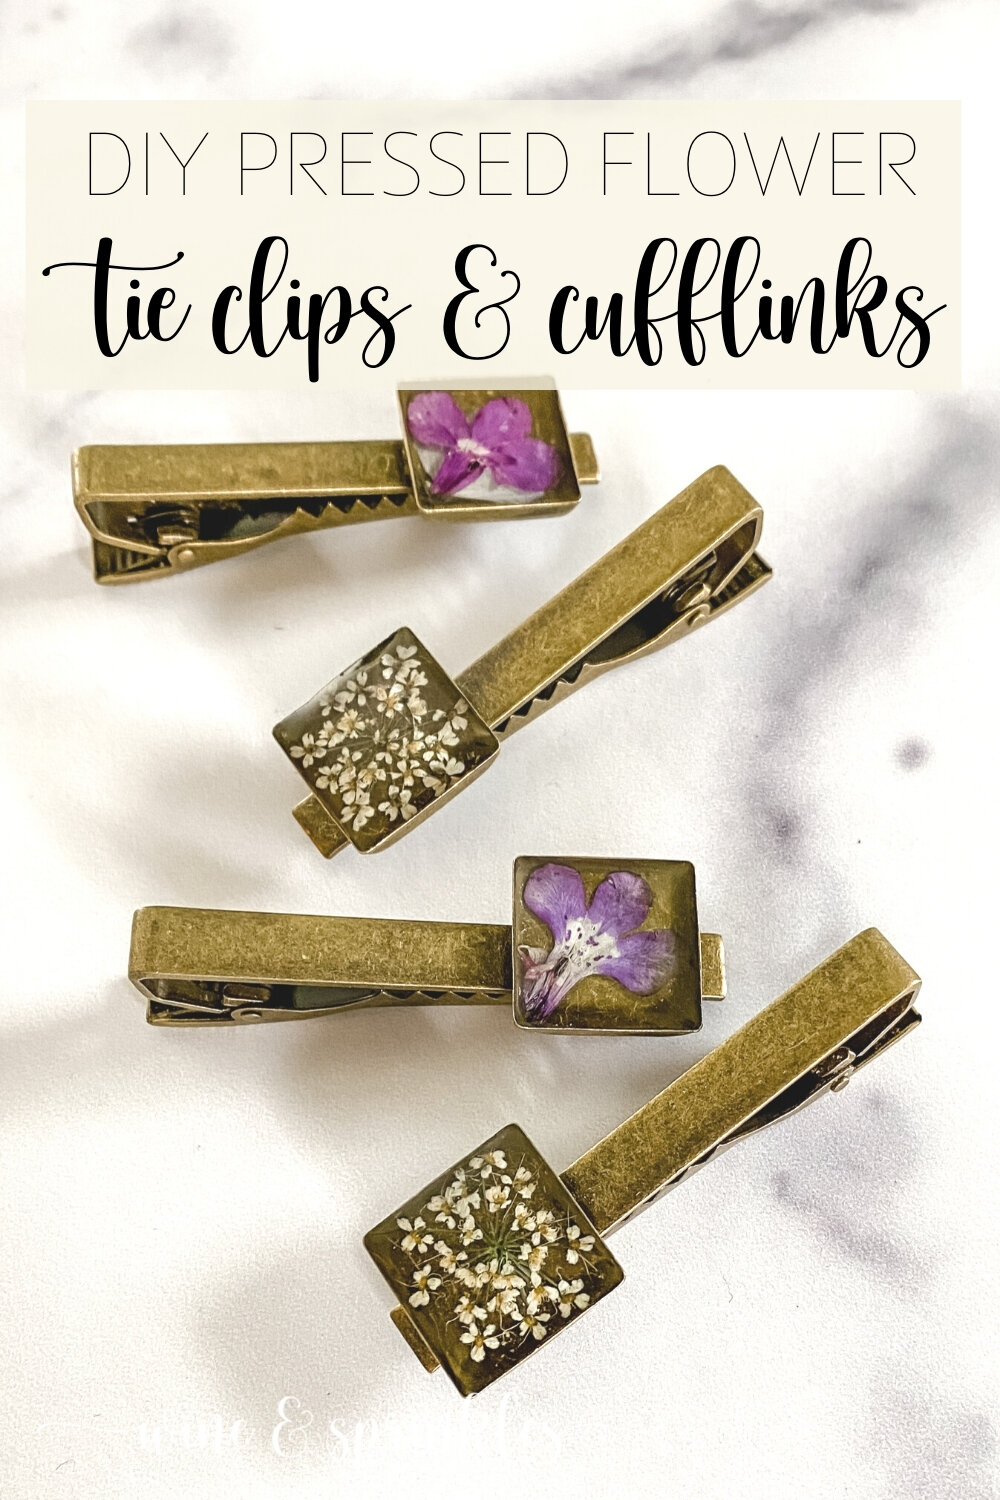
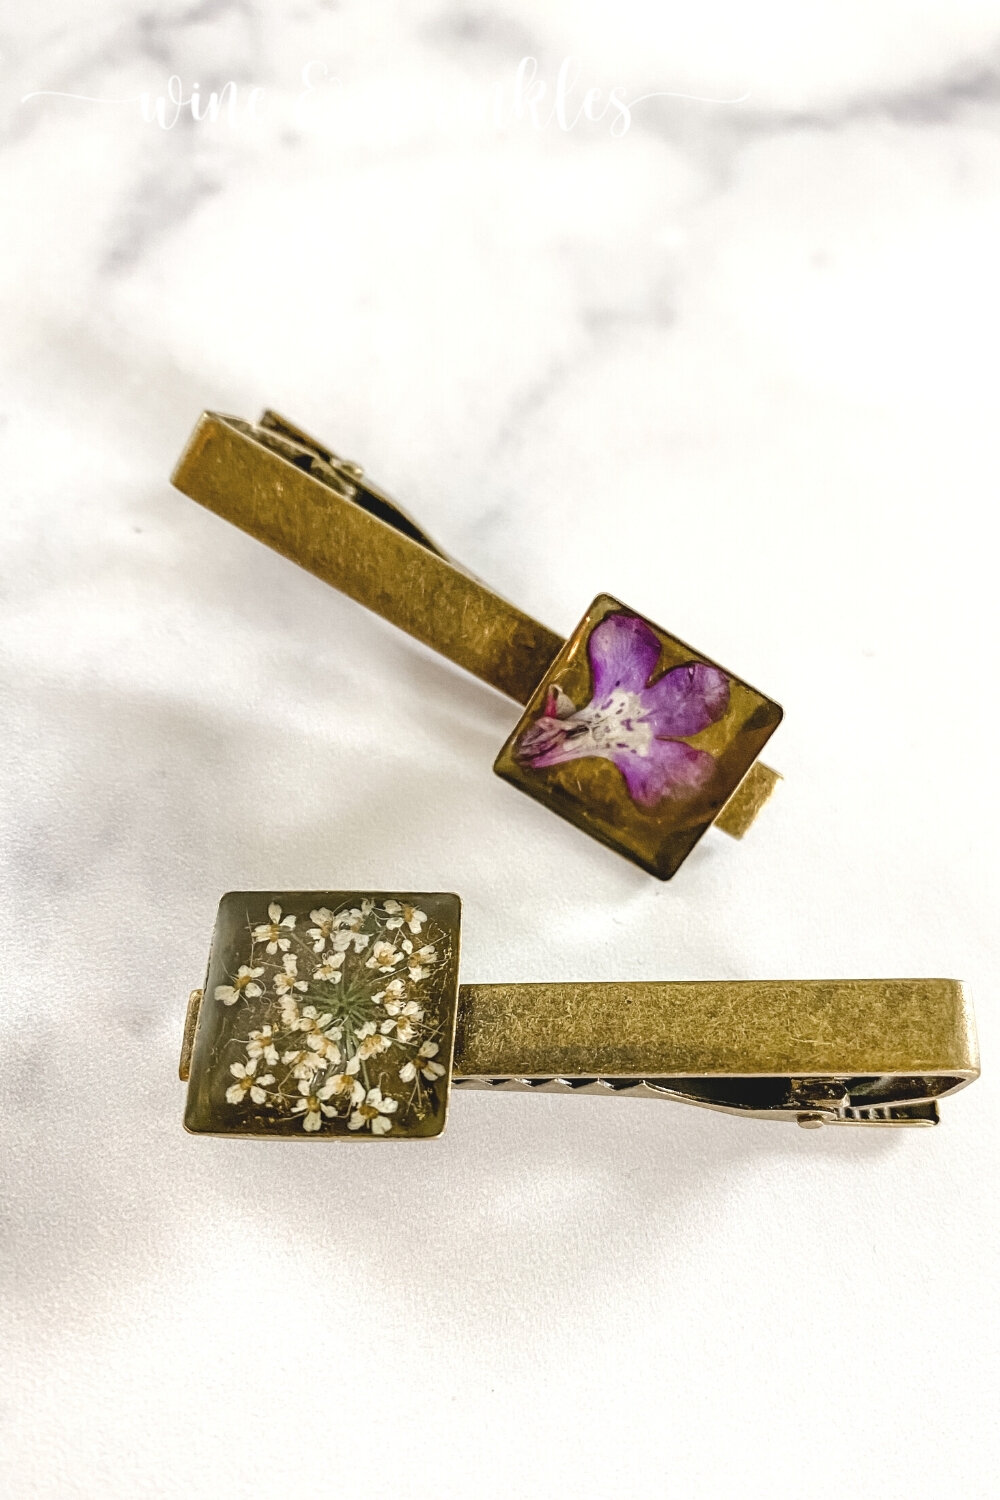
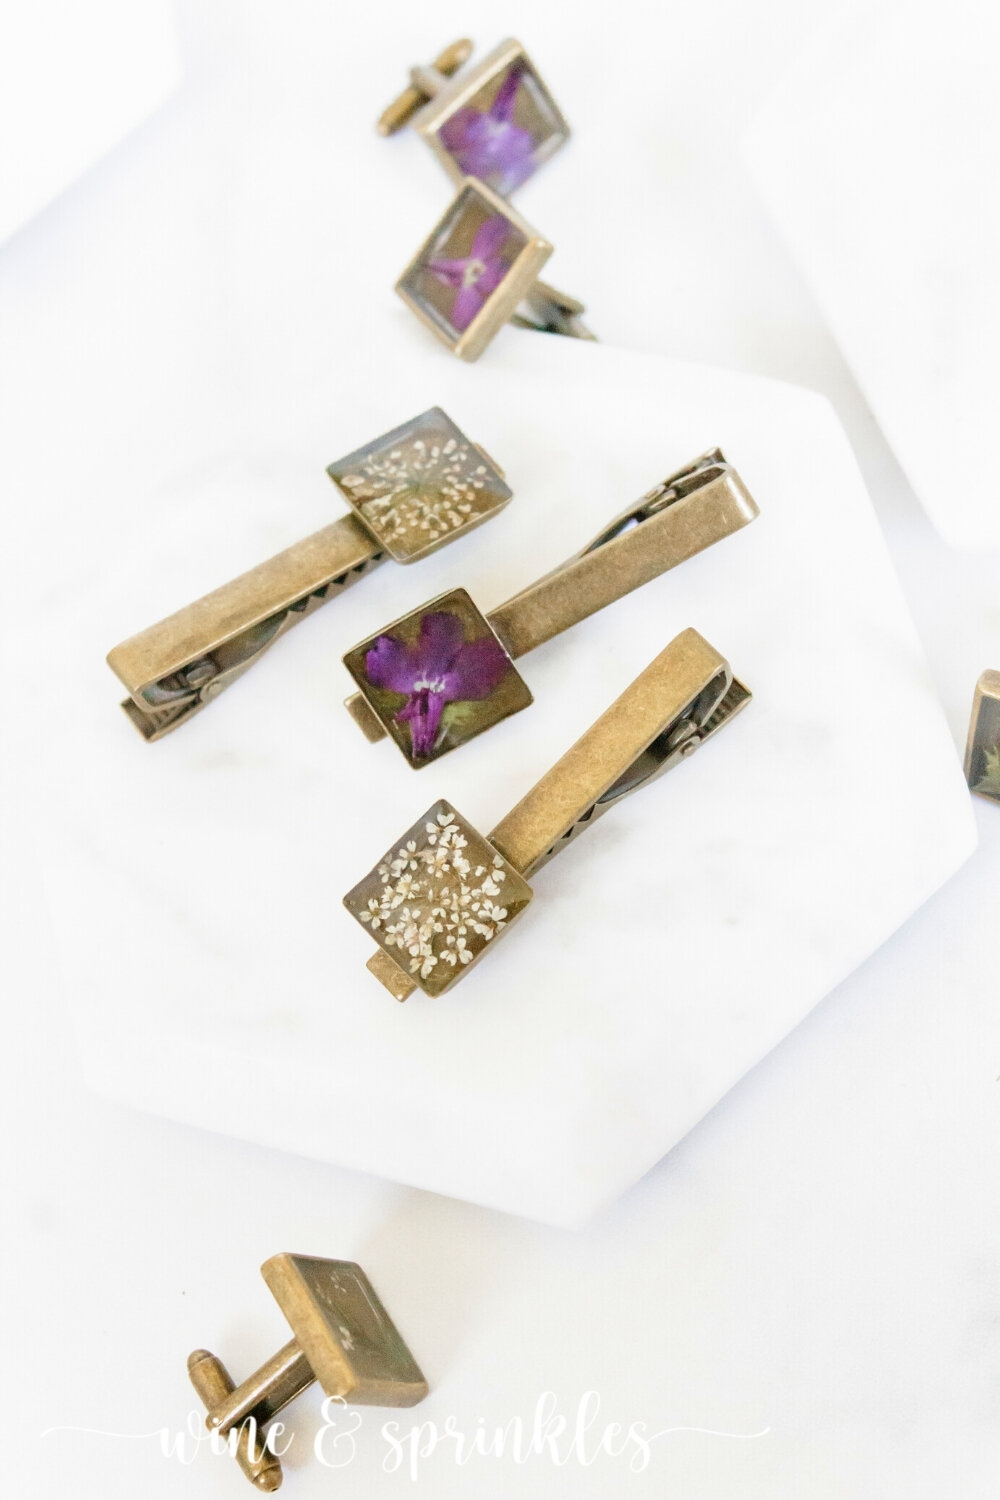
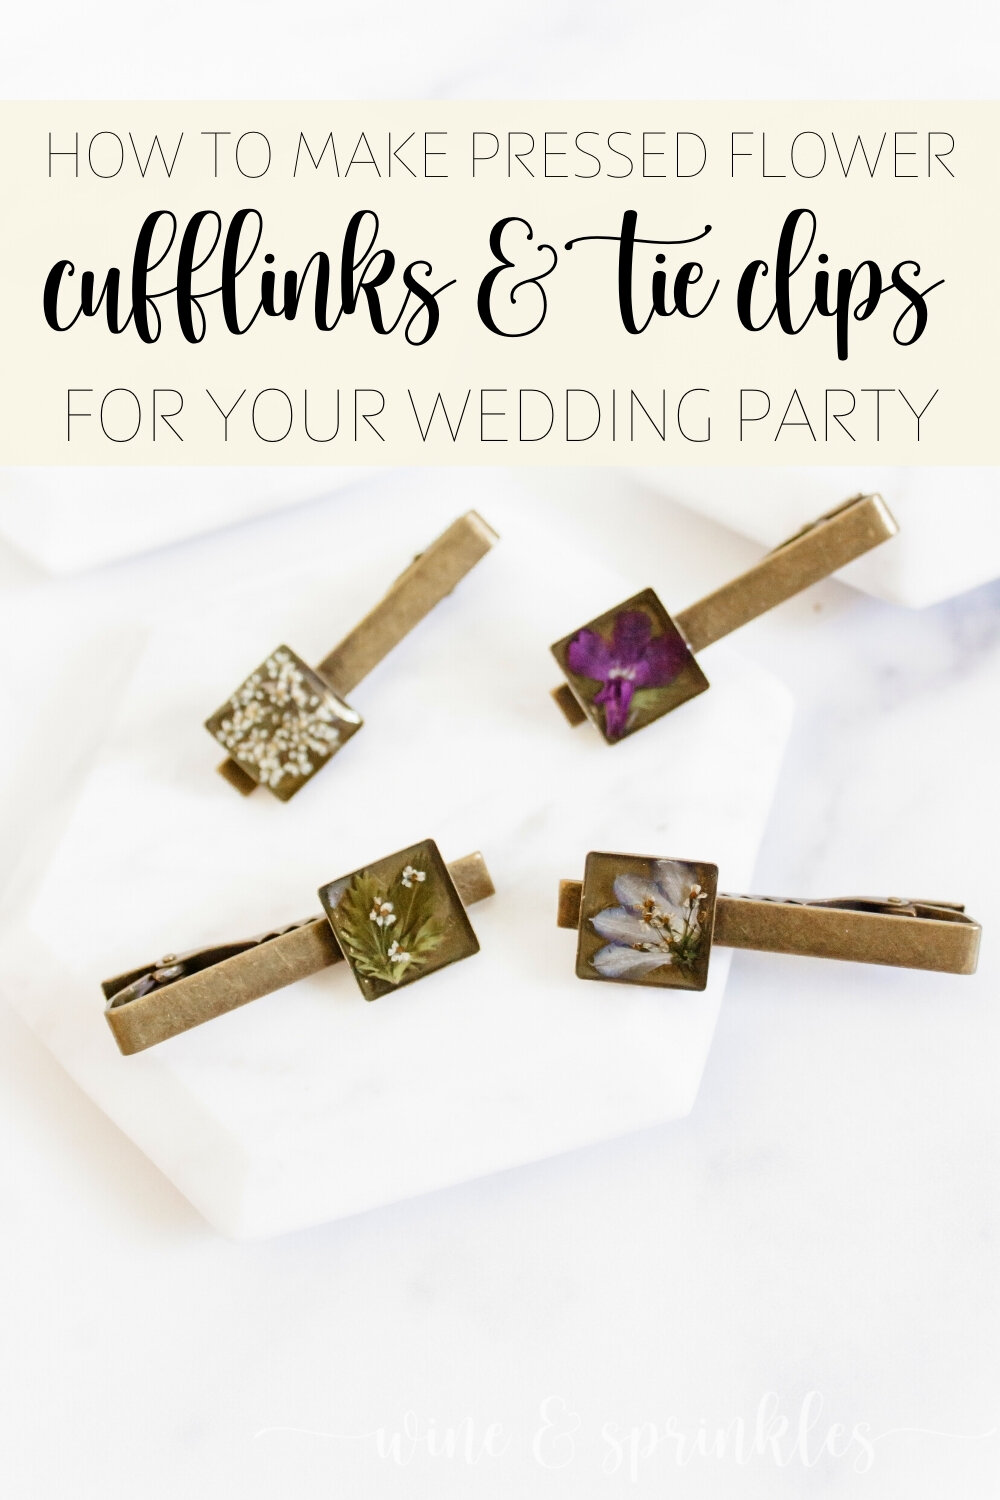
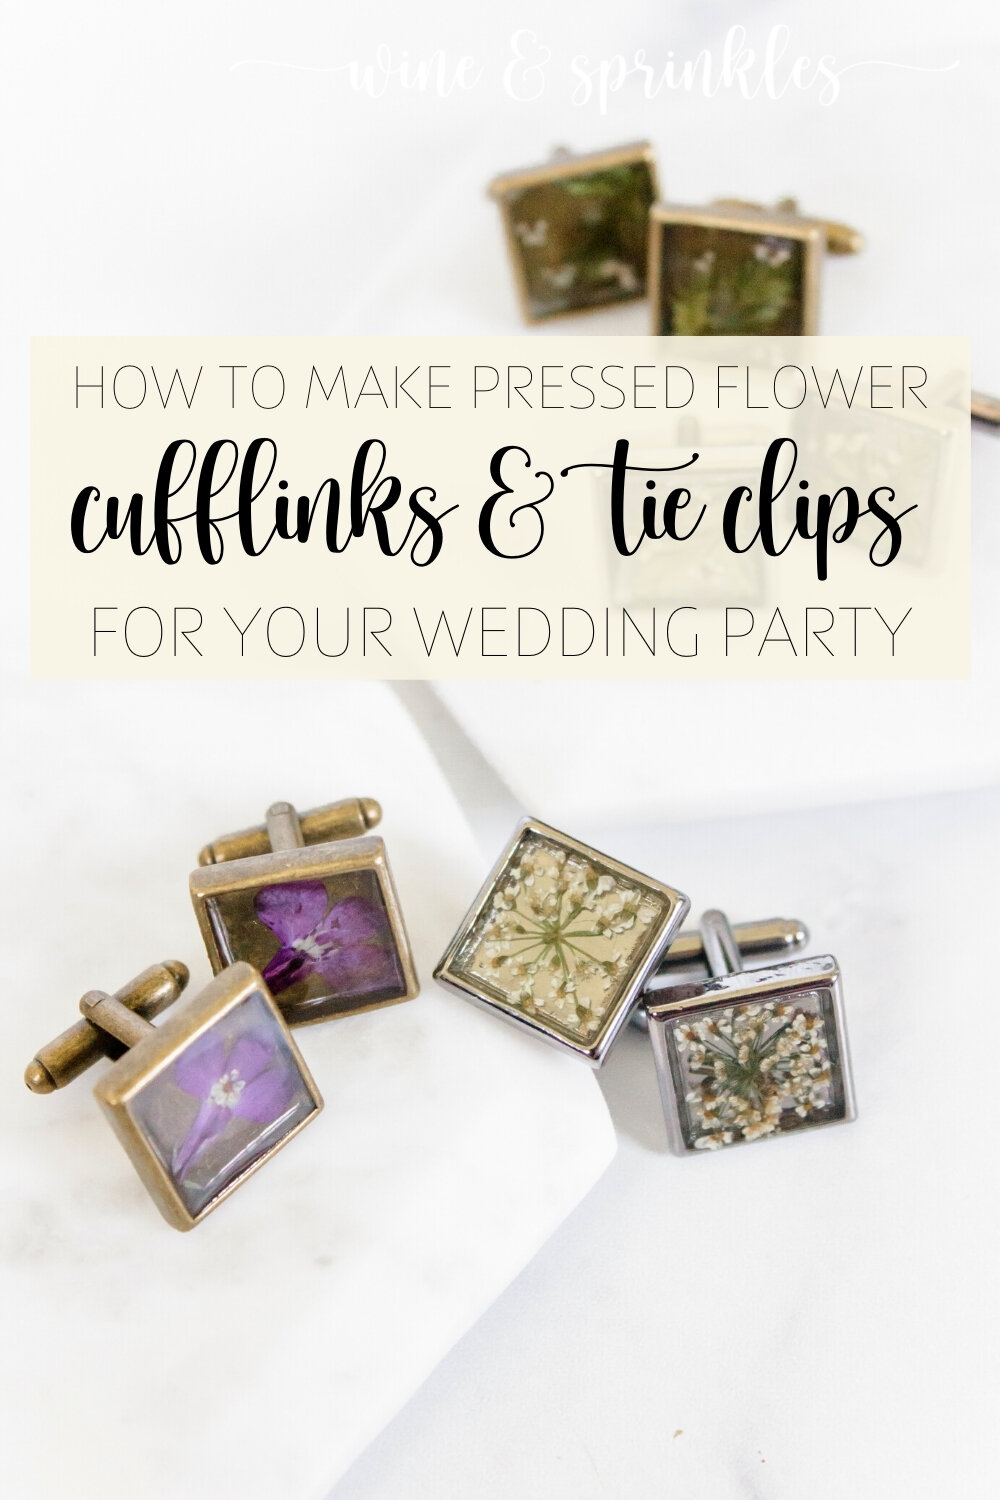
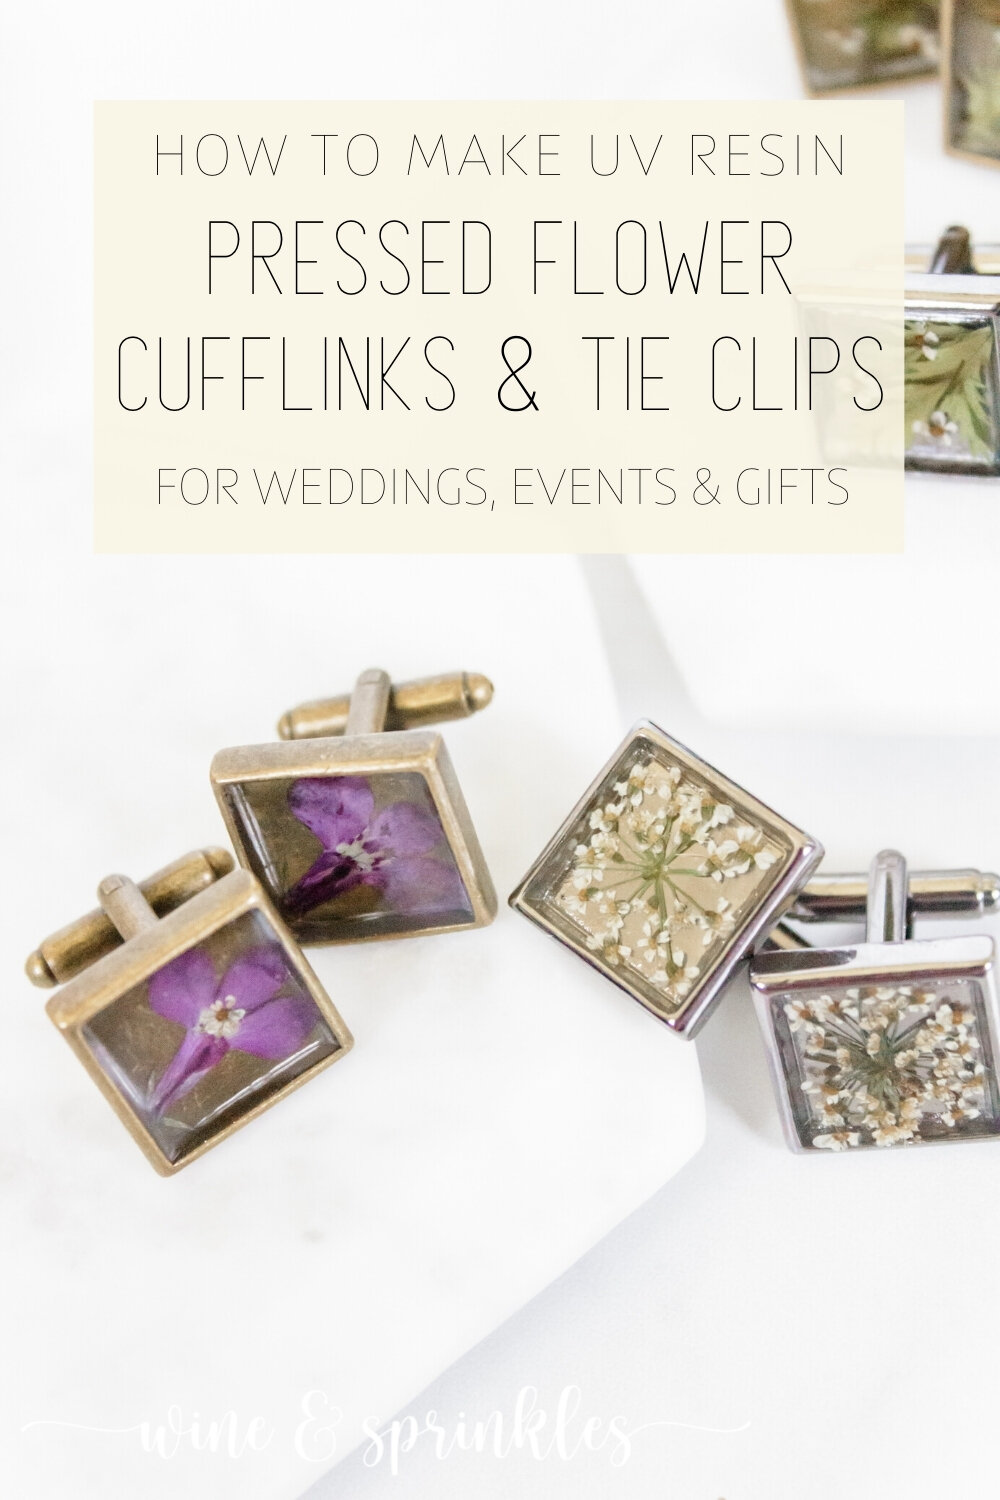
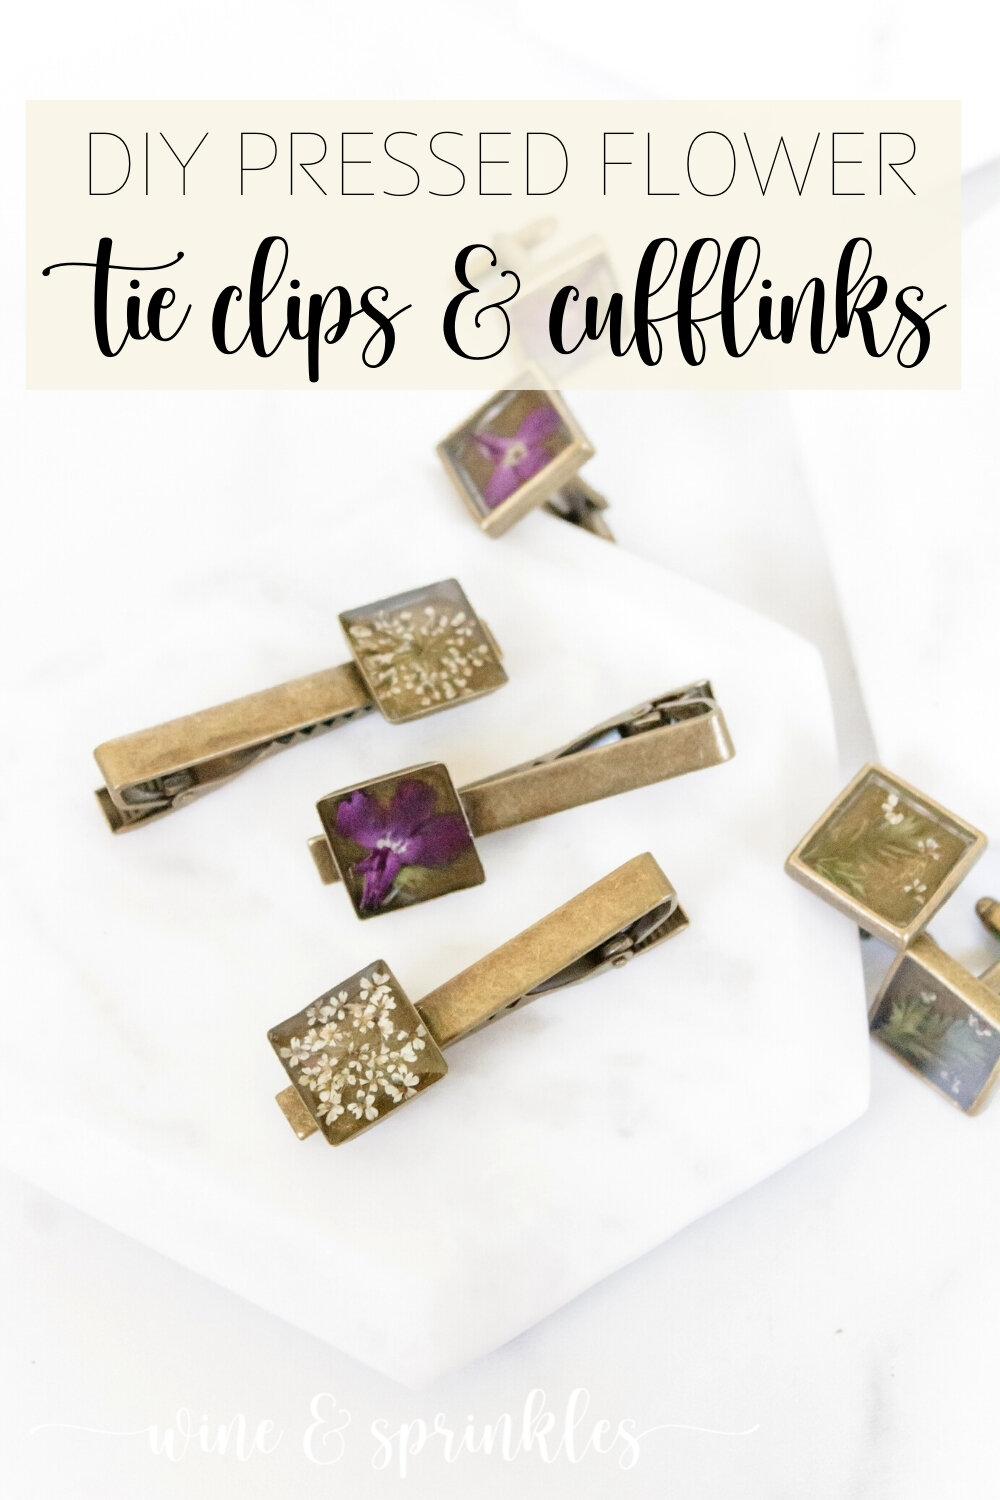
These are the perfect projects to begin with if you, like me, are new to UV resin but want to start creating jewelry and other small pieces. They came out stunning, were beloved by my male guests, and are a beautiful nod to springtime in a masculine style!
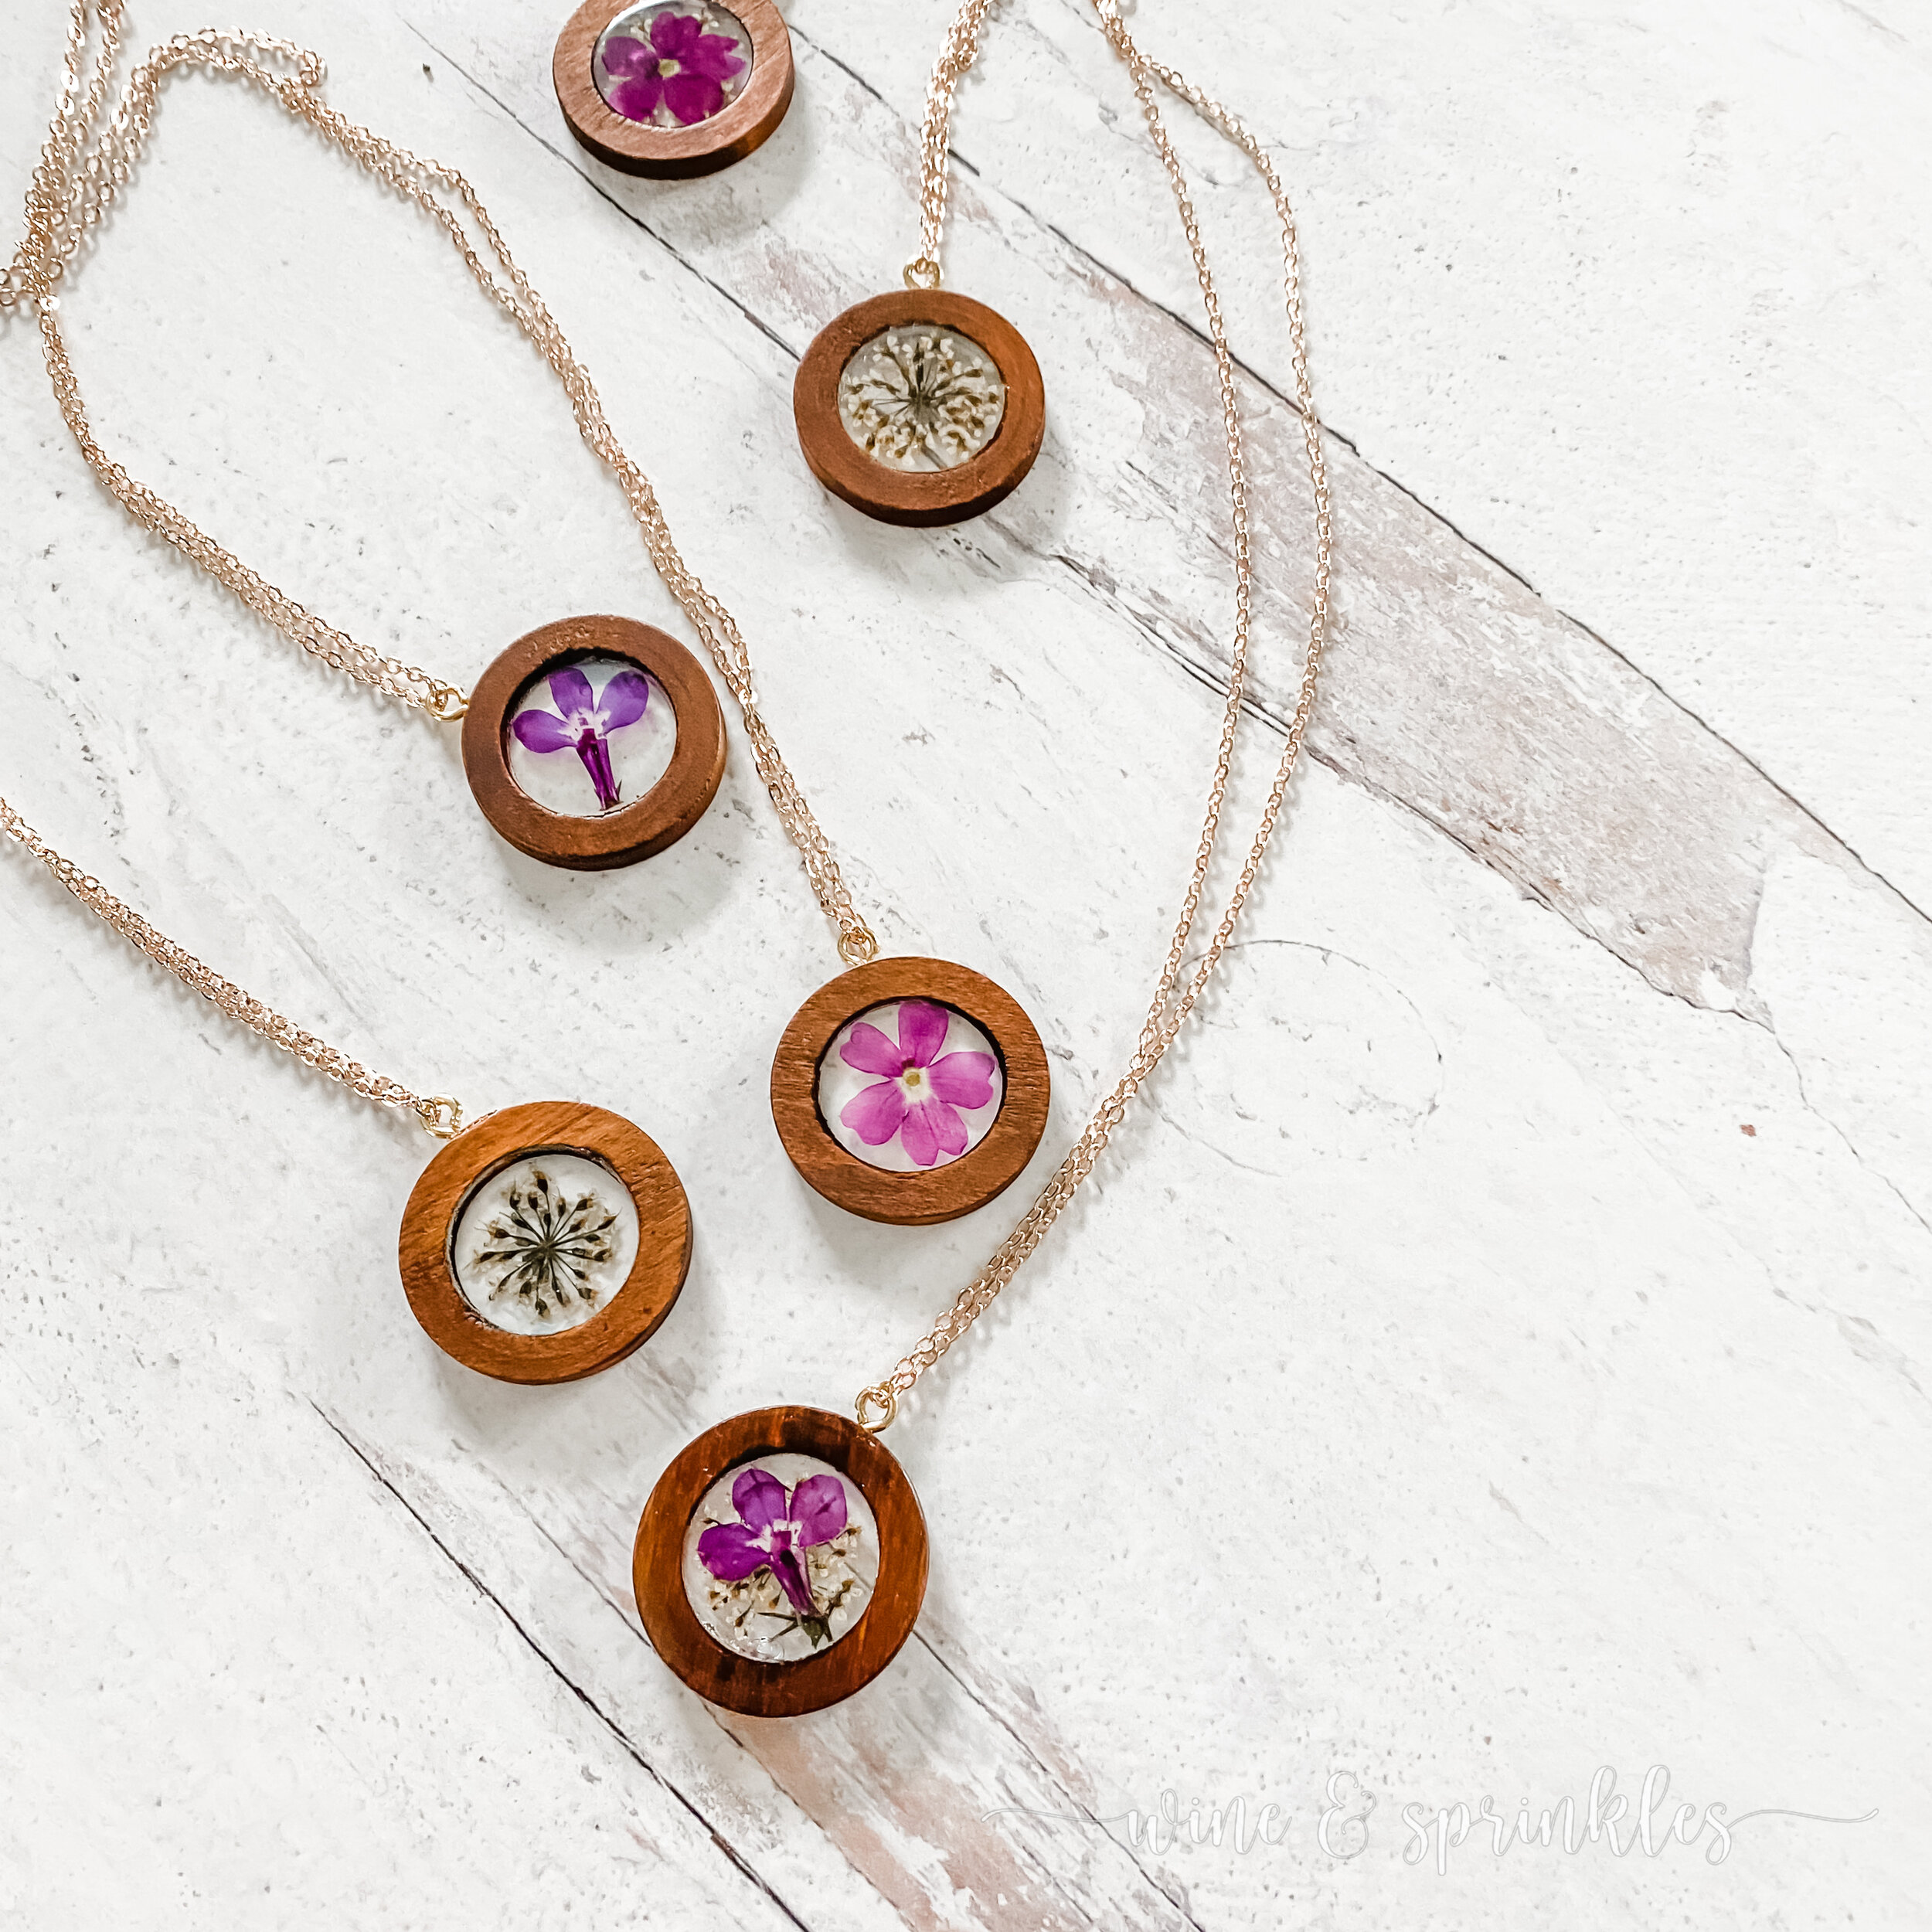
Men need more flowers in their lives! I may be biased because I absolutely adore flowers in all forms, but when I was planning my Goddess of Spring 30th Birthday Cocktail Party, it was the perfect time to craft a little something to incorporate some floral into their accessories while perfectly fitting my springtime theme.
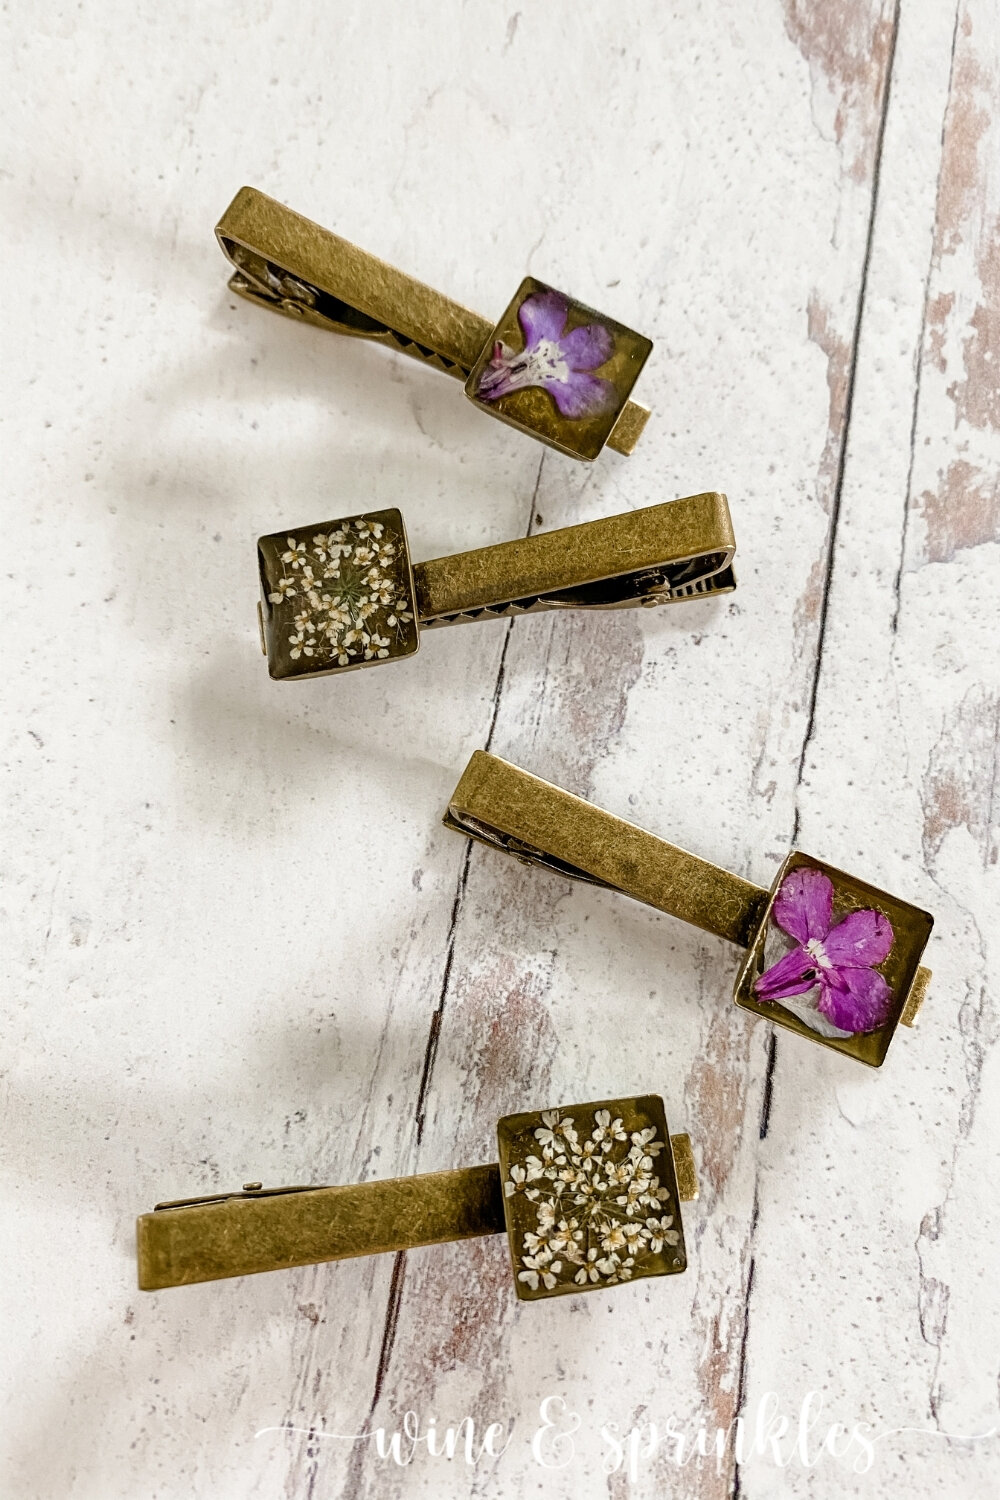
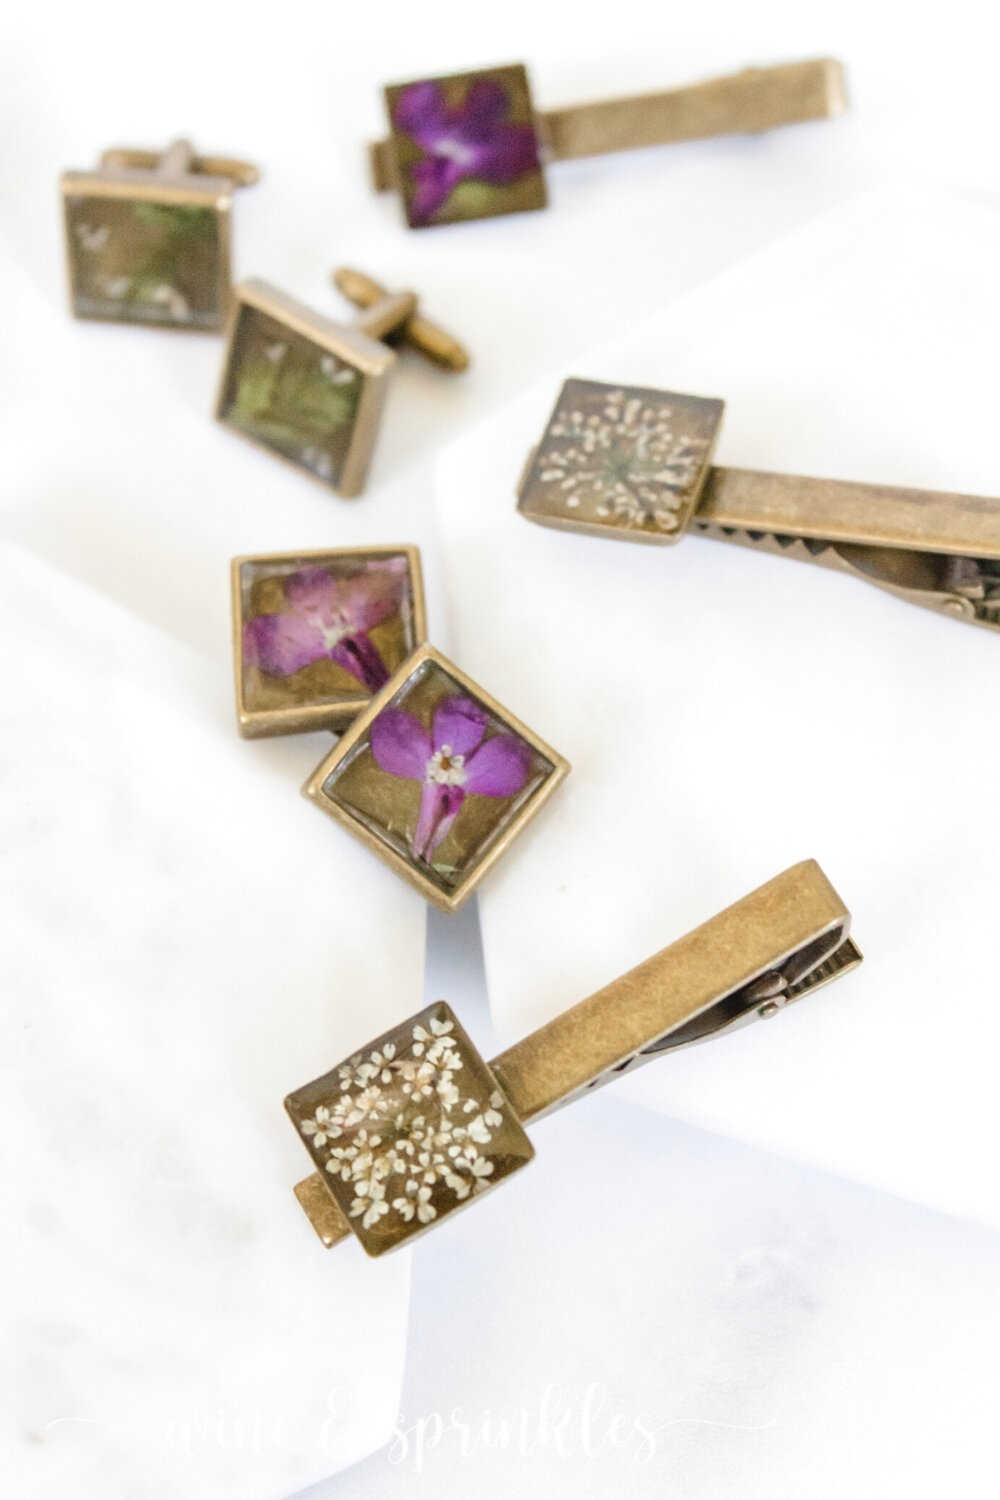
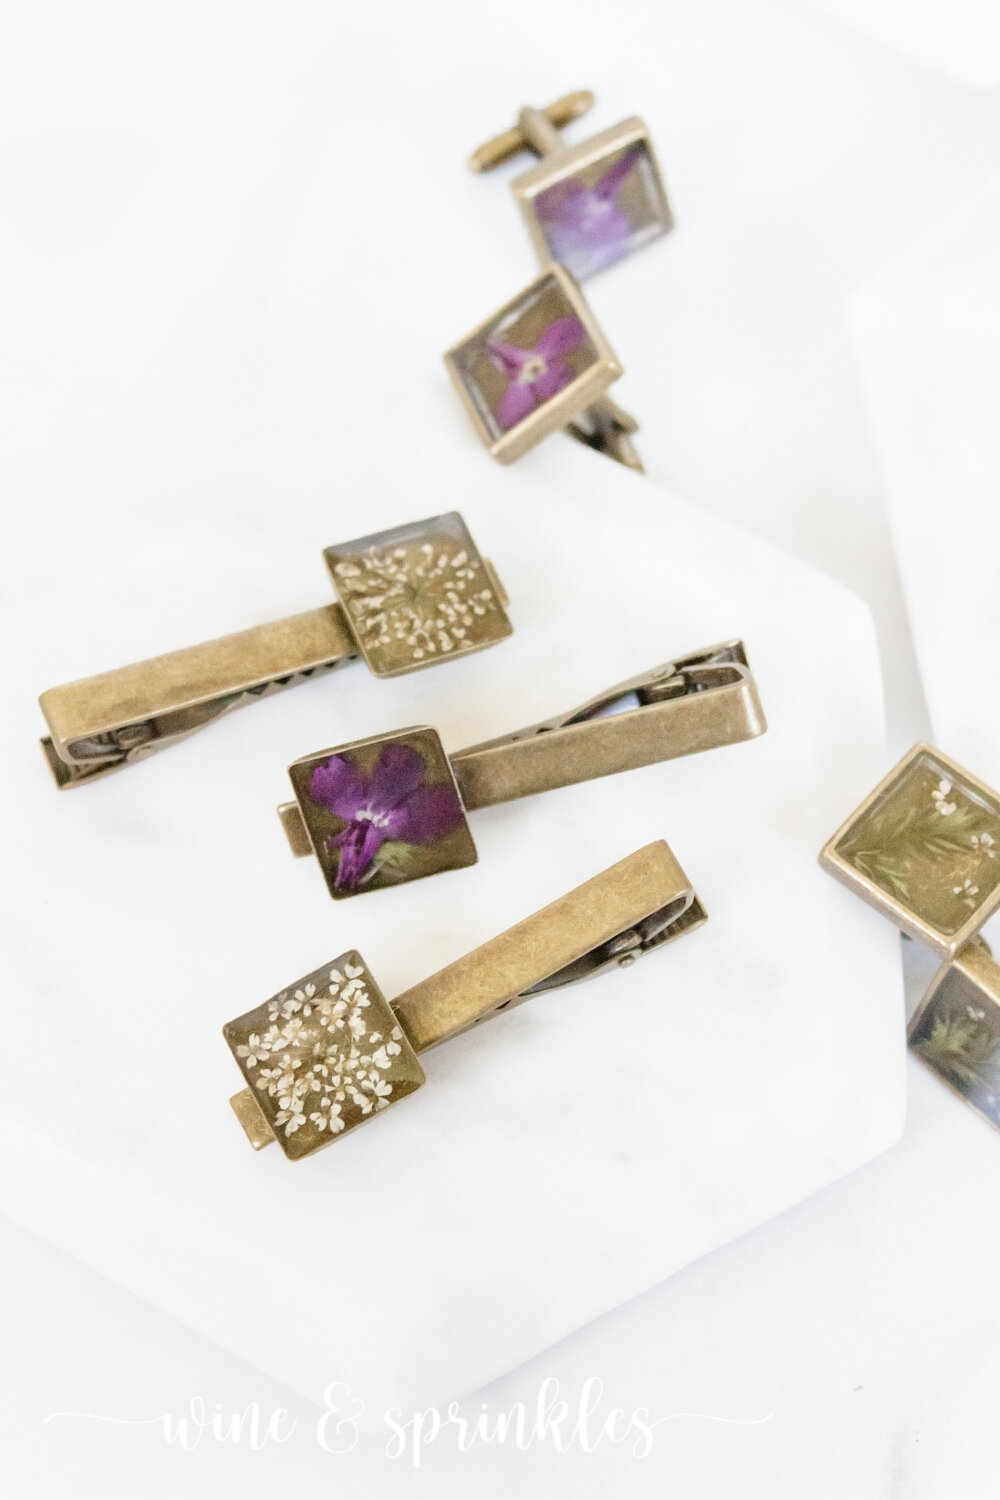
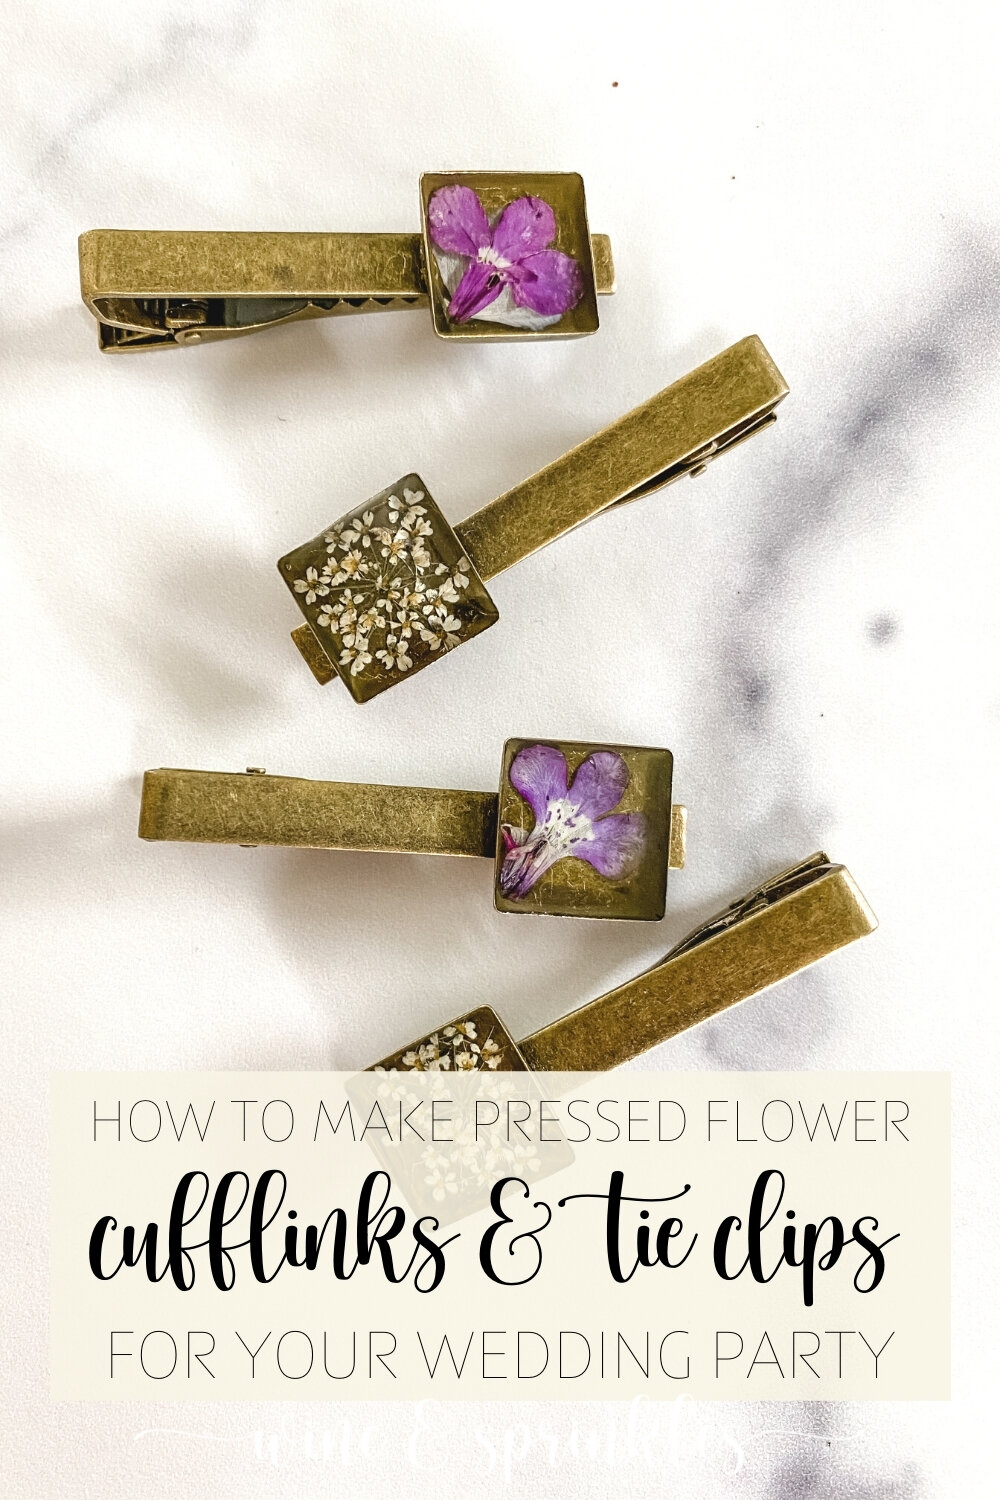
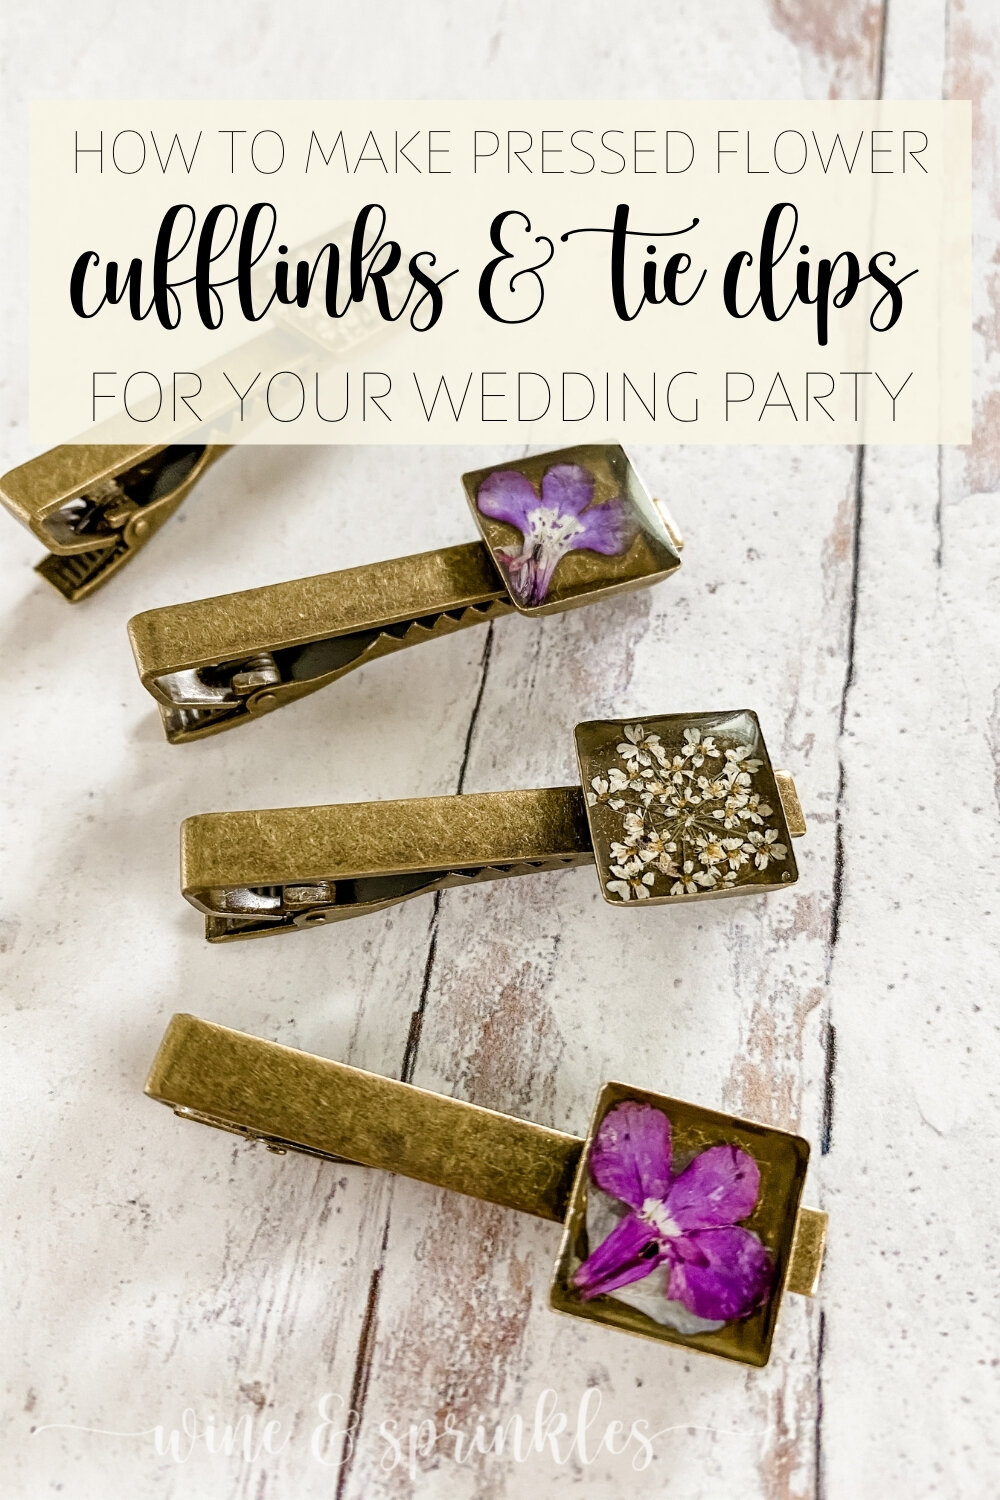
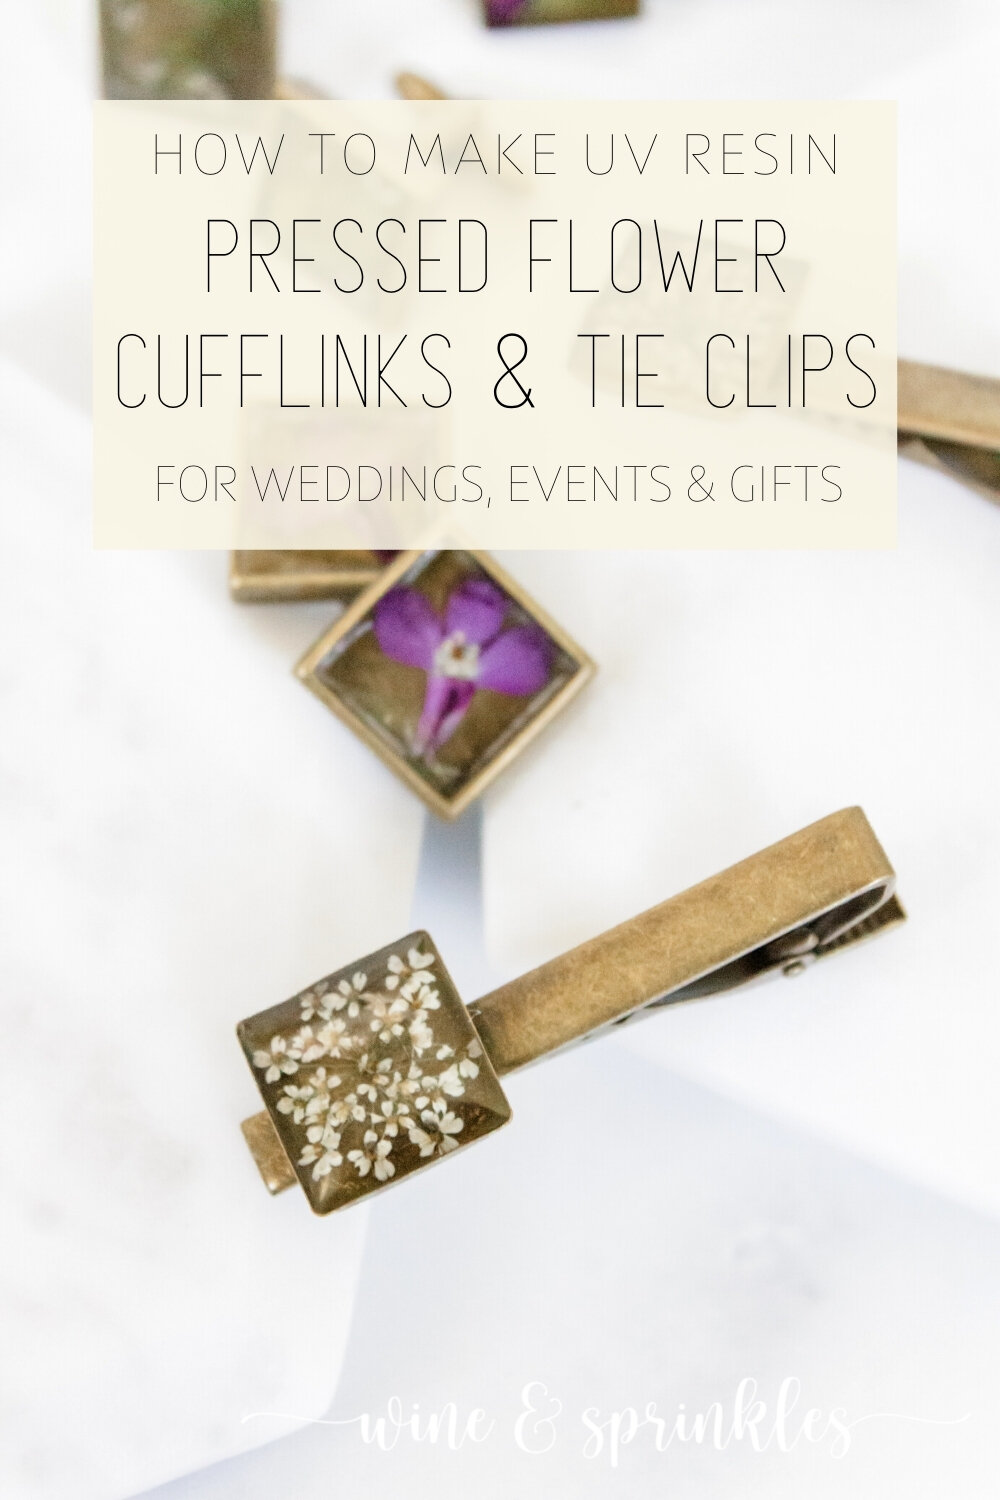
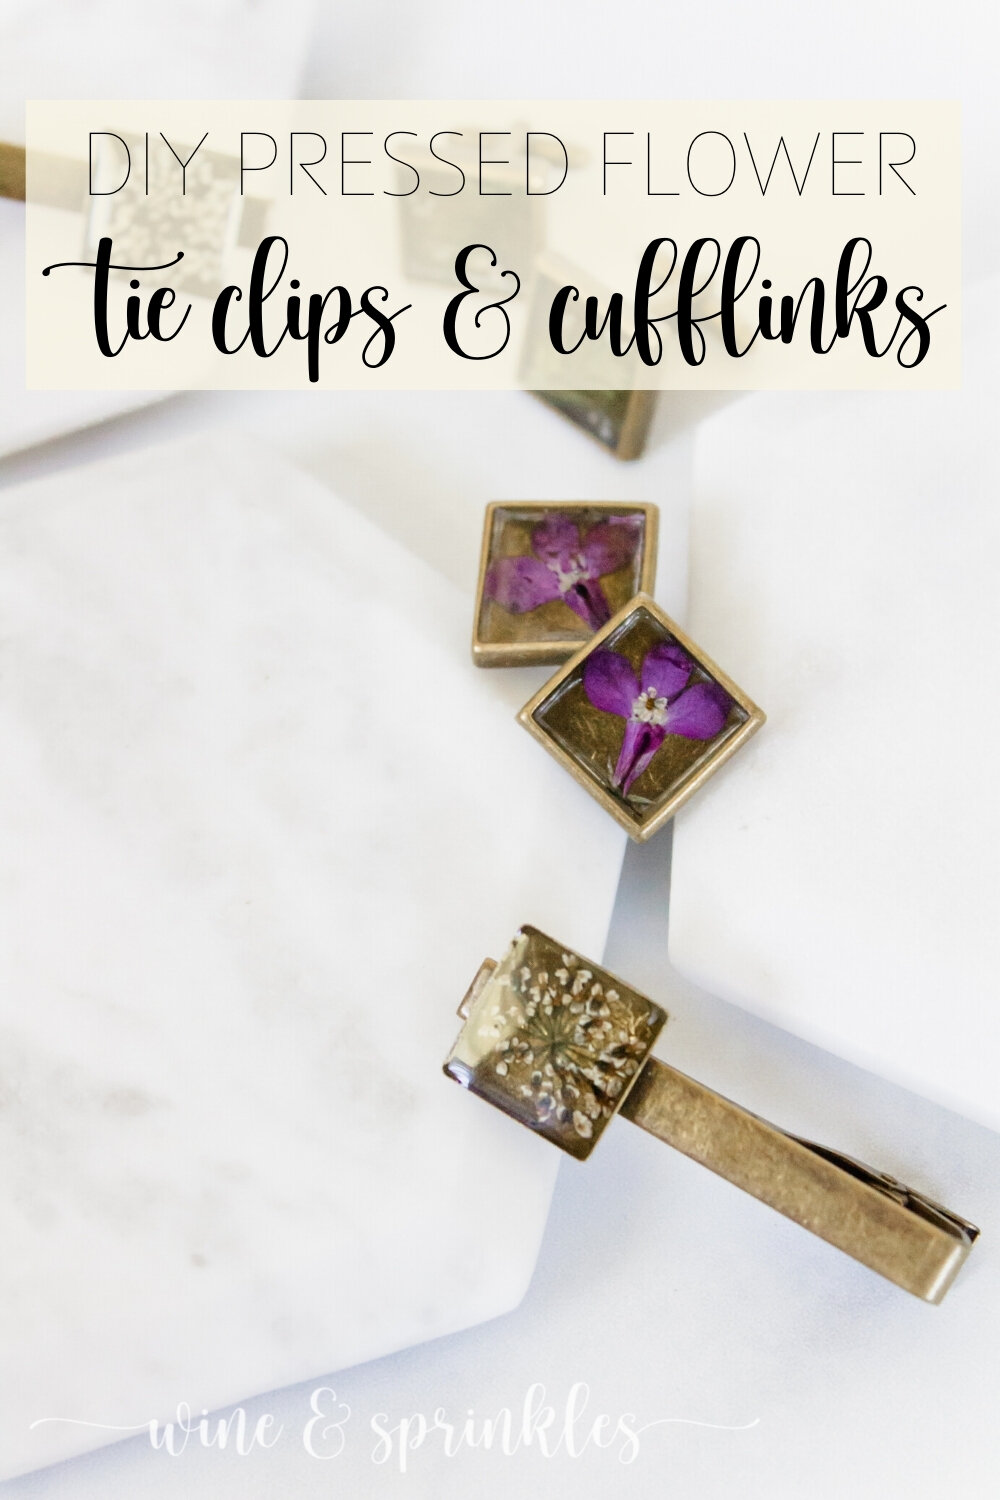
While my ladies left with beautiful Pressed Flower Necklaces, I wanted my gentlemen to leave with a little gift themselves that, while floral, was something they would like and want to wear. These Pressed Flower Tie Clips were perfect, and so easy to do I made cufflinks to go with them!
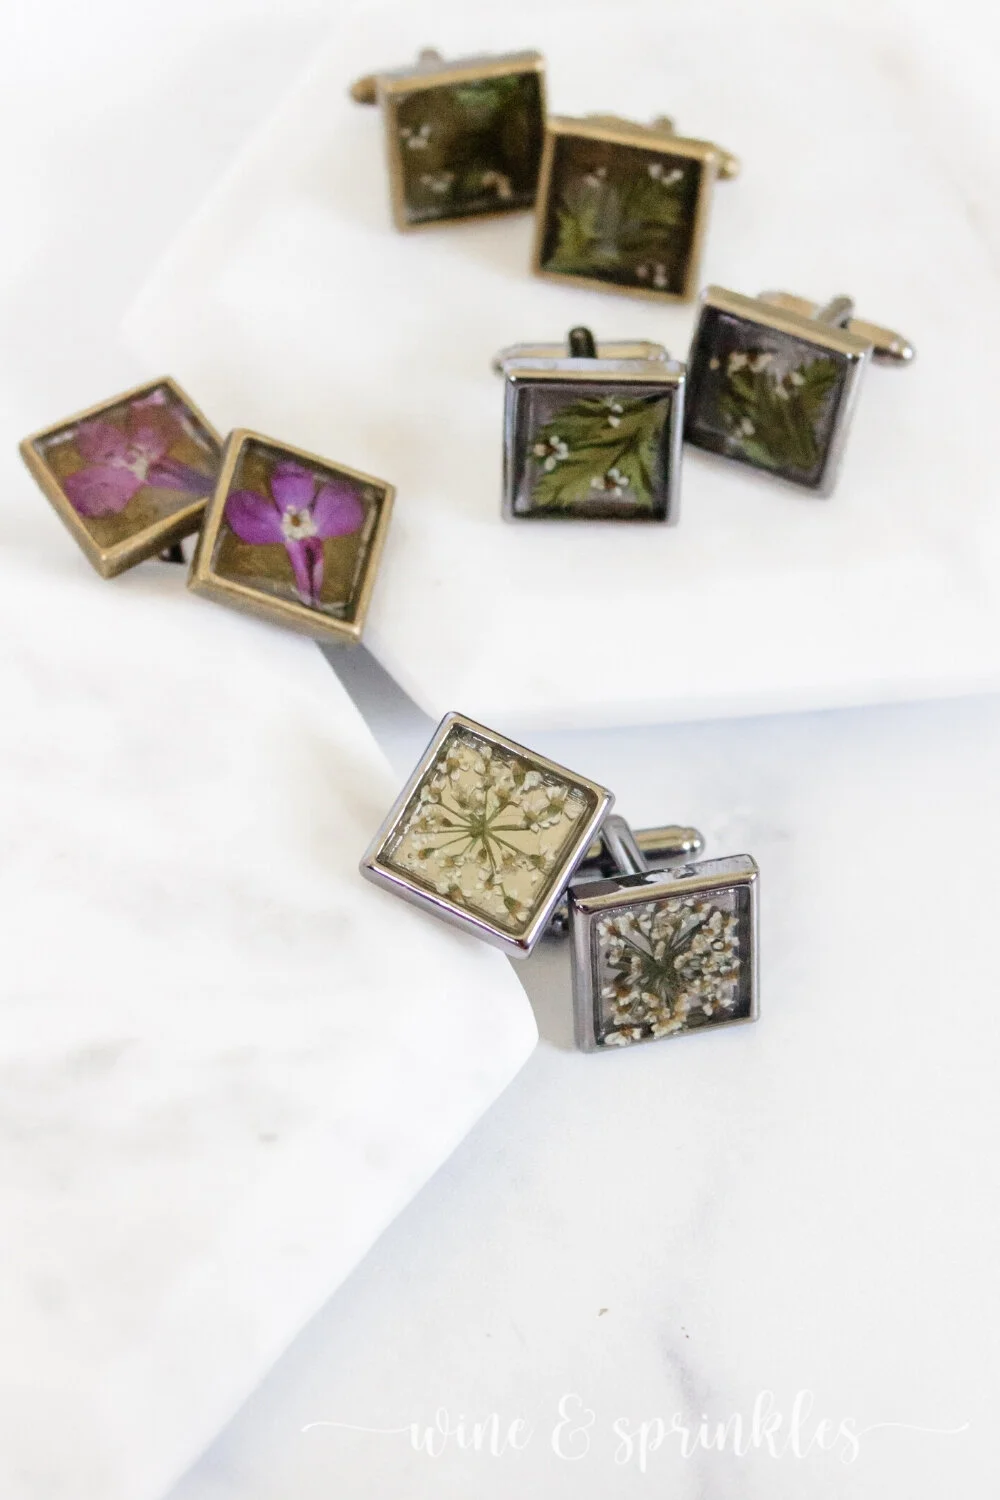
While I sent them home with only the tie clips, I love the idea of doing cufflink and tie clip bundles as Holiday Gifts, Groomsmen Gifts, or a gift for any special man in your life, especially because making both is almost as easy as making only tie clips! Both are included in my tutorial, so you can easily make your own sets regardless of which you choose to include.

SUPPLIES
JEWELRY MAKING SUPPLIES:

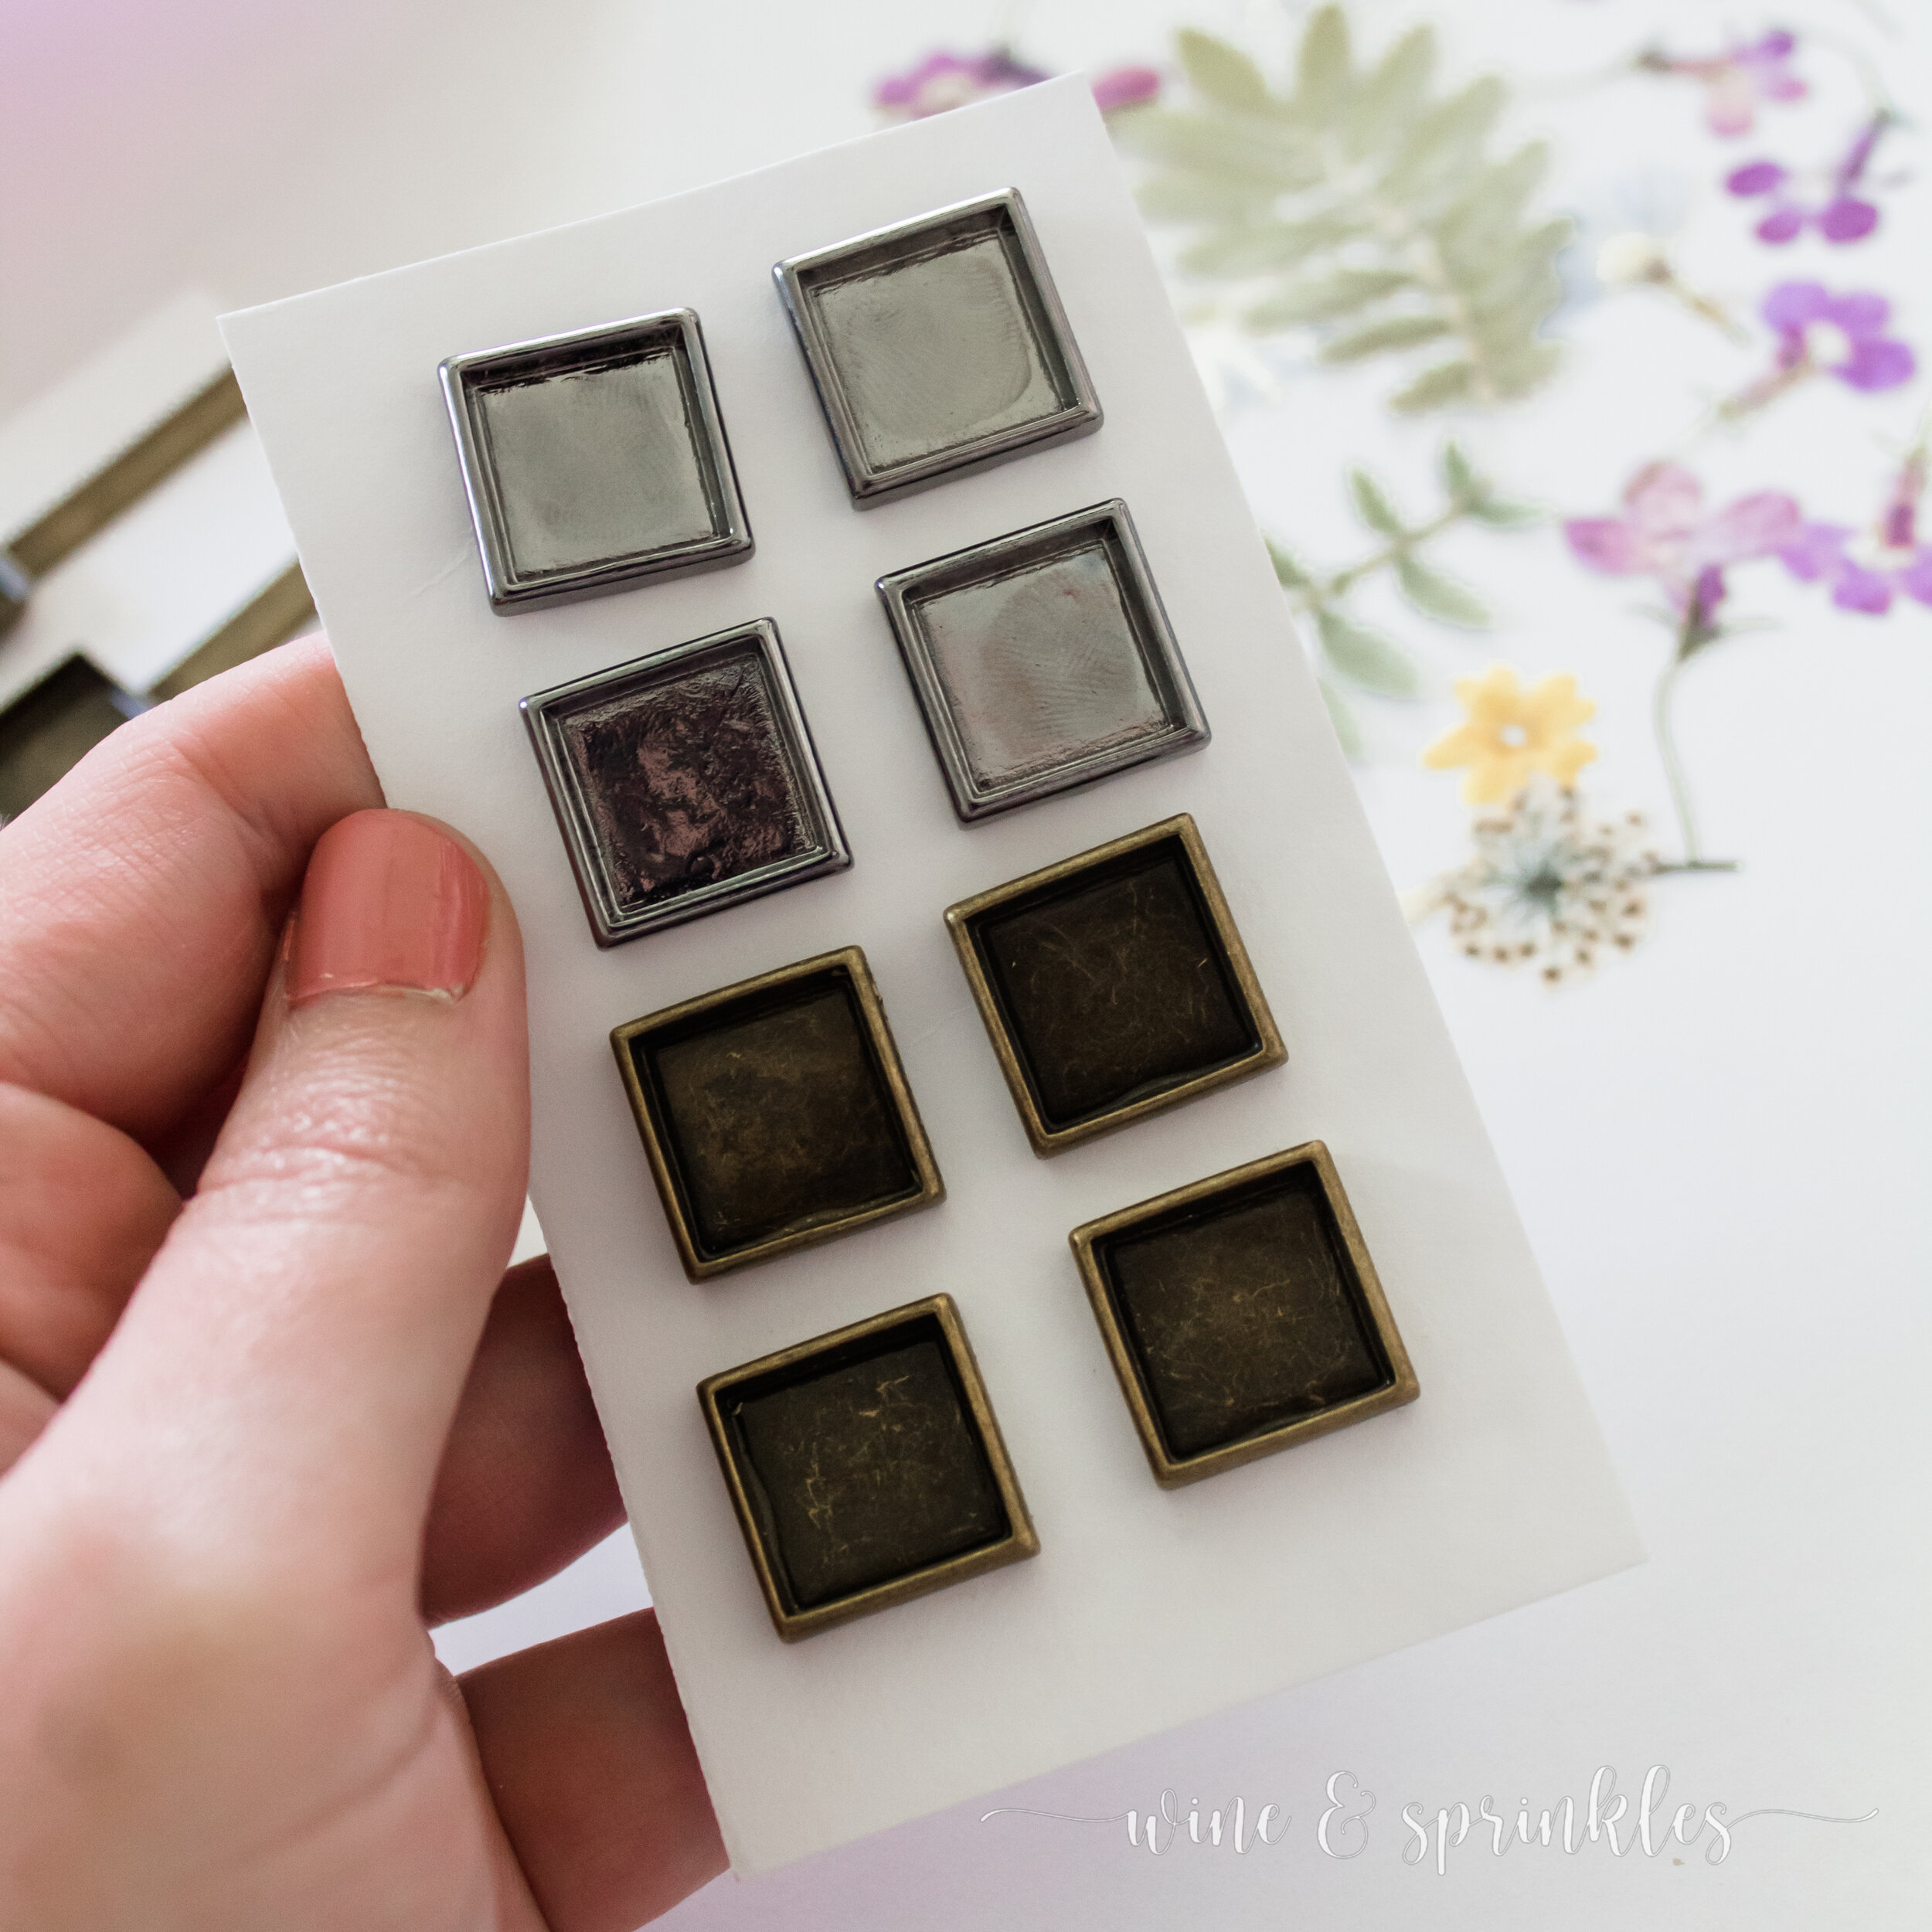
Tie Clip Blanks & Cufflink Blanks: For all my tie clip and cufflink blanks, I used the Etsy shop Rosebeading because of their large selection of bases for affordable prices! That being said, it felt like some of the bases of the cufflinks were a little warped so I’m glad I bought extras so I didn’t have to use the ones I didn’t like.
RESIN SUPPLIES:

UV Resin: When I first started working with UV Resin, I used this kind as well as another brand I bought locally, and let's just say this one was so much better! Compared to what I bought in store, this one had very few problems curing and bubbling under the light as well as giving a beautiful clear finish so now this is the only kind of UV Resin I buy for my jewelry work!
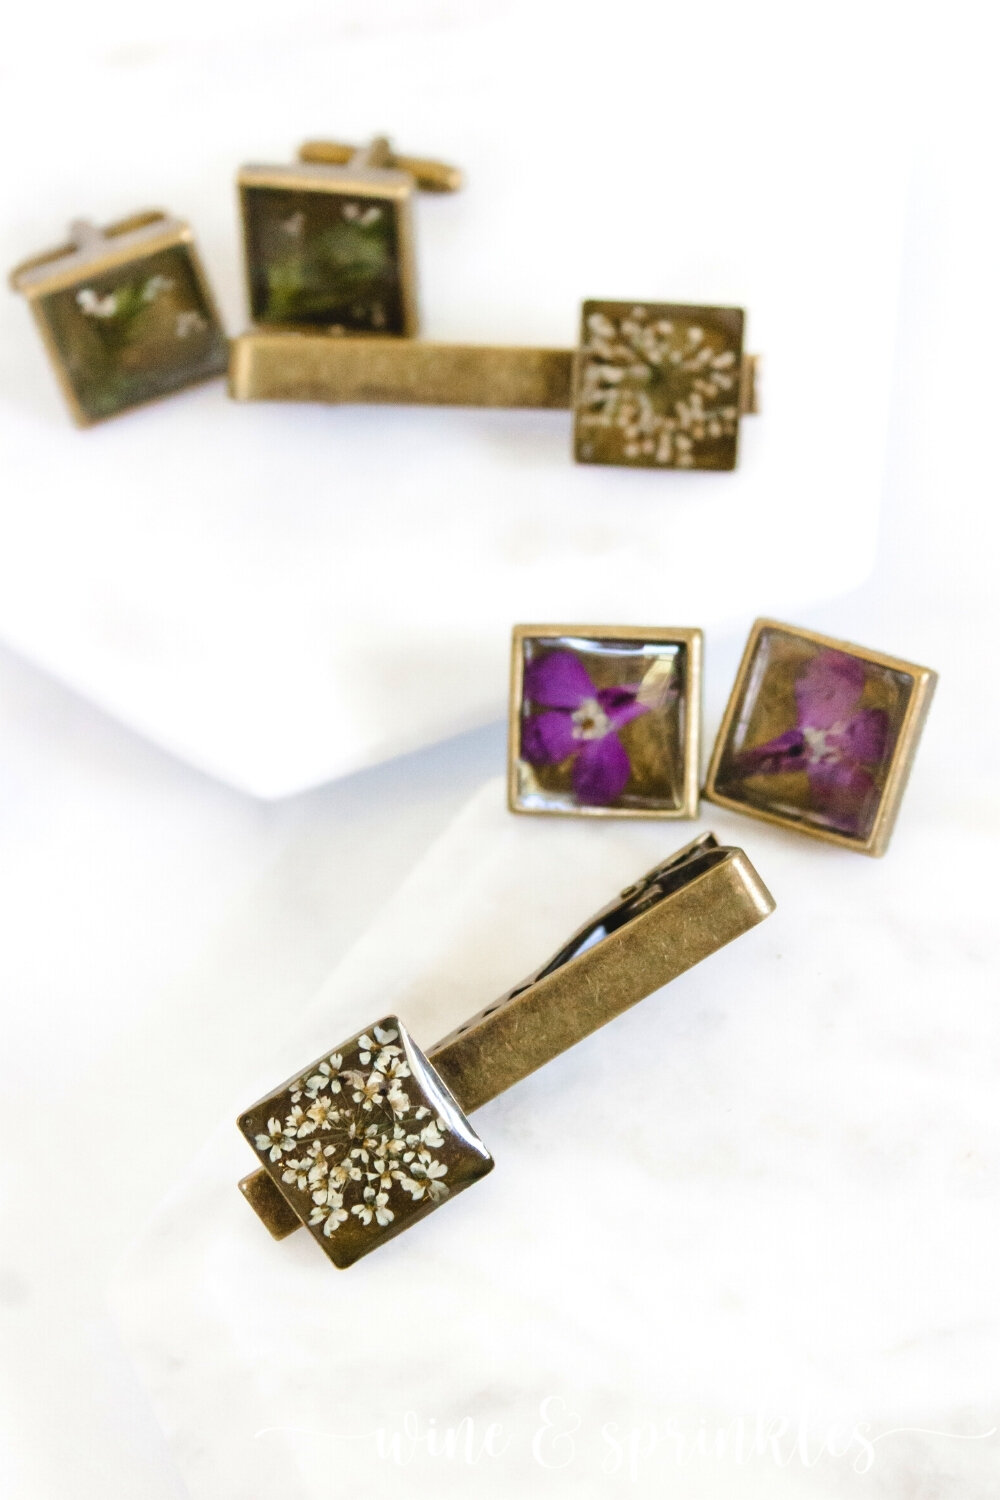
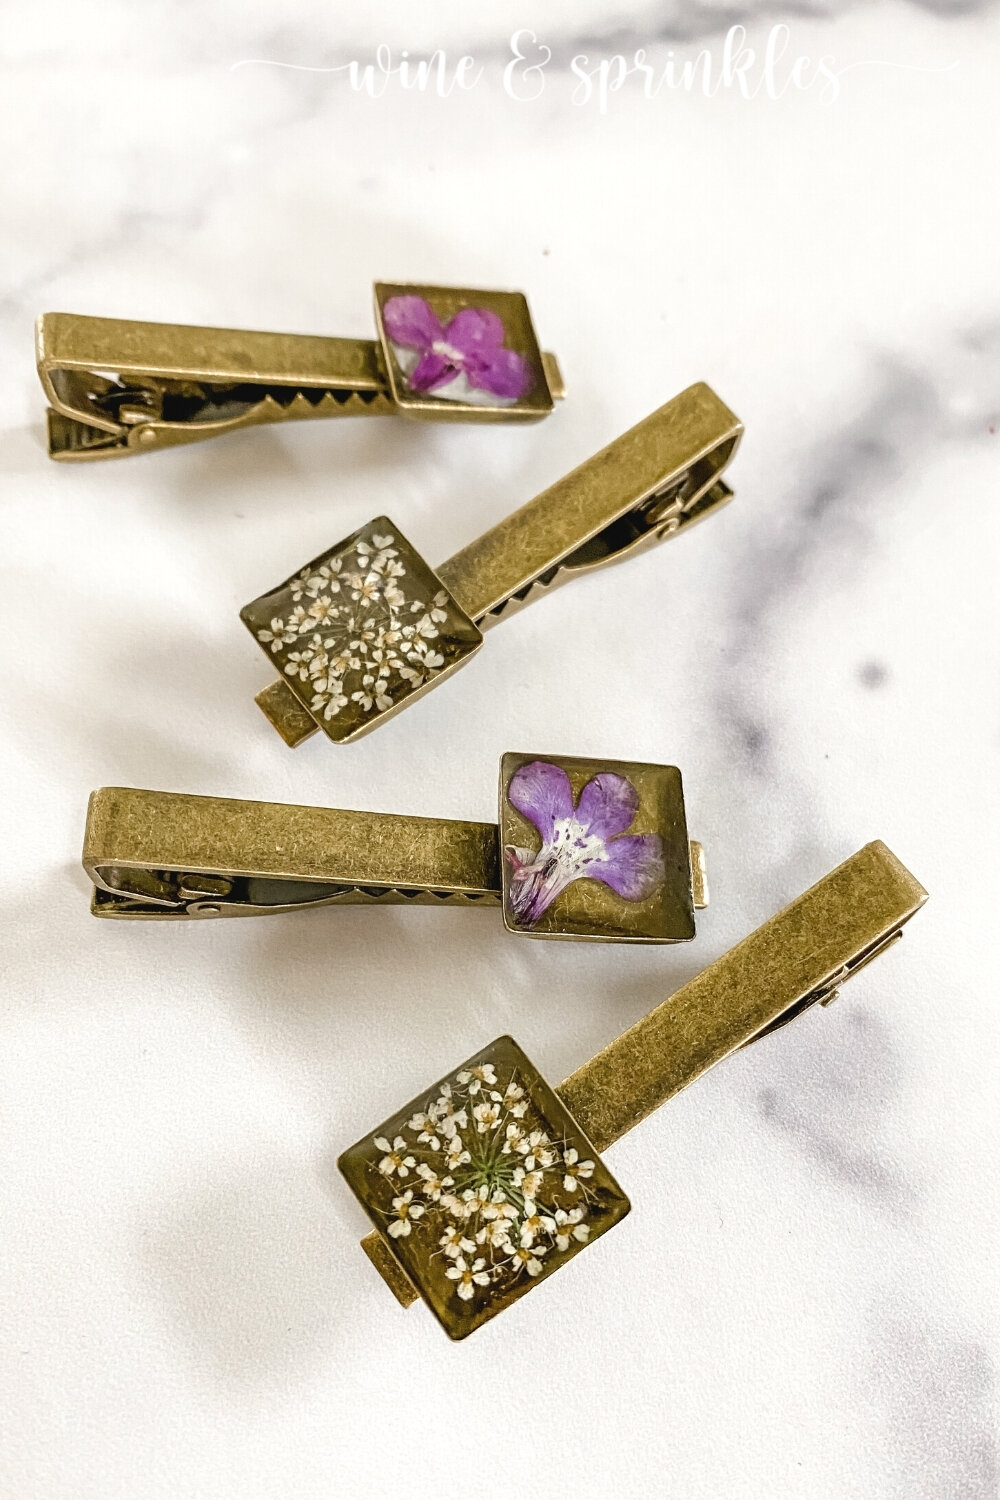
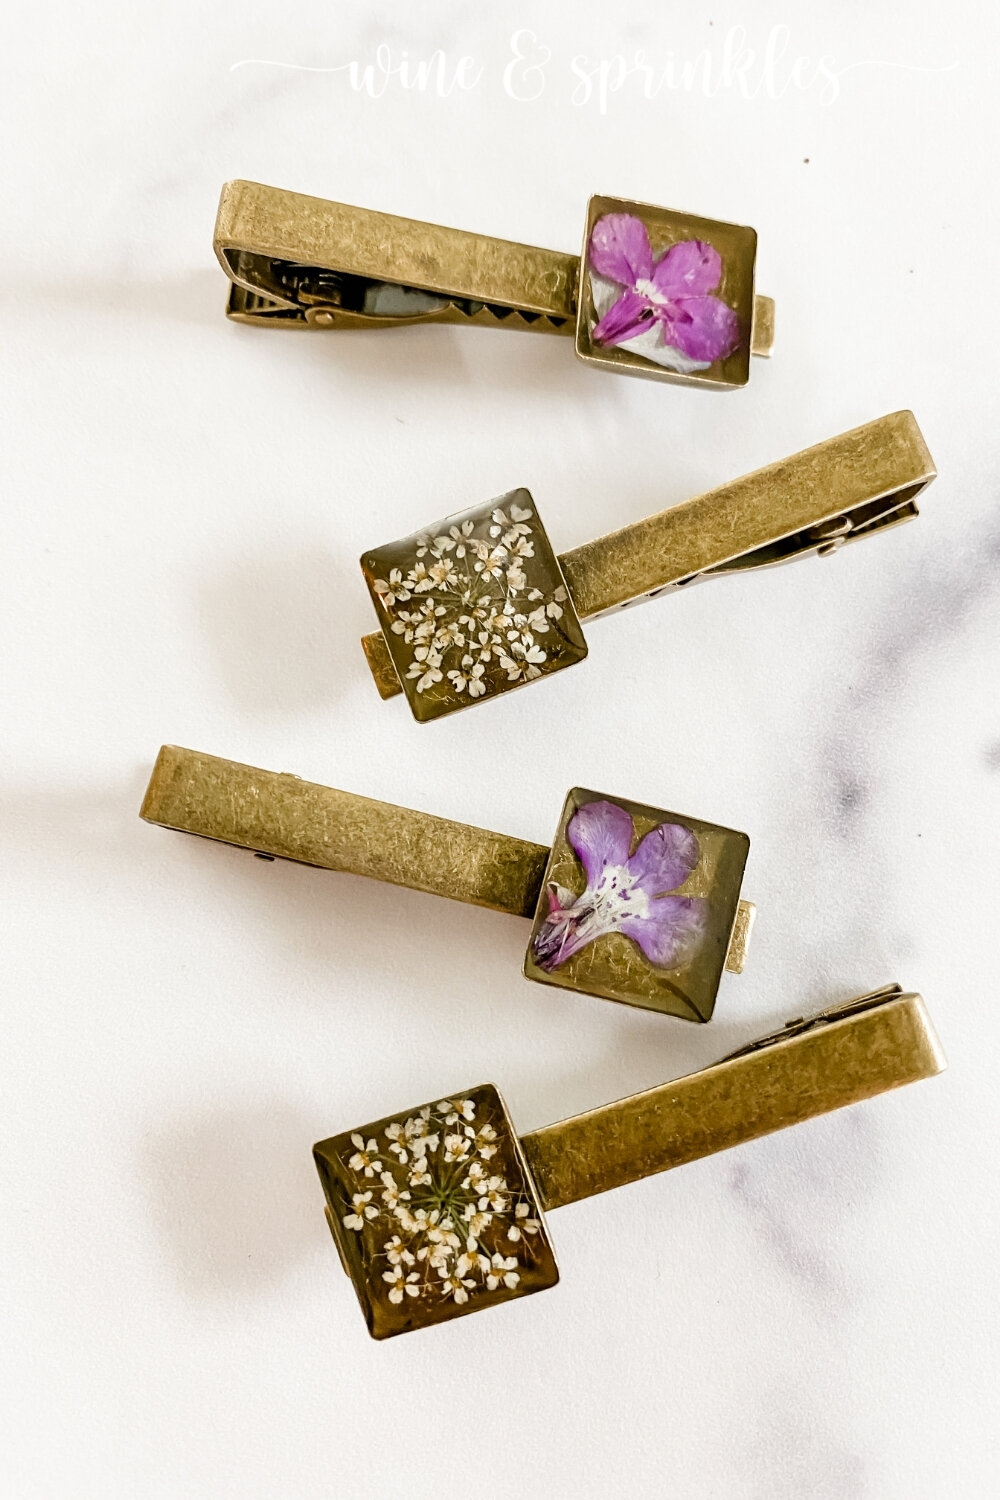
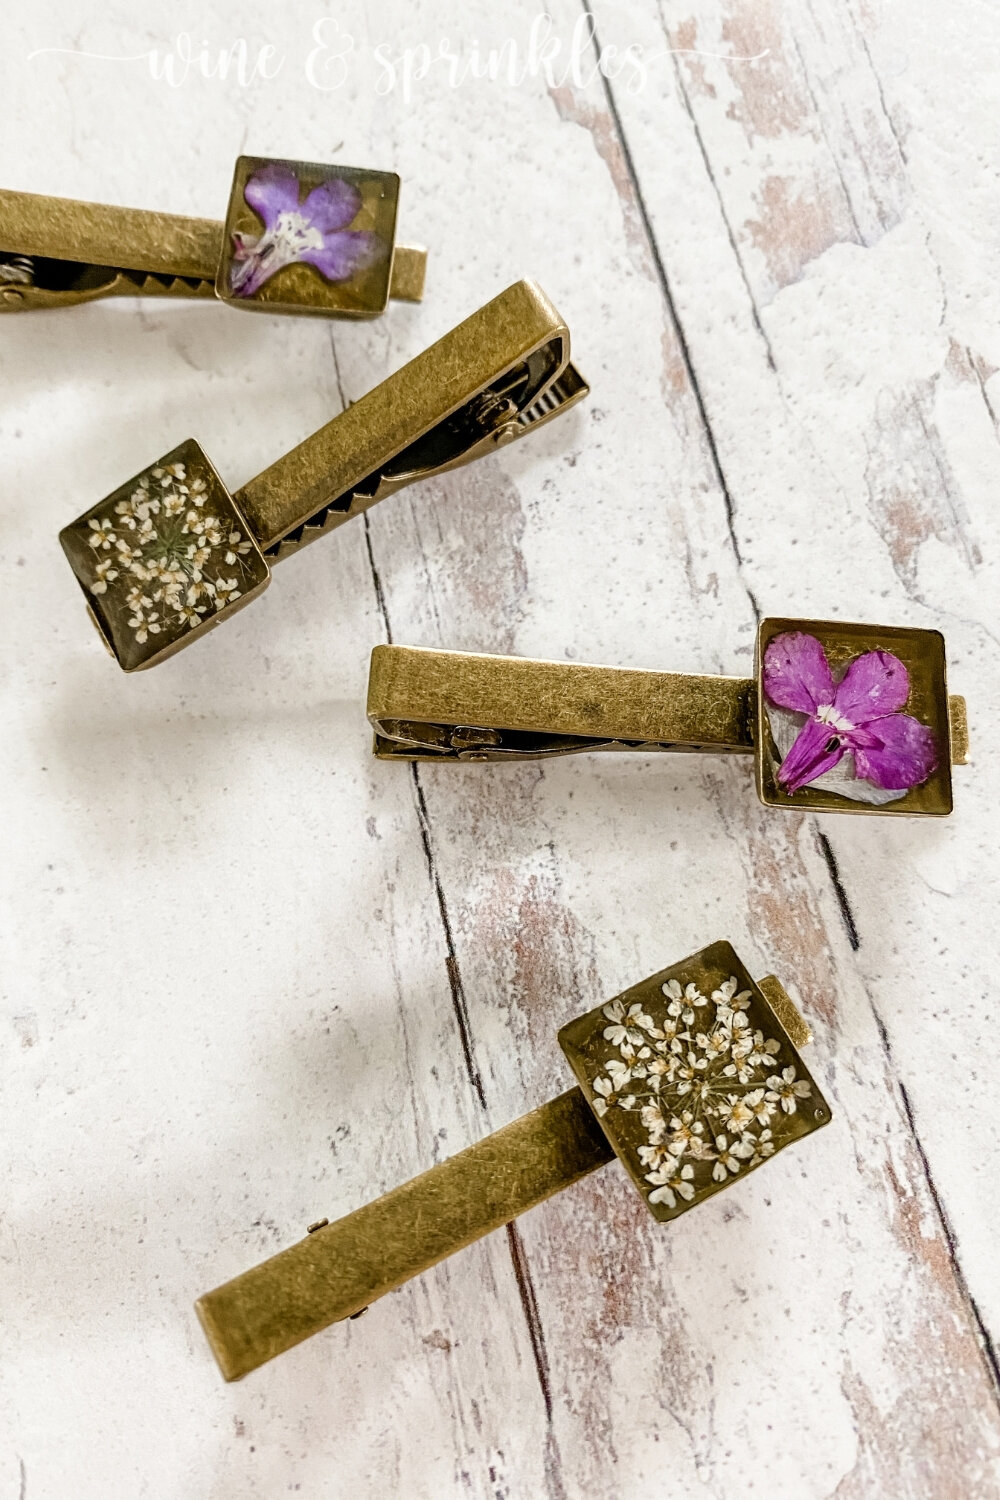
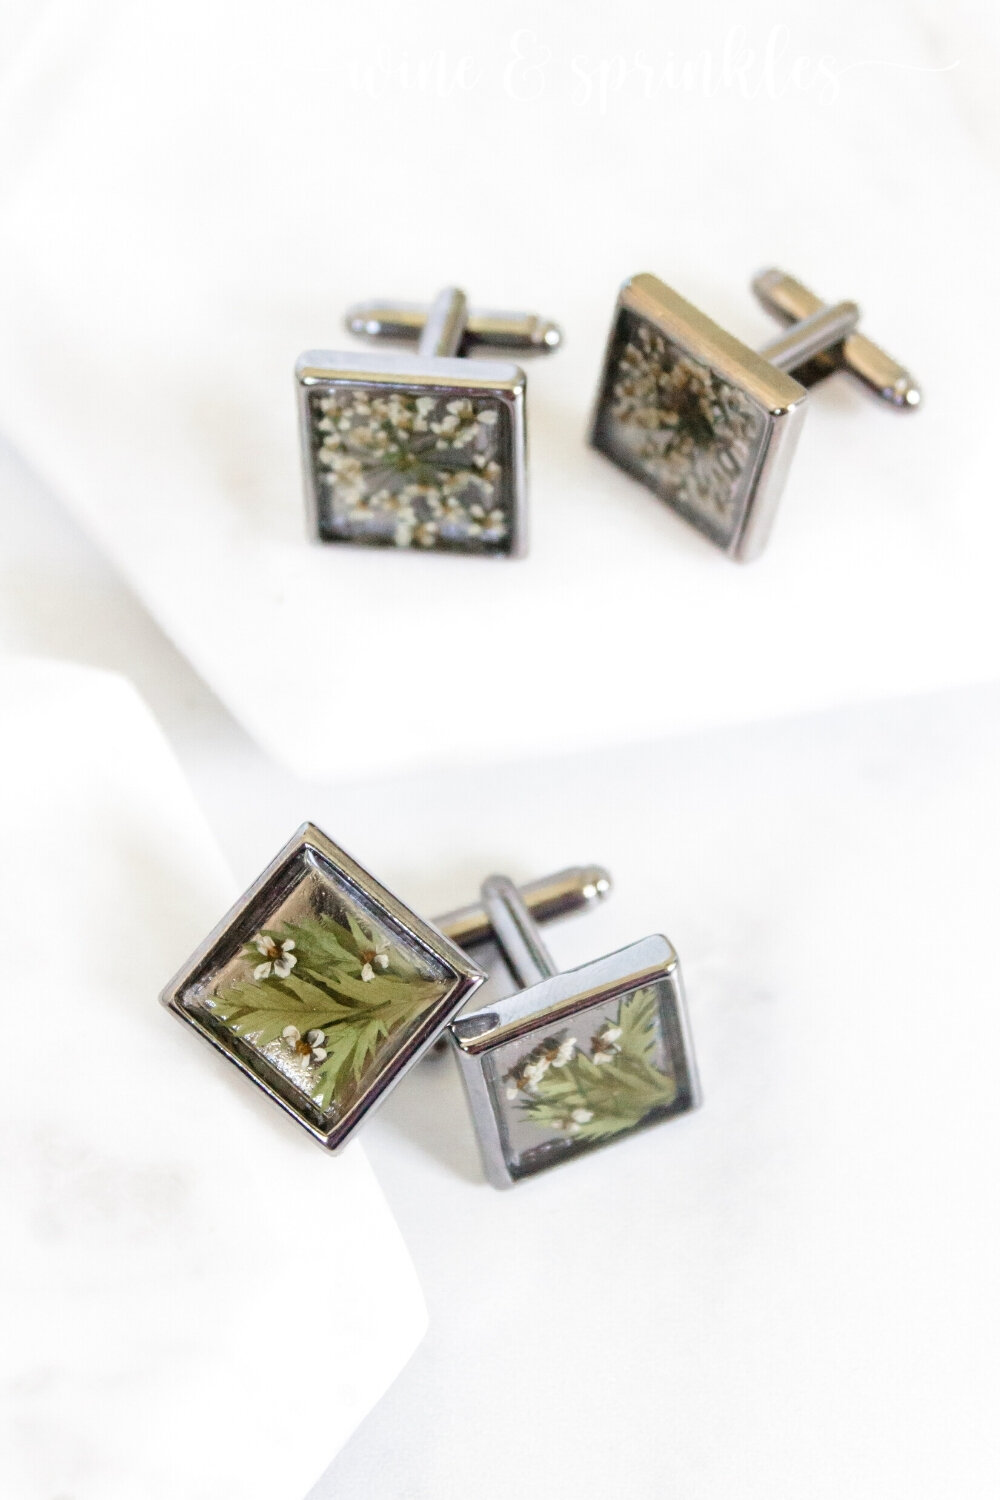
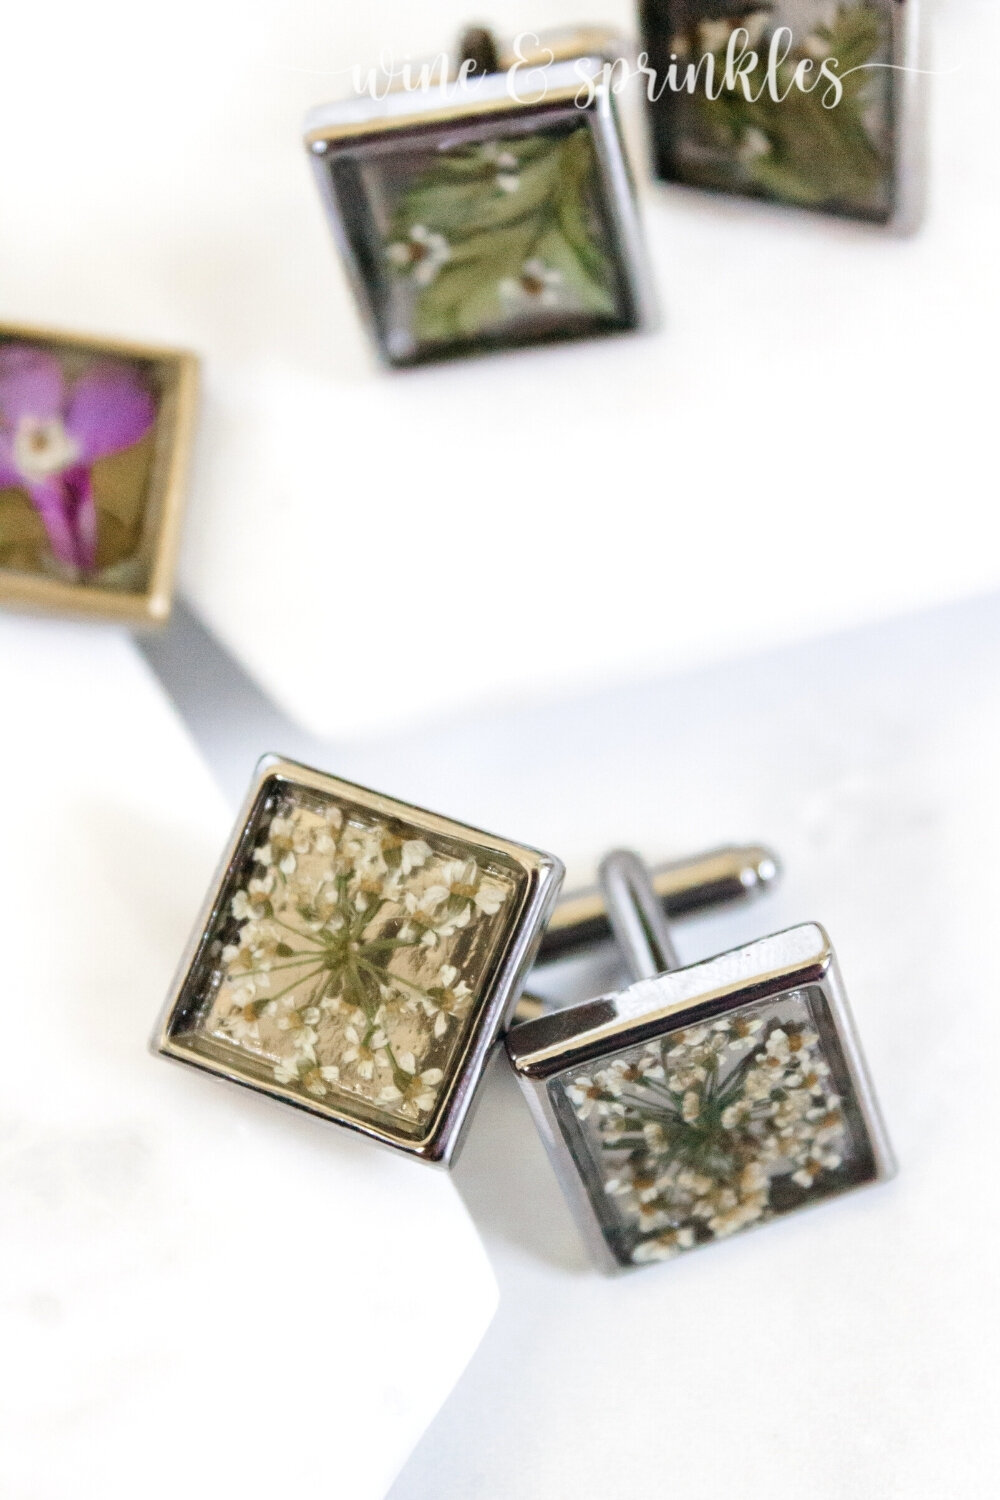
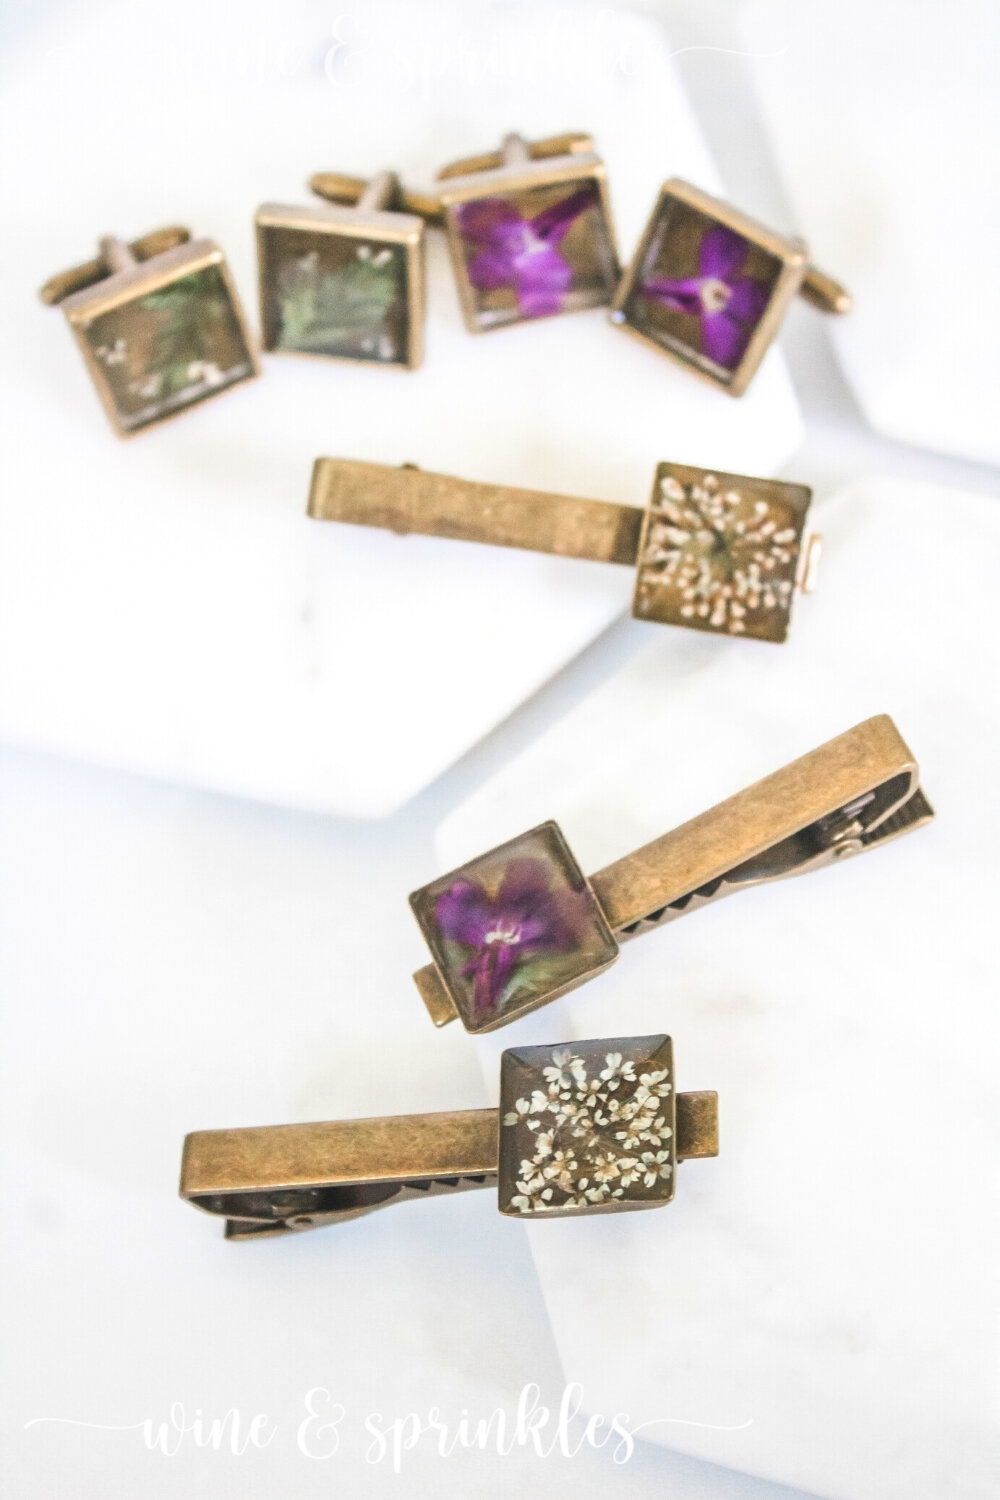
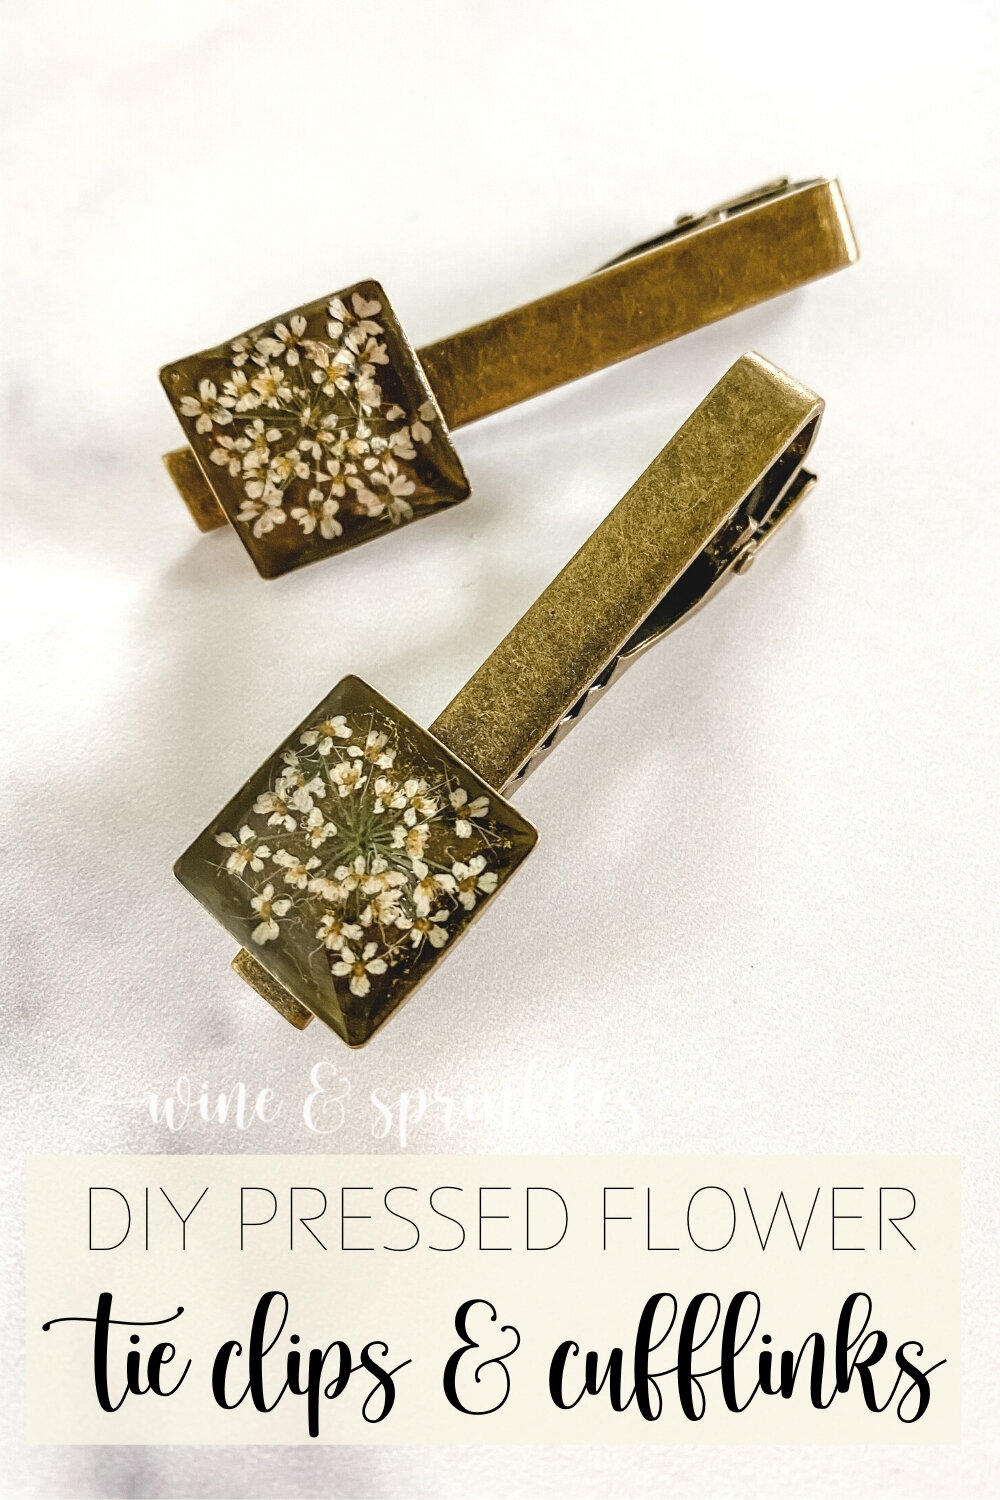
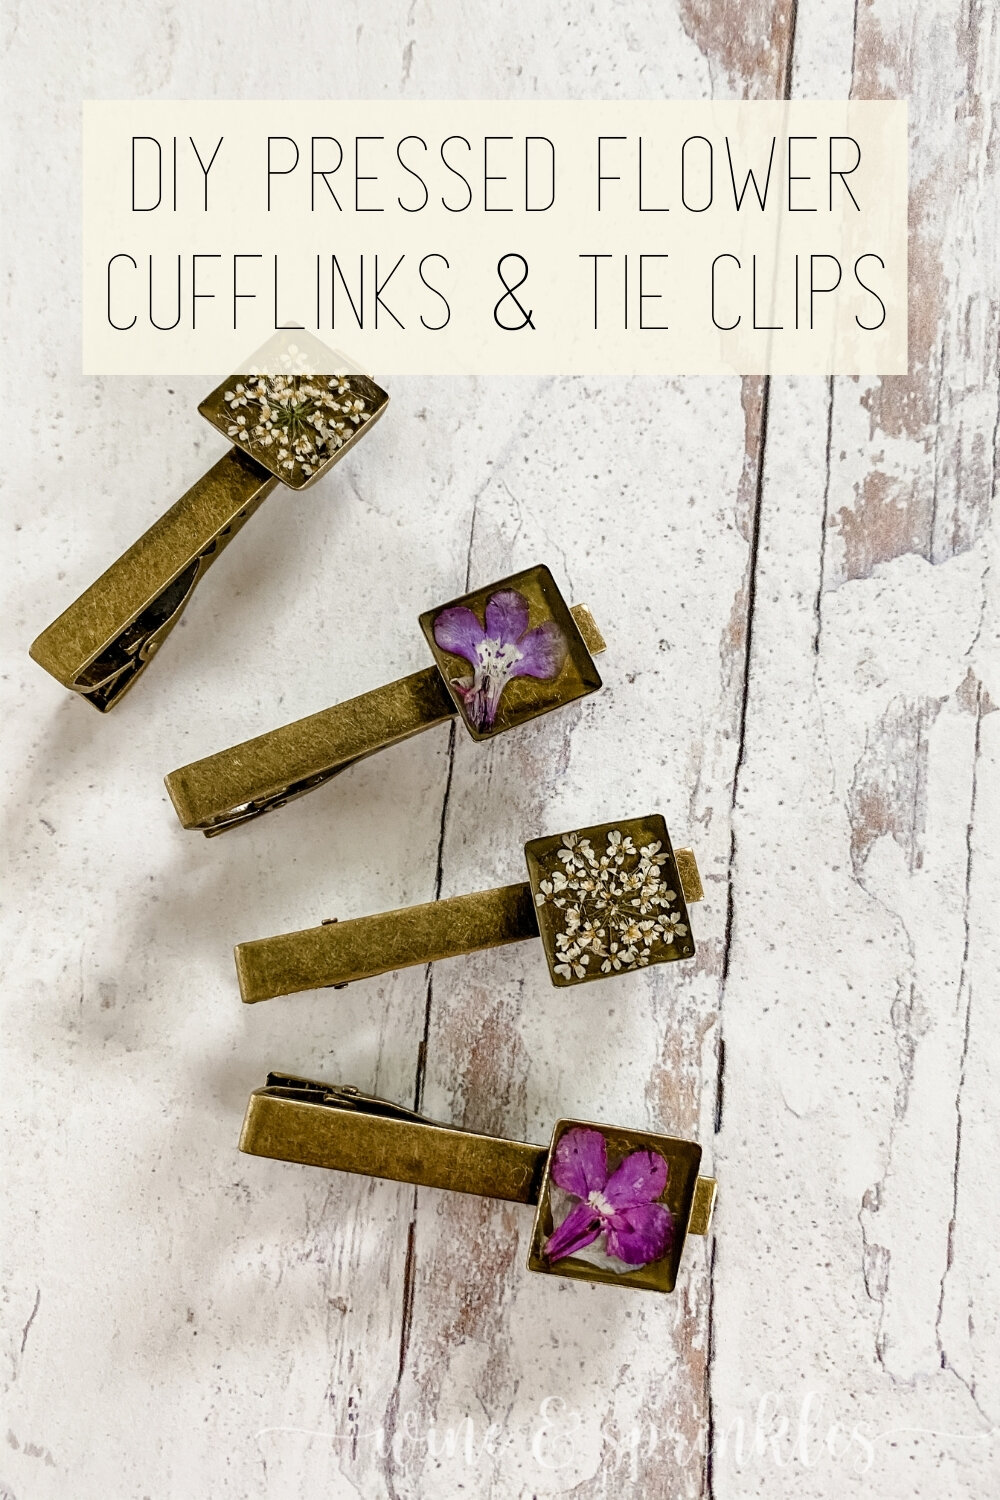
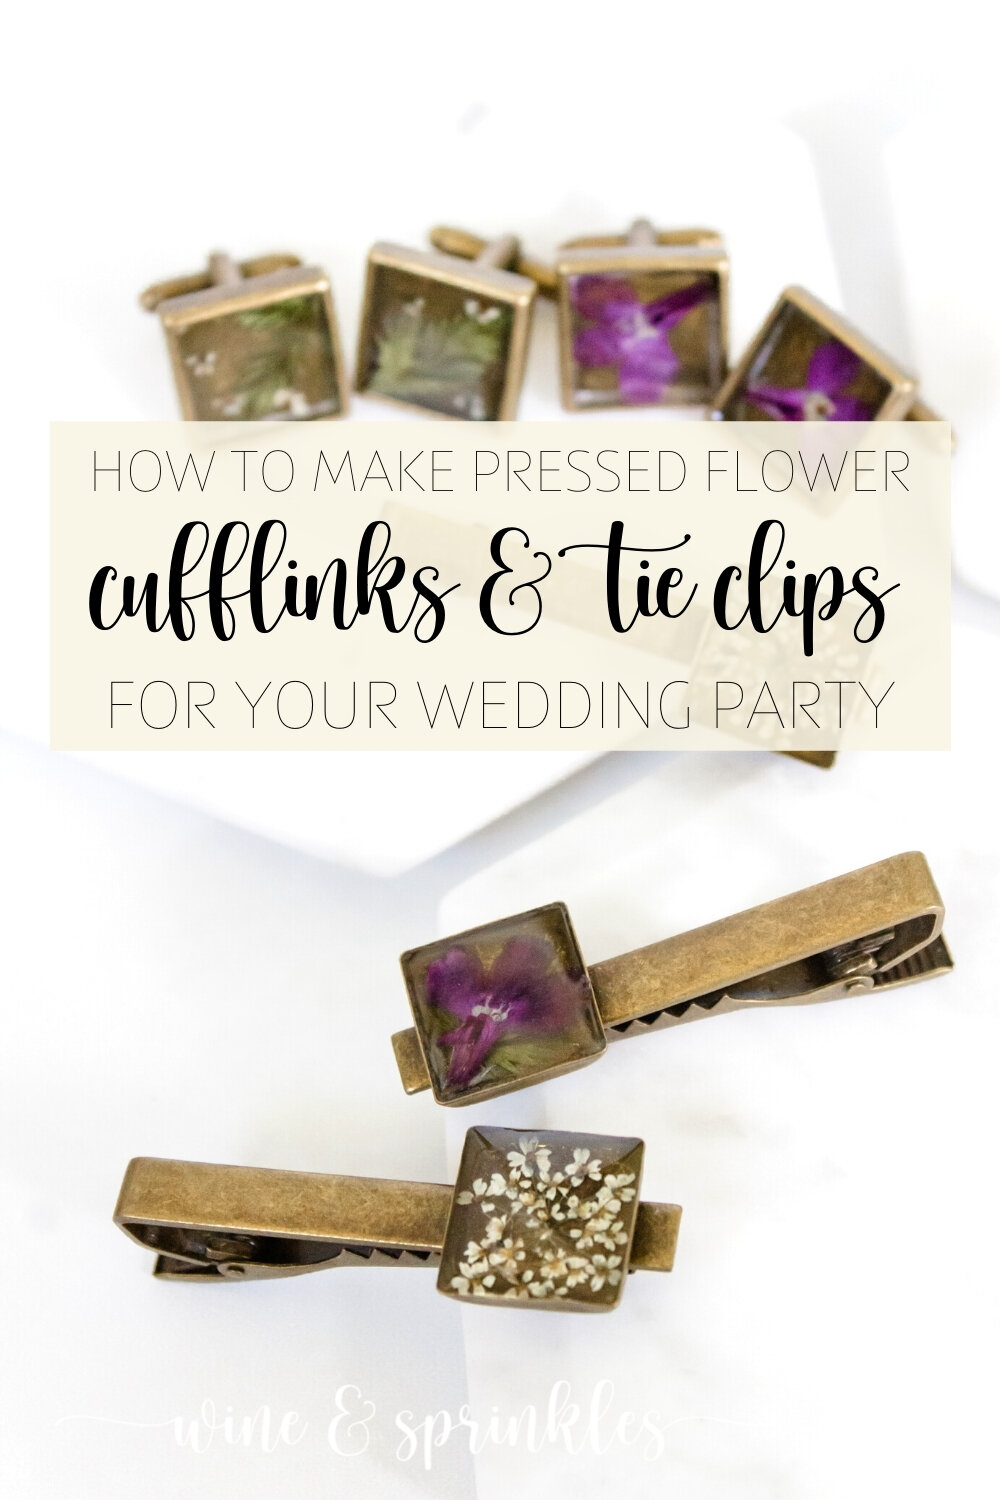
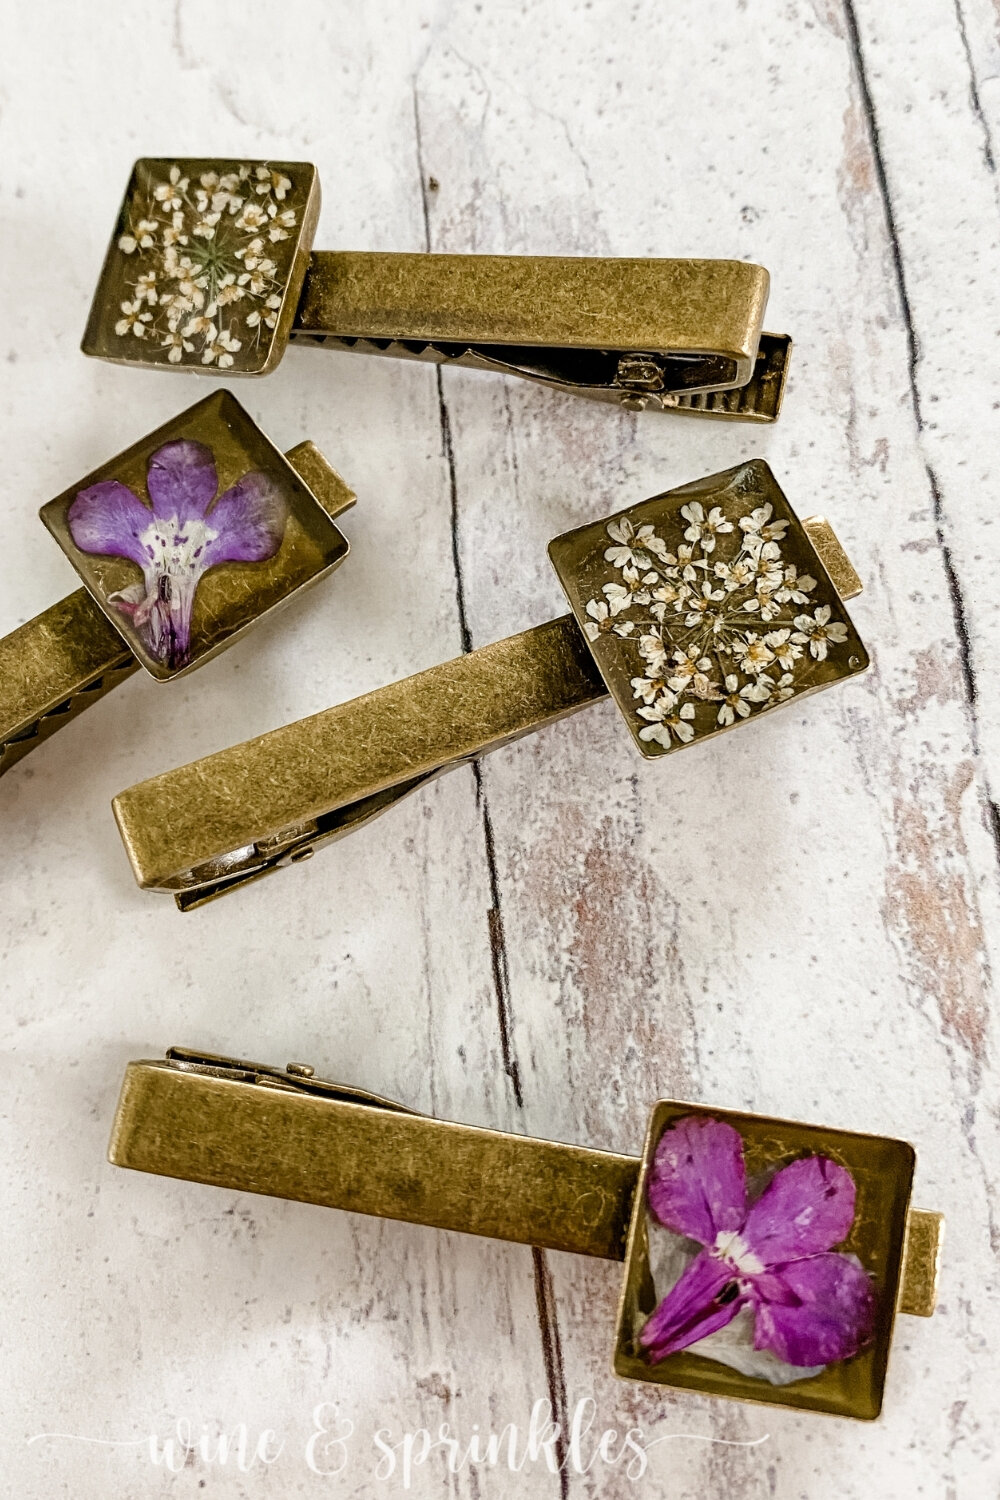
Pressed Dried Flowers: I got the flowers I used for this project from the Etsy Shop My Love Meadow, where the stock changes seasonally. I used mainly dried lace flowers and purple lobelias for my cufflinks and tie clips, but any small vibrant flowers or leaves would work well.
TOOLS & OTHER SUPPLIES:
UV Light: while you can technically use the sun to UV cure your tie clips and cufflinks, I prefer using a small UV light like this one so that I don’t have to worry about flowers bleeding and the curing only takes a few minutes instead of several days.
Resin Work Supplies: Tweezers, Gloves, Wax Paper, & Heat Gun: when working with resin, these are some of the typical tools of the trade. Wax Paper is great for covering the work surface you are using to keep it resin free, with gloves for keeping your own hands nice and clean. Tweezers are a must for picking up and positioning your dried flowers in your cufflinks and tie clips. Finally, a Small Heat Gun is perfect for popping any air bubbles before curing. Some like to use a torch for this, but I worry about what would happen to the dried flowers and the heat gun feels safer!
Cardstock: for making bases to balance the tie clips and cufflinks while they cure.
SUPPLIES LIST:
[for 6 tie clips and 4 sets of cufflinks]
JEWELRY MAKING SUPPLIES:
Tie Clip Blanks x 6
Cufflink Blanks x 8
RESIN SUPPLIES:
UV Resin x 1
Pressed Dried Flowers x 22-25
TOOLS & OTHER SUPPLIES:
UV Light
Tweezers
Gloves
Wax Paper
Heat Gun
Cardstock

DIRECTIONS
PART 1 - CREATE BASES & PREP FLOWERS


1. Start by using cardstock to create bases so you can easily pour and cure your cufflinks and tie clips. For the tie clips, Fold a piece of cardstock in quarters and clip tie clips along the long sides, so that the bottom of their clips are on one side with all of the trays facing up. This will create a base so that, when the group of tie clips is placed on a work surface, all of their trays will be level and ready to add flowers and resin.
2. Next create the cufflink base. Cut a piece of cardstock and poke a set of 8 holes using a pen, hole punch, or other object.Insert the cufflinks, into the holes, folding down their bars once they are inserted to create little feet on one side of the cardstock with all the cufflink face on the other side. Once all the cufflinks are added, the backs of the cufflinks will create the base to keep the trays level and secure for resin then curing.


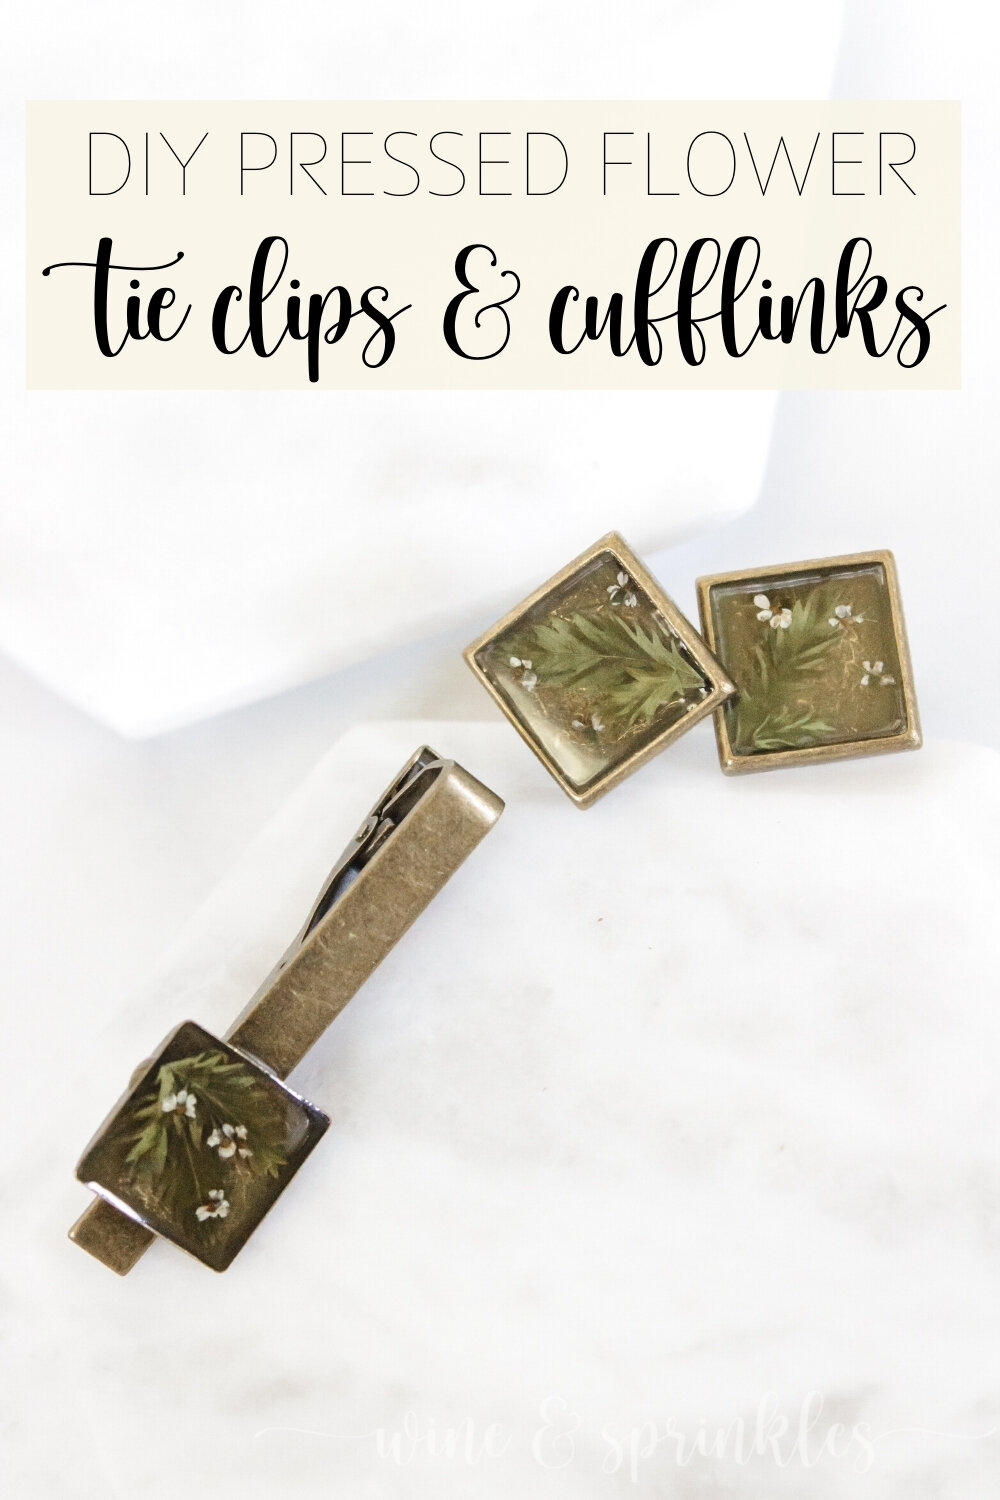
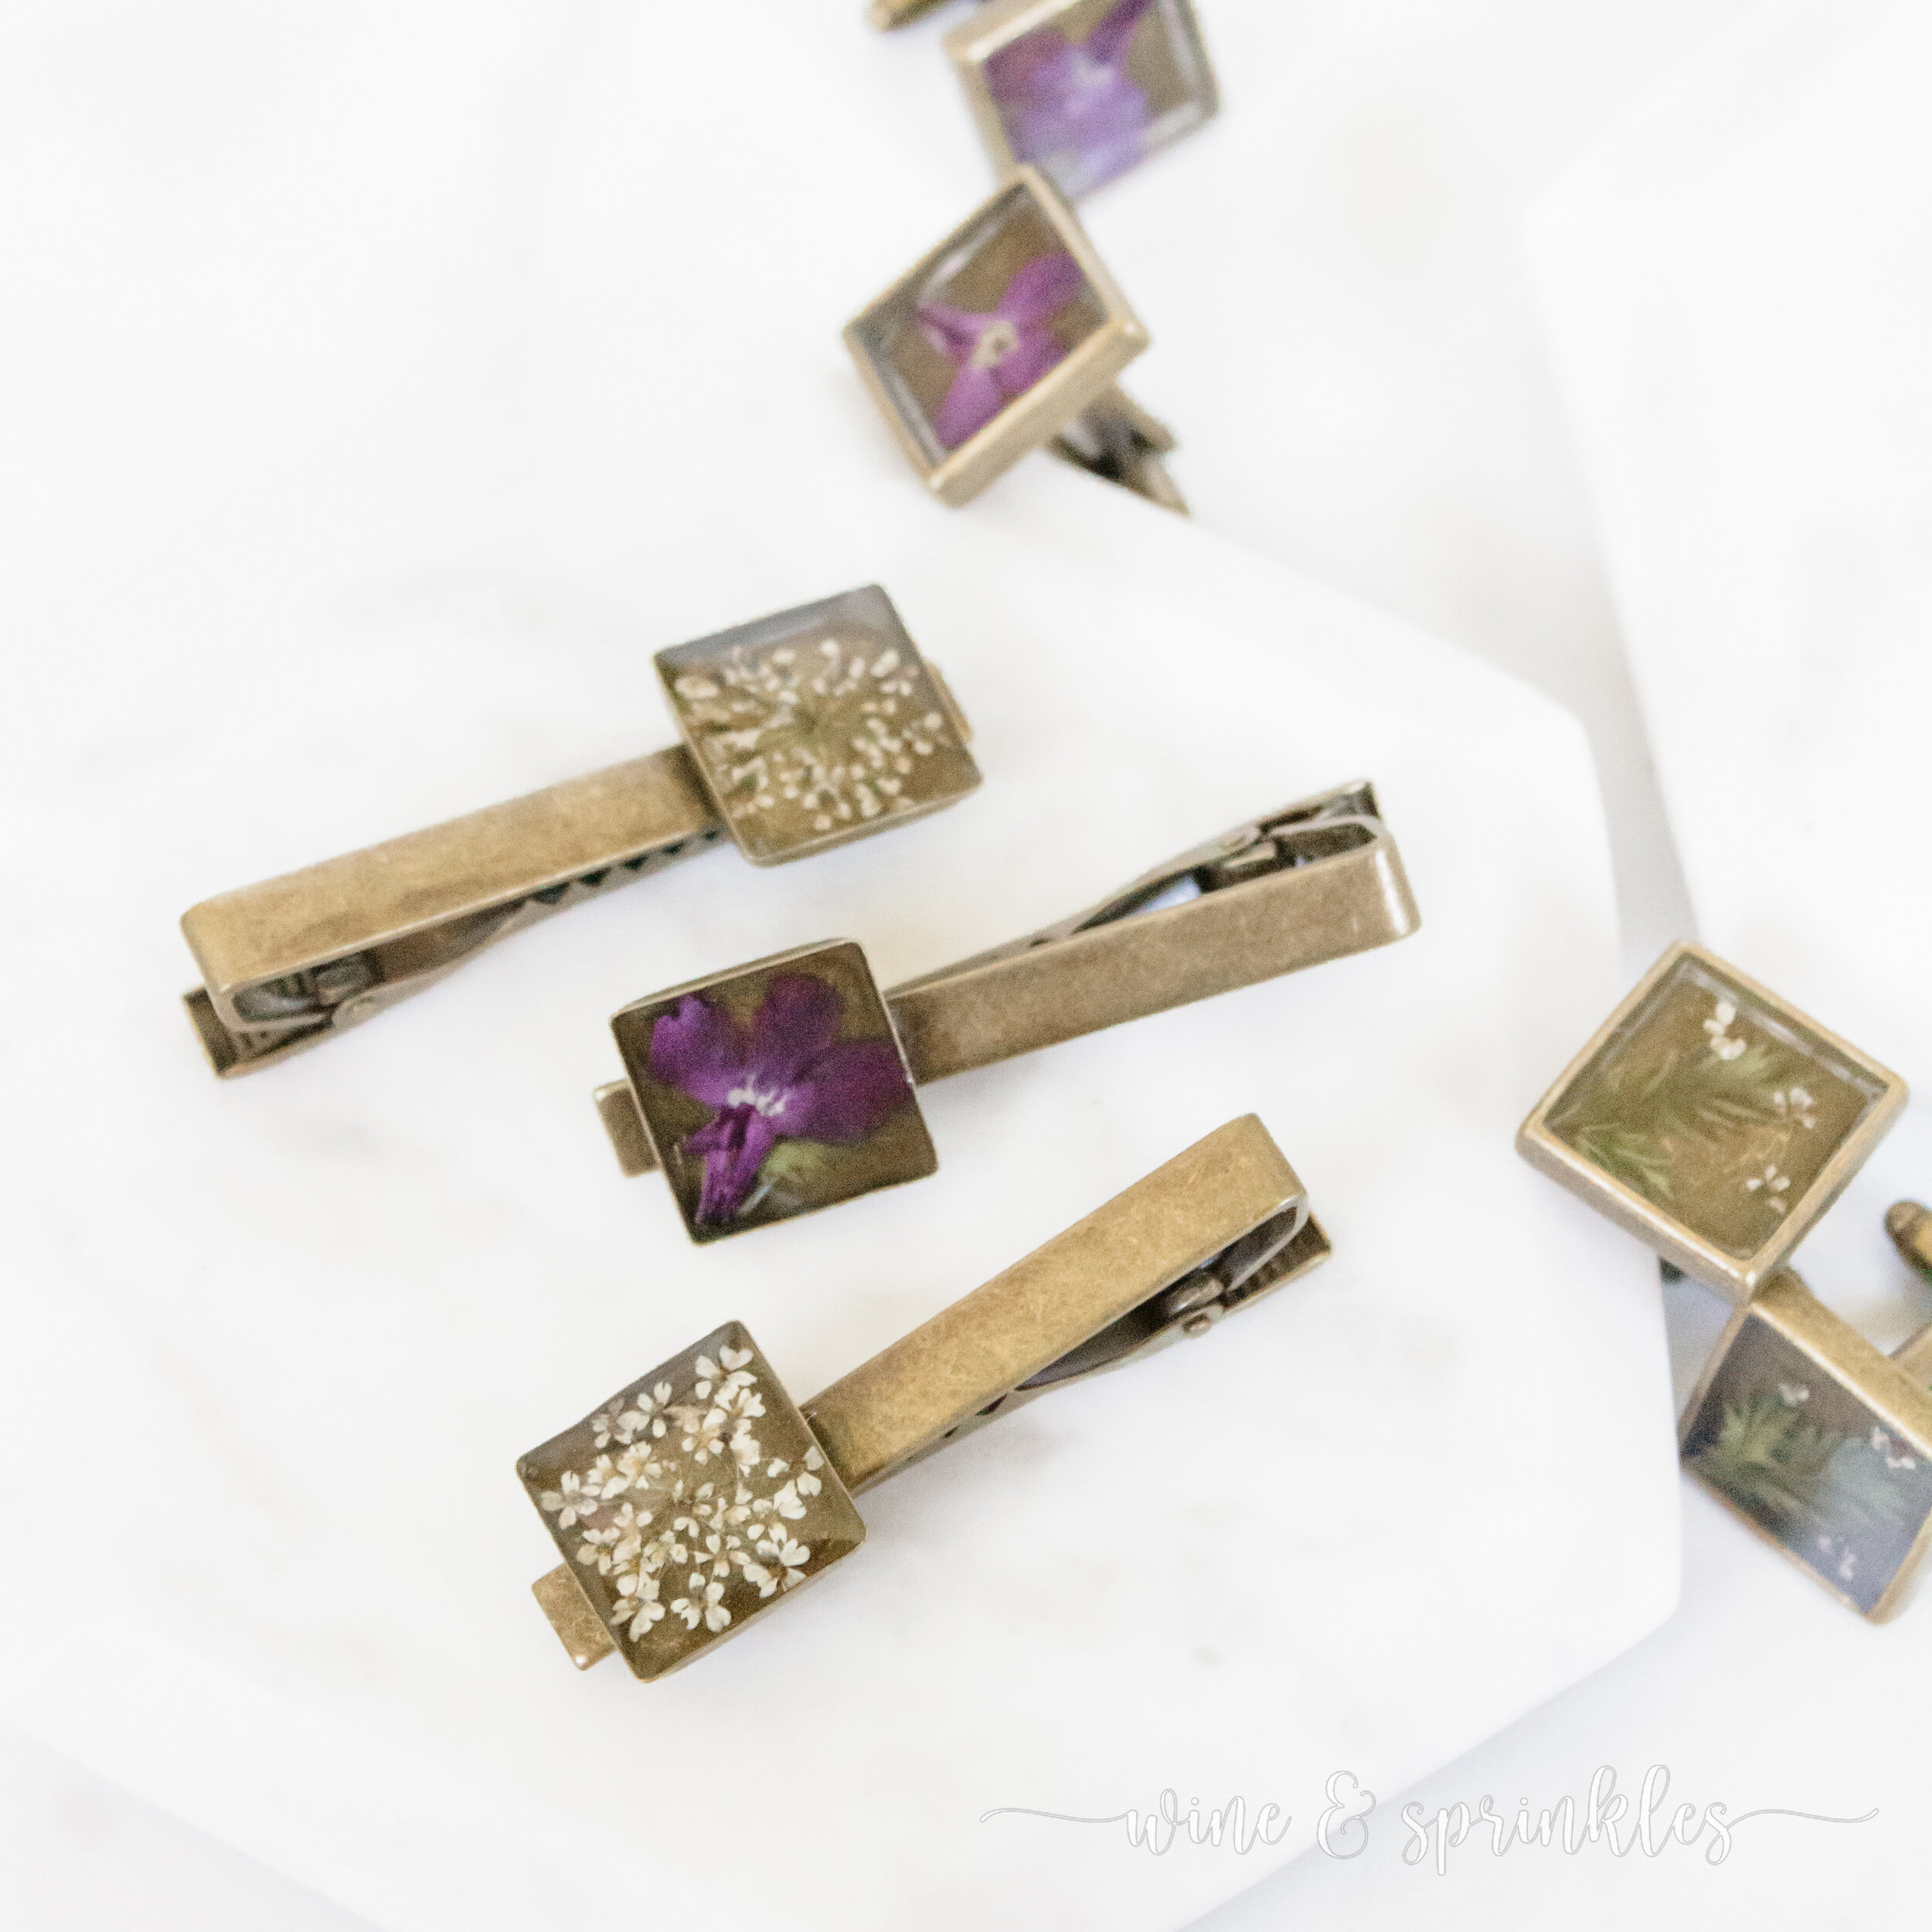
3. Cover your work space with wax paper and place your cufflink and tie clip bases. Pick out, trim and place all the flowers you want into the trays using tweezers. I use tweezers to move and place my flowers, and if they were a little big, I would place the part I wanted, then use the tweezer to snap off extra bits, but you can also use cuticle scissors for a more precise cut. For most of my pieces, I used single flowers, but I also did a combination of small fern leaves and leftover tiny lace flowers which turned out beautifully as well.
POUR & CURE RESIN

4. With the flowers placed, fill each tray with UV resin, completely covering the flowers and coming up to the lip of the tray. Using your heat gun, gently heat your tie clips and cufflinks from above to pop any bubbles in the resin. If any flowers start to come up to the top, use your tweezer or a toothpick to gently press them below the surface again.

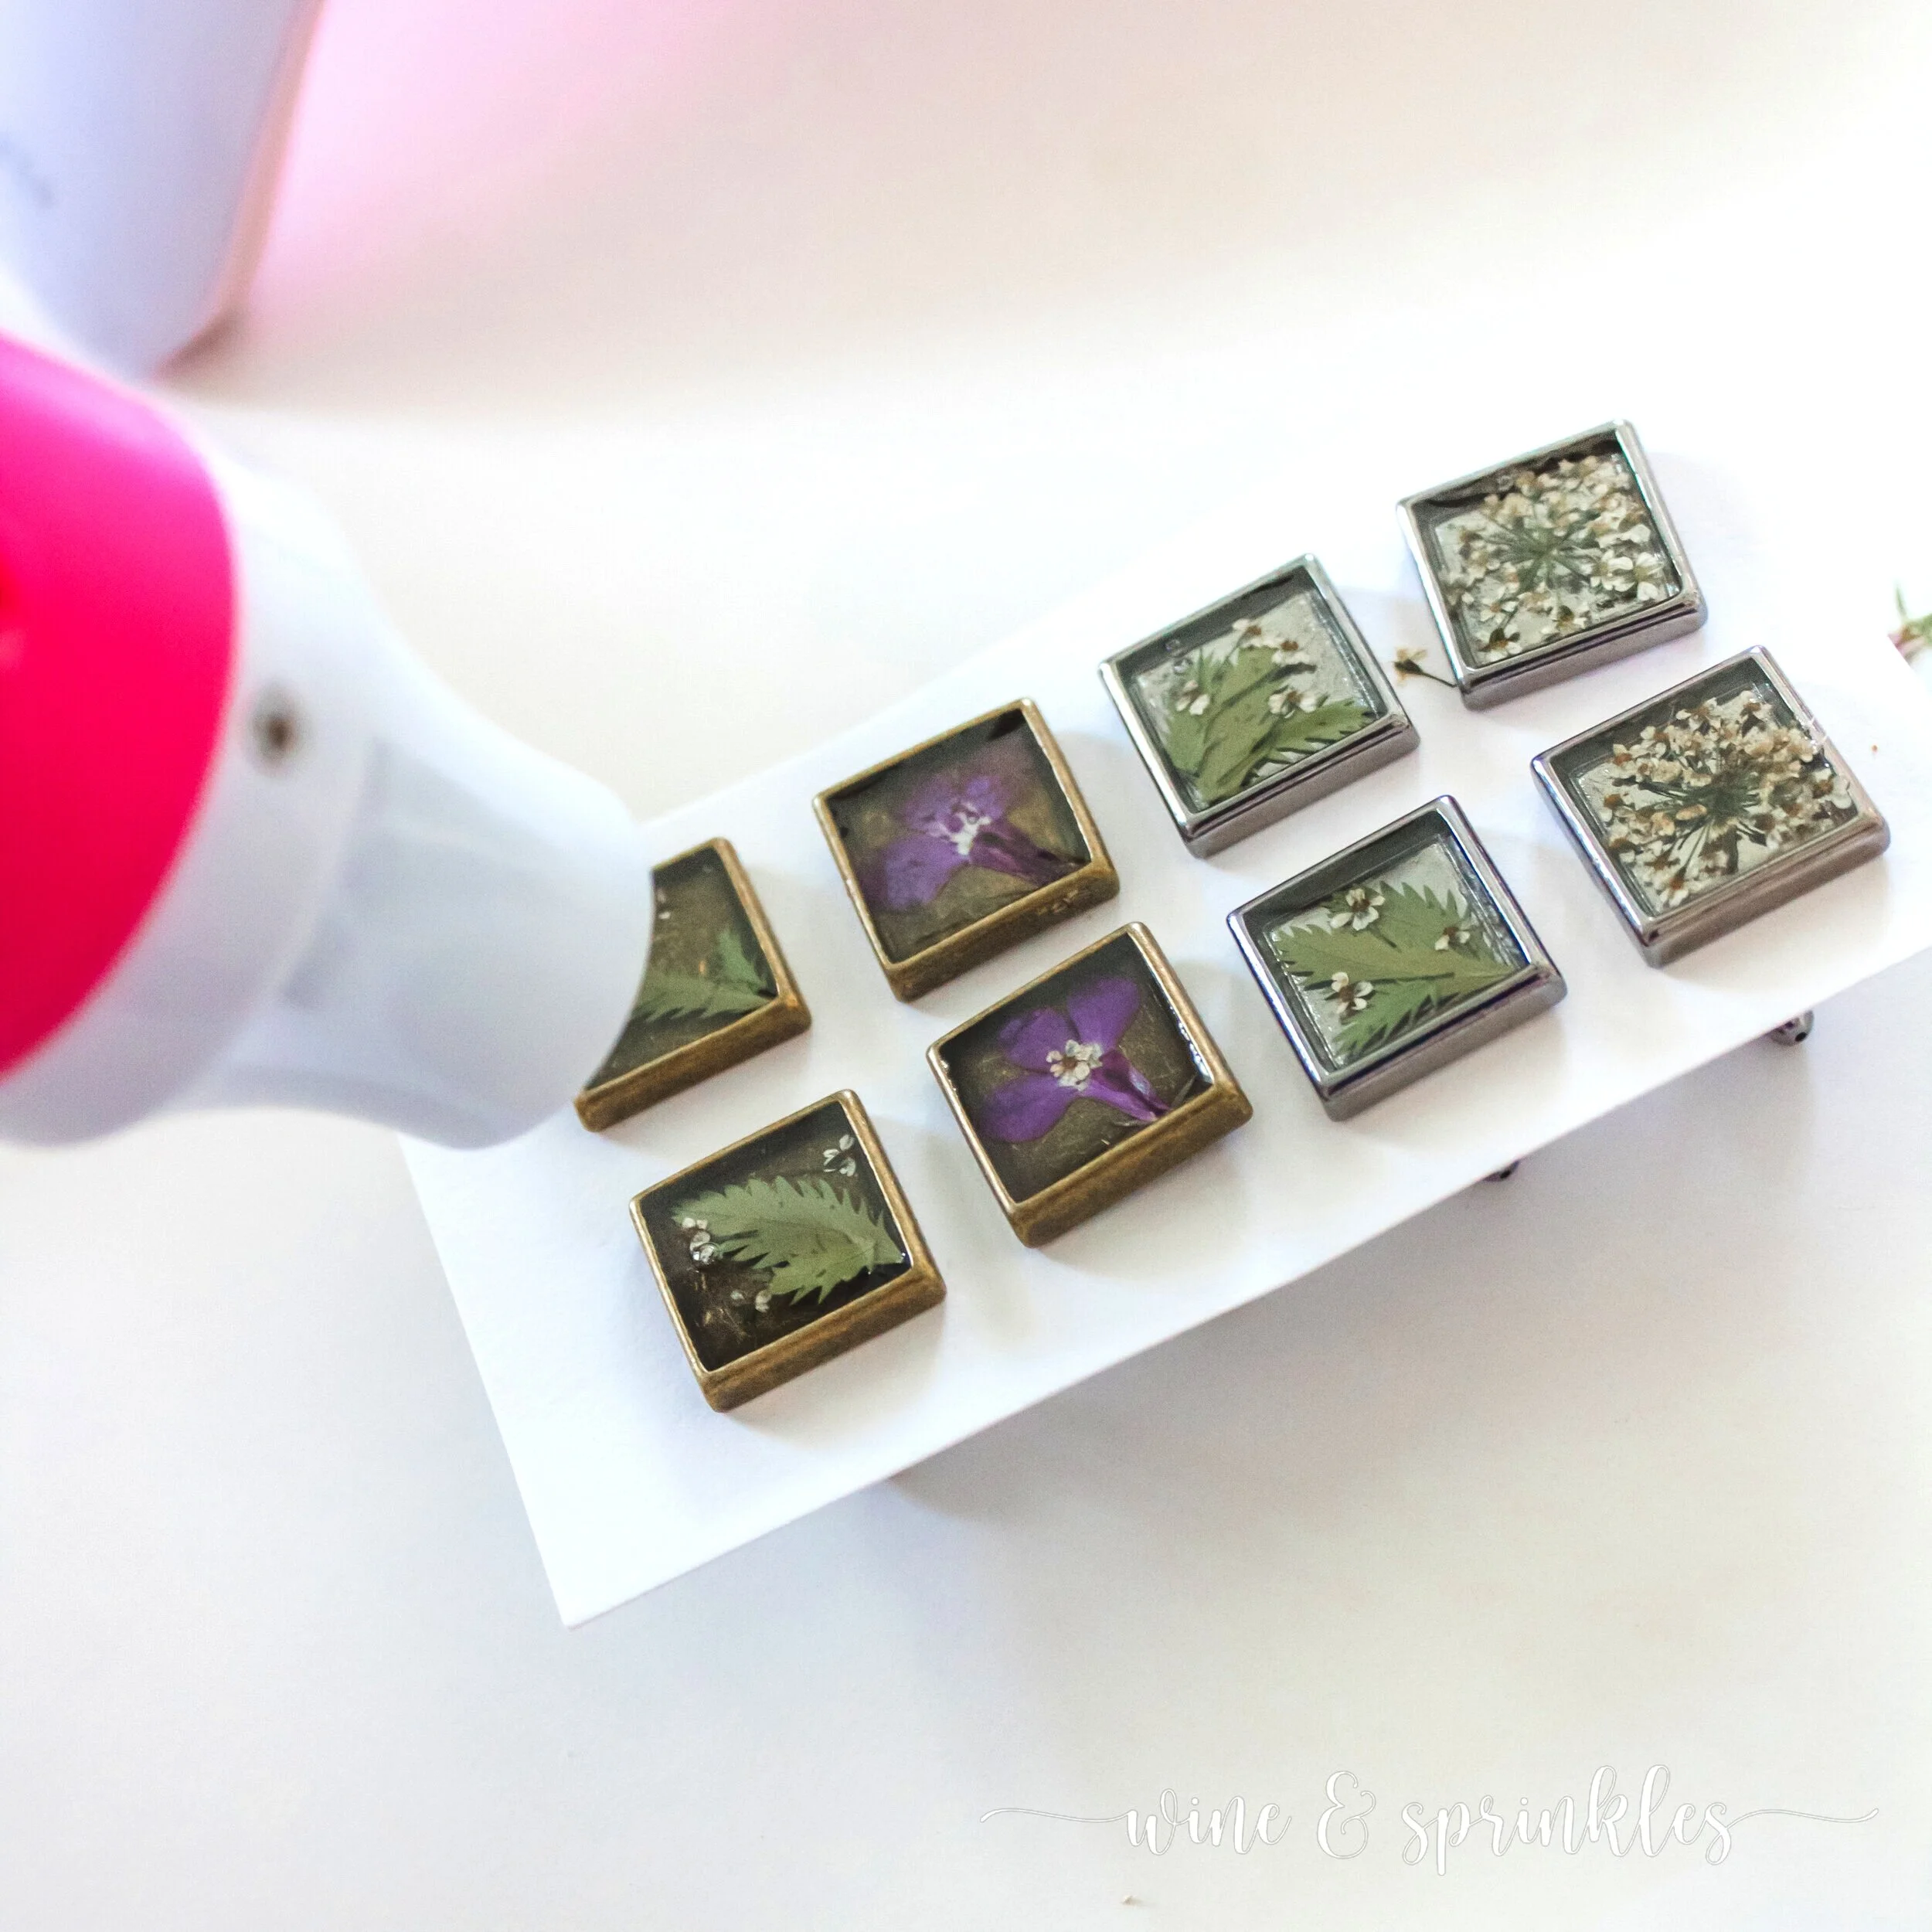

5. Slide your cardstock bases, one at a time, under the UV Light and cure according to your resin’s instructions, which for mine was to cure 2-4 minutes. Once they have been cured, slide them out from the UV light, touching the cardstock in case your metal bases are hot, and let them cool completely. The less time your flowers soak in liquid resin the better, so I started by filling the cuff links, then immediately cured them, then repeated this same process with the tie clips.
6. If needed, put a small topper coat of UV resin over your first layer, enough to fill to the lip of the tray but not enough to overflow, and repeat the curing process again to finish your cufflinks and tie clips.


PACKAGING & PRESENTATION
When I was displaying my tie clips, using them as part of my place setting was the perfect accent to my Goddess of Spring floral feeling party, but many times these are gifts that will need a special box for gifting or shipping. There are several types to choose from, with the least expensive being kraft jewelry boxes with cotton for padding, but there are many affordable gift box choices to pick from! I personally am looking at purchasing from US Jewelry Supply, who not only have the kraft boxes mentioned above, but also felt lined Crocodile Patterned and Rosewood Boxes for a more upscale gift box, along with having a variety of sizes of jewelry boxes for any of your jewelry crafting gifts!
SEE OUR RELATED POSTS HERE:


OUR PINS FOR THIS POST: