This post contains affiliate links, meaning that if you click on a link I will recieve a small comission. This costs you nothing extra and I only promote products I use and love! You can read our full disclosure here

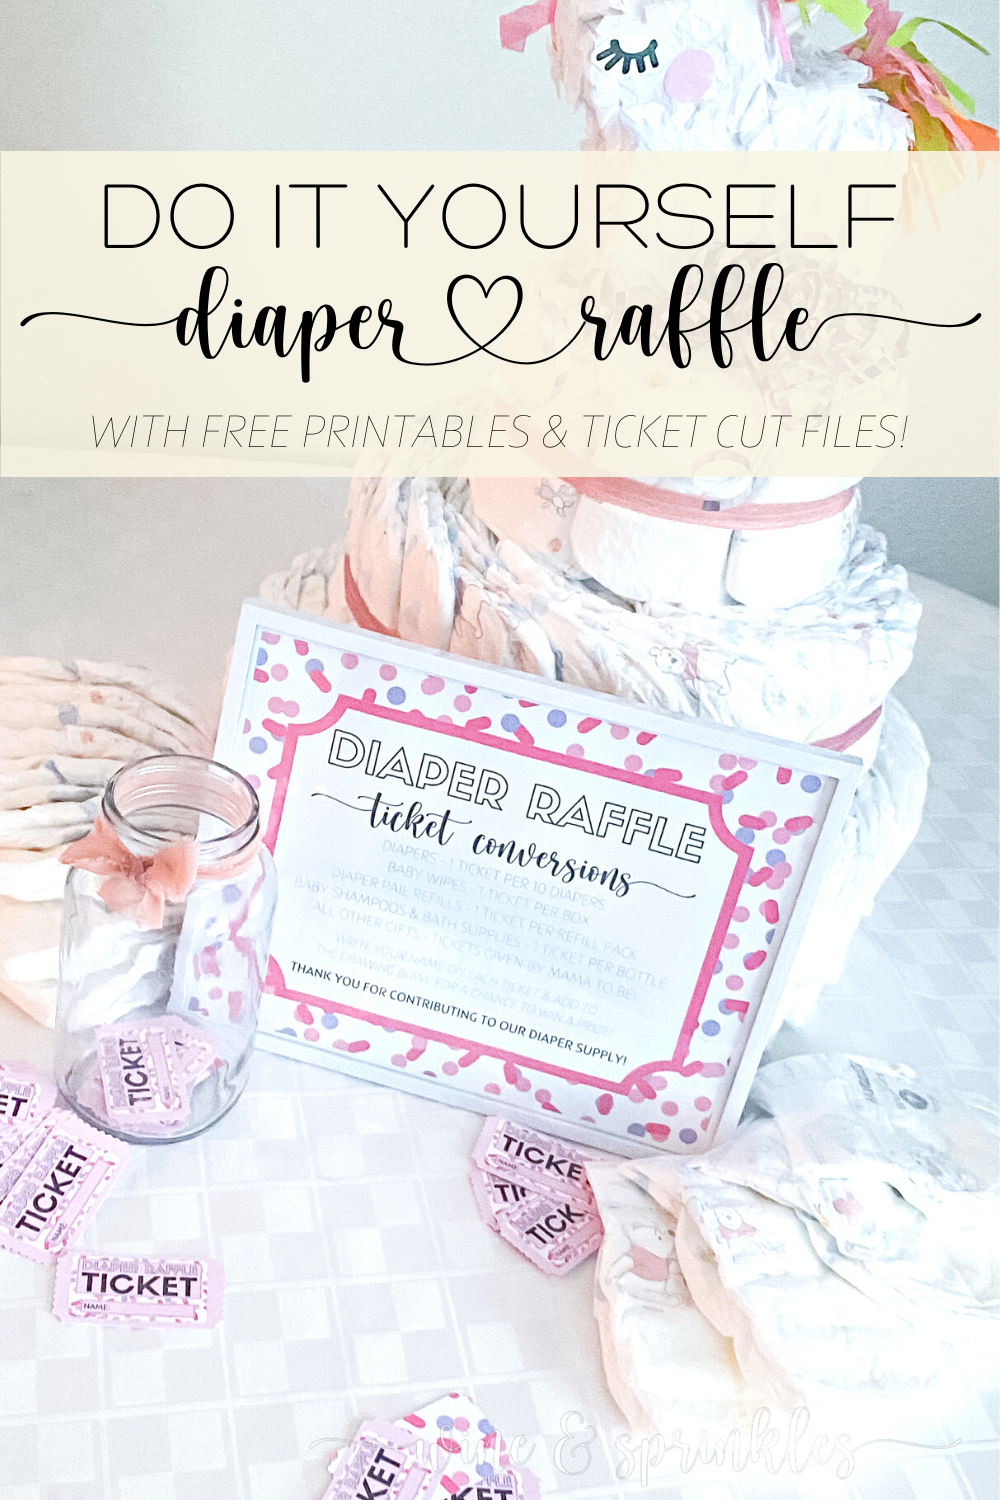
For those that don’t know, a diaper raffle is an alternative to the traditional baby shower registry and gift giving, where guests bring in packages of diapers, wipes, diaper pail liners, and bath supplies; receiving tickets for their contributions which are then drawn to win prizes! A traditional raffle is usually confined to just diapers, but I wanted to include some extra essentials that my friend needed too, which turned our raffle into more of a baby essentials raffle and was perfect for prepping for their second child!
For a baby shower where the baby is all stocked up on the regular baby gear, a Diaper Raffle is the perfect way for guests to contribute to the new baby in a very useful way, getting them all the diapers, wipes, and baby consumables they seem to take up so quickly! For my friend’s recent Unicorn Baby Sprinkle, her welcoming their second child was the perfect opportunity to make a diaper raffle of my own, as well as share what I learned and designed with all of you!

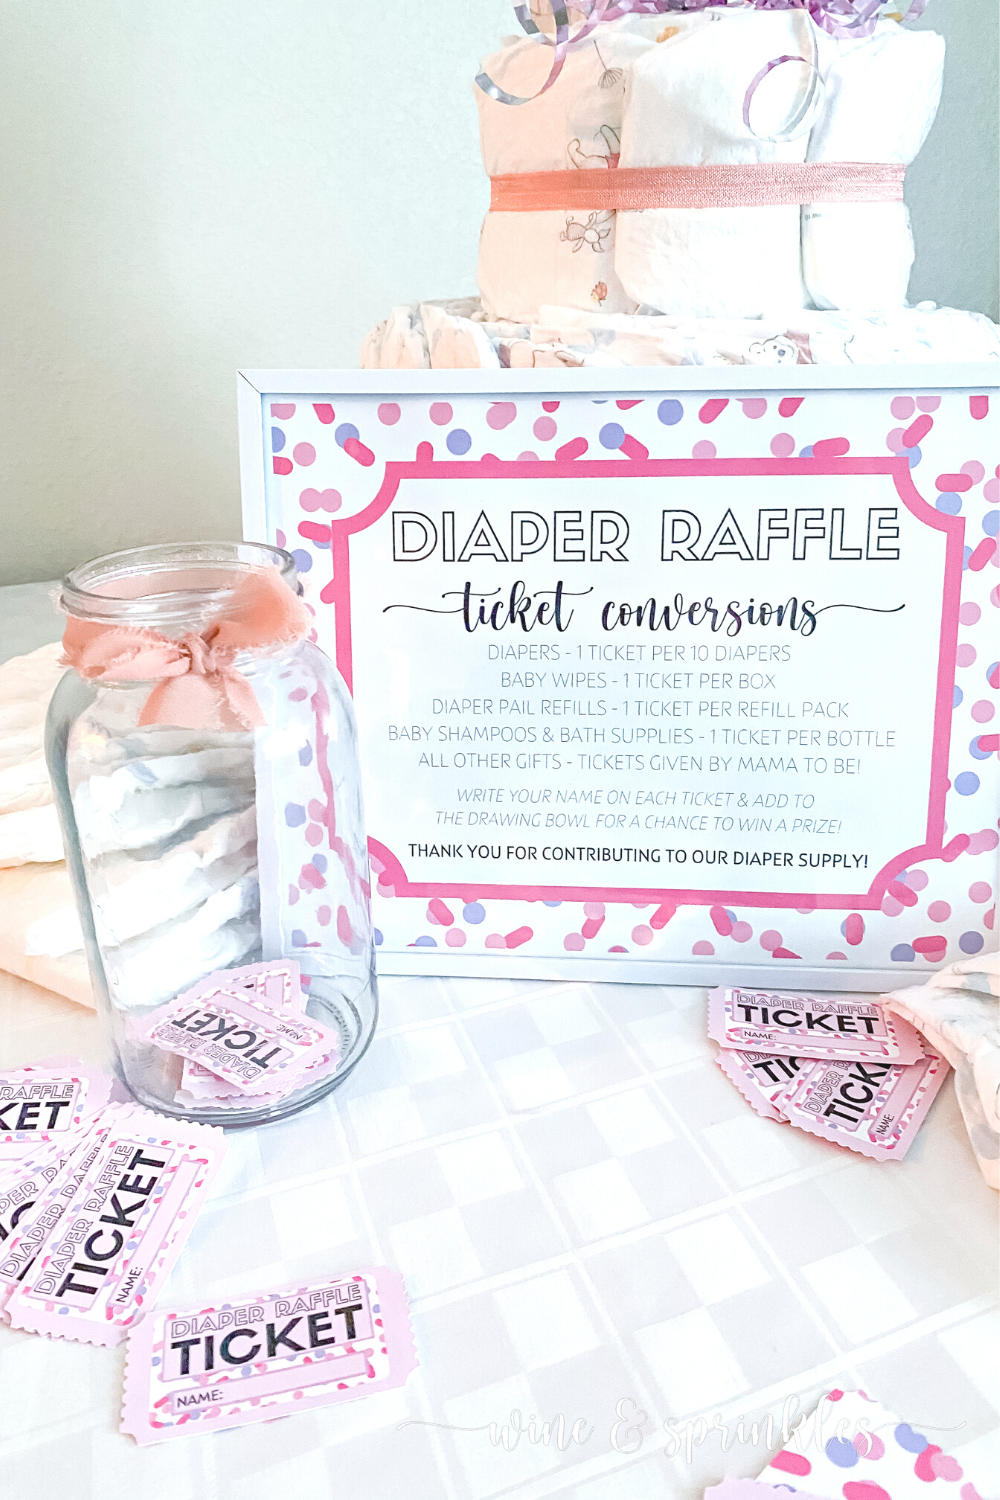
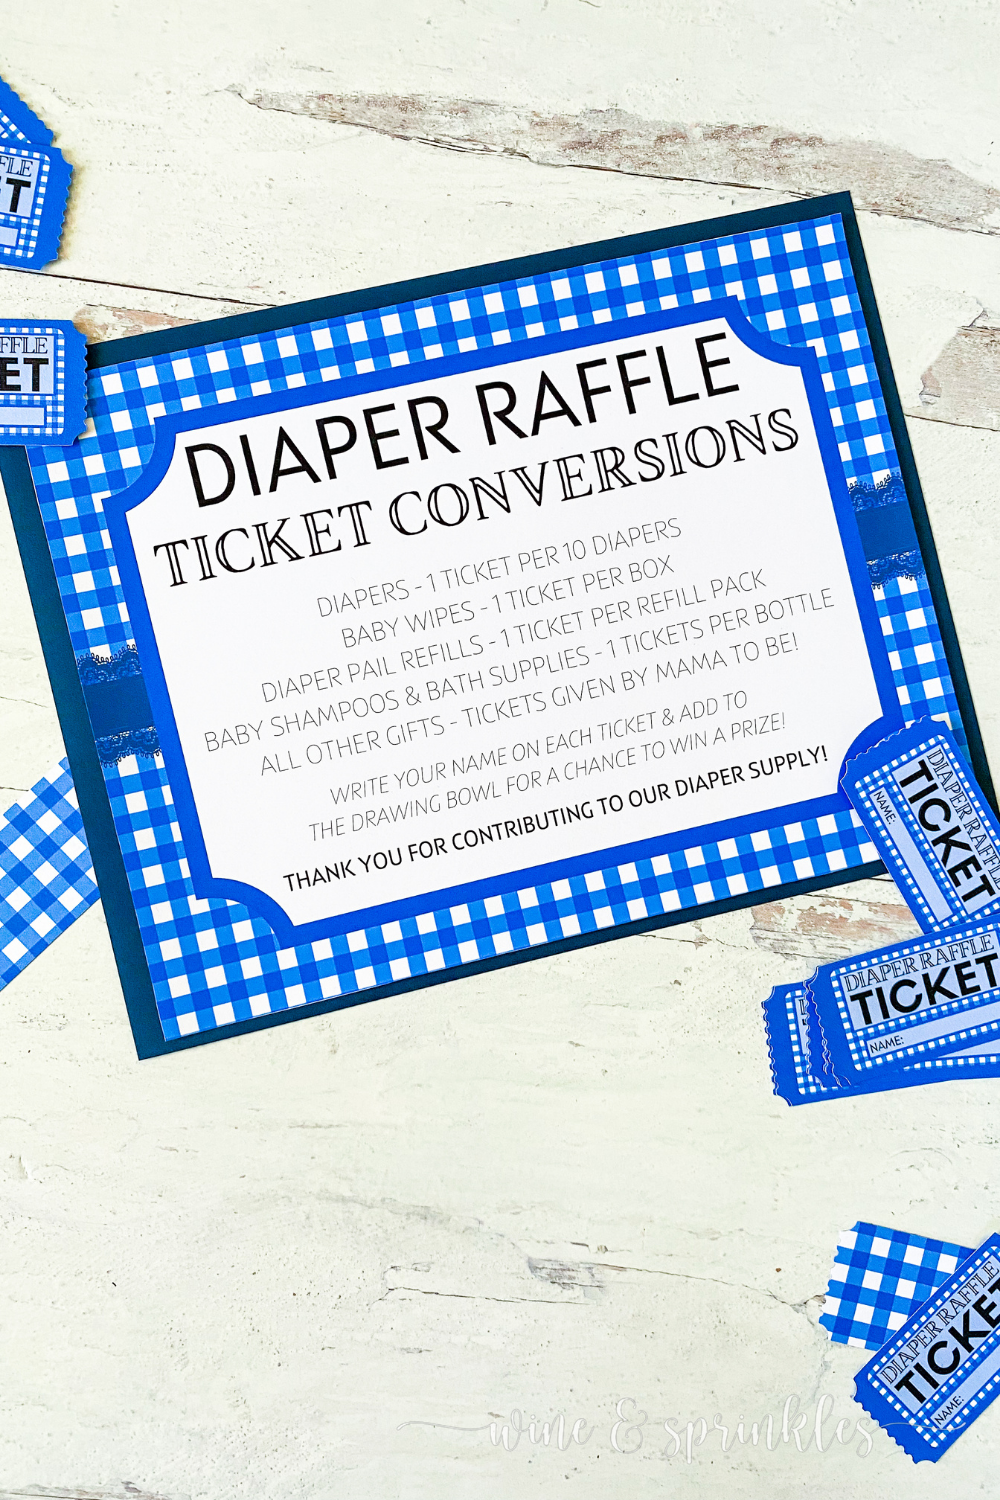
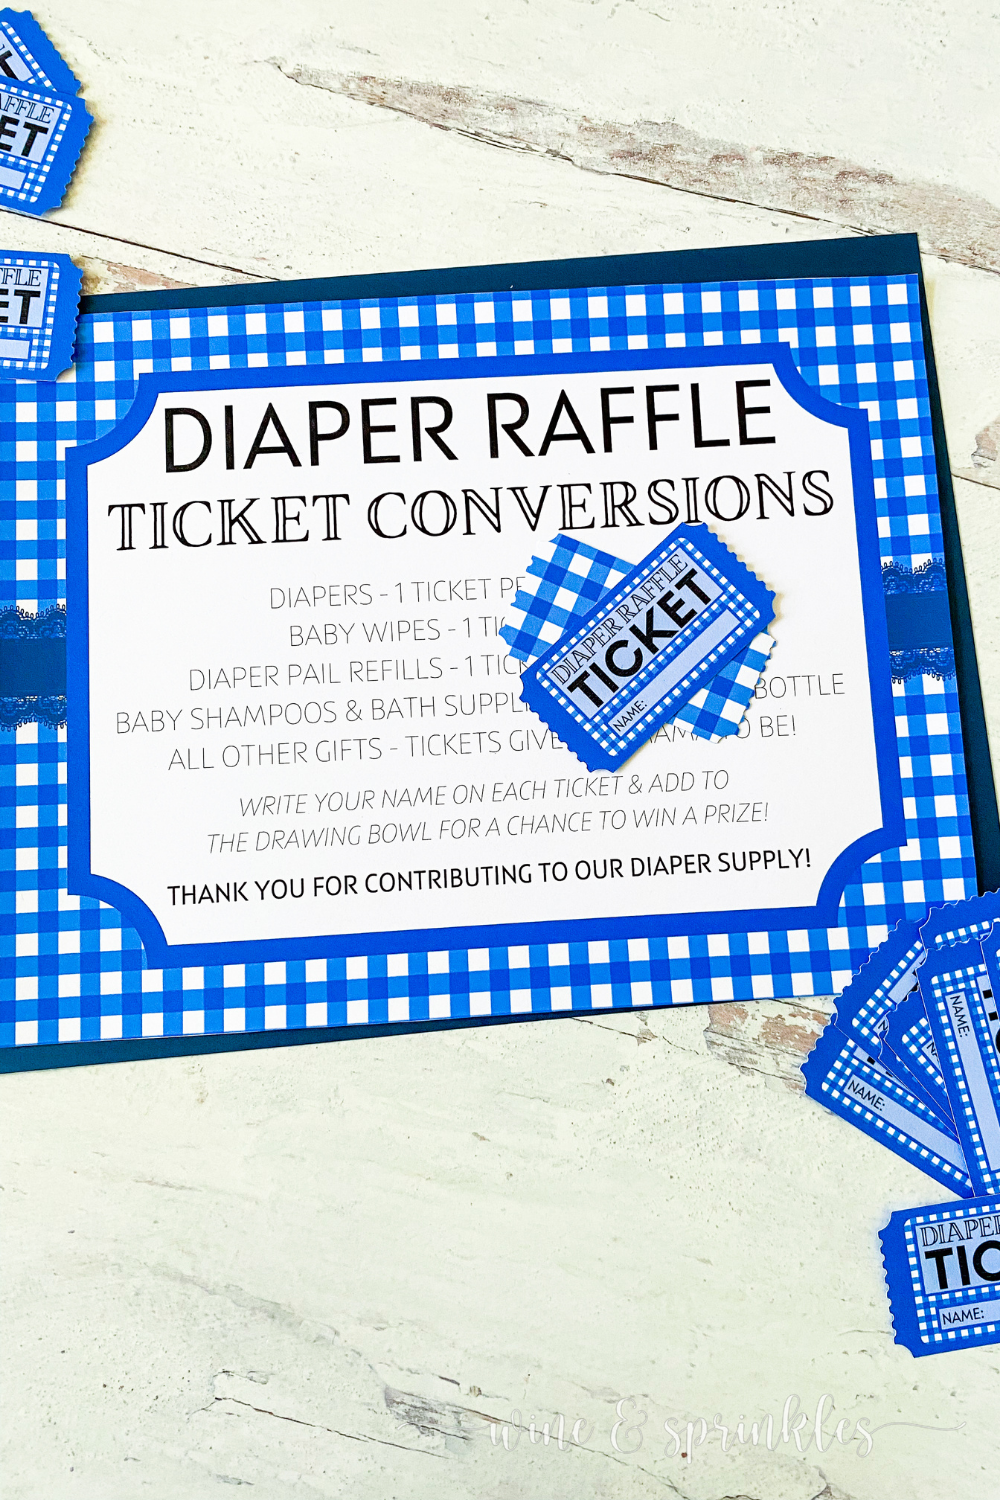
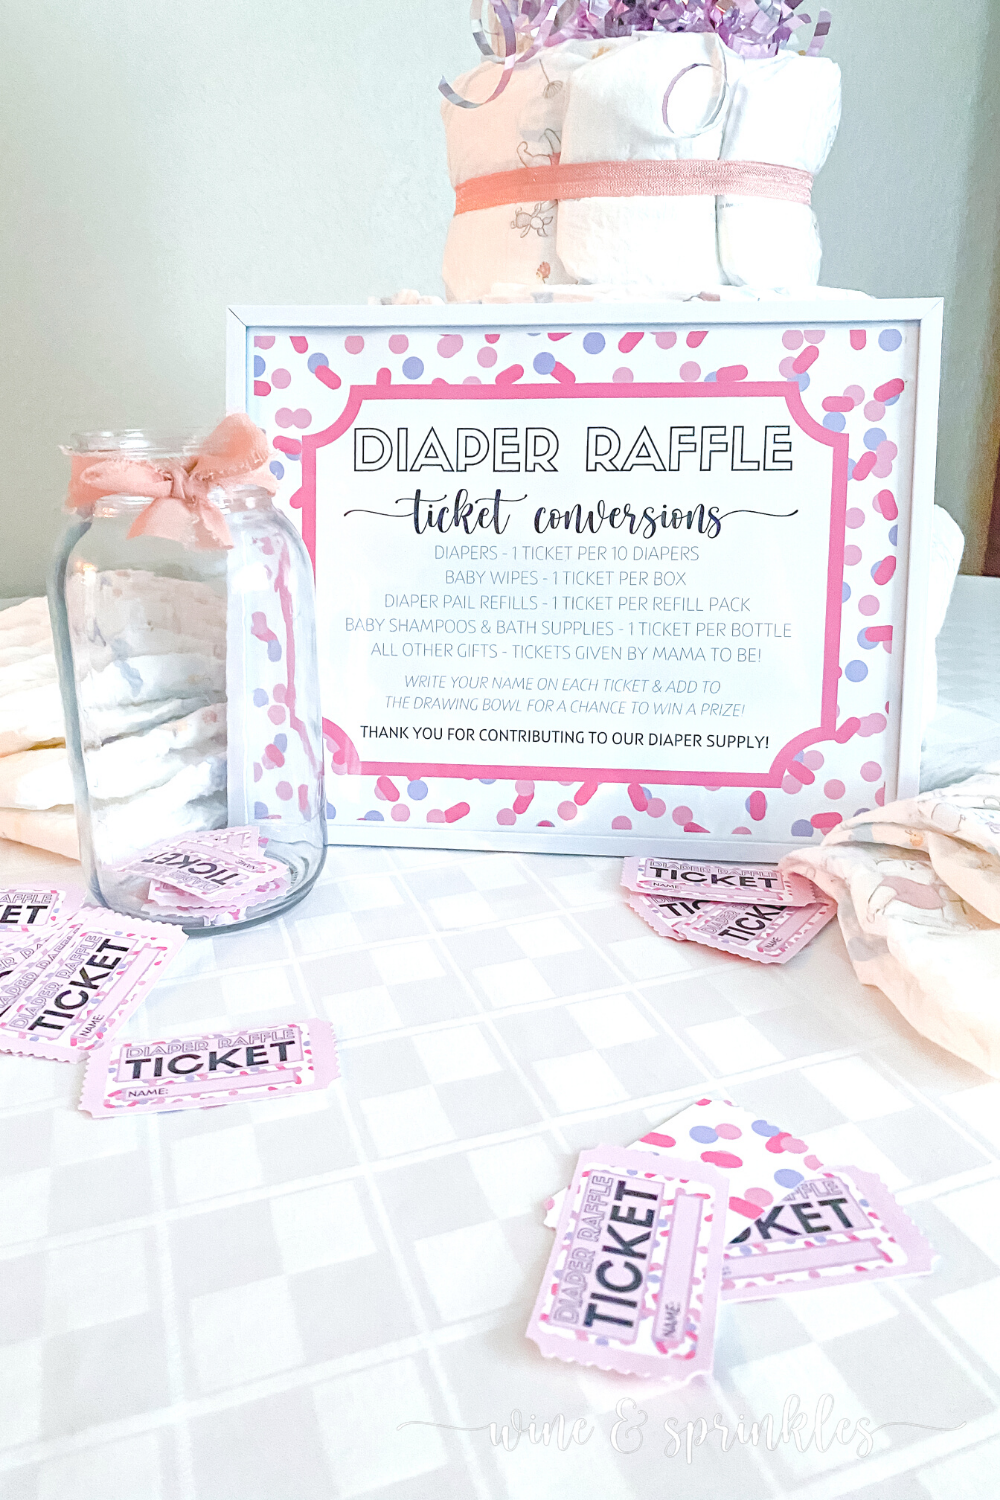
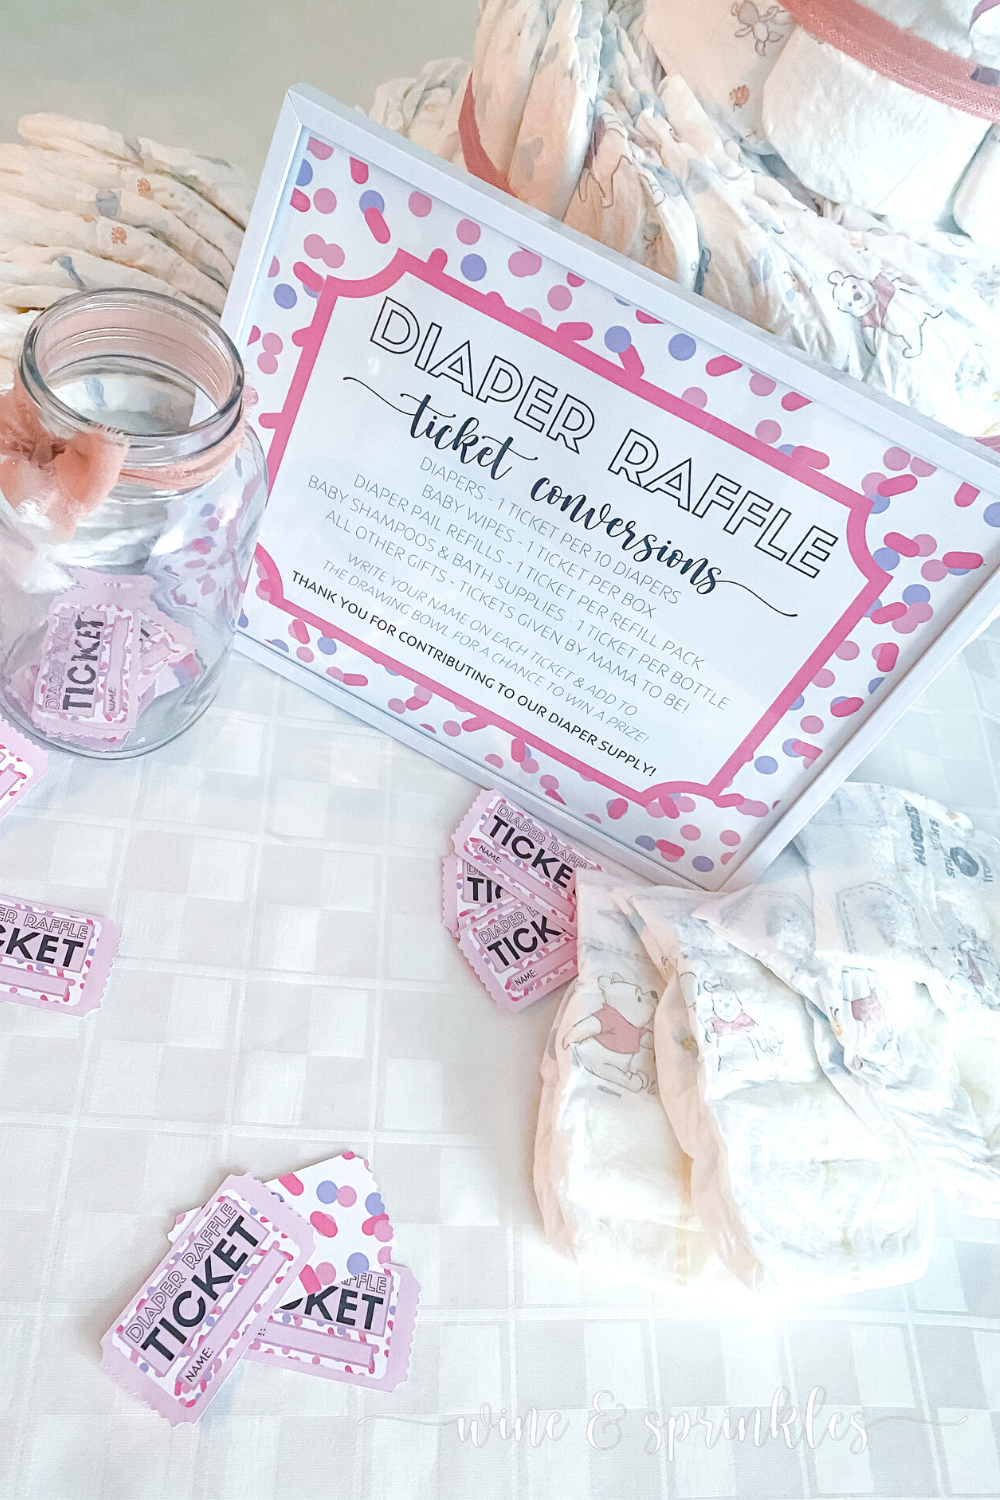
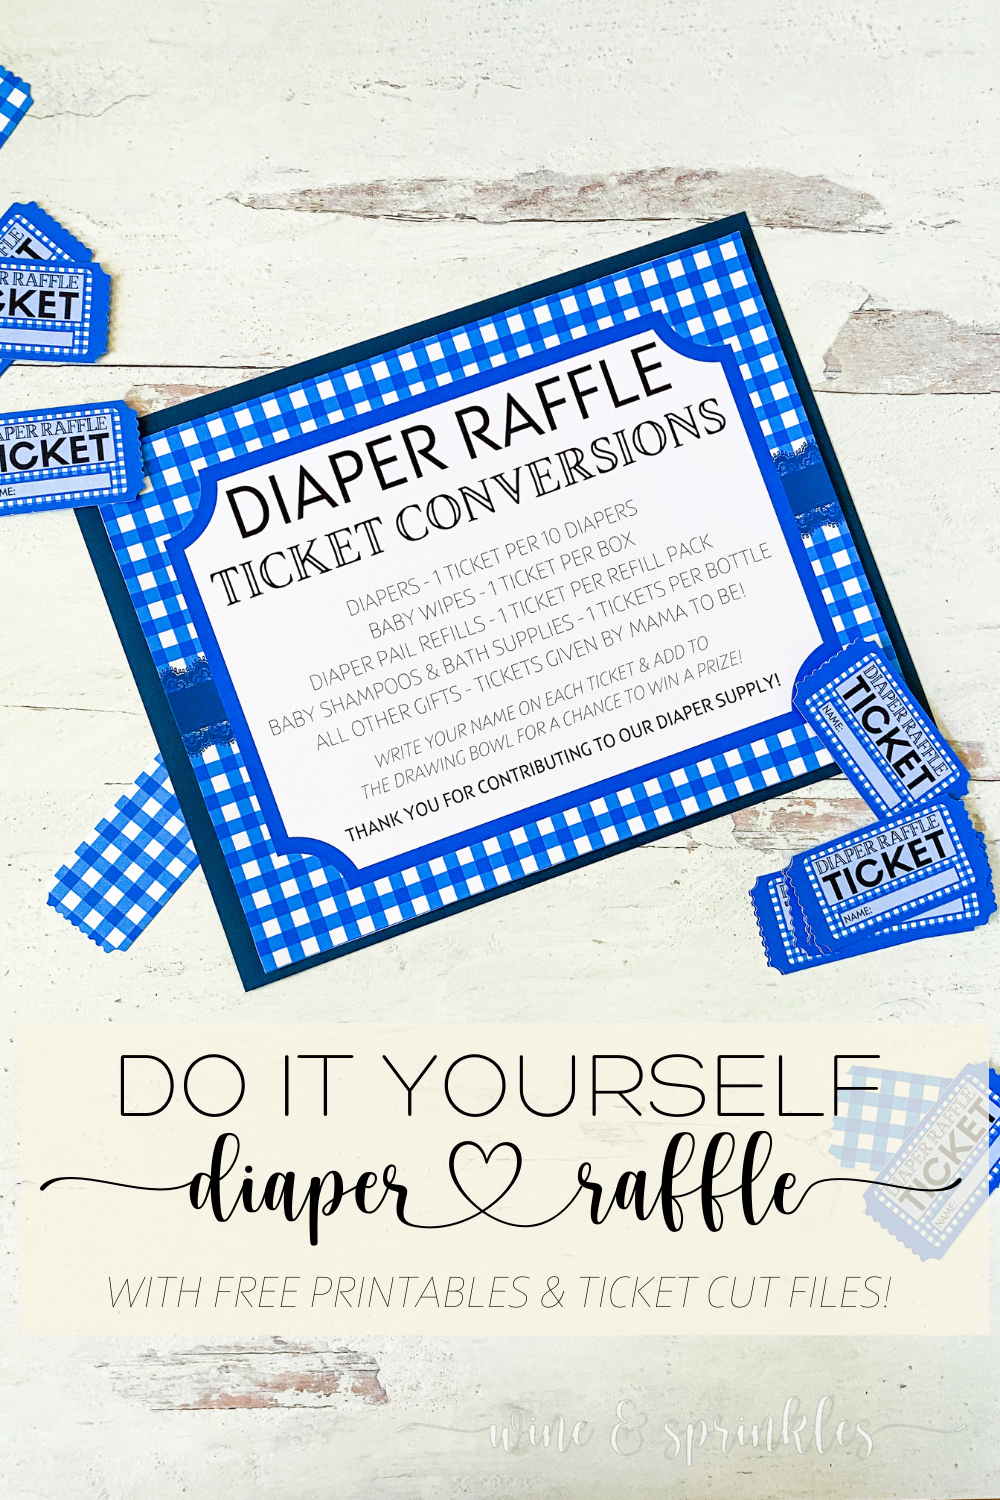
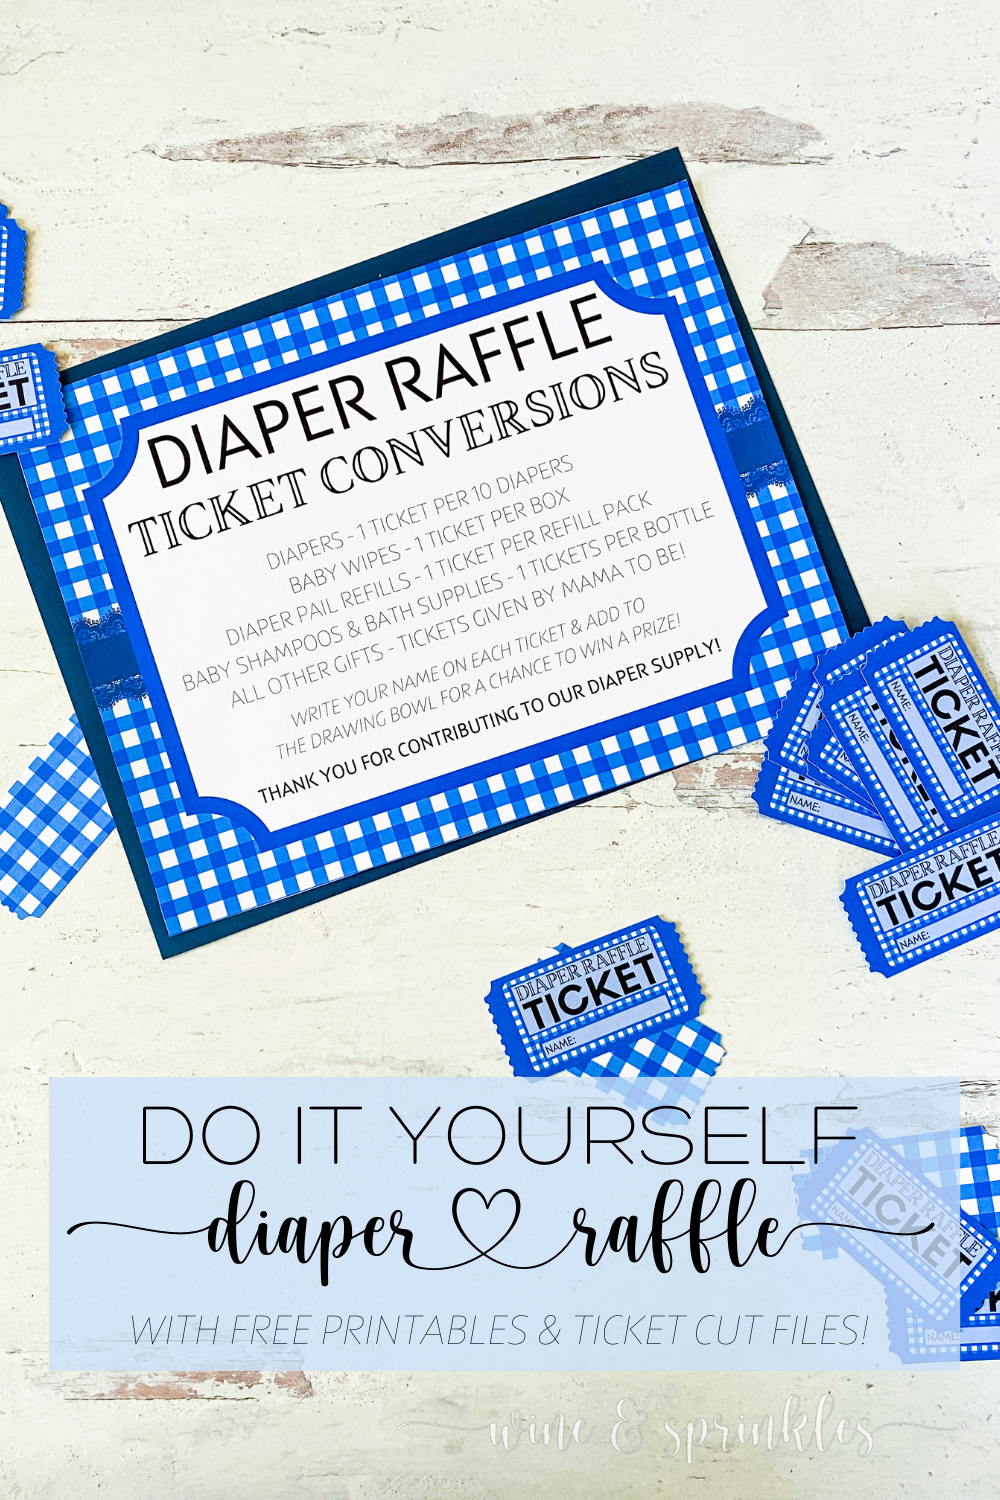
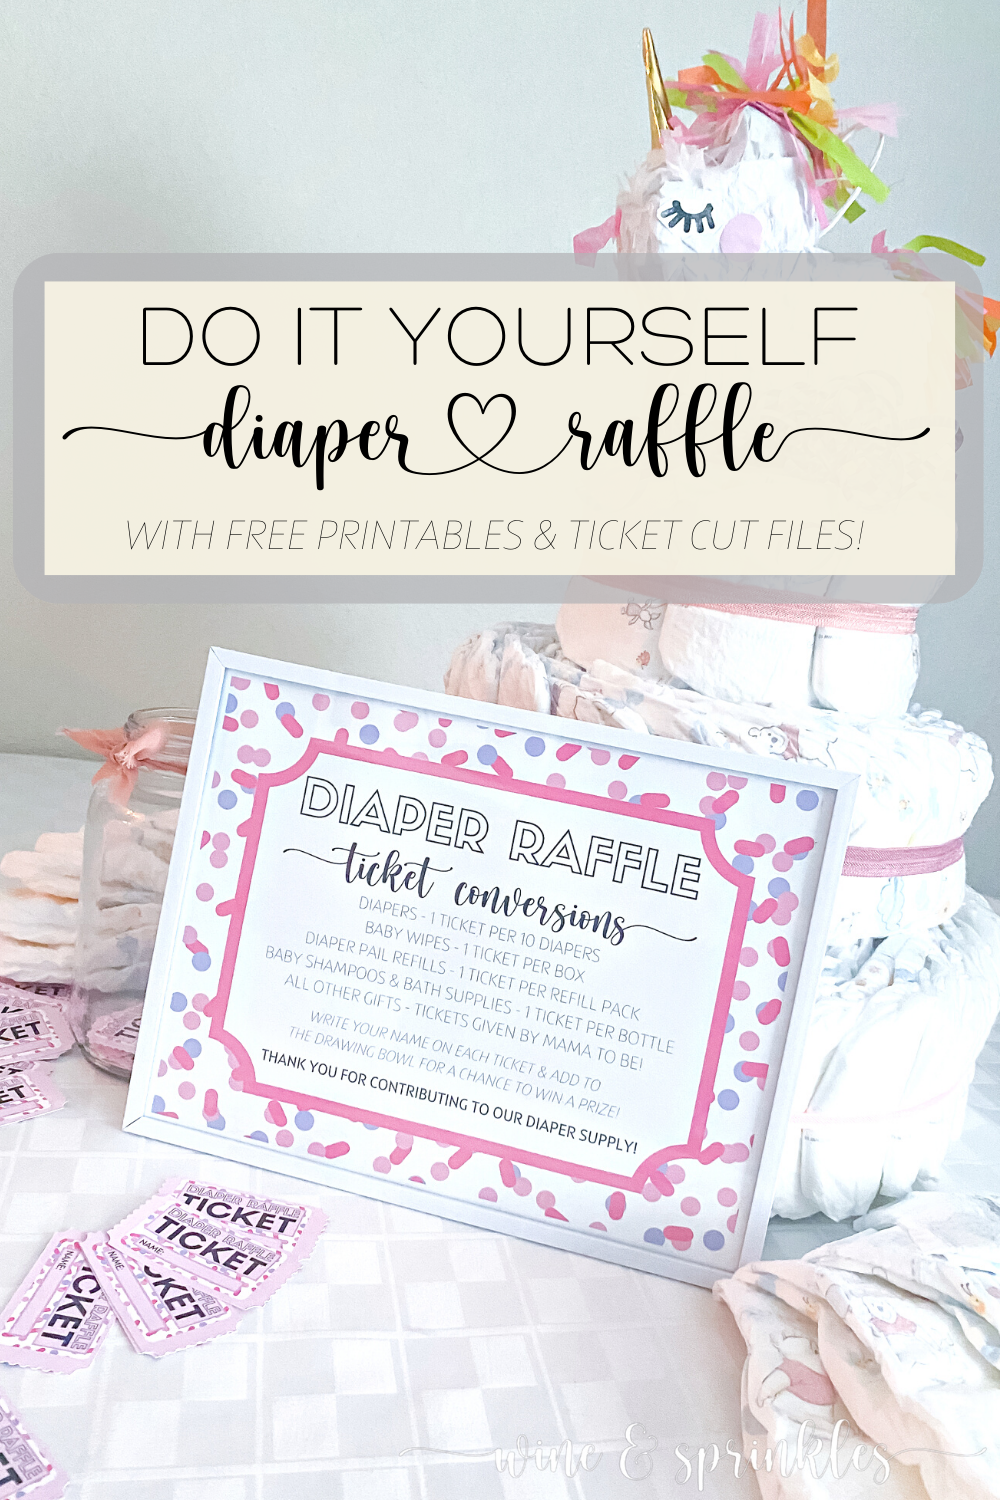
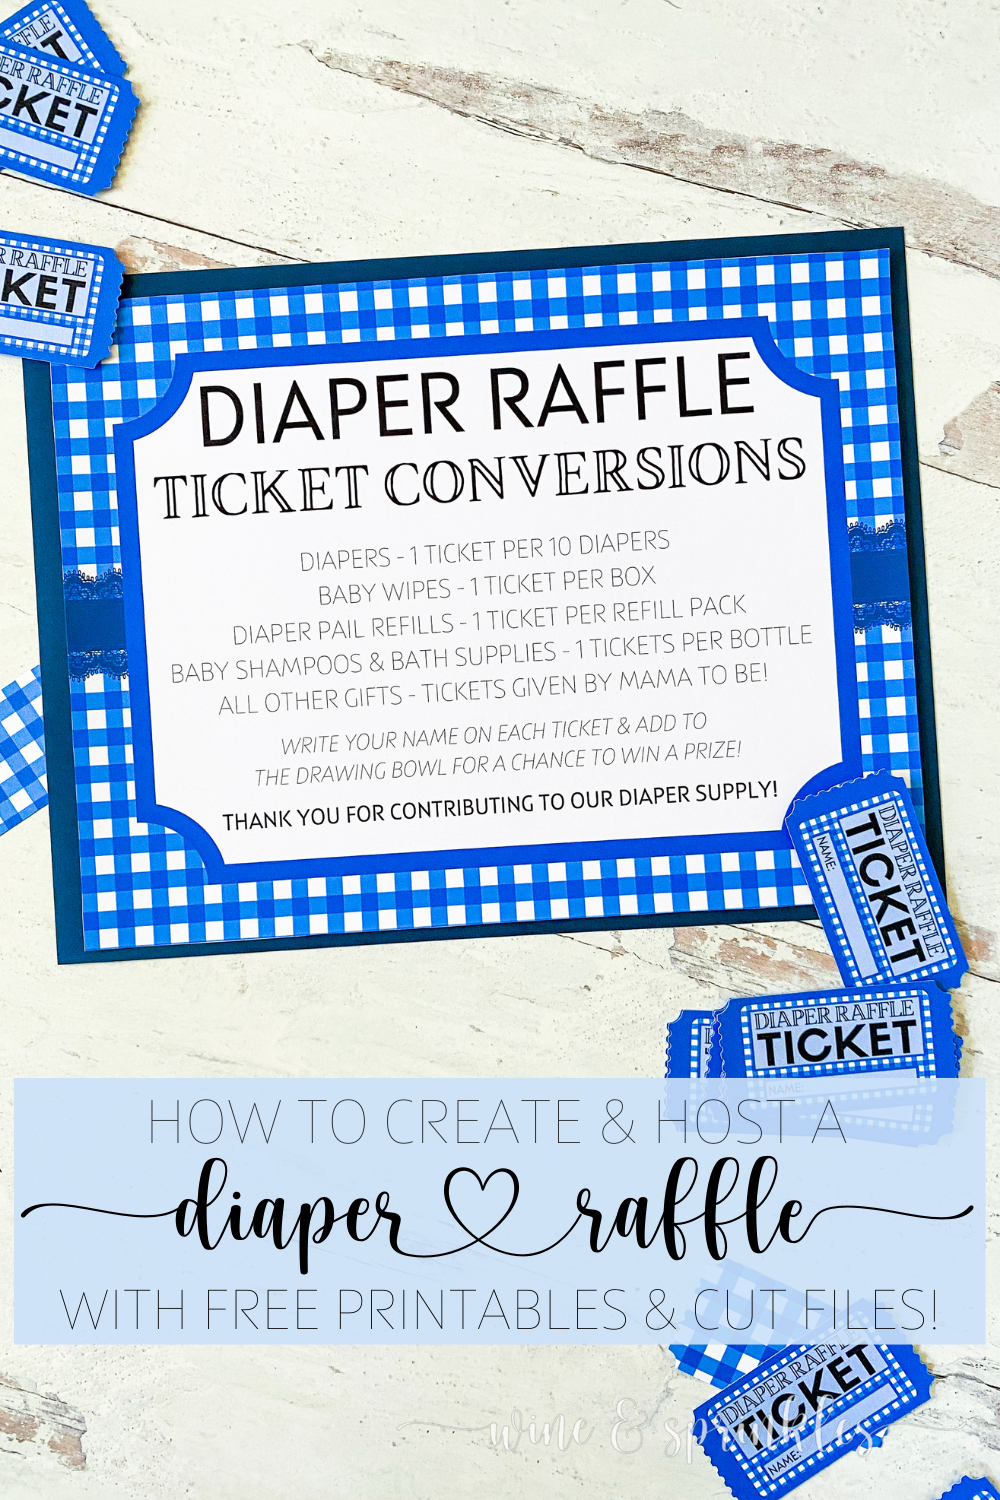
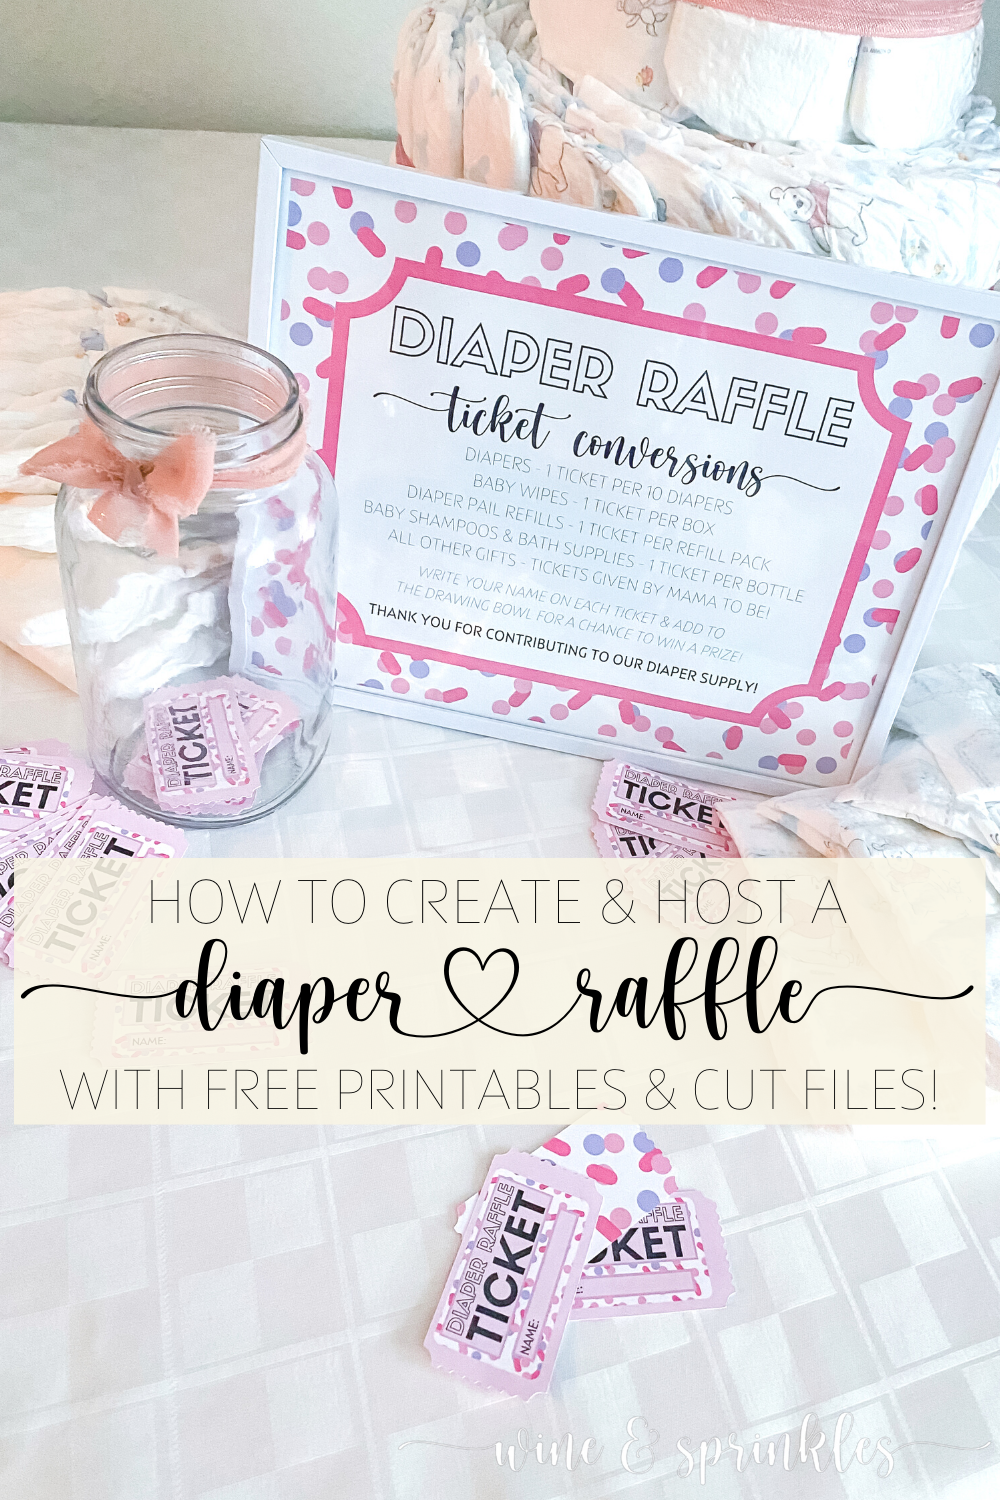
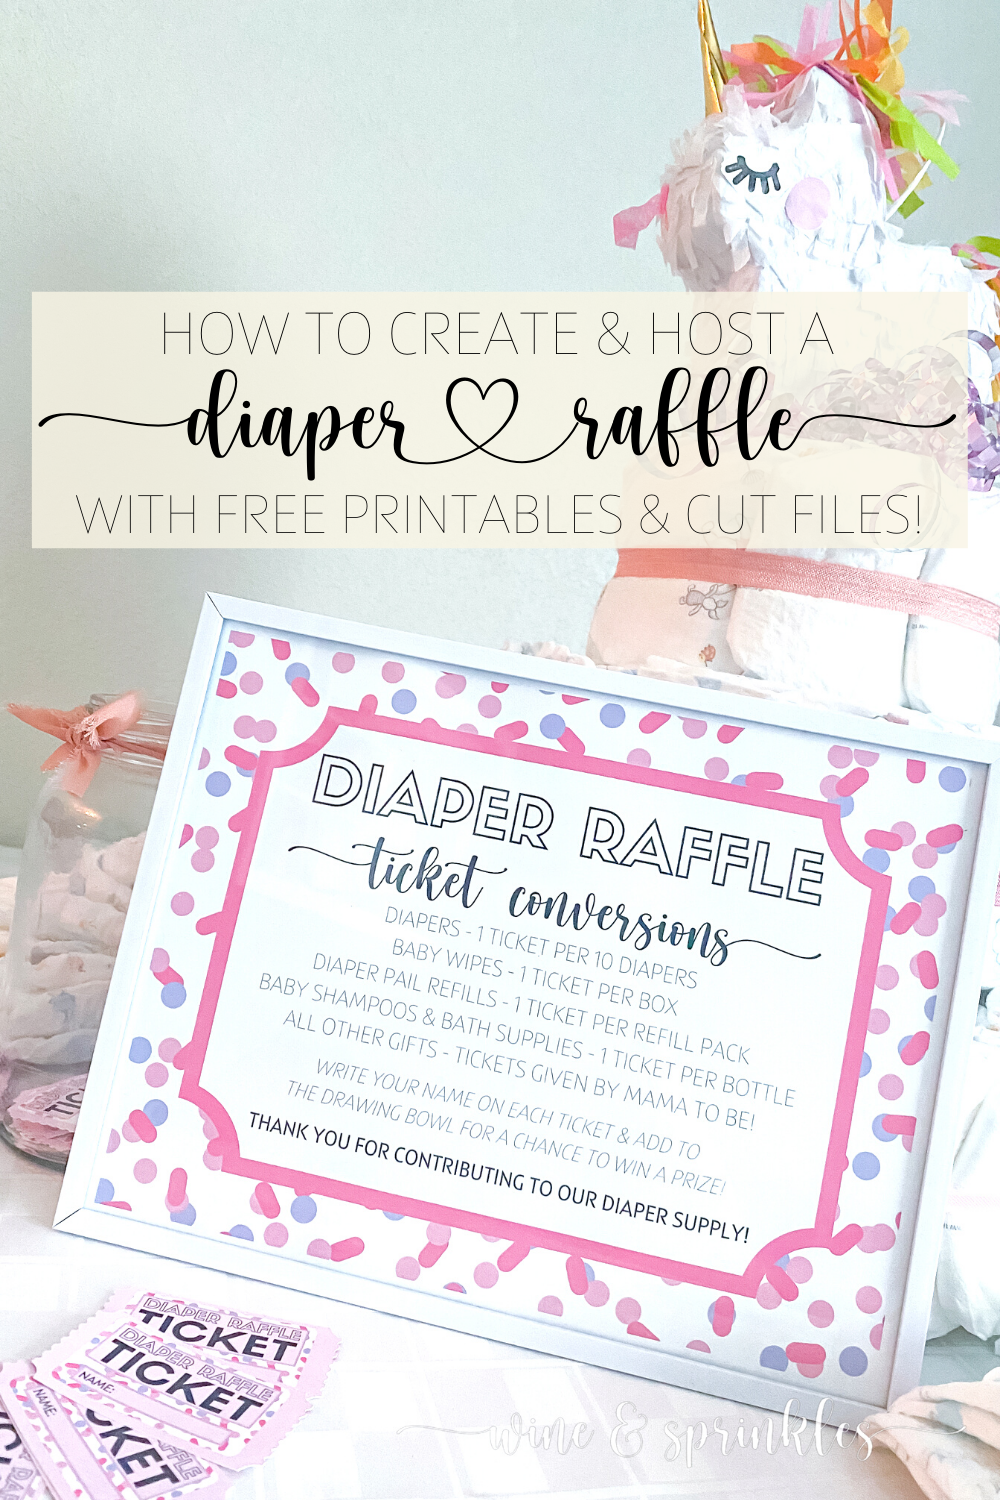
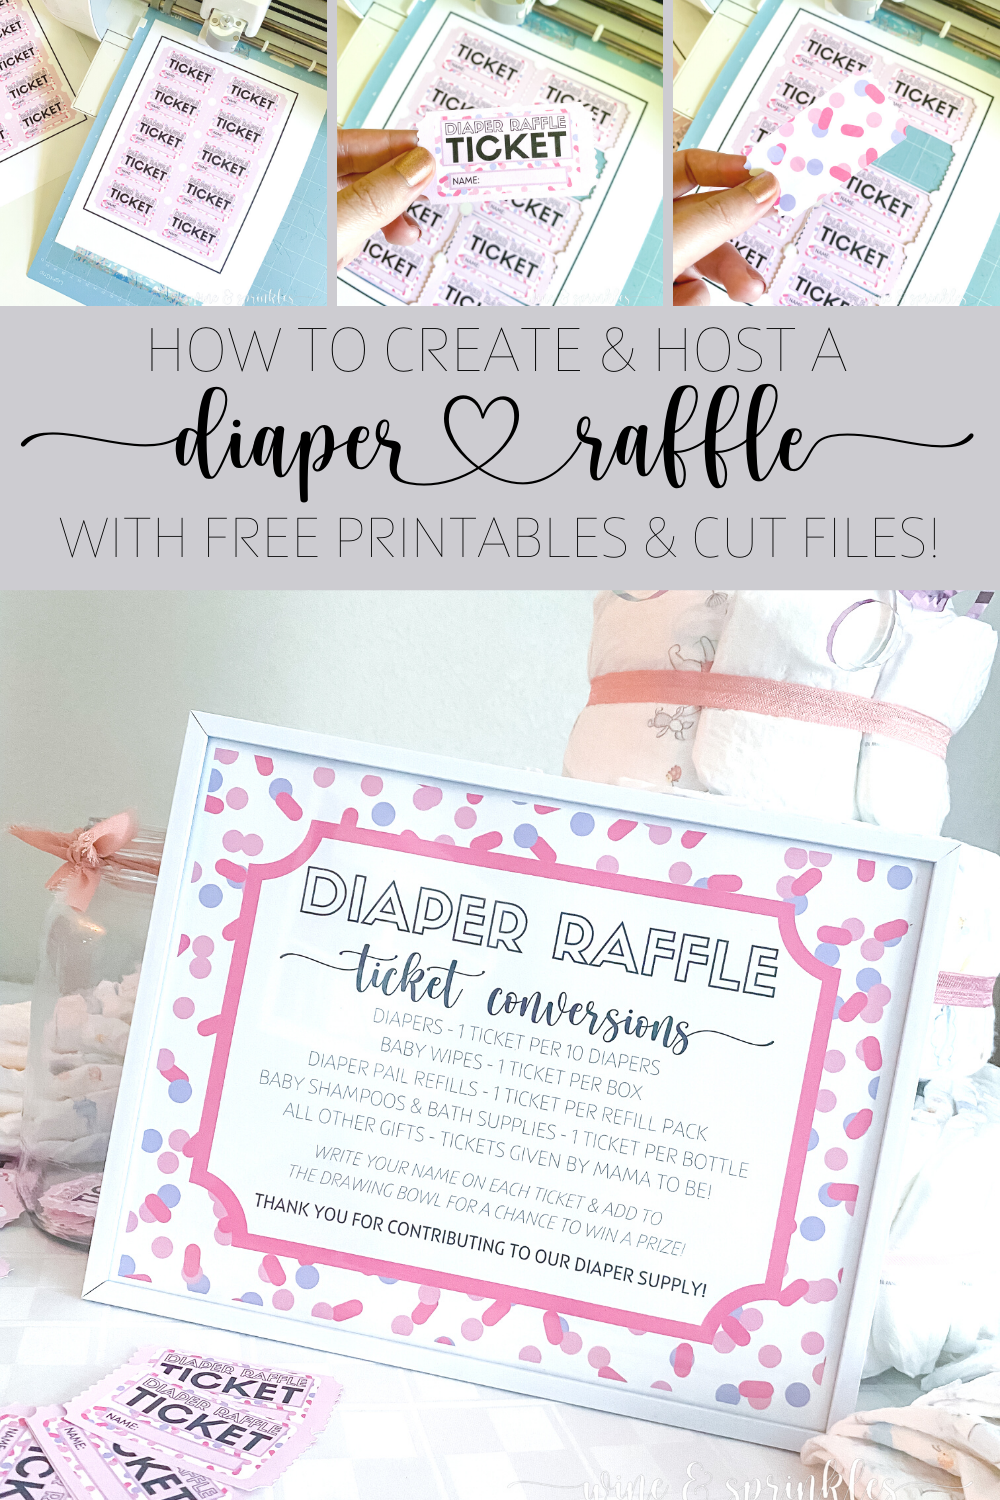
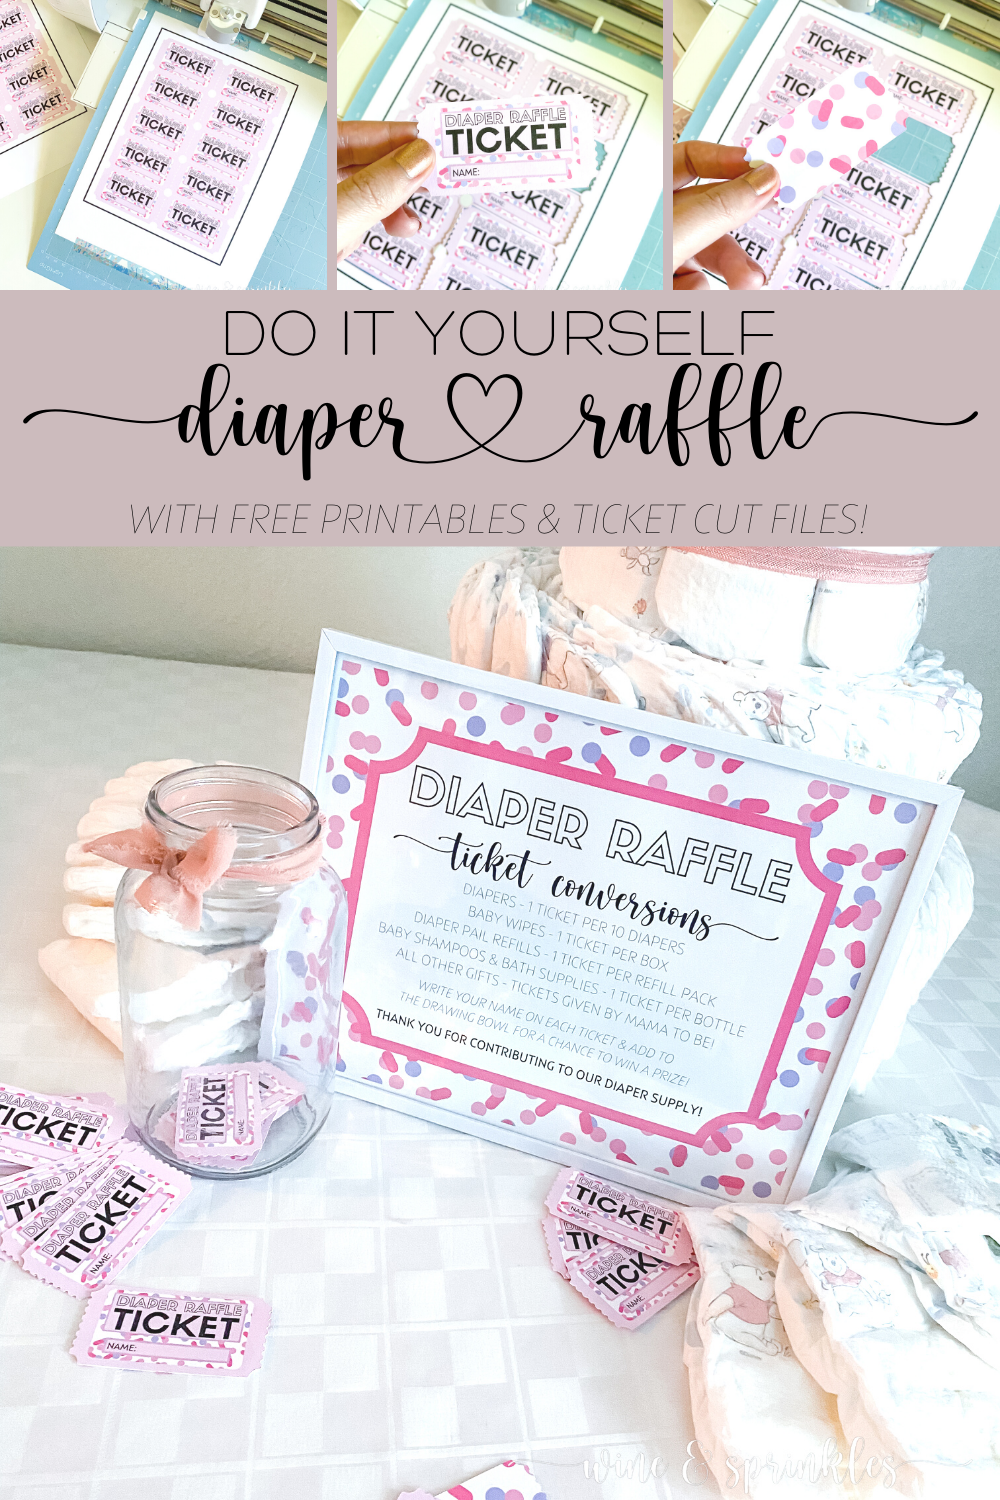
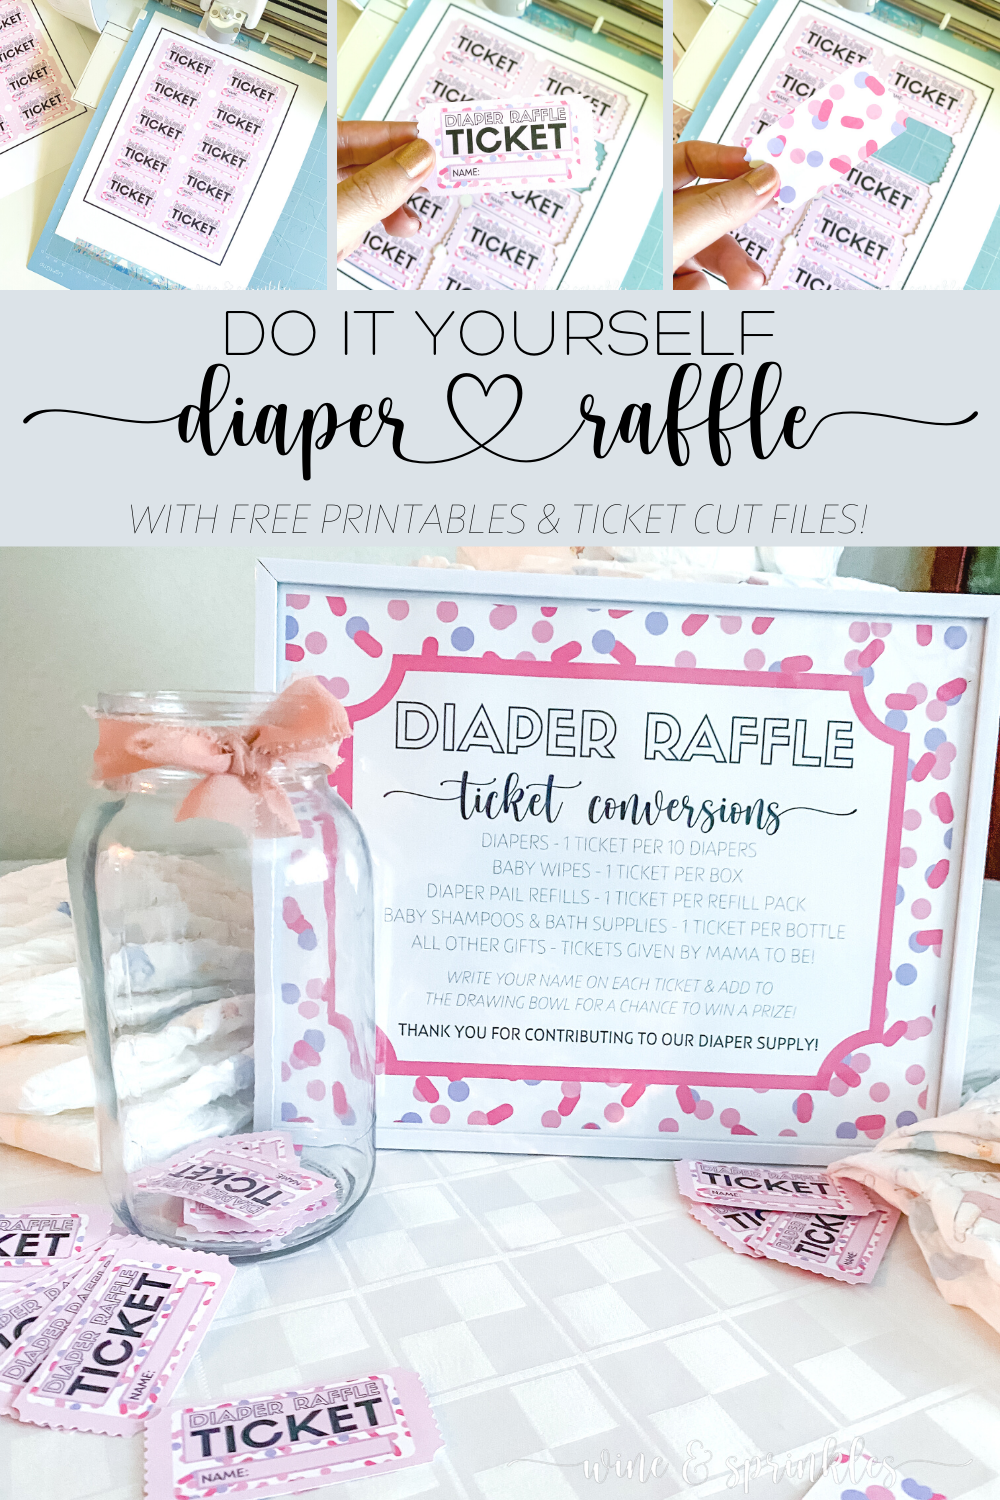
Because our raffle wasn’t limited to diapers alone, I designed a nifty sign to inform guests what their offerings converted to in tickets, using my friend’s judgment on what was fair based on the price of the items. As I was designing signs and game cards for two separate showers that I planned, so you’ll see you can download the sign and ticket files in two different patterns and styles; the pink and purple sprinkles like this shower or in a cute blue gingham pattern, which is the pattern of choice for the Blue Gingham BaByQ Shower I helped with and attended a few weeks later! As you go through the different games and activities I’ve made the past few weeks, you’ll notice I designed both patterns on all of them, so if they are ones you like there are lots of matching paperie to enjoy in our Baby Shower Games and Activities!

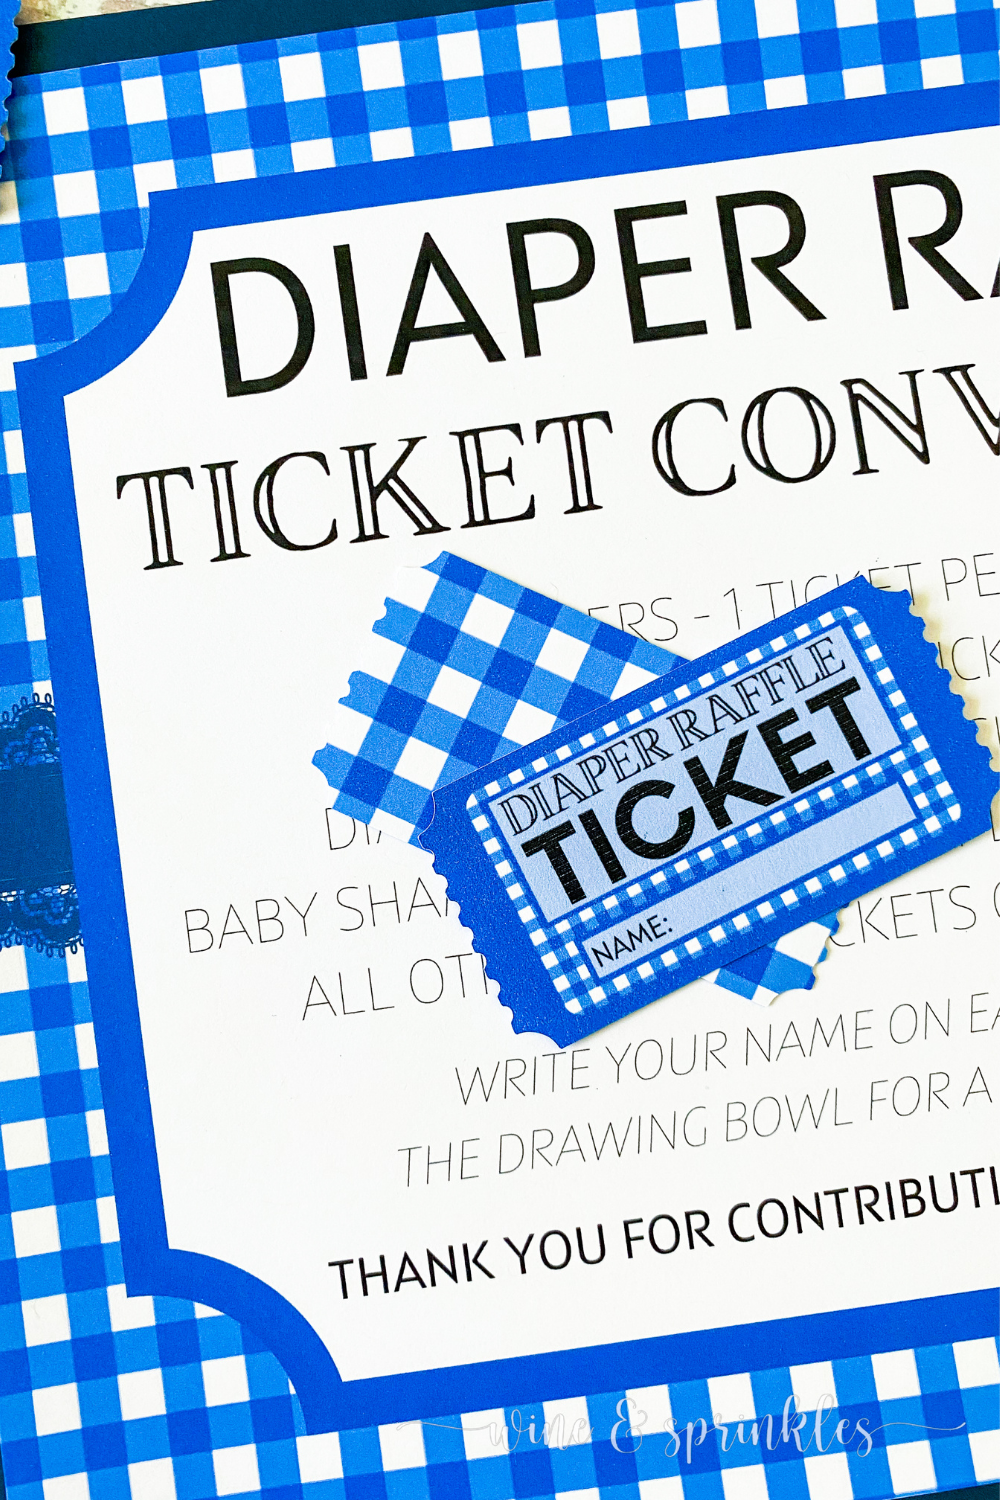
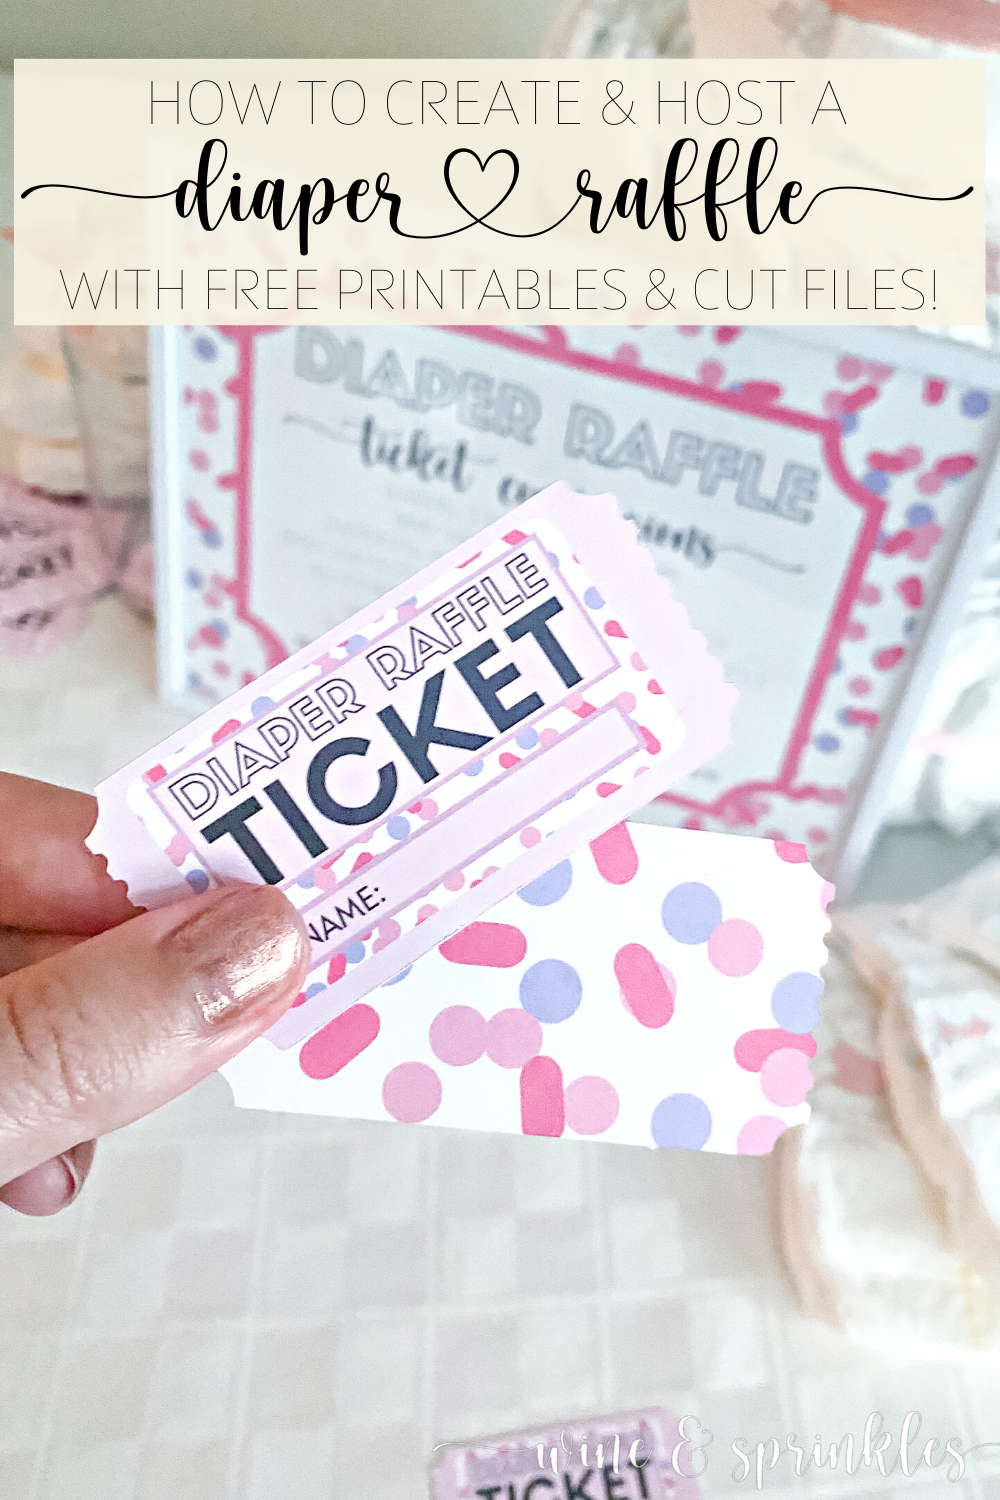
While I love my sign, my favorite part of the paperie for this set has to be the diaper raffle tickets themselves! Using the sprinkles and gingham patterns for the backs of the tickets, the fronts were designed for the print to cut feature on my Cricut Craft Cutter, leading to beautiful, professional looking tickets you can make at home. Instead on the standard tickets where they have numbers and guests have to check all their tickets to see if they won I opted to have a place for them to fill in their name instead so we could easily draw and announce the winner, and I have to say it made it quick, simple, and easier for everyone involved!
Since I was designing for two baby events at once, I also used this as an opportunity to make a set of tickets and raffle sign in a delightful blue gingham style too, so look at both to pick your favorite set to create! Using this guide and printables, have fun creating a cute diaper raffle for your next baby shower to stock up the parents to be with all the diapers they need in an adorable and easy way!

SUPPLIES
SIGN & TICKET MAKING SUPPLIES:
Cardstock: for printing out your diaper raffle signs and tickets. I used 110lb cardstock which was easy enough for my craft cutter to cut easily, but had a little more weight that the lighter cardstocks for my tickets and sign to have a nice thickness.
Construction Paper: to make a colored mat to mount your trimmed cardstock sign before framing it
Craft Cutter: for these tickets as well as all the different game cards I made for my Baby Shower Games and Activities, I used the print to cut feature on my Cricut Explore Air. This feature is certainly my favorite for cutting out all of my stationery and paperie projects! Below you will see the tutorial for how to calibrate and cut using the machine I have, though the new Cricut Cutting Machines should all have the same method.
Printer & Ink: to print out your tickets and diaper raffle sign.
Scissors: to trim around your diaper raffle sign
Double Sided Tape: to stick your sign to your construction paper mat.
OTHER SUPPLIES
Jar or Vase: to hold the tickets that guests fill out for the drawing.
Picture Frame: to frame your diaper raffle sign
Pens: for guests to fill in their names on tickets
SUPPLIES LIST:
[for 1 sign and 100 tickets]
SIGN & TICKET MAKING SUPPLIES:
Cardstock x 10
Construction Paper x 1
Craft Cutter
Printer & Ink
Scissors
Double Sided Tape
OTHER SUPPLIES
Jar or Vase
Picture Frame
Pens

PART 1: PARTY PREPERATION
STEP 1: CALIBRATE YOUR CRICUT CRAFT CUTTER

1. Before I start any Print then Cut Projects, I like to calibrate my craft cutter so that it cuts most accurately, and the process is pretty straight forward. After opening a new project, start by selecting the “Calibration” option on the list of choices under the Main Menu Icon, shown as three horizontal lines. This will bring up a new popup window, then select the Print then Cut button.


2. Follow the prompts to Print the calibration sheet and load it onto the mat and into your craft cutter, then press Continue. The cutter will then make its initial scans and cuts, then ask you to inspect the cardstock without removing the mat. Based on how your cardstock was cut, answer the question, then press Continue.


3. This will start a second round of cuts along the numbered row and lettered column of the calibration test sheet. When the machine is finished cutting, inspect the cardstock again, without unloading, and answer the question based on how your machine cut the cardstock.
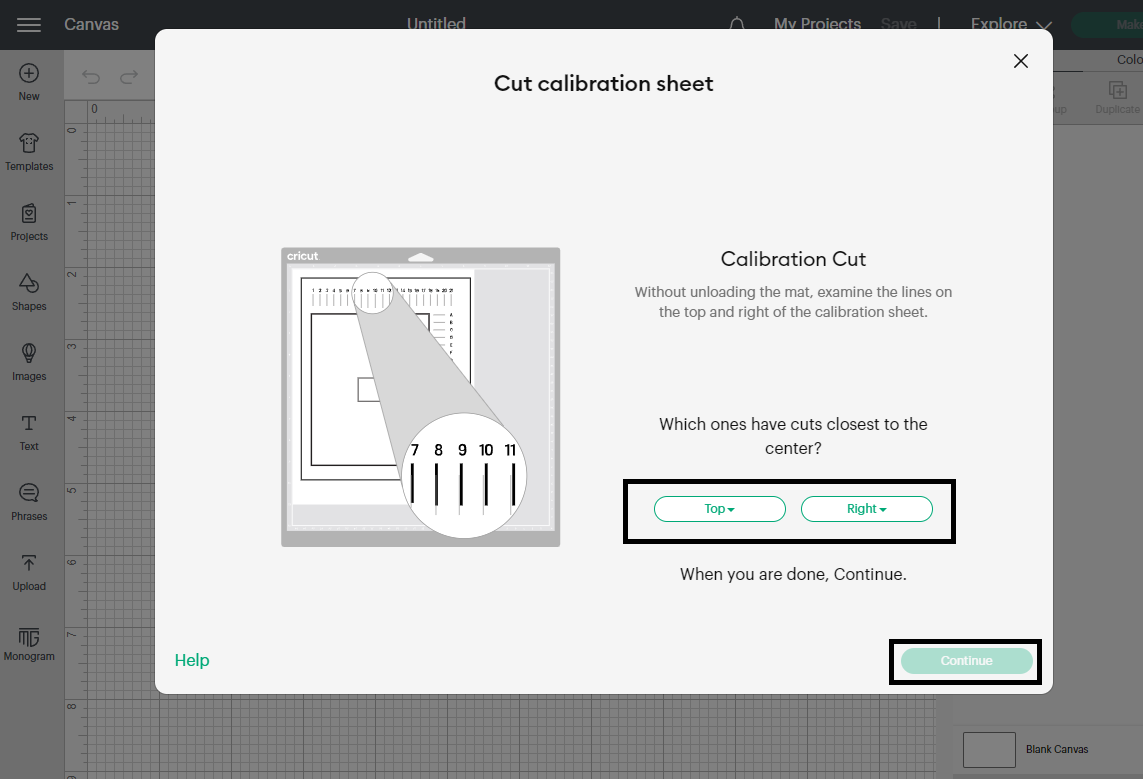
4. After this, the machine will make a final test cut around the large rectangle on the calibration test sheet, then ask if you are happy with the cut. If you select yes, the machine saves its current settings from calibration and takes you back to your project, if you select no it will restart the calibration process again with these new settings, and you can repeat it until the cuts are to your satisfaction. Once you are happy with the cut, press continue to upload your files to print then cut.


STEP 2: IMPORT & RESIZE YOUR FILES
5. Download the ticket pattern back that you want to use as a pdf, either blue gingham or sprinkles. Print out the pattern on cardstock in the best quality your printer allows, for as many sheets of tickets as you plan to cut, then put them back in the paper tray of your printer so that, when the ticket faces are printed, the background is on the back of the cardstock with the faces on the front.


6. Download the ticket design file as a png file; then and upload it to print and cut in the Cricut Design Software by the following:
Select the Upload button on the lower left of the screen, then click upload image and select the ticket design file. Follow the prompts, choosing “Complex” as the image type and removing the white background around the ticket. At the end select to import the file as a Print then Cut image. After pressing upload, select your newly imported file and click Add to Canvas, then it will show up on your workspace in the software screen.


7. Once your file is imported, change the size while the dimensions are locked so that the ticket is 3 inches wide (this will make the height a little over 1.5” tall). Once resized, copy and paste your image so that you have 10 tickets, then select “Make” in the upper right side of the screen to set up the files to be printed and cut.


STEP 3: PRINT THEN CUT YOUR TICKETS

8. Check your files on the mat set up screen and make sure the material size is 8.5 in x 11 in. and that the tickets appear properly sized in the mat setup picture, then press Continue.
9. Next, Select the Send to Printer Button, which will open a separate popup screen. Make sure the printer is set to the one you want to use, the number of sheets you want printed is the correct amount for the number of tickets you want to make, and that the “Add Bleed” Selection is on; then Select Print to print your tickets. Print them on the cardstock you wish to use on the best quality settings your printer allows, so that the faces of the tickets are on the front of the cardstock and the printed patterns are on the back.


10. Load the printed cardstock, ticket face up, along the upper left hand side of your cutting mat as shown in the picture on the screen. As you can see, I like to secure the top and bottom of my cardstock with washi tape to provide extra security while cutting them out, but this is optional! Set the Material to Cardstock 80 lb, then press the loading button on your craft cutter to load the mat into the machine. Press the “Go” Button to start the scanning and cutting process, and when the cutter is complete the loading button will blink to indicate to unload the mat.


11. Remove your mat and freshly cut tickets, disposing of the extra cardstock; then, load your next printed sheet onto the mat and repeat the cutting process until you have cut out all the raffle tickets you need.


STEP 4: PRINT & FRAME YOUR DIAPER RAFFLE SIGN
12. Download the printable signs in the pattern of your choice as pdf’s, then print them to the best quality your printer can on cardstock. Using scissors, trim around the outside margin of your sign, removing the unprinted edges on all sides. Using double sided tape, center and stick your trimmed sign onto construction paper in the color of your choice, then secure it in your picture frame.
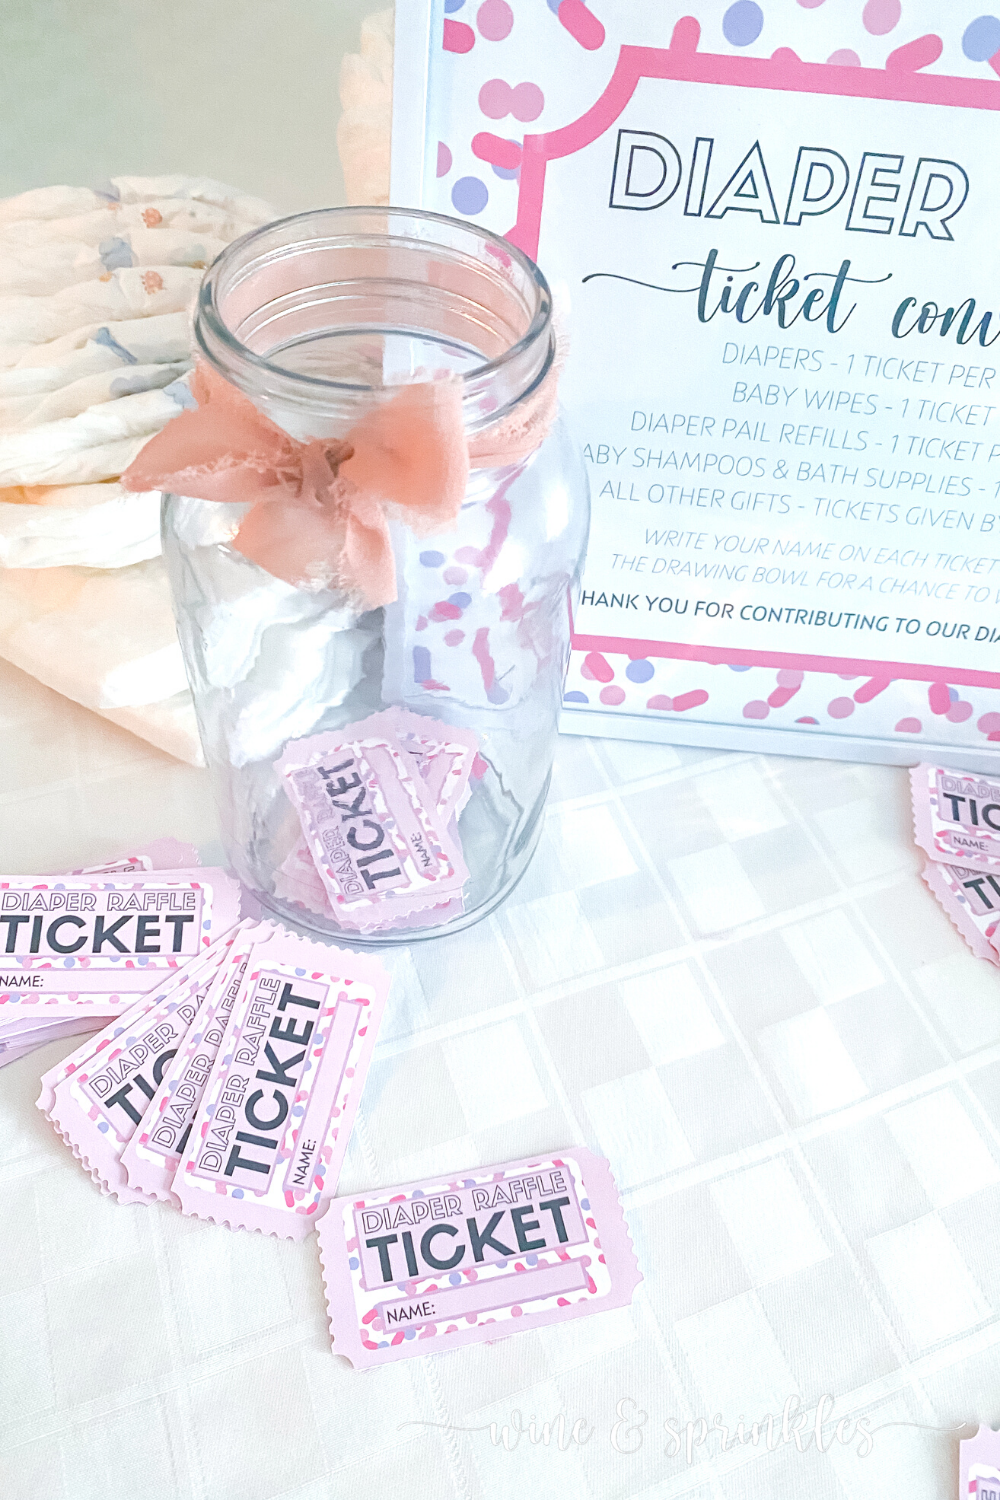
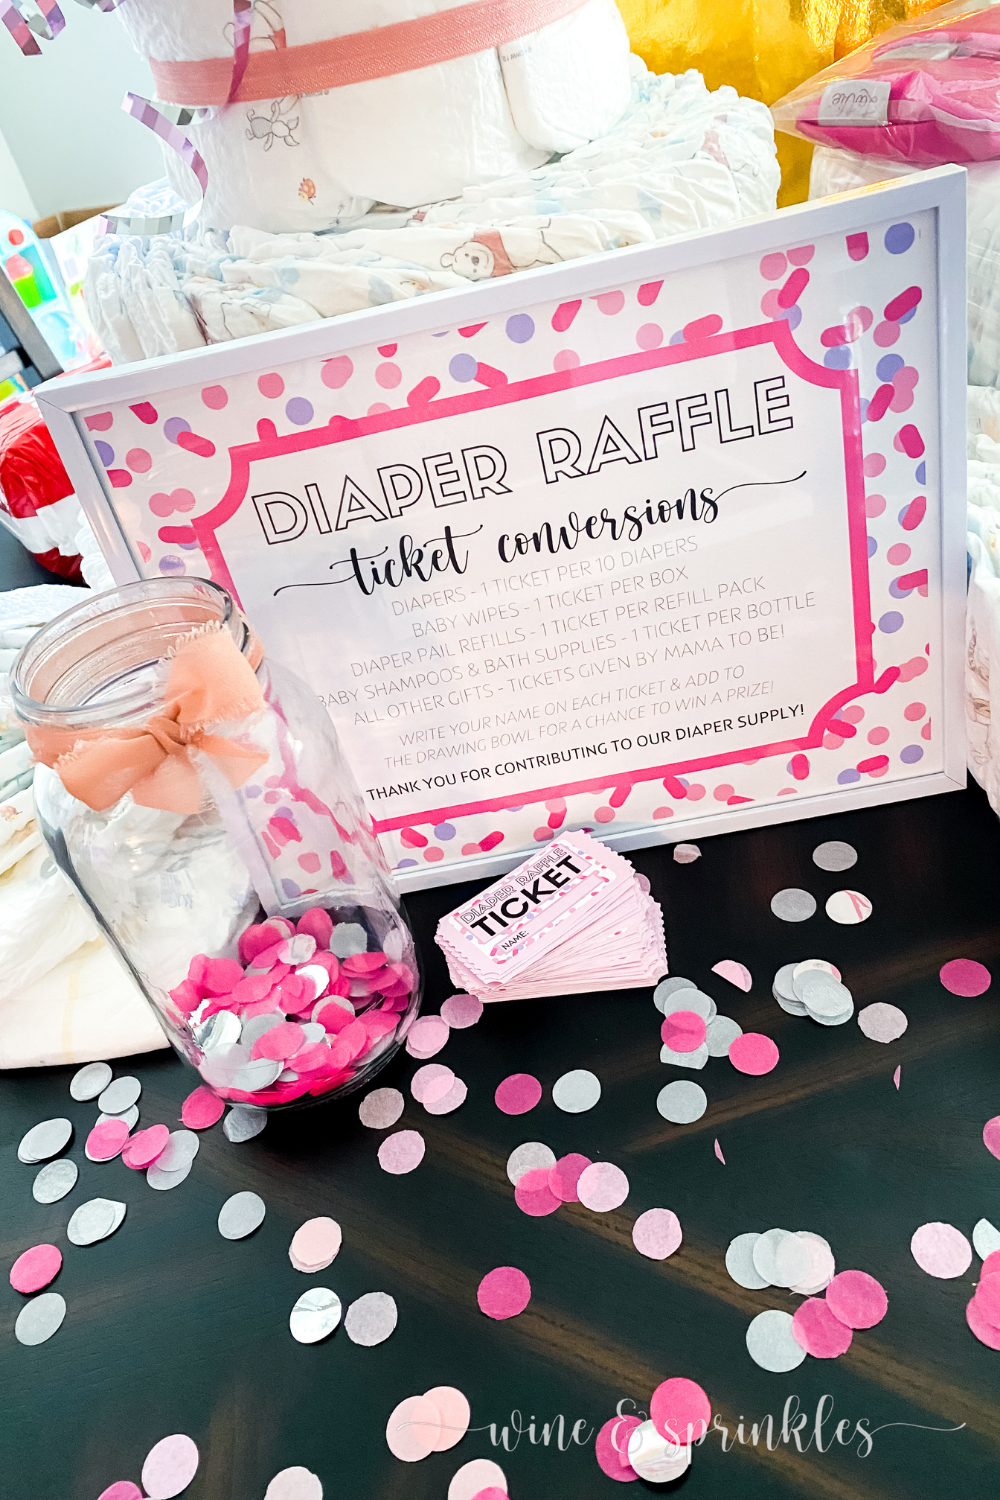
PART 2: PARTY SETUP & HOW TO PLAY

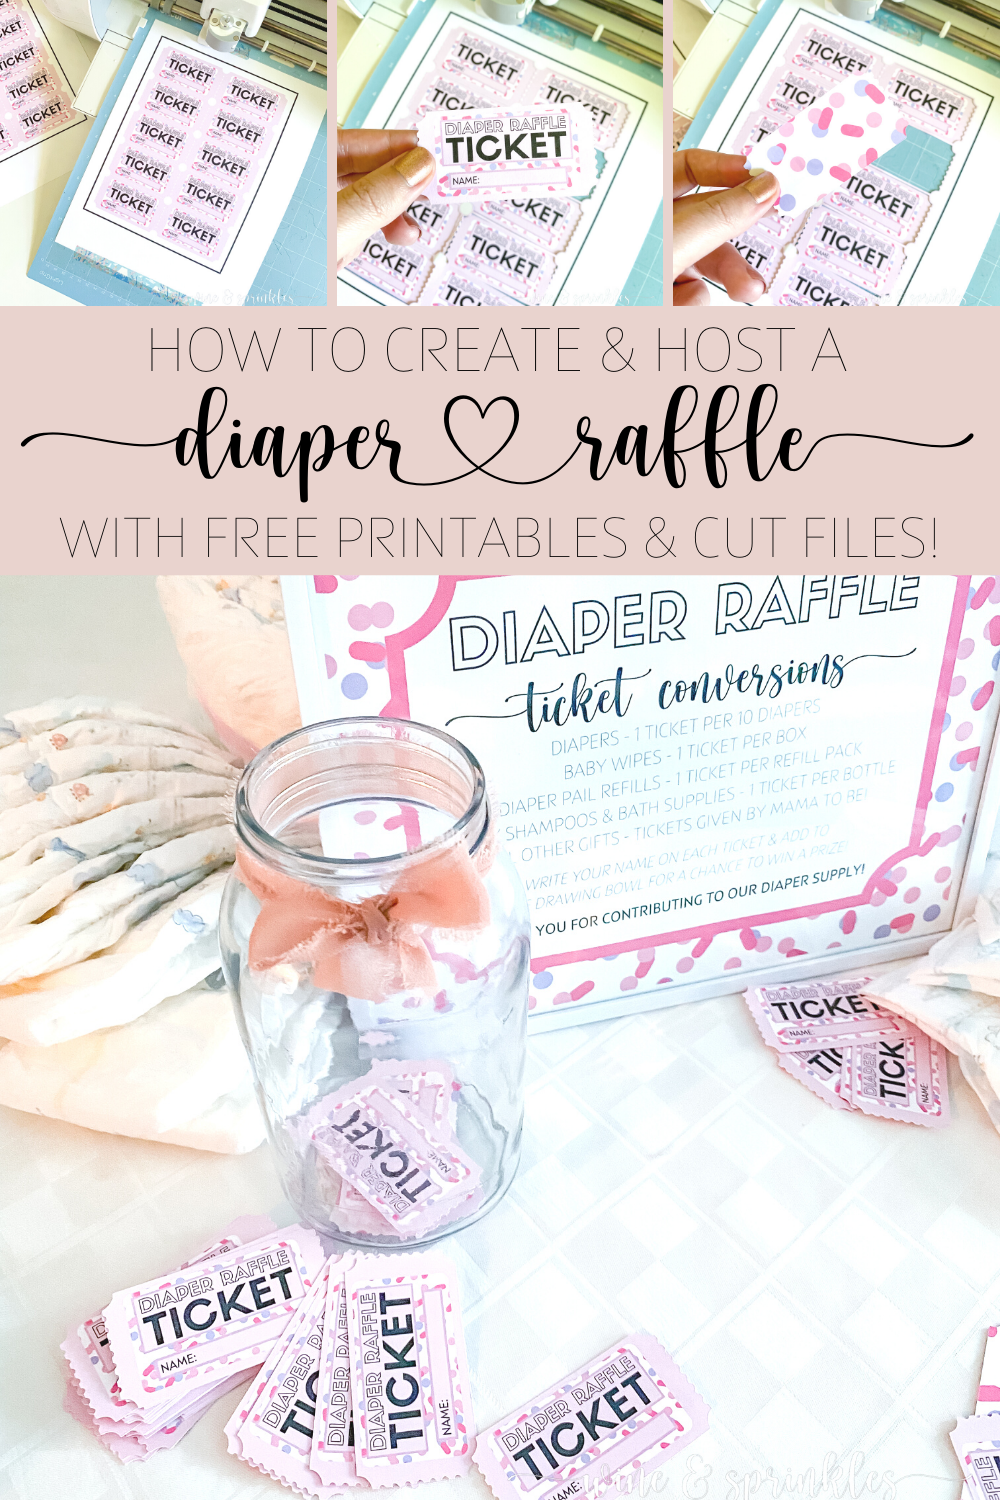
Before your guests arrive, set up your sign where you want your guests to drop off diapers, along with the blank tickets, pens, and a jar or other container to hold tickets for the drawing. As your guests arrive, show them where to drop off their diapers and have them fill in their names on the tickets they receive for their donations, with the number of those tickets based on the diaper raffle sign. Once all the guests have dropped off their donations and presents, mix the tickets in their container and have the mom-to-be draw out the names of the winners, one ticket for every prize you are giving away!
The prep for this activity is all in the cutting of the tickets, but setting up and playing on party day is easy, fun, and a great way to receive the things that a new baby really needs! So pick out or DIY some fabulous prizes and help your next set of parents celebrate their newest addition with this adorable diaper raffle station!

SEE OUR RELATED POSTS HERE:


OUR PINS FOR THIS POST:
OUR MOST RECENT BLOG POSTS:


Calling all Aires, Pisces, and every sign in between! I think astrology is super fun, which any of my guests who attended my Zodiac Summer’s Eve Party can attest, and I love to make fun zodiac themed gifts for my favorite friends that love it too! For those who don’t have the time or astrological inspiration to make their gifts, this guide is for you!