This post contains affiliate links, meaning that if you click on a link I will recieve a small comission. This costs you nothing extra and I only promote products I use and love! You can read our full disclosure here

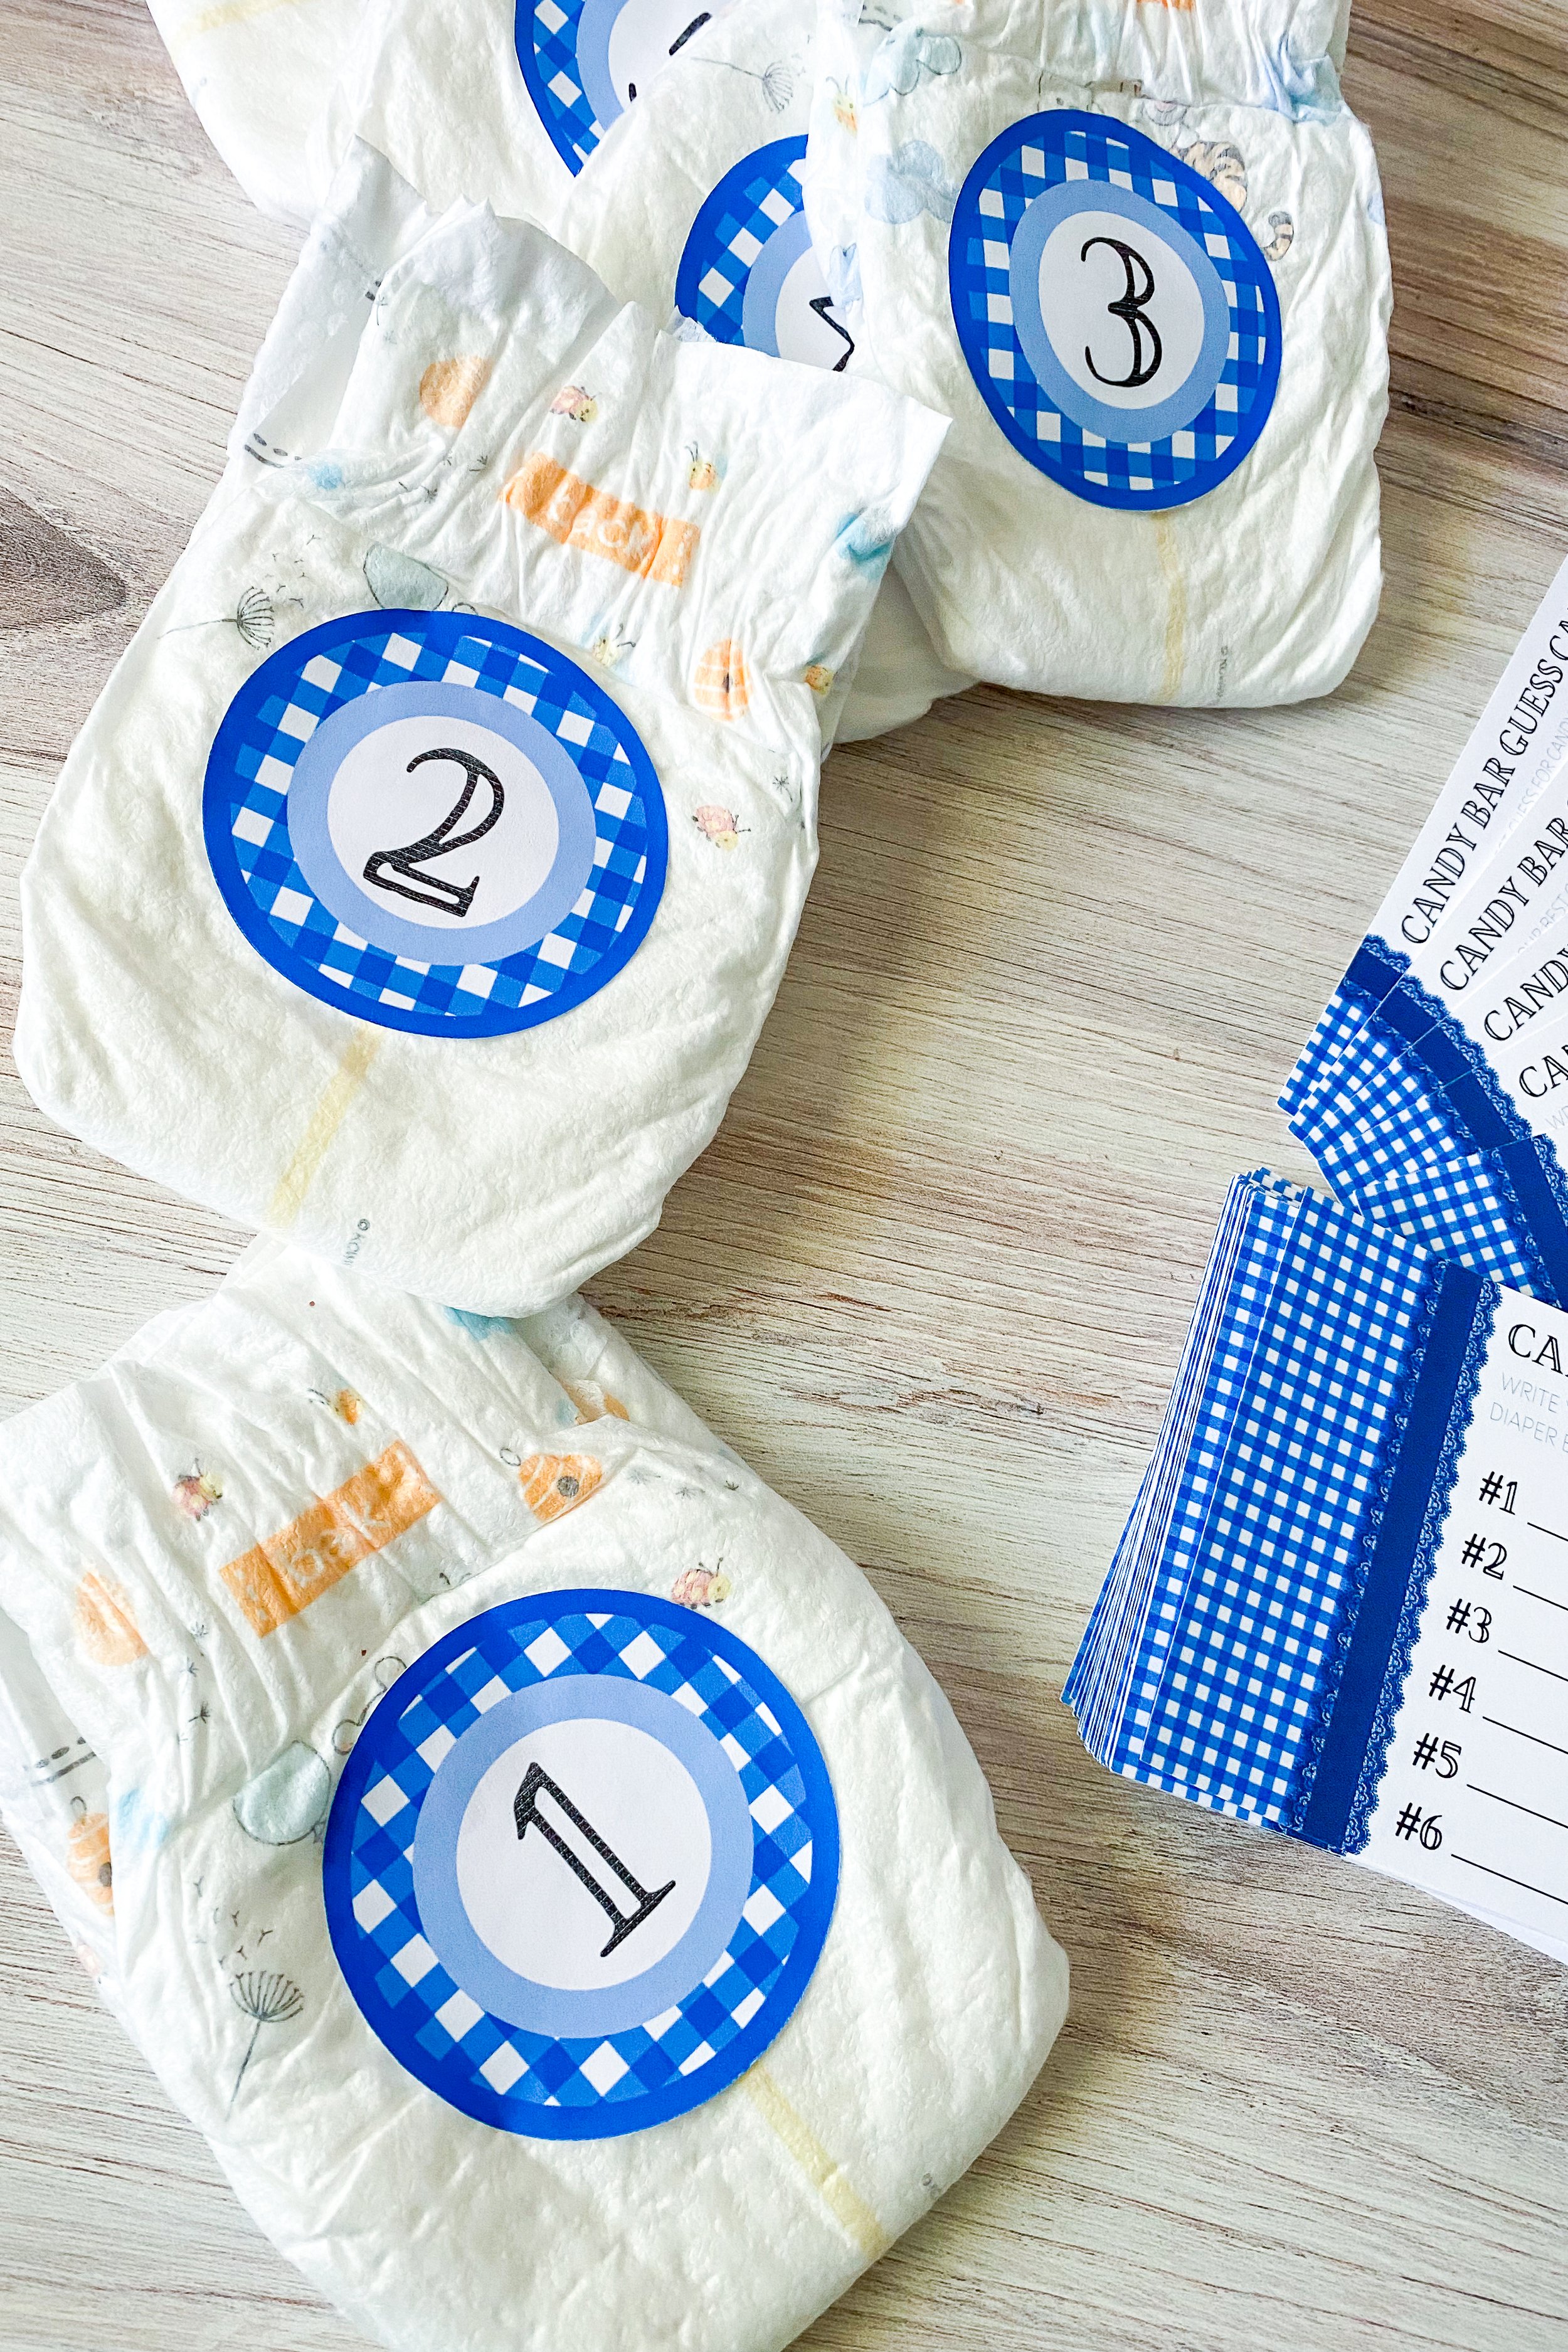
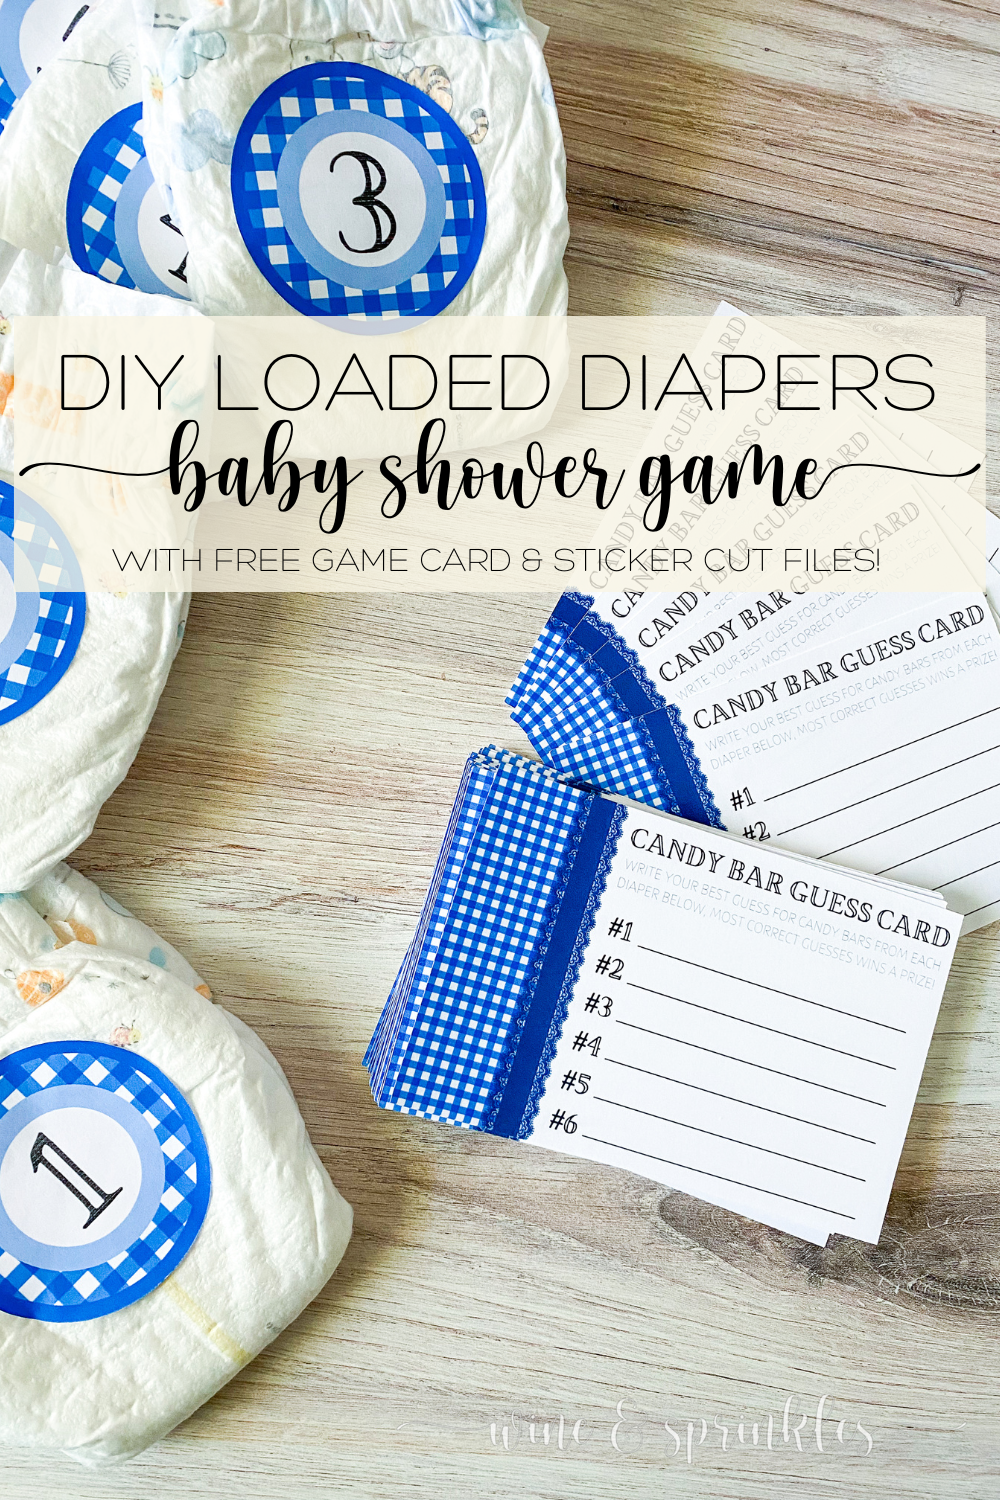
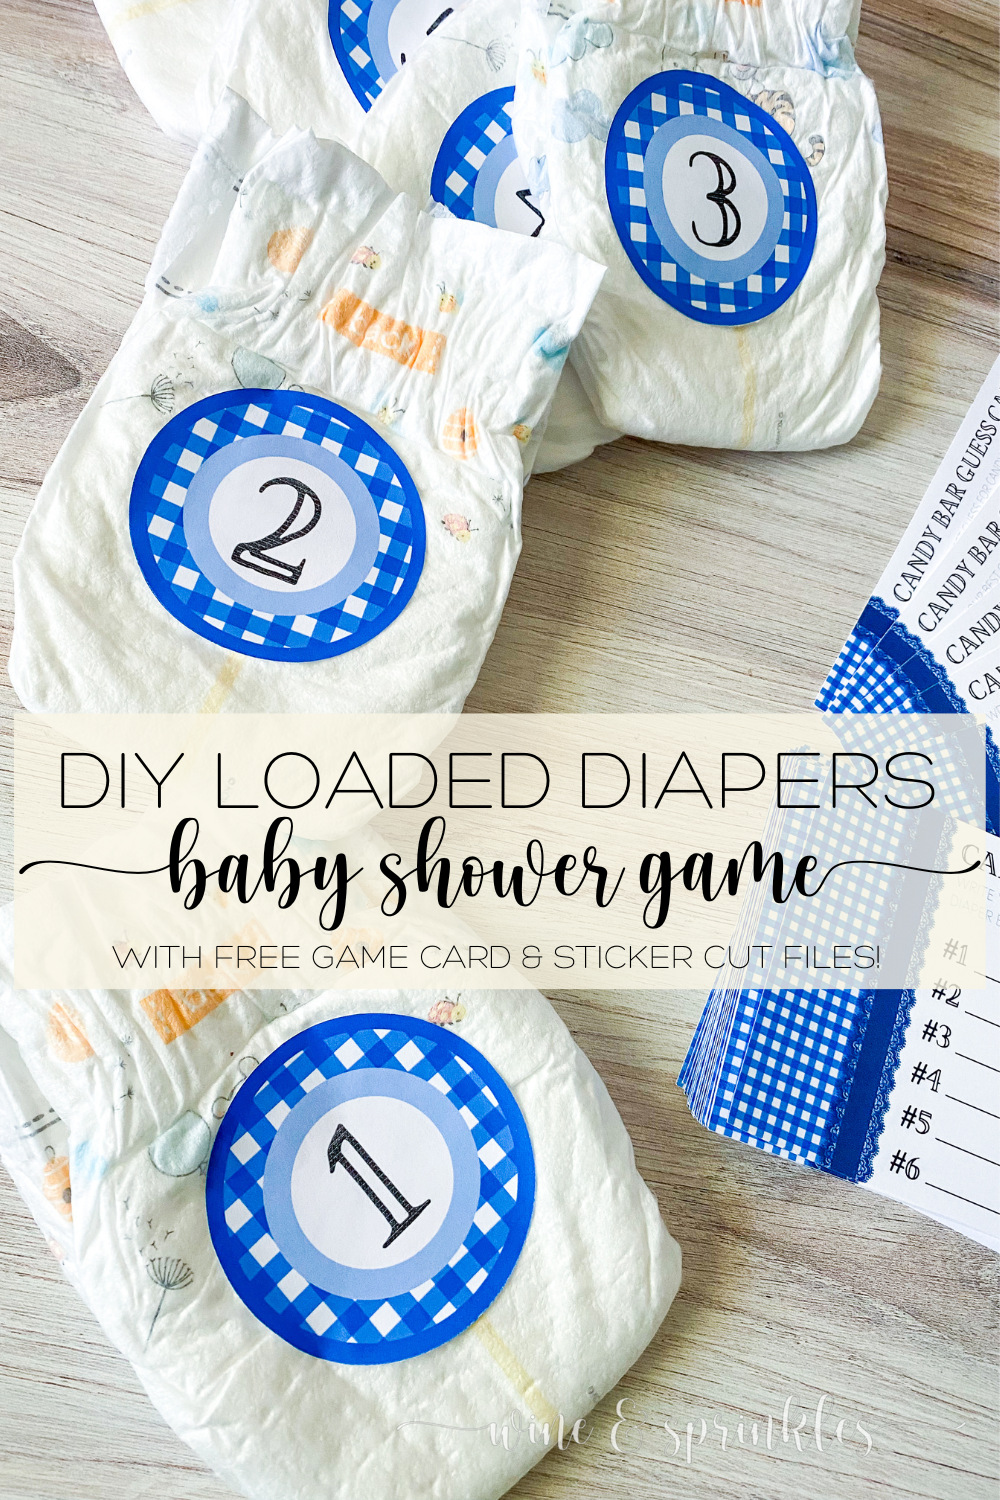
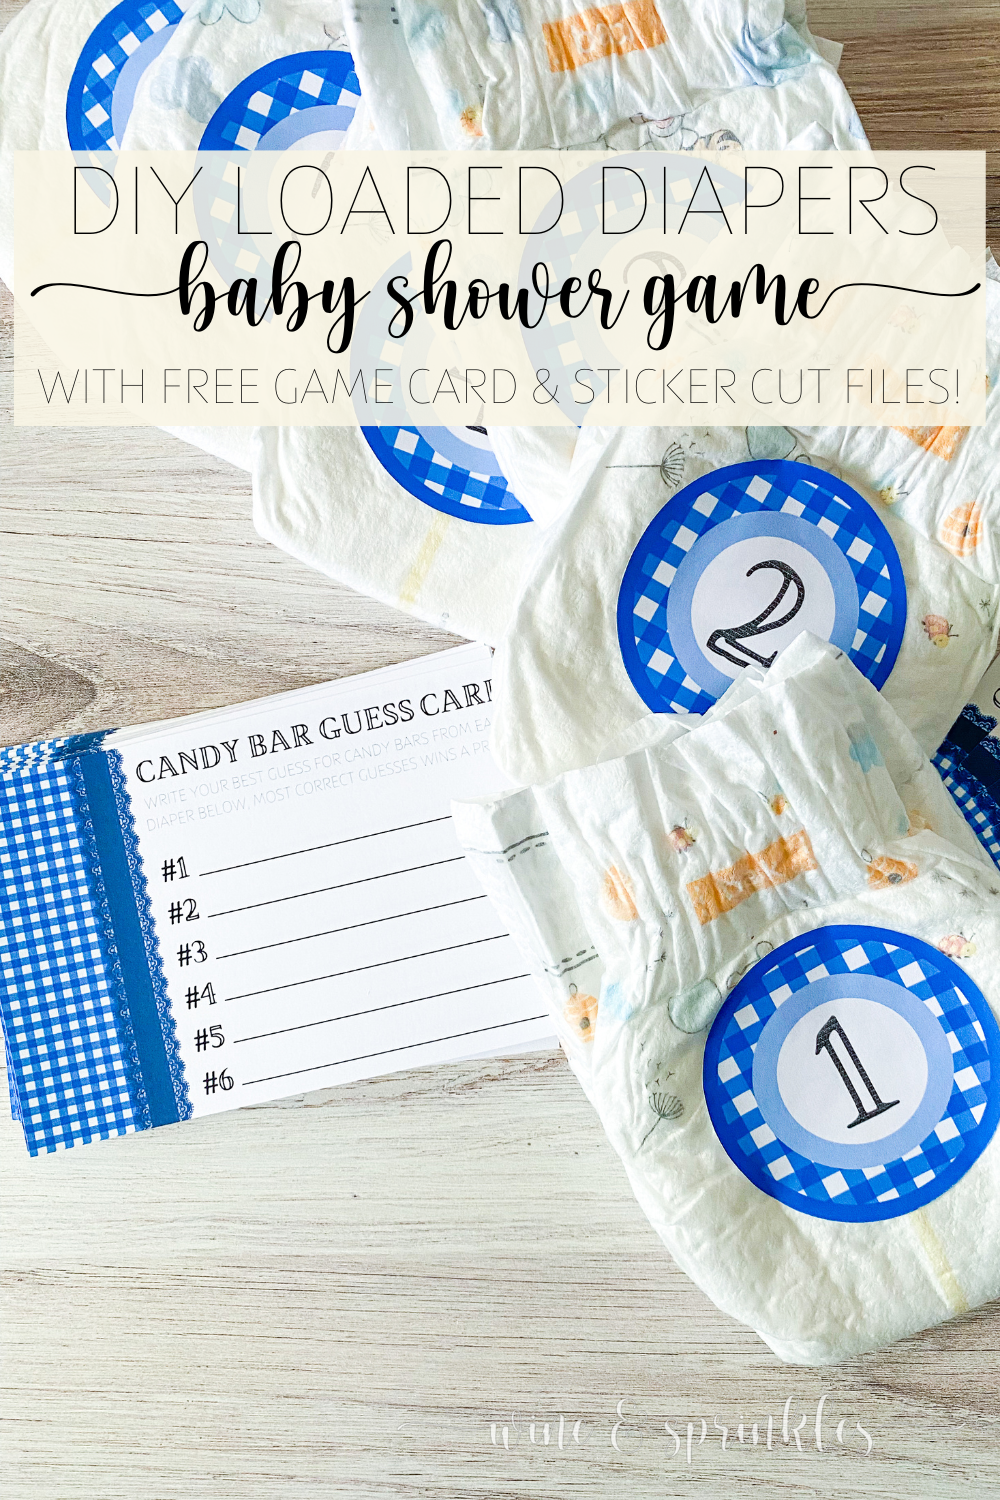
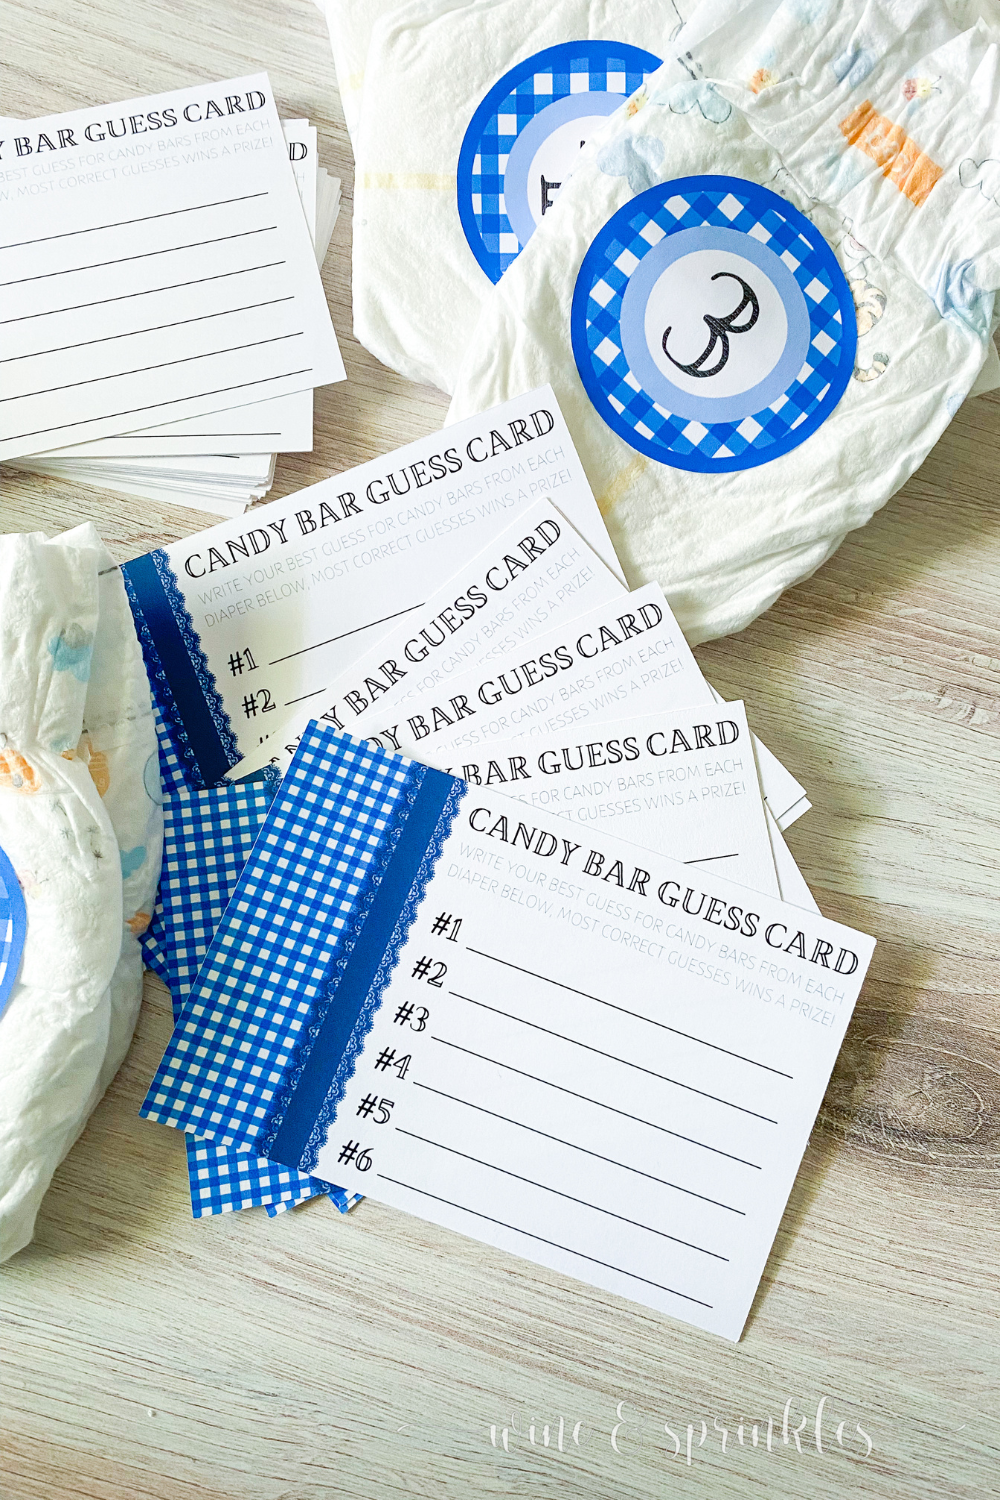
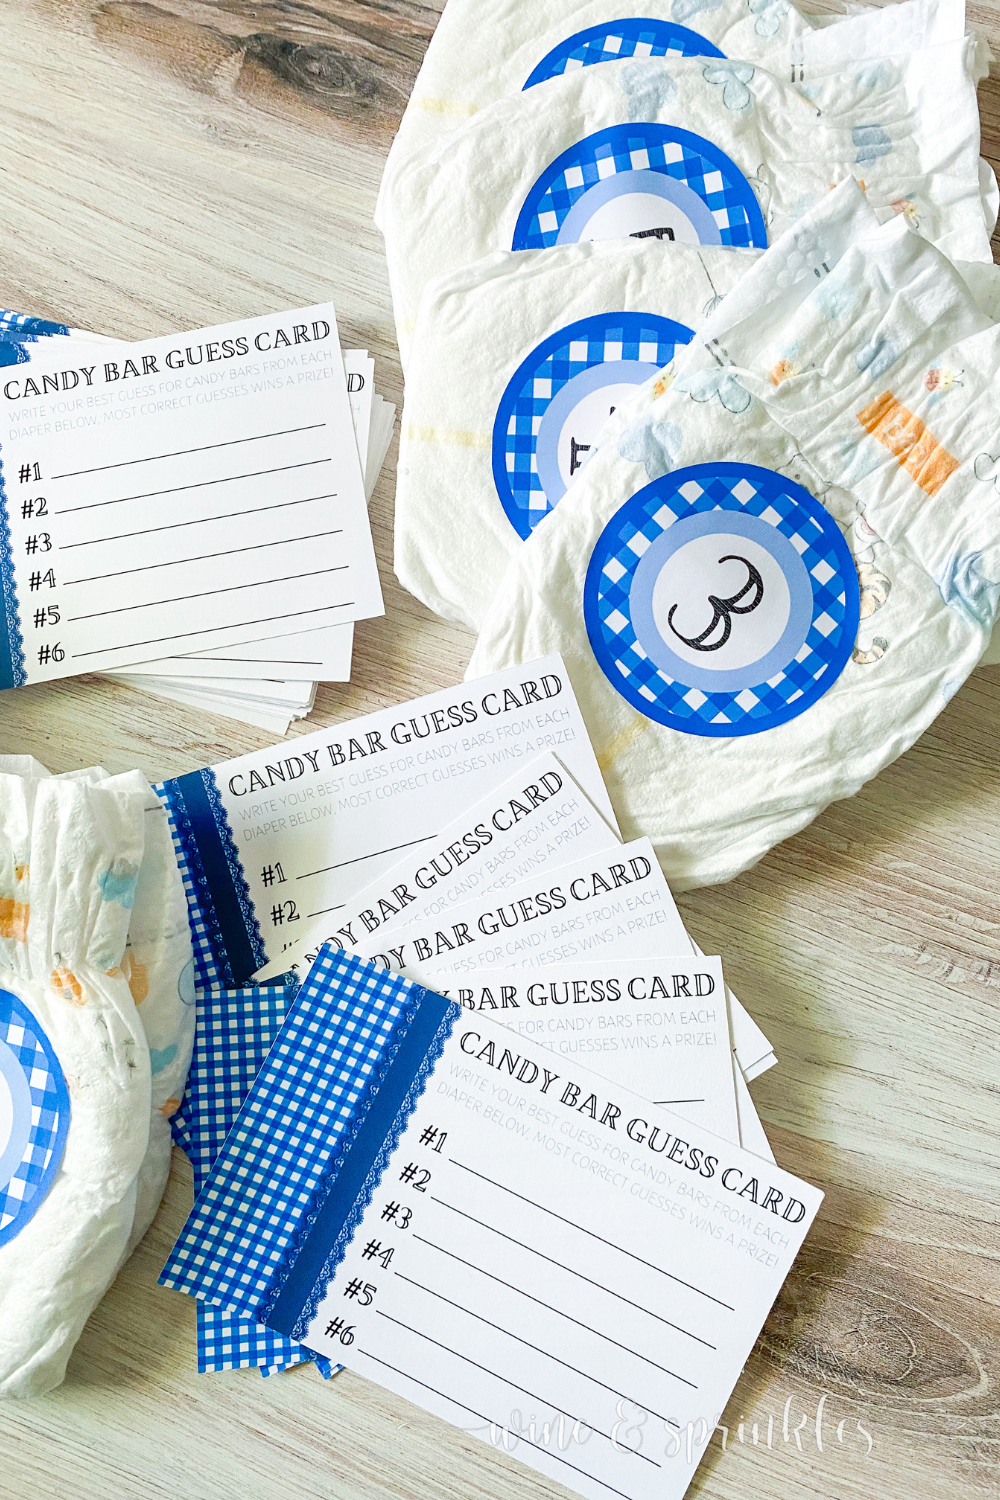
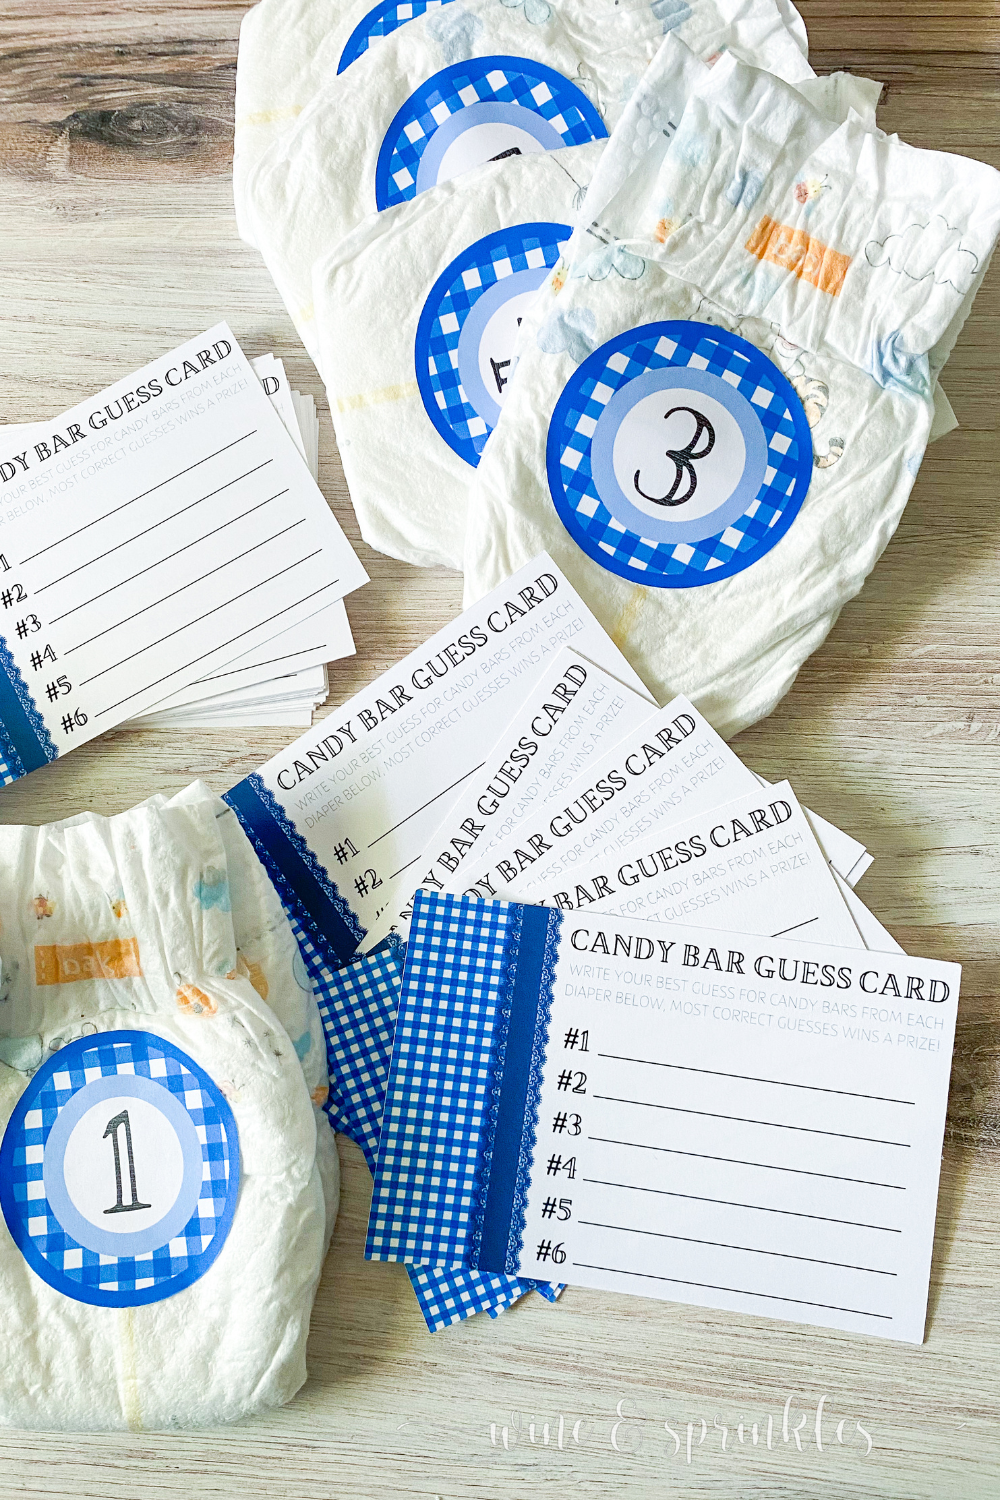
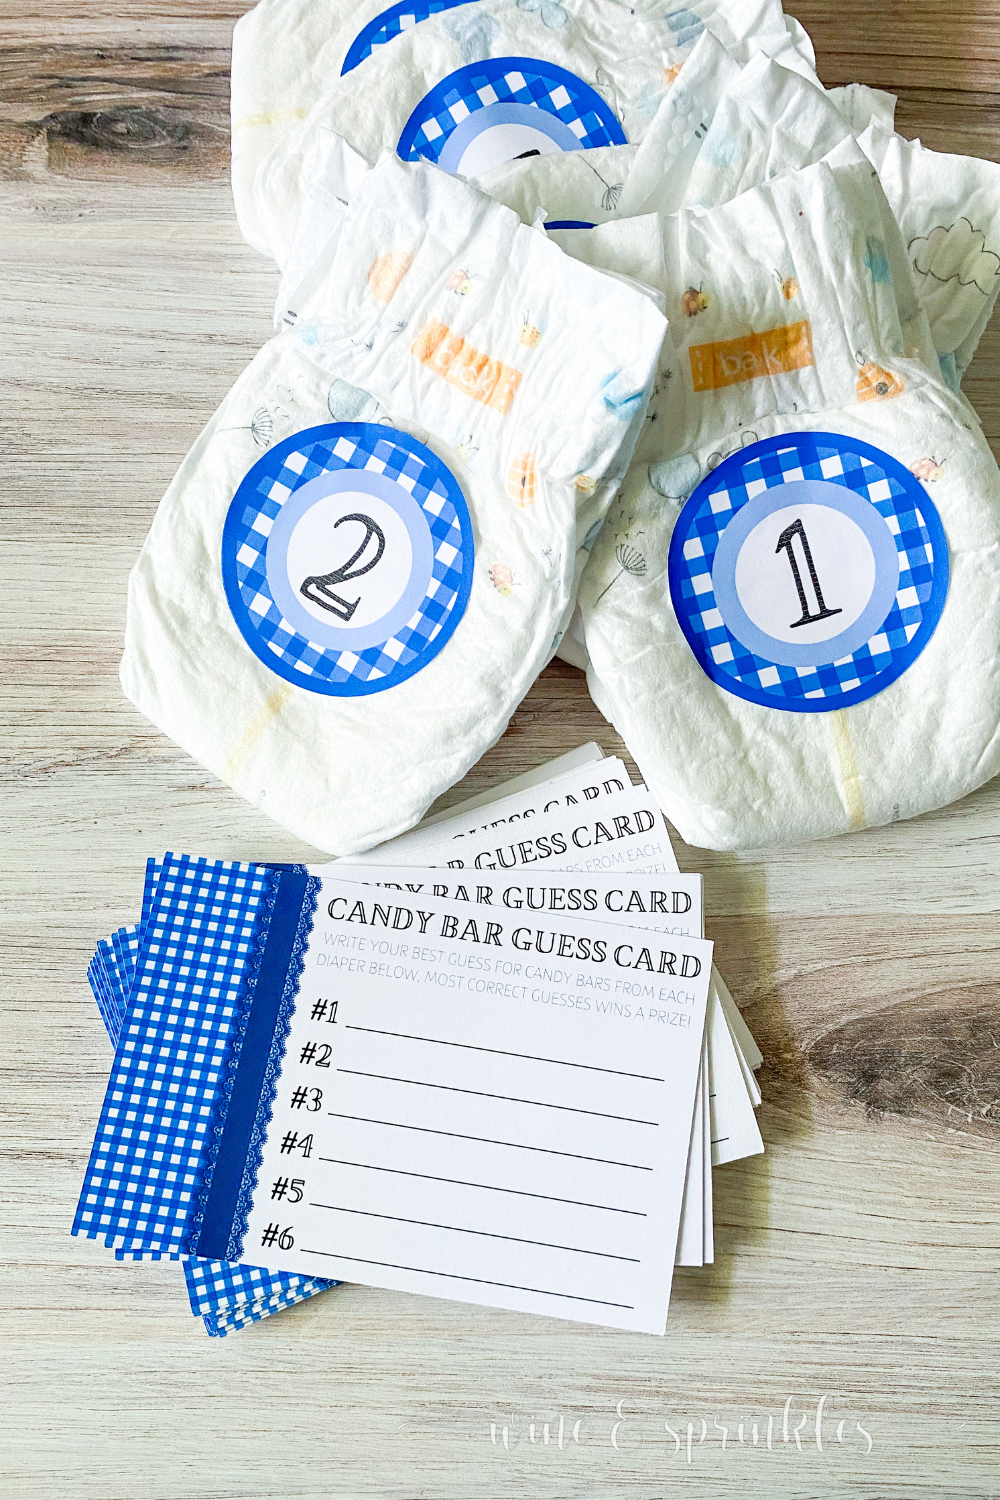
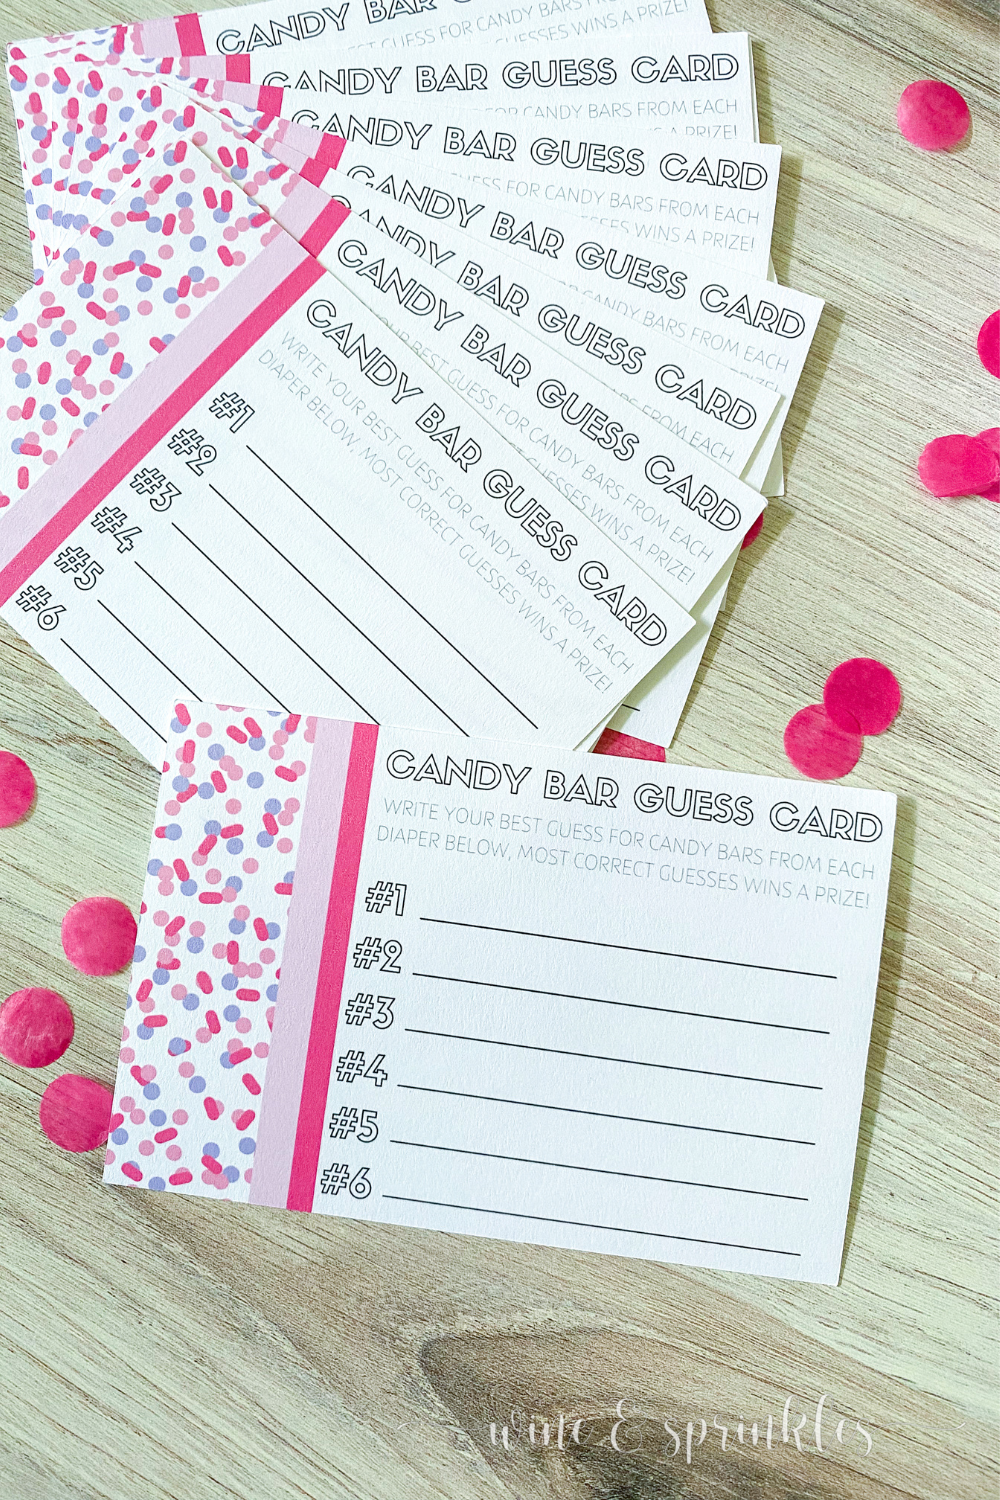
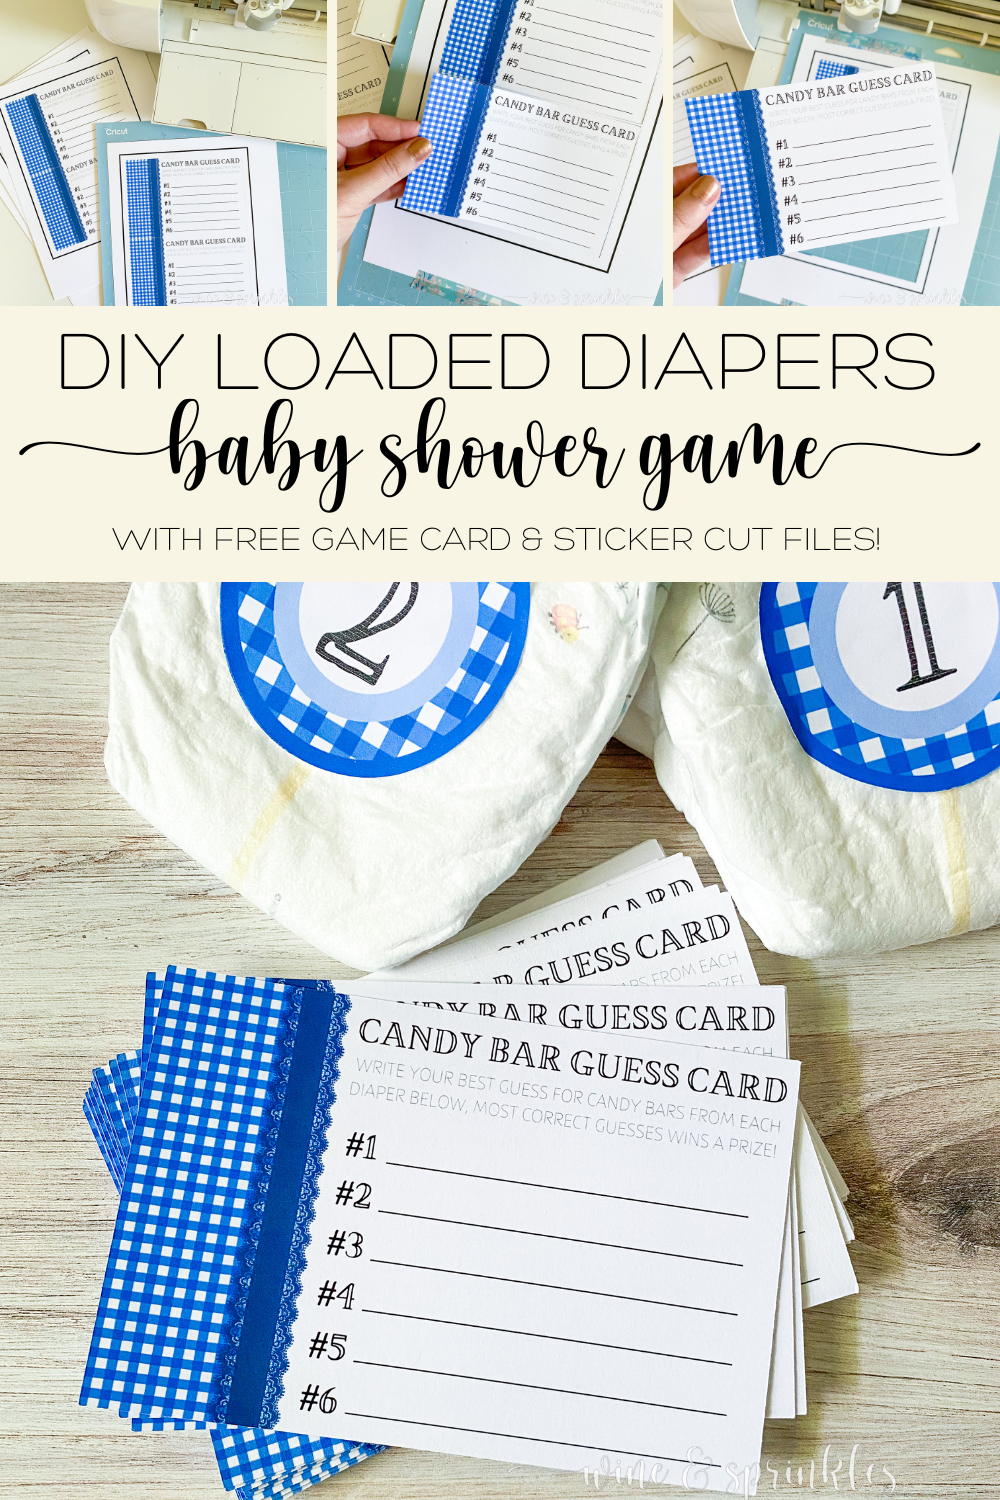
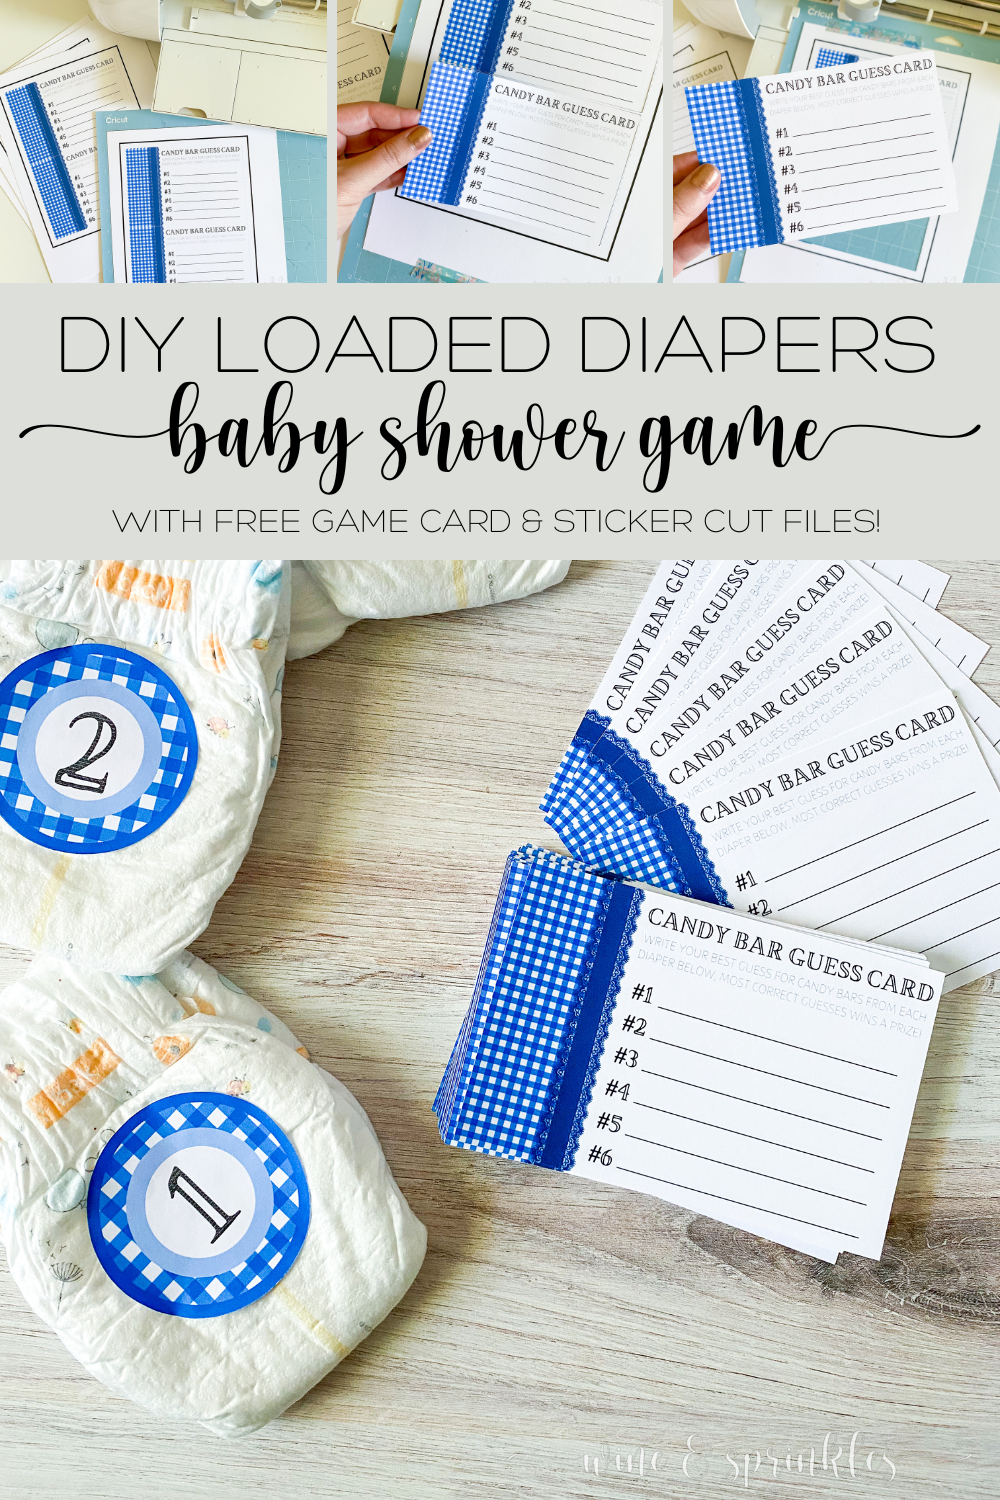
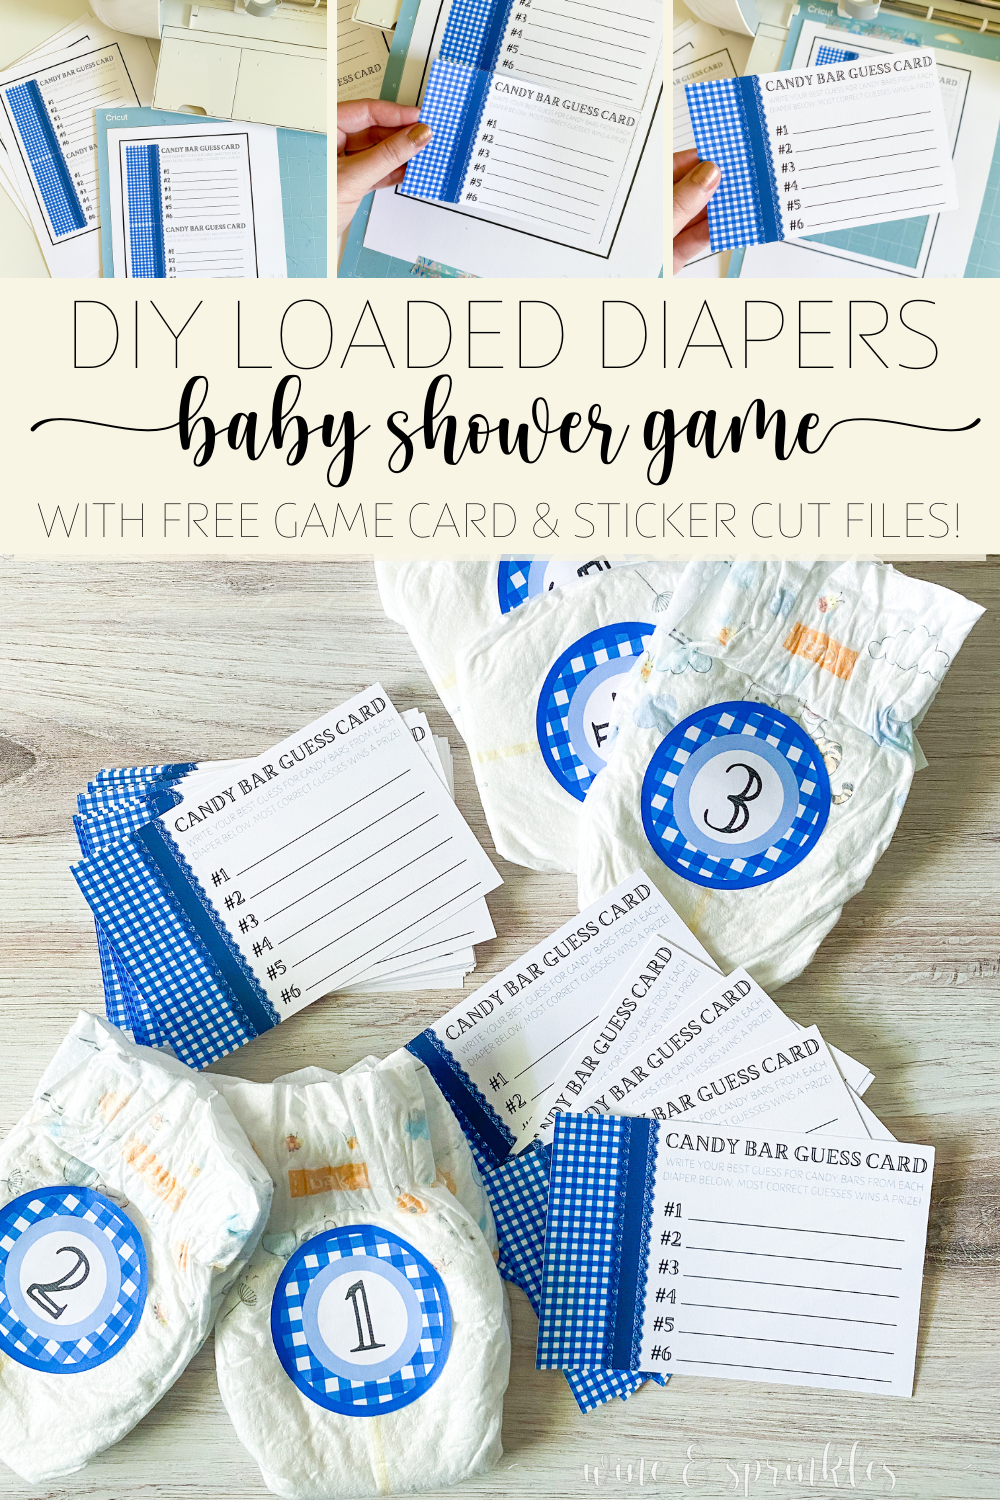
For this game, I designed two sets of printables, candy bar guess cards and circular stickers for adhering to each diaper. Each guest grabbed a card, then diapers with melted chocolate were passed around to be inspected, where guests used the stickers to identify the diaper number they were guessing, and once everyone had received each diaper and made their guesses, we revealed what all the candy bars were. The stickers for the diapers were the thought of the moment but the best addition I could have made to this design, it made it so easy for passing the diapers around the large group without having to keep them in order or getting confused on what diaper anyone had.
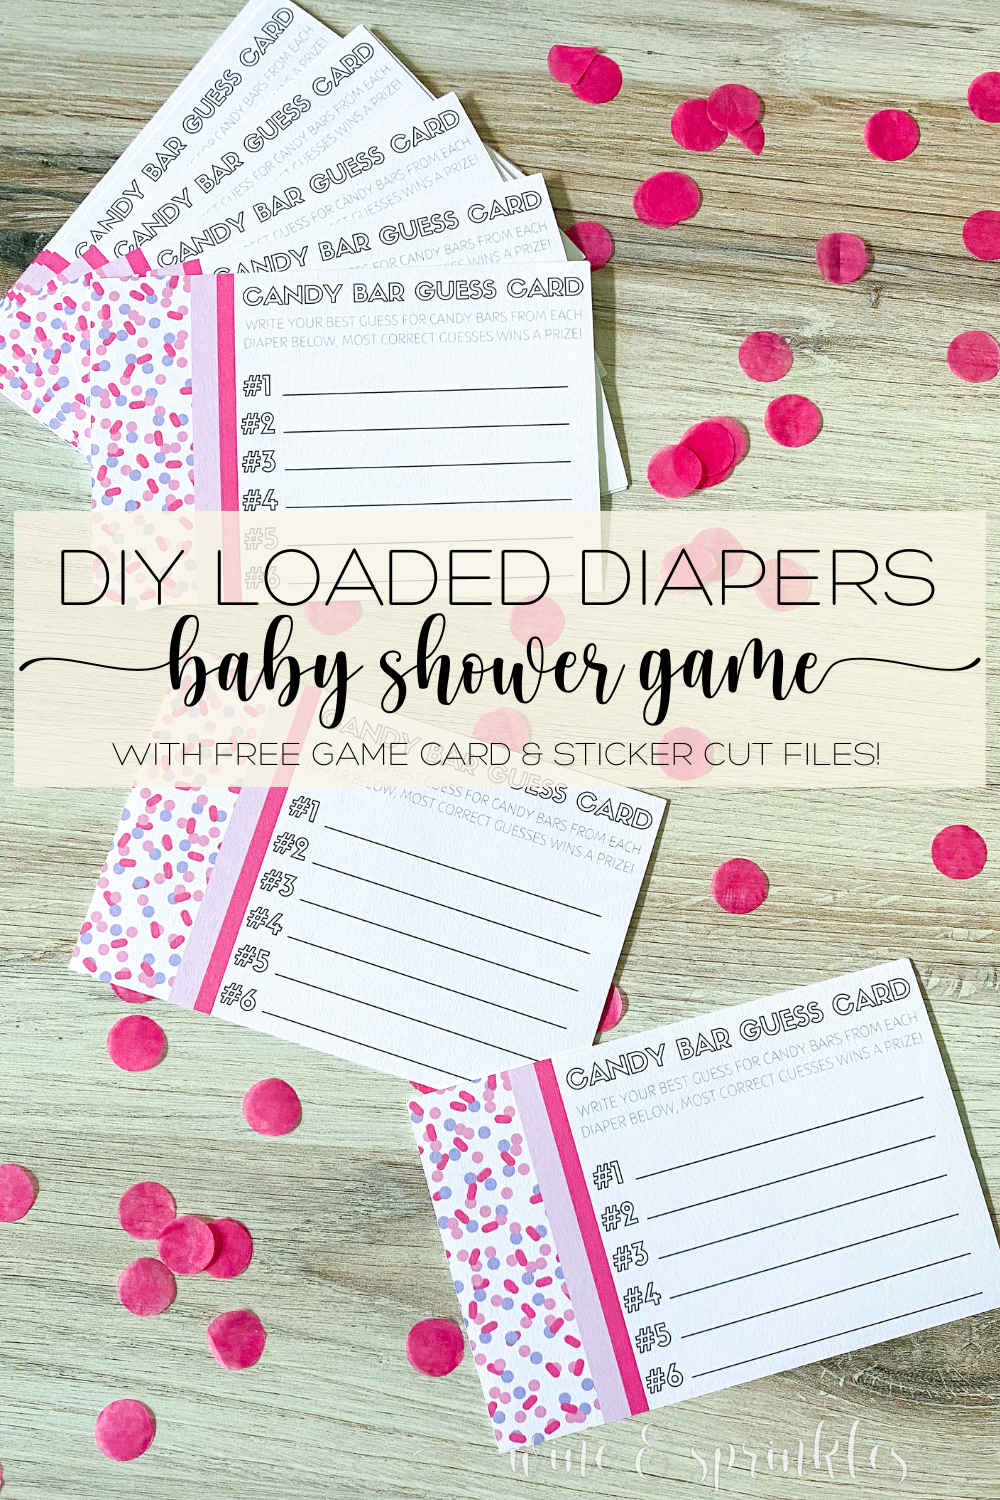
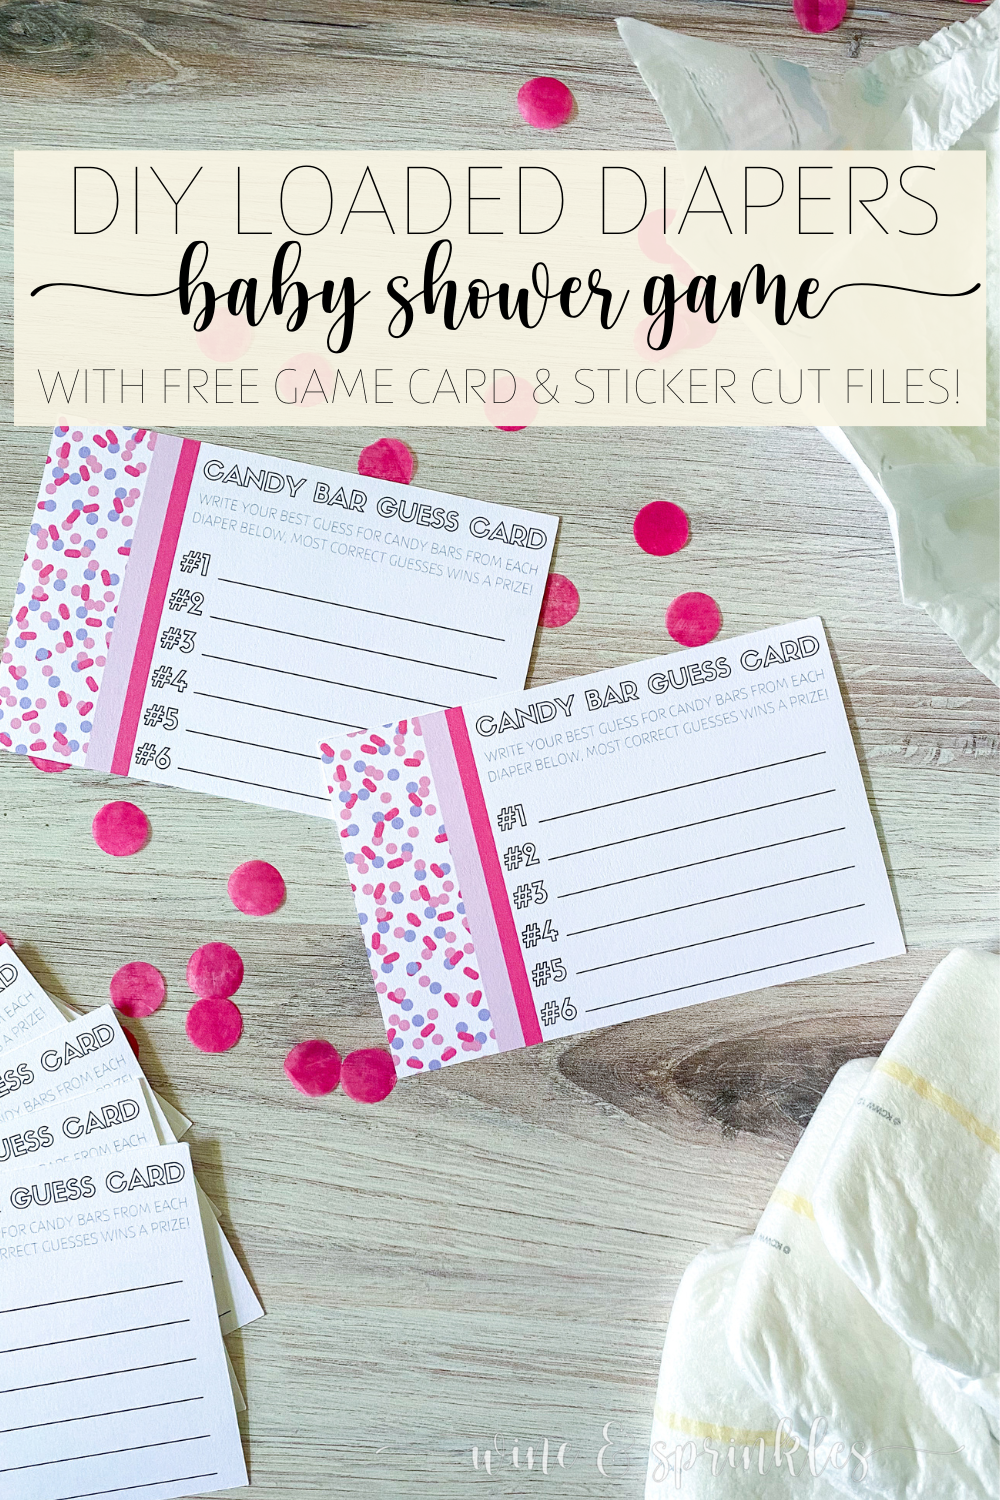
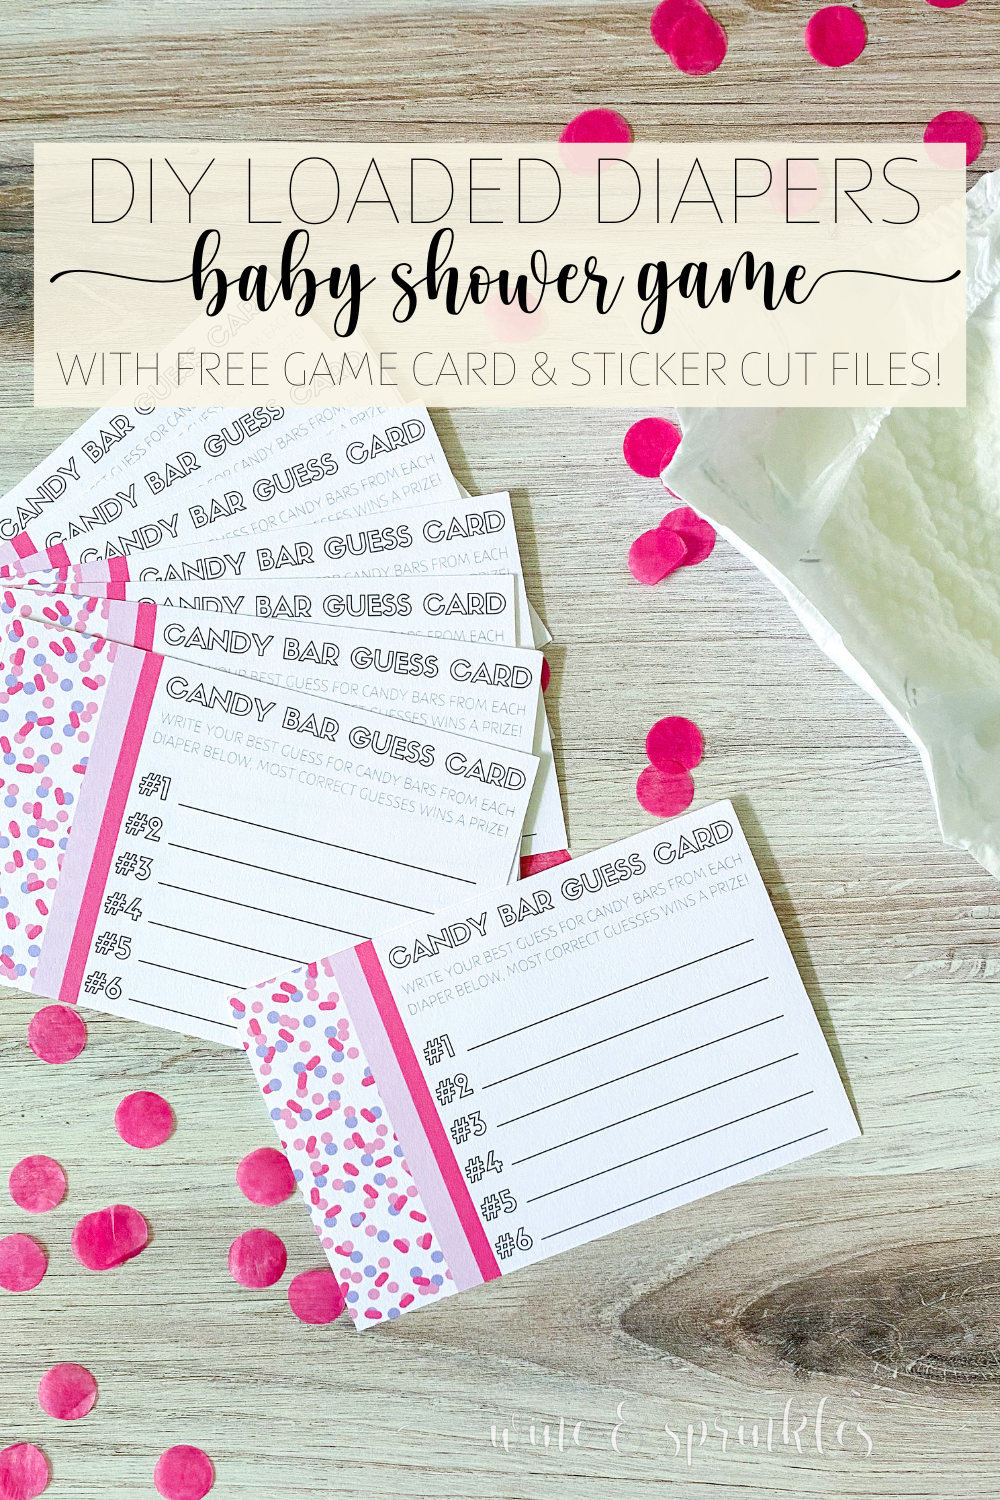
If there’s a party you get to play unique games unlike any other at, it has to be baby showers! This game is certainly one that’s baby shower approved: featuring diapers, candy, game cards, and just a little bit of gross factor for fun, the Candy Bar Guessing Diaper Game!
The gist of the game is that guests have to guess what kind of candy bar has been cut up and melted, but housed in a numbered diaper! Reminiscent of the messes babies tend to make in their nappies, guests smell and look at the melted chocolate concoctions, make their guesses on game cards, and the one with the most correct guesses wins a prize.

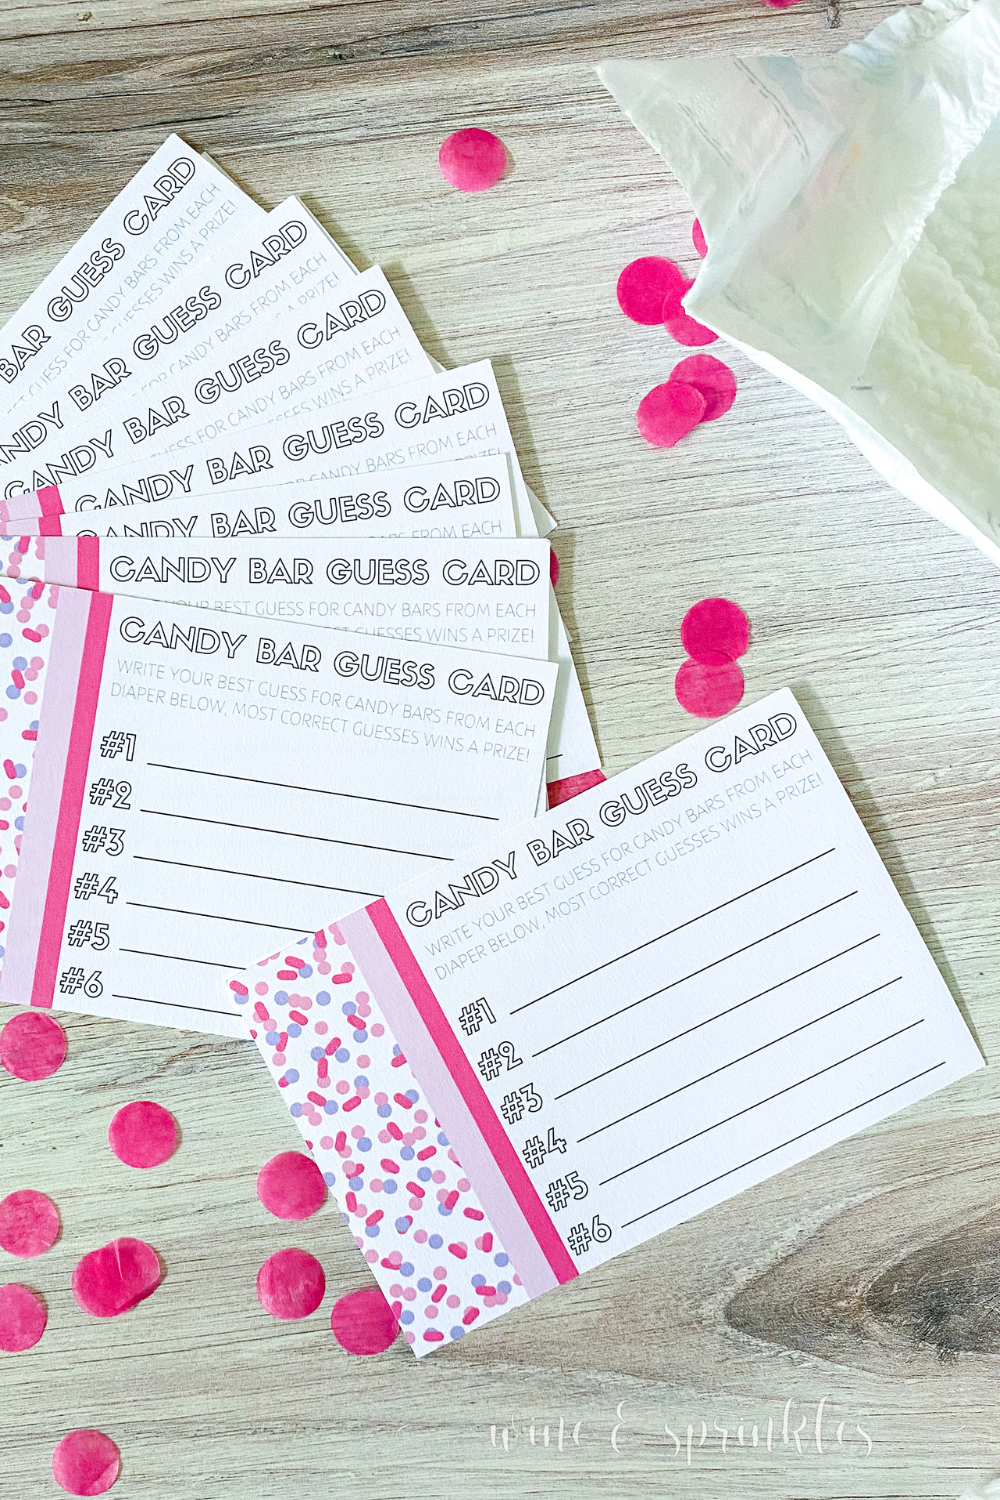
I originally designed cards and stickers to be used at my besties Blue Gingham BaByQ Shower but couldn’t resist also making a set in a pink & purple sprinkles theme from my adventures creating designs for my other bestie’s Diaper Raffle Unicorn Baby Sprinkle, so pick whatever theme you like best and scandalize your party guests with some candy coated fun festivities at your next baby shower!
SUPPLIES
CARD & STICKER MAKING SUPPLIES
Cardstock: for printing out your game cards. I used 110lb cardstock for these game cards and each sheet gave me two game cards.
Sticker Paper: for printing out the labels to go on each diaper.
Craft Cutter: for cutting out both my diaper stickers and their corresponding game cards, I used my trusty Cricut Explore Air 2, which like always did the job perfectly! This feature is certainly my favorite for cutting out all of my stationery and paperie projects. Below you will see the tutorial for how to calibrate and cut using the machine I have, though the new Cricut Cutting Machines should all have the same method.
Printer & Ink: to print out your game cards and diaper stickers.
Diaper Sticker & Game Card Design Files: which you can download below!
OTHER GAME SUPPLIES
Diapers: for housing your melted candy bars in for guests to sniff and guess. You’ll need one diaper per candy bar that you want to use, and it never hurts to have one or two extra in case accidents occur!
Candy Bars: for melting down to put in your diapers to have guests guess! For the game, you will need 6 different types of candy, some of my favorite to use are:
Twix
Snickers
Hershey Bars
Almond Joys
Three Musketeers
Milky Way
Reese’s Outrageous Bars
Knife: for cutting up your candy bars to put in the diapers
Microwave Safe Bowls: for melting your candy bars down, if needed. We were able to set our diapers with unmelted candy in the hot sun for an hour or two which worked without us having to microwave them, but you will see both methods below!
Pens: for guests to fill in their game cards with their best candy bar guesses.
A Fun Prize: for the winner of your game! I love to use Candles and other Spa Themed Gifts for my prizes in general, but especially for baby showers!
SUPPLIES LIST:
[for 1 game with 24 cards]
Cardstock x 12
Sticker Paper x 1
Pens x 24
Diapers x 6
Candy Bars x 6
Knife
Microwave Safe Bowls
A Fun Prize for your Winner!

PART 1: PARTY PREPERATION
STEP 1: CALIBRATE YOUR CRICUT CRAFT CUTTER

1. Before I start any Print then Cut Projects, I like to calibrate my craft cutter so that it cuts most accurately, and the process is pretty straight forward. After opening a new project, start by selecting the “Calibration” option on the list of choices under the Main Menu Icon, shown as three horizontal lines. This will bring up a new popup window, then select the Print then Cut button.


2. Follow the prompts to Print the calibration sheet and load it onto the mat and into your craft cutter, then press Continue. The cutter will then make its initial scans and cuts, then ask you to inspect the cardstock without removing the mat. Based on how your cardstock was cut, answer the question, then press Continue.


3. This will start a second round of cuts along the numbered row and lettered column of the calibration test sheet. When the machine is finished cutting, inspect the cardstock again, without unloading, and answer the question based on how your machine cut the cardstock.
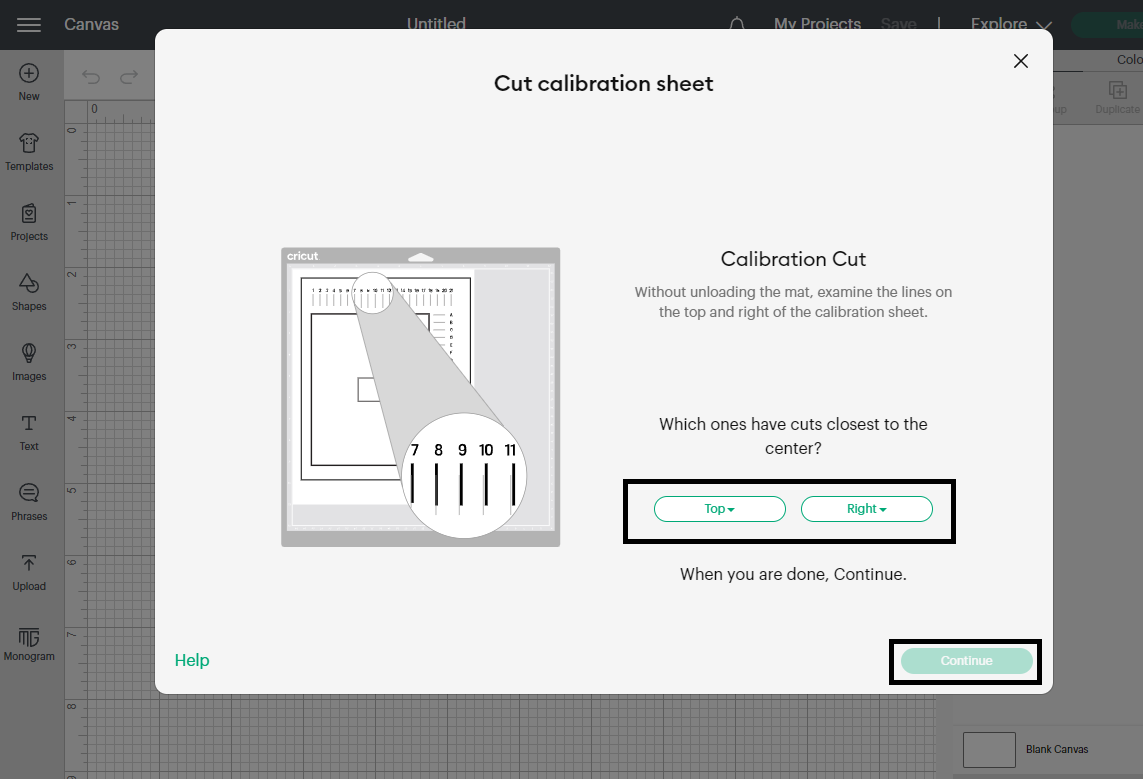
4. After this, the machine will make a final test cut around the large rectangle on the calibration test sheet, then ask if you are happy with the cut. If you select yes, the machine saves its current settings from calibration and takes you back to your project, if you select no it will restart the calibration process again with these new settings, and you can repeat it until the cuts are to your satisfaction. Once you are happy with the cut, press continue to upload your files to print then cut.


STEP 2: IMPORT & RESIZE YOUR FILES


5. Download the game card design file as a png file; then and upload it to print and cut in the Cricut Design Software by the following:
Select the Upload button on the lower left of the screen, then click upload image and select the card design file. Follow the prompts, choosing “Complex” as the image type and at the end select to import the file as a Print then Cut image. After pressing upload, select your newly imported file and click Add to Canvas, then it will show up on your workspace in the software screen.


6. Once your file is imported, change the size so that its dimensions are 6” x 4”. Once resized, copy and paste the file, so that you can print two per page. Select “Make” in the upper right side of the screen to set up the files to be printed and cut.


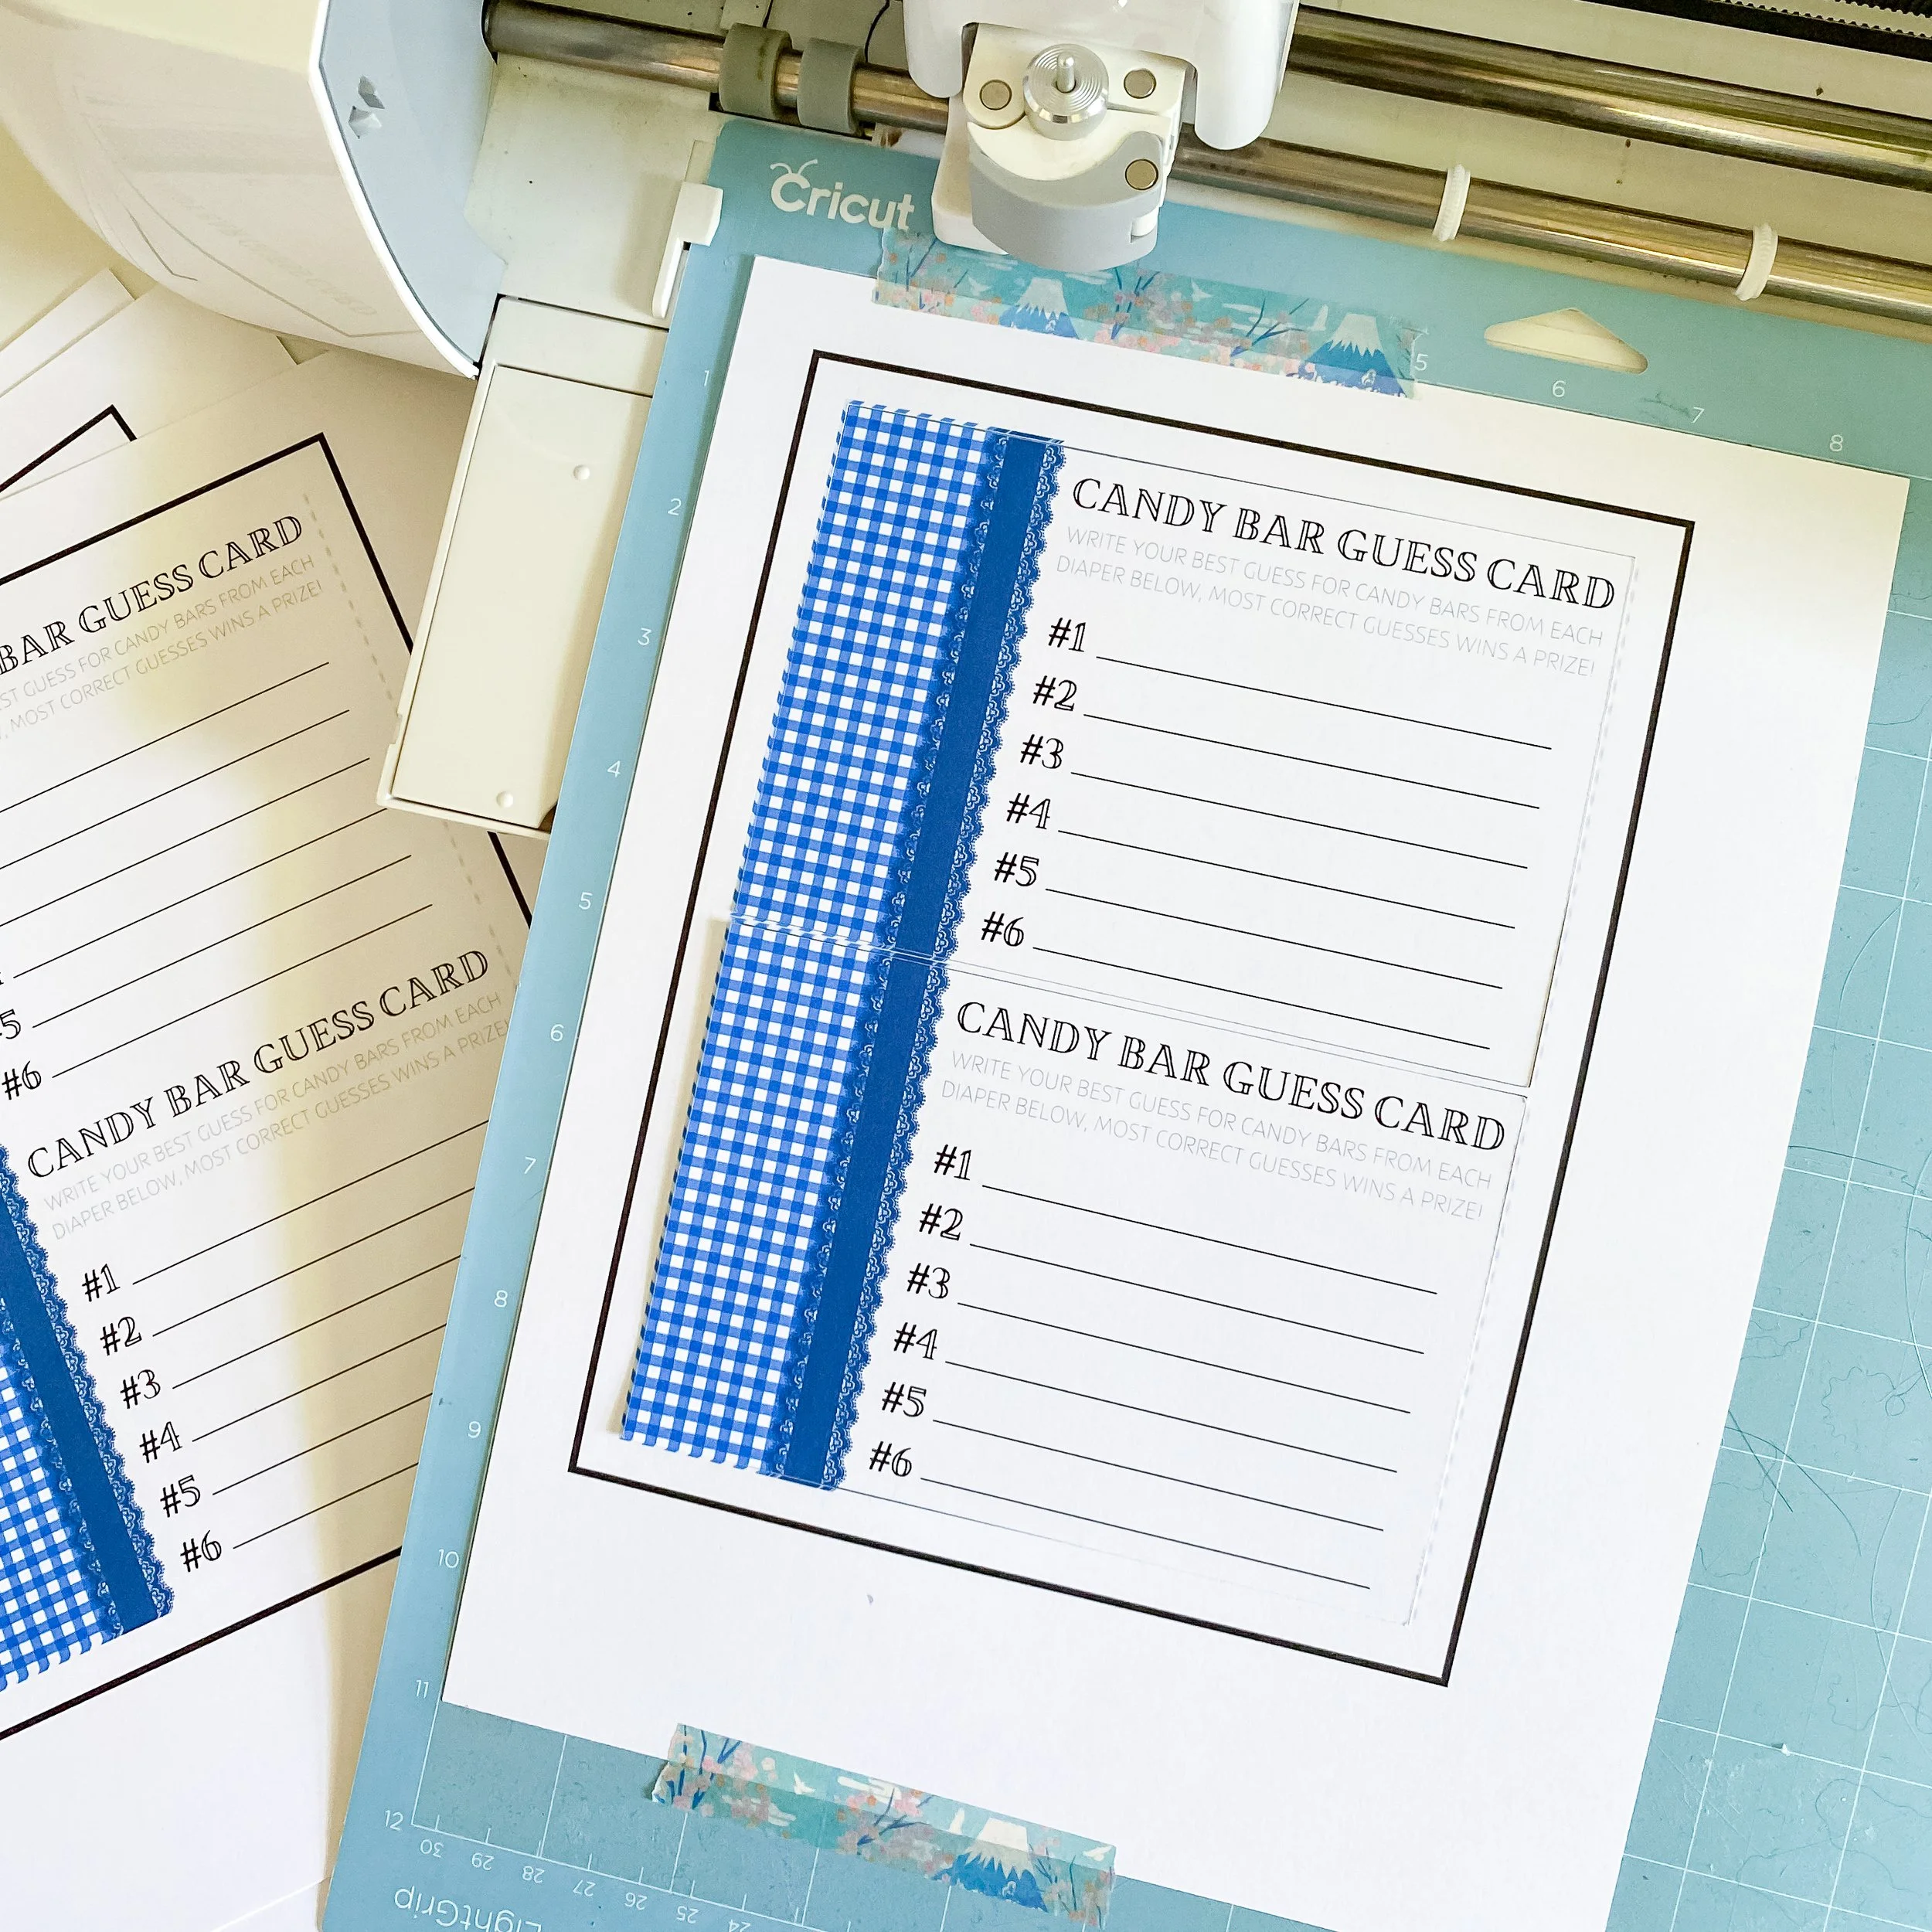
STEP 3: PRINT THEN CUT YOUR GAME CARDS

7. Check your files on the mat set up screen and make sure the material size is 8.5 in x 11 in. and that the two cards appear properly sized in the mat setup picture, then press Continue.


8. Next, Select the Send to Printer Button, which will open a separate popup screen. Make sure the printer is set to the one you want to use, the number of sheets you want printed is the correct amount for the number of cards you want to make, and that the “Add Bleed” Selection is on; then Select Print to print your cards. Print the cards on the cardstock you wish to use on the best quality settings your printer allows.


9. Load the printed cardstock, design face up, along the upper left hand side of your cutting mat as shown in the picture on the screen. As you can see, I like to secure the top and bottom of my cardstock with washi tape to provide extra security while cutting them out, but this is optional! Set the Material to Cardstock 80 lb, then press the loading button on your craft cutter to load the mat into the machine. Press the “Go” Button to start the scanning and cutting process, and when the cutter is complete the loading button will blink to indicate to unload the mat.


10. Remove your mat and freshly cut cards, disposing of the extra cardstock; then load your next printed sheet onto the mat and repeat until you have cut out all the game cards.


STEP 4: PRINT THEN CUT YOUR DIAPER LABELS
11. Print and cut your diaper labels following the same Upload, Resize, and Print then Cut process as described above, but with these changes:
STEP 1: UPLOADING
When you first upload this file into the importing software, you will notice it is on a white background so that all six diaper labels can be printed on one sheet and be easily uploaded. When you are on the screen where you can remove backgrounds, click the white background to remove it, so that your crafter cutter will cut out all the labels individually.


STEP 2: RESIZING
Once the file is uploaded, resize it as a locked image to be 6 in. wide. This will resize all 6 and consistently, and unlike the game cards, you only need one set for the six jars.
STEP 3: PRINT THEN CUT
Print the stickers on full sheet sticker paper instead of cardstock, although I kept the same paper setting of Cardstock 80lb for this paper too. Print then cut only one set of labels for your 6 diapers.
PART 2: PARTY SETUP & HOW TO PLAY
1. Start by using one of your cards to make an answer key, indicating which diaper number will go with each candy bar. Using your diaper stickers, label the outside of each diaper with a sticker.
2. Cut up each candy bar into small pieces, about half of a full sized candy bar. Next, it's time to melt your candy bars, which you can do by one of two methods. If you are having your shower somewhere that’s hot, like we were in July in Florida; you can put your cut up candy bars into your diapers directly, filling each with candy bar bits according to your answer key, then fold the diaper up and sit them outside in the sun for an hour or so to have them melt naturally. If you want to melt your candy inside, divide each candy bar into a small microwave safe bowl or ramekin. Melt your candy in the microwave in 10 second intervals until it is melted, then pour the melted candy into the correct diaper based on the answer key. Do not microwave diapers please, you will not have a good time! Now, you are ready to play!


3. Give each guest an answer sheet and pen, then explain that they can look or smell, but can't touch the different candy in the diapers and must guess what candy bar they think each diaper holds. Have each guest fill out their best guesses on the cards, handing around the labeled diapers until everyone has received each once and has written their guesses down. When this is complete, bring all the diapers back to the hostess and have the answer key announced, with the person with the most correct guess winning a prize!
Out of the more gross factor baby games, this one has to be my favorite because it's super fun, doesn’t require tasting baby food like the Baby Food Guessing Game, and there’s lots of tasty candy to eat from the bar bits that didn’t make it into diapers! So indulge in some sweets, entertain yourself with your guests' reactions, and have fun creating this baby shower game for your next shower too!

SEE OUR RELATED POSTS HERE:


OUR PINS FOR THIS POST:
OUR MOST RECENT BLOG POSTS:


