Vinyl Projects

DIY "Spot of Tea" Window Bag Tea Favors

DIY "Spot of Tea" Window Bag Tea Favors

For a foodie favor with British flair, there’s nothing like a spot of tea for going with your morning scones! When I was creating my Tea and Scones Breakfast Boxes for Vintage Victorian Cocktail Party, I began knowing I wanted to include loose tea but what was missing was a pretty and not too pricey way to pack it! So with the help of my printer and trusty craft cutter, I took to designing a festive favor bag that could be used for everyone’s favorite flavor, and these Spot of Tea Favor Bags came to be!

Read More

DIY Vinyl Bottle Labels

DIY Vinyl Bottle Labels

When it comes to keeping all my cocktails in order for my parties and events, my favorite method has to be these Vinyl Bottle Labels. If you’ve read any of my party posts you’ve seen them make an appearance, from my Goddess of Spring 30th Birthday to my most recent Karaoke & Cards Vintage Victorian Party, I always use these to label my various cocktails, making it easy for guests to find what drink the are looking for, while being able to remove them when the party's over and the bottles are being cleaned out for the next event. So for those that are new to the craft cutter lifestyle, I’m making this simple tutorial for making bottle labels, with the sizing, fonts, tips and tricks I use when creating them and other vinyl decals.

Read More

Bride and Tribe DIY Skinny Tumblers

Bride and Tribe DIY Skinny Tumblers

Whether it's for a Bachelorette Party or for getting ready drinks the day of your Wedding, bridal party tumblers and a classic and useful drinkware choice for all the ladies in your Bride Tribe. Help them celebrate in style with these simple and gorgeous Bride and Tribe DIY Vinyl decal Skinny Tumblers!

Read More

I Do Crew DIY Flasks

I Do Crew DIY Flasks

If there’s a classic piece of drinkware that states you’re ready to party, it’s a flask! Flasks are always a fun addition for your Bachelorette party and a great way to safely seal, store, and enjoy your bachelorette drinks as you hit the town, and these I Do Crew Flasks are perfect for a large party where not everyone is in the bridal party itself.

Read More

Romantic Font DIY Bridal Party Skinny Tumblers

Romantic Font DIY Bridal Party Skinny Tumblers

Getting ready with your bridesmaids and family is one of the best memories to start off your wedding day, and no wedding pregaming, whether mimosas or water, is complete without some fun drinkware for your ladies to use and take home! For a classic and romantic getting ready tumbler, look no further than these beauties you can make yourself!

Read More

Romantic Font DIY Bridal Party Flutes

Romantic Font DIY Bridal Party Flutes

I love using champagne flutes as proposal items or getting ready items for weddings, they're such a romantic and classy way to toast to your future together. These flutes are perfect for either of those purposes or any shower or wedding event! Plus I made decals for not only the bridesmaids, maid of honor, matron of honor if you have one, and the bride; but also for the mothers of the bride and groom so that you can make sure all of your ladies feel extra special at your wedding.

Read More

DIY Wooden Wick Candles

This post contains affiliate links, meaning that if you click on a link I will recieve a small comission. This costs you nothing extra and I only promote products I use and love! You can read our full disclosure here

DIY Scented Soy Wax Wooden Wick Candles

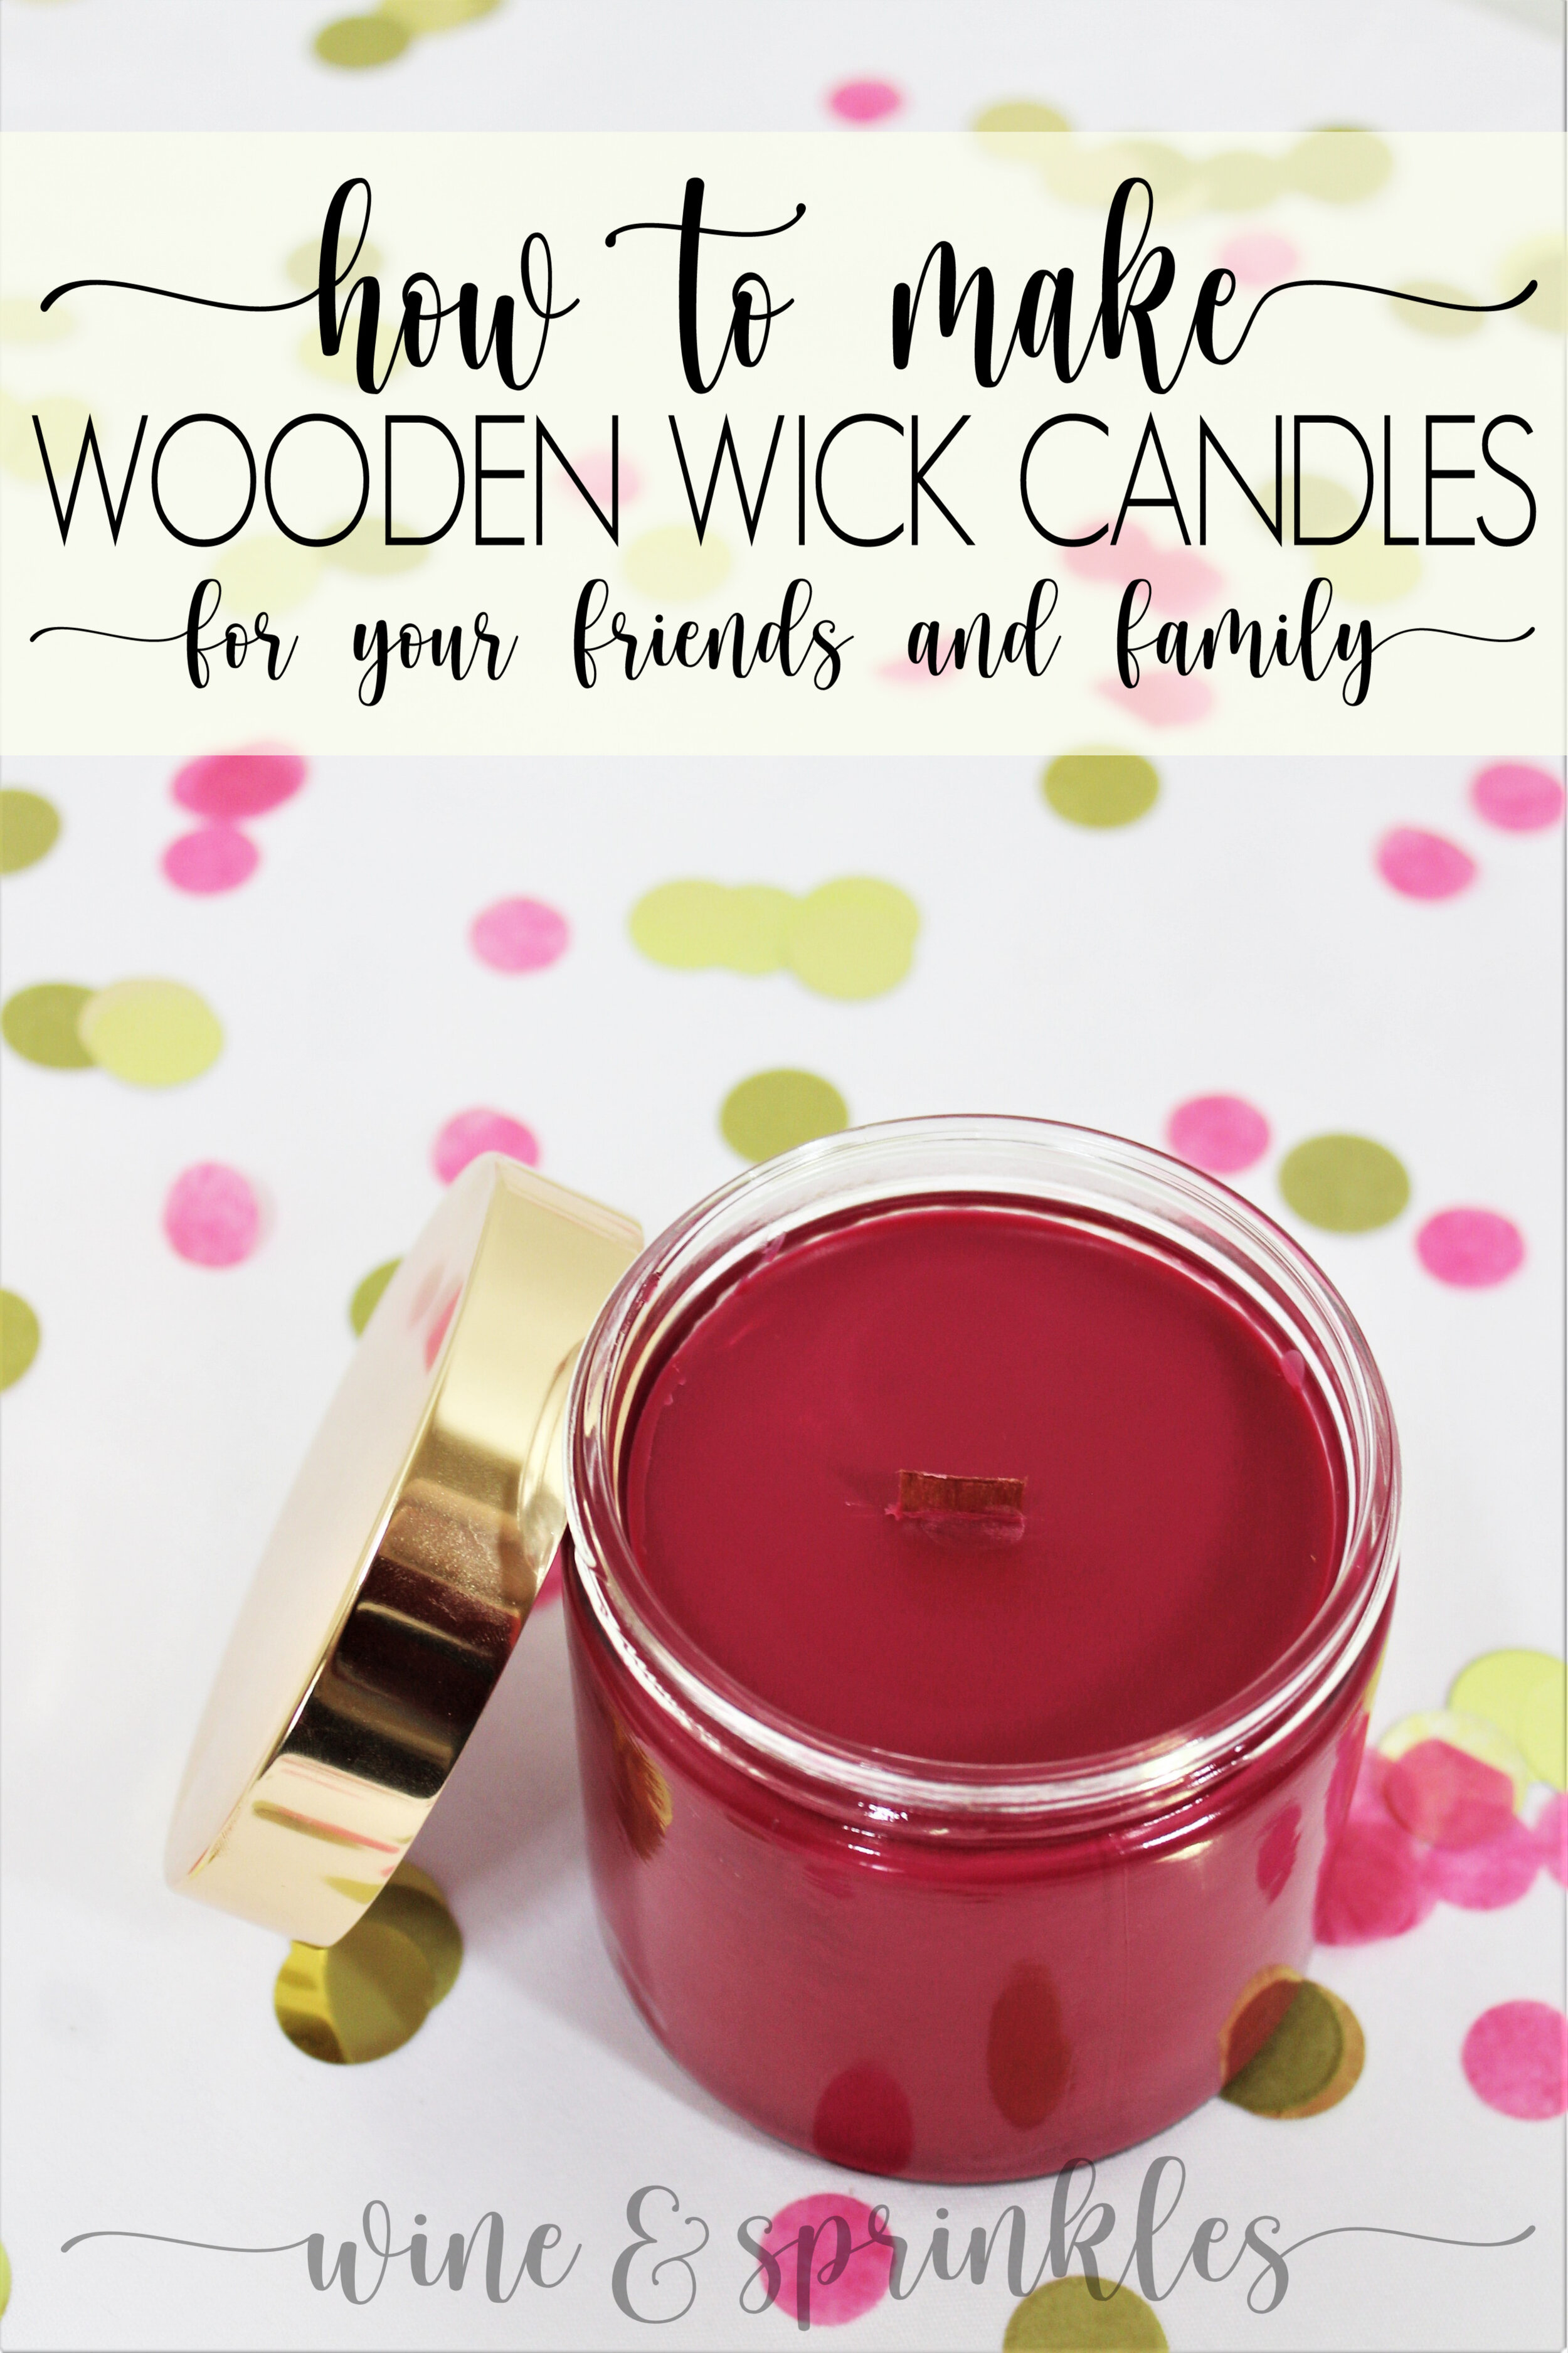
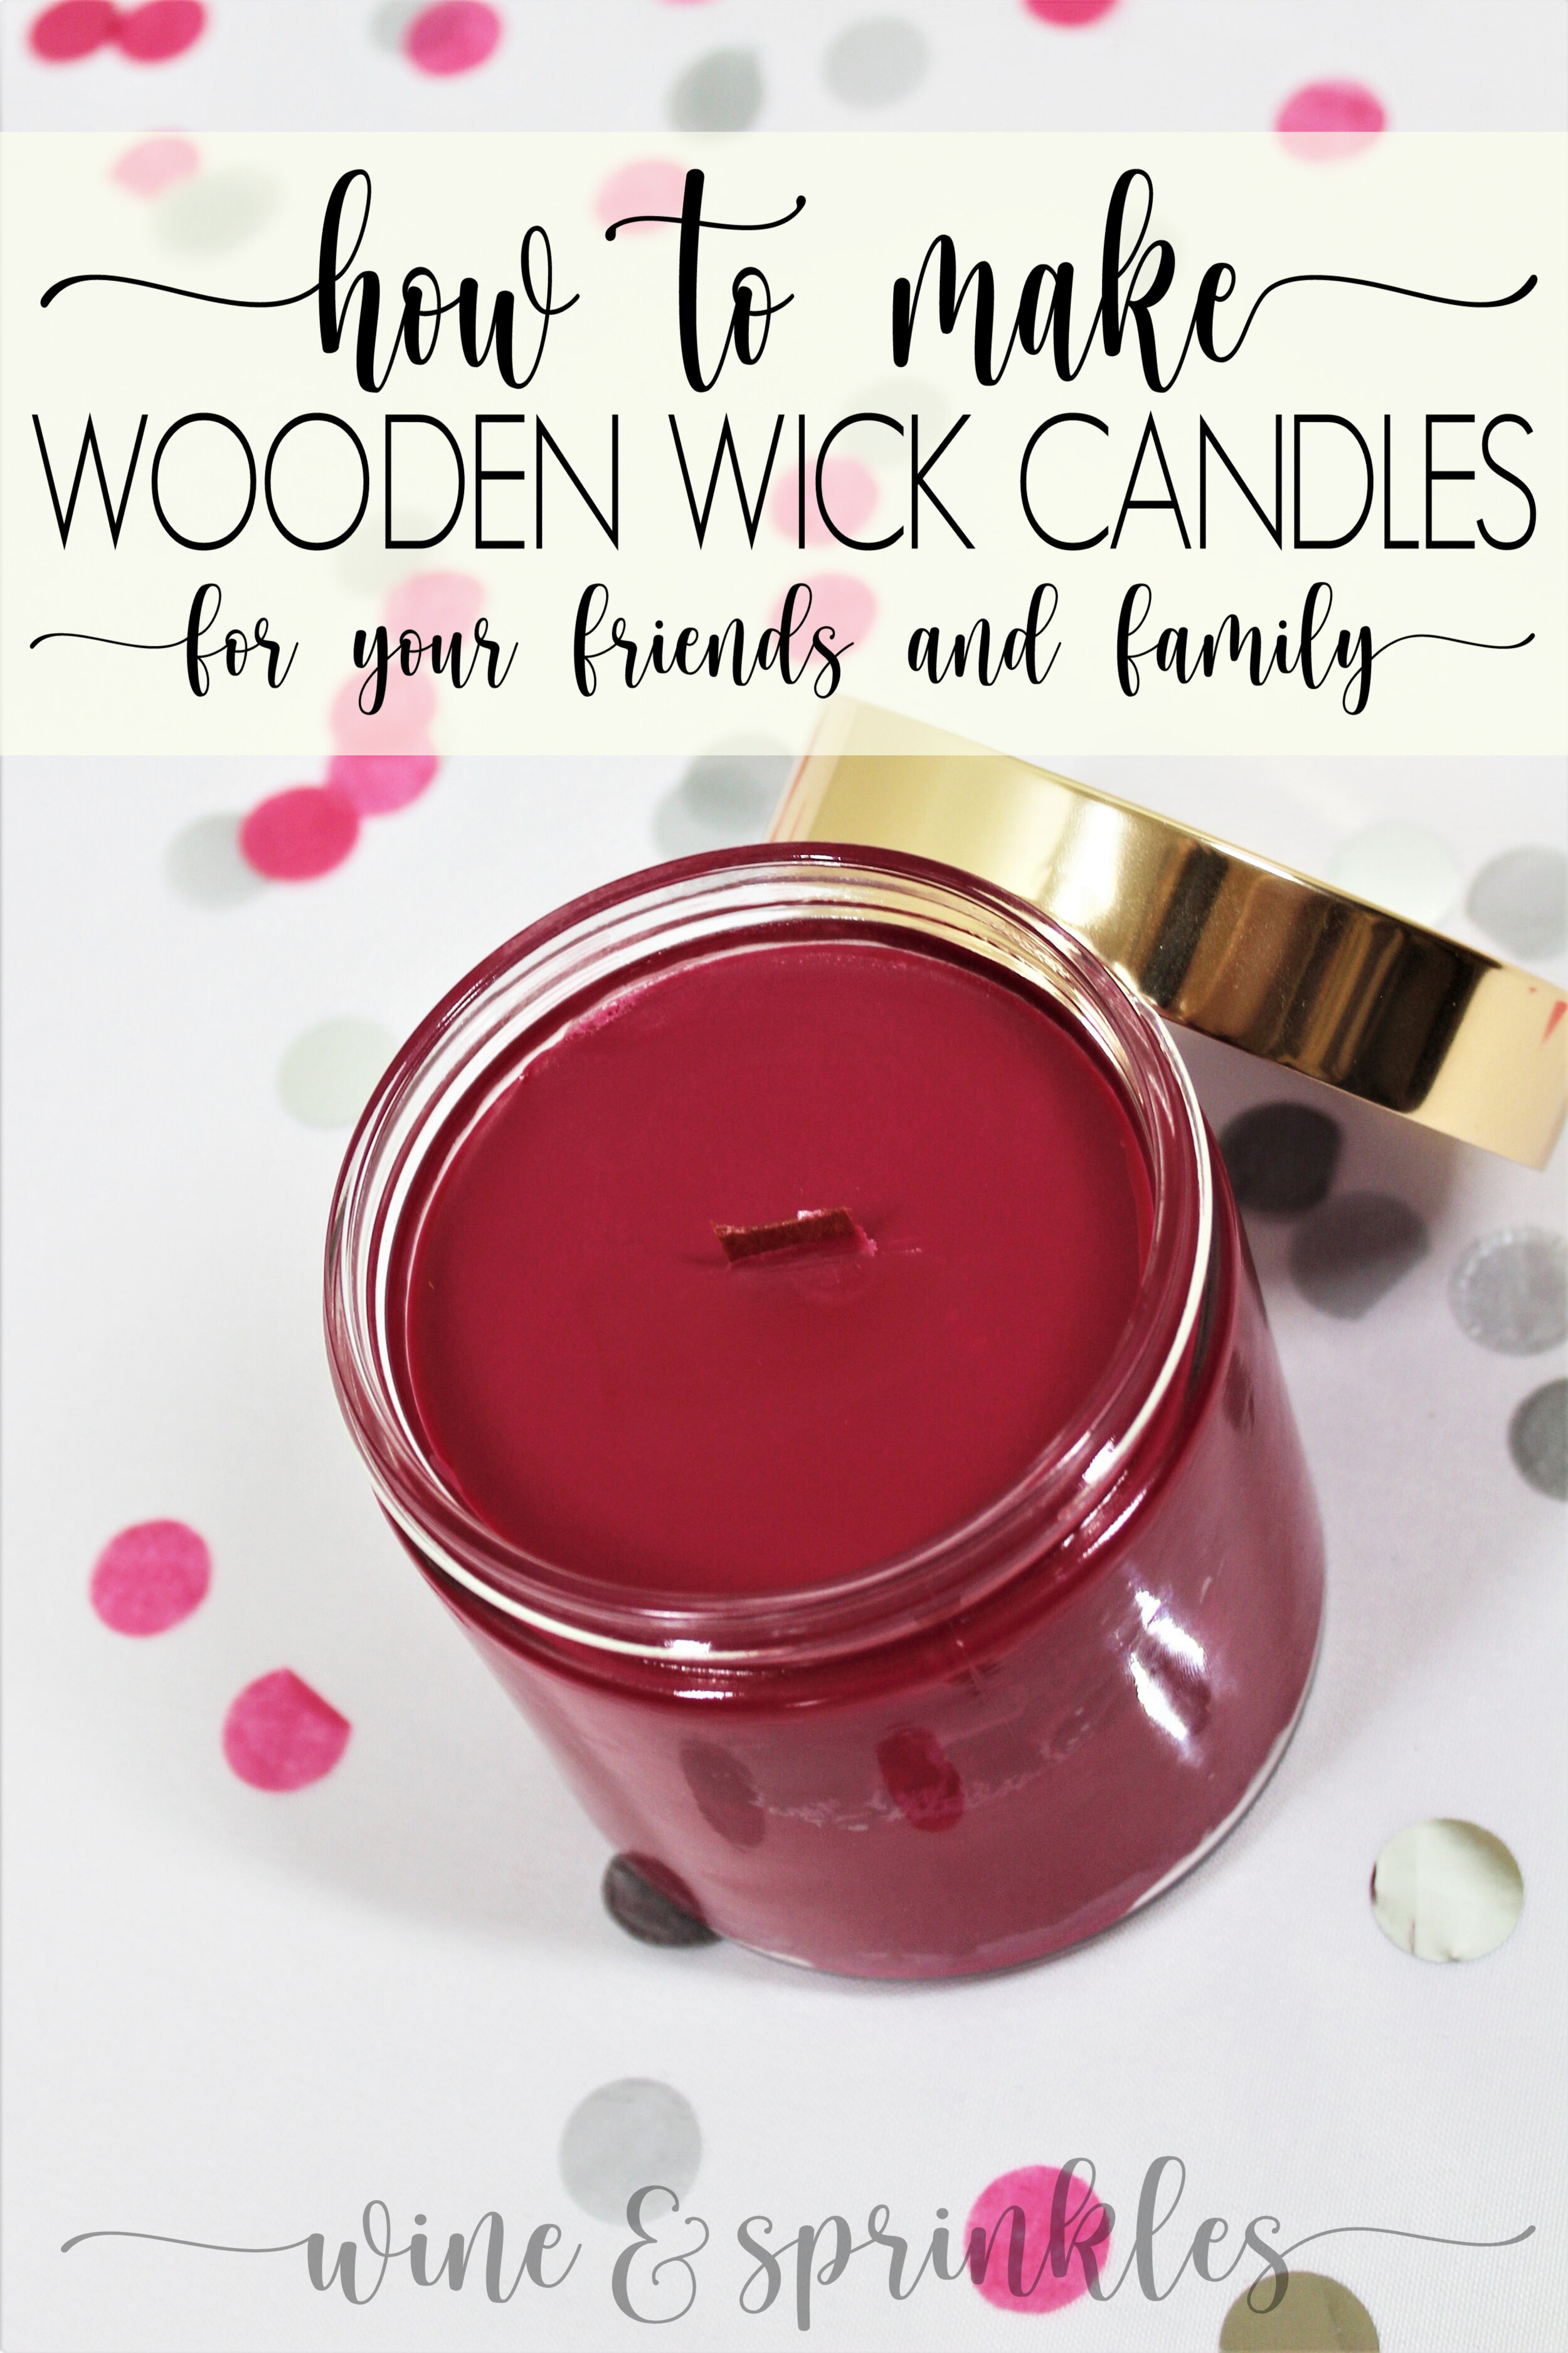
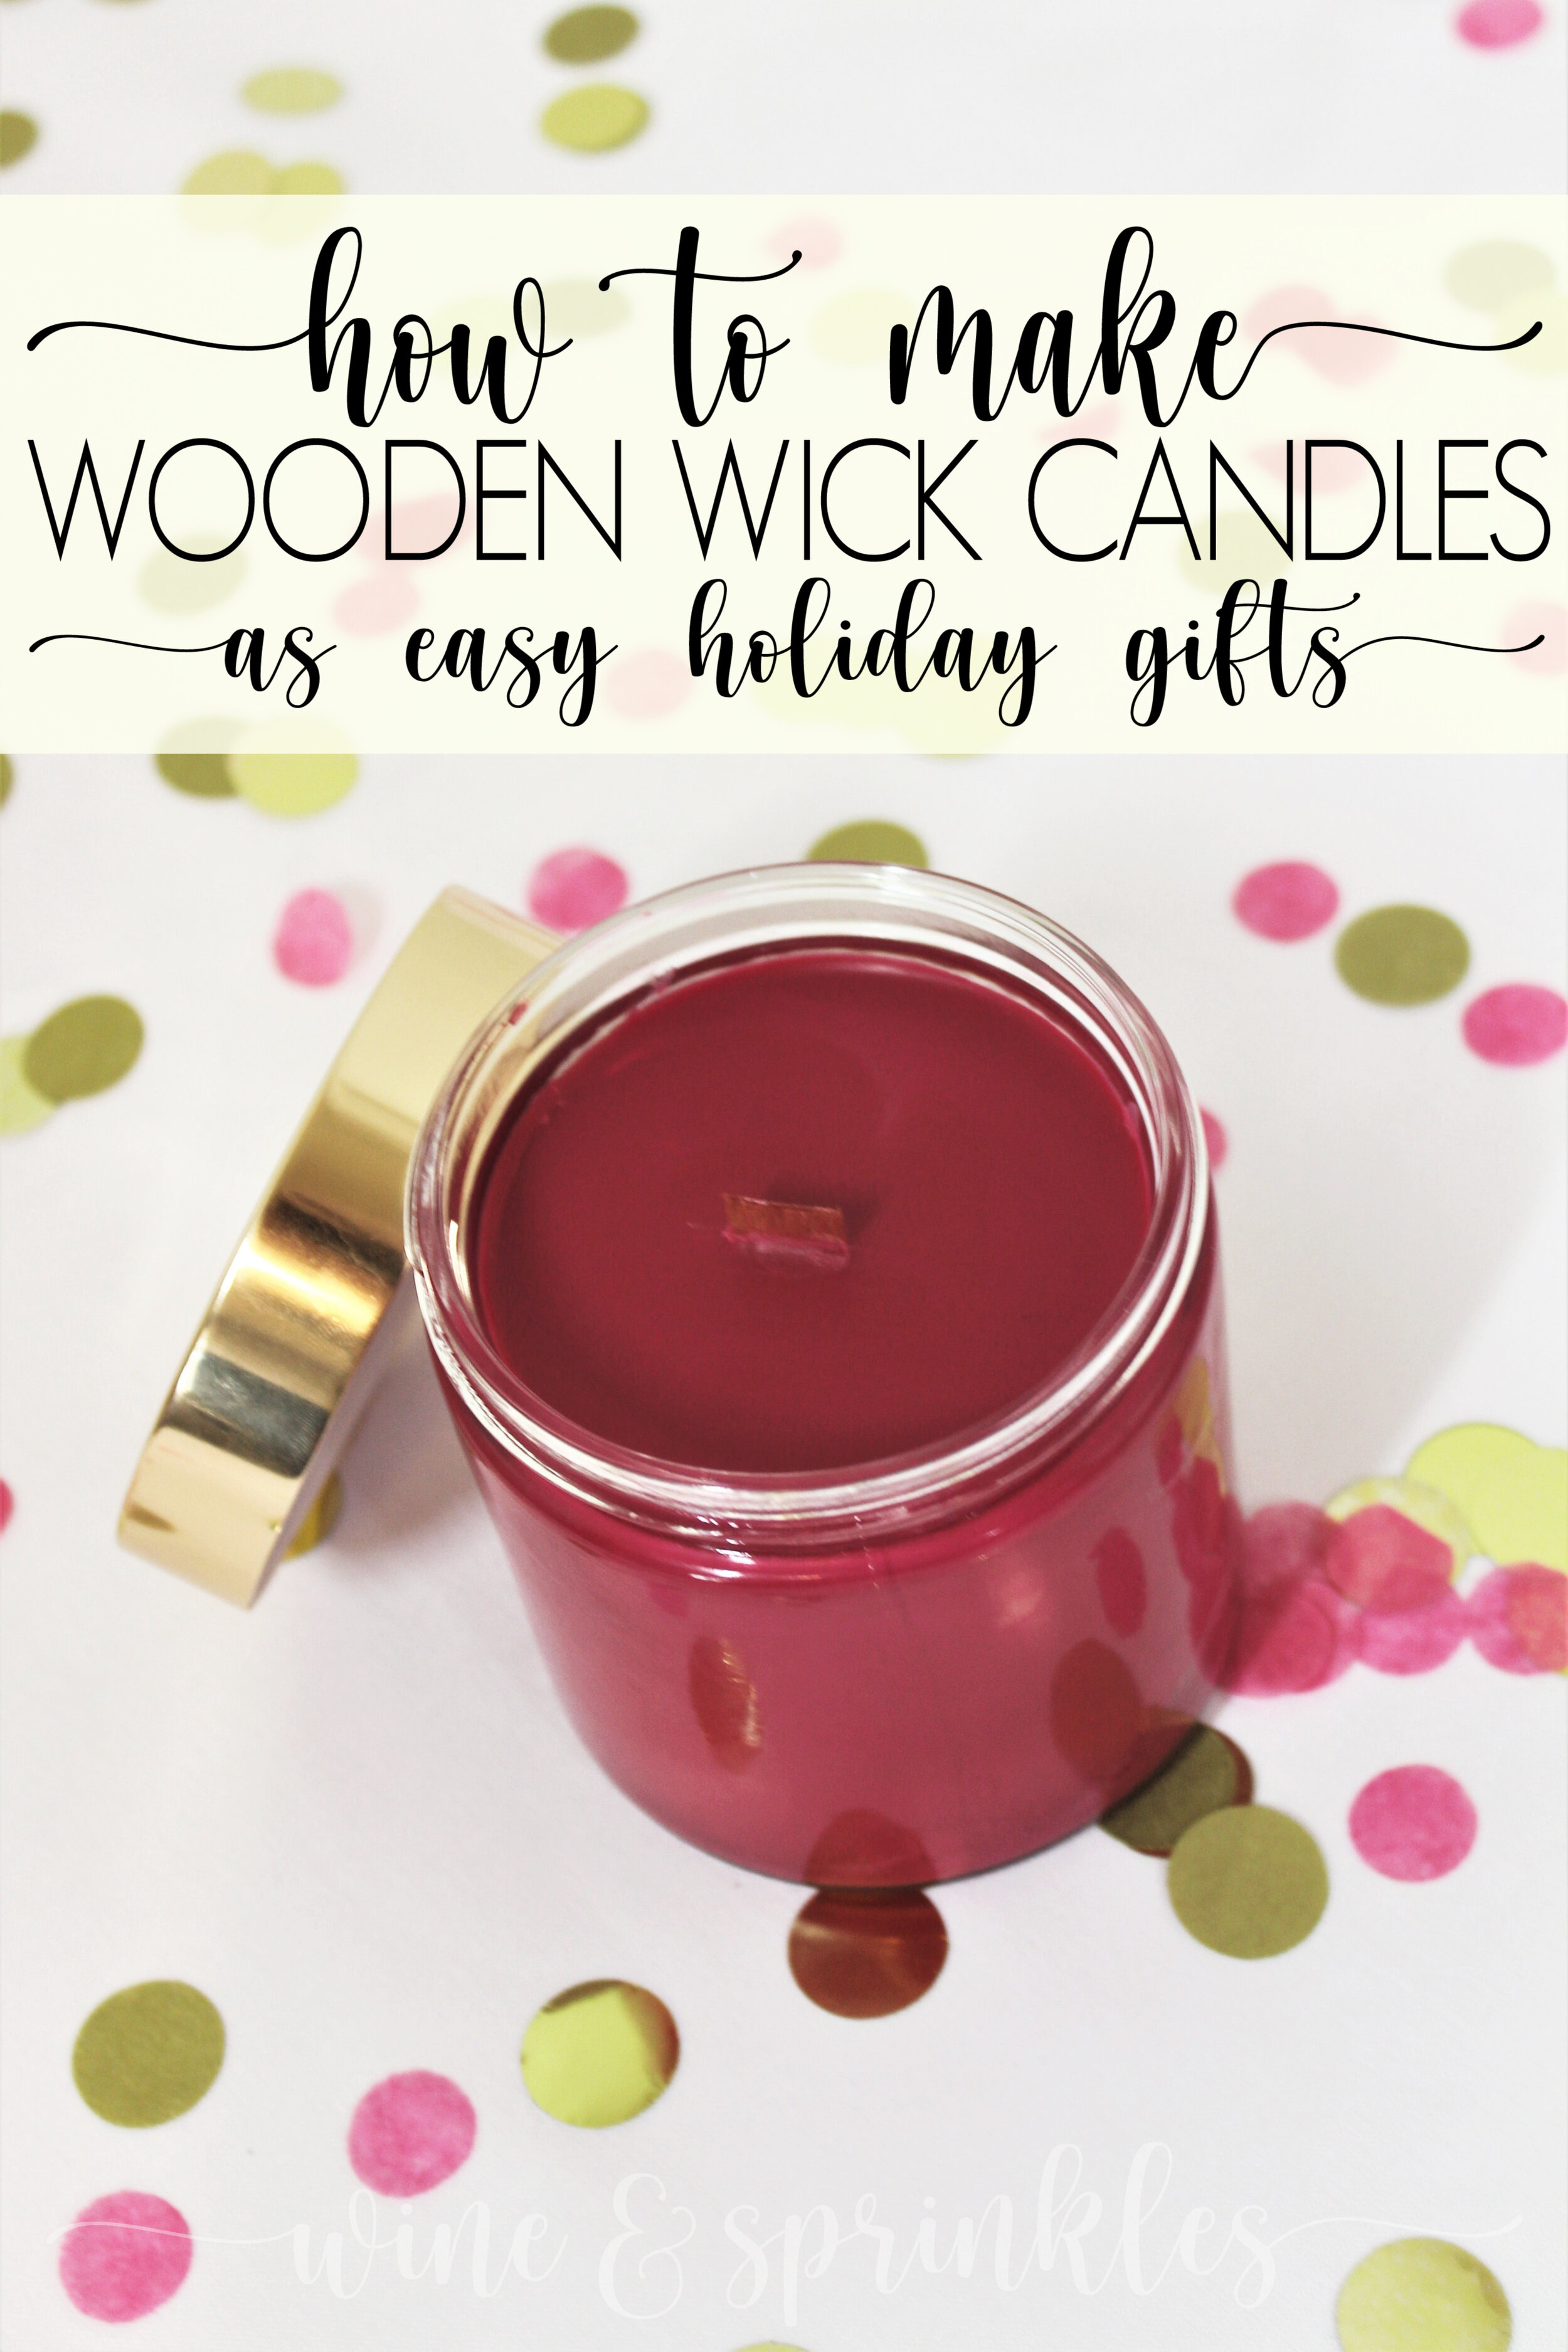
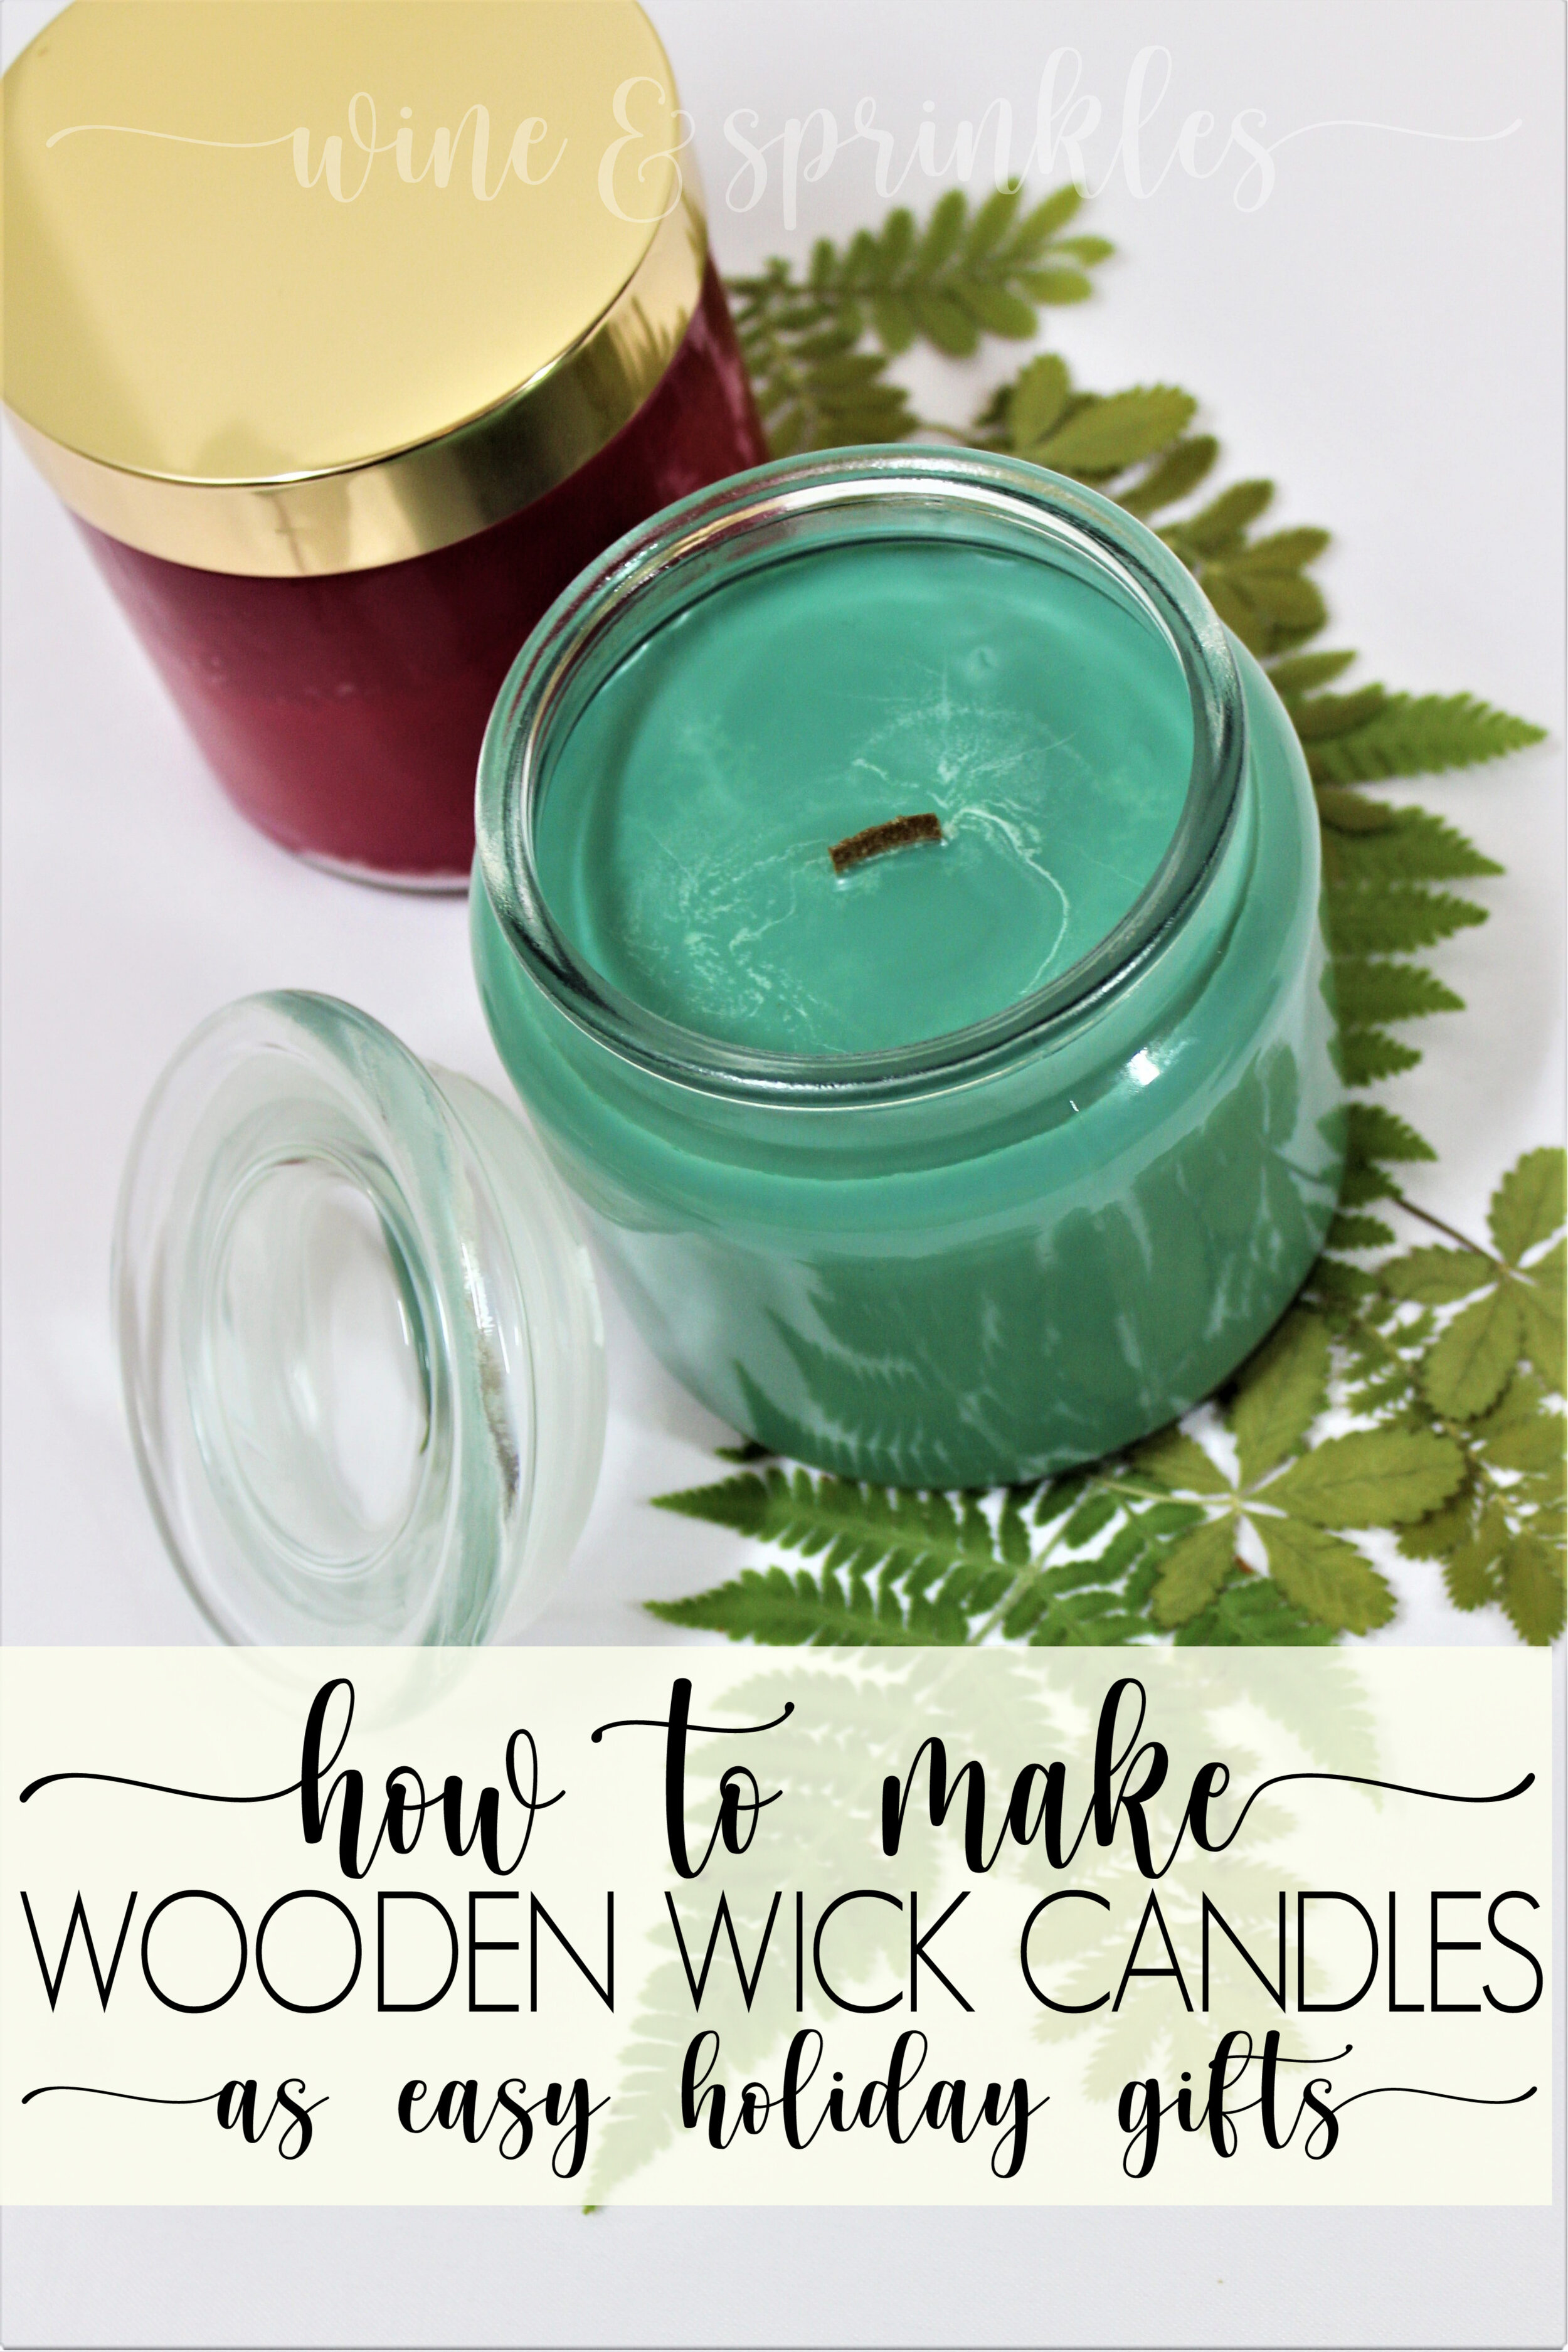
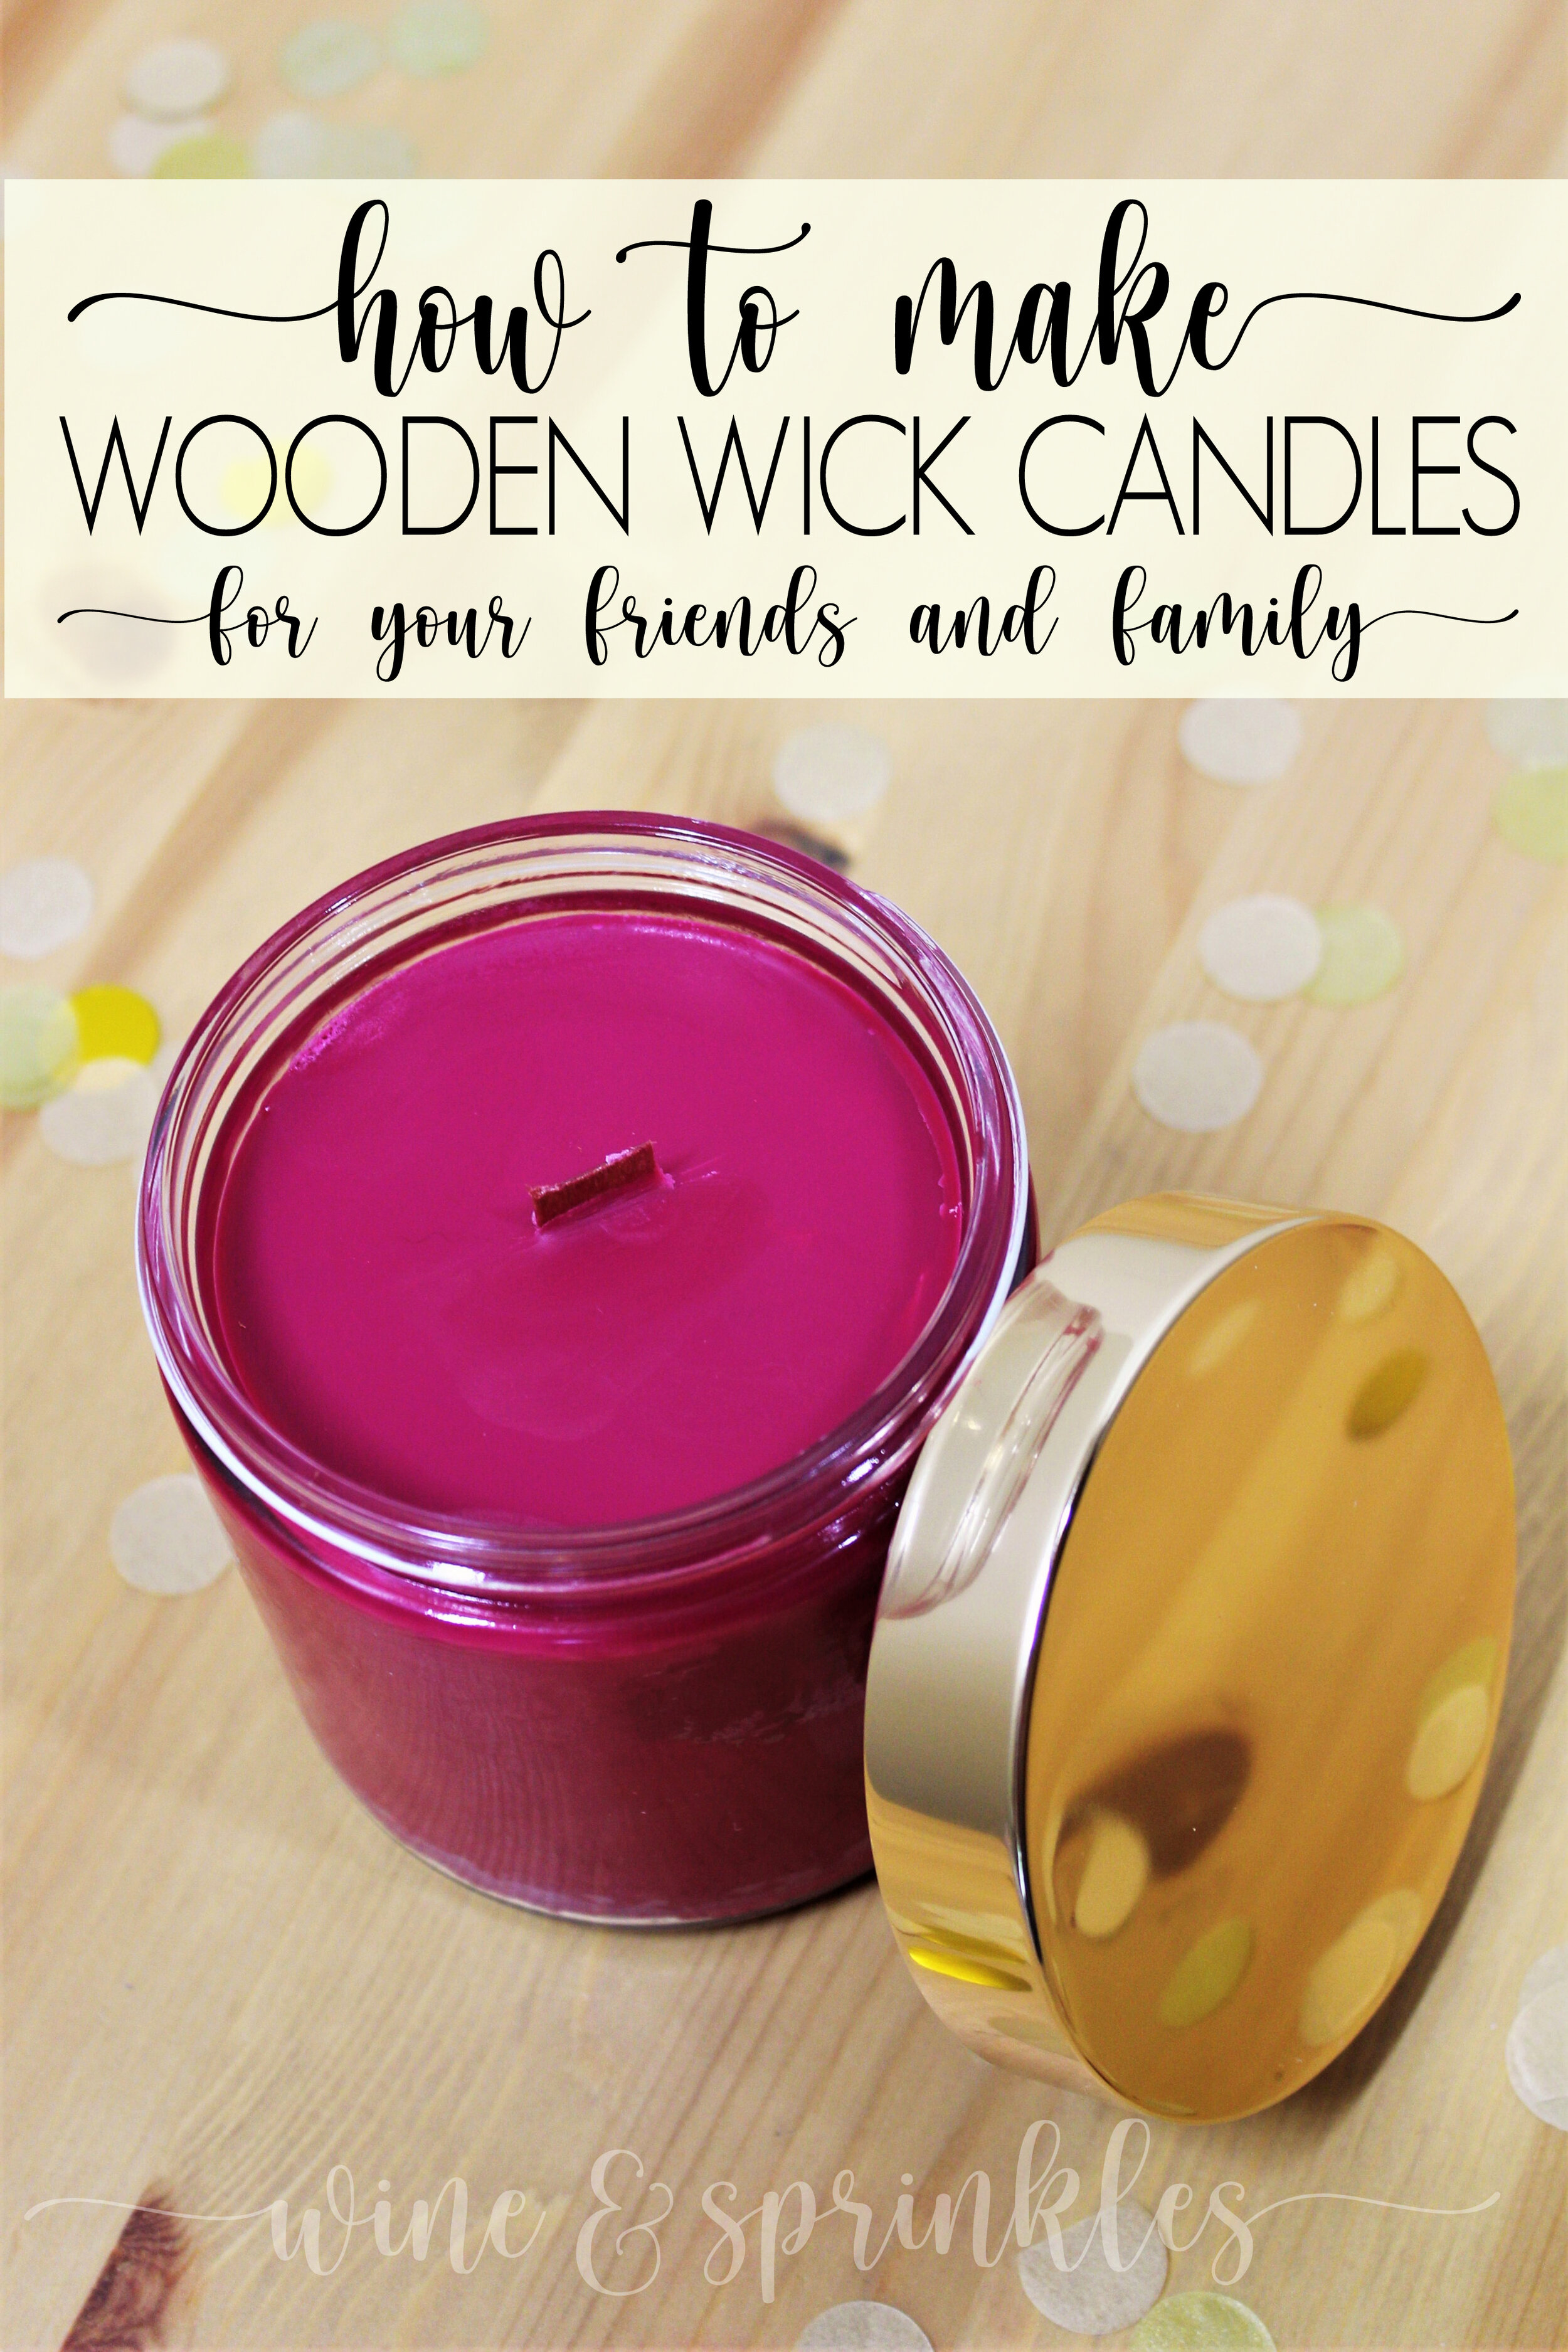
For my own Bridal Shower years ago, my bridesmaids chose wooden wick candles as the prizes for my bridal shower games and I thought it was the best idea ever! For the fall or for just feeling cozy, there is nothing like the sound of a crackling fire and the crackling candles gave that same feel and were a beloved prize by all those lucky enough to win them! As I was deciding what prizes I wanted to give at my best friends shower this November, I knew some Wooden Wick Candles had to be Included!

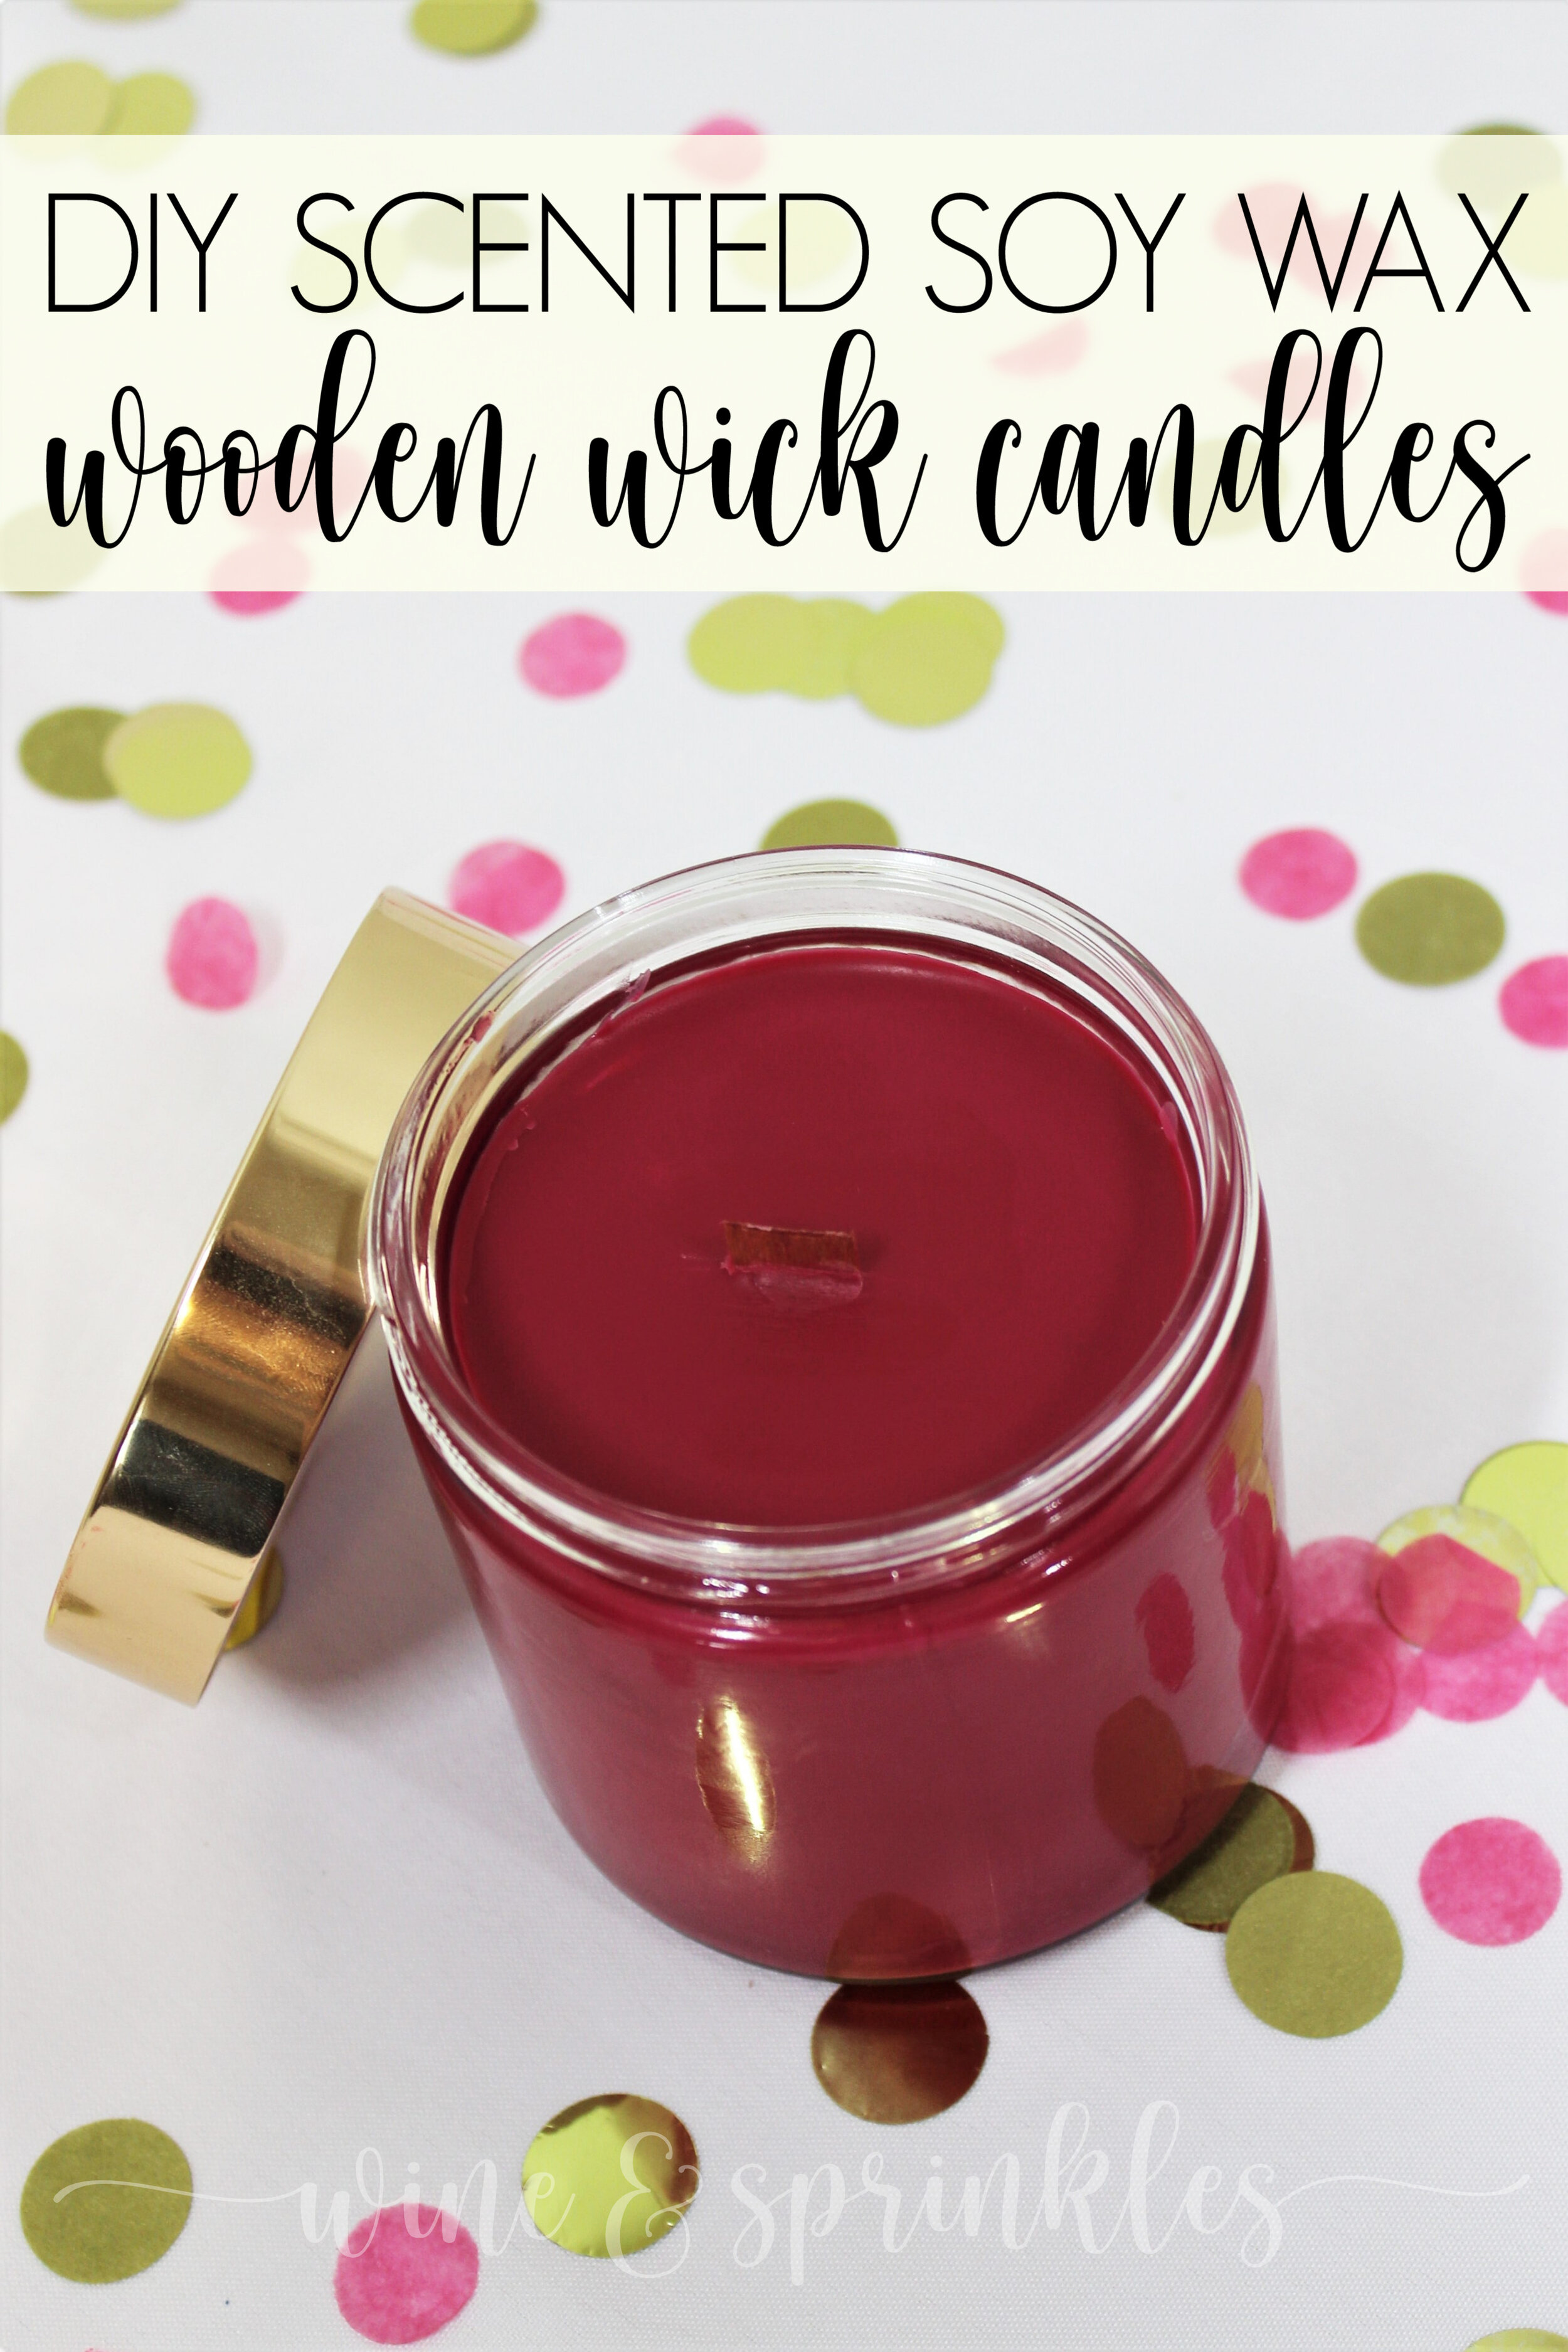
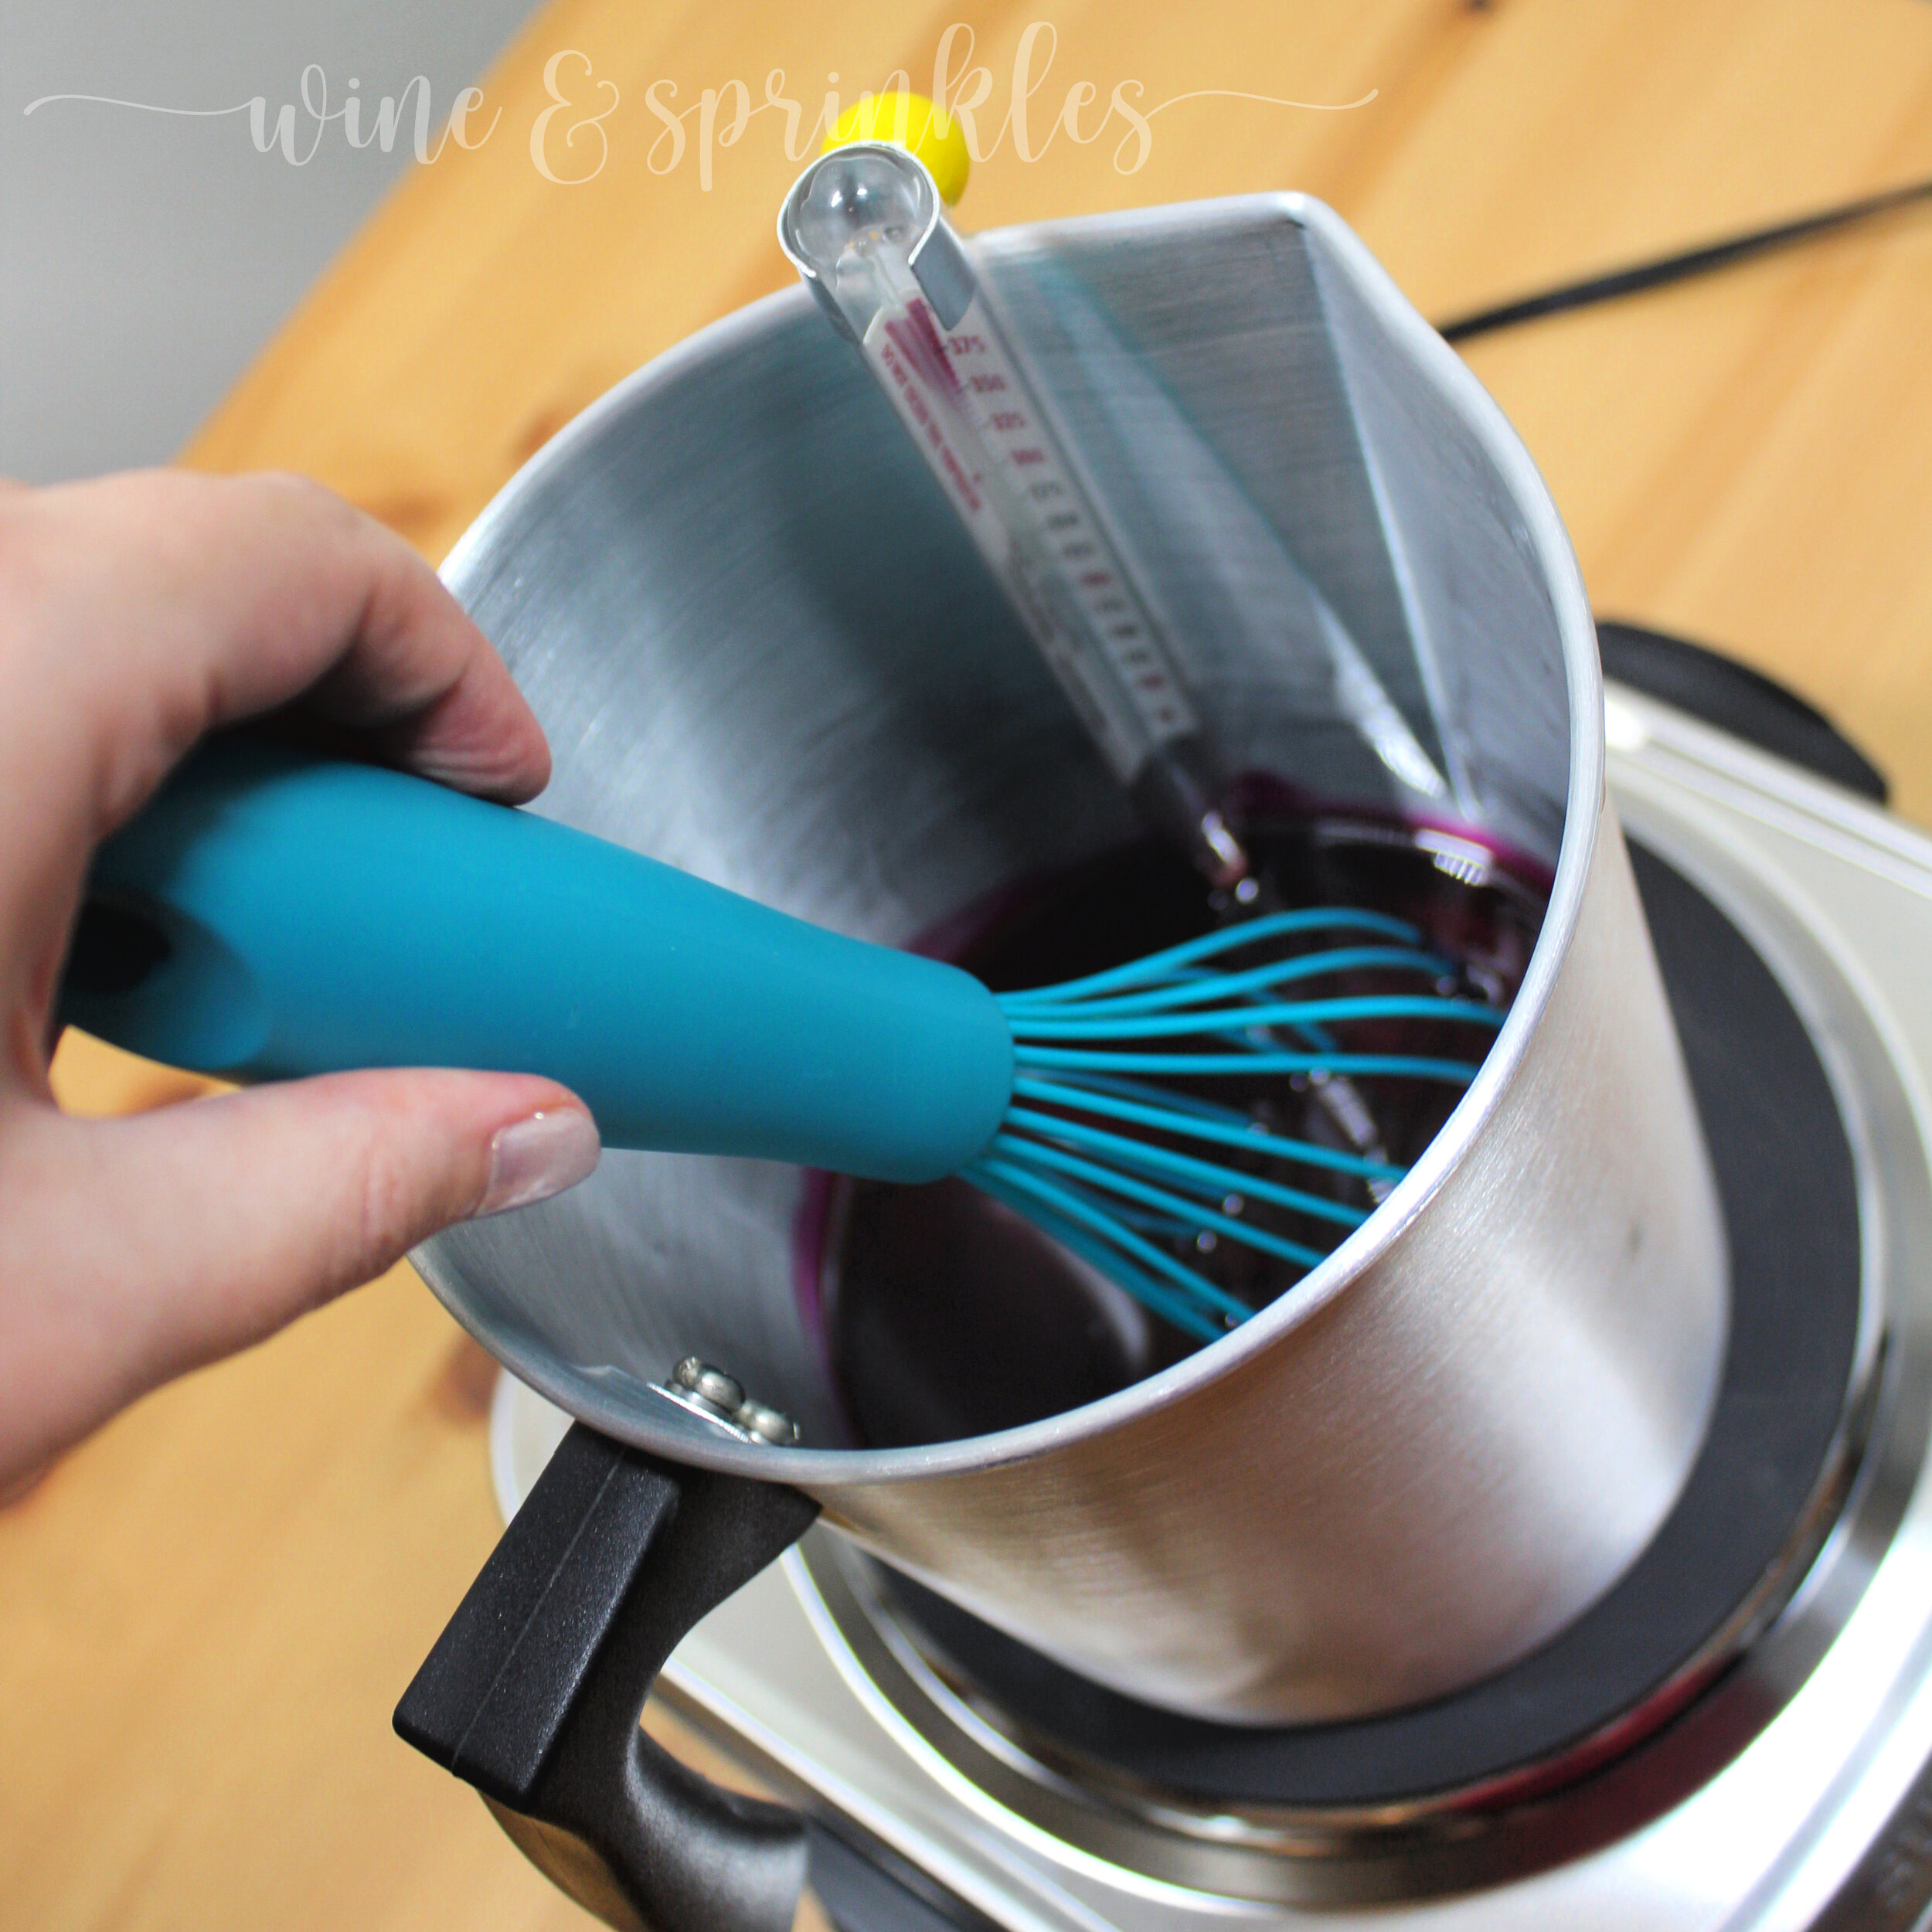
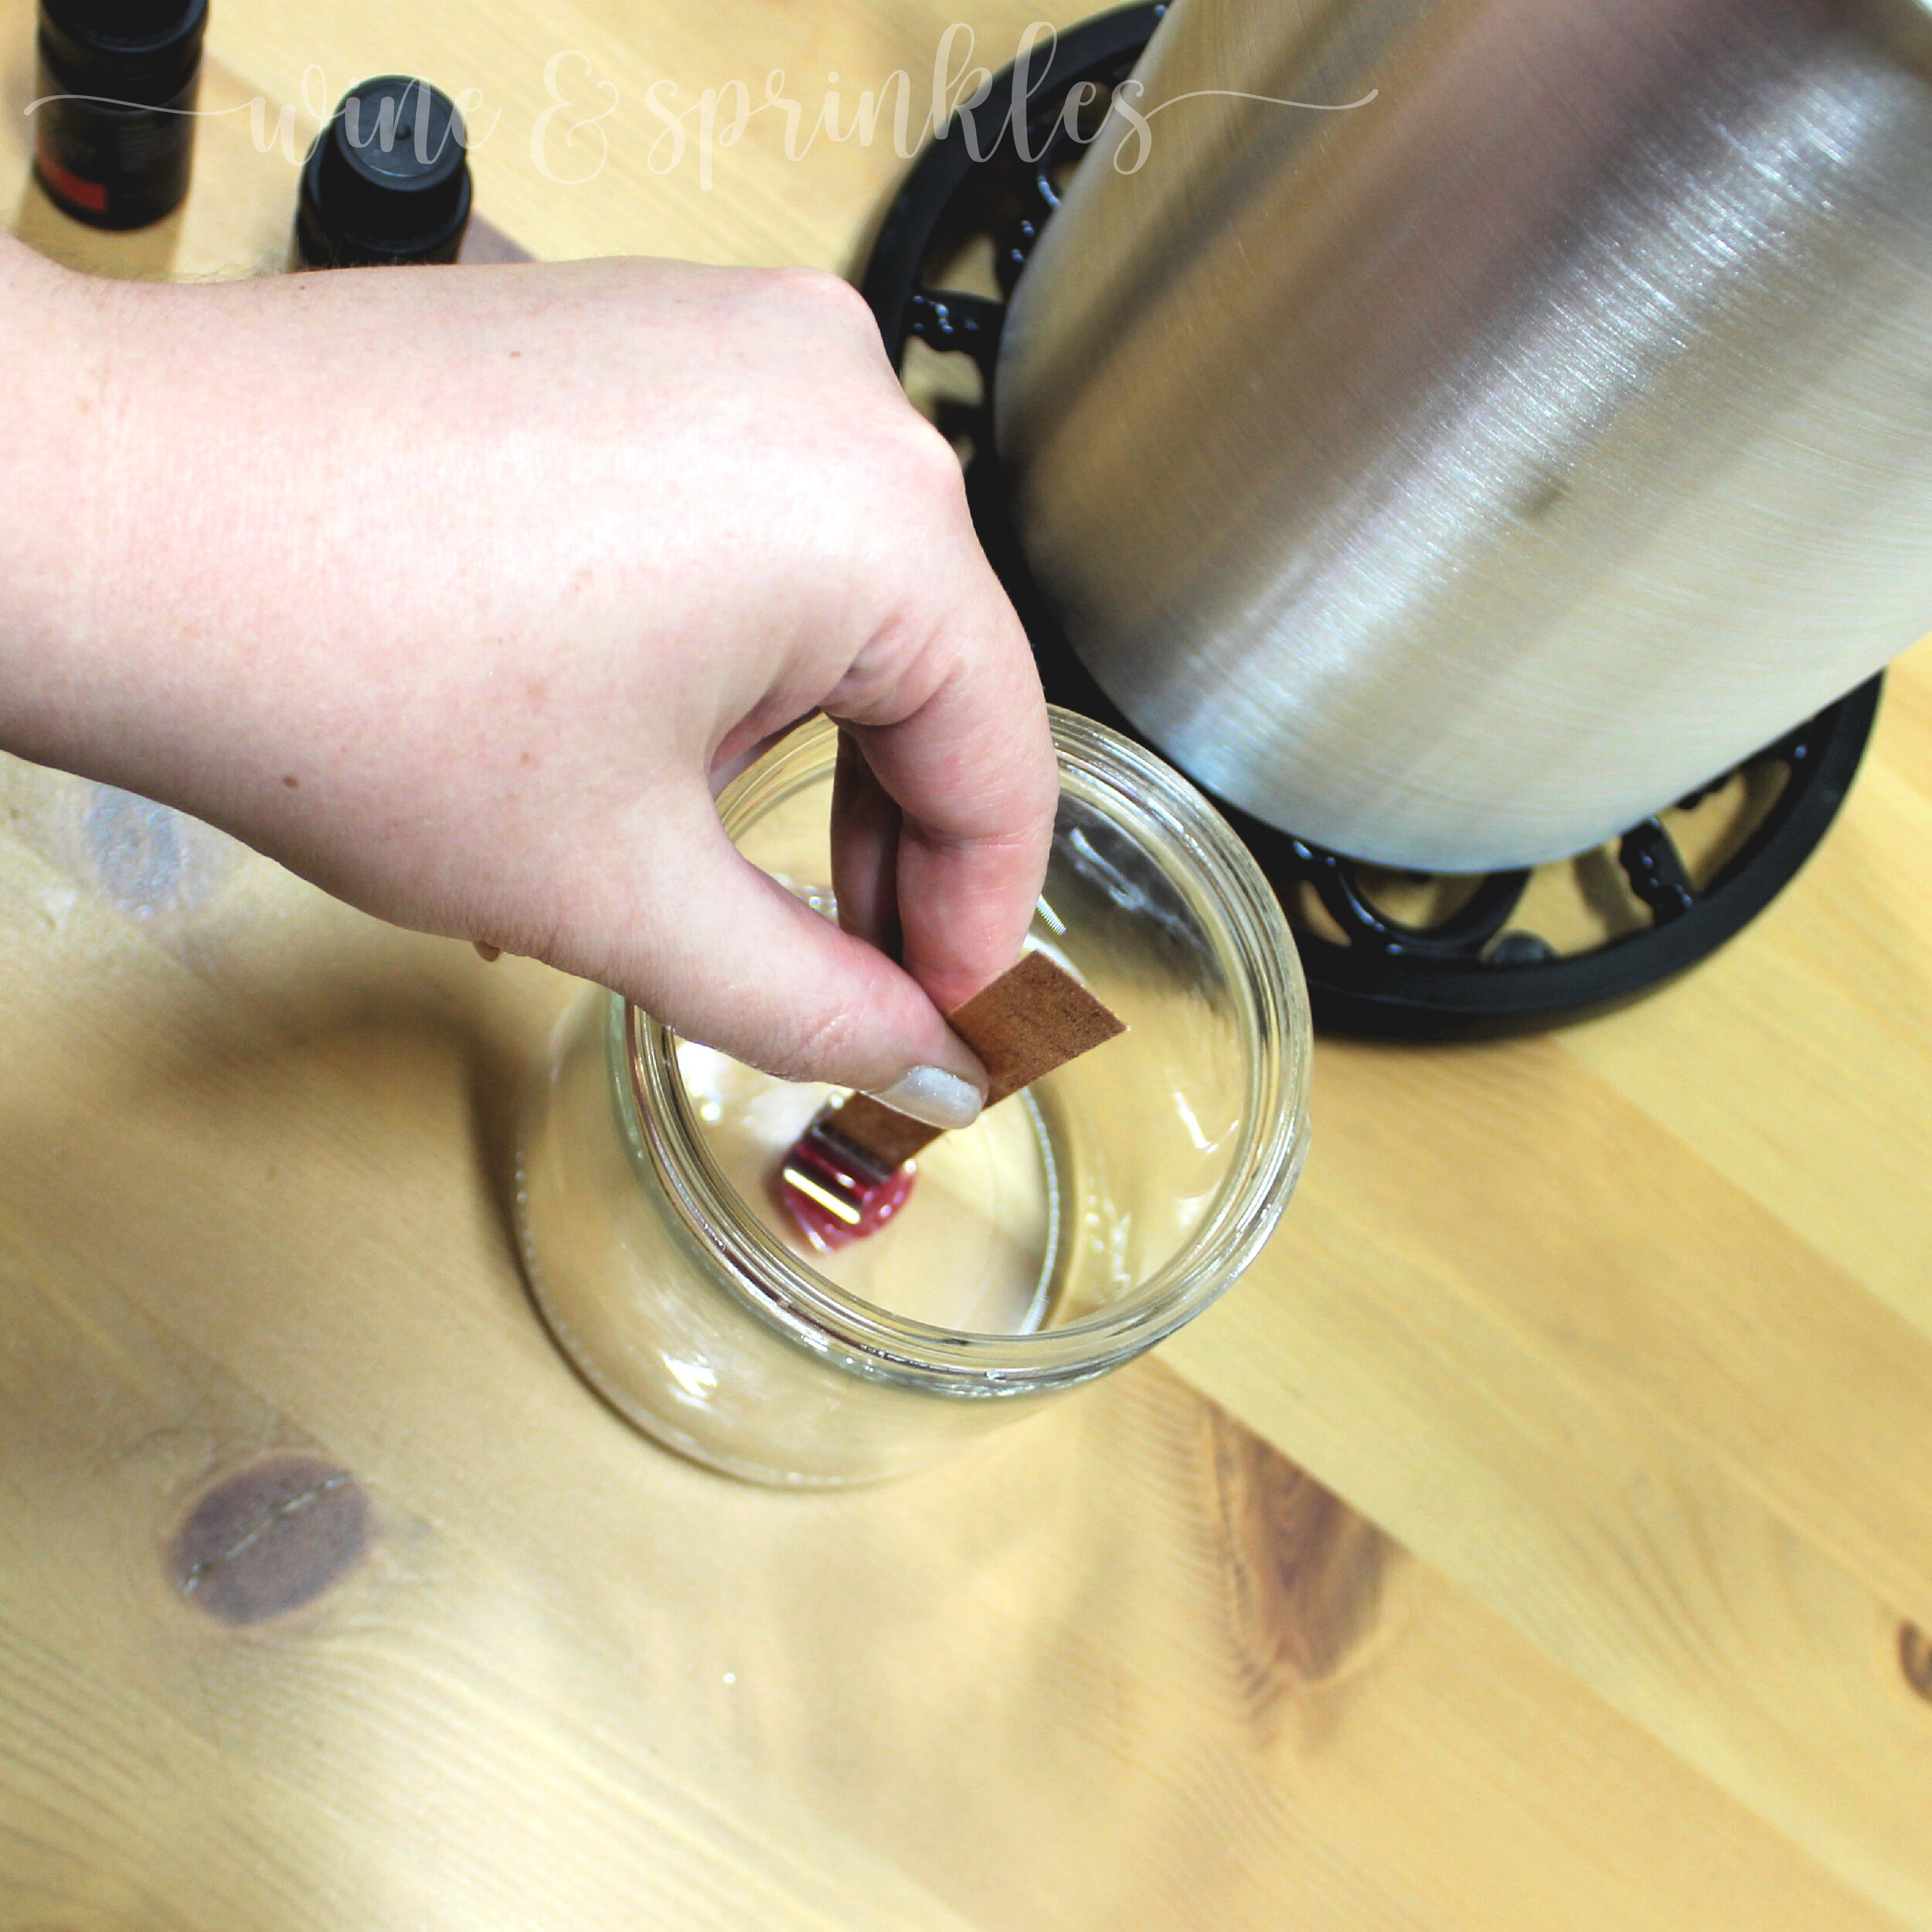
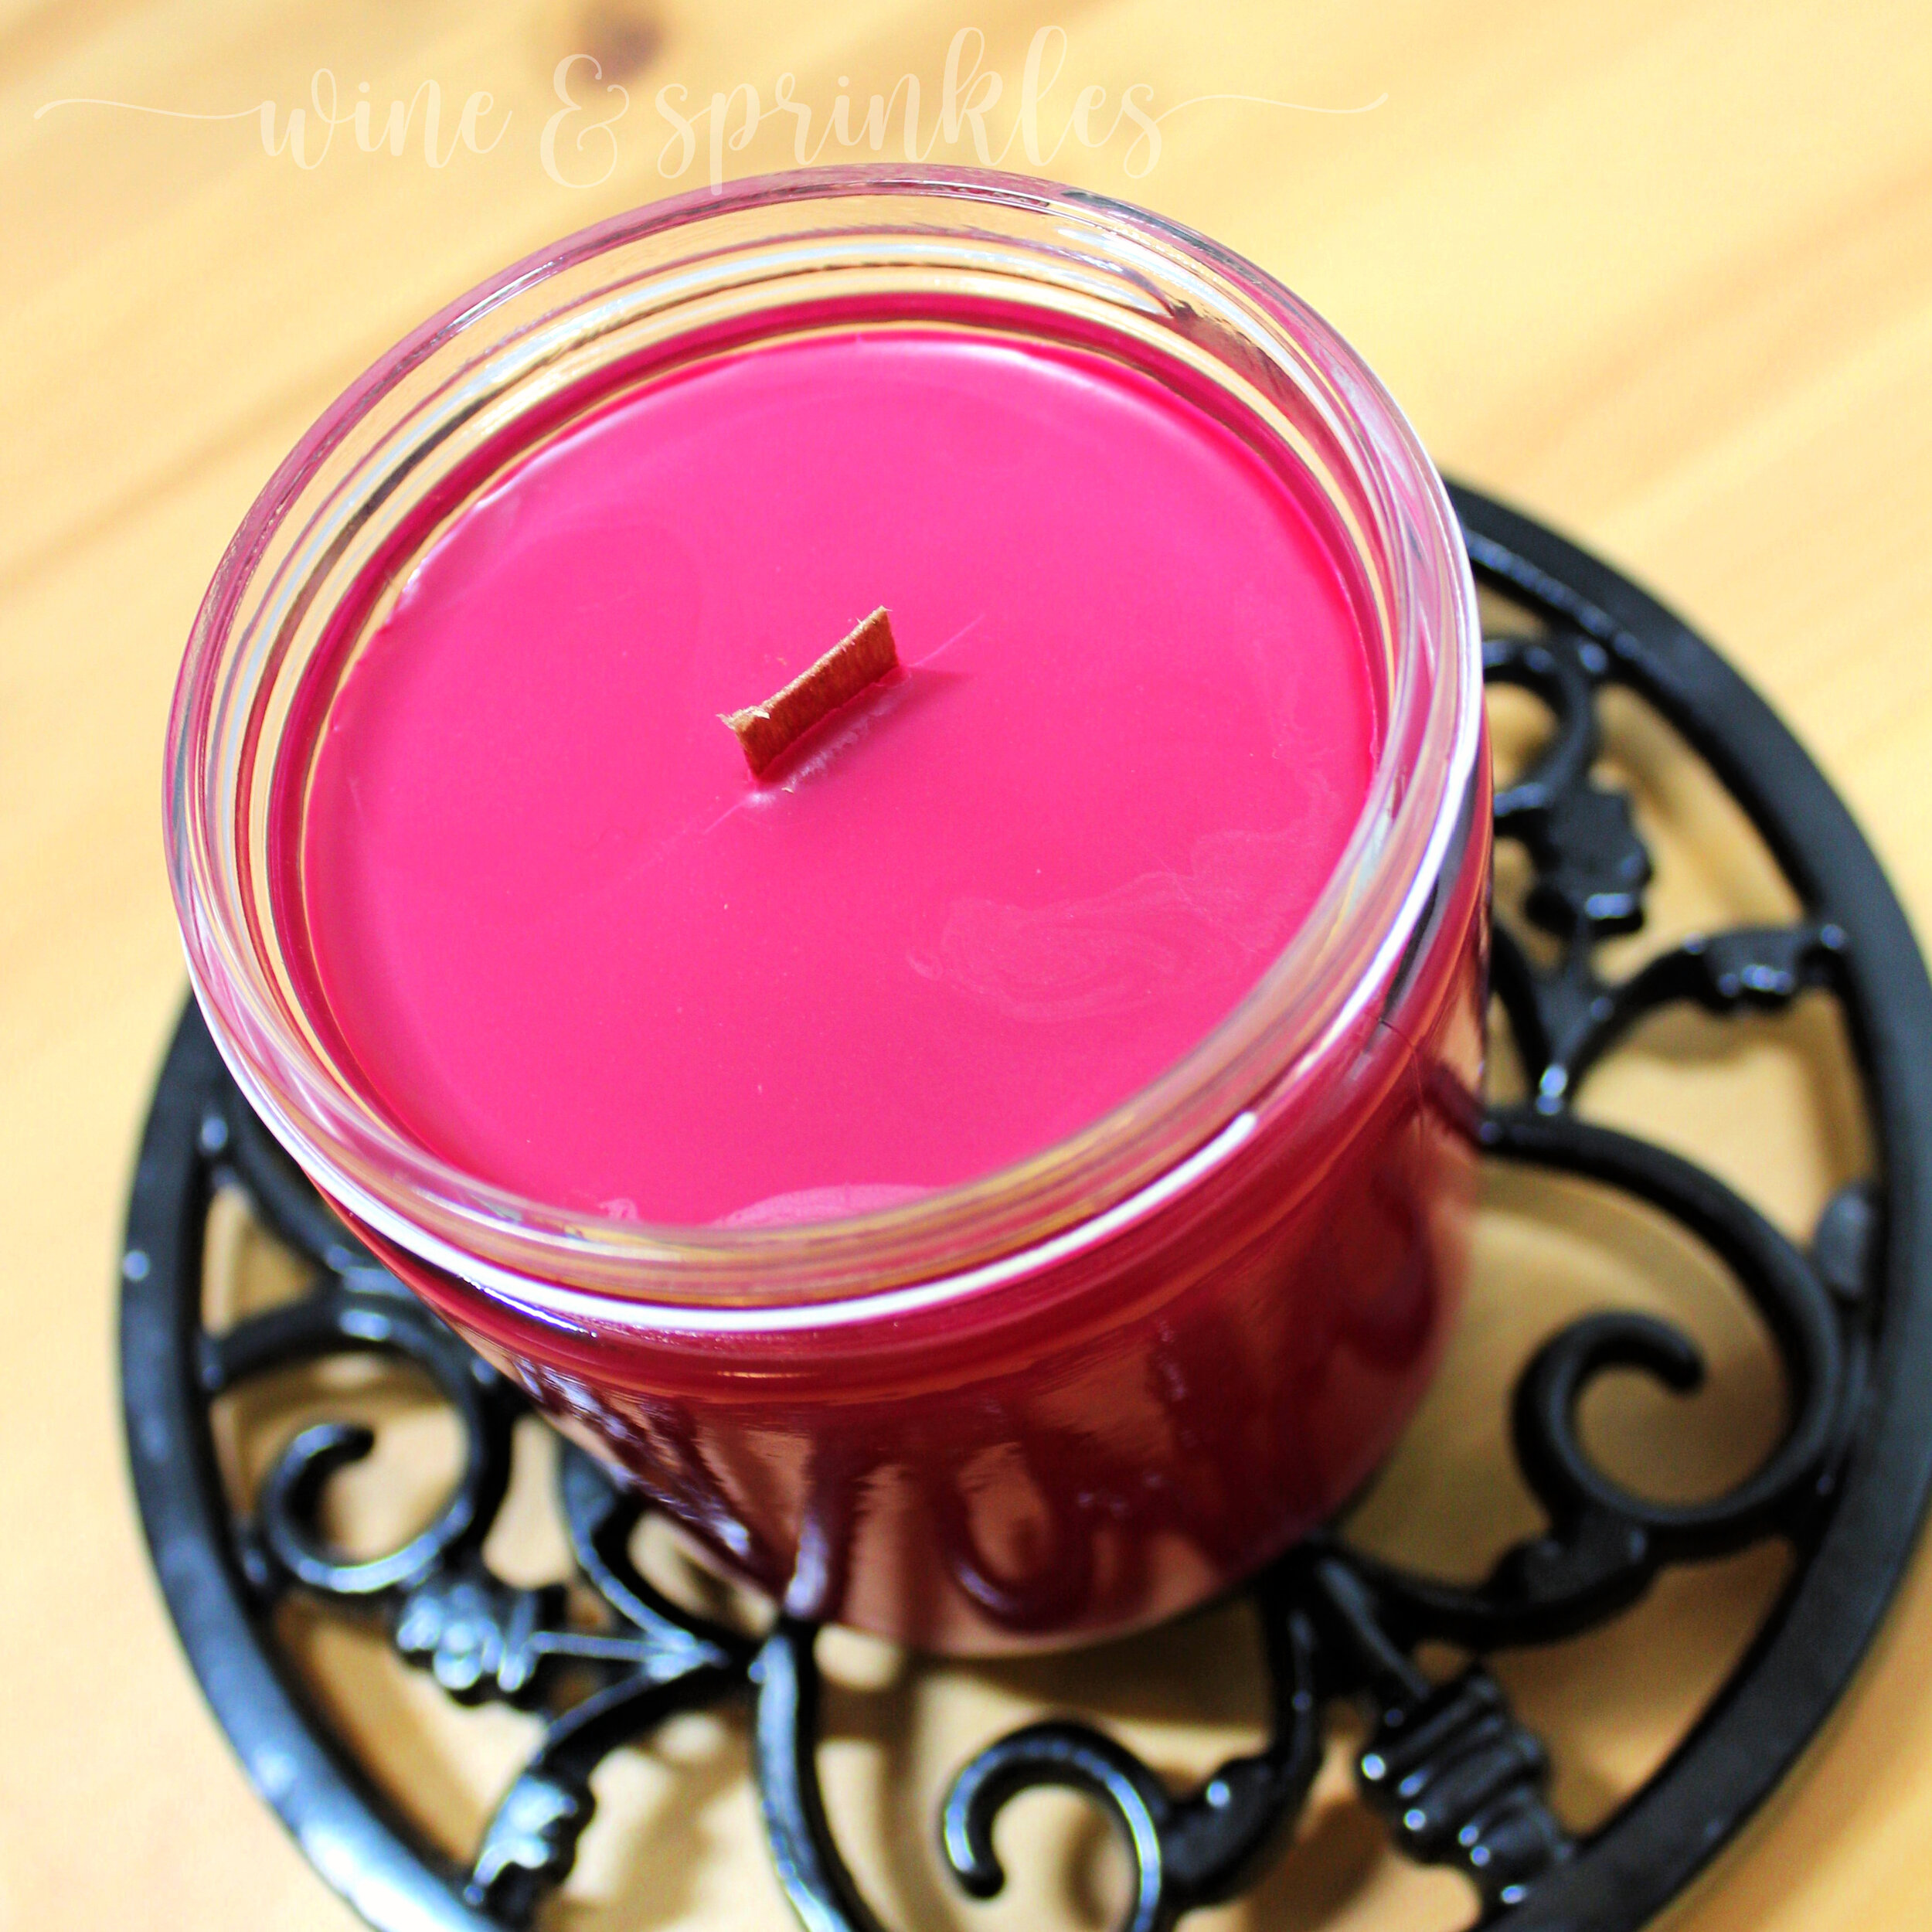
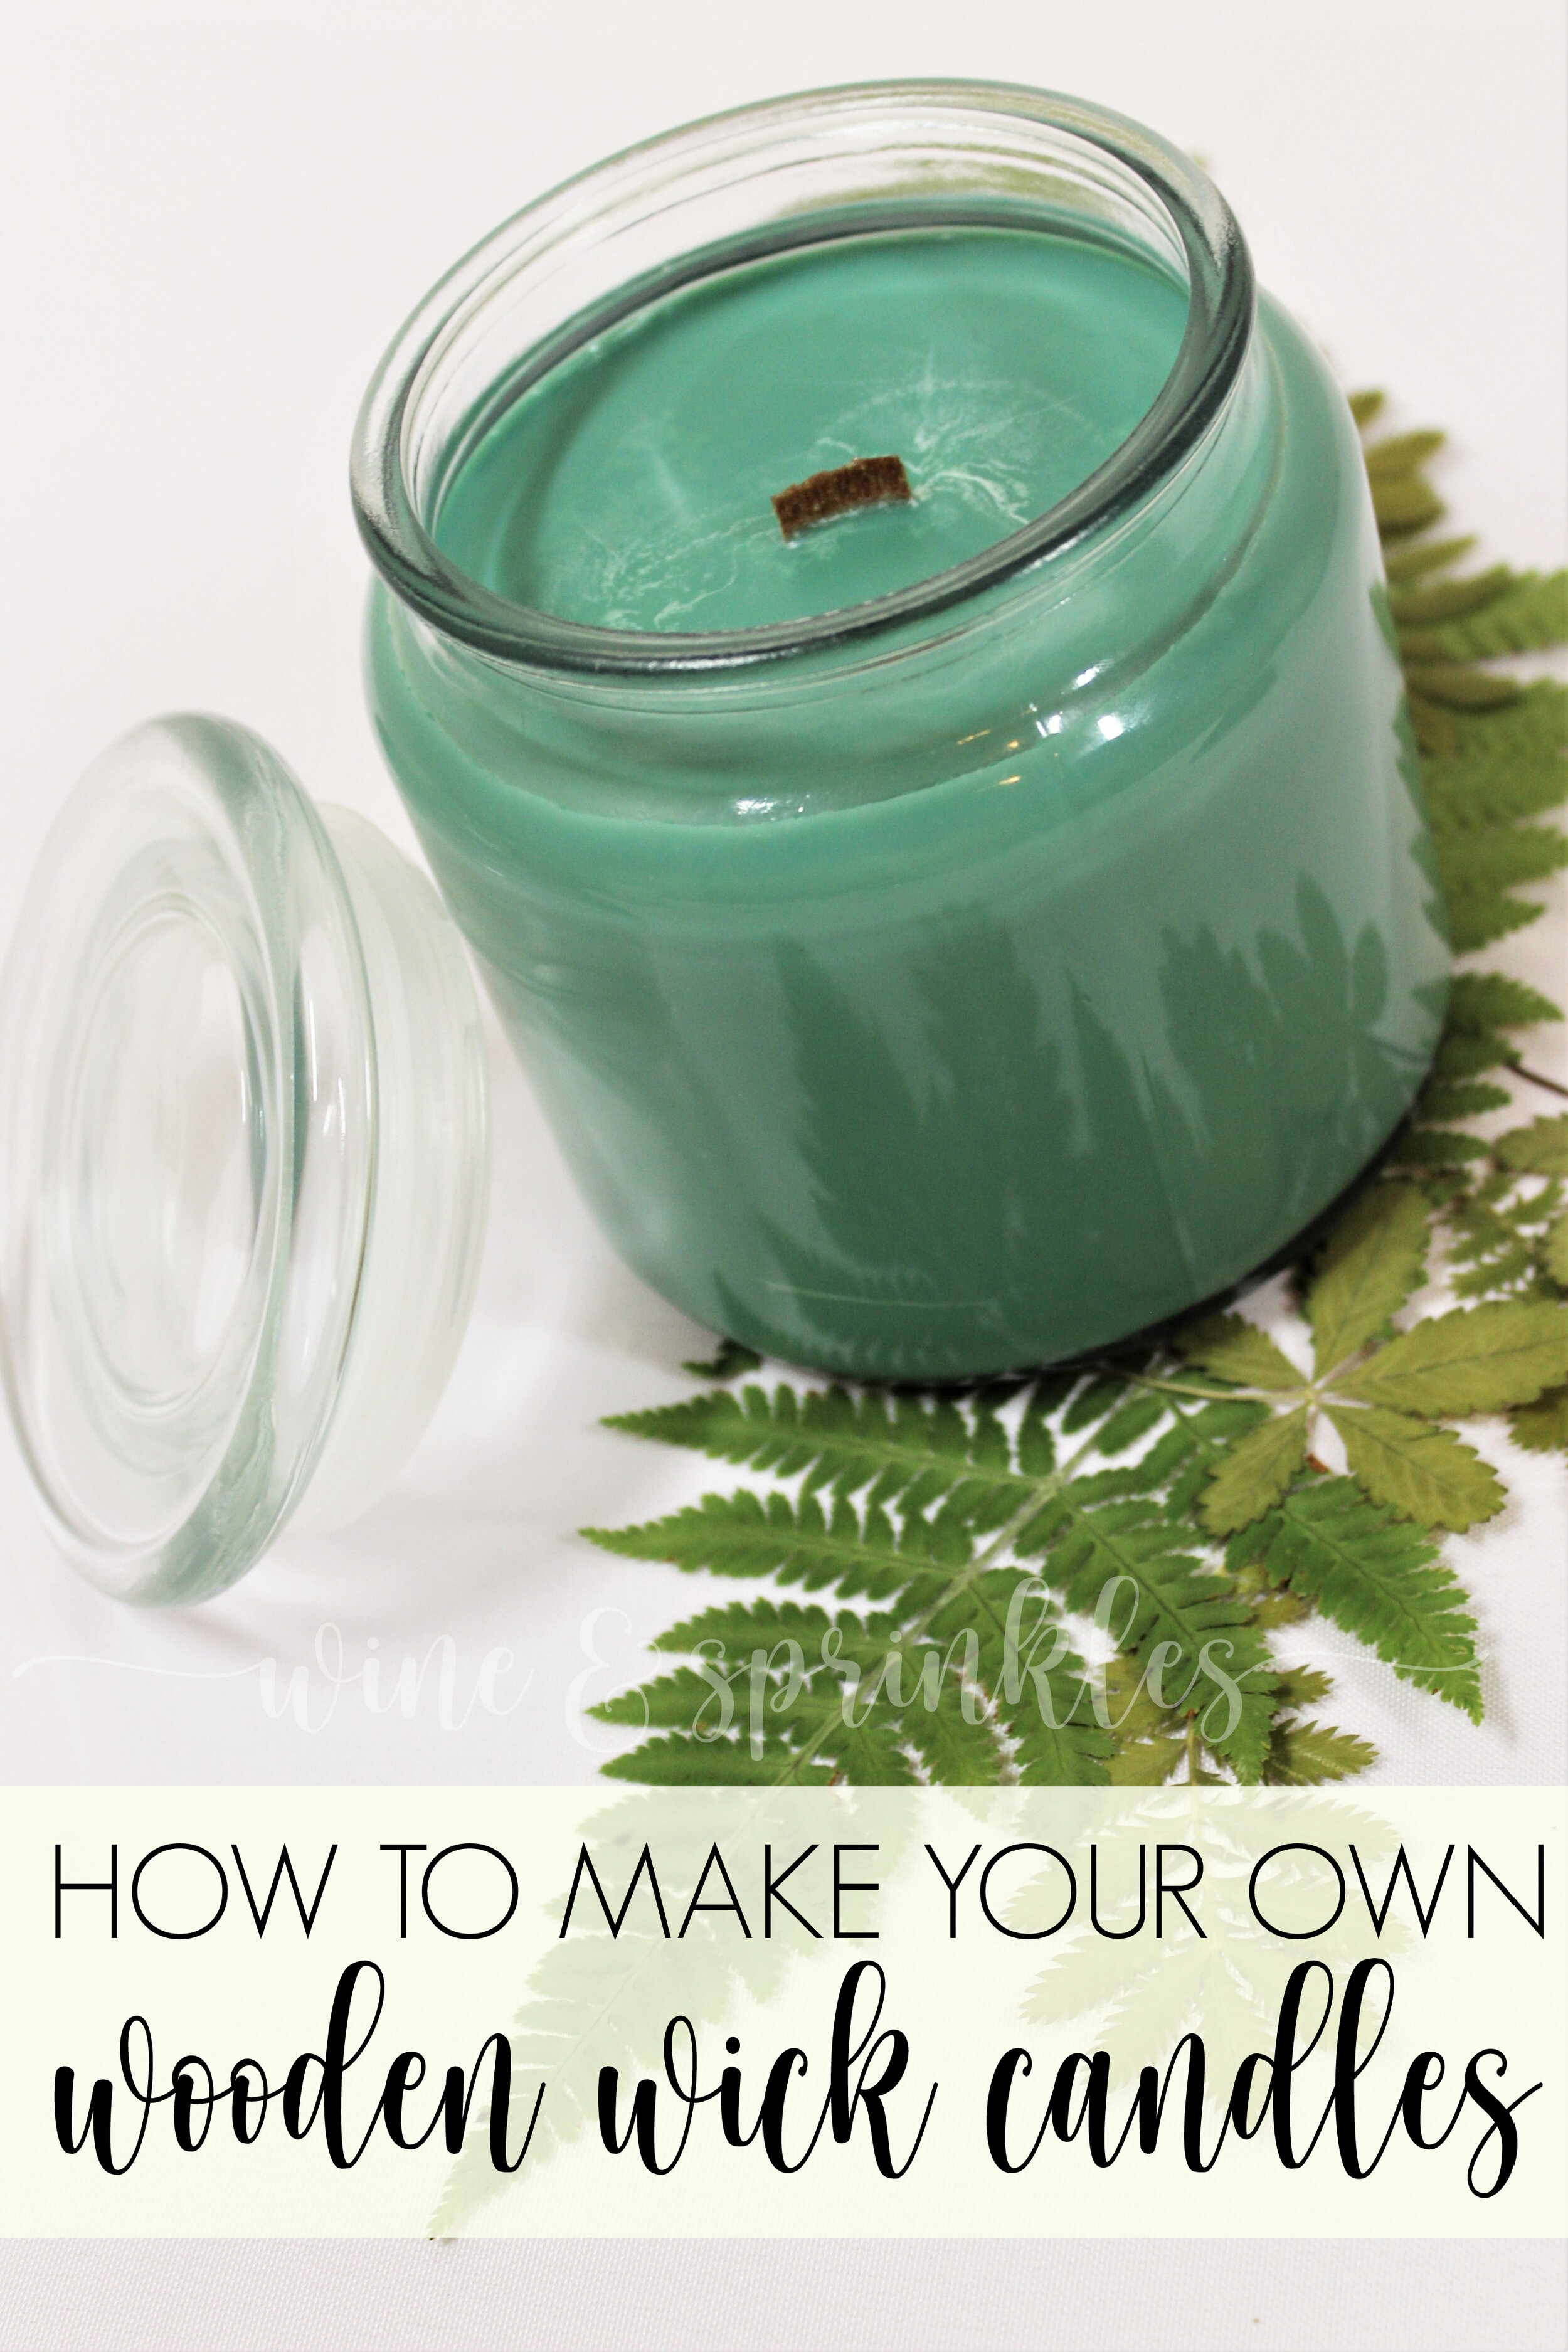
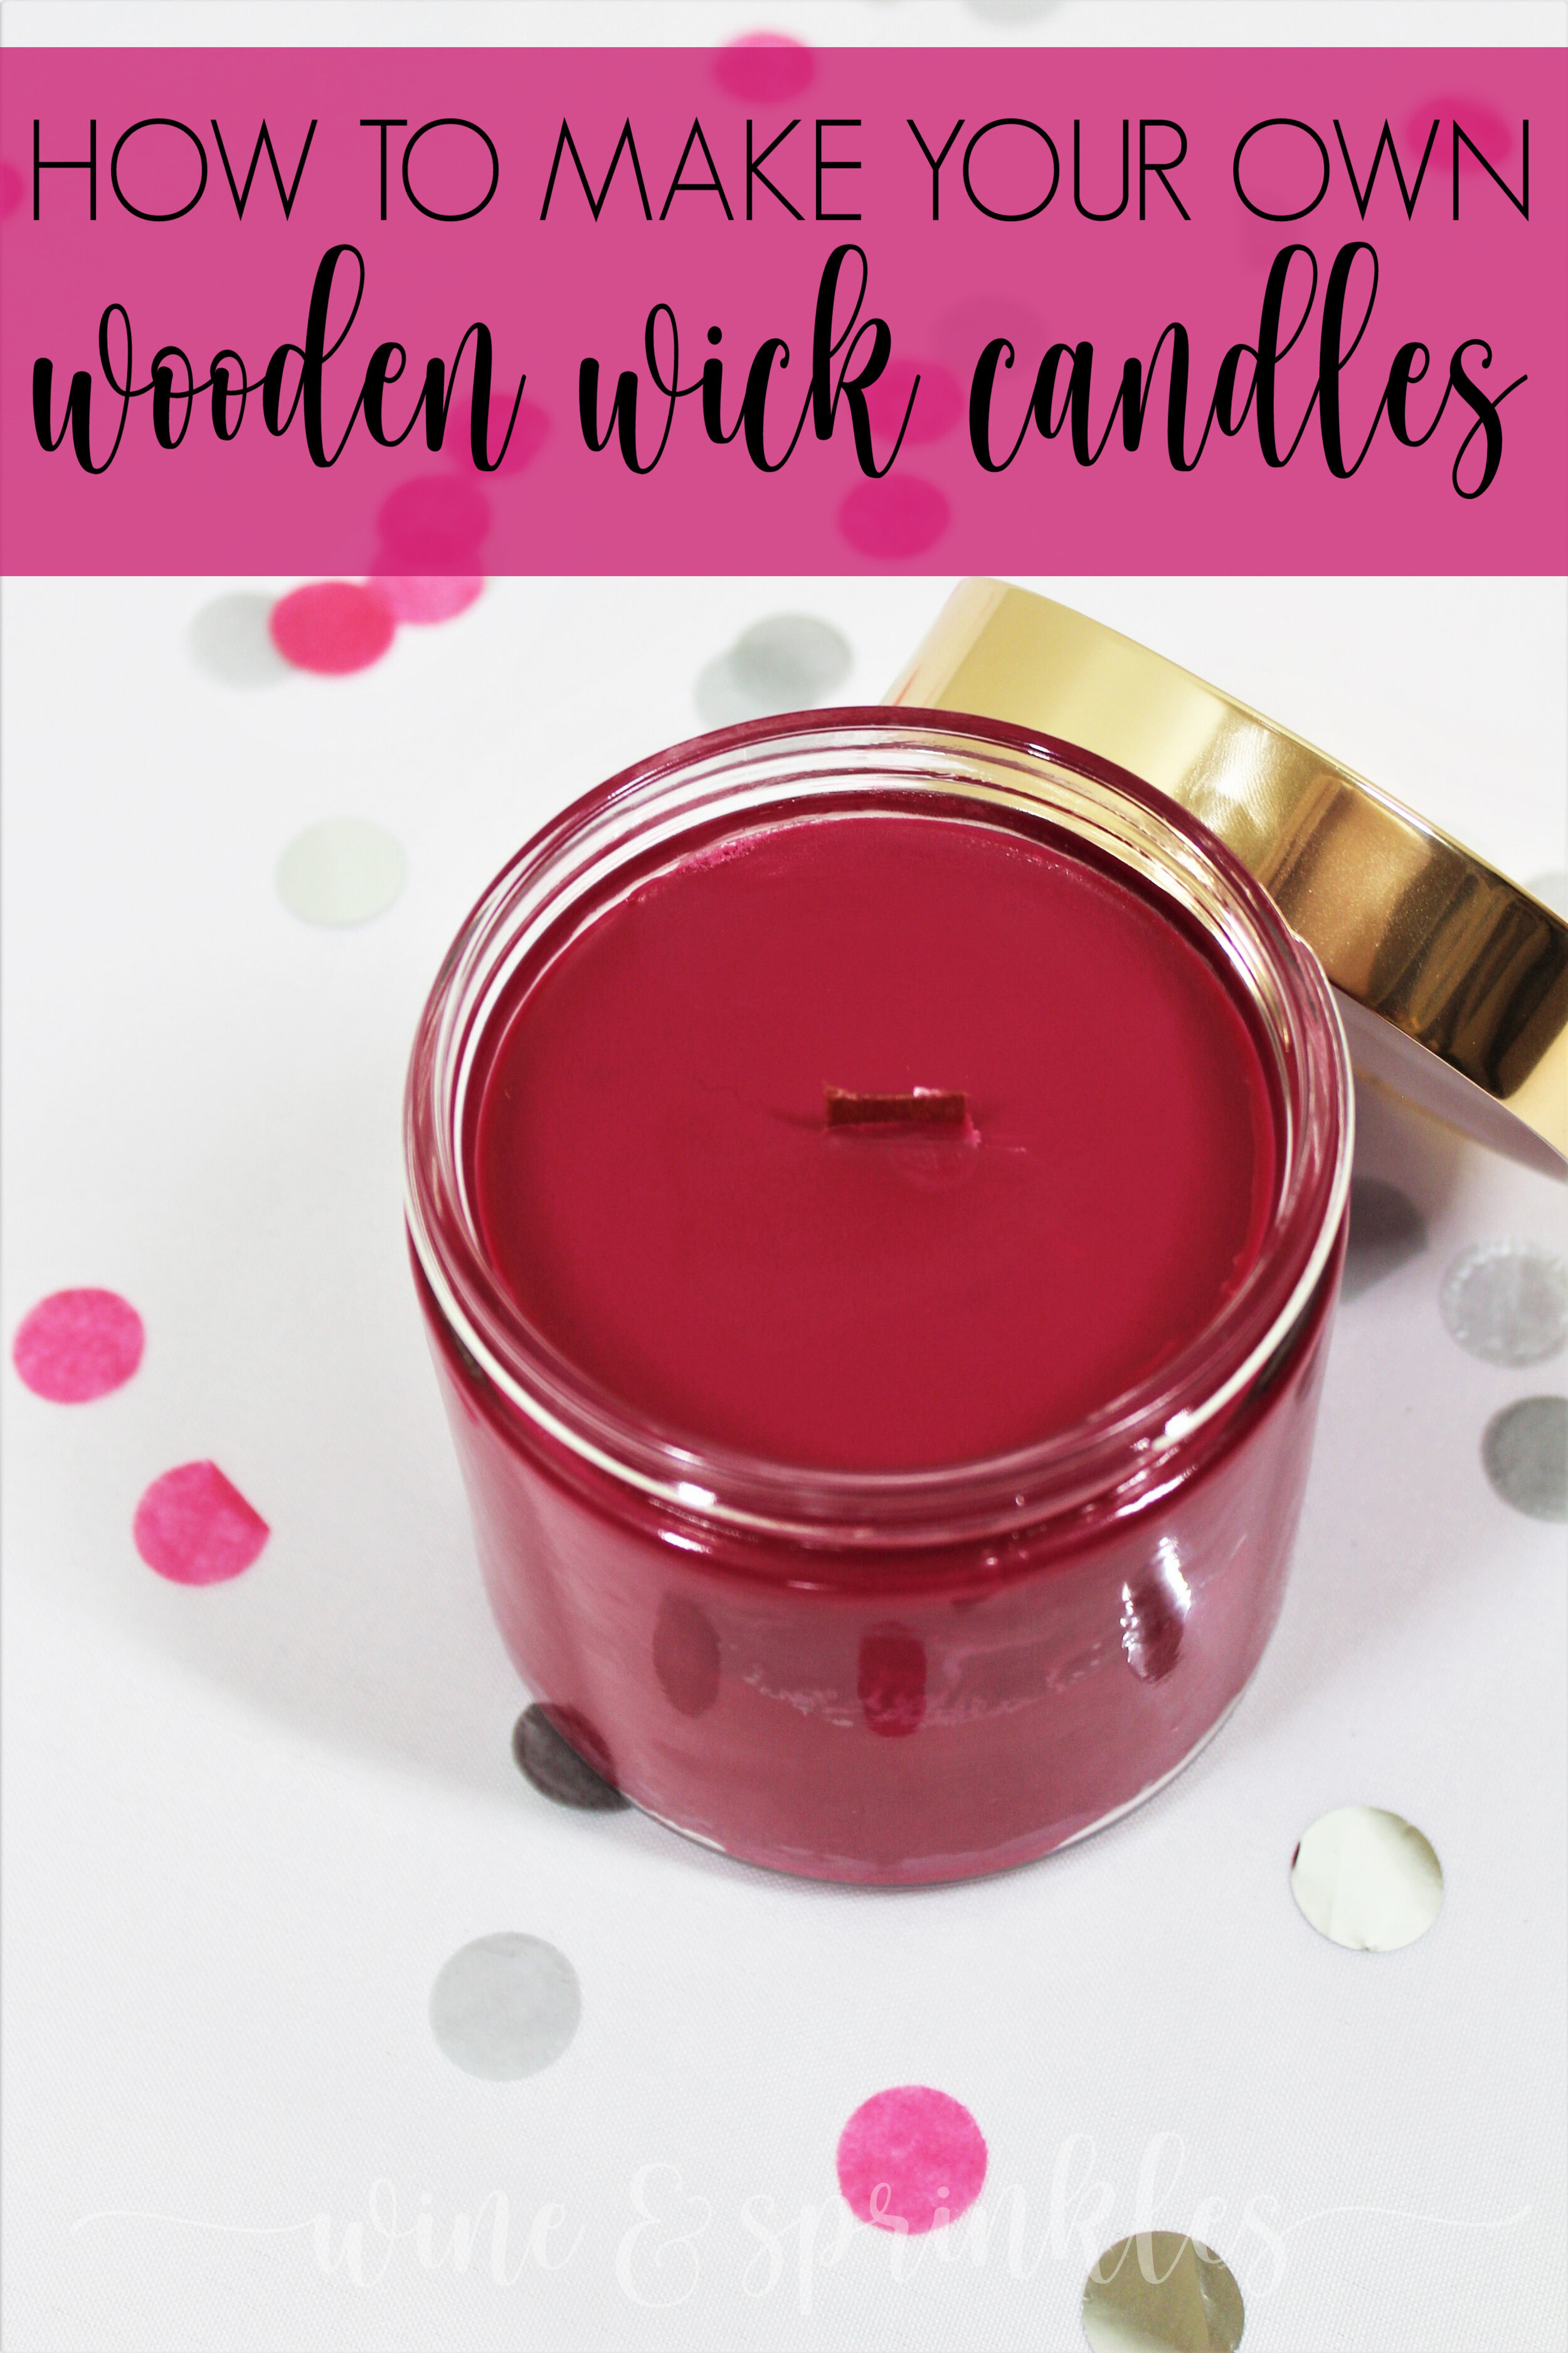
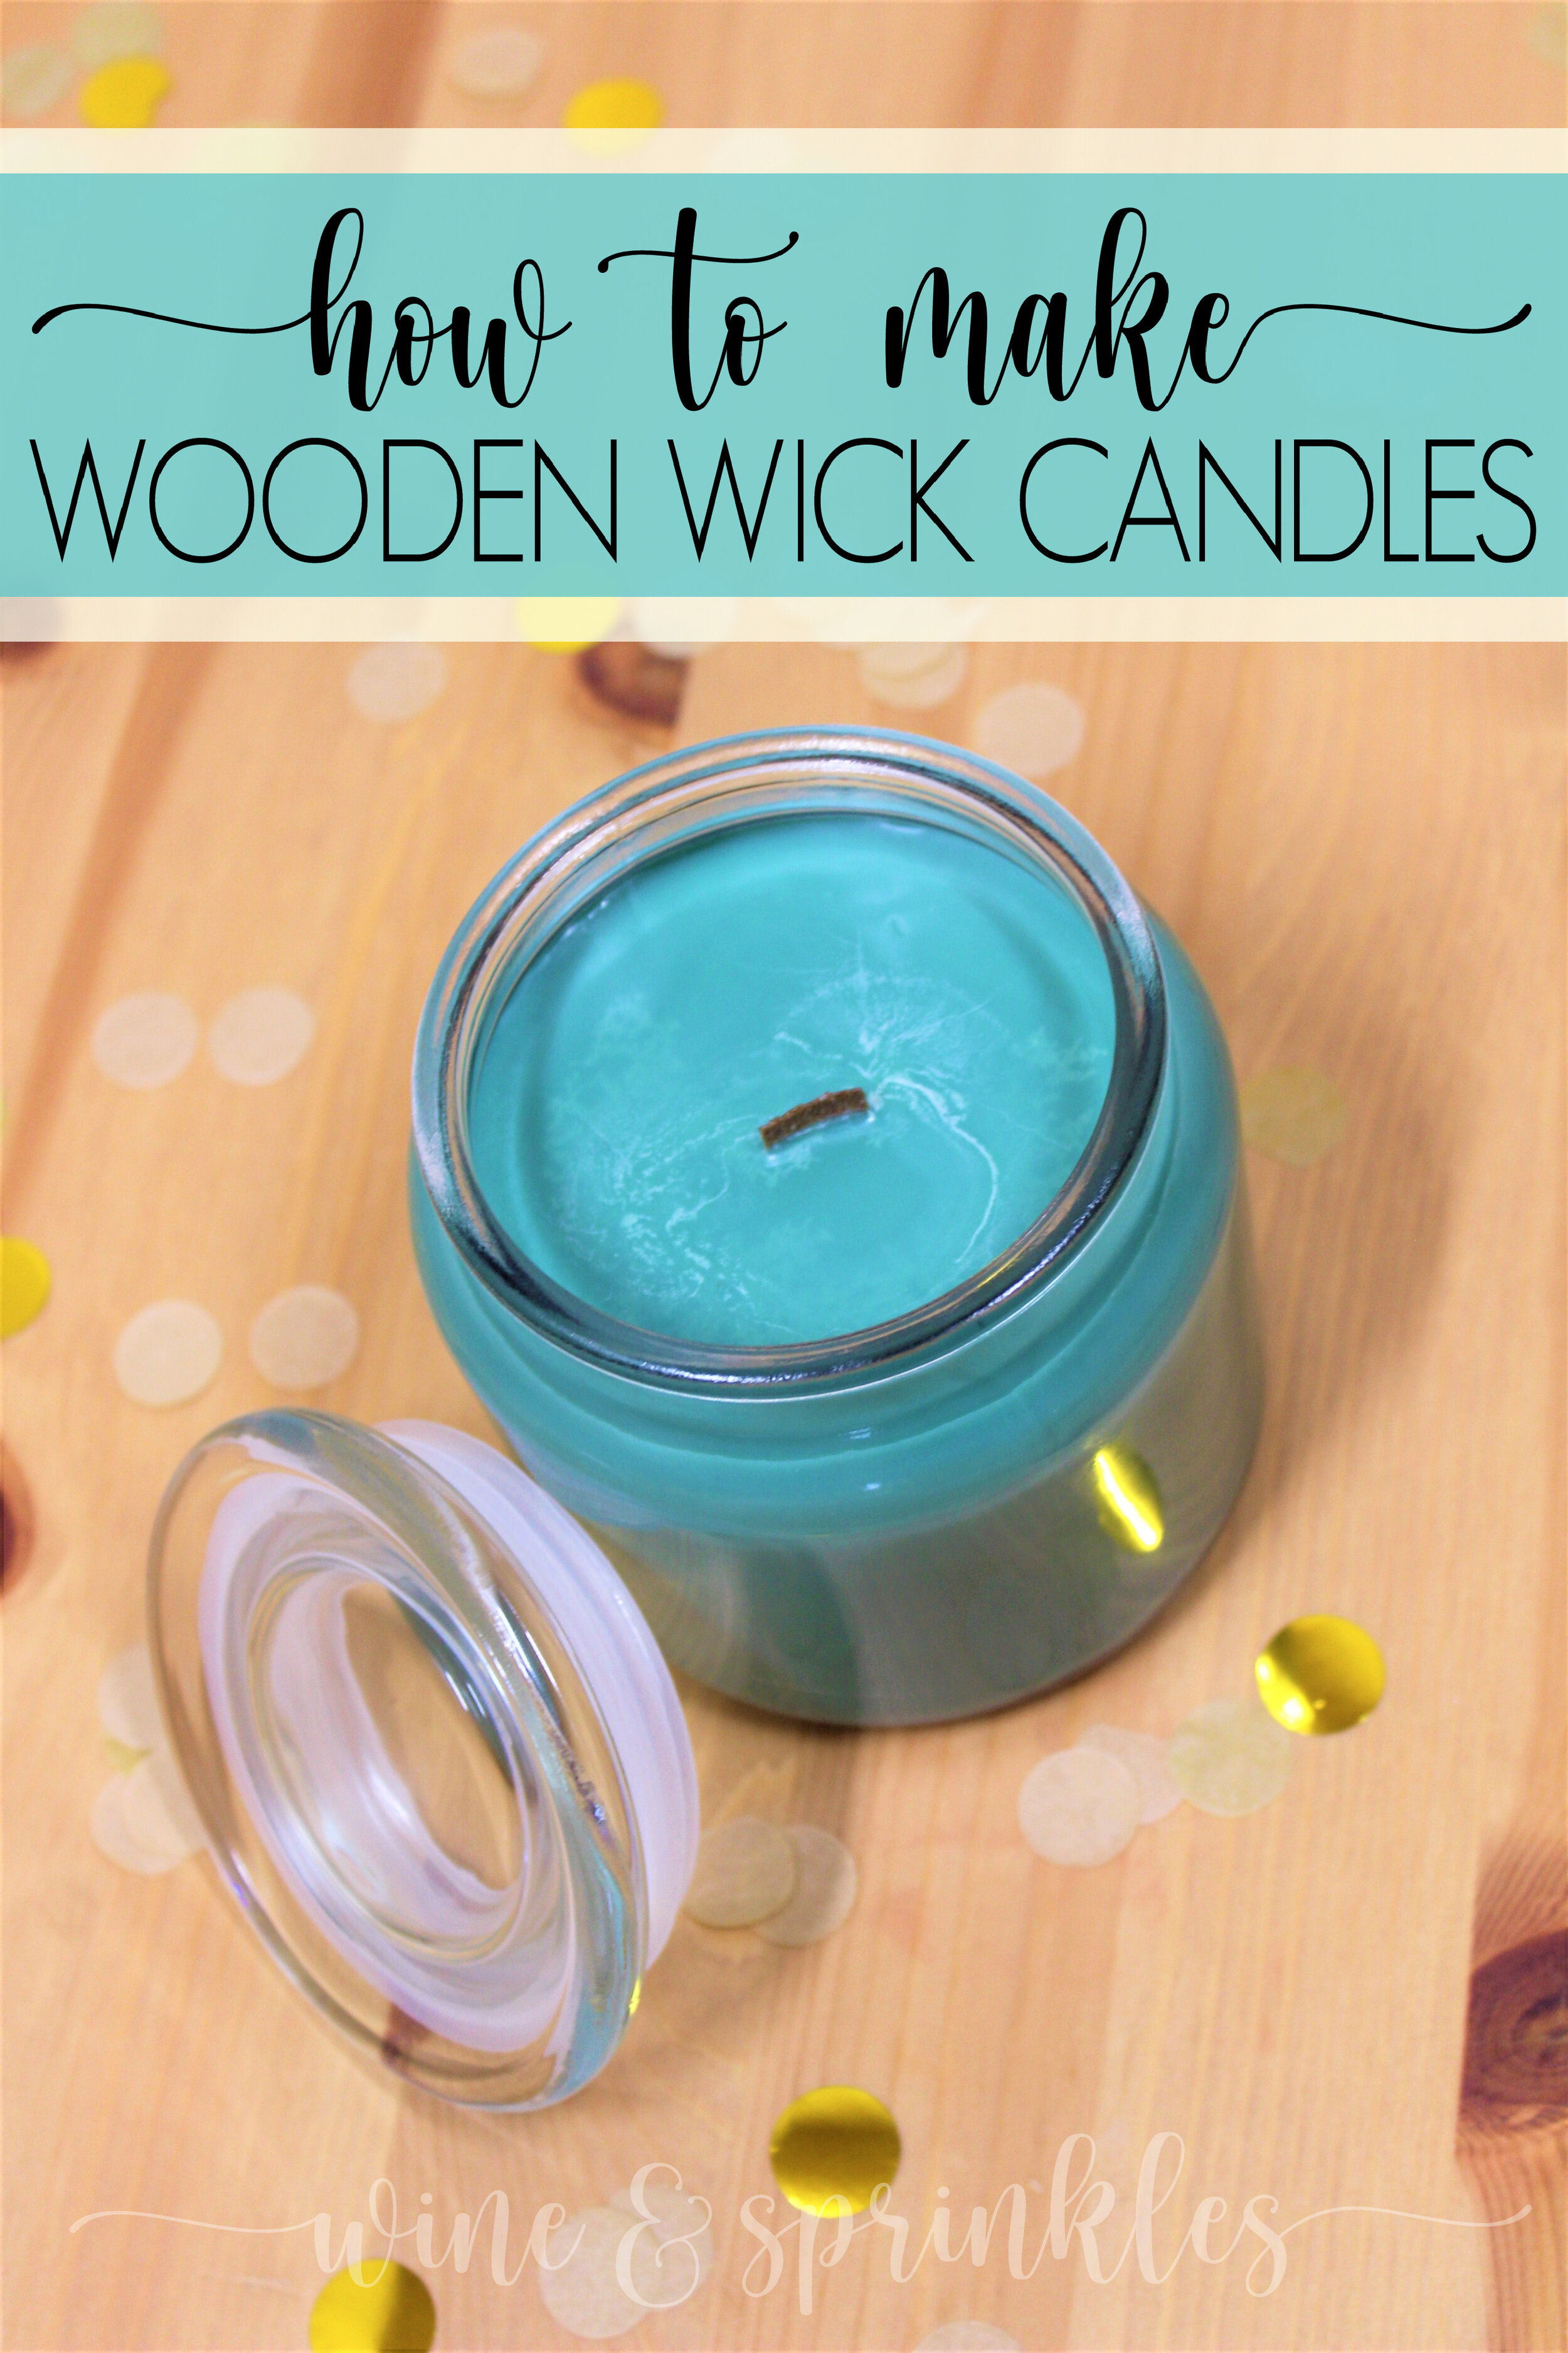
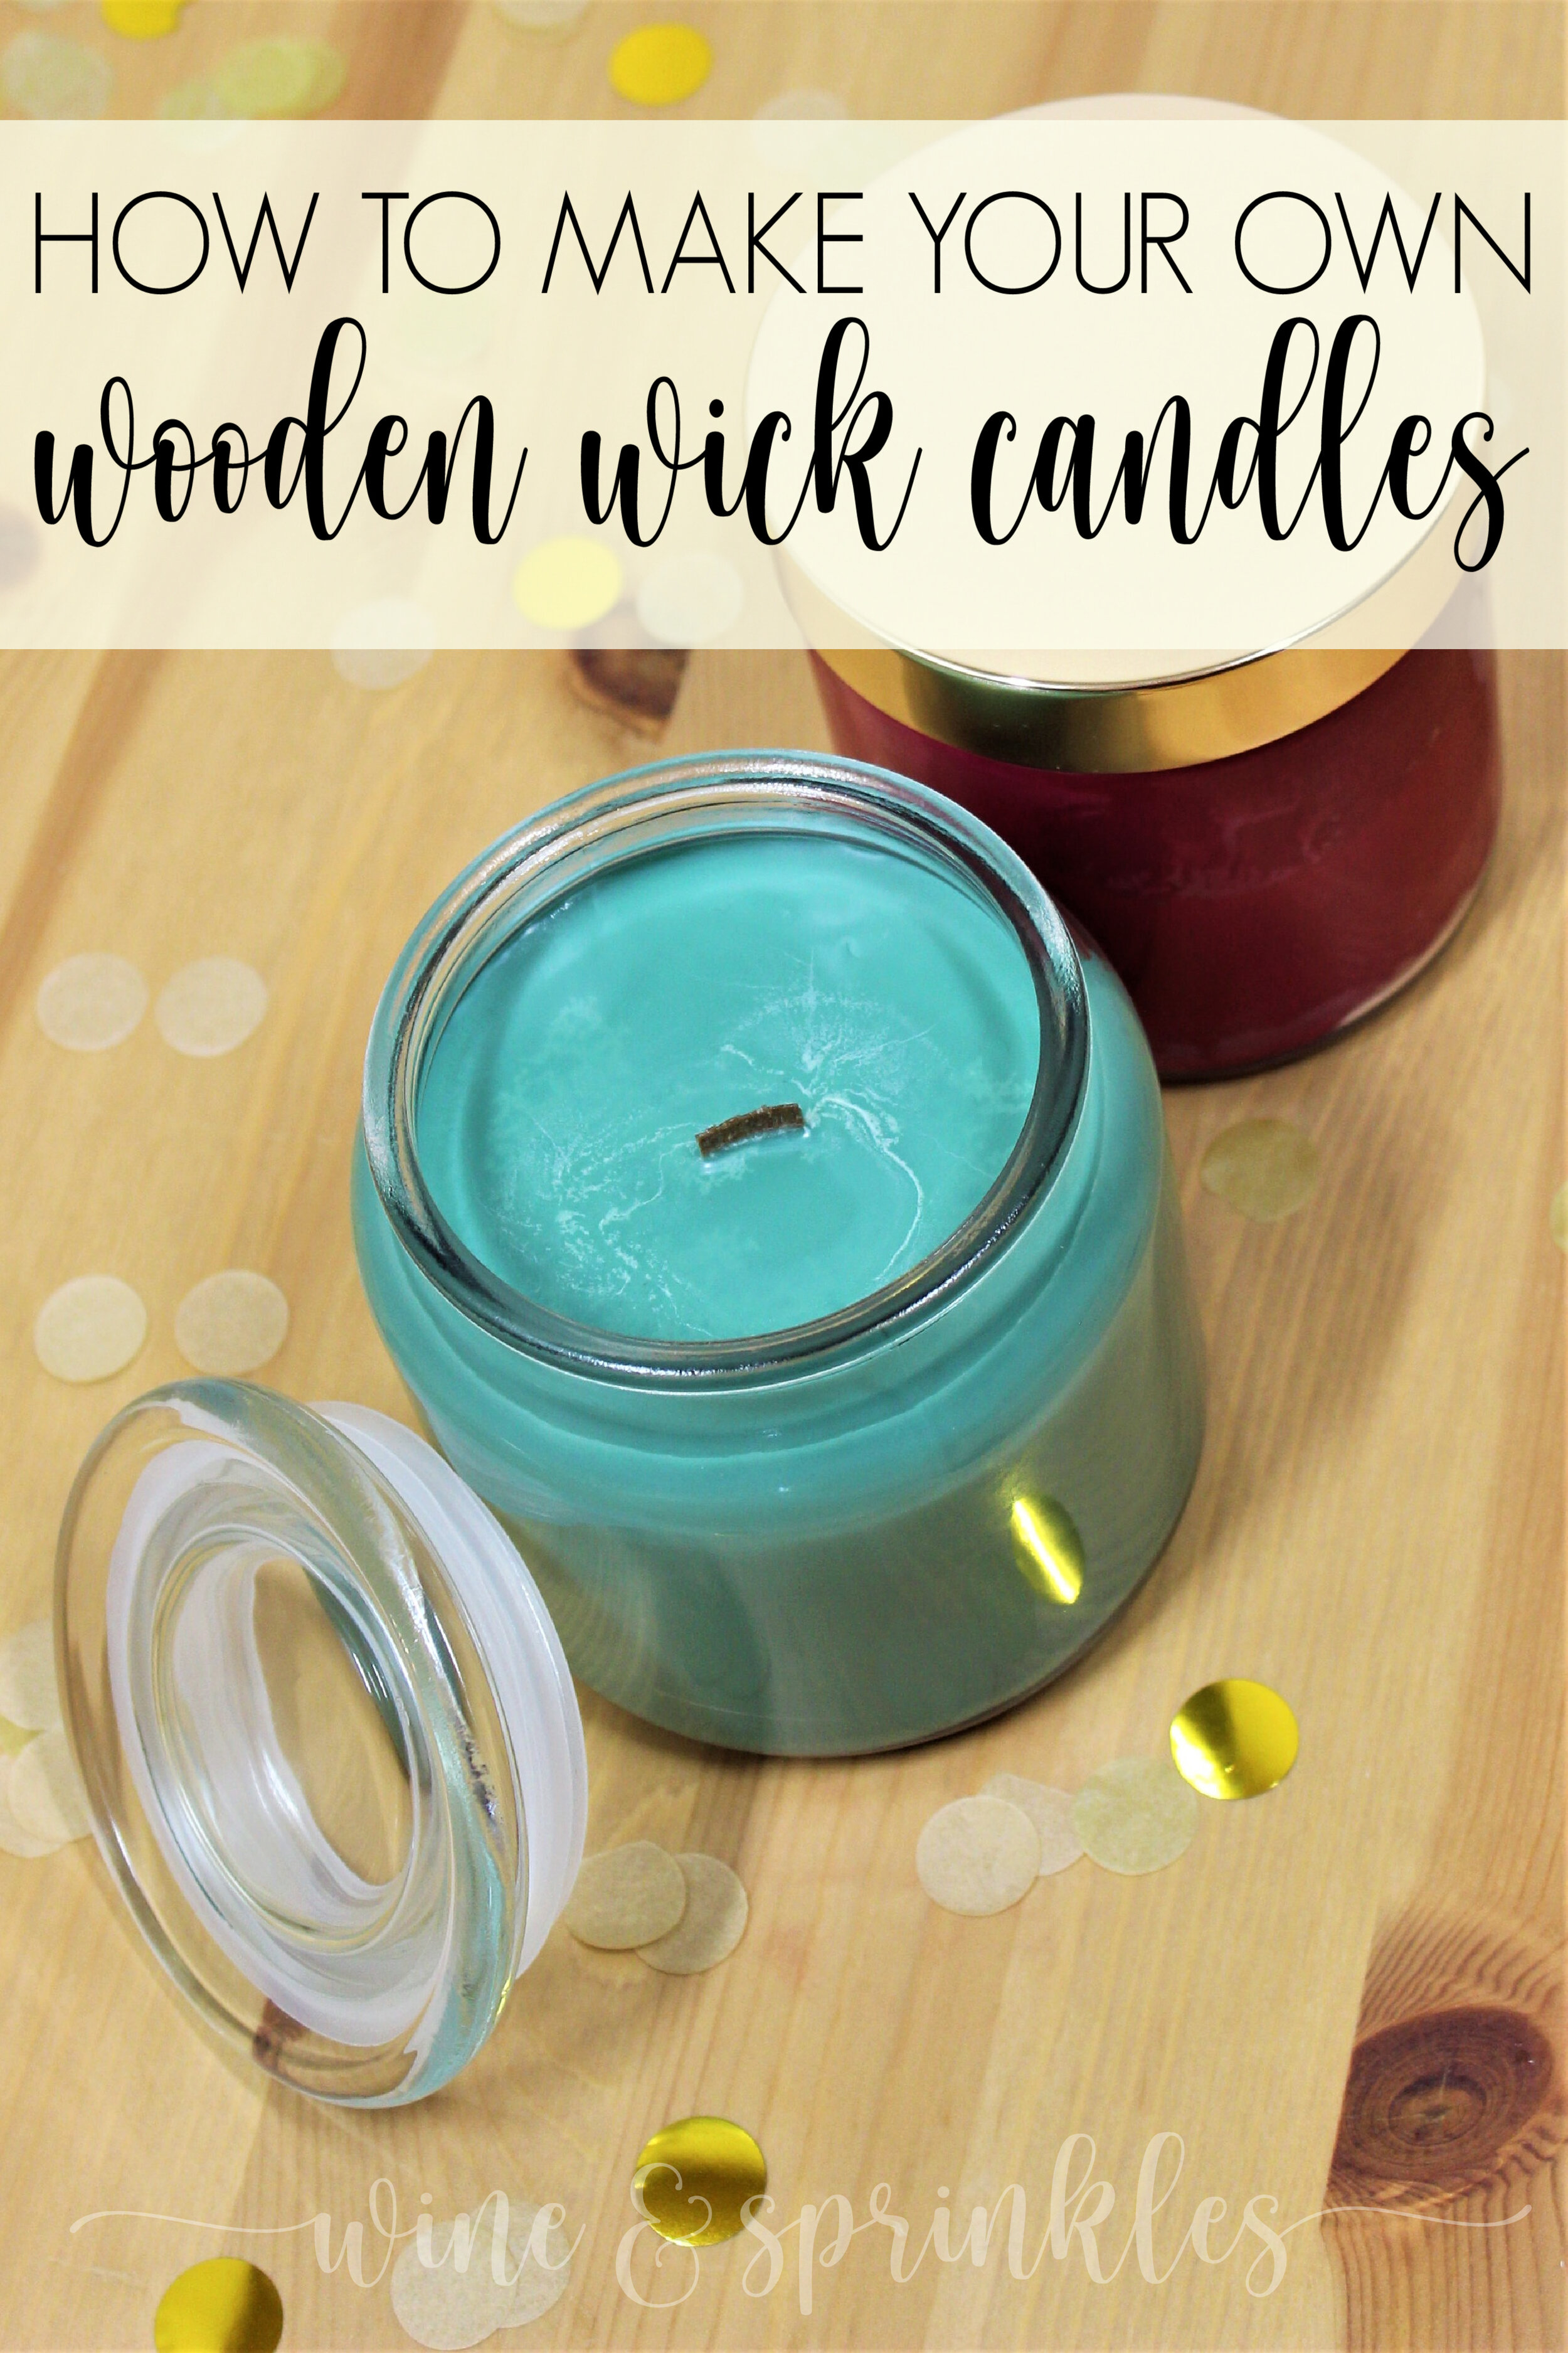
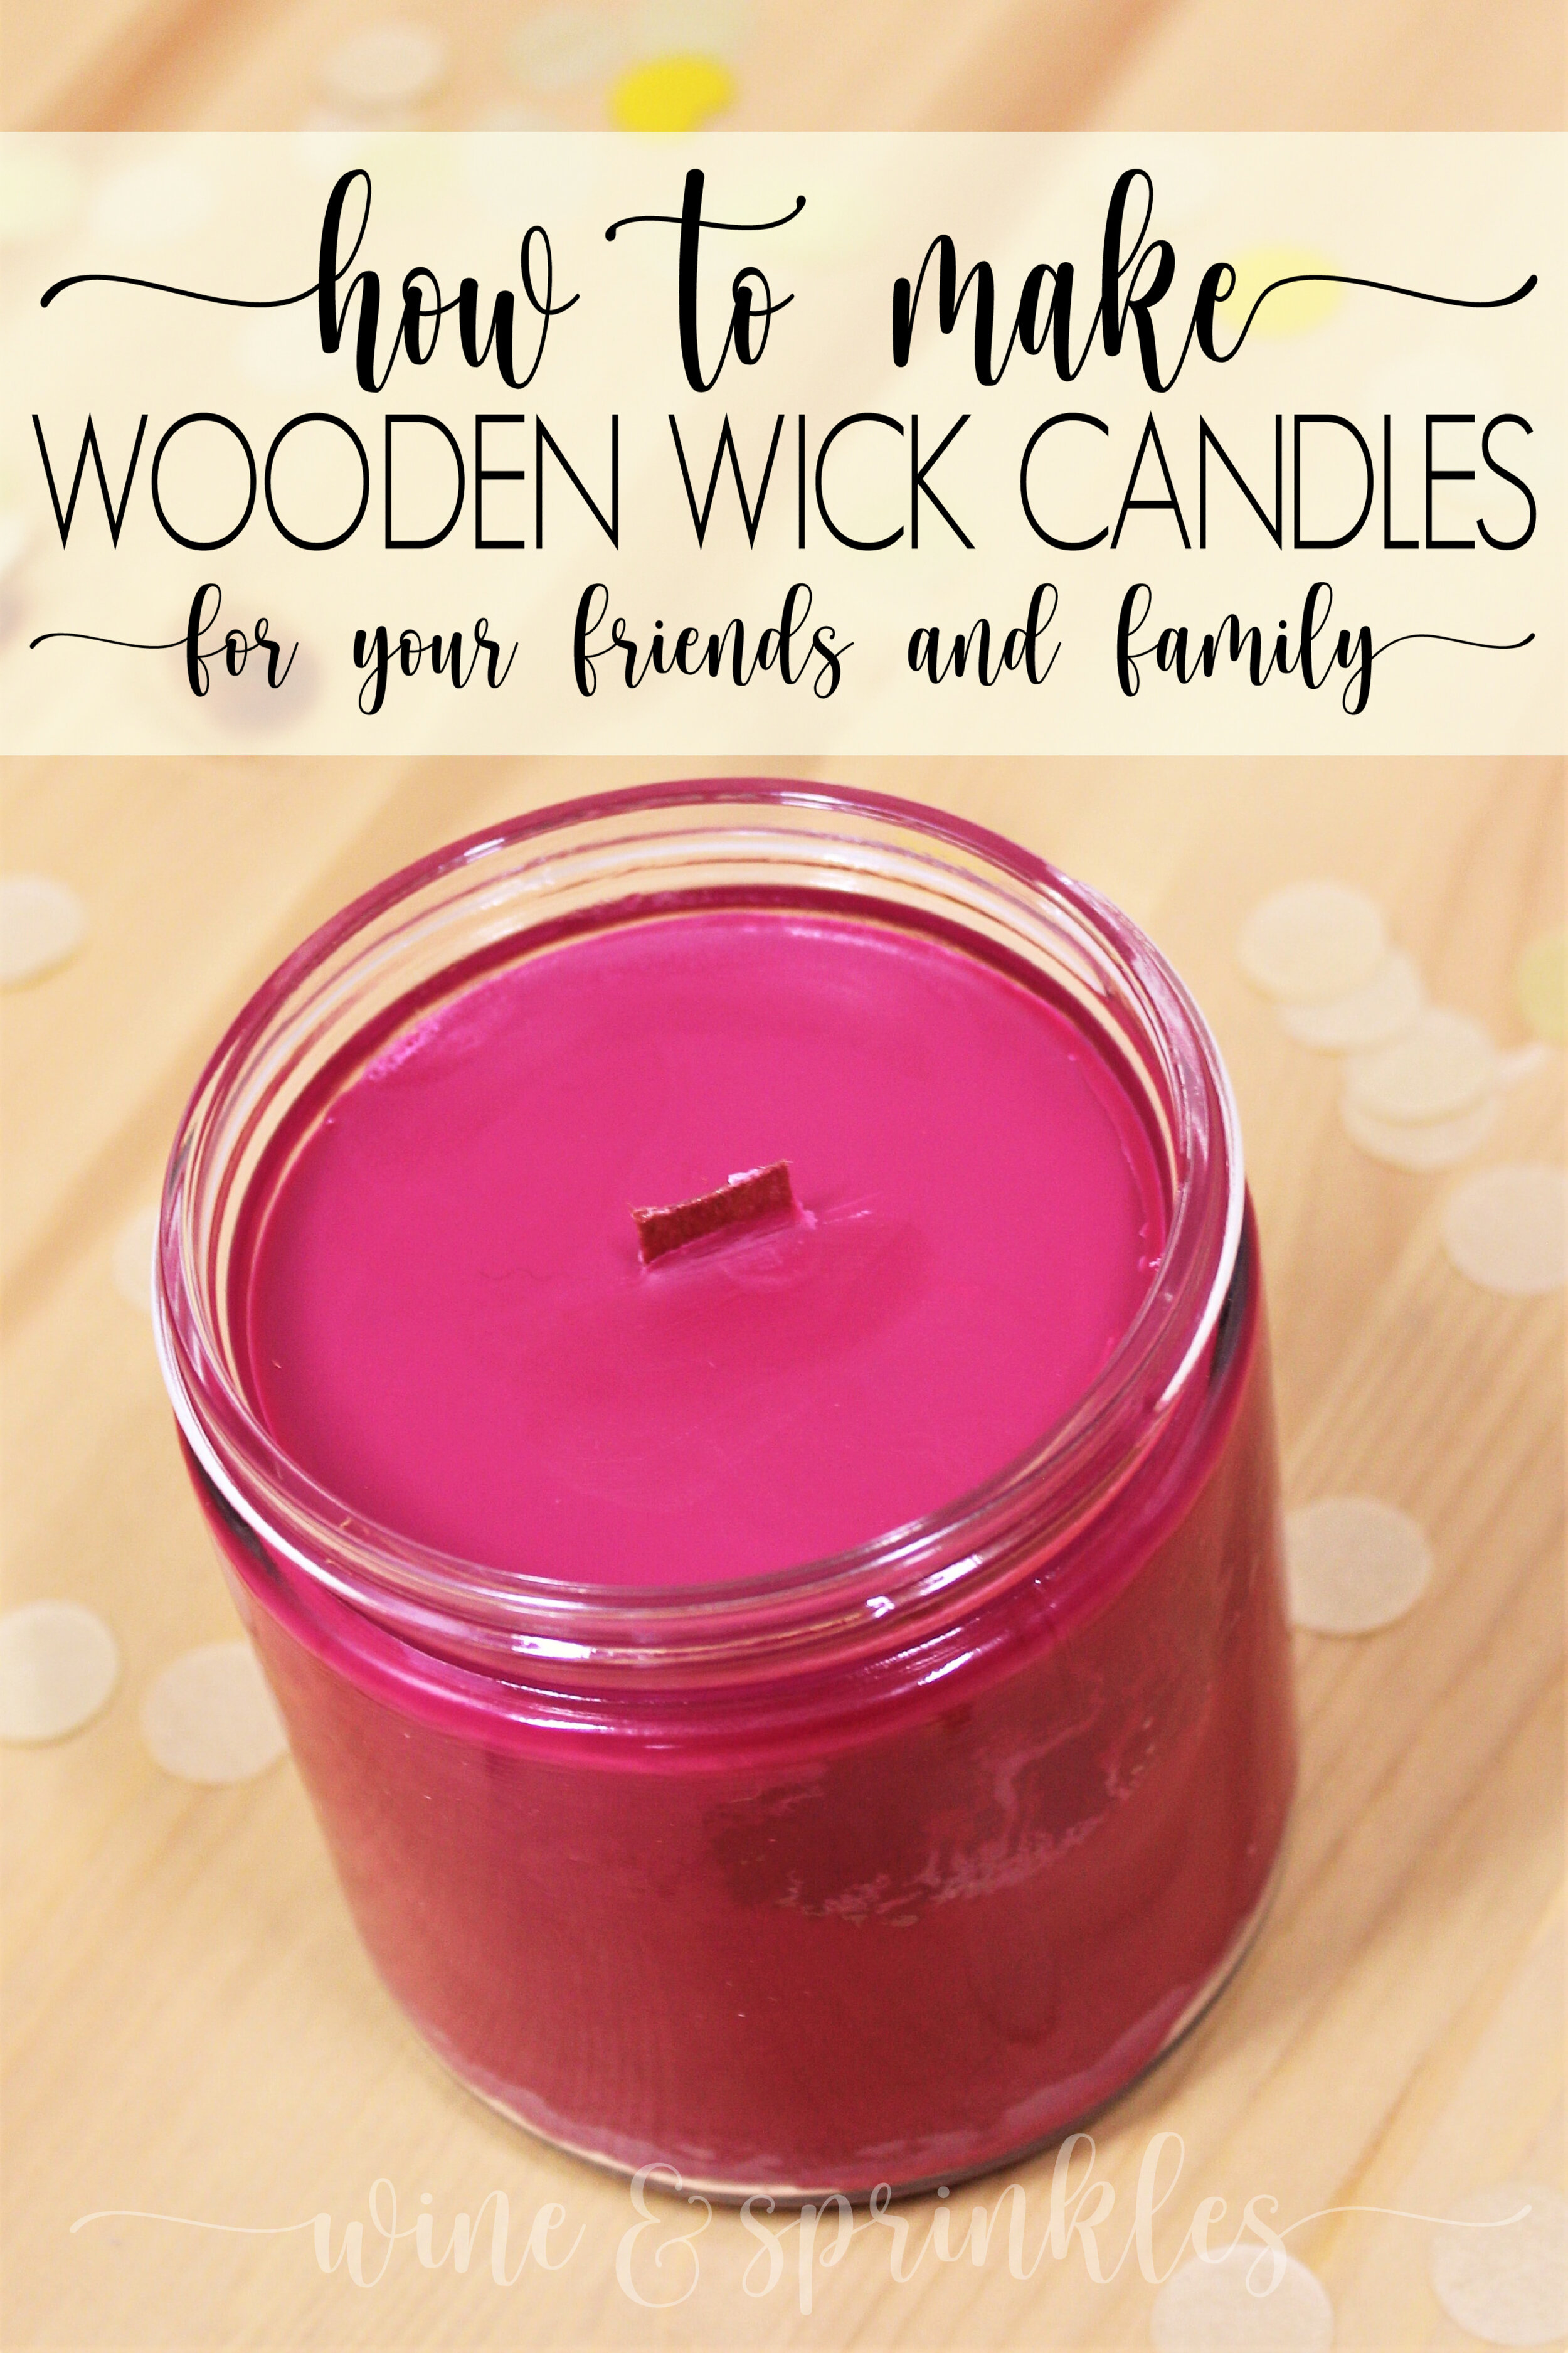
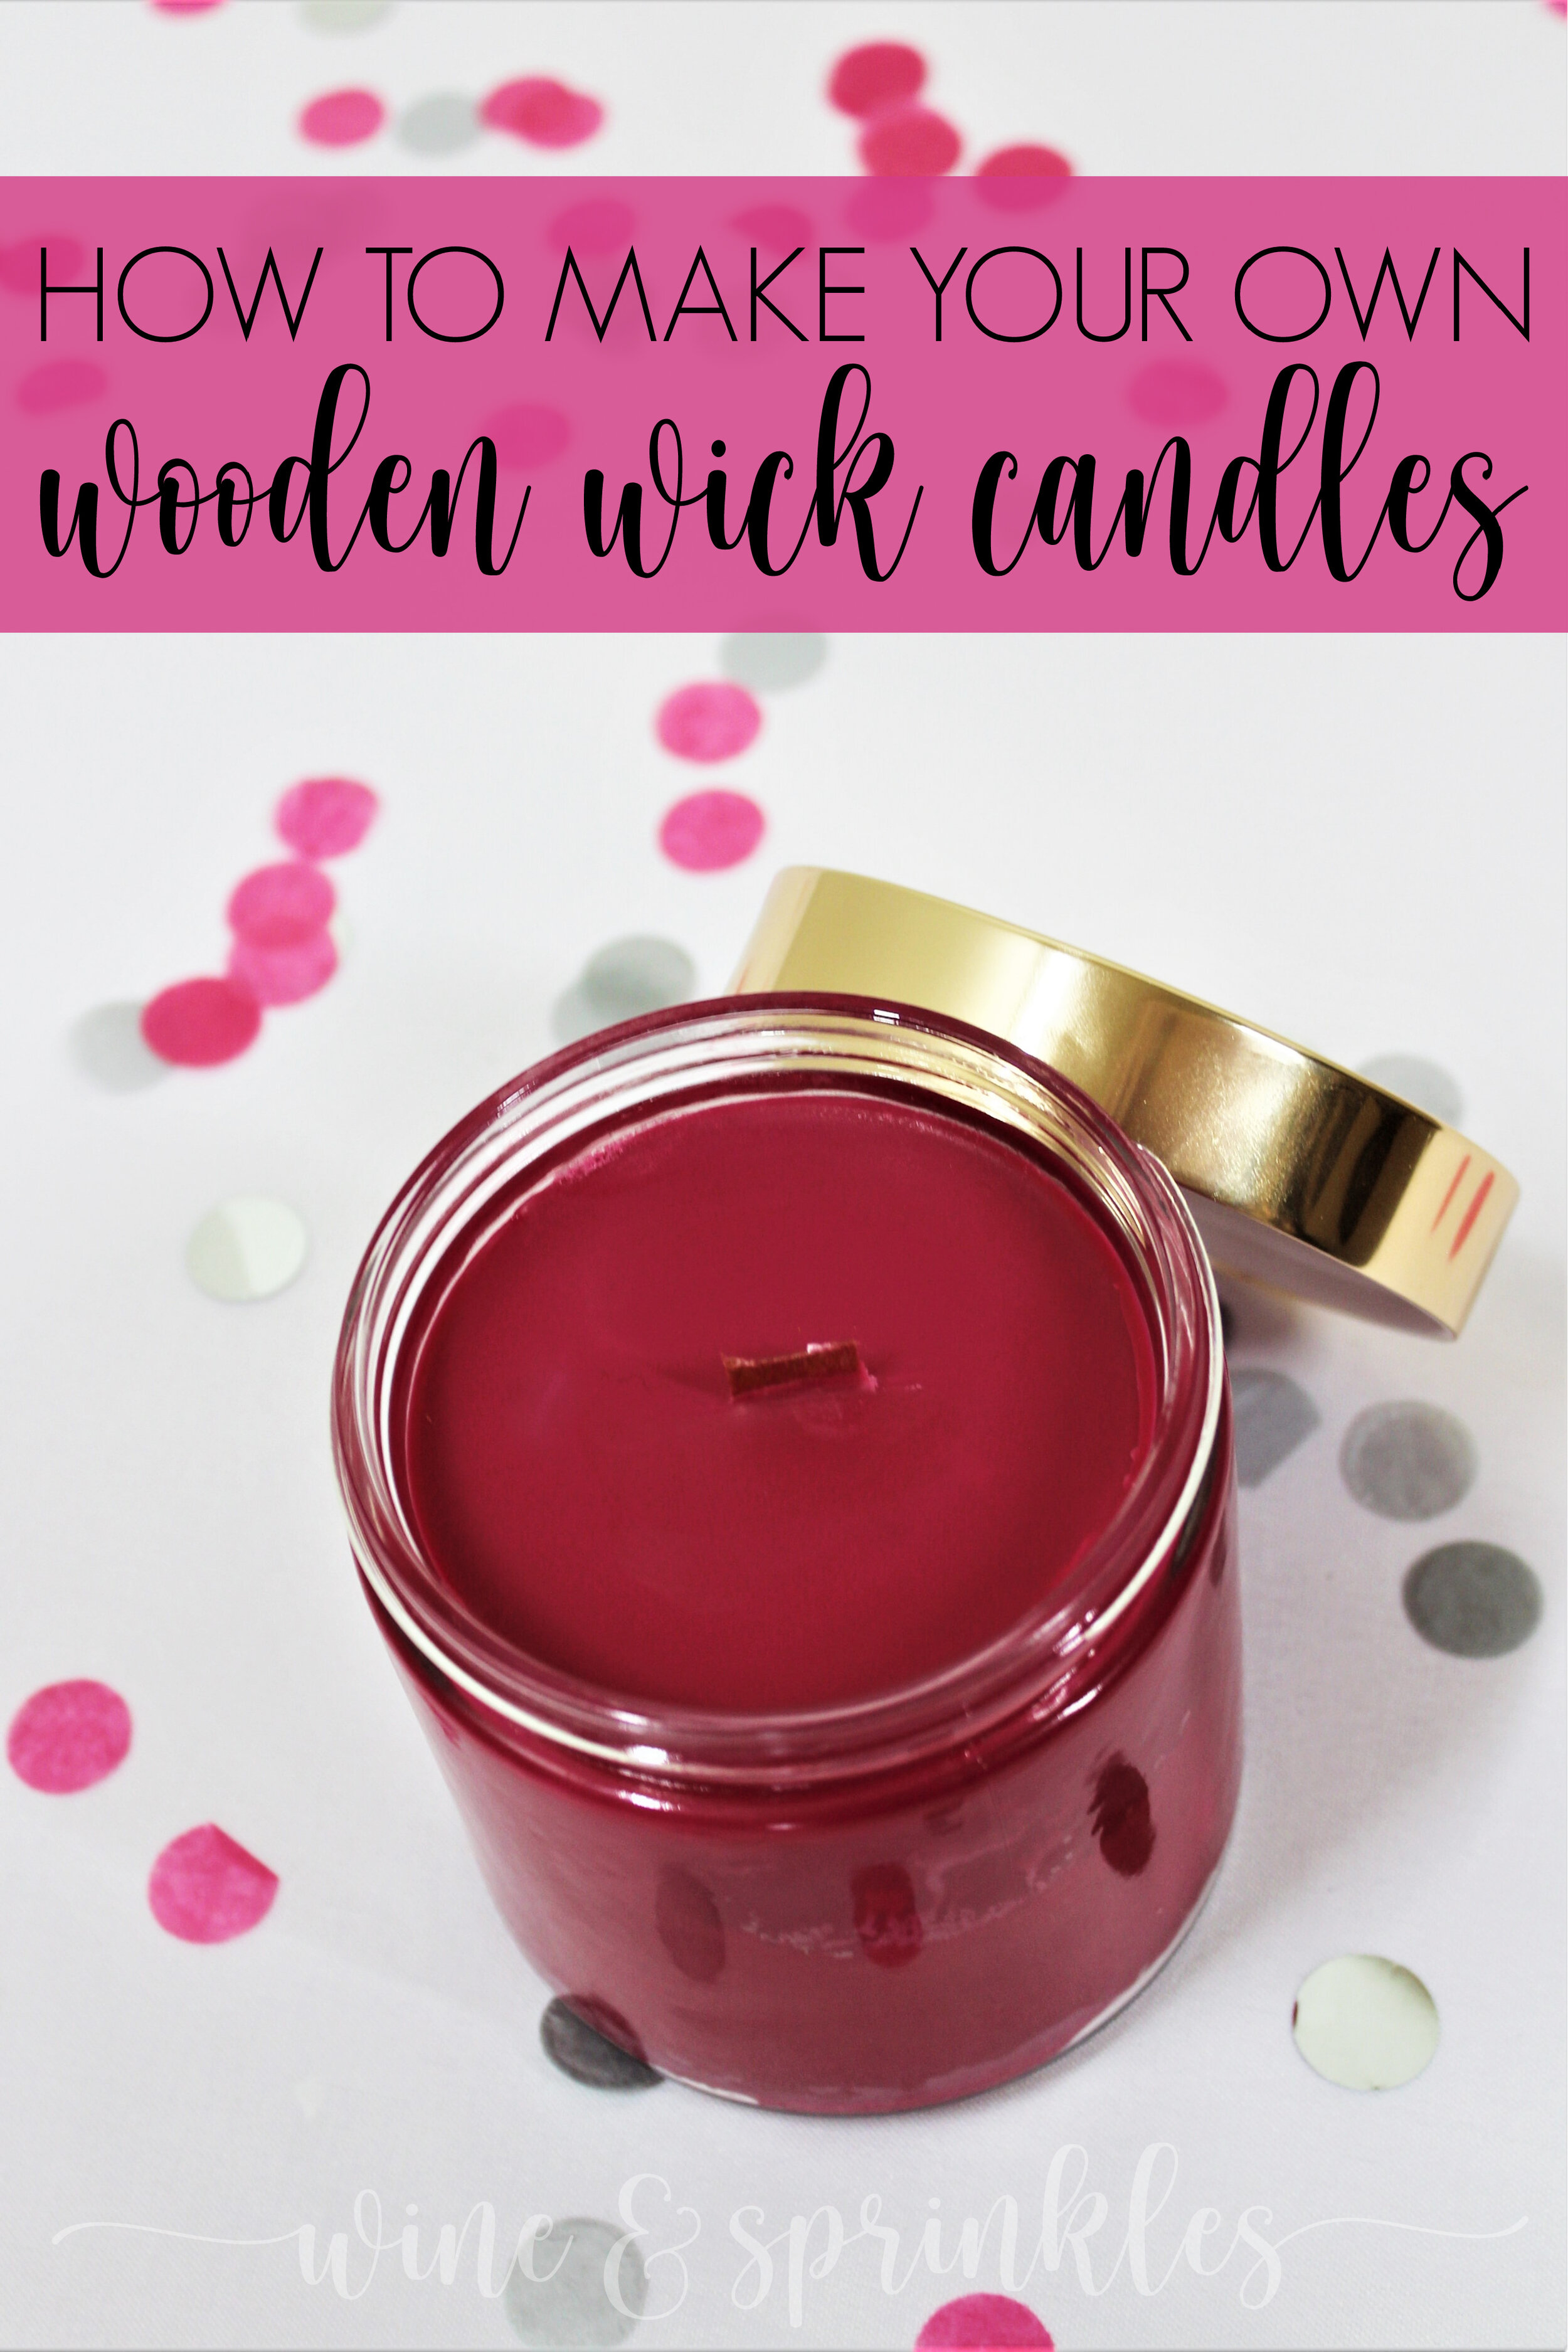
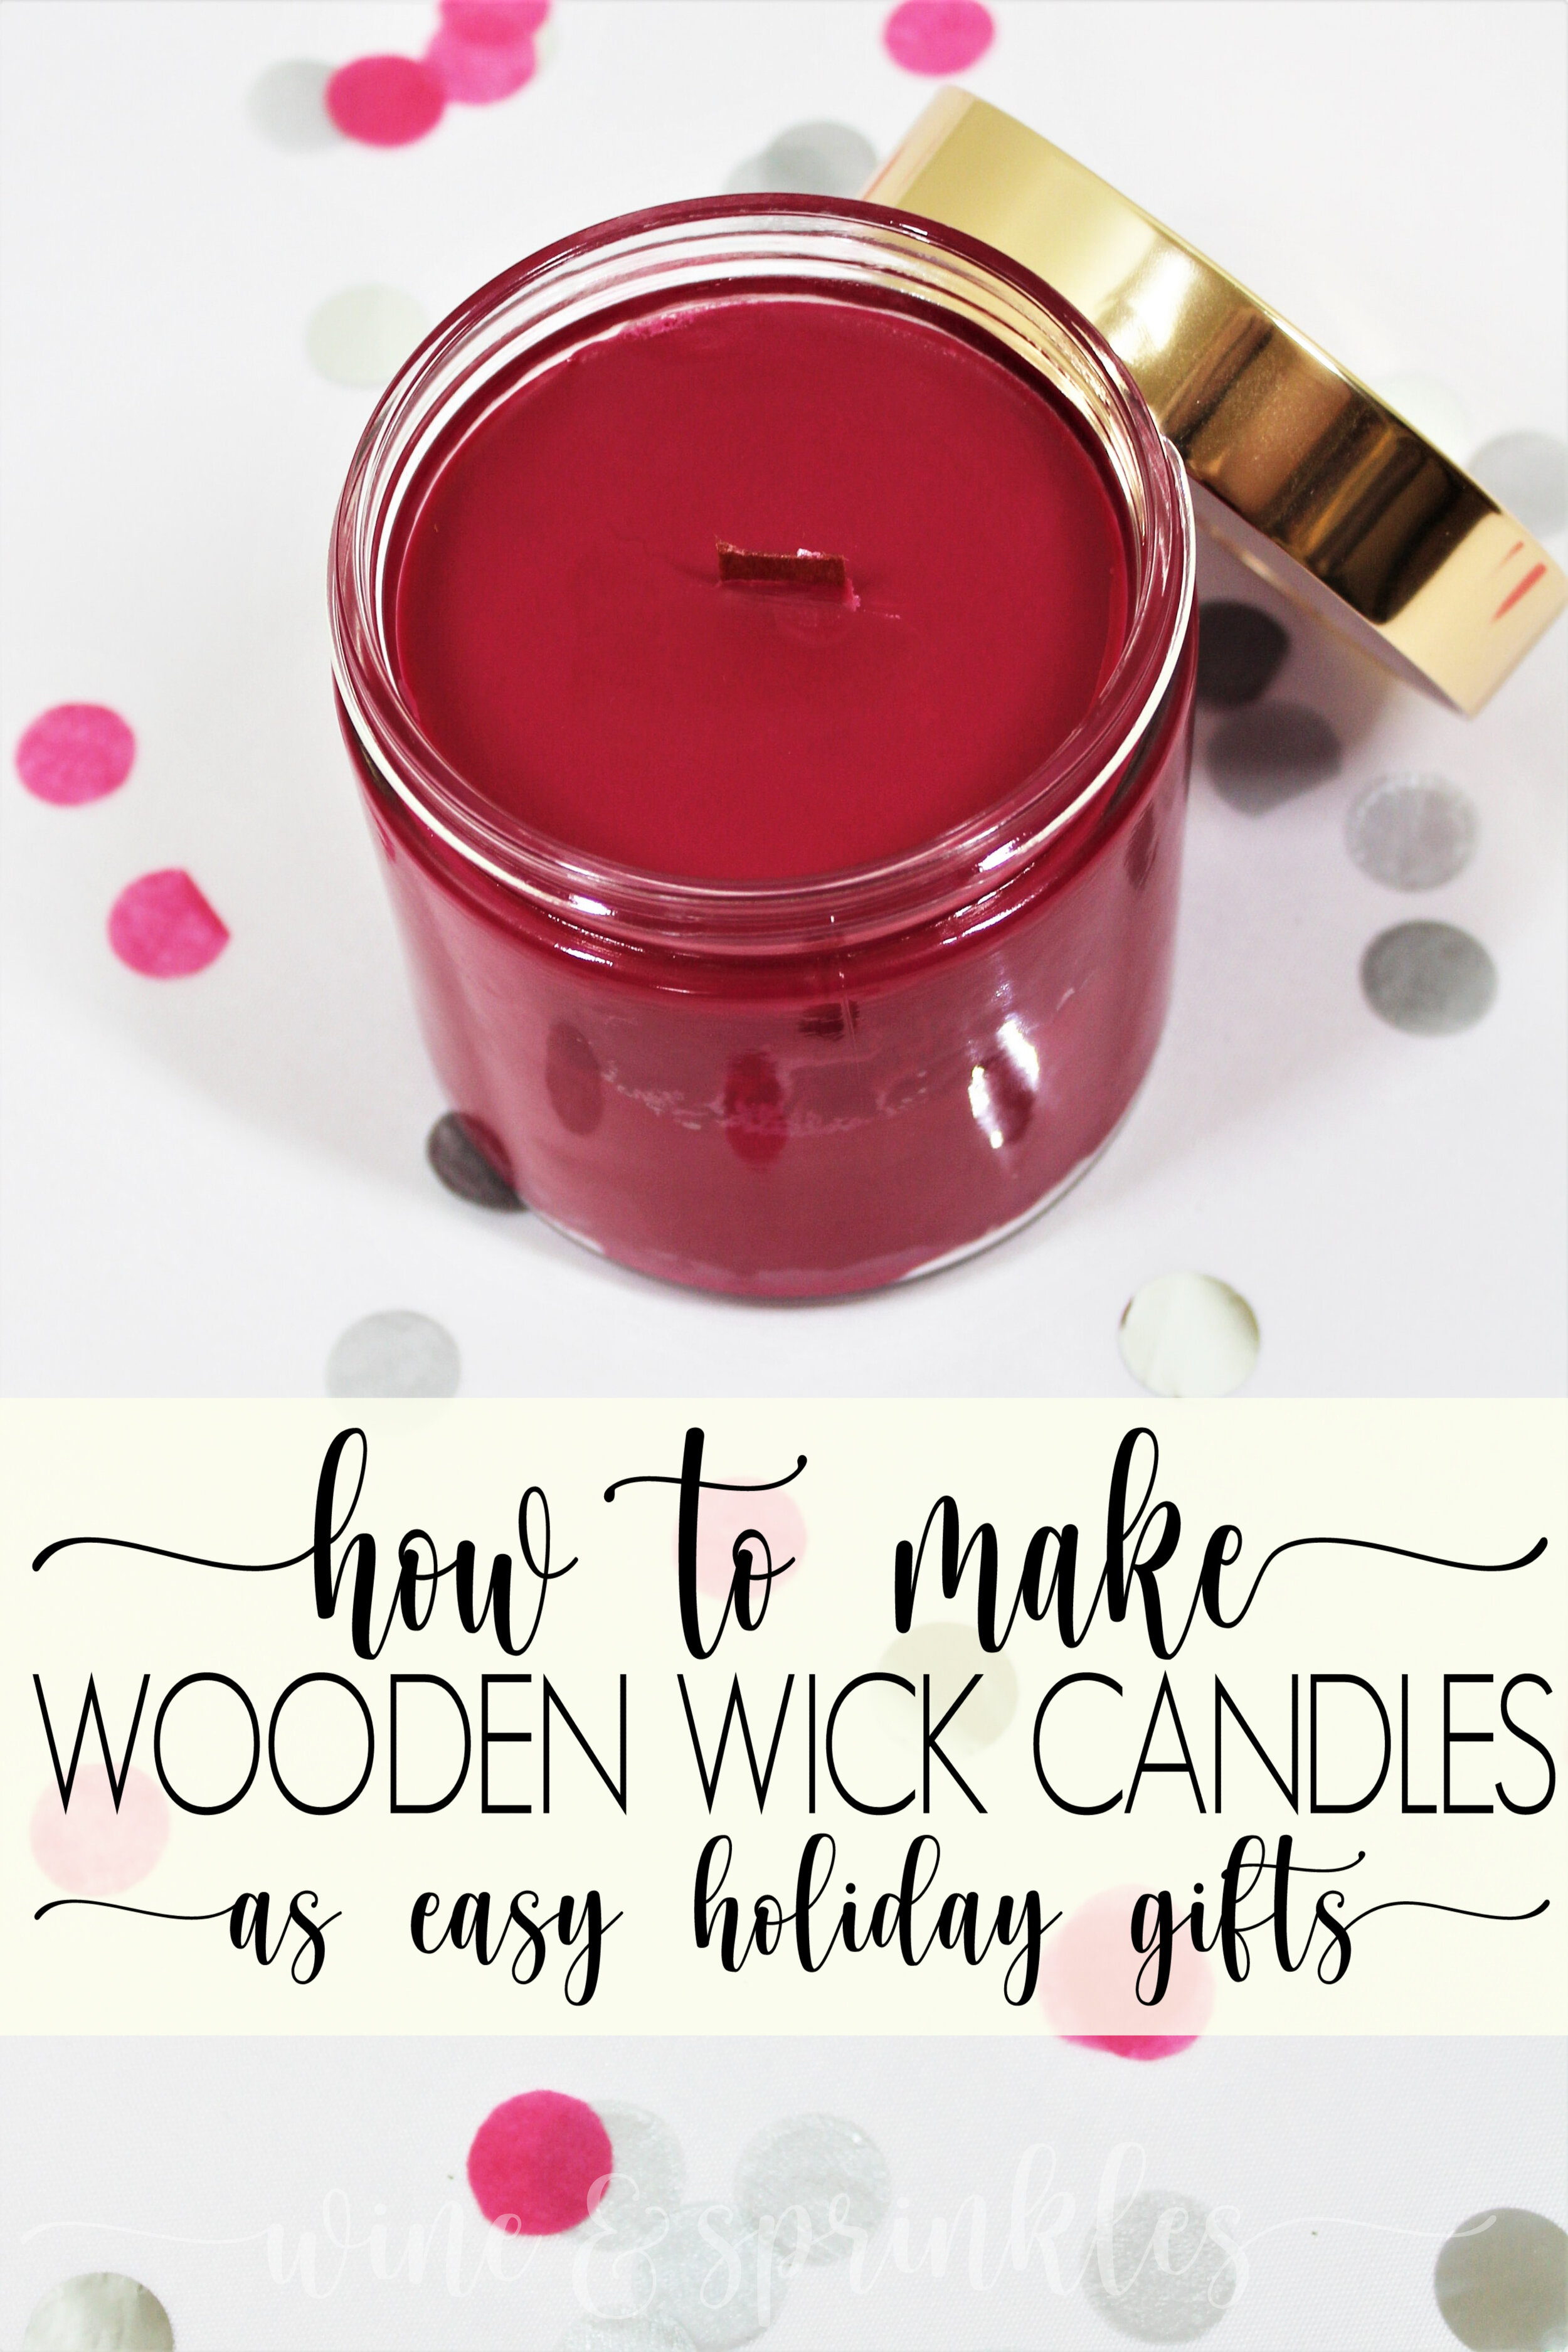
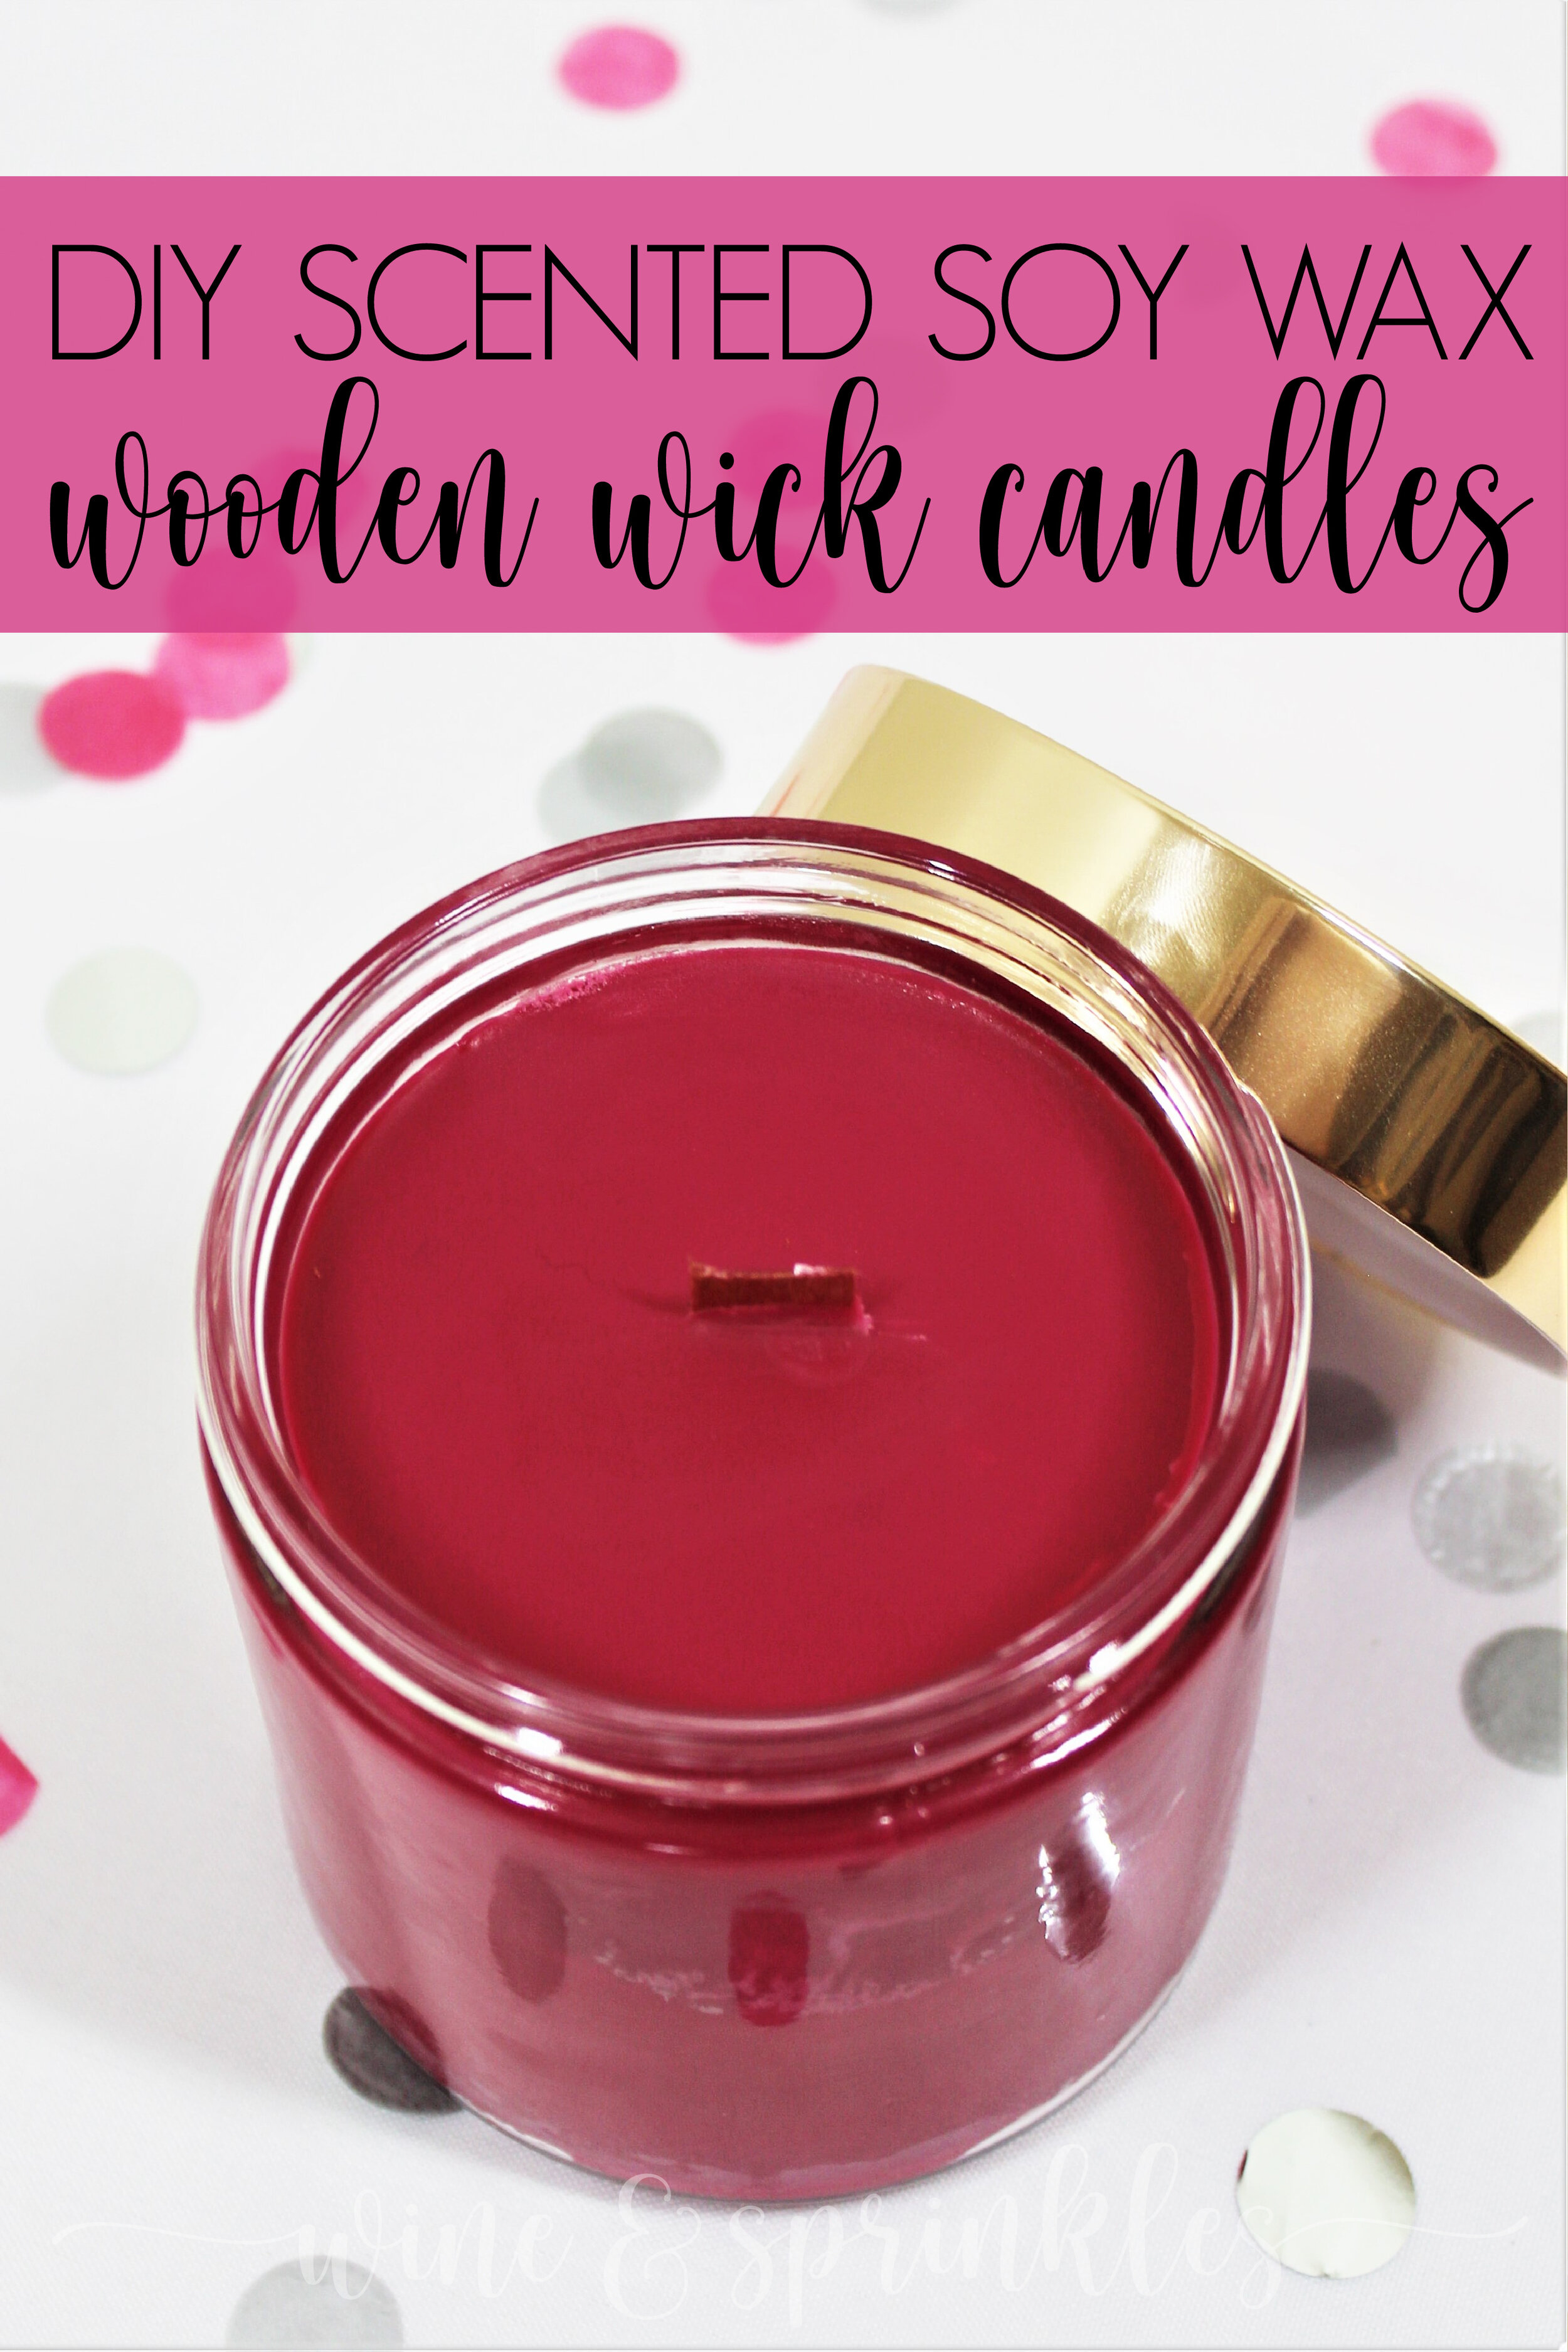
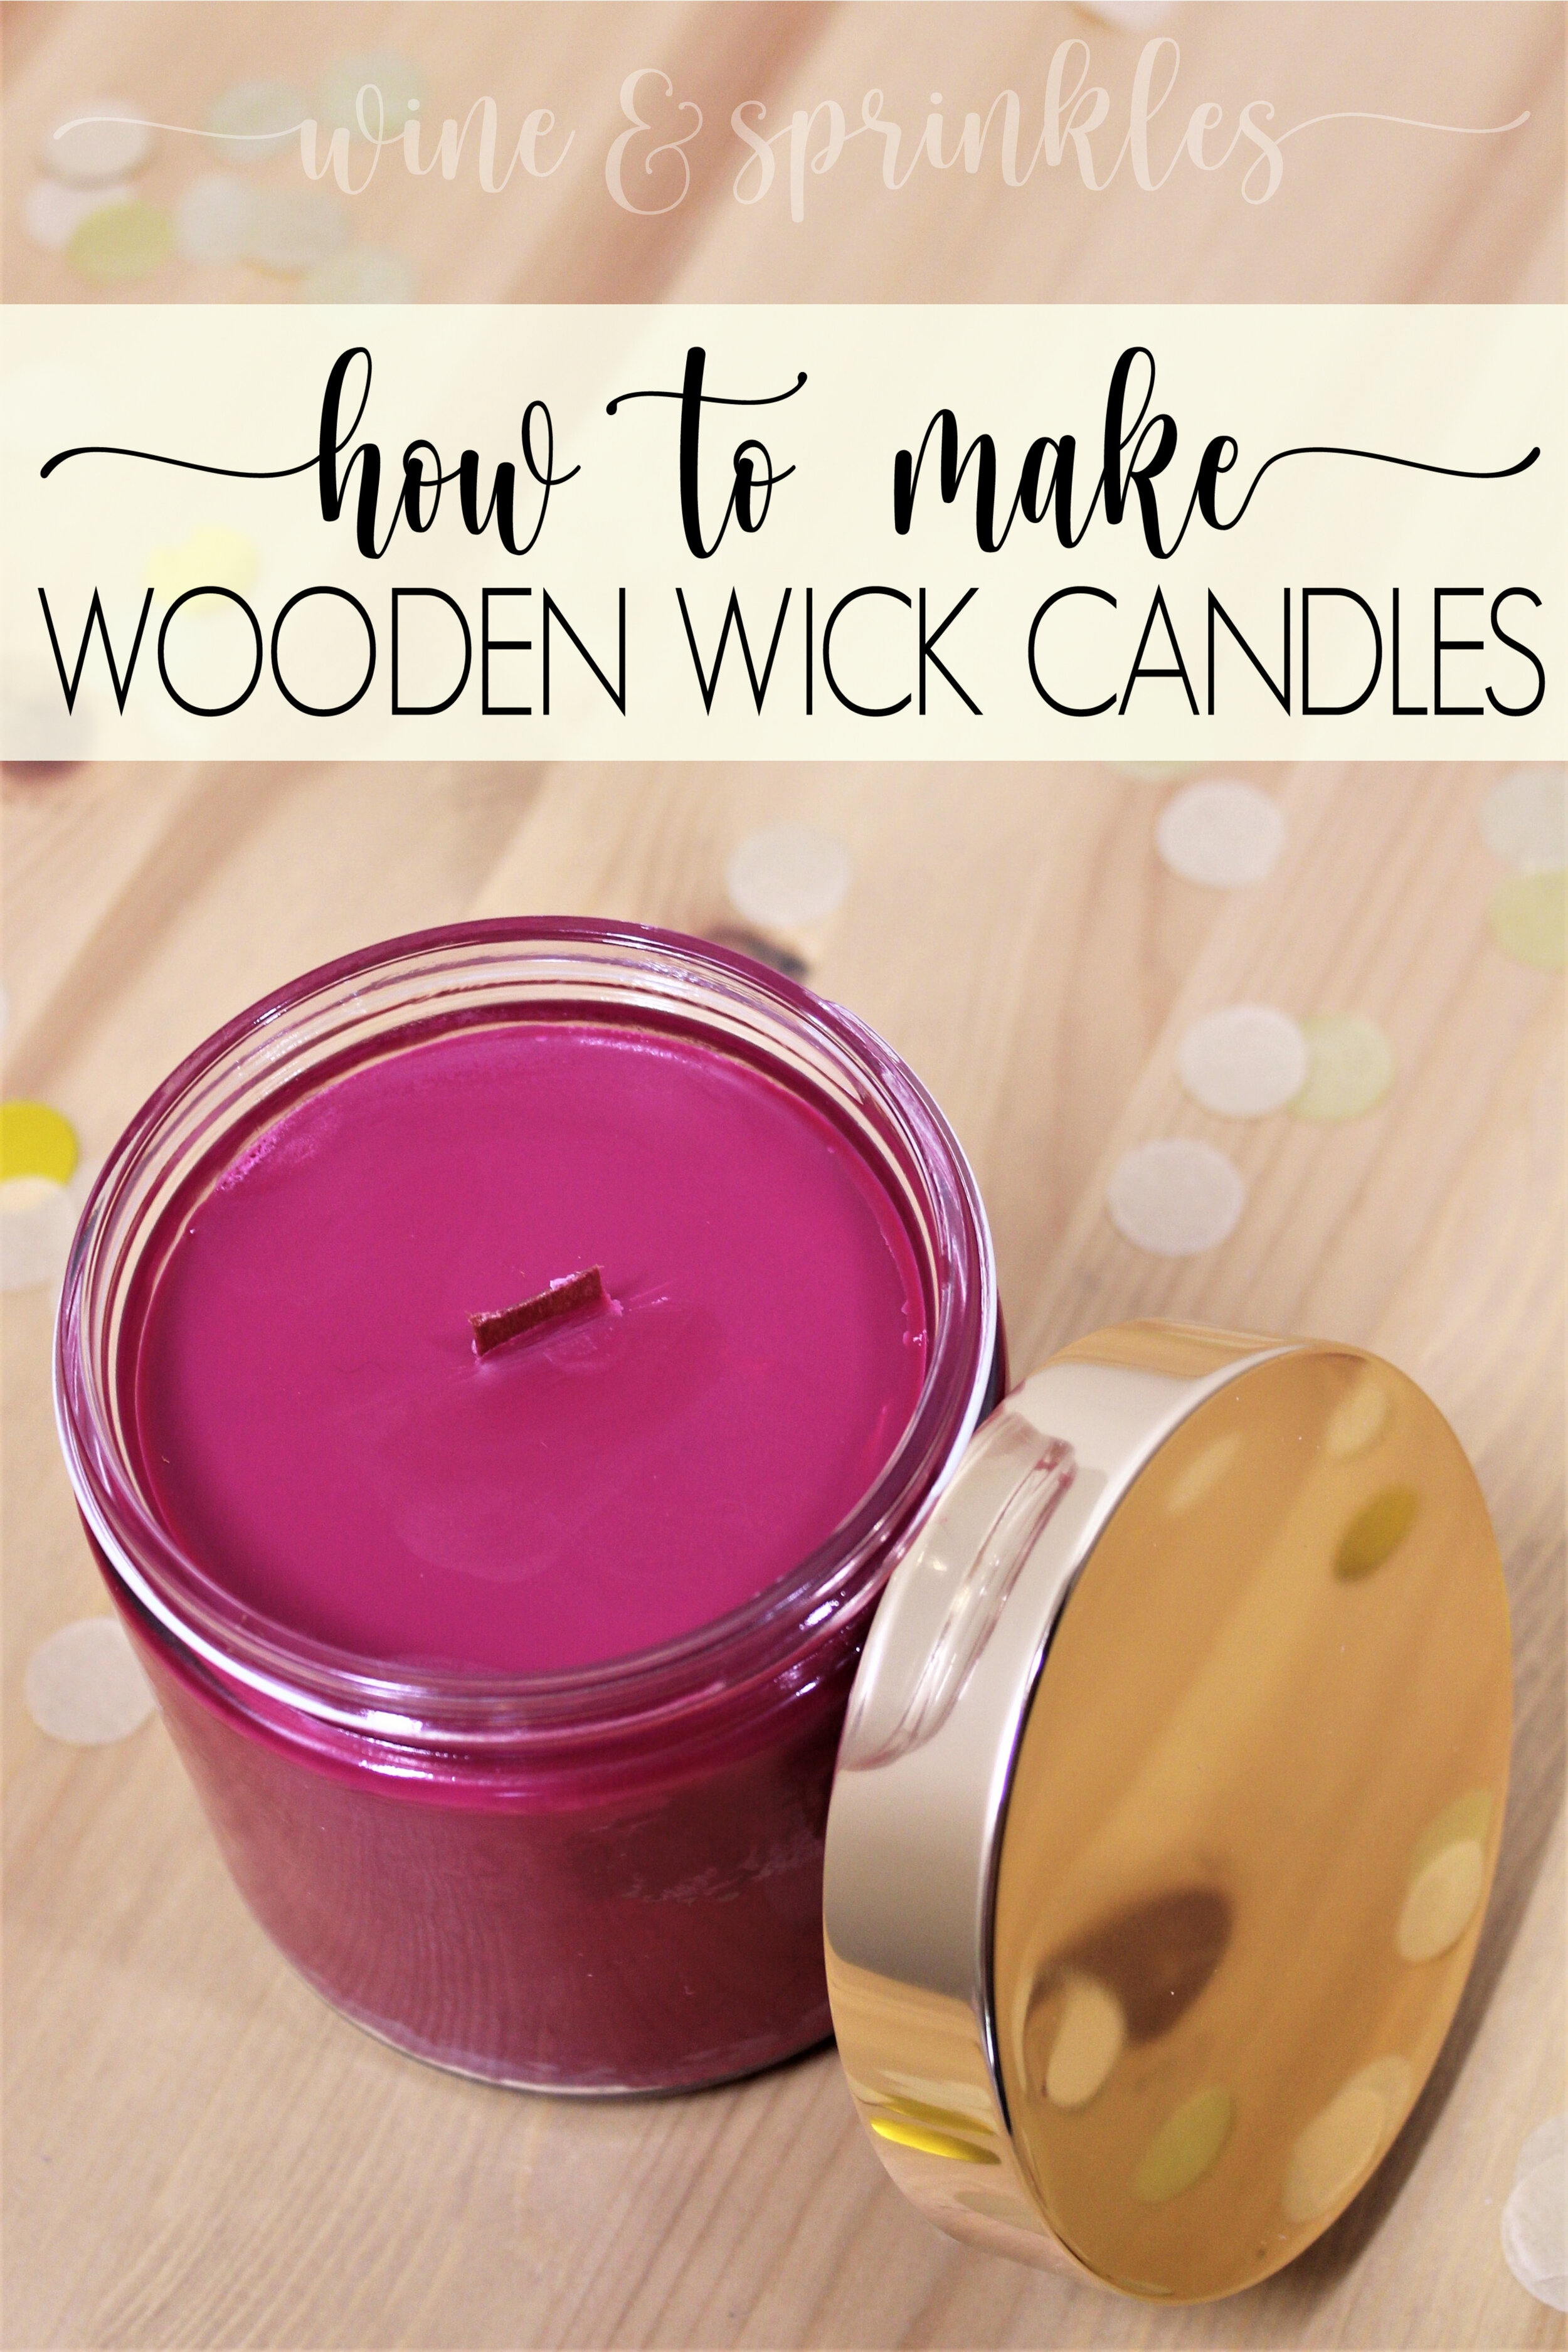
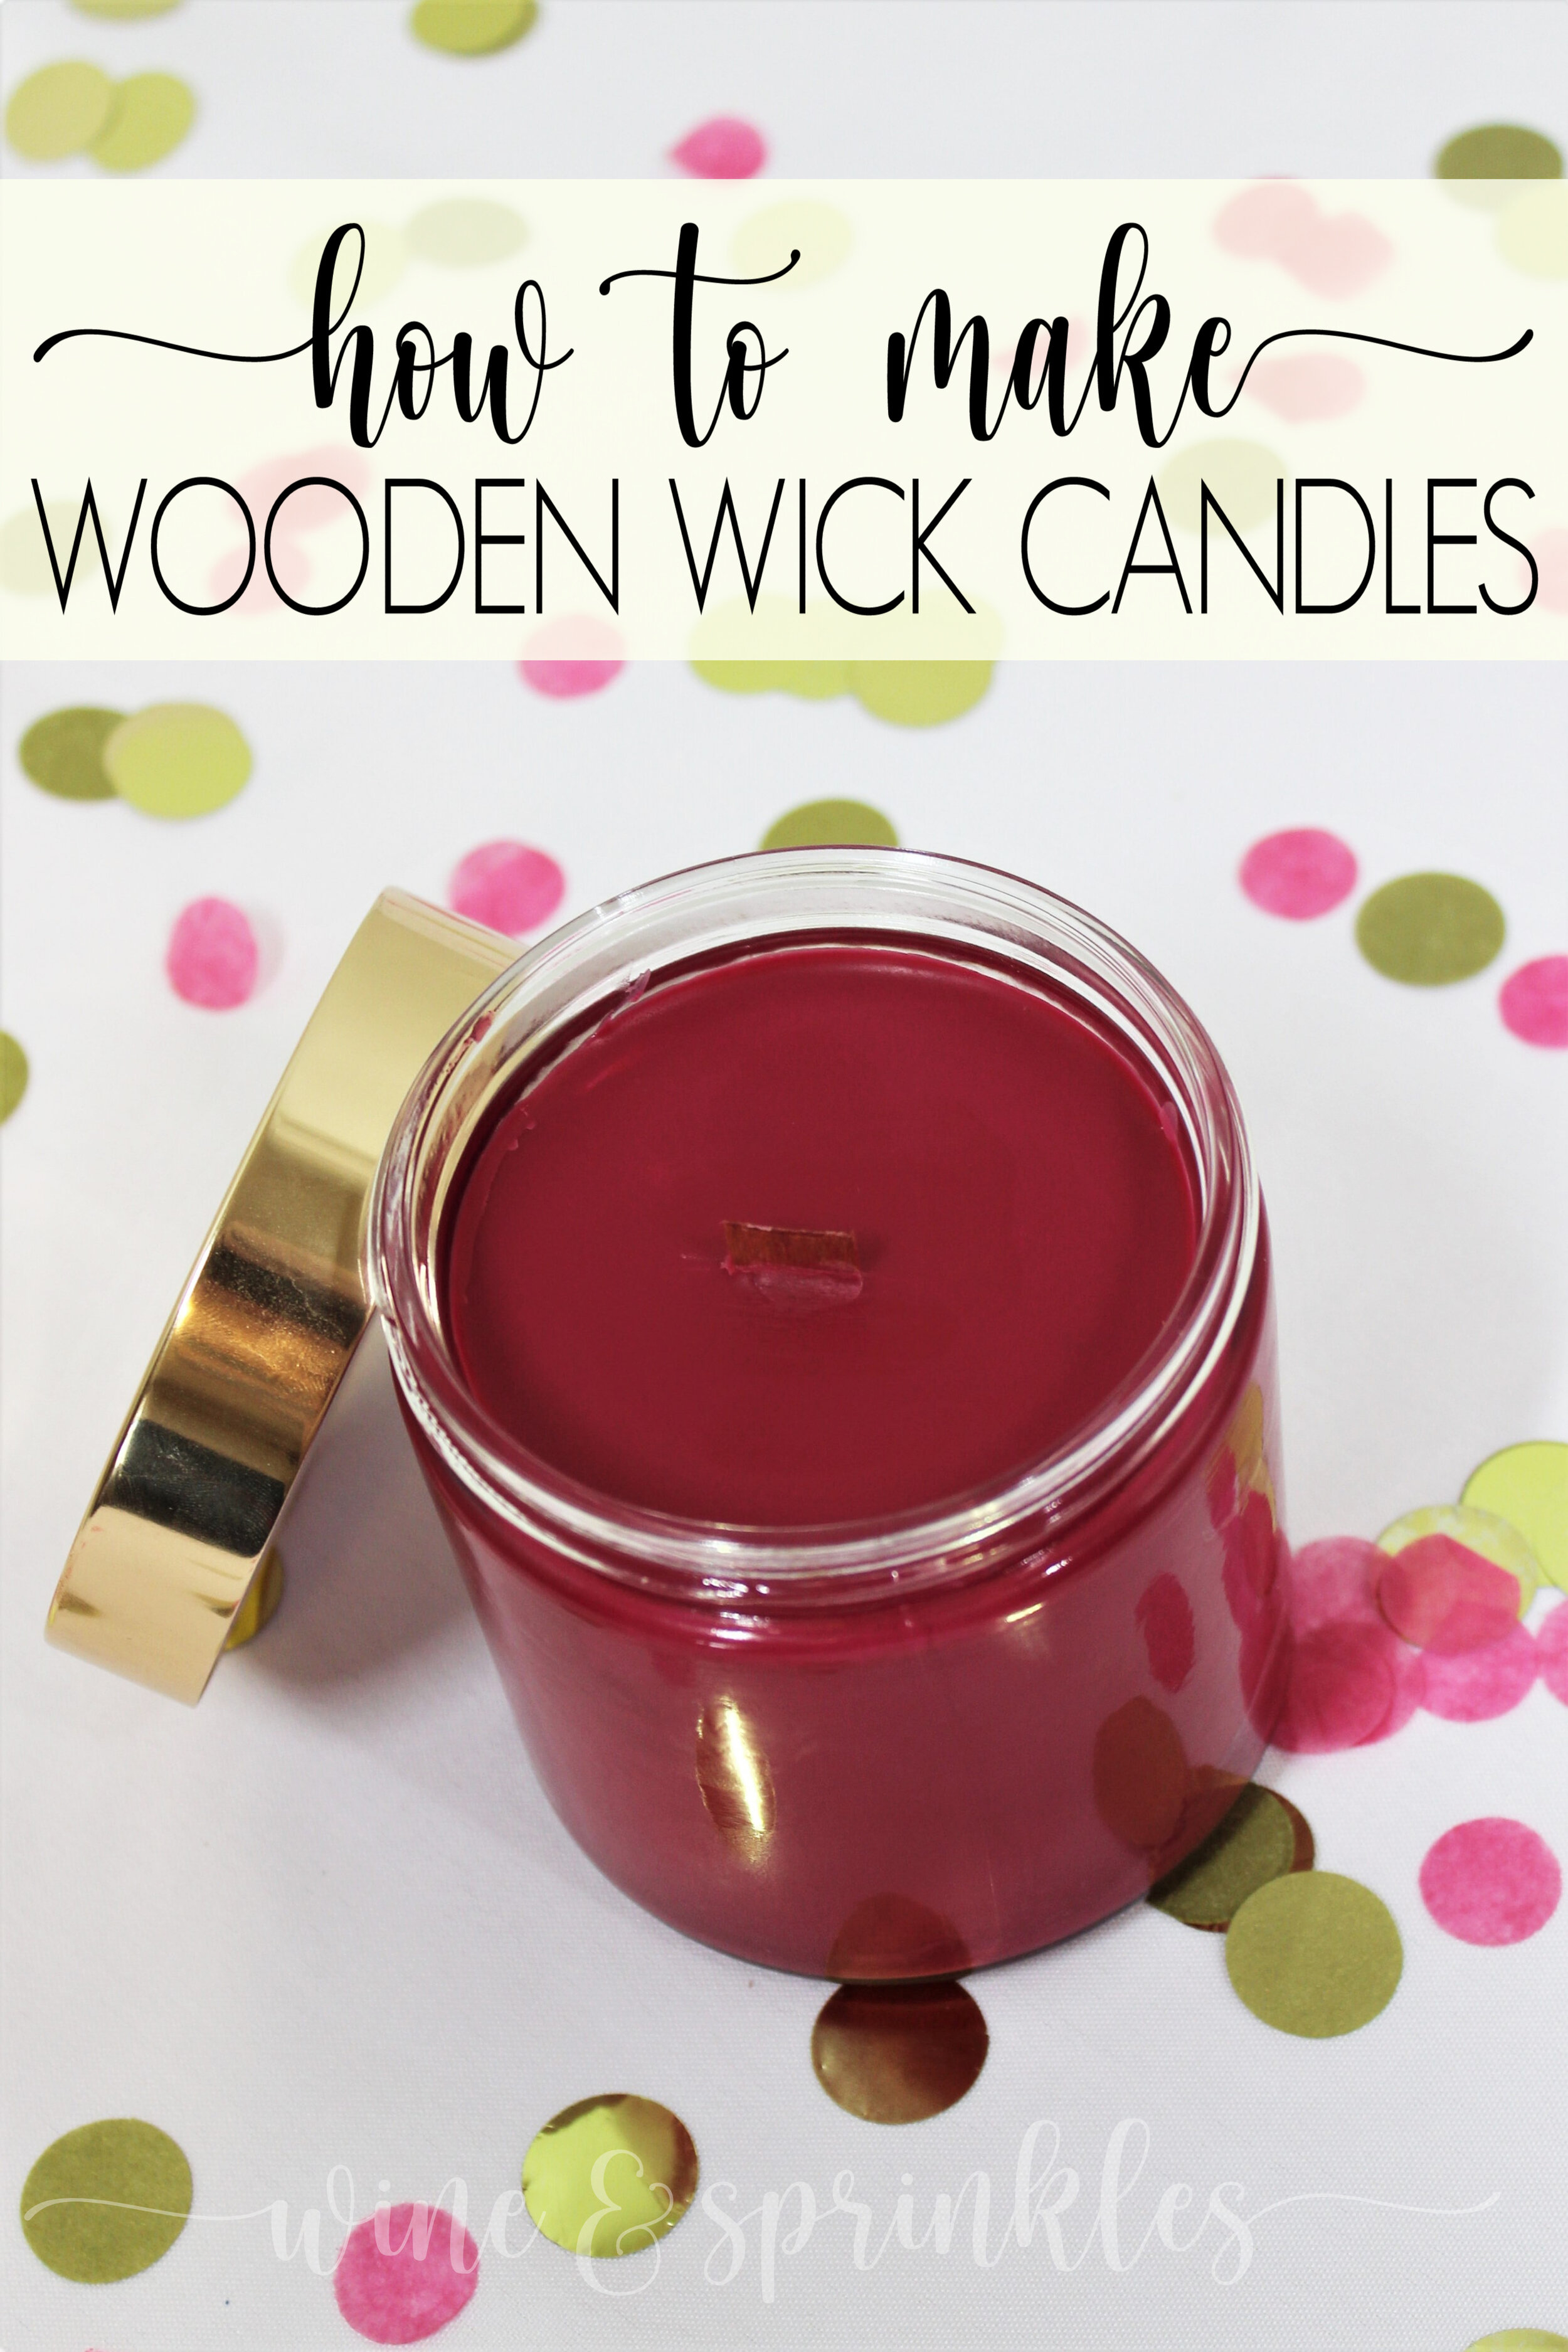
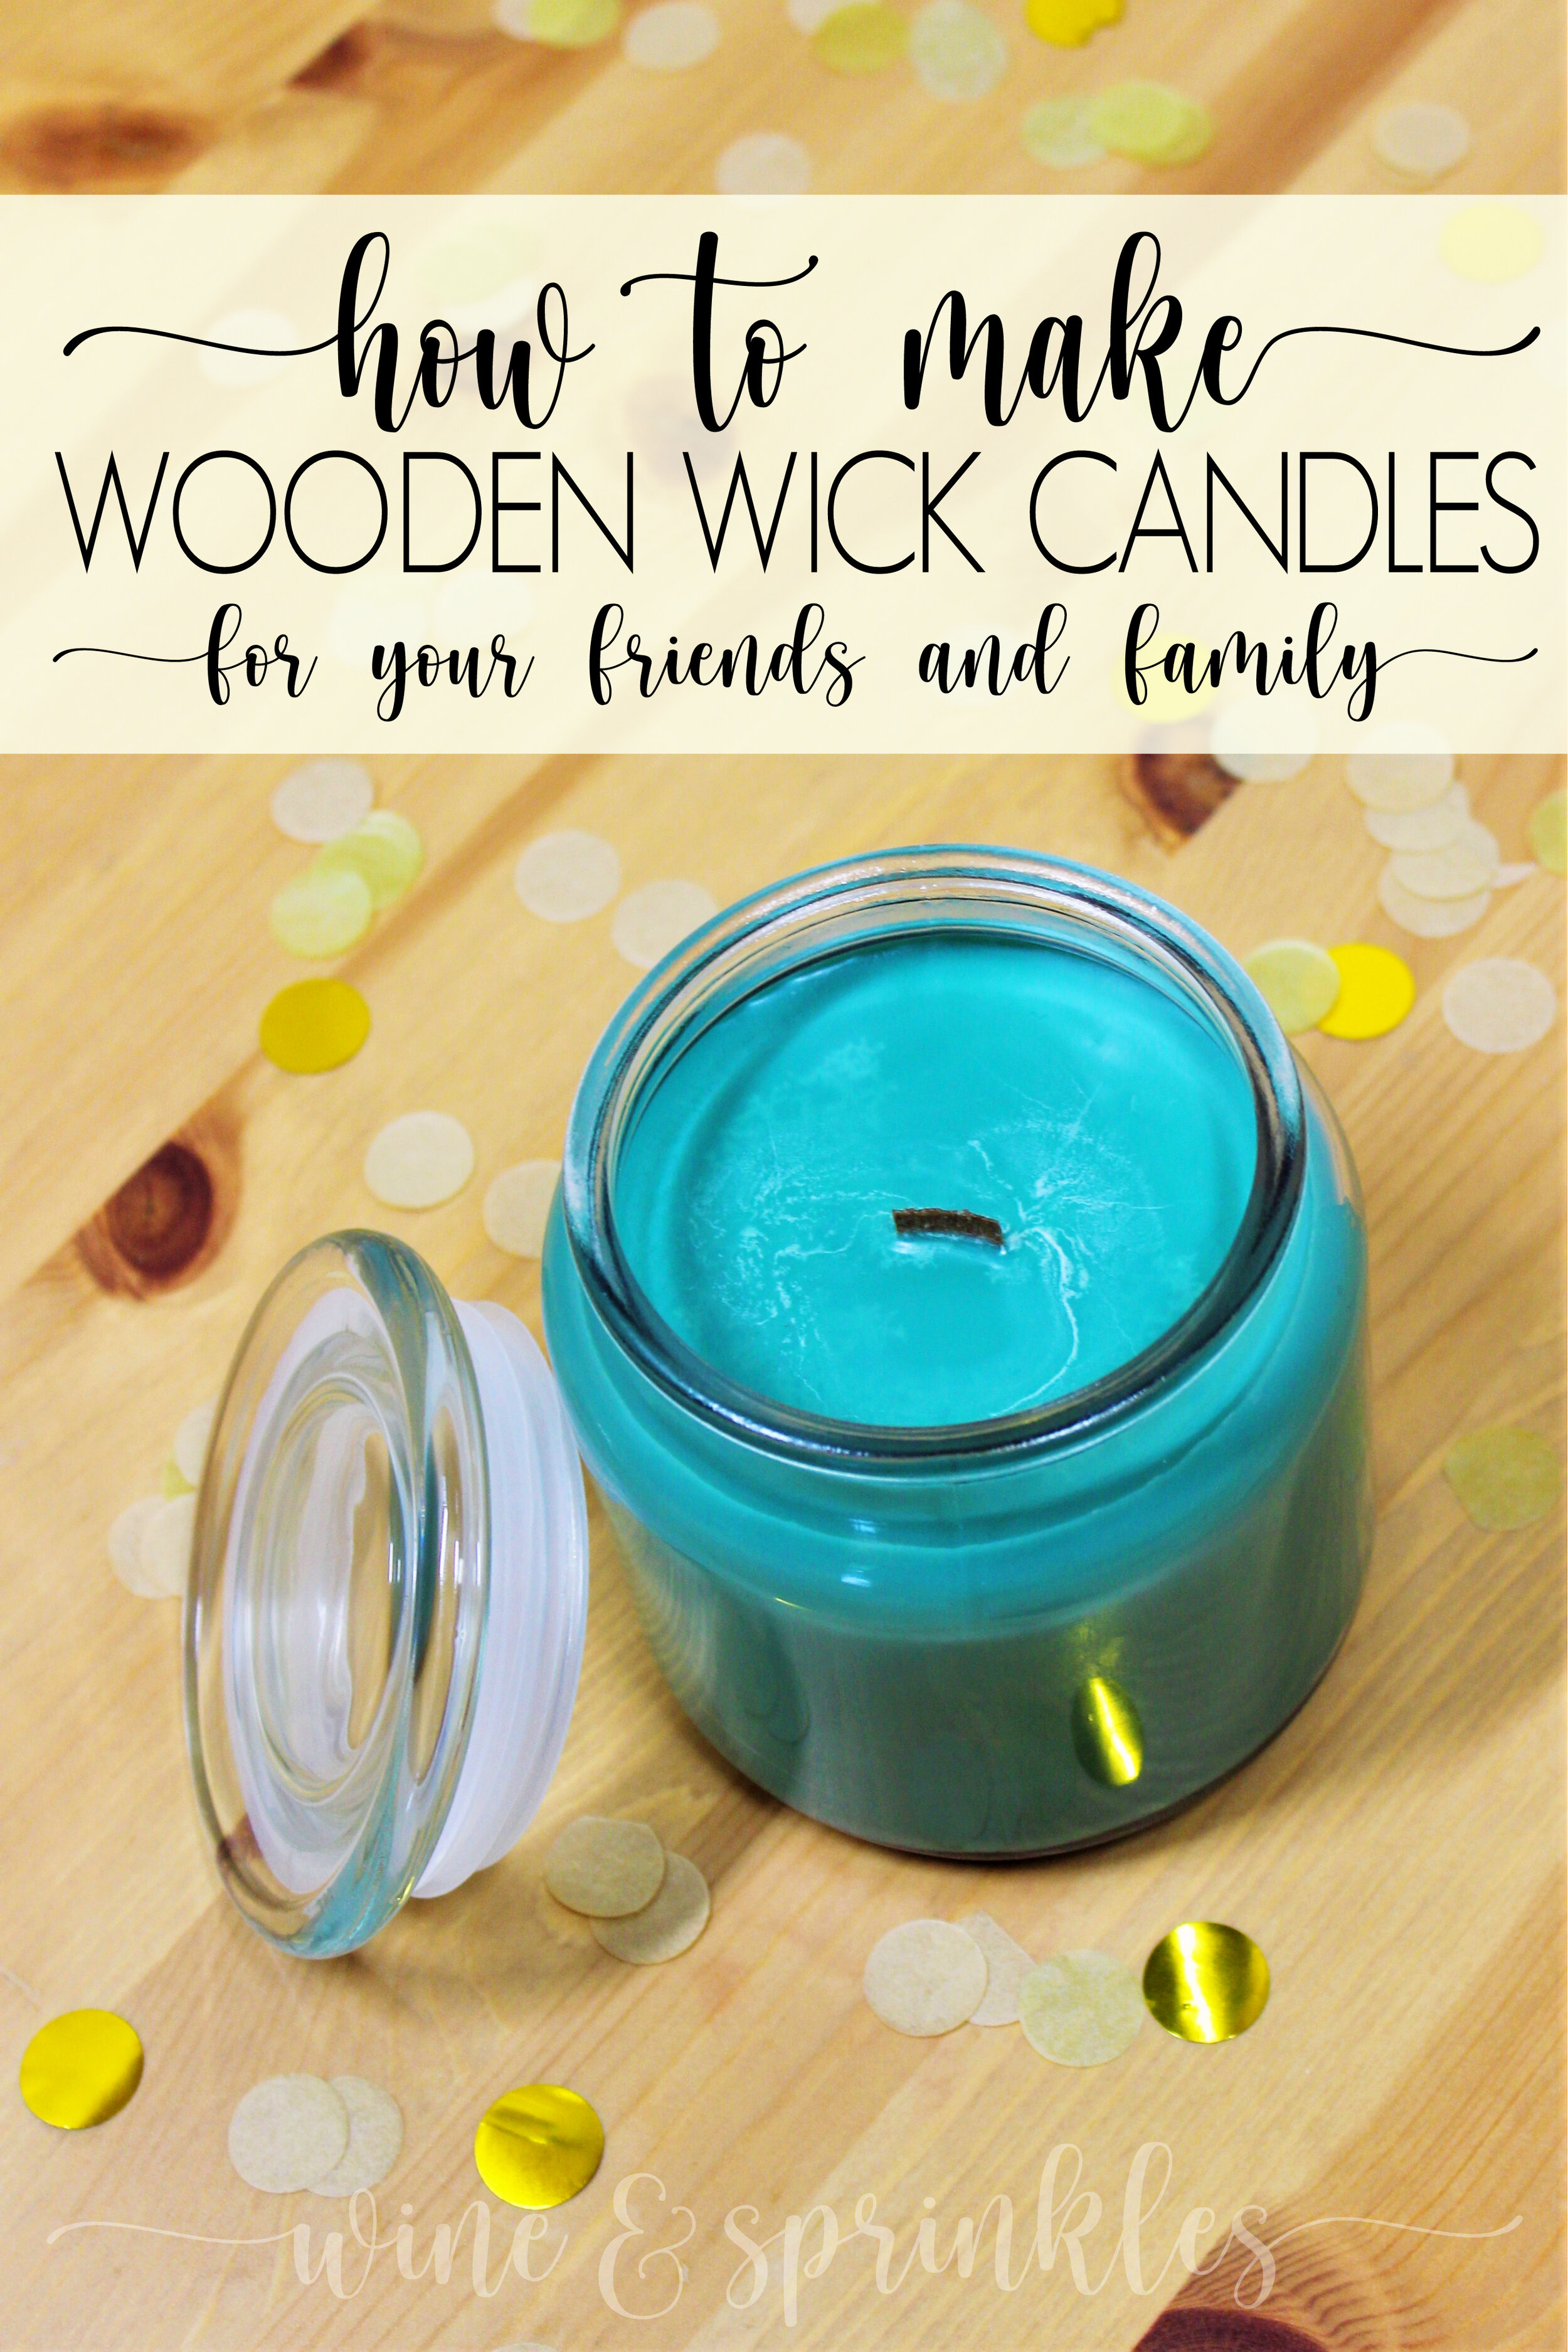
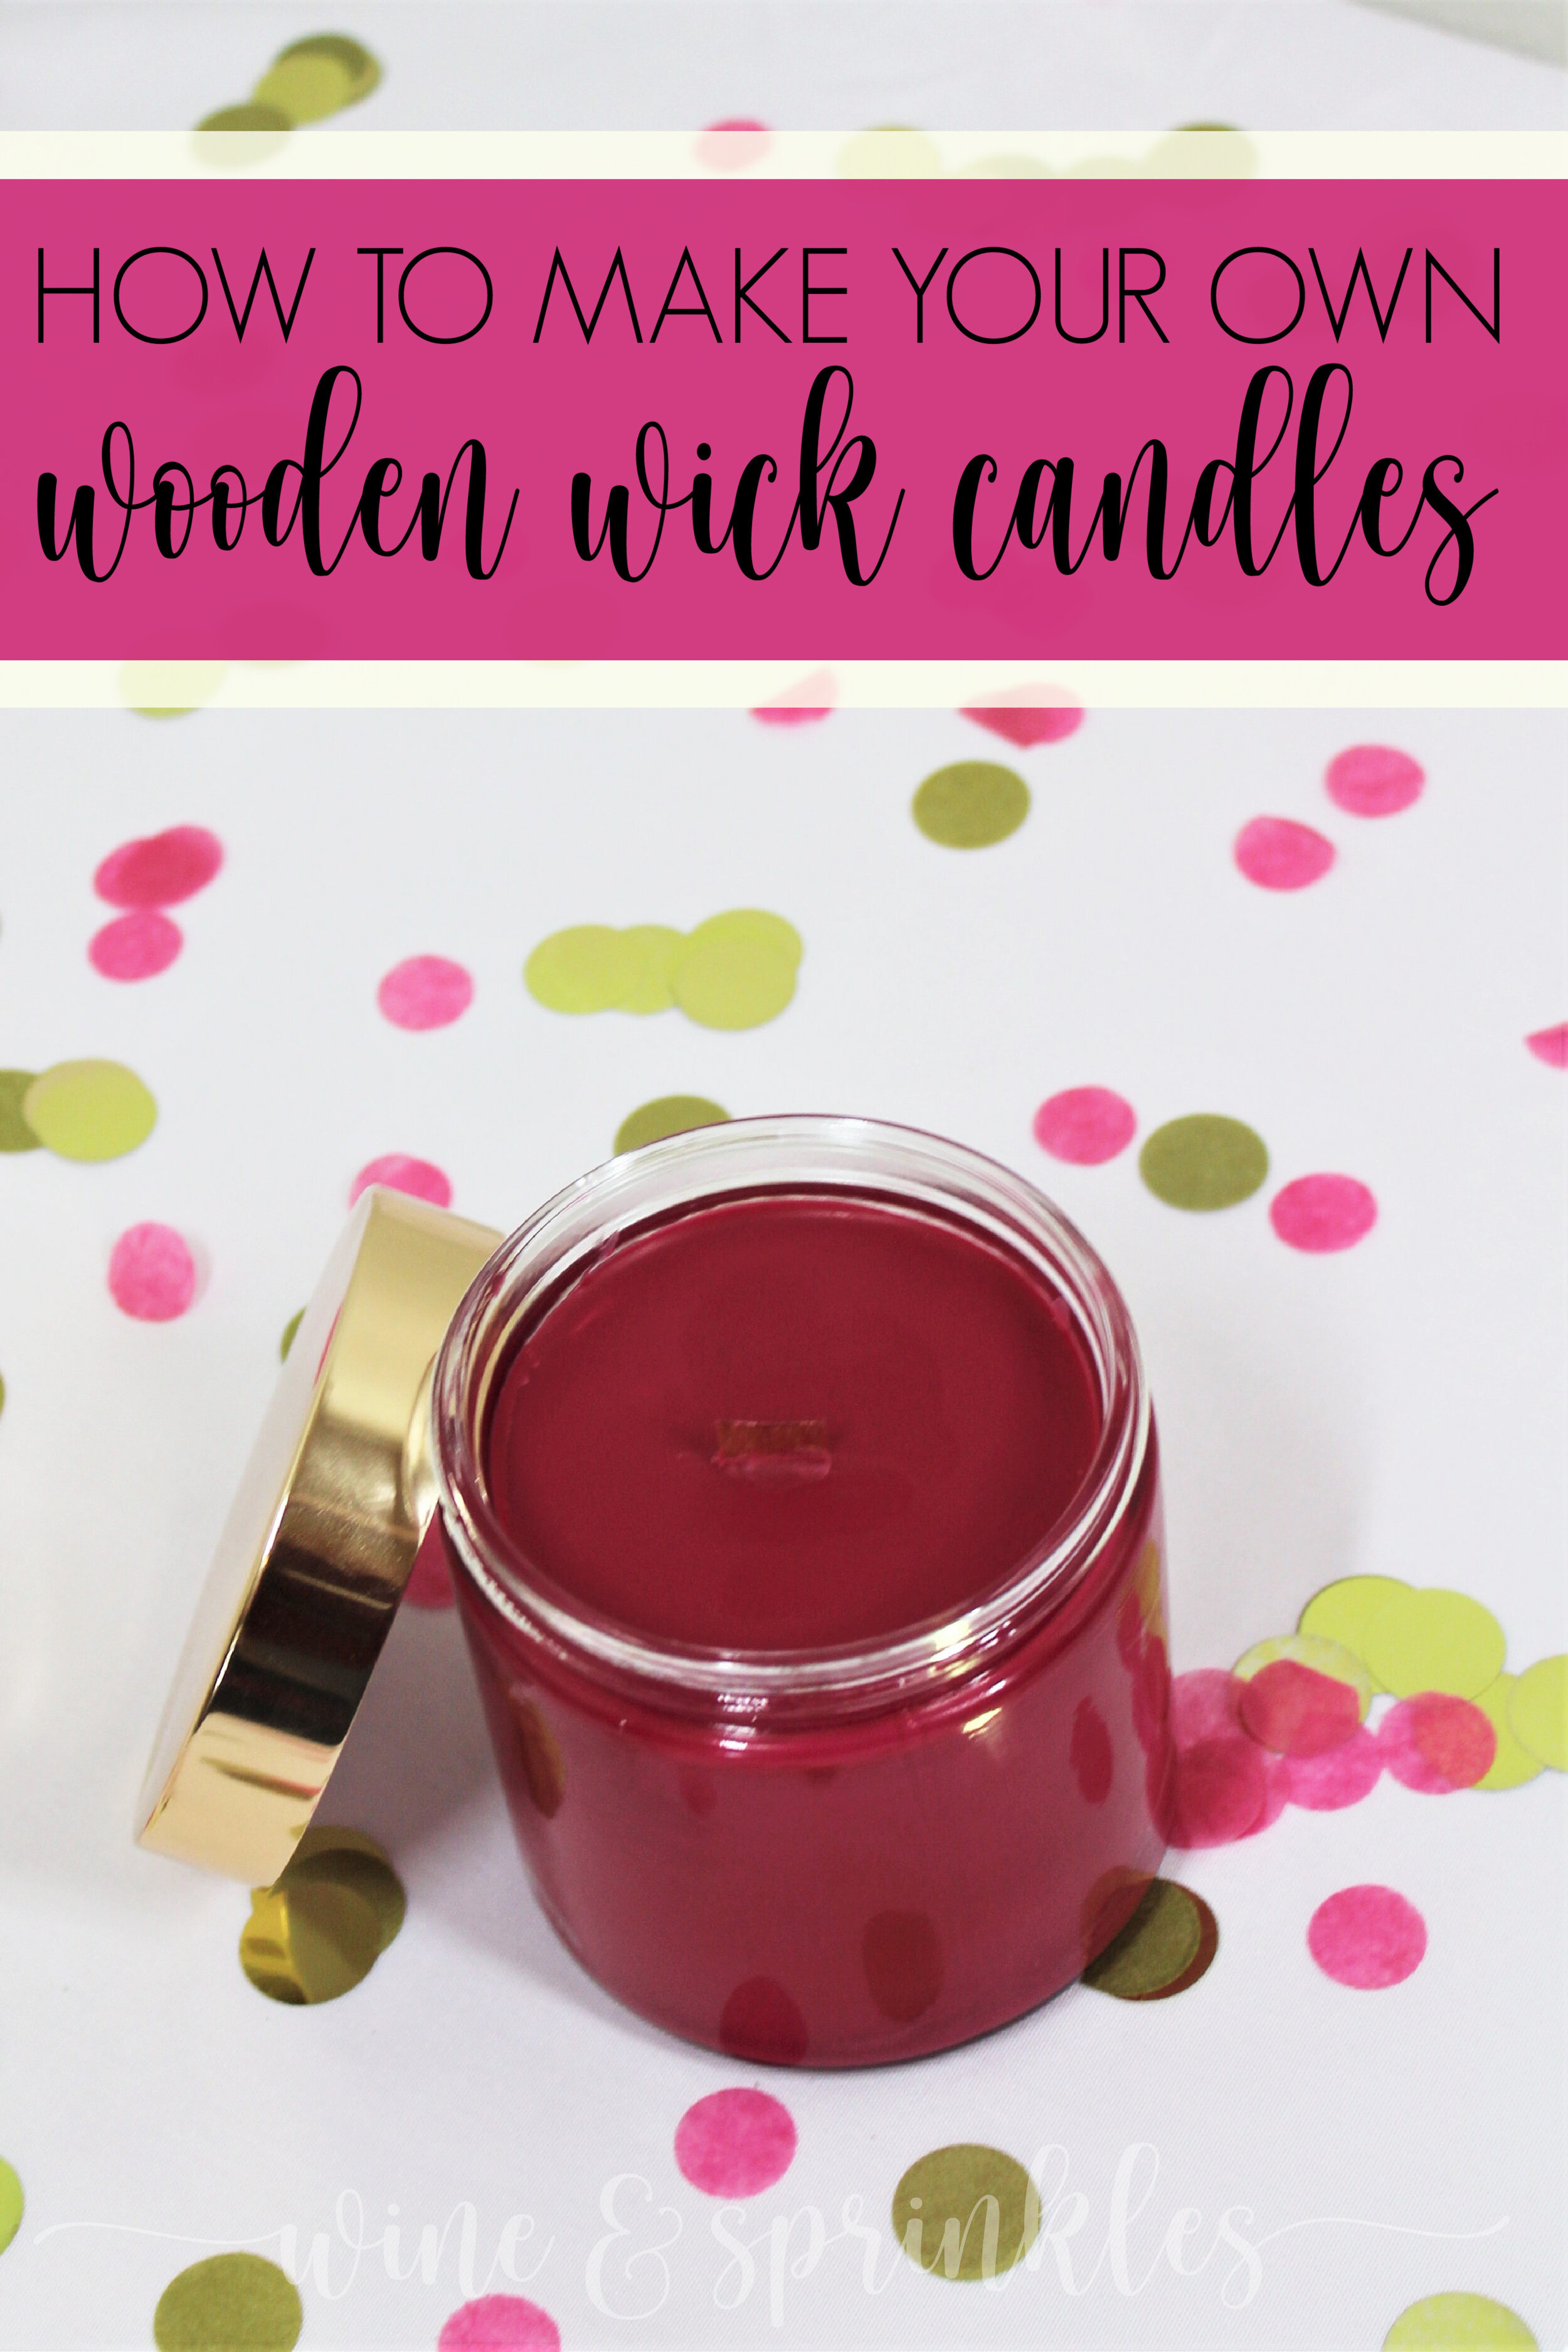
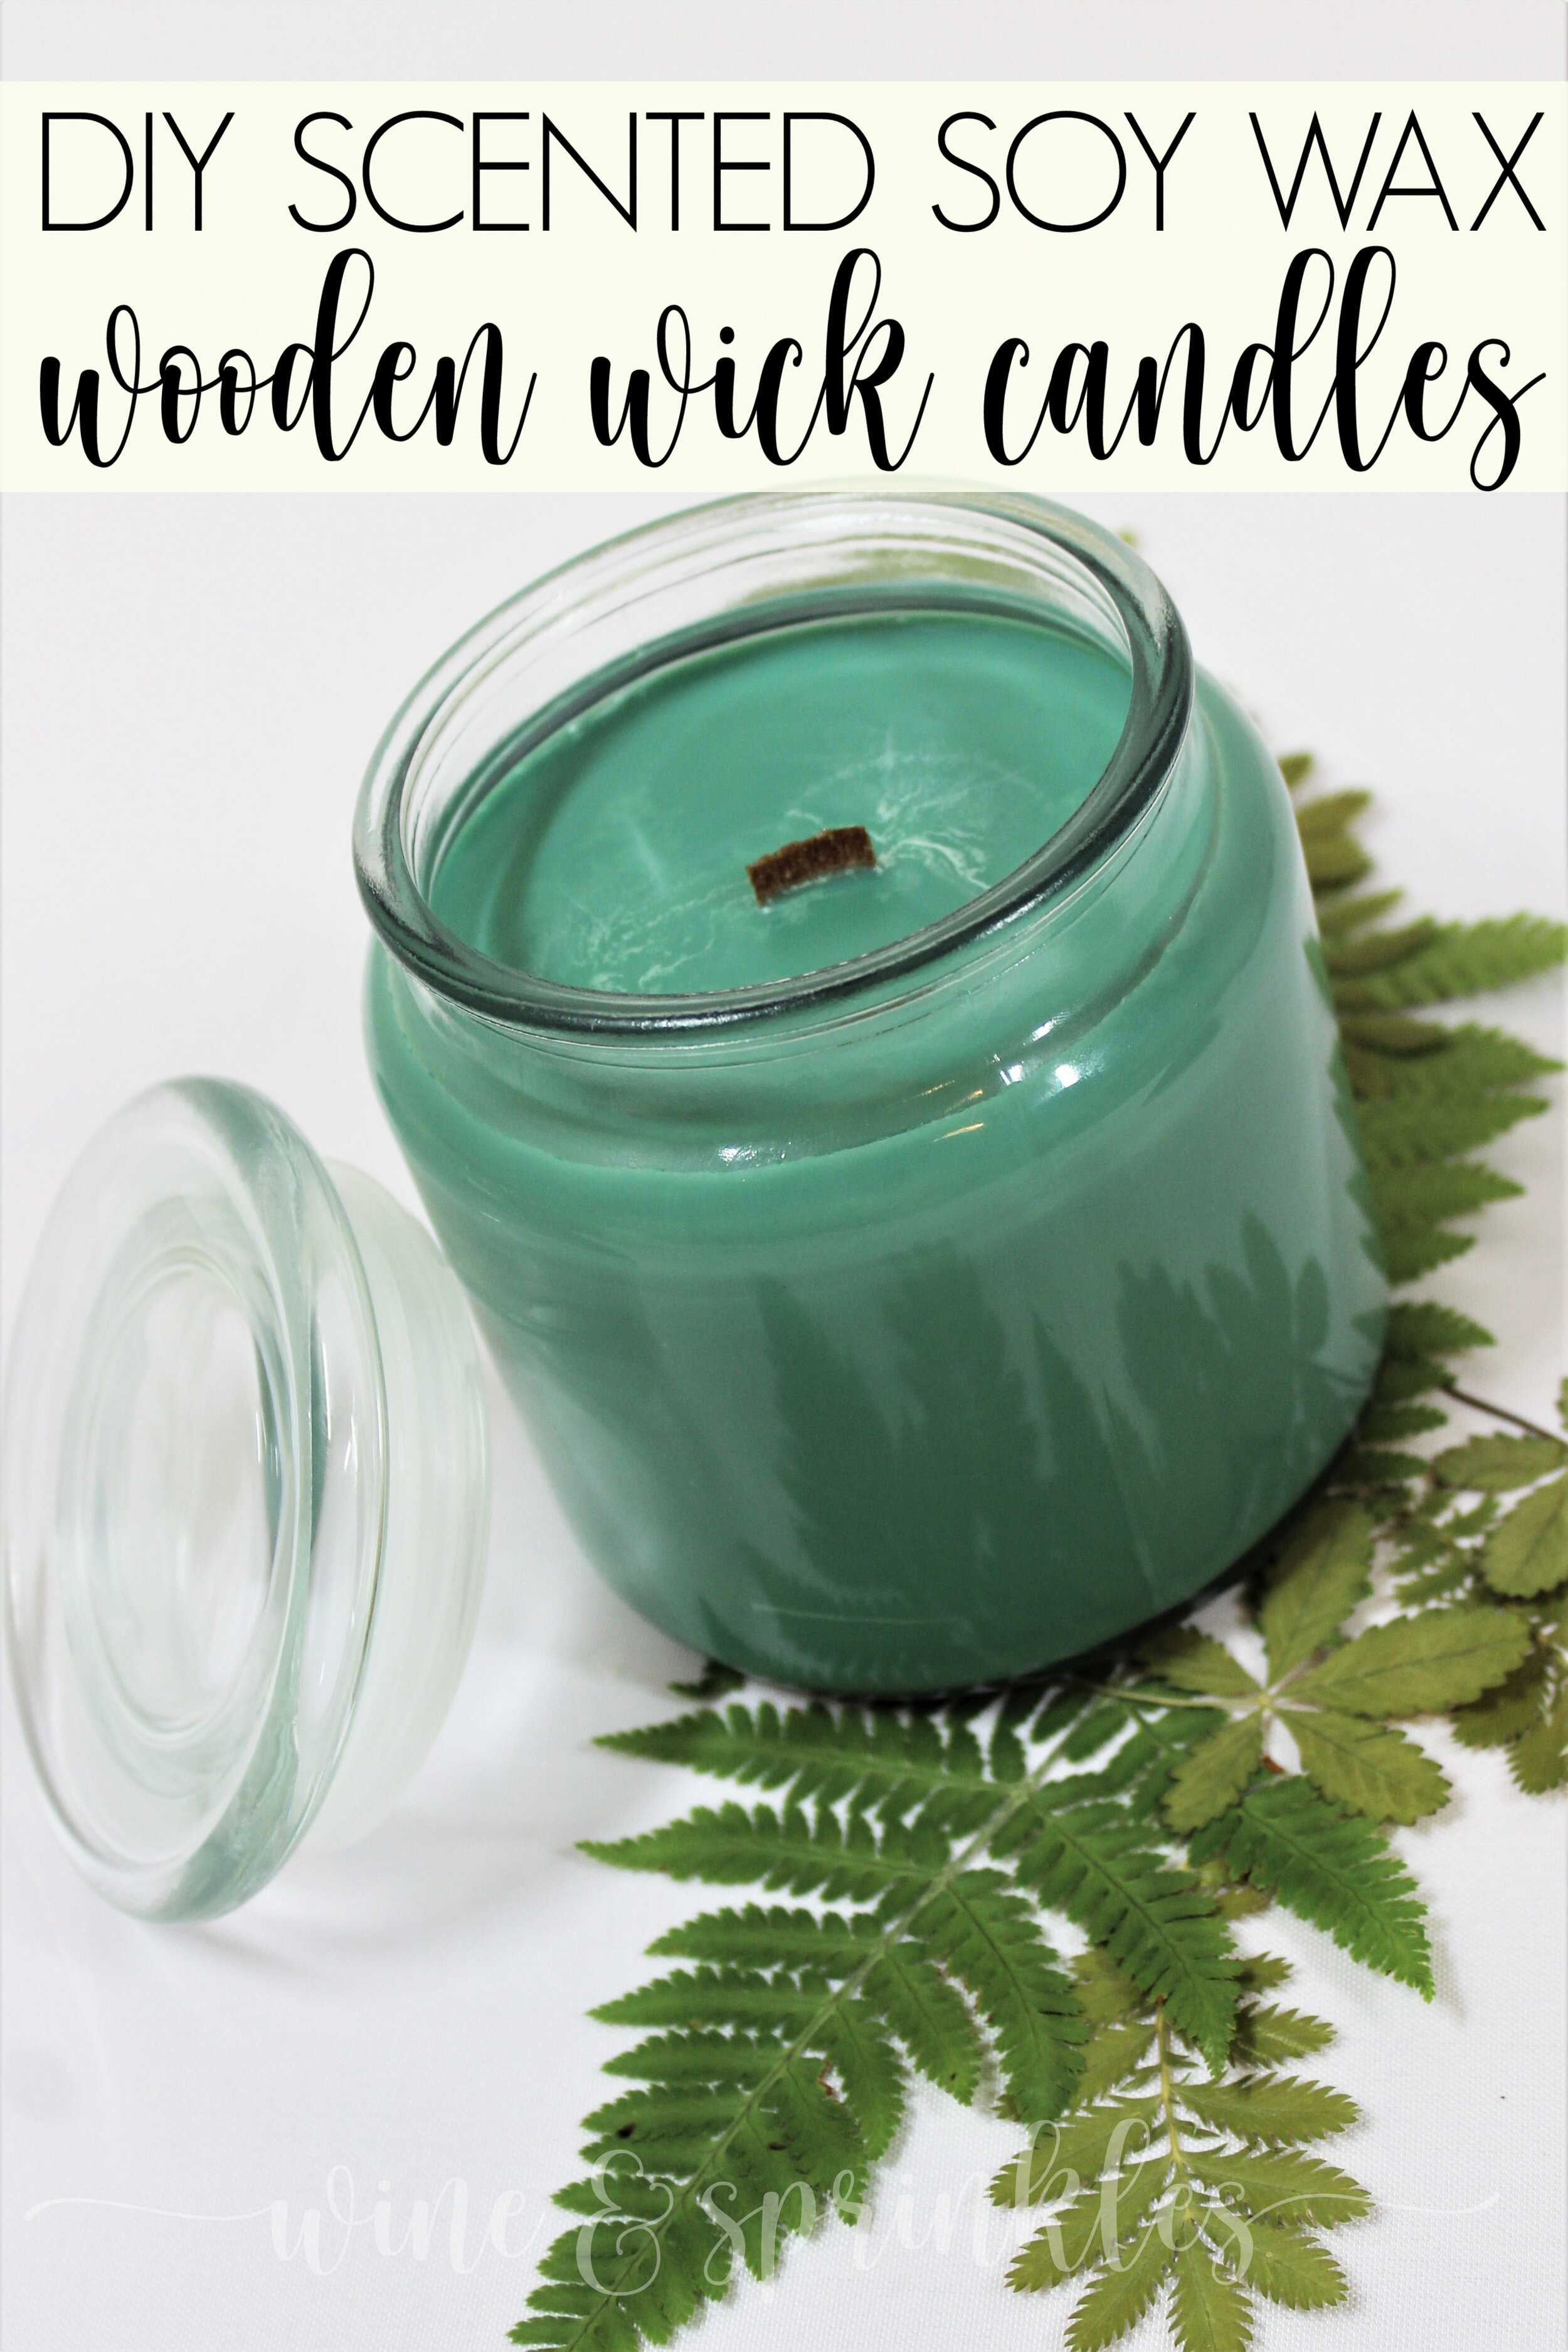
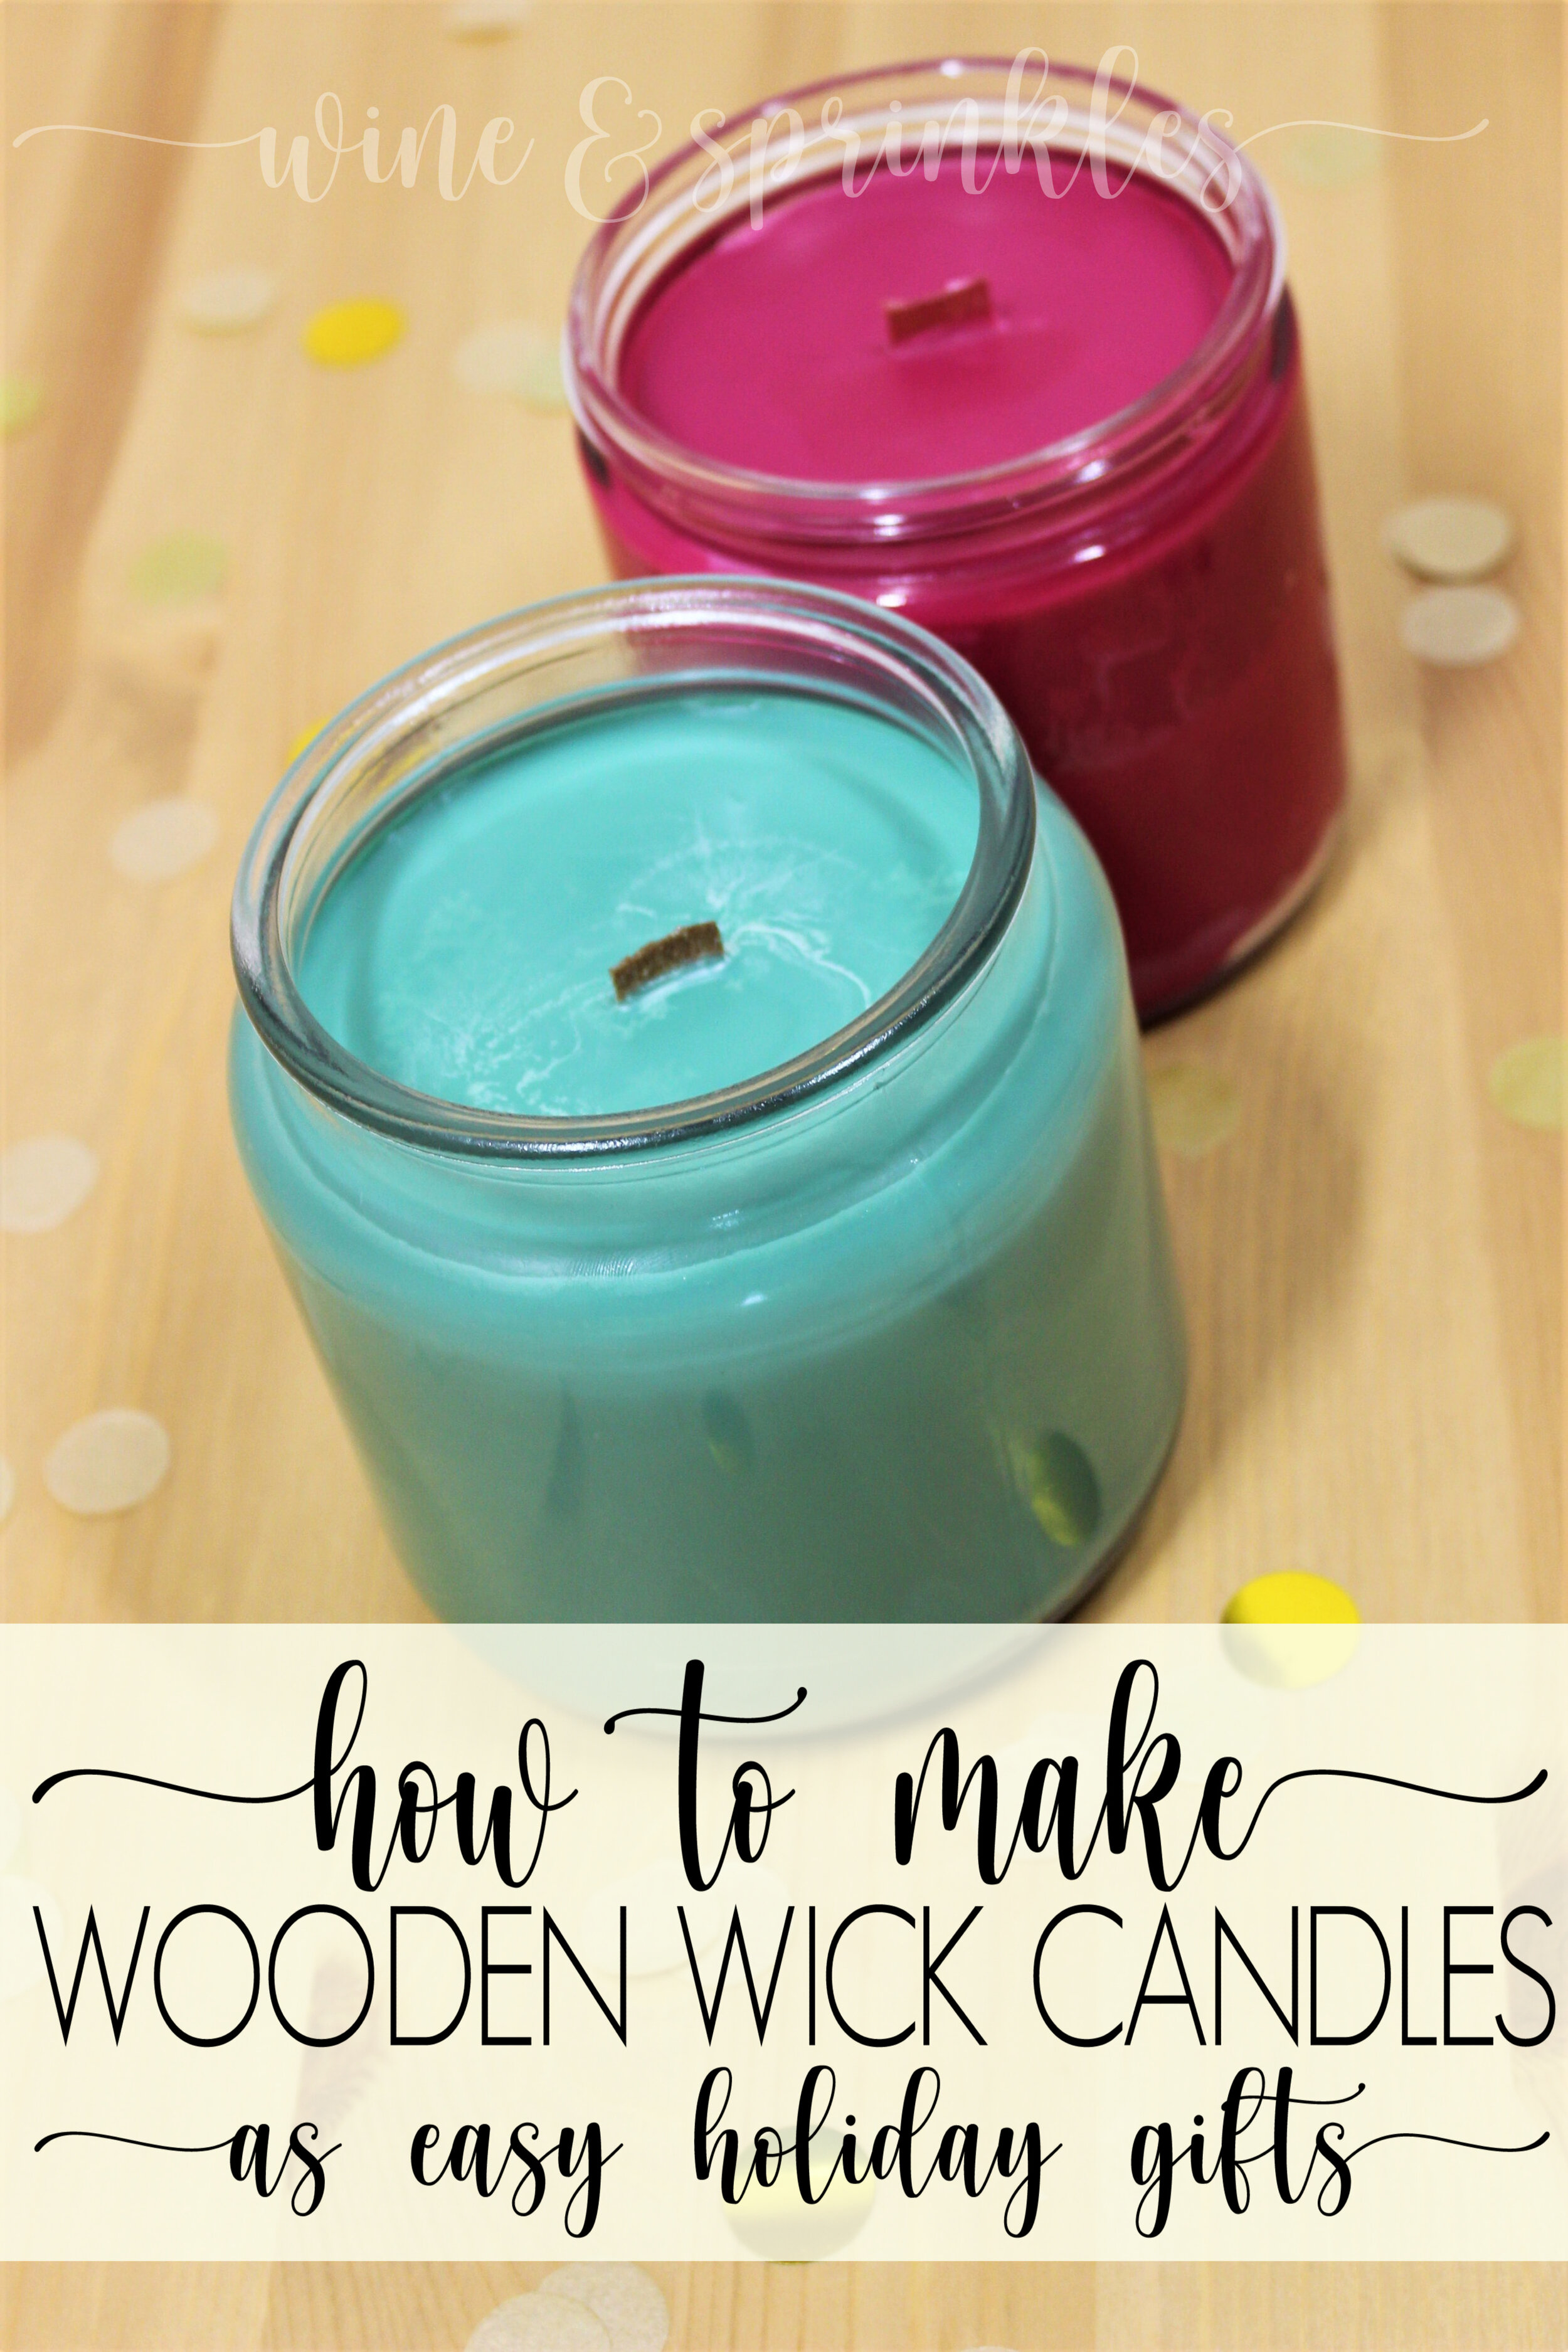
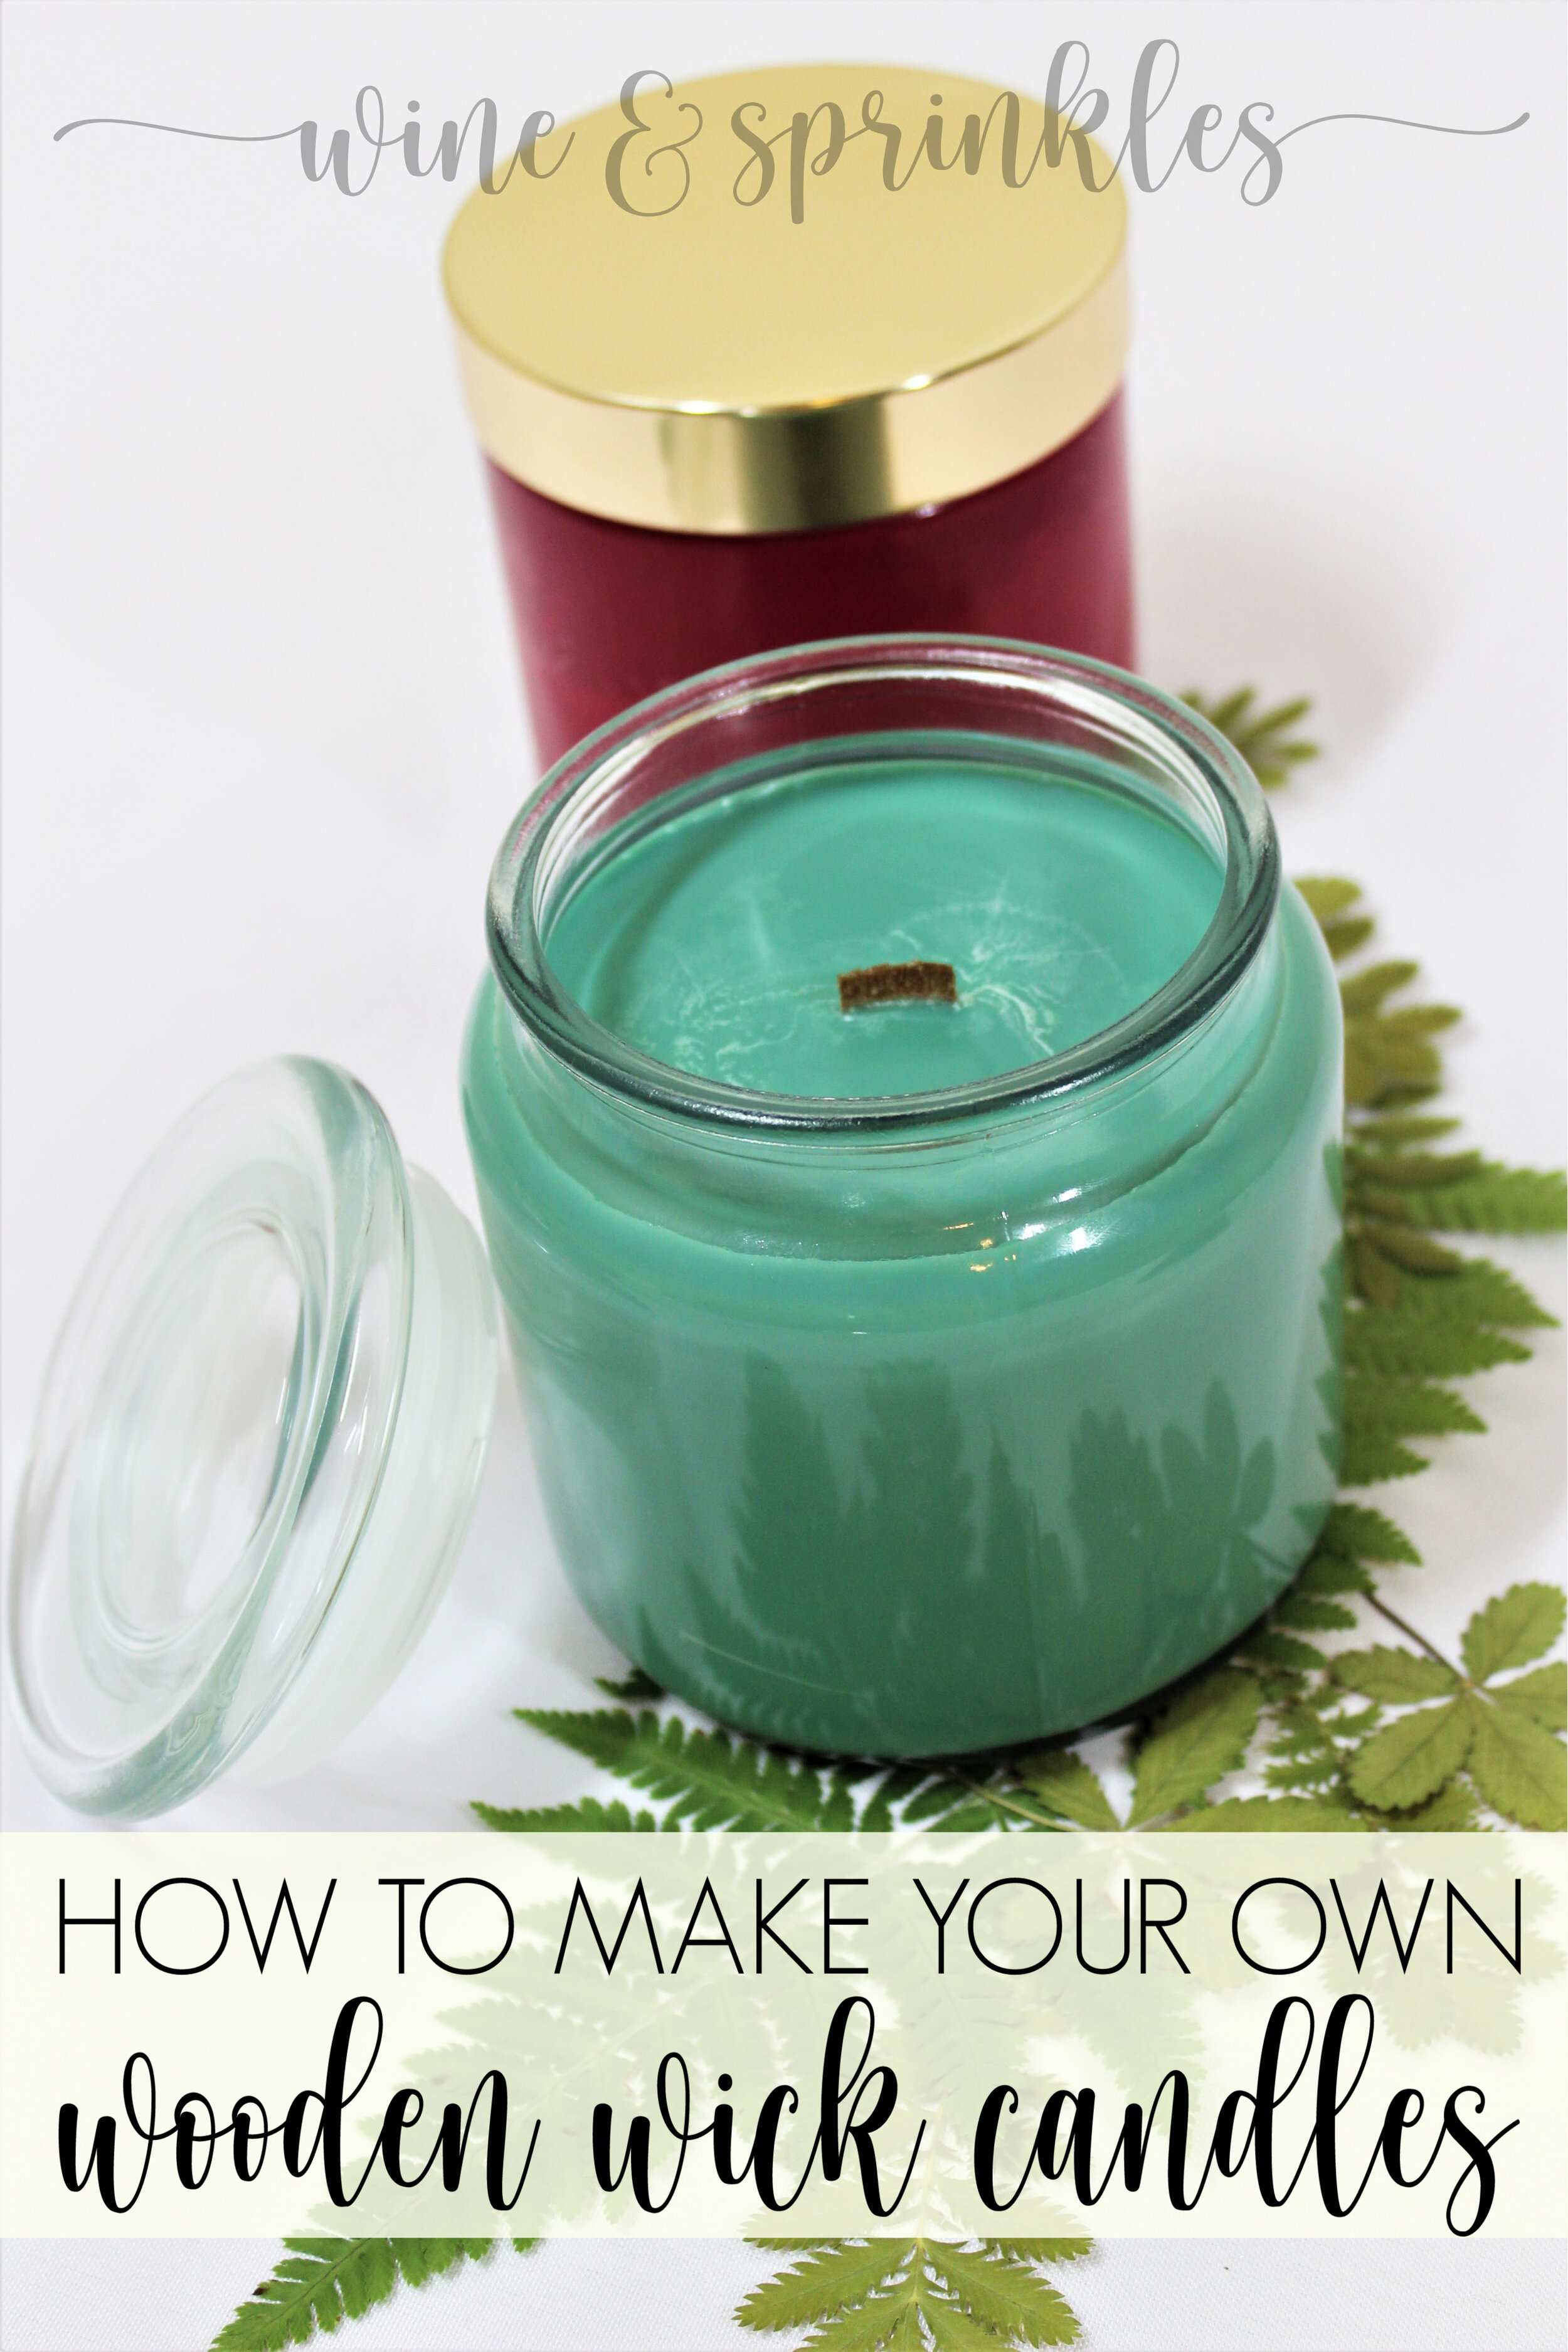
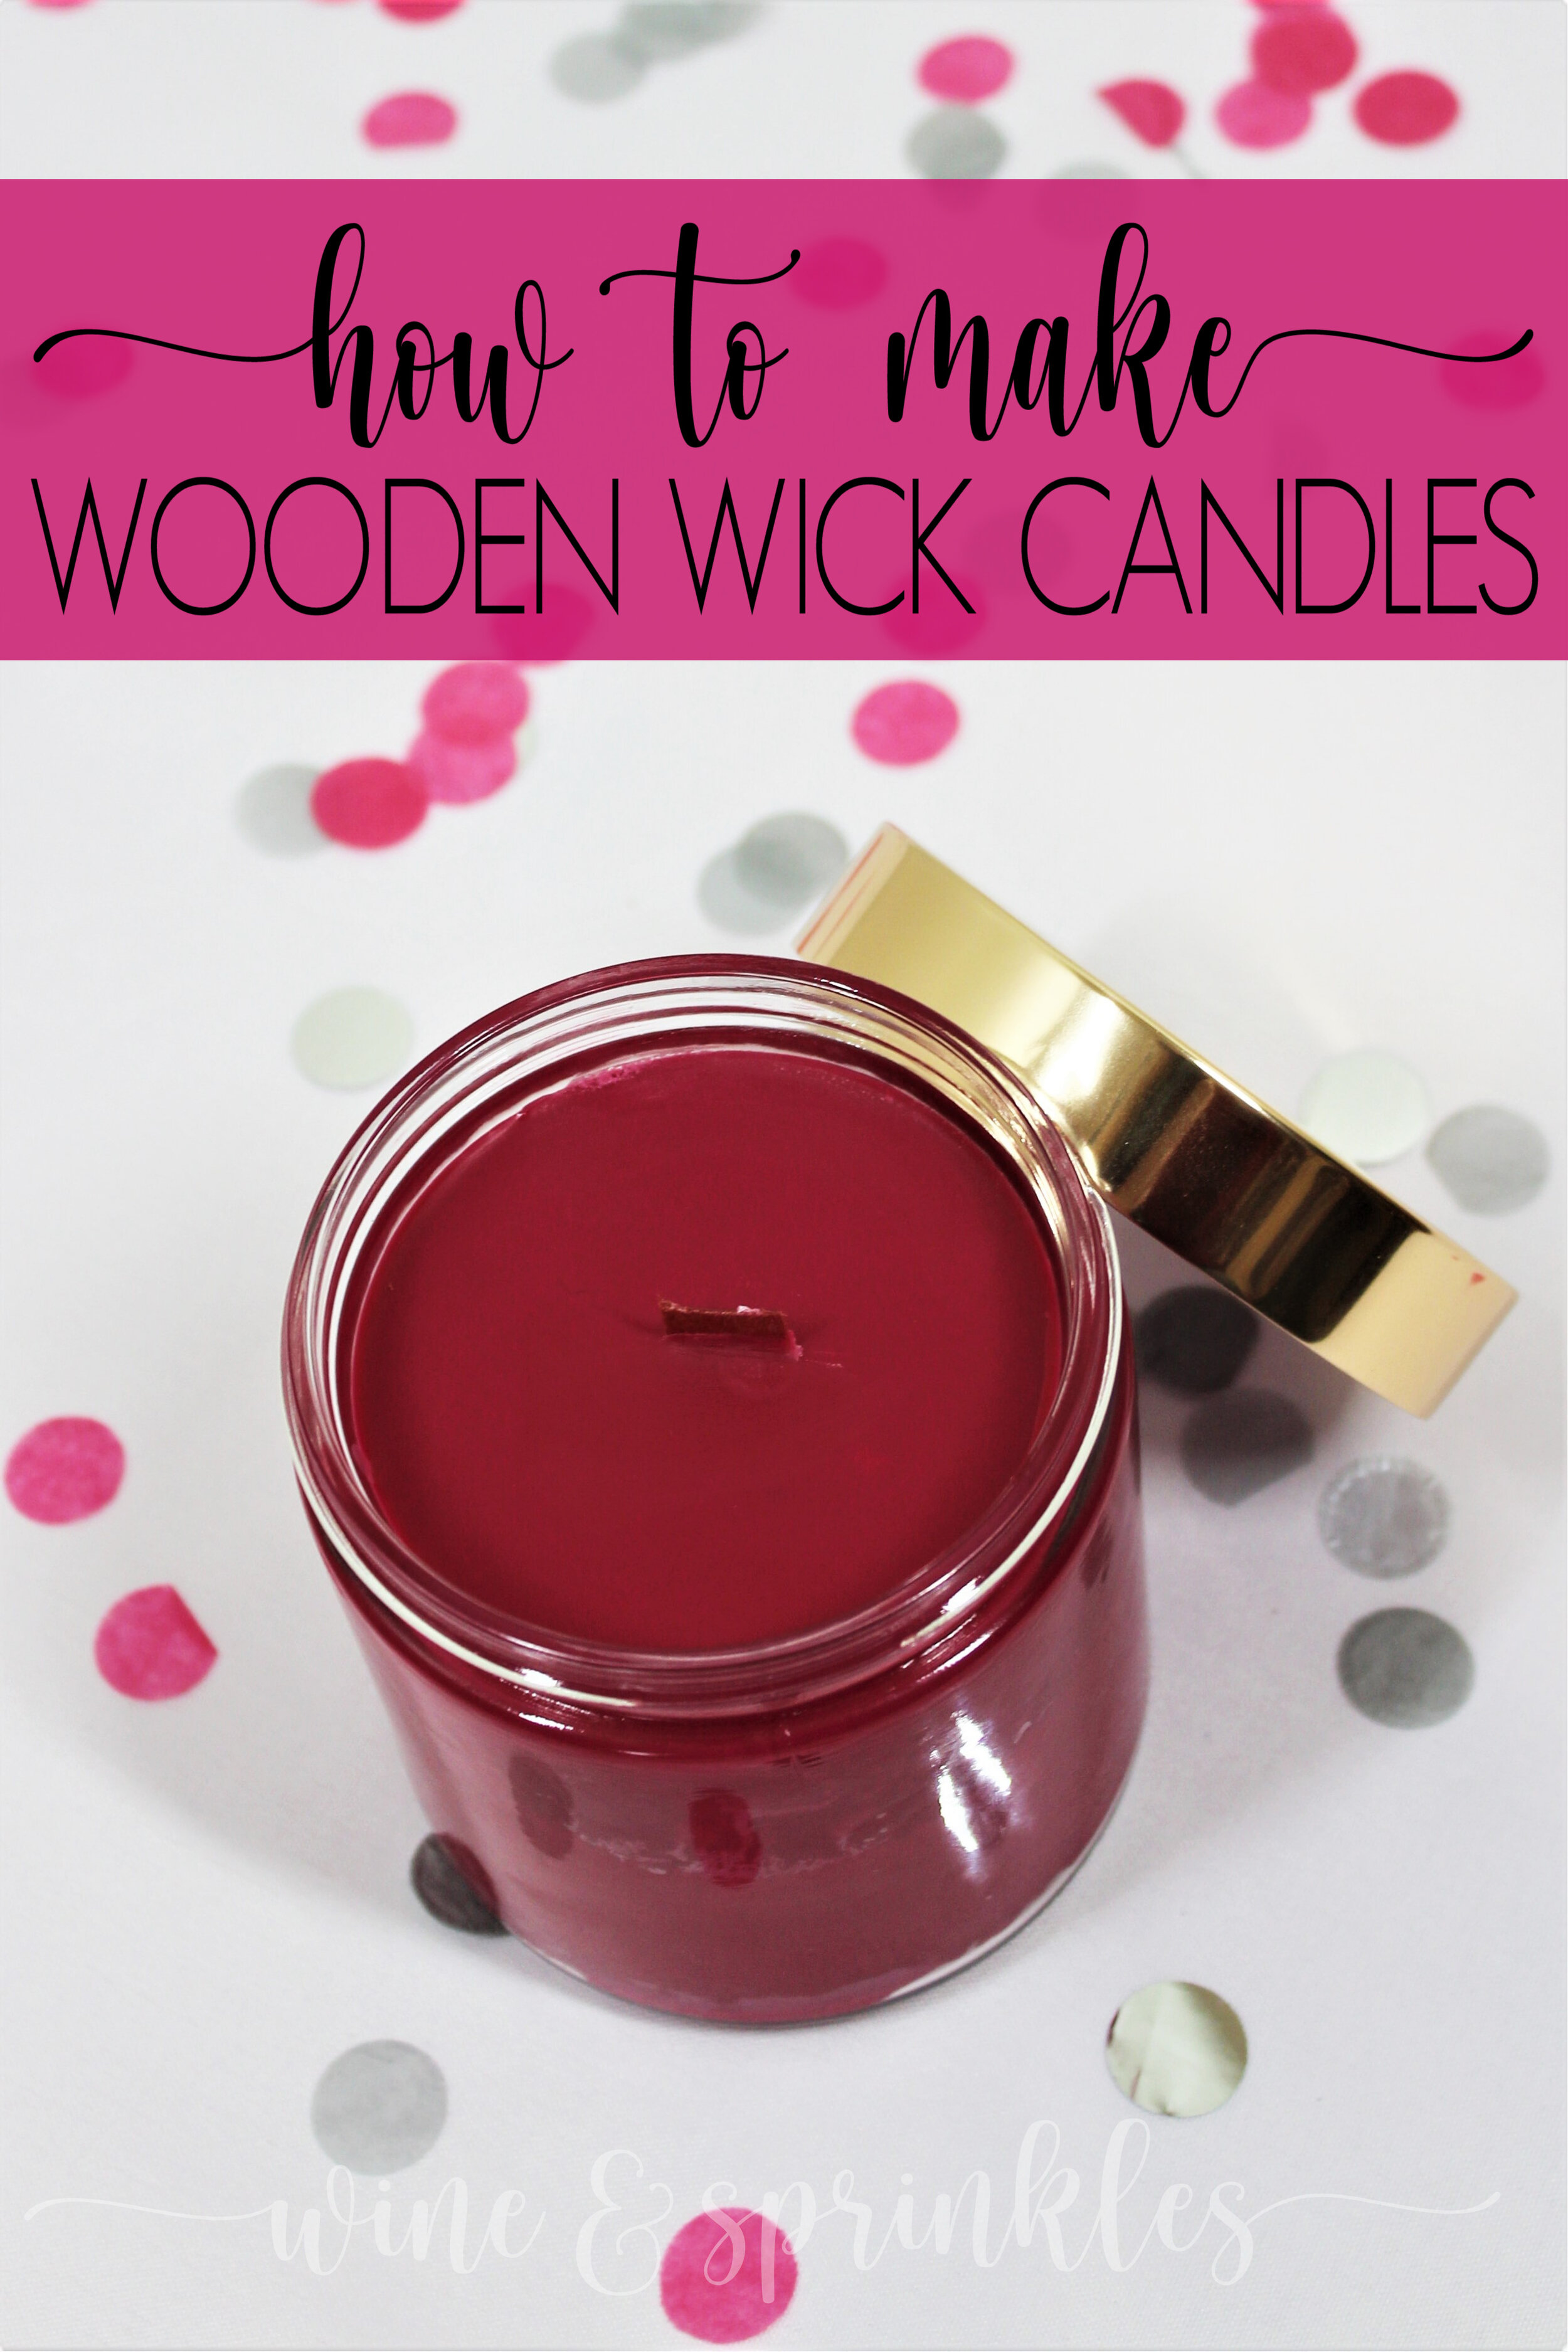
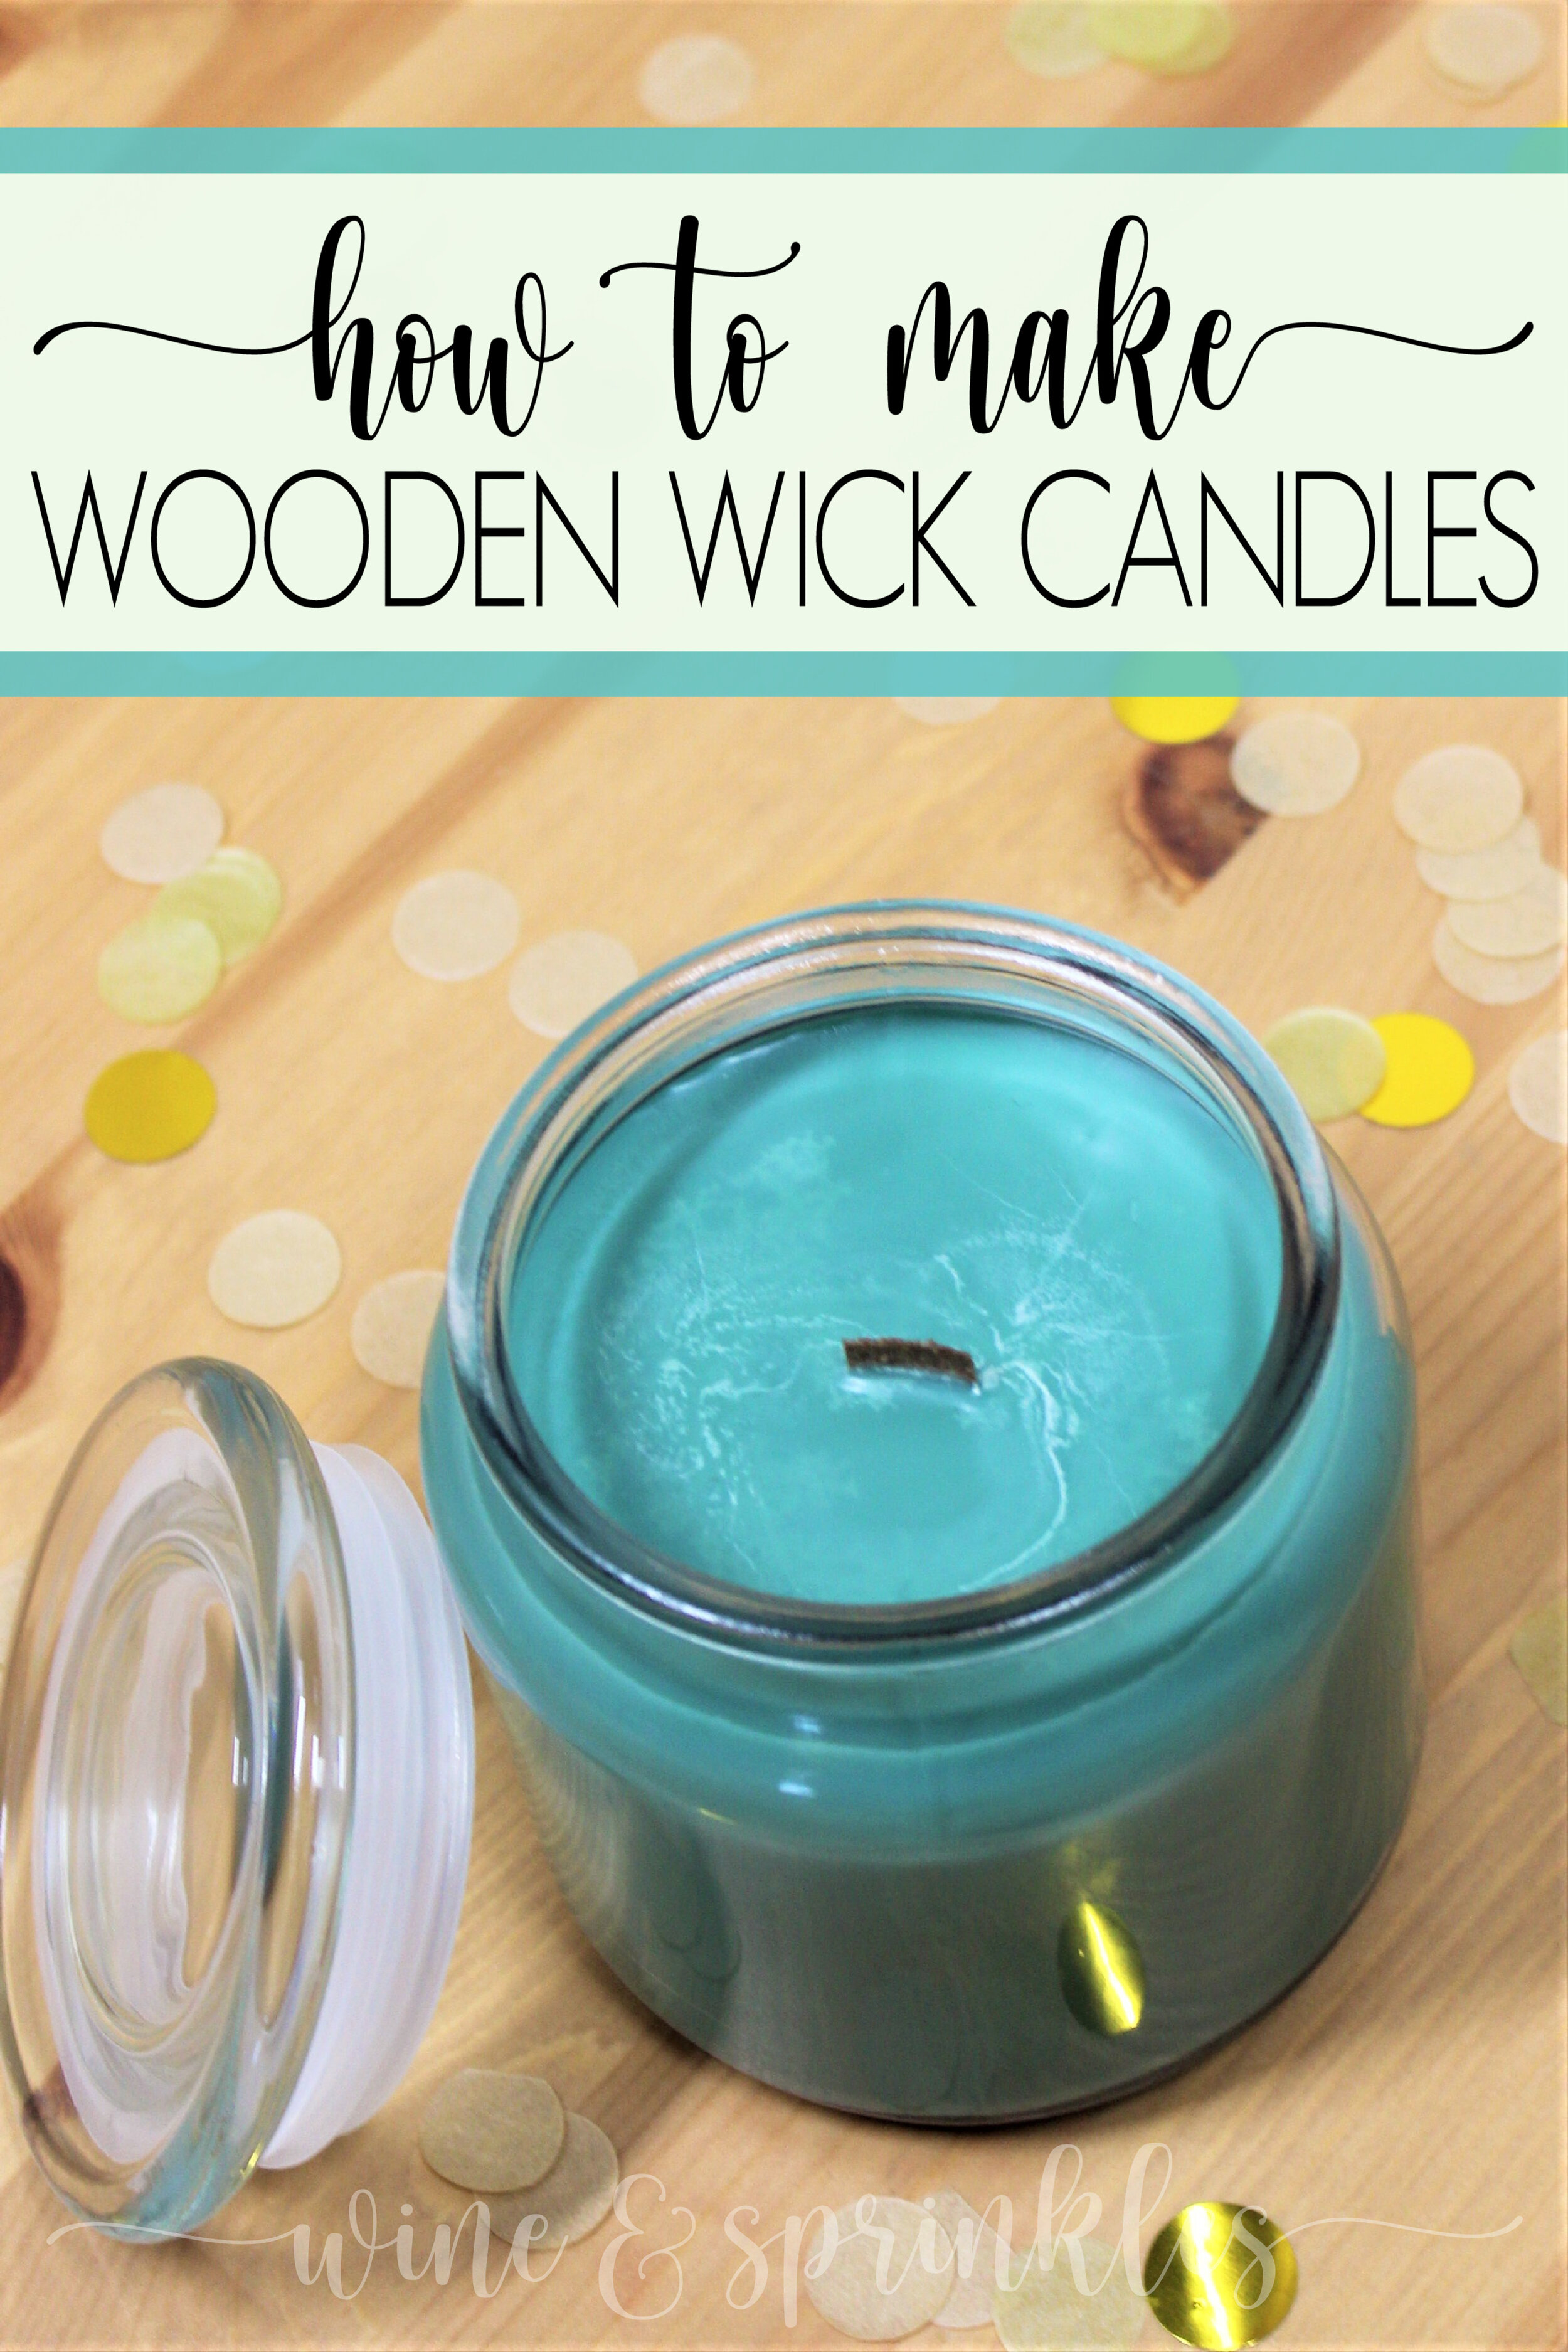
For my candles, I made one of them a Deep Rose Pink with a Rose and Vanilla Scent for my bestie’s Beauty and the Beast Tea Party Bridal Shower, and the other a light Silver Sage Green with a Cedar, Peppermint, and Lemon Scents for a nice cozy wintertime feel, which I can’t wait to burn myself this holiday season! For these candles, I bought a Candle Dye and Fragrance Set that came with a variety of different color and scent options, while also making use of my Essential Oils Set I bought for my other Spa Themed Projects to scent my Silver Sage Candle, so make sure to check out the scent available in both sets to decide what you want to do for your own candles.

DIY Scented Soy Wax Wooden Wick Candles

I melted, dyed, and scented each of my candles individually, which I also love for making each candle unique for your recipient. While I’m using my candles for Bridal Shower Prizes and my own personal use, these candles are an easy and fun gift to make for Bridesmaid Proposals, Holiday Gifts, or Baby Shower Prizes too!


DIY Scented Soy Wax Wooden Wick Candles

1. Start by weighing out your candle wax for the candles you wish to make into your pot or candle pouring pot. I used 16 oz per for each candle, the full volume of the jars I used, so that I had a little extra wax to work with and top them with at the end. For the bits of extra wax I used in these projects I made myself a couple of little striped Candles in Favor Jars to burn in my office! You can make up to four candles if you are using a melting pot like I am, but I liked melting 16 oz at once so I could color and scent each candle uniquely, which is super fun for personalizing them for your friends, bridesmaids, or yourself!

DIY Scented Soy Wax Wooden Wick Candles

2. Melt the wax over medium low heat until the wax is between 200-220 F. Once it has reached this temperature, add your wax coloring,  mixing with a silicone whisk until it is completely incorporated. Check the color of your wax as you add more dye by letting wax dry on the back of a metal spoon, until it has reached the desired shade. Remove wax from heat.

For my candles, I used a mix of two dyes per candle, one to make a rosy gold shade and one to make a silvery sage shade.

DIY Scented Soy Wax Wooden Wick Candles

Rose Gold: (per 16 oz of candle)

Fuschia Dye: 3g
Gold Dye: 2g

Silver Sage: (per 16 oz of candle)

Dark Green Dye: 2g
Silver Grey Dye: 2g


These were the first candles I dyed, and while I like their darker colors, my scale wasn’t accurate enough to measure these small amounts of grams accurately! If you also don’t have a scale that can measure 1-5 g, I’d recommend adding the dye a few chips at a time and checking the color until it reaches the right shade, which is how I did the rest of my Candle Projects.


3. Let the wax cool to 150 F and then add the fragrance or essential oil of your choice, continuously stirring the wax with your whisk to bond the fragrance and continue to cool for pouring. The fragrances I chose for my candles were:

DIY Scented Soy Wax Wooden Wick Candles

Rose Gold: Candle Fragrance Oils
Rose Fragrance - 15 drops
Vanilla Fragrance - 5-10 drops

Silver Sage: Essential Oils Set
Cedar Essential Oil - 10 drops
Peppermint Essential Oil - 5 drops
Lemon Essential Oil - 5 drops

When the wax has cooled to about 120 F, it is ready to pour into the jars.


4. While the wax is cooling, prepare your wicks and jars. I used to think that you had to soak your wooden wicks in melted wax prior to candle making, but from new research that is not the case, though with soy wax you may want to add a drop or two of fragrance oil to your wicks for easier burning! Taking a wooden wick secured in its iron stand, dip the stand end into the melted wax and place into the candle jar, using the wax to seal it to the bottom of the jar. Once the wicks are dry, use your candle pourer to fill your candles just below the lip of the jar, reserving any extra wax to finish the candle. Now let the candle cool completely.

DIY Scented Soy Wax Wooden Wick Candles

5. Once the candle is cooled, check the top to see if there are any divots or imperfections in the top of the candle, which can happen during cooling. If needed, remelt the remaining wax to 120 F and “top off” any imperfections on the top of the candle, again allowing it to cool completely. Trim the wooden wick with nail clippers, cuticle cutters, or small scissors and you’re done!

DIY Scented Soy Wax Wooden Wick Candles
 

Looking for more DIY Candle Inspiration?

SEE MORE CANDLE PROJECTS HERE


OUR PINS FOR THIS POST:

DIY I Do Crew Skinny Tumblers

This post contains affiliate links, meaning that if you click on a link I will recieve a small comission. This costs you nothing extra and I only promote products I use and love! You can read our full disclosure here

DIY I Do Crew Bridal Party Skinny Tumblers #idocrew #diywedding #svgfiles

When I was designing Bridesmaids Tumblers, I had to include my new favorite bridal party group saying, the I Do Crew! I love this saying and it's perfect not only for Bridesmaids Proposals and Gifts, but also for your whole bridal party group to use for getting ready or dress shopping! 

 I made the decals with Oracal 651 Turquoise Vinyl and they were beautiful on the Clear Acrylic Tumblers, but I would love to see what the Gold Metalized Vinyl would look like on a Black, White or Marbled Tumbler for a bachelorette party! I used the fonts Bebas Kai for “I Do” and Rachella for “Crew” if you would like to use these phones to further personalize tumblers they are available for free at dafont.com


DIY I Do Crew Bridal Party Skinny Tumblers #idocrew #diywedding #svgfiles

You can see more of our Tumbler Decal Designs Here for other choices to perfectly fit your taste and that you can DIY for your girls!


DIY I Do Crew Bridal Party Skinny Tumblers #idocrew #diywedding #svgfiles
  1. After downloading the cut files, import them into the Cricut Software. After creating a new project, select Upload Image. Select the file you wish to upload and it will automatically take you to the final upload screen, where you can name the file, then select Save.

  2. Cut the design(s) in your choice of permanent adhesive vinyl with the Vinyl Setting on your Cricut. The SVG Files are sized so that they will automatically cut to the size you see in the photos, but if you want to change the size you can.

DIY I Do Crew Bridal Party Skinny Tumblers #idocrew #diywedding #svgfiles

4. Now, transfer the design to your tumbler. Remove the tape and decal from the backing, making sure that the entire decal transfers to the transfer tape.

3. Once the designs are cut, weed away the extra vinyl and cut a piece of transfer tape to 2.5" x 7.5". Cut away any excess backing from the vinyl design and smooth transfer tape over the design, aligning it with the text and arranging it such that one set of the 1/2” blocks are along the left of the decal, as shown in the photos. Using the smoother tool, smooth the tape over the vinyl, removing any air bubbles.

DIY I Do Crew Bridal Party Skinny Tumblers #idocrew #diywedding #svgfiles

5. Arrange the design such that the short side of the transfer tape is along the top edge of the lip of the tumbler, as shown in the photos. Starting from the top and working down, trace the letters to smooth them onto the tumbler. Smooth the design to remove any air bubbles. Remove the transfer tape from the tumbler, leaving the design on the tumbler.

6. Use the smoother tool or your finger to retrace the letters after removing the transfer tape to smooth out any additional air bubbles. Repeat with the remaining tumblers.

DIY I Do Crew Bridal Party Skinny Tumblers #idocrew #diywedding #svgfiles

Romantic Font DIY Bridal Party Flasks

This post contains affiliate links, meaning that if you click on a link I will recieve a small comission. This costs you nothing extra and I only promote products I use and love! You can read our full disclosure here

Romantic Font DIY Bridal Party Flasks for Bachelorette Parties, Weddings, Bridesmaid Proposals, and Bridesmaids Gifts #wineandsprinklesdiy #diywedding #bachelorette

While they are most commonly used for Bachelorette Party Favors, fun flasks like these are great gifts to give to your Bridesmaids as part of a Bridesmaid Proposal or Bridesmaid Gift too!

I made my decals in Oracal 651 Turquoise Permanent Adhesive Vinyl, and while its a pretty choice, I feel like darker colored vinyl (or a different colored flask) would make it even better! This is a great project to start with if you haven’t done much vinyl transfer, the slightly curved surface is still easy to transfer to and this girly delicate font is the perfect way to class up a standard flask!


For those of you that may want to create more personalized designs,  I used the font Clarissa for the decals, which you can download for free at dafont.com.

Romantic Font DIY Bridal Party Flasks for Bachelorette Parties, Weddings, Bridesmaid Proposals, and Bridesmaids Gifts #wineandsprinklesdiy #diywedding #bachelorette


  1. After downloading the cut files, import them into the Cricut Software. After creating a new project, select Upload Image. Select the file you wish to upload and it will automatically take you to the final upload screen, where you can name the file, then select Save.

  2. Cut the design(s) in your choice of permanent adhesive vinyl with the Vinyl Setting on your Cricut. The SVG Files are sized so that they will automatically cut to the size you see in the photos.

Romantic Font DIY Bridal Party Flasks for Bachelorette Parties, Weddings, Bridesmaid Proposals, and Bridesmaids Gifts #wineandsprinklesdiy #diywedding #bachelorette

3. Once the designs are cut, weed away the extra vinyl and cut a piece of transfer tape to 3.5" x 5". Cut away any excess backing from the vinyl design and smooth transfer tape over the design, aligning the decals as shown in the photos. The flasks are 3.5" x 4.5" so arrange the decals based on where you want it on the flask.  Using the smoother tool, smooth the tape over the vinyl, removing any air bubbles.

Romantic Font DIY Bridal Party Flasks for Bachelorette Parties, Weddings, Bridesmaid Proposals, and Bridesmaids Gifts #wineandsprinklesdiy #diywedding #bachelorette

4. Now, transfer the design to your flask. Remove the transfer tape from the vinyl backing, transferring the vinyl design to the transfer tape.

5. Align the design on the flask along the top edge of the flask . Smooth the design onto the flask, once again using the smoother to remove any air bubbles.

Romantic Font DIY Bridal Party Flasks for Bachelorette Parties, Weddings, Bridesmaid Proposals, and Bridesmaids Gifts #wineandsprinklesdiy #diywedding #bachelorette

6. Remove the transfer tape to leave the design on the flask, then repeat the process for all the additional flasks.

Romantic Font DIY Bridal Party Flasks for Bachelorette Parties, Weddings, Bridesmaid Proposals, and Bridesmaids Gifts #wineandsprinklesdiy #diywedding #bachelorette

Bride and Squad DIY Toasting Flutes

This post contains affiliate links, meaning that if you click on a link I will recieve a small comission. This costs you nothing extra and I only promote products I use and love! You can read our full disclosure here

DIY Bride and Squad Champagne Flutes for Bachelorette Parties, Bridesmaid Gifts, and Getting Ready on your Wedding Day #wineandsprinklesdiy #bridesquad #diywedding

To join our Bride and Tribe Flutes in the Bridesmaid Proposal Glassware Projects, their cousin the Bride and Squad Flutes! Champagne Flutes are a great choice for Bachelorette Parties, as well as for Bridesmaid Proposals or holding getting ready drinks the morning of your wedding!

I made my bride flute in Silver Glitter Permanent Adhesive Vinyl, and the squad flutes in Oracal 651 Purple Permanent Adhesive Vinyl, and the colors turned out perfect! But you could easily make dozens of different combinations to perfectly match your wedding or bachelorette colors. This is also a great project to start with if you haven’t done much vinyl transfer on curved surfaces before, the decal is easy to weed and the stemless flutes are much easier to align and transfer to than wine glasses.

DIY Bride and Squad Champagne Flutes for Bachelorette Parties, Bridesmaid Gifts, and Getting Ready on your Wedding Day #wineandsprinklesdiy #bridesquad #diywedding

For those of you that may want to create more personalized designs,  I used the font Passengers Script for the Bride and Squad Decals, which you can download for free at dafont.com.


DIY Bride and Squad Champagne Flutes for Bachelorette Parties, Bridesmaid Gifts, and Getting Ready on your Wedding Day #wineandsprinklesdiy #bridesquad #diywedding
  1. After downloading the cut files, import them into the Cricut Software. After creating a new project, select Upload Image. Select the file you wish to upload and it will automatically take you to the final upload screen, where you can name the file, then select Save.

  2. Cut the design(s) in your choice of permanent adhesive vinyl with the Vinyl Setting on your Cricut. The SVG Files are sized so that they will automatically cut to the size you see in the photos, but if you want to change the size to whatever you like. 

DIY Bride and Squad Champagne Flutes for Bachelorette Parties, Bridesmaid Gifts, and Getting Ready on your Wedding Day #wineandsprinklesdiy #bridesquad #diywedding

3. Once the designs are cut, weed away the extra vinyl and cut a piece of transfer tape to 2" x 5". Cut away any excess backing from the vinyl design and smooth transfer tape over the design. Align the “squad” decals with one of the 0.5” blocks of the transfer tape to the left of the decal and one block along the bottom of the letters “uad.” Align the “bride” decal with two blocks to the left of the decal,  and one block along the bottom of the “id.” This will make it easier to place it properly on the glasses later.

4. After smoothing the transfer tape of the designs with the smoother tool, remove the transfer tape from the backing, lifting the design with the transfer tape.

DIY Bride and Squad Champagne Flutes for Bachelorette Parties, Bridesmaid Gifts, and Getting Ready on your Wedding Day #wineandsprinklesdiy #bridesquad #diywedding

5. Using the transfer tape as a spacer, smooth the design onto the flutes, aligning the short side of the transfer tape along the top edge of the glasses. I adhered mine as shown below, with the tape parallel to the top of the glass just under the rim.

DIY Bride and Squad Champagne Flutes for Bachelorette Parties, Bridesmaid Gifts, and Getting Ready on your Wedding Day #wineandsprinklesdiy #bridesquad #diywedding

6. Once the transfer tape is aligned along the top, smooth it onto the glass from top to bottom. I smoothed mine by tracing the letters from top to bottom until the entire design was smoothed onto the flute.

7. Once the design has been smoothed and all air bubbles are removed, remove the transfer tape to leave the design on the flute. Repeat the process for all the remaining flutes.

DIY Bride and Squad Champagne Flutes for Bachelorette Parties, Bridesmaid Gifts, and Getting Ready on your Wedding Day #wineandsprinklesdiy #bridesquad #diywedding

Bride Squad DIY Skinny Tumblers

This post contains affiliate links, meaning that if you click on a link I will recieve a small comission. This costs you nothing extra and I only promote products I use and love! You can read our full disclosure here

Bride Squad DIY Bridal Party Skinny Tumblers for Bridesmaid Proposals, Bridesmaid Gifts, or Getting Ready Drinks #wineandsprinklesdiy #diywedding #bridesmaidgifts

For those of you that may want to create more personalized designs,  I used the font Passengers Script for the Bride and Bride Squad Decals, which you can download for free at dafont.com.

Skinny Tumblers are a great choice for  Bridesmaid Proposals, Bridesmaid Gifts, Bachelorette Party Favors, or getting ready drinks the morning of your wedding. Since they are also a great choice for crafty brides to DIY, we’ve made multiple Tumbler Designs for you to choose from! Up today are some bride squad skinny tumblers, Perfect for including in a bridesmaid box or for sipping bachelorette cocktails at the pool.

These decals are easy to weed and good project for beginners working on curved surfaces. While the tumblers are a curved surface, the cylindrical shape makes the transfer pretty easy. The bride decal was cut is Oracal 651 Gold Permanent Adhesive Vinyl with the bride squad cut in Glitter SeaFoam Green, which may be one of my new favorite color combinations!


Bride Squad DIY Bridal Party Skinny Tumblers for Bridesmaid Proposals, Bridesmaid Gifts, or Getting Ready Drinks #wineandsprinklesdiy #diywedding #bridesmaidgifts


  1. After downloading the cut files, import them into the Cricut Software. After creating a new project, select Upload Image. Select the file you wish to upload and it will automatically take you to the final upload screen, where you can name the file, then select Save.

  2. Cut the design(s) in your choice of permanent adhesive vinyl with the Vinyl Setting on your Cricut. The SVG Files are sized so that they will automatically cut to the size you see in the photos, but if you want to change the size you can.

Bride Squad DIY Bridal Party Skinny Tumblers for Bridesmaid Proposals, Bridesmaid Gifts, or Getting Ready Drinks #wineandsprinklesdiy #diywedding #bridesmaidgifts
 
Bride Squad DIY Bridal Party Skinny Tumblers for Bridesmaid Proposals, Bridesmaid Gifts, or Getting Ready Drinks #wineandsprinklesdiy #diywedding #bridesmaidgifts

3. Once the designs are cut, weed away the extra vinyl and cut a piece of transfer tape to 3" x 7.5". Cut away any excess backing from the vinyl design and smooth transfer tape over the design, aligning it with the text and arranging it such that one set of the 1/2” blocks are along the left of the decal, as shown in the photos. Using the smoother tool, smooth the tape over the vinyl, removing any air bubbles.

Bride Squad DIY Bridal Party Skinny Tumblers for Bridesmaid Proposals, Bridesmaid Gifts, or Getting Ready Drinks #wineandsprinklesdiy #diywedding #bridesmaidgifts

4. Now, transfer the design to your tumbler. Remove the tape and decal from the backing, making sure that the entire decal transfers to the transfer tape.

 
Bride Squad DIY Bridal Party Skinny Tumblers for Bridesmaid Proposals, Bridesmaid Gifts, or Getting Ready Drinks #wineandsprinklesdiy #diywedding #bridesmaidgifts

5. Arrange the design such that the short side of the transfer tape is along to top edge of the lip of the tumbler, as shown in the photos. Starting from the top and working down, trace the letters to smooth them onto the tumbler. Smooth the design to remove any air bubbles,. Remove the transfer tape from the tumbler, leaving the design on the tumbler.

6. Use the smoother tool or your finger to retrace the letters after removing the transfer tape to smooth out any additional air bubbles. Repeat with the remaining tumblers.

Bride Squad DIY Bridal Party Skinny Tumblers for Bridesmaid Proposals, Bridesmaid Gifts, or Getting Ready Drinks #wineandsprinklesdiy #diywedding #bridesmaidgifts

I Do Crew DIY Bridal Party Wine Glasses

This post contains affiliate links, meaning that if you click on a link I will recieve a small comission. This costs you nothing extra and I only promote products I use and love! You can read our full disclosure here

I Do Crew DIY Bridal Party Wine Glasses for Bridesmaid Proposals, Bridesmaid Gifts, or Bachelorette Party Favors #wineandsprinklesdiy #diywedding #idocrew

I always seem to get enamored with different little phrases to describe your bridal party, and this year was no different. Once I heard the phrase “I Do Crew,” I wanted (and succeeded) to put it on everything bridesmaid! So the first in a selection of the I Do Crew Projects coming out this year, I started with the perfect choice for a bridesmaid proposal, a wine glass! Wine glasses are a super cute way to invite your maids and are a particular favorite of mine because they are so easy to package into cute little boxes!

I made the decals in Glitter Seafoam Green Permanent Adhesive Vinyl, and I love how they turned out! Wine Glasses can be a little tricky to transfer to, so cut a couple extra decals and take your time with the transfer, starting in the middle of the design and working outward, once you get the hang of it it’s not too tricky!


For those of you that may want to create more personalized designs,  I used the font Bebas Kai for the “I Do” and the font Rachella Script for the “crew” lettering on the Decals, which you can download for free at dafont.com.

I Do Crew DIY Bridal Party Wine Glasses for Bridesmaid Proposals, Bridesmaid Gifts, or Bachelorette Party Favors #wineandsprinklesdiy #diywedding #idocrew


I Do Crew DIY Bridal Party Wine Glasses for Bridesmaid Proposals, Bridesmaid Gifts, or Bachelorette Party Favors #wineandsprinklesdiy #diywedding #idocrew
  1. After downloading the cut files, import them into the Cricut Software. After creating a new project, select Upload Image. Select the file you wish to upload and it will automatically take you to the final upload screen, where you can name the file, then select Save.

  2. Cut the design(s) in your choice of permanent adhesive vinyl with the Vinyl Setting on your Cricut. The SVG Files are sized so that they will automatically cut to the size you see in the photos, but if you want to change the size you can do so to fit another sized glass than the ones we recommend.

  3. Once the designs are cut, weed away the extra vinyl and cut a piece of transfer tape to 3.25" x 3". Cut away any excess backing from the vinyl design and smooth transfer tape over the design, aligning the bottom of the first set of blocks along the top of the text, as shown. Using the smoother tool, smooth the tape over the vinyl, removing any air bubbles.

I Do Crew DIY Bridal Party Wine Glasses for Bridesmaid Proposals, Bridesmaid Gifts, or Bachelorette Party Favors #wineandsprinklesdiy #diywedding #idocrew

4. Remove the transfer tape, making sure that the whole of the design transfers from the vinyl backing to the transfer tape.

5. Now, transfer the design to your glass. Arrange the decal on about the middle of the glass, then smooth the design around the curve of the glass from the middle of the design to the edges. Smooth any air bubbles out of the vinyl, but don’t worry about the crinkling of the transfer tape with the curved surface.

I Do Crew DIY Bridal Party Wine Glasses for Bridesmaid Proposals, Bridesmaid Gifts, or Bachelorette Party Favors #wineandsprinklesdiy #diywedding #idocrew

6. Remove the transfer tape to leave the design on the glass. Any additional bubbles in the design can now be smoothed out with either your fingers or the smoother tool. Repeat the process with all remaining wine glasses.

I Do Crew DIY Bridal Party Wine Glasses for Bridesmaid Proposals, Bridesmaid Gifts, or Bachelorette Party Favors #wineandsprinklesdiy #diywedding #idocrew
WS-24-7txt.jpg
I Do Crew DIY Bridal Party Wine Glasses for Bridesmaid Proposals, Bridesmaid Gifts, or Bachelorette Party Favors #wineandsprinklesdiy #diywedding #idocrew

Arrow Decal DIY Bridal Party Skinny Tumblers

This post contains affiliate links, meaning that if you click on a link I will recieve a small comission. This costs you nothing extra and I only promote products I use and love! You can read our full disclosure here

Arrow Decal DIY Bridal Party Skinny Tumblers for bridesmaid proposals, bridesmaid gifts, bachelorette party favors, or getting ready drinks #wineandsprinklesdiy #diywedding #bridesmaidgifts

Bridal Party tumblers are always a great choice for Bridesmaid Proposals, Gifts, or as Bachelorette Party Favors, so we had to add to our collection of decals! Since we are starting the year with some fun projects to invite your bridal party to the wedding fun, our first tumbler project of the year are these Bridal Party Arrow Decal Tumblers.

The whimsical arrow decals are easy to weed and a great project for beginners. While the tumblers are a curved surface, the cylindrical shape makes the transfer far easier than wine glasses. The bride decal was cut is Silver Glitter Permanent Adhesive Vinyl, complemented by the maid of honor and bridesmaids tumblers in Lilac and Purple Permanent Adhesive Vinyl.


Arrow Decal DIY Bridal Party Skinny Tumblers for bridesmaid proposals, bridesmaid gifts, bachelorette party favors, or getting ready drinks #wineandsprinklesdiy #diywedding #bridesmaidgifts

For those of you that may want to create more personalized designs,  I used the font Bio Monster for the lettering in the arrow decals, which you can download for free at dafont.com.


Download Cut Files Here!
Arrow Decal DIY Bridal Party Skinny Tumblers for bridesmaid proposals, bridesmaid gifts, bachelorette party favors, or getting ready drinks #wineandsprinklesdiy #diywedding #bridesmaidgifts
  1. After downloading the cut files, import them into the Cricut Software. After creating a new project, select Upload Image. Select the file you wish to upload and it will automatically take you to the final upload screen, where you can name the file, then select Save.

  2. Cut the design(s) in your choice of permanent adhesive vinyl with the Vinyl Setting on your Cricut. The SVG Files are sized so that they will automatically cut to the size you see in the photos, but if you want to change the size you can.

Arrow Decal DIY Bridal Party Skinny Tumblers for bridesmaid proposals, bridesmaid gifts, bachelorette party favors, or getting ready drinks #wineandsprinklesdiy #diywedding #bridesmaidgifts

3. Once the designs are cut, weed away the extra vinyl and cut a piece of transfer tape to 2.5" x 7.5". Cut away any excess backing from the vinyl design and smooth transfer tape over the design, aligning it with the text and arranging it such that one set of the 1/2” blocks are to the left of the end of the arrow, with the decal horizontally aligned along the bottom of the text. Using the smoother tool, smooth the tape over the vinyl, removing any air bubbles.

4. Now, transfer the design to your tumbler. Remove the tape and decal from the backing, making sure that the entire decal transfers to the transfer tape.

Arrow Decal DIY Bridal Party Skinny Tumblers for bridesmaid proposals, bridesmaid gifts, bachelorette party favors, or getting ready drinks #wineandsprinklesdiy #diywedding #bridesmaidgifts

5. Arrange the design such that the short side of the transfer tape is along to top edge of the lip of the tumbler, as shown. Starting from the top and working down, trace the letters to smooth them onto the tumbler. Smooth the design to remove any air bubbles,. Remove the transfer tape from the tumbler, leaving the design on the tumbler.

6. Use the smoother tool or your finger to retrace the letters after removing the transfer tape to smooth out any additional air bubbles. Repeat with all remaining tumblers.

Arrow Decal DIY Bridal Party Skinny Tumblers for bridesmaid proposals, bridesmaid gifts, bachelorette party favors, or getting ready drinks #wineandsprinklesdiy #diywedding #bridesmaidgifts

DIY Bride and Tribe Bridal Party Champagne Flutes

This post contains affiliate links, meaning that if you click on a link I will recieve a small comission. This costs you nothing extra and I only promote products I use and love! You can read our full disclosure here

DIY Bride and Tribe Champagne Flutes for Bridal Showers, Bachelorettes and Getting Ready the day of your Wedding #wineandsprinklesdiy #diywedding #bridetribe

There's no better way to celebrate the New Year, and hopefully a New Years or Christmas Proposal, than a toast is some fun glittery DIY champagne flutes. These Bride and Tribe stemless flutes are a great choice for Bridesmaid Proposals, Gifts, or as Bachelorette Party Favors!

I made my bride flute in Oracal 651 White Permanent Adhesive Vinyl, and since I couldn’t decide between the Glitter Seafoam Green and the Glitter Rose Gold Vinyl, I ended up making Tribe decals in both colors! You may even see magically, some may say accidentally, that the flute switches colors part way through the tutorial!

DIY Bride and Tribe Champagne Flutes for Bridal Showers, Bachelorettes and Getting Ready the day of your Wedding #wineandsprinklesdiy #diywedding #bridetribe

This is also a great project to start with if you haven’t done much vinyl transfer on curved surfaces before, the decal is easy to weed and the stemless flutes are much easier to align and transfer to than wine glasses.

For those of you that may want to create more personalized designs,  I used the font Breamcatcher for the Bride and Tribe Decals, which you can download for free at dafont.com.


DIY Bride and Tribe Champagne Flutes for Bridal Showers, Bachelorettes and Getting Ready the day of your Wedding #wineandsprinklesdiy #diywedding #bridetribe

1. After downloading the cut files, import them into the Cricut Software. After creating a new project, select Upload Image. Select the file you wish to upload and it will automatically take you to the final upload screen, where you can name the file, then select Save.

2. Cut the design(s) in your choice of permanent adhesive vinyl with the Vinyl Setting on your Cricut. The SVG Files are sized so that they will automatically cut to the size you see in the photos, but if you want to change the size to whatever you like.

DIY Bride and Tribe Champagne Flutes for Bridal Showers, Bachelorettes and Getting Ready the day of your Wedding #wineandsprinklesdiy #diywedding #bridetribe

3. Once the designs are cut, weed away the extra vinyl and cut a piece of transfer tape to 2" x 5". Cut away any excess backing from the vinyl design and smooth transfer tape over the design, aligning it to along the first letter of the designs  with the bottom lines of the tape aligning to the text as shown above. Make sure to align it such that 1” of the transfer tape is to the left of the first letter to use in placing it properly on the glasses later.

4. After smoothing the transfer tape of the design with the smoother tool, remove the transfer tape from the backing, lifting the design from the backing with the transfer tape.

DIY Bride and Tribe Champagne Flutes for Bridal Showers, Bachelorettes and Getting Ready the day of your Wedding #wineandsprinklesdiy #diywedding #bridetribe

5. Using the transfer tape as a spacer, smooth the design onto the flutes, aligning the short side of the transfer tape along the top edge of the glasses. I adhered mine as shown to the right. with the tape parallel to the top of the glass just under the rim.

DIY Bride and Tribe Champagne Flutes for Bridal Showers, Bachelorettes and Getting Ready the day of your Wedding #wineandsprinklesdiy #diywedding #bridetribe

6. Once the transfer tape is aligned along the top, smooth it onto the glass from top to bottom. I smoothed mine by tracing the letters from top to bottom until the entire design was smoothed onto the flute,as shown to the left.

7. Once the design has been smoothed and all air bubbles are removed, remove the transfer tape to leave the design on the flute. Repeat the process for all the remaining flutes.

DIY Bride and Tribe Champagne Flutes for Bridal Showers, Bachelorettes and Getting Ready the day of your Wedding #wineandsprinklesdiy #diywedding #bridetribe

DIY That's What She Said Bachelorette Flasks

This post contains affiliate links, meaning that if you click on a link I will recieve a small comission. This costs you nothing extra and I only promote products I use and love! You can read our full disclosure here

DIY That's what She Said Bachelorette Flasks #bachelorette #flasks #thatswhatshesaid

Group Flasks are always a fun choice for a bachelorette party and these “That’s what she said” Flasks are no exception! I just had to add in a set with my favorite bachelorette saying!

For these I used Amethyst Glitter Permanant Vinyl for the group flasks and Oracal 651 White Vinyl for the Bridal Flask, but making them again I might make the Bridal Flask a Glitter vinyl as well. :)

See more of our Flask Projects Here!

 
DIY That's what She Said Bachelorette Flasks #bachelorette #flasks #thatswhatshesaid
 

1. After downloading the cut files, import them into the Cricut Software. After creating a new project, select Upload Image. Select the file you wish to upload and it will automatically take you to the final upload screen, where you can name the file the select Save. 

2. Cut the design(s) in your choice of permanent adhesive vinyl with the Vinyl Setting on your Cricut. The SVG Files are sized so that they will automatically cut to the size you see in the photos.

DIY That's what She Said Bachelorette Flasks #bachelorette #flasks #thatswhatshesaid

3. Once the designs are cut, weed away the extra vinyl and cut a piece of transfer tape to 3.5" x 4". Cut away any excess backing from the vinyl design and smooth transfer tape over the design, aligning it along the top of the text with one of the 1/2” blocks just below the underside of the “t’s” of your text as show below. Using the smoother tool, smooth the tape to the vinyl, removing any air bubbles.

DIY That's what She Said Bachelorette Flasks #bachelorette #flasks #thatswhatshesaid

4. Now, transfer the design to your flask. Remove the transfer tape from the vinyl backing, transferring the vinyl design to the transfer tape.

DIY That's what She Said Bachelorette Flasks #bachelorette #flasks #thatswhatshesaid

5. Align the design on the flask along the bottom of the flask as shown above. Smooth the design onto the flask, once again using the smoother to remove any air bubbles.

DIY That's what She Said Bachelorette Flasks #bachelorette #flasks #thatswhatshesaid

6. Remove the transfer tape to leave the design on the flask, then repeat the process for all the additional flasks.

DIY That's what She Said Bachelorette Flasks #bachelorette #flasks #thatswhatshesaid