Flutes

Romantic Font DIY Bridal Party Flutes

Romantic Font DIY Bridal Party Flutes

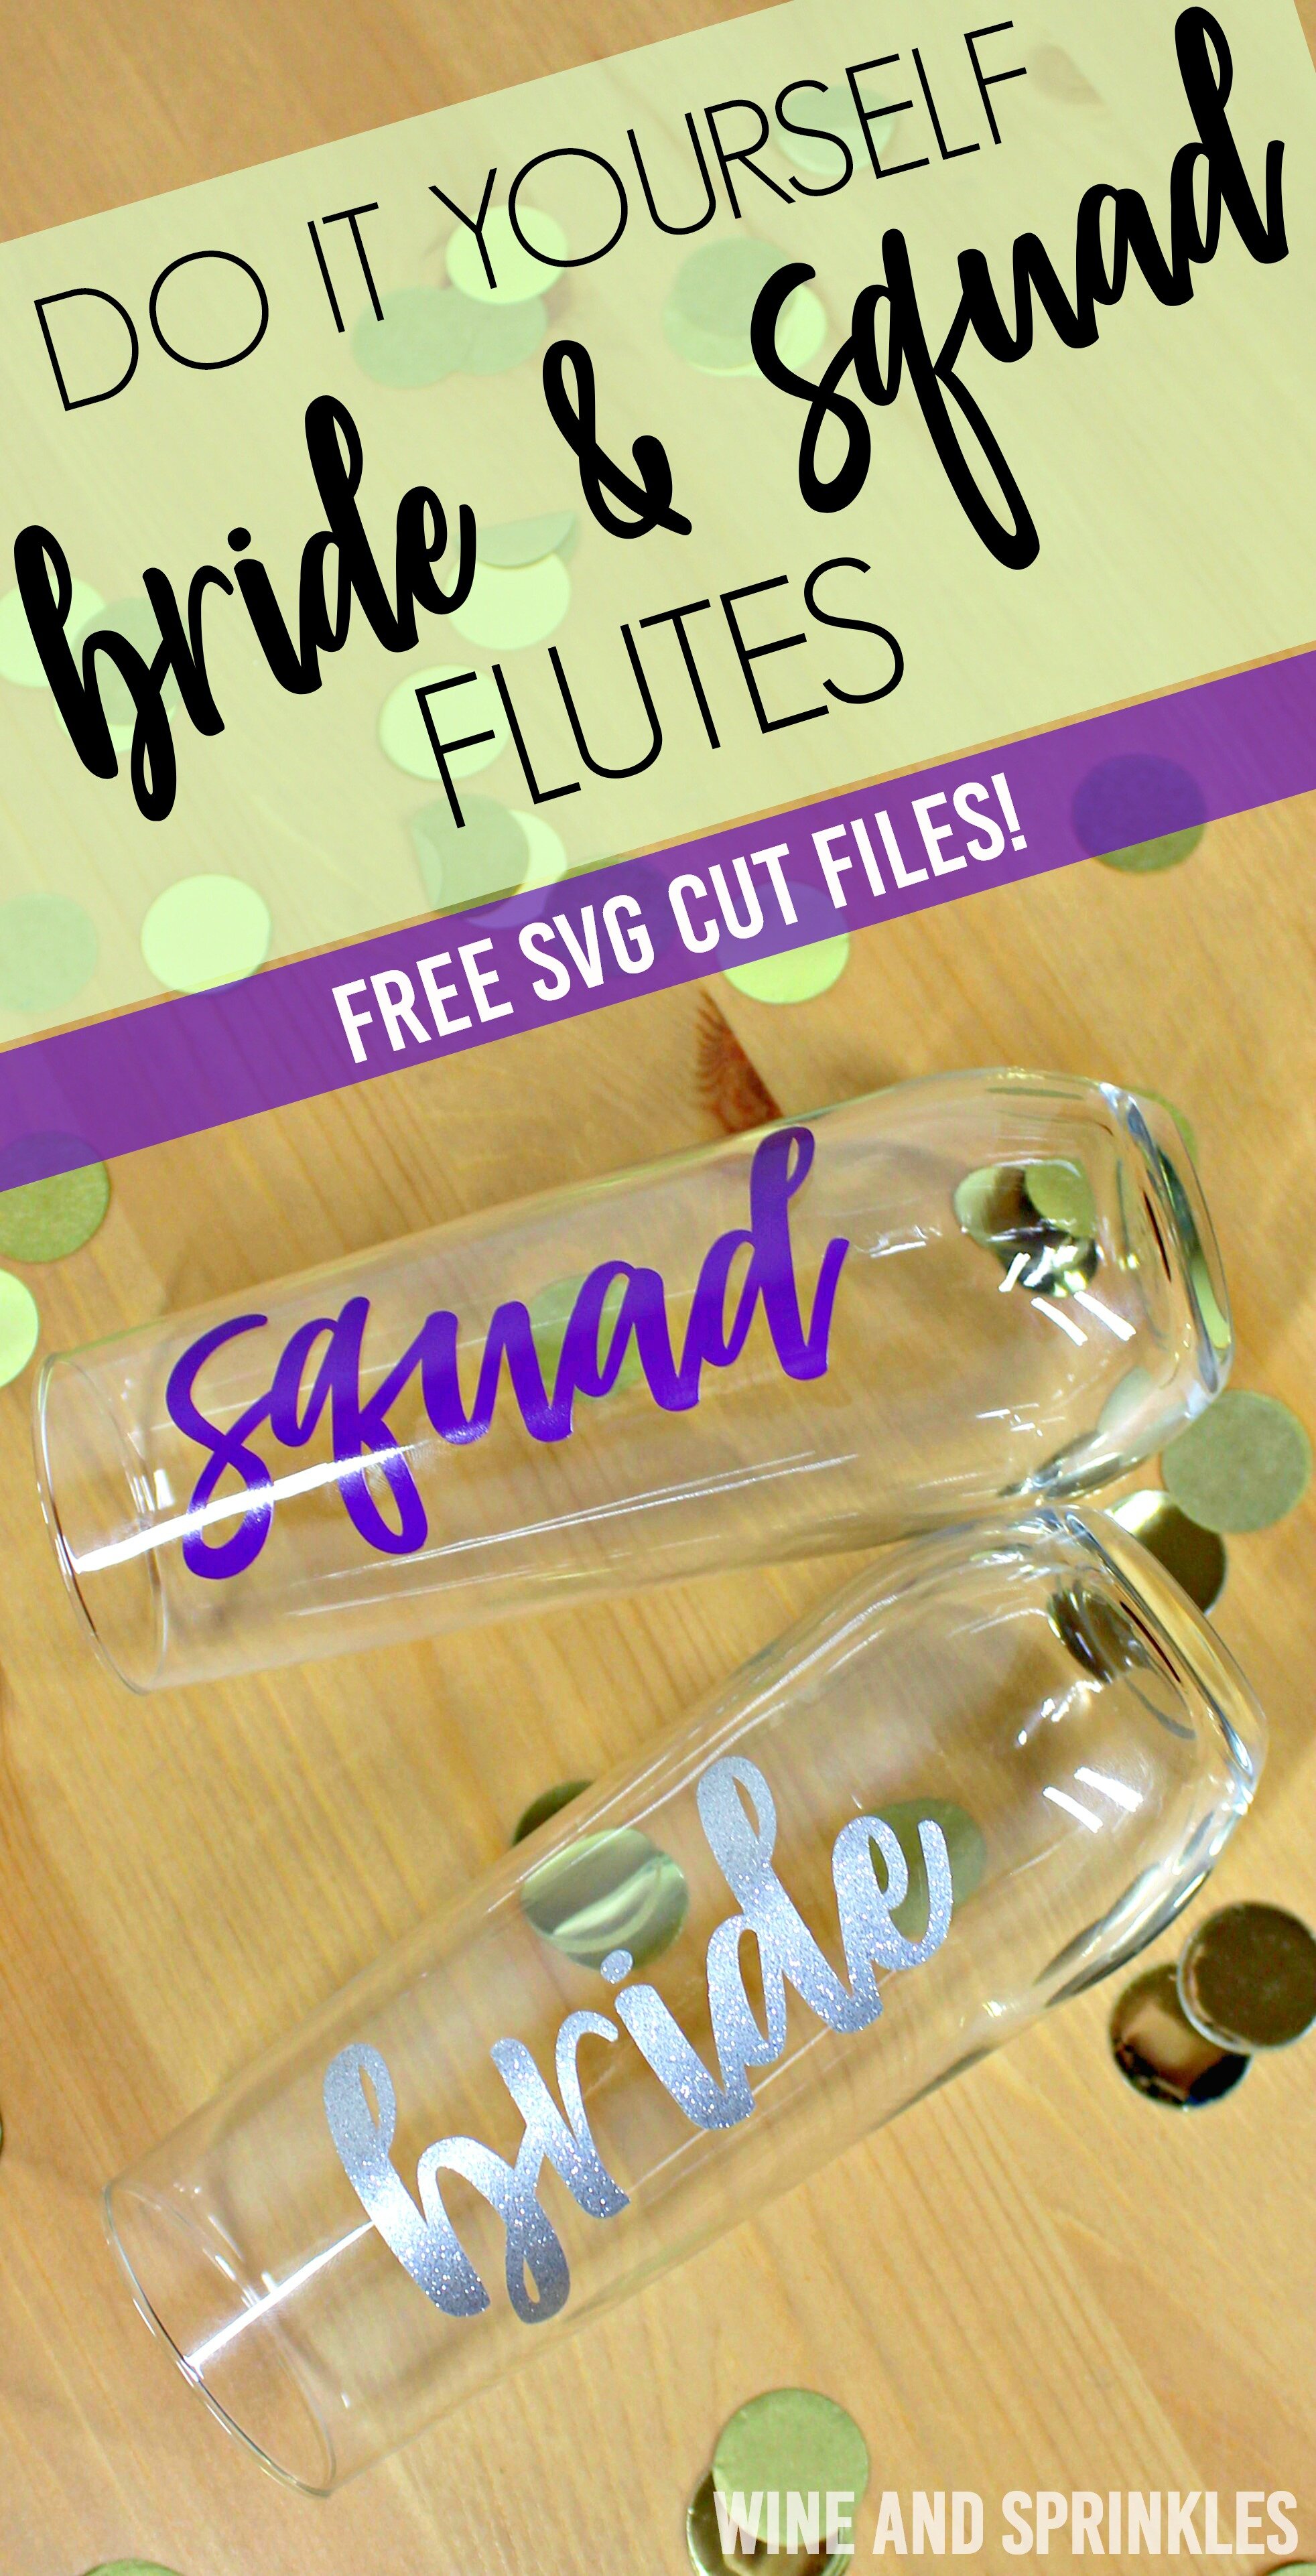
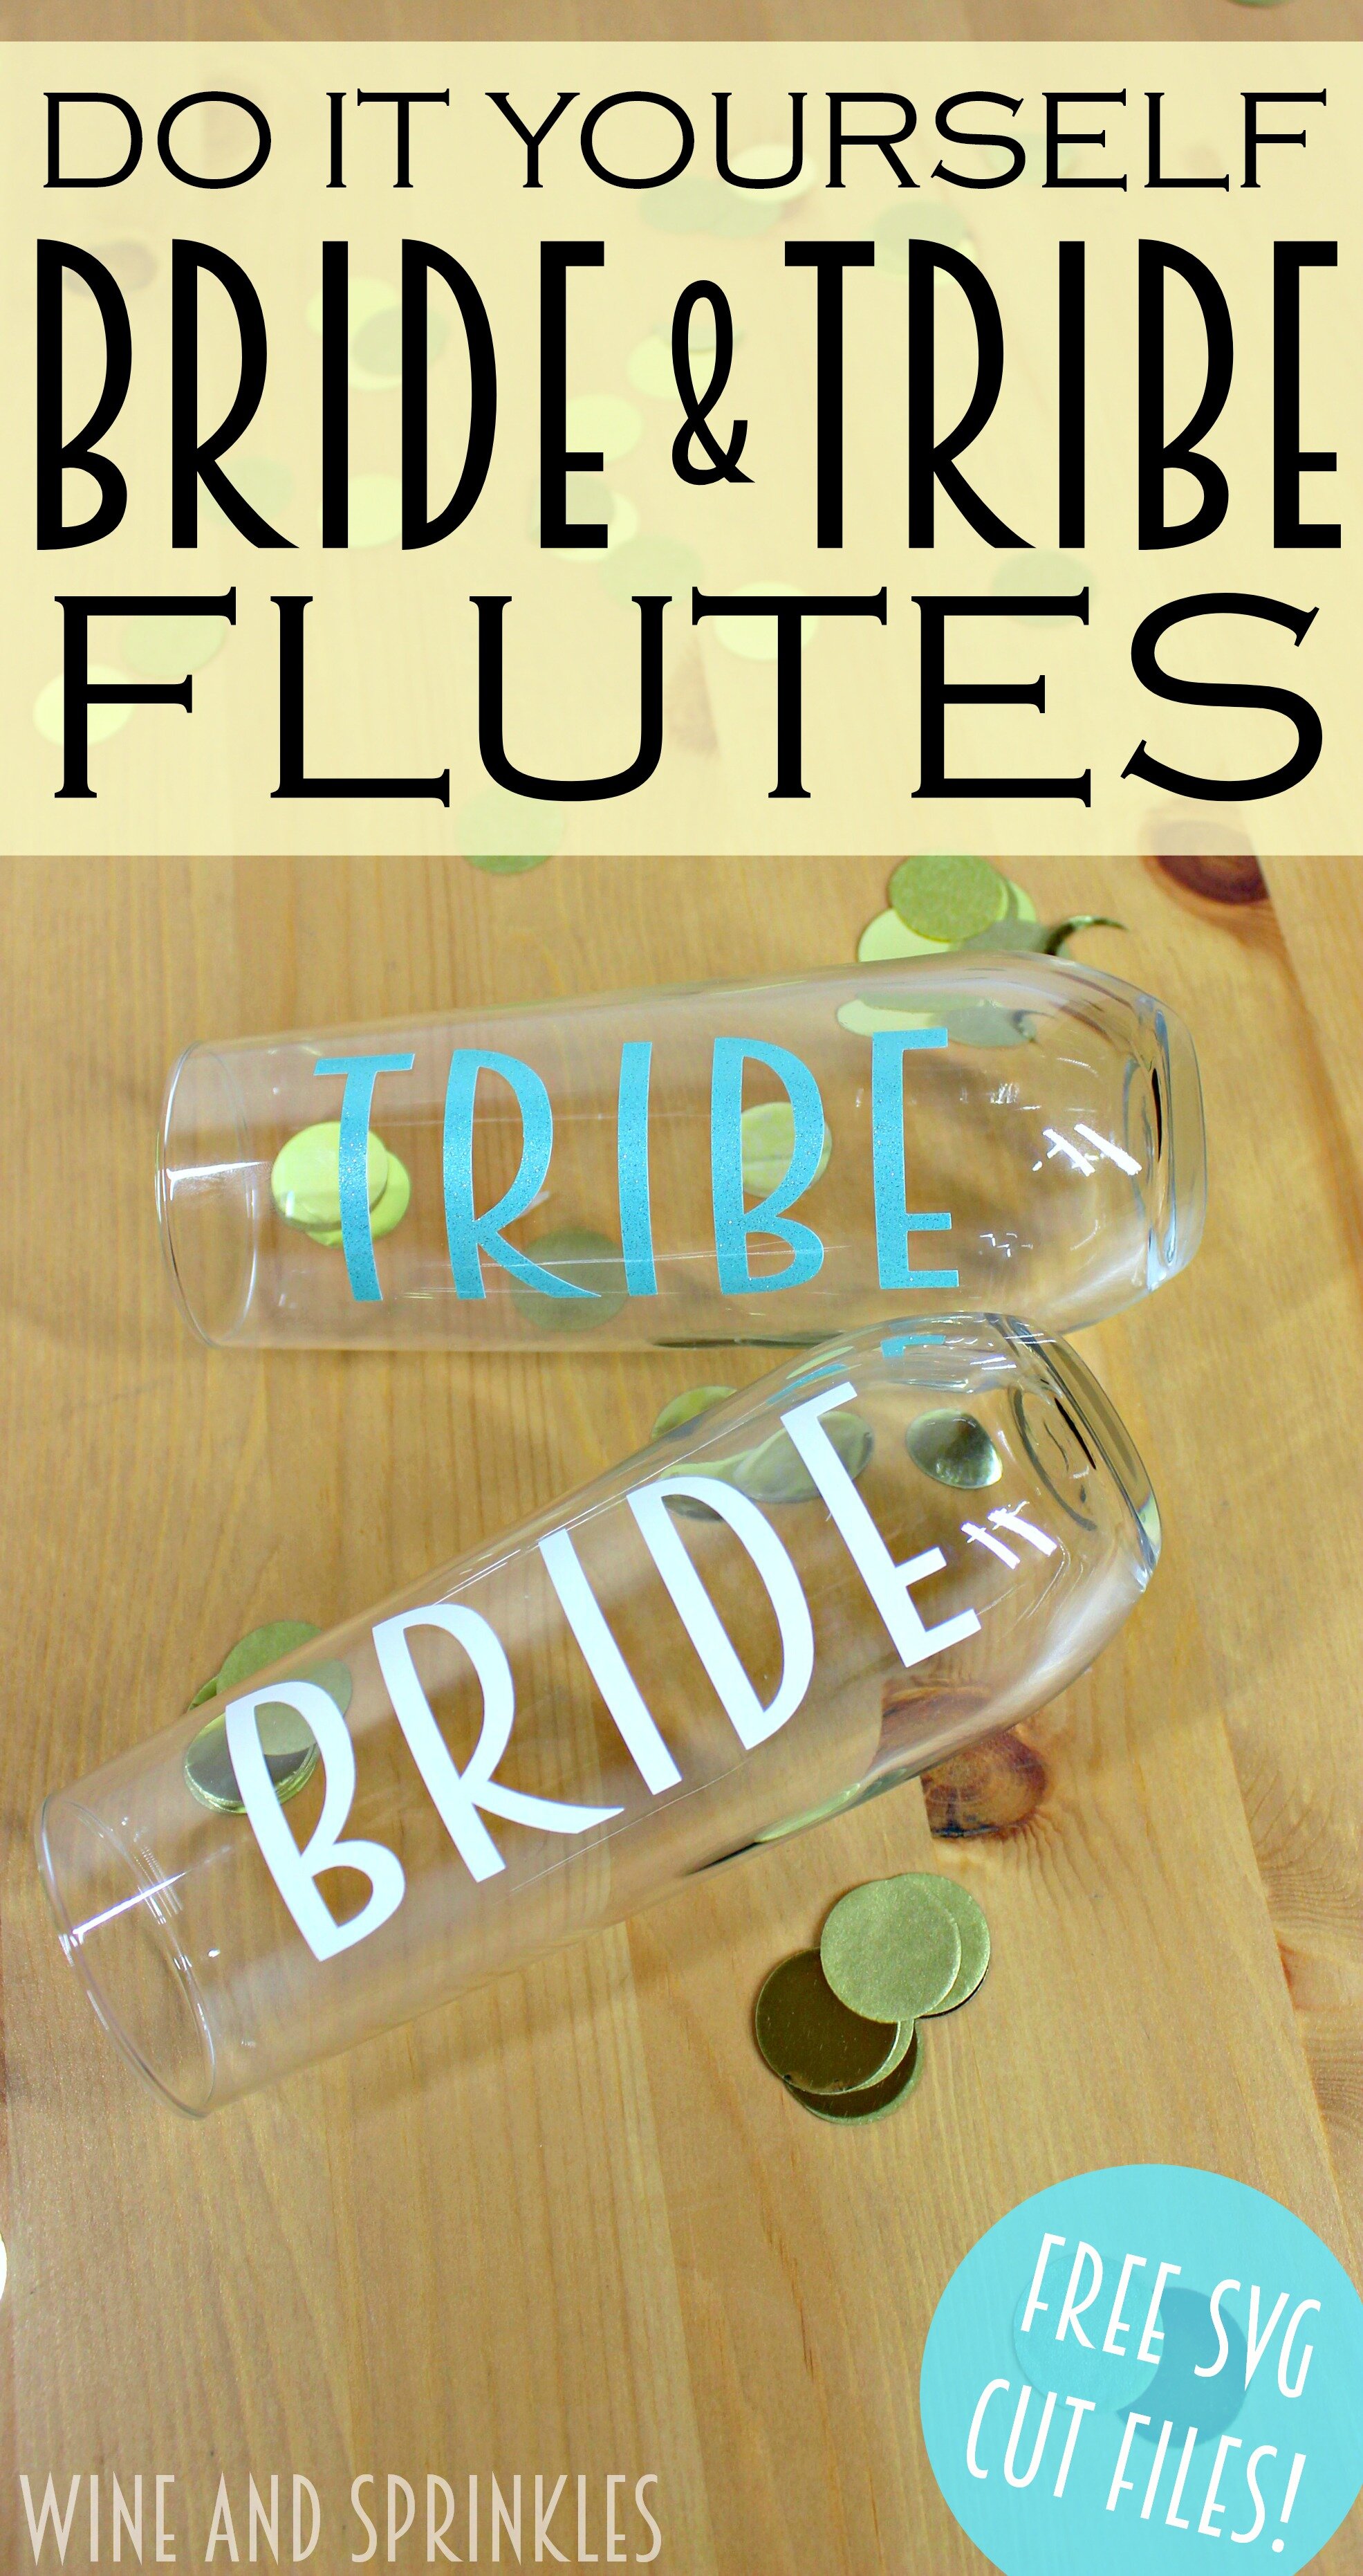
I love using champagne flutes as proposal items or getting ready items for weddings, they're such a romantic and classy way to toast to your future together. These flutes are perfect for either of those purposes or any shower or wedding event! Plus I made decals for not only the bridesmaids, maid of honor, matron of honor if you have one, and the bride; but also for the mothers of the bride and groom so that you can make sure all of your ladies feel extra special at your wedding.

Read More

Bride and Squad DIY Toasting Flutes

This post contains affiliate links, meaning that if you click on a link I will recieve a small comission. This costs you nothing extra and I only promote products I use and love! You can read our full disclosure here

DIY Bride and Squad Champagne Flutes for Bachelorette Parties, Bridesmaid Gifts, and Getting Ready on your Wedding Day #wineandsprinklesdiy #bridesquad #diywedding

To join our Bride and Tribe Flutes in the Bridesmaid Proposal Glassware Projects, their cousin the Bride and Squad Flutes! Champagne Flutes are a great choice for Bachelorette Parties, as well as for Bridesmaid Proposals or holding getting ready drinks the morning of your wedding!

I made my bride flute in Silver Glitter Permanent Adhesive Vinyl, and the squad flutes in Oracal 651 Purple Permanent Adhesive Vinyl, and the colors turned out perfect! But you could easily make dozens of different combinations to perfectly match your wedding or bachelorette colors. This is also a great project to start with if you haven’t done much vinyl transfer on curved surfaces before, the decal is easy to weed and the stemless flutes are much easier to align and transfer to than wine glasses.

DIY Bride and Squad Champagne Flutes for Bachelorette Parties, Bridesmaid Gifts, and Getting Ready on your Wedding Day #wineandsprinklesdiy #bridesquad #diywedding

For those of you that may want to create more personalized designs,  I used the font Passengers Script for the Bride and Squad Decals, which you can download for free at dafont.com.


DIY Bride and Squad Champagne Flutes for Bachelorette Parties, Bridesmaid Gifts, and Getting Ready on your Wedding Day #wineandsprinklesdiy #bridesquad #diywedding
  1. After downloading the cut files, import them into the Cricut Software. After creating a new project, select Upload Image. Select the file you wish to upload and it will automatically take you to the final upload screen, where you can name the file, then select Save.

  2. Cut the design(s) in your choice of permanent adhesive vinyl with the Vinyl Setting on your Cricut. The SVG Files are sized so that they will automatically cut to the size you see in the photos, but if you want to change the size to whatever you like. 

DIY Bride and Squad Champagne Flutes for Bachelorette Parties, Bridesmaid Gifts, and Getting Ready on your Wedding Day #wineandsprinklesdiy #bridesquad #diywedding

3. Once the designs are cut, weed away the extra vinyl and cut a piece of transfer tape to 2" x 5". Cut away any excess backing from the vinyl design and smooth transfer tape over the design. Align the “squad” decals with one of the 0.5” blocks of the transfer tape to the left of the decal and one block along the bottom of the letters “uad.” Align the “bride” decal with two blocks to the left of the decal,  and one block along the bottom of the “id.” This will make it easier to place it properly on the glasses later.

4. After smoothing the transfer tape of the designs with the smoother tool, remove the transfer tape from the backing, lifting the design with the transfer tape.

DIY Bride and Squad Champagne Flutes for Bachelorette Parties, Bridesmaid Gifts, and Getting Ready on your Wedding Day #wineandsprinklesdiy #bridesquad #diywedding

5. Using the transfer tape as a spacer, smooth the design onto the flutes, aligning the short side of the transfer tape along the top edge of the glasses. I adhered mine as shown below, with the tape parallel to the top of the glass just under the rim.

DIY Bride and Squad Champagne Flutes for Bachelorette Parties, Bridesmaid Gifts, and Getting Ready on your Wedding Day #wineandsprinklesdiy #bridesquad #diywedding

6. Once the transfer tape is aligned along the top, smooth it onto the glass from top to bottom. I smoothed mine by tracing the letters from top to bottom until the entire design was smoothed onto the flute.

7. Once the design has been smoothed and all air bubbles are removed, remove the transfer tape to leave the design on the flute. Repeat the process for all the remaining flutes.

DIY Bride and Squad Champagne Flutes for Bachelorette Parties, Bridesmaid Gifts, and Getting Ready on your Wedding Day #wineandsprinklesdiy #bridesquad #diywedding

DIY Bride and Tribe Bridal Party Champagne Flutes

This post contains affiliate links, meaning that if you click on a link I will recieve a small comission. This costs you nothing extra and I only promote products I use and love! You can read our full disclosure here

DIY Bride and Tribe Champagne Flutes for Bridal Showers, Bachelorettes and Getting Ready the day of your Wedding #wineandsprinklesdiy #diywedding #bridetribe

There's no better way to celebrate the New Year, and hopefully a New Years or Christmas Proposal, than a toast is some fun glittery DIY champagne flutes. These Bride and Tribe stemless flutes are a great choice for Bridesmaid Proposals, Gifts, or as Bachelorette Party Favors!

I made my bride flute in Oracal 651 White Permanent Adhesive Vinyl, and since I couldn’t decide between the Glitter Seafoam Green and the Glitter Rose Gold Vinyl, I ended up making Tribe decals in both colors! You may even see magically, some may say accidentally, that the flute switches colors part way through the tutorial!

DIY Bride and Tribe Champagne Flutes for Bridal Showers, Bachelorettes and Getting Ready the day of your Wedding #wineandsprinklesdiy #diywedding #bridetribe

This is also a great project to start with if you haven’t done much vinyl transfer on curved surfaces before, the decal is easy to weed and the stemless flutes are much easier to align and transfer to than wine glasses.

For those of you that may want to create more personalized designs,  I used the font Breamcatcher for the Bride and Tribe Decals, which you can download for free at dafont.com.


DIY Bride and Tribe Champagne Flutes for Bridal Showers, Bachelorettes and Getting Ready the day of your Wedding #wineandsprinklesdiy #diywedding #bridetribe

1. After downloading the cut files, import them into the Cricut Software. After creating a new project, select Upload Image. Select the file you wish to upload and it will automatically take you to the final upload screen, where you can name the file, then select Save.

2. Cut the design(s) in your choice of permanent adhesive vinyl with the Vinyl Setting on your Cricut. The SVG Files are sized so that they will automatically cut to the size you see in the photos, but if you want to change the size to whatever you like.

DIY Bride and Tribe Champagne Flutes for Bridal Showers, Bachelorettes and Getting Ready the day of your Wedding #wineandsprinklesdiy #diywedding #bridetribe

3. Once the designs are cut, weed away the extra vinyl and cut a piece of transfer tape to 2" x 5". Cut away any excess backing from the vinyl design and smooth transfer tape over the design, aligning it to along the first letter of the designs  with the bottom lines of the tape aligning to the text as shown above. Make sure to align it such that 1” of the transfer tape is to the left of the first letter to use in placing it properly on the glasses later.

4. After smoothing the transfer tape of the design with the smoother tool, remove the transfer tape from the backing, lifting the design from the backing with the transfer tape.

DIY Bride and Tribe Champagne Flutes for Bridal Showers, Bachelorettes and Getting Ready the day of your Wedding #wineandsprinklesdiy #diywedding #bridetribe

5. Using the transfer tape as a spacer, smooth the design onto the flutes, aligning the short side of the transfer tape along the top edge of the glasses. I adhered mine as shown to the right. with the tape parallel to the top of the glass just under the rim.

DIY Bride and Tribe Champagne Flutes for Bridal Showers, Bachelorettes and Getting Ready the day of your Wedding #wineandsprinklesdiy #diywedding #bridetribe

6. Once the transfer tape is aligned along the top, smooth it onto the glass from top to bottom. I smoothed mine by tracing the letters from top to bottom until the entire design was smoothed onto the flute,as shown to the left.

7. Once the design has been smoothed and all air bubbles are removed, remove the transfer tape to leave the design on the flute. Repeat the process for all the remaining flutes.

DIY Bride and Tribe Champagne Flutes for Bridal Showers, Bachelorettes and Getting Ready the day of your Wedding #wineandsprinklesdiy #diywedding #bridetribe

DIY Bride and Groom Toasting Flutes

This post contains affiliate links, meaning that if you click on a link I will recieve a small comission. This costs you nothing extra and I only promote products I use and love! You can read our full disclosure here

DIY Vinyl Bride and Groom Wedding Toasting Flutes #diywedding #svgfiles #cricutprojects

Happy Post Valentine’s day everyone! Hopefully it was magical, romantic, and maybe even included a ring in the mix! To toast the celebration, well really to toast at your wedding, I designed these cute and simple wedding flutes.

DIY Vinyl Bride and Groom Wedding Toasting Flutes #diywedding #svgfiles #cricutprojects

I made my flutes in two colors, Silver Glitter Permanent Adhesive Vinyl and Gold Permanent Adhesive Vinyl and I loved how both turned out! By aligning the transfer tape well in the beginning, it makes the alignment on the glasses nice and easy. :) I would recommend this as a great first project for working with glassware in general, it is not a hard curve to follow as far as transferring goes and the designs themselves are simple and easy to weed. :)

DIY Vinyl Bride and Groom Wedding Toasting Flutes #diywedding #svgfiles #cricutprojects

1. After downloading the cut files, import them into the Cricut Software. After creating a new project, select Upload Image. Select the file you wish to upload and it will automatically take you to the final upload screen, where you can name the file the select Save. 

2. Cut the design(s) in your choice of permanent adhesive vinyl with the Vinyl Setting on your Cricut. The SVG Files are sized so that they will automatically cut to the size you see in the photos, but if you want to change the size to whatever you like. :)

DIY Vinyl Bride and Groom Wedding Toasting Flutes #diywedding #svgfiles #cricutprojects

3. Once the designs are cut, weed away the extra vinyl and cut a piece of transfer tape to 2" x 5". Cut away any excess backing from the vinyl design and smooth transfer tape over the design, aligning it to along the first letter of the designs with the bottom lines of the tape aligning to the text as shown below. Make sure to align it such that 1” of the transfer tape is to the left of the first letter to use in placing it properly on the glasses later.

DIY Vinyl Bride and Groom Wedding Toasting Flutes #diywedding #svgfiles #cricutprojects

4. After smoothing the transfer tape of the designs with the smoother tool, remove the transfer tape from the backing, lifting the design with the transfer tape.

DIY Vinyl Bride and Groom Wedding Toasting Flutes #diywedding #svgfiles #cricutprojects

5. Using the transfer tape as a spacer, smooth the design onto the flutes, aligning the short side of the transfer tape along the top edge of the glasses. I adhered mine as shown below. with the tape parallel to the top of the glass just under the rim.

DIY Vinyl Bride and Groom Wedding Toasting Flutes #diywedding #svgfiles #cricutprojects

6. Once the transfer tape is aligned along the top, smooth it onto the glass from top to bottom. I smoothed mine by tracing the letters from top to bottom until the entire design was smoothed onto the flute,as shown below.

DIY Vinyl Bride and Groom Wedding Toasting Flutes #diywedding #svgfiles #cricutprojects

7. Once the design has been smoothed and all air bubbles are removed, remove the transfer tape to leave the design on the flute. Repeat with the groom flute in the same manner. Using the transfer tape similarly to above you can make the groom flute lettering the same height so your flutes will be a beautiful and matching set! :)

DIY Vinyl Bride and Groom Wedding Toasting Flutes #diywedding #svgfiles #cricutprojects