This post contains affiliate links, meaning that if you click on a link I will recieve a small comission. This costs you nothing extra and I only promote products I use and love! You can read our full disclosure here

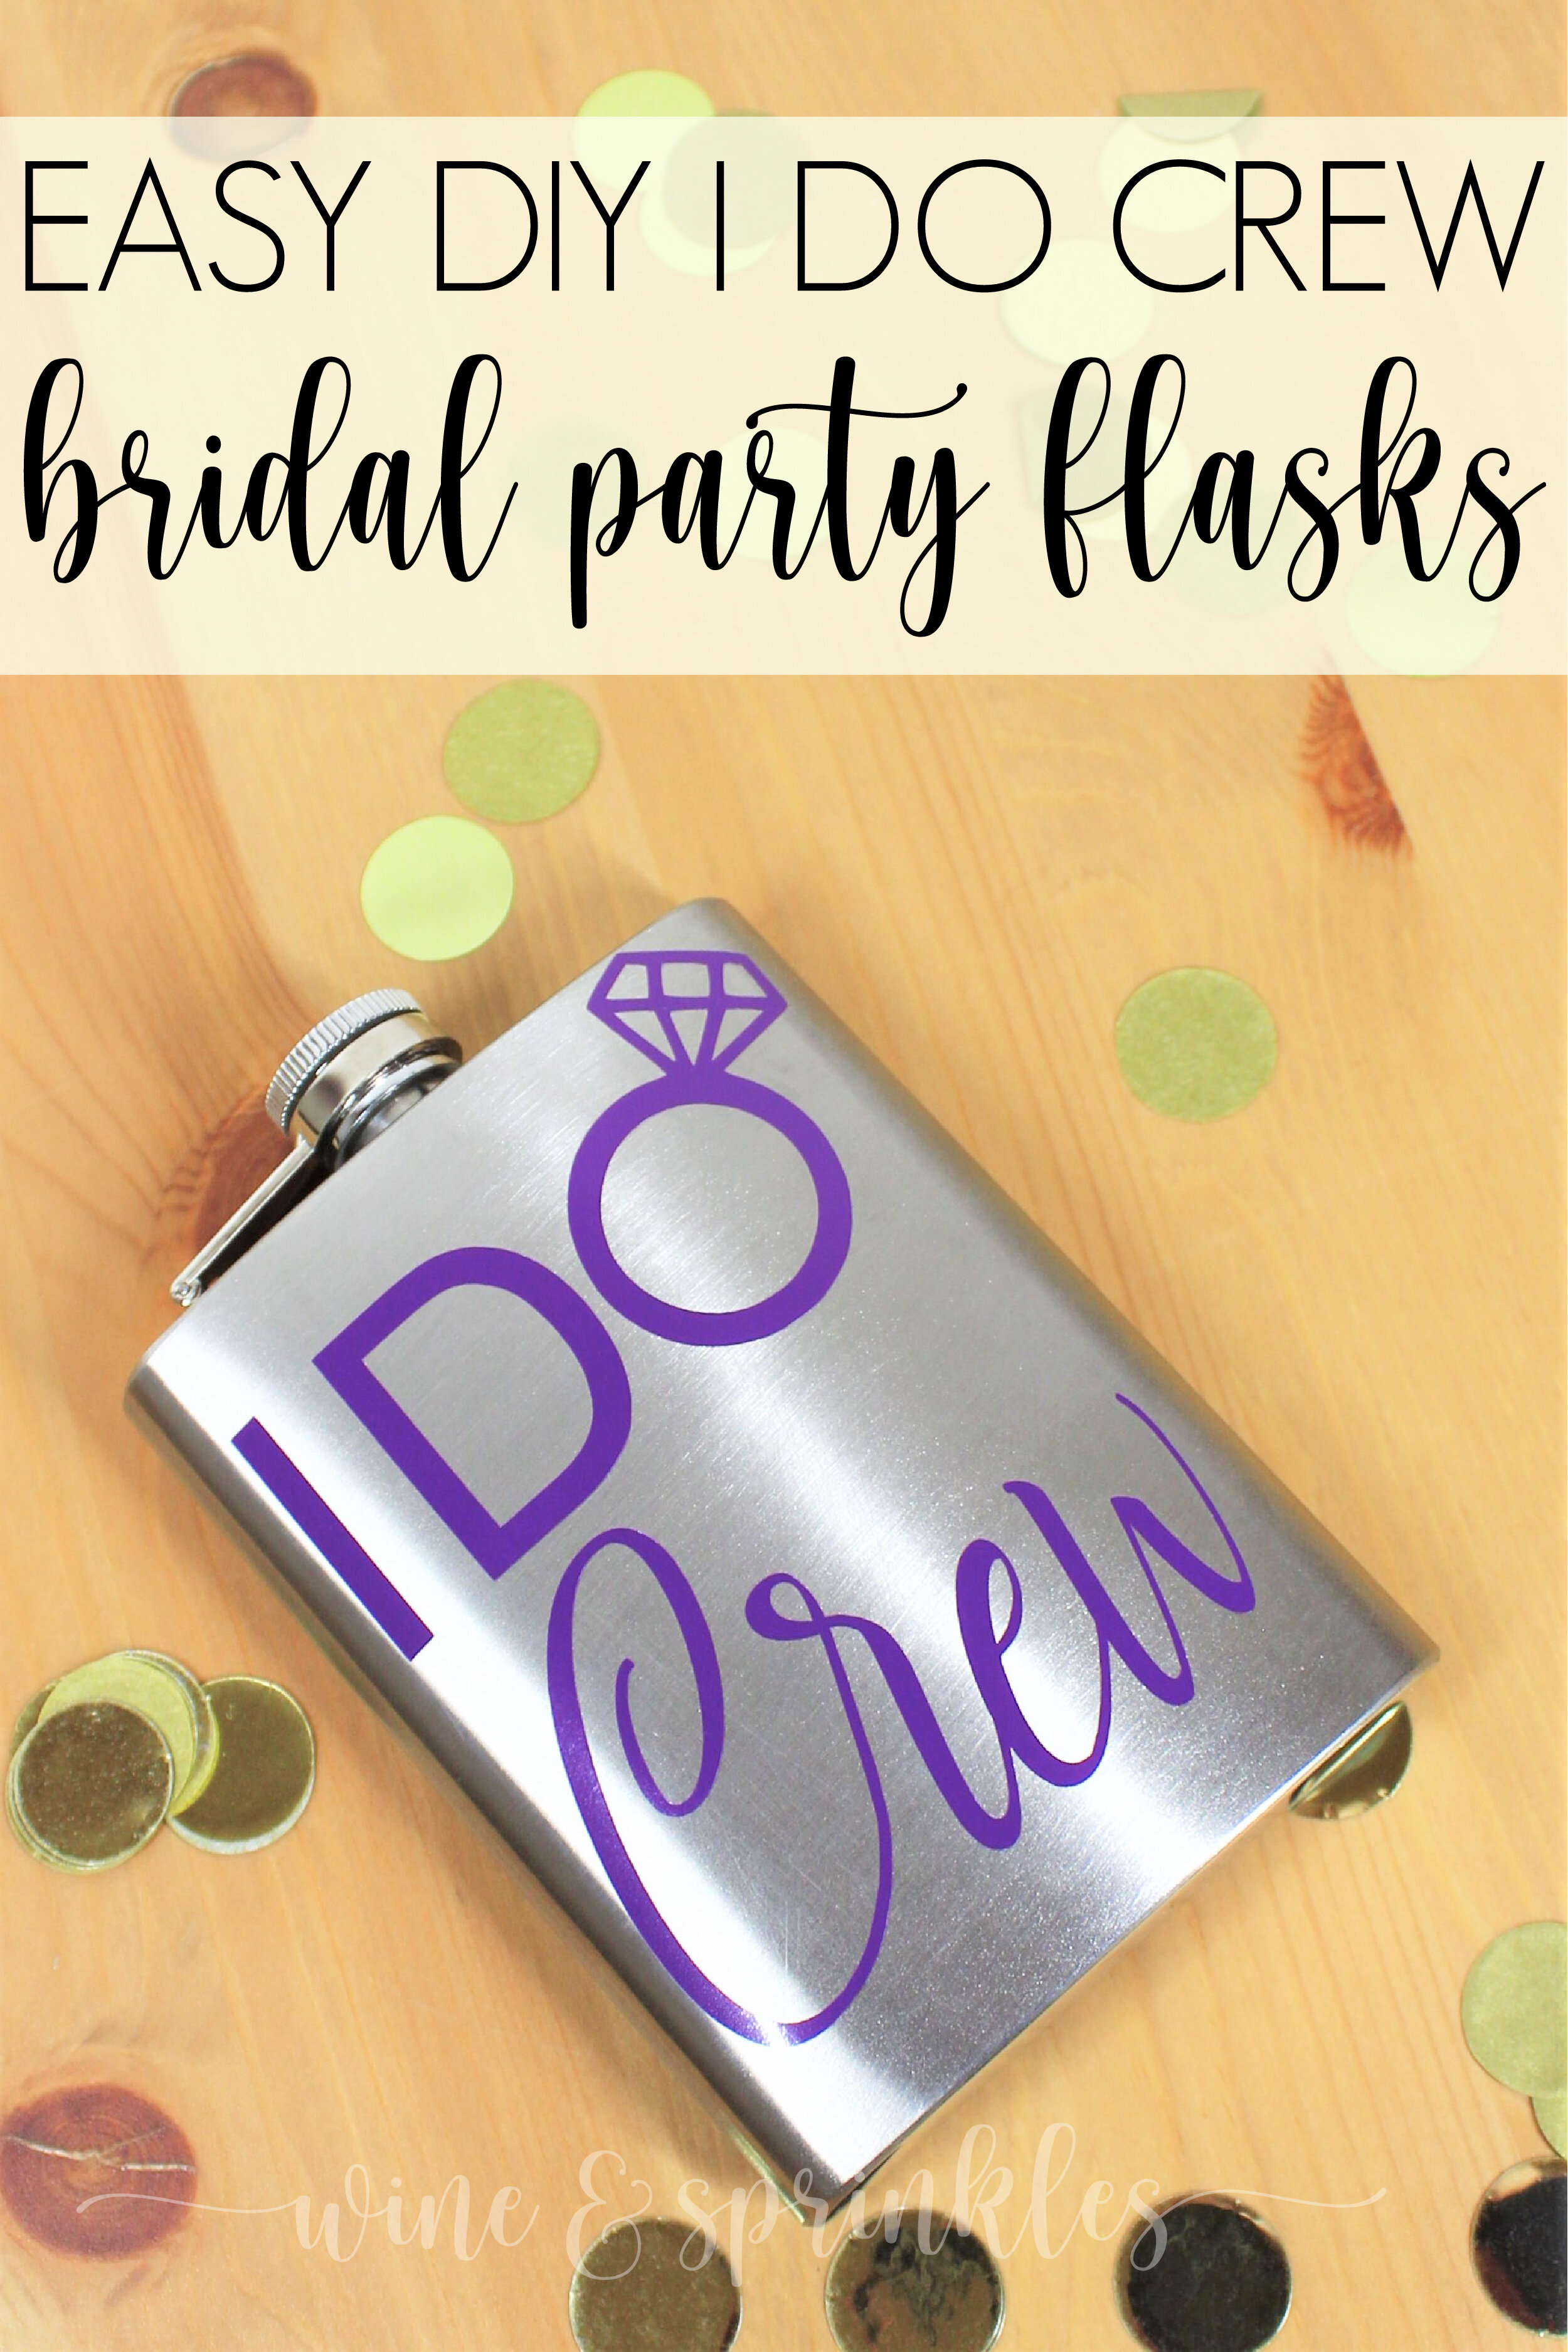
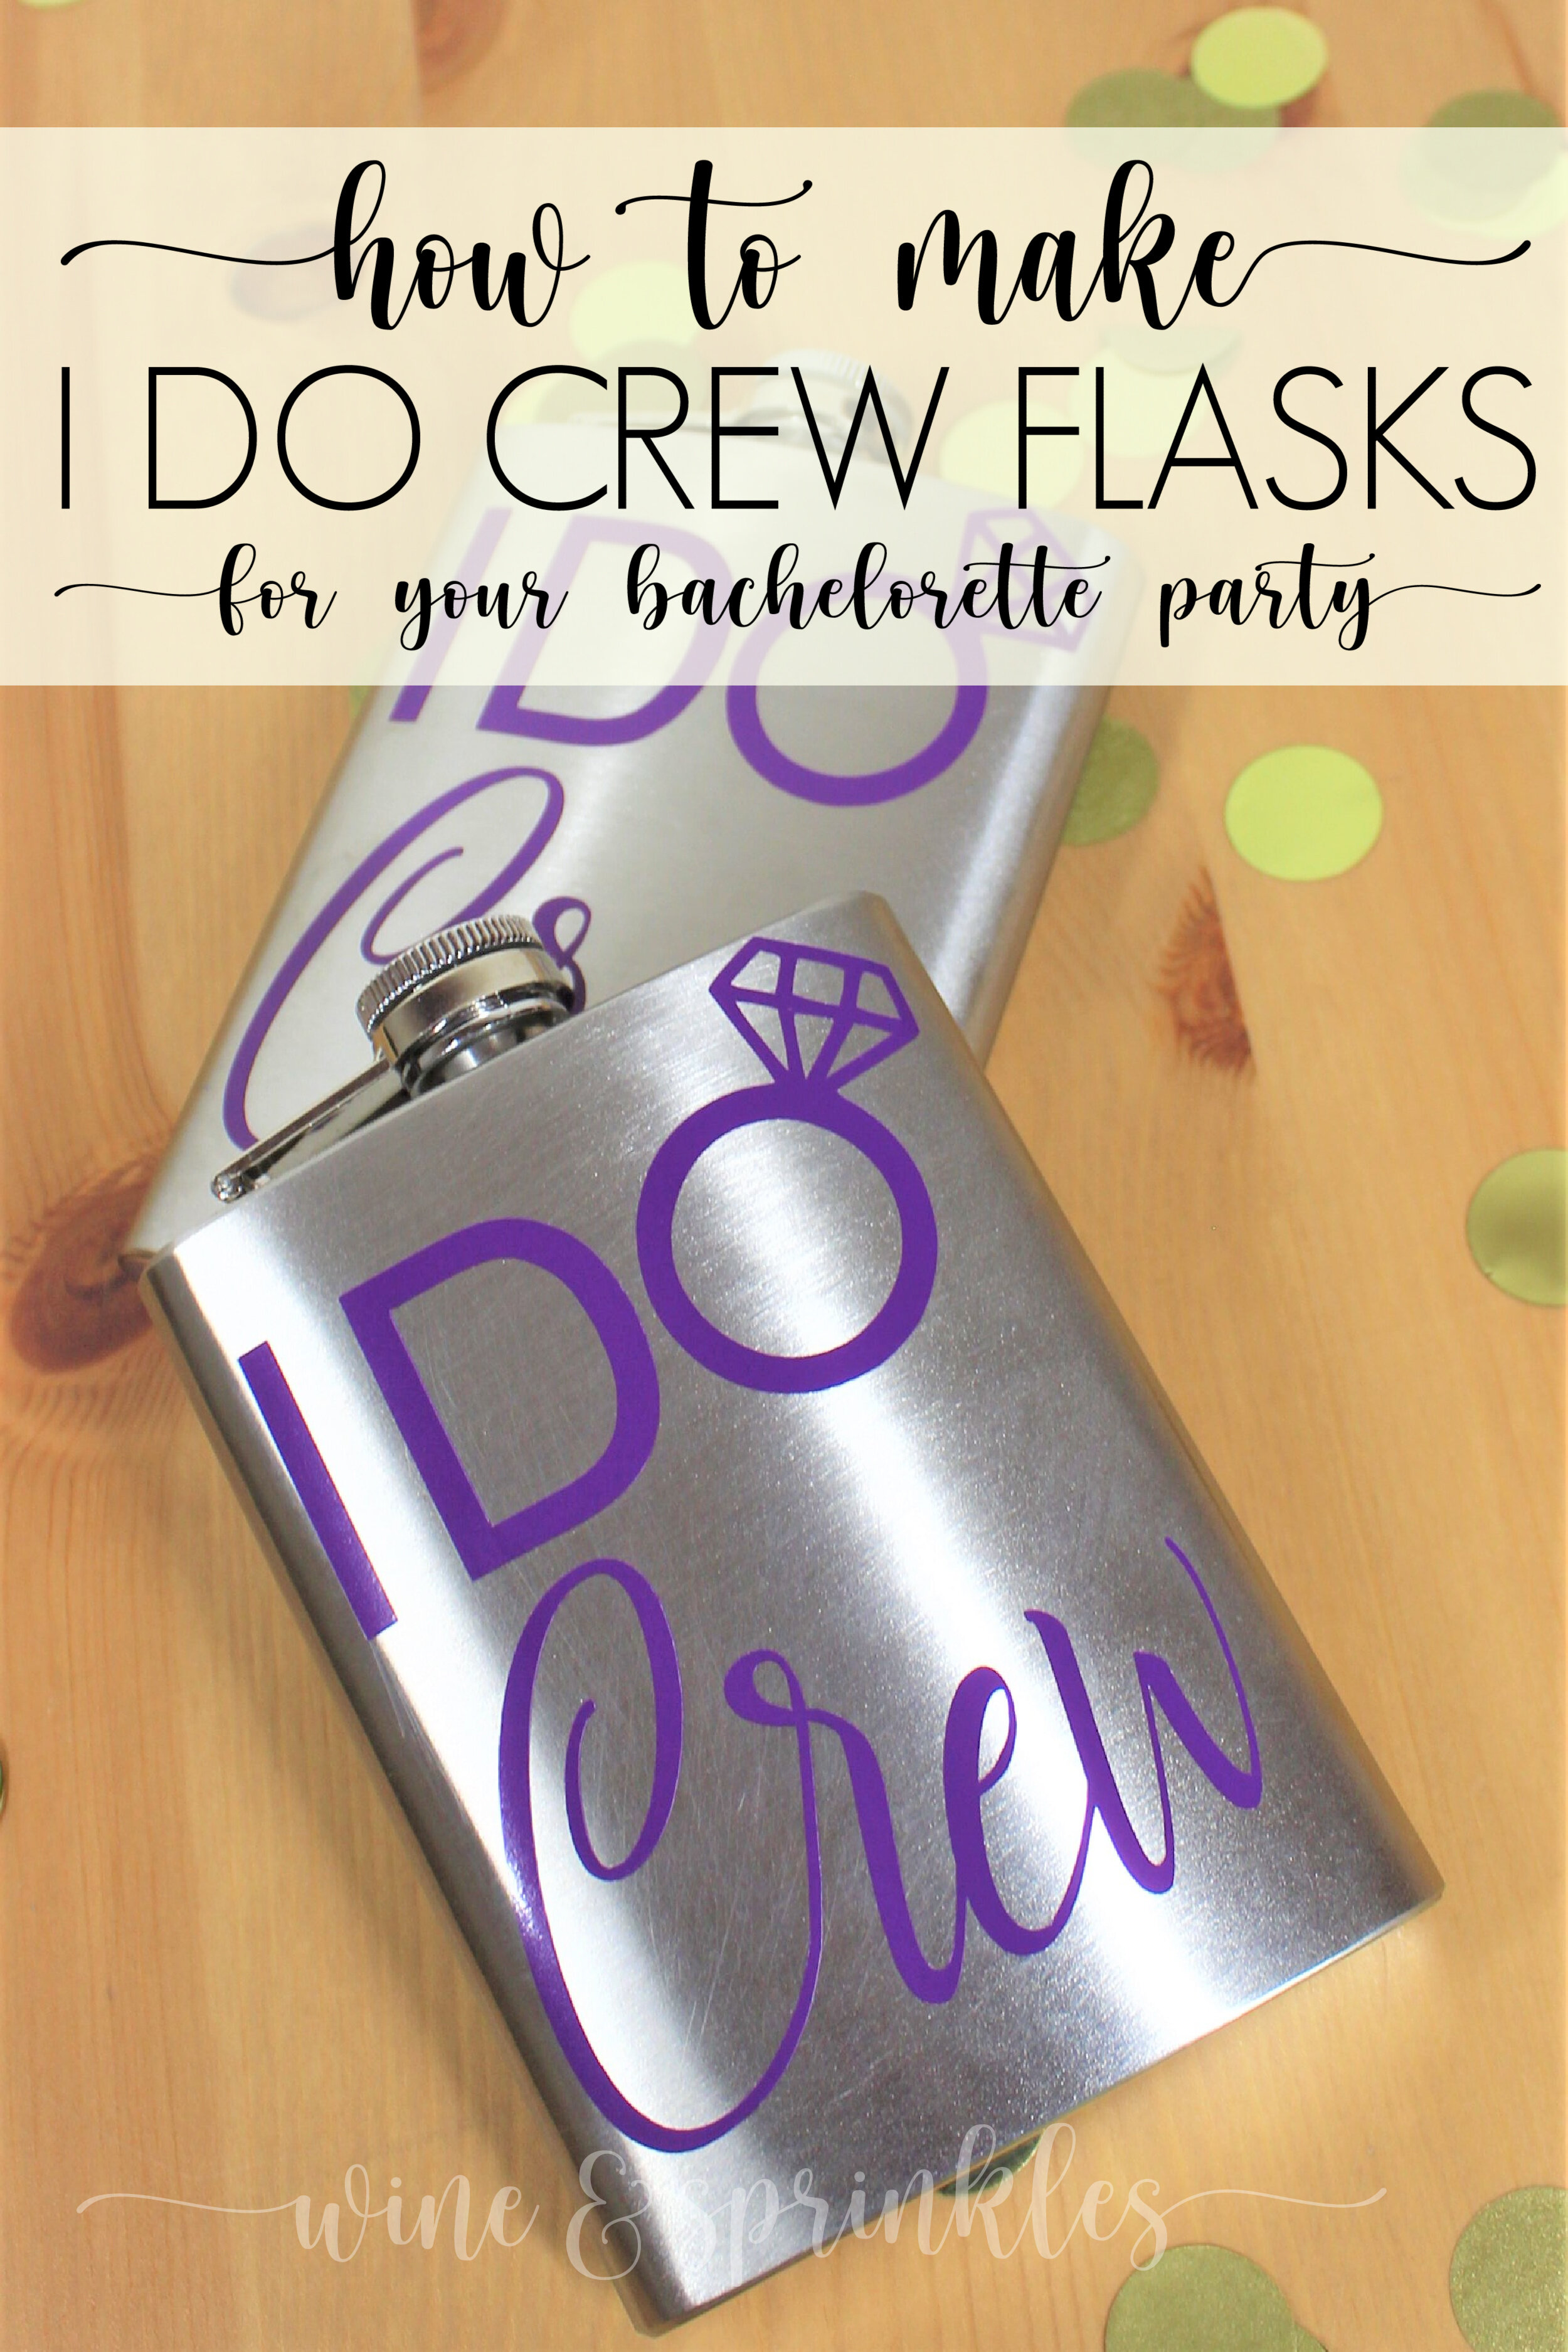
If there’s a classic piece of drinkware that states you’re ready to party, it’s a flask! Flasks are always a fun addition for your Bachelorette party and a great way to safely seal, store, and enjoy your bachelorette drinks as you hit the town, and these I Do Crew Flasks are perfect for a large party where not everyone is in the bridal party itself.
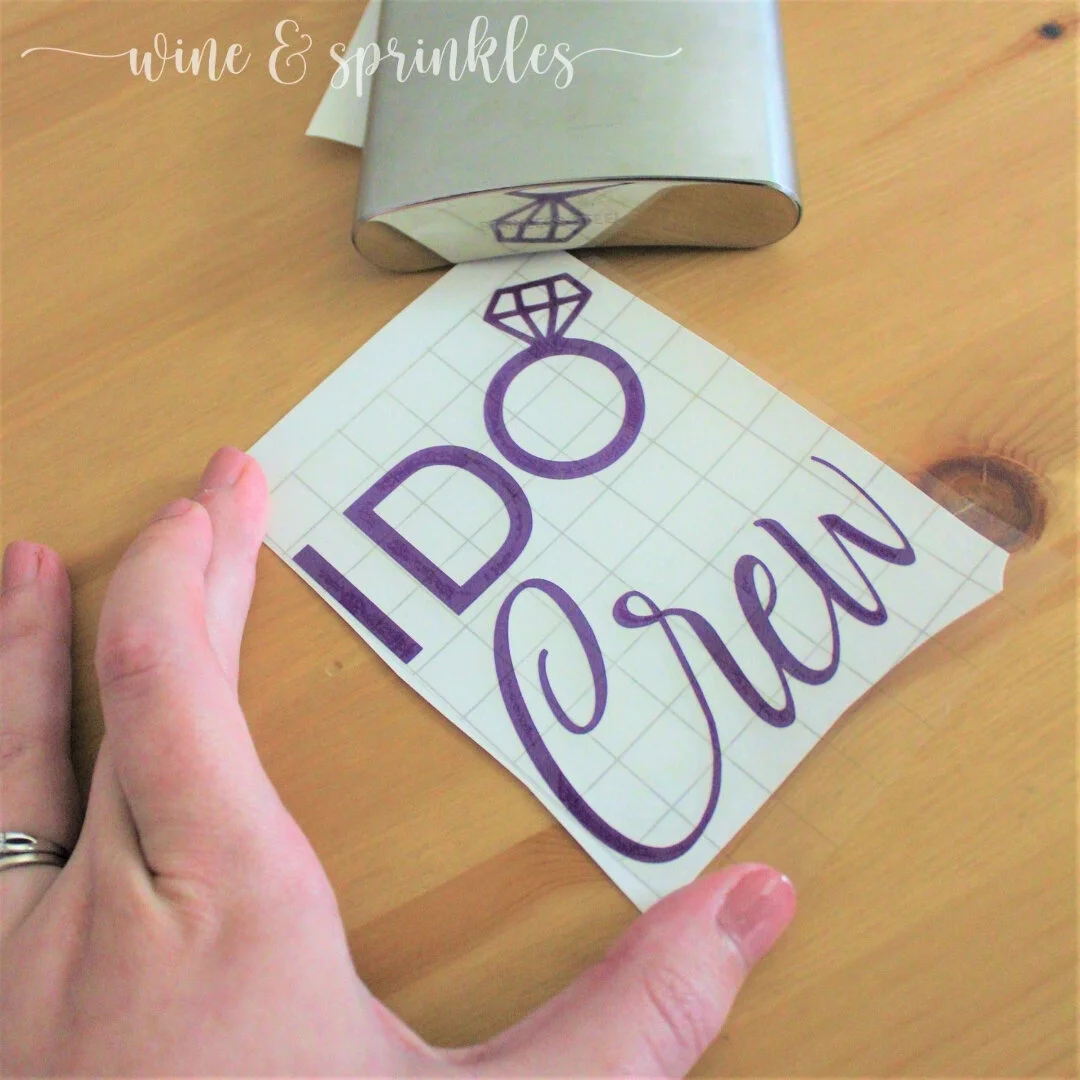
Similar to our I Do Crew T Shirts, these decals were made with a mix of fonts, namely Bebas Kai and Rachella, which are both free to download from DaFont.com for use in all your Bachelorette and Wedding Projects! I cut these decals in Purple Oracal 651 Permanent Adhesive Vinyl which showed up perfectly against the stainless flasks, but I’m looking forward to seeing what colored flasks are out there and trying different color combinations!


For more Bachelorette Party inspiration and posts, see our Bachelorette Party Projects Here!
Supplies:
- Flasks
- Permanent Adhesive Vinyl
- Transfer Paper
- Craft Cutter and Toolset
- Flask Design Cut File


After downloading the cut files, import them into the Cricut Software. After creating a new project, select Upload Image. Select the file you wish to upload and it will automatically take you to the final upload screen, where you can name the file, then select Save.
Cut the design(s) in your choice of permanent adhesive vinyl with the Vinyl Setting on your Cricut. The SVG Files are sized so that they will automatically cut to the size you see in the photos.
Once the designs are cut, weed away the extra vinyl and cut a piece of transfer tape to 3.5" x 5". Cut away any excess backing from the vinyl design and smooth transfer tape over the design, aligning the decals as shown in the photos. The flasks are 3.5" x 4.5" so arrange the decals based on where you want it on the flask. Using the smoother tool, smooth the tape over the vinyl, removing any air bubbles.
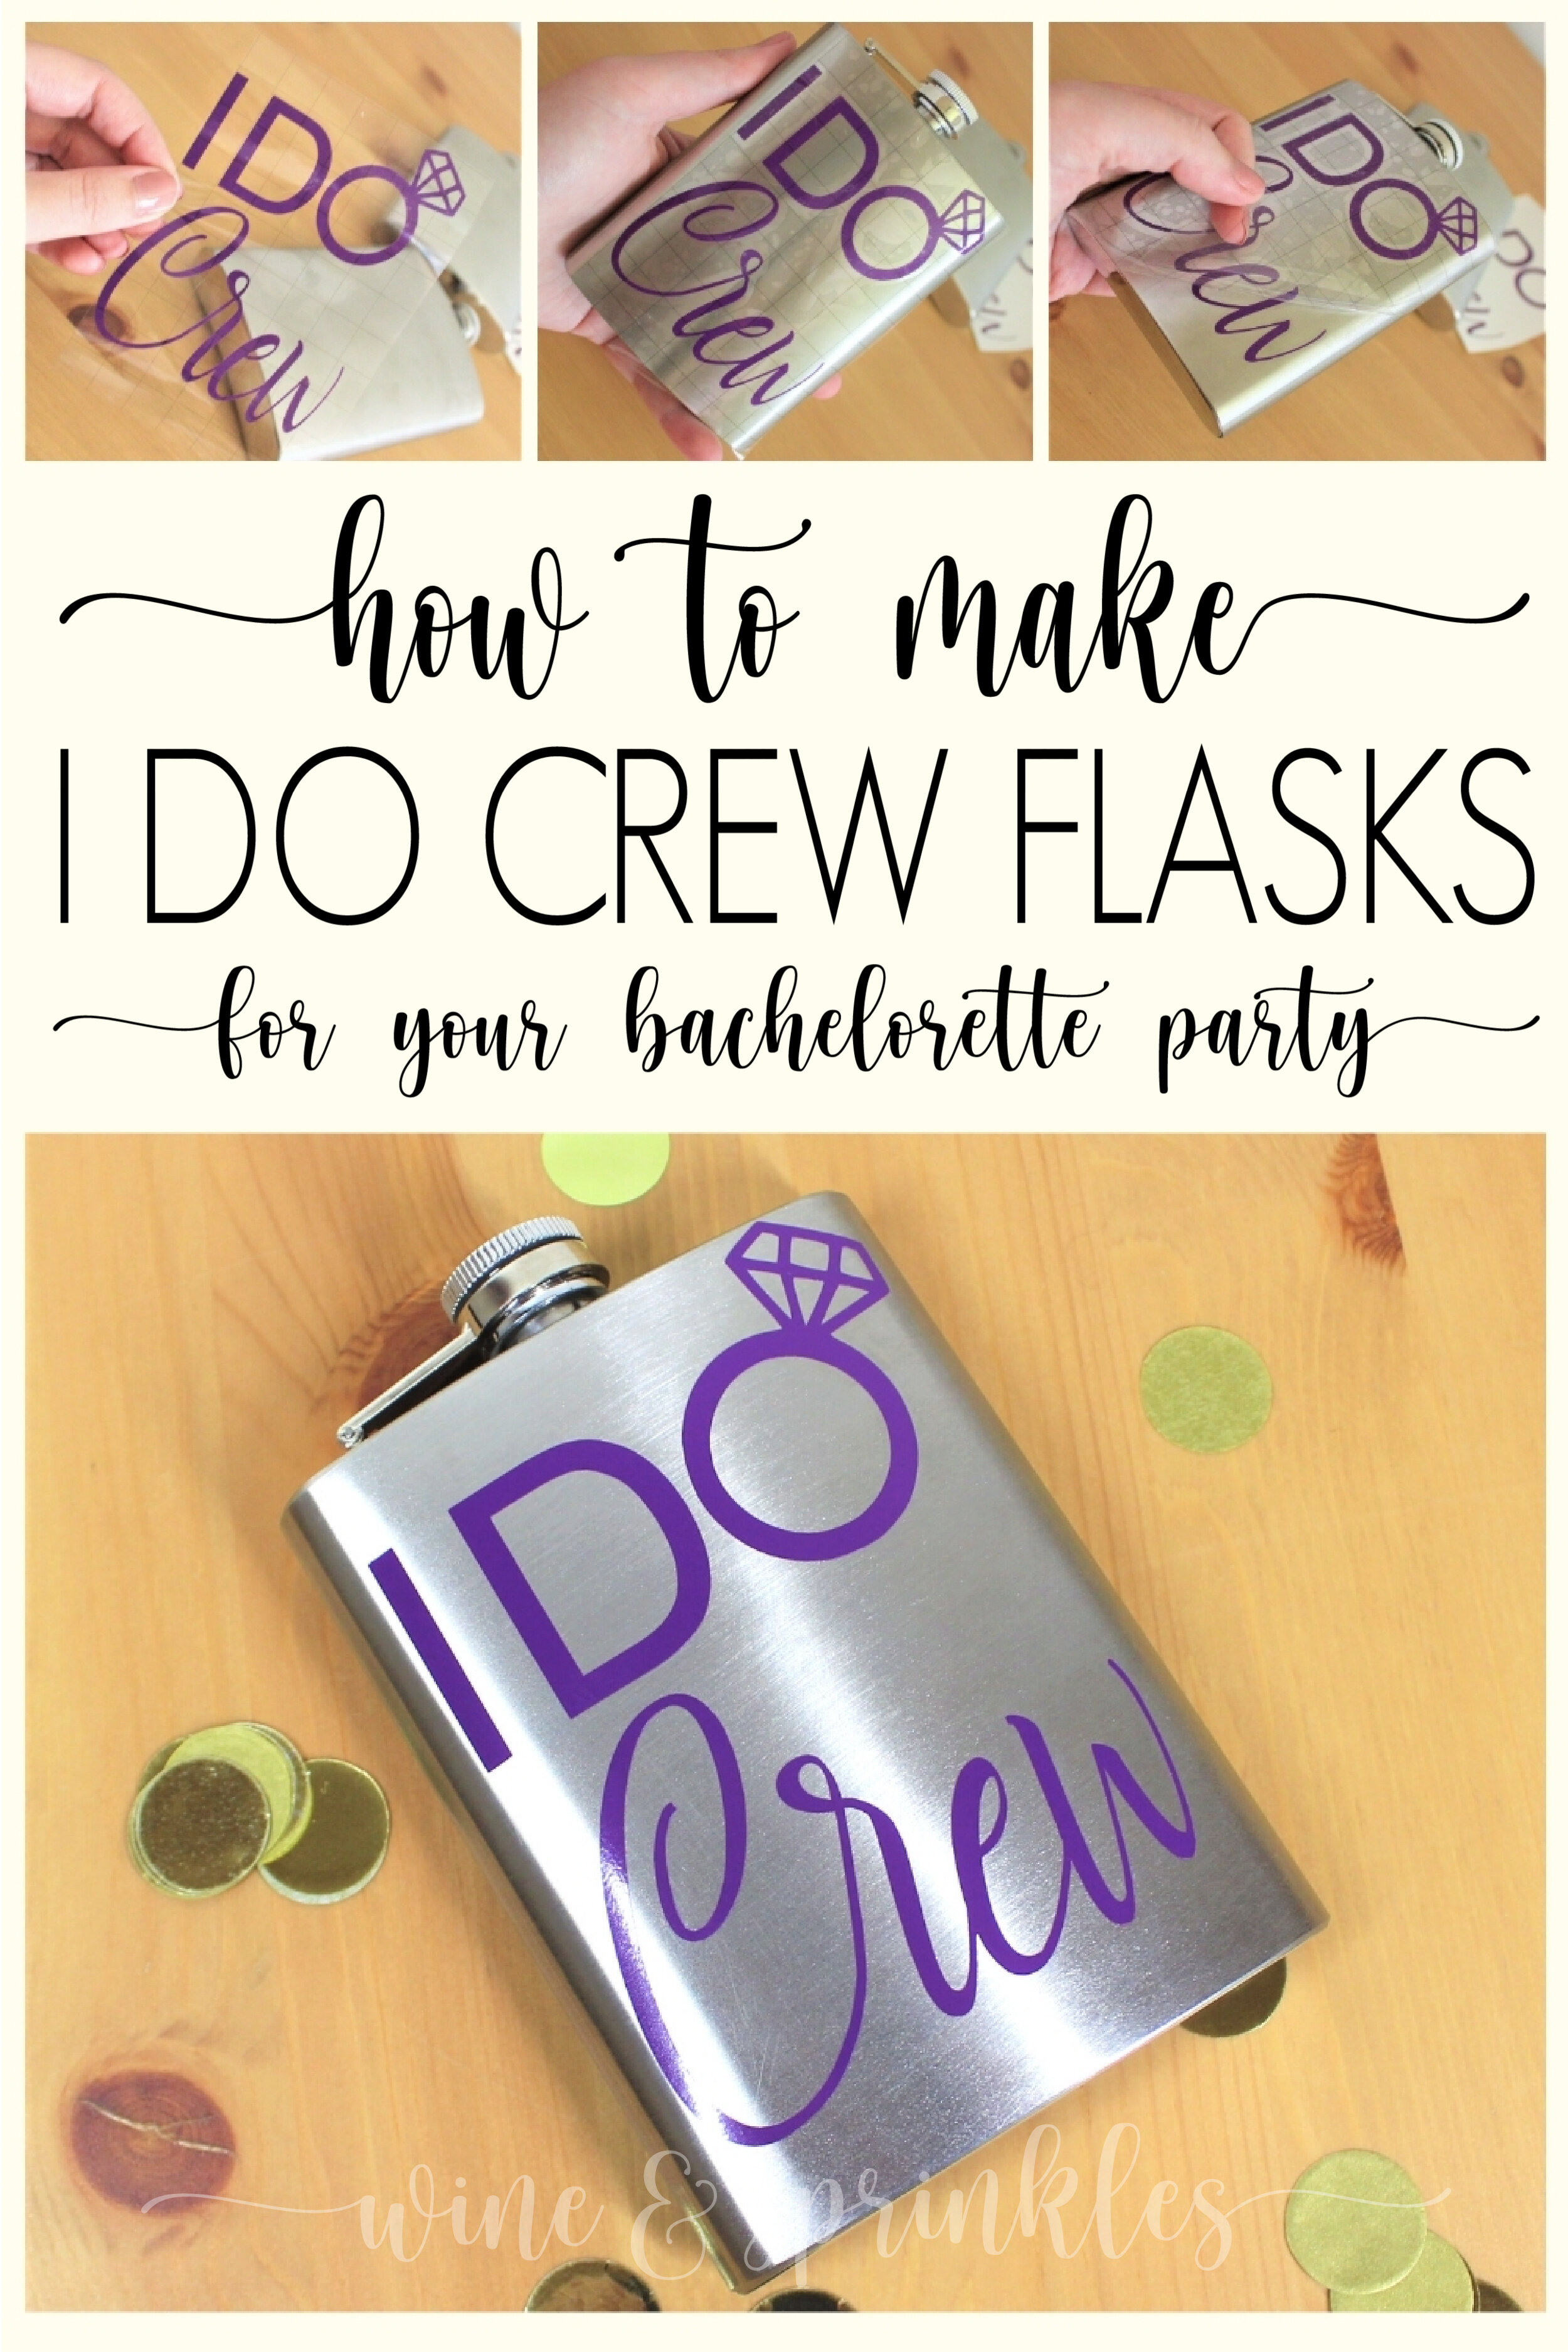
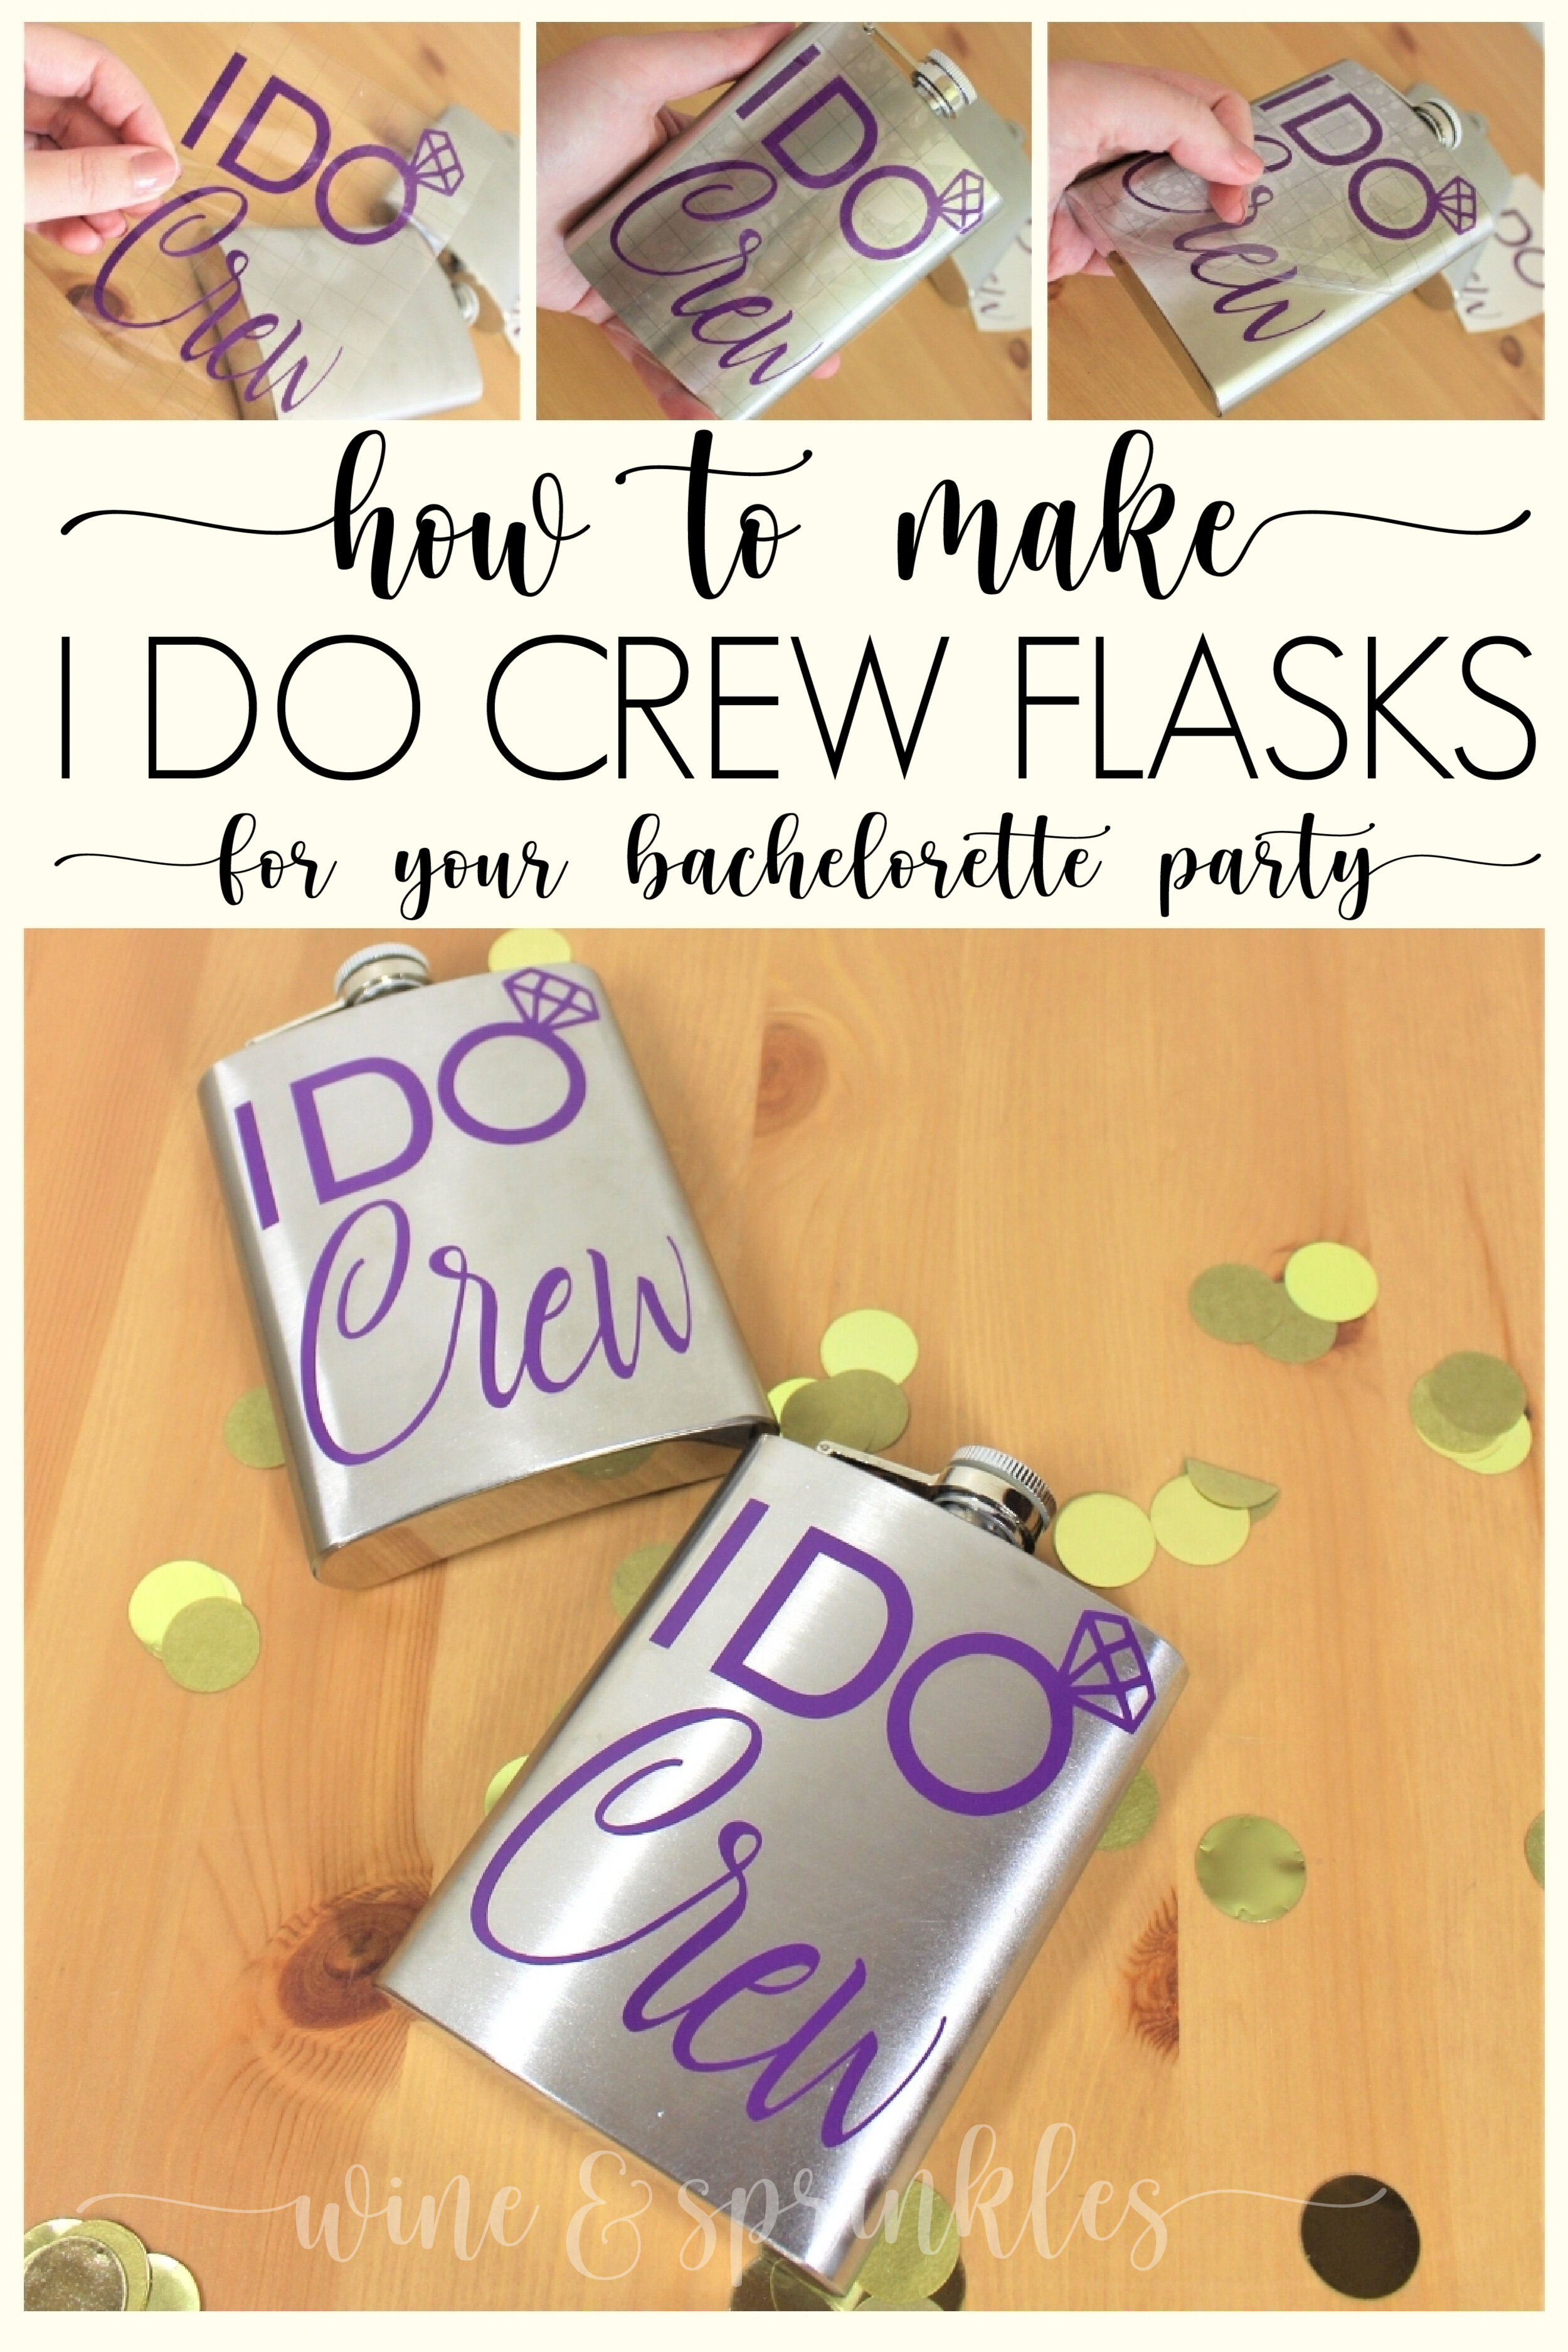
4. Now, transfer the design to your flask. Remove the transfer tape from the vinyl backing, transferring the vinyl design to the transfer tape.


5. Align the design on the flask along the top edge of the flask. Smooth the design onto the flask, once again using the smoother to remove any air bubbles.
6. Remove the transfer tape to leave the design on the flask, then repeat the process for all the additional flasks.


OUR PINS FOR THIS POST: