This post contains affiliate links, meaning that if you click on a link I will recieve a small comission. This costs you nothing extra and I only promote products I use and love! You can read our full disclosure here

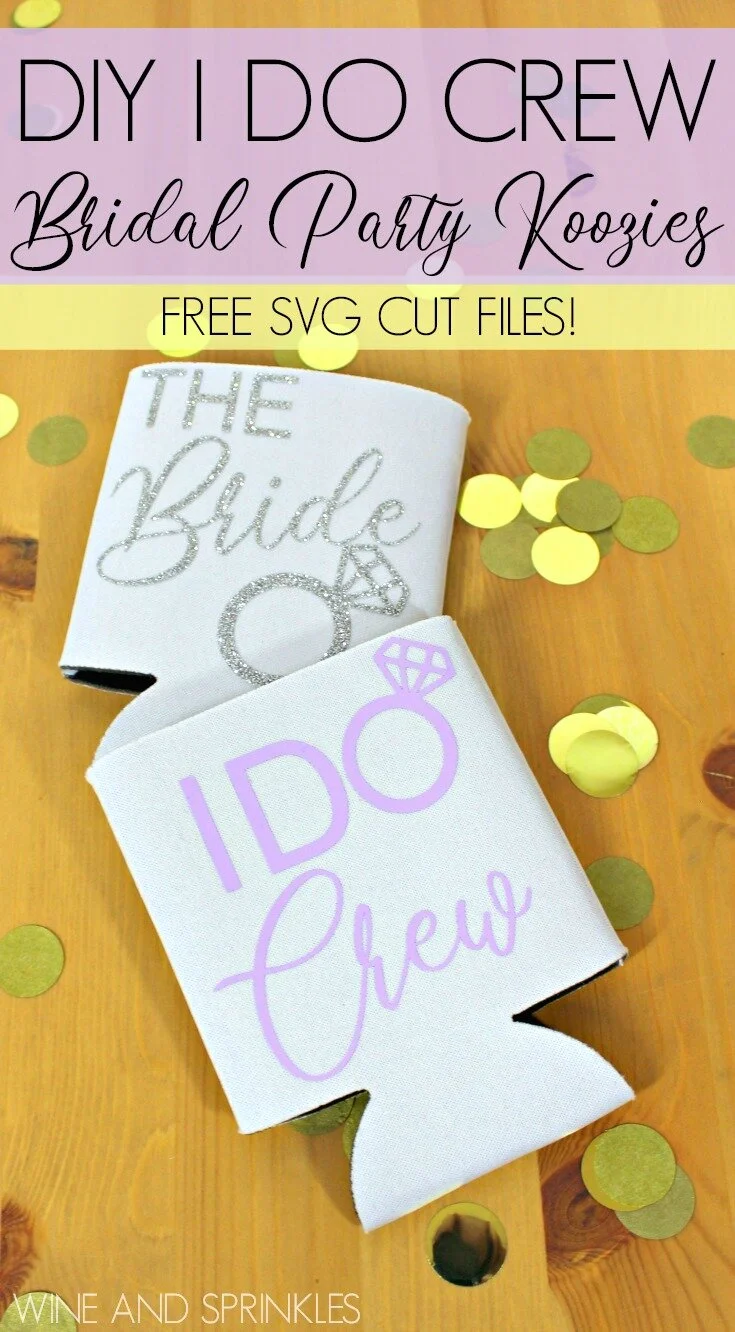
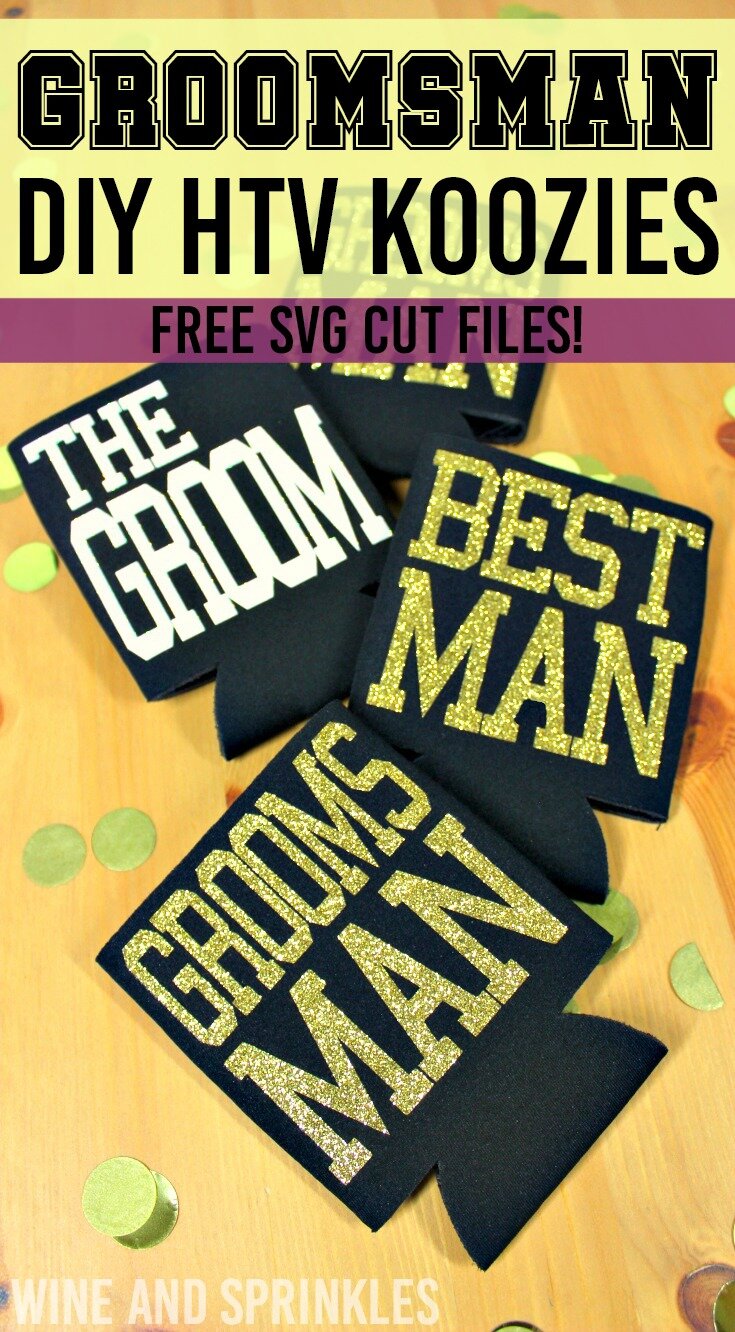
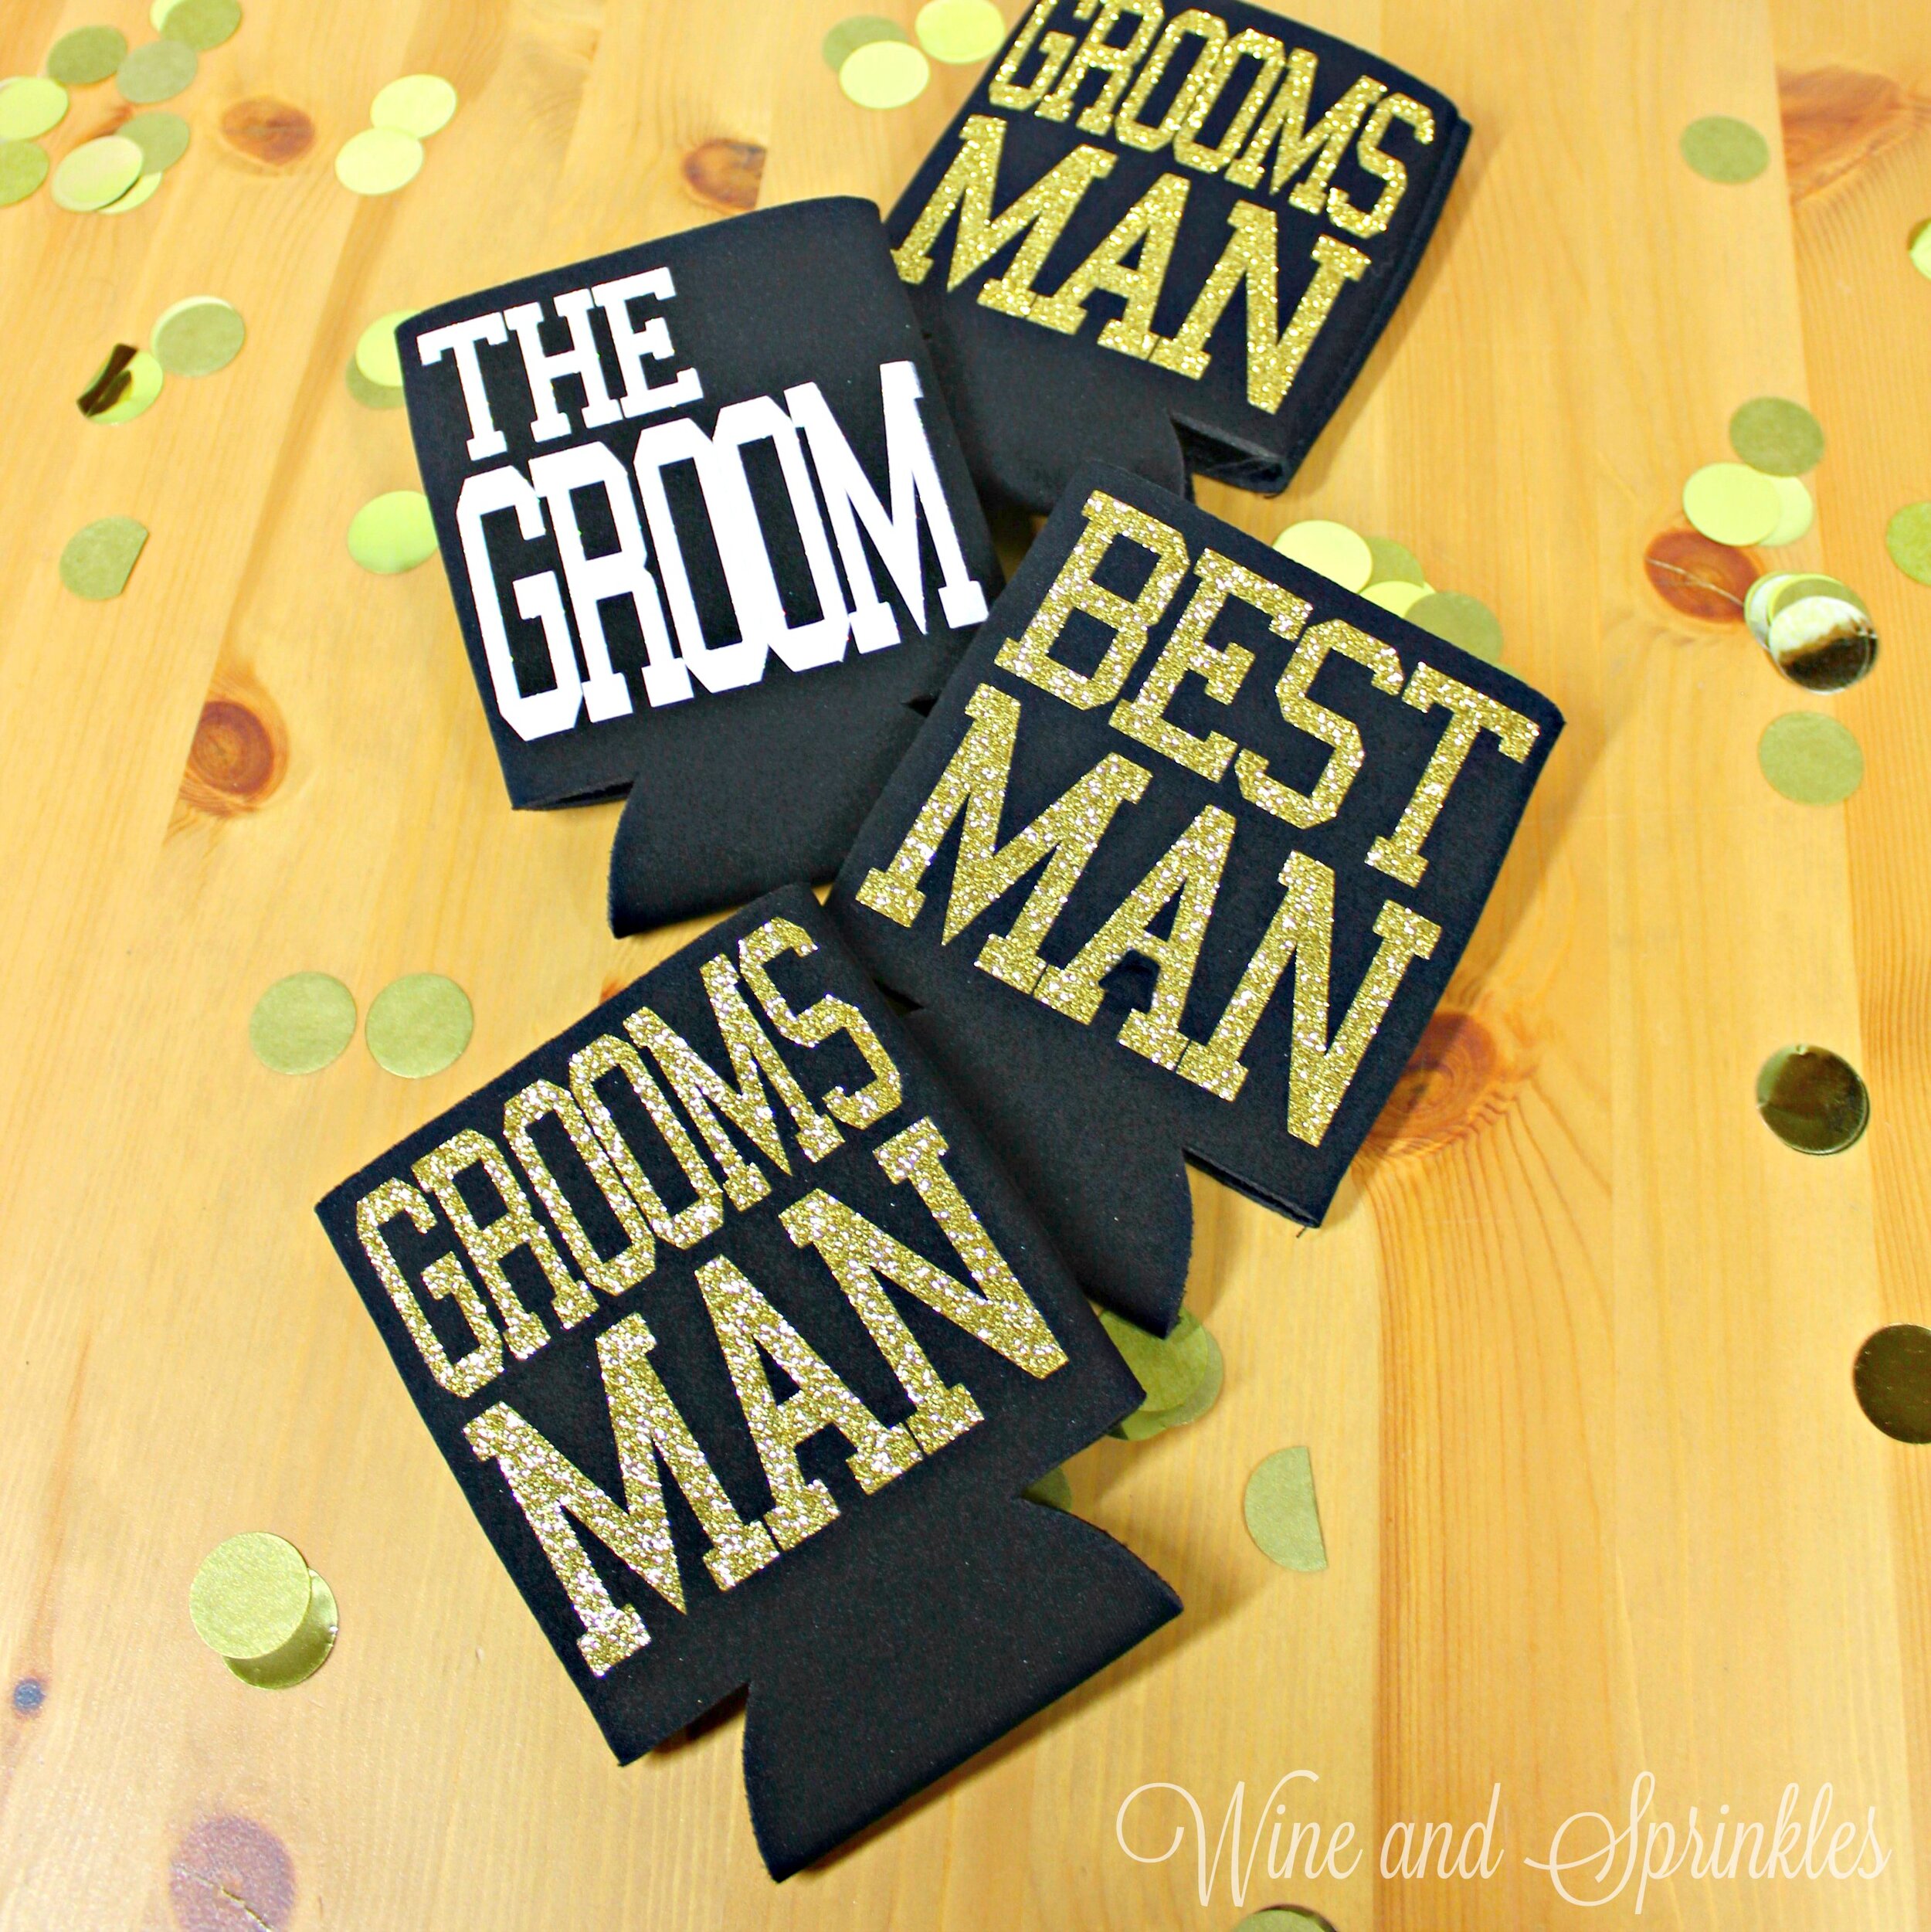
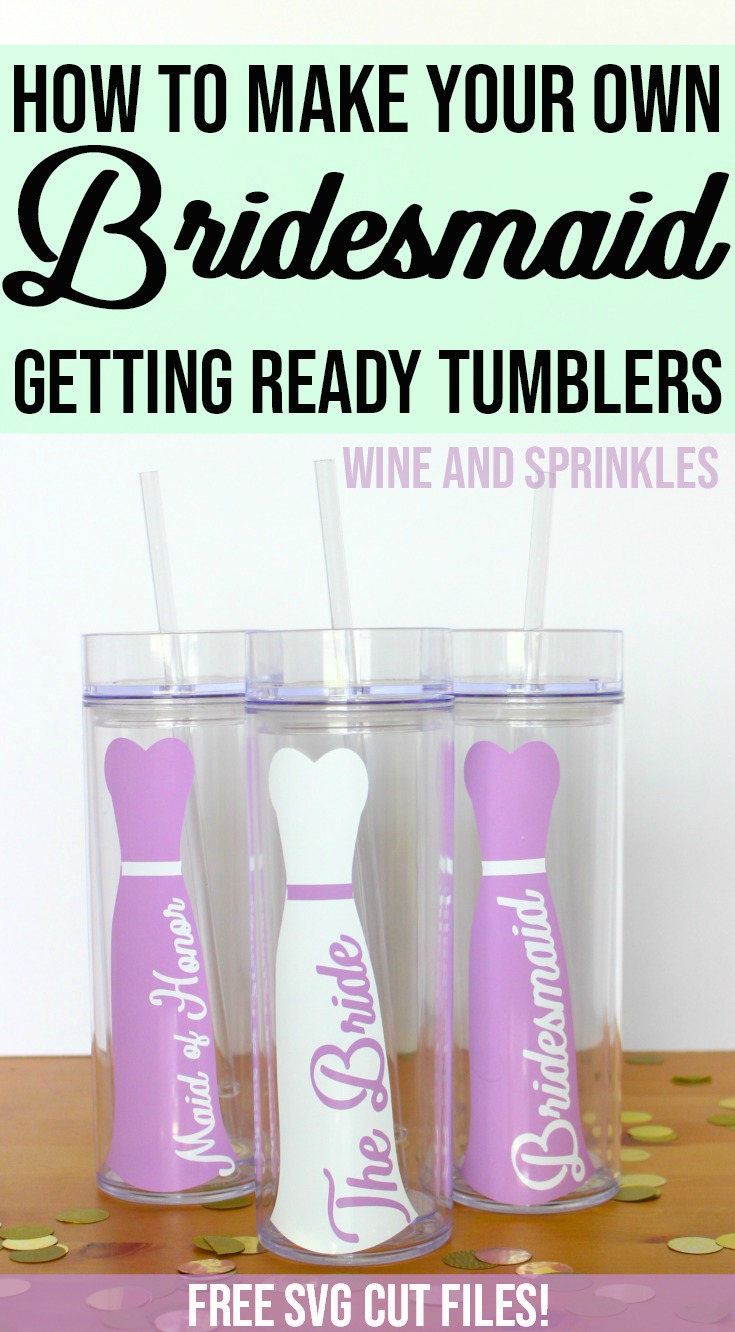
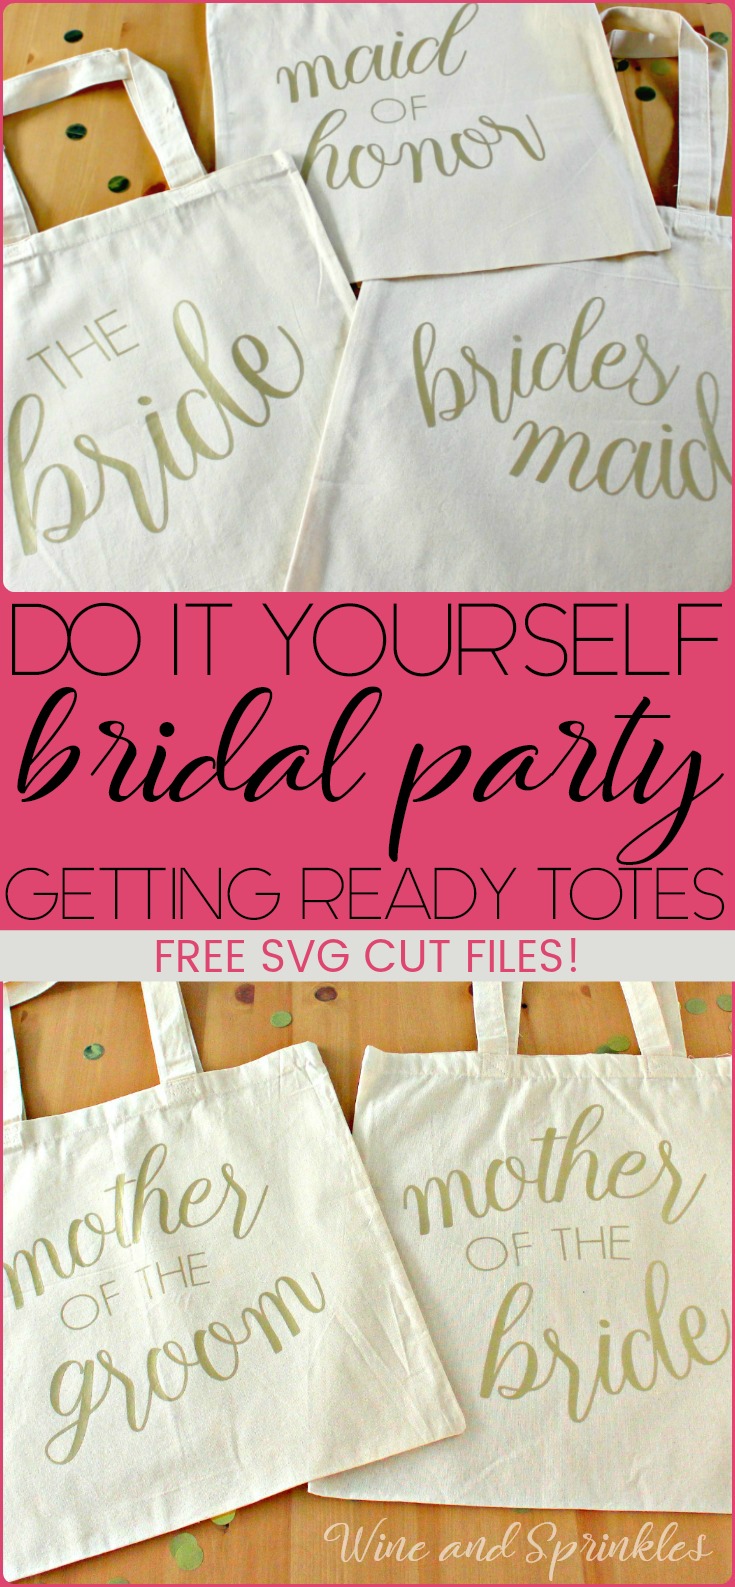
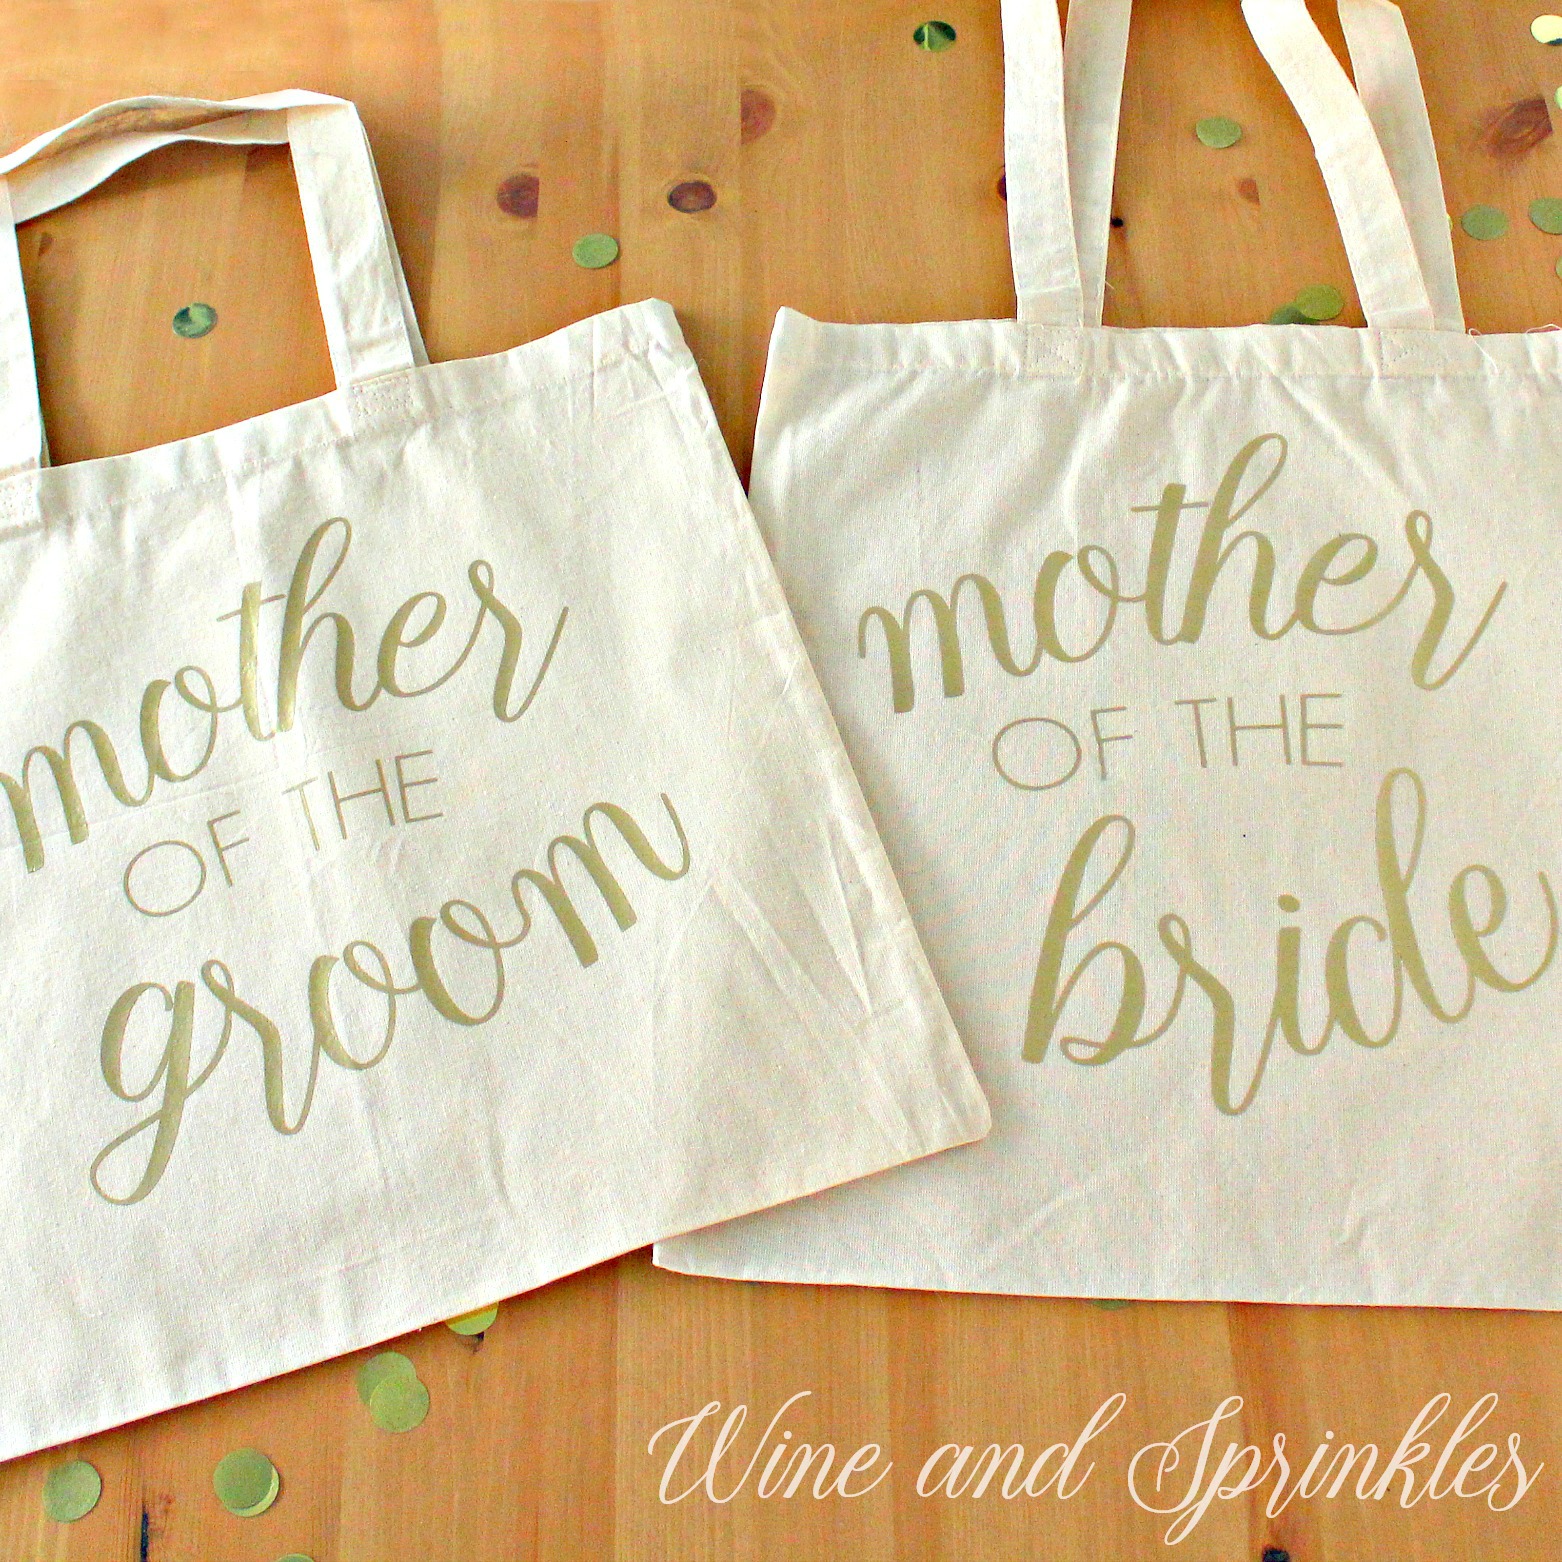
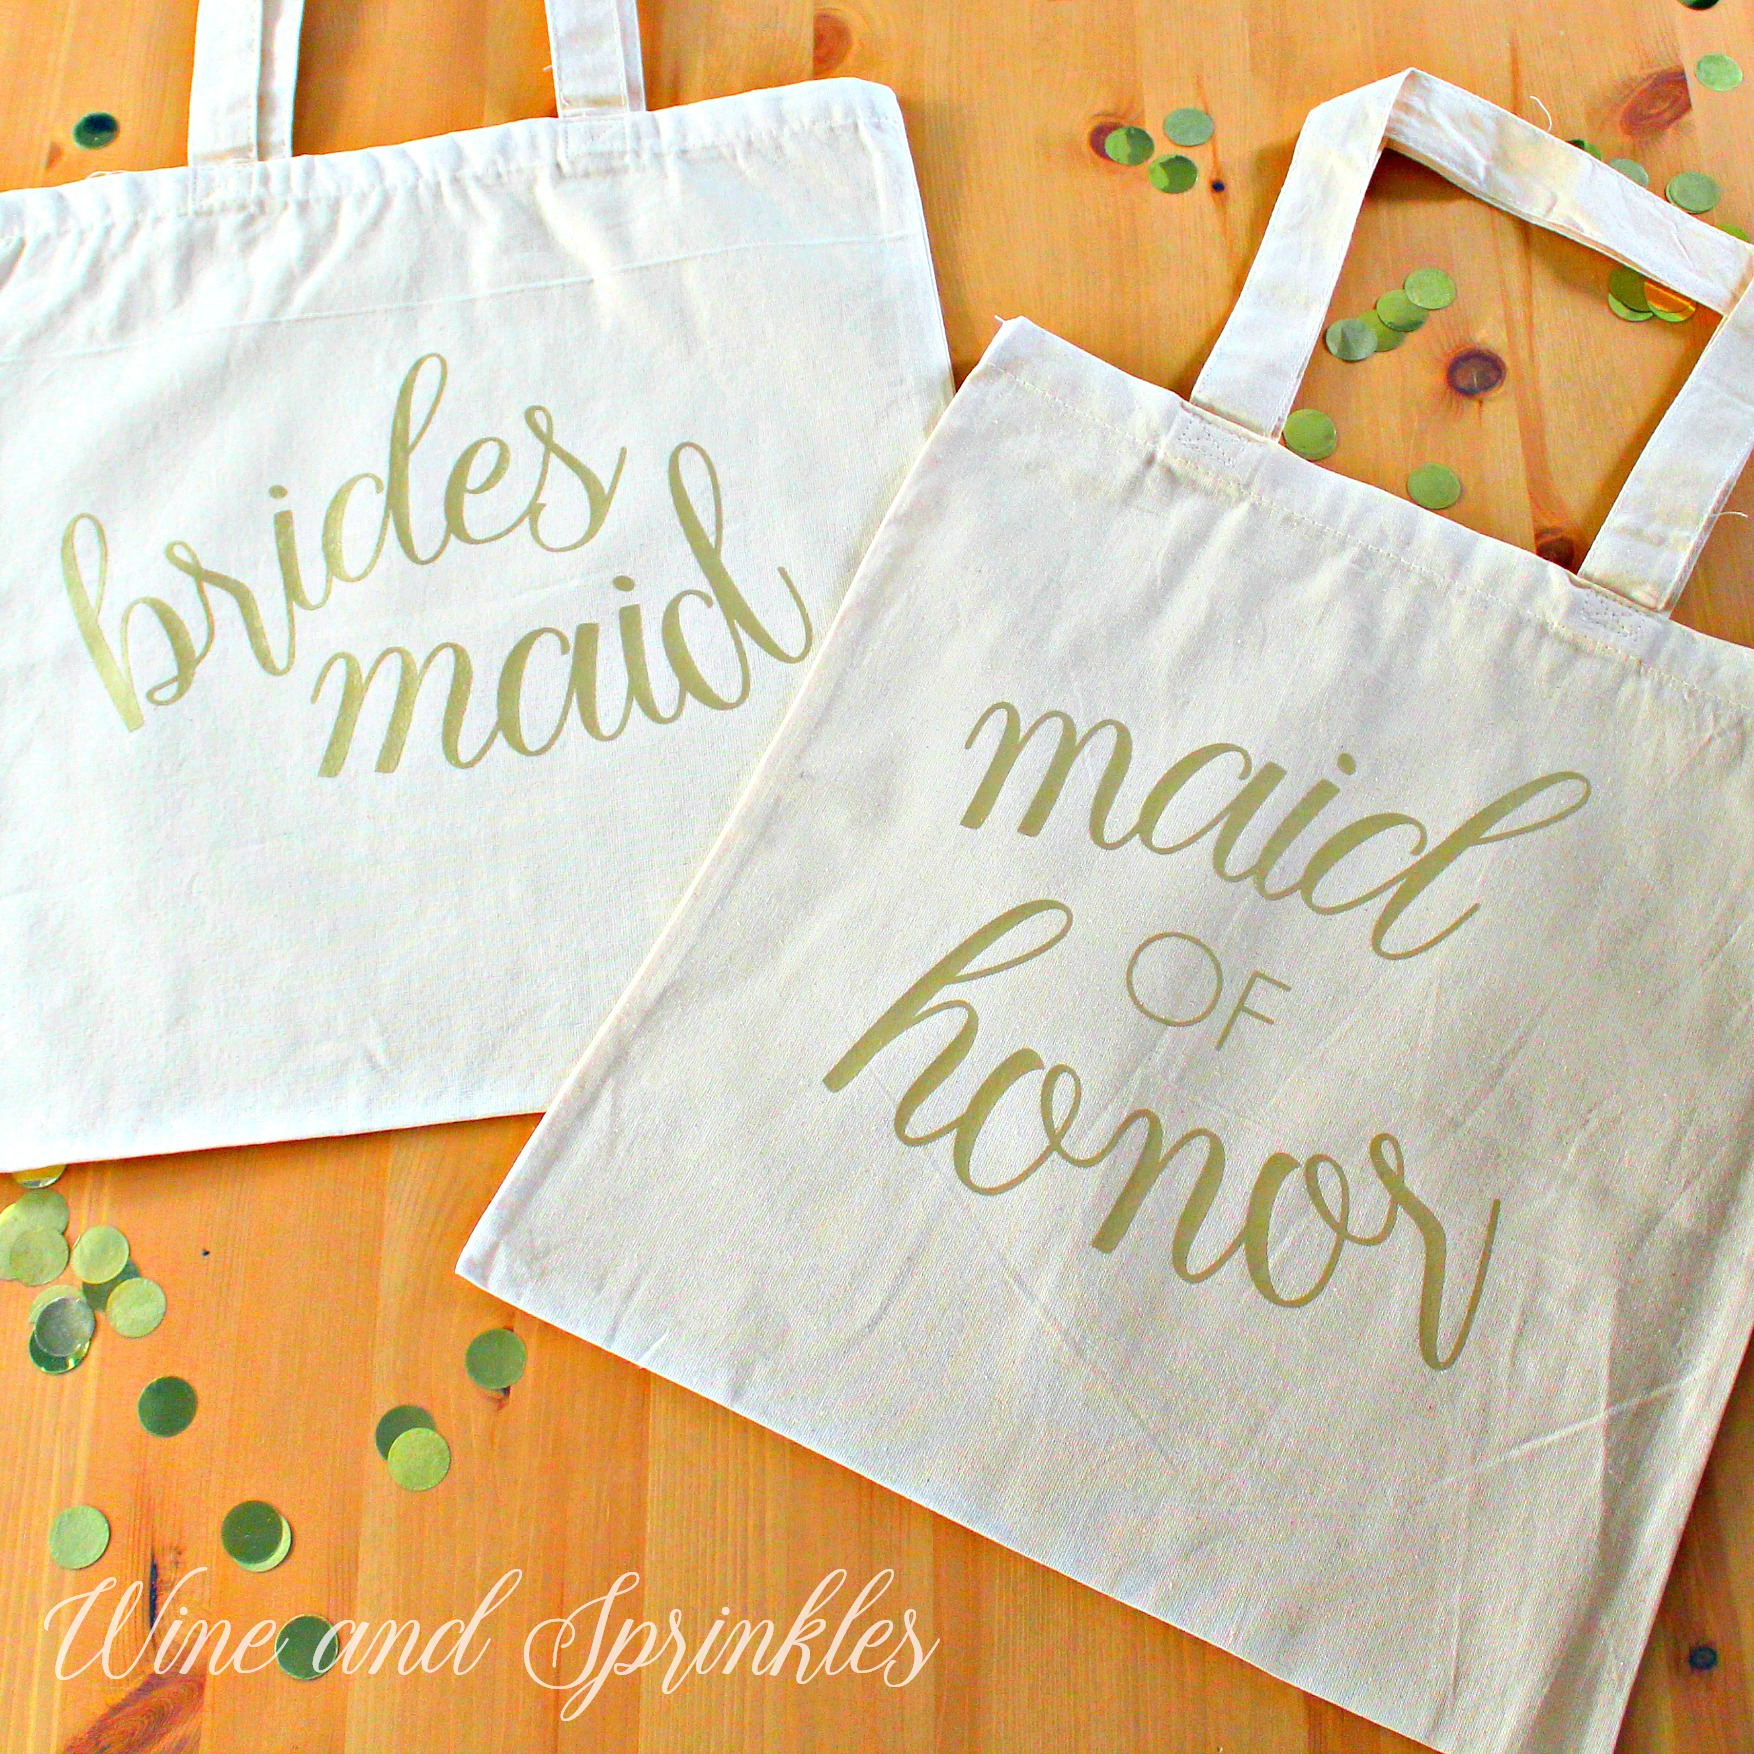
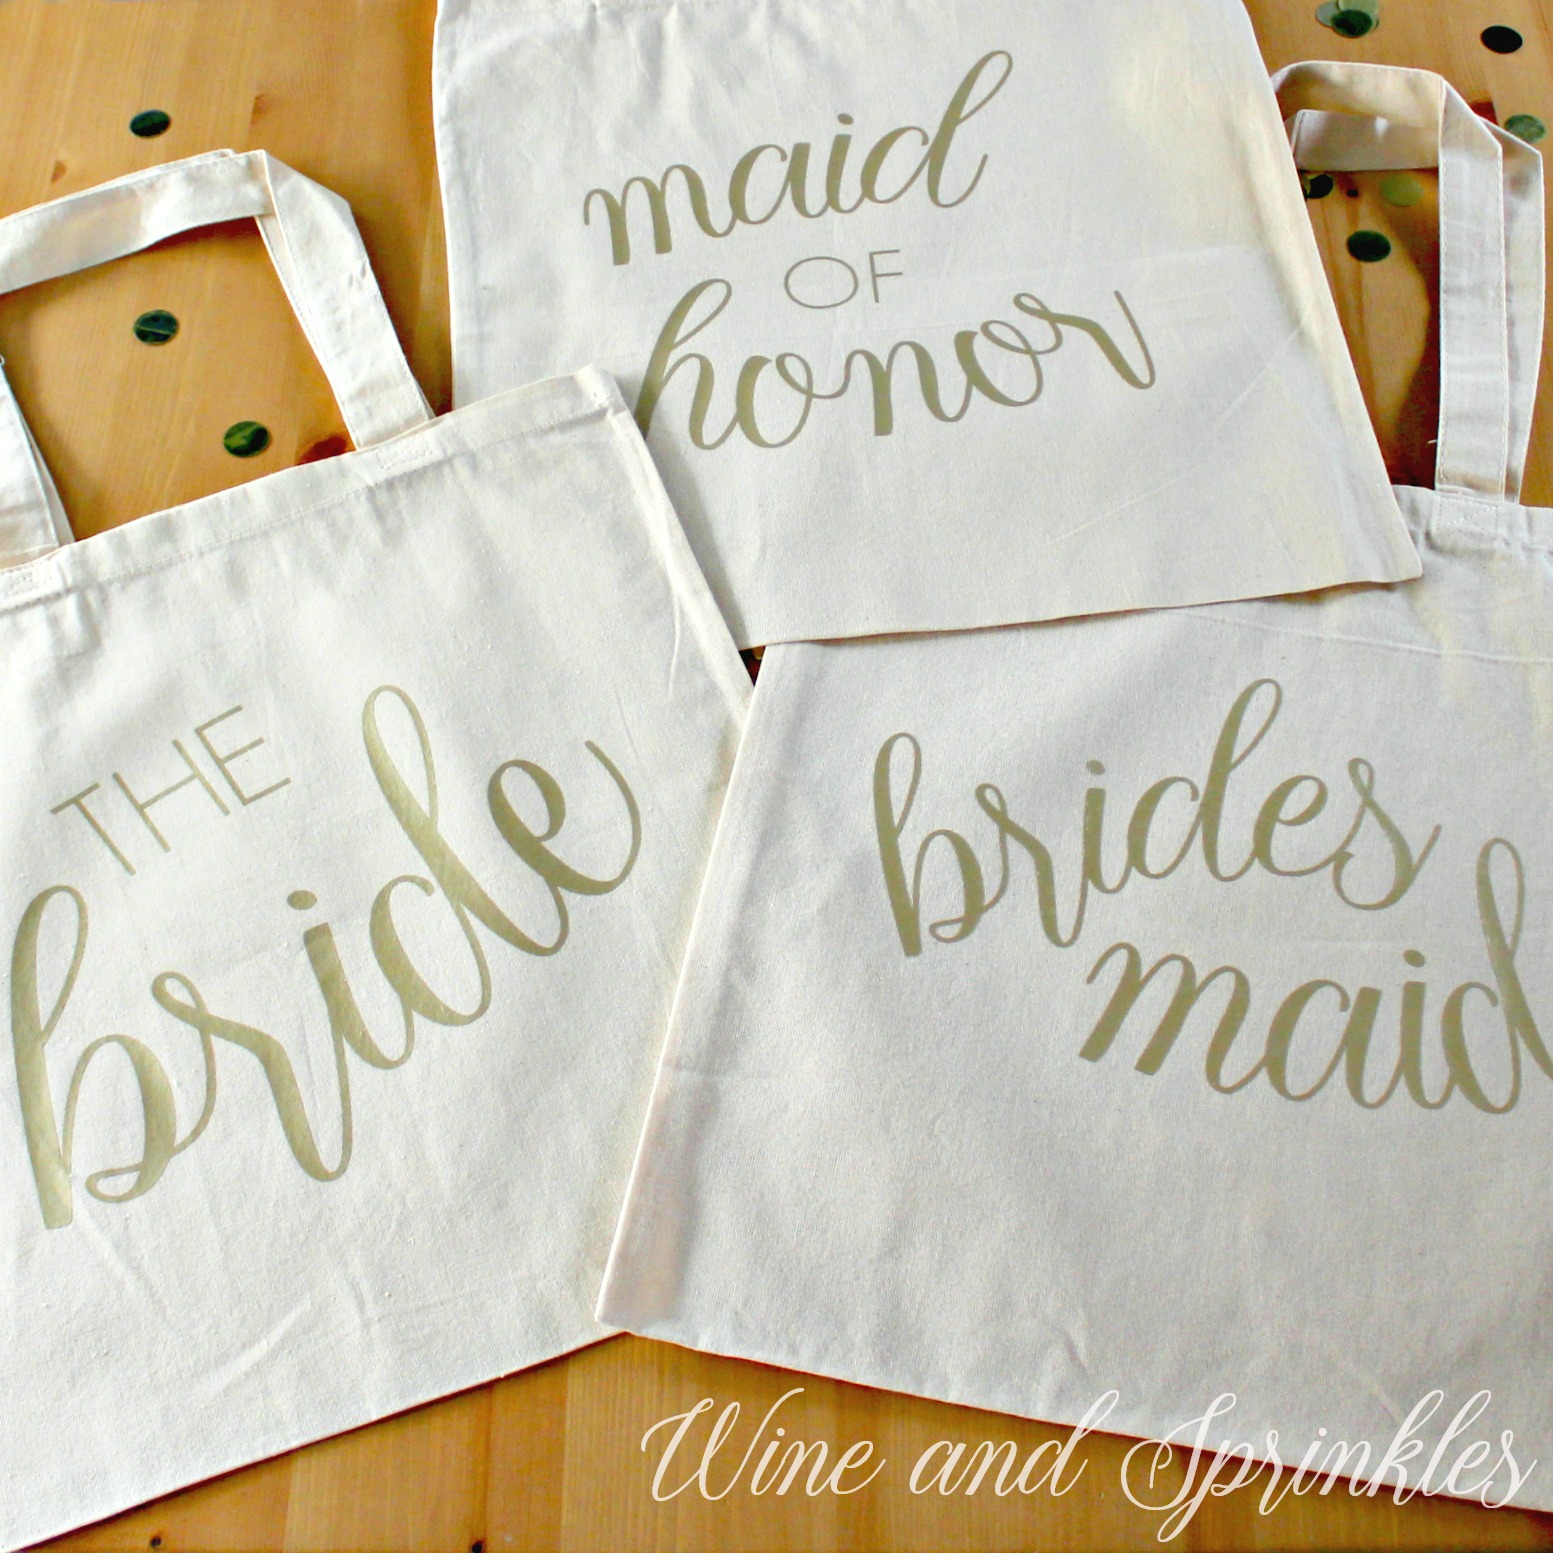
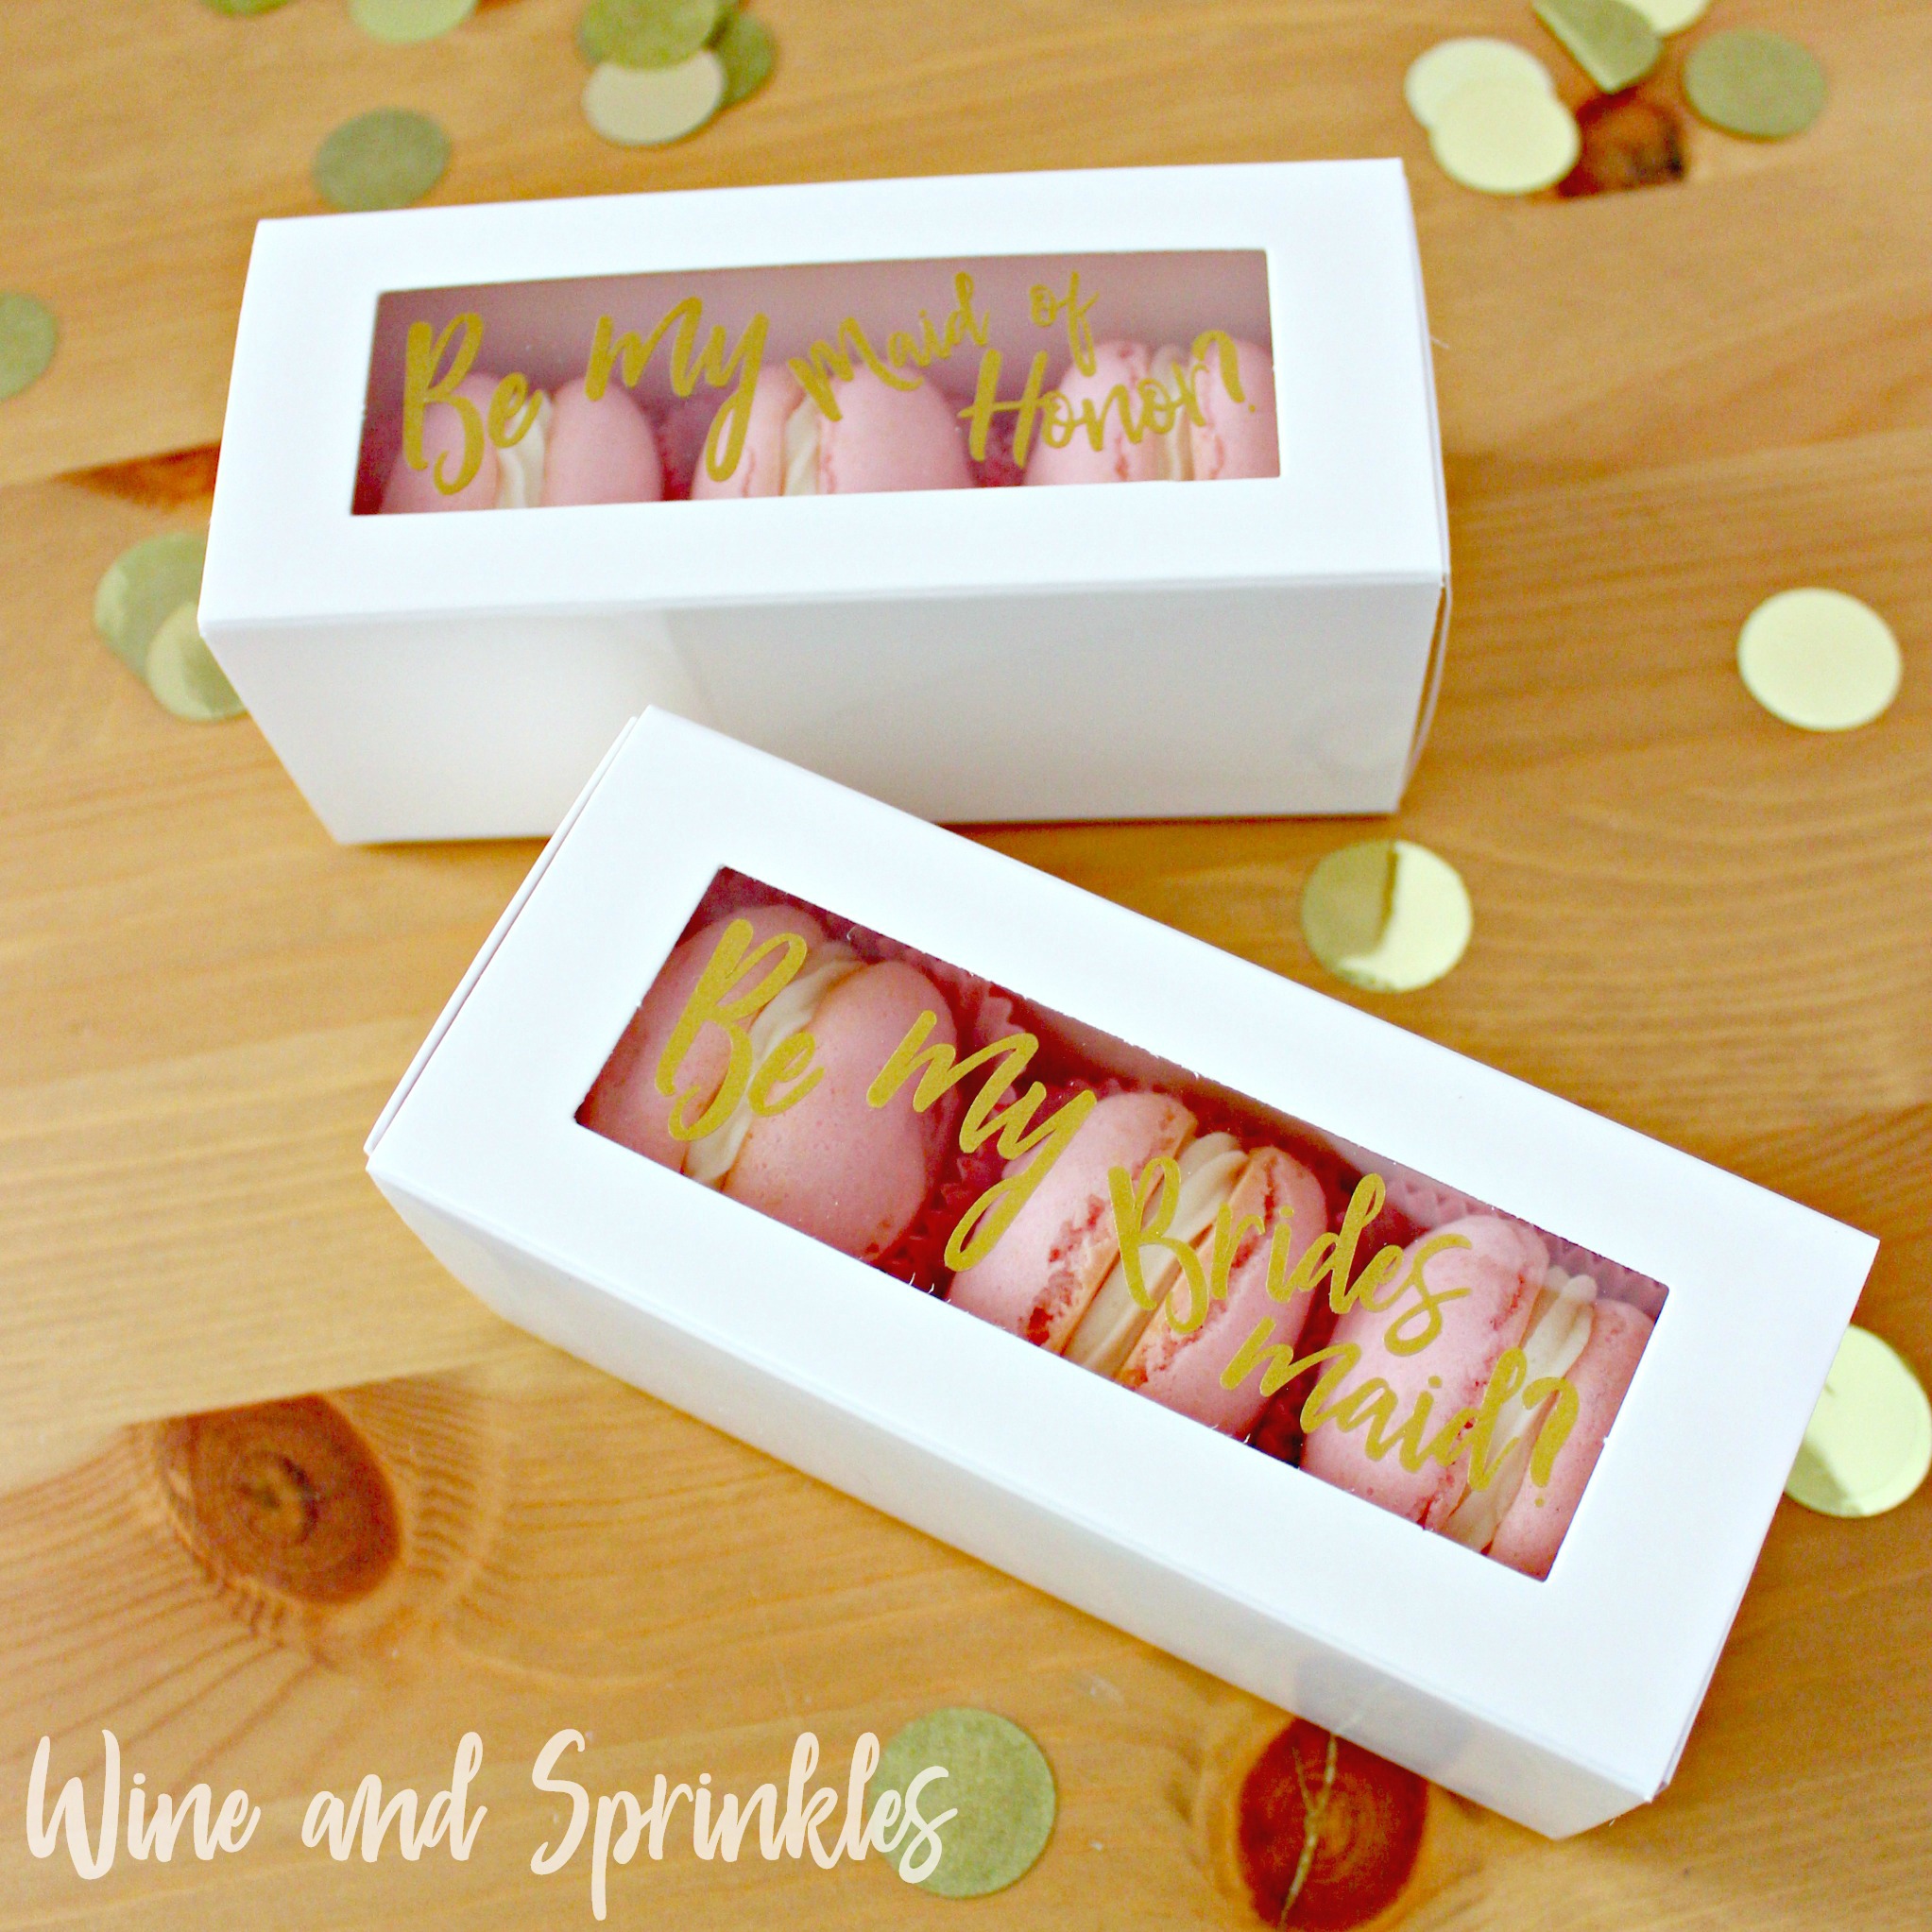
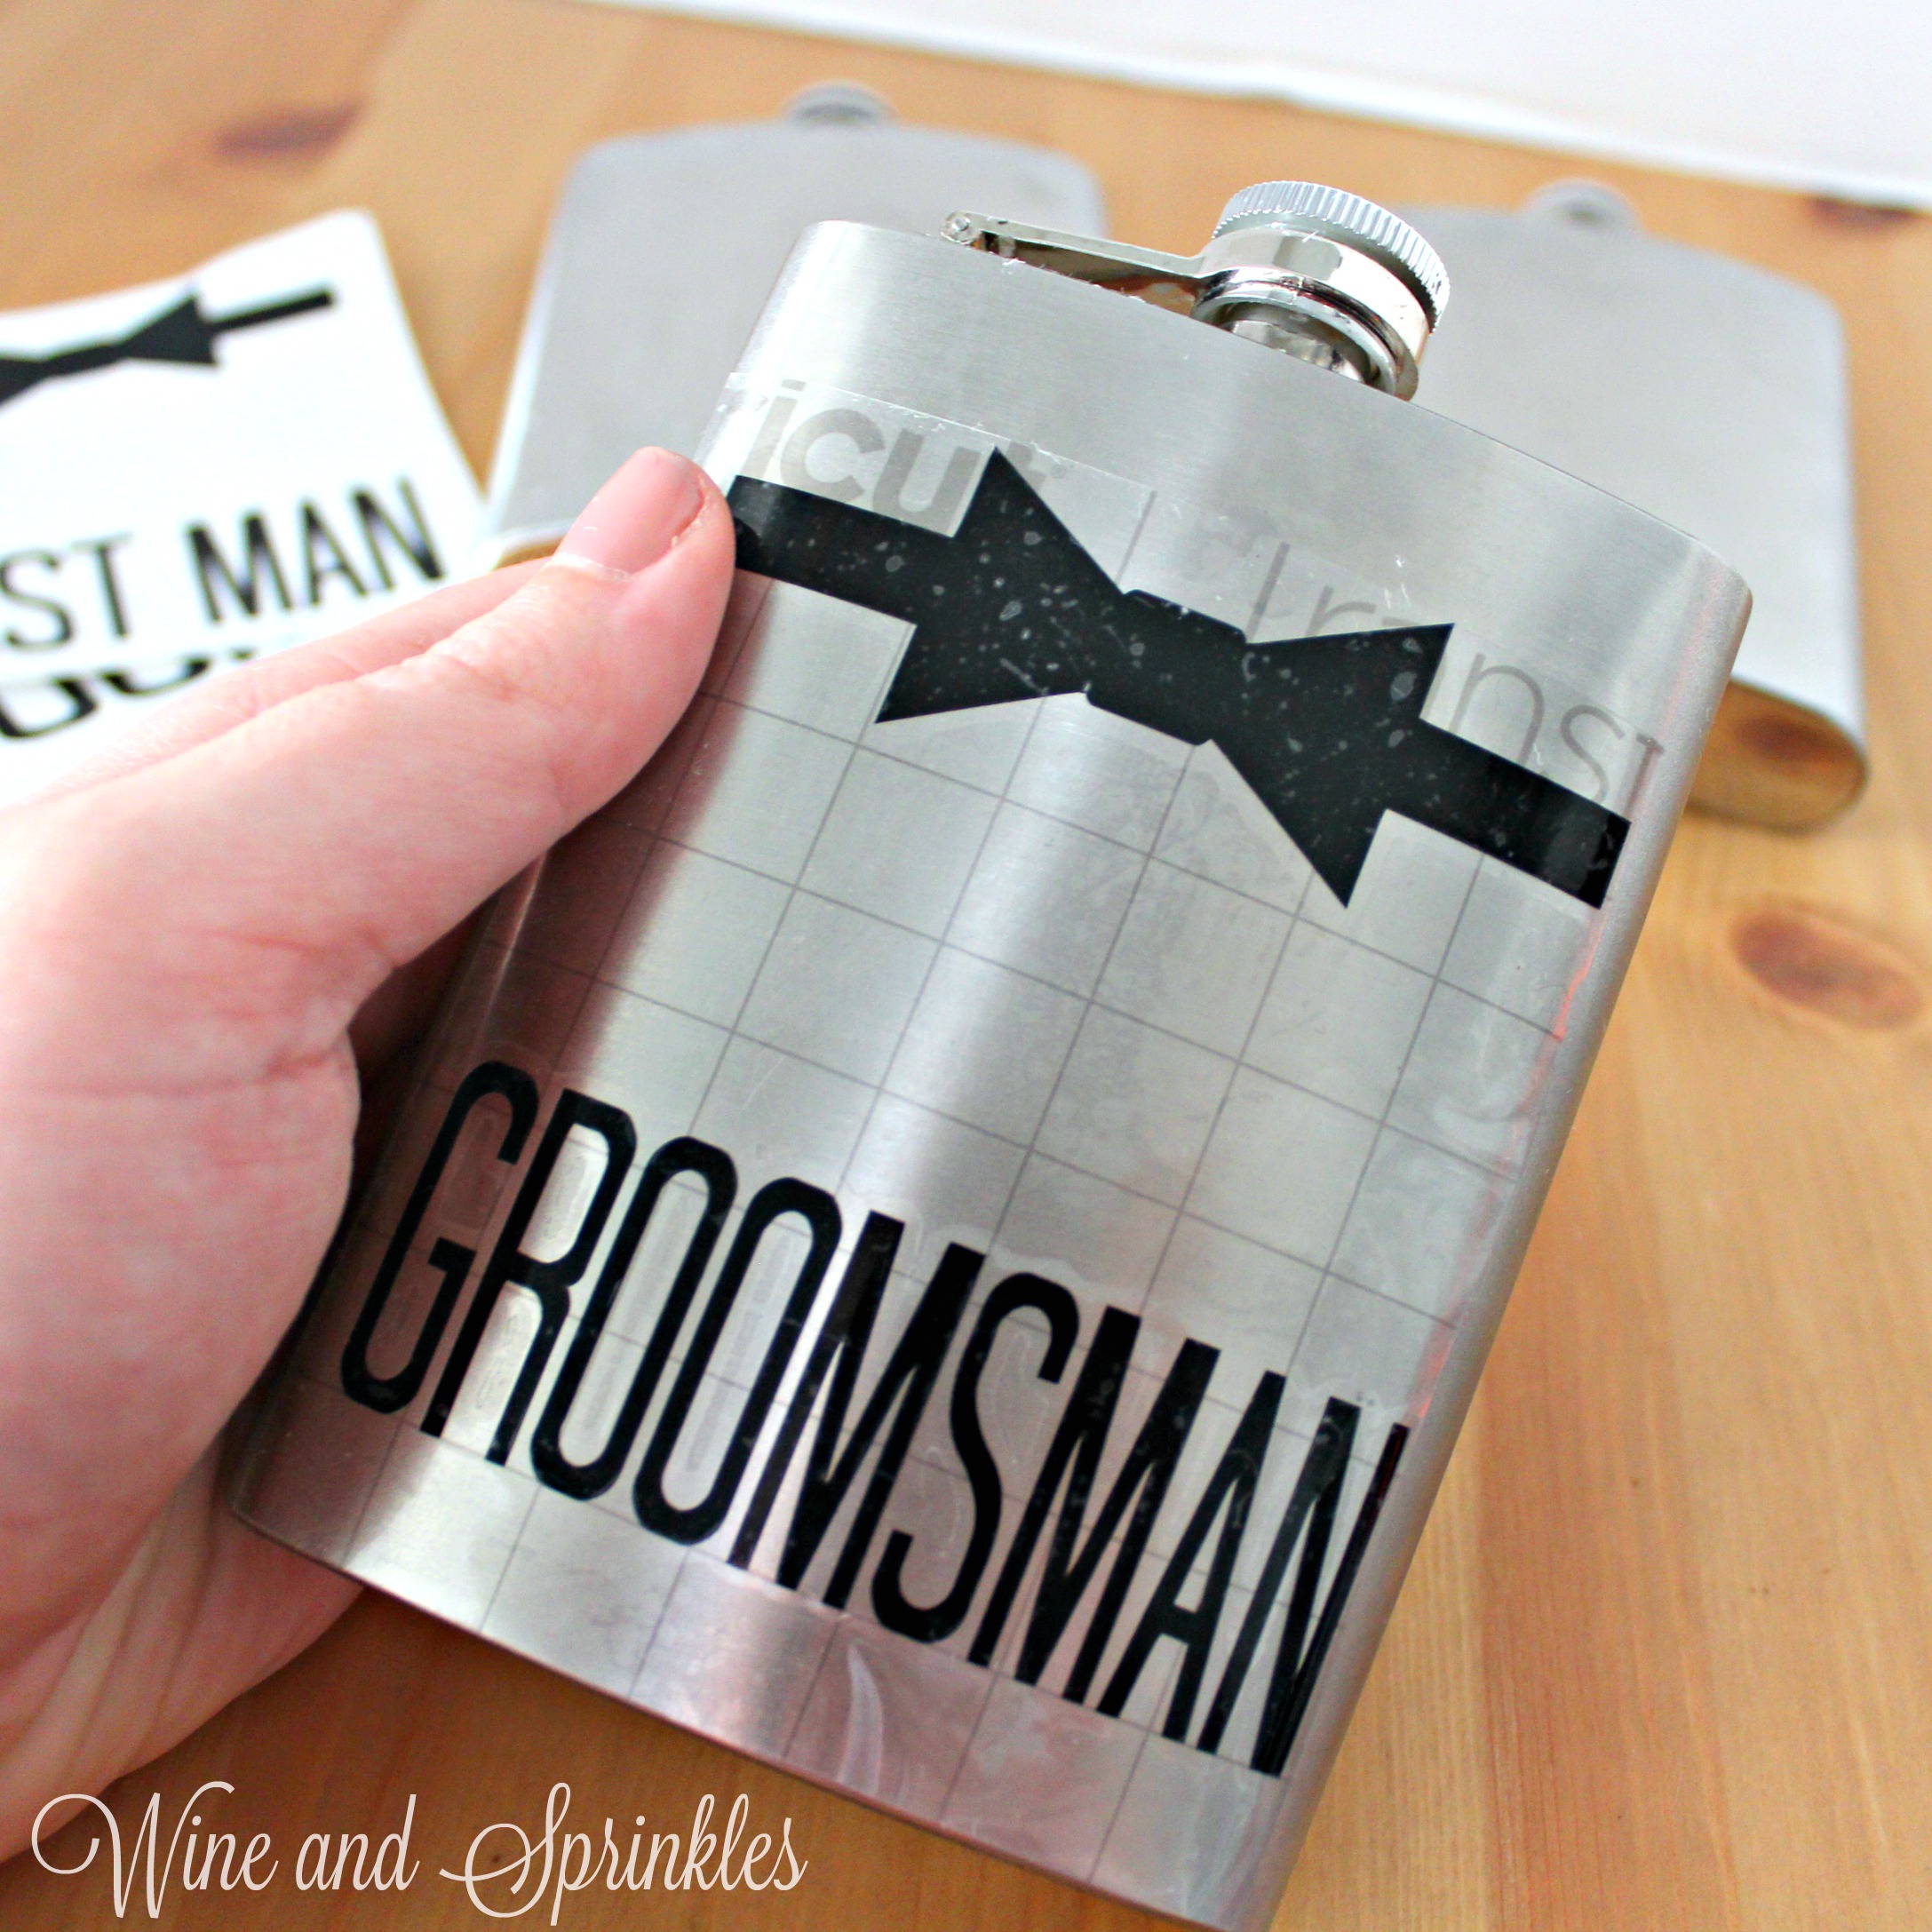
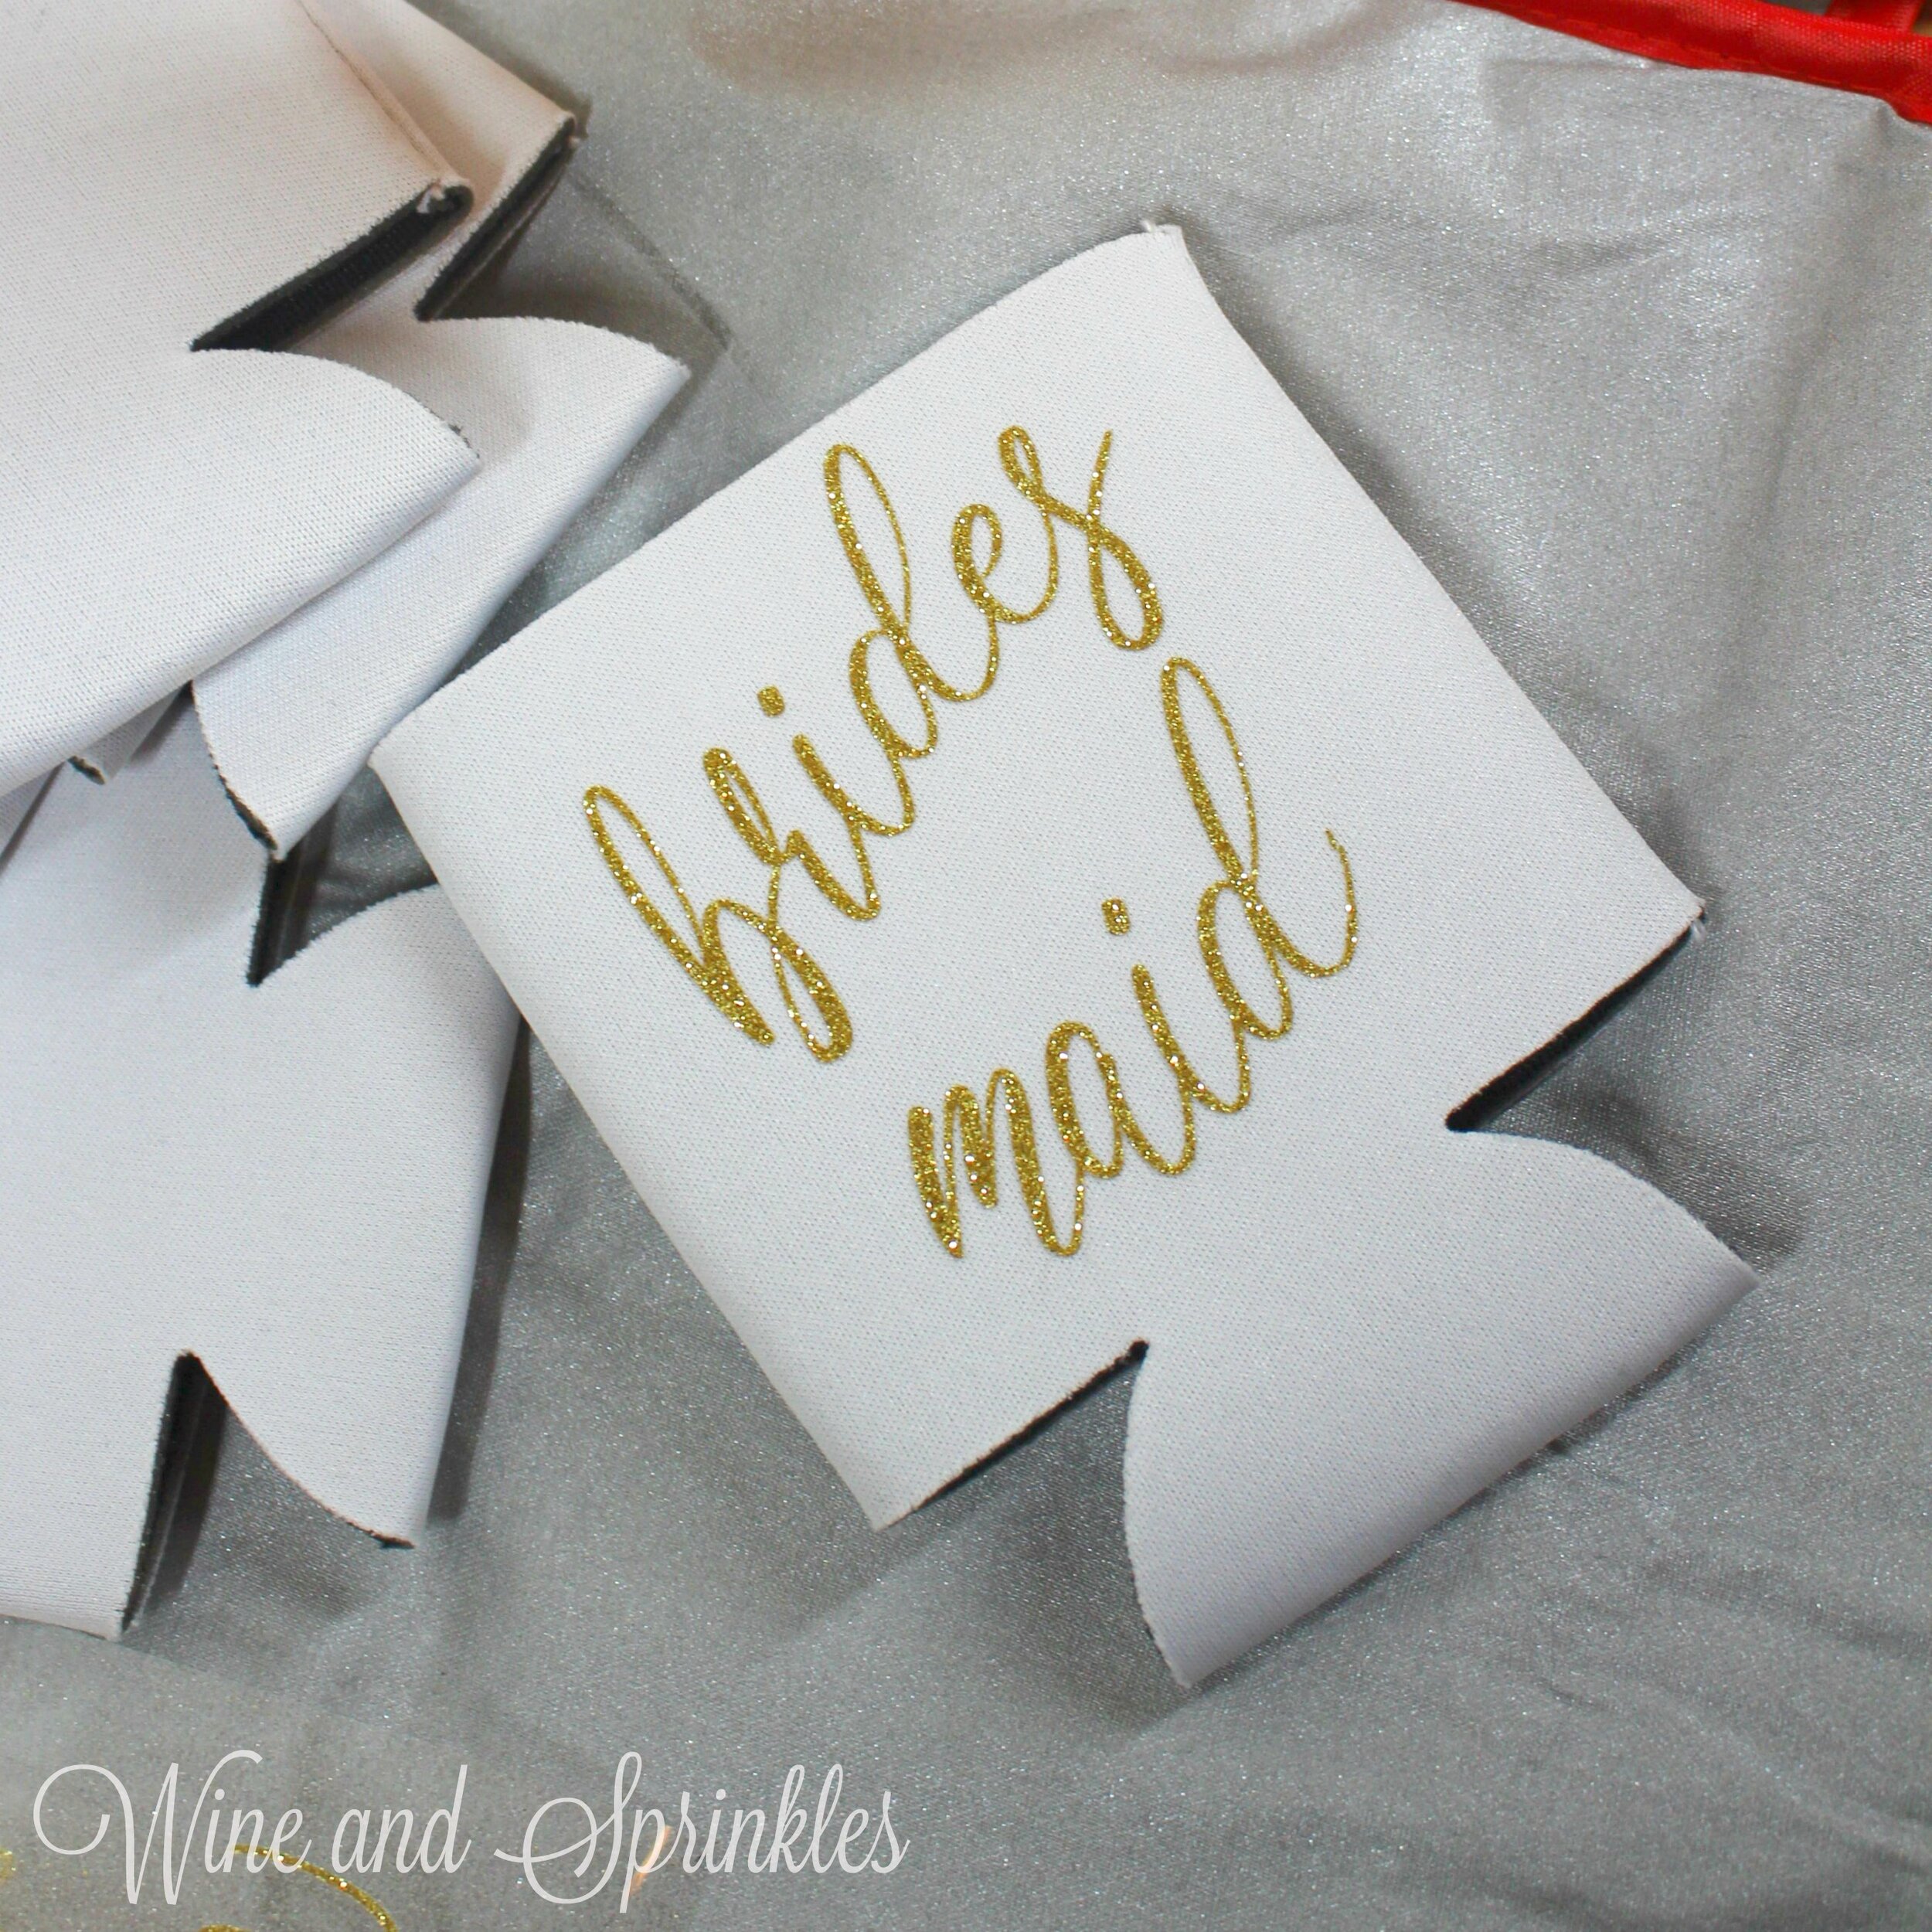
Koozies are always a fun, casual way to make everyone feel like a part of the party and these bridal party koozies are the perfect choice for keeping your getting ready beverages cool! I made decals for not only the bridesmaids, maid of honor, matron of honor (if you have one), and the bride; but also for the mothers of the bride and groom so that you can make sure all of your ladies feel extra special at your wedding!


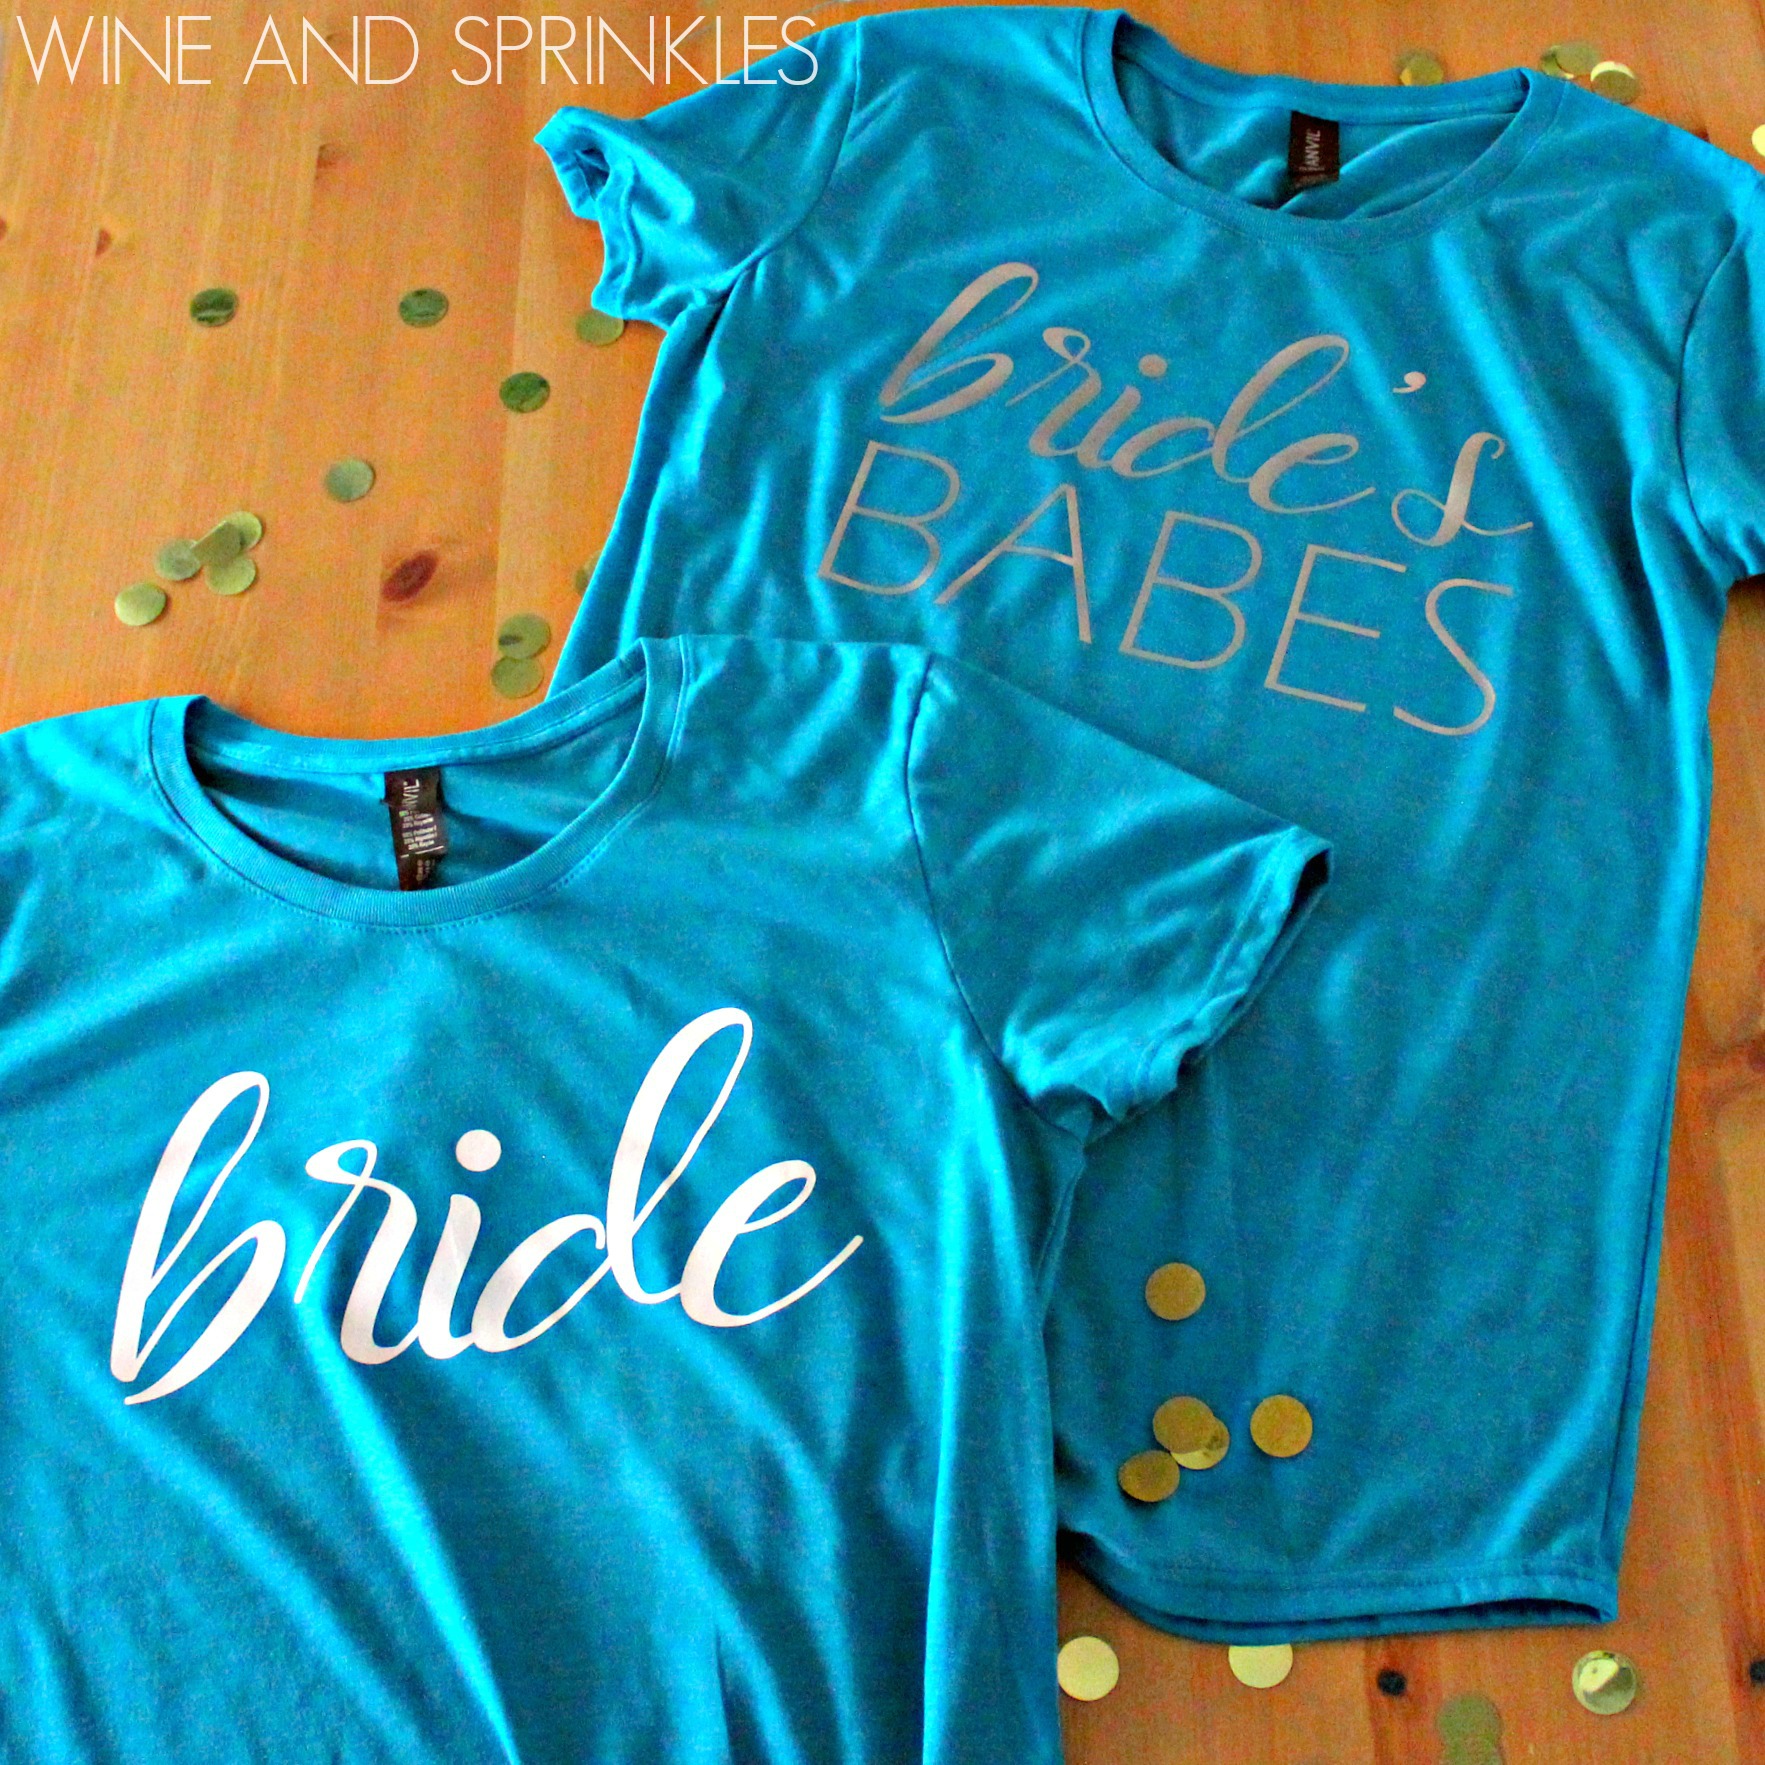
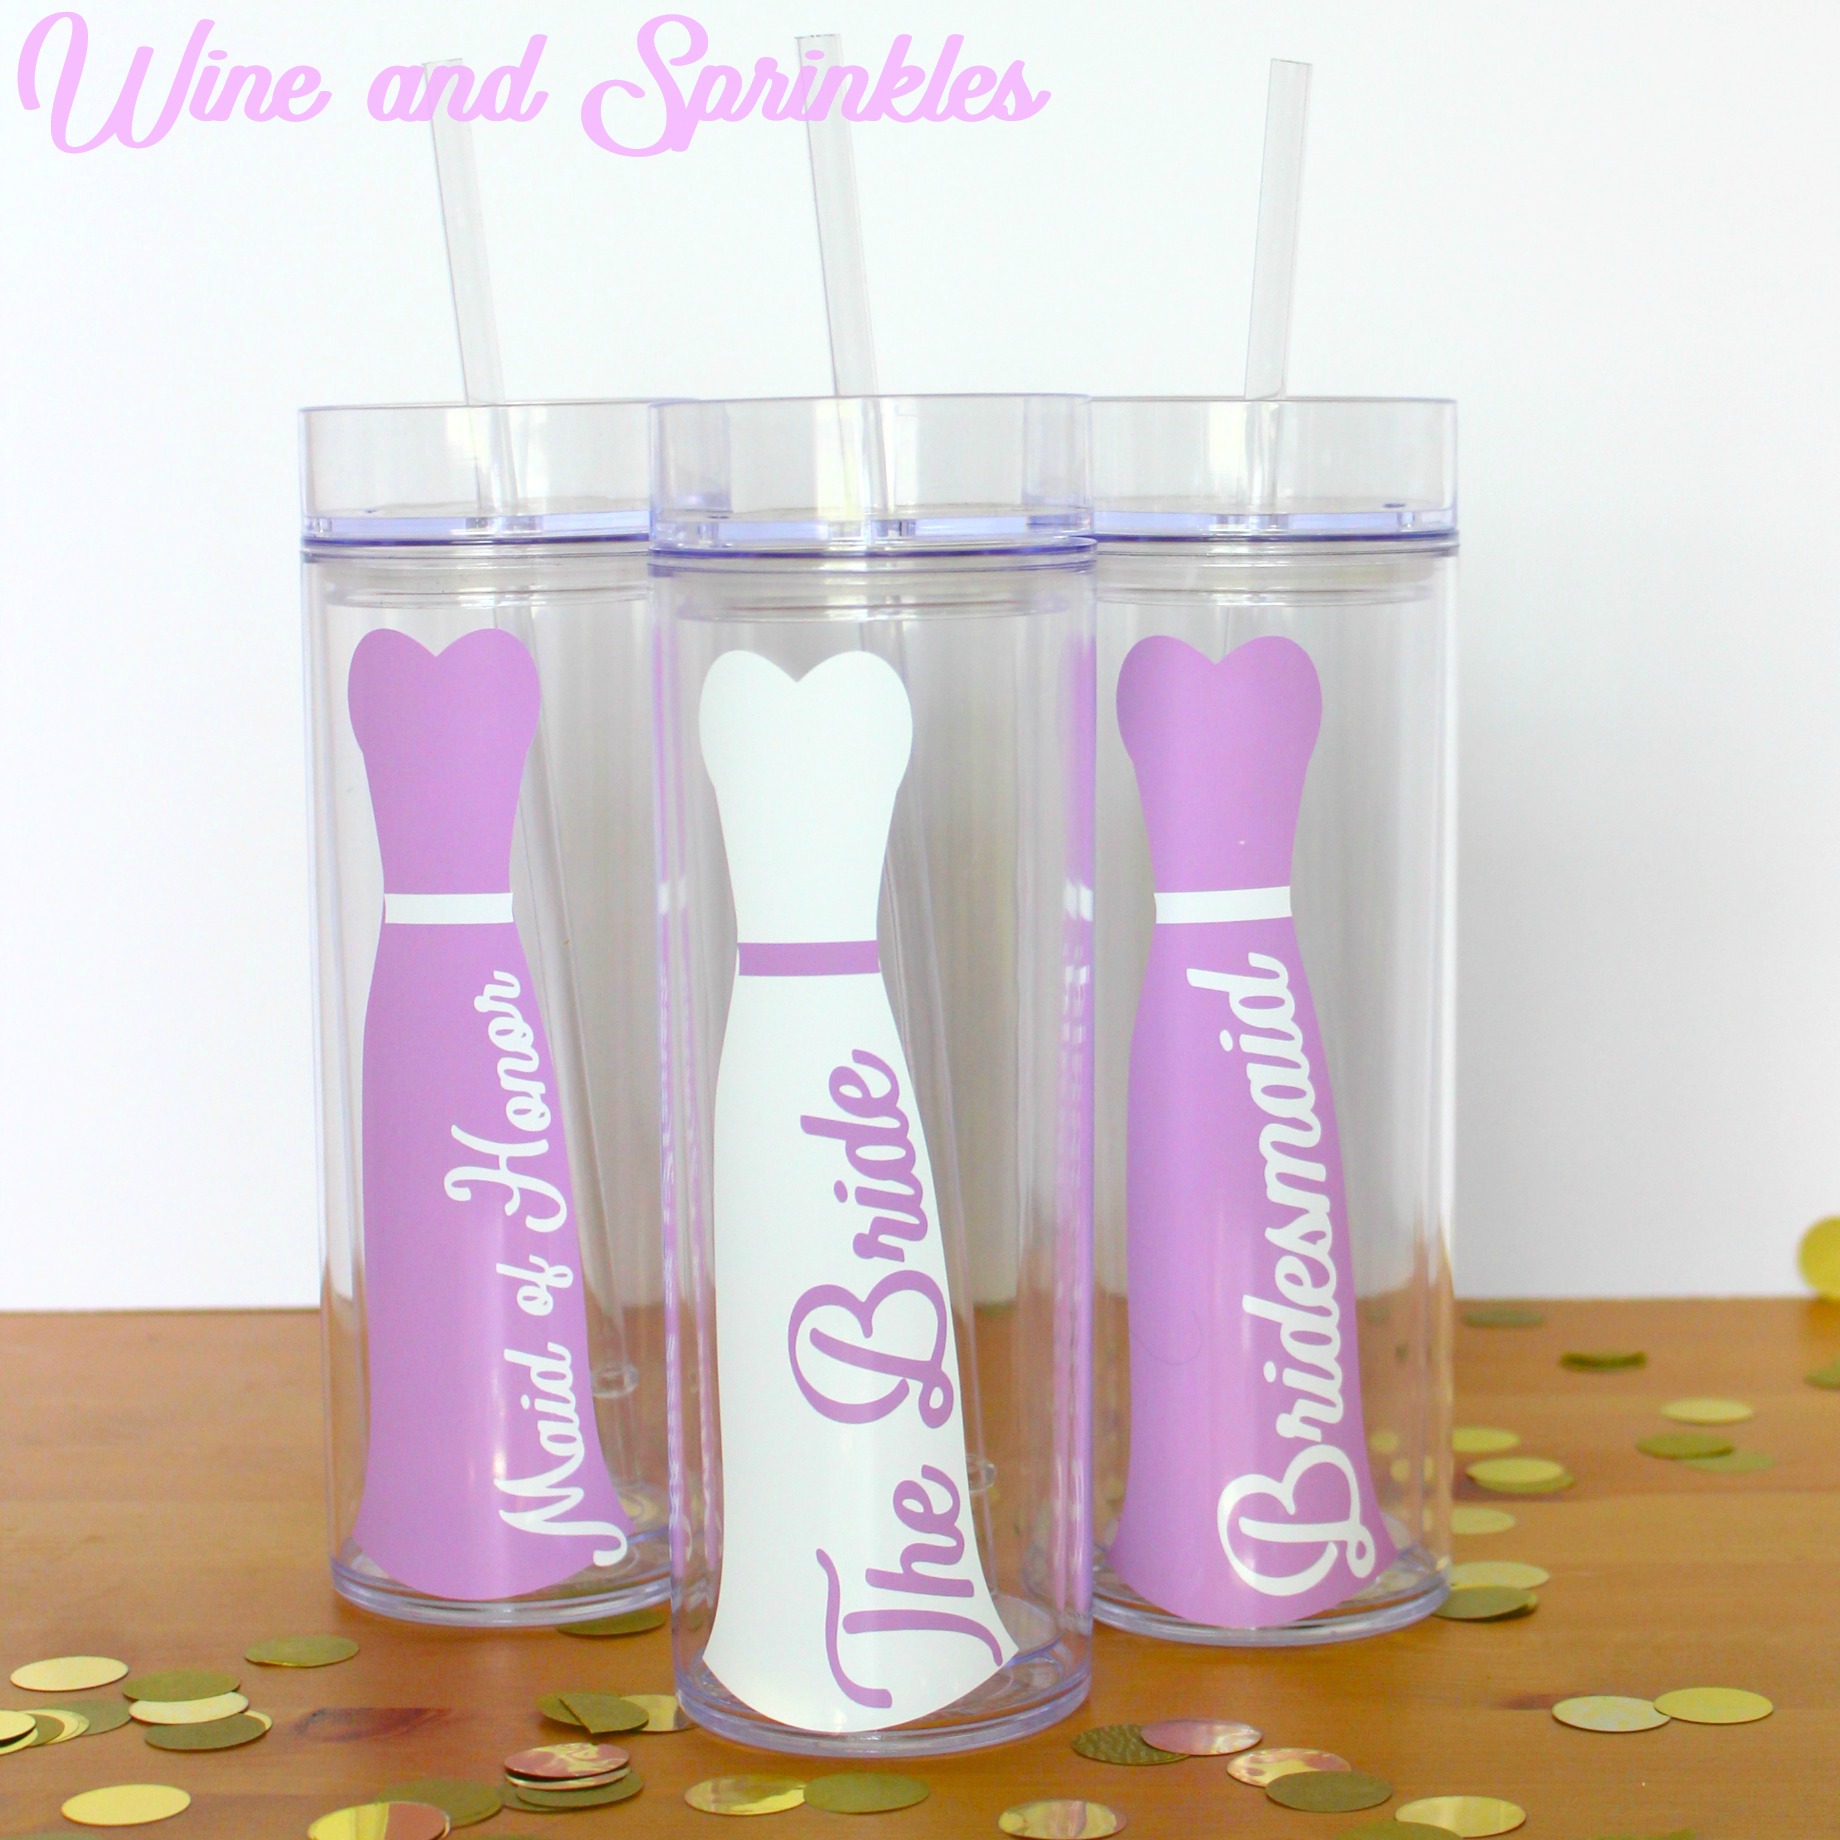
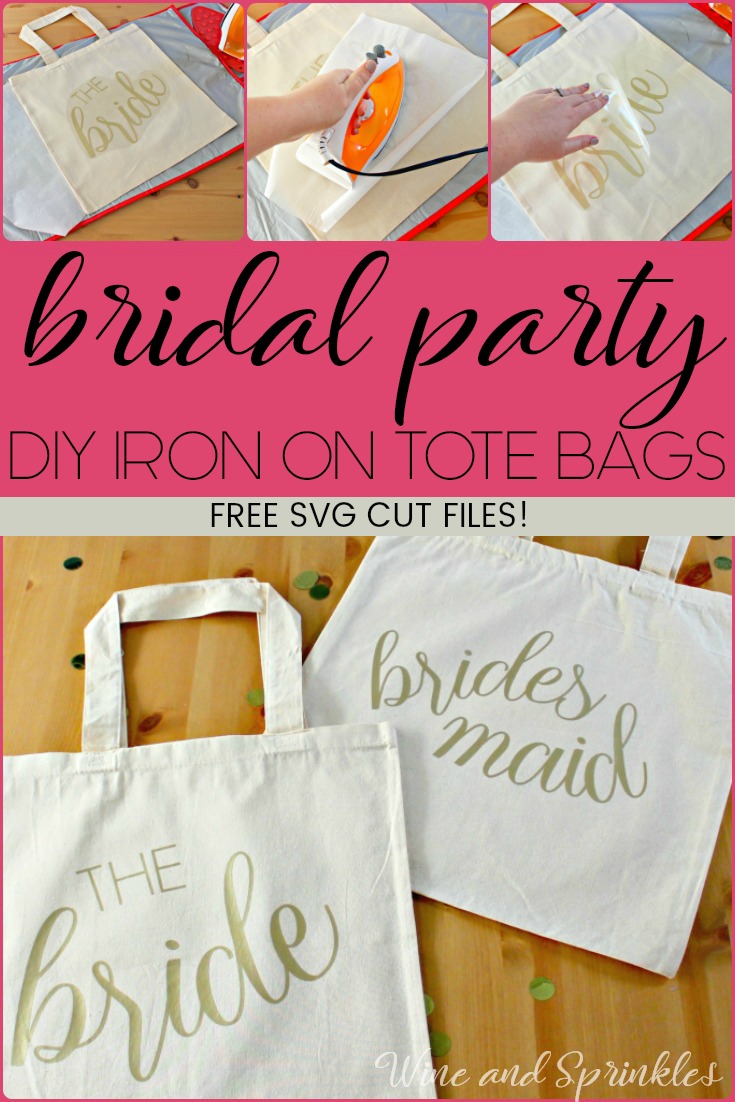
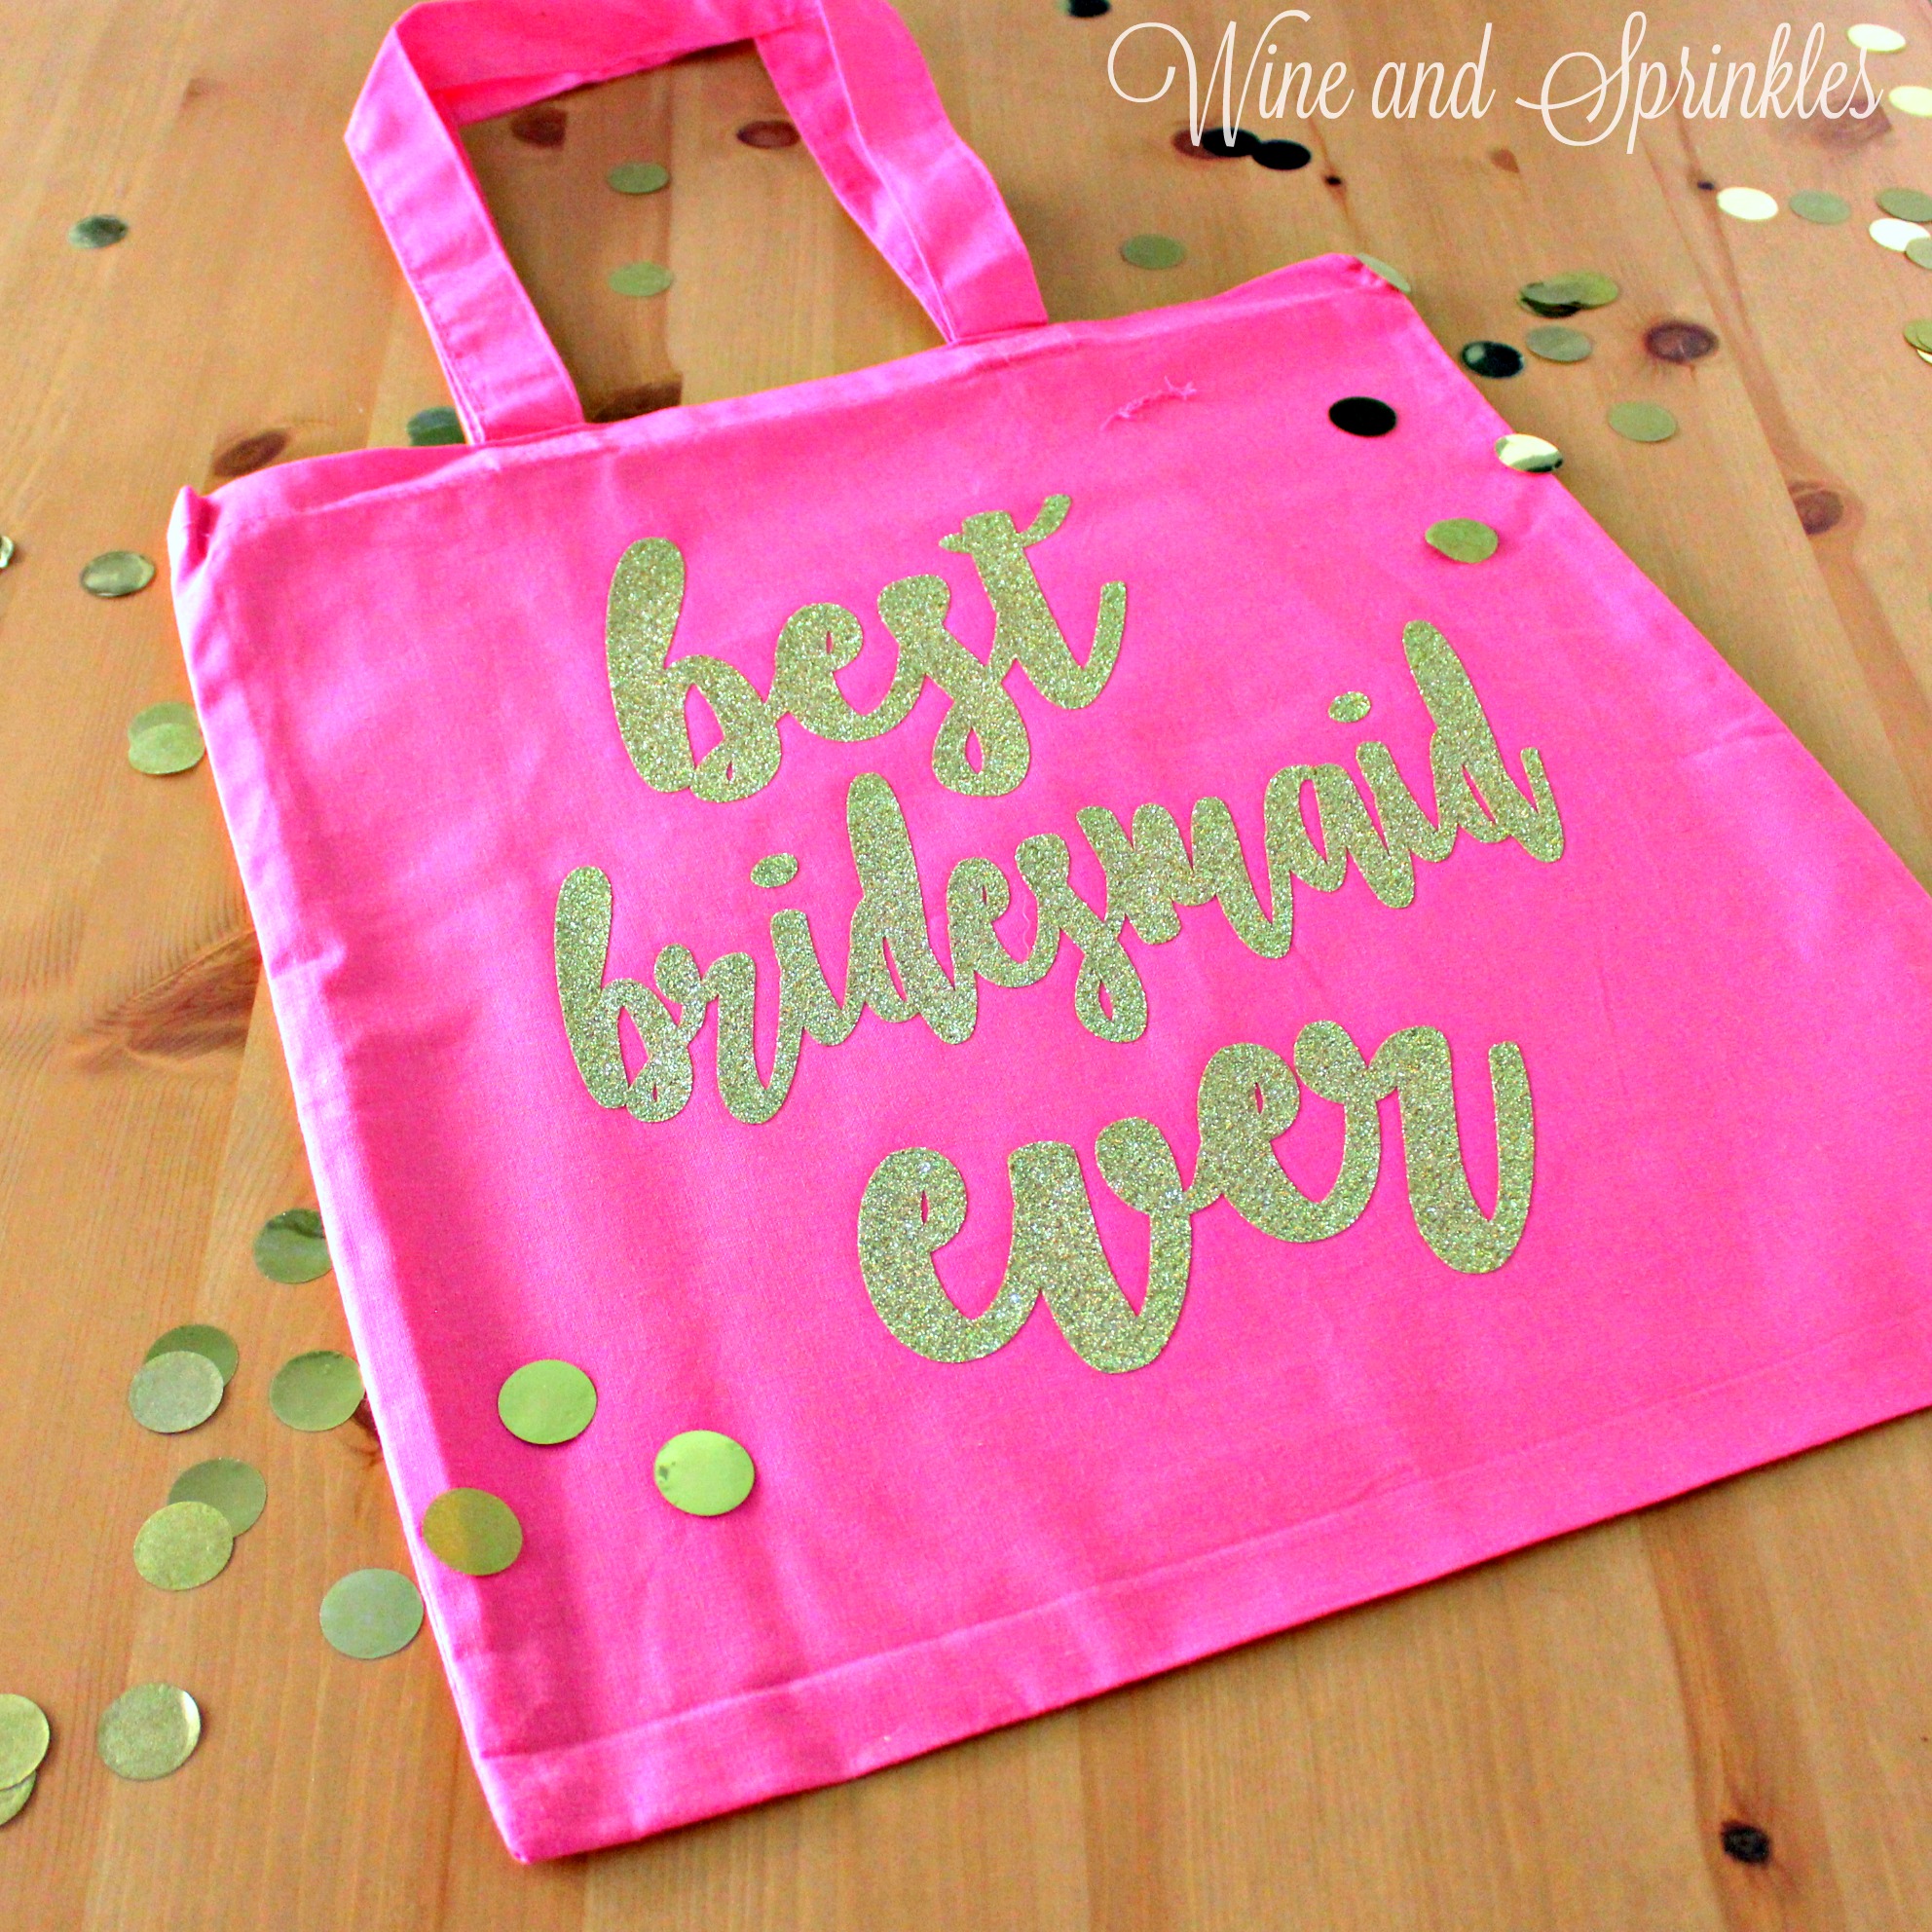
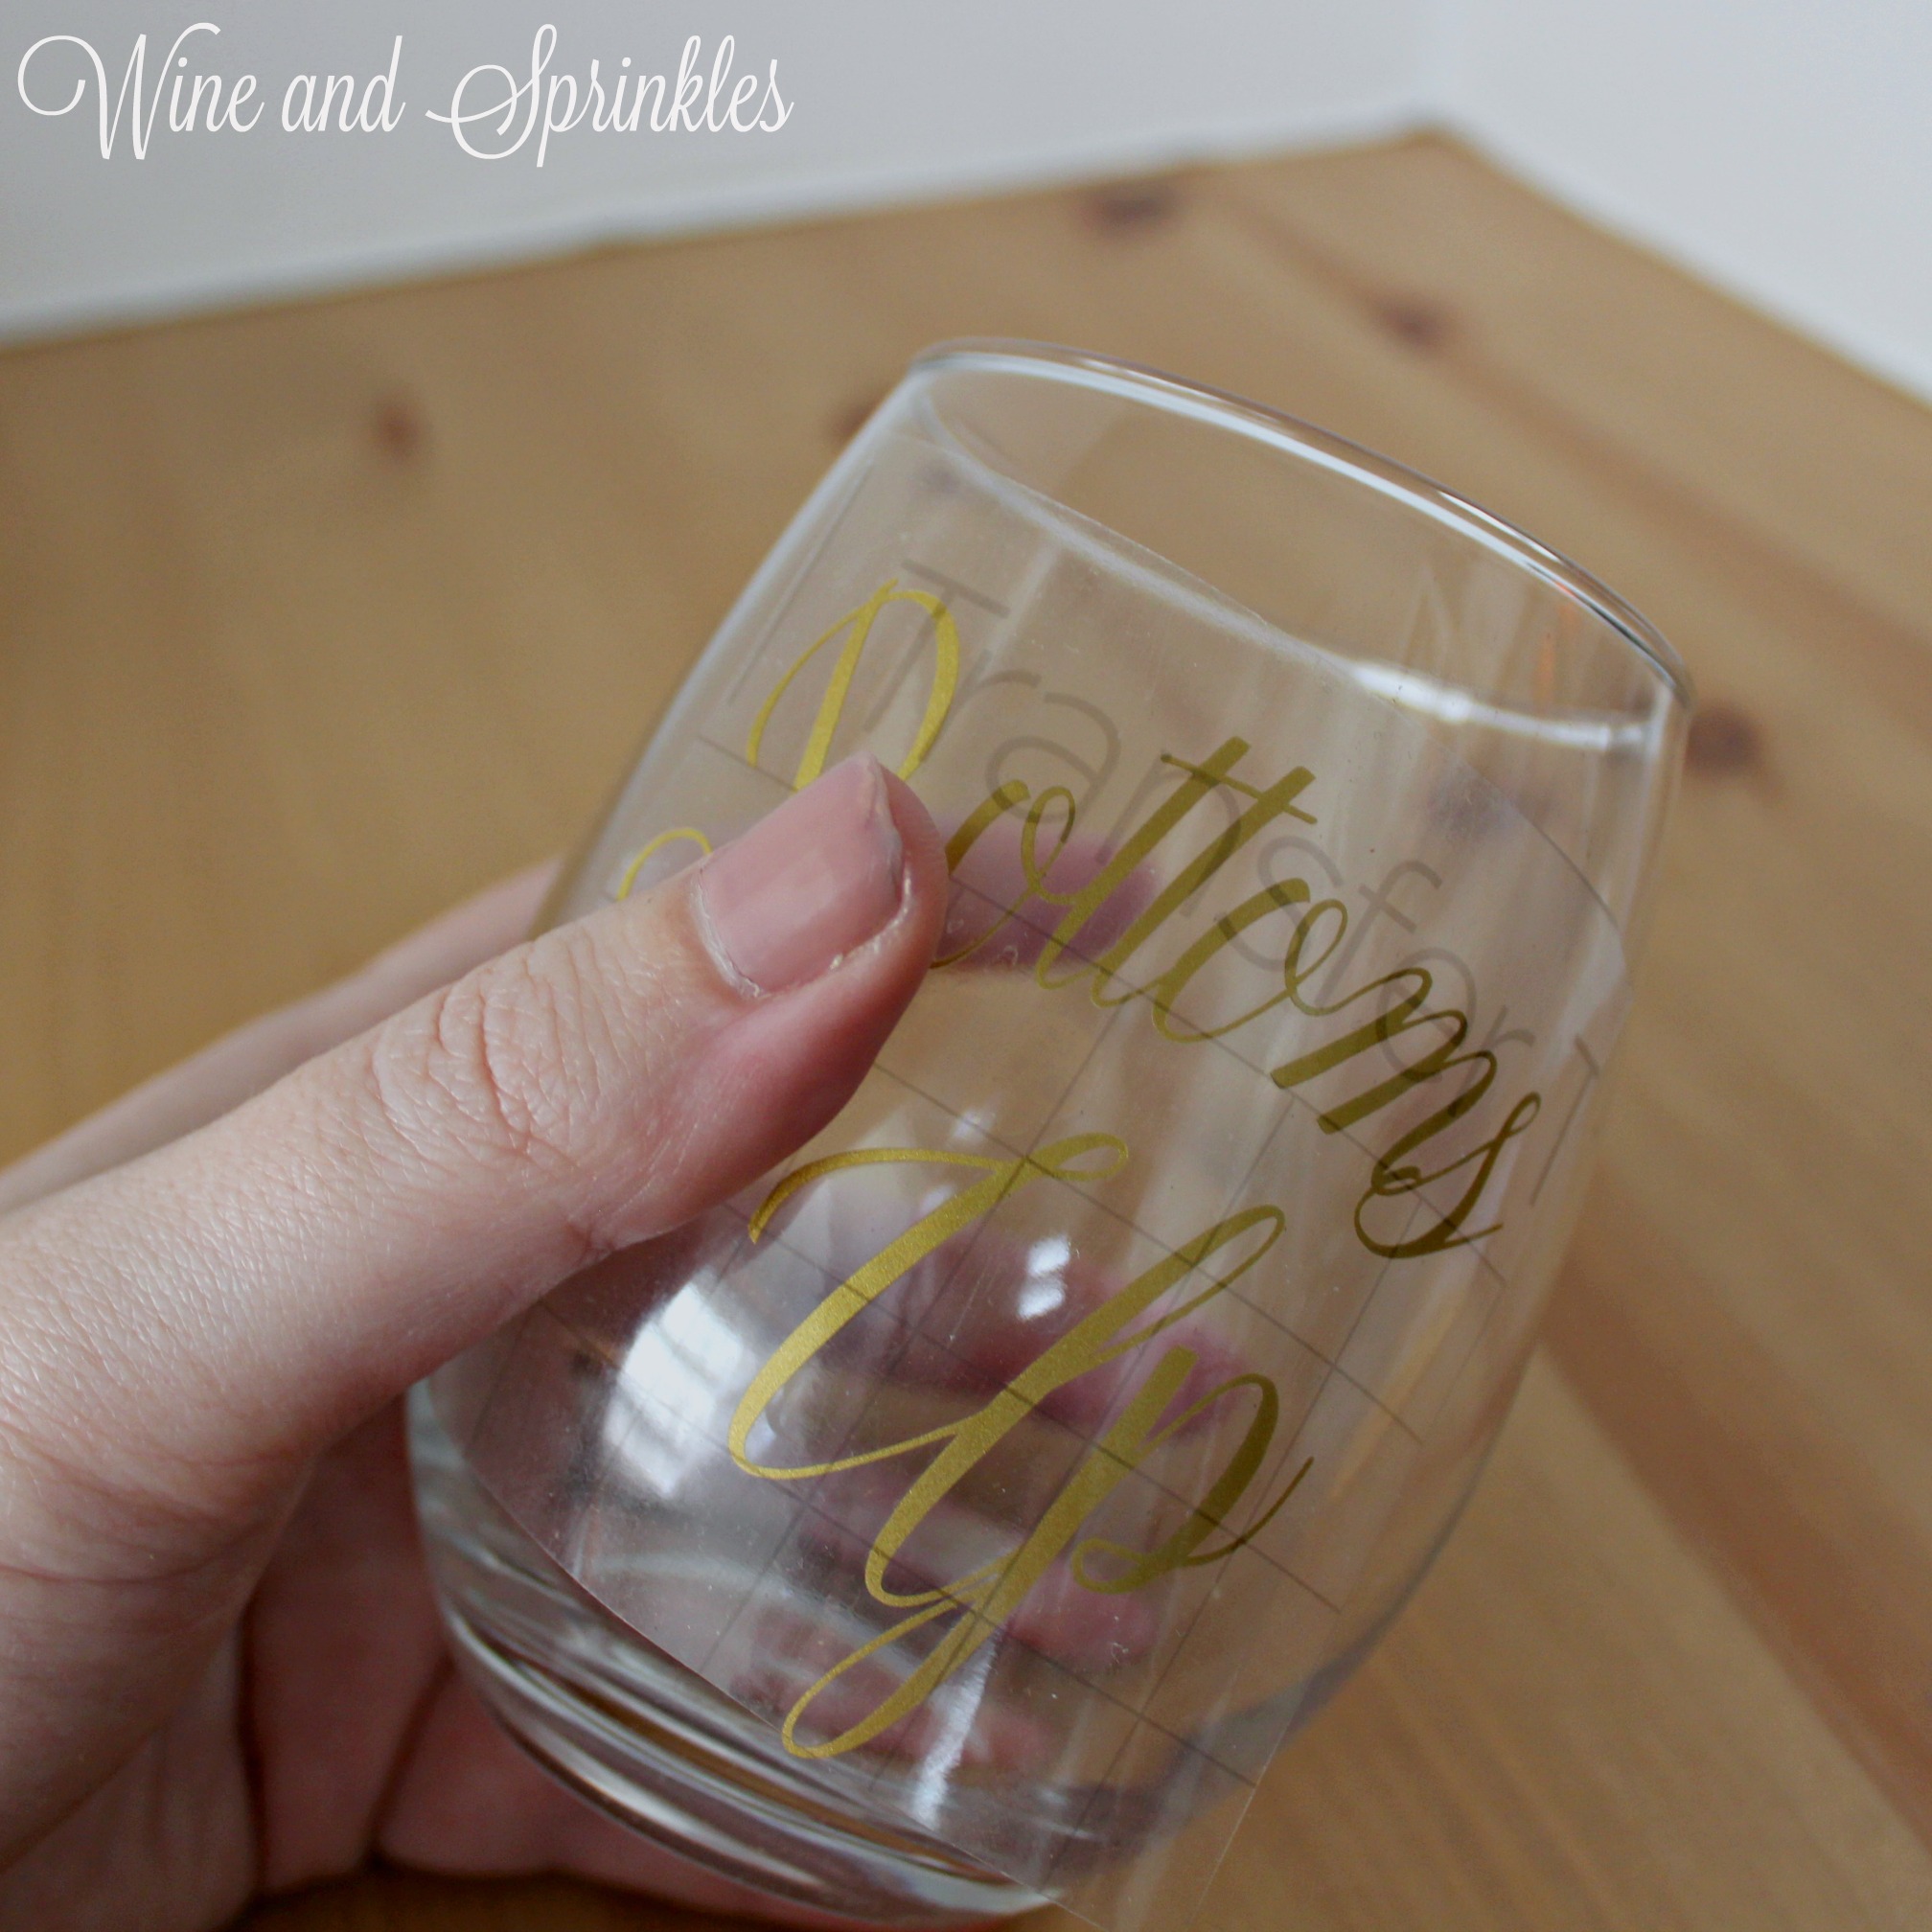
I made these decals in Gold Glitter HTV on White Koozies and they turned out beautifully, but I also would love them on pink koozies so that only the bride is drinking with white! I used the font Clarissa while designing these decals, which you can download for free at dafont.com to use for personalizing these koozies or any of your other wedding projects!


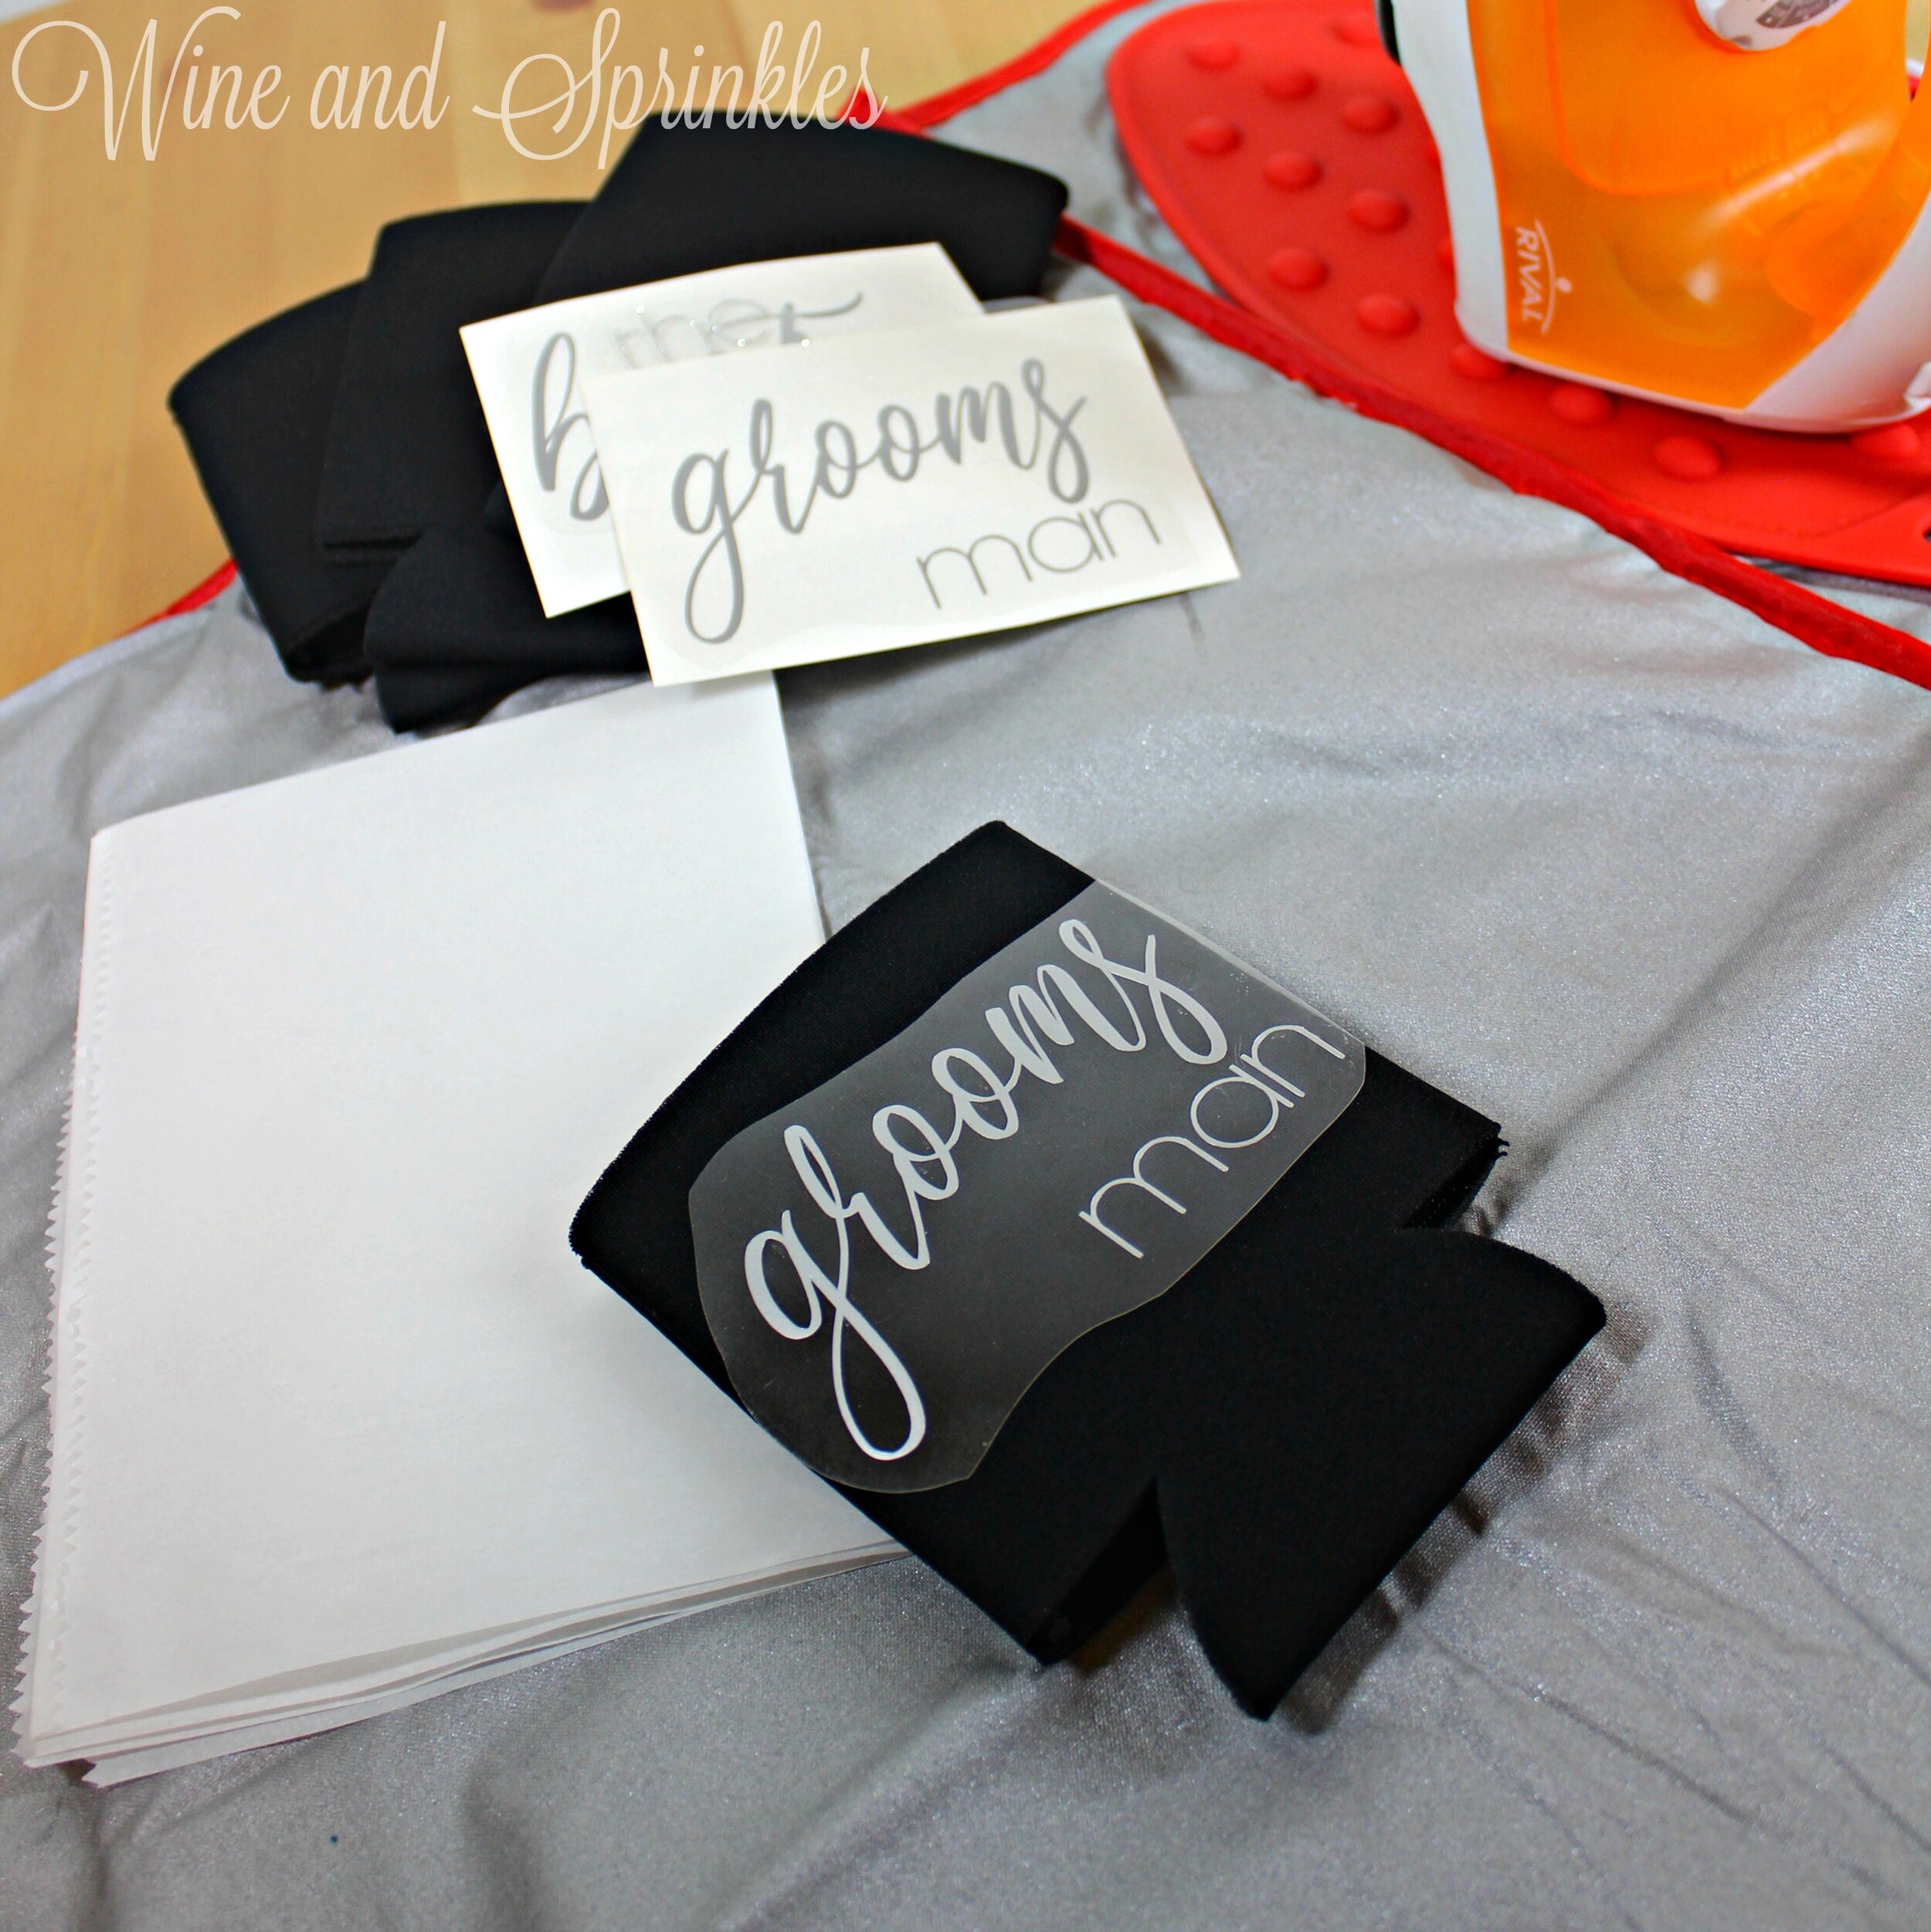
Supplies:
Blank Koozies
Easyweed Heat Transfer Vinyl or Glitter Heat Transfer Vinyl
Craft Cutter and Tool Set
Adhesive Mat
Koozie Design Cut Files


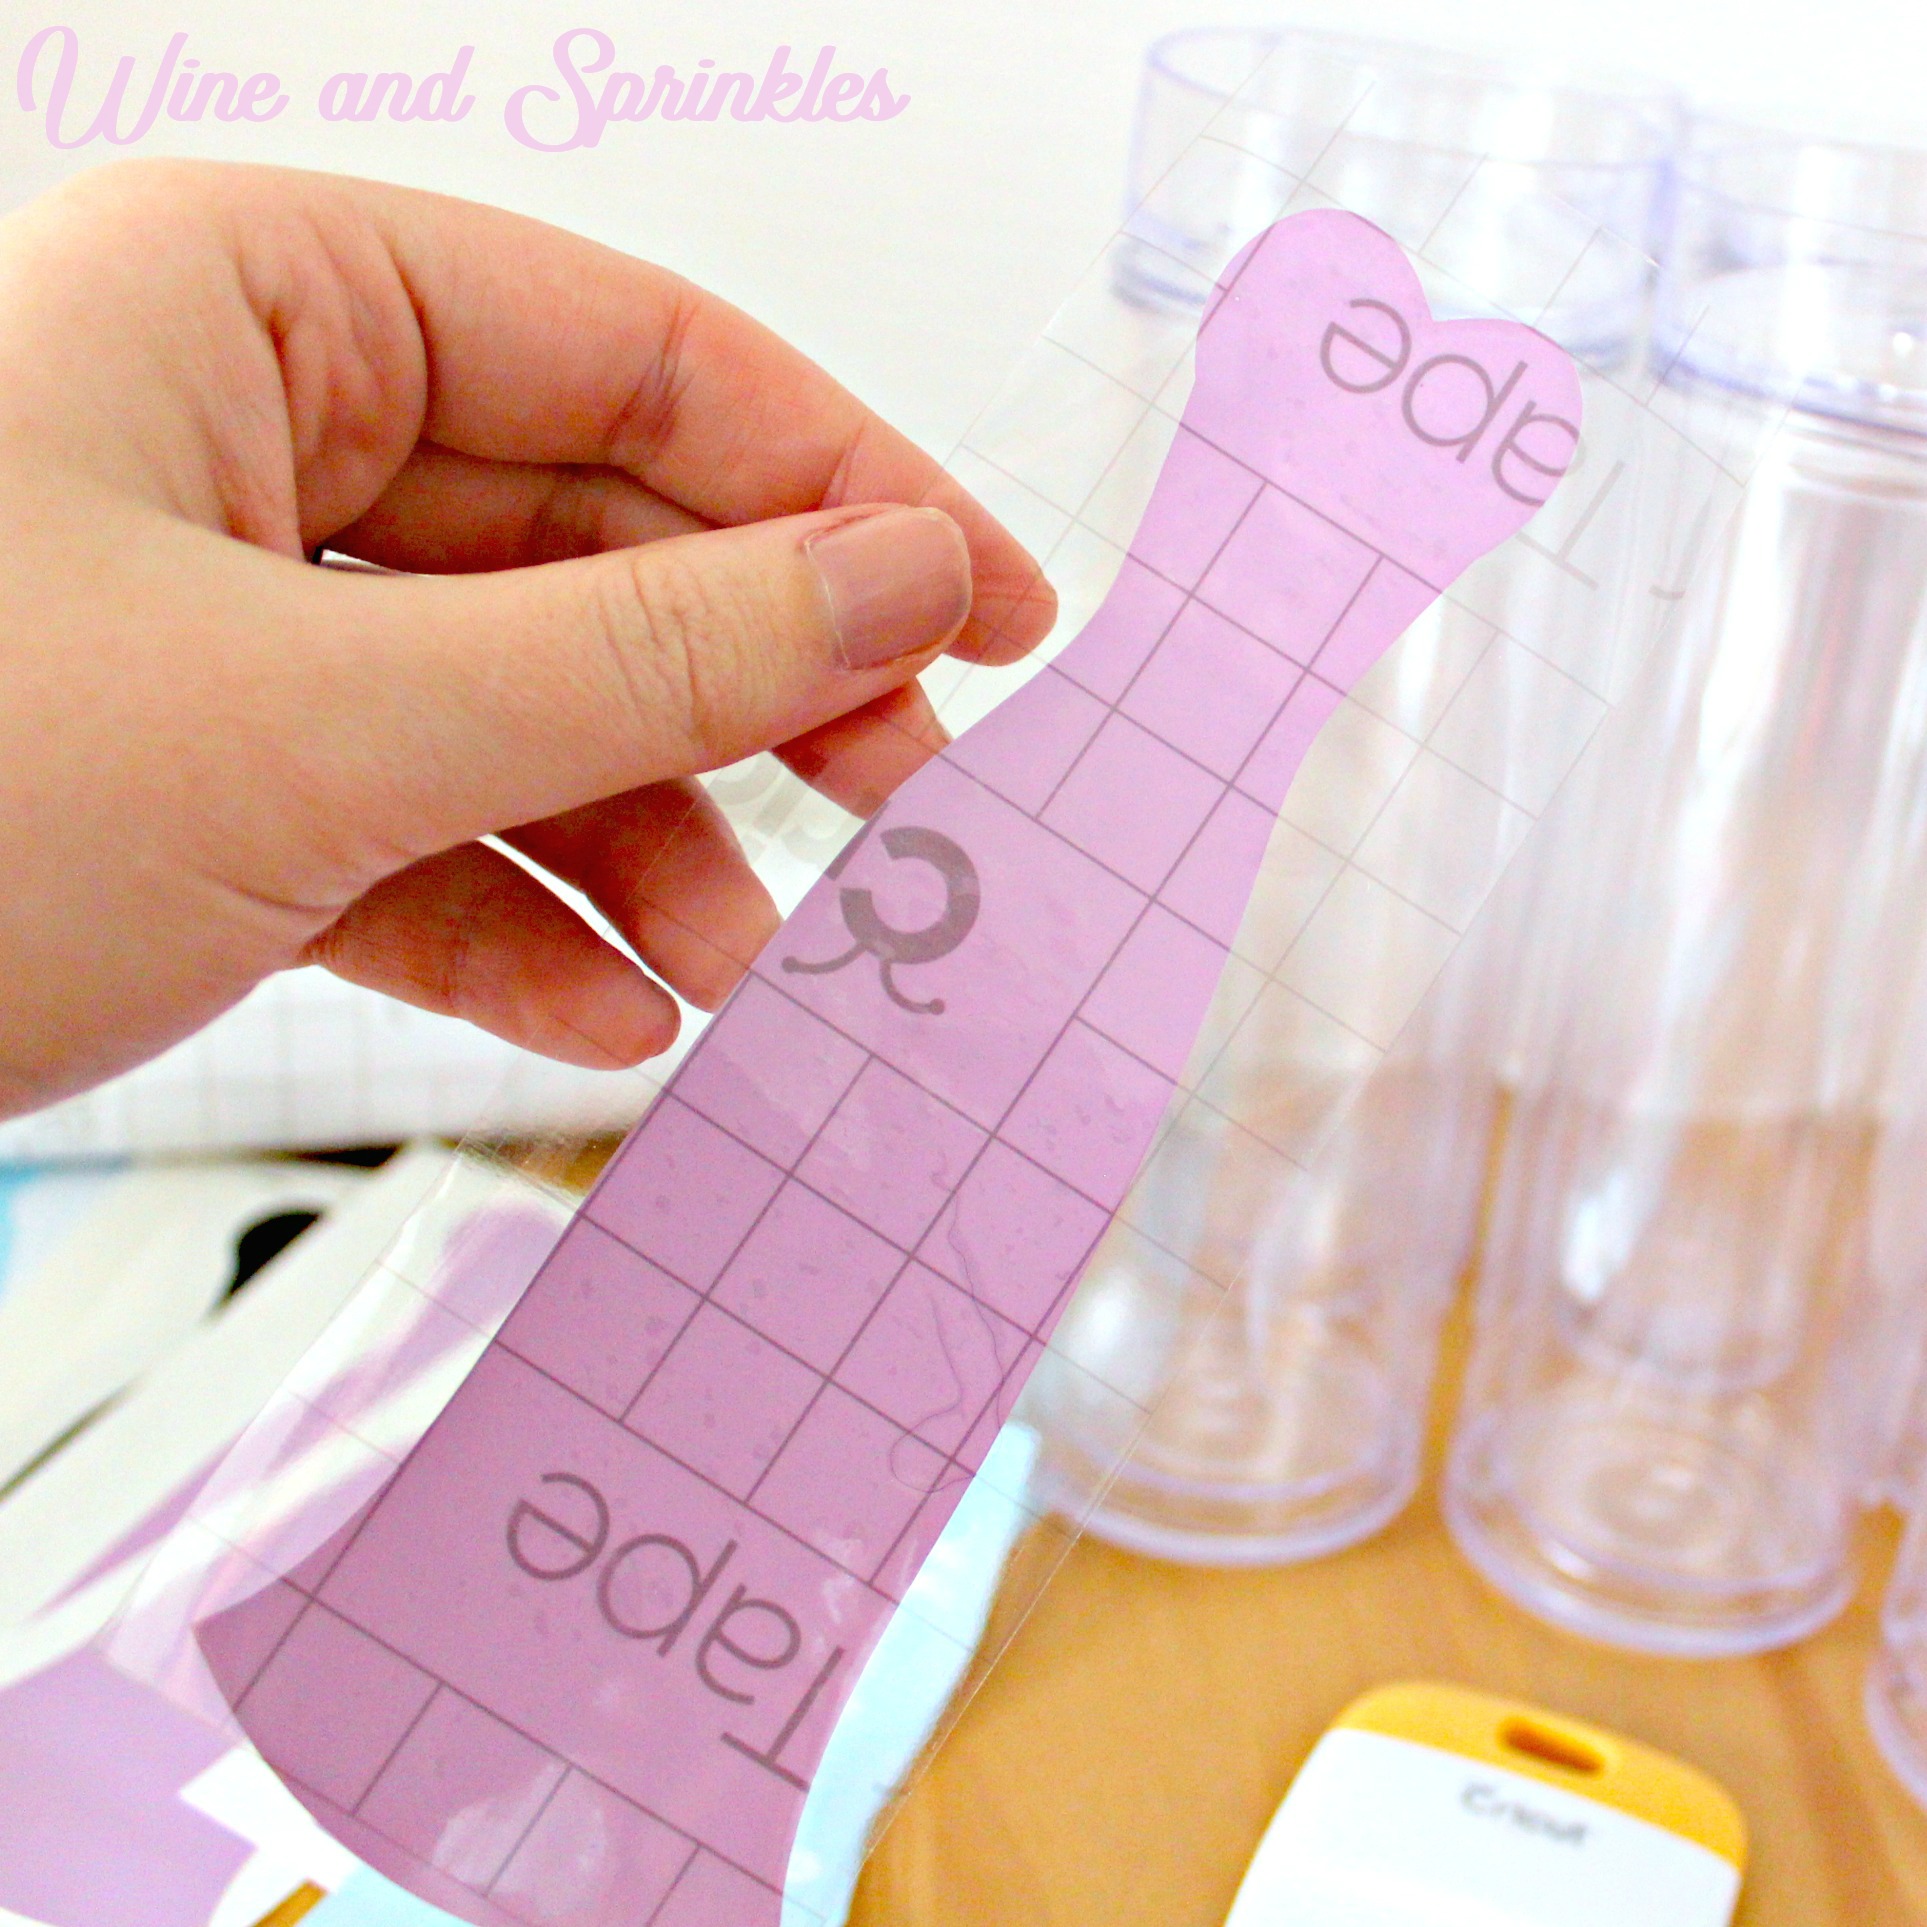
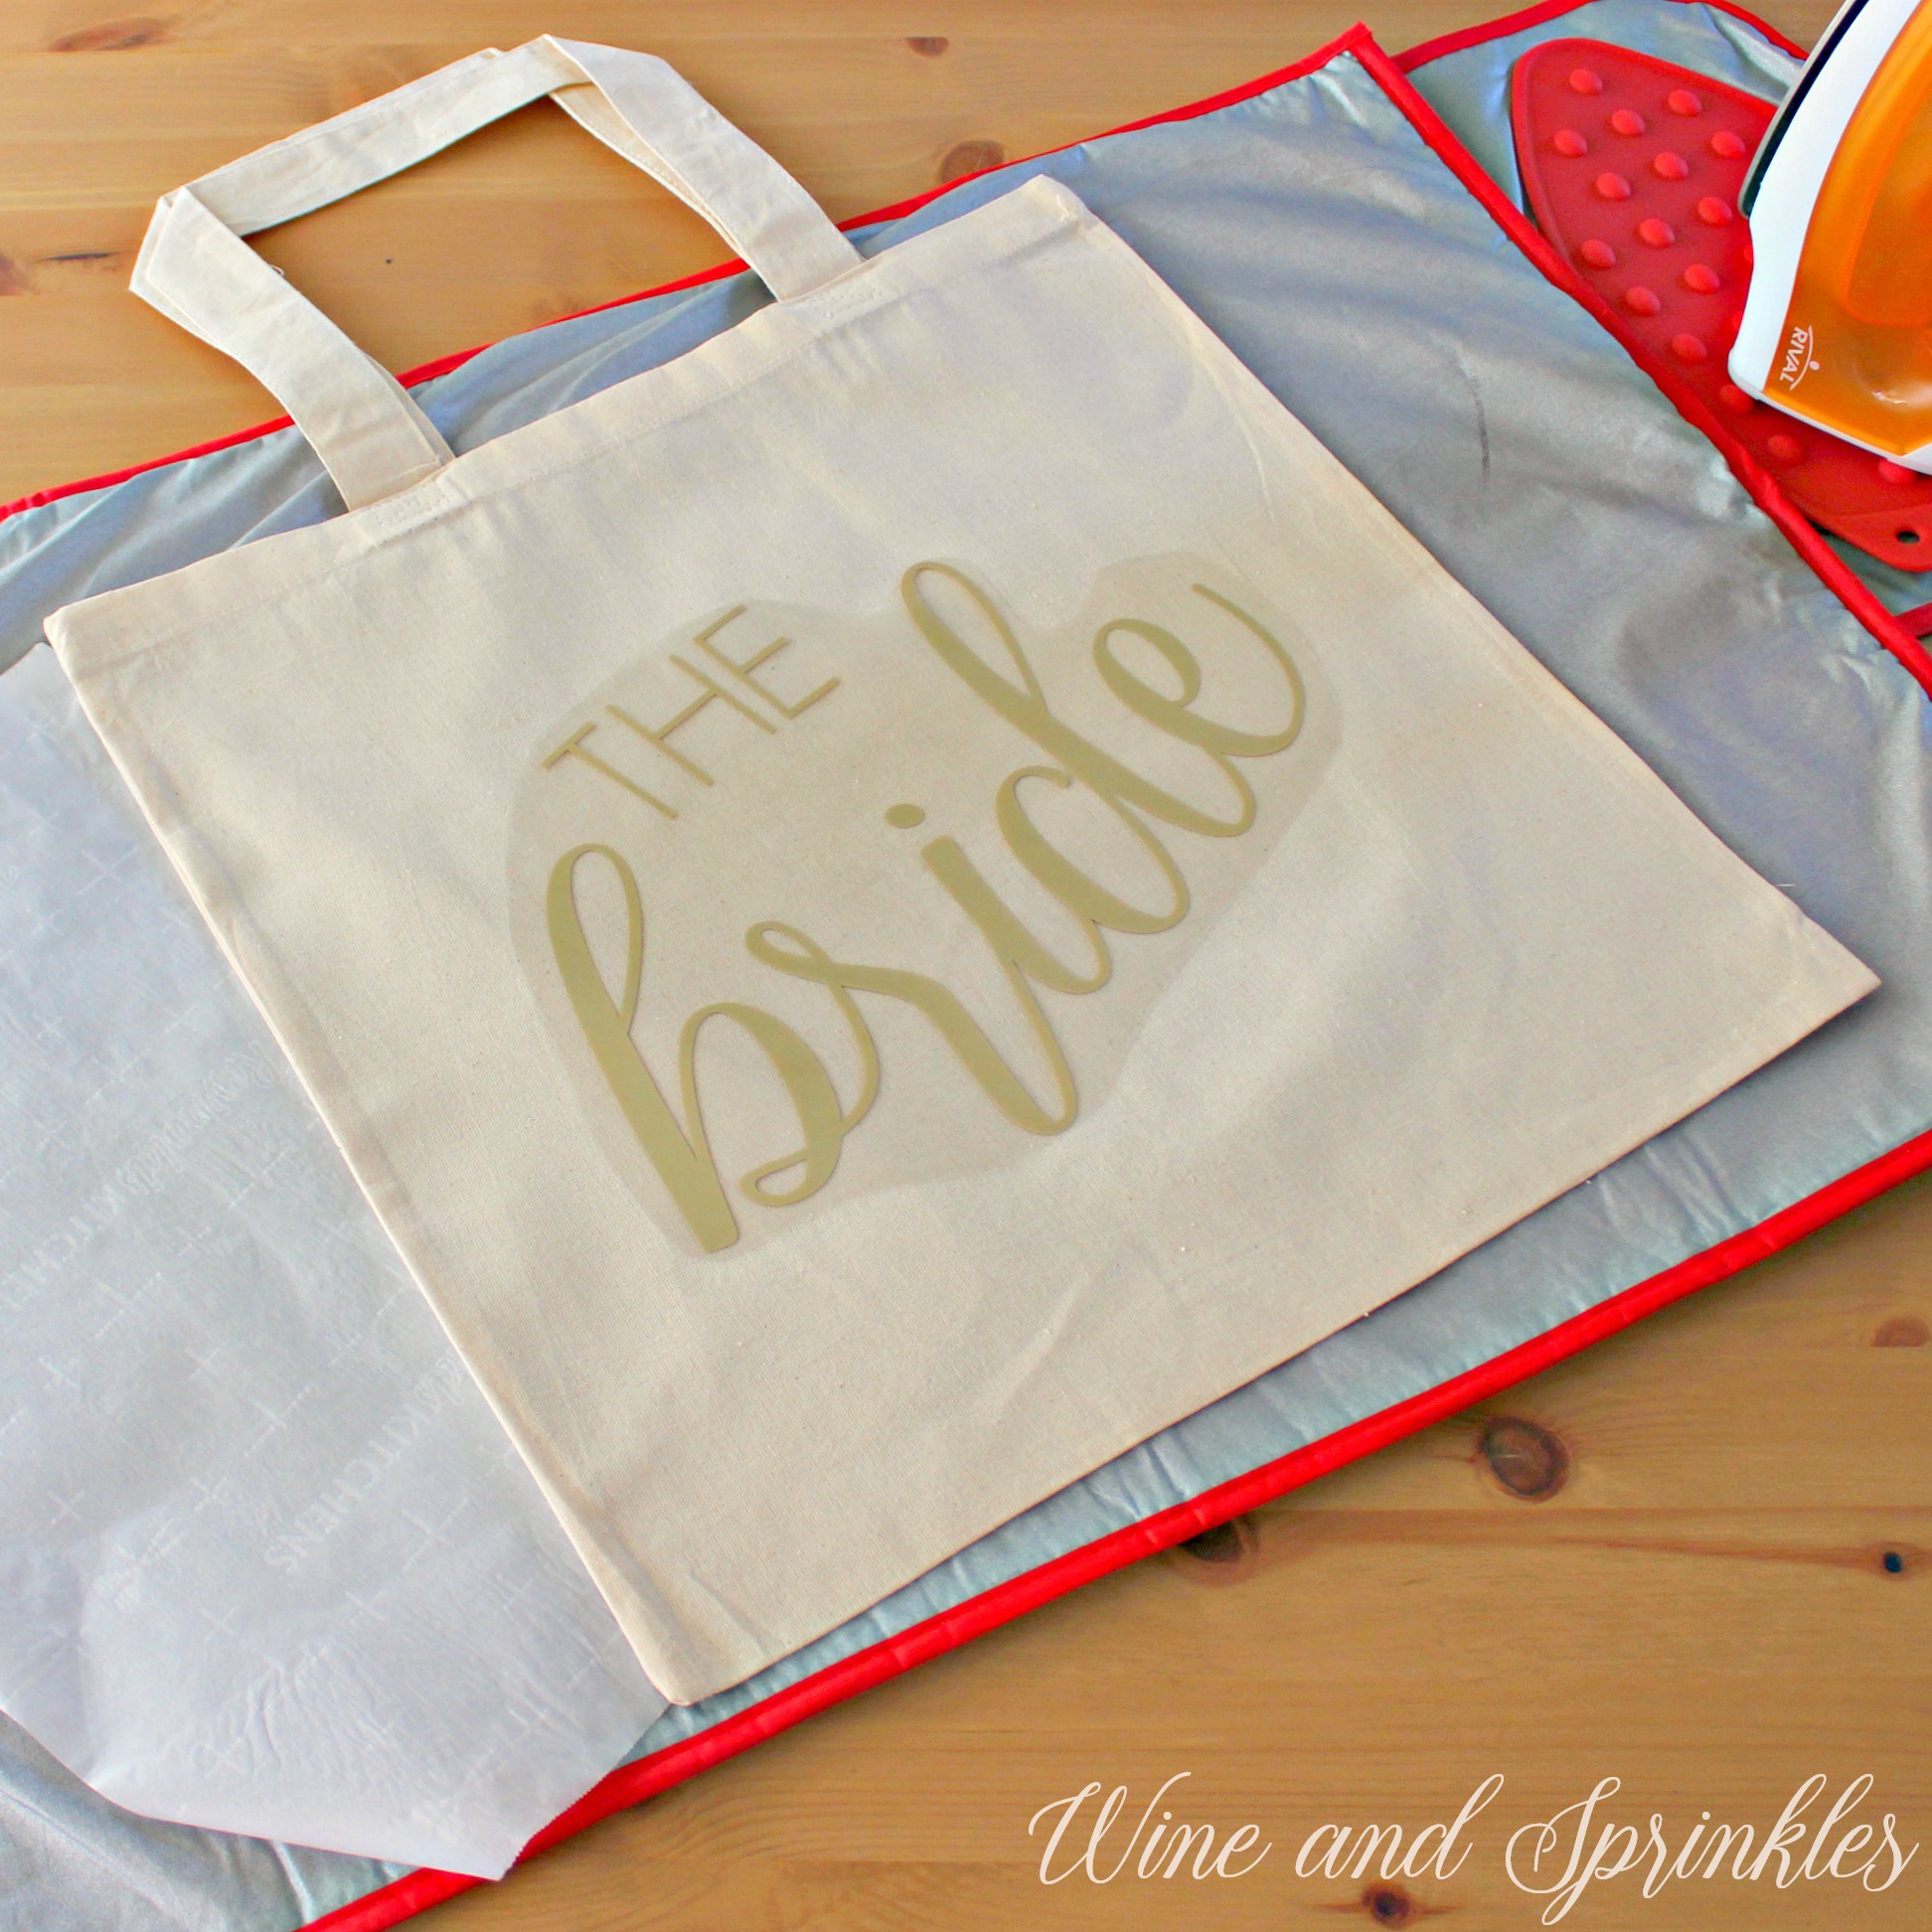
After downloading the cut files, import them into the Cricut Software. After creating a new project, select Upload Image. Select the file you wish to upload and it will automatically take you to the final upload screen, where you can name the file the select Save. The SVG Files are sized so that they will automatically cut to the size you see in the photos, but if you want to change the size you can do so to fit the koozies the way you like.
After selecting “Make It” Make sure to select the Mirror Mode on the cutting screen. Cut the design(s) in your choice of heat transfer vinyl with the Iron On (for Easyweed Vinyl) or Iron On+ (for Glitter Vinyl) Setting on your Cricut, with the shiny side of the material down.
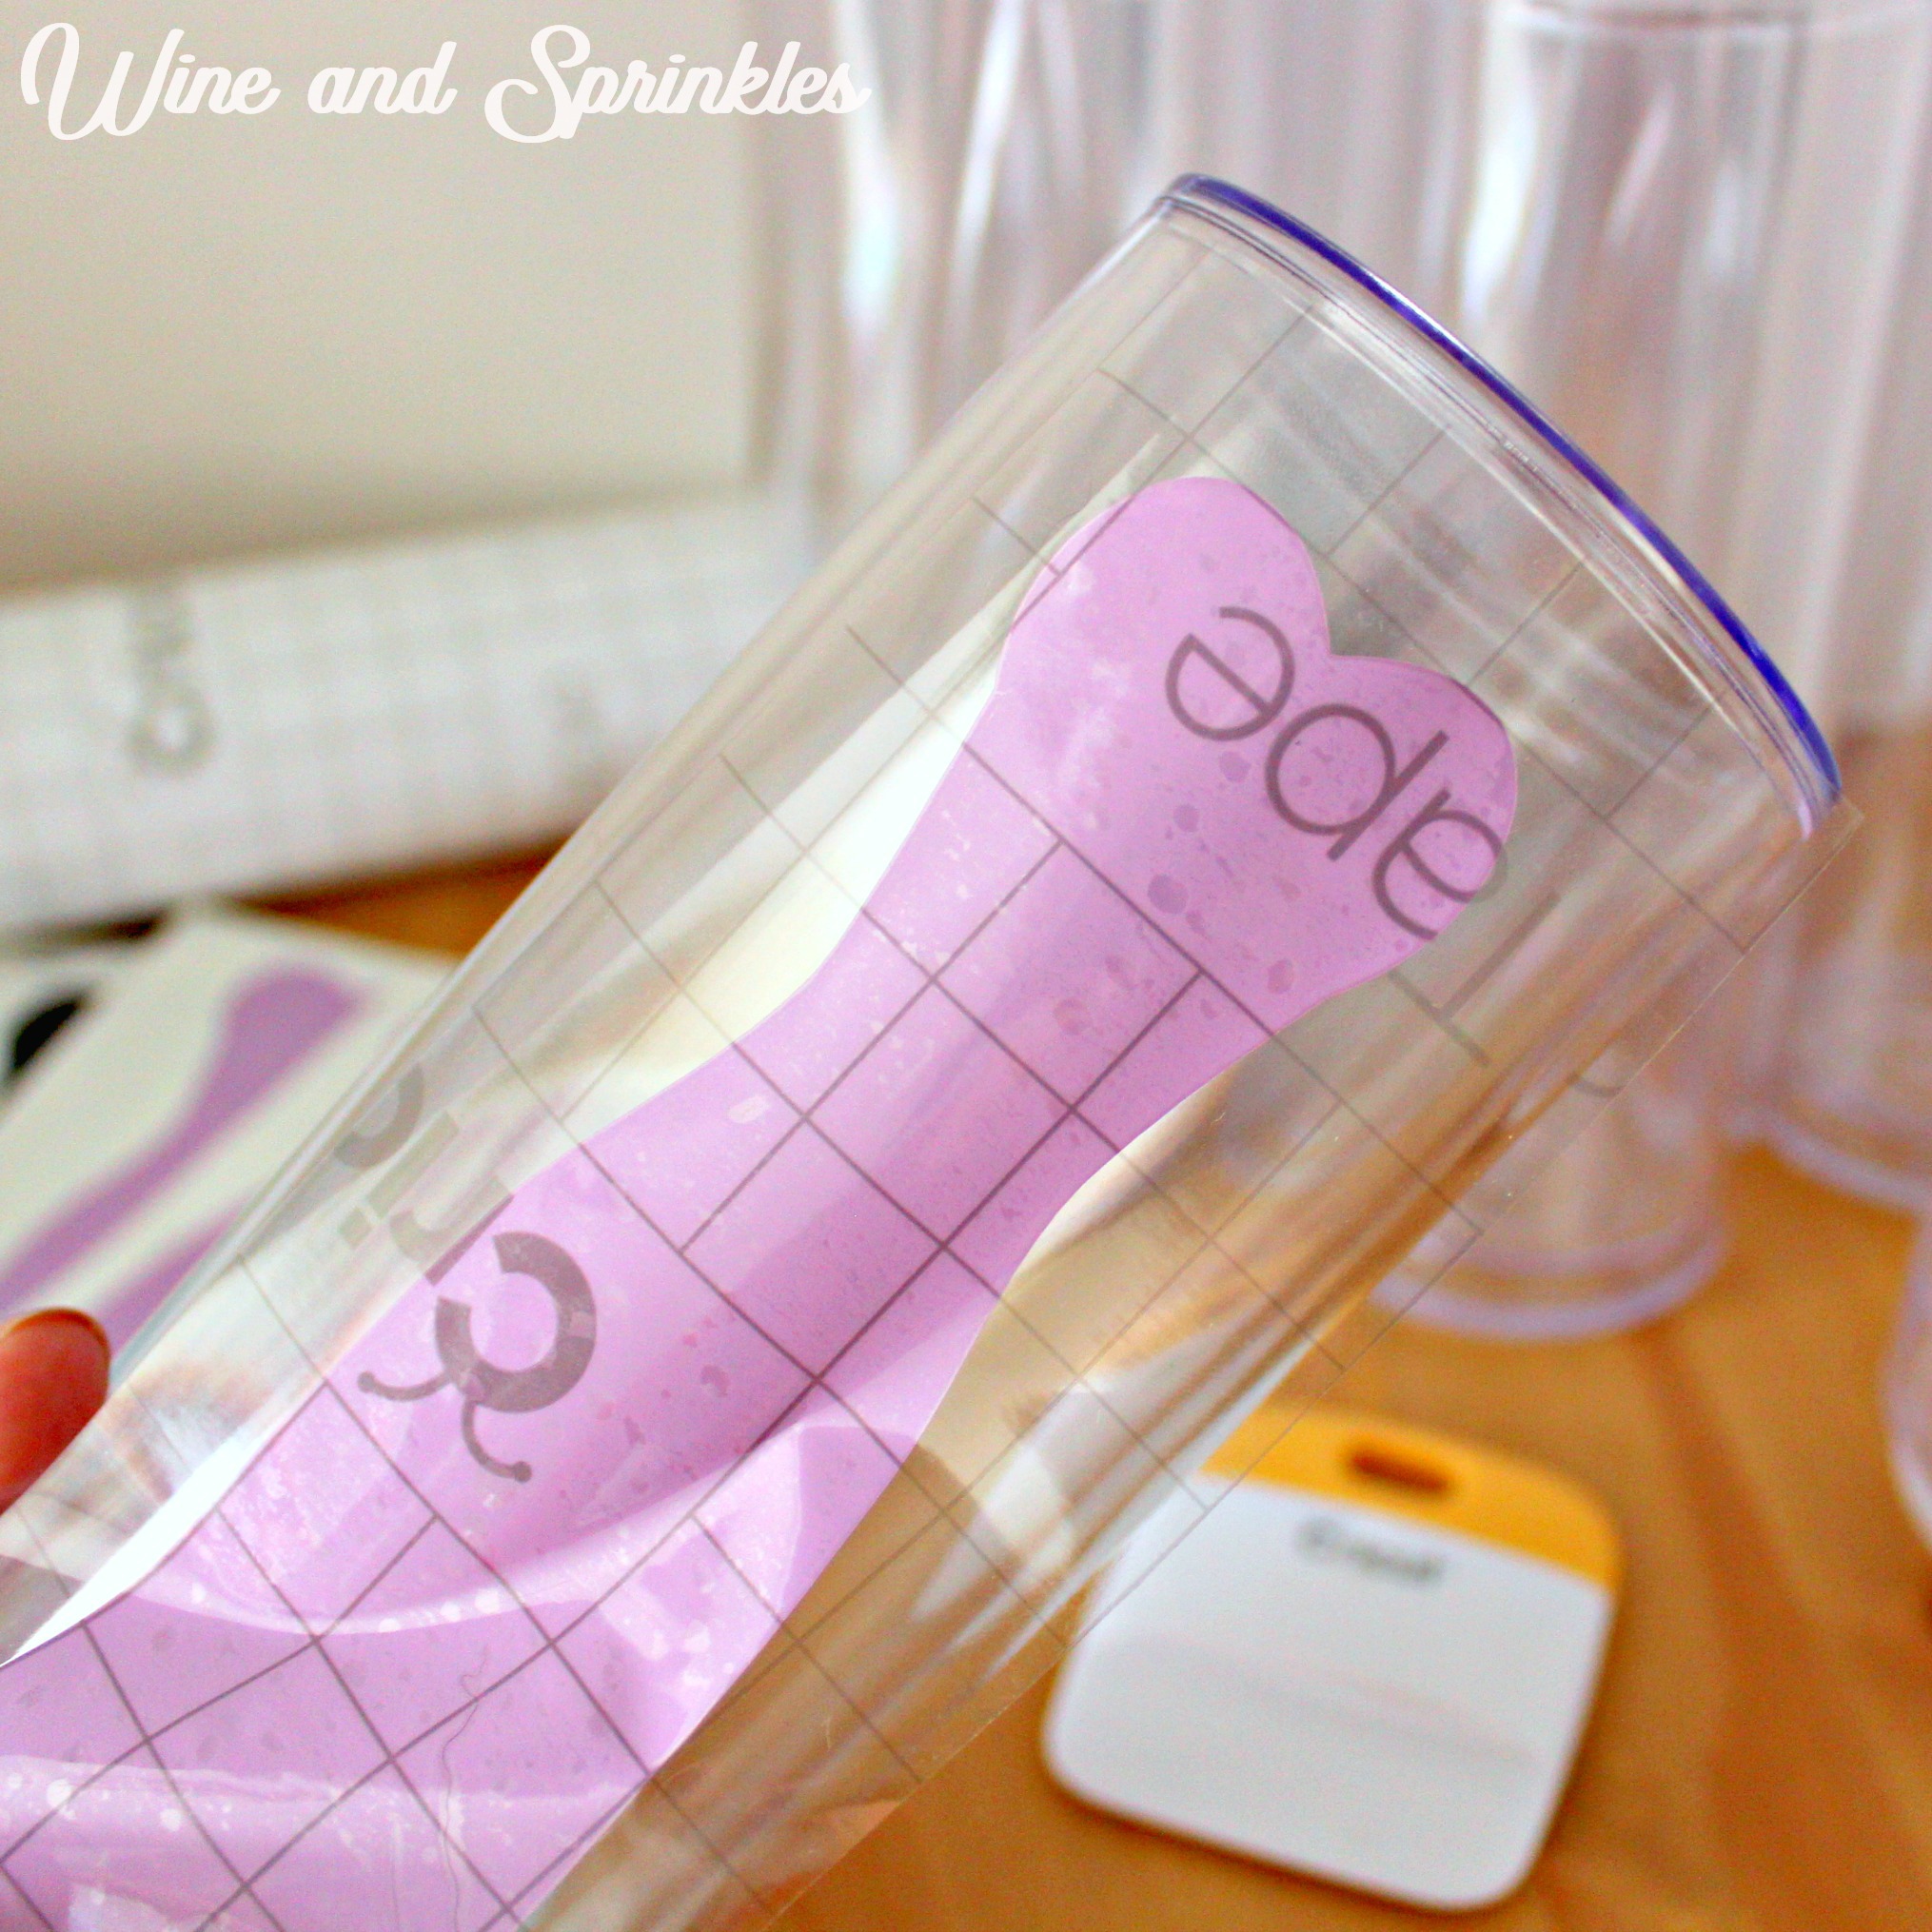
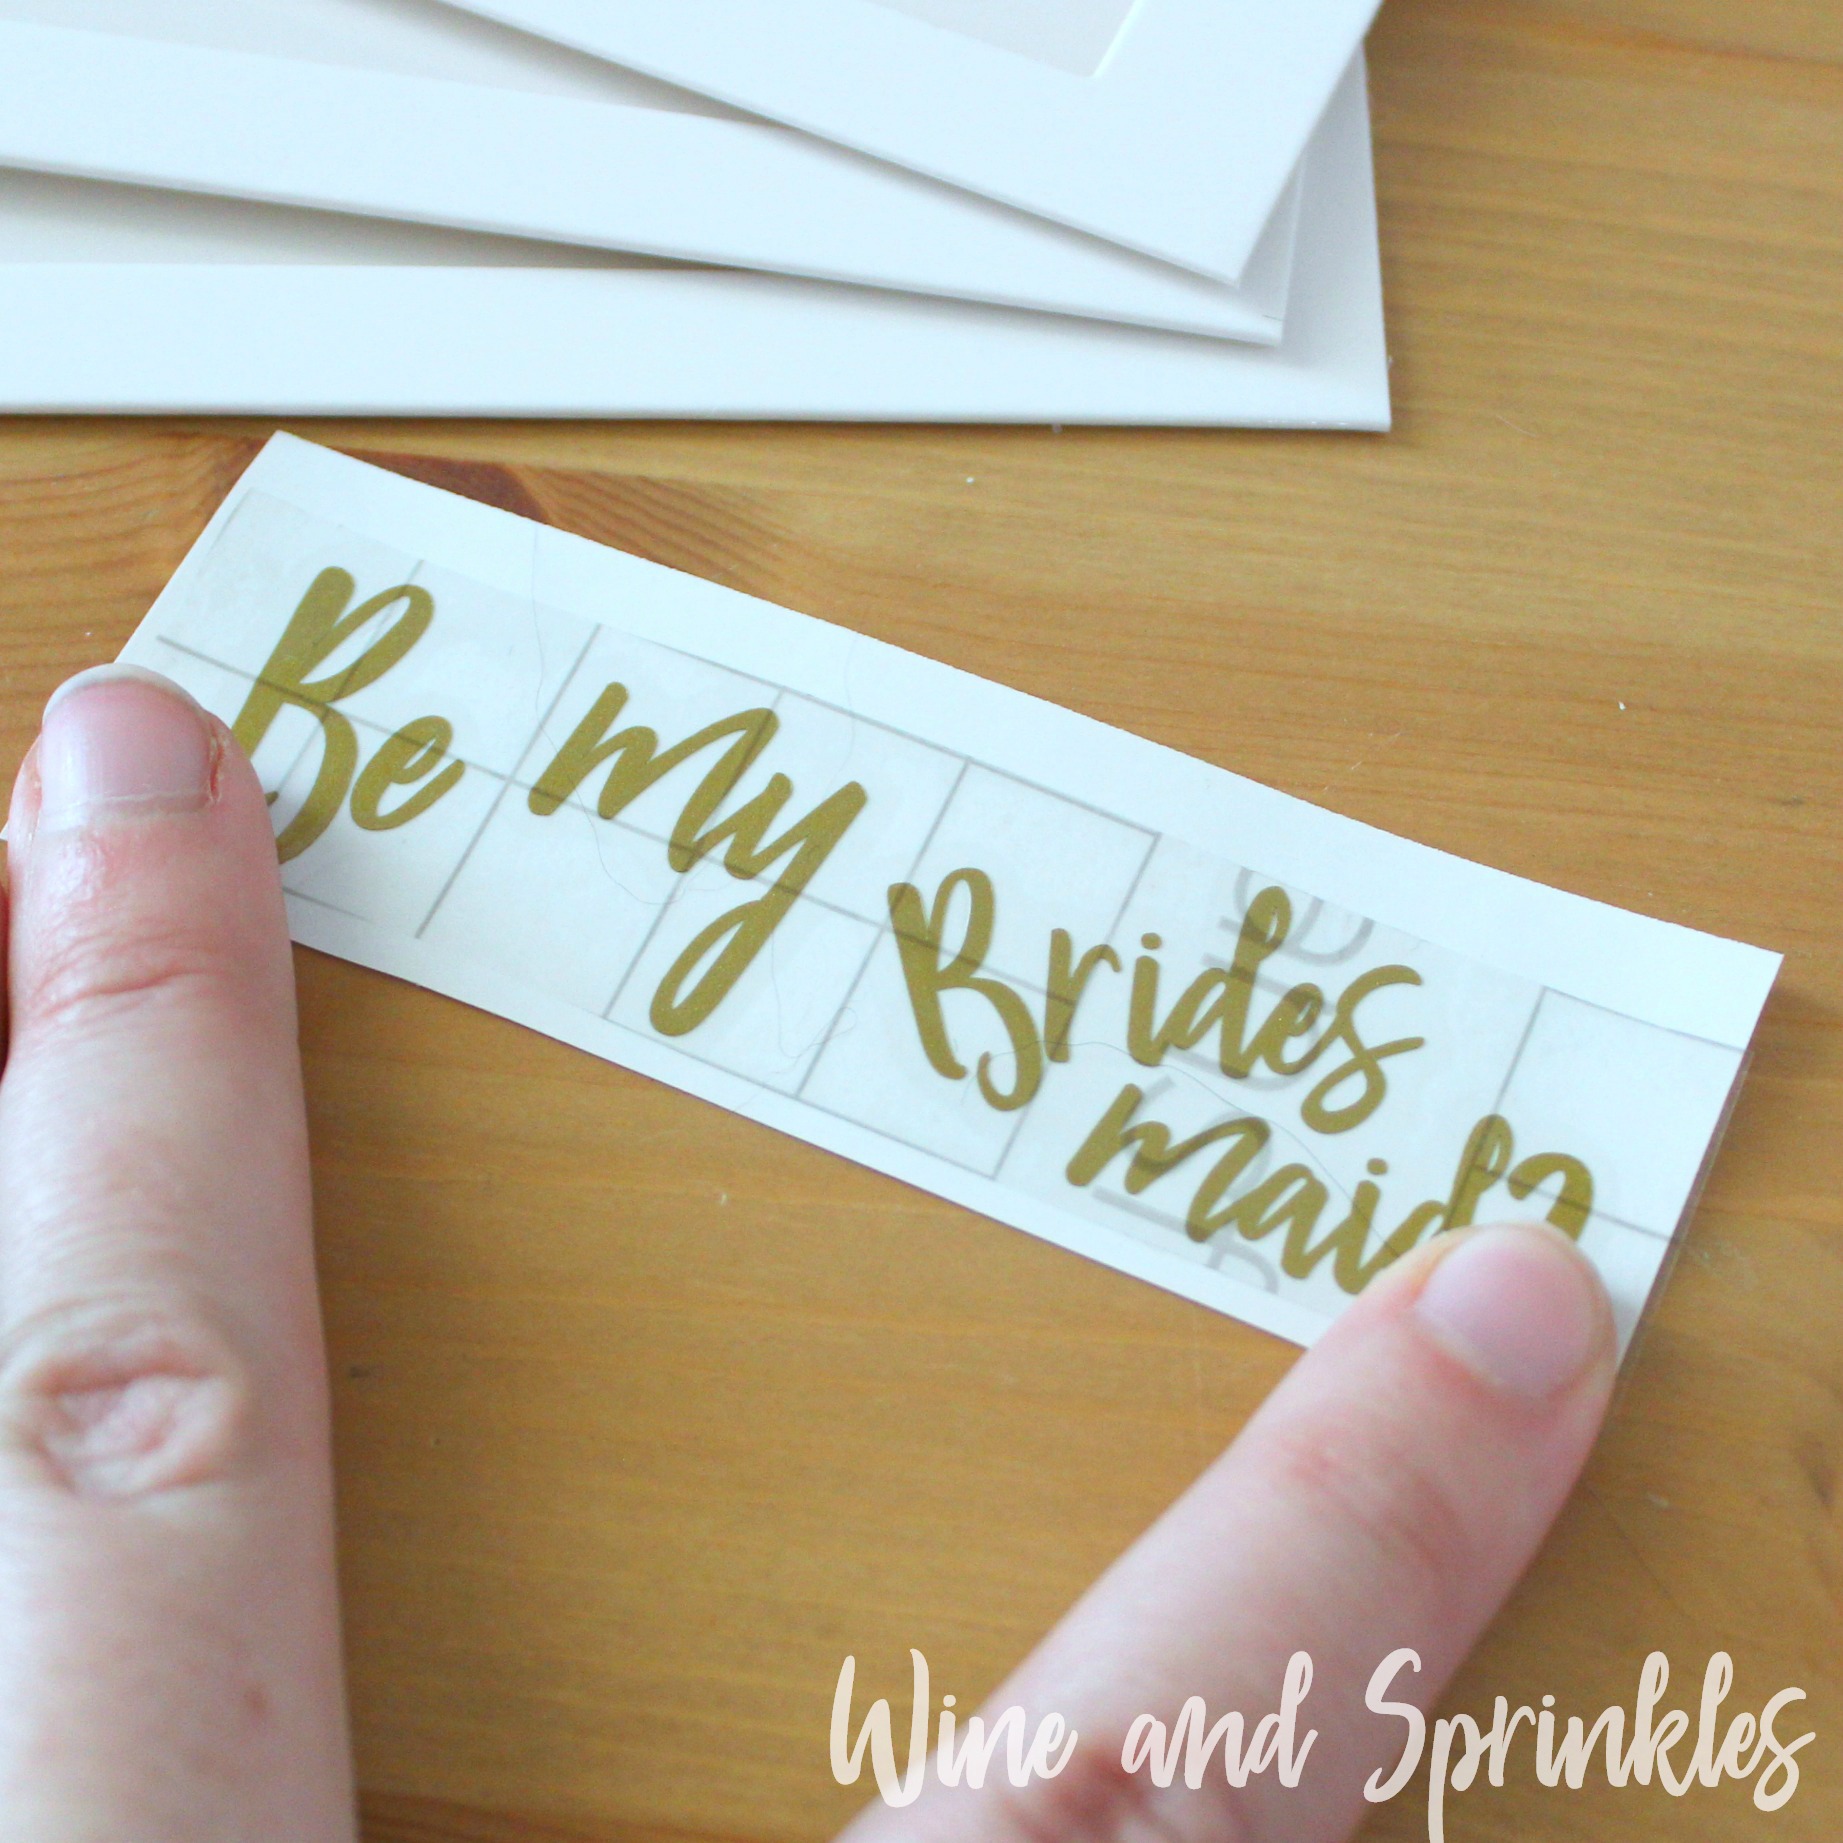
3. Weed the additional material off of the backing material so that, looking down with the shiny side up, you can see your design with the correct orientation.
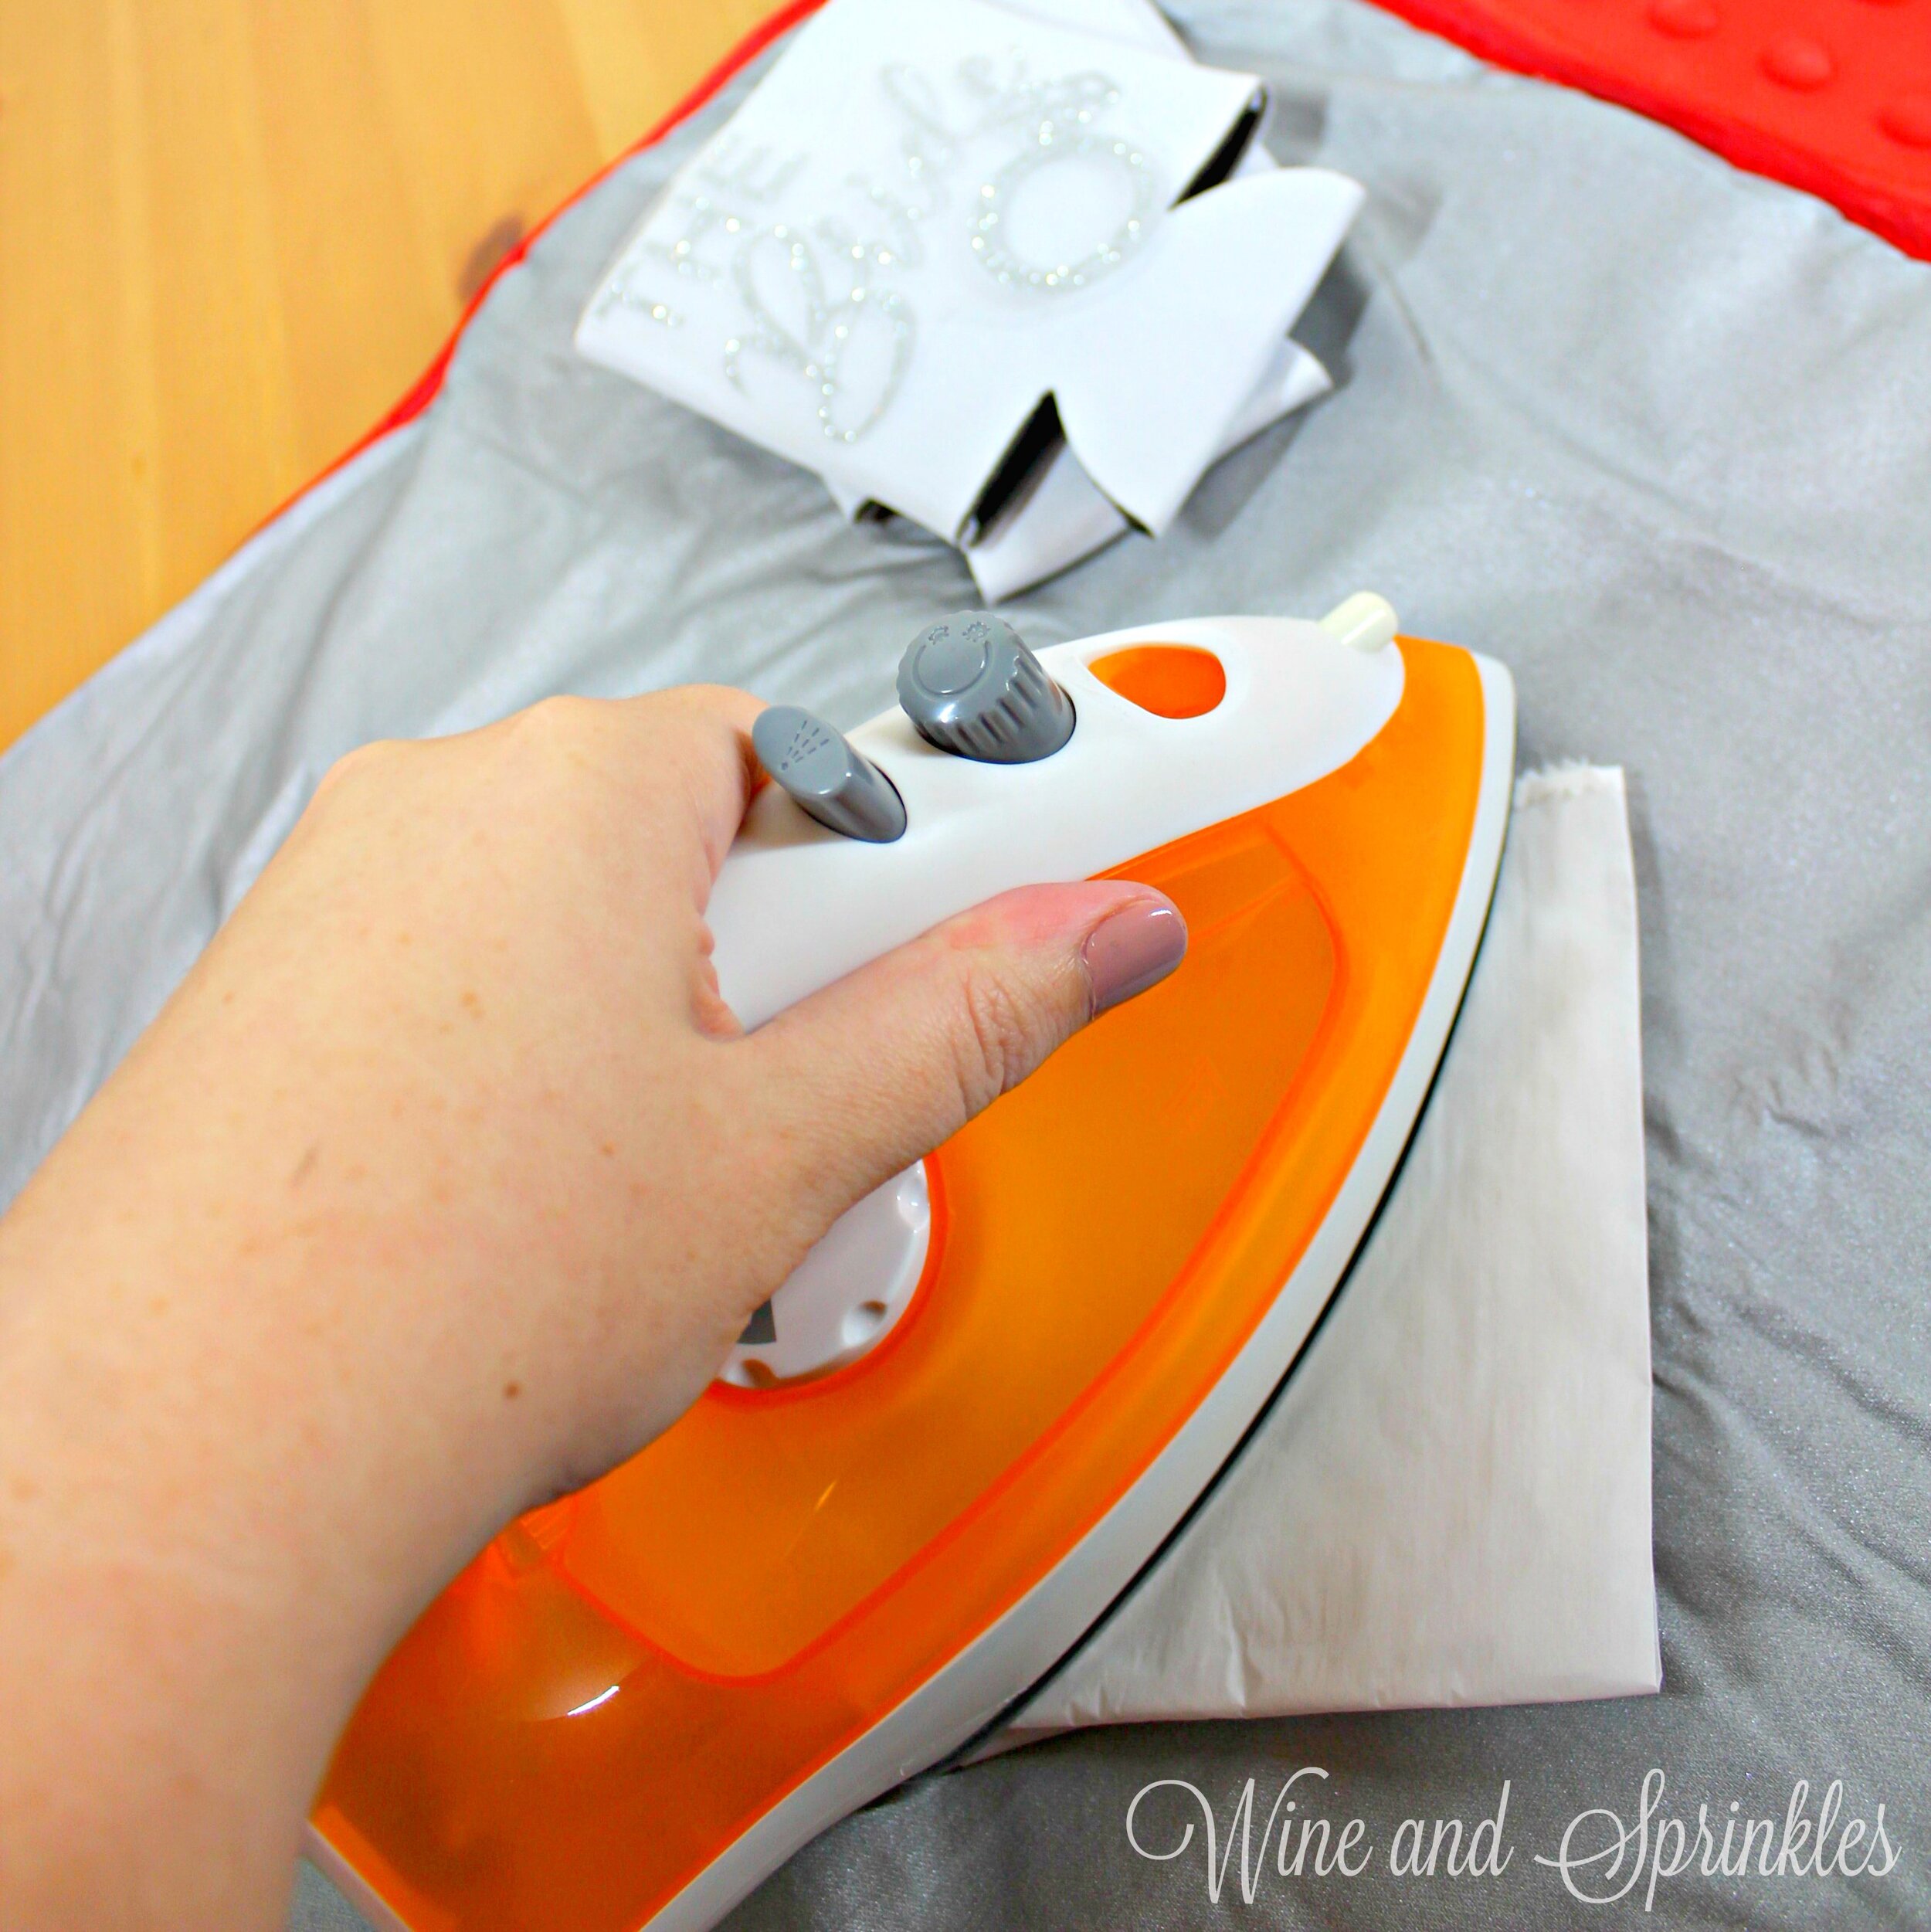
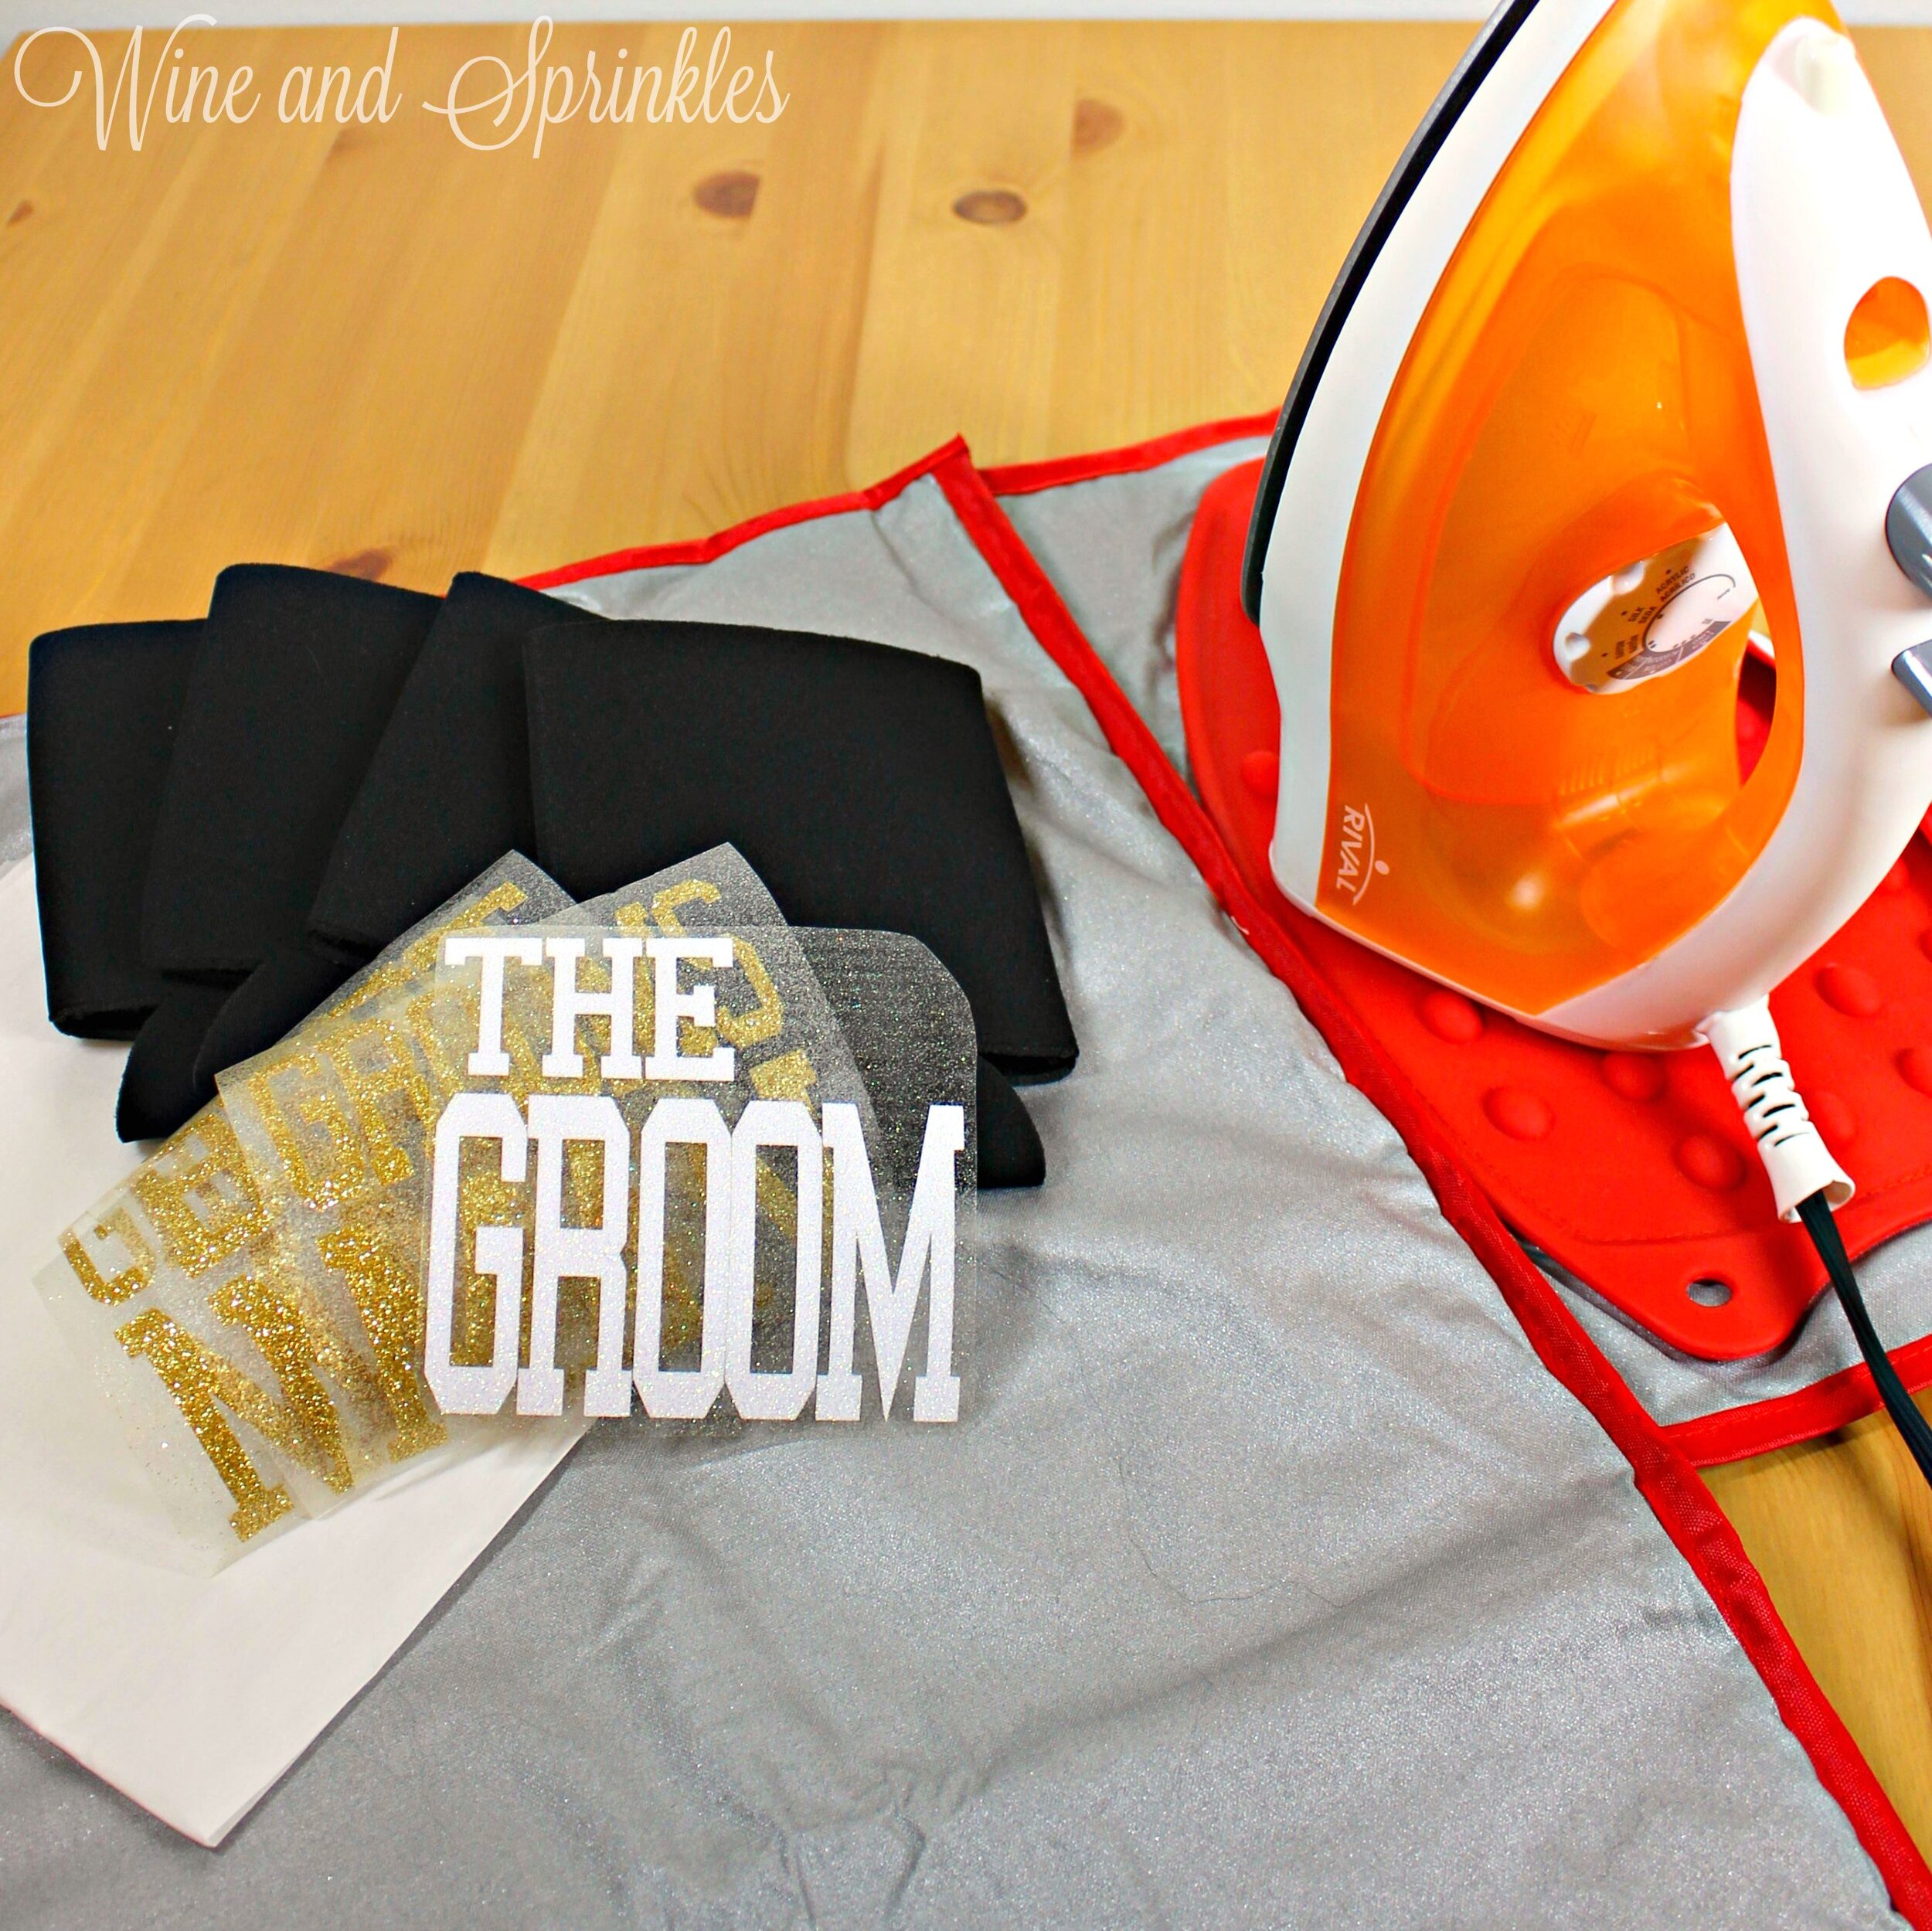
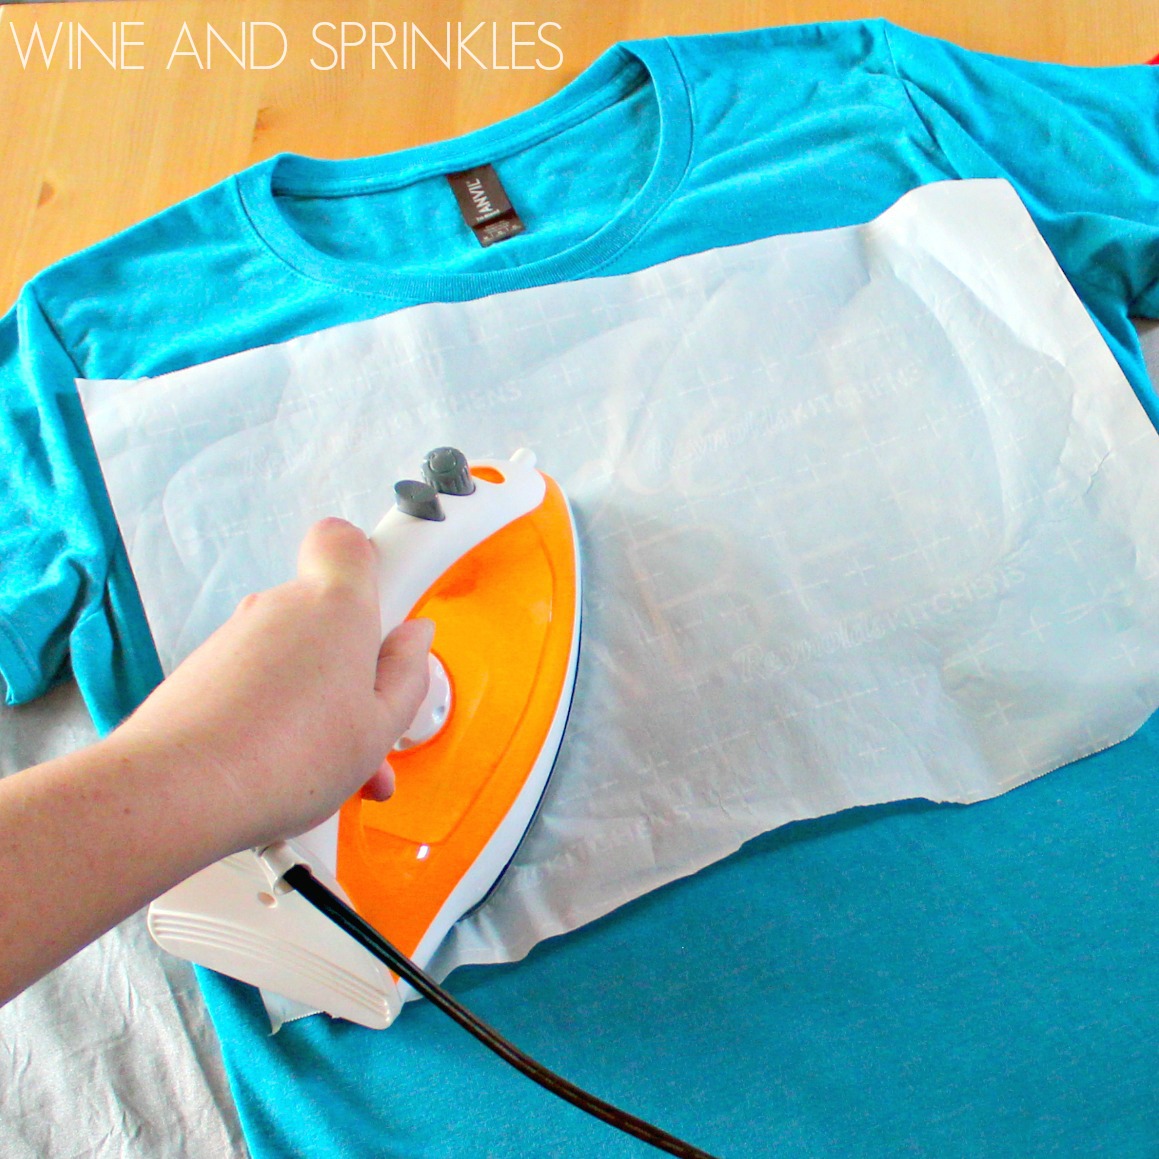
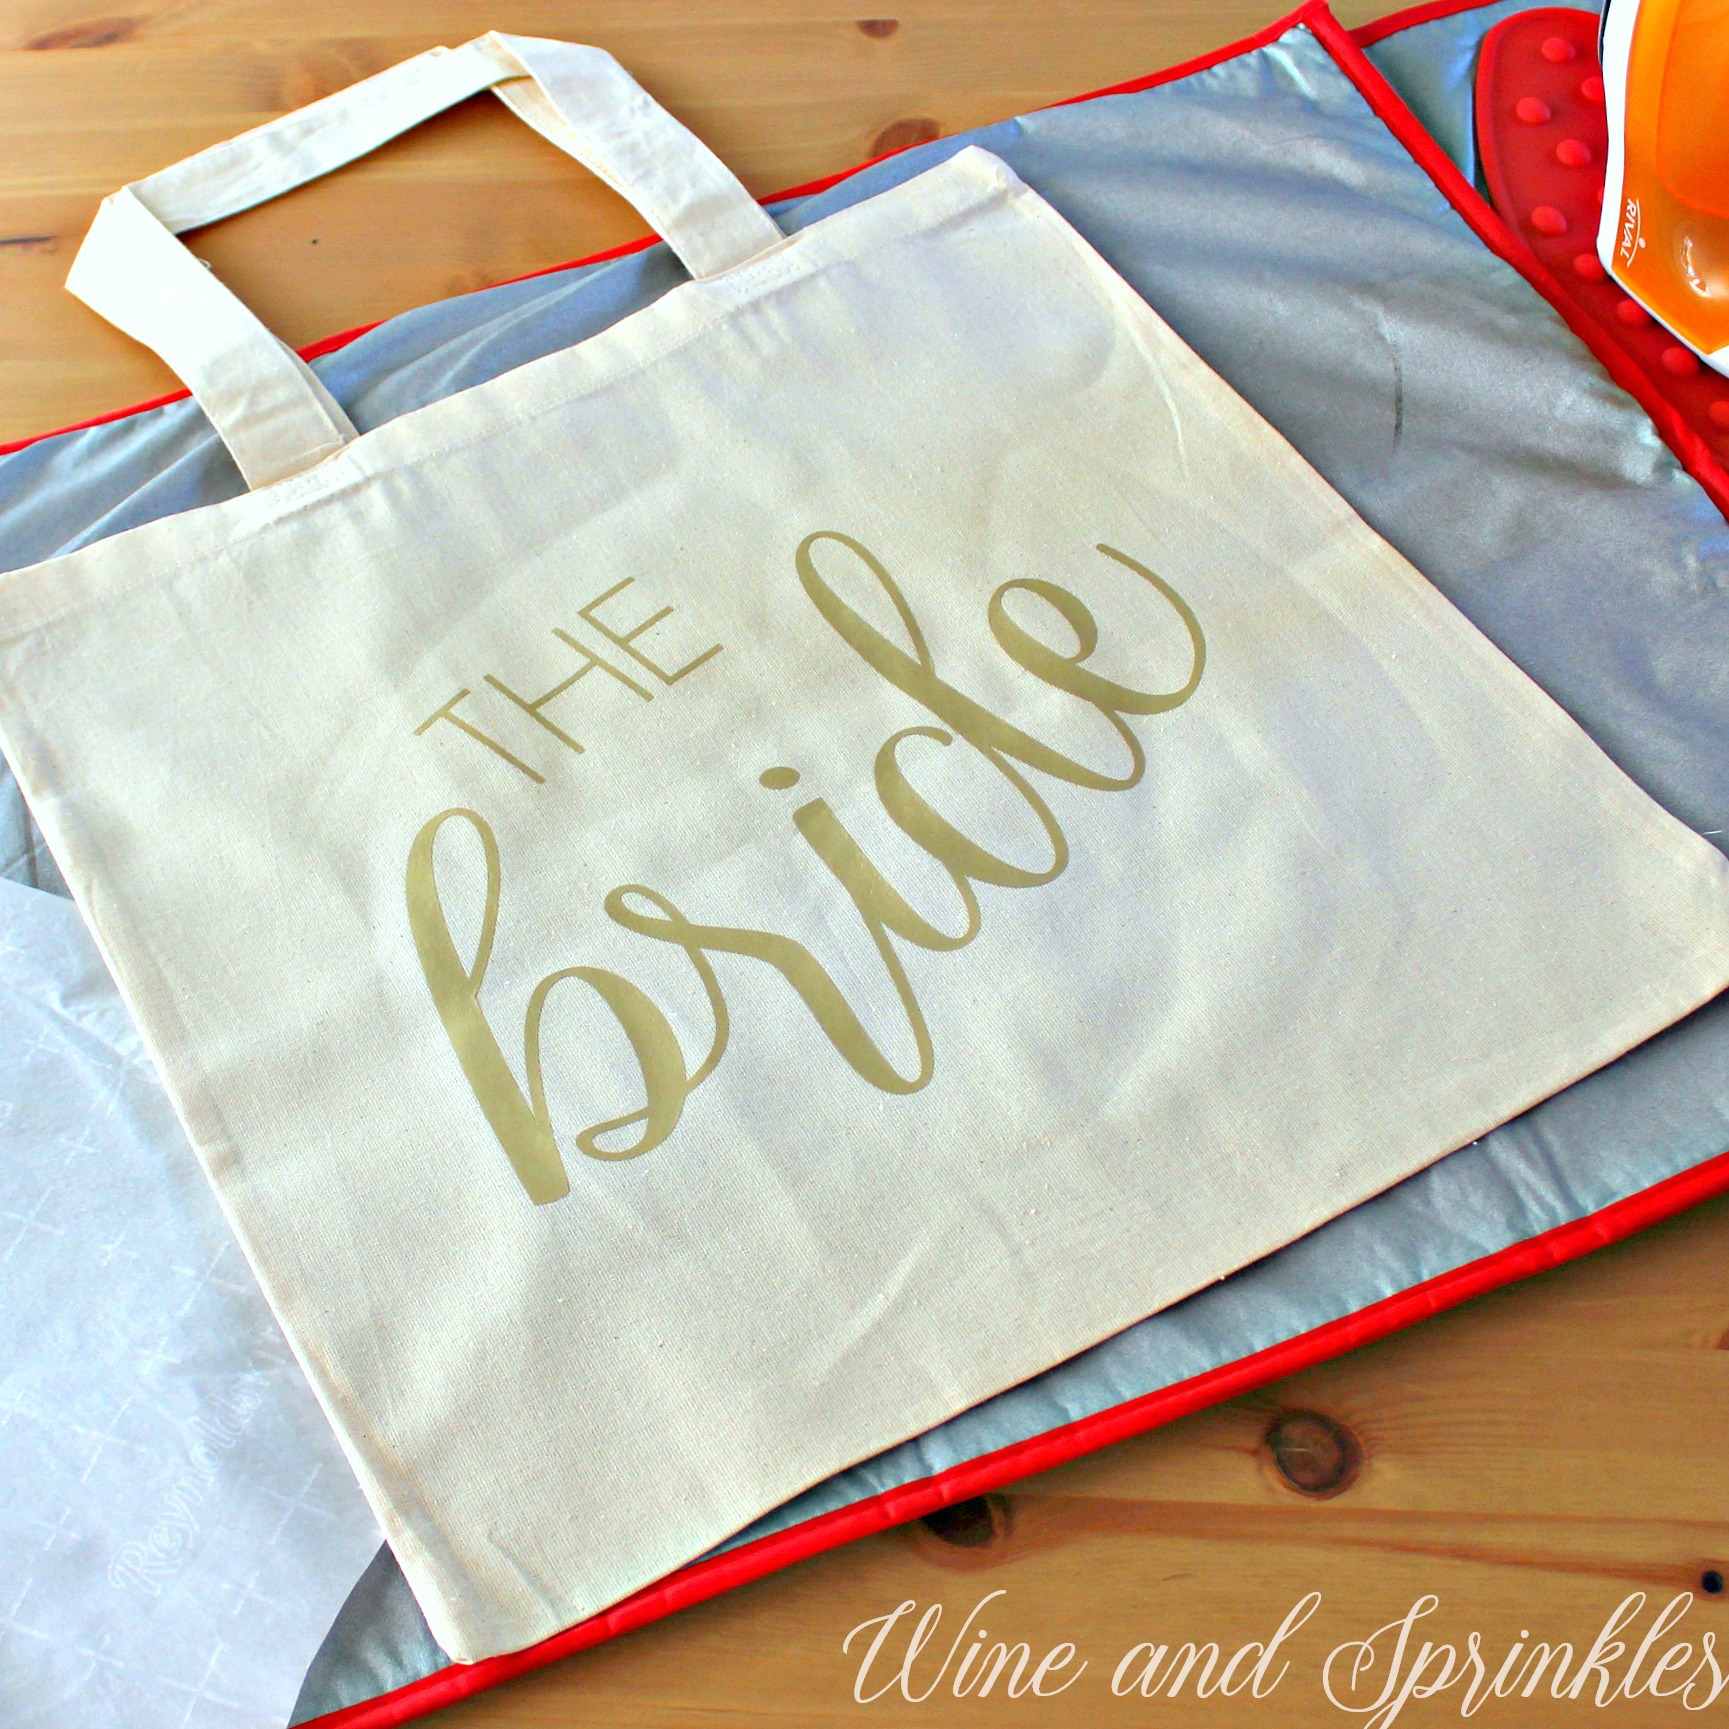
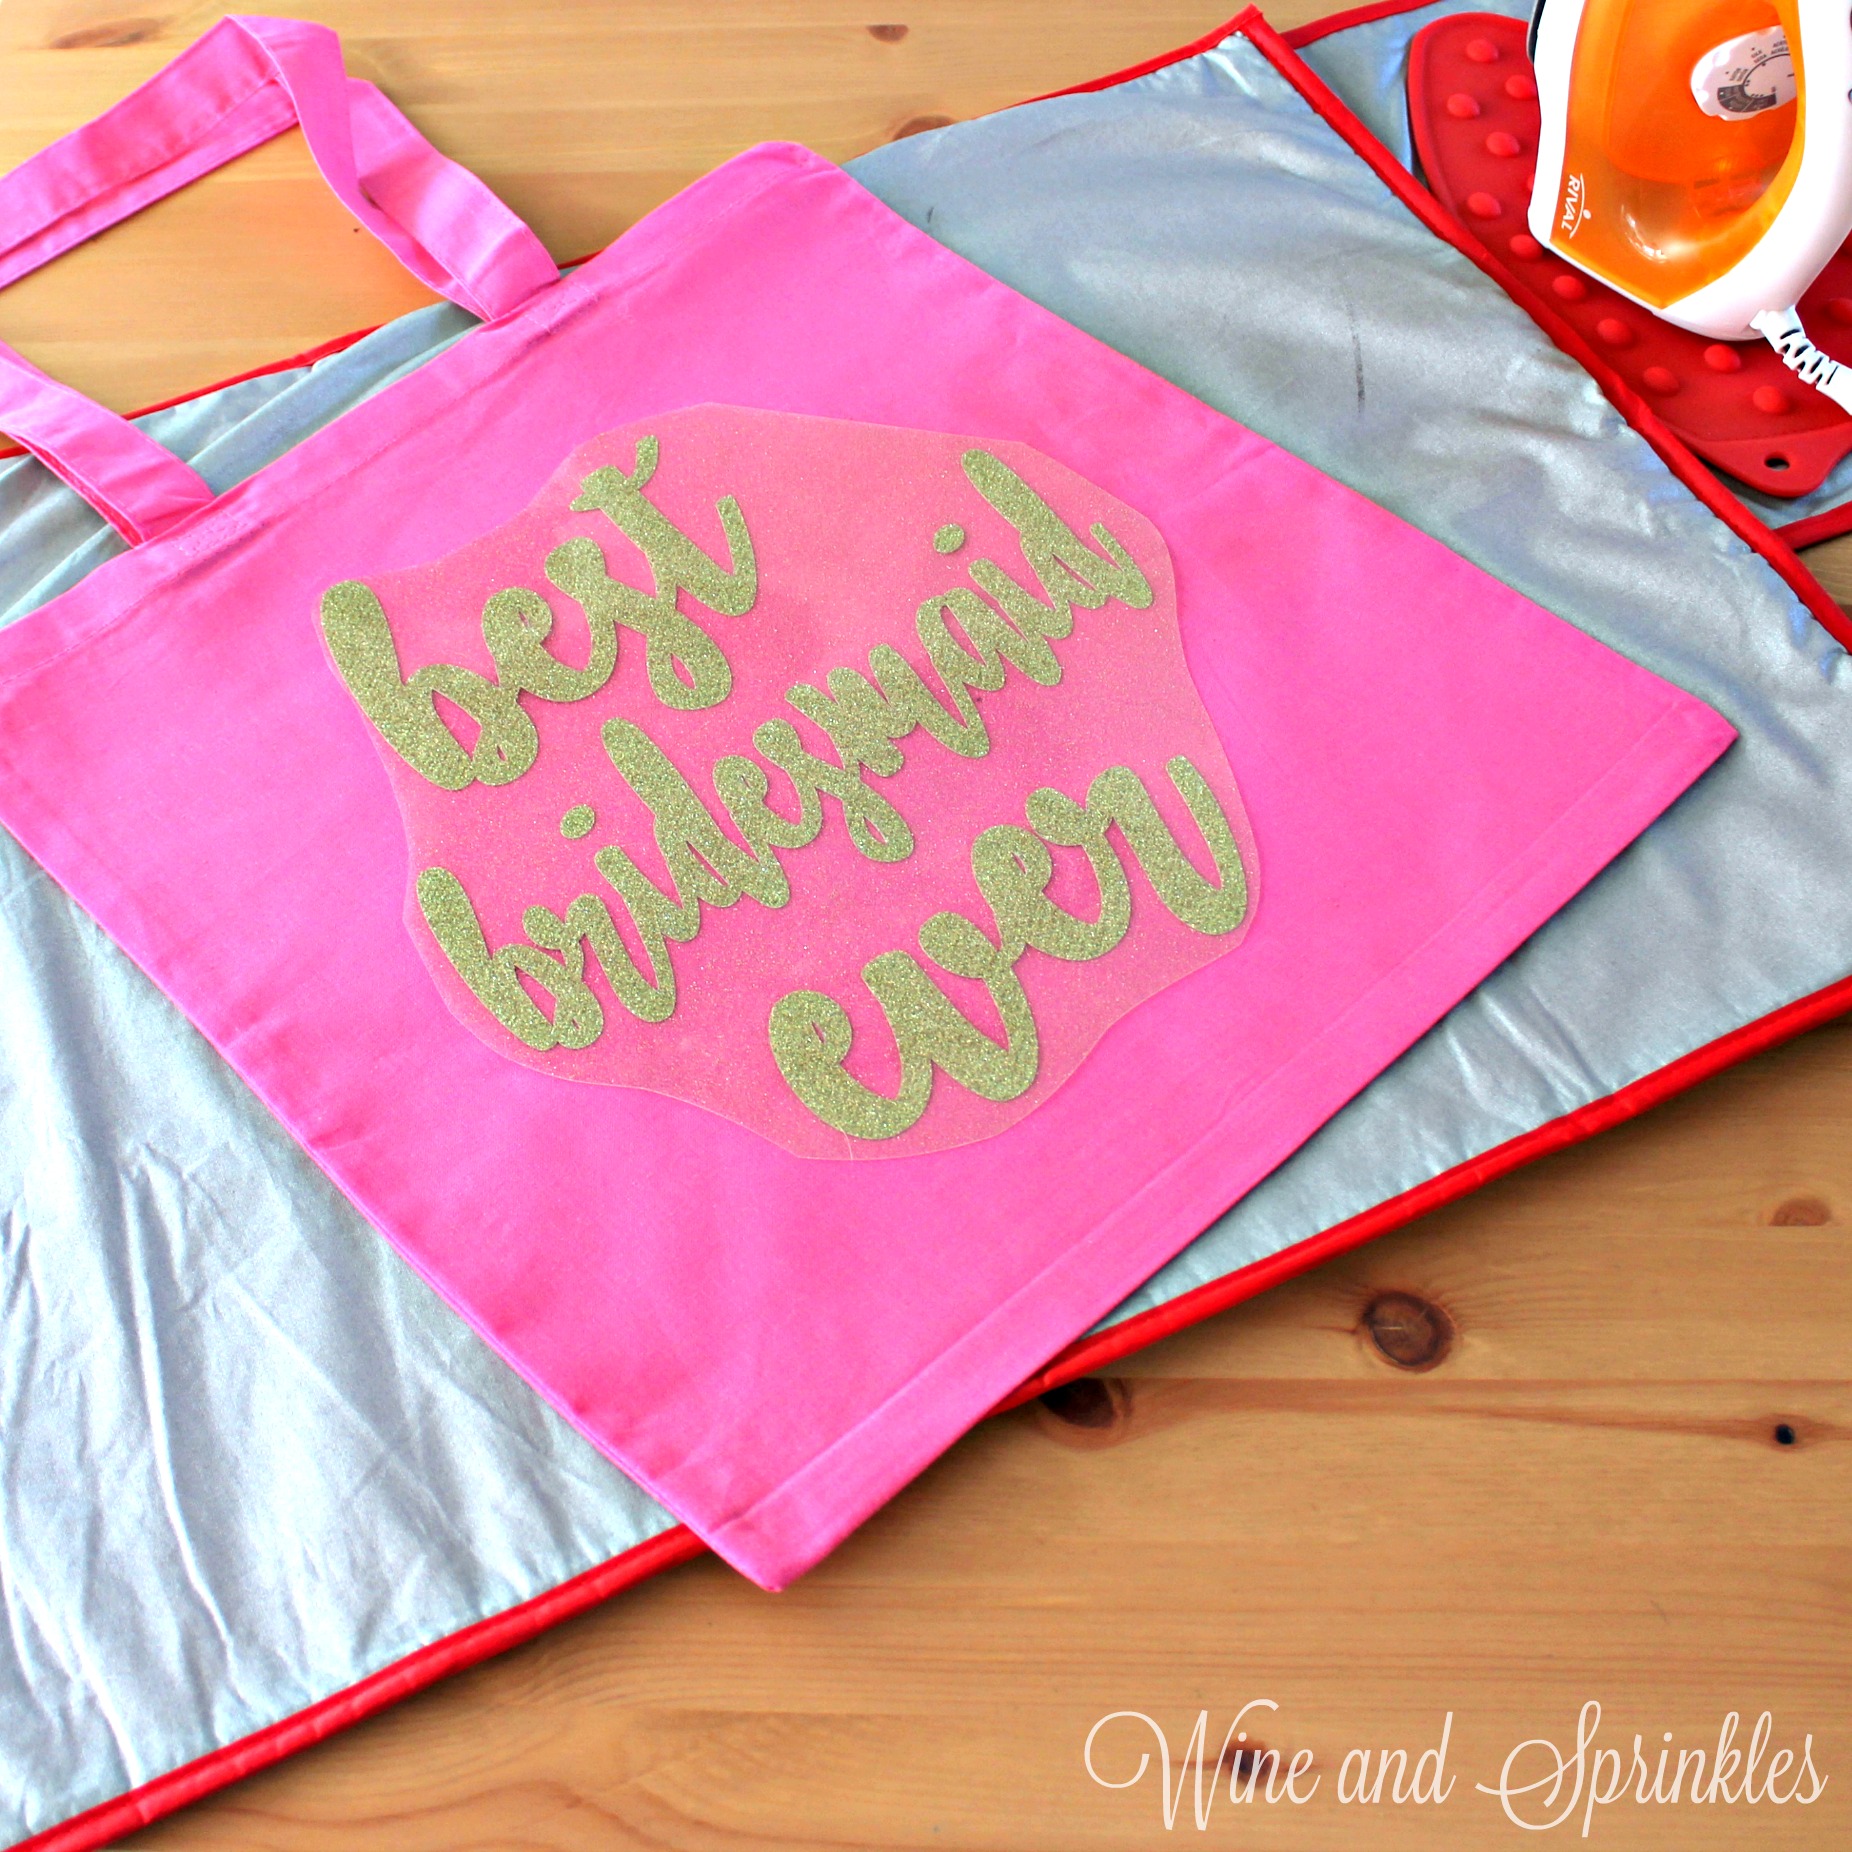
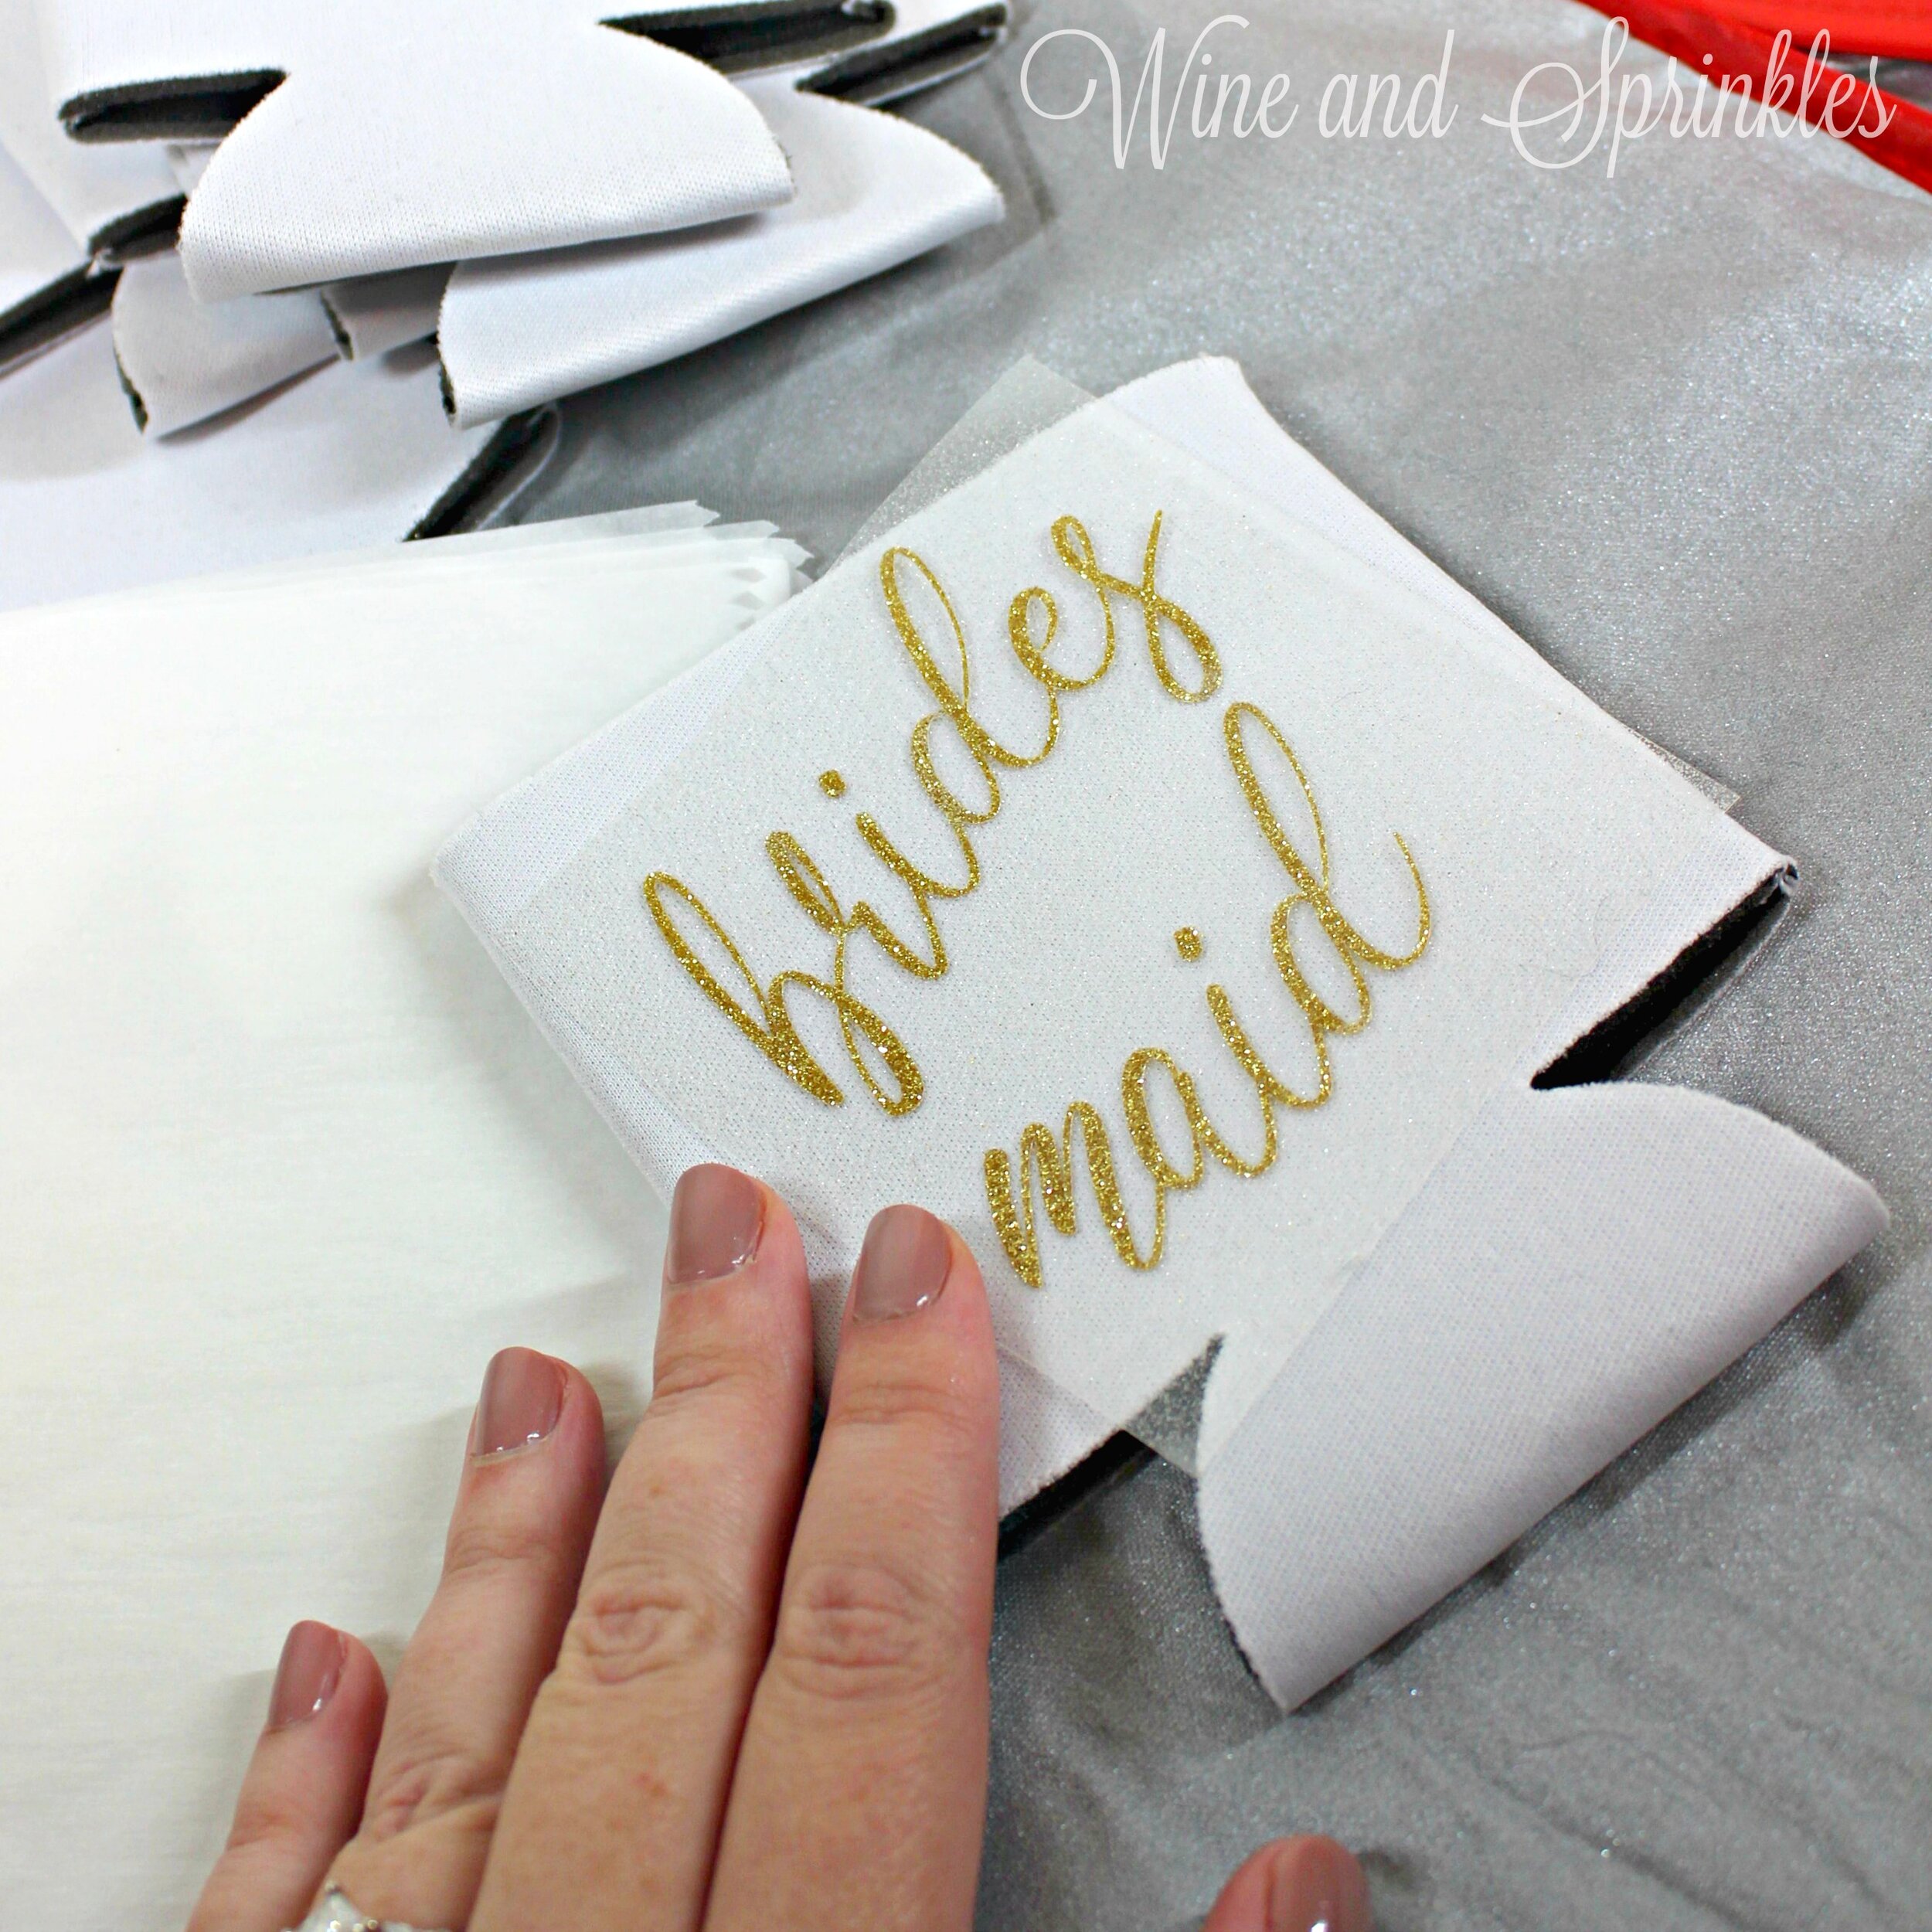
4. Center the design in the middle of the koozie. Arrange the design shiny side up, then cover with parchment paper. Make sure to keep the parchment paper between the design and the iron.

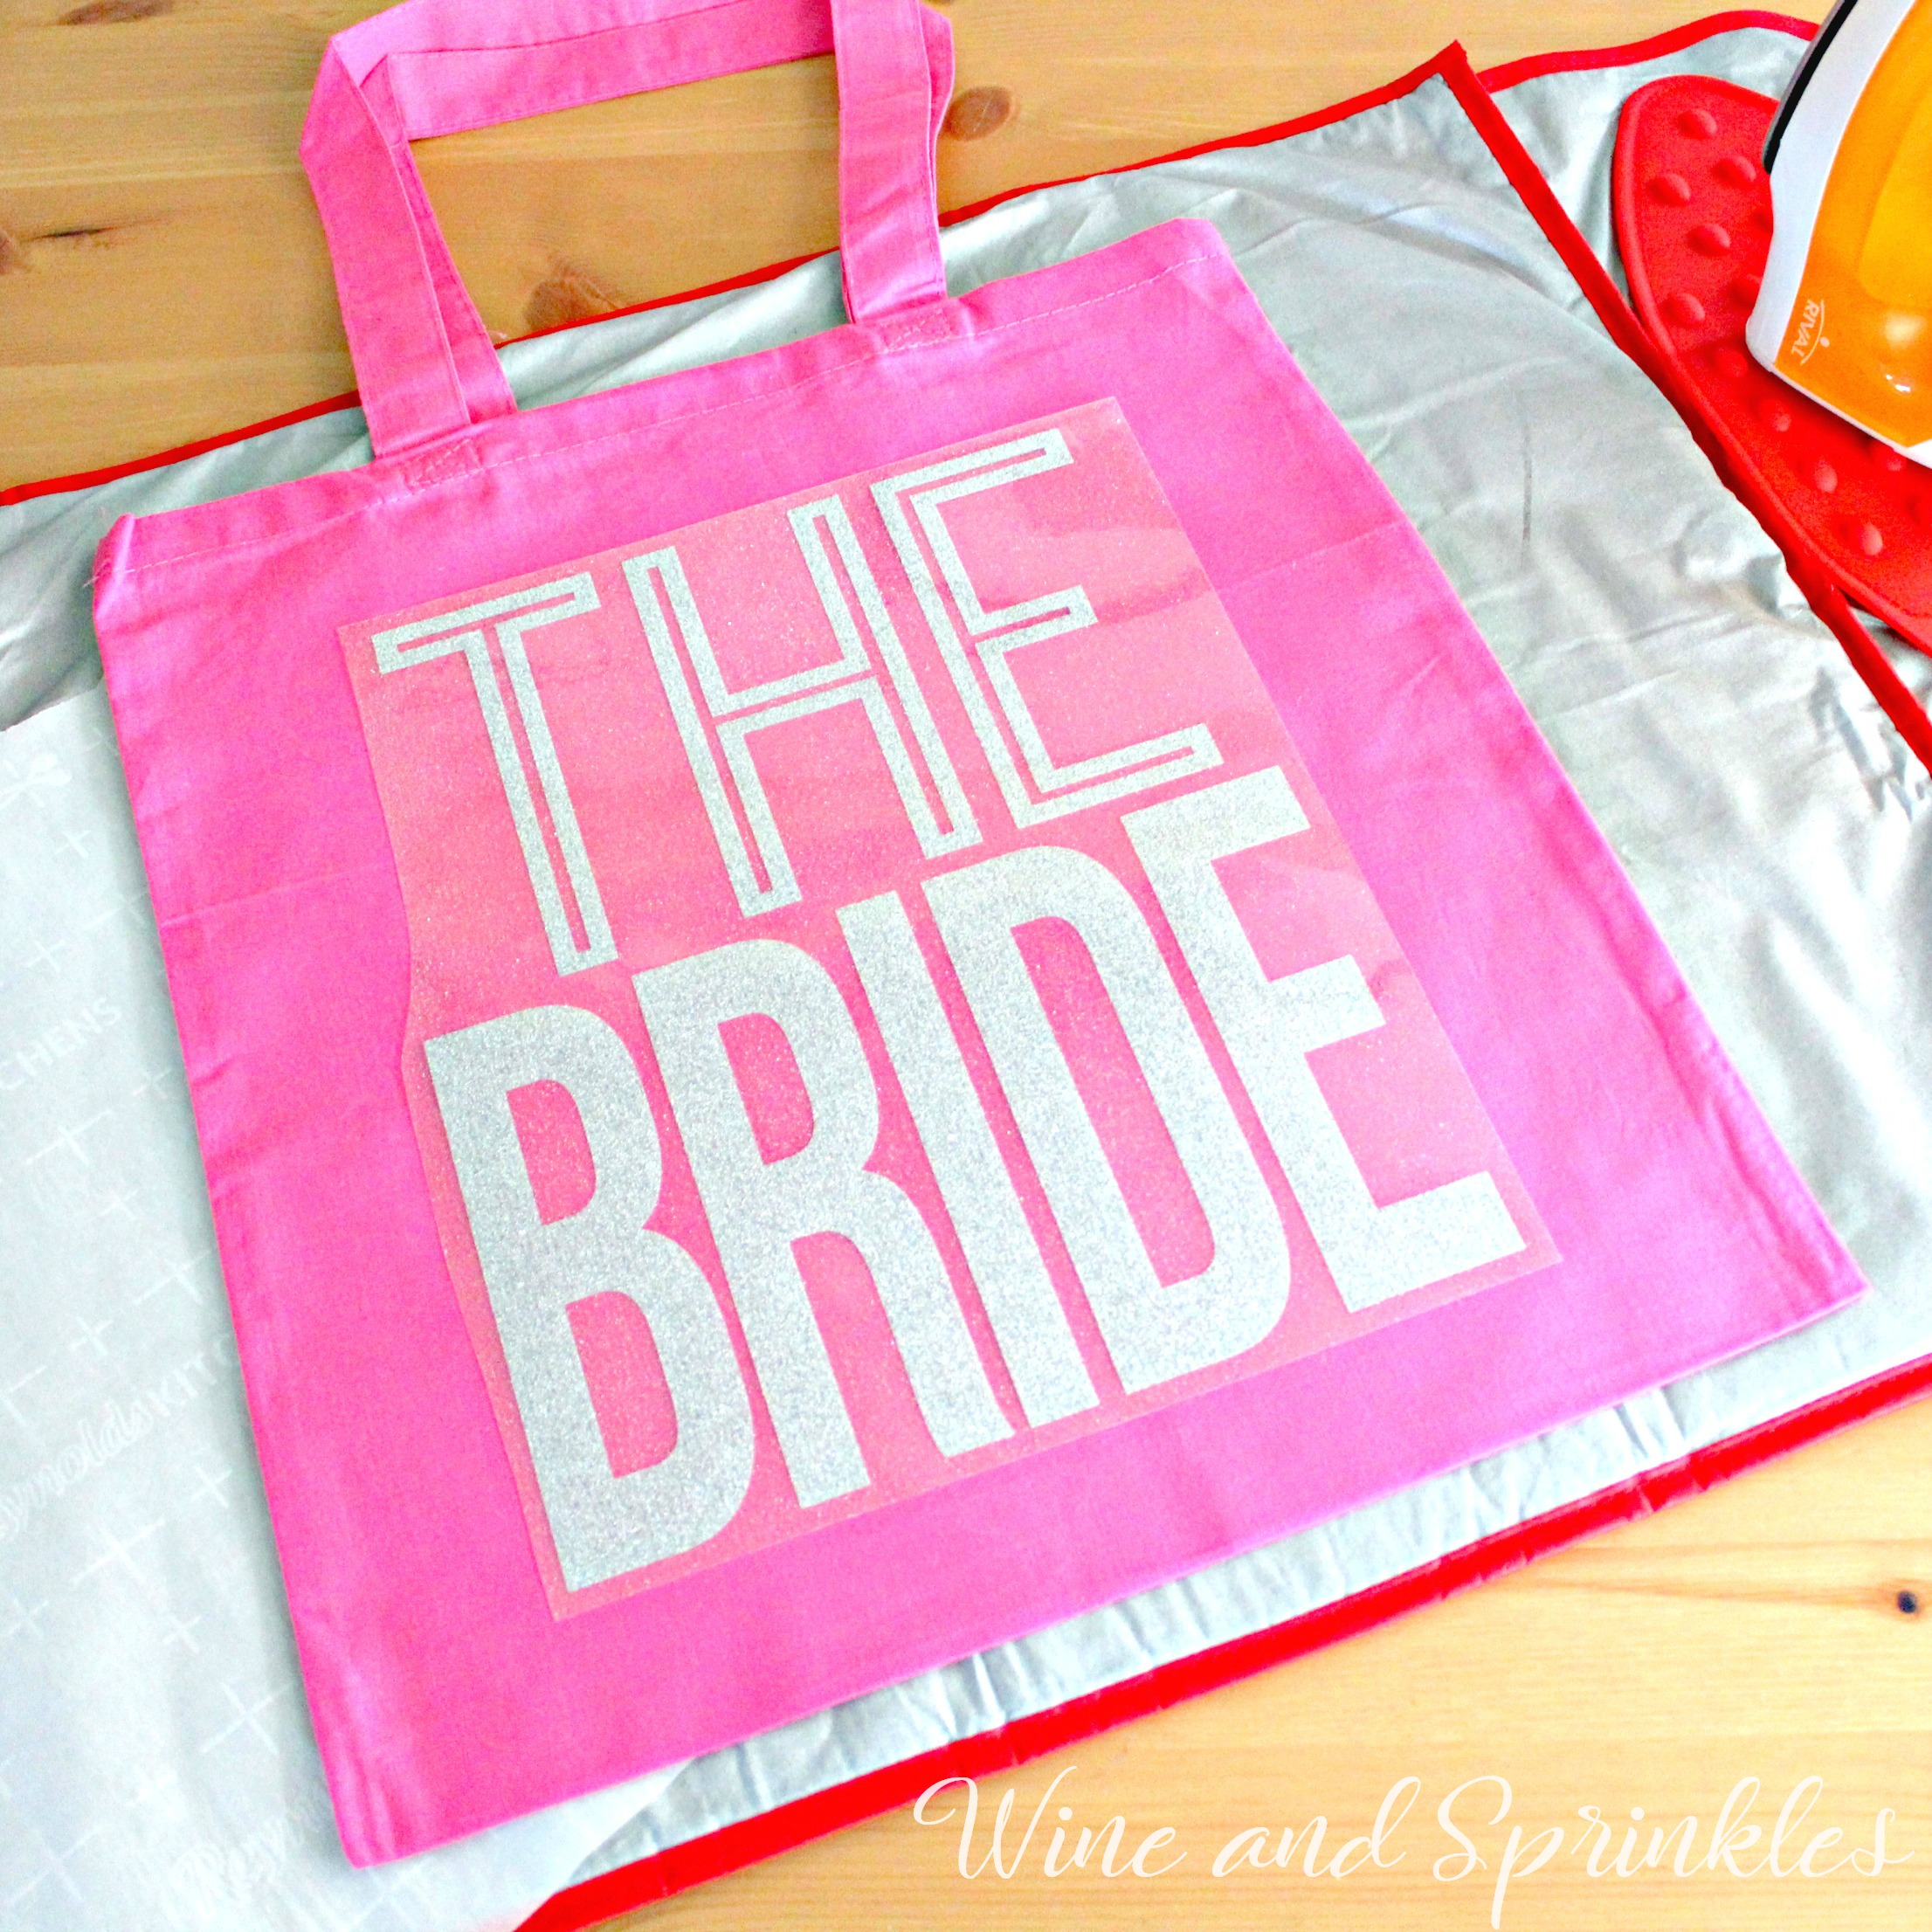
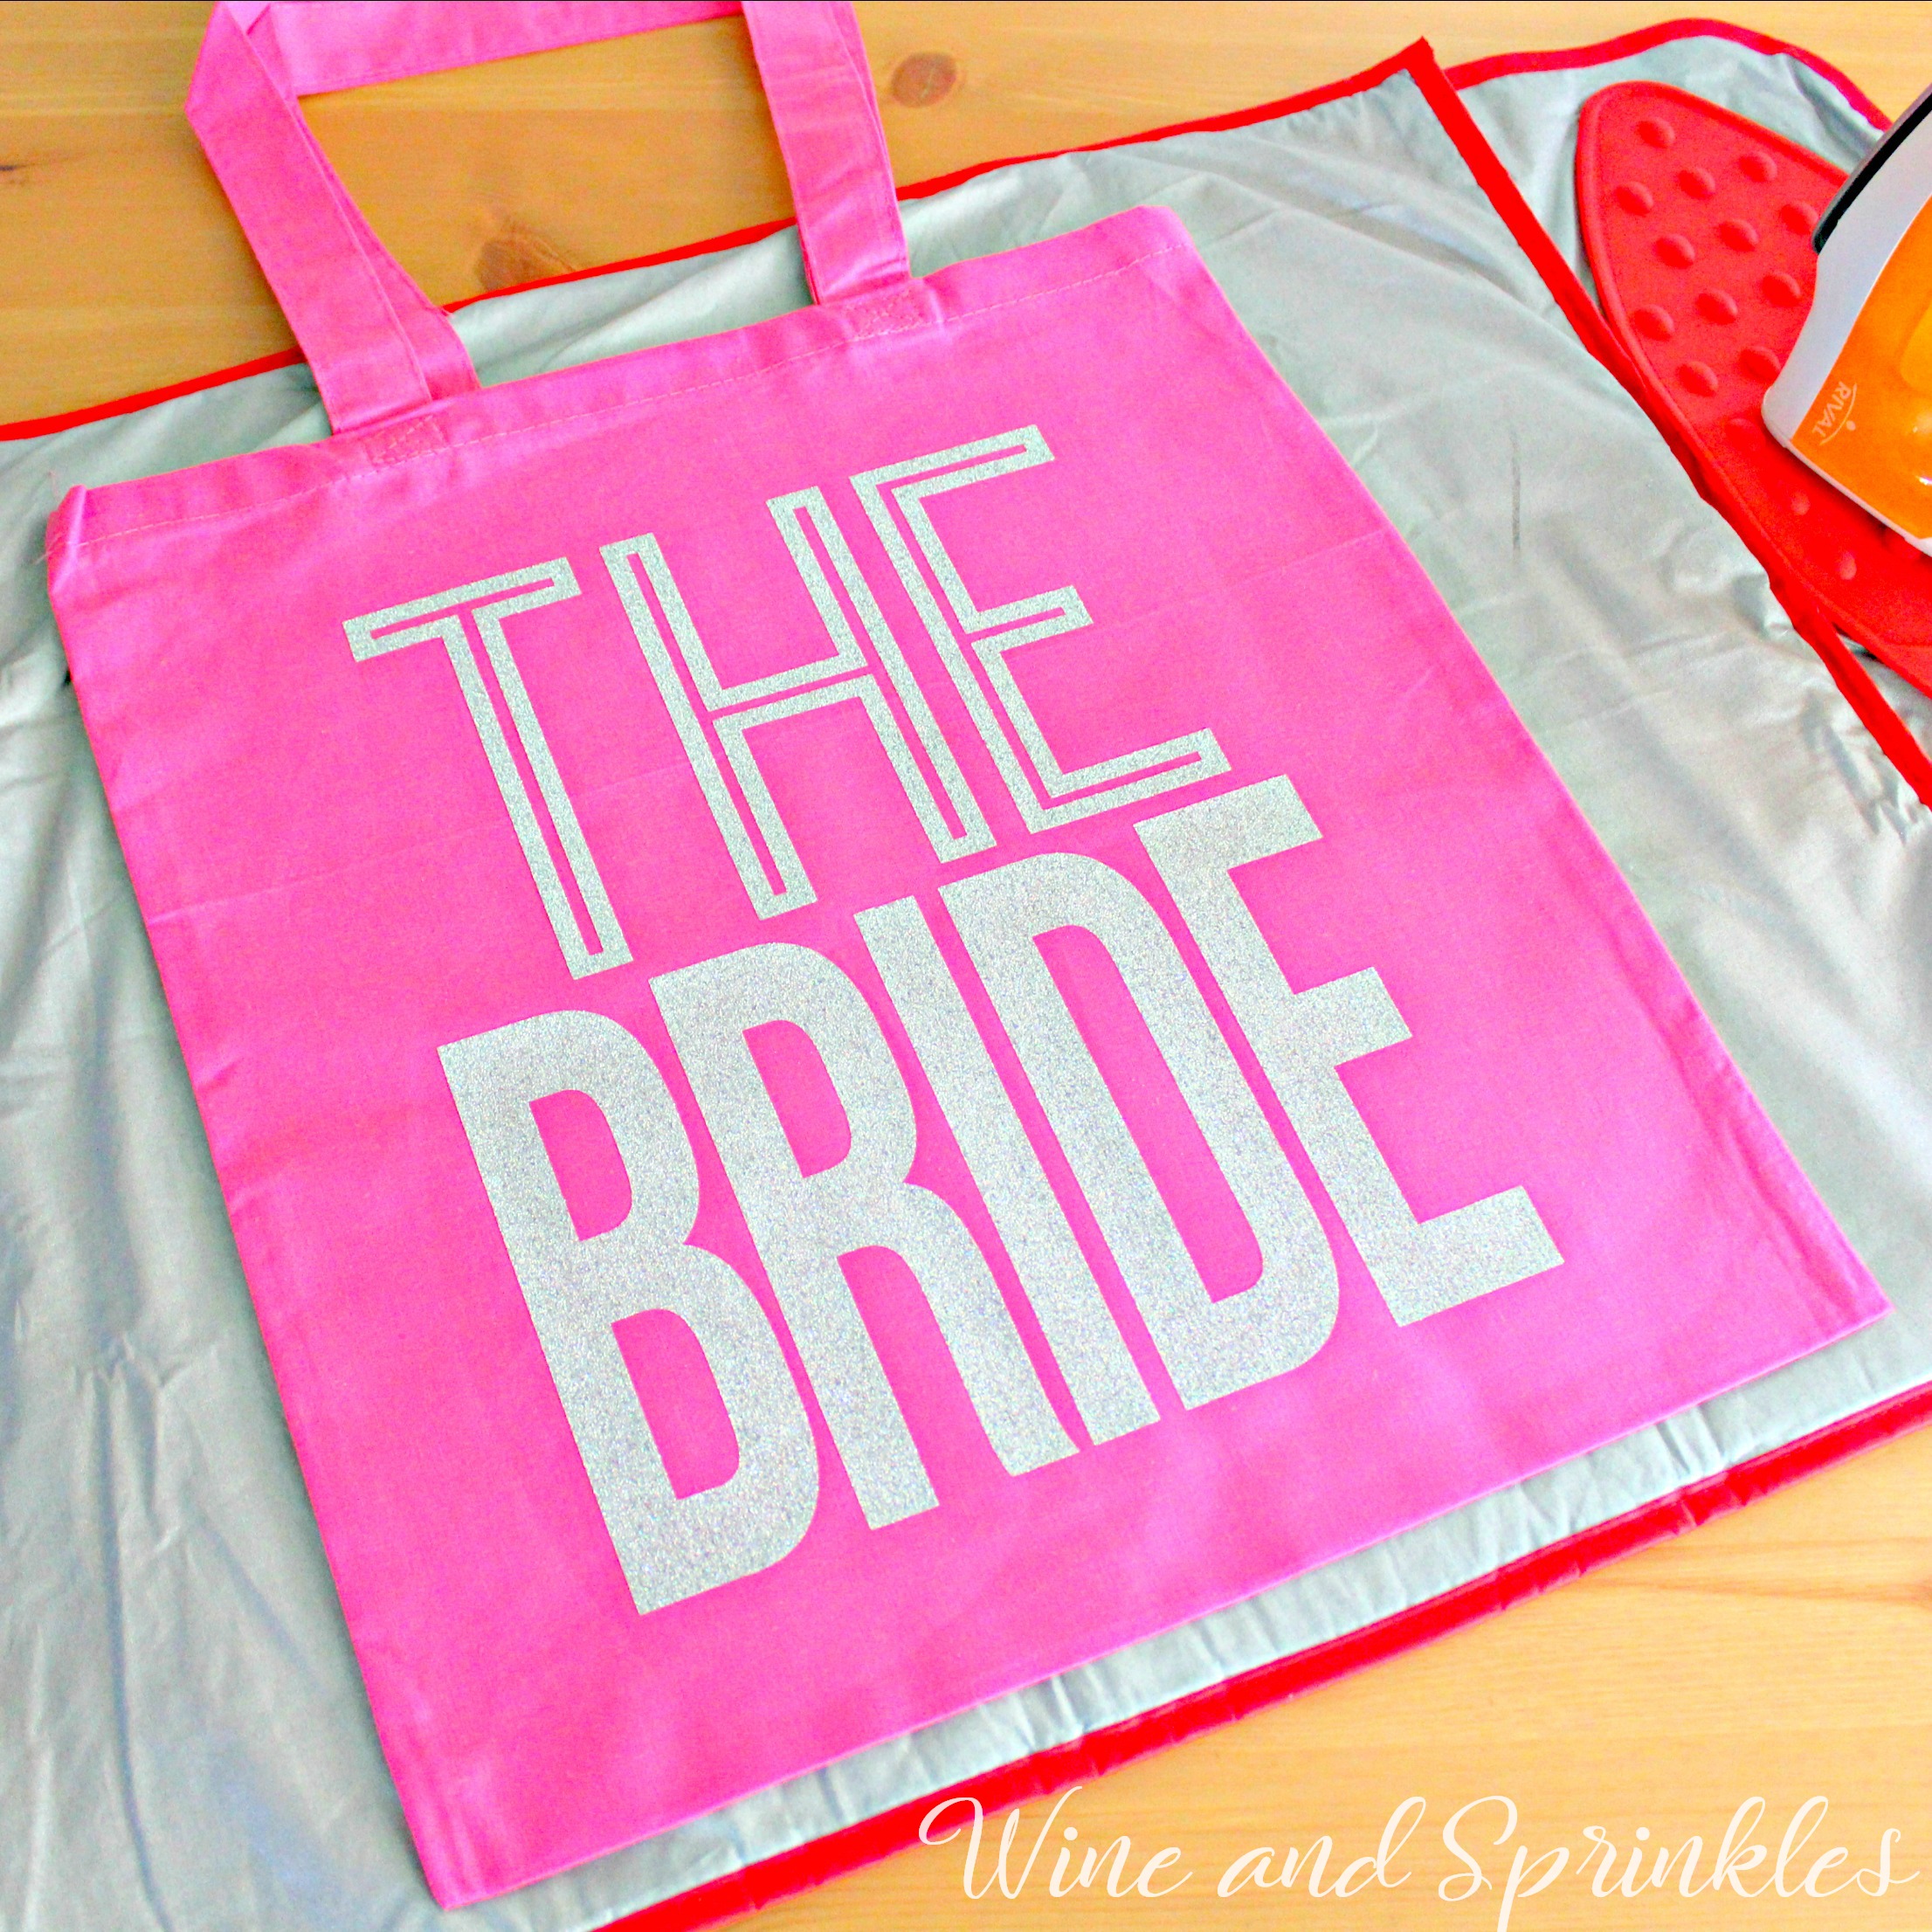
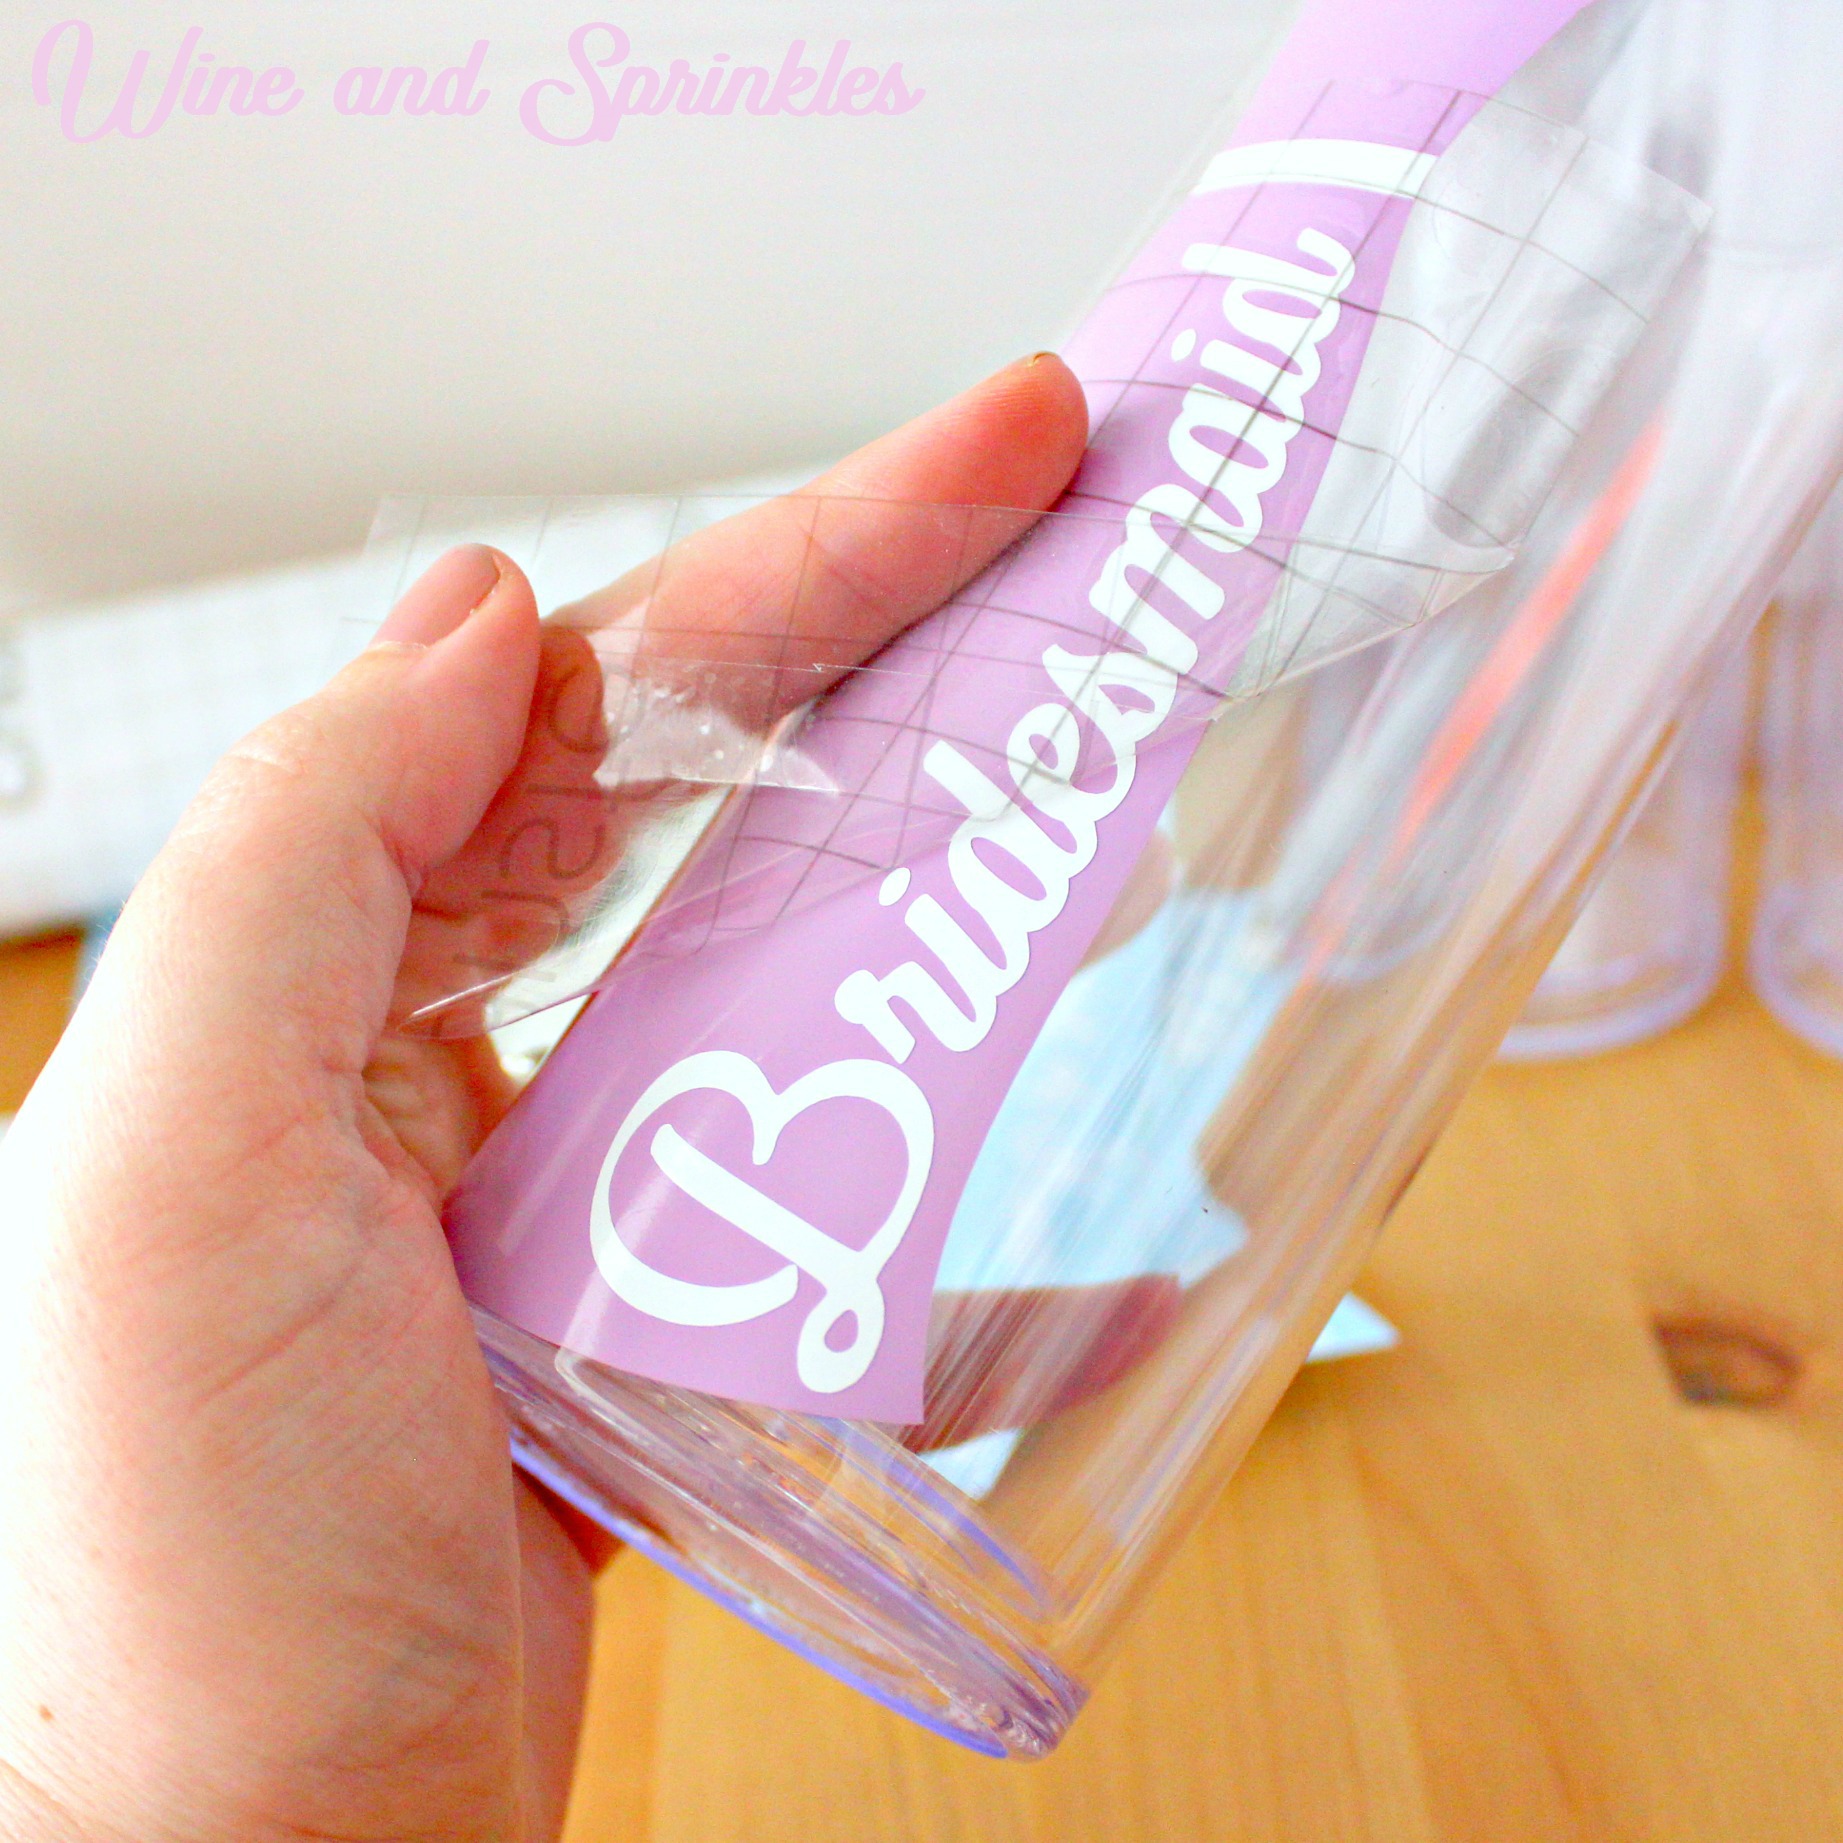
5. Set your Iron to the second Highest setting and press the iron down firmly on the design, not ironing but rather using it as a small heat press. The koozie design should be completely covered by the iron. Pressing the iron on the design for 15 - 30 seconds, mine took only 20 seconds. :) I’m always a little nervous about ironing koozies, so I check them every 5 seconds or so until the design has transferred. :)
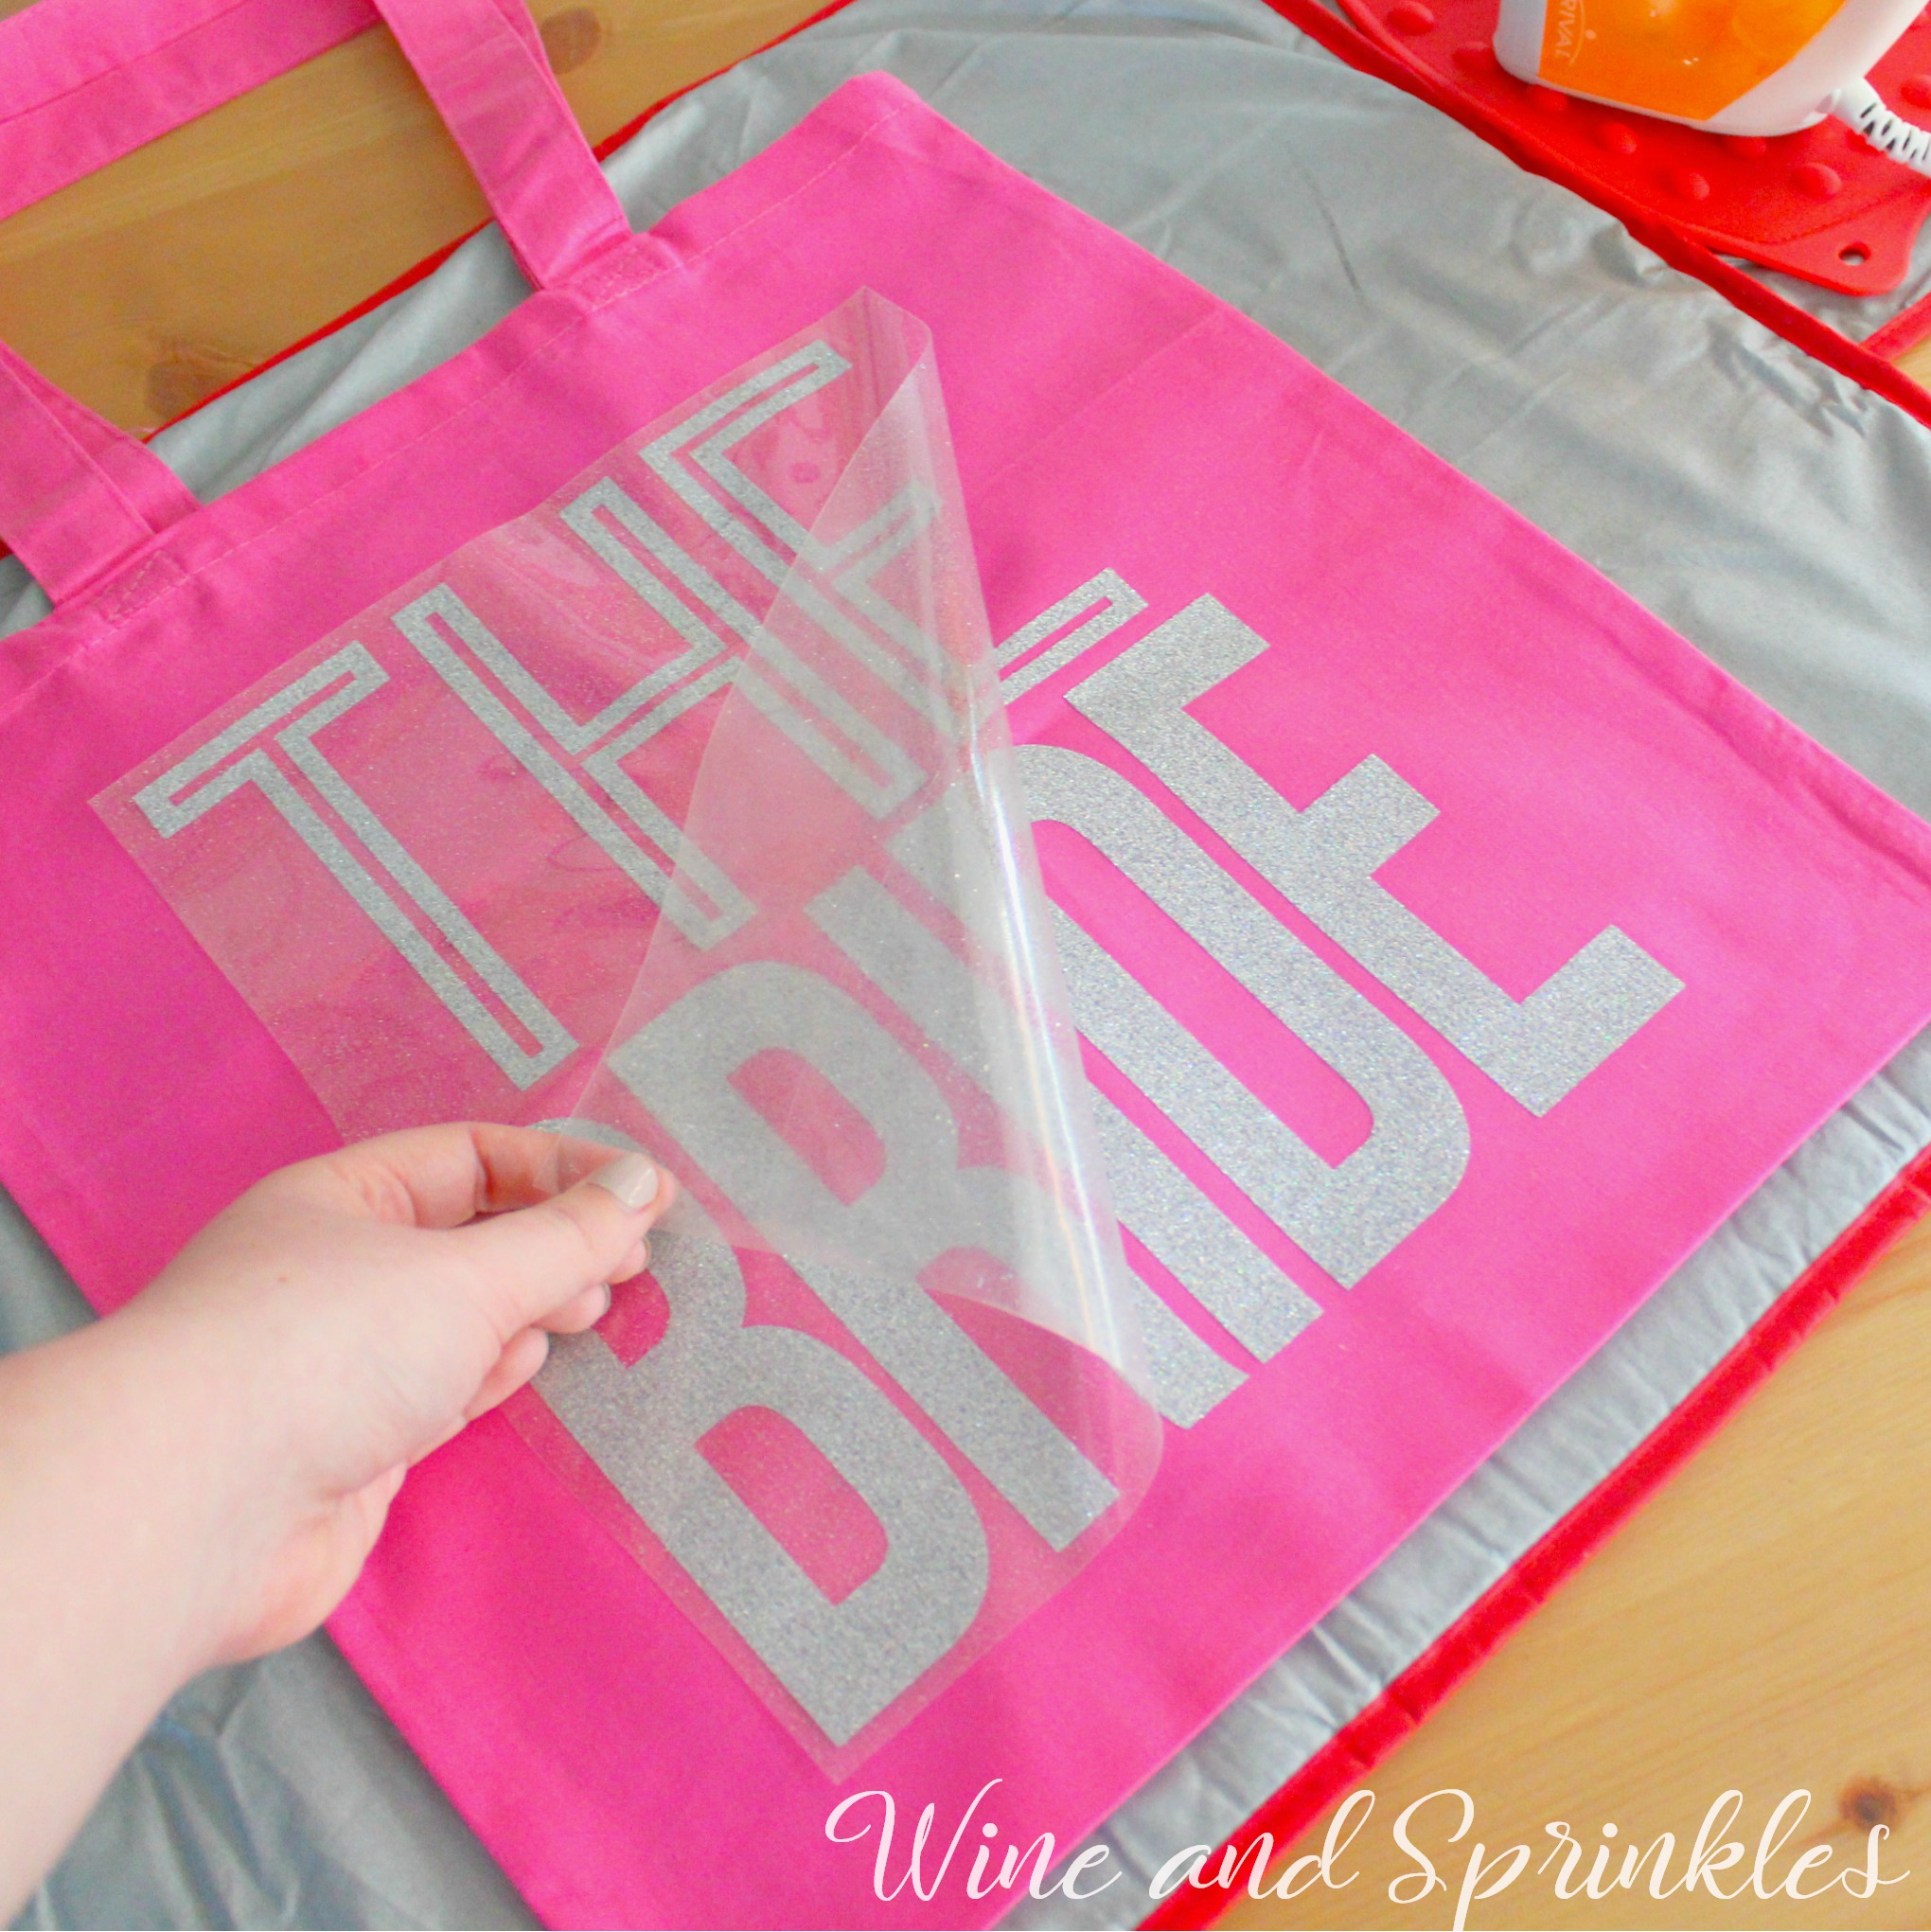
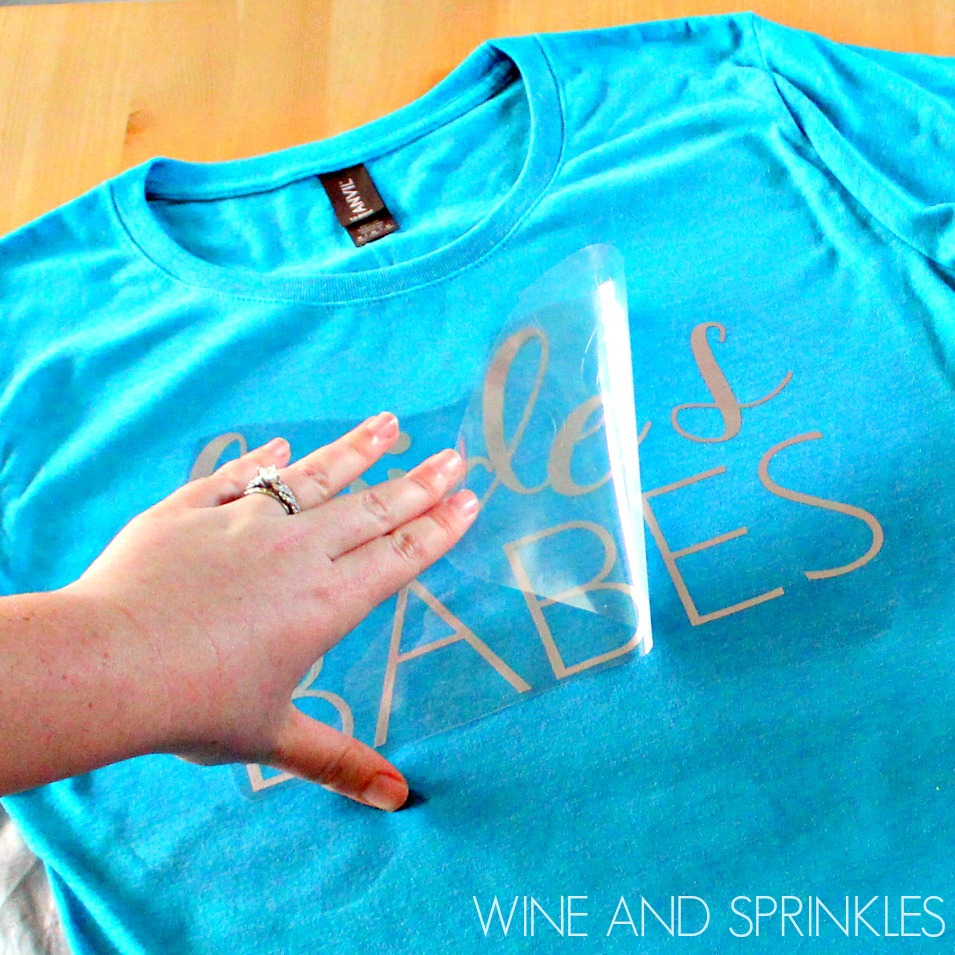
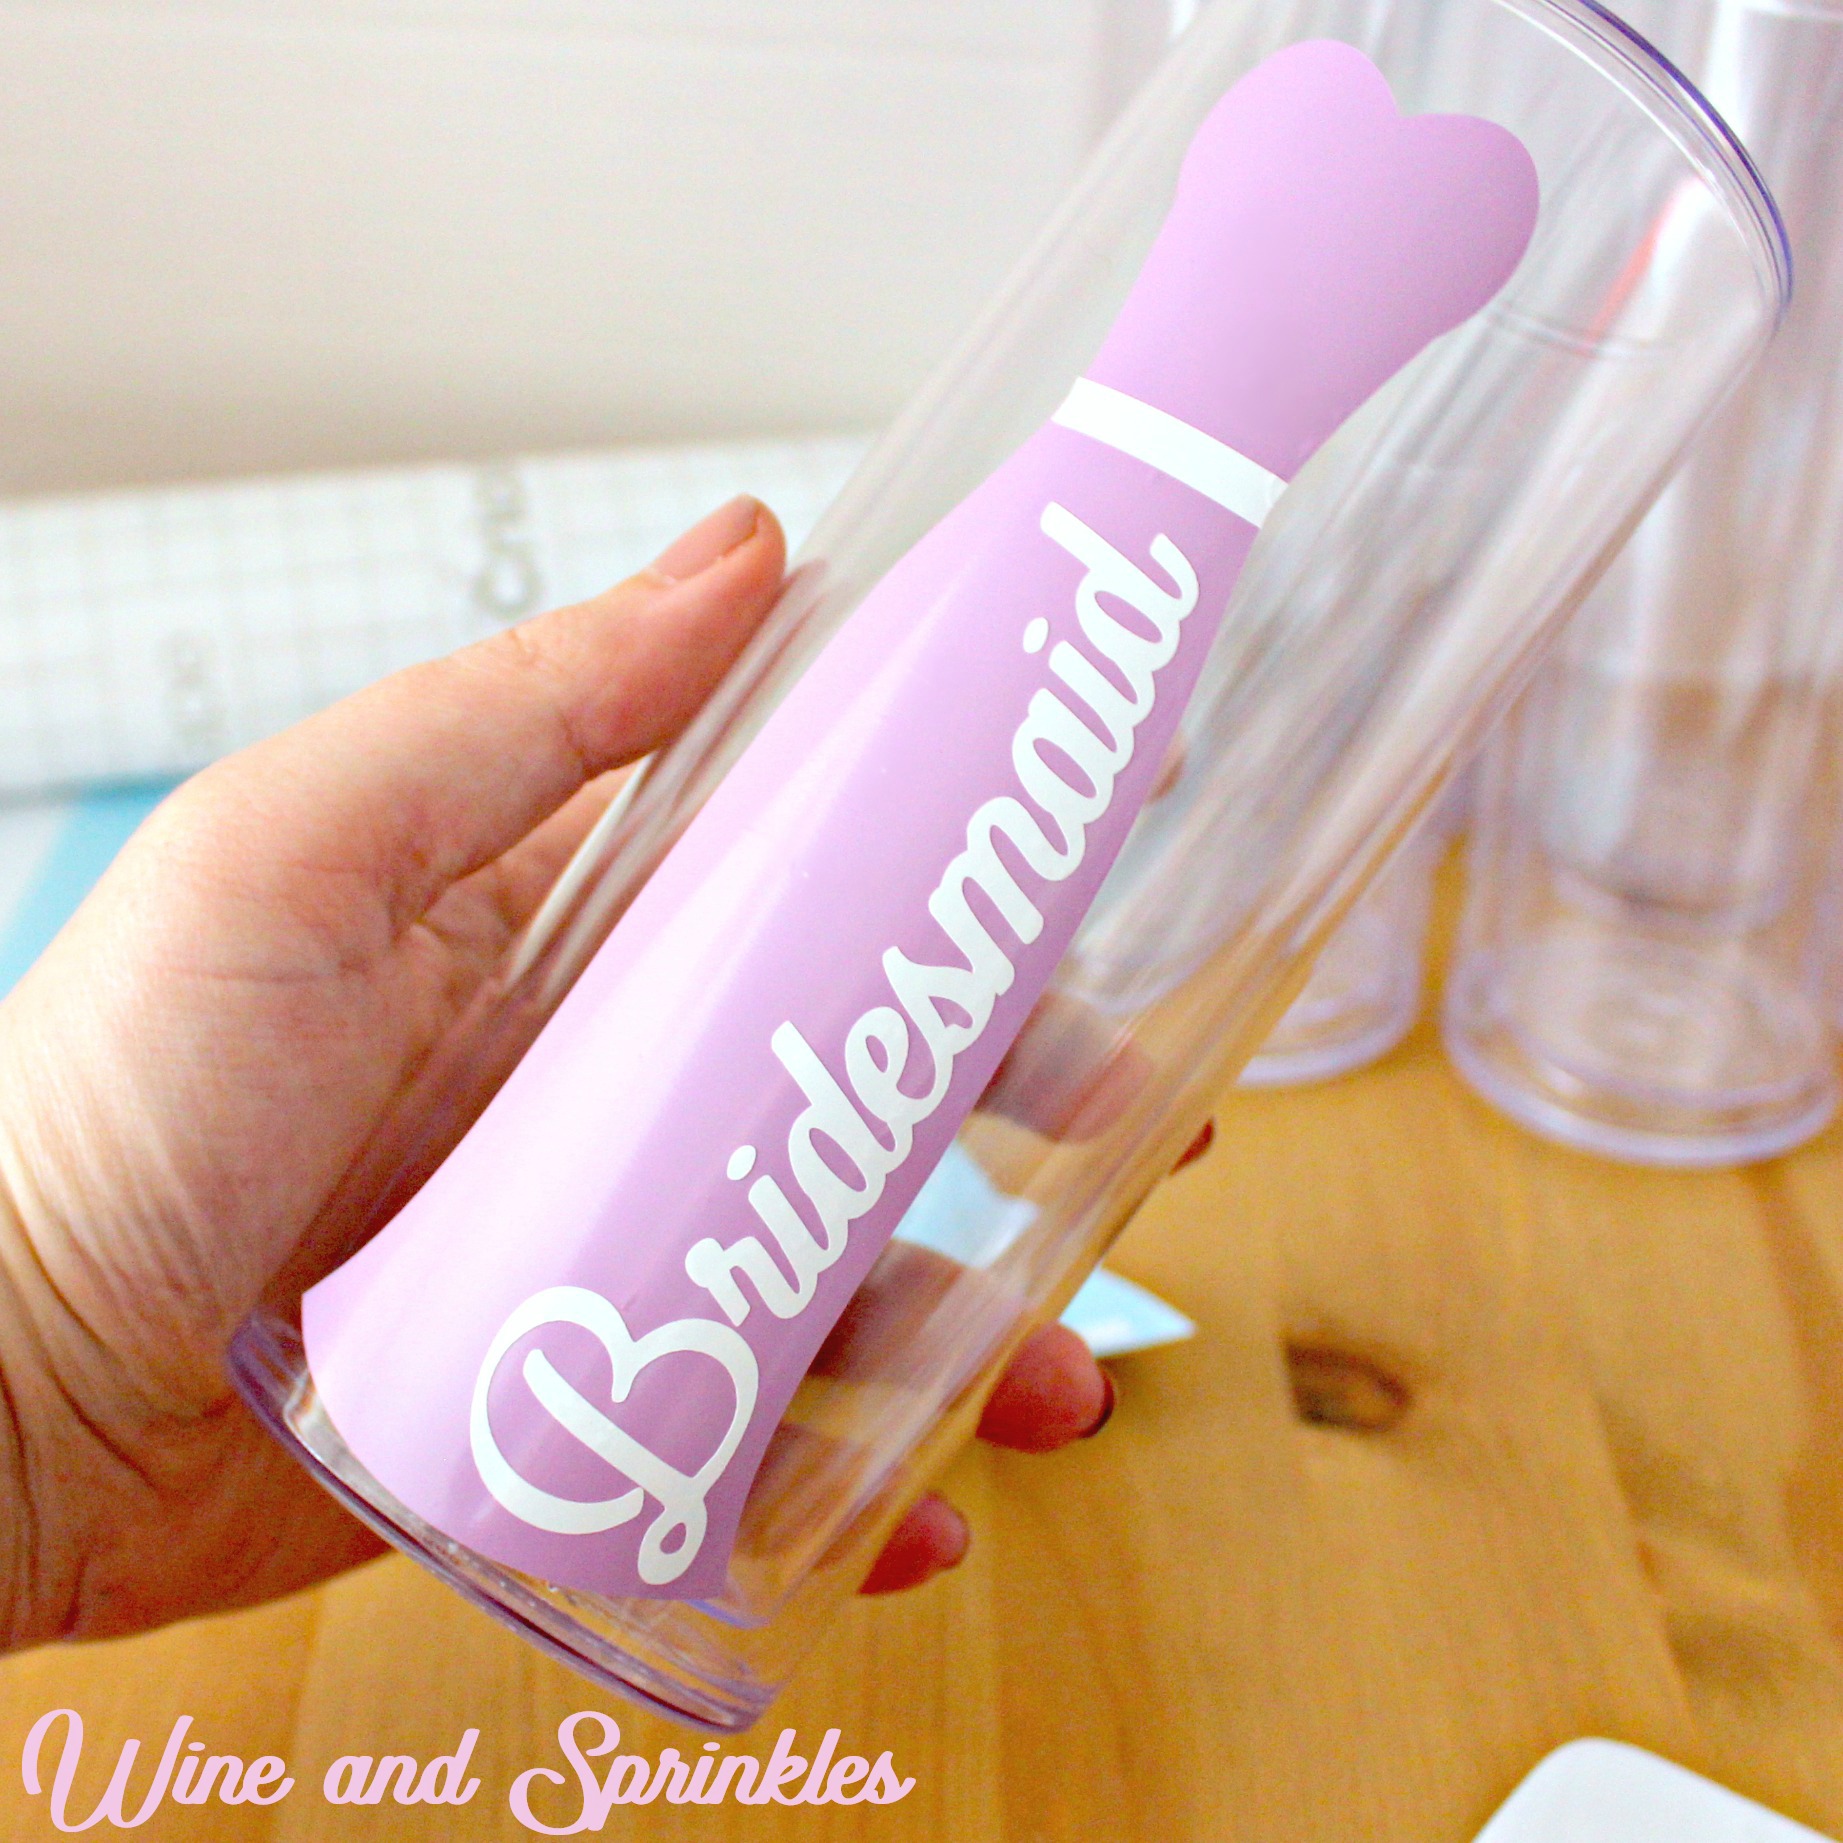
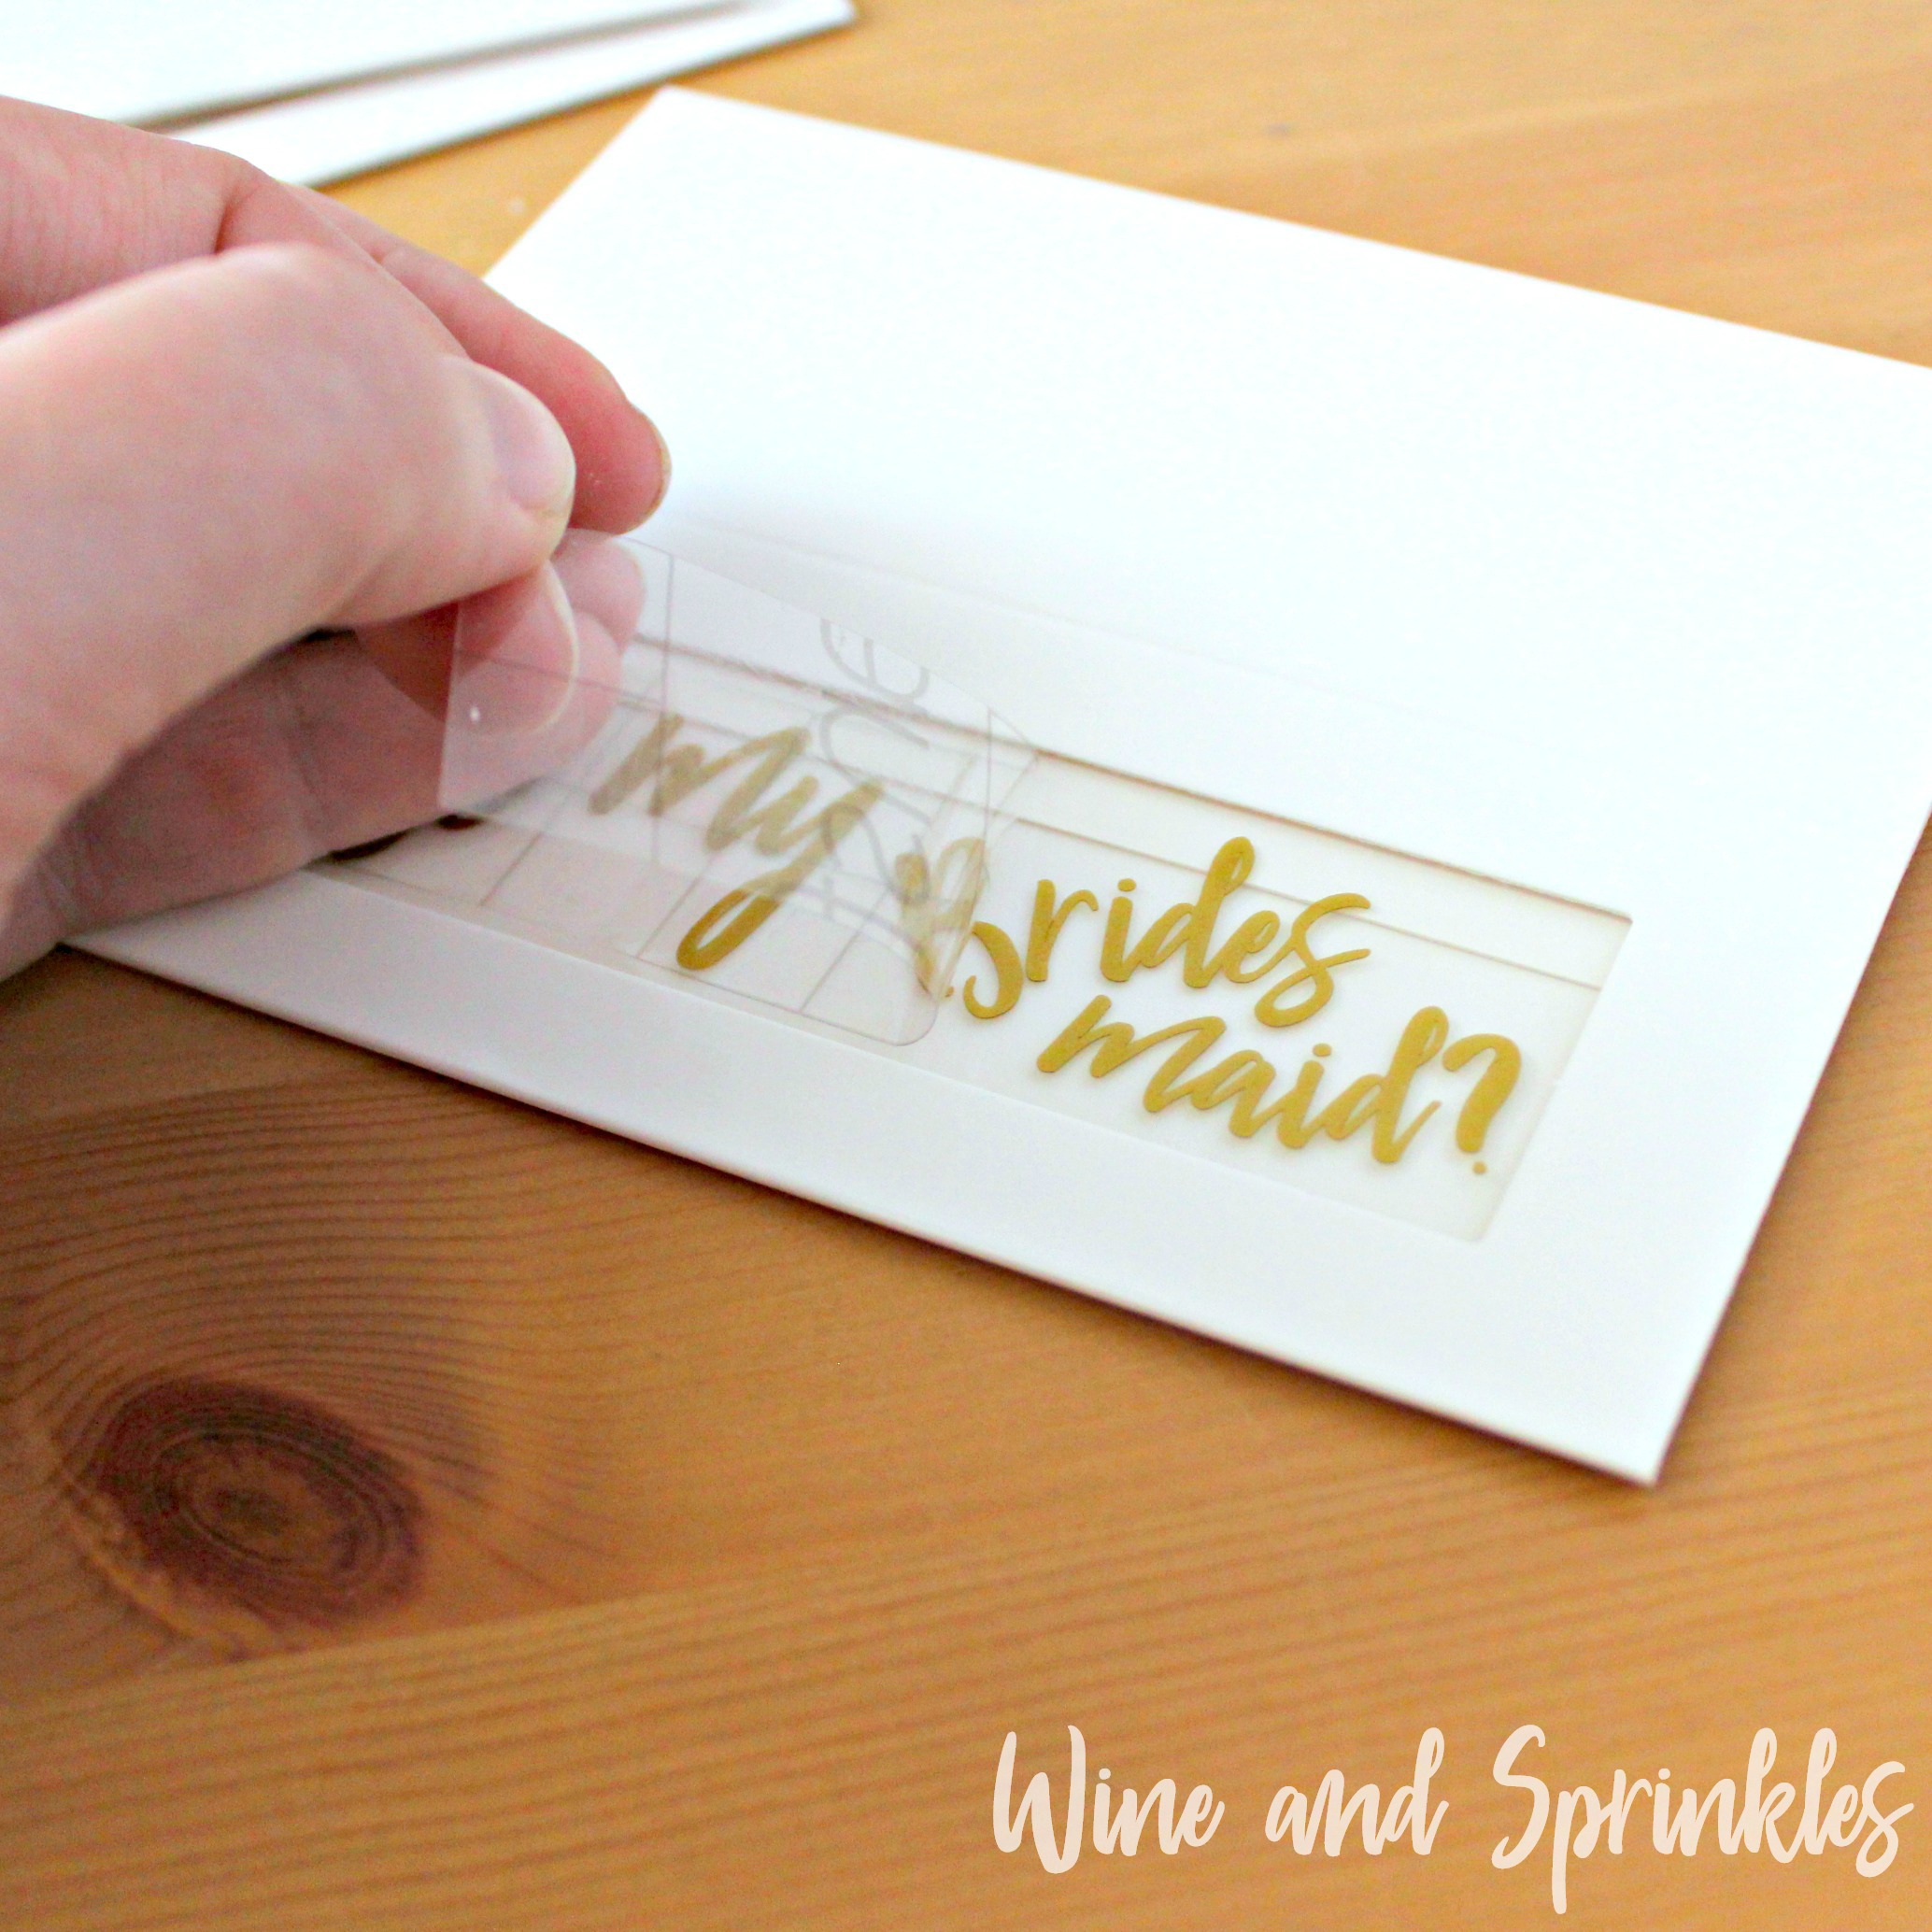
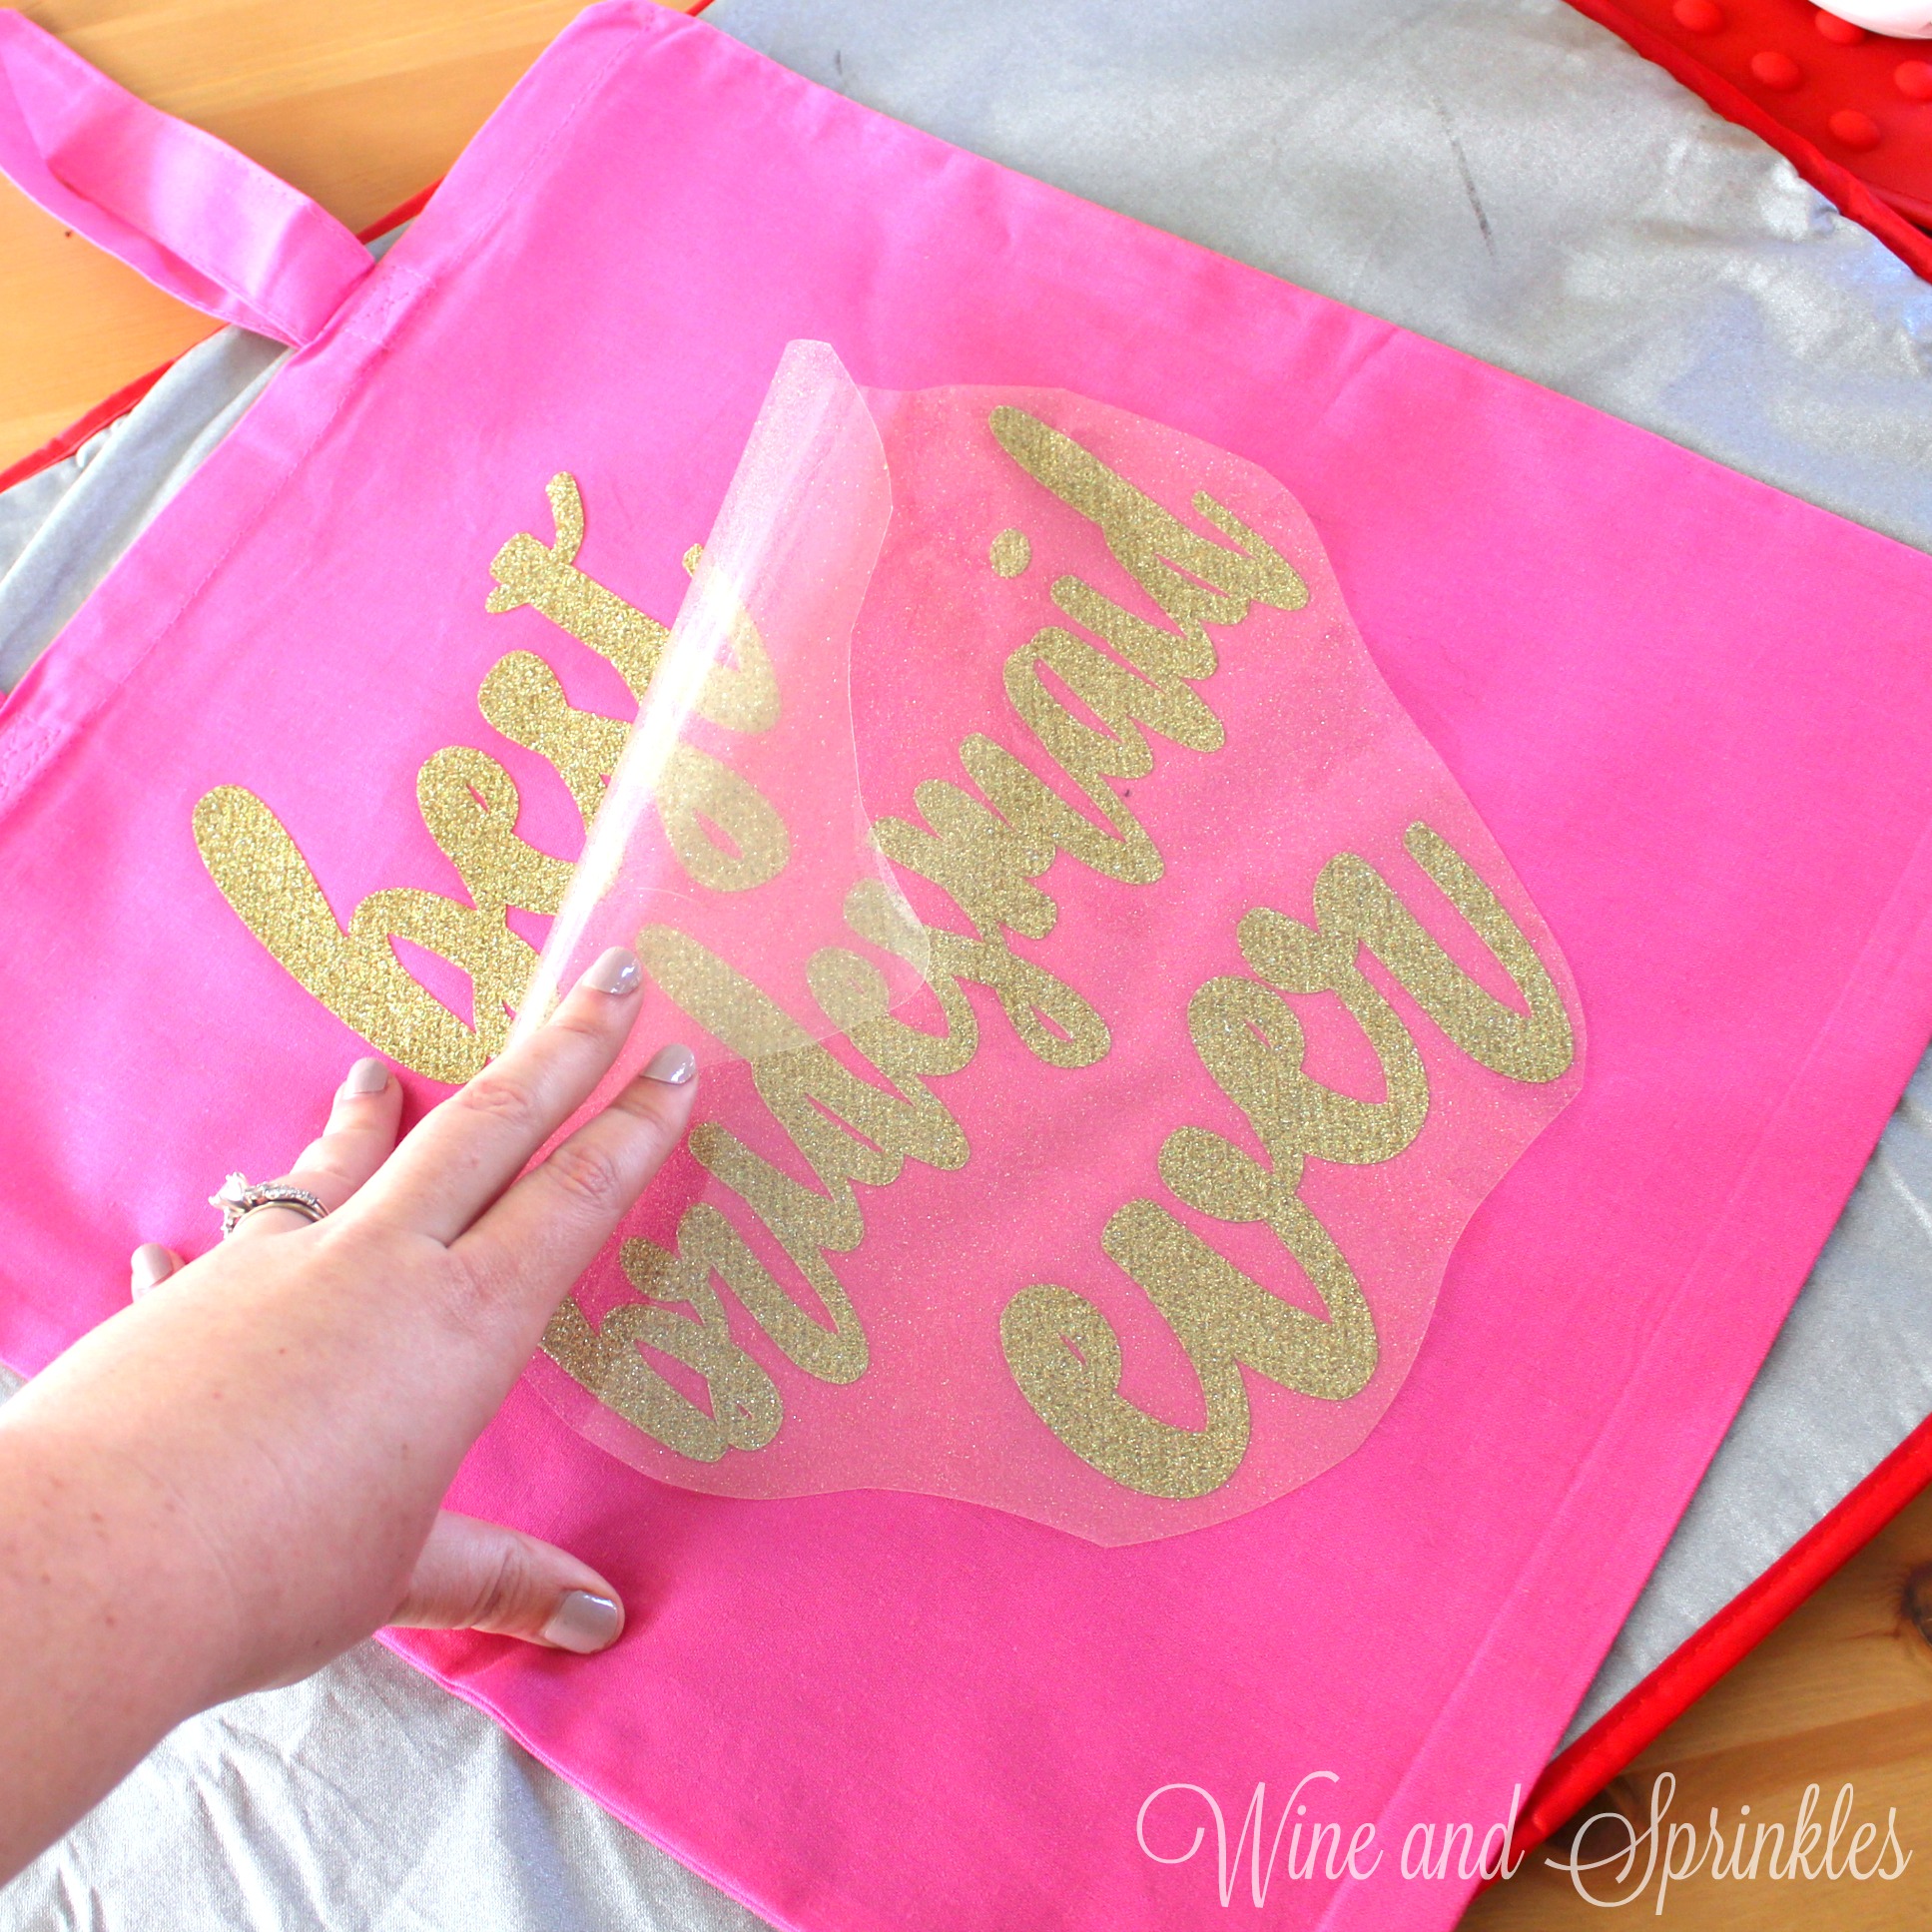
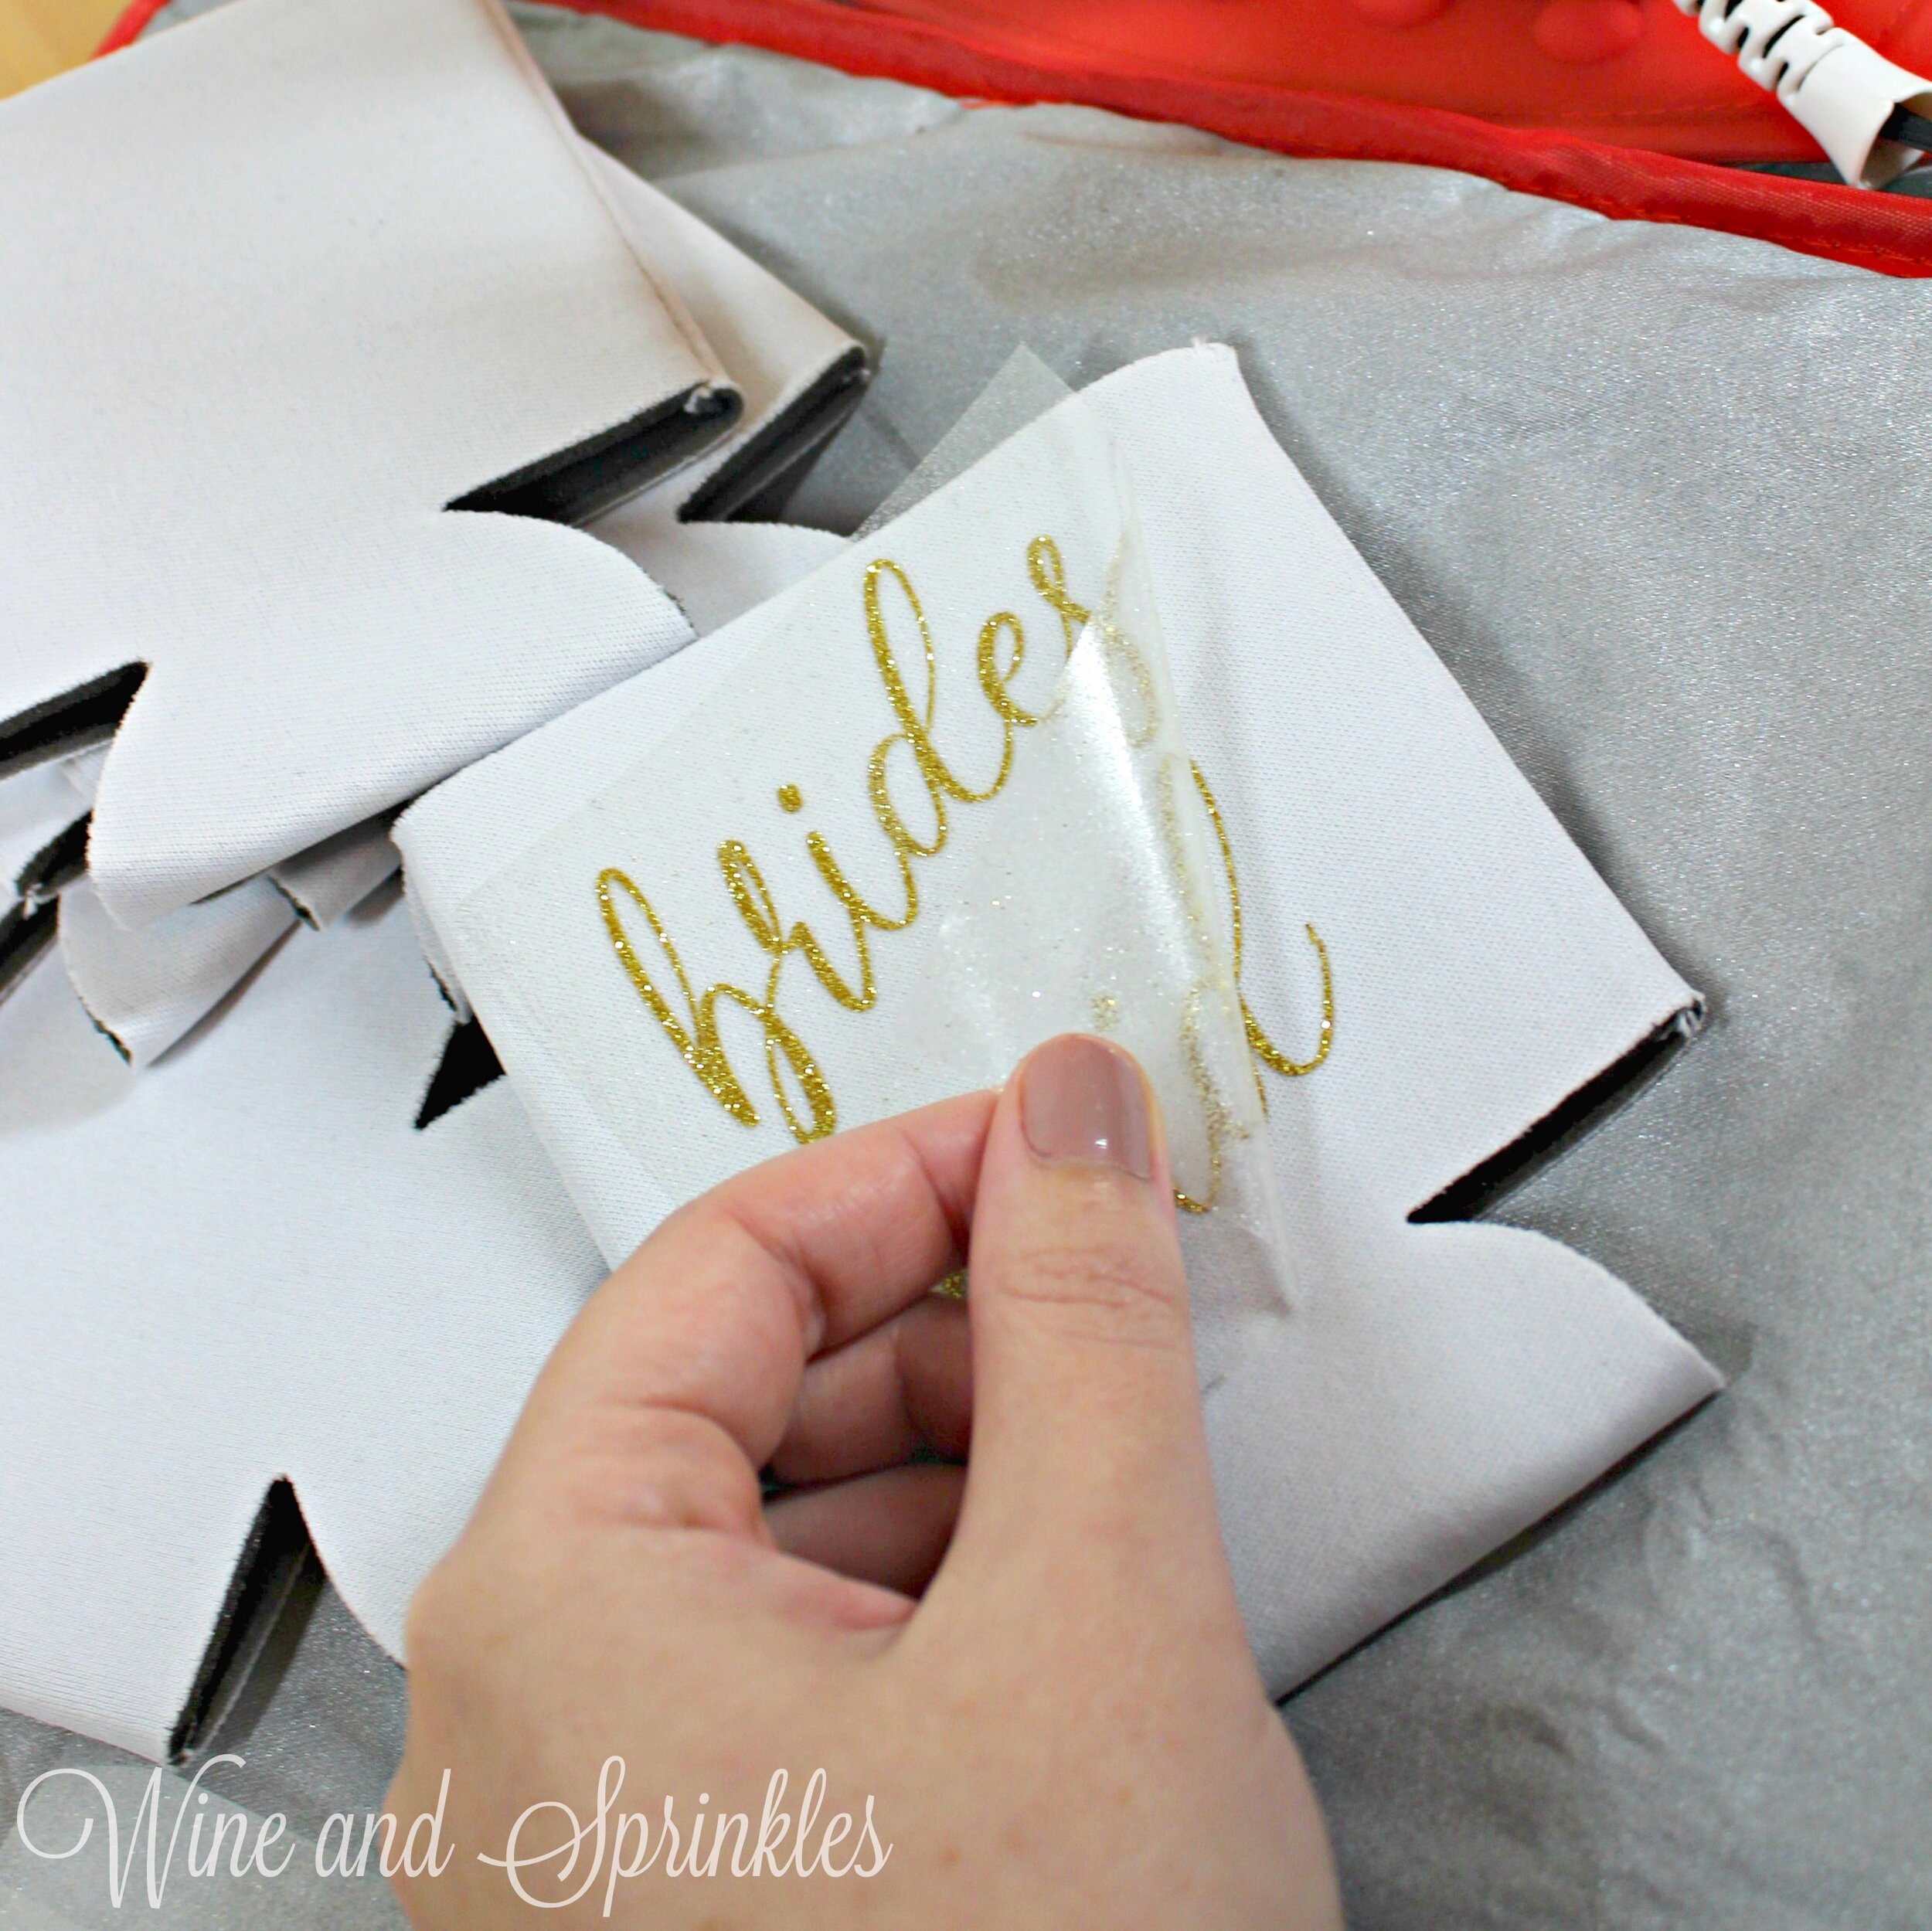
6. Remove the backing from the design, leaving the design on the koozie. Repeat with all the remaining koozies.

Check out more of our Koozie Projects Here! :)