This post contains affiliate links, meaning that if you click on a link I will recieve a small comission. This costs you nothing extra and I only promote products I use and love! You can read our full disclosure here
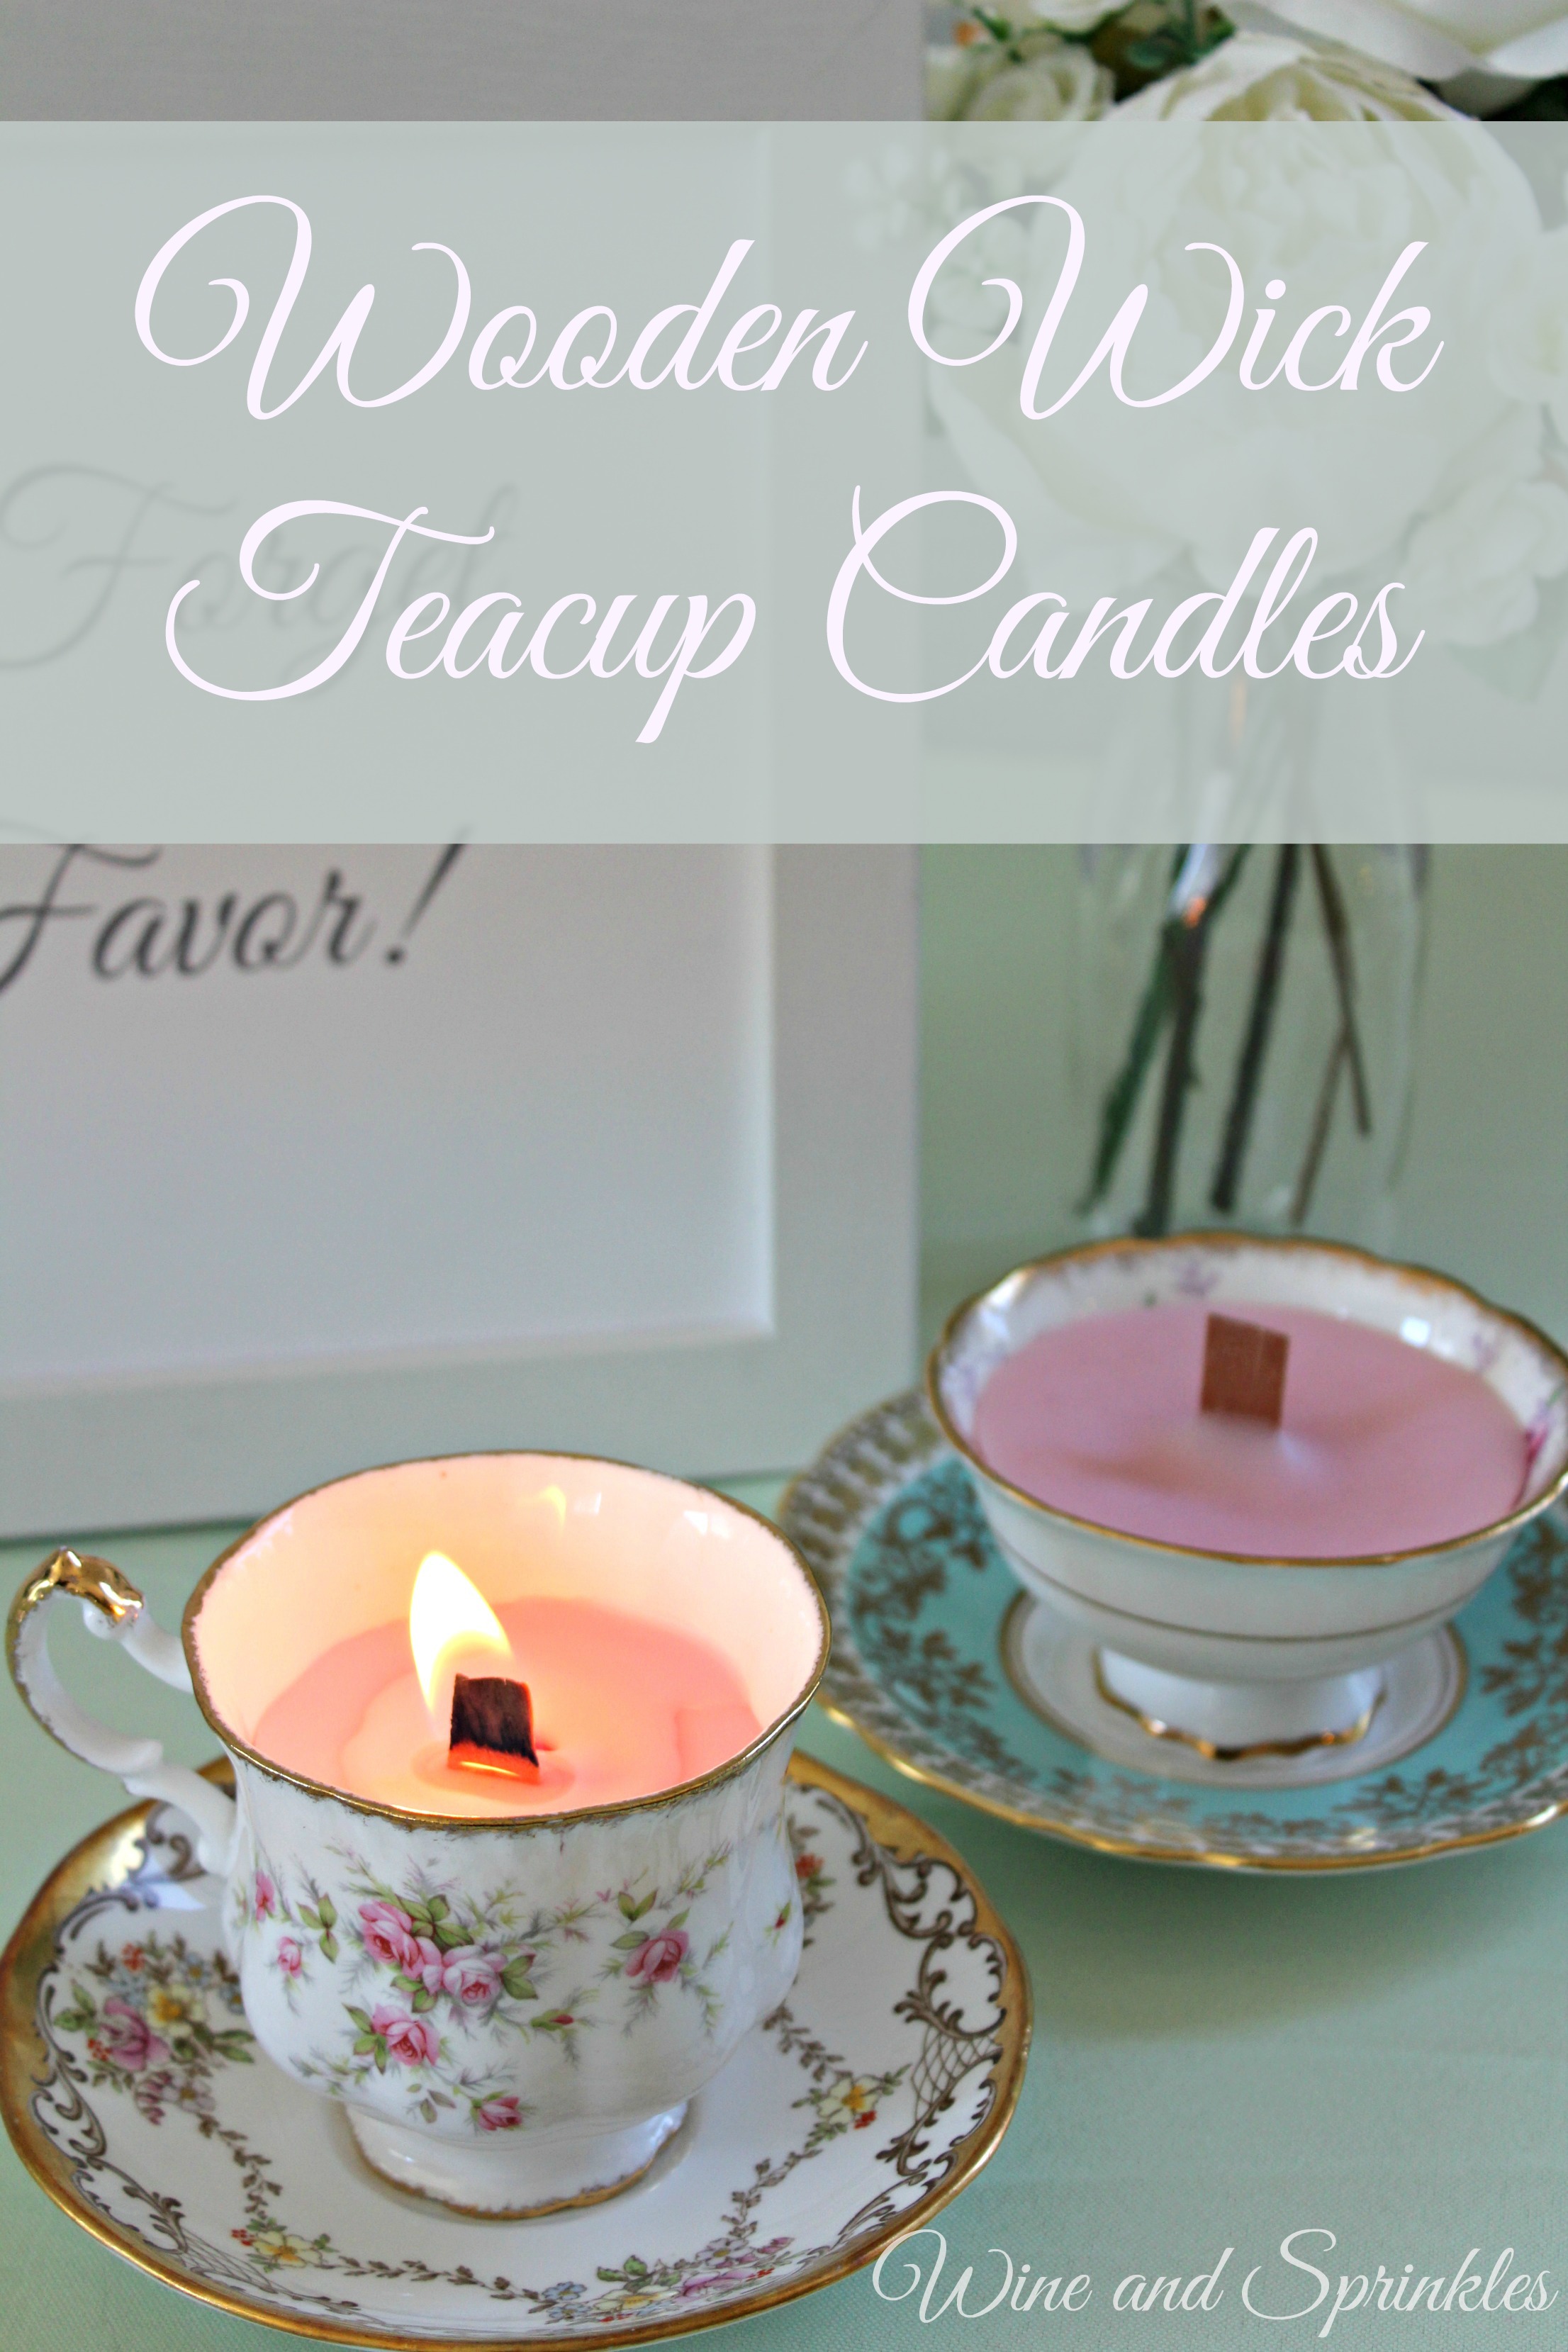
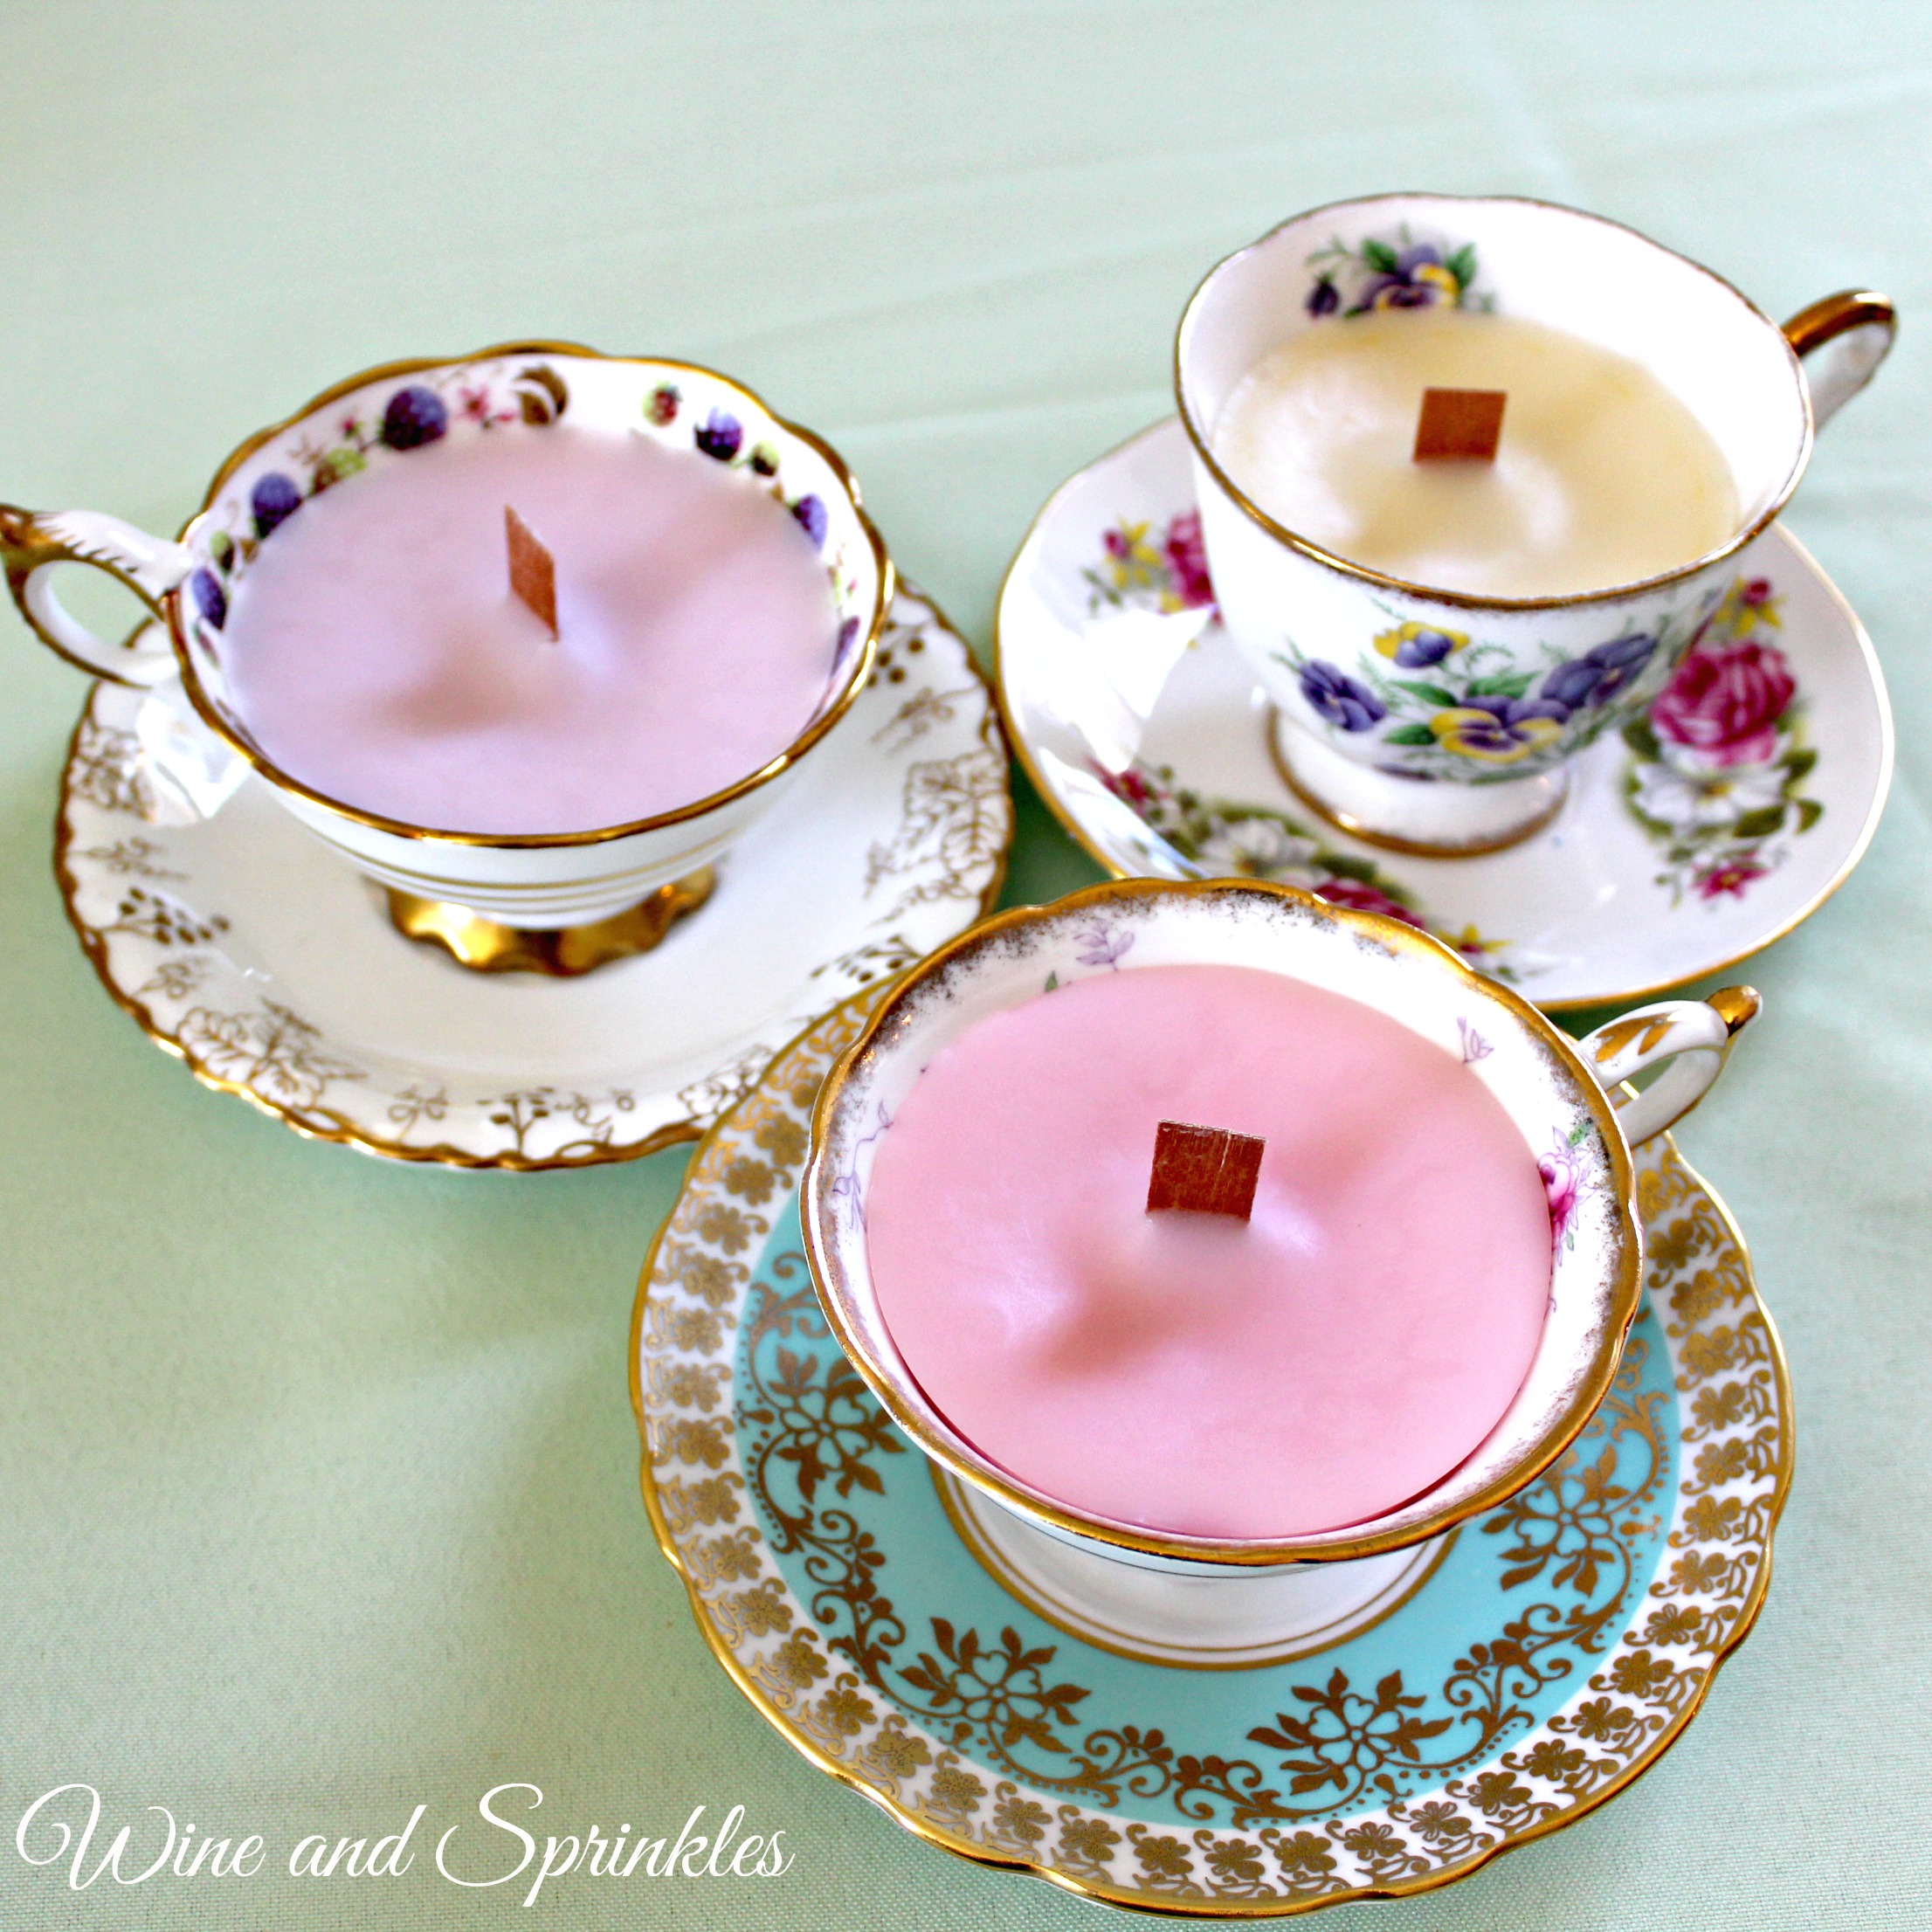
There is nothing that adds a fun vintage flair to a shower quite like these teacup candles. And they are so versatile! I will be using them for a Beauty and the Beast themed bridal shower, but they could just as easily be used for a tea party, Jane Austen Shower, or Mother’s Day Brunch!

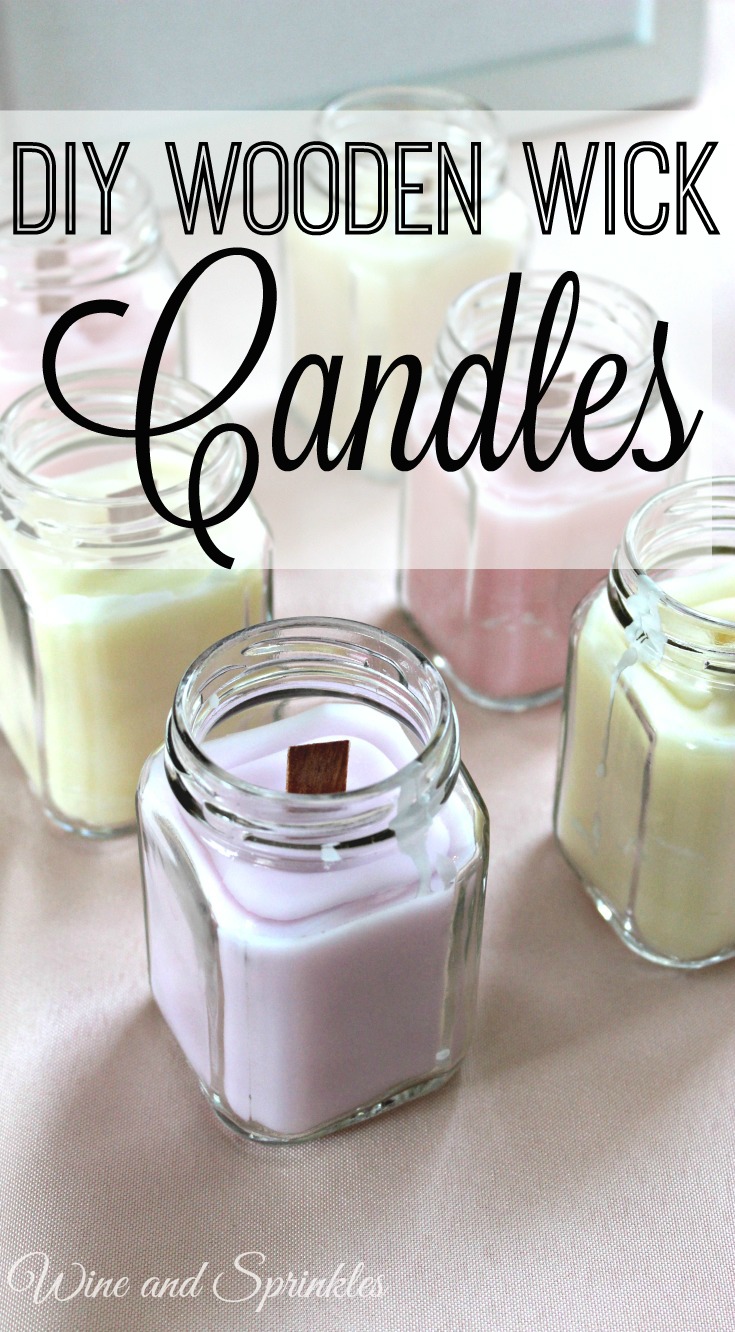
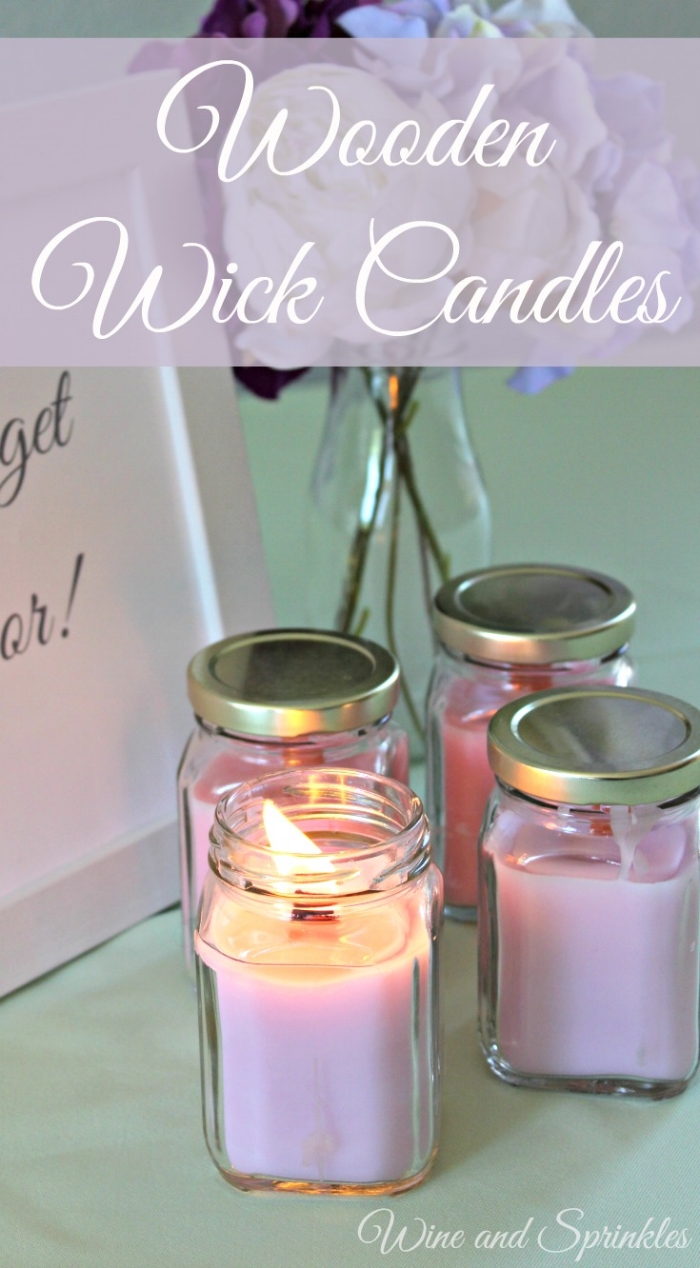
For me, the wood wicks were a requirement on this batch, they just remind me so much of a fire in the hearth, and for a Beauty and the Beast Shower, it is the perfect touch since most of the story takes place in the winter where crackling fires are most welcome! In addition, the teacups are the perfect ode to my favorite characters, Mrs. Potts and Chip!
I have wanted to make these candles for a while but was always discouraged for one reason, finding the teacups! While you can find teacups at yard sales and estate sales, I could rarely find them and when I could, they were $10+ per cup! Luckily, I had the thought to check Etsy for teacups and I was not disappointed! :)
I was very impressed with the Etsy shop, The Acerage, which I purchased my teacups from. First, they were half the price I see at estate sales for the same cups due to what they term “minor damage.” So when I received them I was expecting some stains, chips, or even small cracks. Imagine my surprise when all the cups that came not only were in great condition (I could hardly find any chips), but they were in fact much better than the aforementioned teacups I paid double for at the estate sale! I have linked in the supplies the set I used, which are great to make a whole set of candles for shower favors. When someone orders them, the listing will disappear but as soon as they gather the next set they list it again.
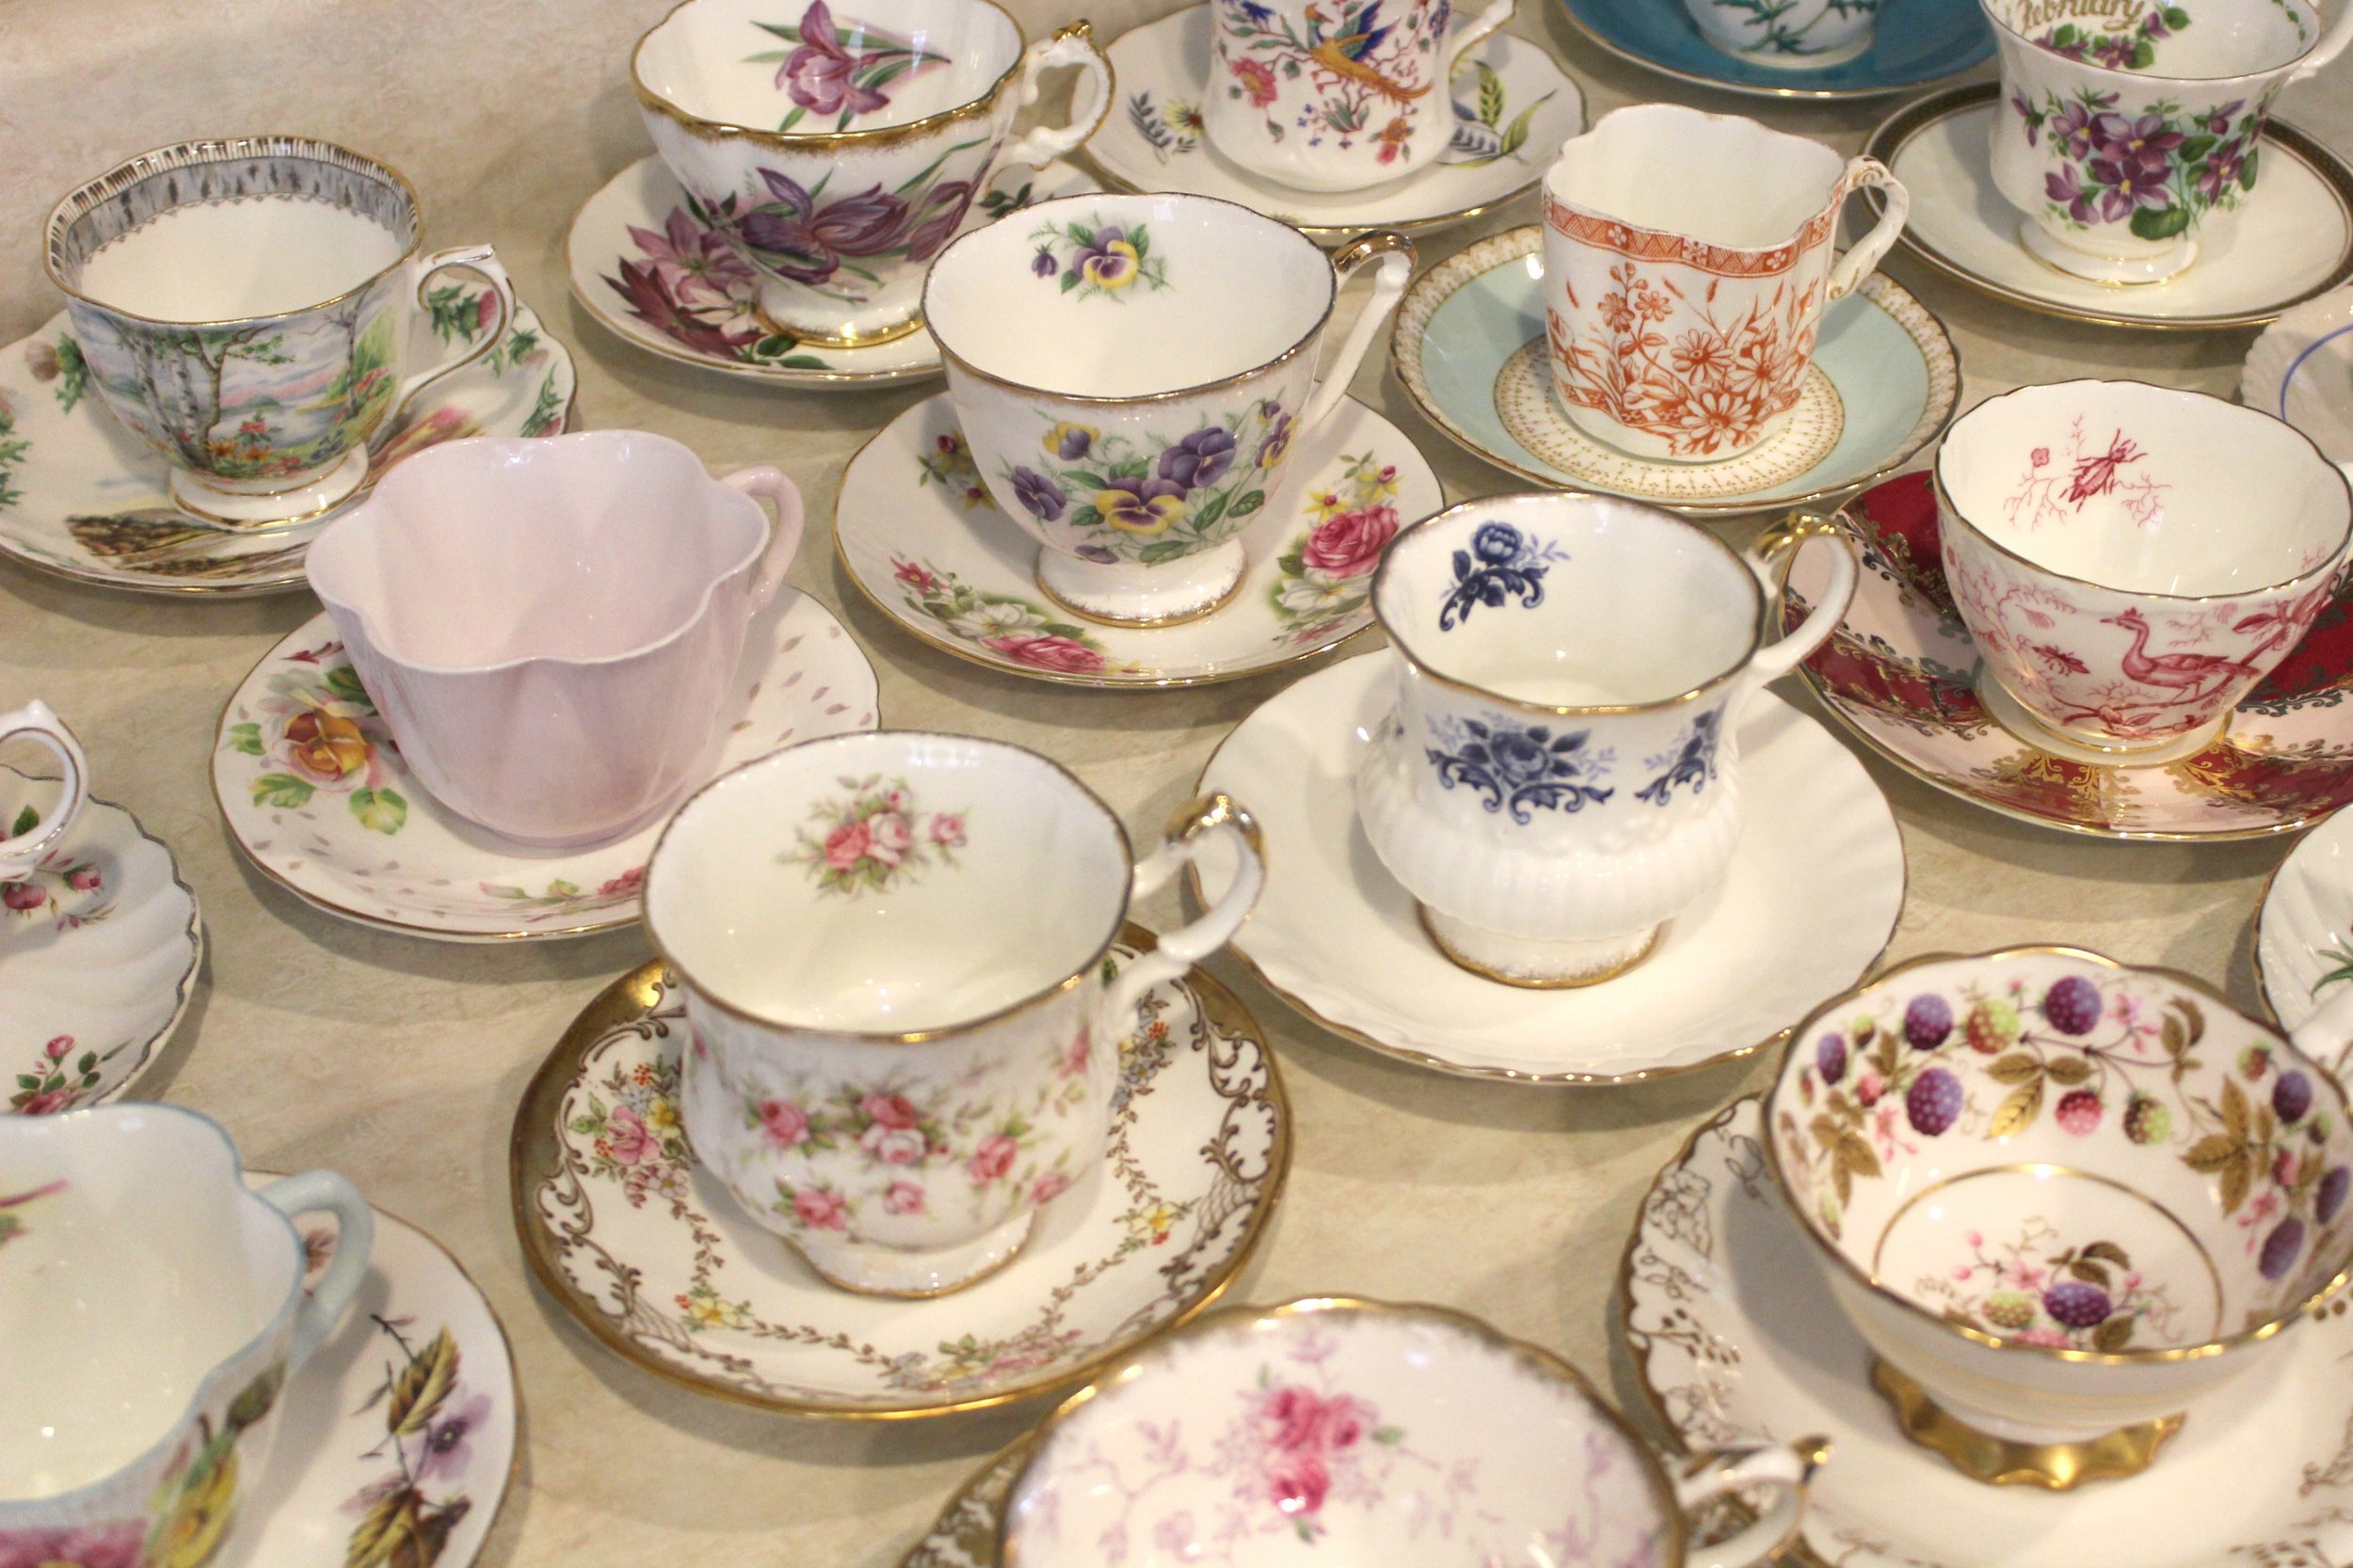
If giving the teacups as a favor is not quite in your budget, use them as bridal shower prizes and only make a couple! I have been using them for the last couple showers I have gone to as prizes for games and they have been beloved by all!
Supplies:
Mismatched Teacups and Saucers
Wooden Candle Wicks
Candle Wax*
Candle Pouring Pot
Powdered Candle Dye
Essential Oils for Scent
*I used leftover candle stubs, but the wax linked here will make about 20 -8oz teacup candles
1. Melt wax on low heat in your pot. If, like me, you are using candle stubs, remove the wicks from the old candles once the wax is completely melted using either tongs or a fork.

2. For these candles, the full wax wick is far too long. Insert the wood wick into its metal stand and place in the cup. Cut the wicks at the top of the teacup with a pair of scissors, then remove the candle wax from heat and soak them in the wax for 10 minutes. Soaking these wicks is VERY IMPORTANT, they are not like the standard wicks that are already coated in wax and not soaking them will lead to the candles not staying lit.
3. Once wicks have been soaked, remove them with tongs or a fork. Once they are cool enough to handle (I was able to touch them immediately) insert them into the metal holder stands included and let dry.
4. Now, attach the wicks to the bottom of your teacups by dipping the metal holder into the melted wax, then position at the bottom of the jar.

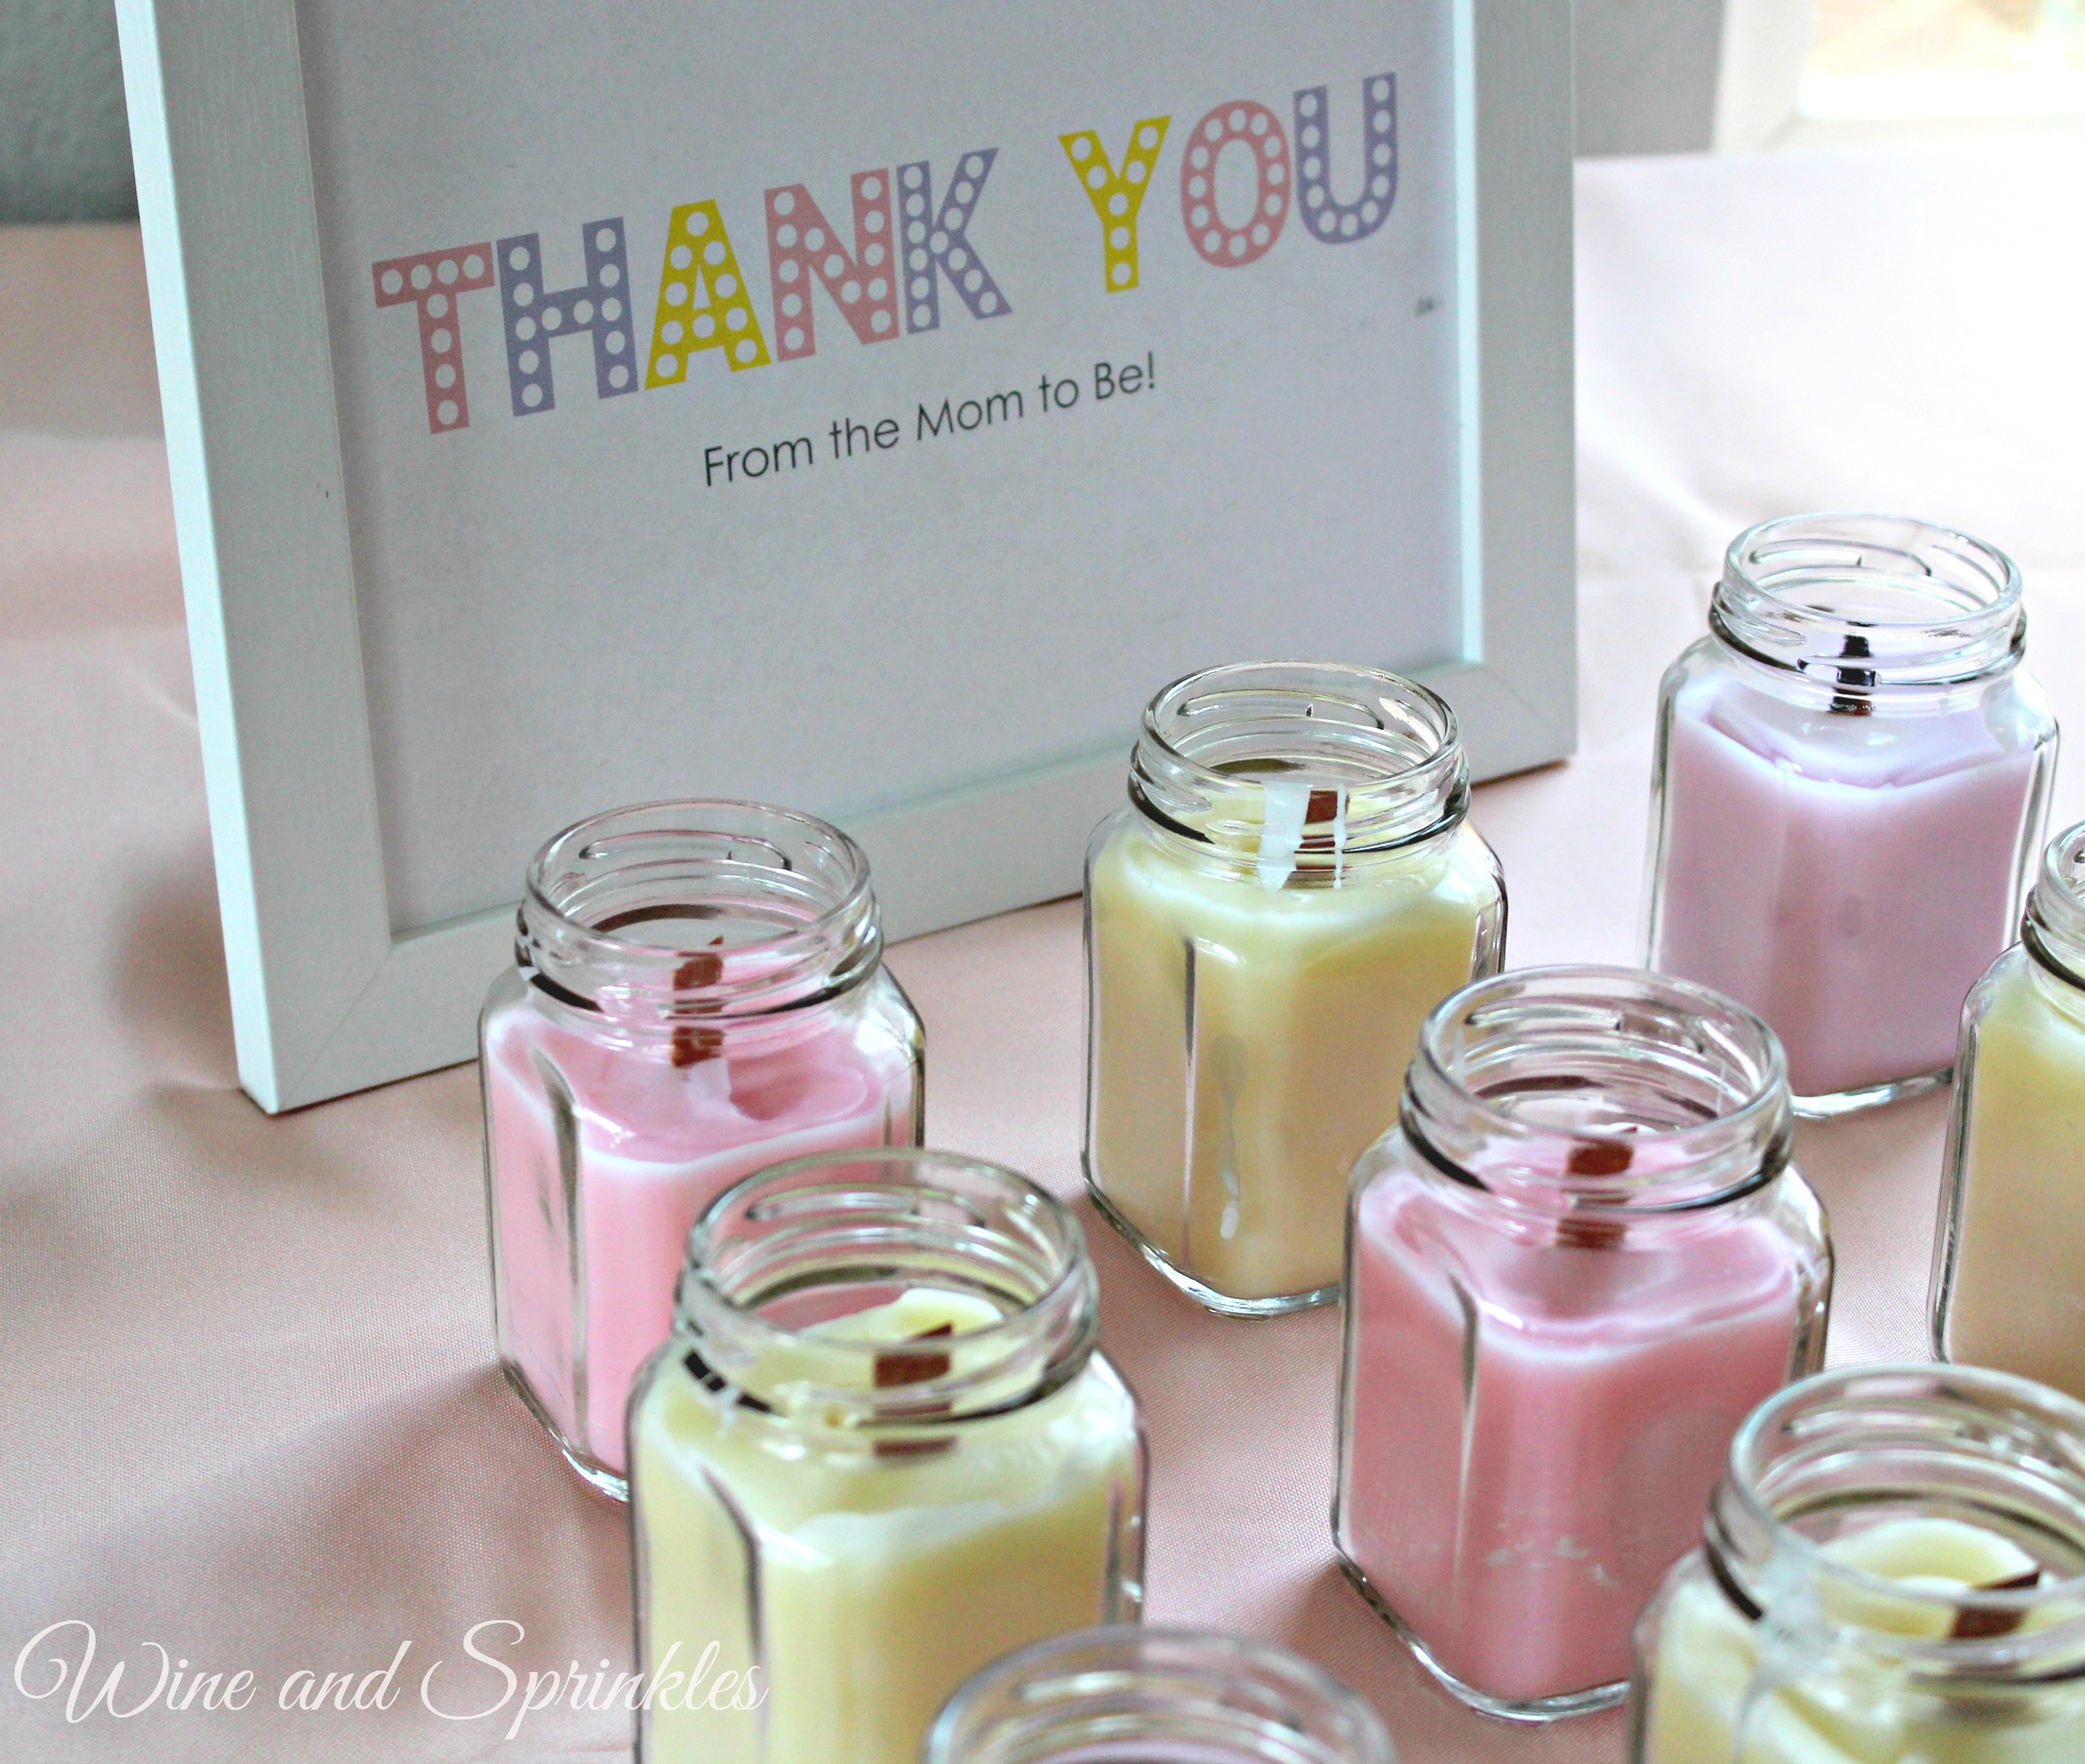
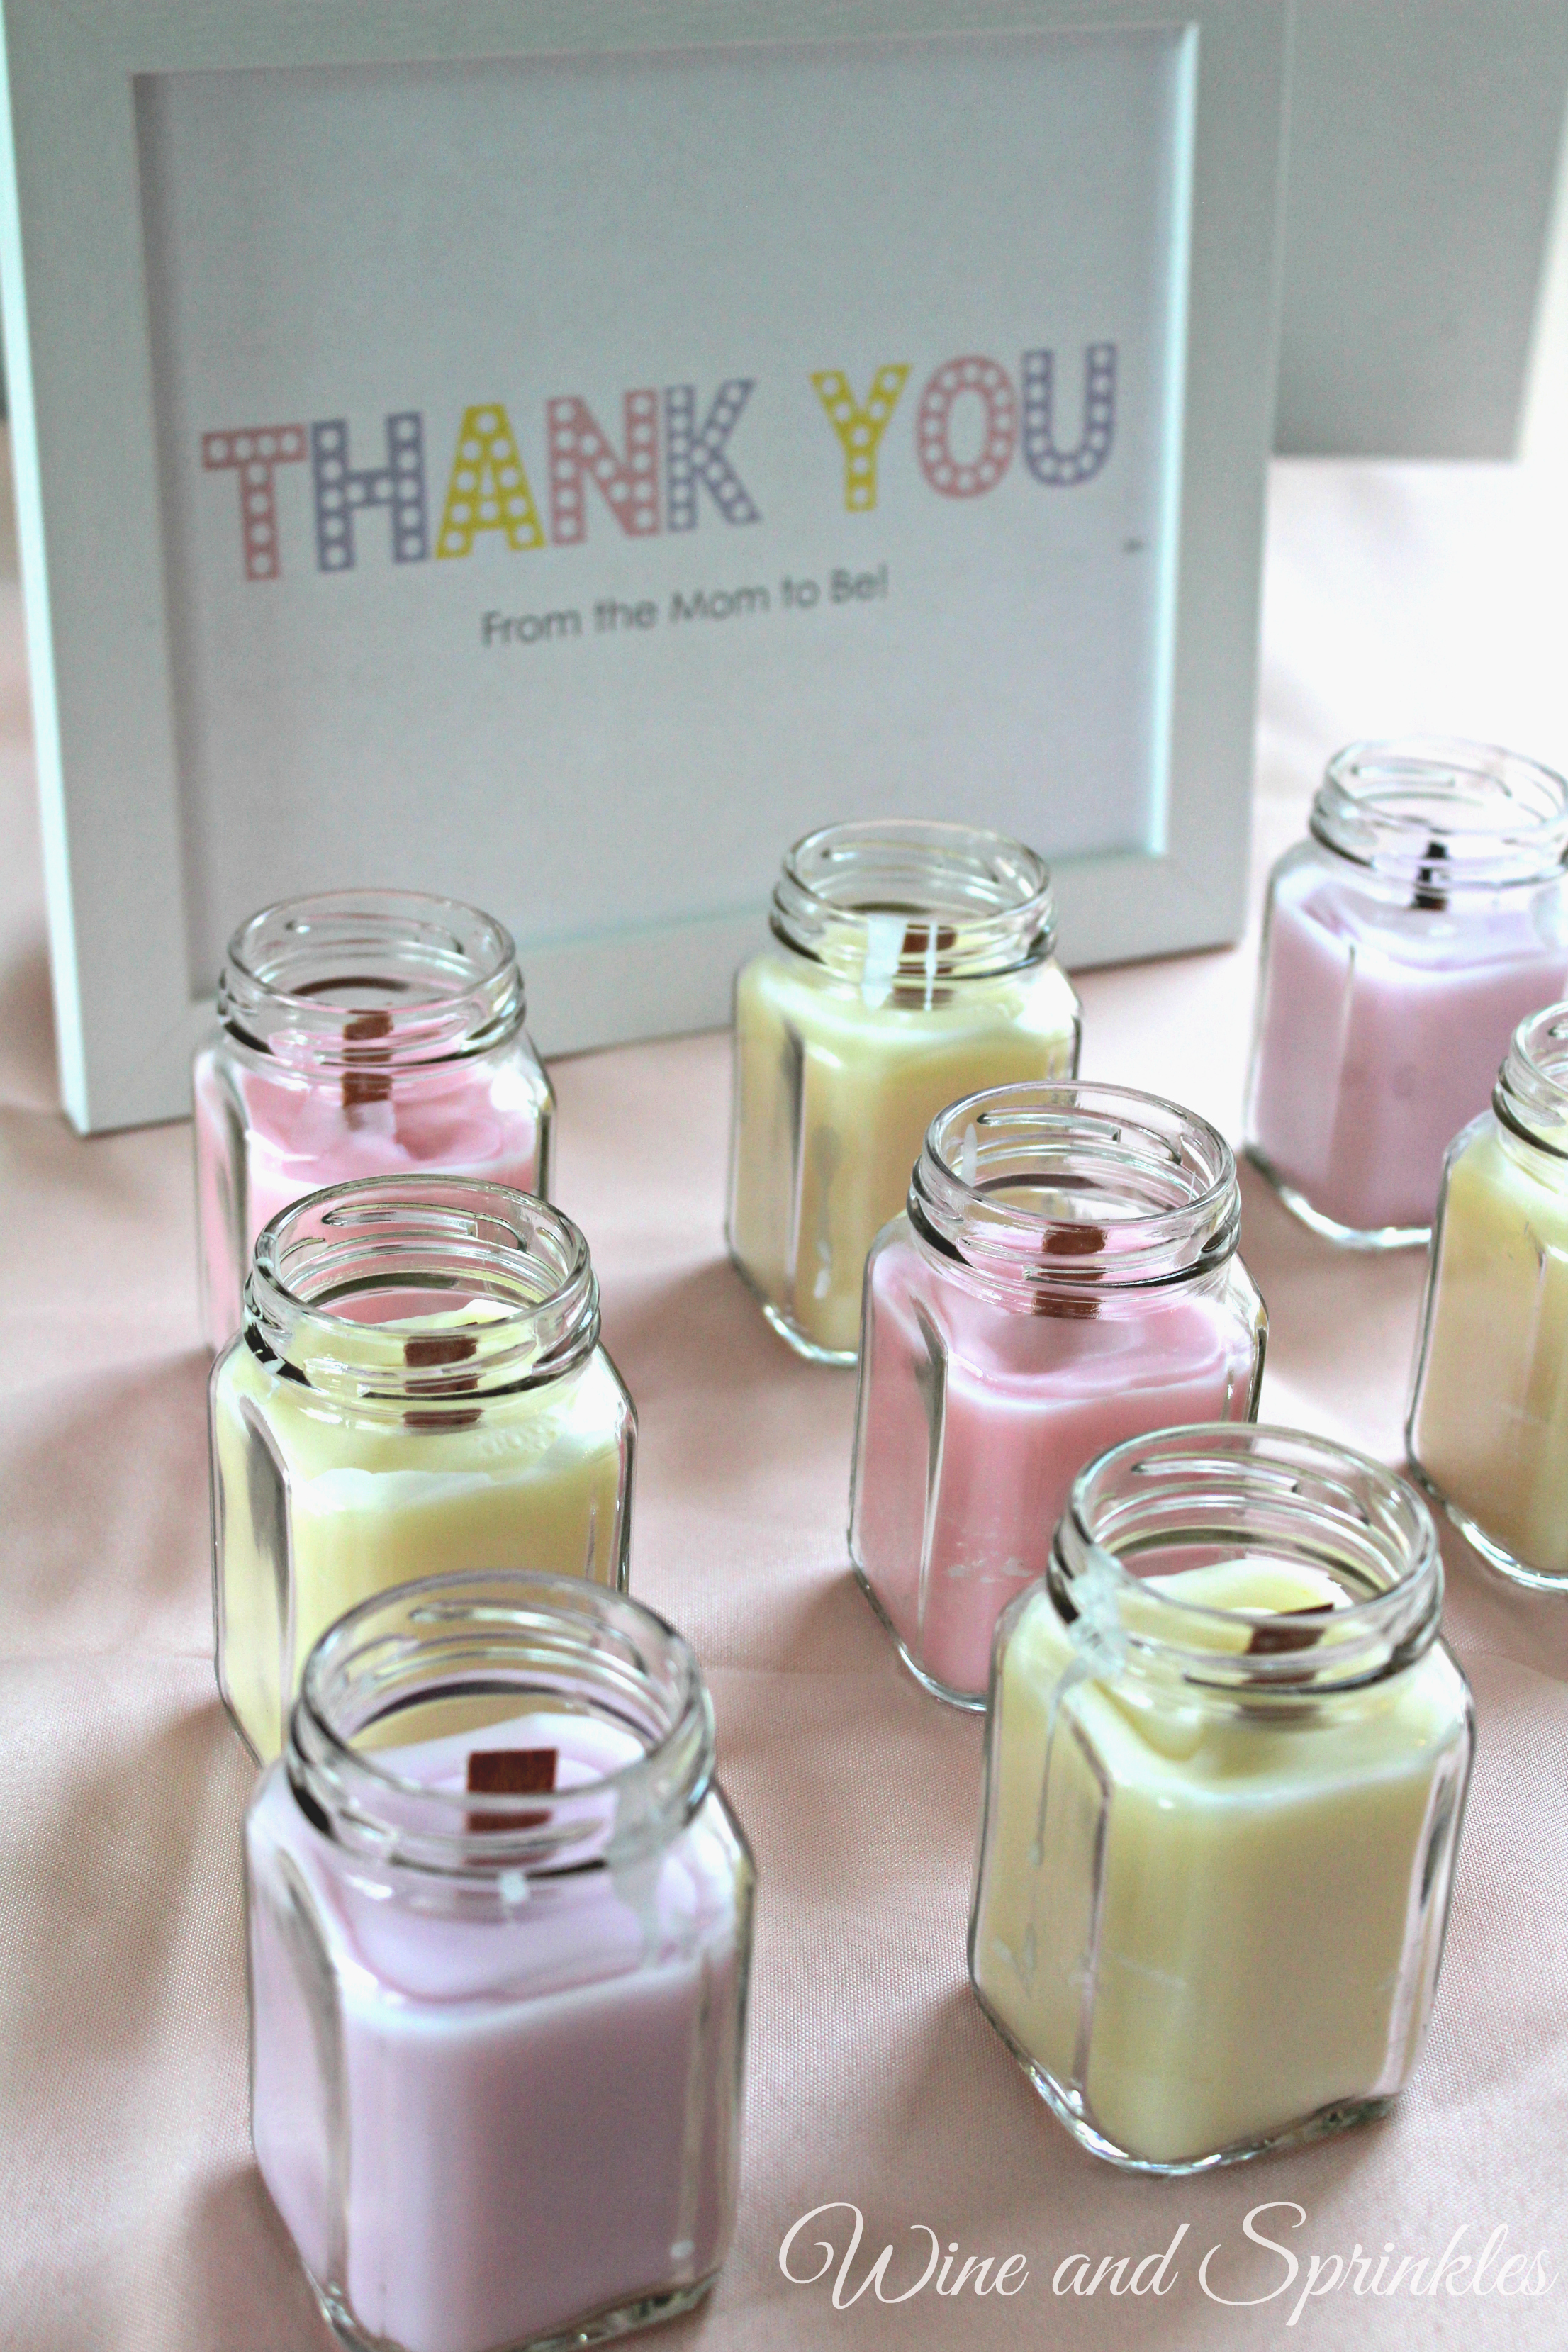
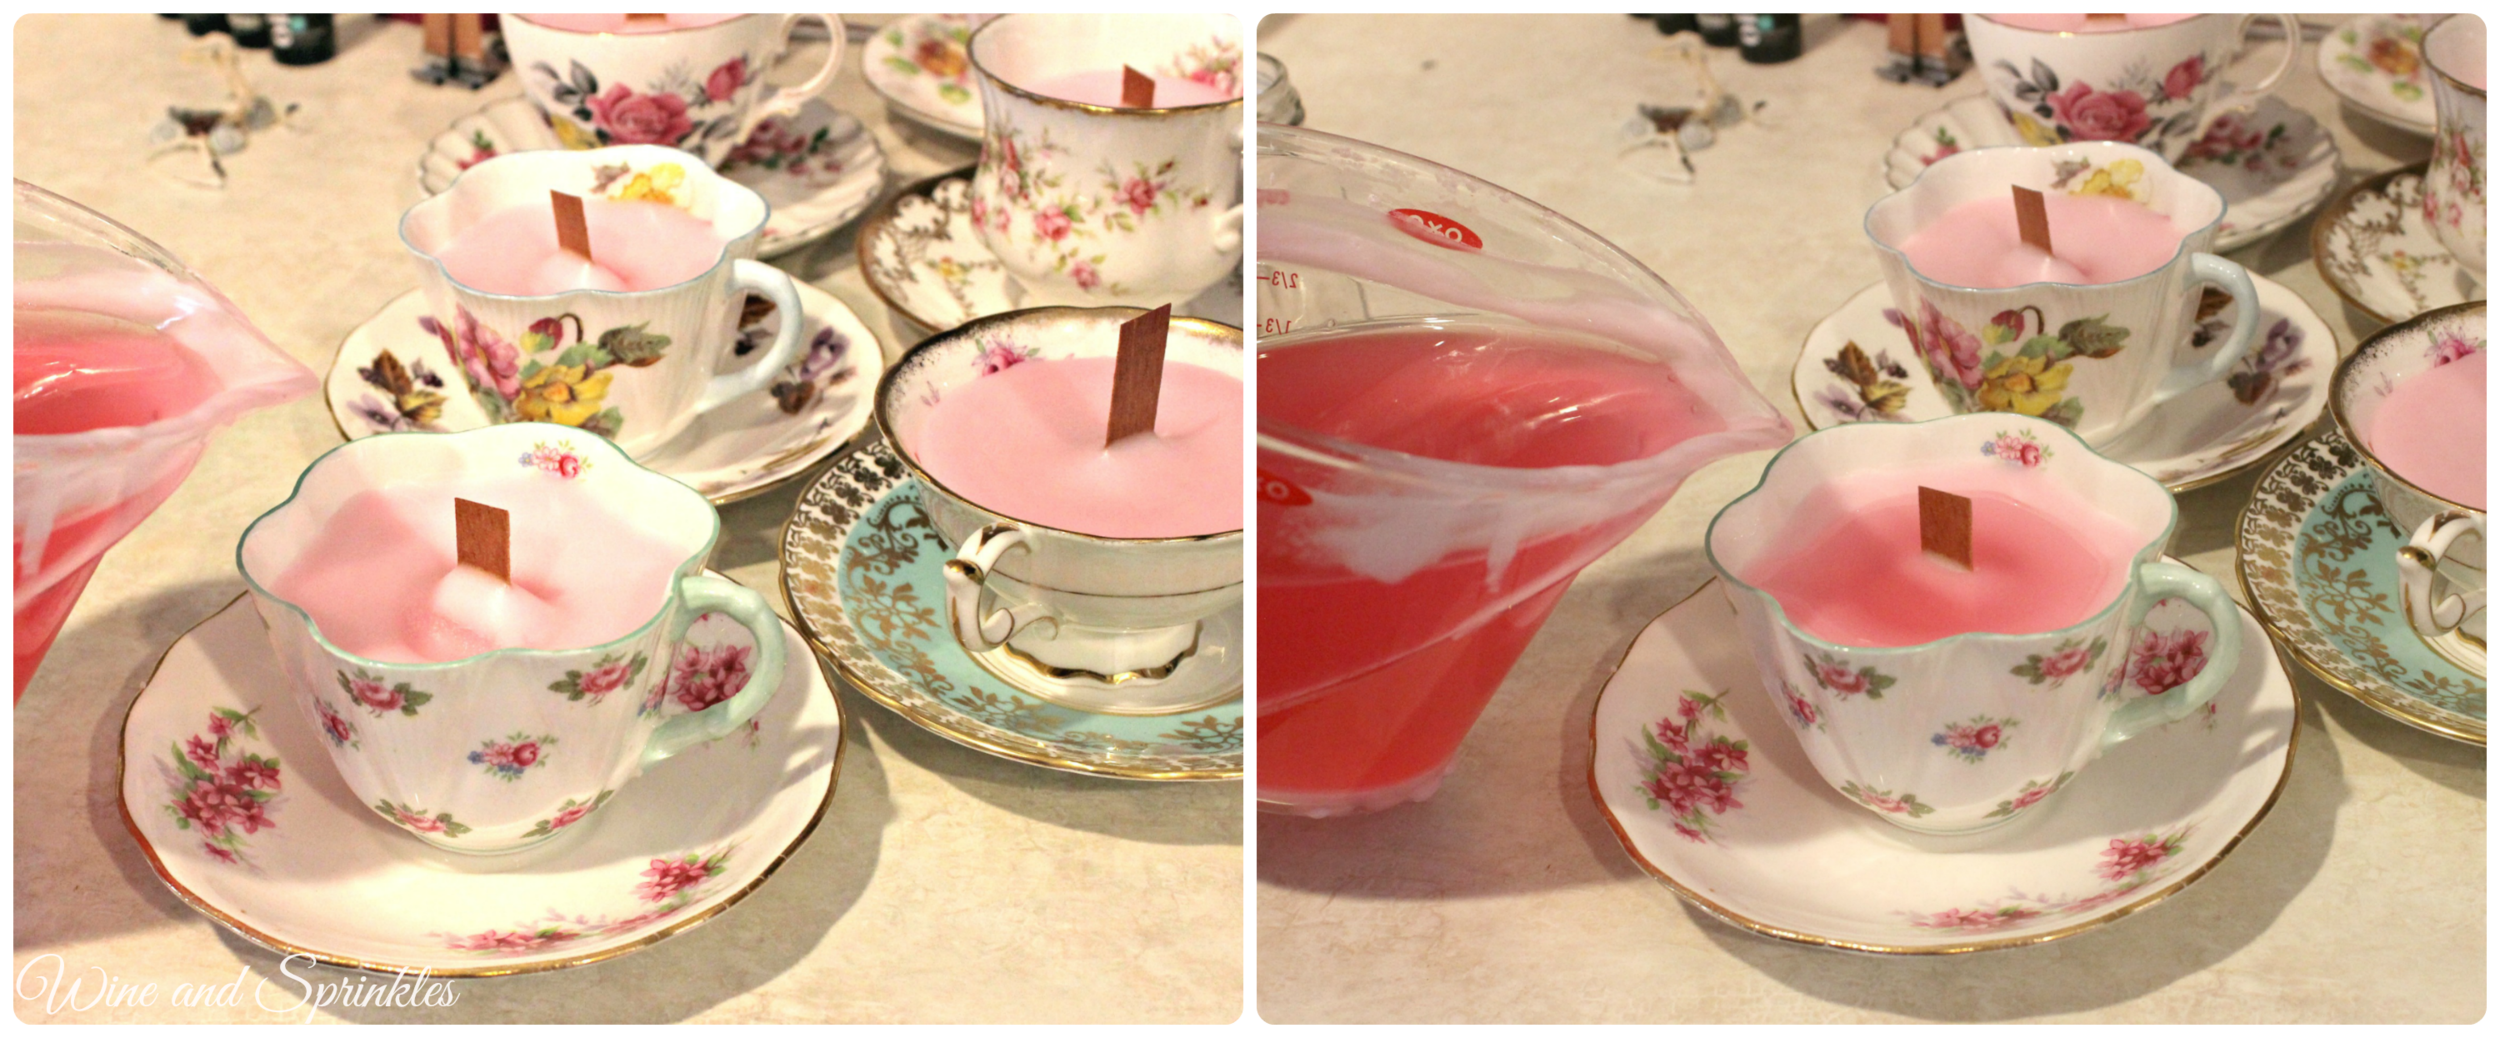
5. Let the wax cool for a couple more minutes, then add color and fragrance of your choice. The ones I have recommended are great for candles, bath bombs, soaps, and bath salts, so you can get a lot of use out of them! I made pastel pink, purple, and yellow candles that were scented as peppermint-lemon, lavender-lemon, and rosemary-lemon (I know you can't tell that I like lemon).

6. Pour cooled (but still liquid) wax into the teacups. Reserve about 25% of your wax to remelt and top off your candles if a divot is created in the middle due to the wax cooling. The cooler the wax is, the less of a divot will form. Some of mine with the cool wax needed no additional wax to fill in, while the ones where I started with hot wax needed a lot of extra to make them look nice!
7. Once candles are cooled and solidified, remelt the excess wax and fill in any divots that were caused during the first pour. Now you have a lovely set of candles for your home or favors for your next party!
These have been by far one of my favorite DIY projects I have done lately and a project I have wanted to do for a long time! Now I just need to find homes for all the teacups I can’t keep, time for a tea party! :)