This post contains affiliate links, meaning that if you click on a link I will recieve a small comission. This costs you nothing extra and I only promote products I use and love! You can read our full disclosure here
As you read this post, you’ll notice a lot of bolded words, some that highlight pink and link to other posts and products, and others that don’t do anything. That’s because I am still writing and working on the posts those words go to! As these posts get published, I’ll be updating this post until all the projects are complete! Subscribe to my Newsletter or Follow me on Facebook to keep updated on when I post new content!

I love using the Cricut family of products for my Vinyl and HTV Projects, but they are also so useful in all my stationery projects to date! The print to cut feature for invitations gives beautifully cut custom sized cards but even in this simple stationery project it shines! Using a simple envelope cut file I made and merely making a rectangle in the software, I now have cut files for customizing patterns for all my future stationery projects as well as giving me a great guide for branching into other invitation and envelope sizes!
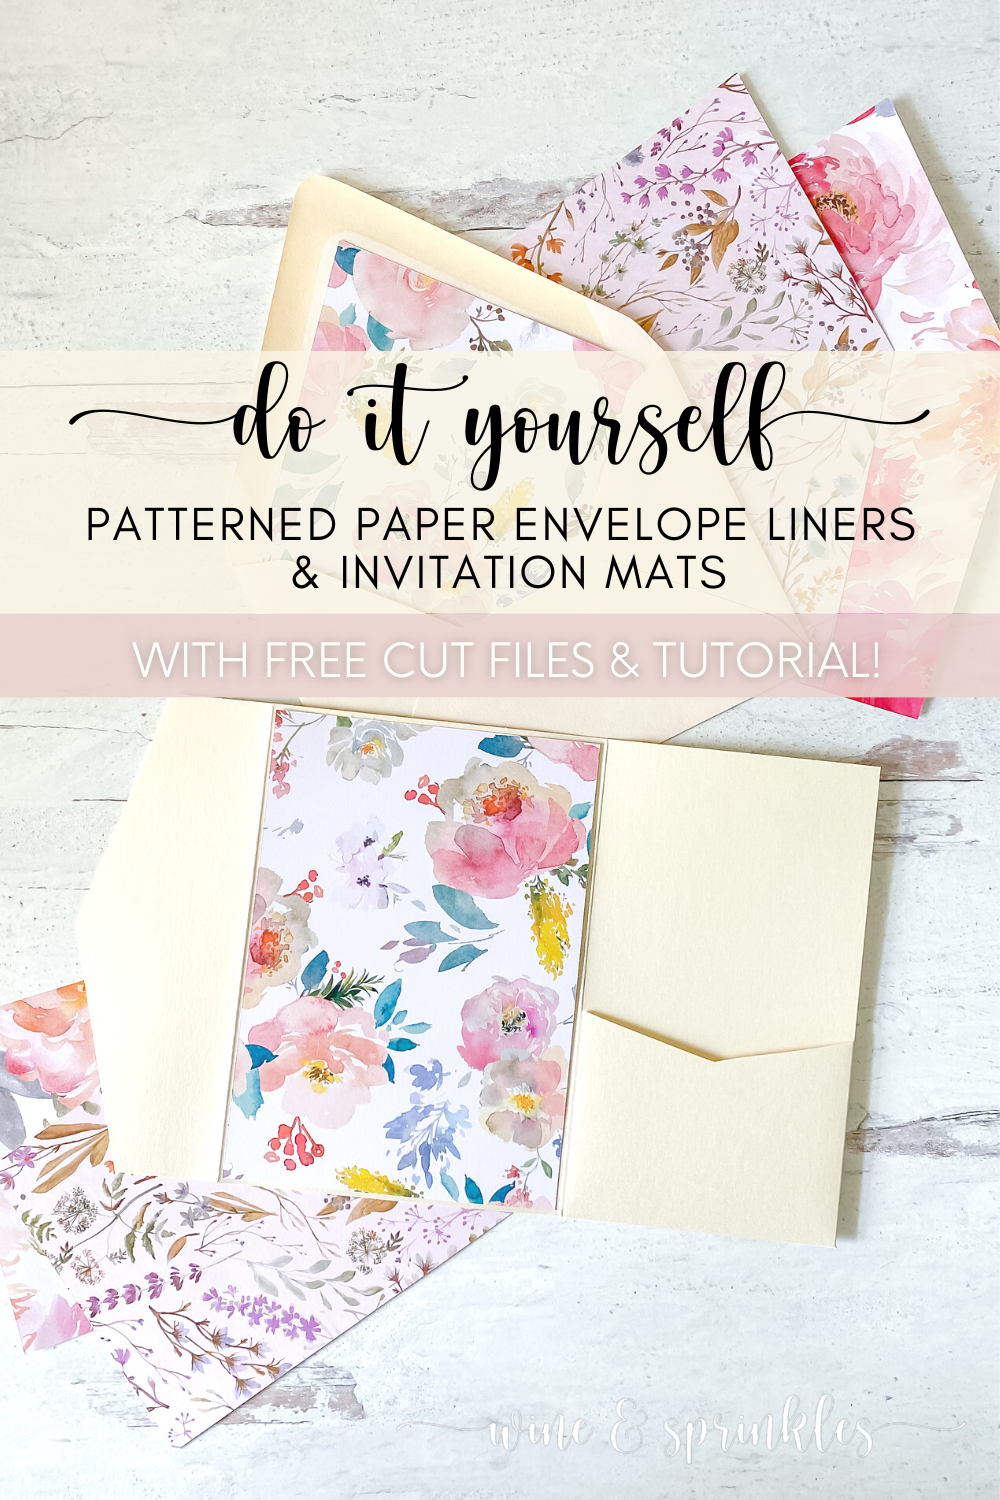
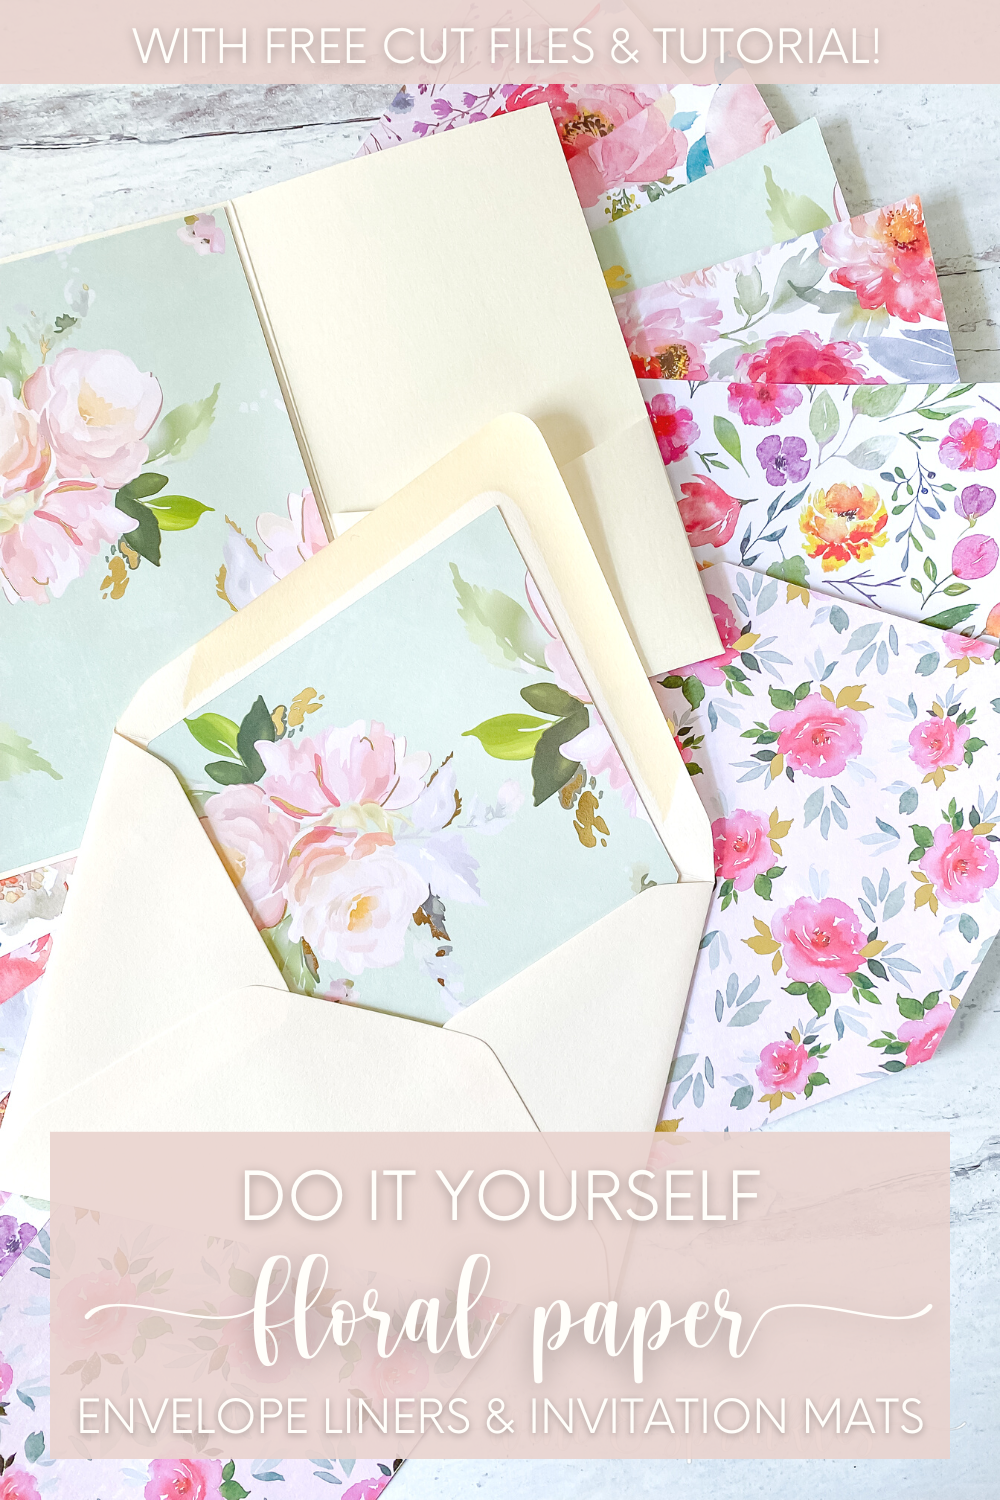
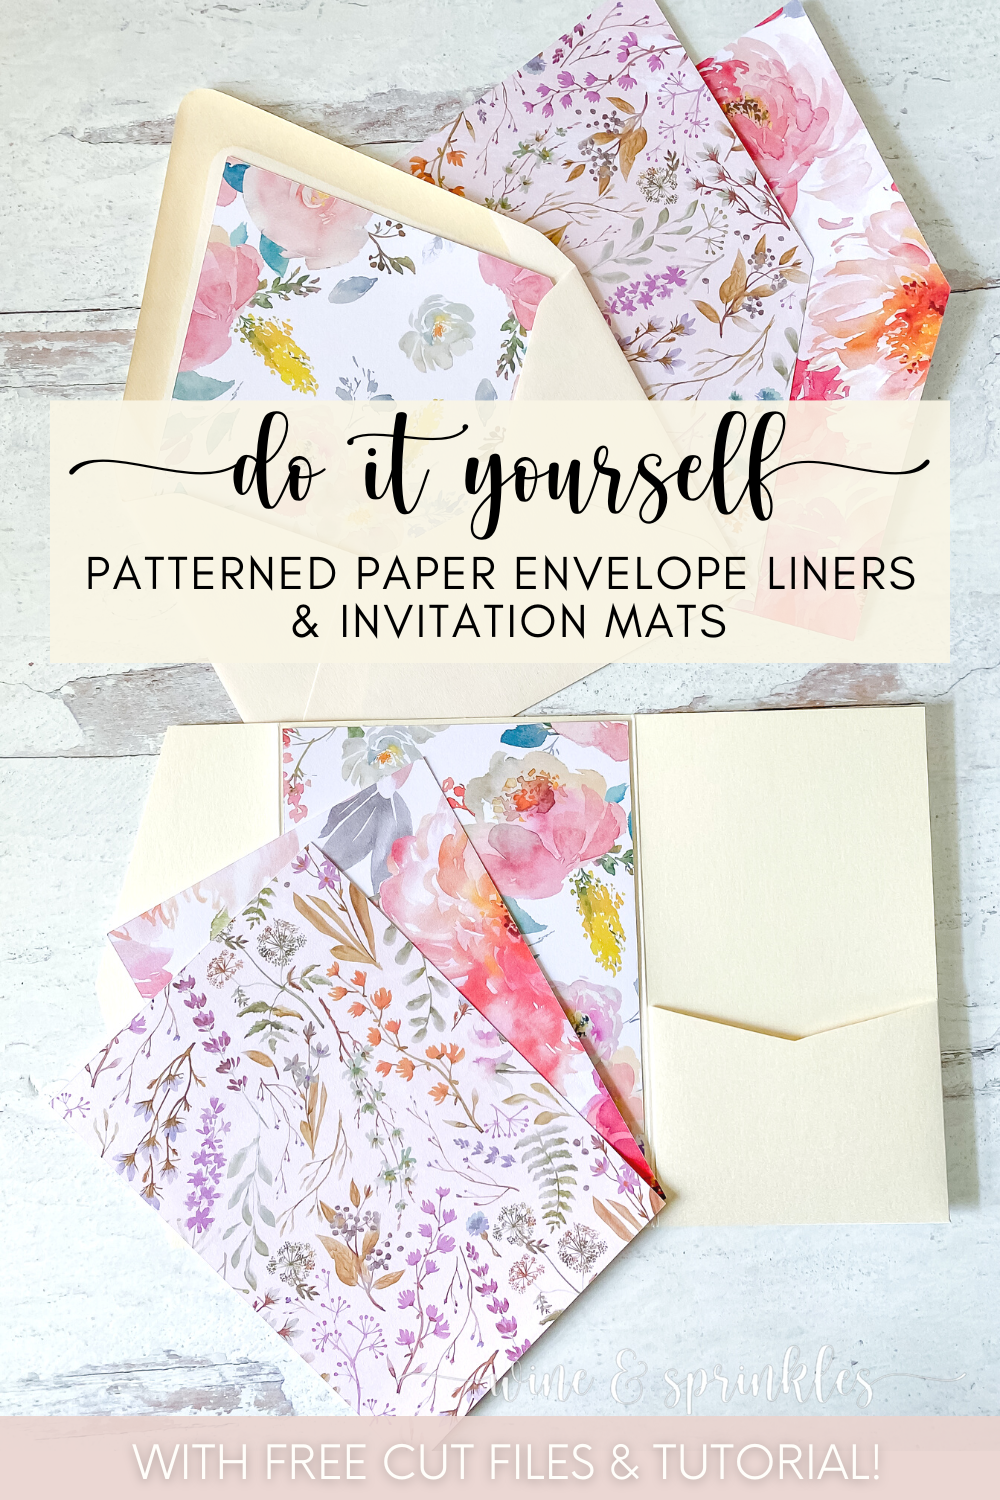
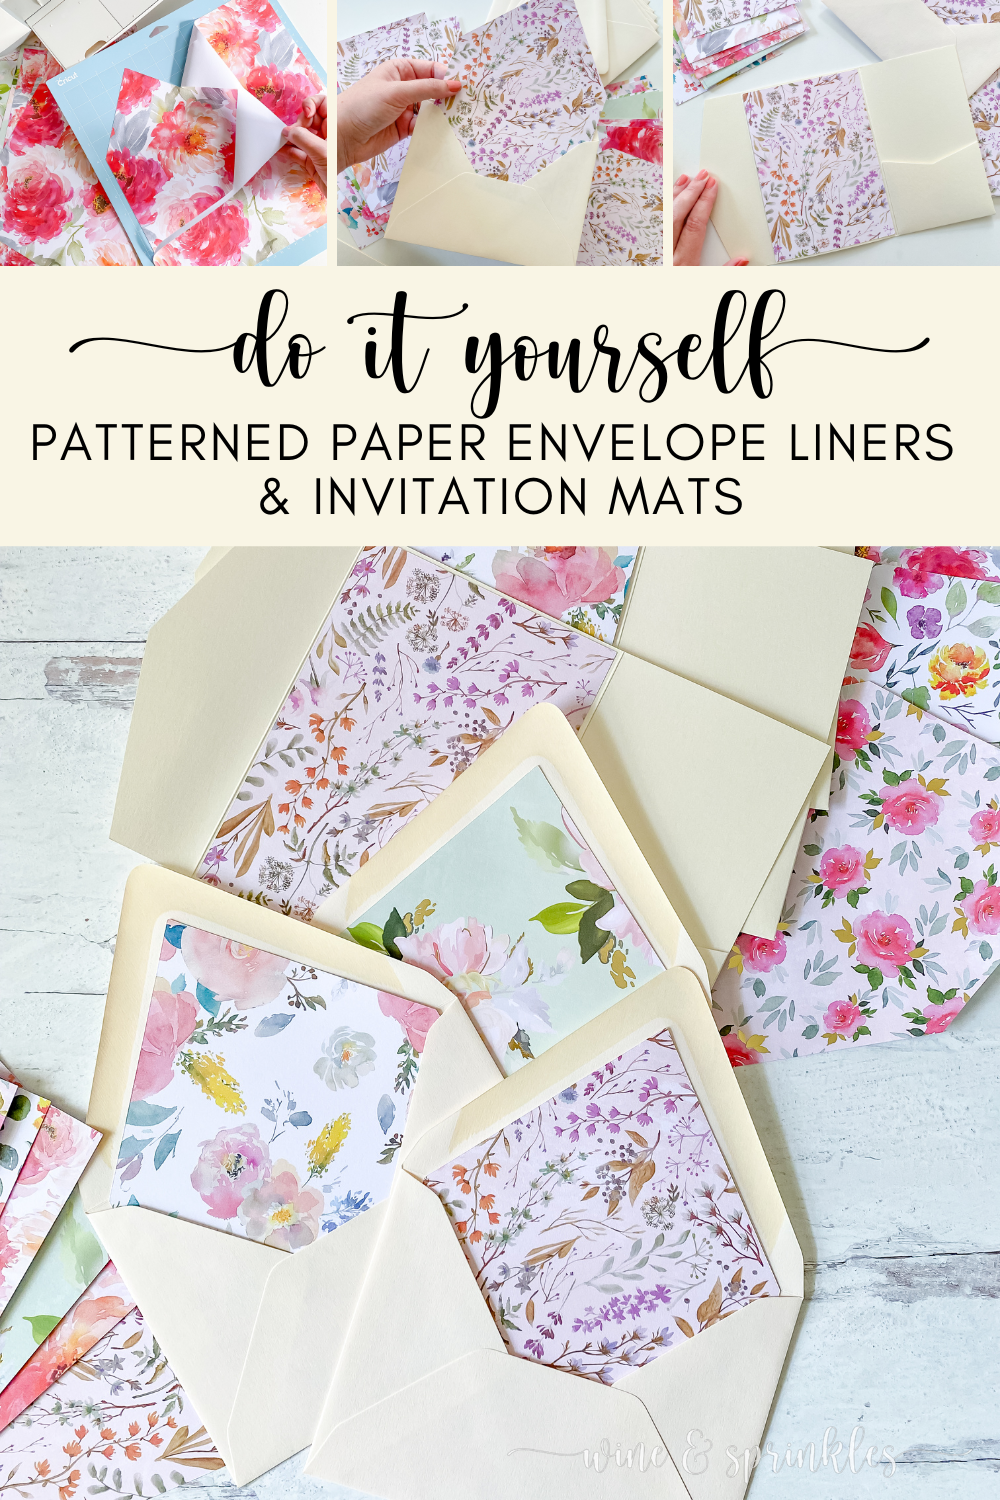
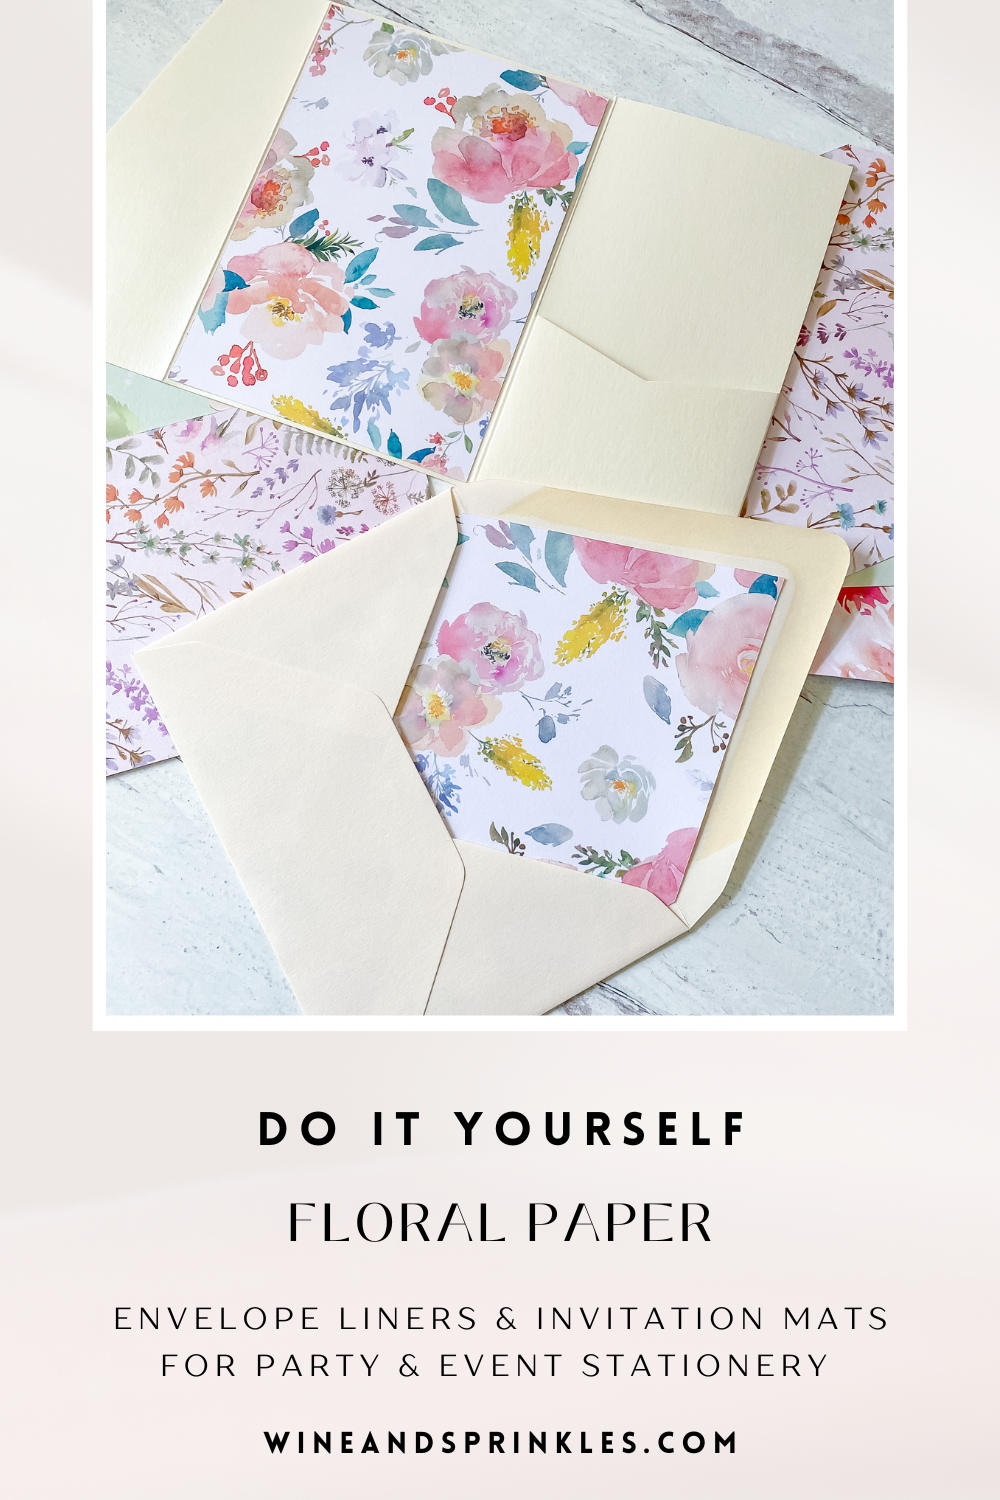
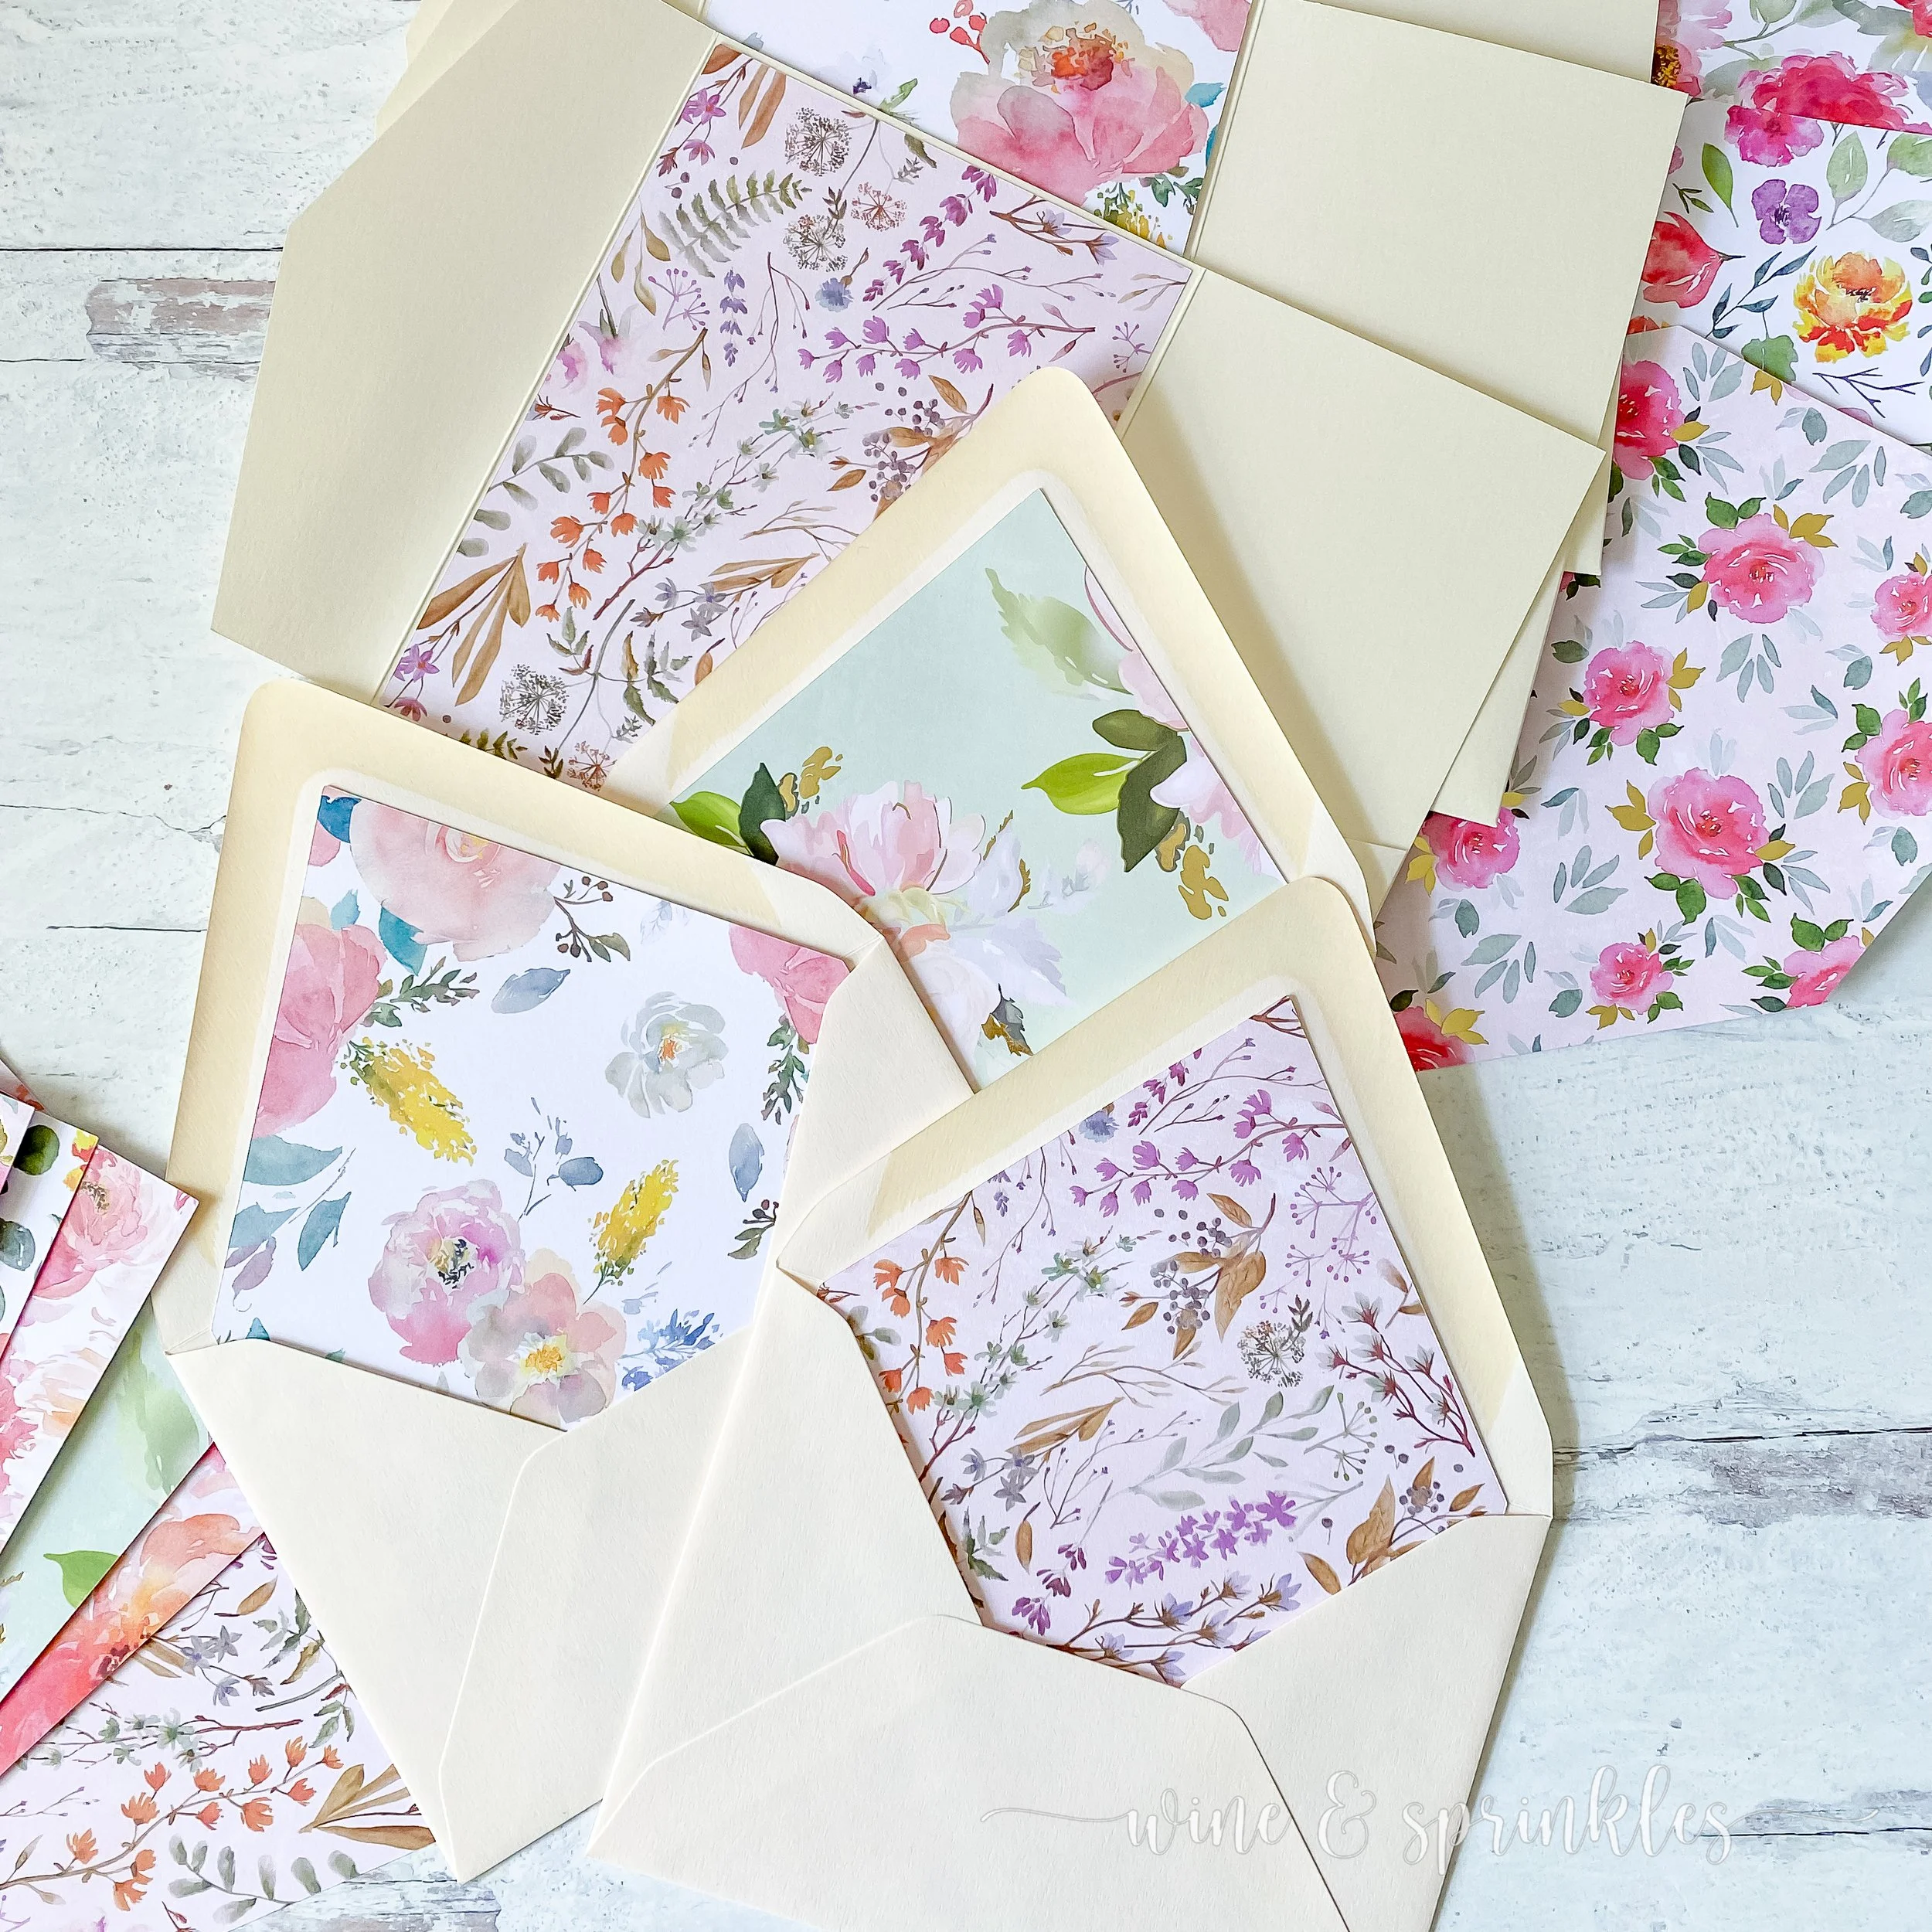
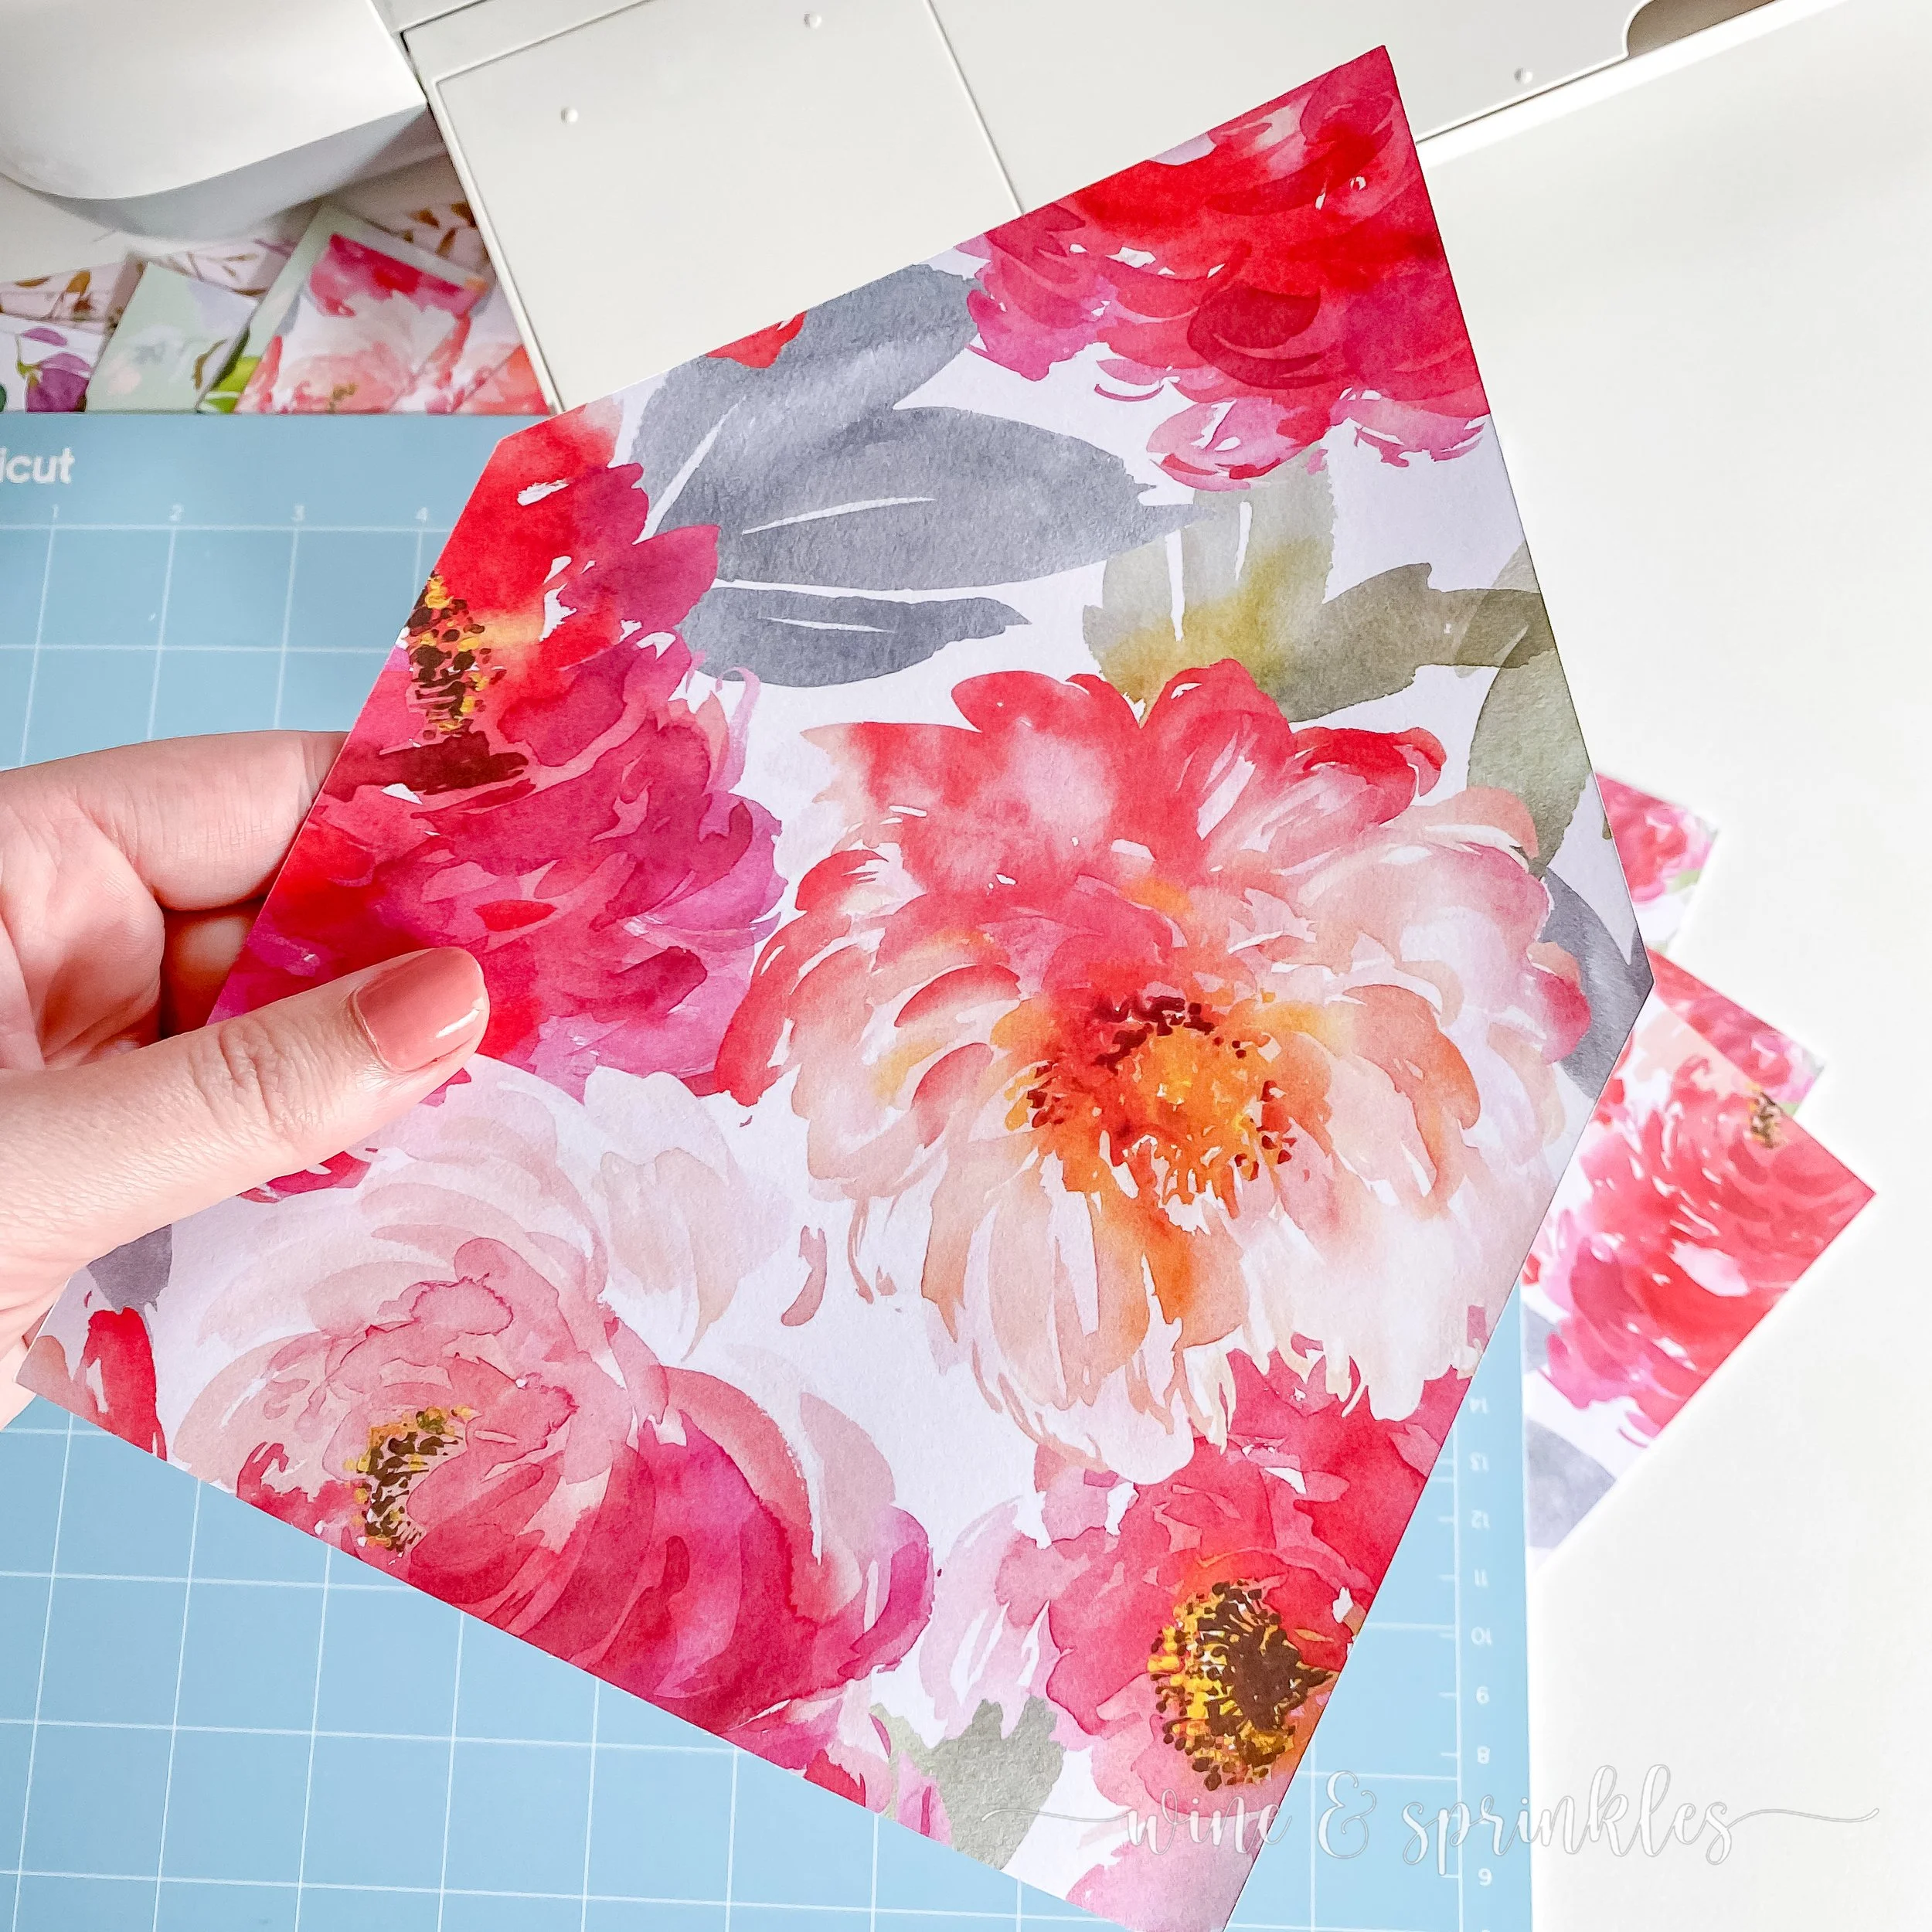
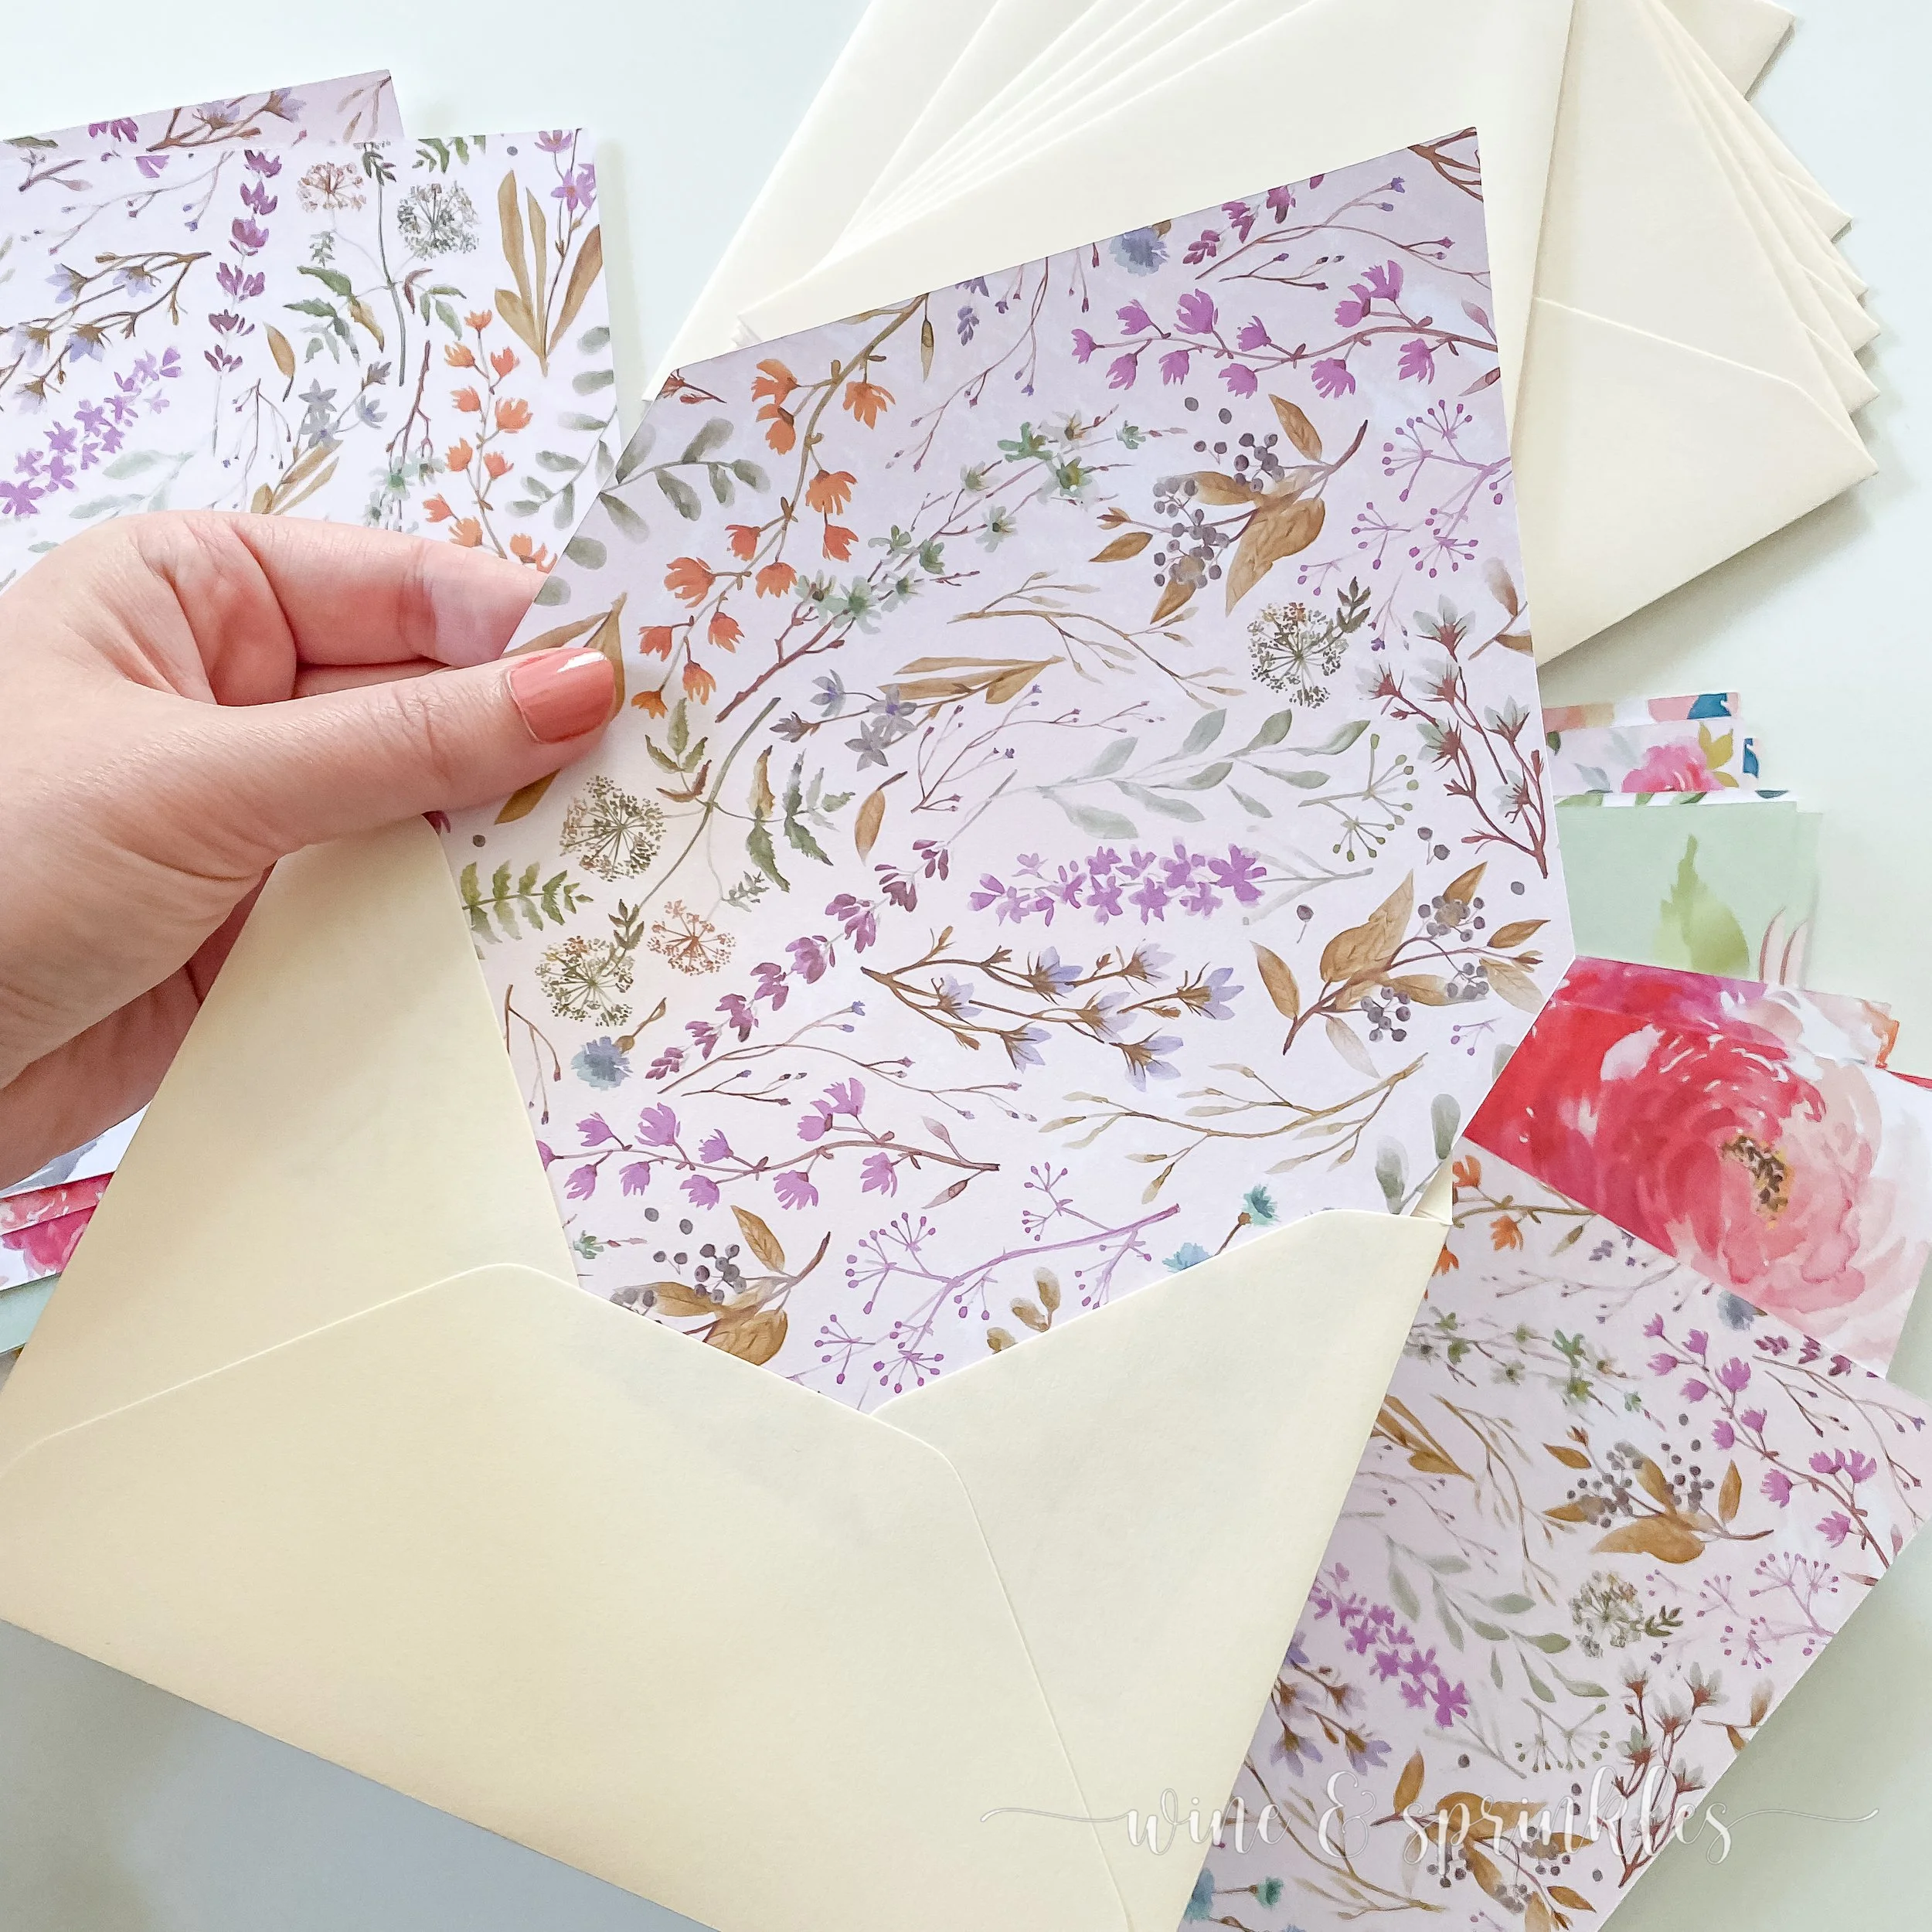
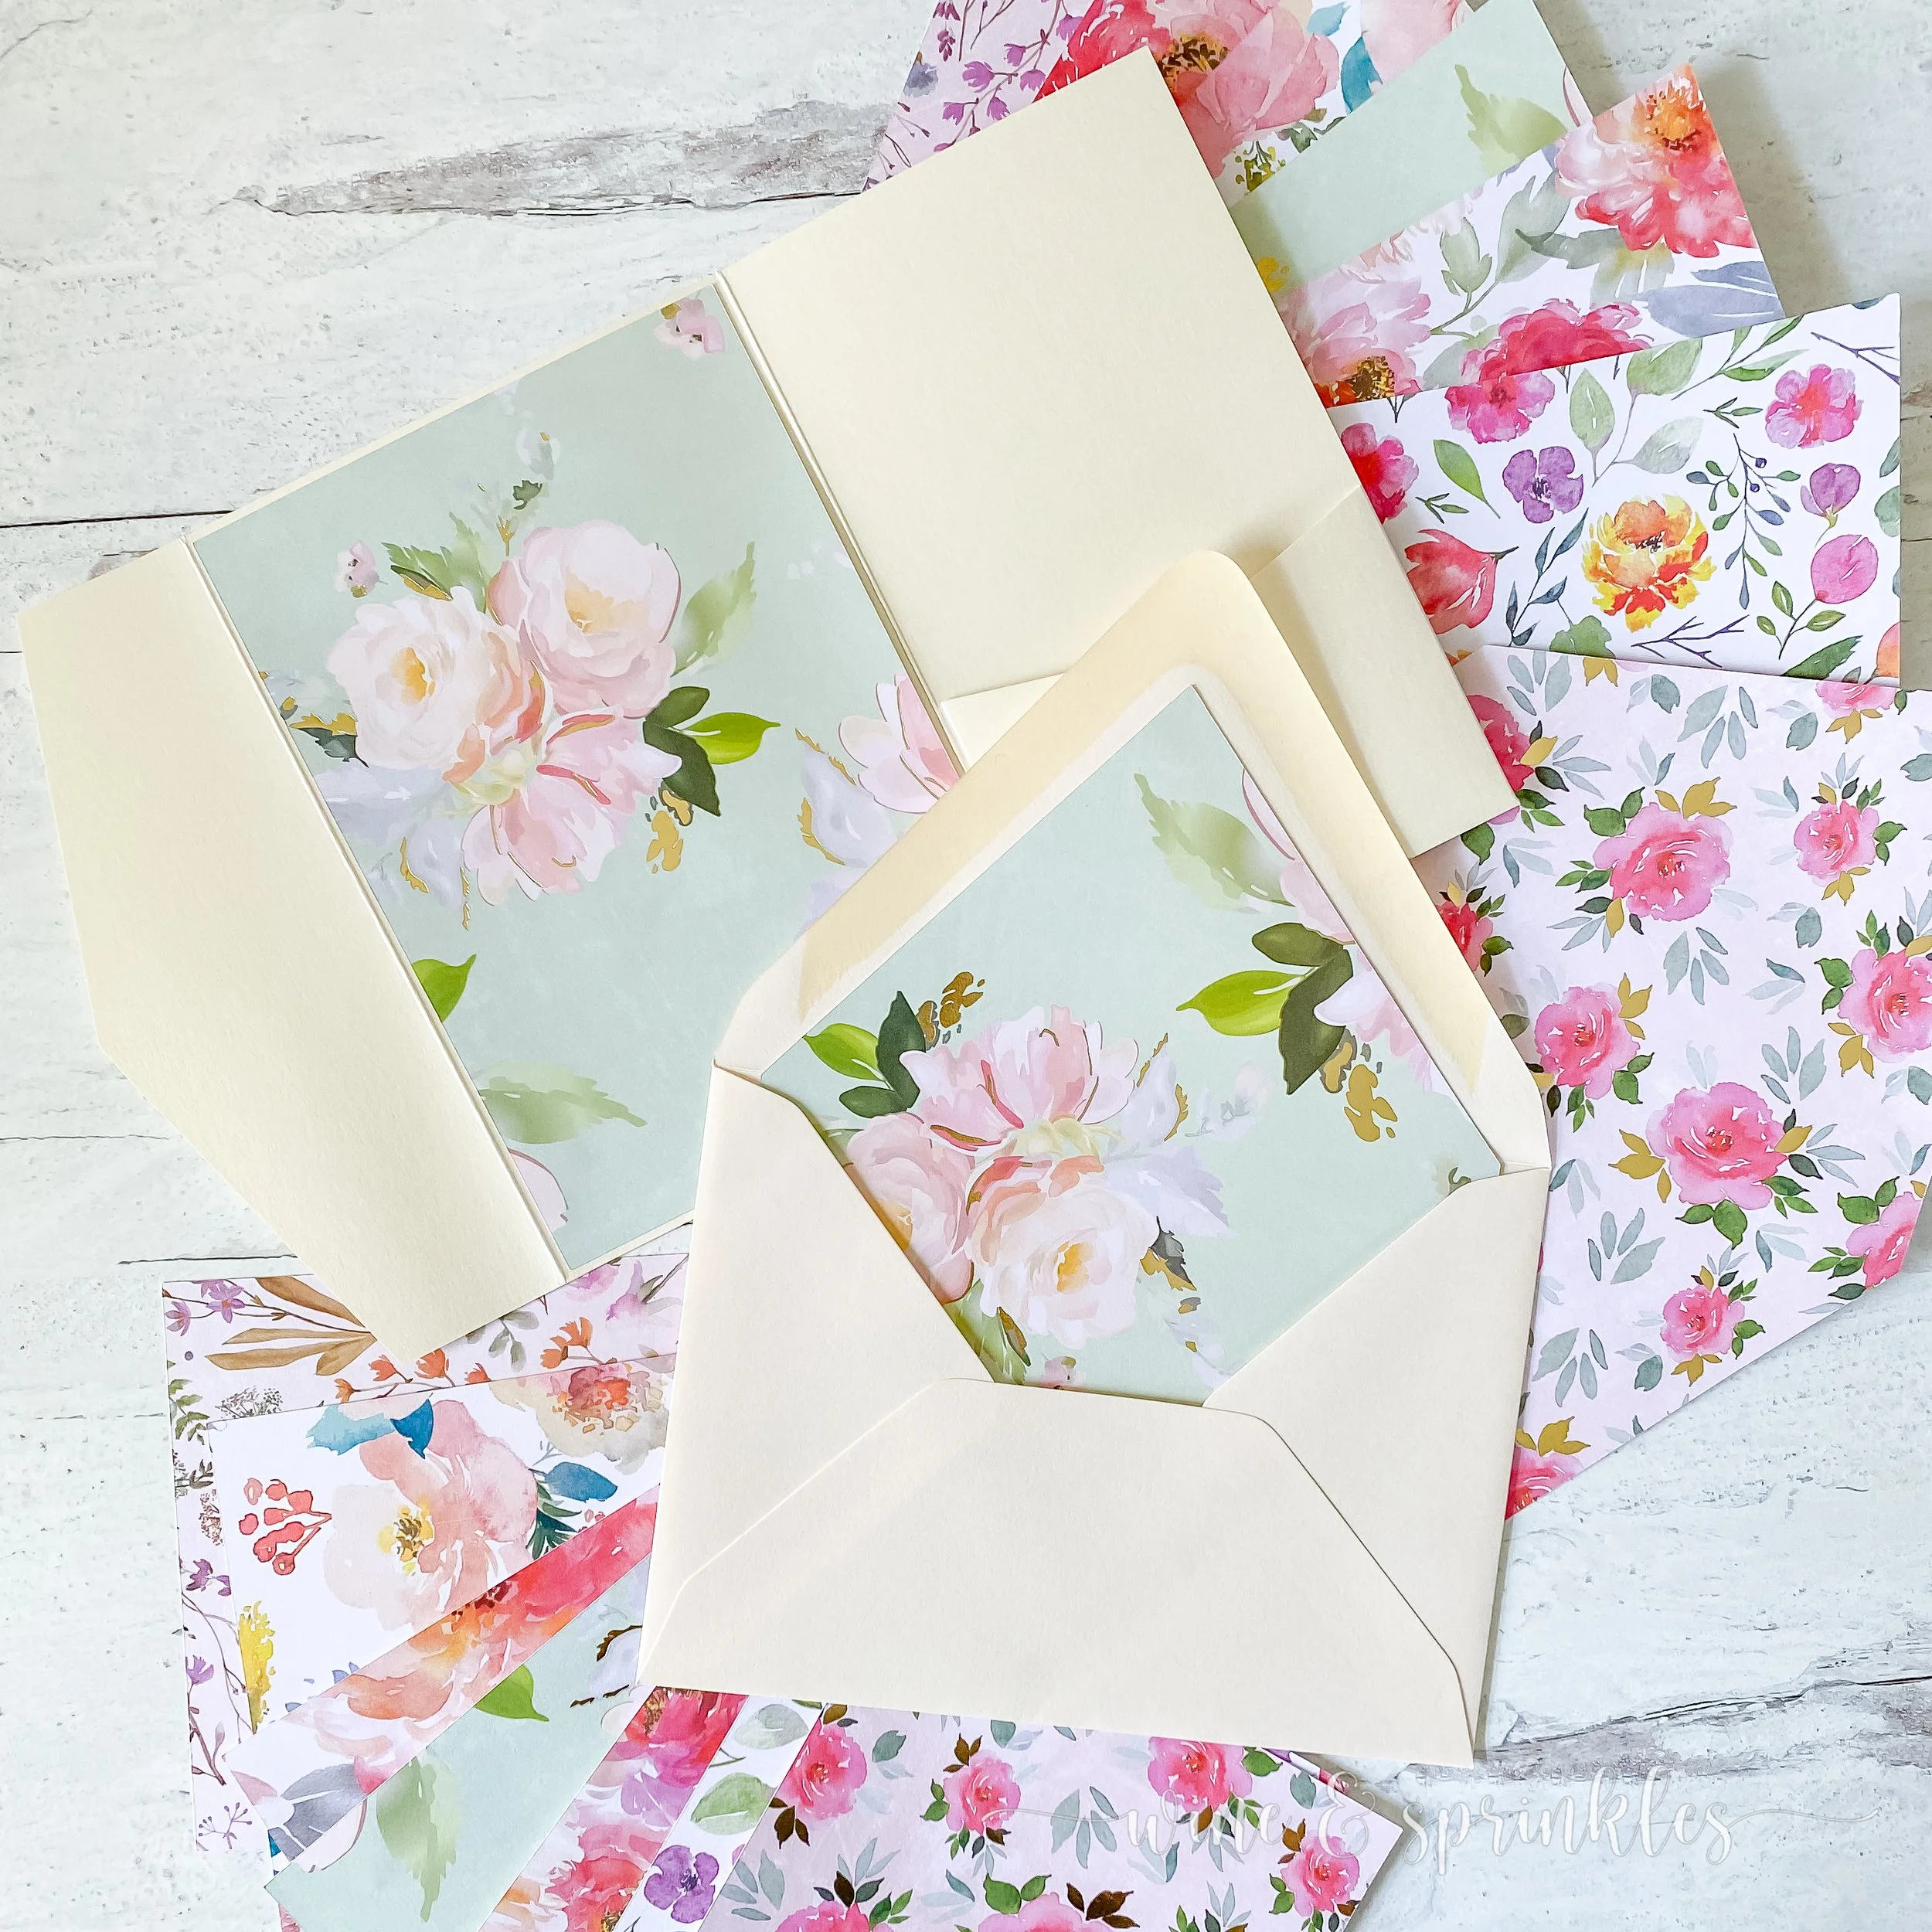
For my Vintage Victorian Karaoke & Cards Cocktail Party, mismatched florals were the name of the game! So when I found a bunch of beautiful floral scrapbook paper it became the perfect time to start making more stationery details and create a staple for my future paperie projects. After creating custom Floral Patterned Playing Cards with part of my paper, I picked my favorite prints to turn into a personalized patterned detail on my guests invitations, Patterned Paper Invitation Mat and Envelope Liners.
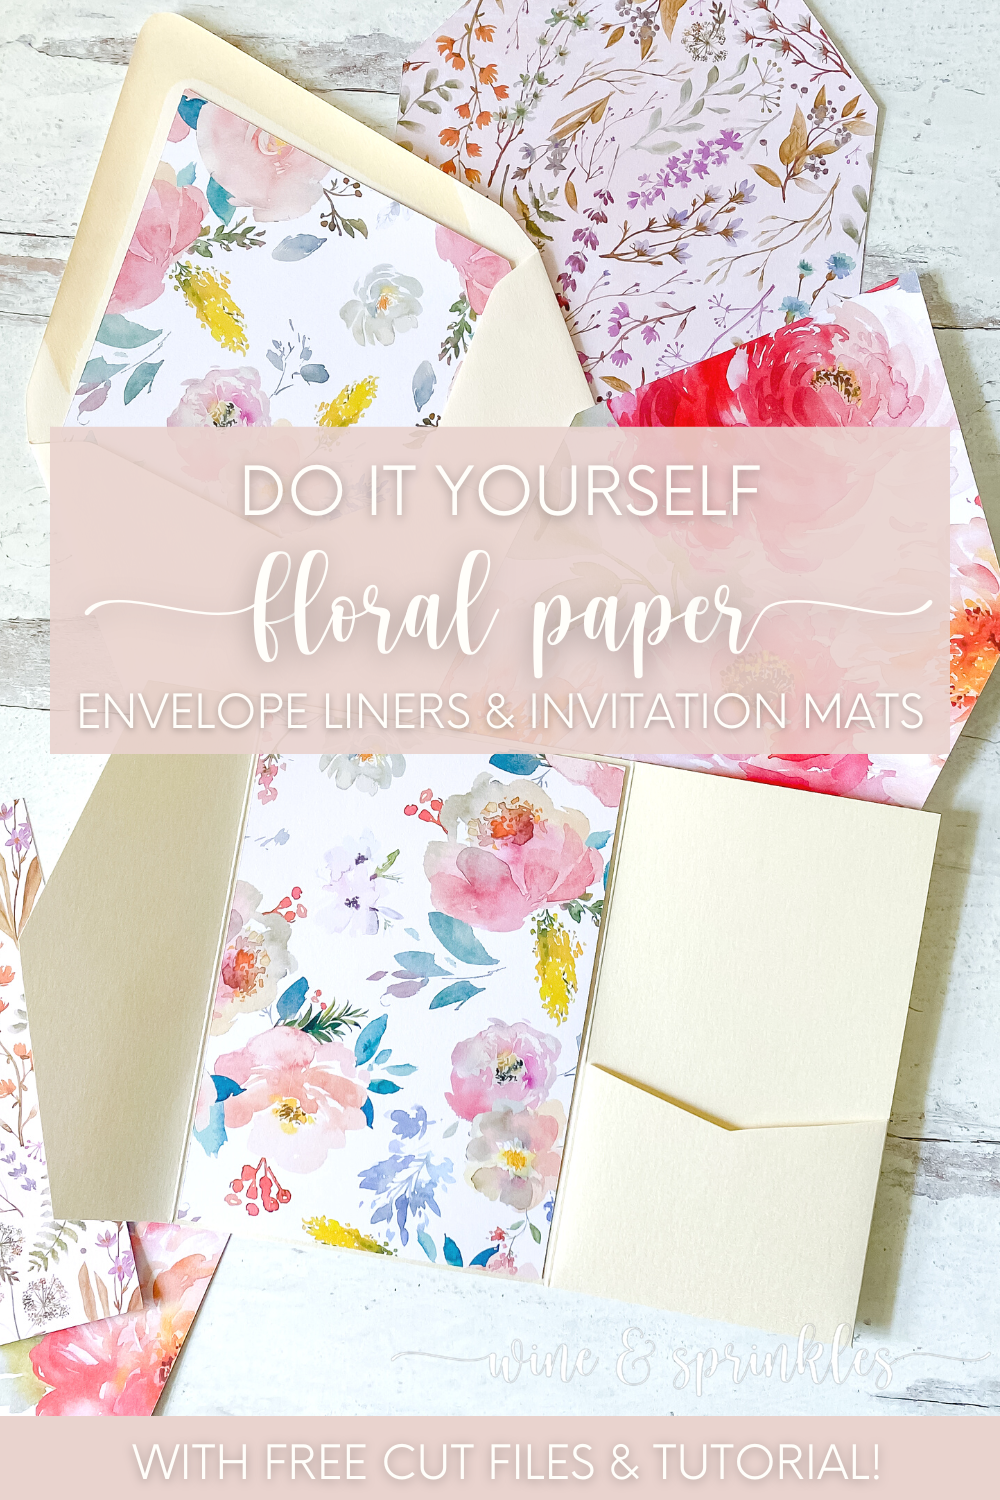
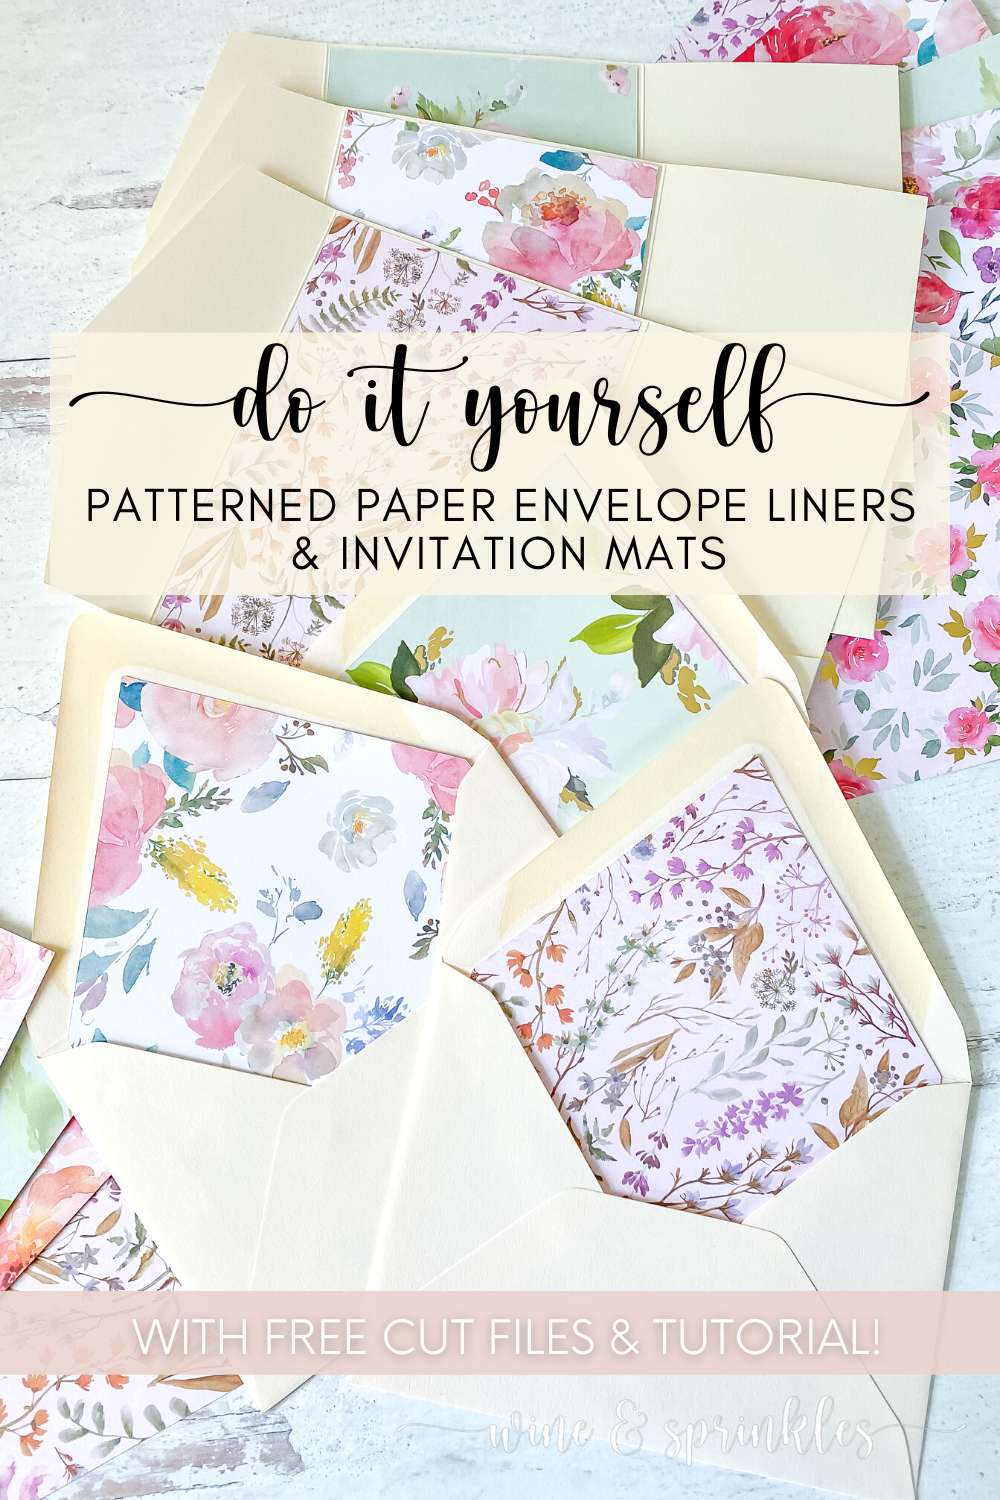
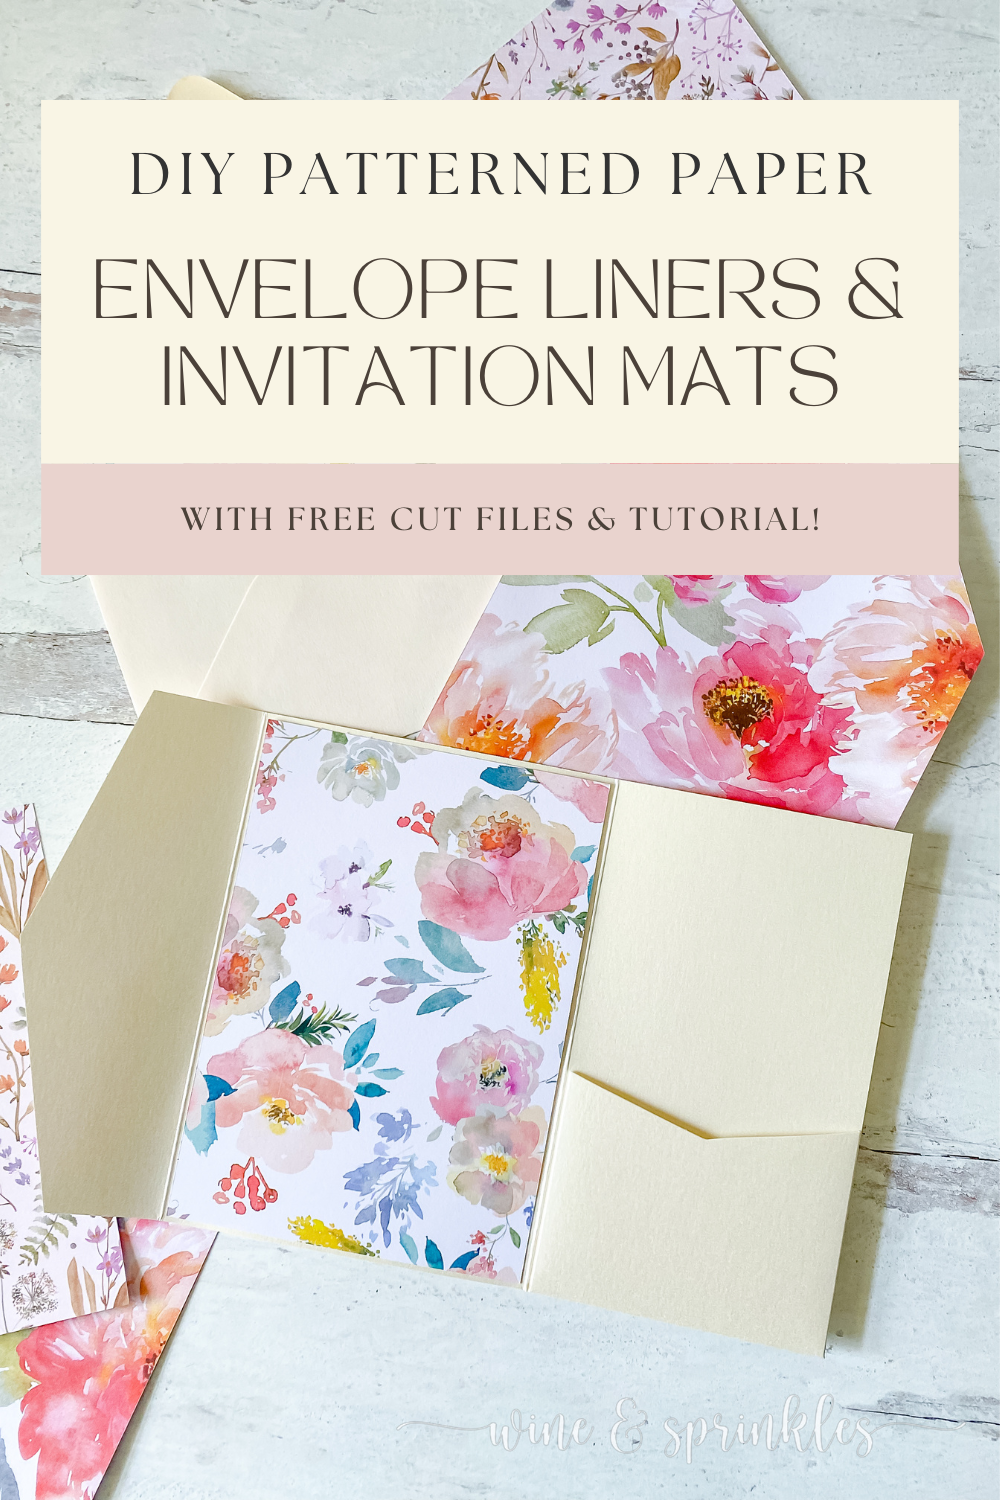
Invitation mats are a staple piece of wedding stationery, creating a base to support and frame your invitation, while envelope liners are the perfect way to add a classy pop inside your invite as soon as it's opened! By creating my own cut files, I could personalize each invitation's floral pattern to each guest with the help of my Cricut Craft Cutter!
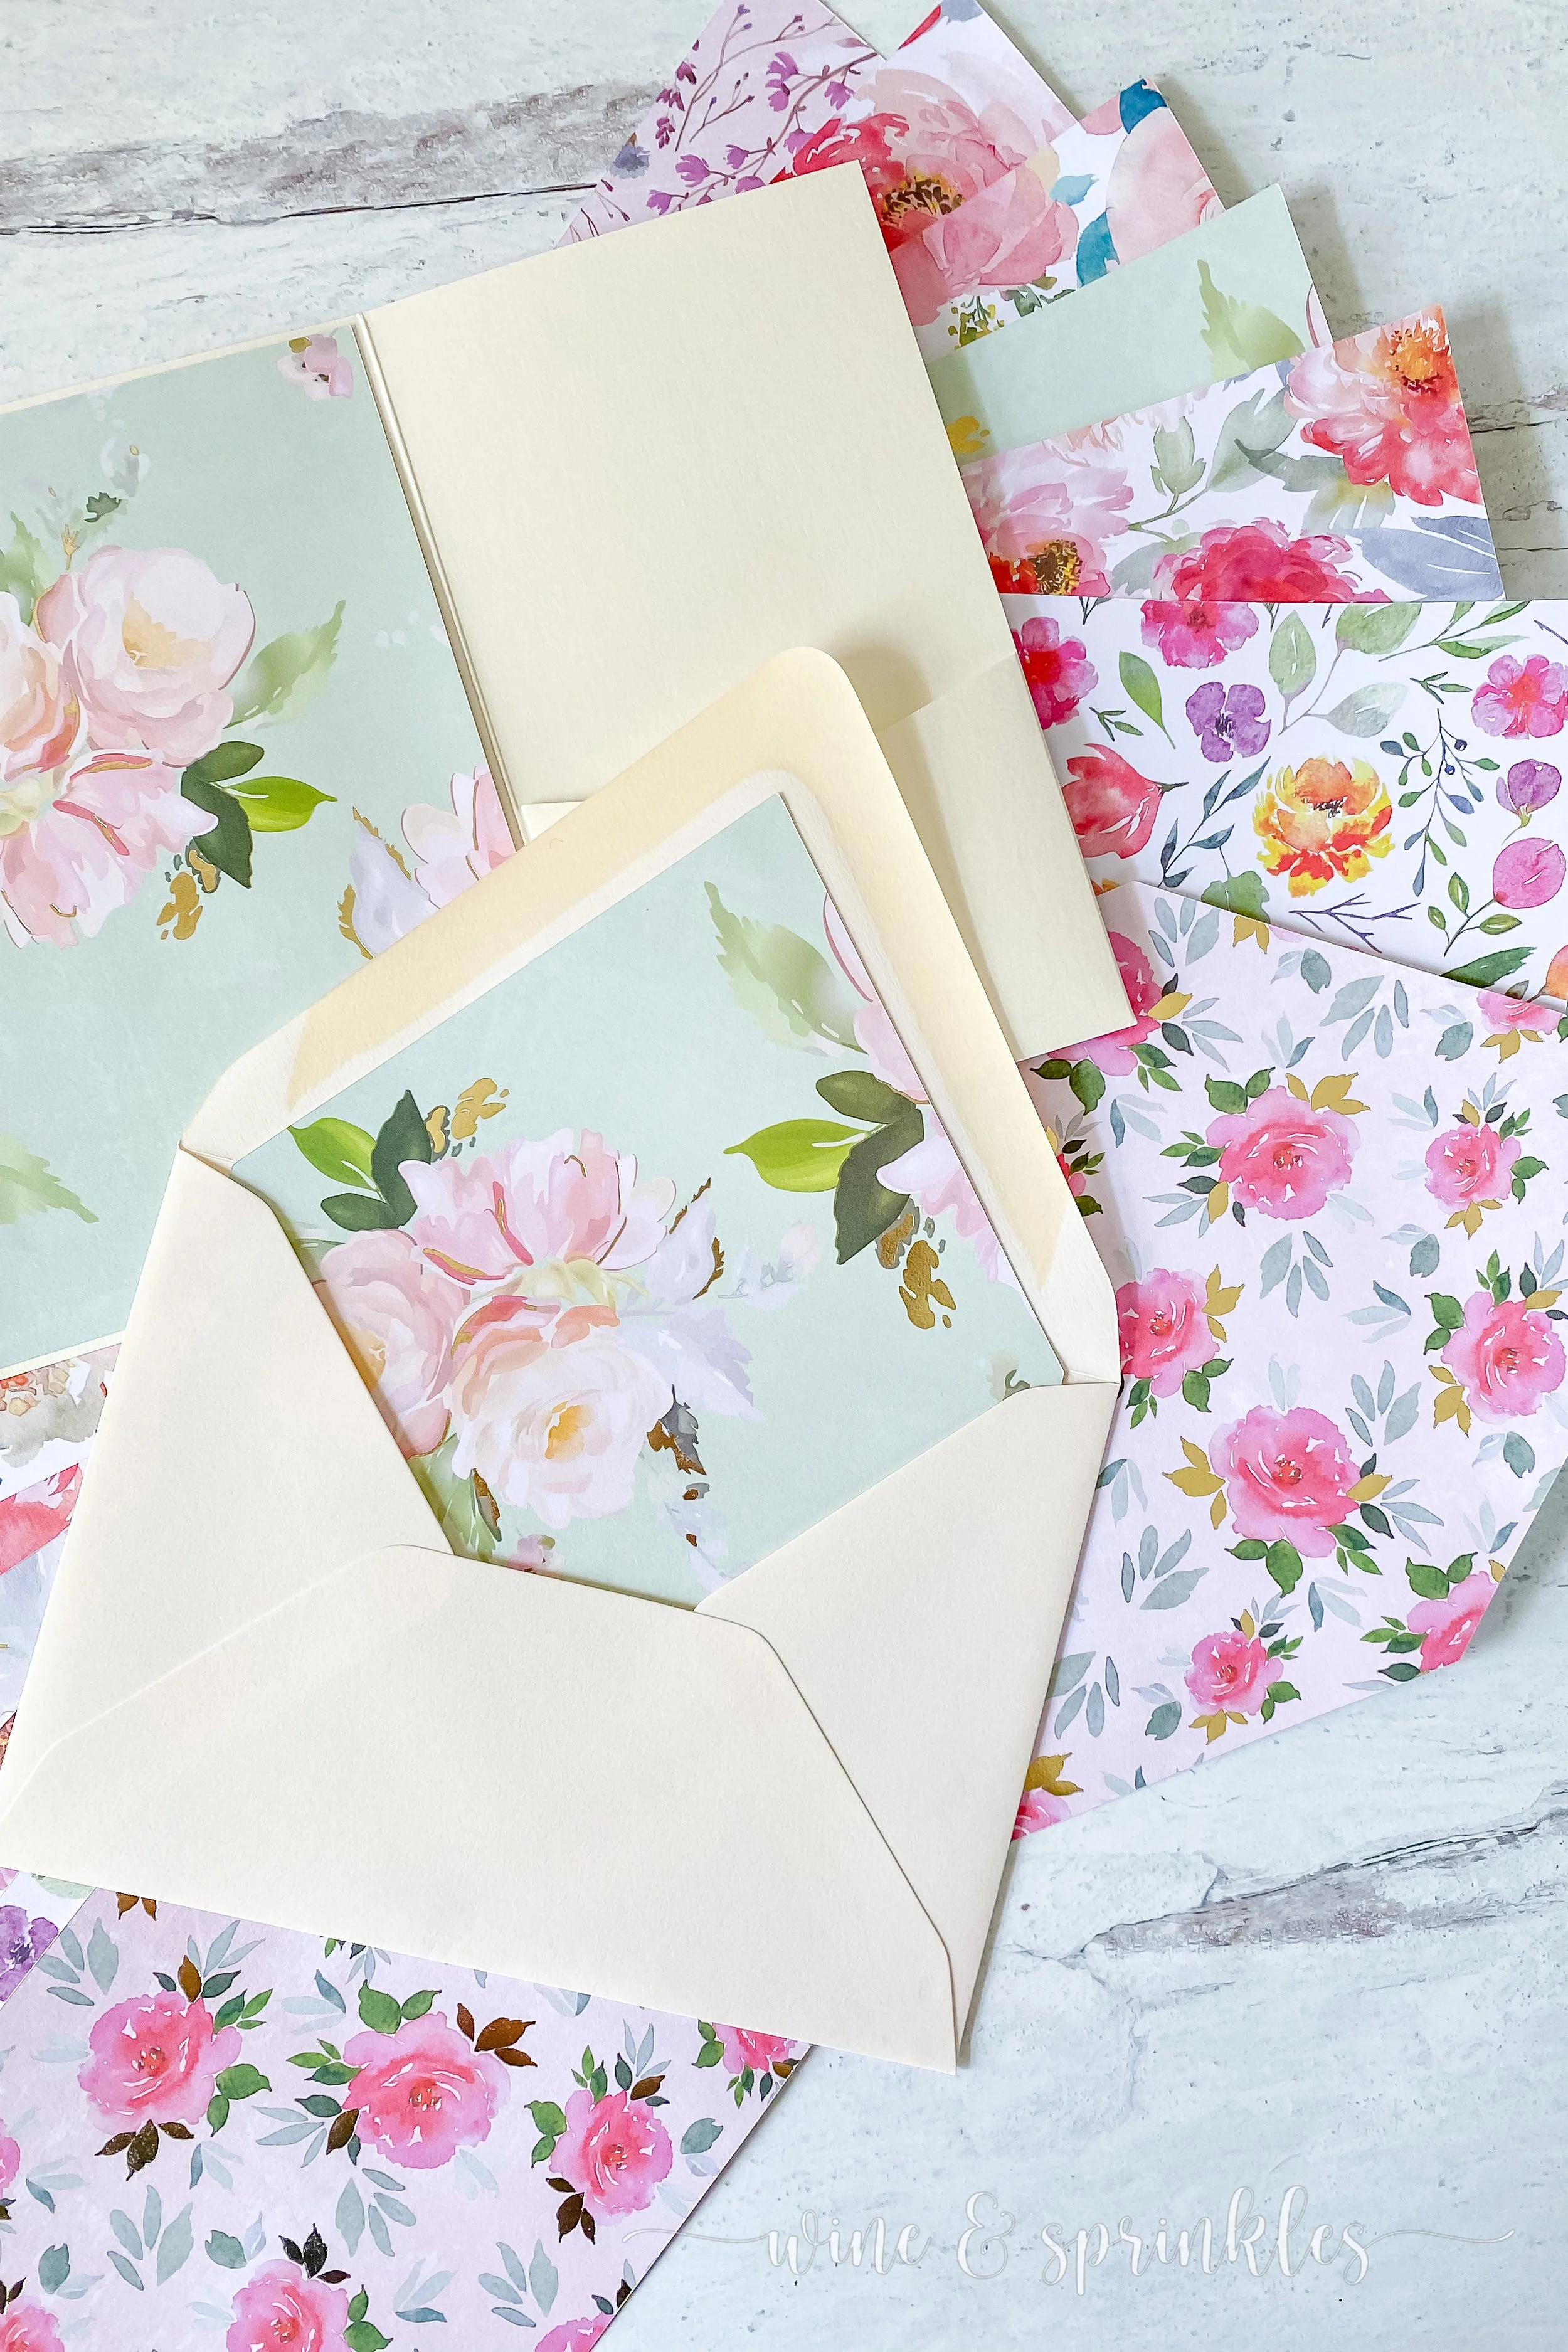
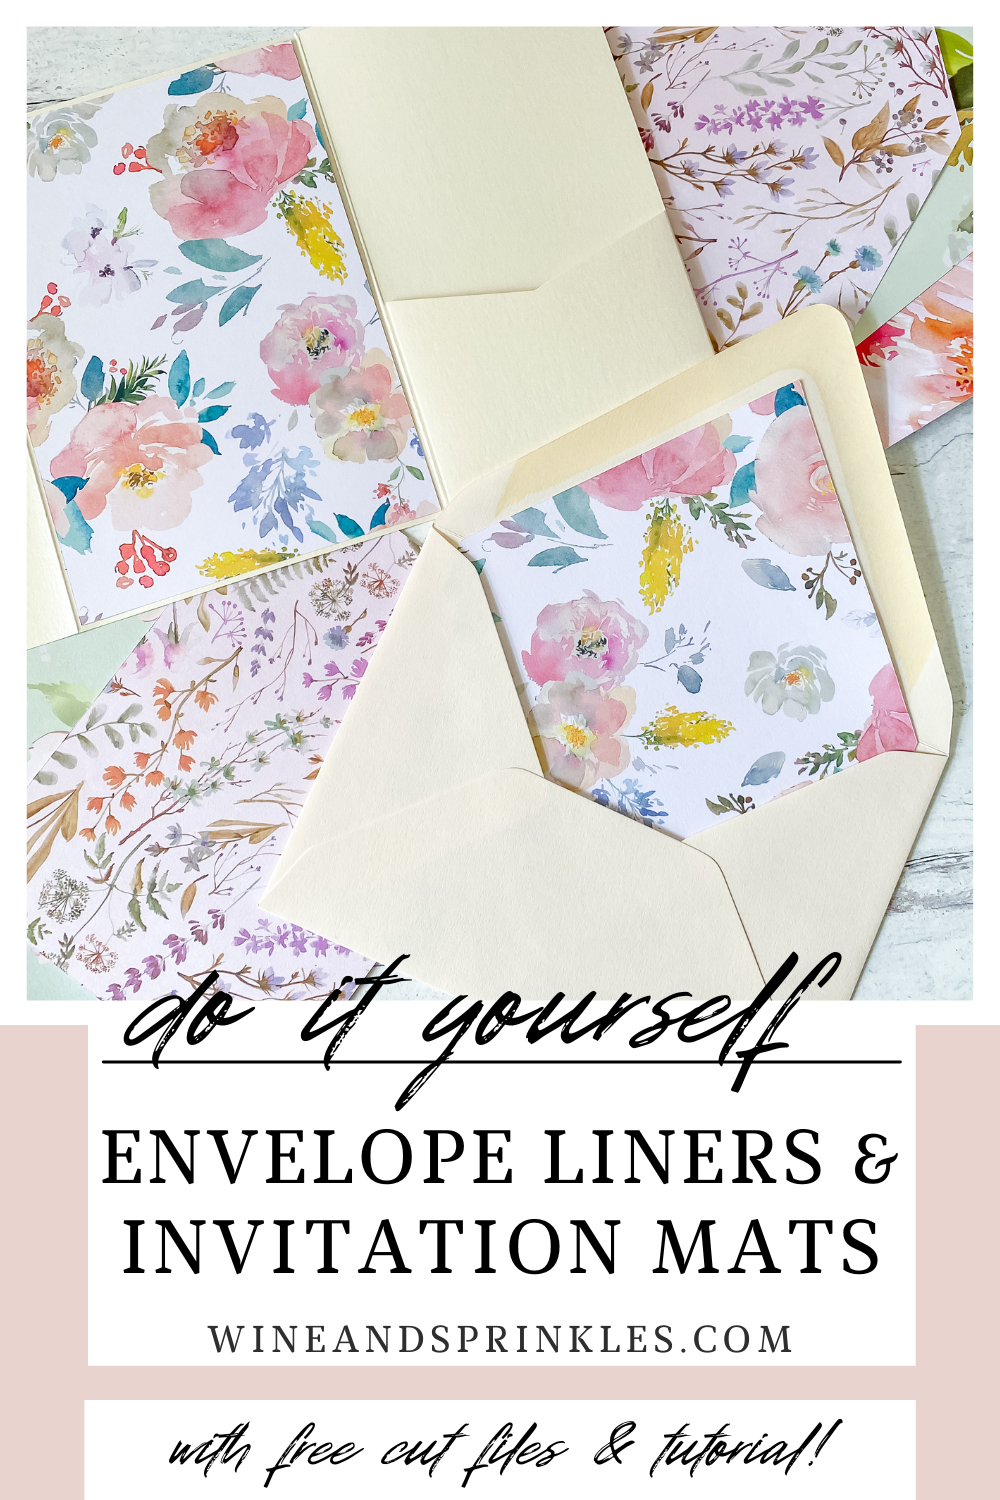
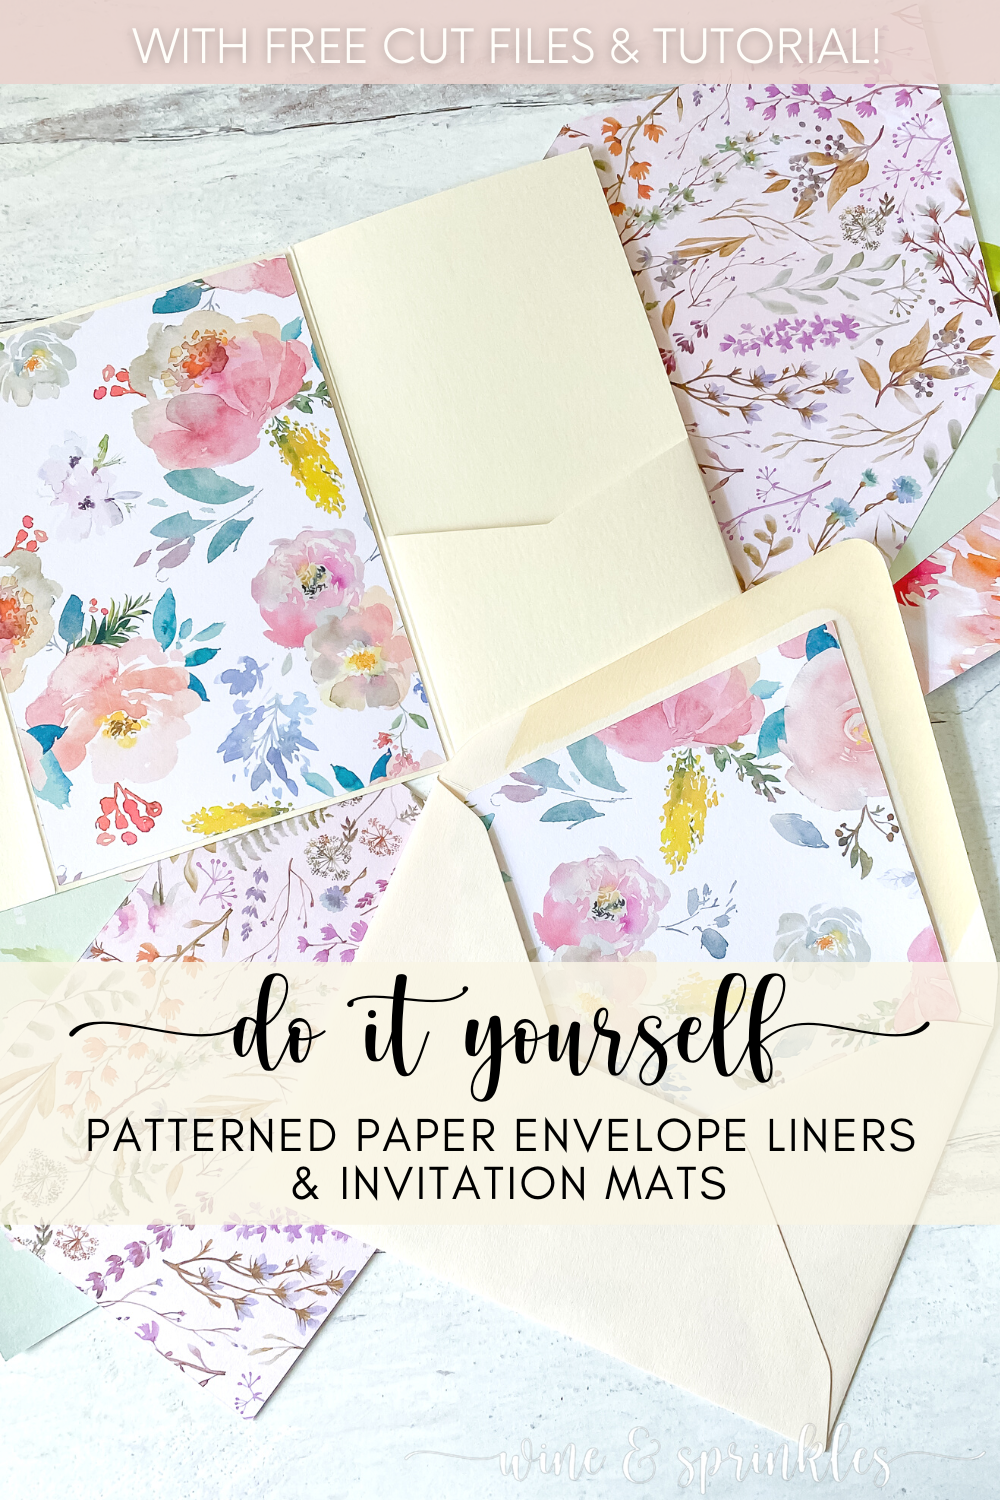
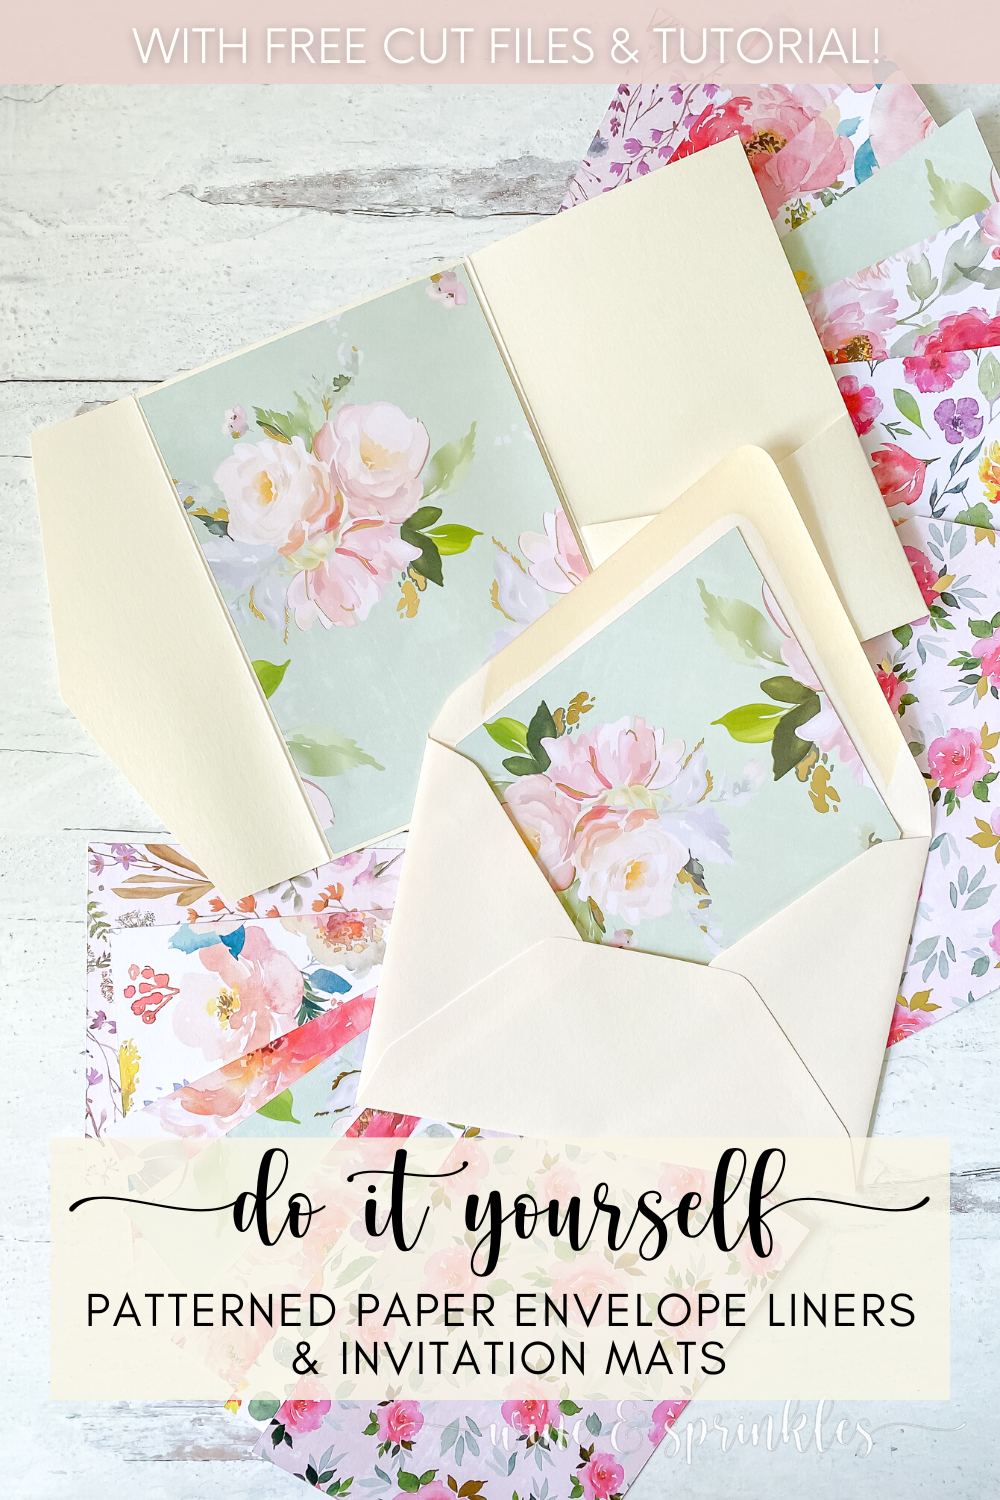
When you start this project, what you have to know is your stationery sizing, so I’ve created these envelope liners and mats to fit the standard of my favorite Pocketfold Invitations from my favorite online affiliate paper supplier, Cards & Pockets! This DIY stationery company is the perfect place to start any paperie journey, housing everything you need for DIY invitation and wedding stationery supplies in dozens of colors to suit any palette! I used up the end of my creamy Vellum A7 Envelopes for the invitations and used the end of my pocket folds from my Zodiac Horoscope Star Charts for housing my invitation mats, both creating a beautiful base to display my favorite florals!
I’m sure to use these envelope liners and invitation mats again and again as I find new pretty papers to test it with, especially when they are so easy to make with my Cricut craft cutter; I just keep my project file to cut for all my future invitation fun! So start cutting out your own to create your own favorite invitation combinations, and be on the lookout for the unique ways I use these easy stationery pieces in future projects!
SUPPLIES
PAPER SUPPLIES
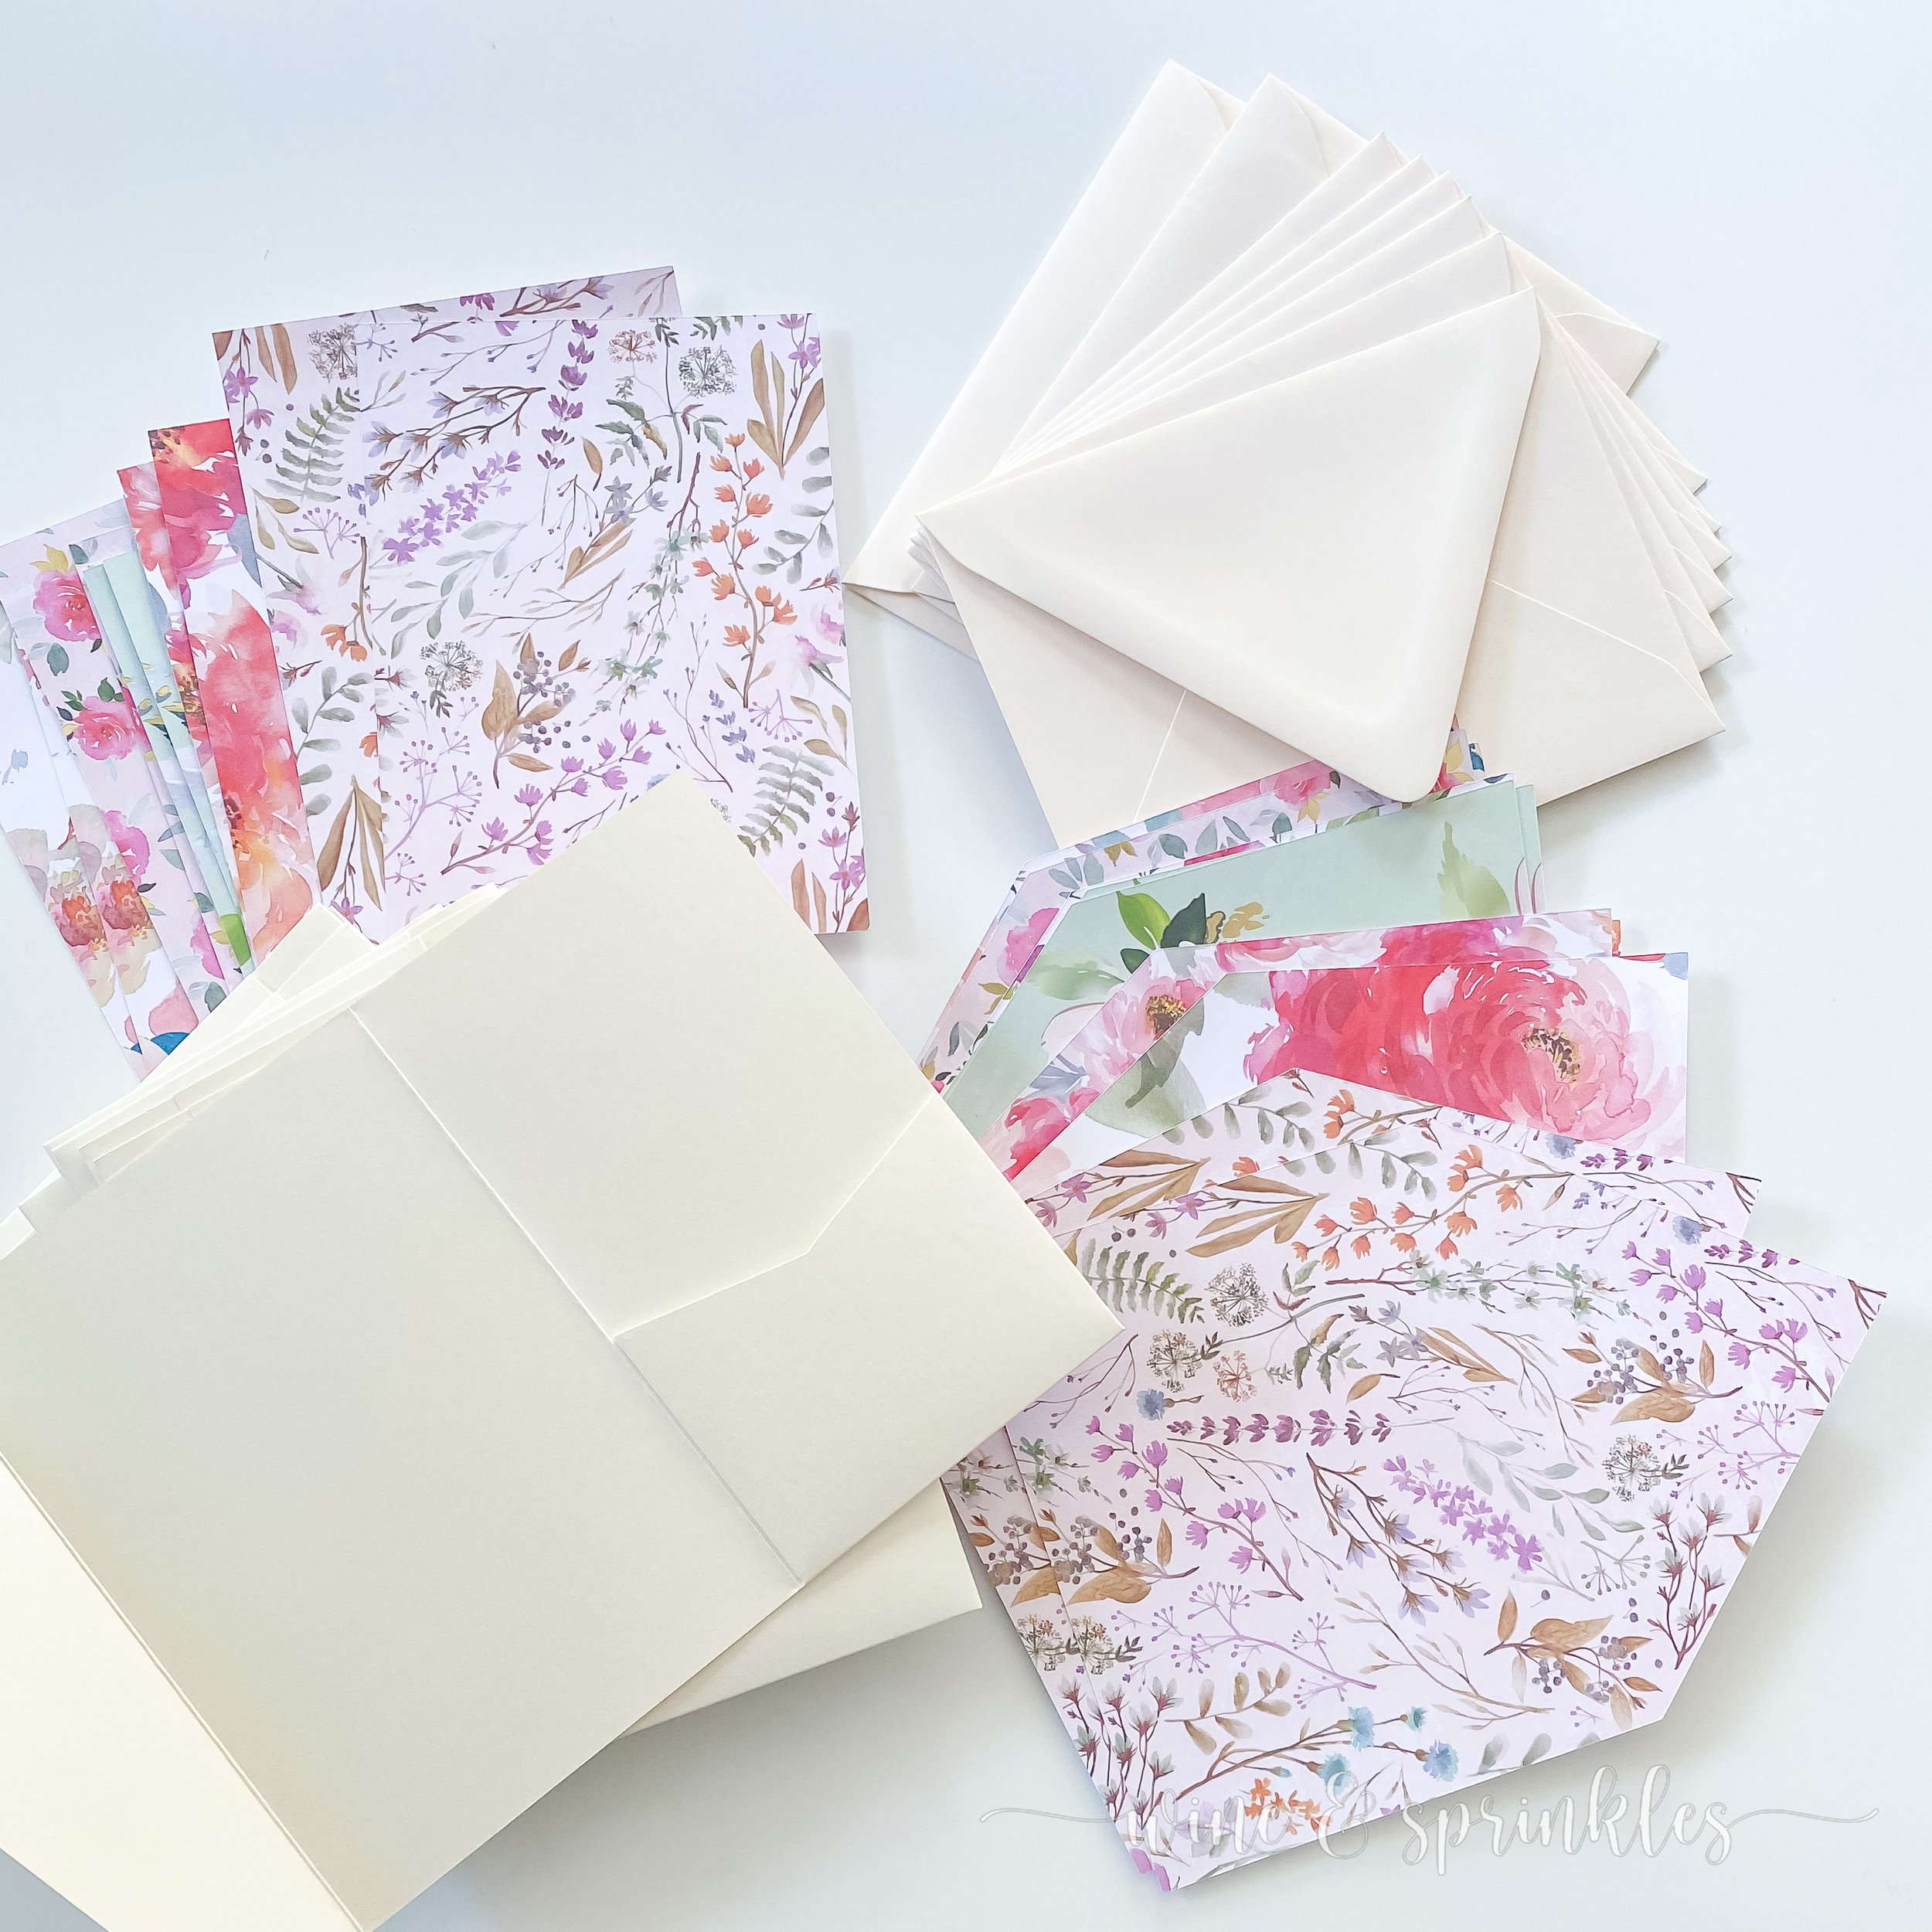
Scrapbook Paper: for creating these liners and invitation mats, scrapbook paper is the perfect patterned lightweight choice! You can find a floral multipack like I did from the store, download and print your own from Etsy, or find a favorite Floral Pack on Amazon; but for each liner and mat set you need one 12” x 12” sheet. These mats and liners are designed to fit the Euroflap A7 Envelopes and the A7 Pocket Folds that I get from my favorite DIY stationery supplier, Cards & Pockets!
TOOLS & OTHER SUPPLIES
Craft Cutter: For cutting out these liners and mats quickly and easily, I thought of no other tool than my Cricut Craft Cutter! While I love the print to cut feature and you’ll certainly see it in parts of my stationery projects, these cuts are even easier: just upload, resize and cut until you have all that you need!
Light Grip Cutting Mat: for most of my stationery projects using a craft cutter, I prefer the light grip cutting mat. It keeps the scrapbook paper securely in place, but I’m not worried about tearing the paper while I’m trying to remove it.
Double Sided Tape: for securing your mats and liners inside your envelopes and pocketfolds
SUPPLIES LIST:
[for 12 envelope liners with matching mats]
Scrapbook Paper x 12
A7 Envelopes x 12
Pocketfolds x 12
TOOLS & OTHER SUPPLIES
Craft Cutter
Light Grip Cutting Mat
Double Sided Tape
DIRECTIONS
STEP 1: CUT YOUR MATS & ENVELOPE LINERS

1. Click the link below to access the Cricut Design file, where it will then automatically or prompt you to open it in the Design Space App. If you are using the pocket folds and envelopes above, you can immediately choose “Make” but if not, measure your envelopes and pocket folds to decide what sizes you will need, then change the dimensions by choosing “Customize” instead.
CLICK HERE TO ACCESS THE CRICUT DESIGN FILE
FOR YOUR CRAFT CUTTER!
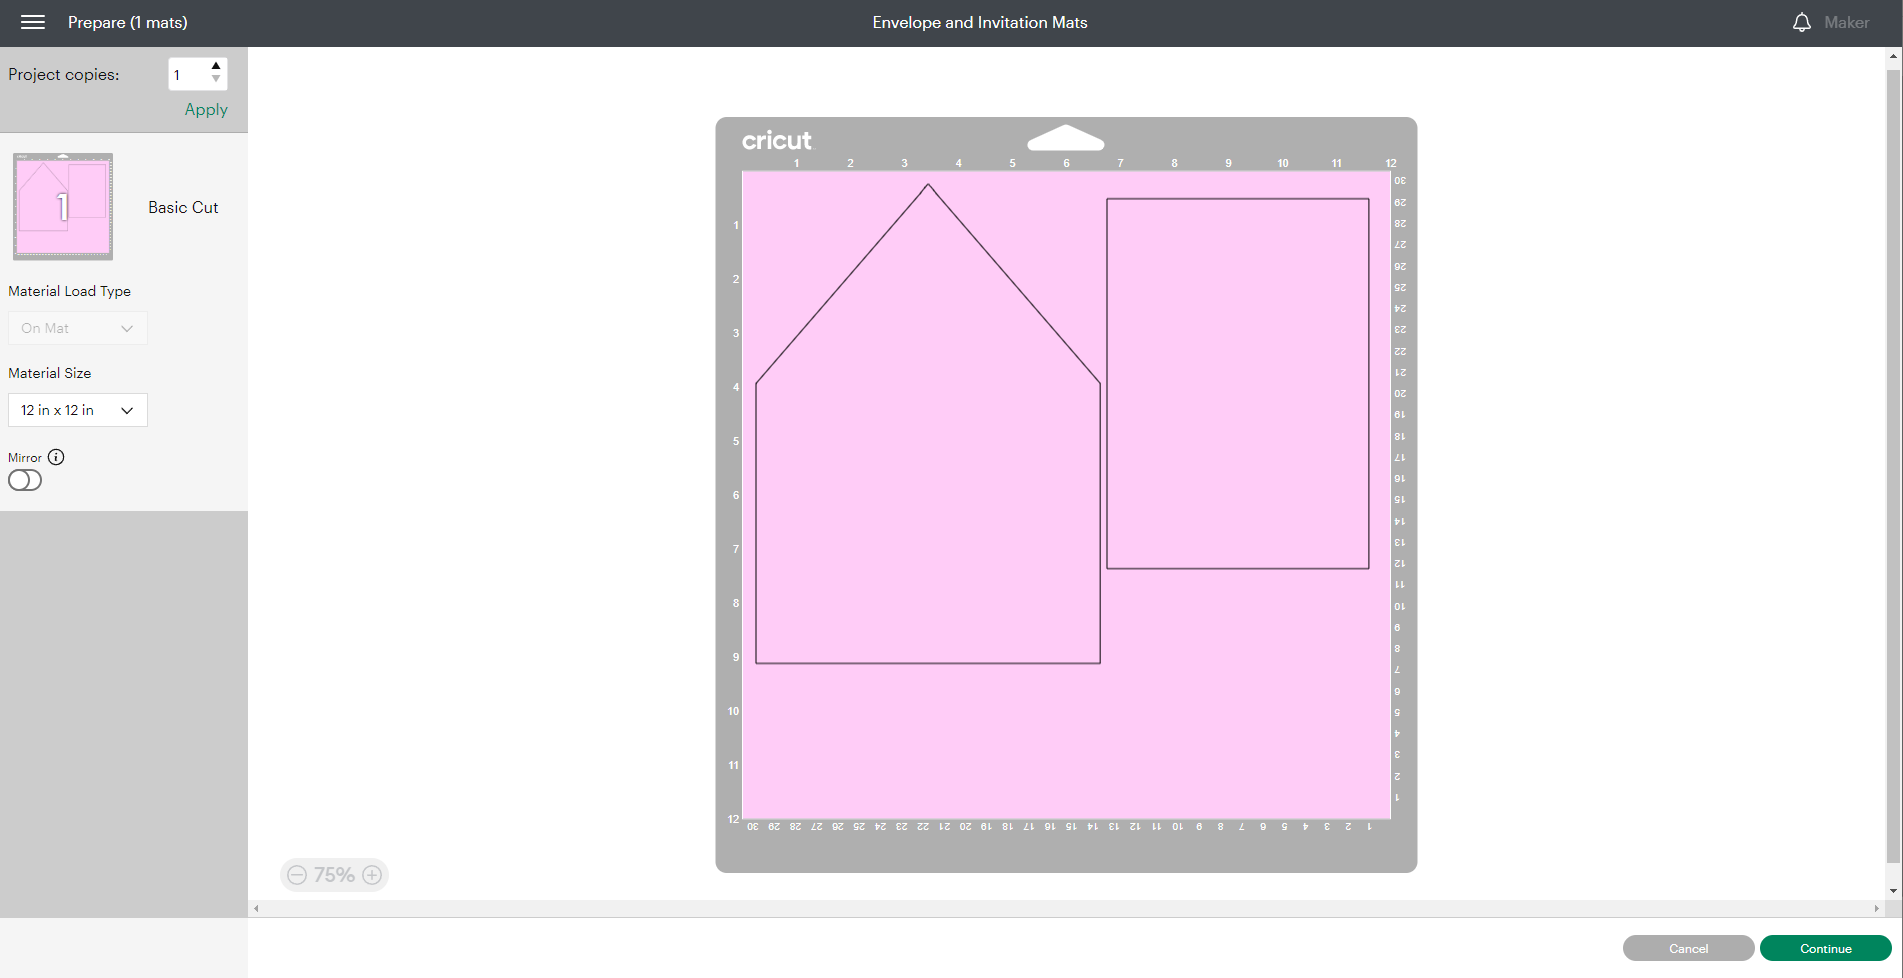
2. Check the mat set up screen and make sure the material size is 12 in x 12 in and that the liner and invitation mat appear properly sized in the mat setup picture, then press Continue.
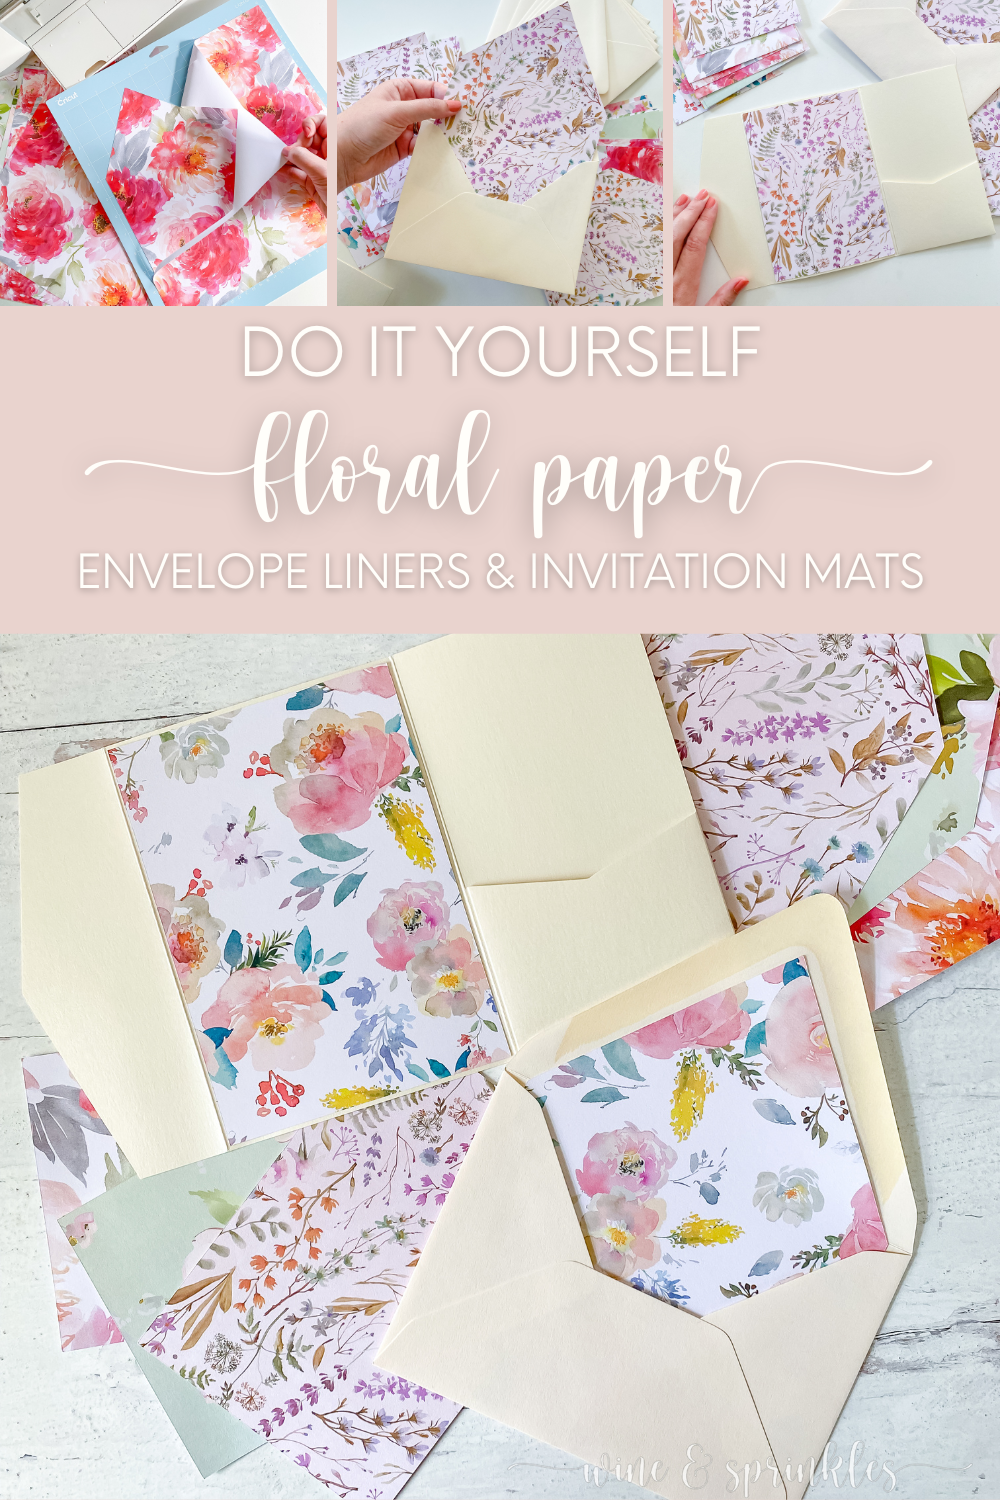
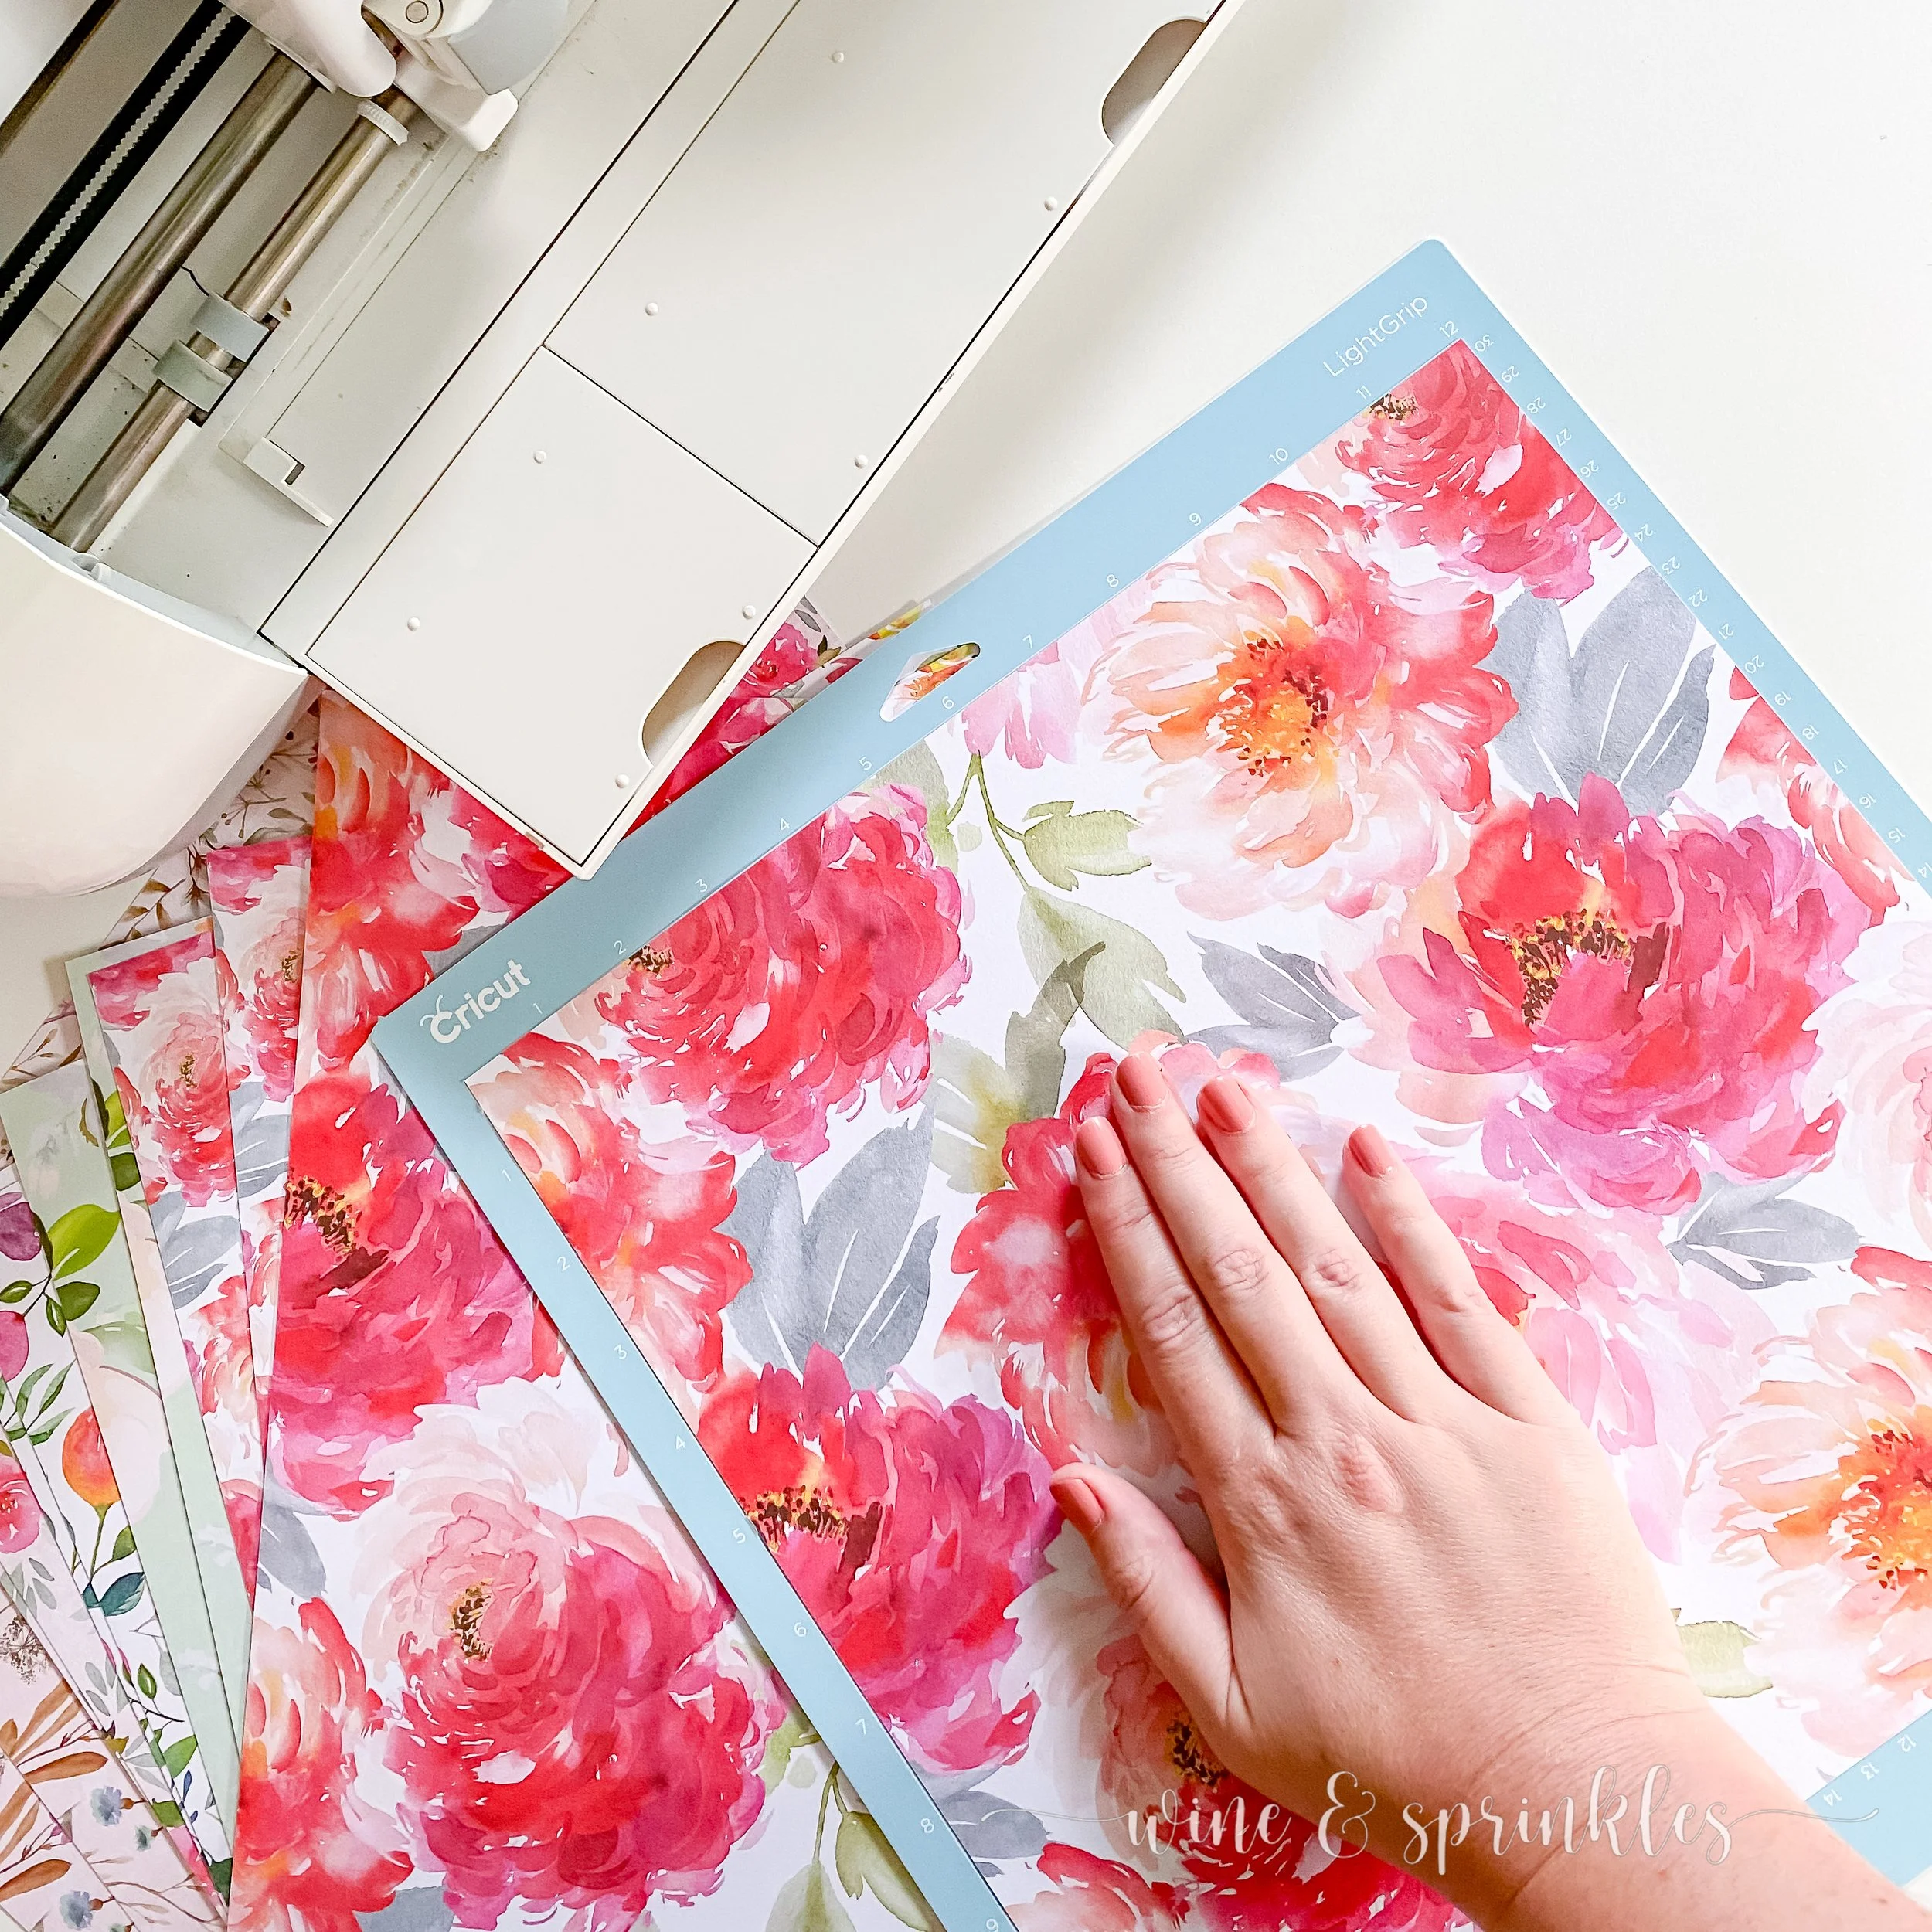
3. Load the patterned paper, design face up, along the upper left hand side of your cutting mat as shown in the picture on the screen. If your adhesive mat is low on stickiness, I like to secure the top and bottom of my cardstock with washi tape to provide extra security while cutting them out, but this is optional! Set the Material to Light Cardstock + for the Explore Models or the Scrapbook paper setting for a Cricut Maker or their newer machines, then press the loading button on your craft cutter to load the mat into the machine. Press the “Go” Button to start the scanning and cutting process, and when the cutter is complete the loading button will blink to indicate to unload the mat.

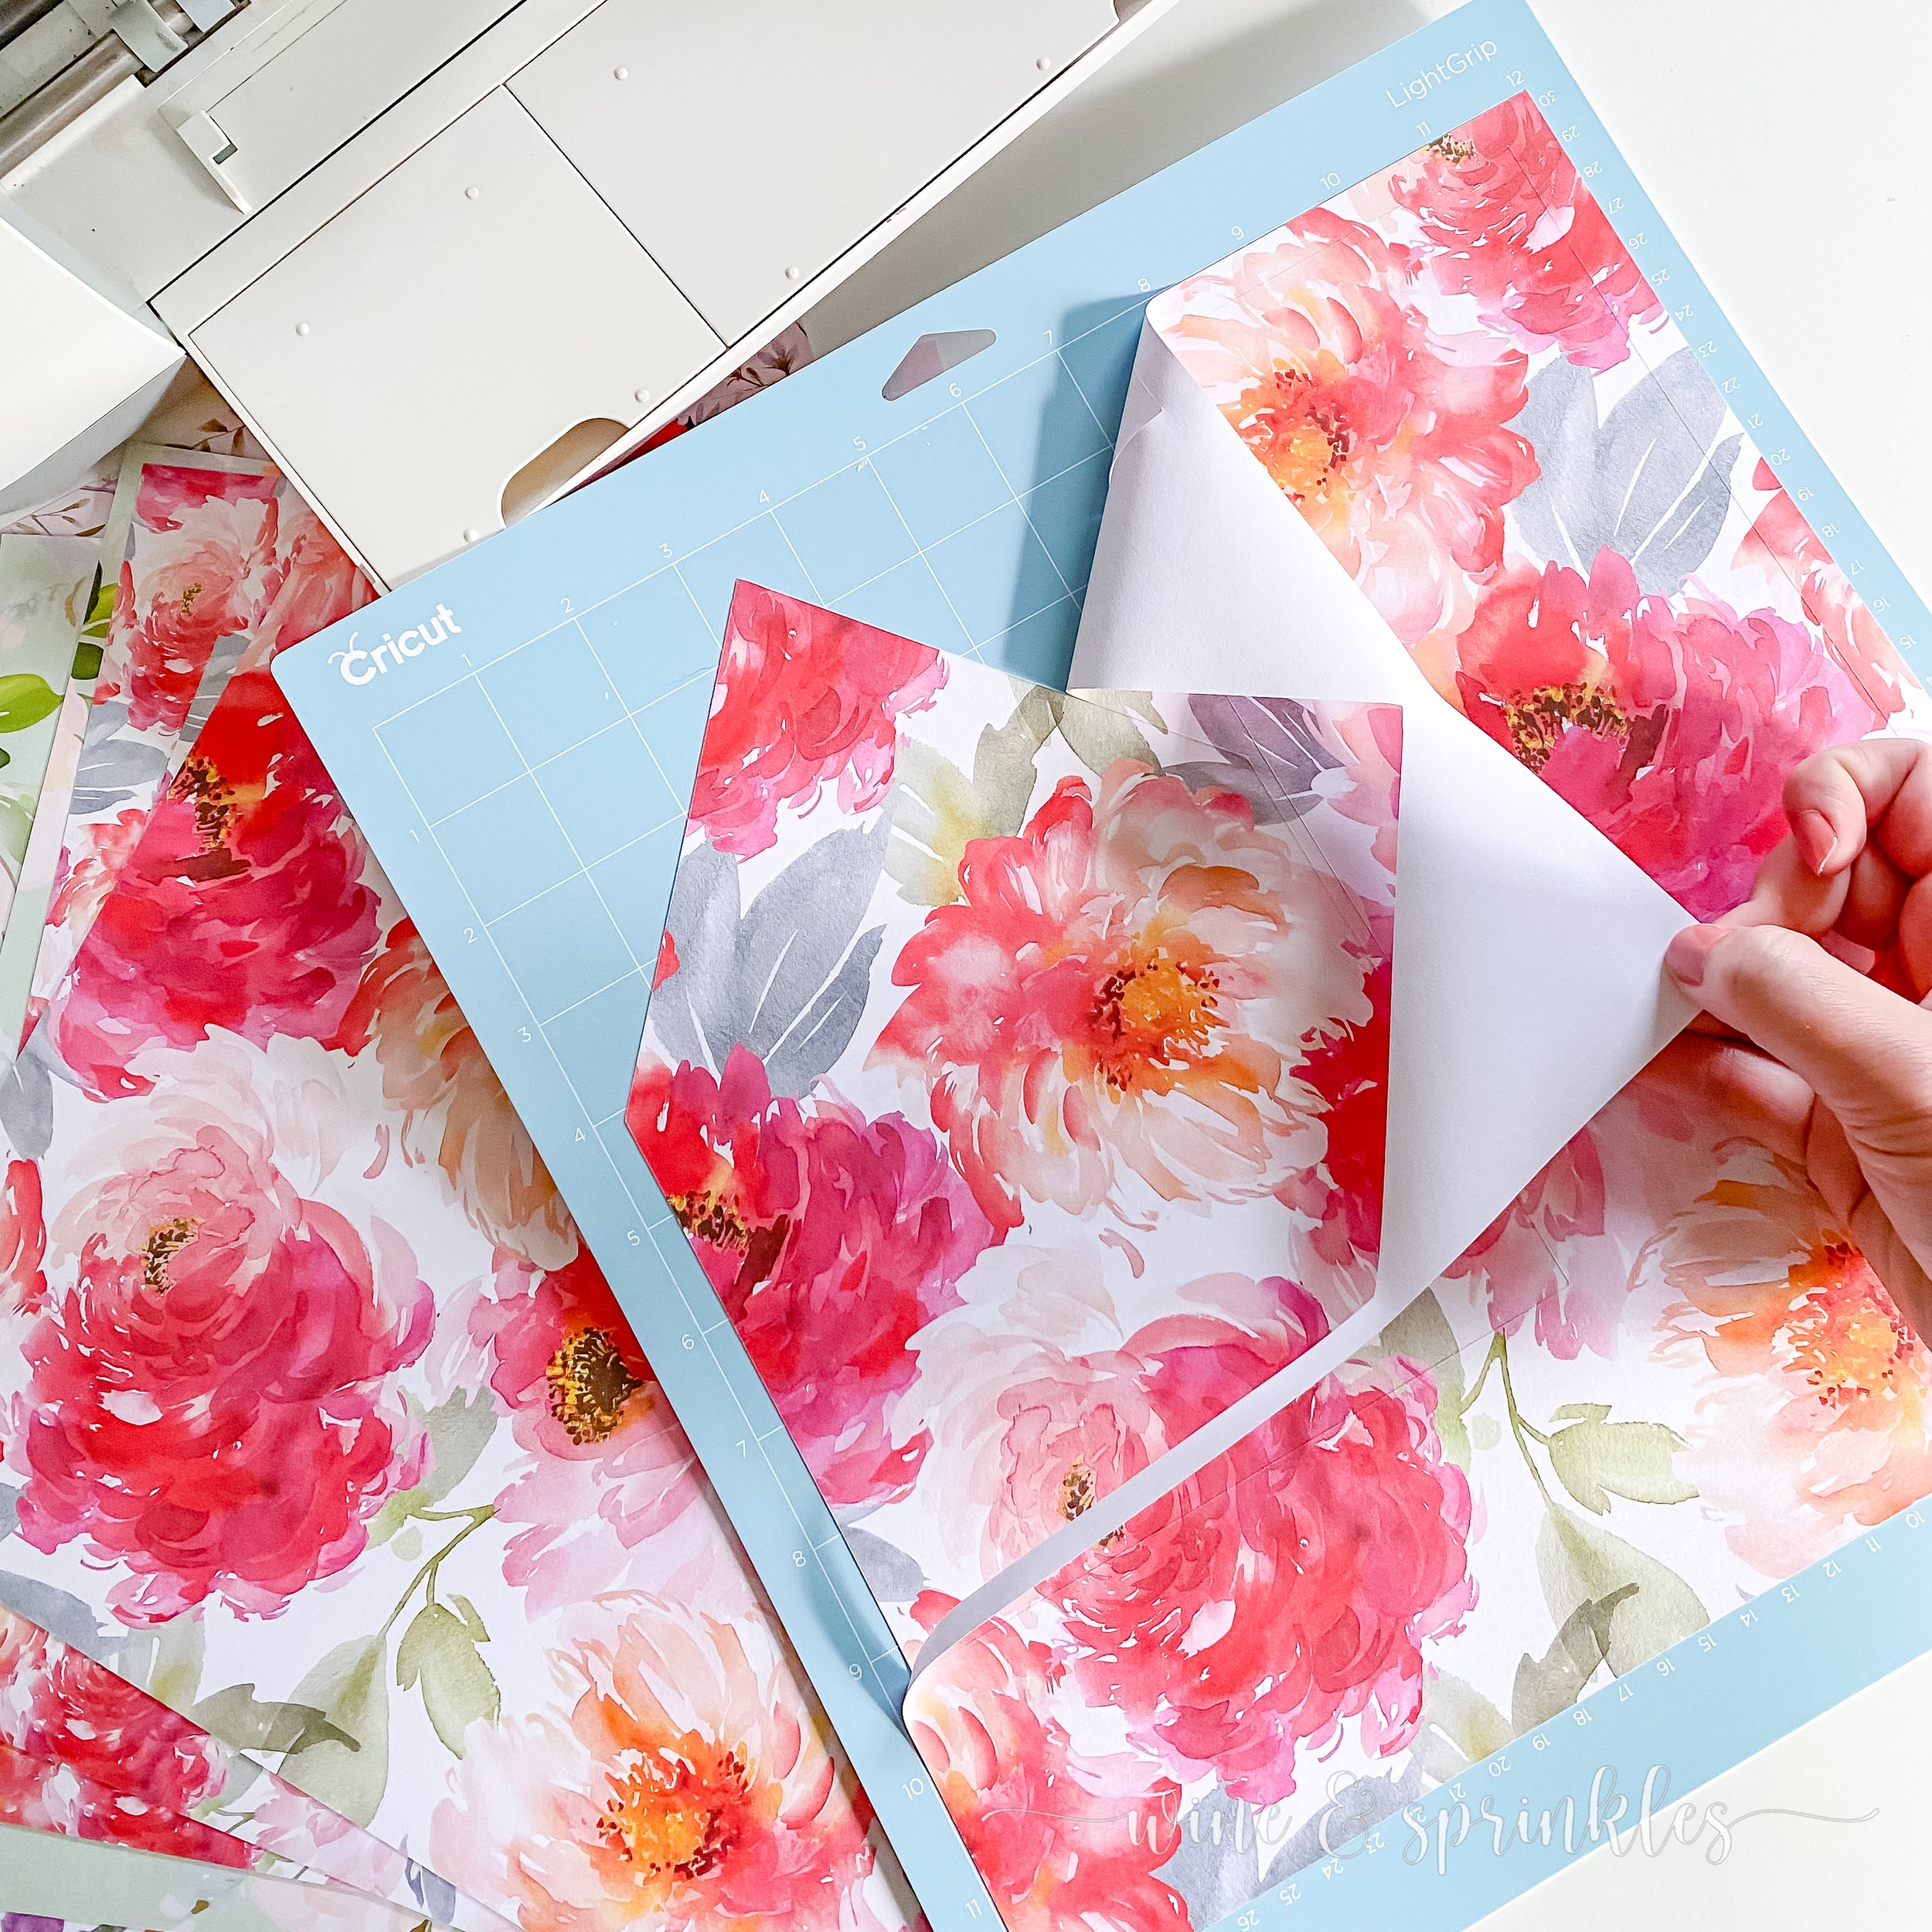
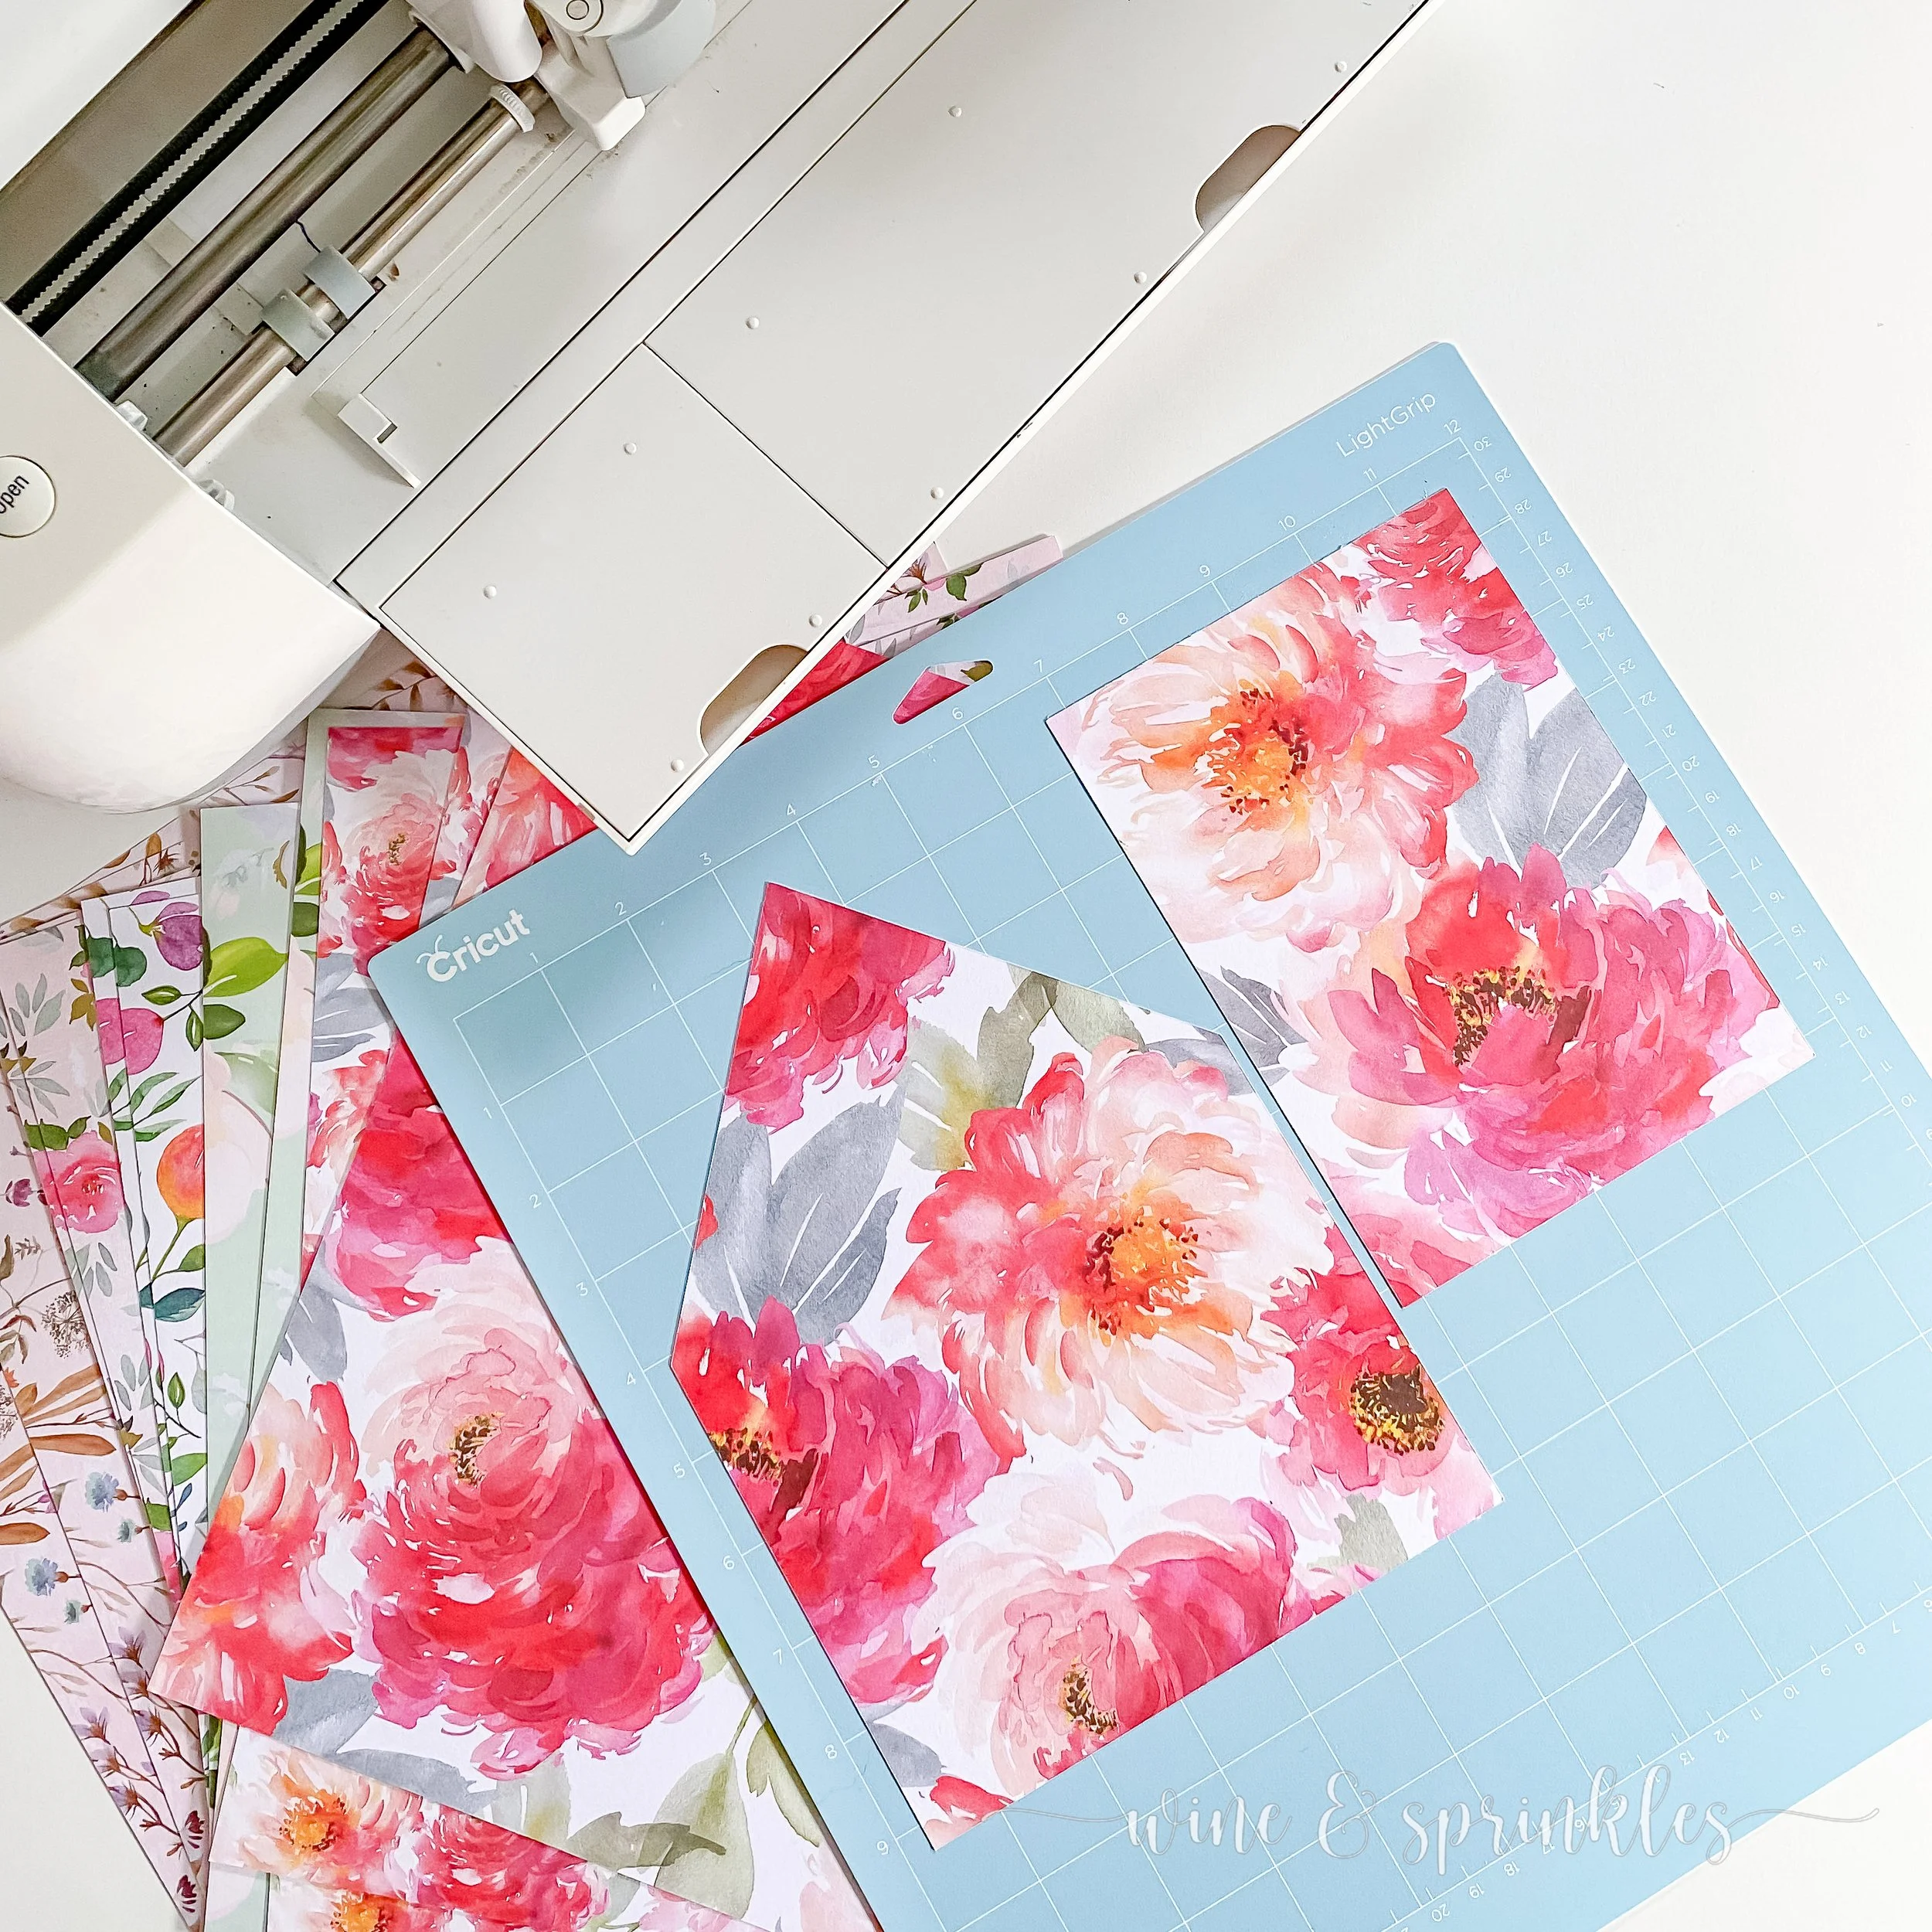
Remove your mat and freshly cut liner and mat, disposing of the extra paper. Then, load your next piece of patterned paper onto the light grip mat and repeat the cutting process until you have cut out all the invitation mats and envelope liners you need for your project!
STEP 2: USING IN YOUR STATIONERY
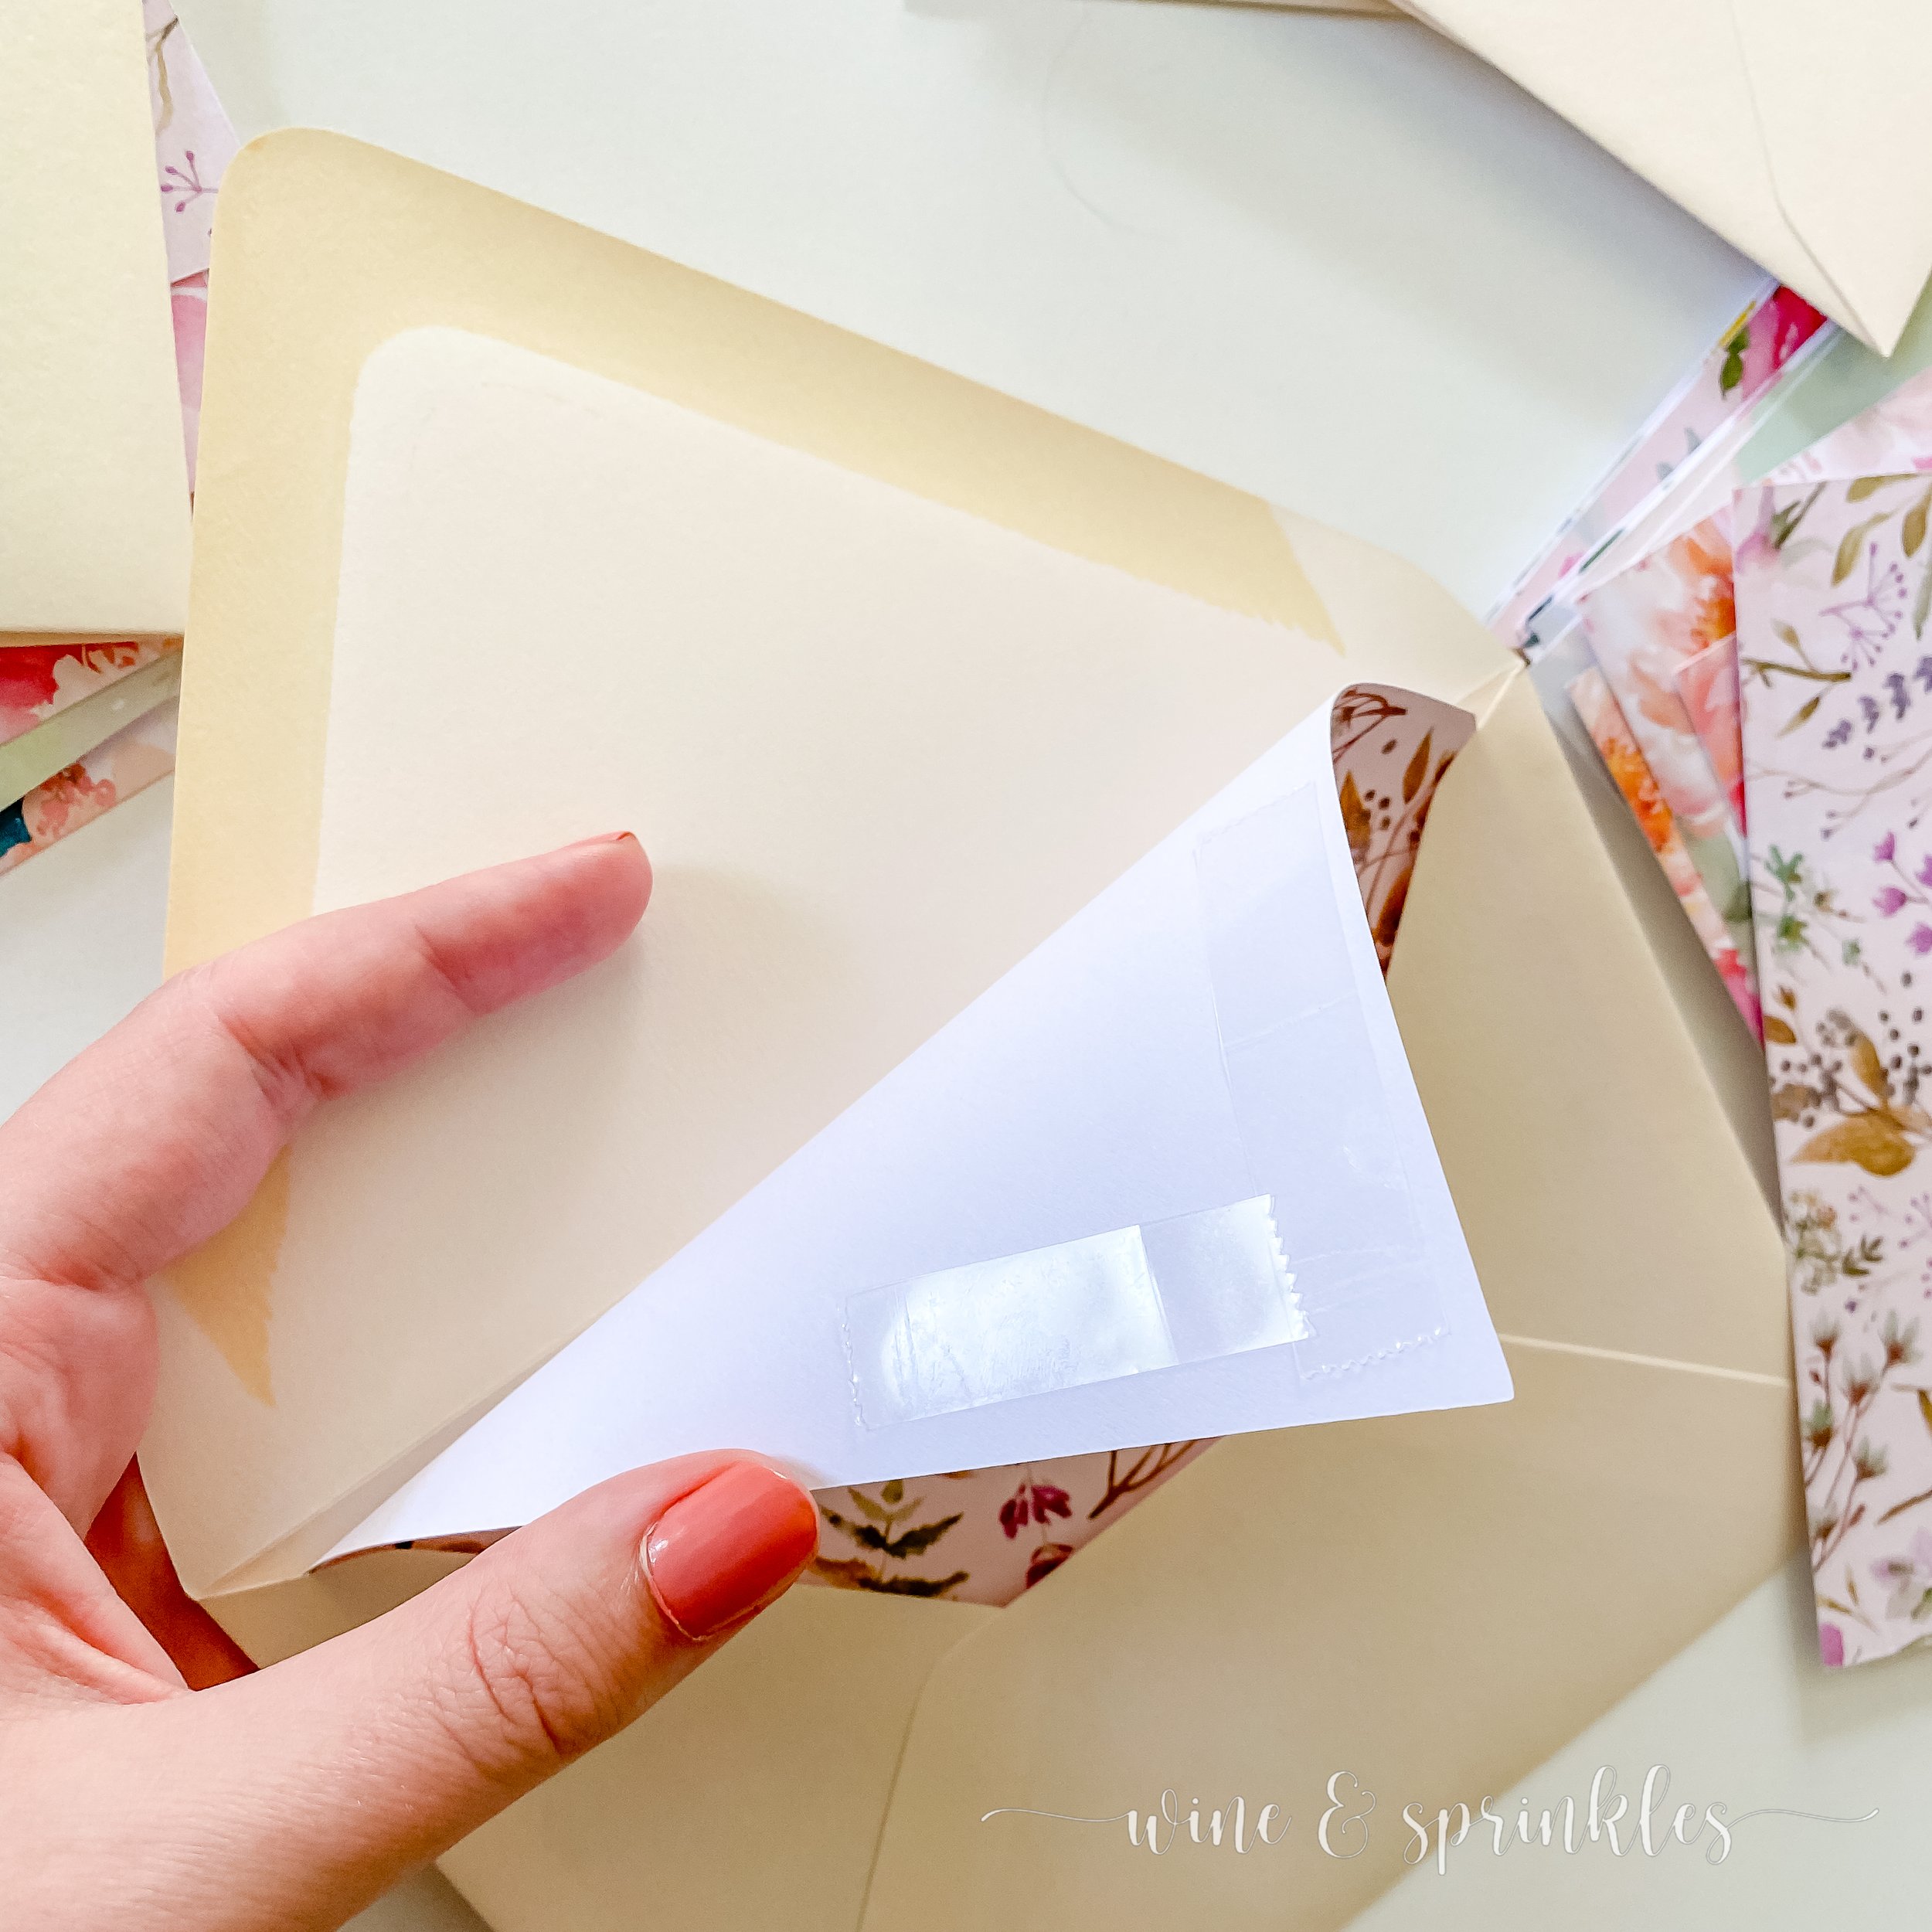

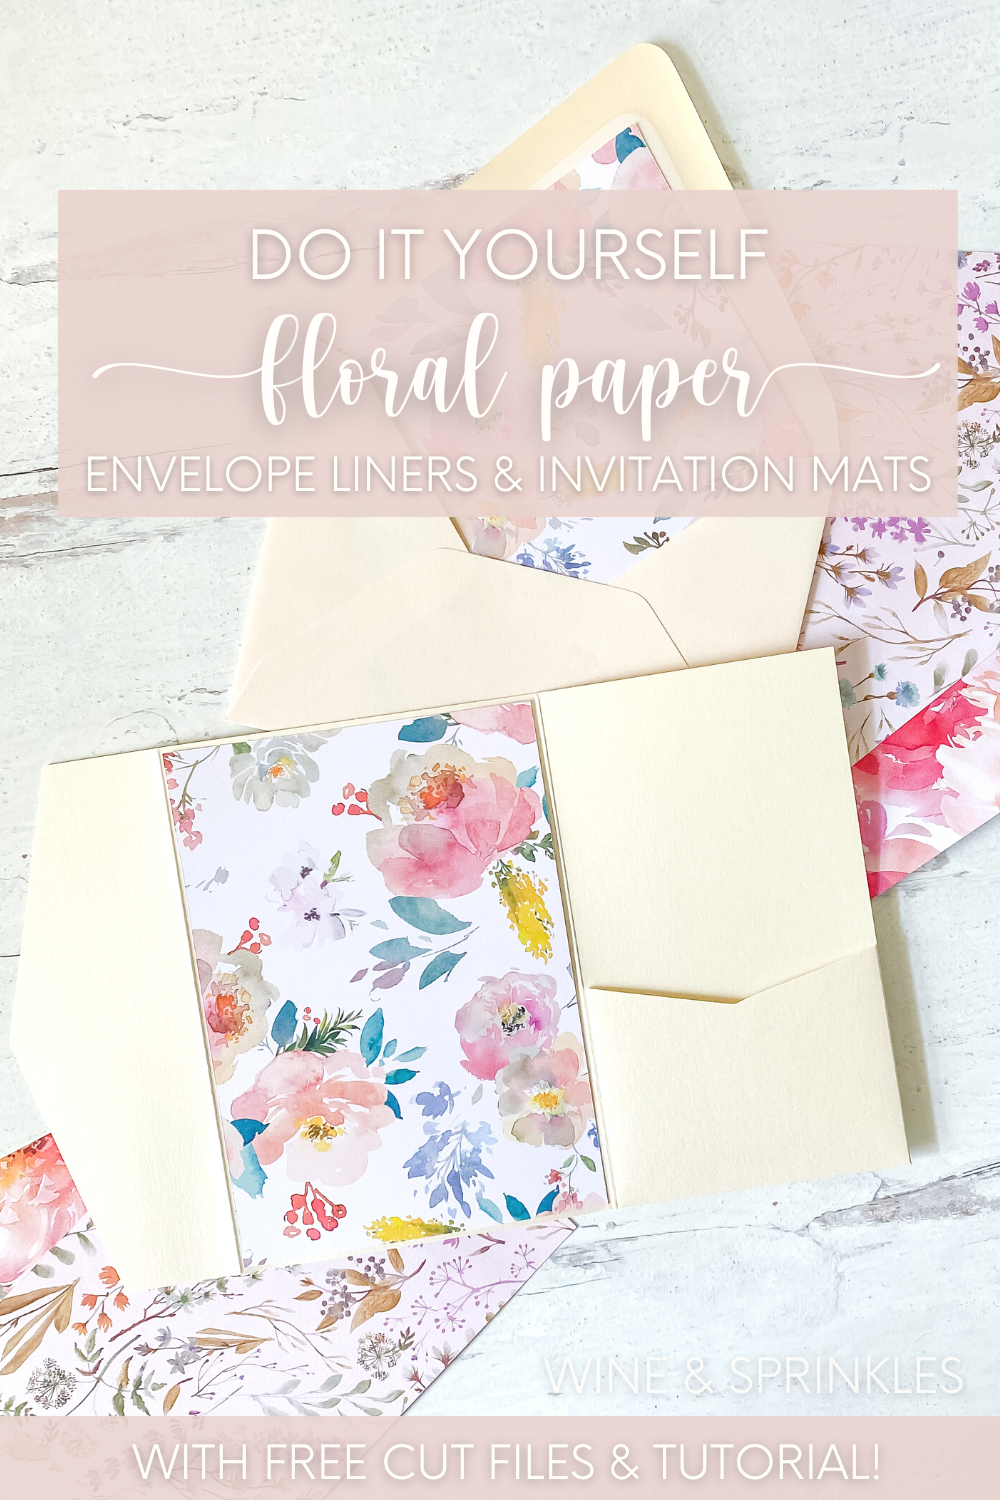
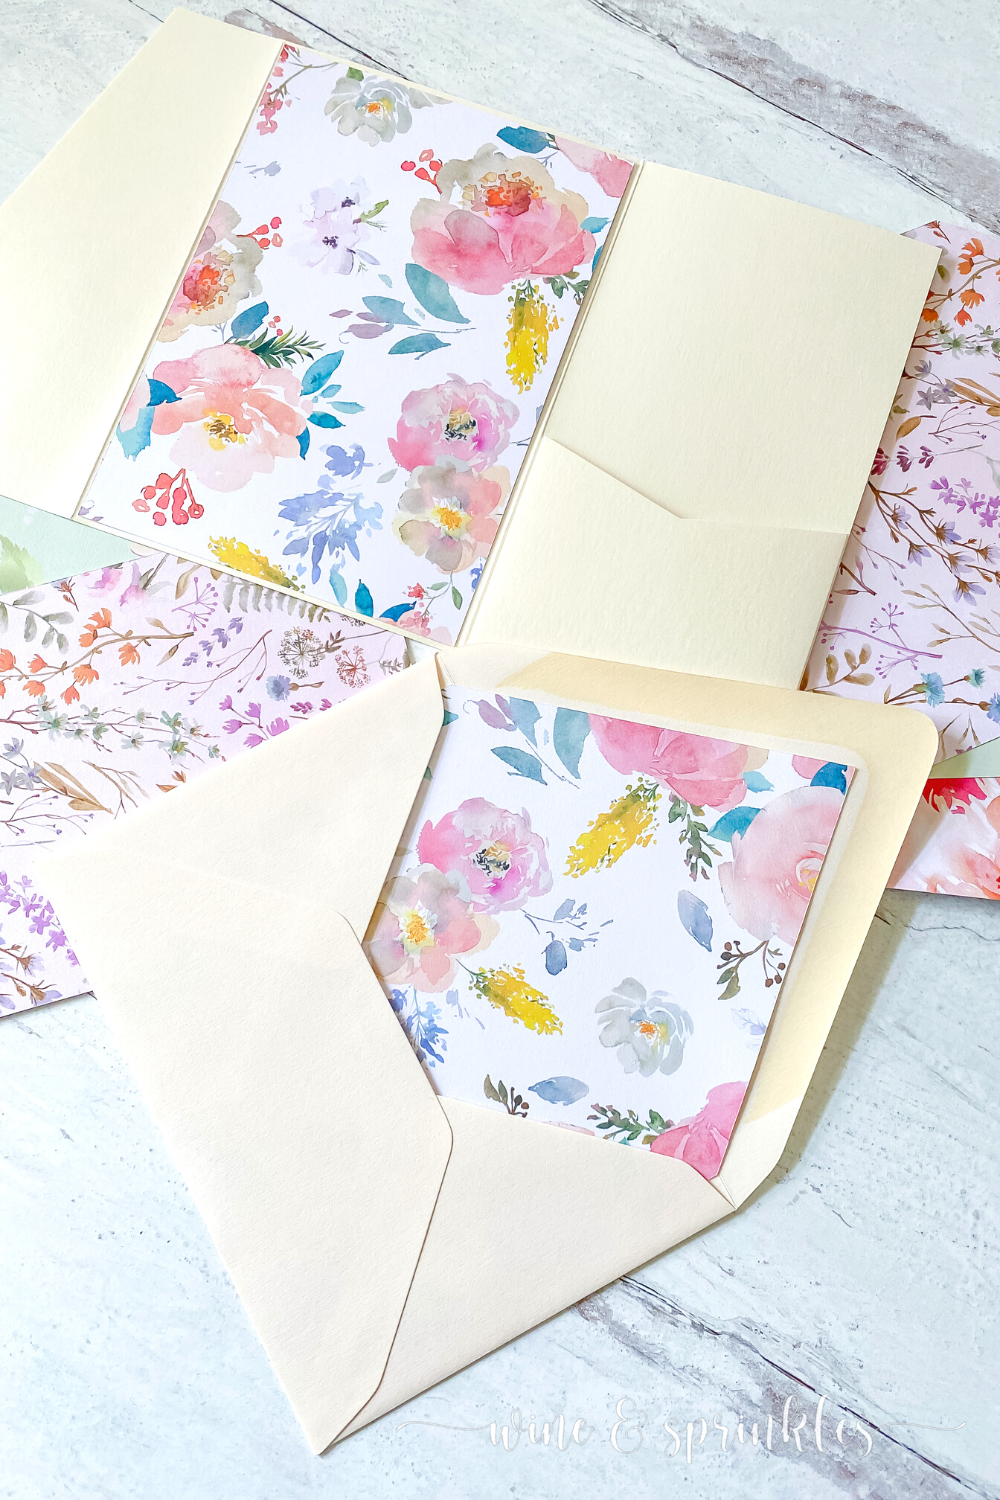
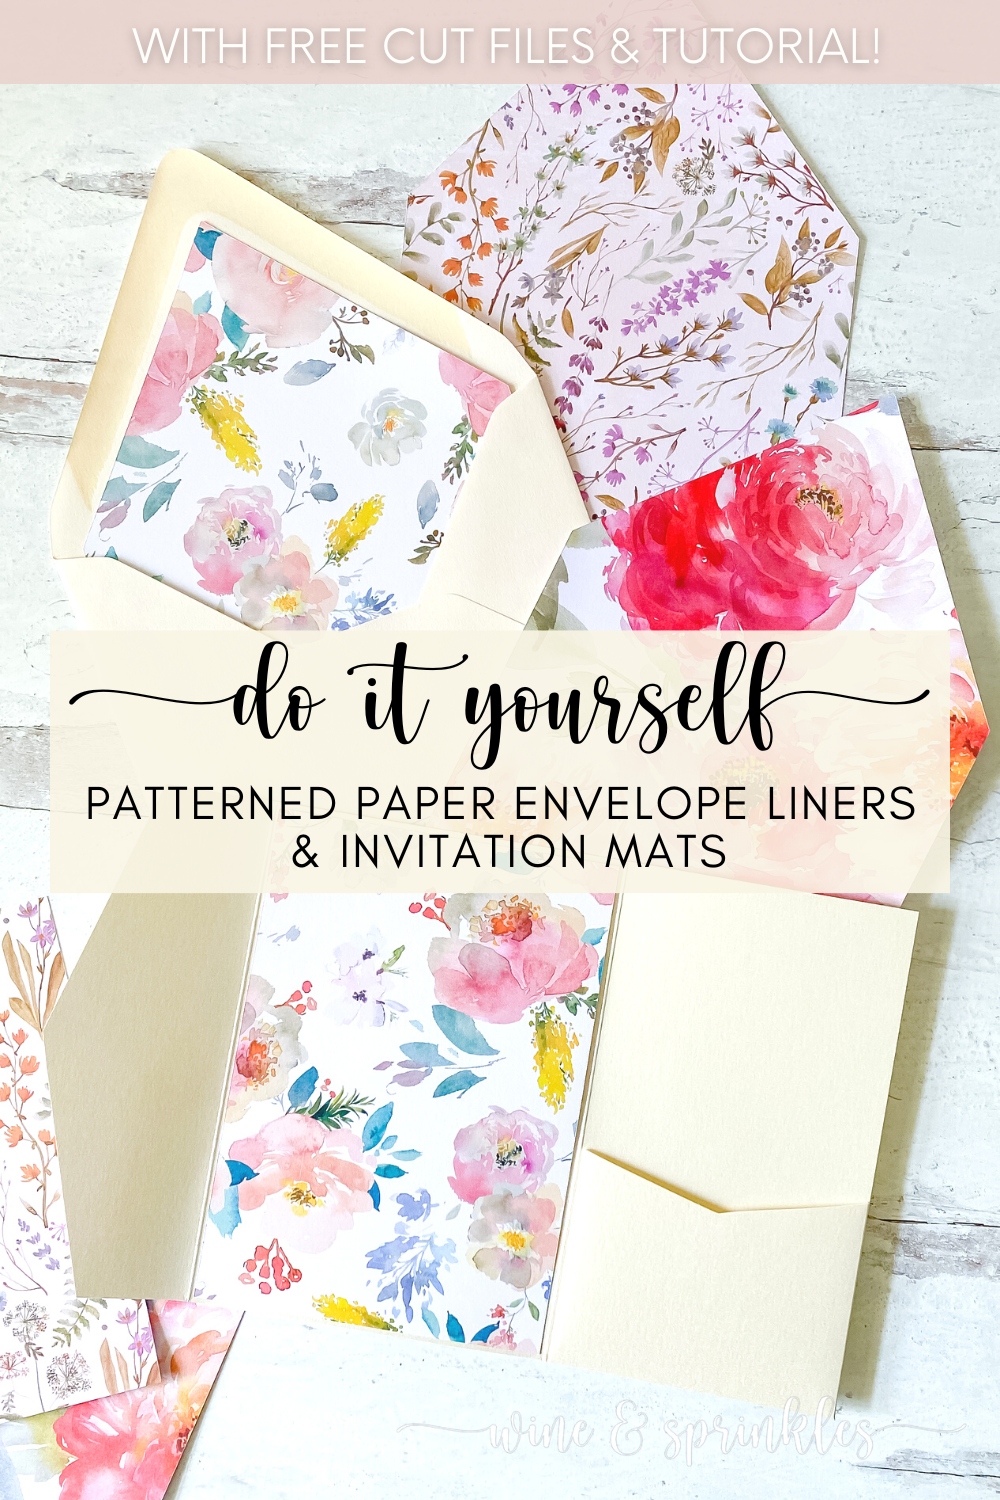
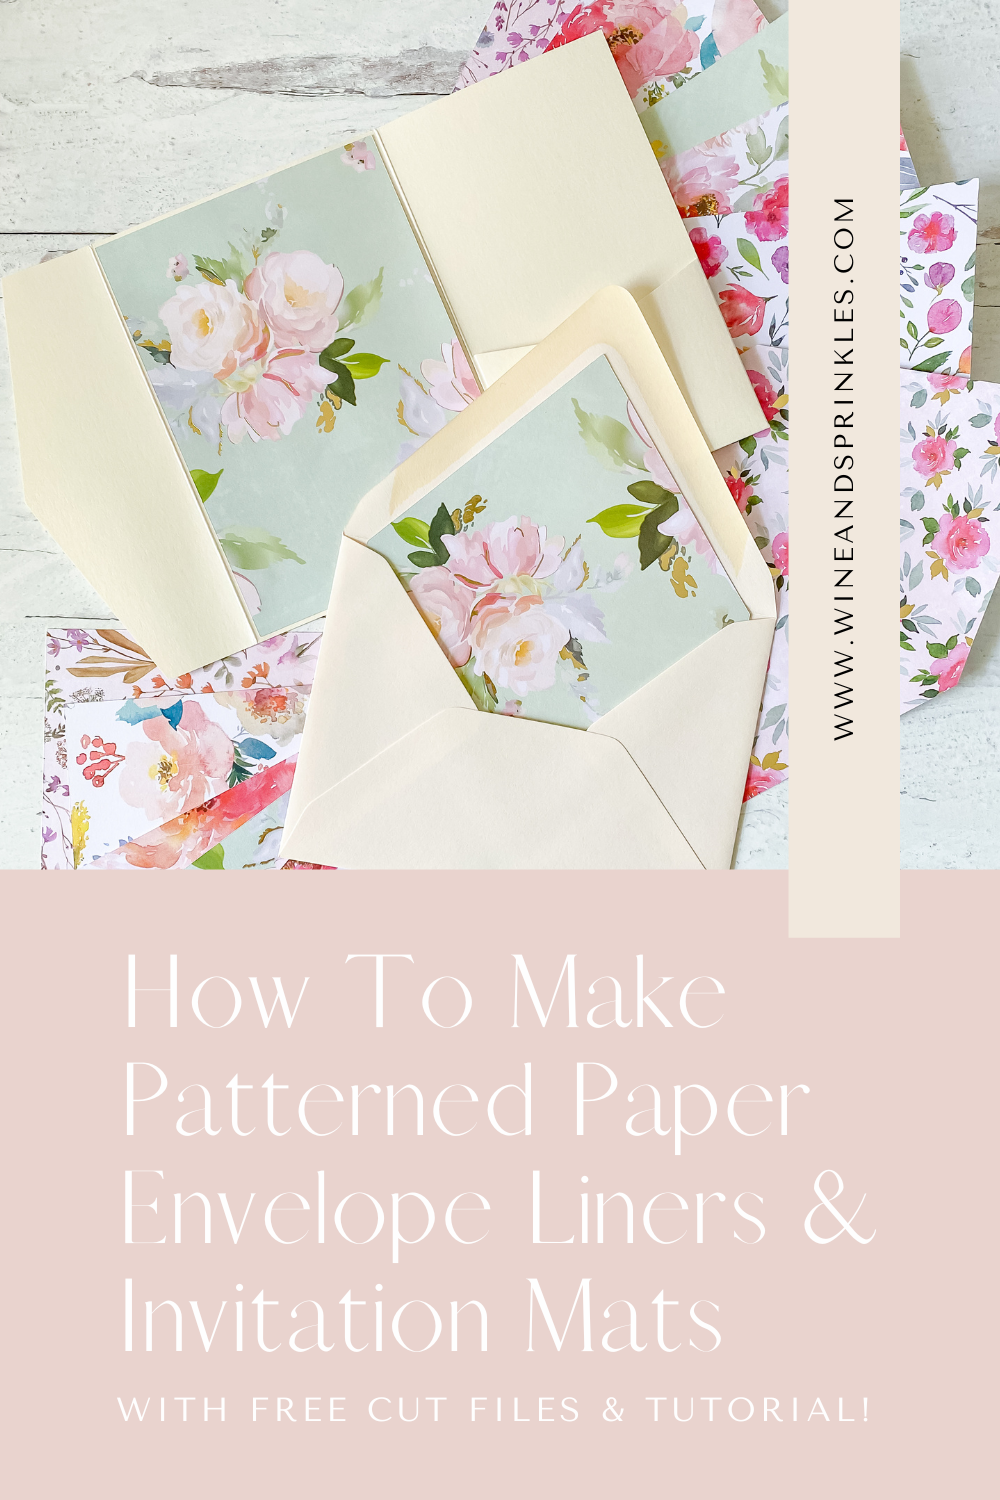
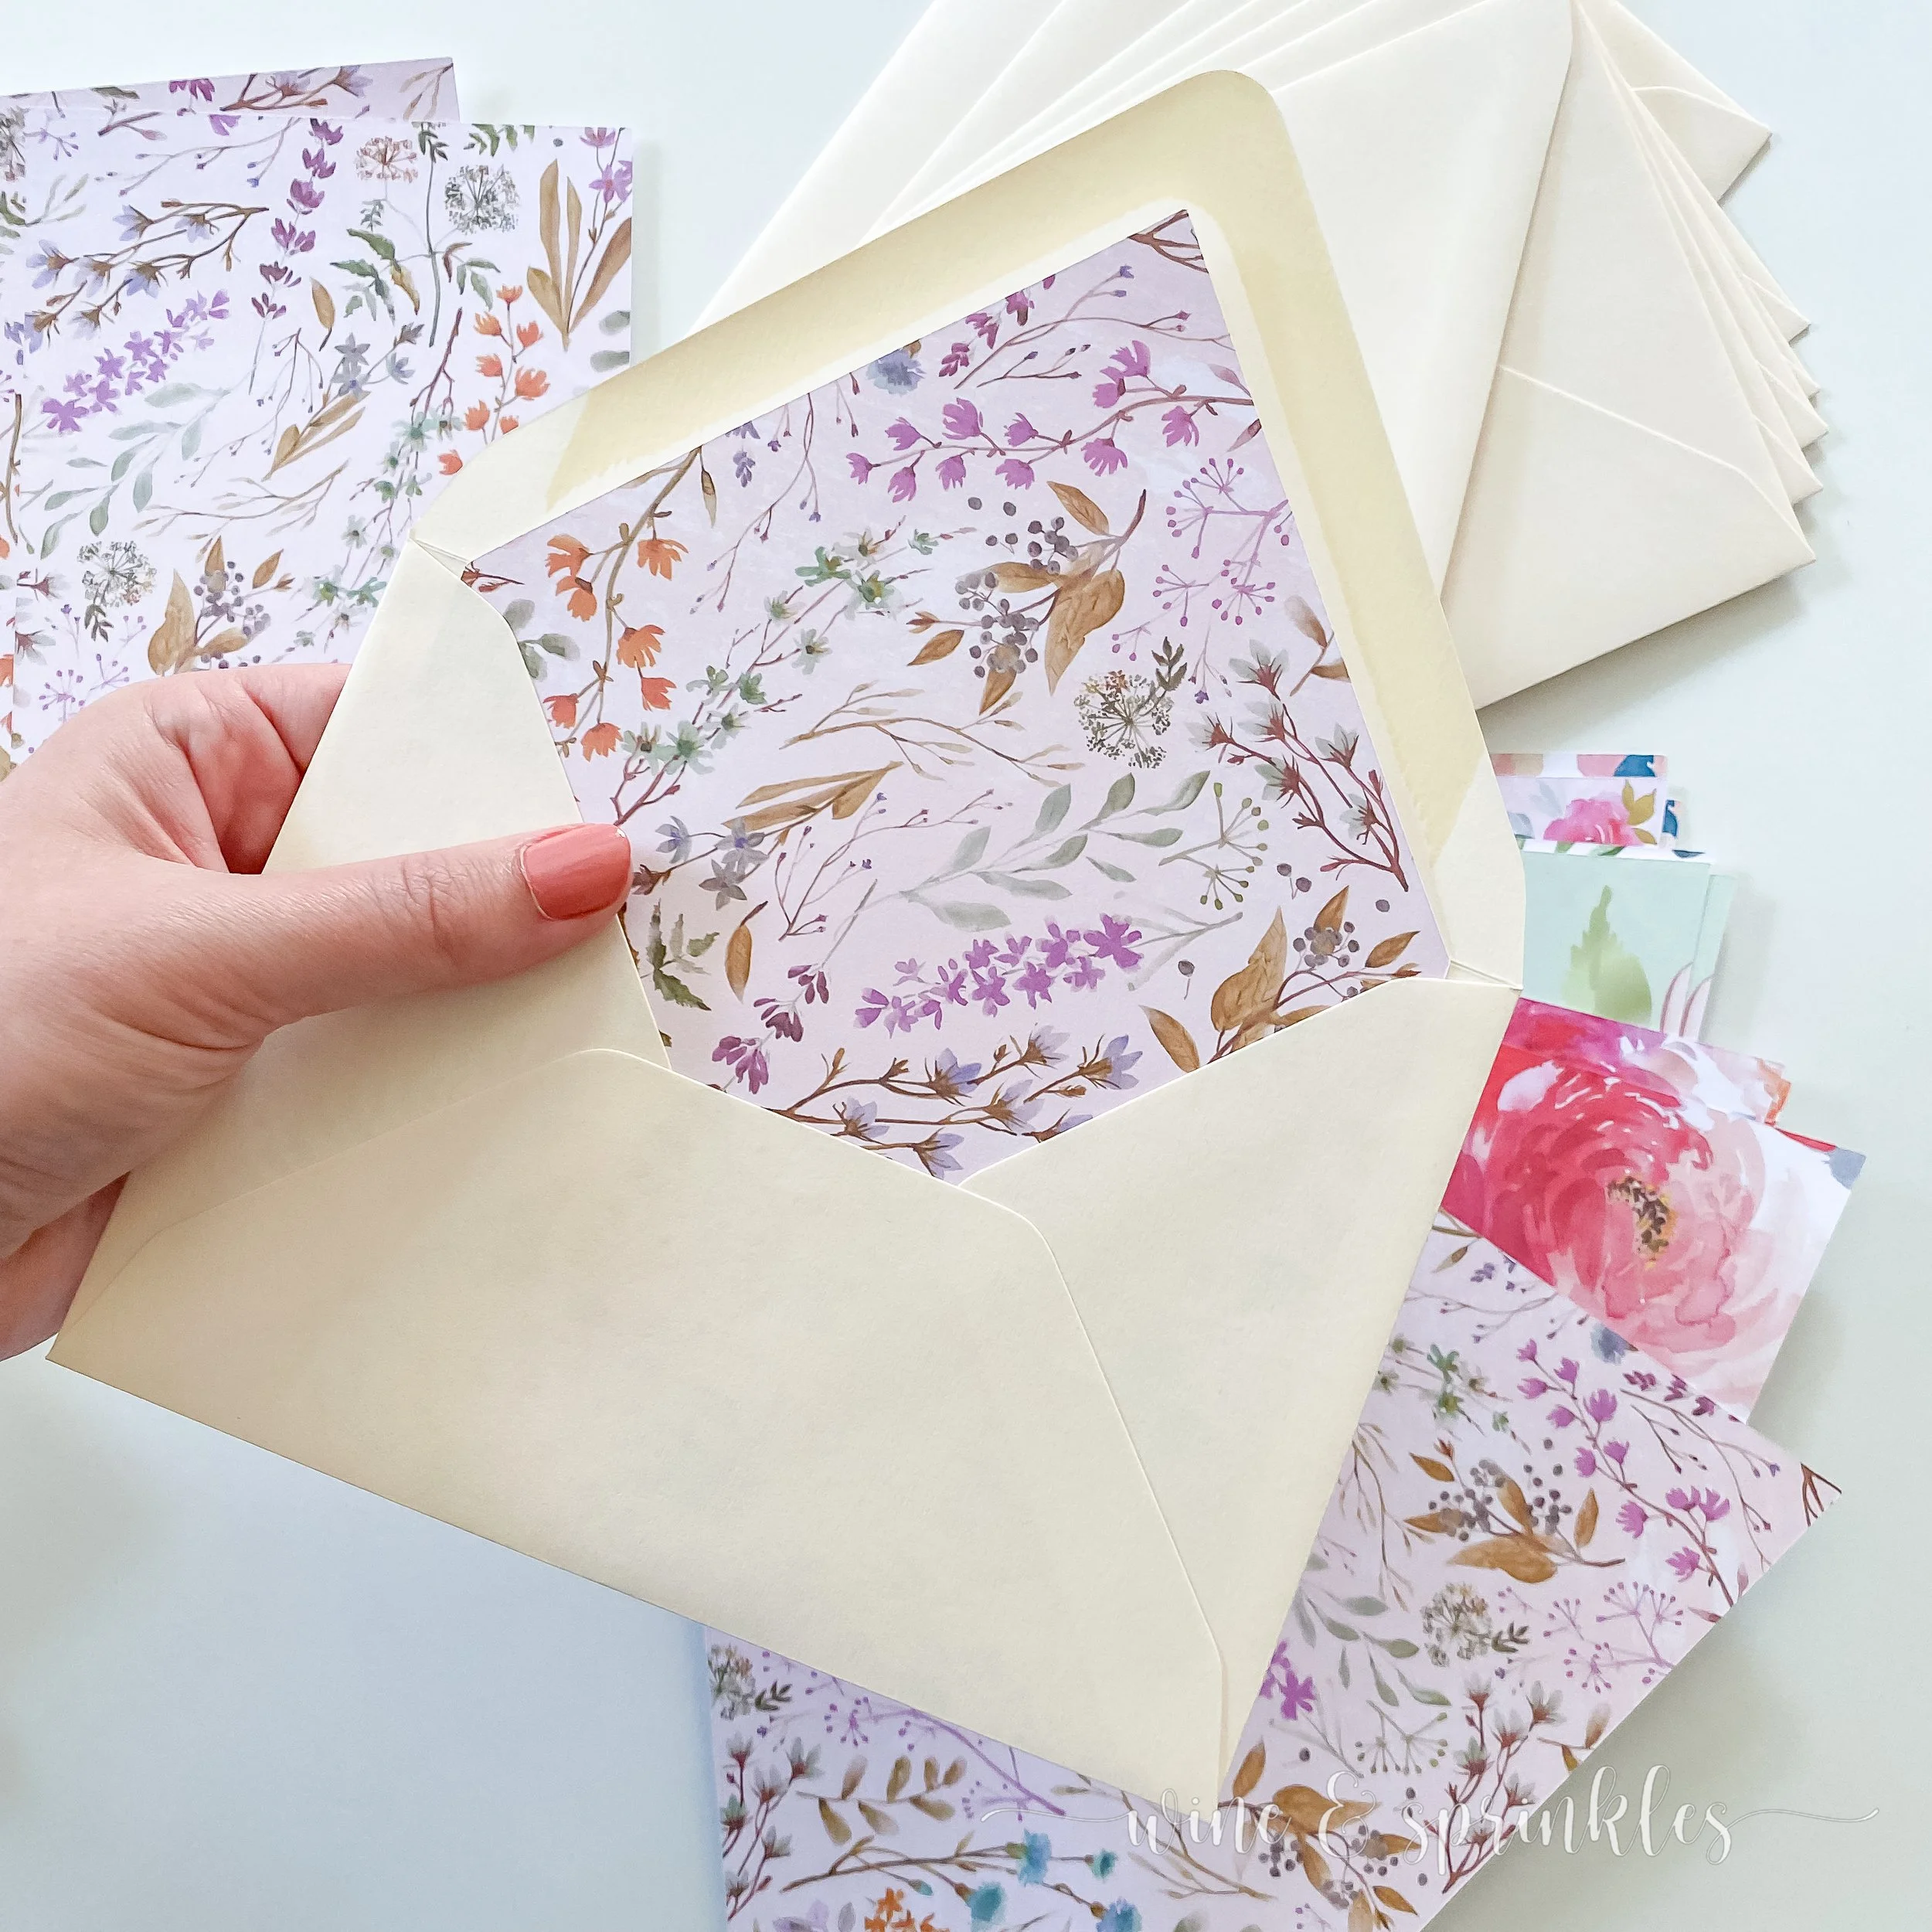
To Line your Envelopes: slide the liner into your envelope, centering its point to the rounded point of the top of the envelope. Using double sided tape, line the back of the liner along the top point, then press into the envelope to secure.
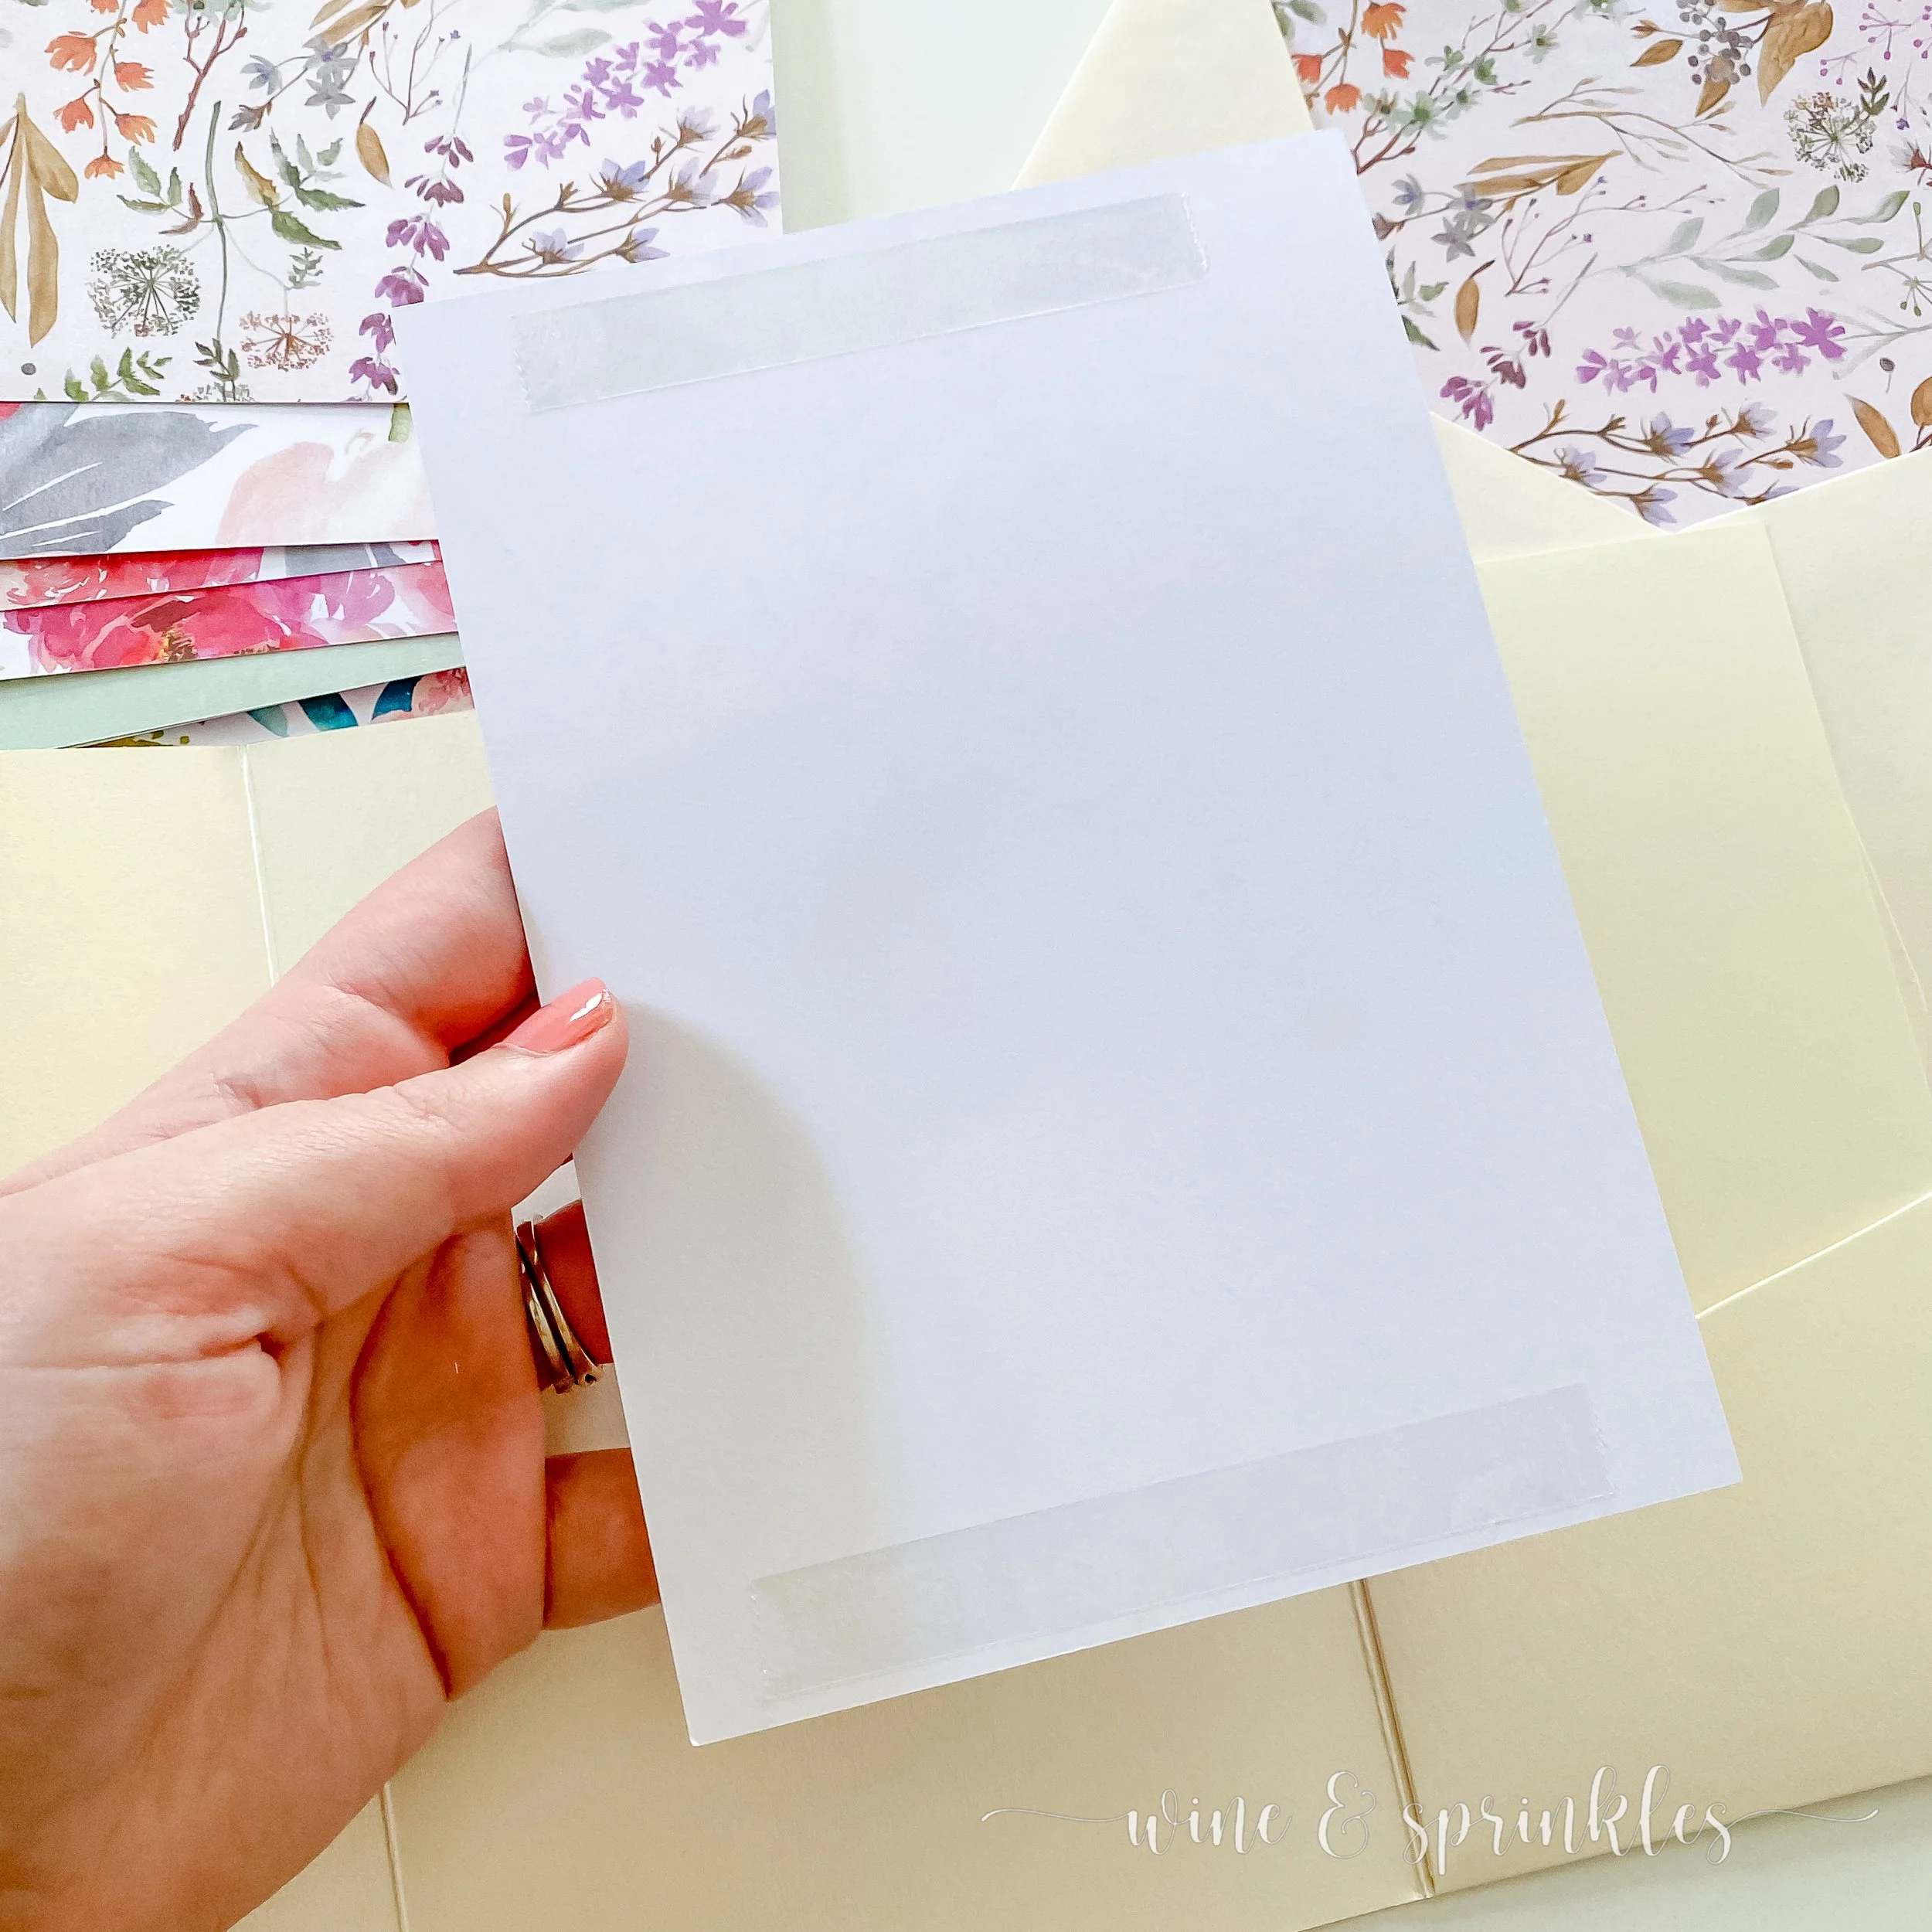
To use Invitation Mats: run lines of double sided tape to the back of the invitation mat along the top and bottom. Center the mat, design side up, over your pocketfold or other invitation base, then press to stick in to the cardstock and it's ready to display an invitation.


These Envelope Liners and Invitation Mats are so easy to make that I encourage you to go through all the patterned paper you can find and use it to create your own one of a kind stationery! I’ll be sure to be using them in my next set of invitations I create and continue to come up with other fun pattern combinations for my future parties and paperie projects.
SEE OUR RELATED POSTS HERE:
OUR MOST RECENT BLOG POSTS:


OUR PINS FOR THIS POST: