This post contains affiliate links, meaning that if you click on a link I will recieve a small comission. This costs you nothing extra and I only promote products I use and love! You can read our full disclosure here

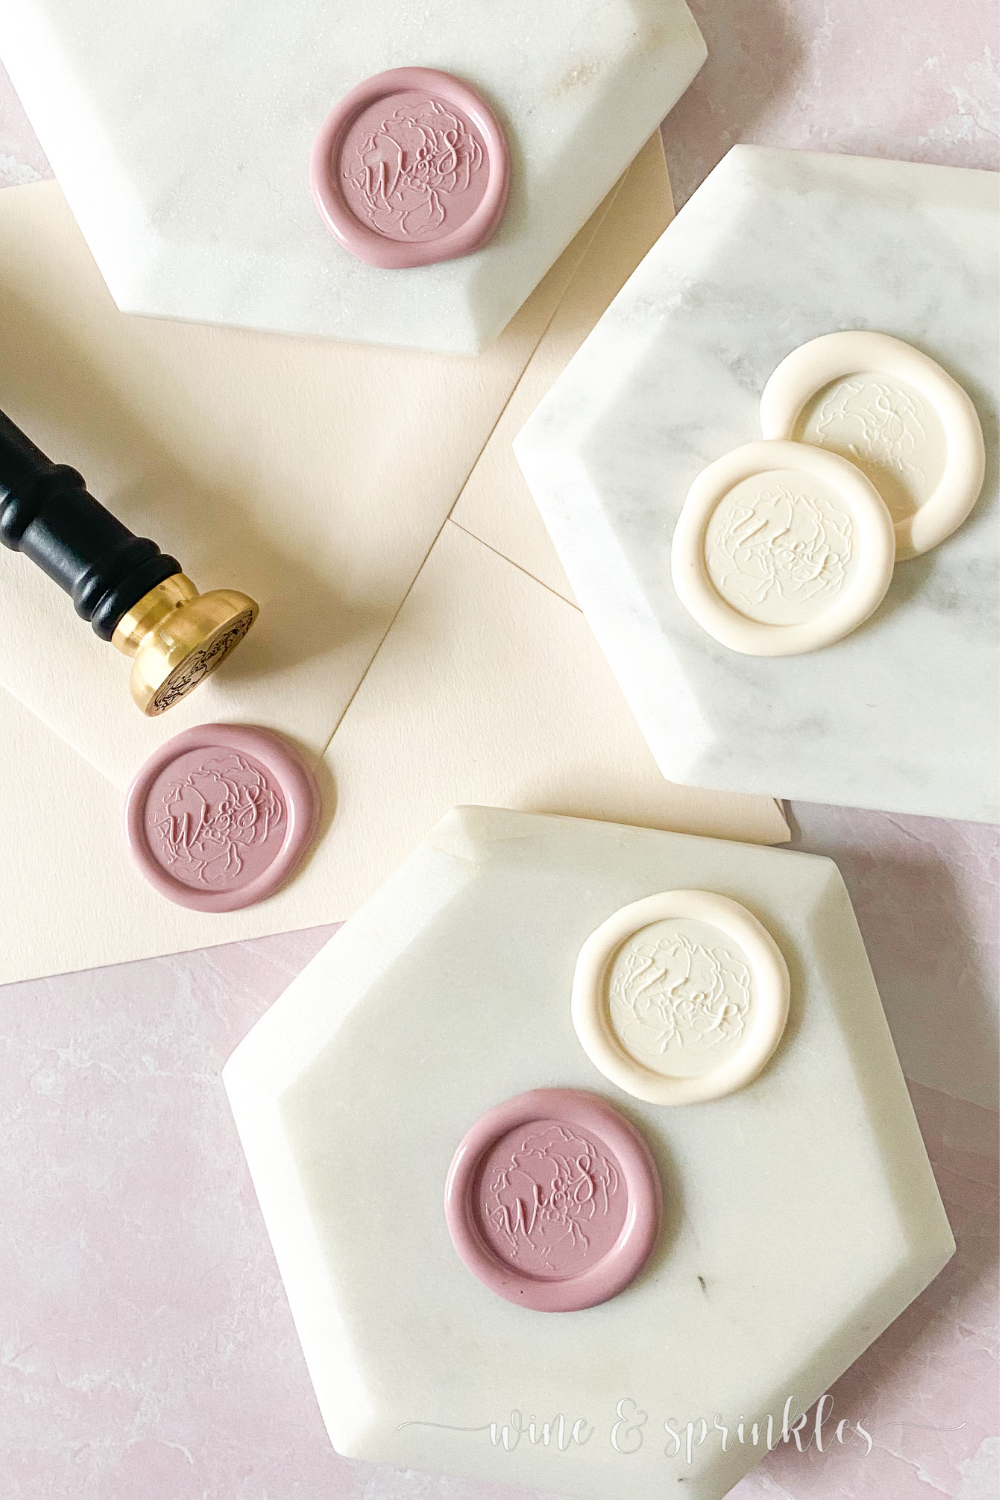
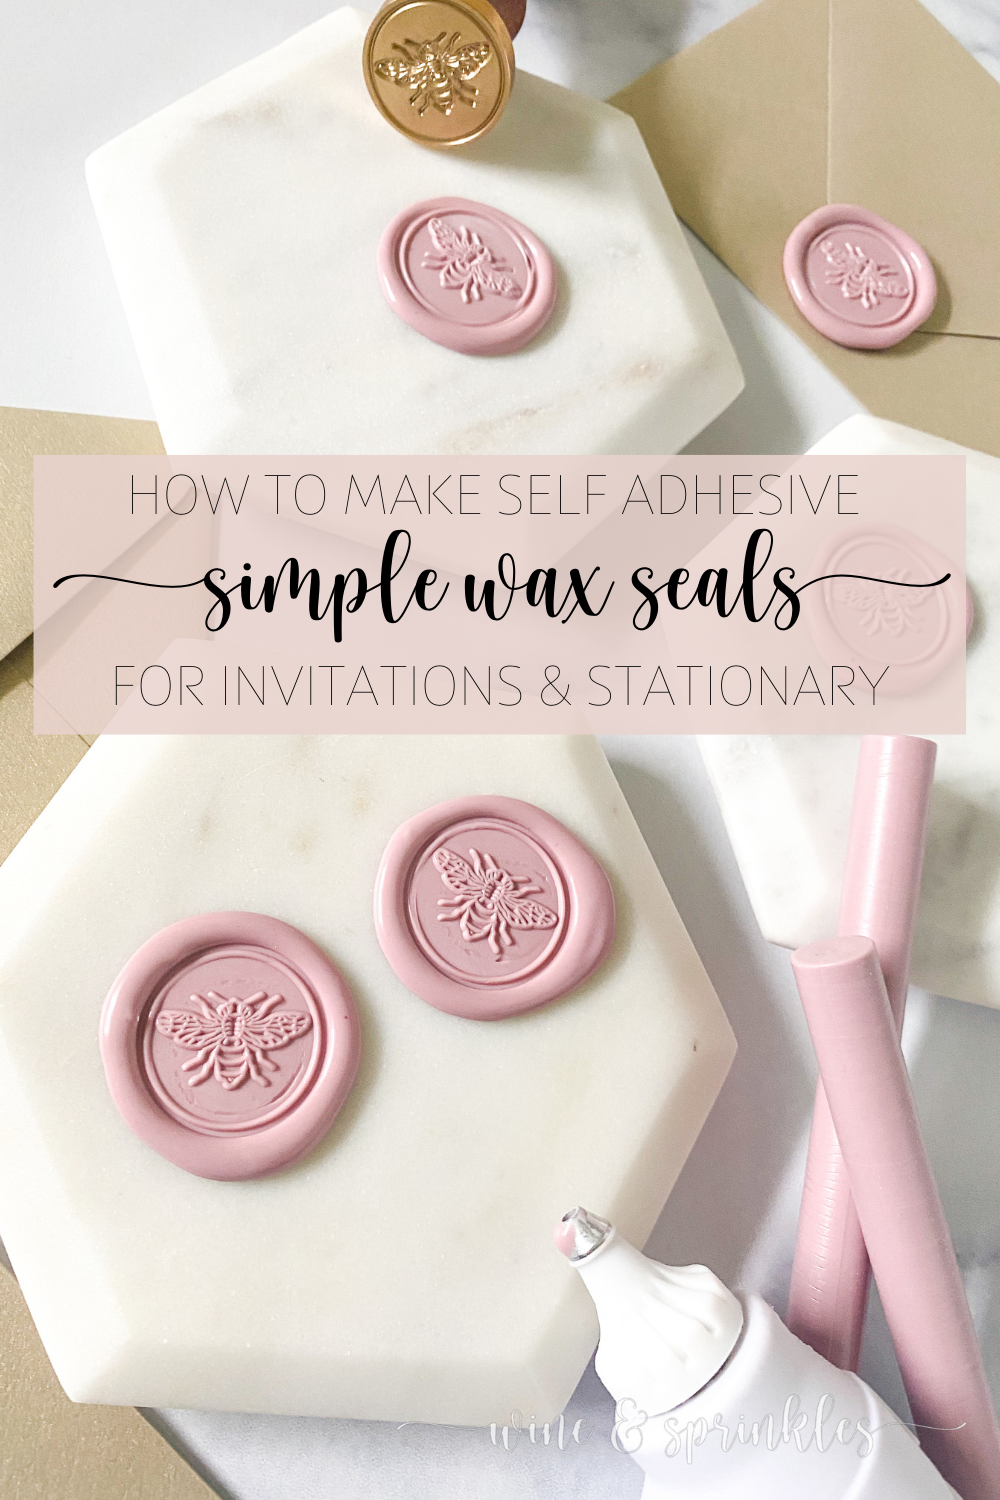
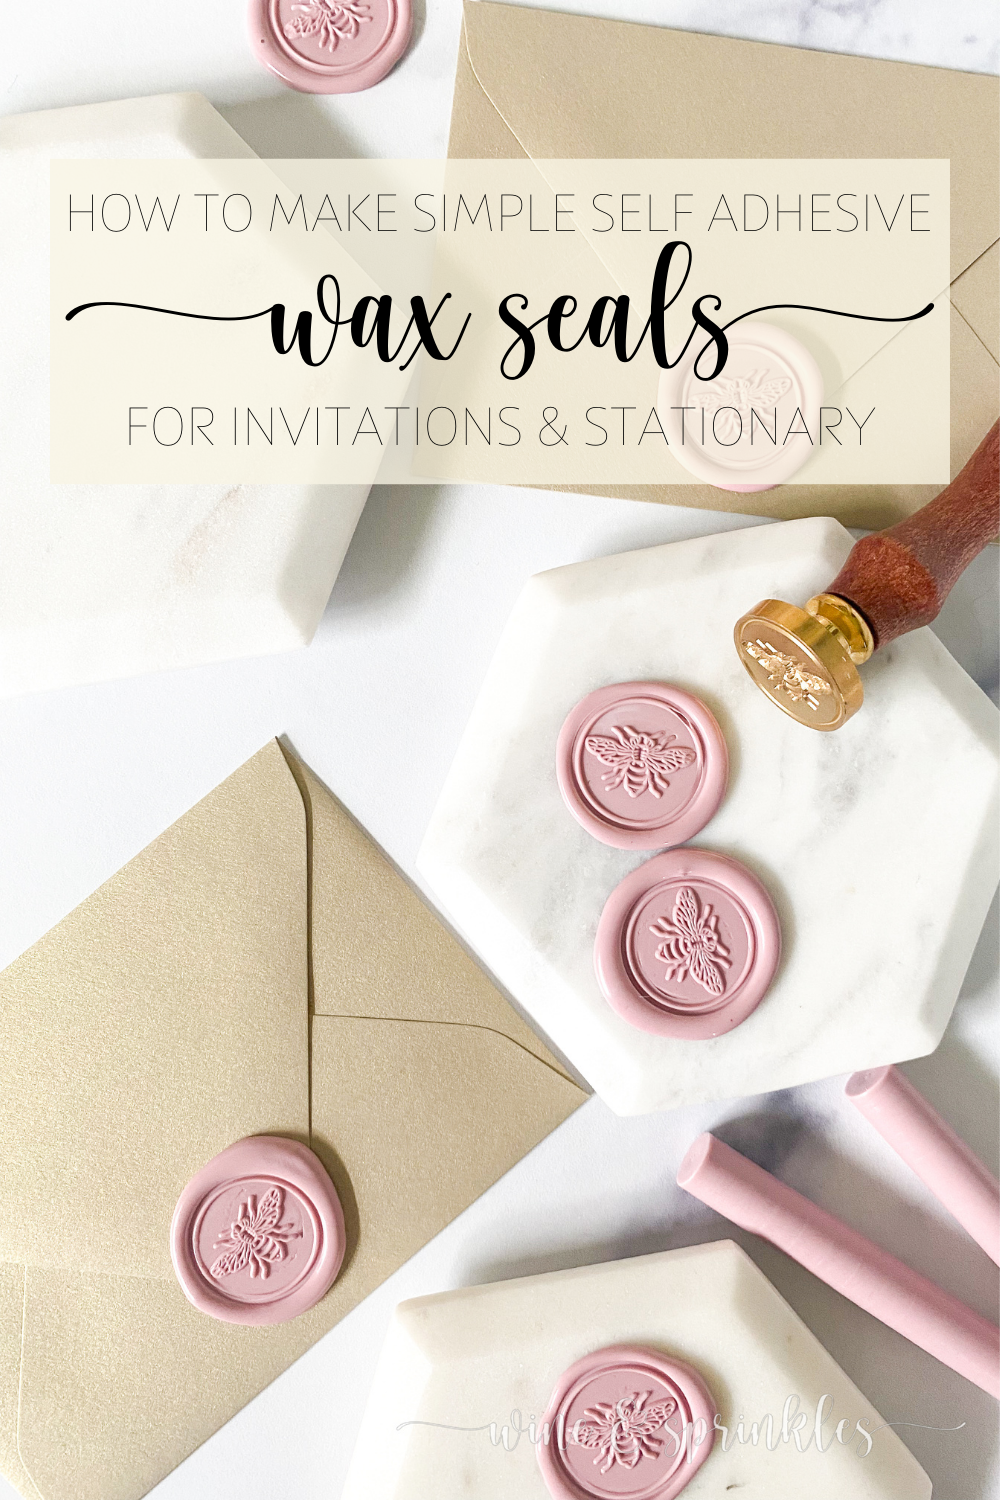
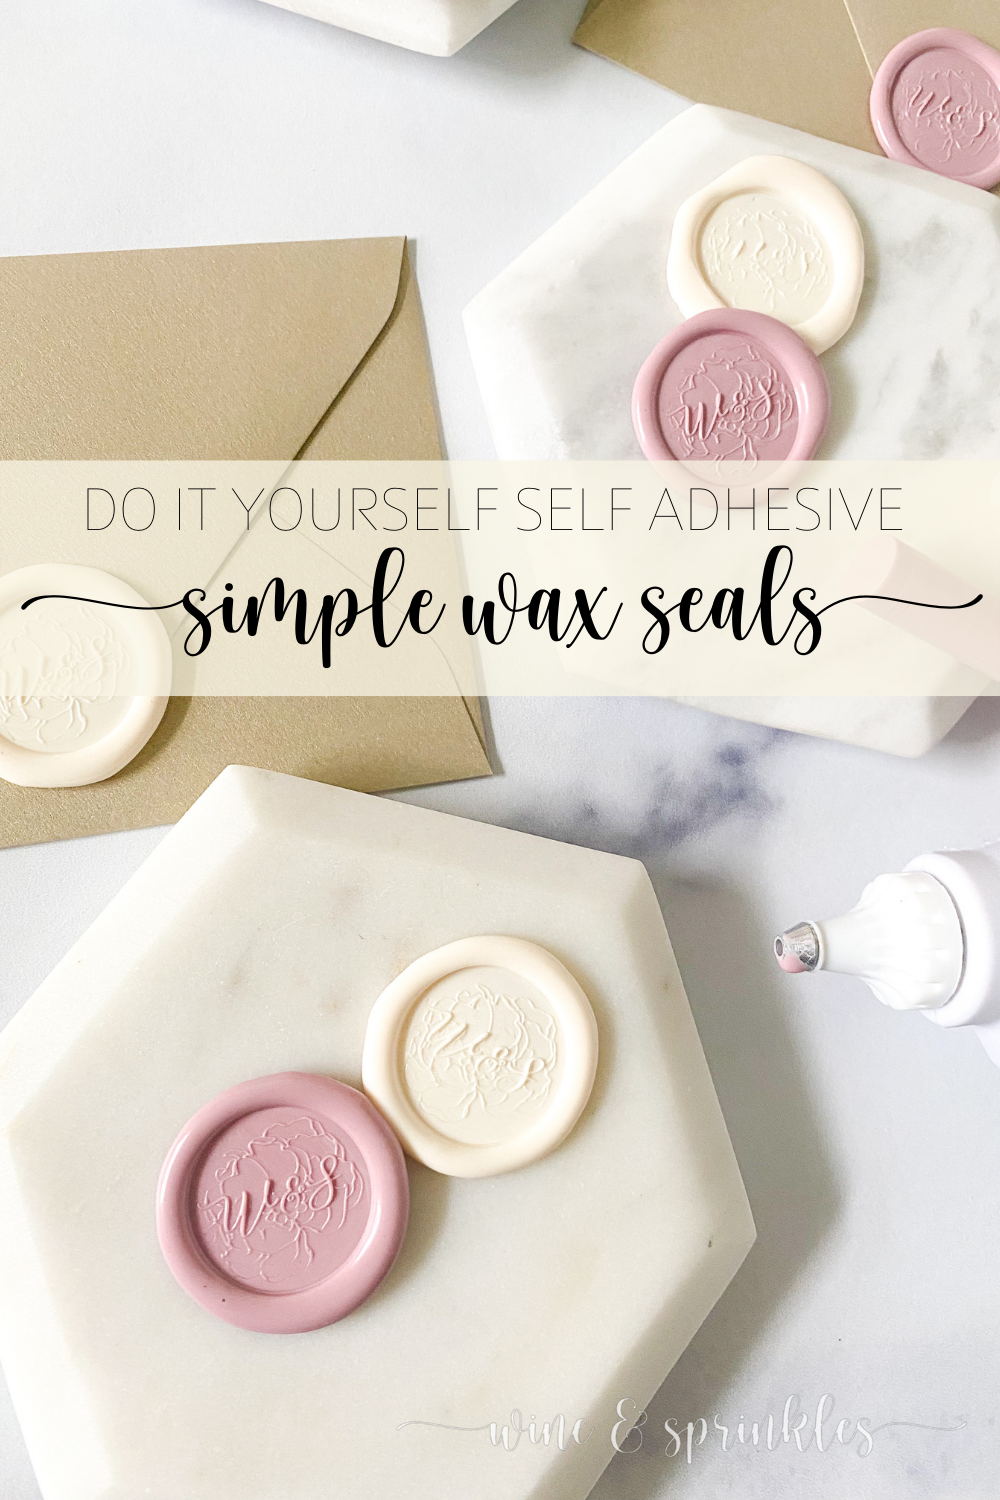
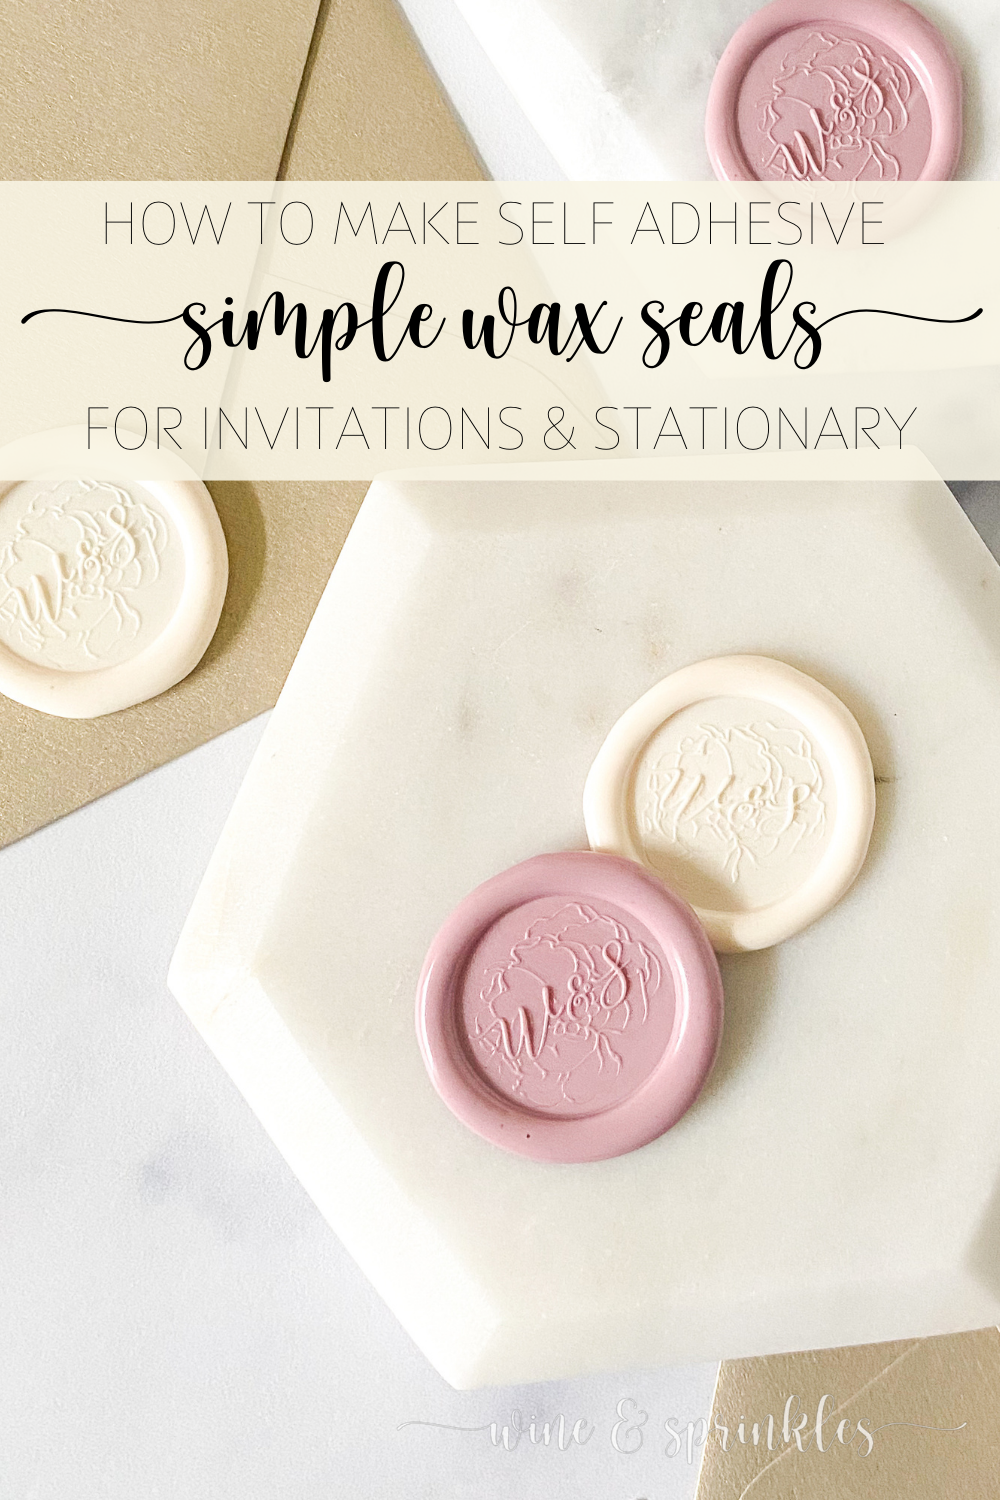
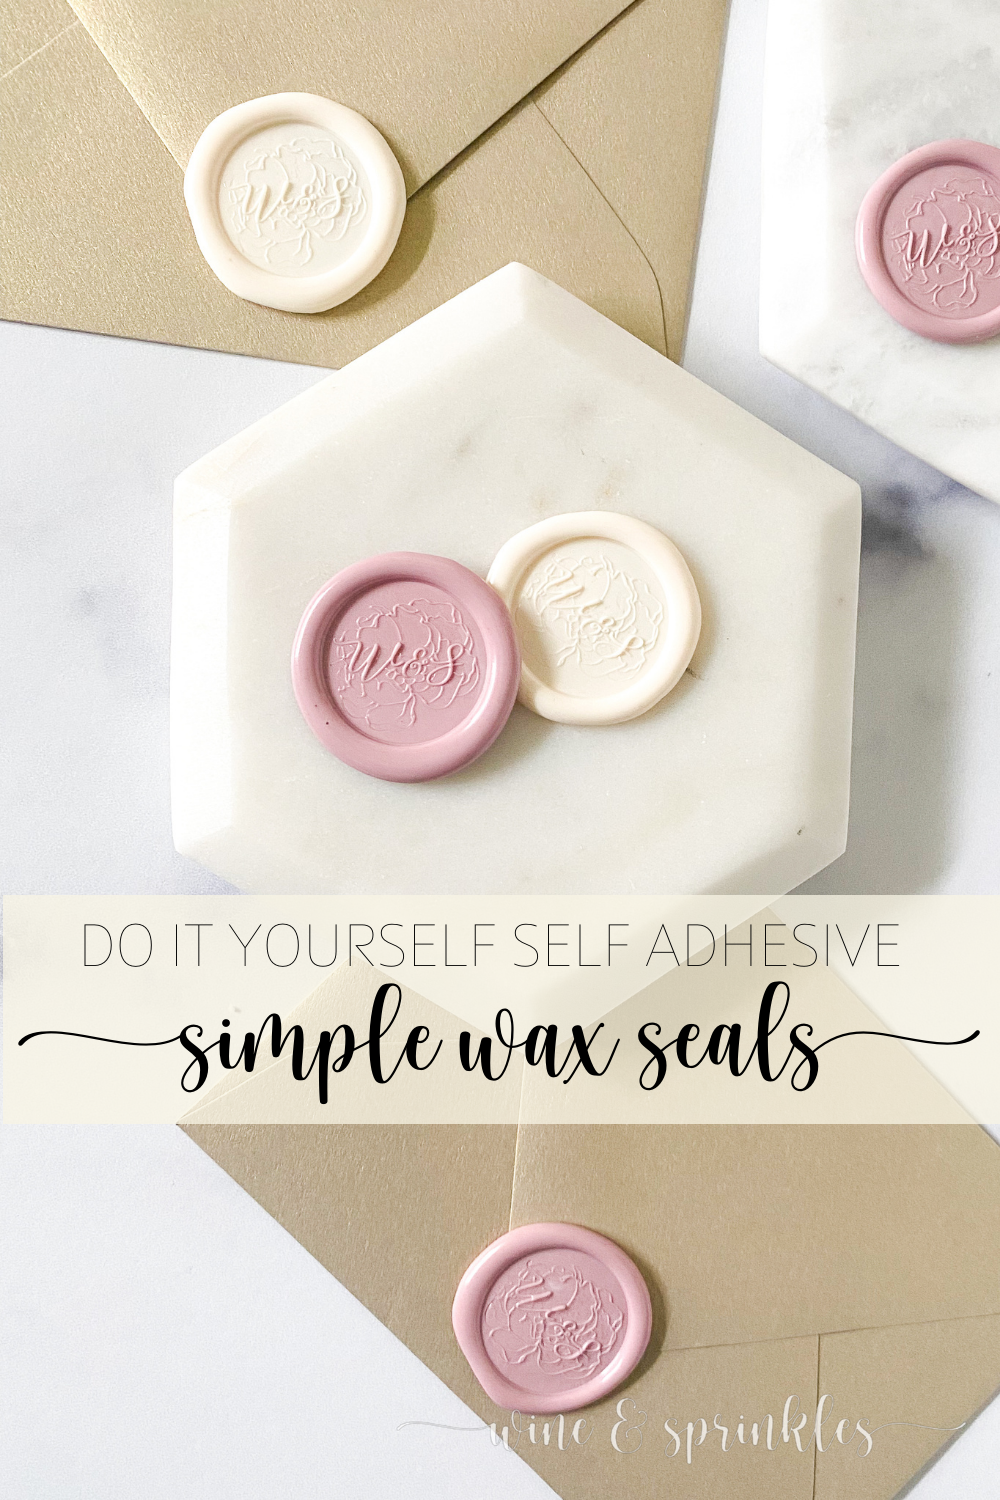
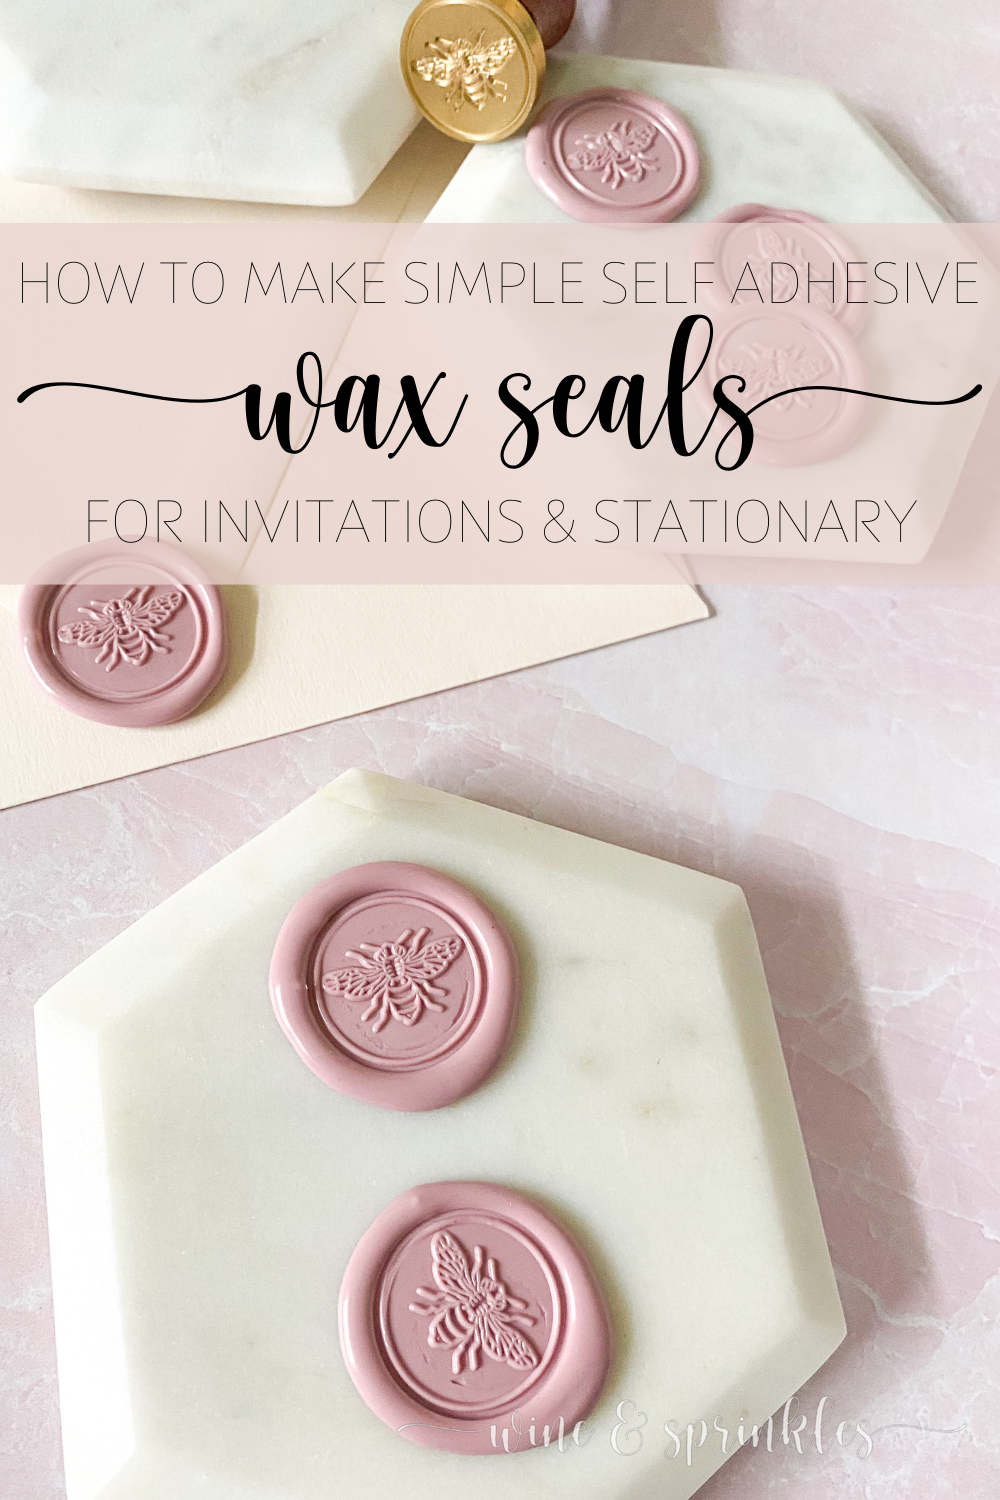
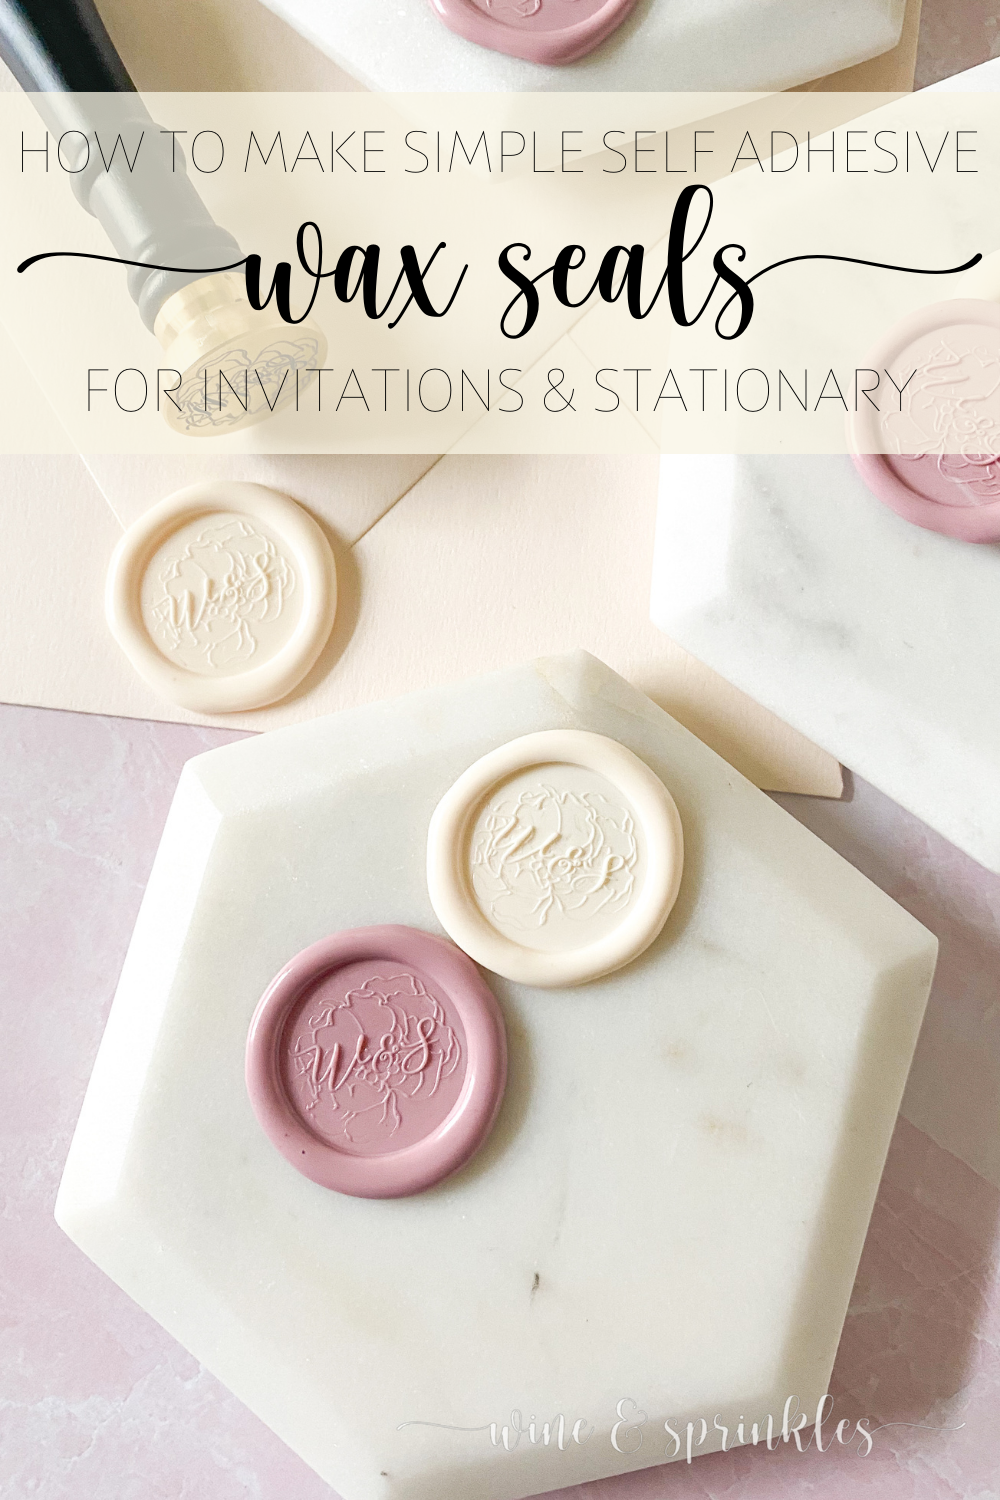
If there’s a stationary detail I love, it has to be wax seals! Whether it's from my love of the old days where letters were sealed with them or because of all the beautiful wax seals we can create for our own invitations today, I think they always add an extra level of class and beauty to any paperie projects. In honor of these dainty details, my next party will be bedecked with all sorts of wax seal projects, all of which start with the basics, how to make Simple Self Adhesive Wax Seals for my invitations and party paperie!
I started originally playing around with making my own seals last year when I created some Wax Seal Tagged Personalized Cub Bags for housing all the goodies in my Horoscope Hangover Bags at my Zodiac Summer’s Eve Party, and at the time I just purchased a basic Wax Melting Bead and Spoon Starter Set, but since then I’ve been researching other ways to make wax seals, both in better sealing waxes and easier ways to make larger quantities of seals; because as cute as they turned out, the wax always melted unevenly and making a couple dozen seals on the bags took much longer than expected. Enter my new favorite shop for all my wax sealing supplies and now my new affiliate partner, Artisaire!


Artisaire is an online supplier based in Canada of both sealing wax and a beautiful variety of wax stamps, creating and collaborating with talented artists to produce new designs seasonally. I absolutely adore the beautiful floral monogram designs they have created, so my first stamp from this lovely shop had to be the Pascala Monogrammed Stamp, which you will be seeing throughout many of my upcoming projects. I first found them by their gorgeous modern color palettes for their wax seals on Instagram, and this only led me down a rabbit hole of wax seal inspiration as well as introducing me to my favorite way to make bulk wax seals, using a low temperature glue gun and wax sealing sticks!
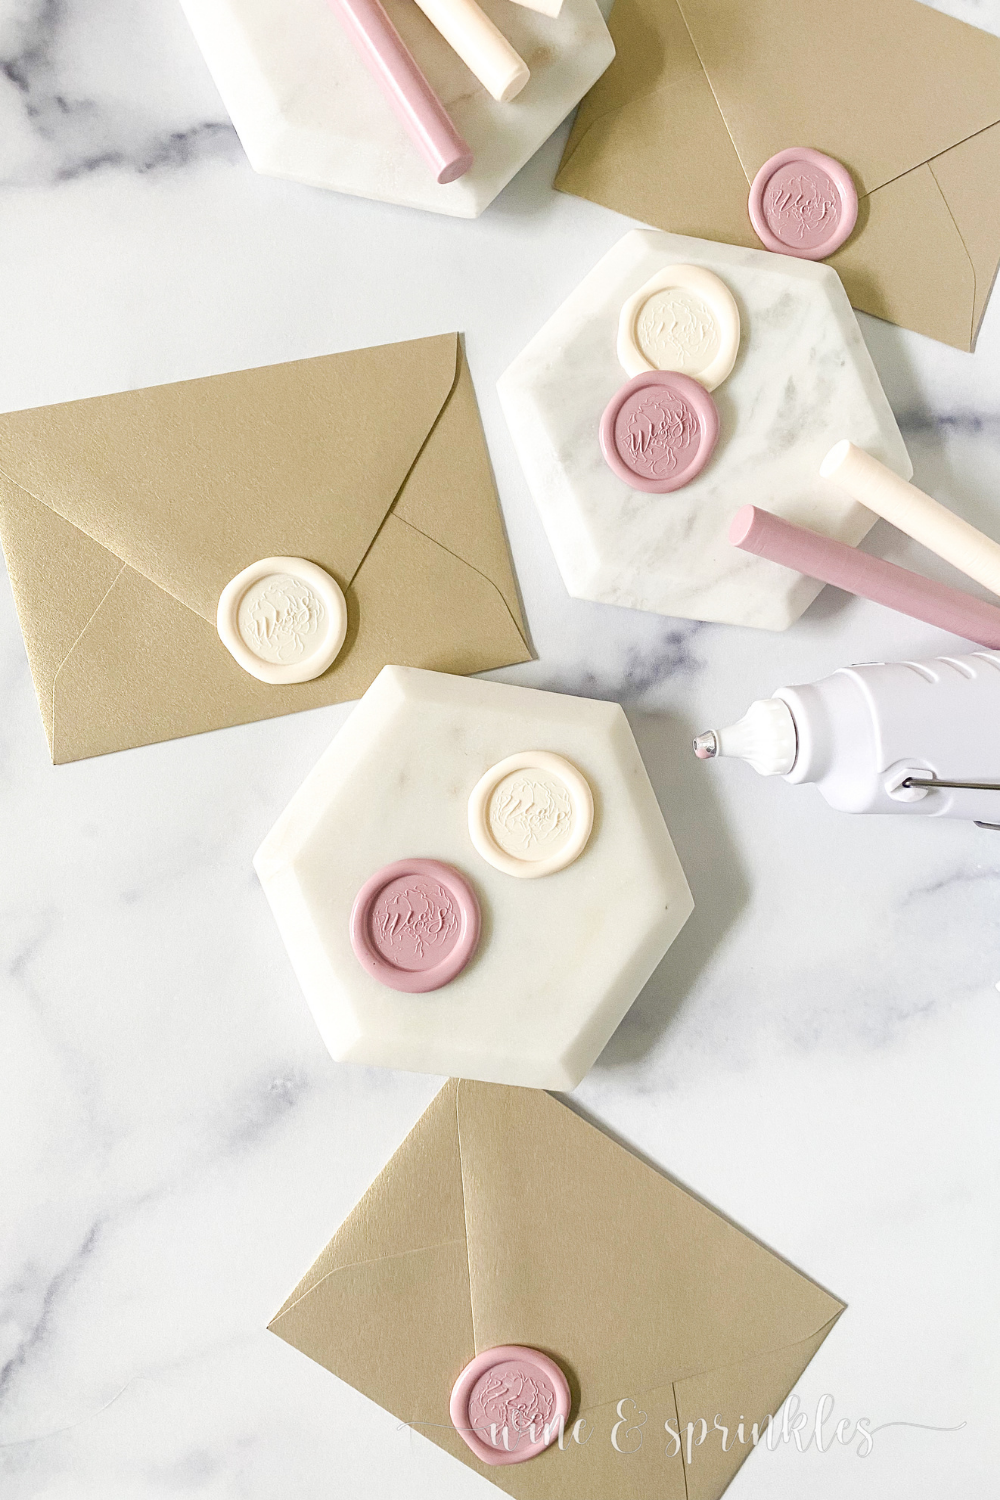
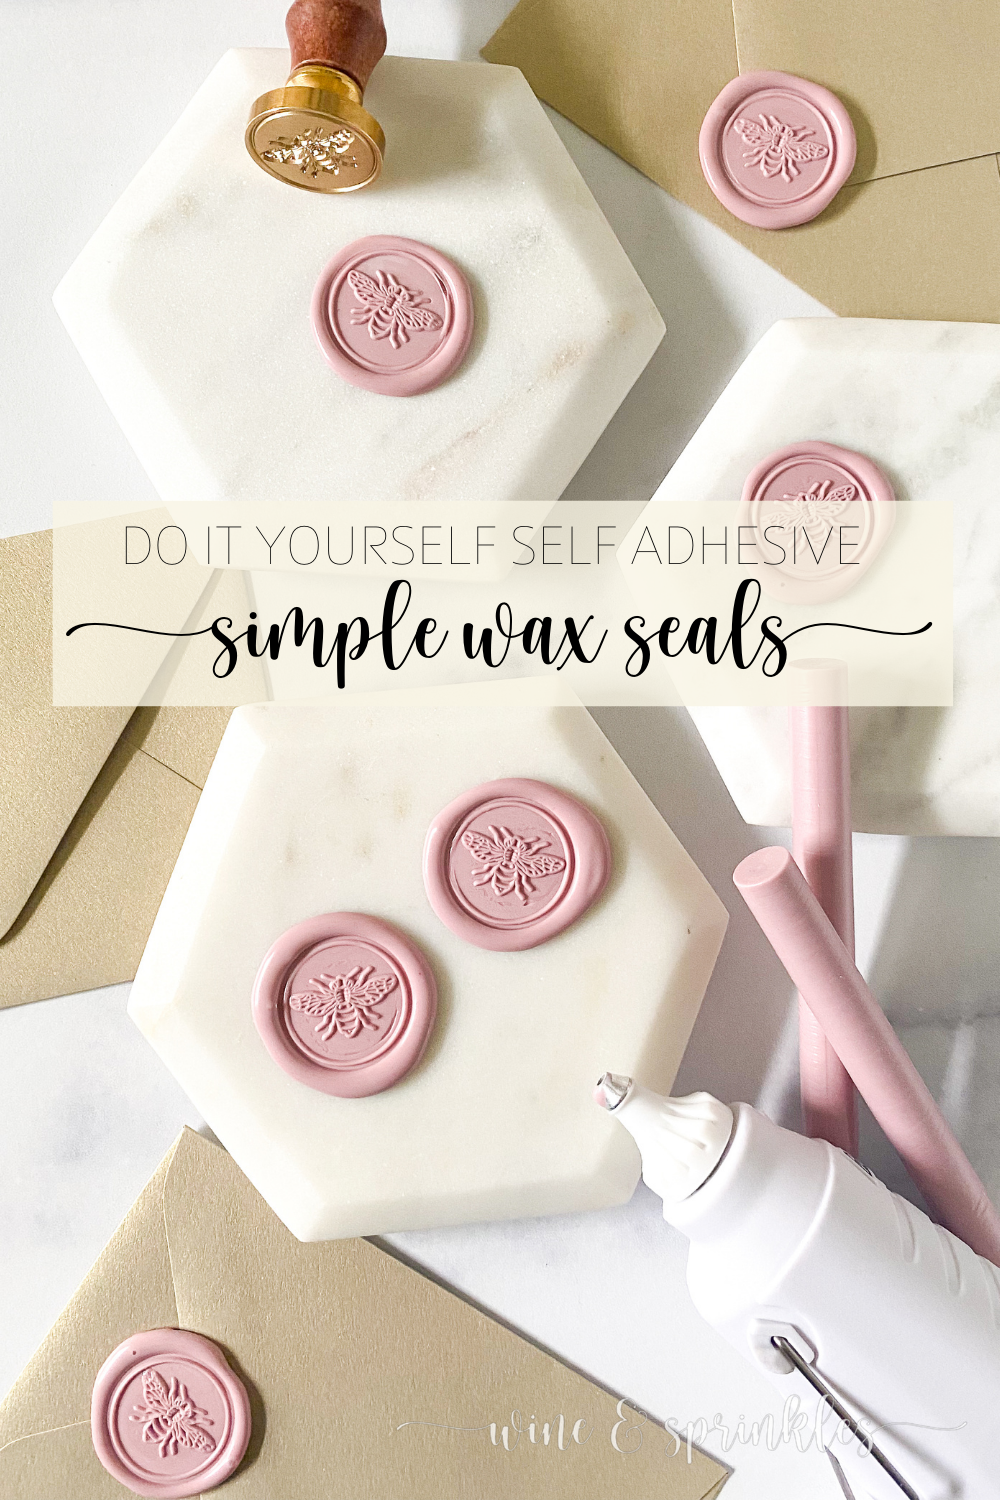
For this and many of my other Wax Seal Projects, I use the combination of a low temperature glue gun and wax sealing sticks, instead of the more traditional method of melting wax beads in a spoon, and it was a huge timesaver while also making much more consistent sized seals and far less cleanup! For those just starting in the wax seal world, this is an easy way to begin while creating beautiful quality seals right away. And with the beautiful modern color palette of Wax Sticks Artisaire supplies, you are sure to find the perfect hue to add the perfect finishing touch to your own invitations and stationary projects!

To find your own perfect stamp for your party projects, check out all the beautiful designs Artisaire offers here, and to learn more about their products as well as the different methods of making wax seals, see my review on all the fabulous products I’ve bought or received from them so far!
SUPPLIES
WAX STAMP & SEALING SUPPLIES
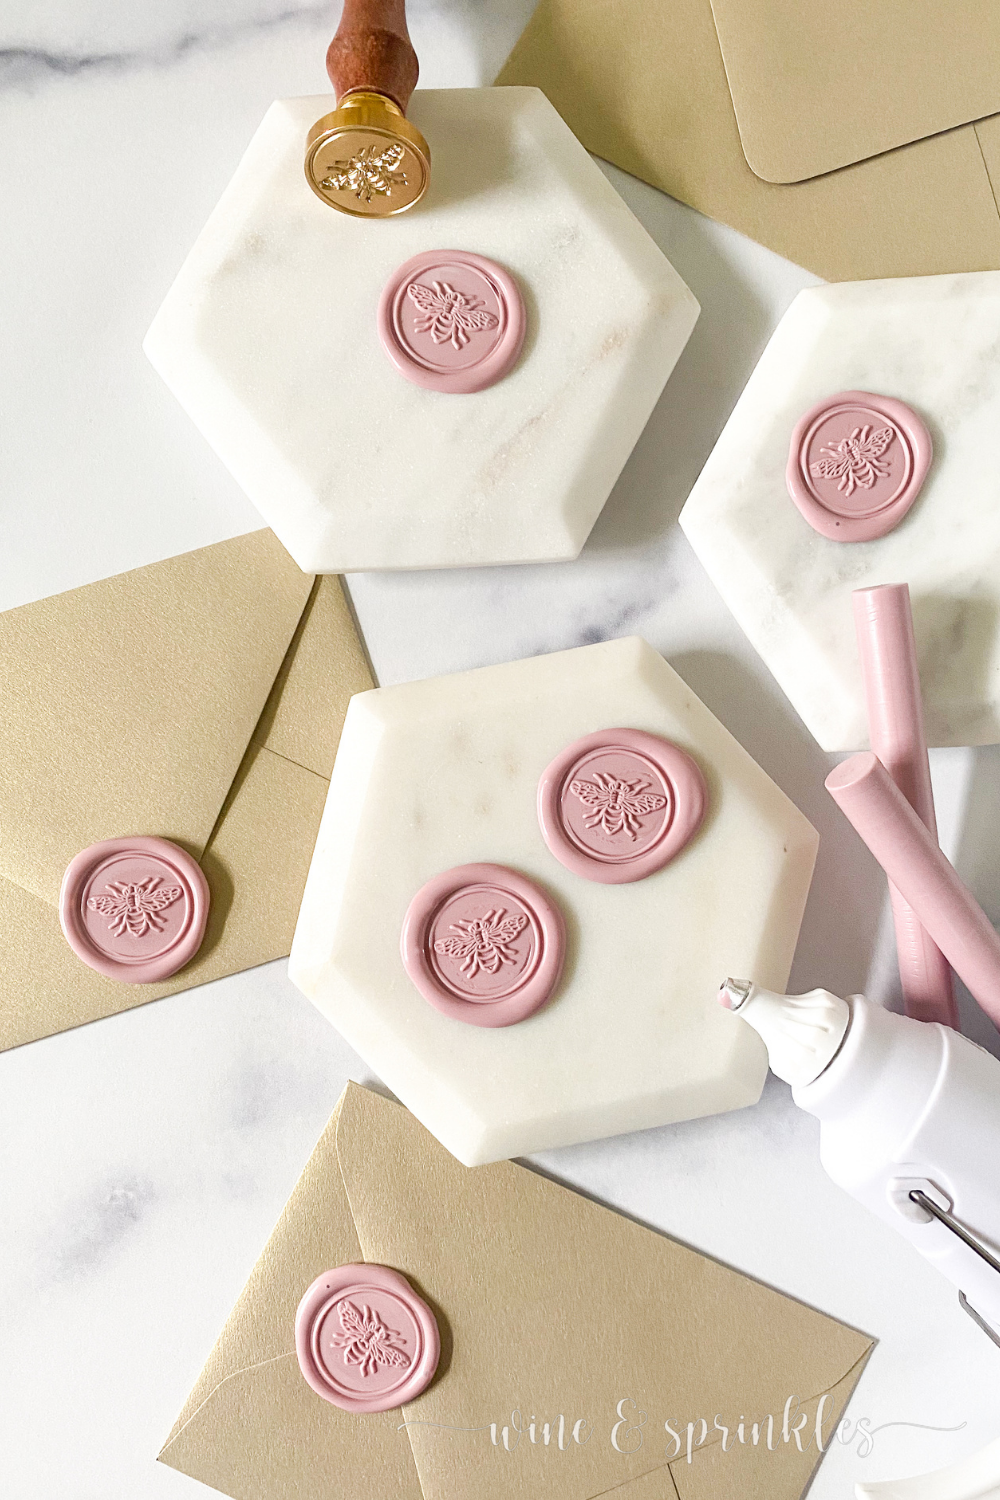
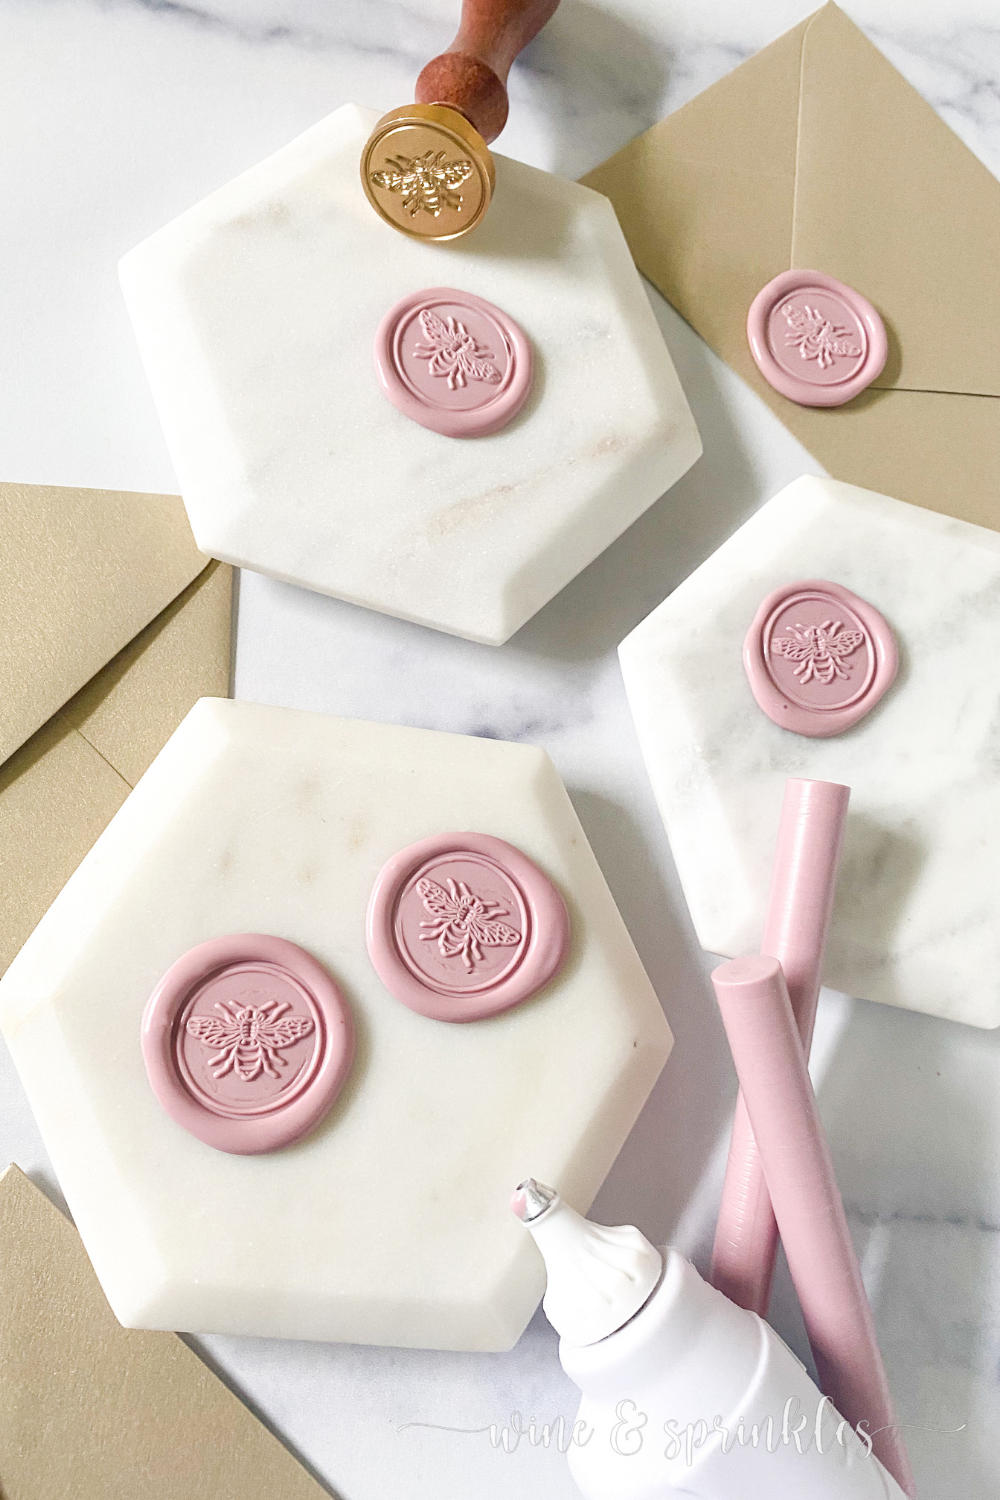
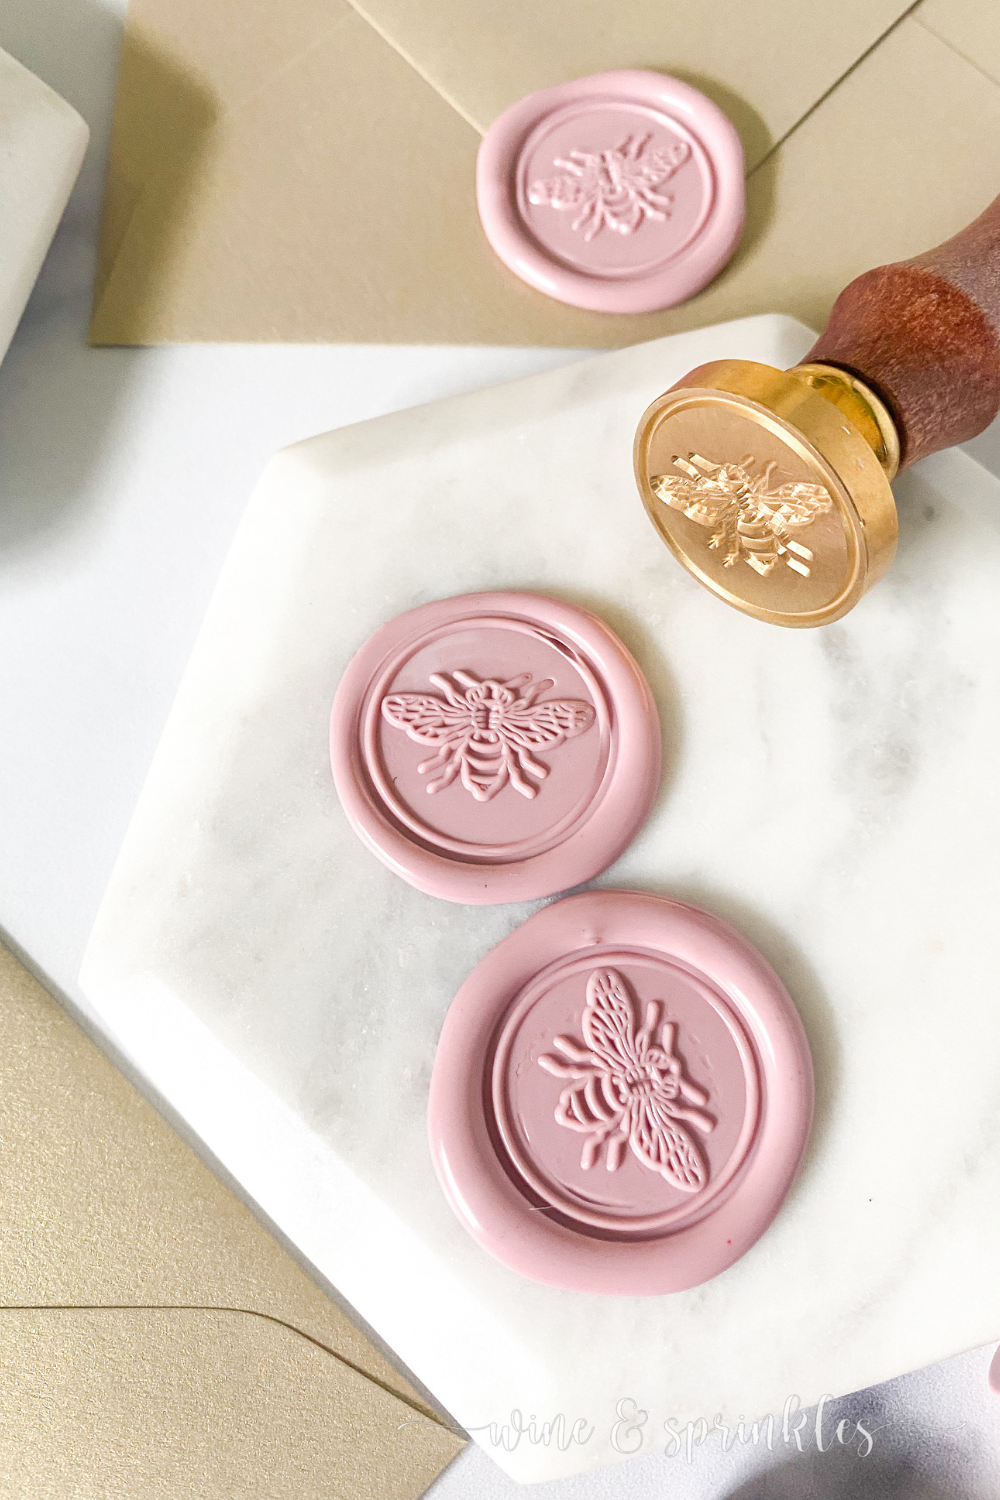
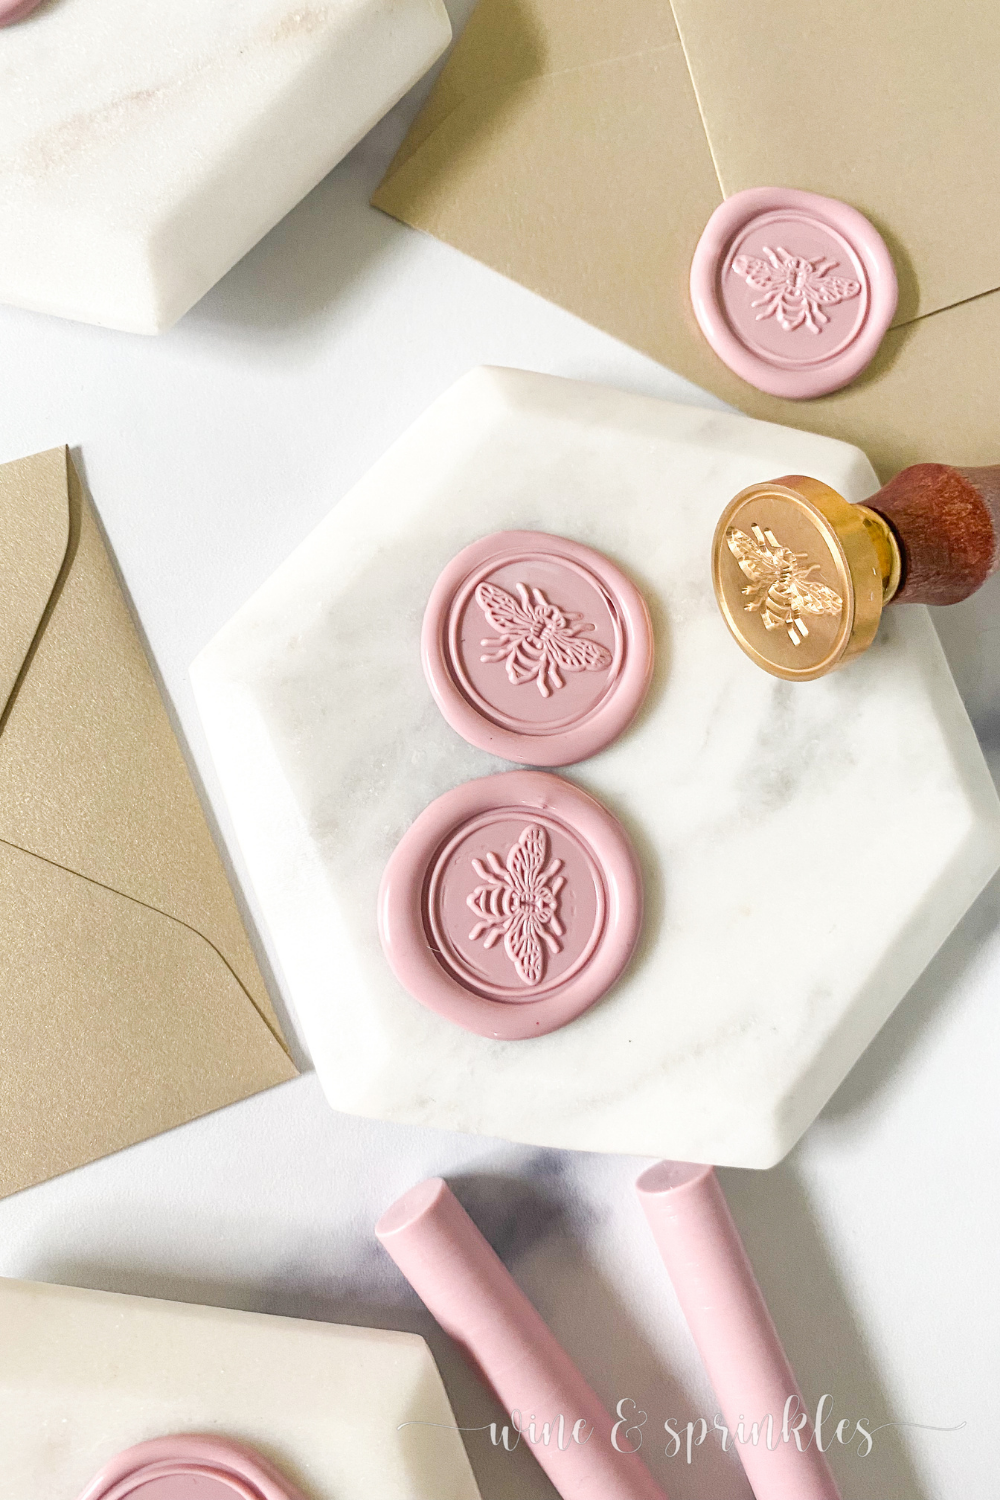
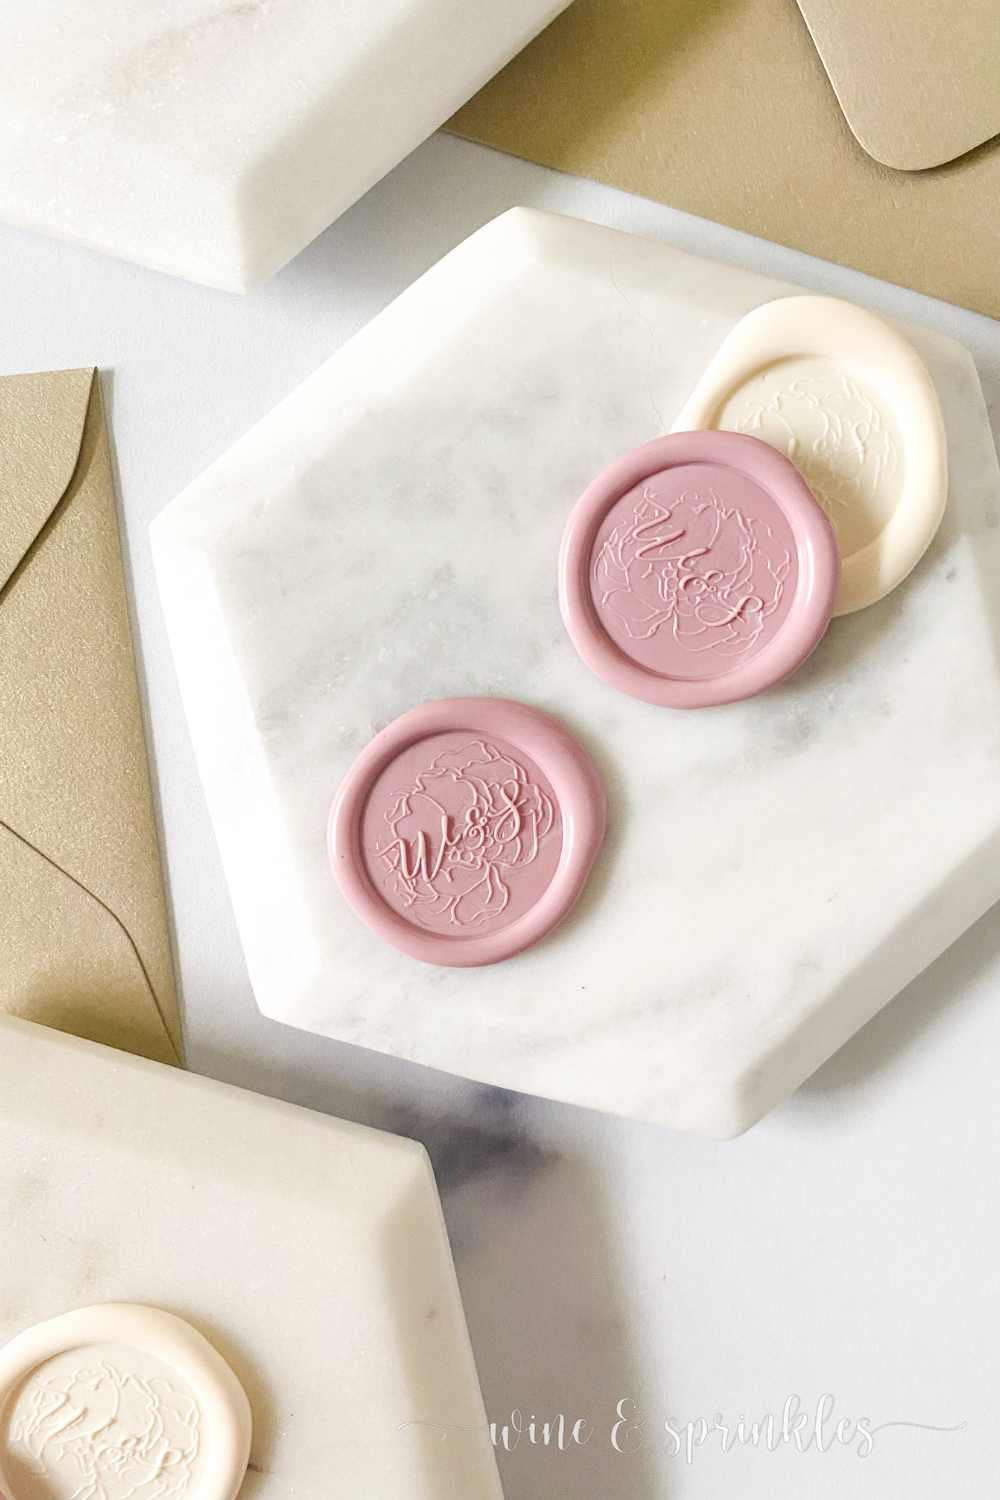
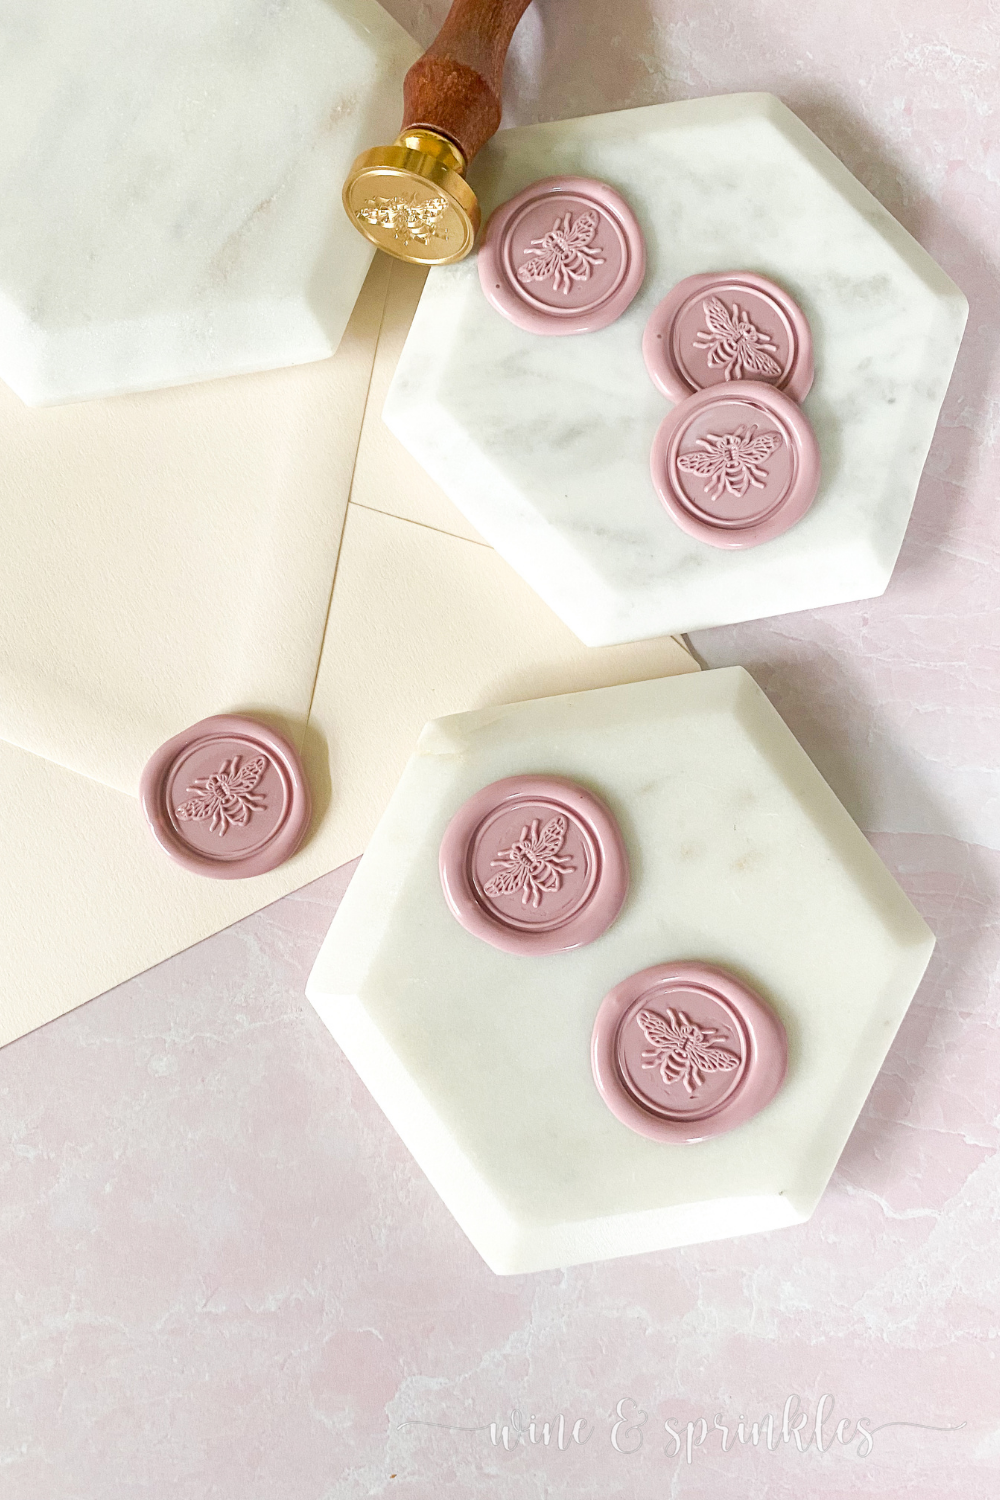
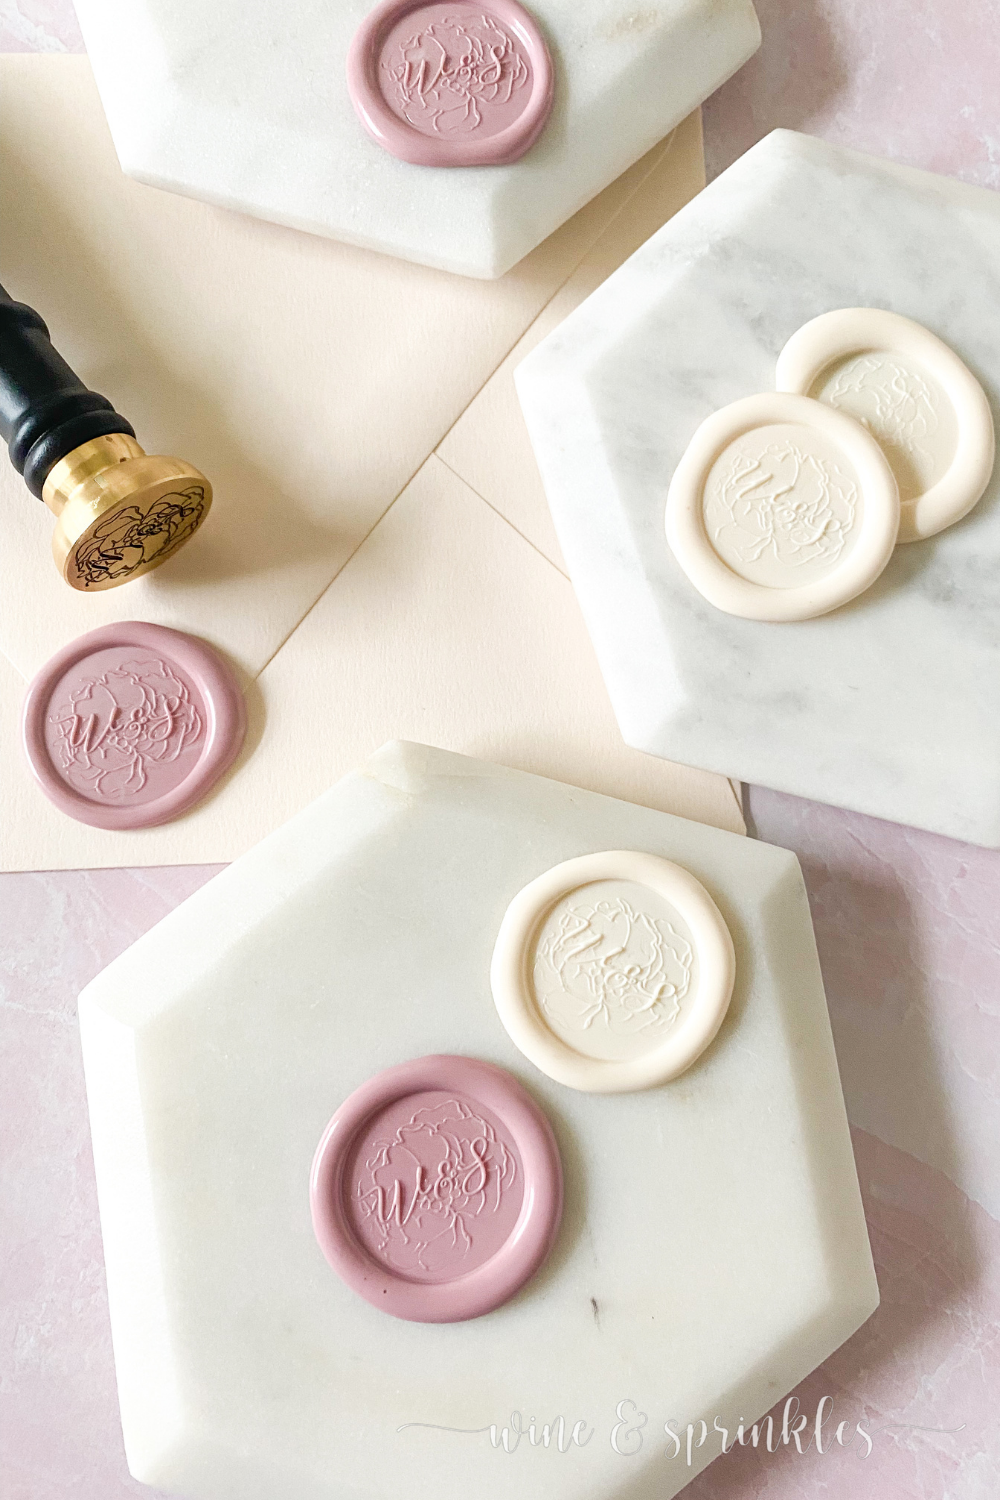
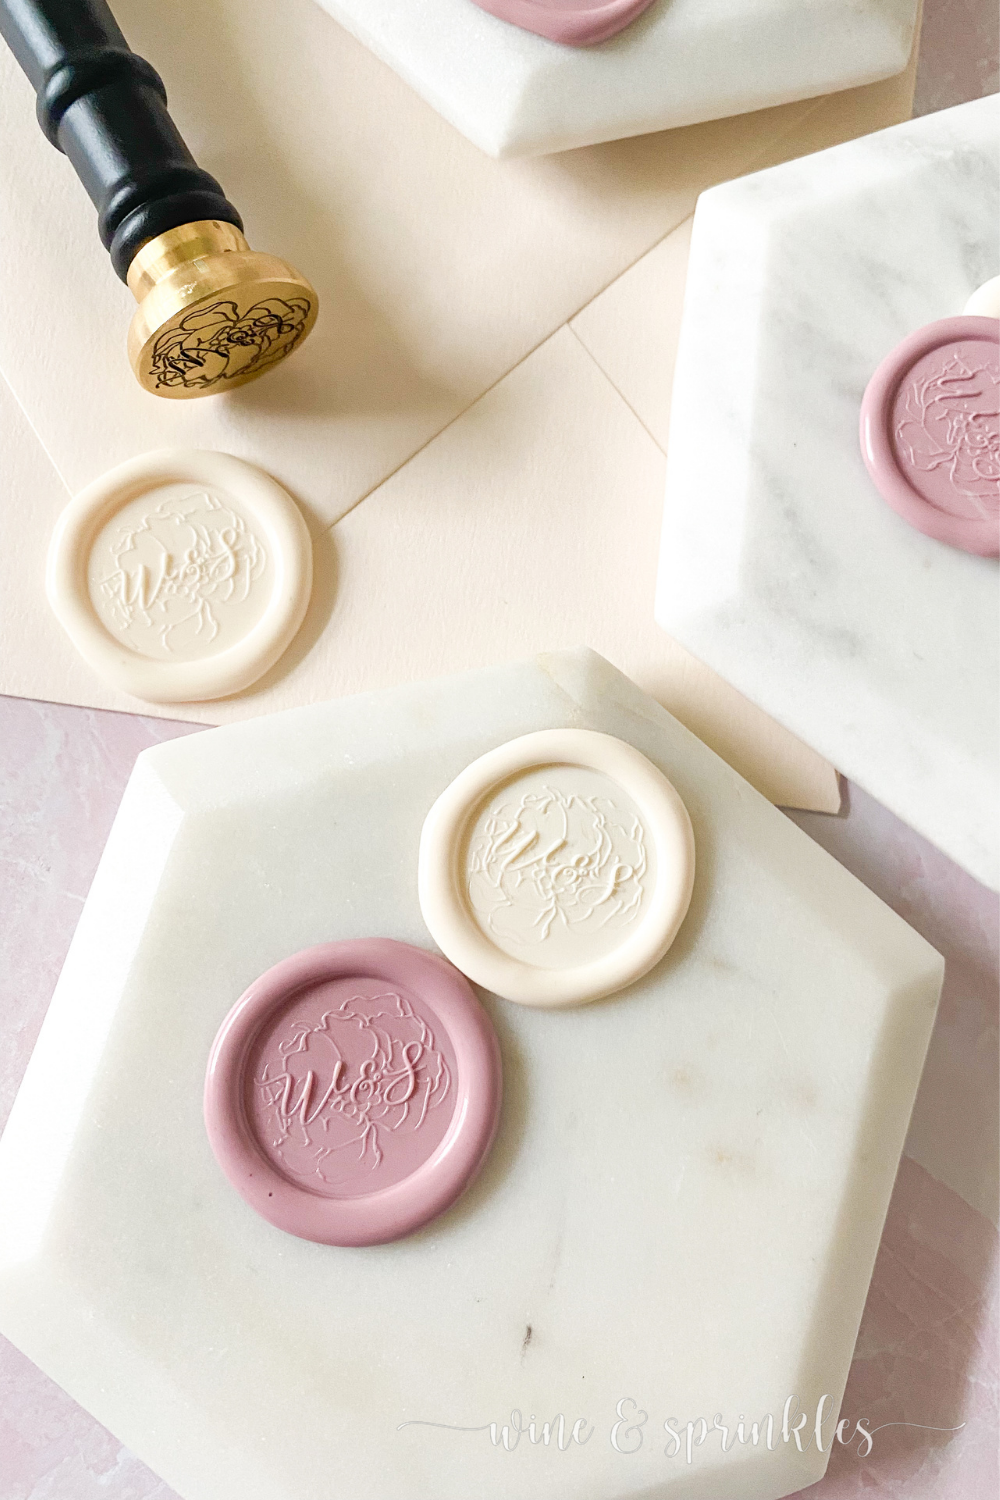
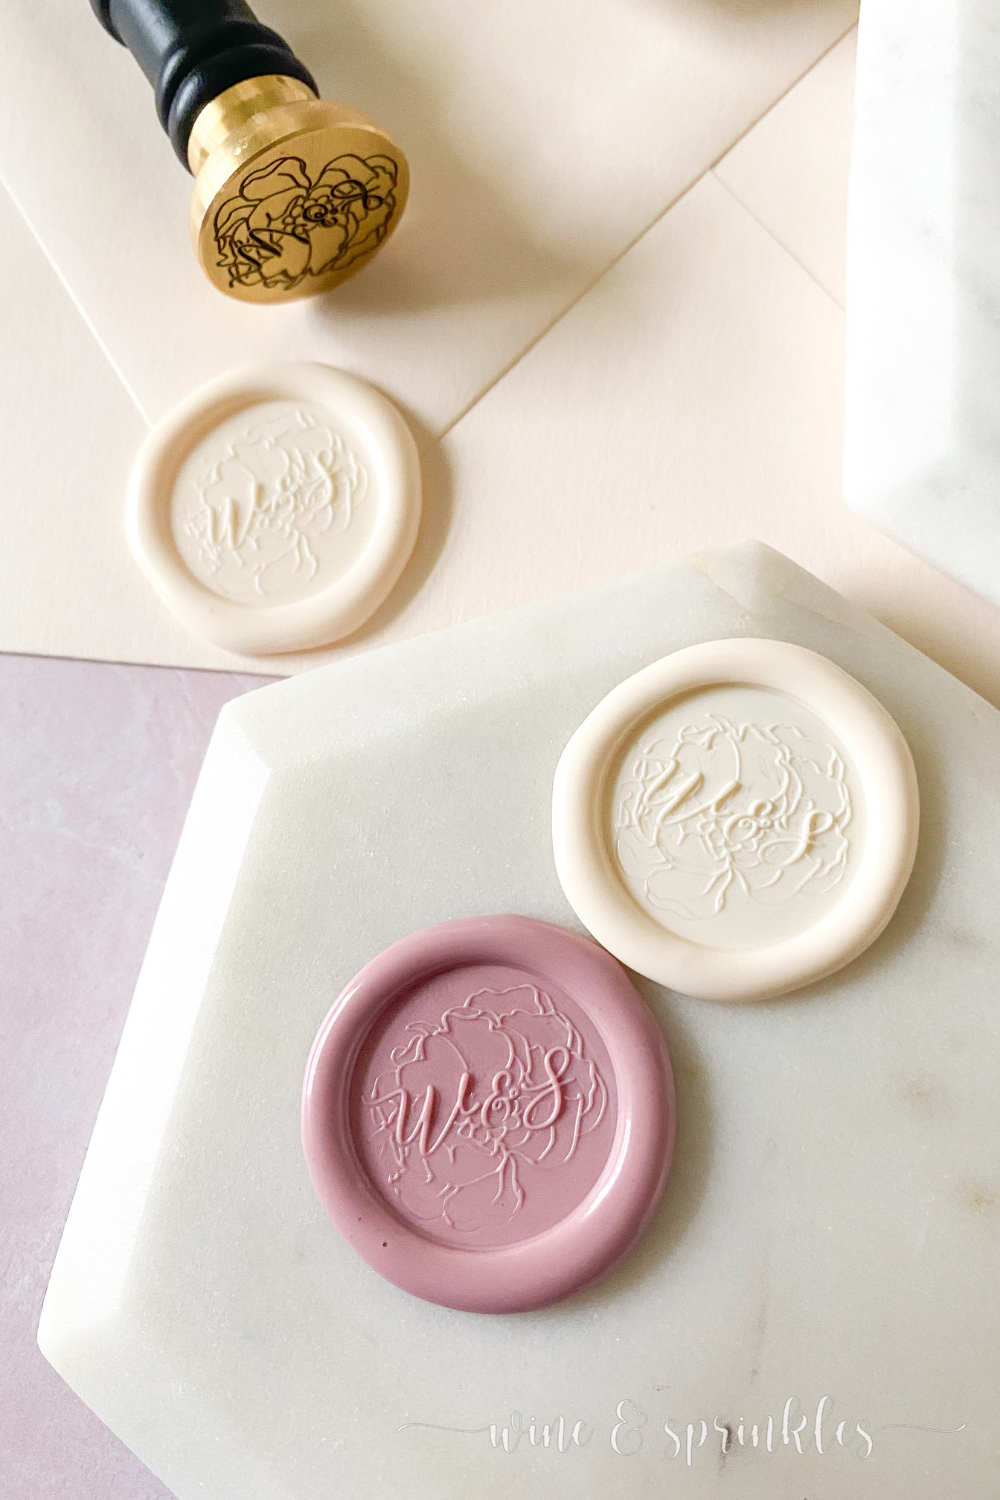
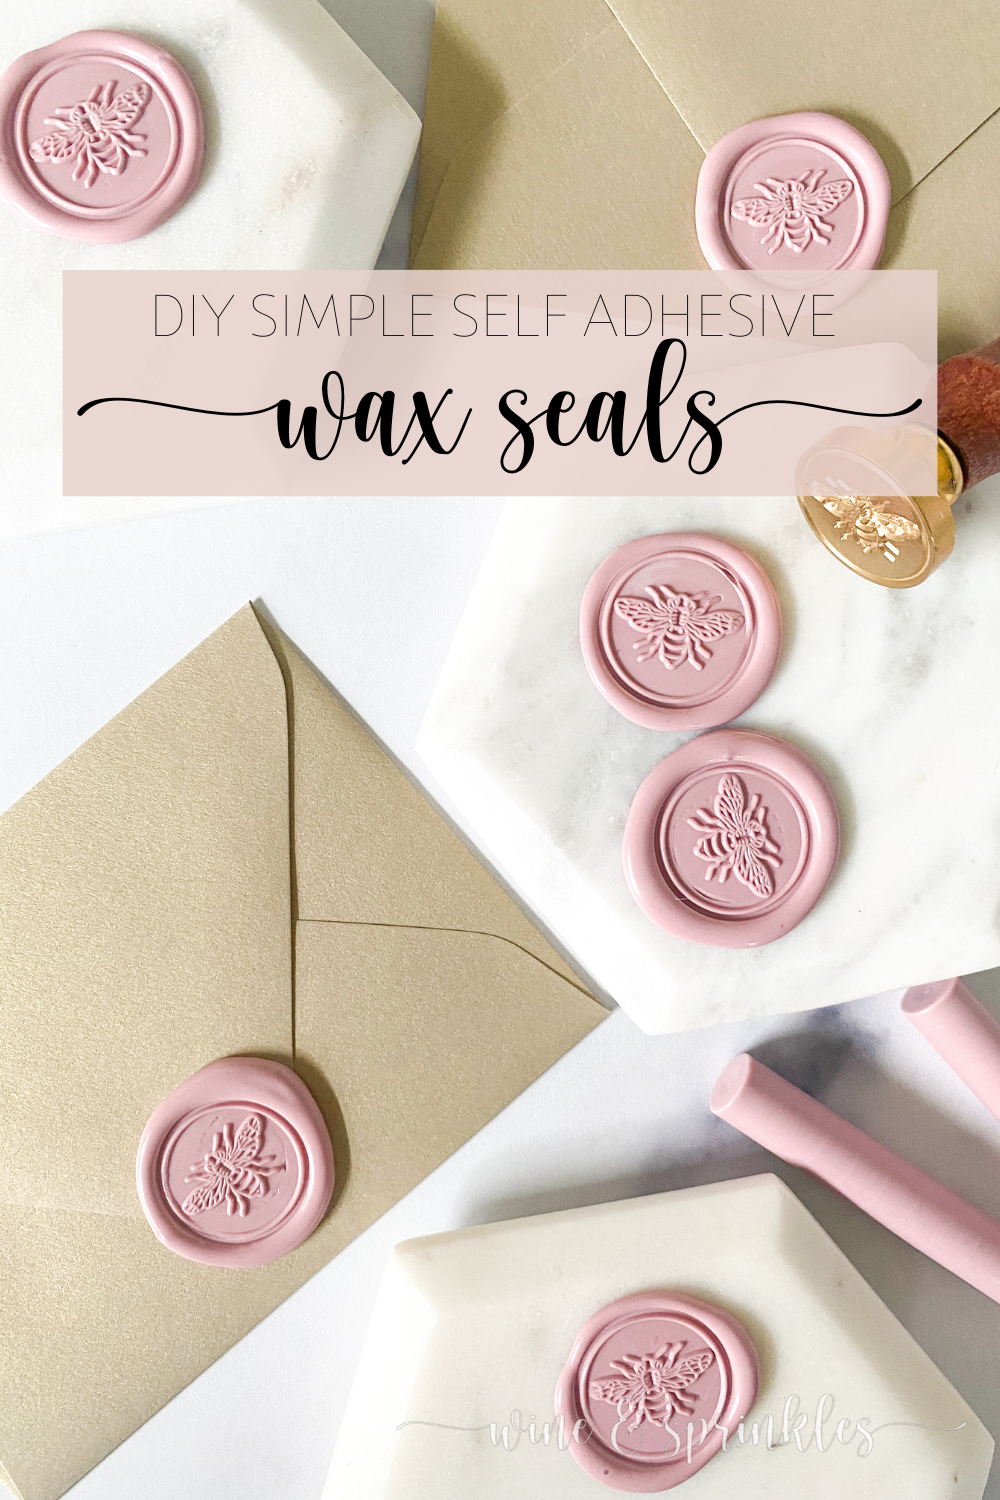
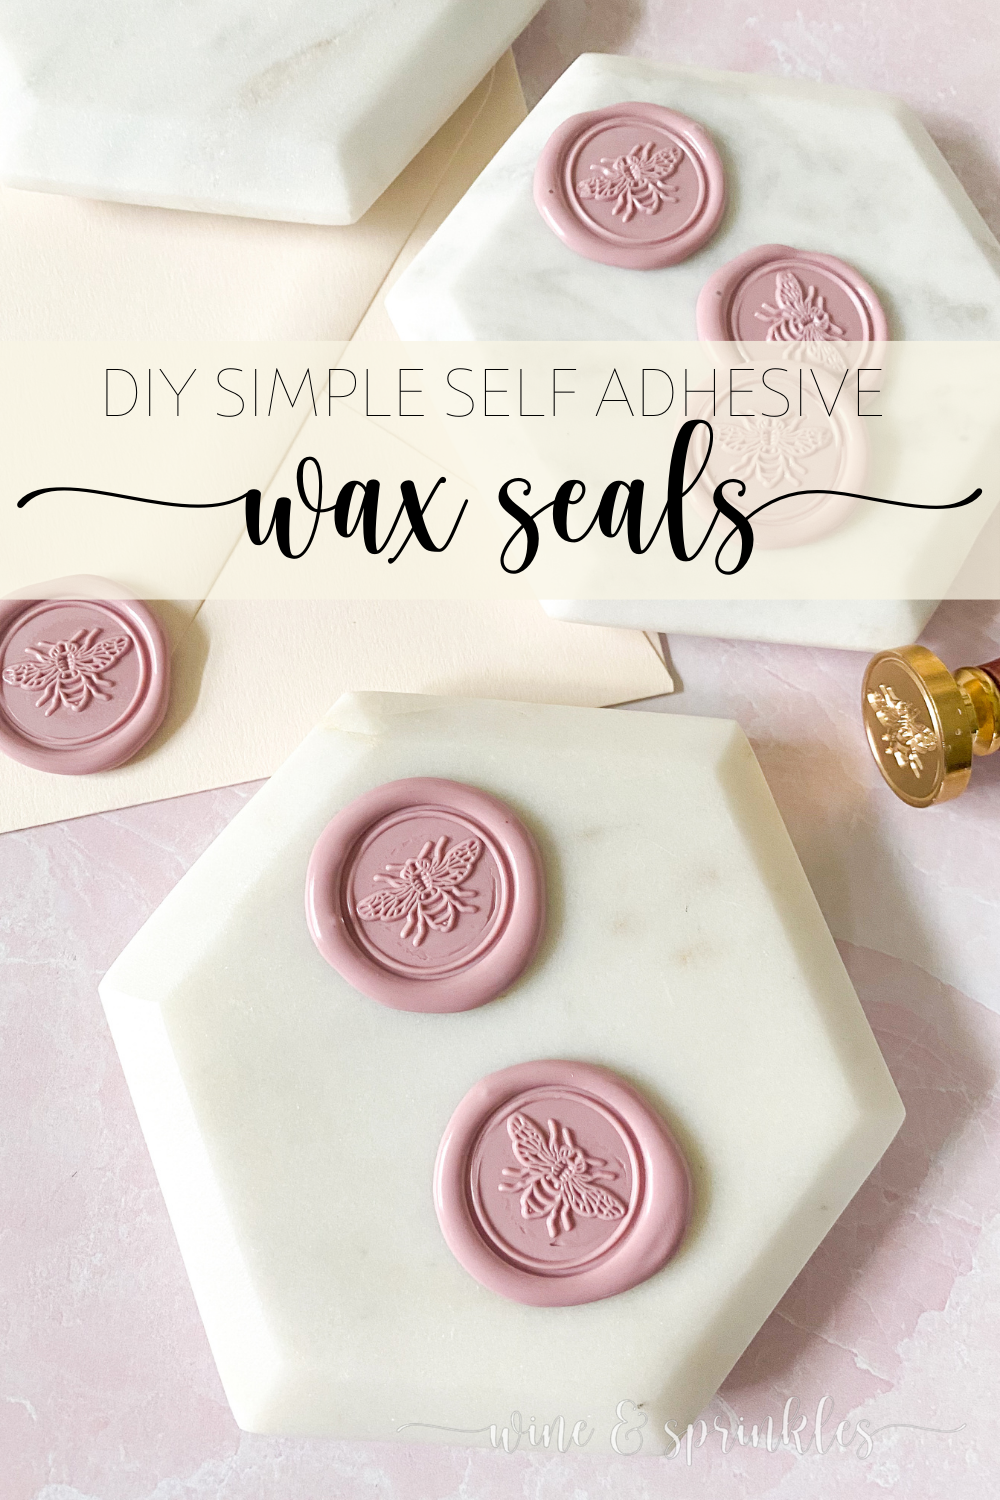
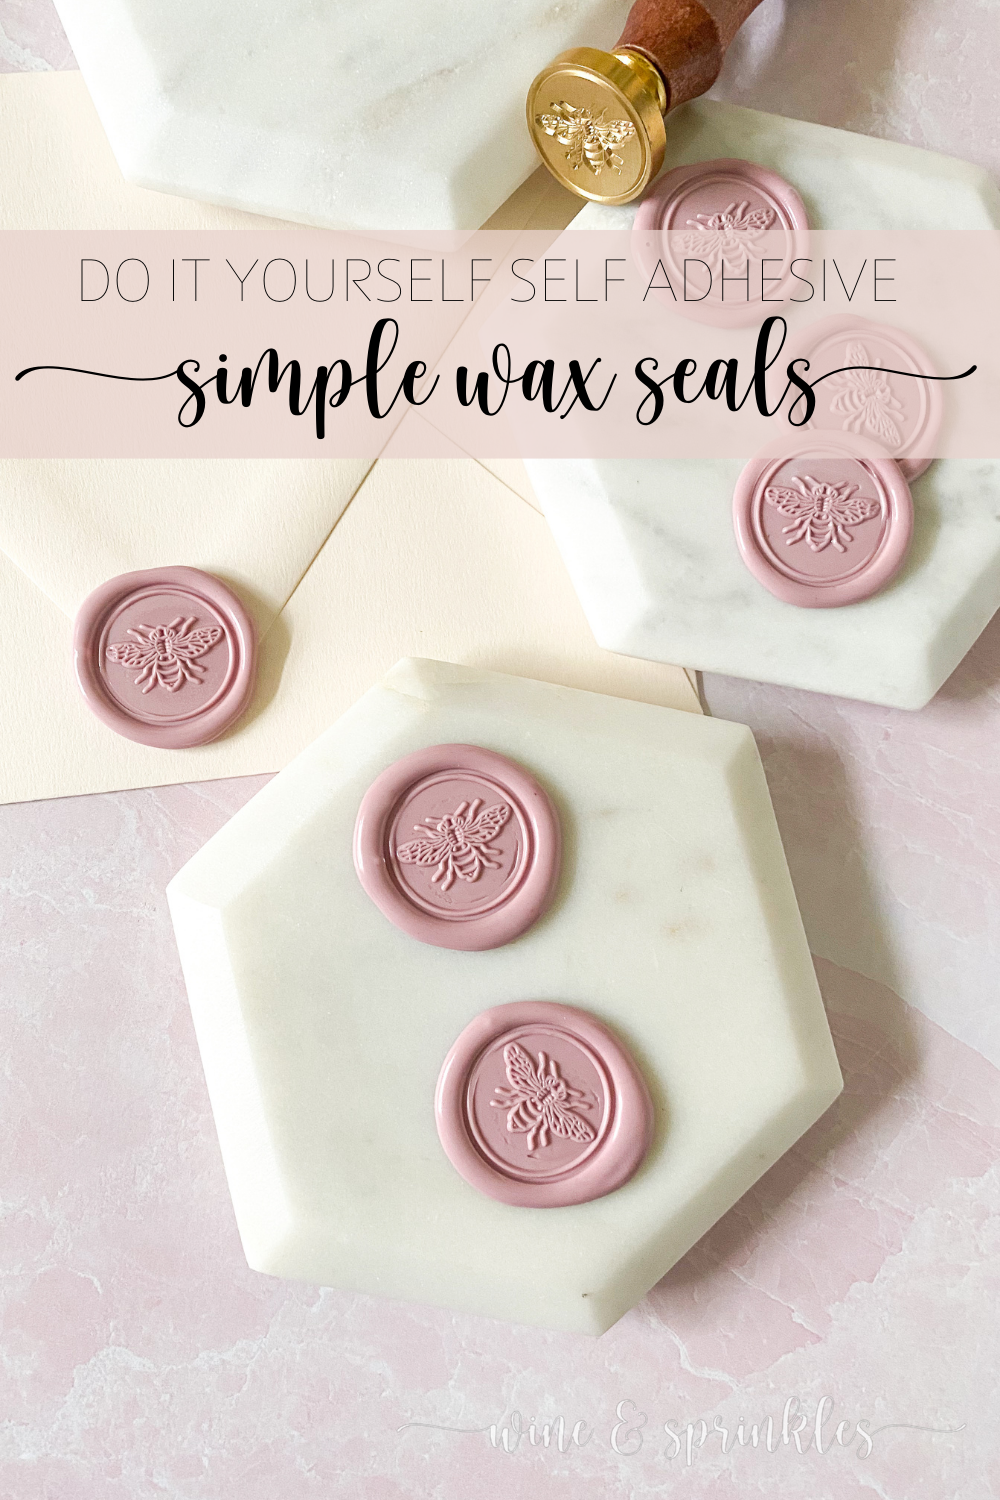
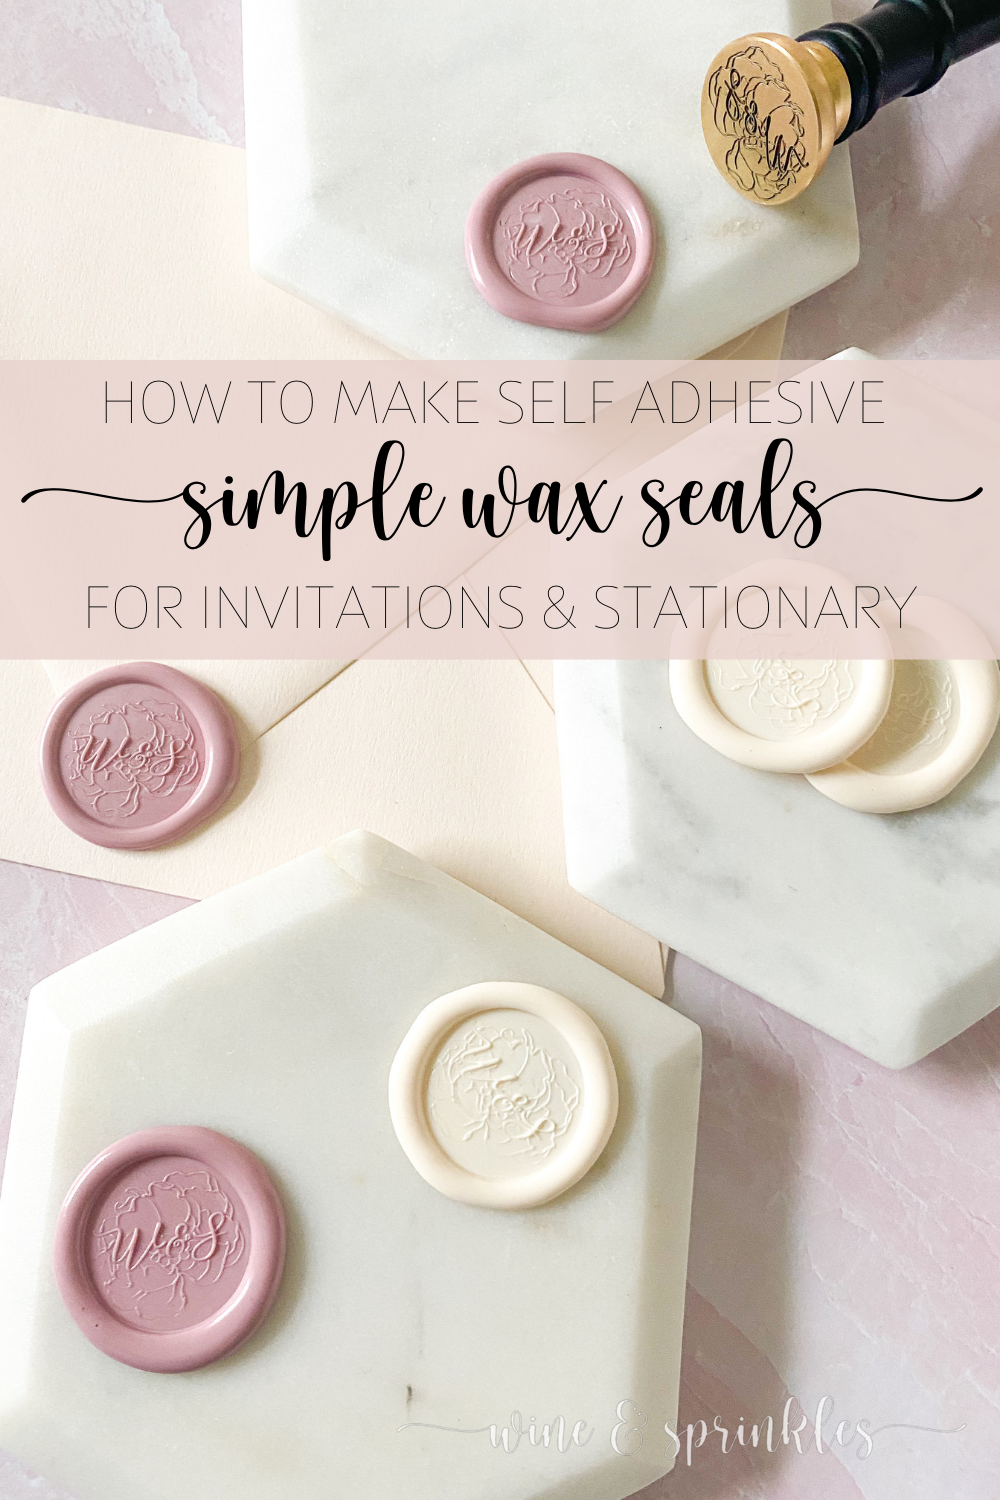
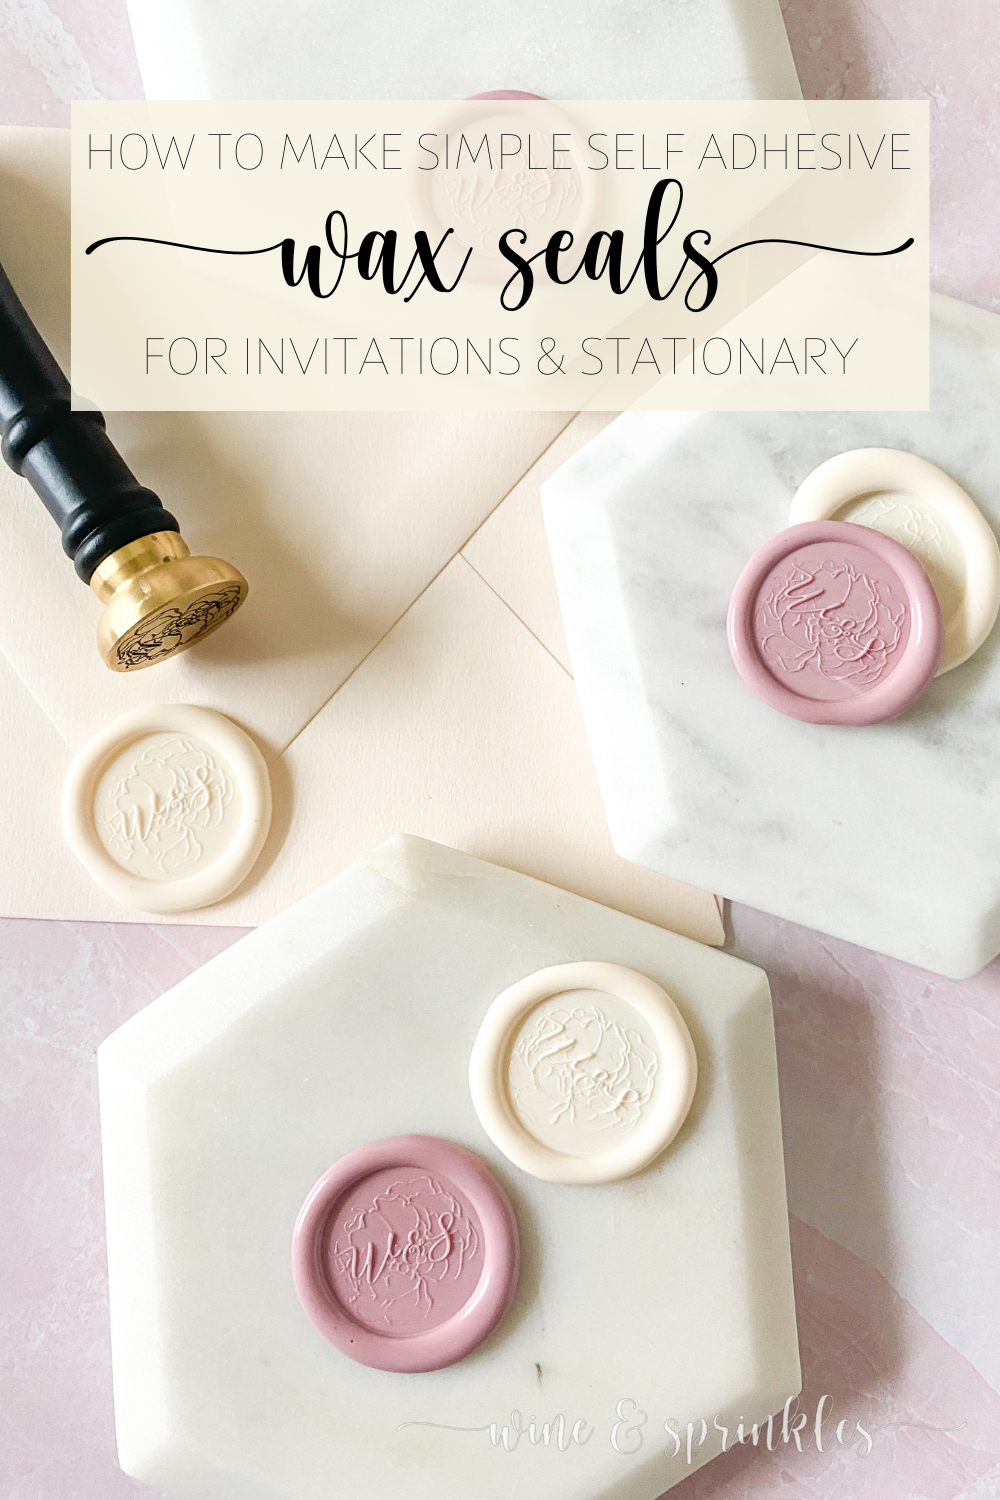
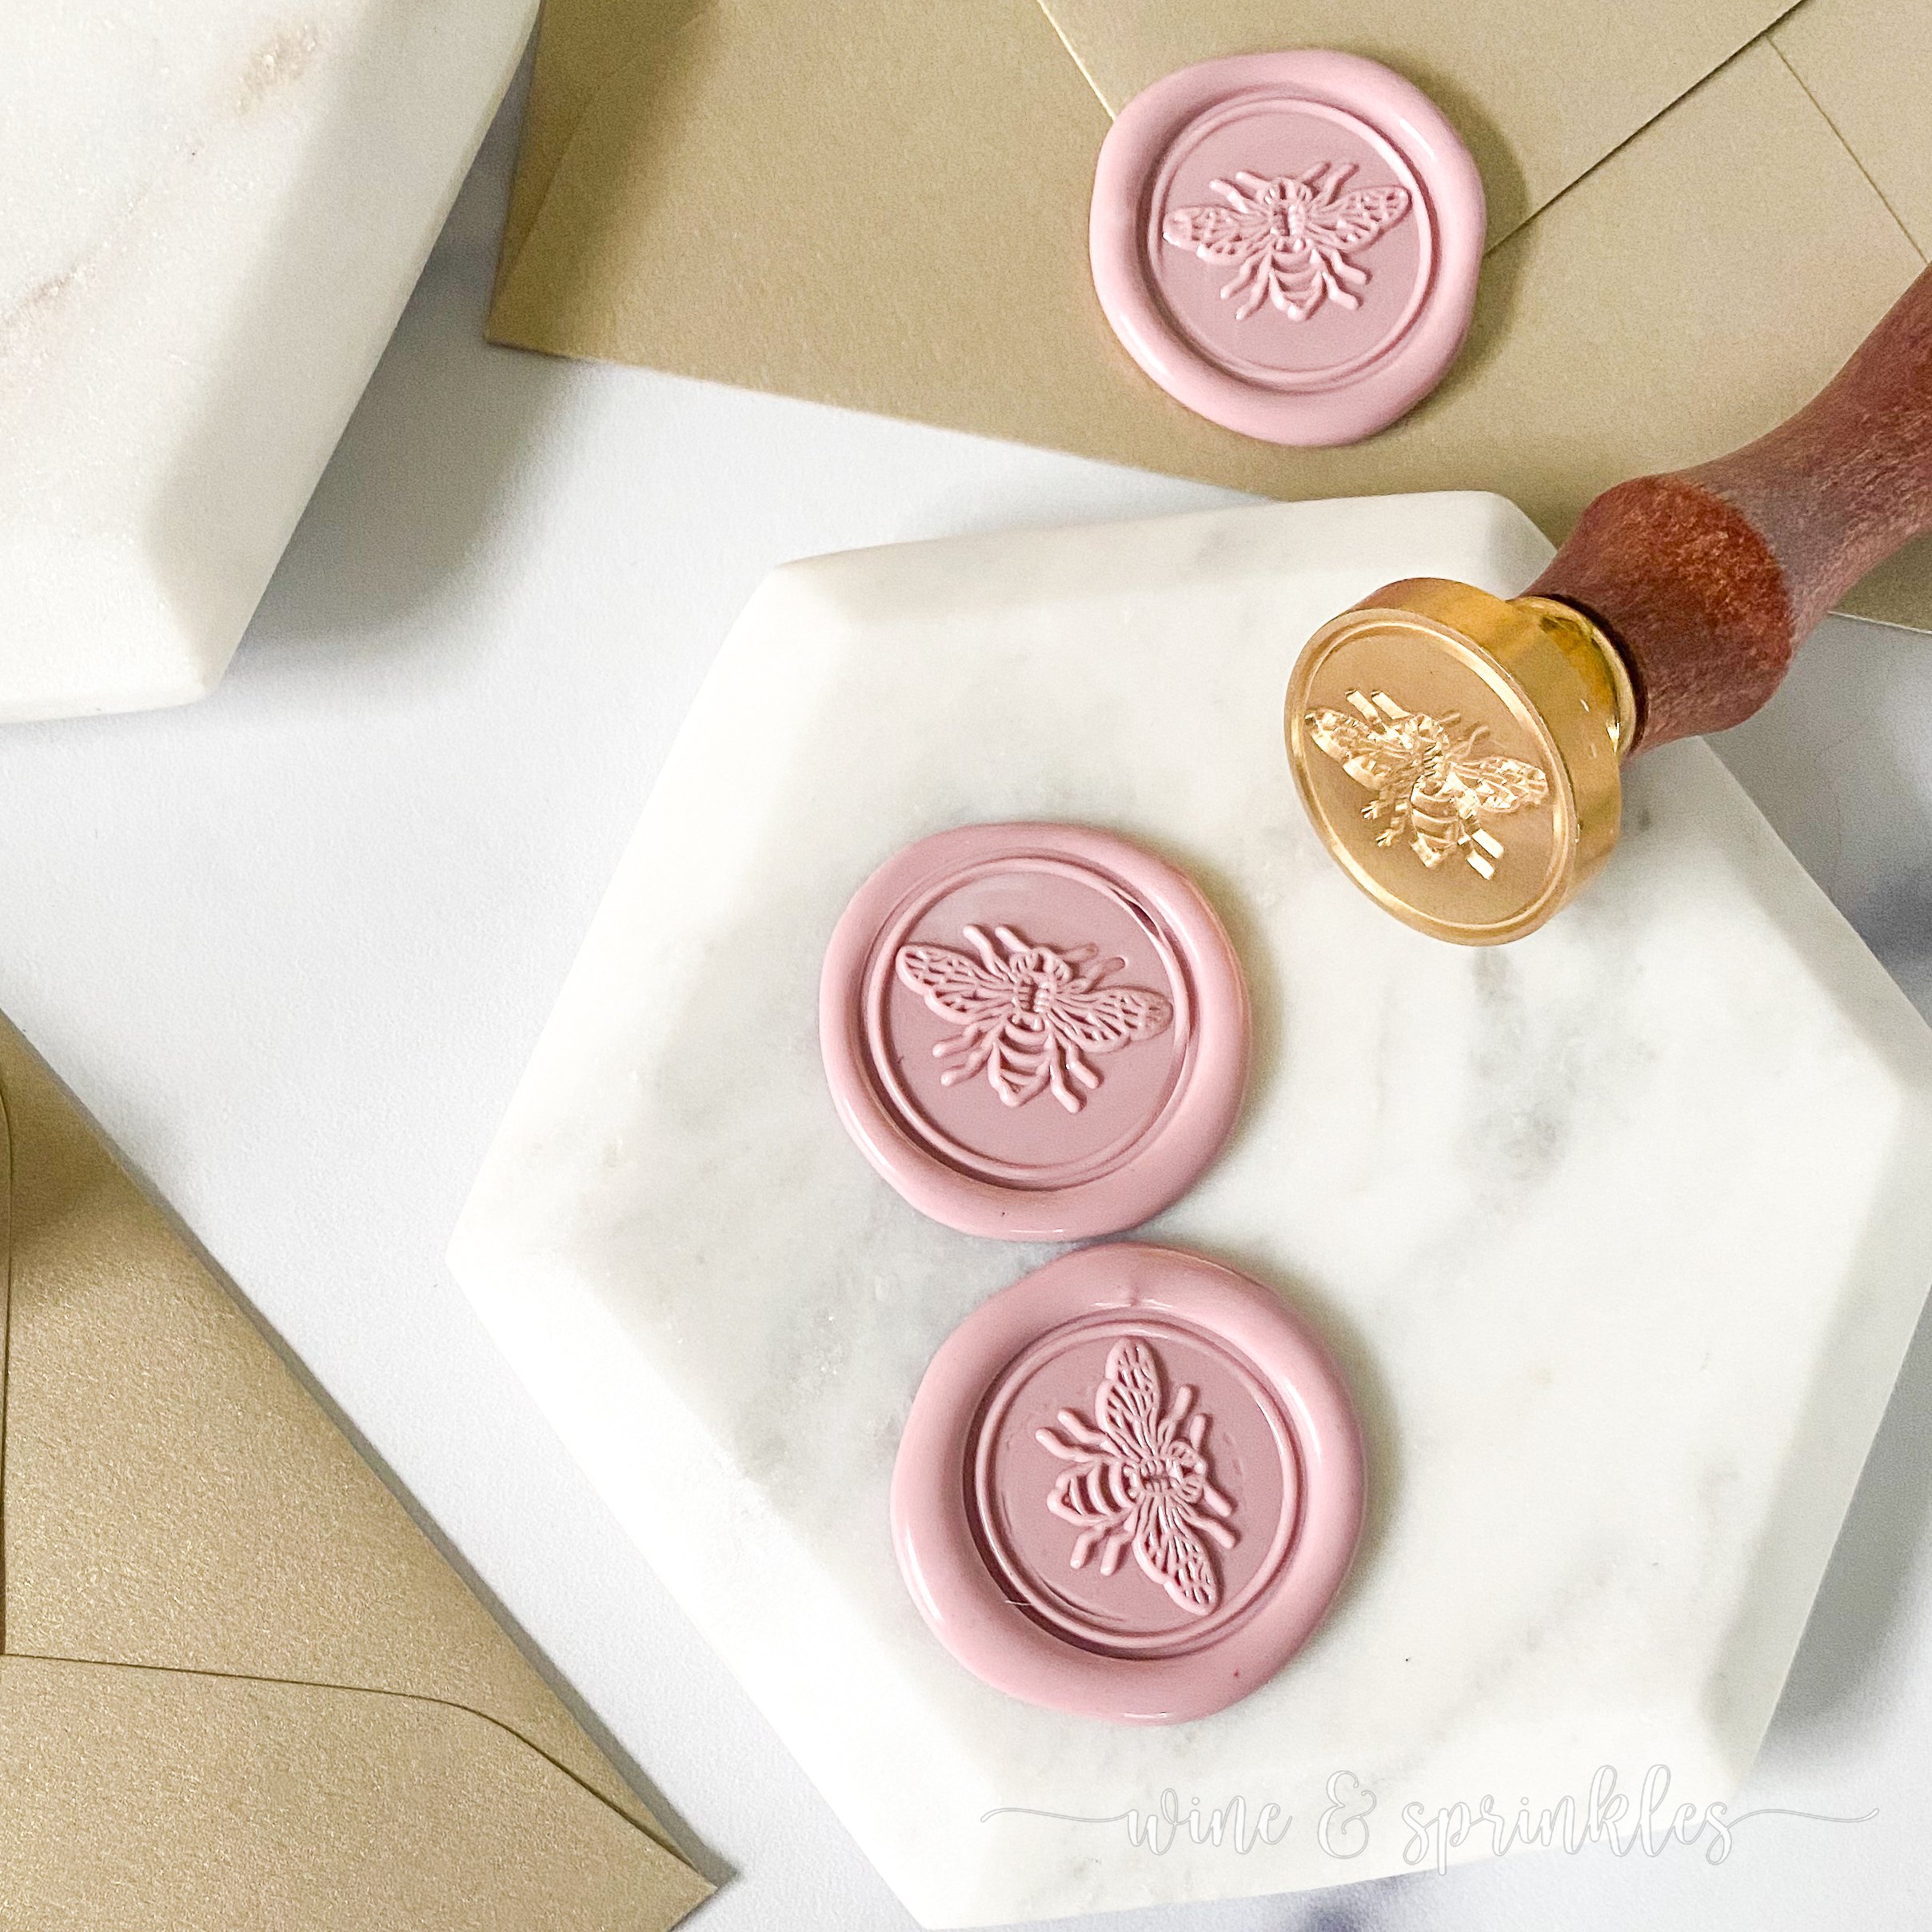
Wax Stamp & Handle: For these seals, I used a combination of three different wax stamps that I’ve gotten from various shops, but my favorite has to be the Pascala Monogram Stamp from my favorite wax seal supplier and affiliate partner, Artisaire! Its delicate petals and monogram made it perfect for practicing my technique and I loved it so much I couldn’t help using it on every wax stamp project I could! In addition to this stamp, I also used this adorable Bee Stamp that was part of a nature inspired stamp multipack I found on Amazon. There are so many different wax stamps out there, I can’t wait to collect a menagerie of them for all my stationary projects!
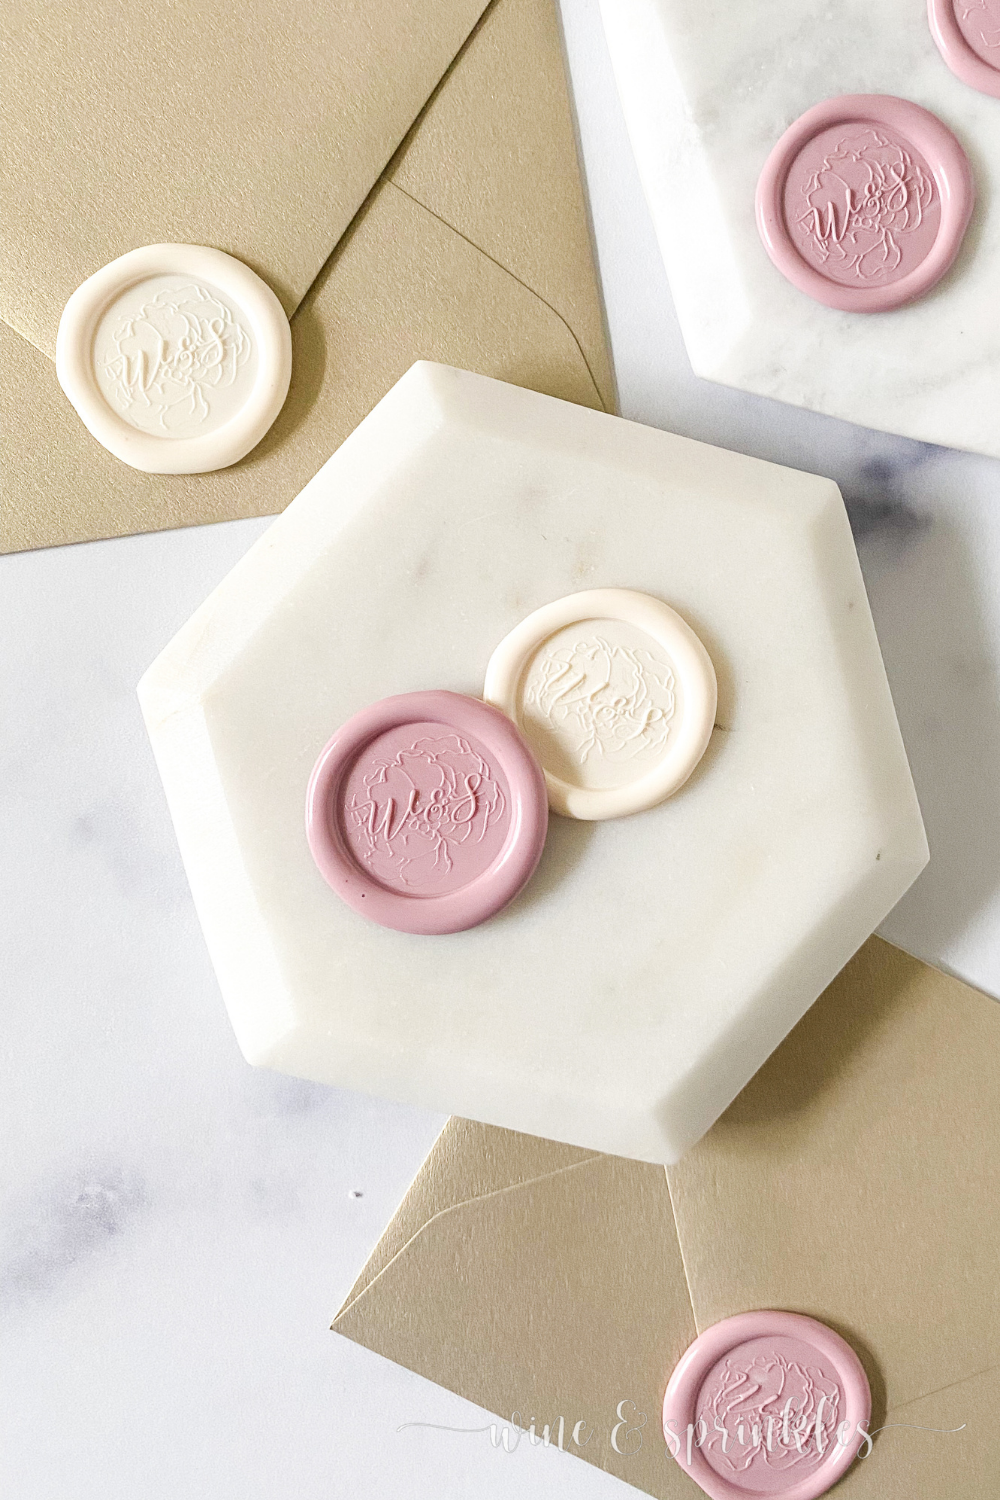
Sealing Wax Sticks: Available in beads and sealing sticks, the sealing wax is what you melt down to form your wax seals. You’ll notice here that I’m using a sealing wax gun with wax seal sticks for ease in making larger quantities of seals more uniformly and quickly. When I first started testing different wax seal supplies, I made a large assortment of different colored seals to test all the different stamps I had received using a wax sealing bead sampler, and while fun for making one or two stamps in a single color, it was much much more time consuming than using these sealing sticks. In addition to that, it was hard to make those beads create a smooth liquid wax to stamp; where these wax sticks were so easy to use and made such consistent, beautiful stamps, that this will be my method for as many stamp projects as I can! For these seals, I used three different colors: Dusty Rose, Buttercream, and Champagne (pictures coming soon!), and it's hard to pick which is my favorite!
TOOLS & OTHER SUPPLIES
Low Temperature Glue Gun: For melting your wax seal sticks and dispensing the wax, a low temperature glue gun is a must. I got mine from Artisaire and I absolutely love it, firstly because it does a great job of uniformly melting the wax but also because it doesn’t drip hot wax everywhere when it's idle between stampings, which is more than I can say for my glue guns and glue sticks I’ve use in other projects!
Ceramic Wax Melting Pad: these nifty little pads create a flat workspace that cools down quickly for you to dispense your hot wax onto to create your seals.
Parchment Paper: for putting on your melting pad so that you can easily remove your cooled seals.
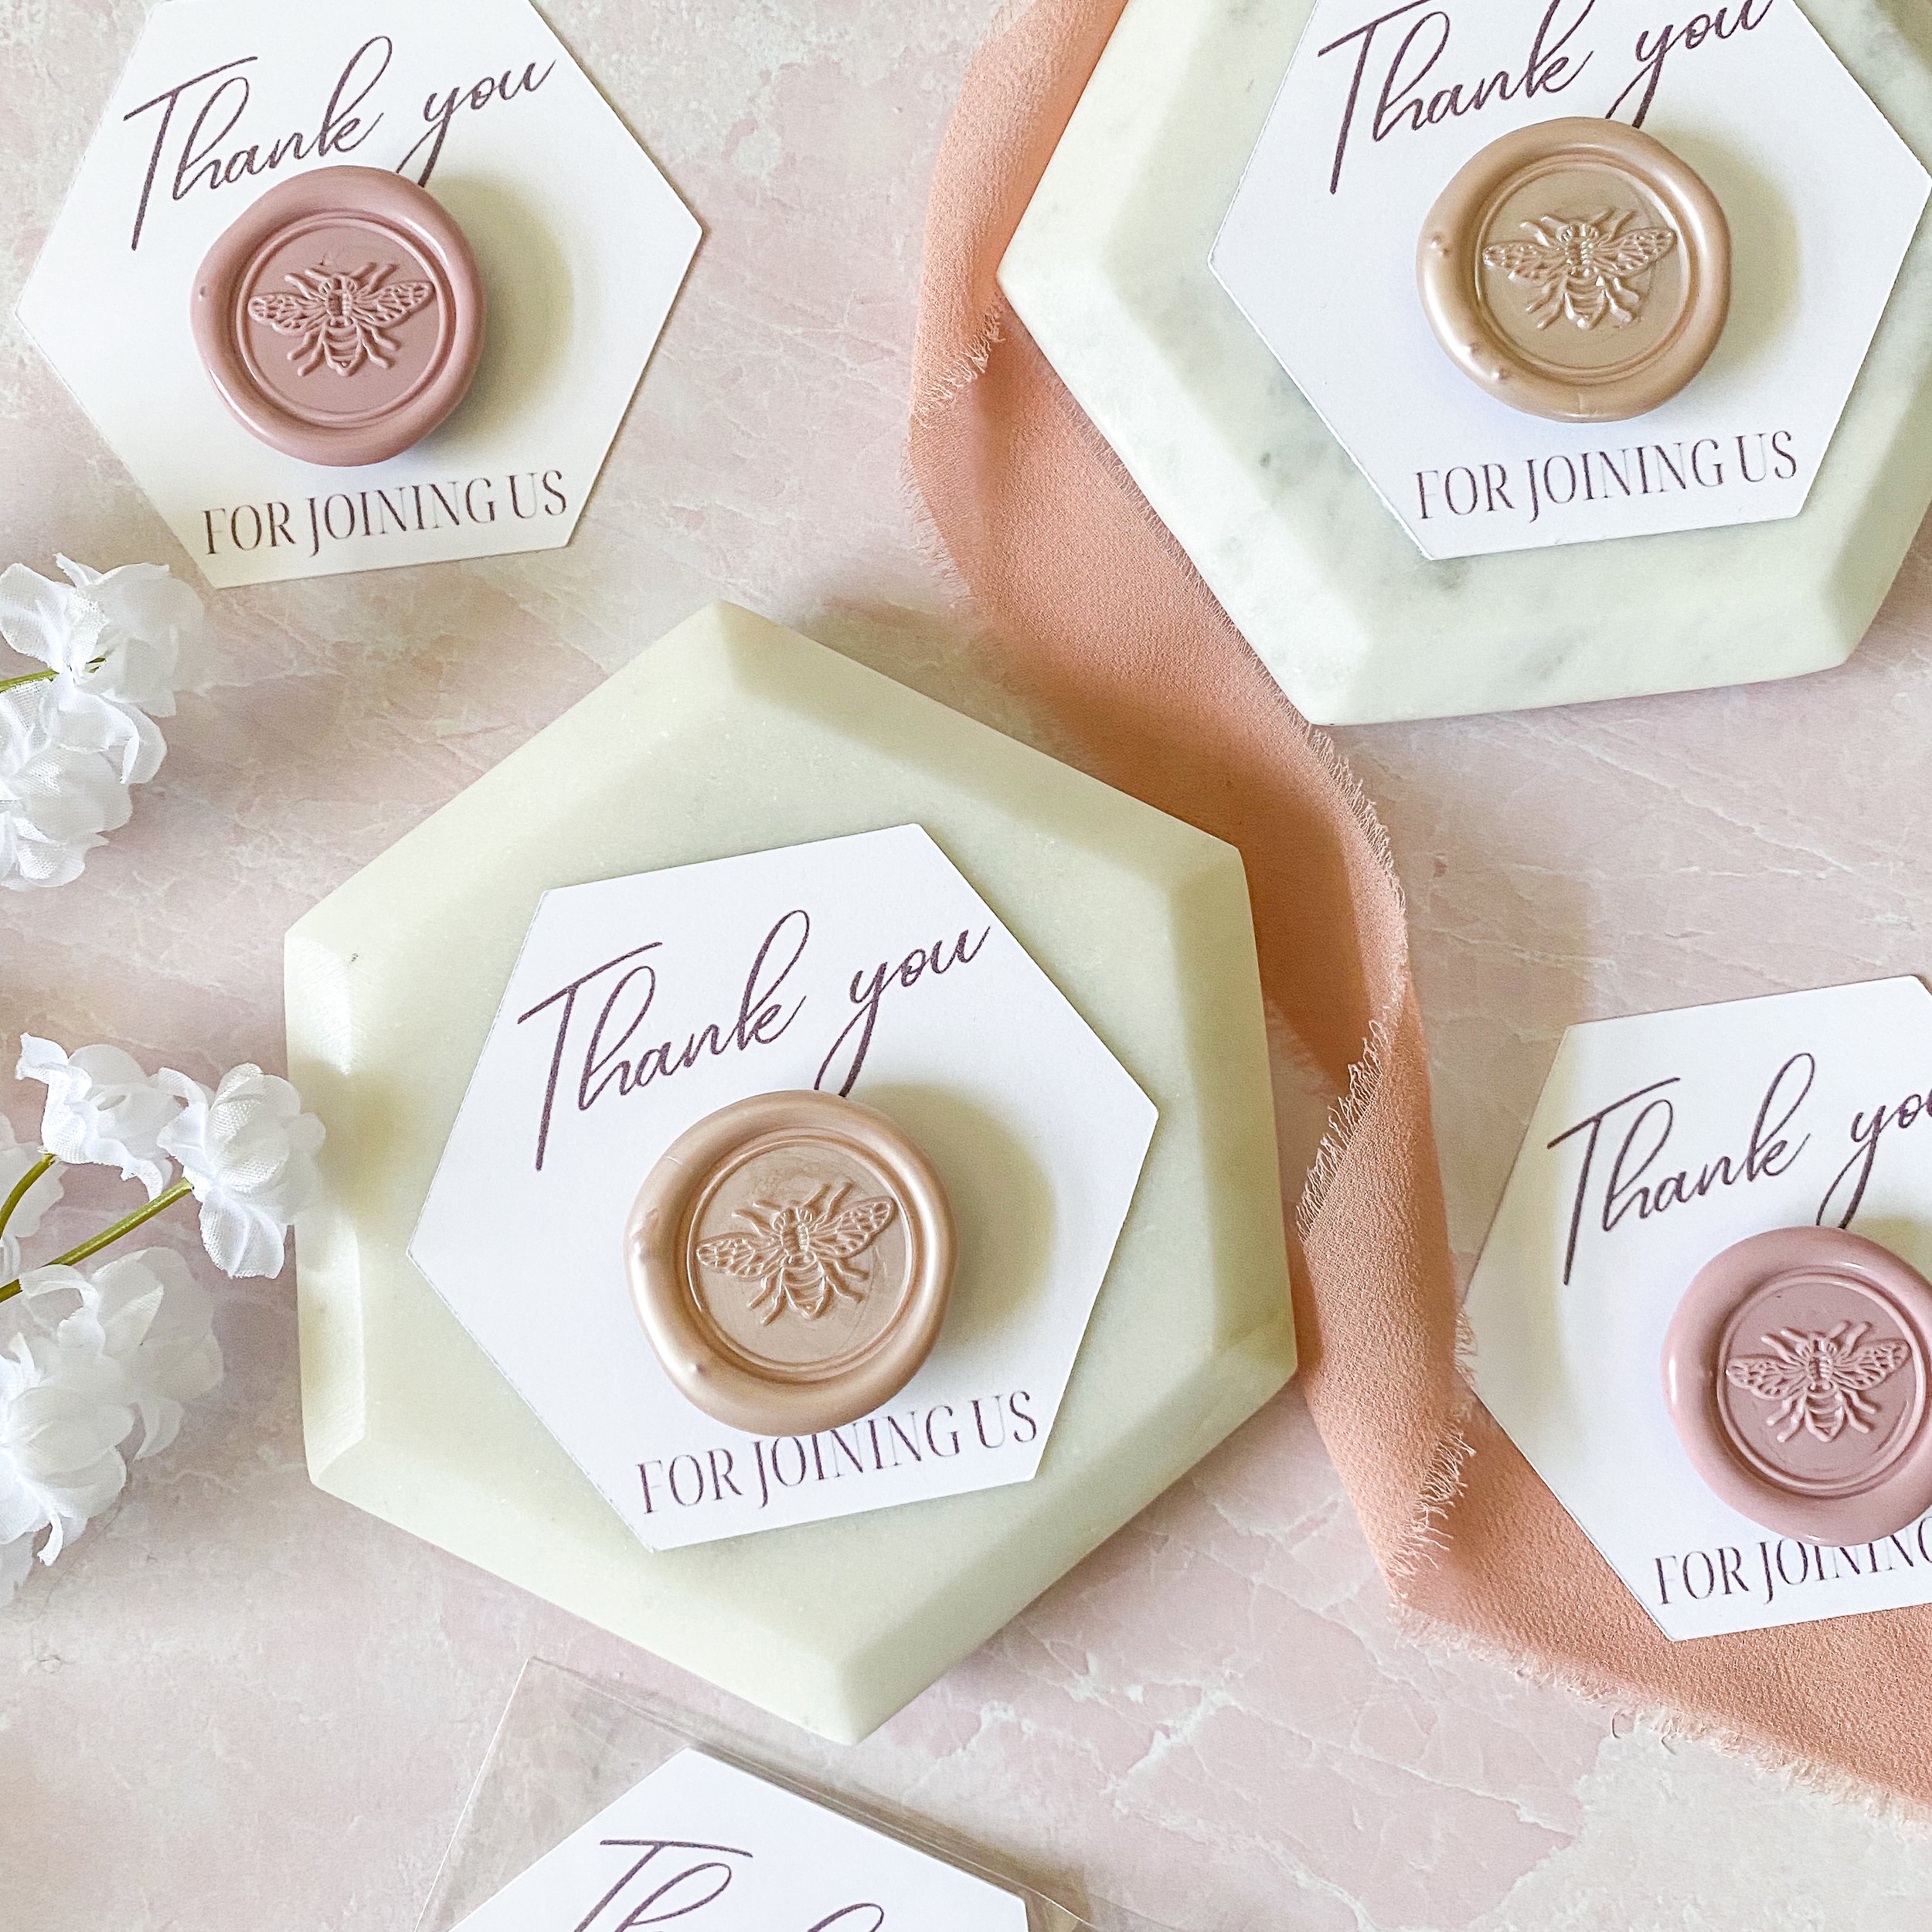
Double Sided Self Adhesive Backings: for adhering to the back of your cooled wax seals so you can stick them to stationary, gift tags, or anything you like!
SUPPLIES LIST:
[for 40 wax seals]
WAX STAMP & SEALING SUPPLIES
Wax Stamp & Handle x 1
Sealing Wax Sticks x 6
TOOLS & OTHER SUPPLIES
Low Temperature Glue Gun
Ceramic Melting Pad
Parchment Paper
Double Sided Self Adhesive Backings x 40

DIRECTIONS
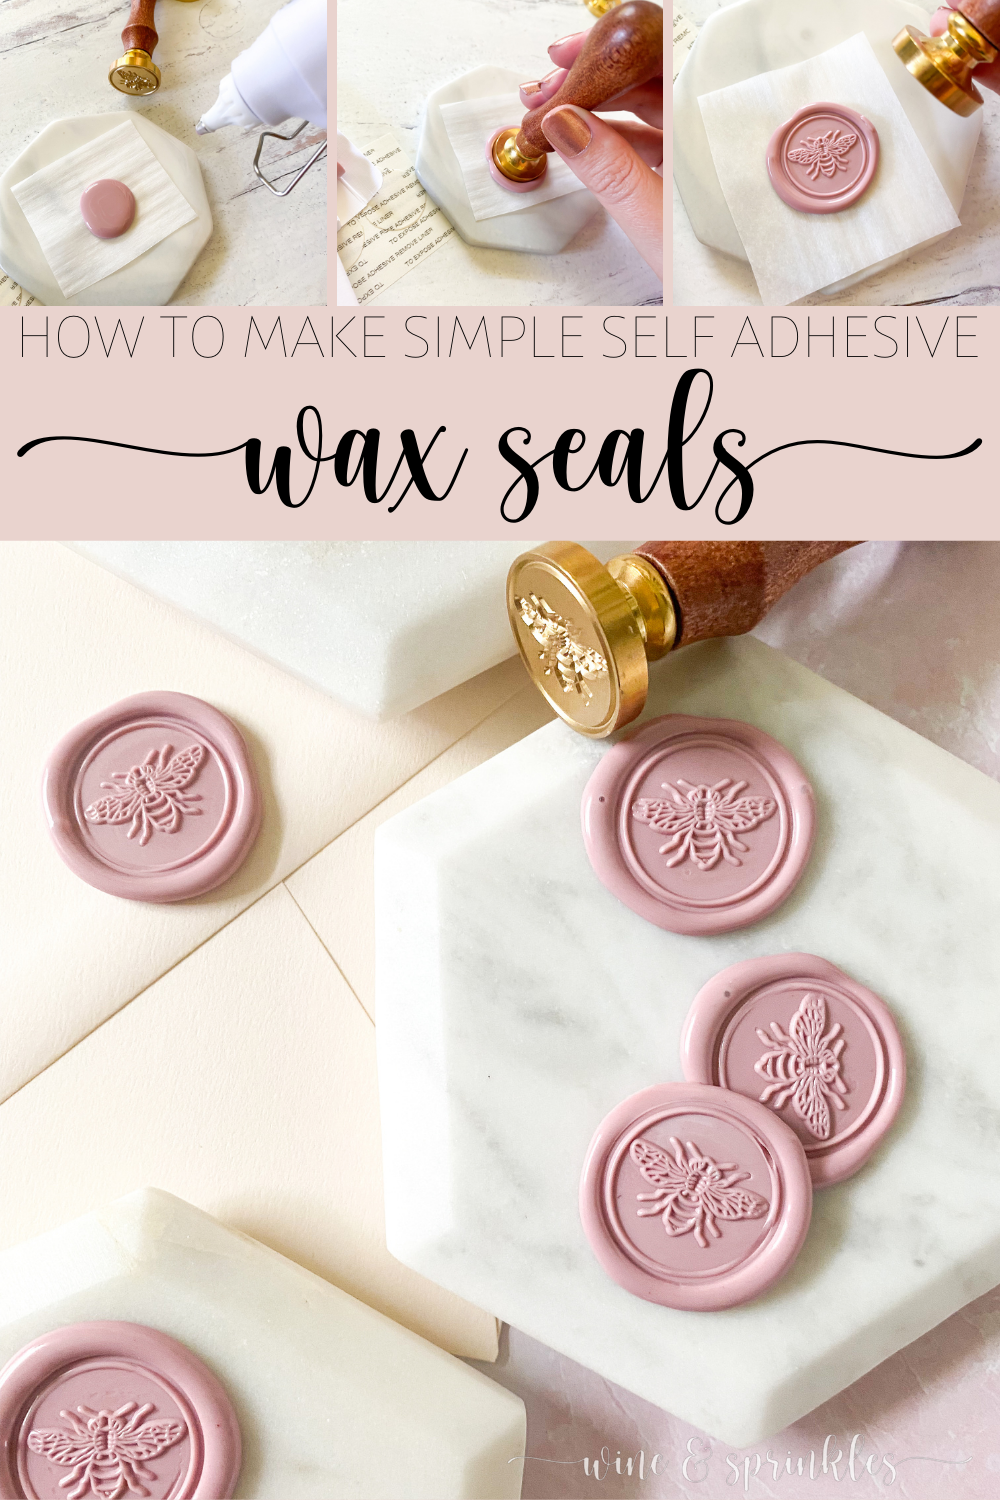
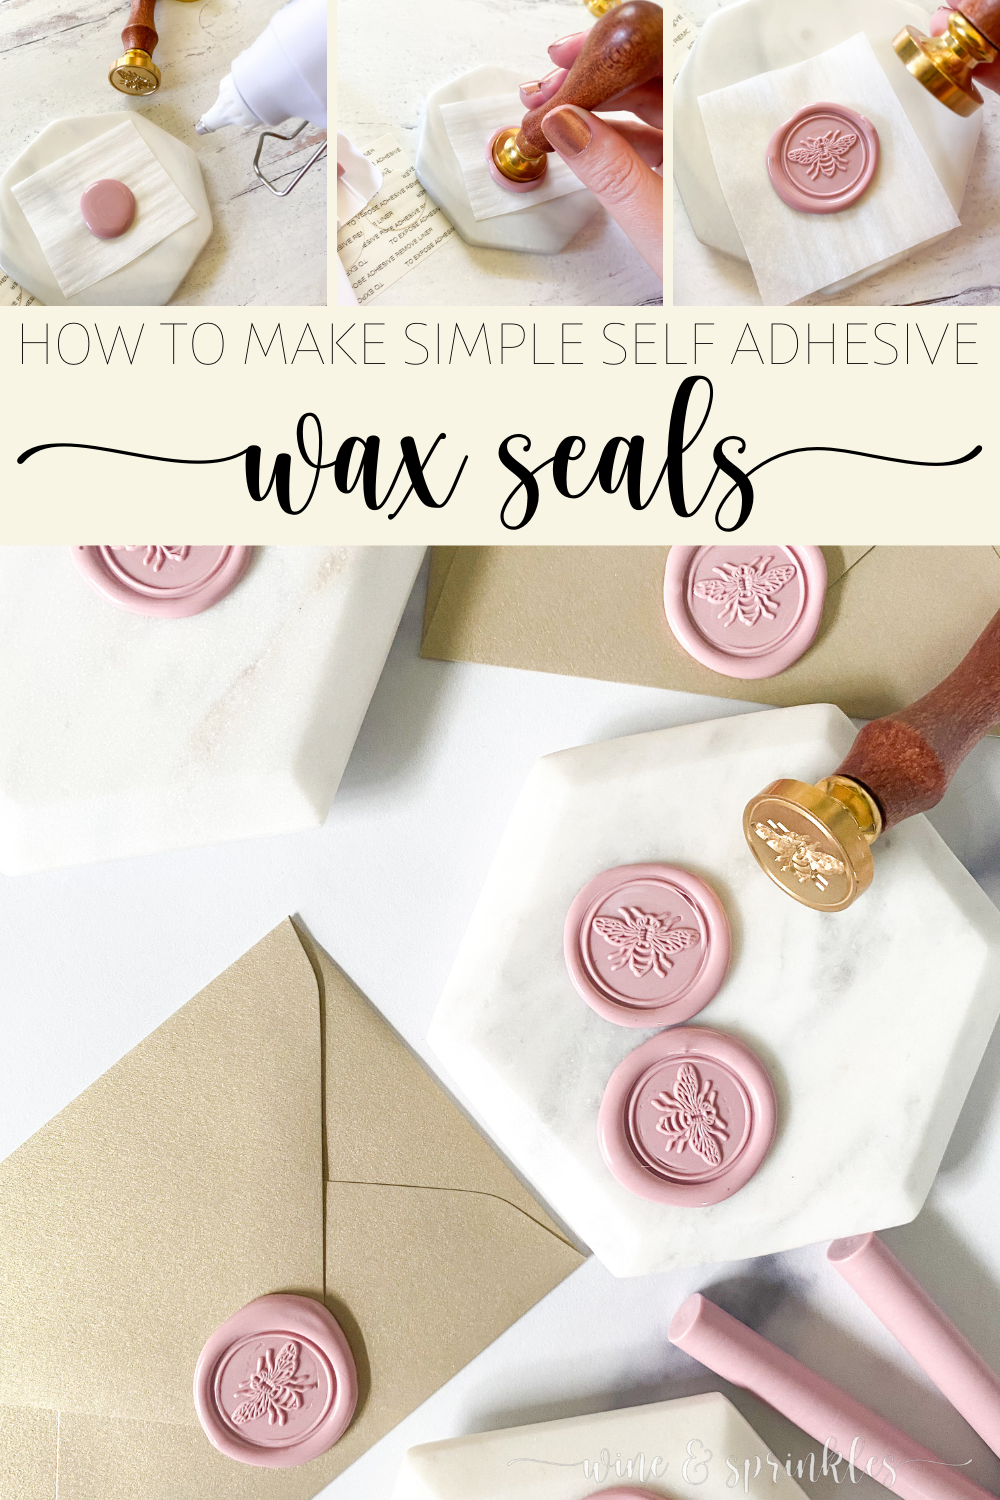
Plug in and heat up your wax stick in your low temperature glue gun for 7-10 minutes. While your gun is heating up, cut your parchment paper into small squares to place on your ceramic cooling pad and pick out the wax stamps you want to use. Place a piece of parchment paper on your cooling pad, then you’re ready to start making seals.


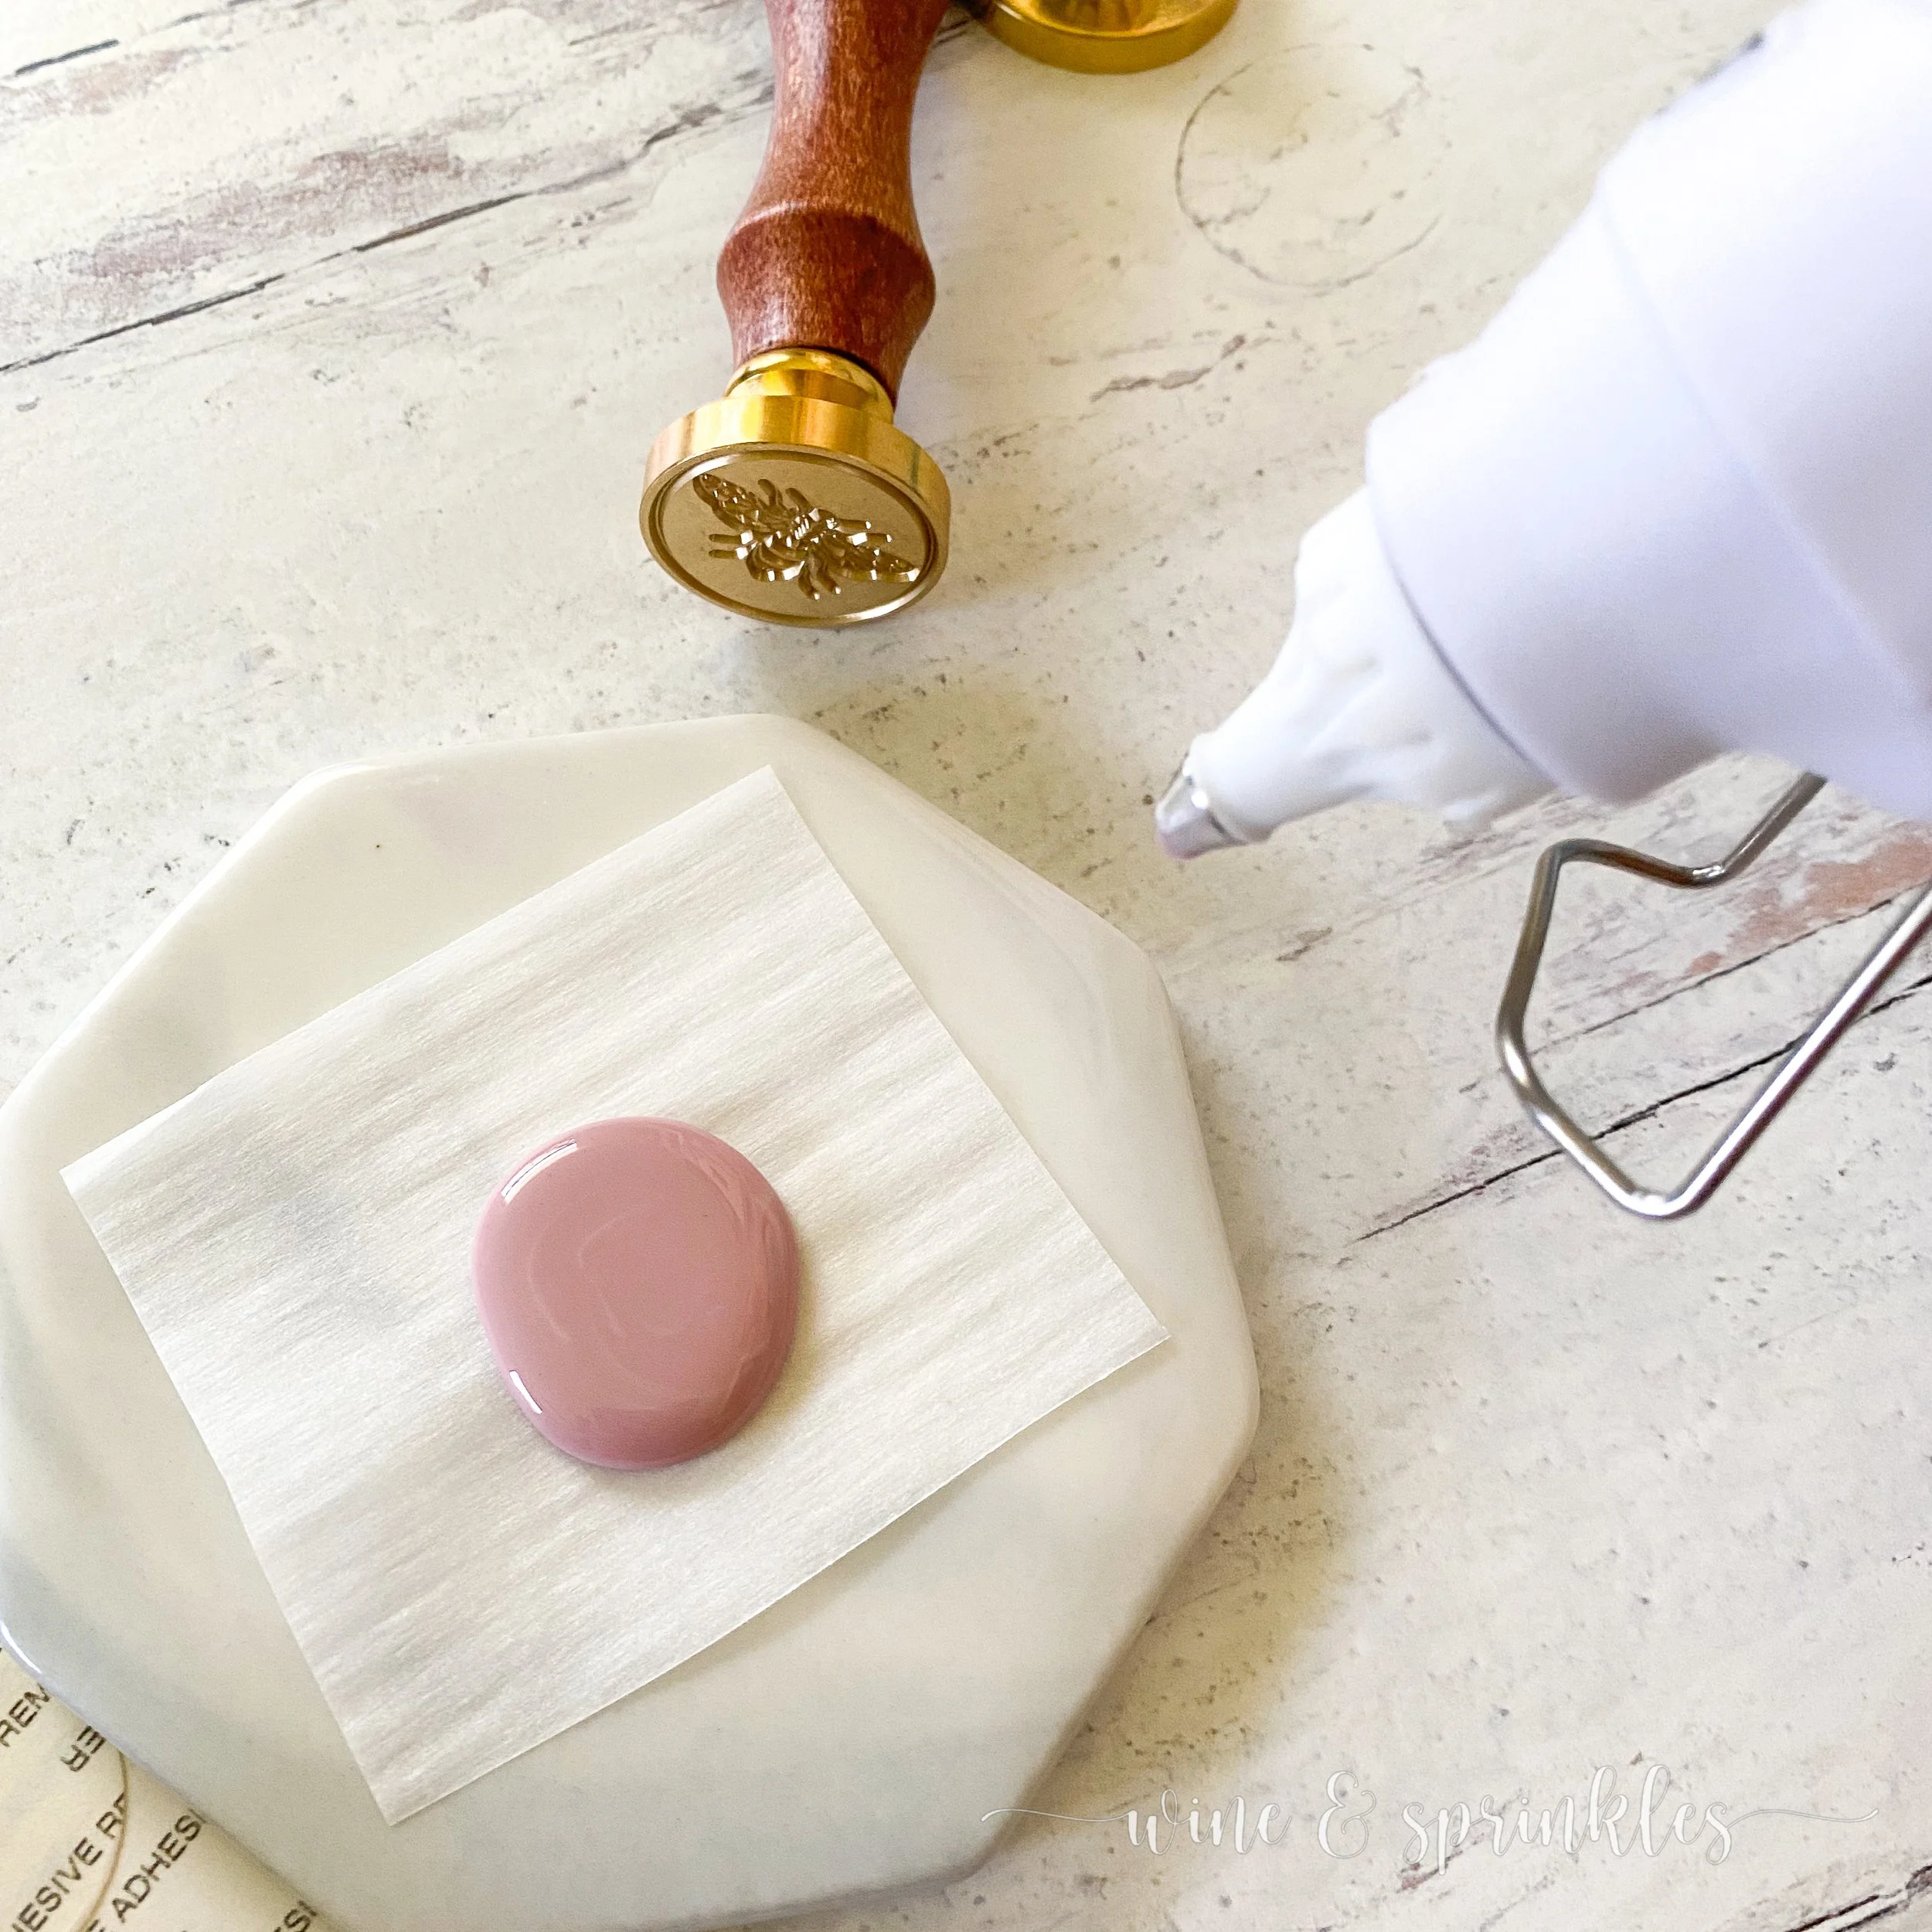
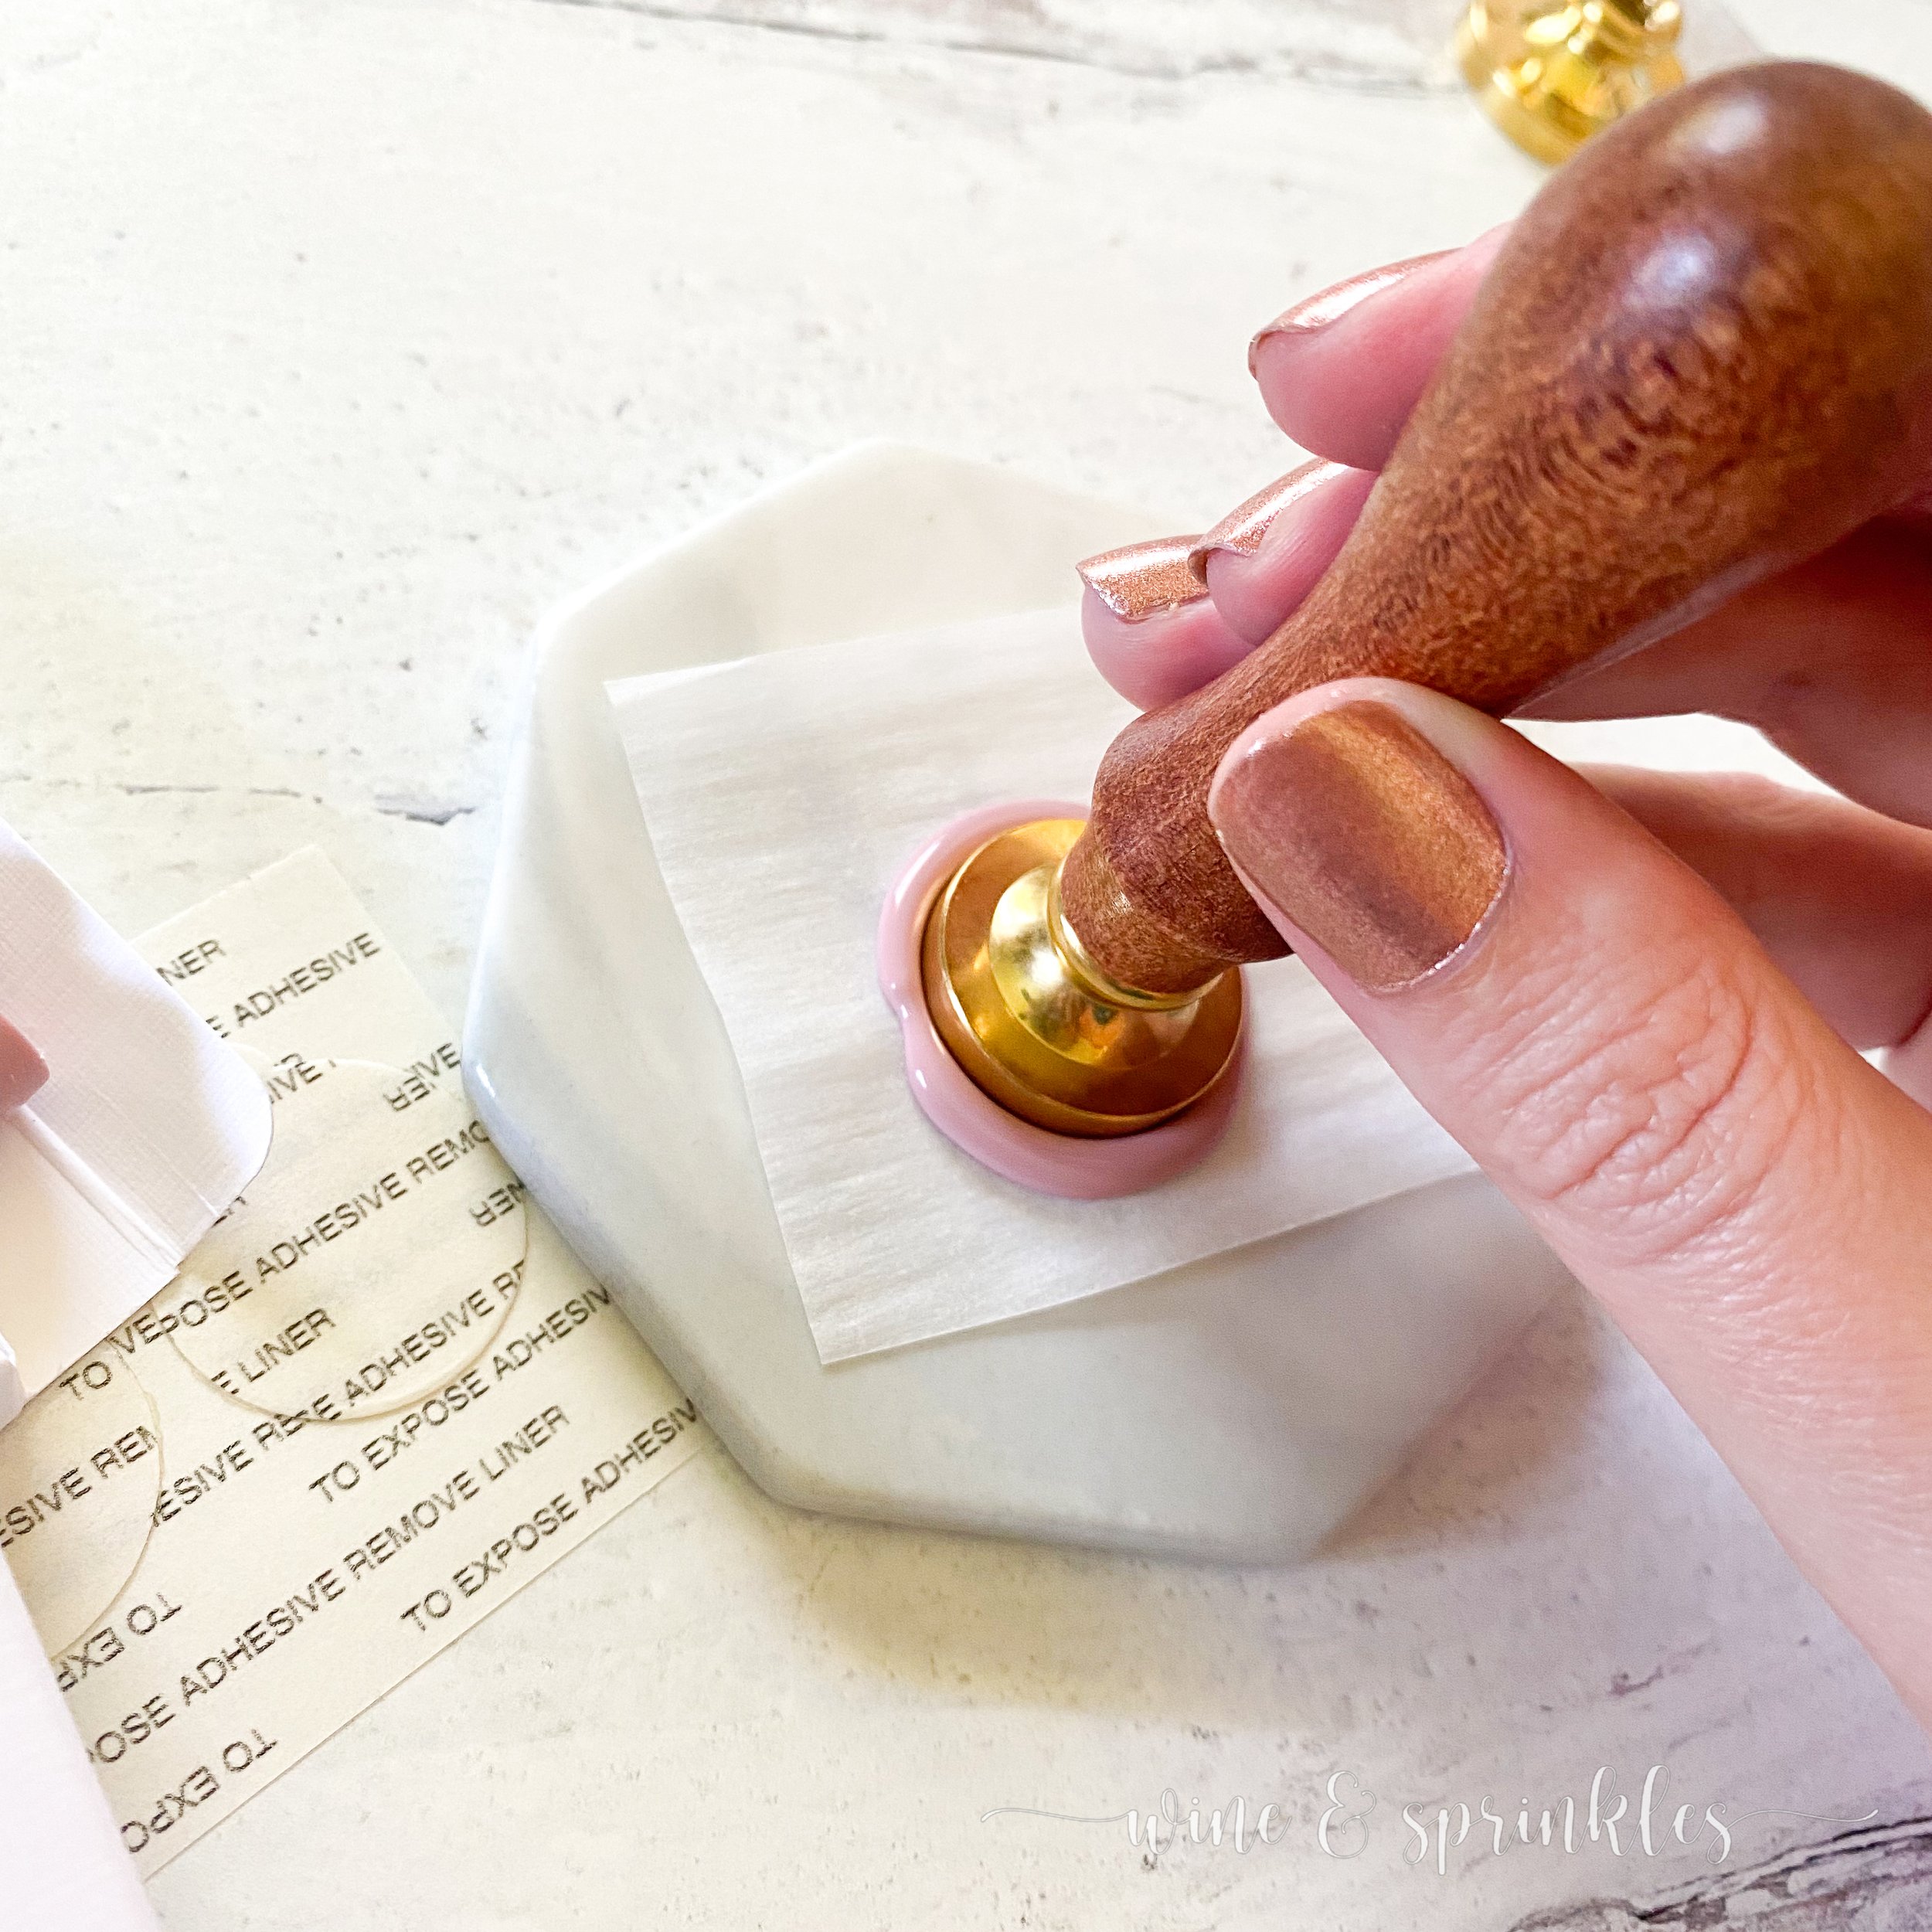
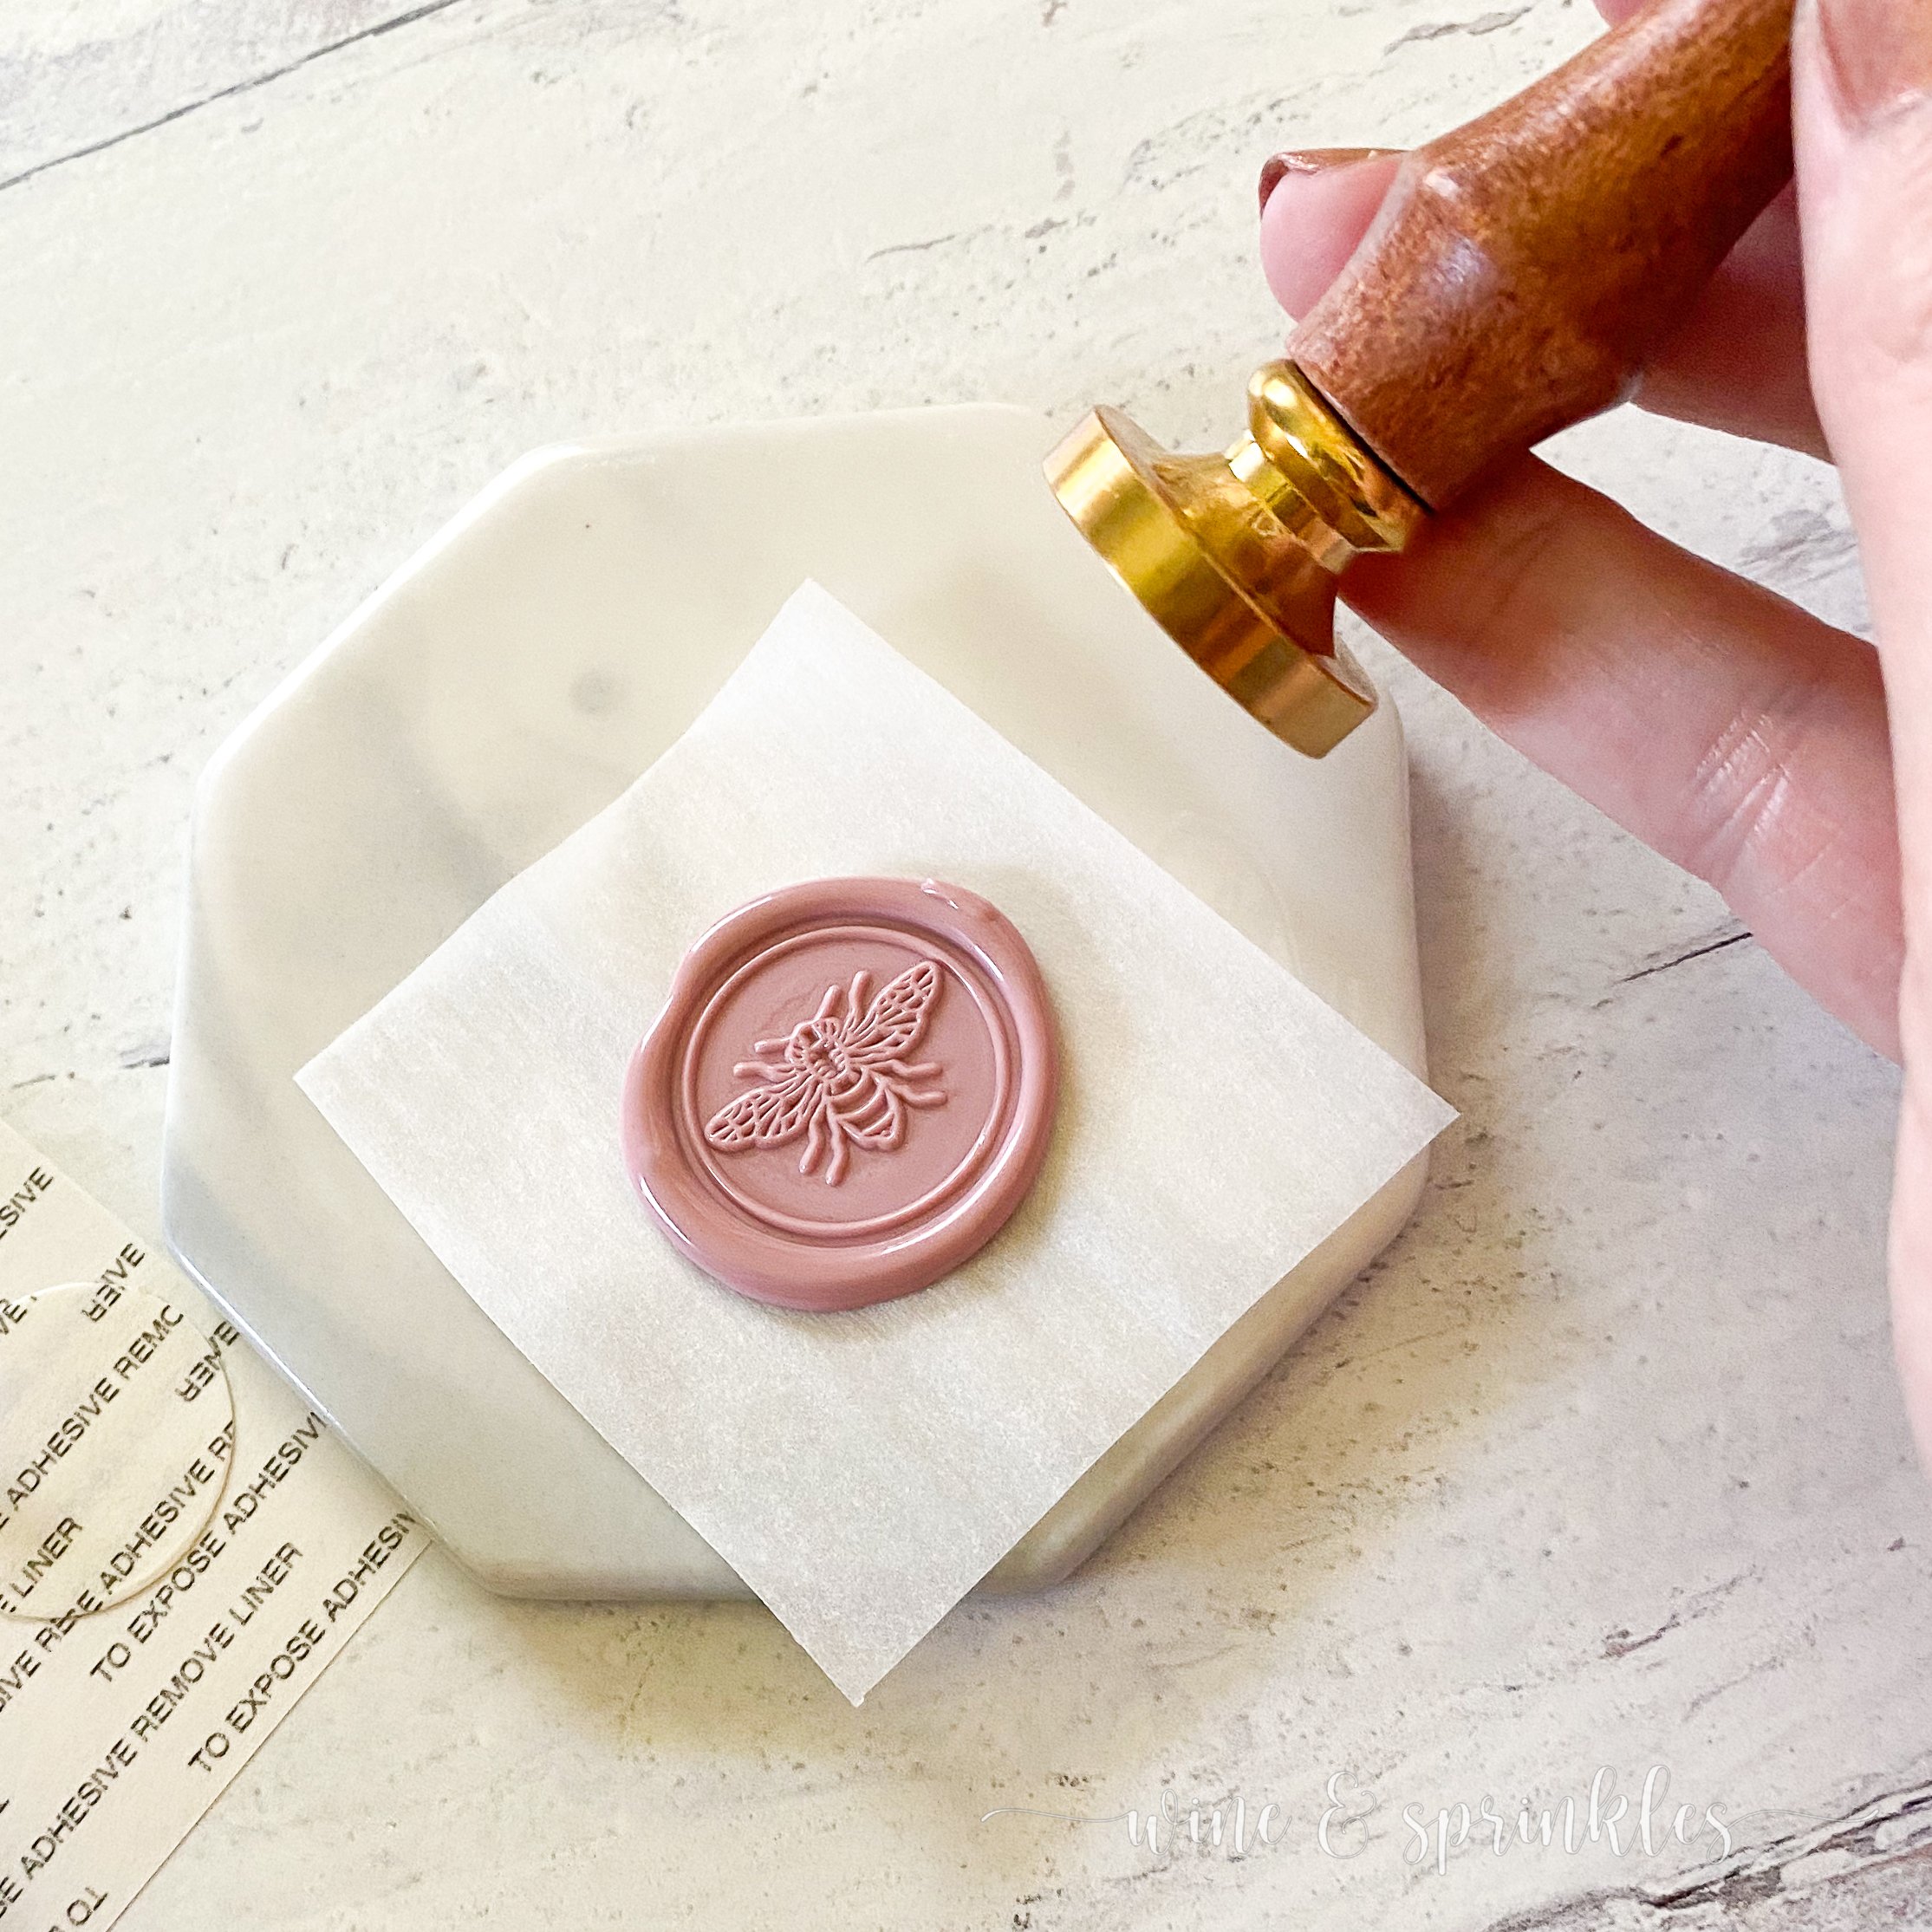
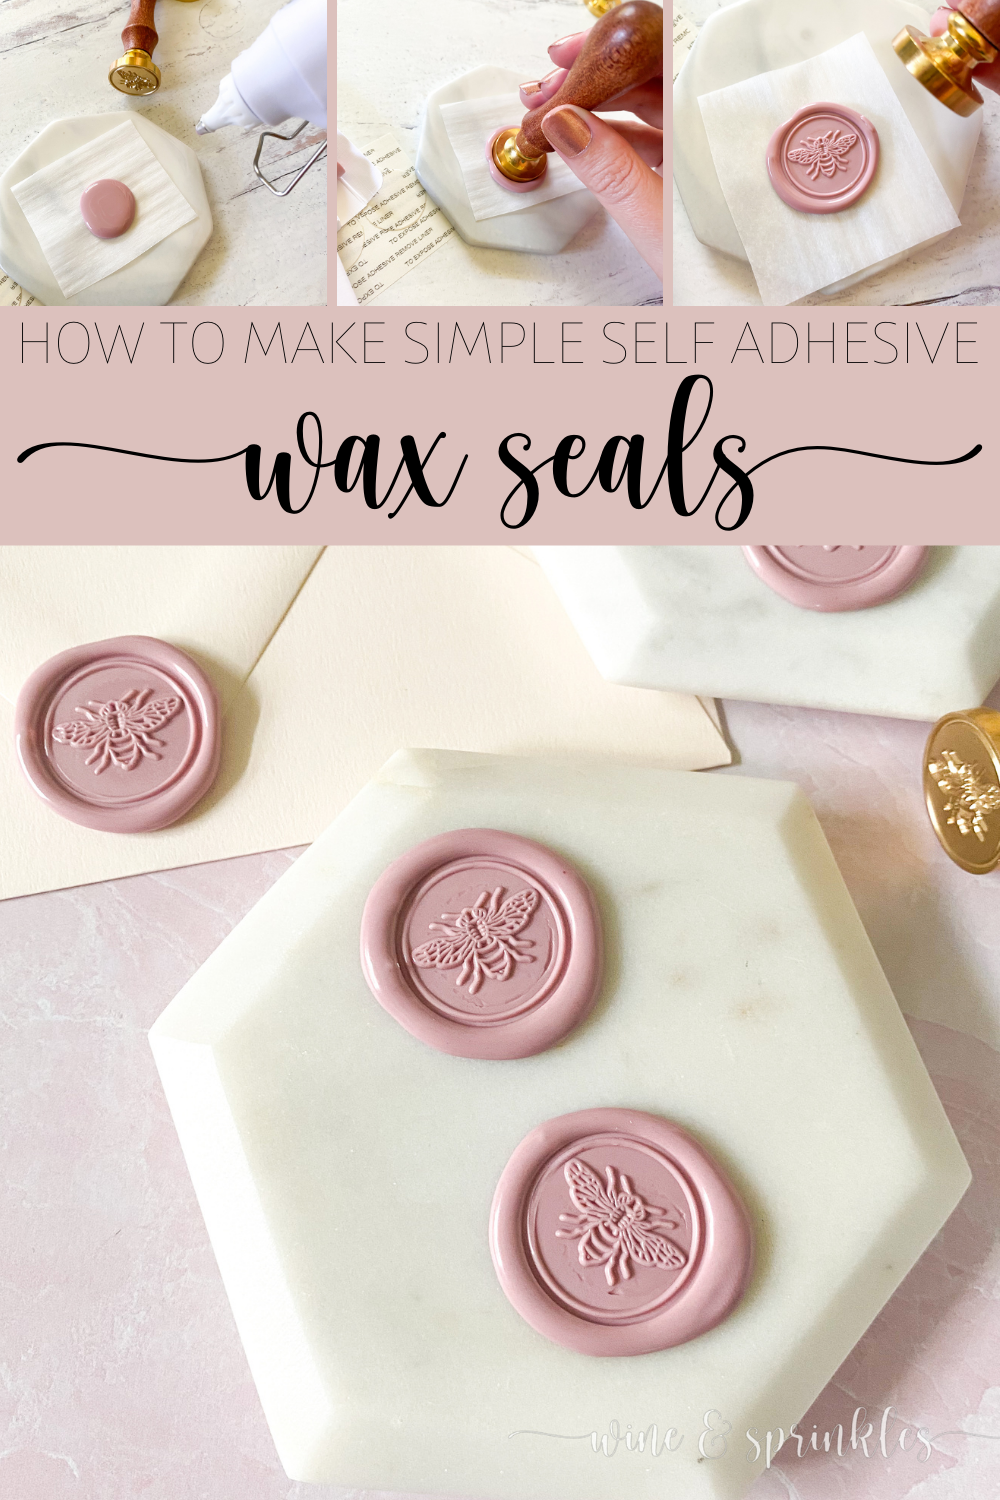
2. Dispense hot liquid wax onto the parchment paper on your cooling pad, creating a circular puddle of hot wax. I used about 1 - 1 ½ triggerfuls of the glue gun I had, which gave exactly the seals I wanted. Press your stamp firmly and evenly into the wax, leaving for 15-30 seconds until wax is set, then carefully peel the stamp off of the seal, leaving the impression in the wax.

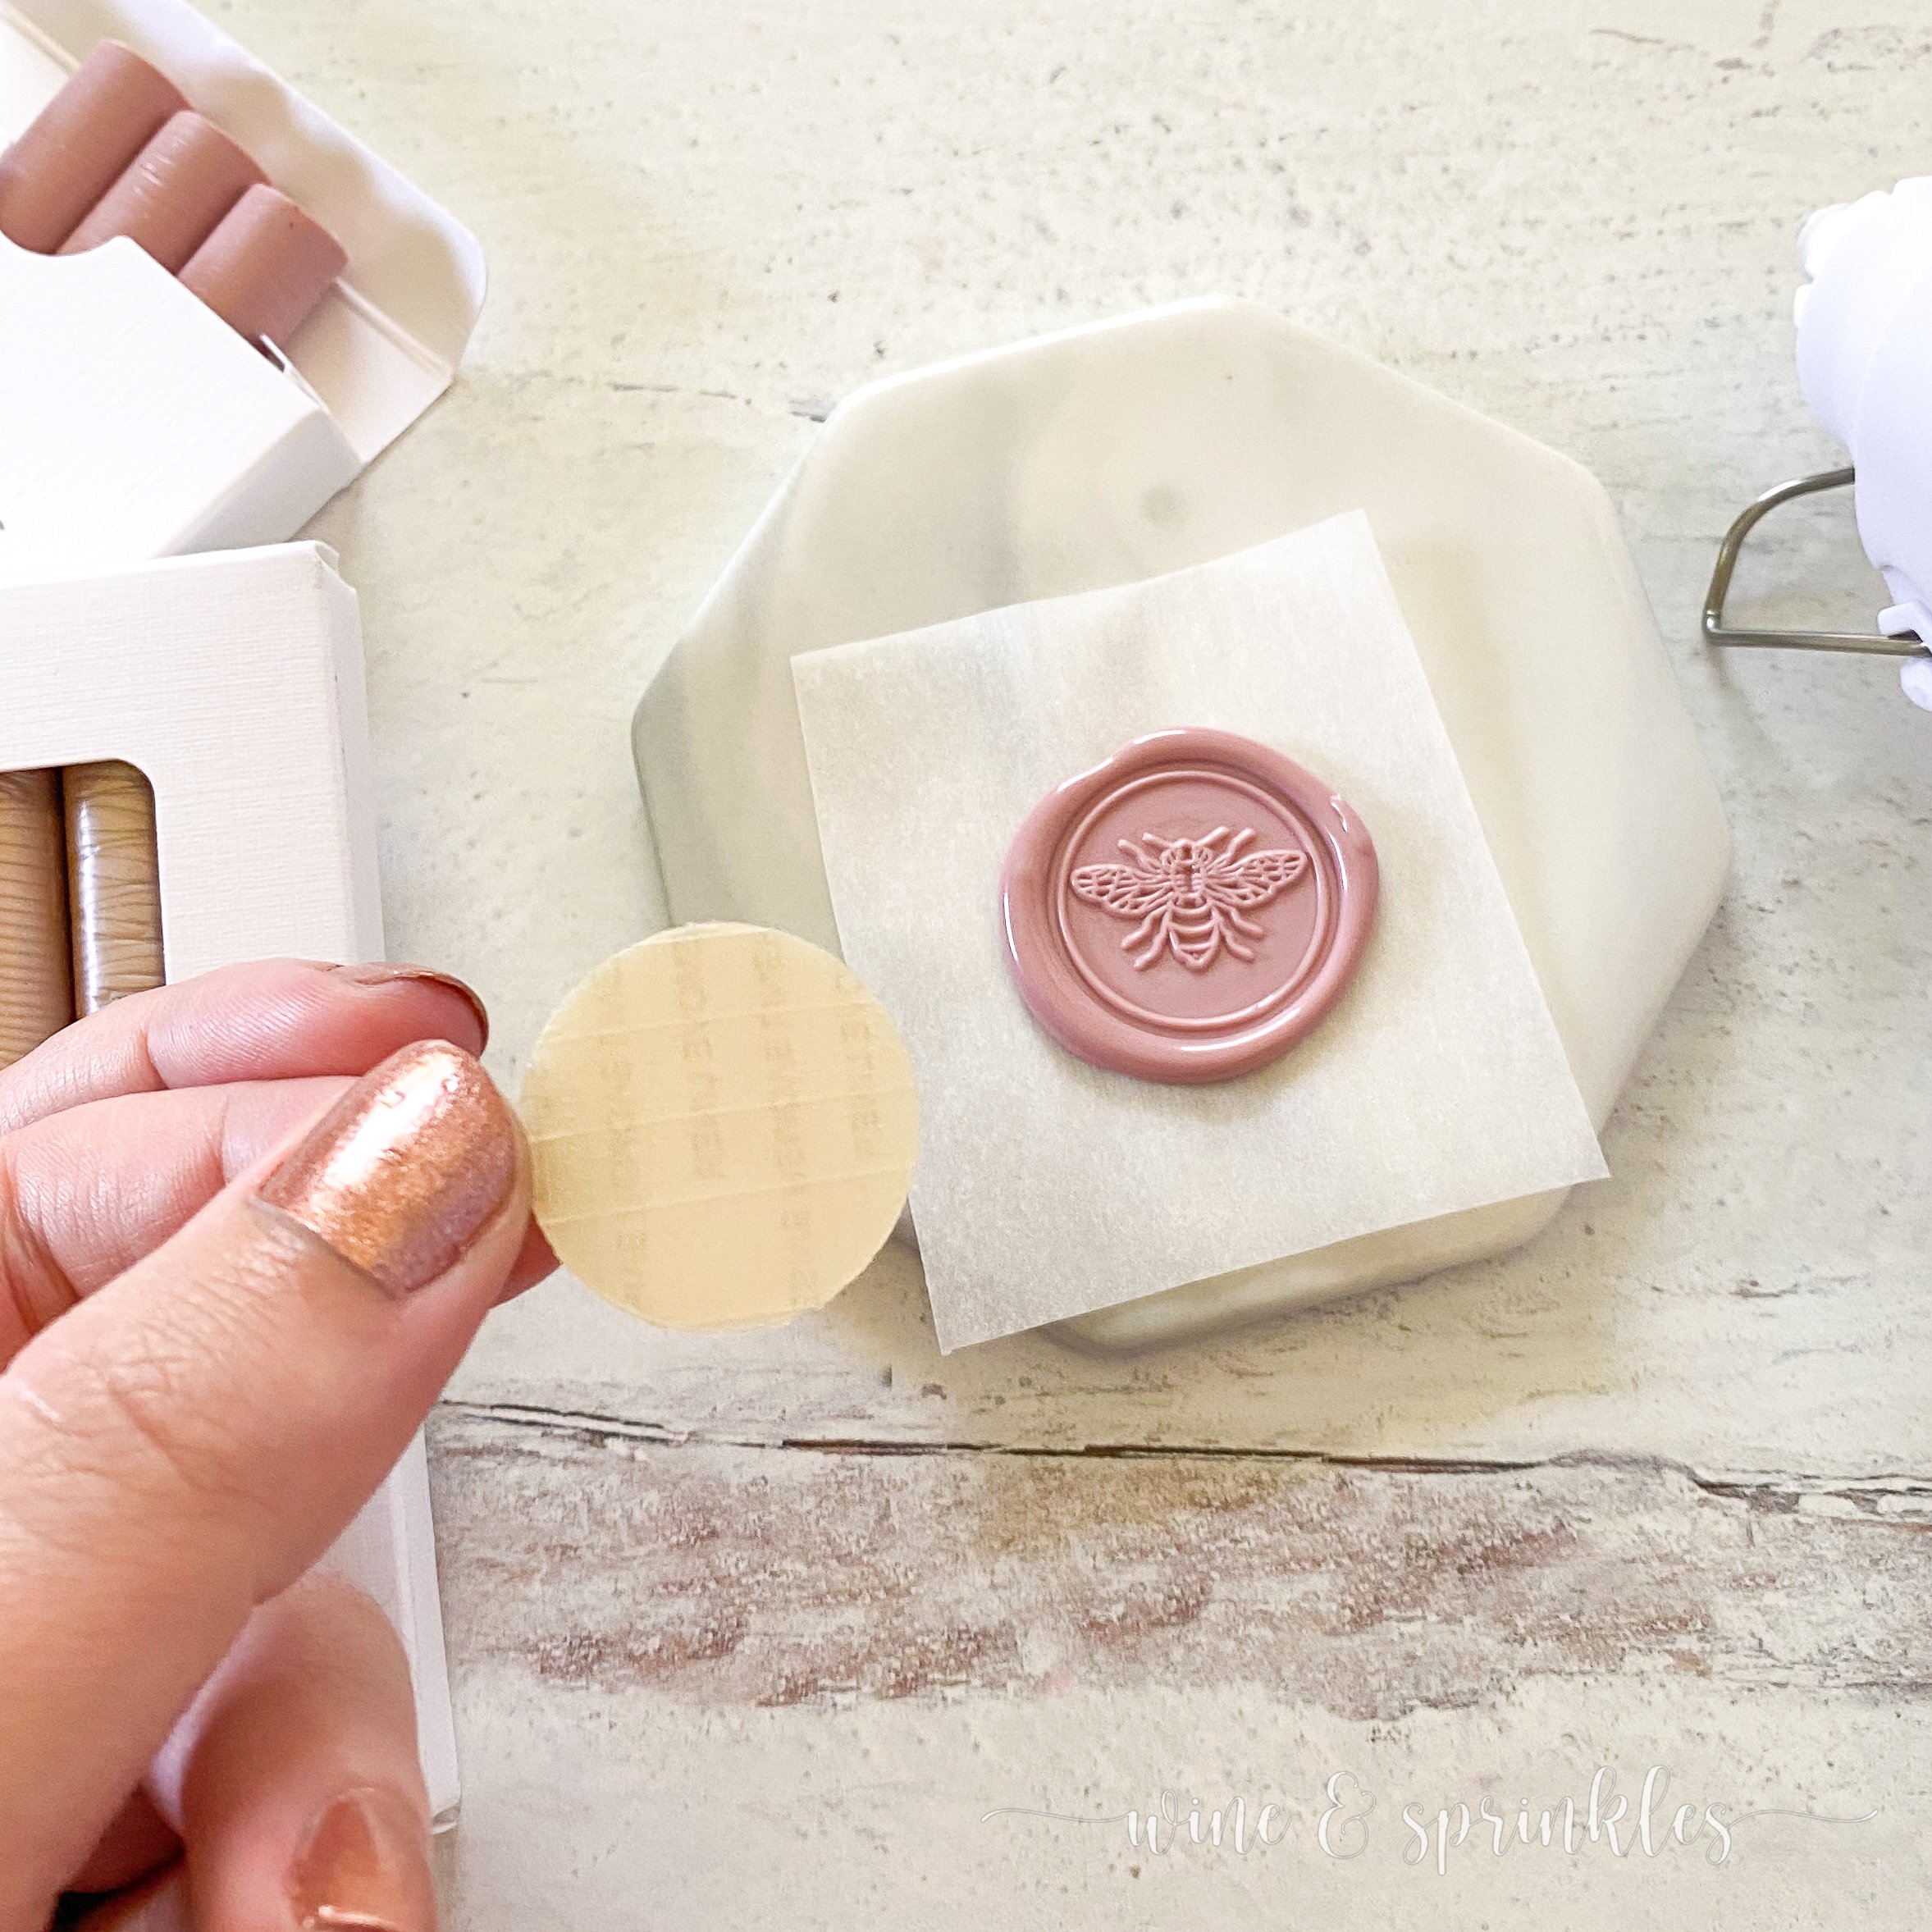

3. Peel the wax seal off of the parchment paper, then turn over and stick an adhesive circle to the back, leaving one side of the sticker on its backing so that they can be used to peel and stick later. Repeat this process for as many wax seals as you need and you are done!

TIPS & TRICKS
-Changing wax stick colors: Heat gun with current wax for 5 minutes, then pull the excess stick out of the glue gun. Then, let the gun sit another 10 minutes to let melted wax reach the bottom. Press the new colored wax stick into the gun, pressing out as much of the old color as possible, then let the new color heat for 10 minutes. There will be a couple marbled seals in between, which I stamp and save for future cards and stationary!
-For making many stamps at a time, use an ice pack to cool your stamp between impressions, wiping any condensation off it for easy removal.
SEE OUR RELATED POSTS HERE:


OUR PINS FOR THIS POST: