This post contains affiliate links, meaning that if you click on a link I will recieve a small comission. This costs you nothing extra and I only promote products I use and love! You can read our full disclosure here

For my Goddess of Spring 30th Birthday Party, while my friends picked their favorite gods and goddesses to attend as, I went as the queen of spring herself, Persephone! While she is certainly my favorite goddess, her love of flowers also made it the perfect opportunity to try my hand at making an accessory I had wanted for a while, a flower crown! Now while I adore the idea of a fresh flower crown, in this case I opted to use some beautiful silk flowers instead so that my crown could be stored and worn again at my future parties!

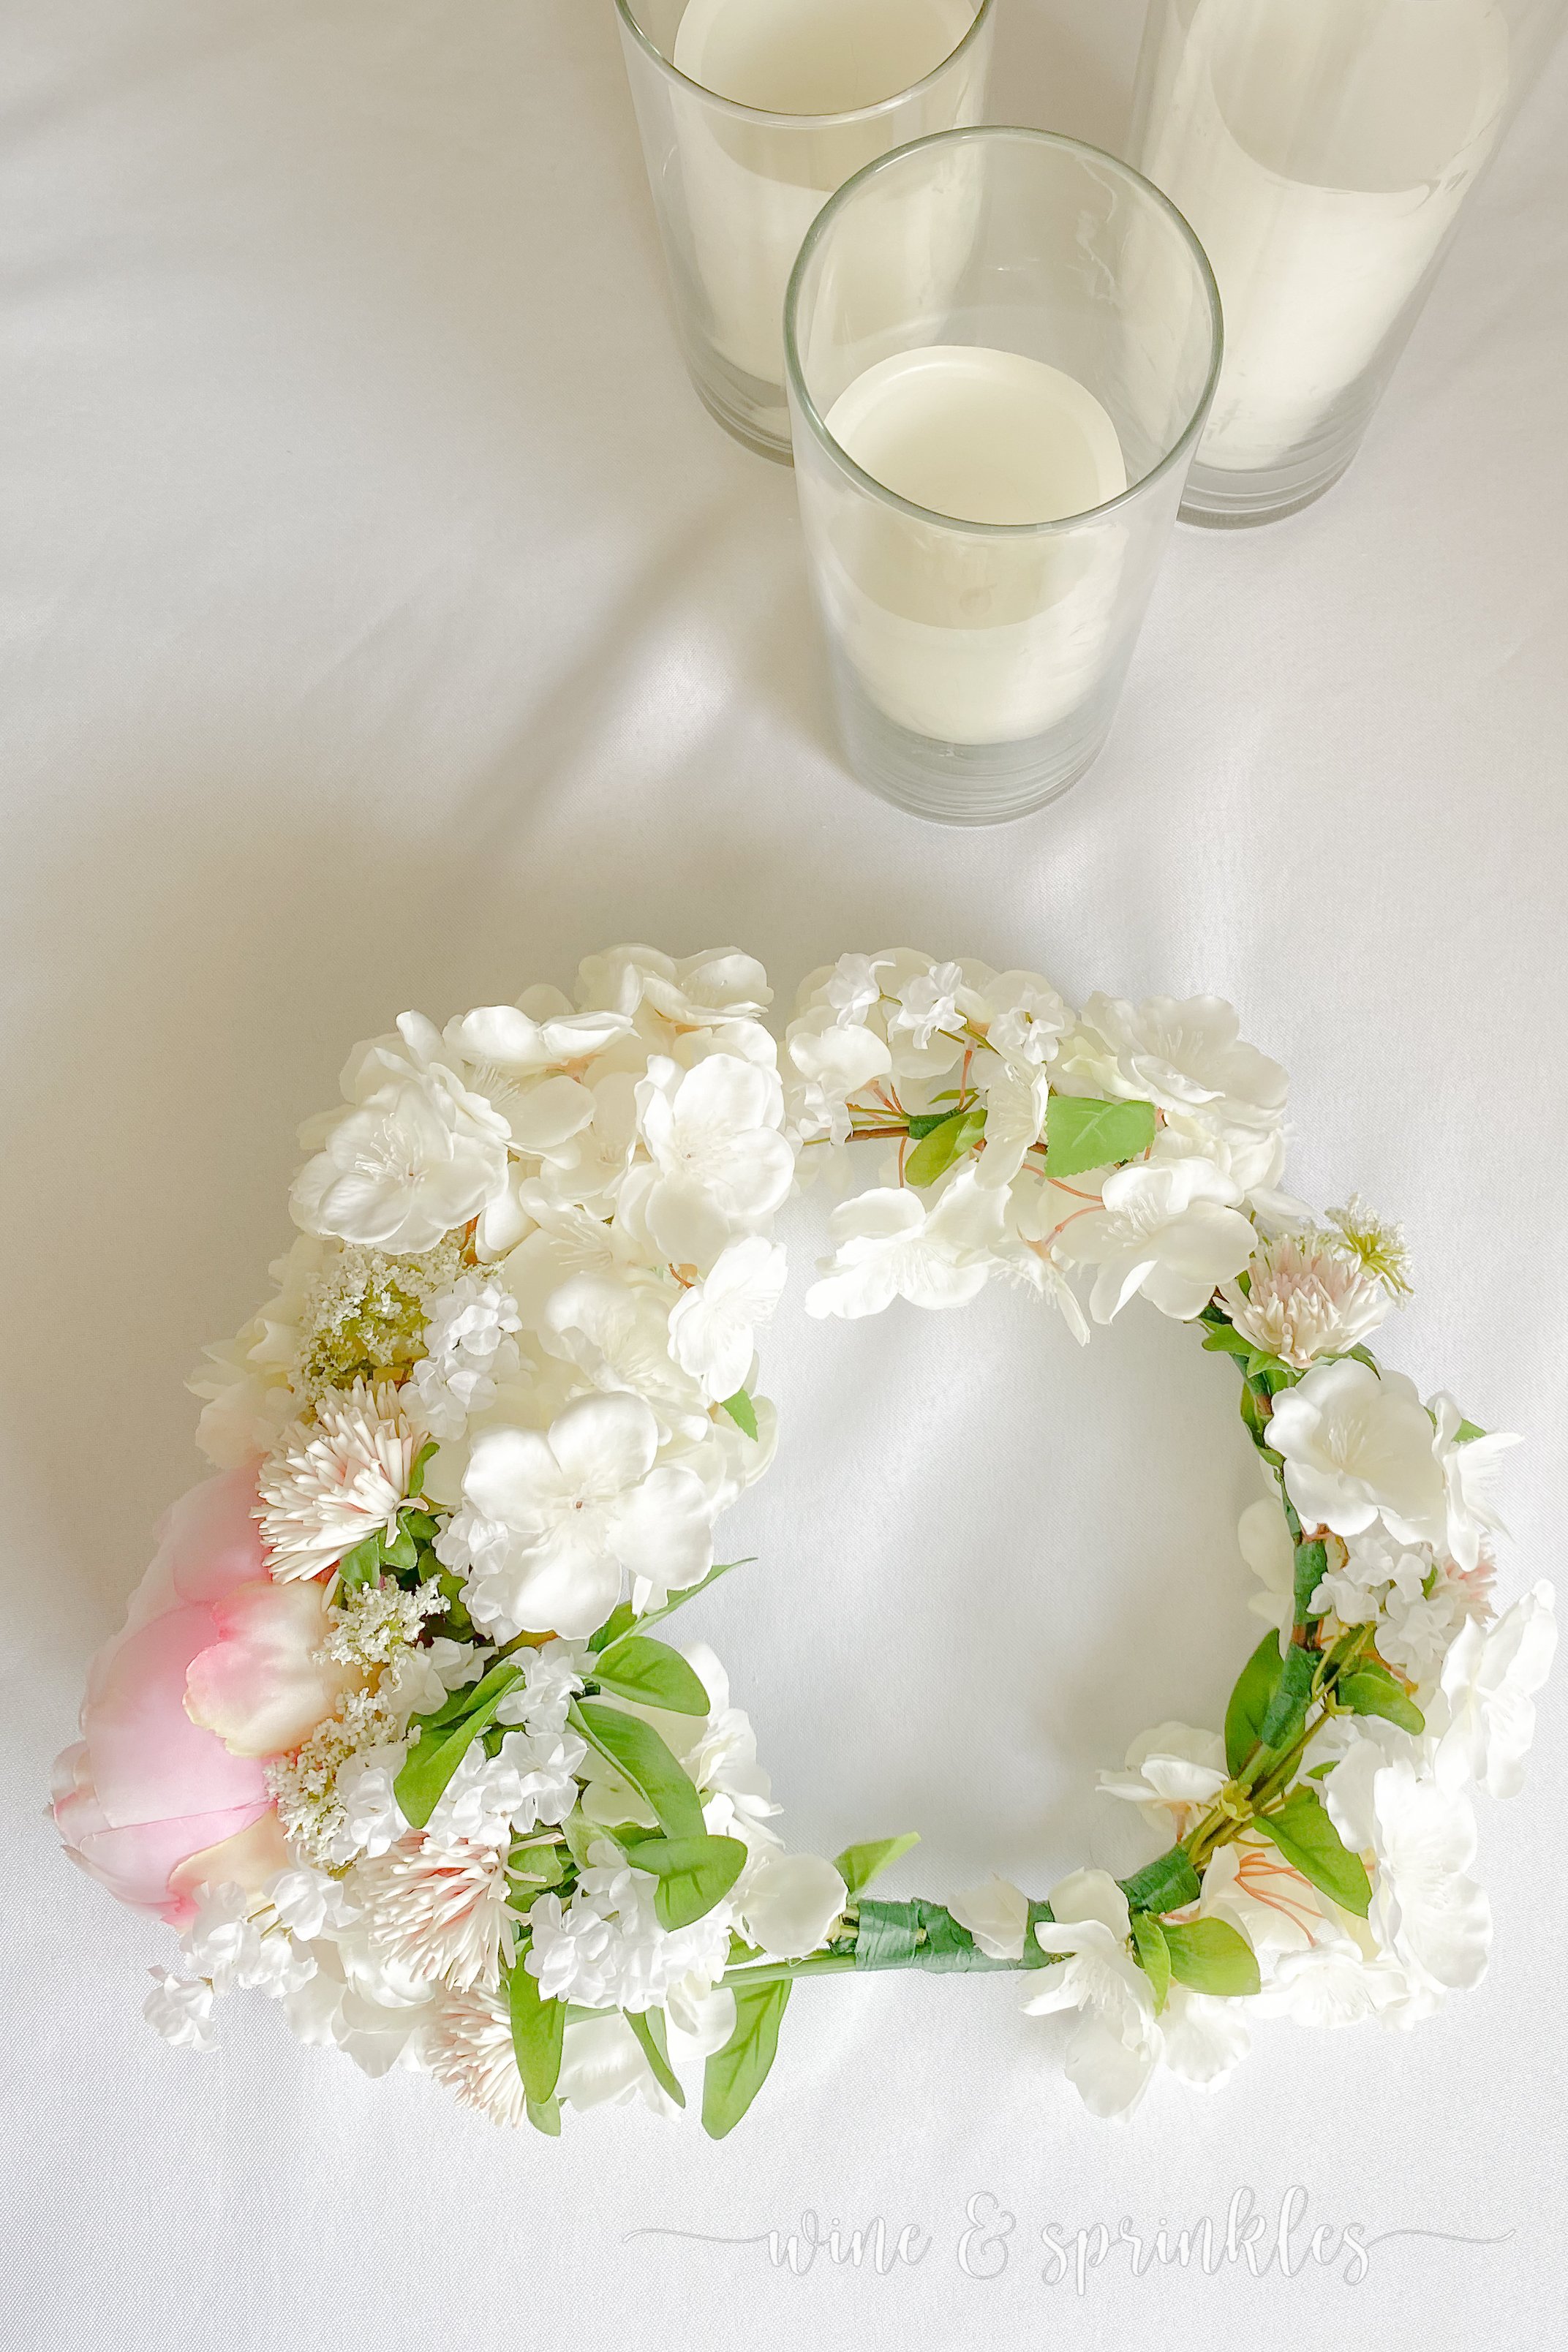
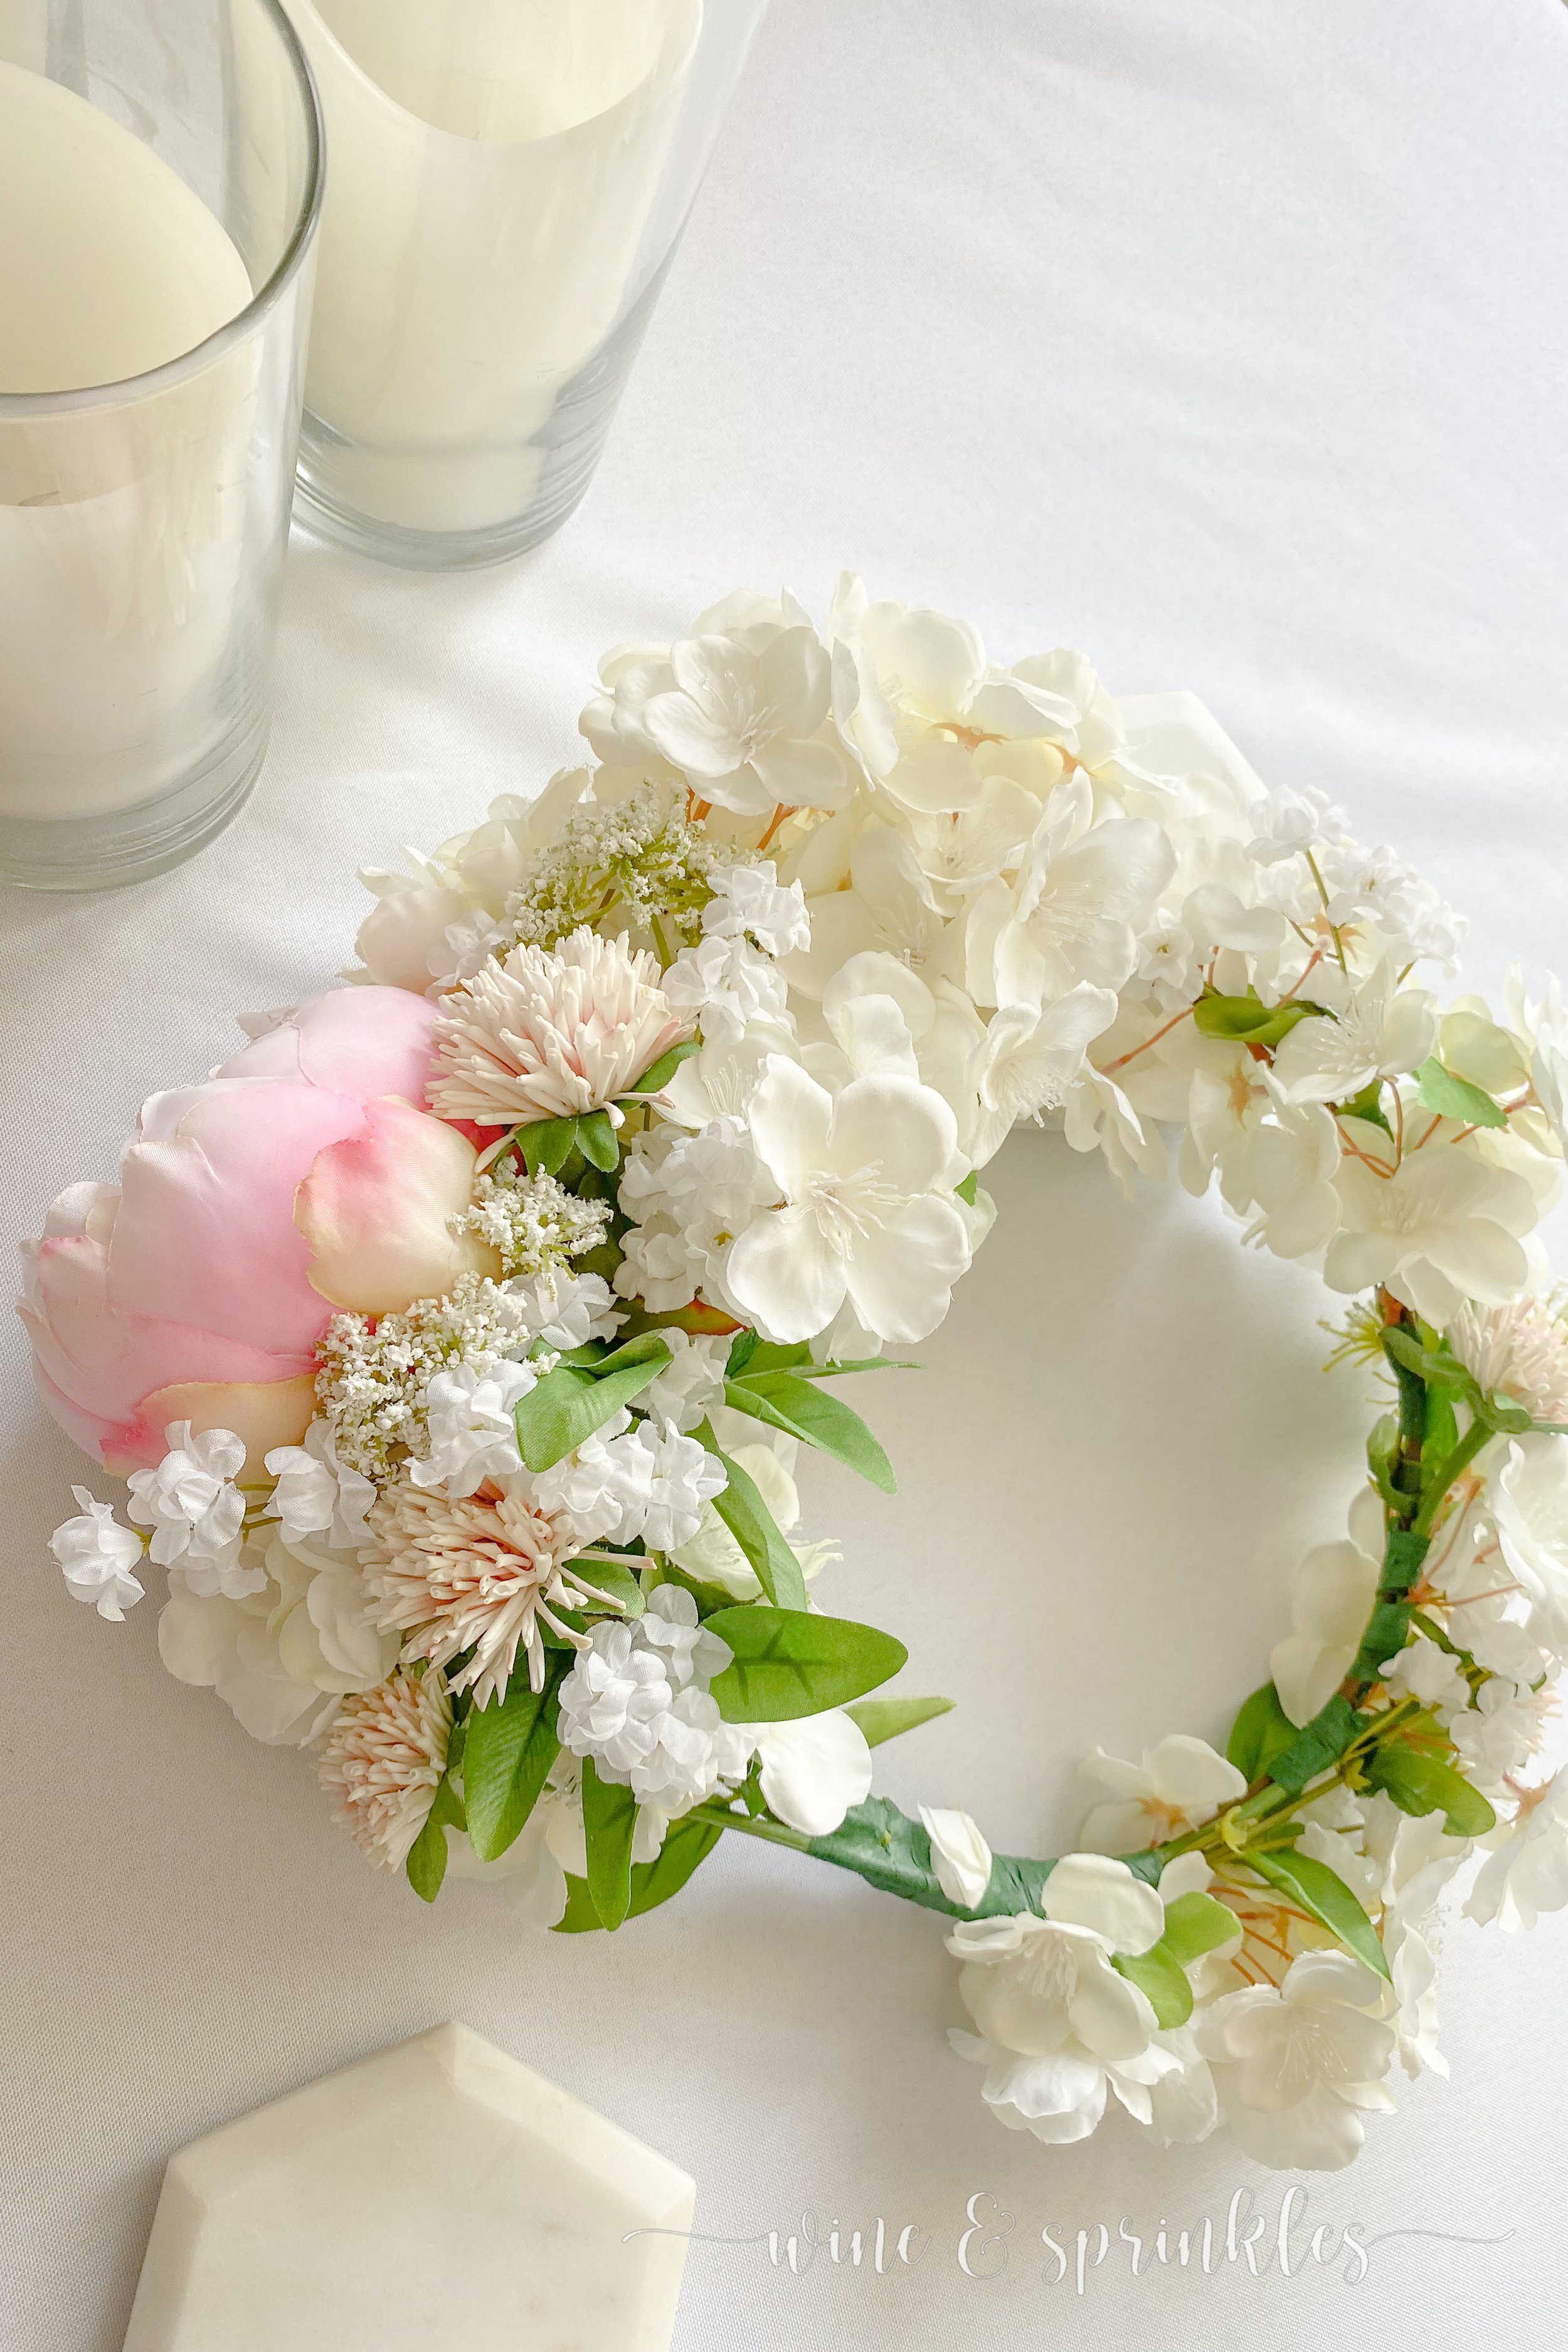
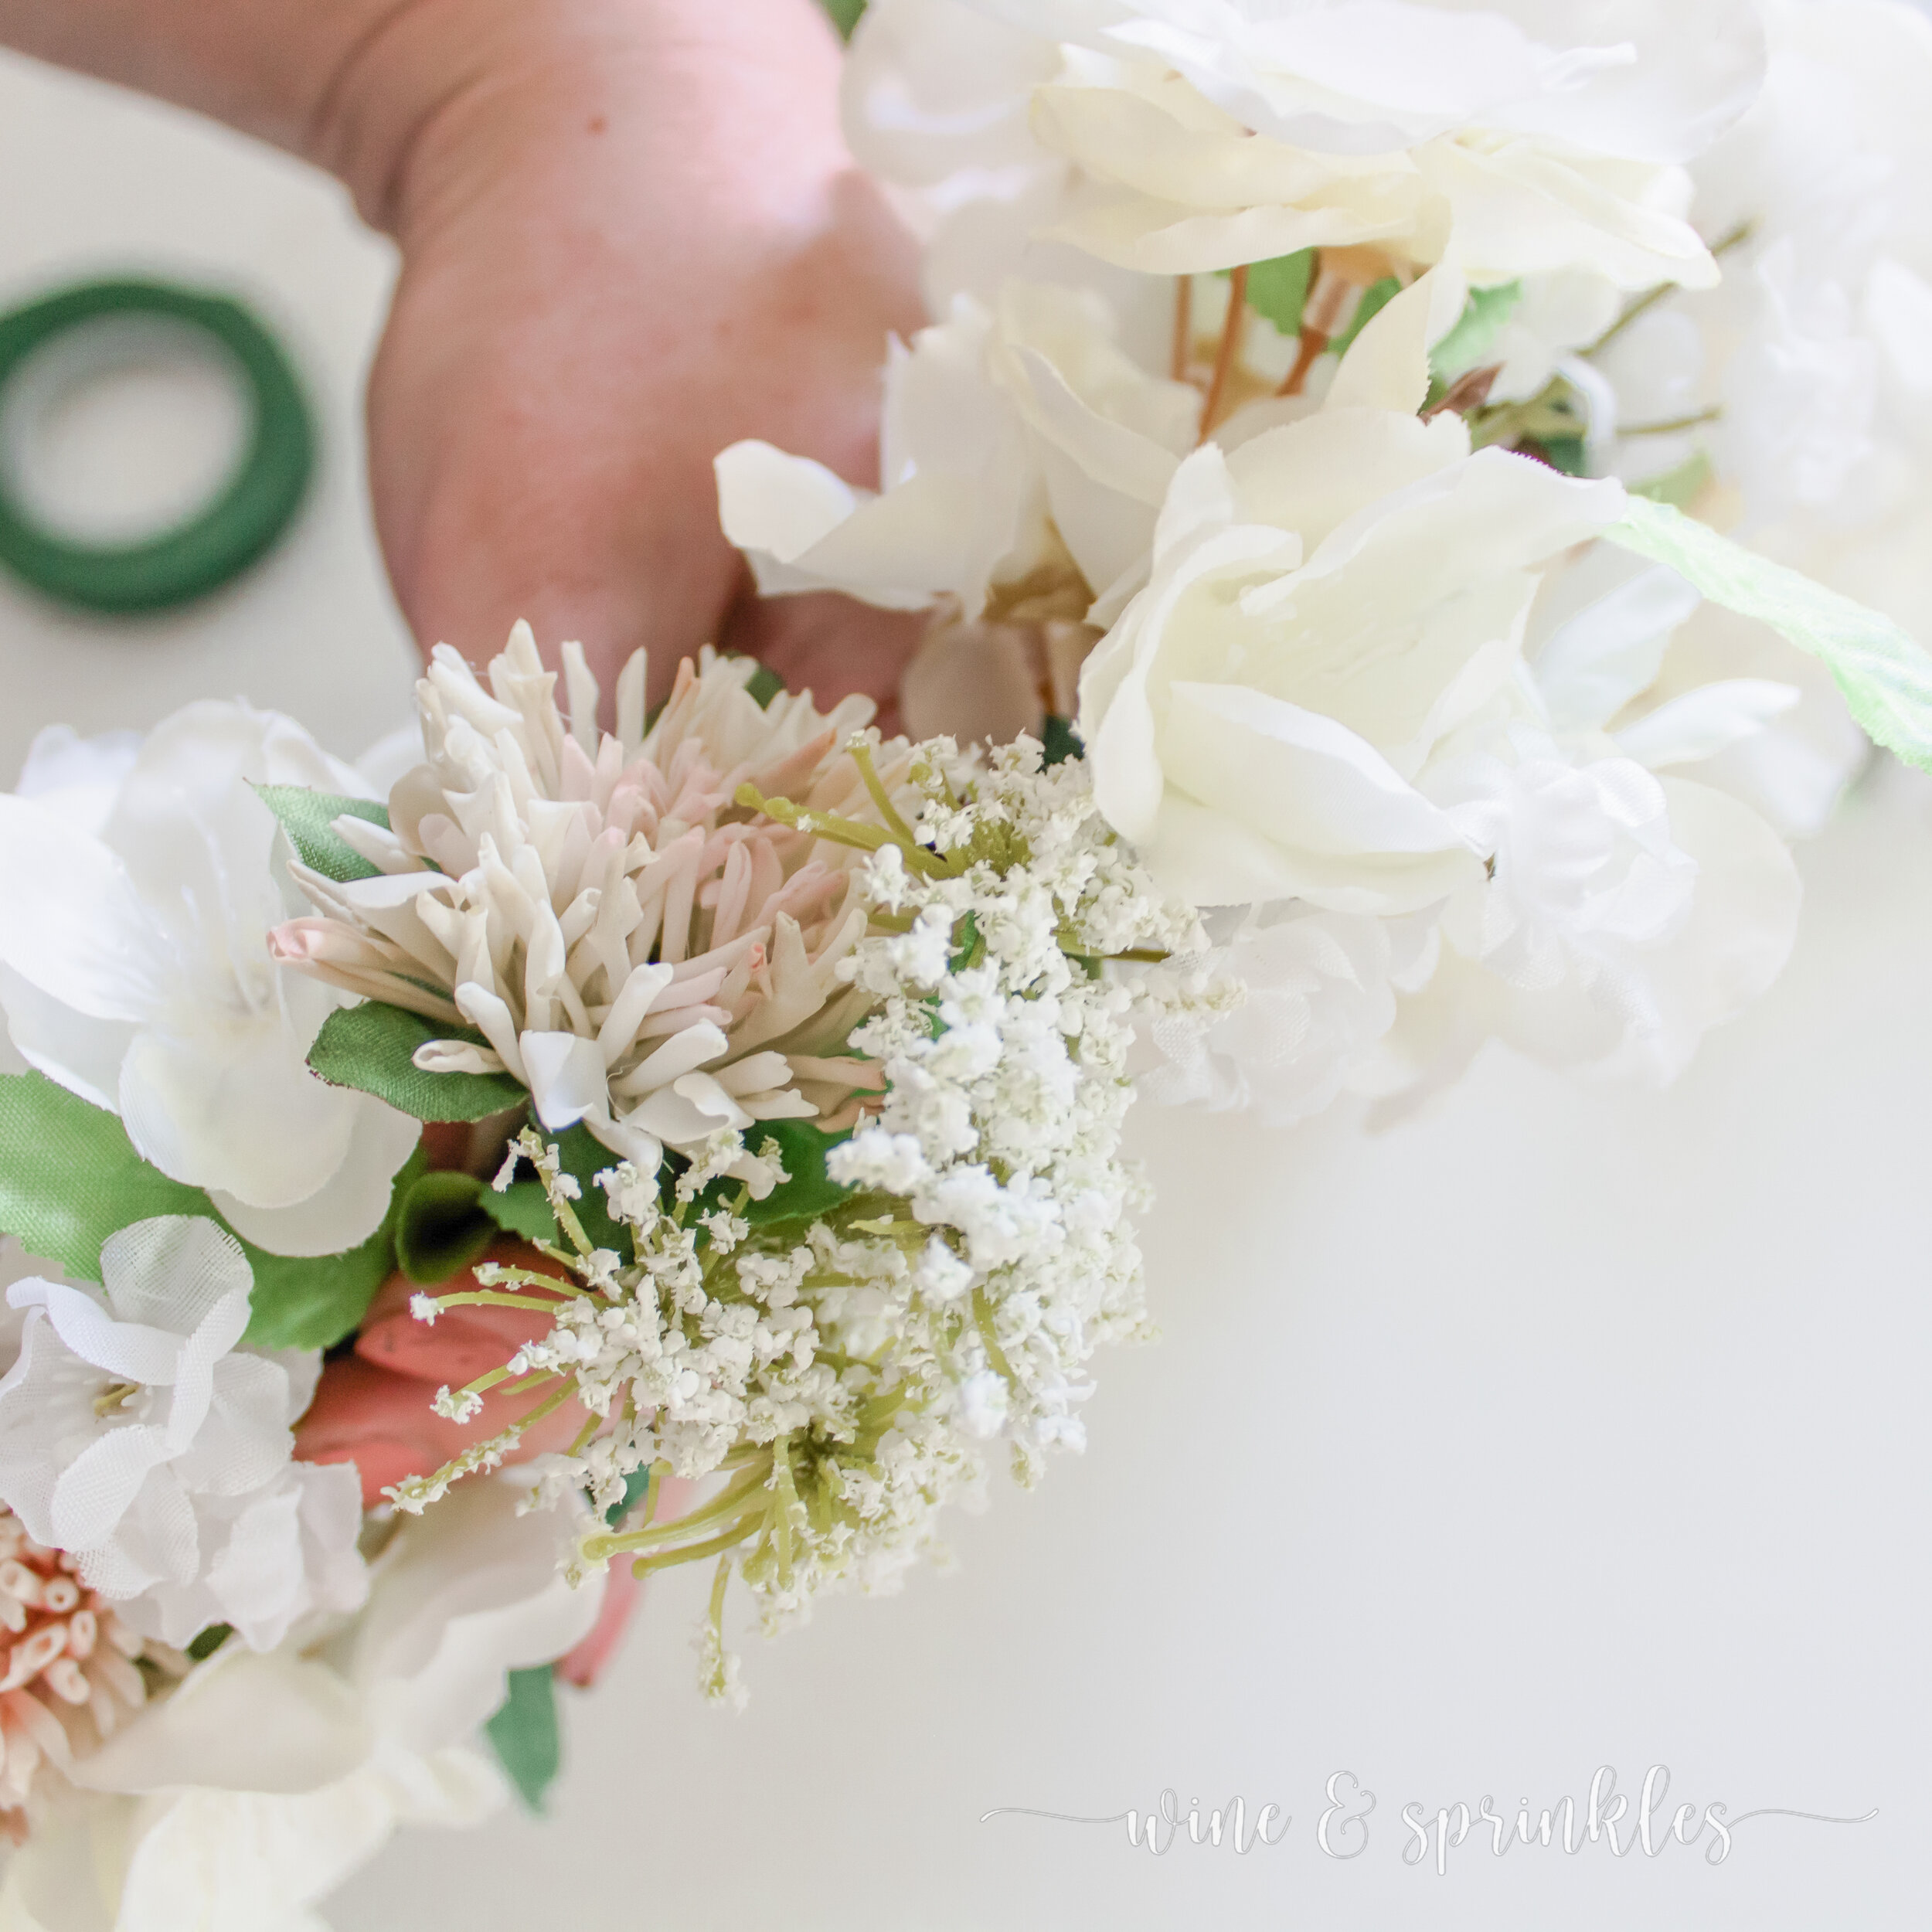
Being a spring baby, I inspired my crown after my favorite spring blooms: peonies and cherry blossoms! This pink and creamy whites flower palette was perfect for my costume, as well as being some of my favorite colors for florals in general! I wanted to add more interest and dimension to my crown, so I used a whole array of springtime meadow flowers to accentuate my favorite blooms; namely, babies breath, clovers, and queen anne’s lace, making for a beautiful cloud like ethereal crown for my goddess of spring style outfit!
For this crown and all my other birthday flower arrangements, I got my flowers from my new favorite online resource for silk and dried flowers, Afloral! Afloral is an online silk flower supplier that specializes in beautiful silk flowers you can buy for DIY flower centerpieces for home, wedding or party arrangements; or in my case, making a silk flower crown! I loved the quality of all the flowers I purchased so you’ll be sure to be seeing them again in future flower arrangements and in other flower themed accessories for me and my friends! To learn more about Afloral and all their lovely products, check out my review on what I’ve bought from them so far here!
This was the first of what is soon to be a parade of flower crowns, after this first beauty I made one out of Orchids and Cherry Blossoms for my friend’s island inspired Bahamas birthday trip, and now our whole travel crew wants crowns of their own! I can’t wait to continue documenting my crown making adventures and hopefully I inspire you to create a crown all your own!
SUPPLIES
MAIN FLOWERS
Cherry Blossom Branch: the base of this crown is made from one of my favorite blossoming branches, the cherry blossom! I found this beautiful white branch to use both for the crown but for other silk flower projects as well, though Afloral has several colors and styles to choose from!
Peony: Peonies have always been one of my favorite spring blooms, so when I saw this light pink blossom I knew it would be the statement centerpiece flower to build my crown around! Similarly to the cherry blossom blooms, there are always several different colors in stock at Afloral for you to pick between, so I’ve linked you to all their current peony options!
SUPPORT FLOWERS
Clovers: these are one of my favorite spring meadow flowers, so they were the perfect choice for a spring themed flower crown inspired my a sometimes capricious spring goddess! I found these pretty creamy blush ones that went perfectly with my peony, along with adding a different textured style floral to the light and airy feel of all my other supporting flowers.
Babies Breath: for a dreamy cloudlike feel, one of my favorite affordable filler flowers came into play! I used these small white blooms to fill in all the empty space around the cherry blossom branches, giving the crown a mix a big to tiny blossoms in shades of pinks and whites.
Queen’s Anne's Lace: for a little more dimension and filler flower for my crown, I choose small bundles of Queen Anne’s Lace flowers that I taped into open spaces for a more dimensional cloudlike feel. But I’ll admit its hard to find this flocked flower all the time, so if you can’t, more babies breath certainly would do the trick too!
TOOLS & OTHER SUPPLIES
Floral Shears: for trimming your base branch and other silk flowers to the right length as well as removing extra greenery
Floral Tape: for securing your flowers to the crown
Sewing Tape: for measuring your head to make your crown base the right size!
SUPPLIES LIST:
[for 1 flower crown]
MAIN FLOWERS
Cherry Blossom Branch x 1
Peony x1
SUPPORT FLOWERS
Clovers x 3
Babies Breath x 3
Queen Anne's Lace x 1
TOOLS & OTHER SUPPLIES
Floral Shears x1
Floral Tape x1
Sewing Tape x1

DIRECTIONS
PART 1: CREATE THE FLOWER CROWN BASE

Using silk flower shears, cut extra stem off the flowers you are using such that the flowers and leaves end a couple inches from where you cut the stem, leaving this to use for securing them to your crown.


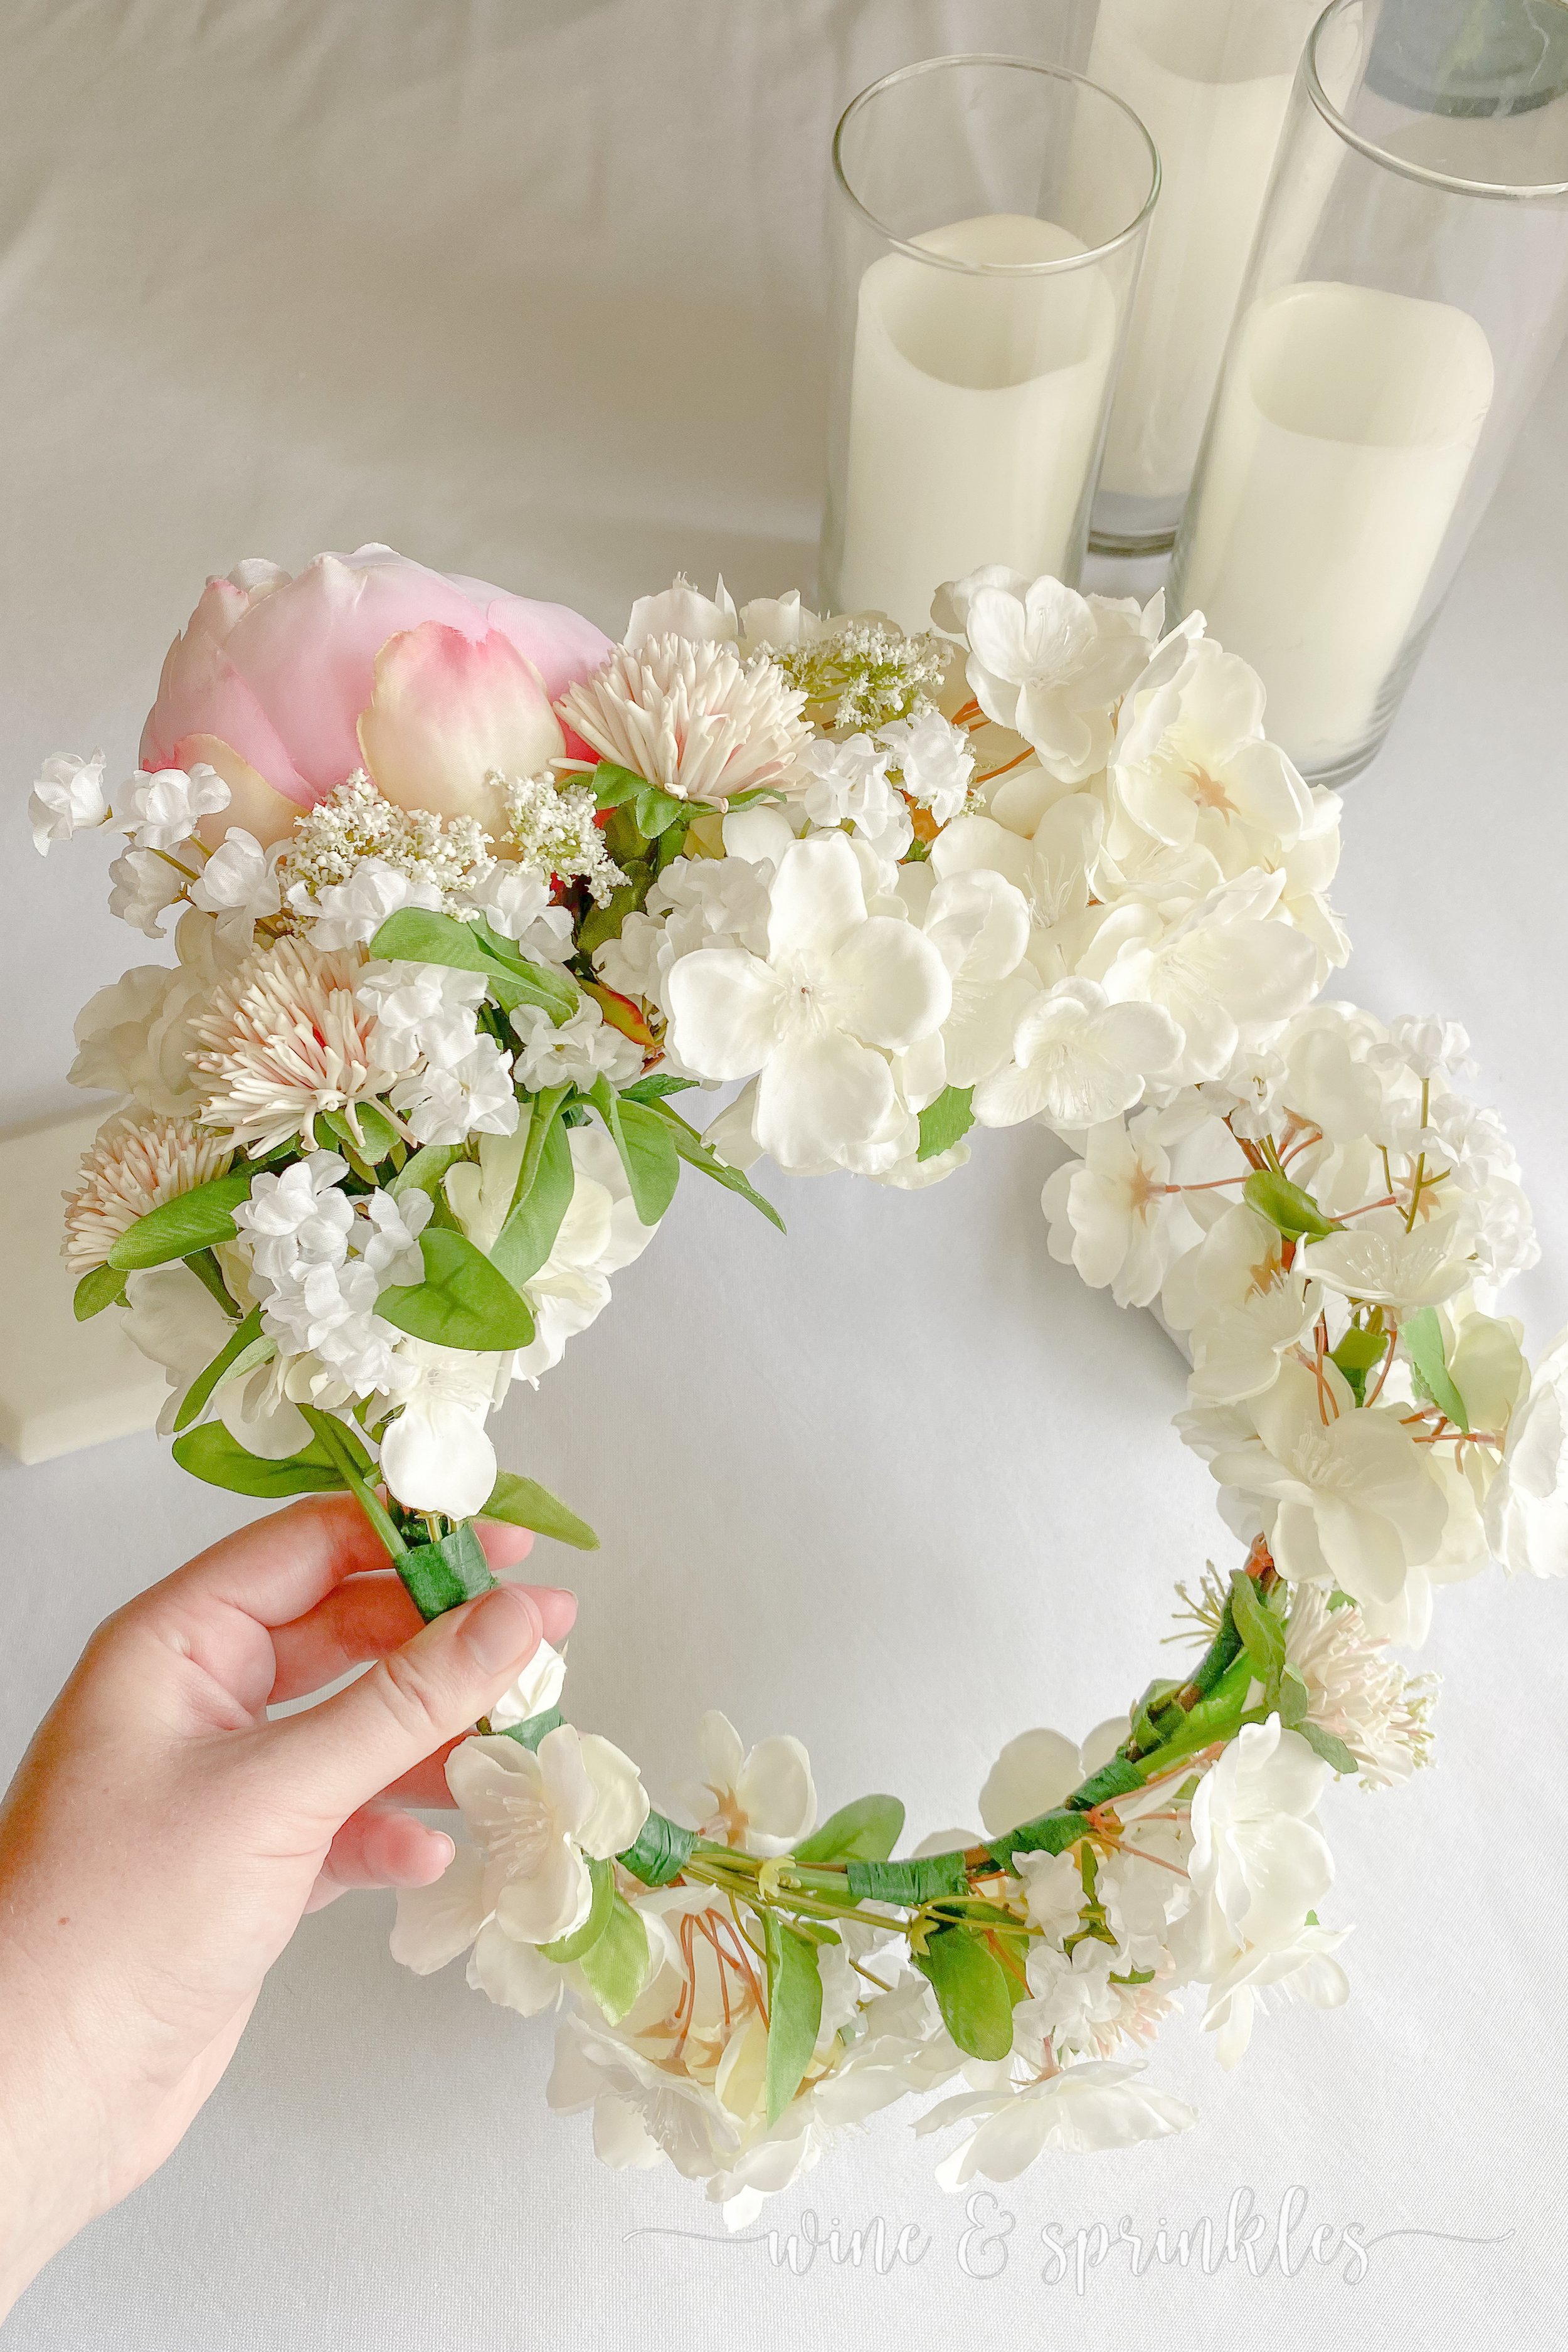
2. Using a sewing tape, measure the circumference of your head where you would like the flower crown to lay. Pick the sturdiest and the longest of your flower branches as the base of your crown, in my case it was the cherry blossom branches. Arrange the stems so they overlap a couple inches and, when taped together, their overall circumference of your crown base is 1 inch longer than your measured head, so you will have extra room for wrapping and taping your support flowers into your crown but it will still fit on your head. Bring the ends of your branches together to form a ring, then secure with floral tape to create the base of your crown.


PART 2: ARRANGE & ATTACH SUPPORT FLOWERS
3. Now it’s time to start adding your flowers to the crown. Arrange the crown such that the furthest part away from you is the front of the crown so you can better decide where to place the flowers while arranging them. Starting with the largest flower, in my case a peony, bending the stems so that they run along the curve of the crown base and secure them with floral tape. I chose to arrange mine where the cherry blossoms were the thickest to make it a statement flower, and this gave a great base for arranging my smaller flowers around too!


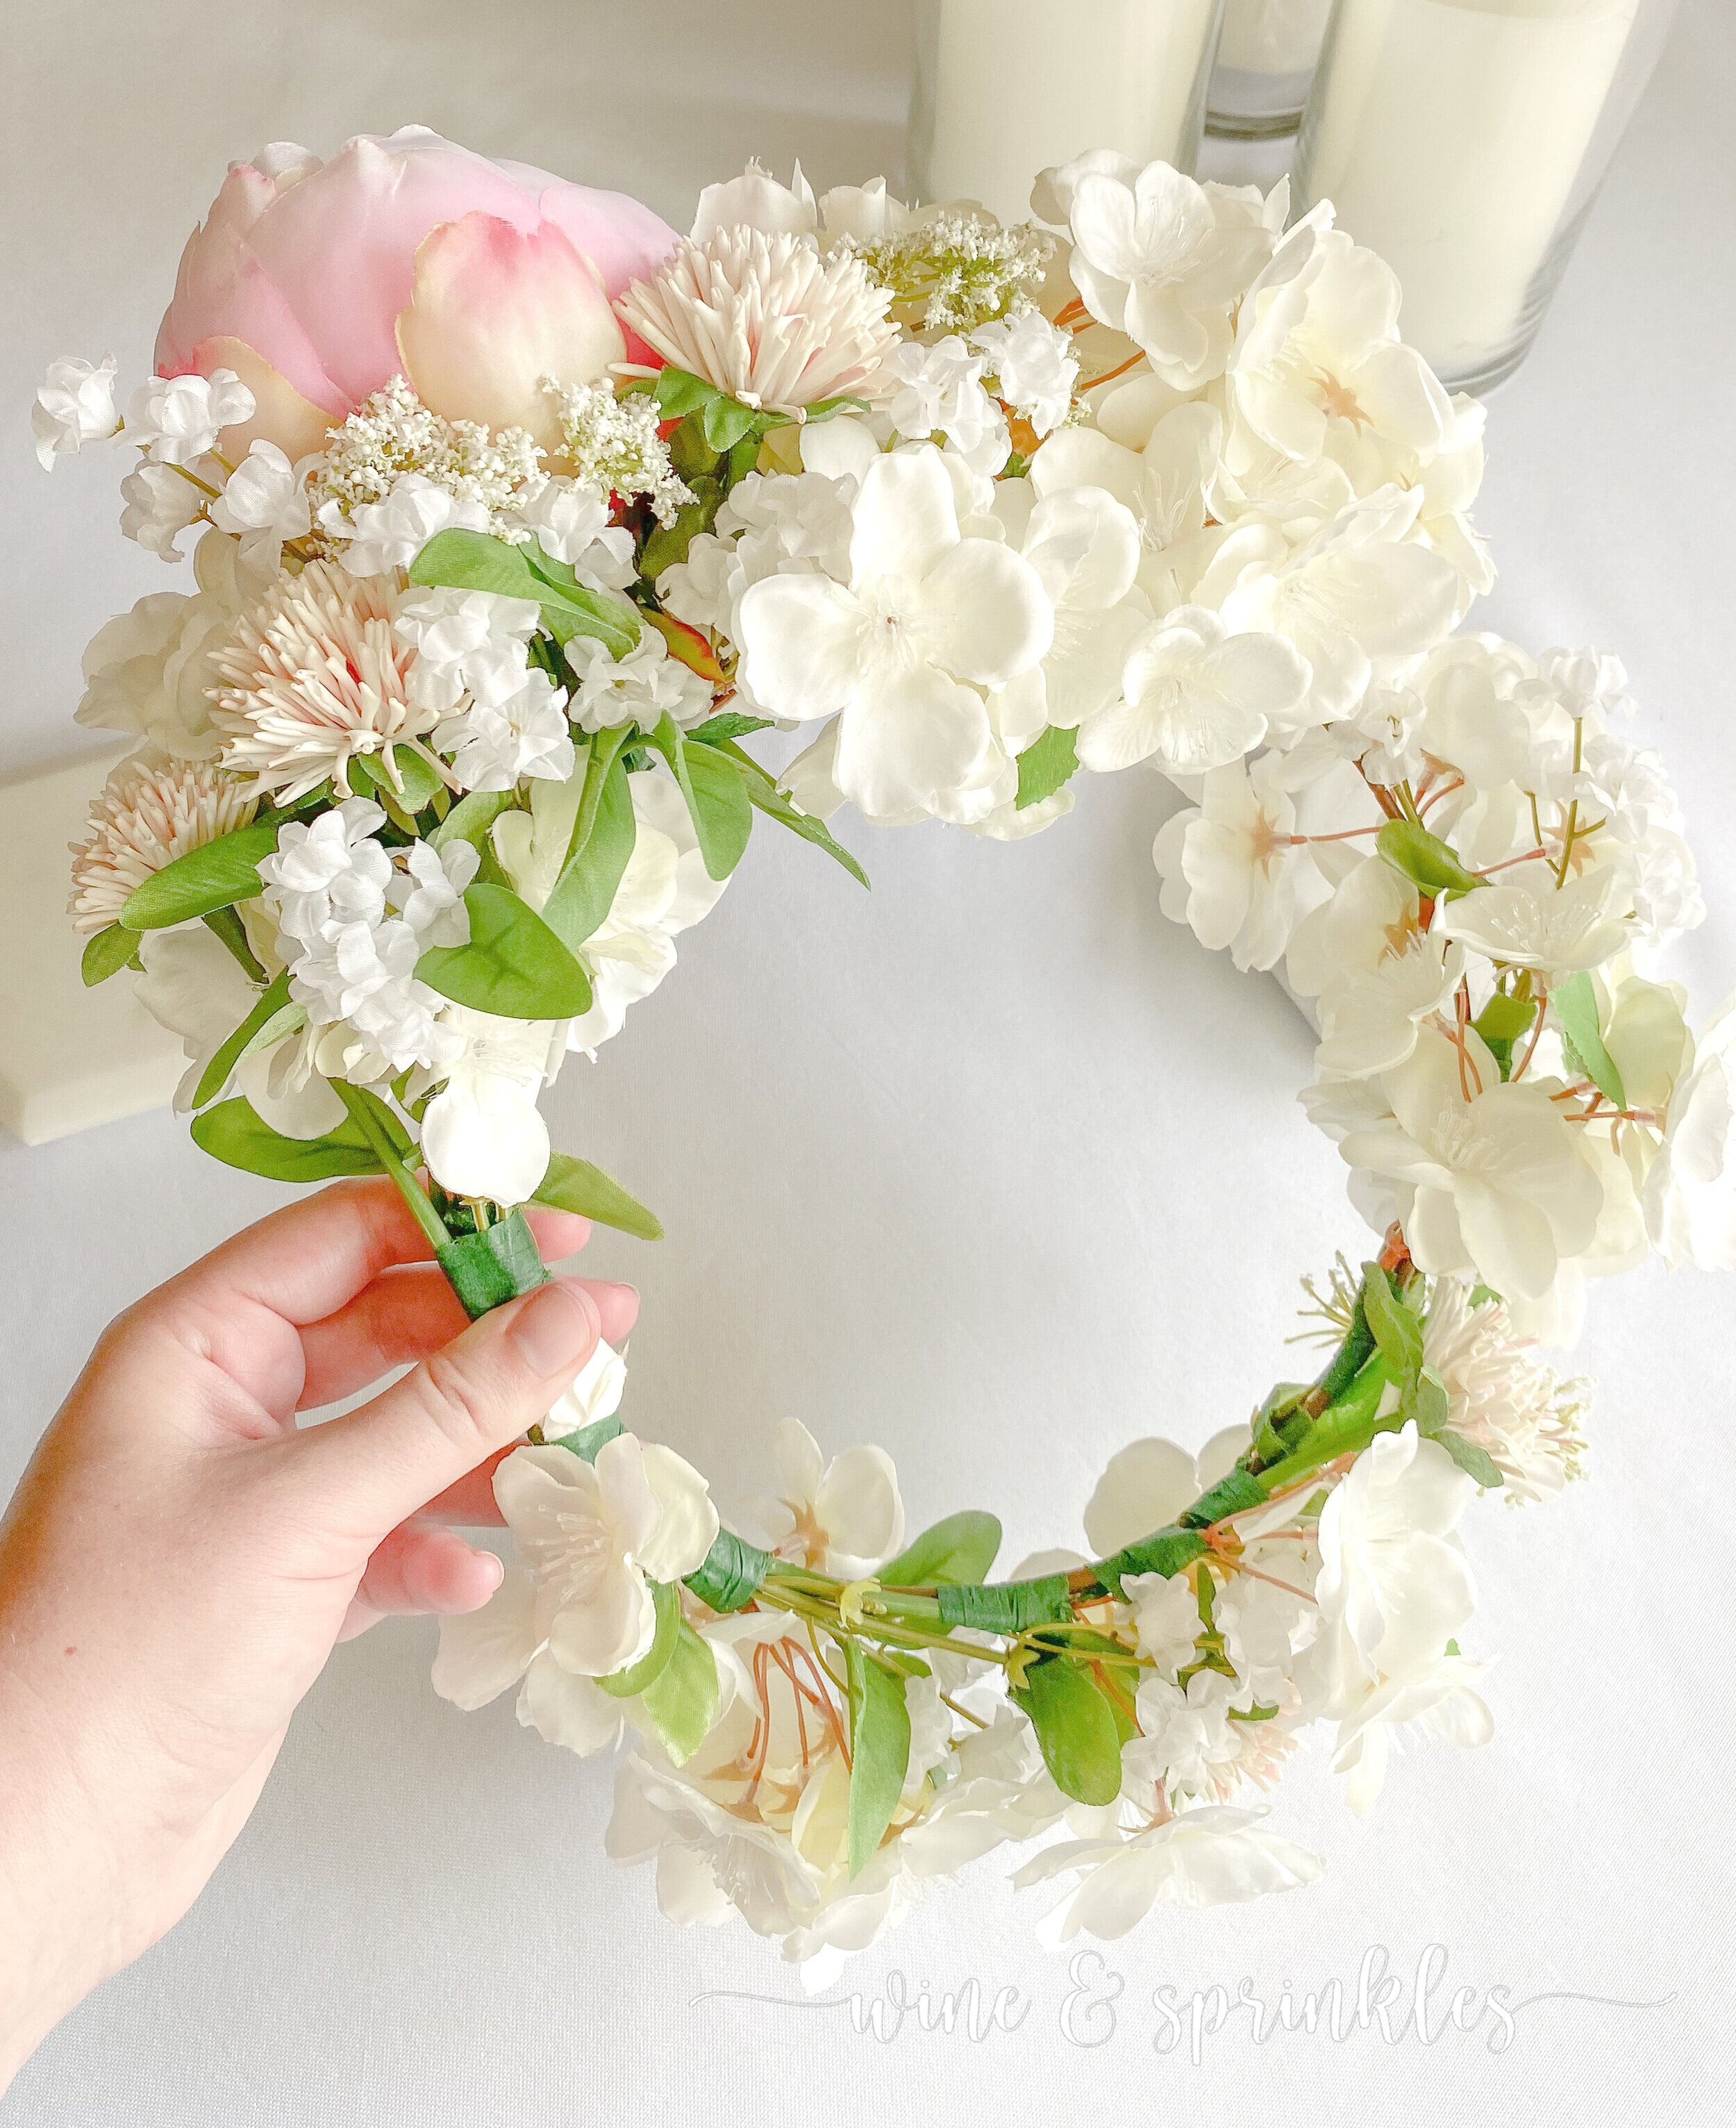
4. Next, it’s time to start adding and securing the supporting and filler flowers in your crown. I started with the largest of my supporting flowers first, some beautiful blushy cream clovers. Arrange two clusters of two blossoms around the peony, working out from your statement flower to fill in empty spaces from the cherry blossoms while securing the stems with floral tape as before.
In addition to these clovers, secure another set of two along the opposite side of the crown to your statement flower, building the flowers up the opposite side from the back of the crown.


5. Next, secure the babies breath sprigs to each side of your crown, clustering their blossoms around the clovers to fill in empty space and create a mini bouquet around the peony bloom. I used two around the centerpiece flower and one stem around the opposite side of the crown , securing them with floral tape like the flowers before while tucking and tangling them in between the cherry blossom blooms to secure them and make the crown fuller.
6. Finally, the last flowers I added were the smallest of the bunch, my individually snipped Queen Anne’s Lace flowers. Start by taping the small flower heads together in clumps of 3-5, then secure them on flower stems on the crown to finish filling in any areas you want more flowers, working out from your peony and up the opposite side of your crown until its reached your desired floral fullness!


After a little experimenting, sniping and floral taping; my first attempt at a flower crown came out perfectly for my party ensemble and was the beginning to a whole bunch of new flower crown ideas for my friends in the future! I can’t wait to craft new costumes and outfits to wear my own crown with, as well as to document my future floral creations to inspire you to make your own!
SEE OUR RELATED POSTS HERE:


OUR PINS FOR THIS POST: