Bridesmaid Gifts

DIY HTV Getting Ready Bridal Party Koozies

This post contains affiliate links, meaning that if you click on a link I will recieve a small comission. This costs you nothing extra and I only promote products I use and love! You can read our full disclosure here

DIY HTV Romantic Font Getting Ready Bridesmaid Koozies #bridesmaid #bridesmaidproposal #weddingkoozies

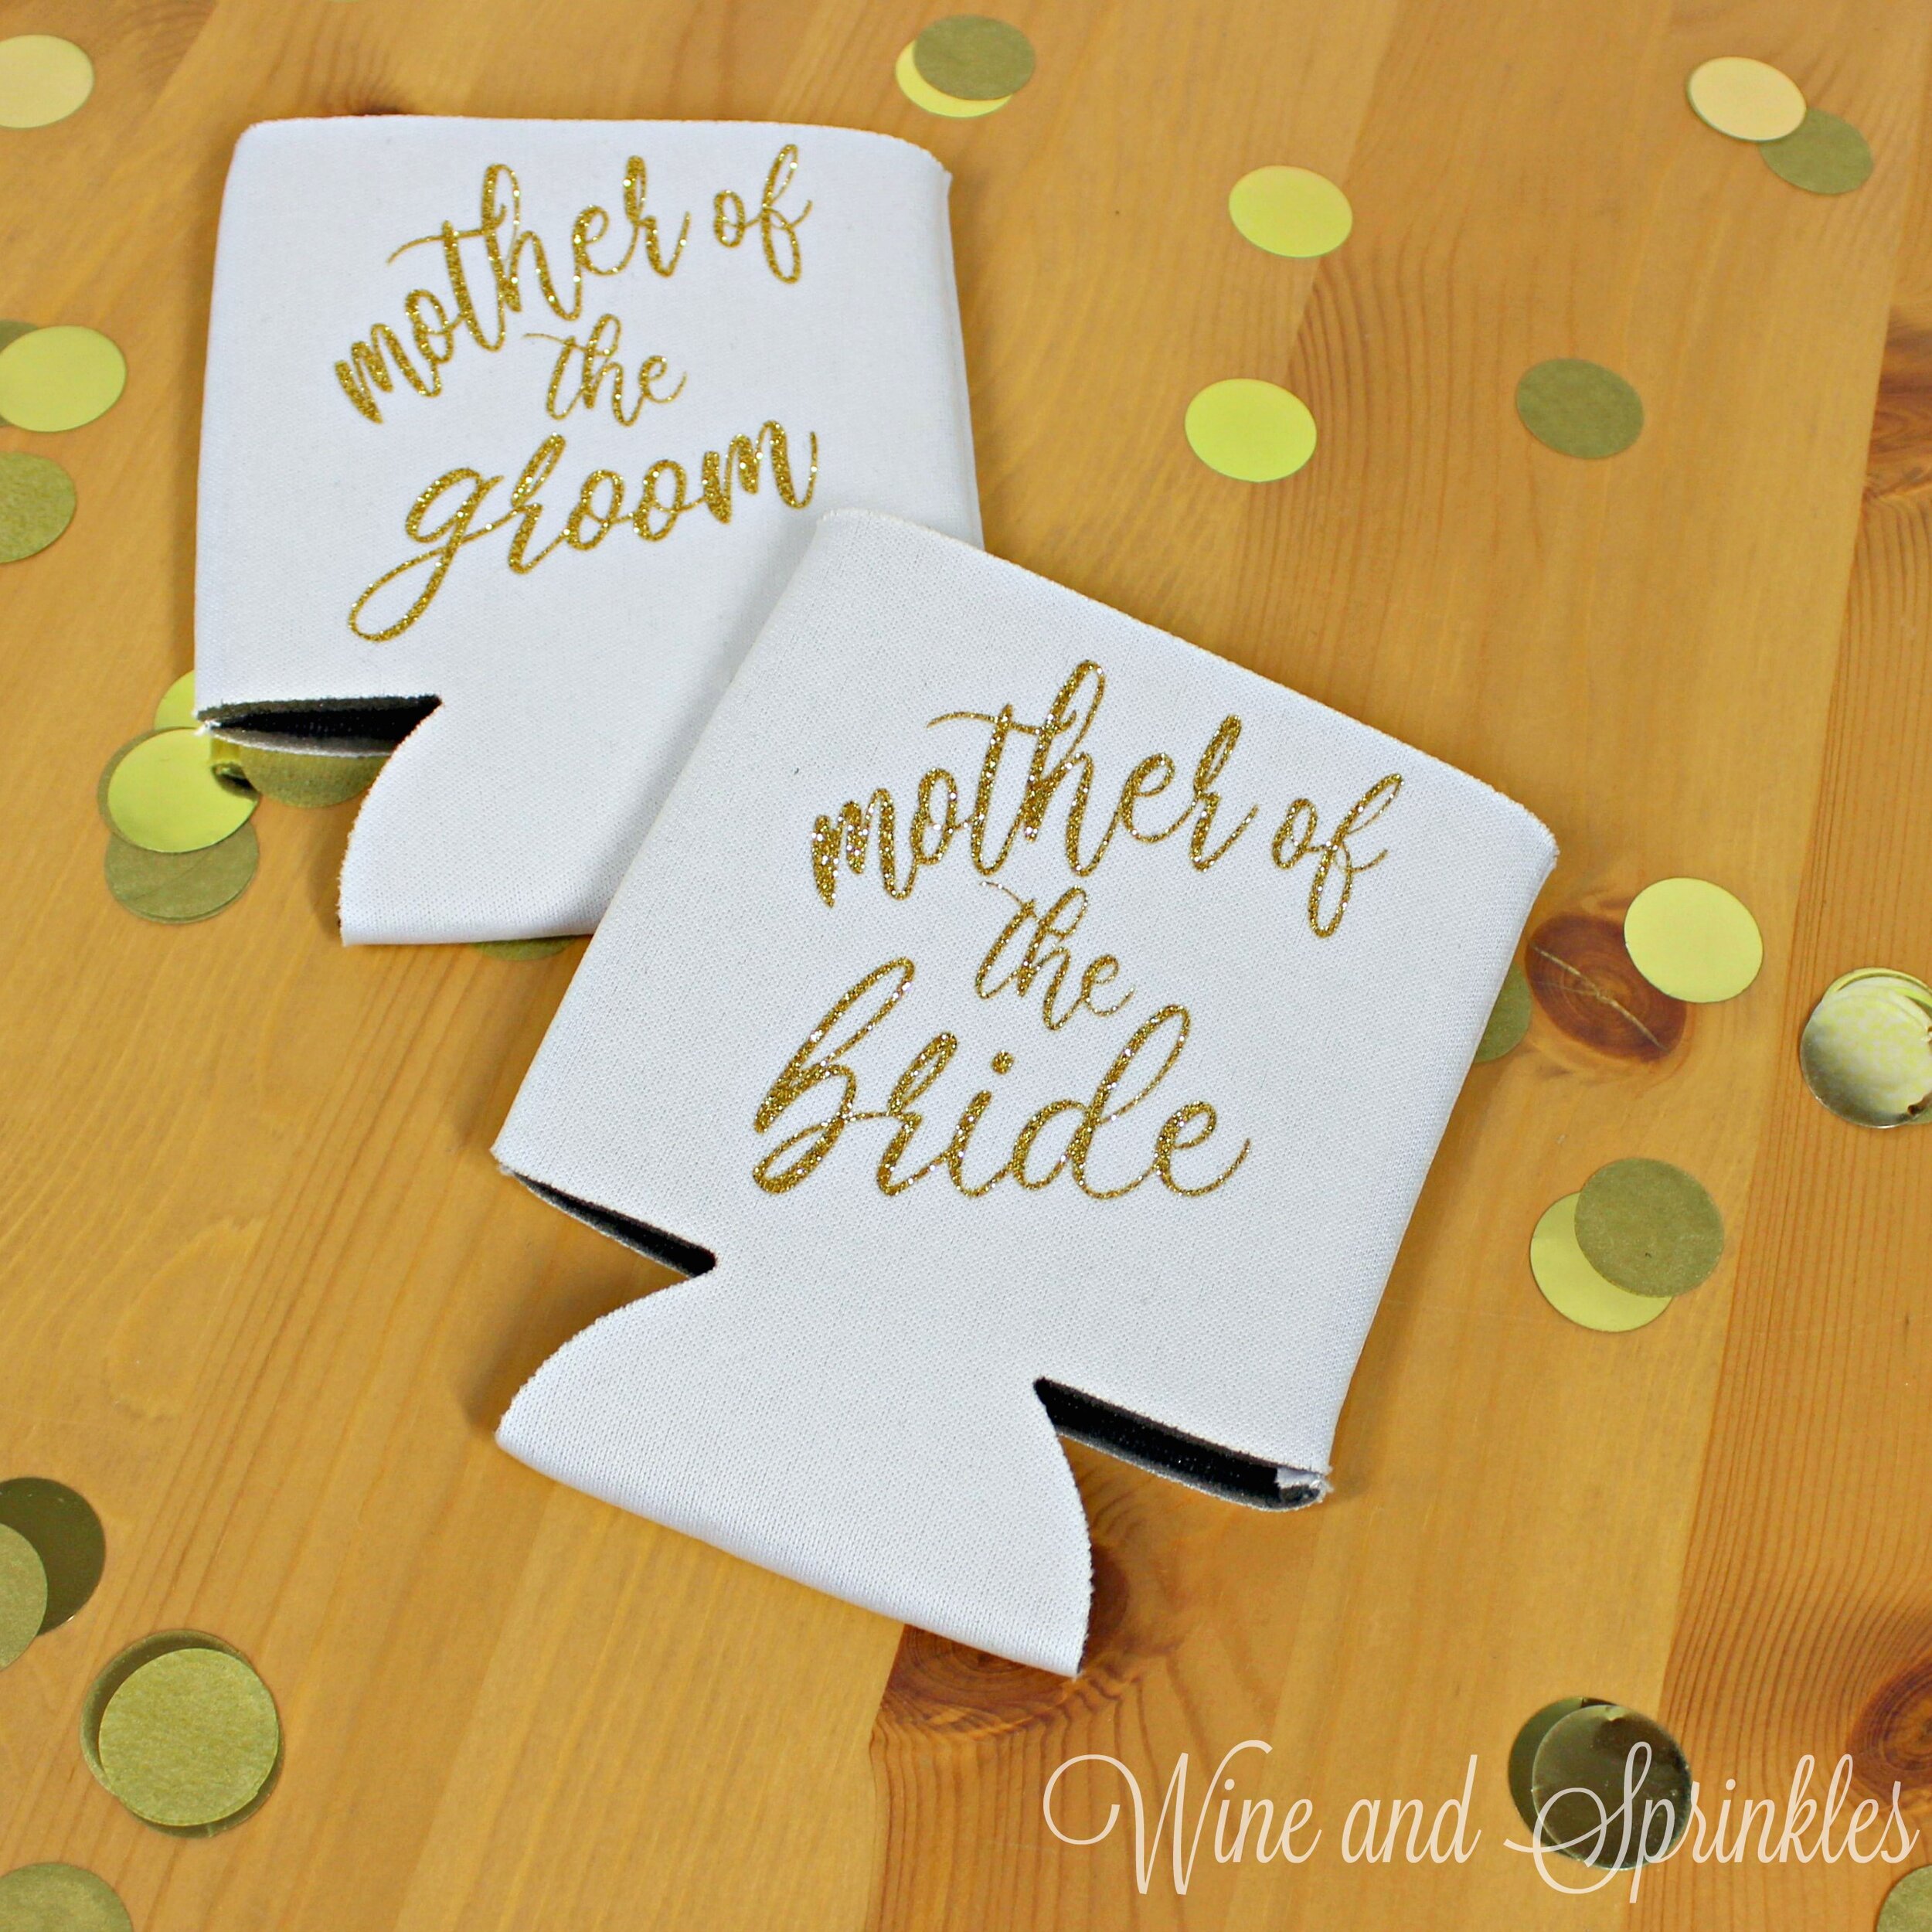
Koozies are always a fun, casual way to make everyone feel like a part of the party and these bridal party koozies are the perfect choice for keeping your getting ready beverages cool!  I made decals for not only the bridesmaids, maid of honor, matron of honor (if you have one), and the bride; but also for the mothers of the bride and groom so that you can make sure all of your ladies feel extra special at your wedding!


DIY HTV Romantic Font Getting Ready Bridesmaid Koozies #bridesmaid #bridesmaidproposal #weddingkoozies

 I made these decals in Gold Glitter HTV on White Koozies and they turned out beautifully, but I also would love them on pink koozies so that only the bride is drinking with white!  I used the font Clarissa while designing these decals, which you can download for free at dafont.com to use for personalizing these koozies or any of your other wedding projects!

DIY HTV Romantic Font Getting Ready Bridesmaid Koozies #bridesmaid #bridesmaidproposal #weddingkoozies


DIY HTV Romantic Font Getting Ready Bridesmaid Koozies #bridesmaid #bridesmaidproposal #weddingkoozies
  1. After downloading the cut files, import them into the Cricut Software. After creating a new project, select Upload Image. Select the file you wish to upload and it will automatically take you to the final upload screen, where you can name the file the select Save. The SVG Files are sized so that they will automatically cut to the size you see in the photos, but if you want to change the size you can do so to fit the koozies the way you like.

  2. After selecting “Make It” Make sure to select the Mirror Mode on the cutting screen. Cut the design(s) in your choice of heat transfer vinyl with the Iron On (for Easyweed Vinyl) or Iron On+ (for Glitter Vinyl) Setting on your Cricut, with the shiny side of the material down.

DIY HTV Romantic Font Getting Ready Bridesmaid Koozies #bridesmaid #bridesmaidproposal #weddingkoozies

3. Weed the additional material off of the backing material so that, looking down with the shiny side up, you can see your design with the correct orientation.

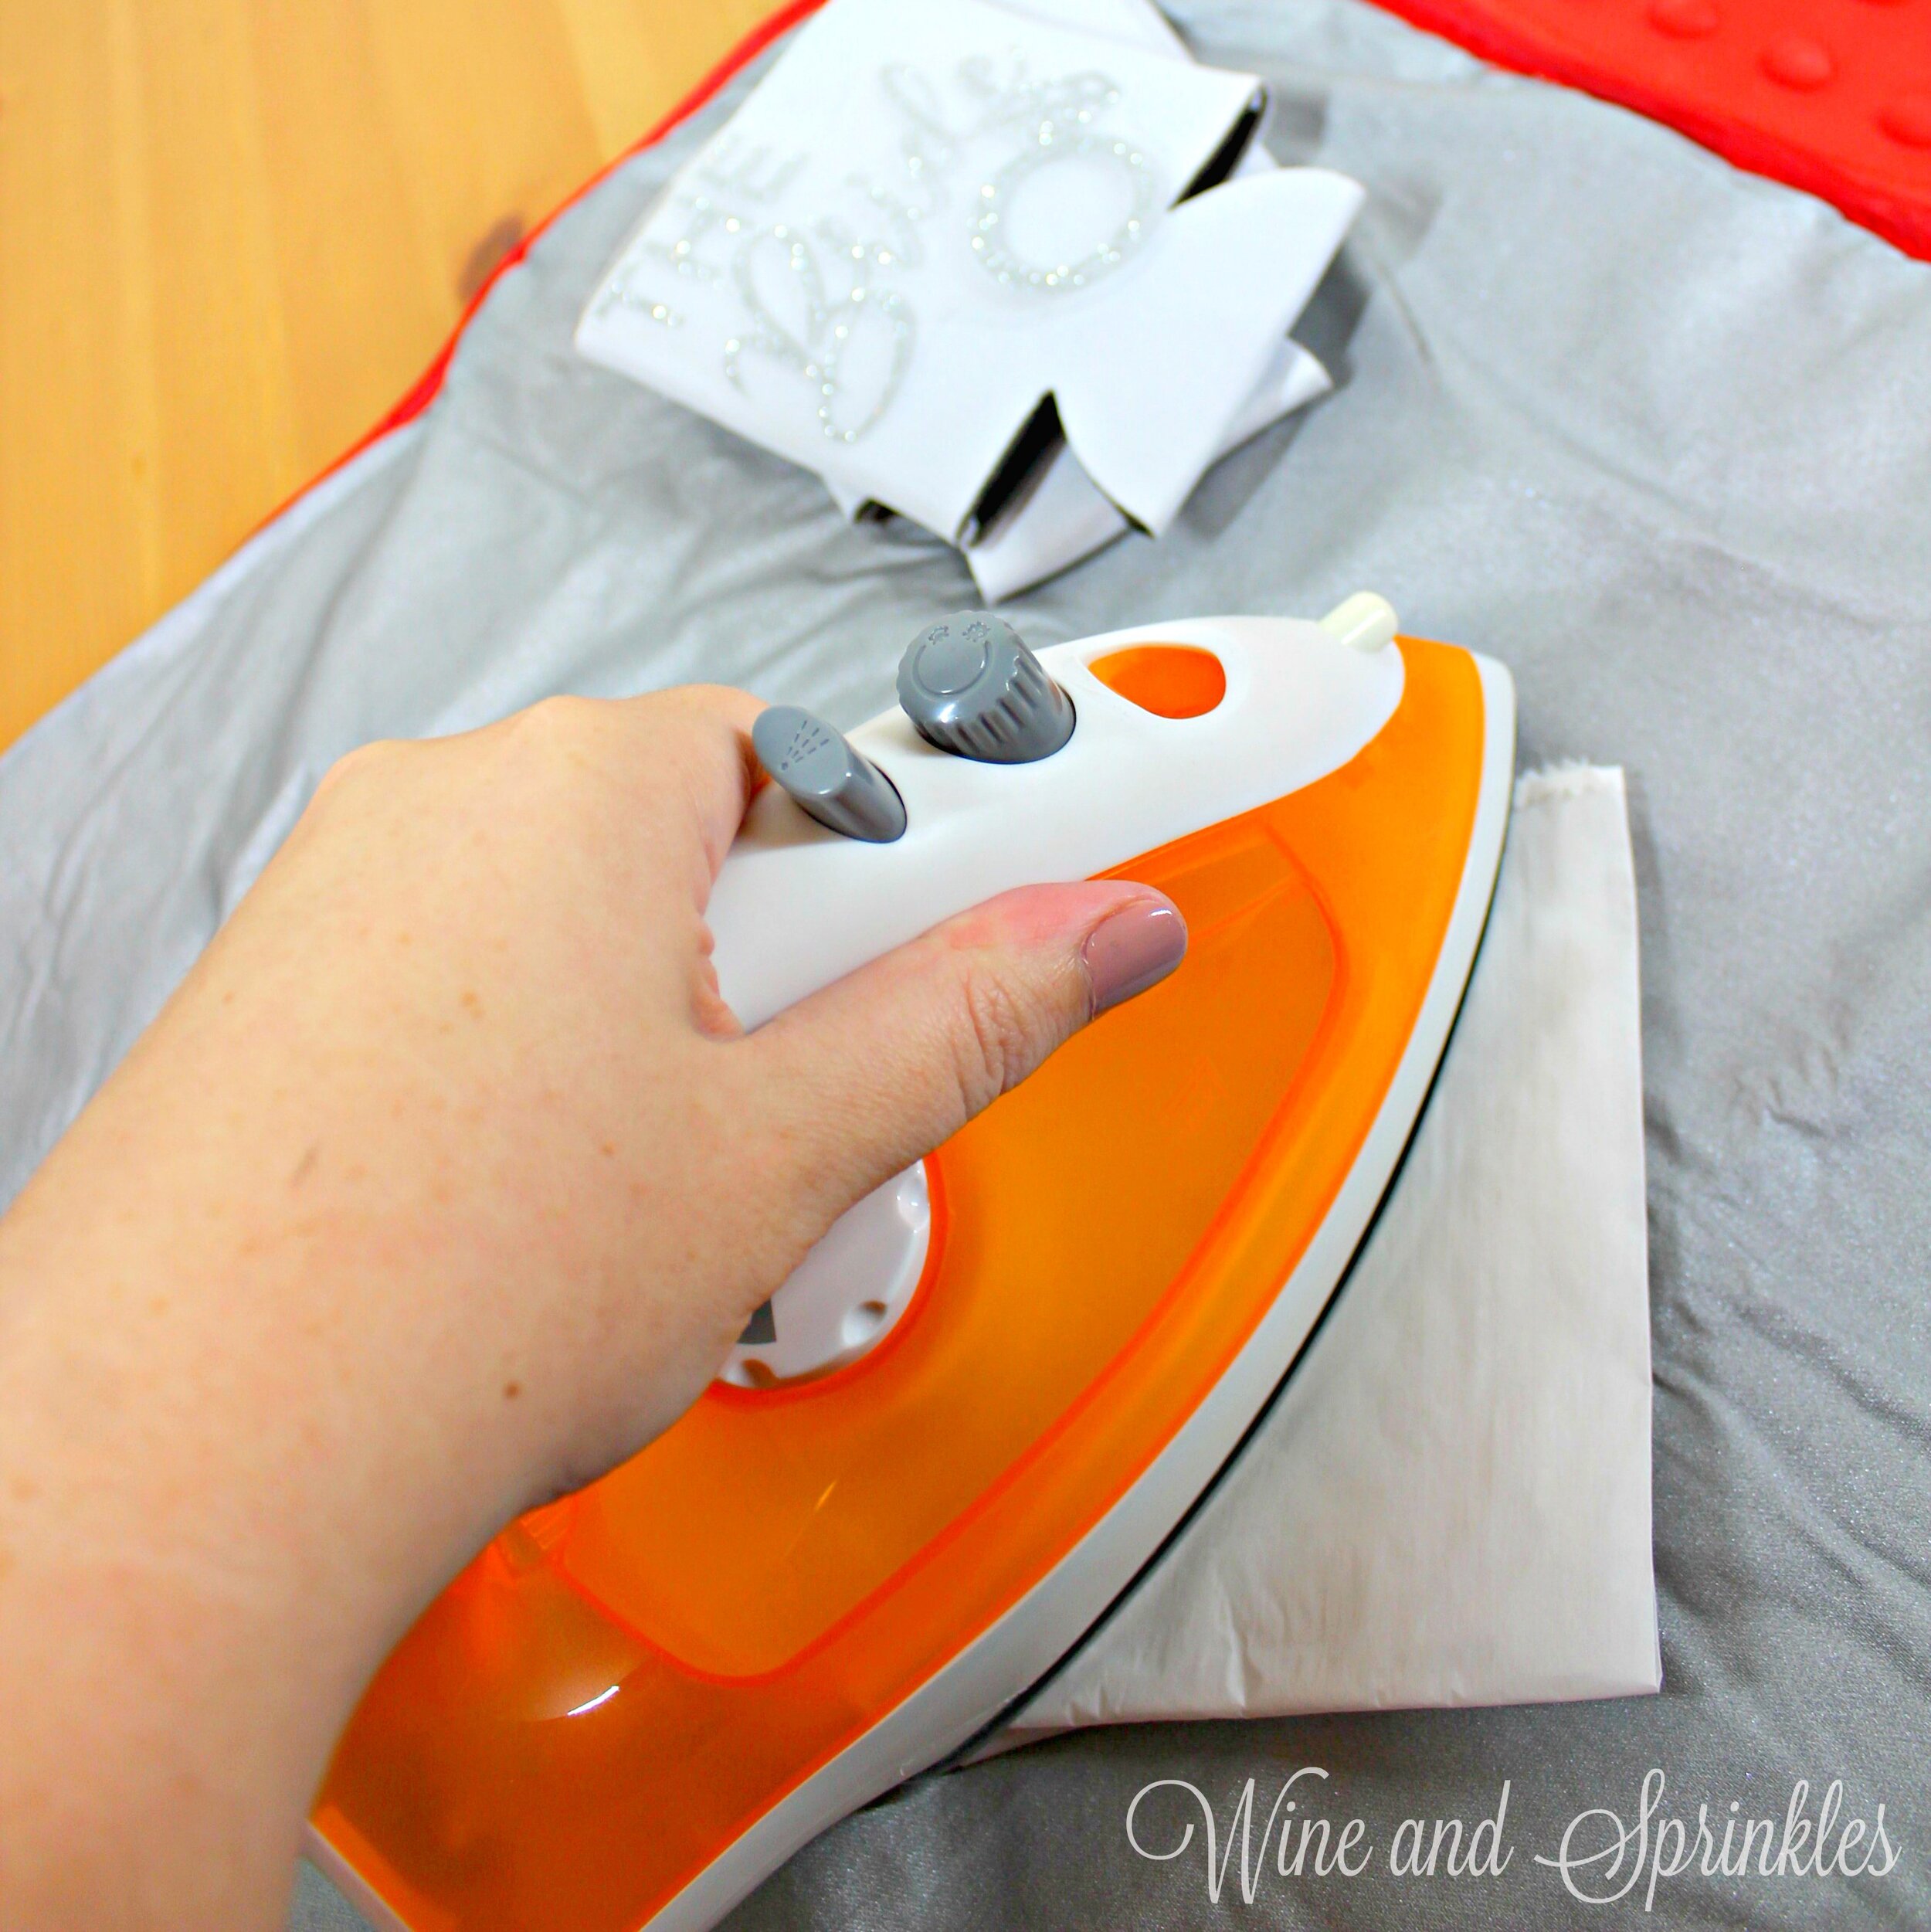
4. Center the design in the middle of the koozie. Arrange the design shiny side up, then cover with parchment paper. Make sure to keep the parchment paper between the design and the iron.

DIY HTV Romantic Font Getting Ready Bridesmaid Koozies #bridesmaid #bridesmaidproposal #weddingkoozies

5. Set your Iron to the second Highest setting and press the iron down firmly on the design, not ironing but rather using it as a small heat press. The koozie design should be completely covered by the iron. Pressing the iron on the design for 15 - 30 seconds, mine took only 20 seconds. :) I’m always a little nervous about ironing koozies, so I check them every 5 seconds or so until the design has transferred. :)

6. Remove the backing from the design, leaving the design on the koozie. Repeat with all the remaining koozies.

DIY HTV Romantic Font Getting Ready Bridesmaid Koozies #bridesmaid #bridesmaidproposal #weddingkoozies

Check out more of our Koozie Projects Here! :)

DIY HTV Romantic Font Getting Ready Bridesmaid Koozies #bridesmaid #bridesmaidproposal #weddingkoozies

DIY HTV I Do Crew Koozies

This post contains affiliate links, meaning that if you click on a link I will recieve a small comission. This costs you nothing extra and I only promote products I use and love! You can read our full disclosure here

DIY HTV I Do Crew Bridesmaid Koozies #bridesmaid #bridesmaidproposal #weddingkoozie

We don’t want to leave our ladies out of the koozie fun, so I had to make a set with my favorite bridal party saying of the year! These I Do Crew Koozies are an adorable choice for your maids and even better for including lots of ladies in your wedding group if you want a small group of Bridesmaids! 

I made the I Do Crew Decals in Lilac Easyweed HTV and the Bride Decal in Silver Glitter HTV on White Neoprene Koozies and they turned out so cute! Check out our other Koozie Projects Here for other cute koozies you can make for Bridal Party Proposals, Bachelorette Parties, or even as Wedding Favors!

DIY HTV I Do Crew Bridesmaid Koozies #bridesmaid #bridesmaidproposal #weddingkoozie


DIY HTV I Do Crew Bridesmaid Koozies #bridesmaid #bridesmaidproposal #weddingkoozie
  1. After downloading the cut files, import them into the Cricut Software. After creating a new project, select Upload Image. Select the file you wish to upload and it will automatically take you to the final upload screen, where you can name the file the select Save. The SVG Files are sized so that they will automatically cut to the size you see in the photos, but if you want to change the size you can do so to fit the koozies the way you like.

  2. After selecting “Make It” Make sure to select the Mirror Mode on the cutting screen. Cut the design(s) in your choice of heat transfer vinyl with the Iron On (for Easyweed Vinyl) or Iron On+ (for Glitter Vinyl) Setting on your Cricut, with the shiny side of the material down.

DIY HTV I Do Crew Bridesmaid Koozies #bridesmaid #bridesmaidproposal #weddingkoozie

3. Weed the additional material off of the backing material so that, looking down with the shiny side up, you can see your design with the correct orientation.

4. Center the design in the middle of the koozie. Arrange the design shiny side up, then cover with parchment paper. Make sure to keep the parchment paper between the design and the iron.

DIY HTV I Do Crew Bridesmaid Koozies #bridesmaid #bridesmaidproposal #weddingkoozie

5. Set your Iron to the second Highest setting and press the the iron down firmly on the design, not ironing but rather using it as a small heat press. The koozie design should be completely covered by the iron. Pressing the iron on the design for 15 - 30 seconds, mine took only 20 seconds. :) I’m always a little nervous ironing koozies, so I check them every 5 second or so until the design has transferred. :)

6. Remove the backing from the design, leaving the design on the koozie. Repeat with all the remaining koozies.

DIY HTV I Do Crew Bridesmaid Koozies #bridesmaid #bridesmaidproposal #weddingkoozie
 
DIY HTV I Do Crew Bridesmaid Koozies #bridesmaid #bridesmaidproposal #weddingkoozie

Romantic Font DIY Bridal Party Flasks

This post contains affiliate links, meaning that if you click on a link I will recieve a small comission. This costs you nothing extra and I only promote products I use and love! You can read our full disclosure here

Romantic Font DIY Bridal Party Flasks for Bachelorette Parties, Weddings, Bridesmaid Proposals, and Bridesmaids Gifts #wineandsprinklesdiy #diywedding #bachelorette

While they are most commonly used for Bachelorette Party Favors, fun flasks like these are great gifts to give to your Bridesmaids as part of a Bridesmaid Proposal or Bridesmaid Gift too!

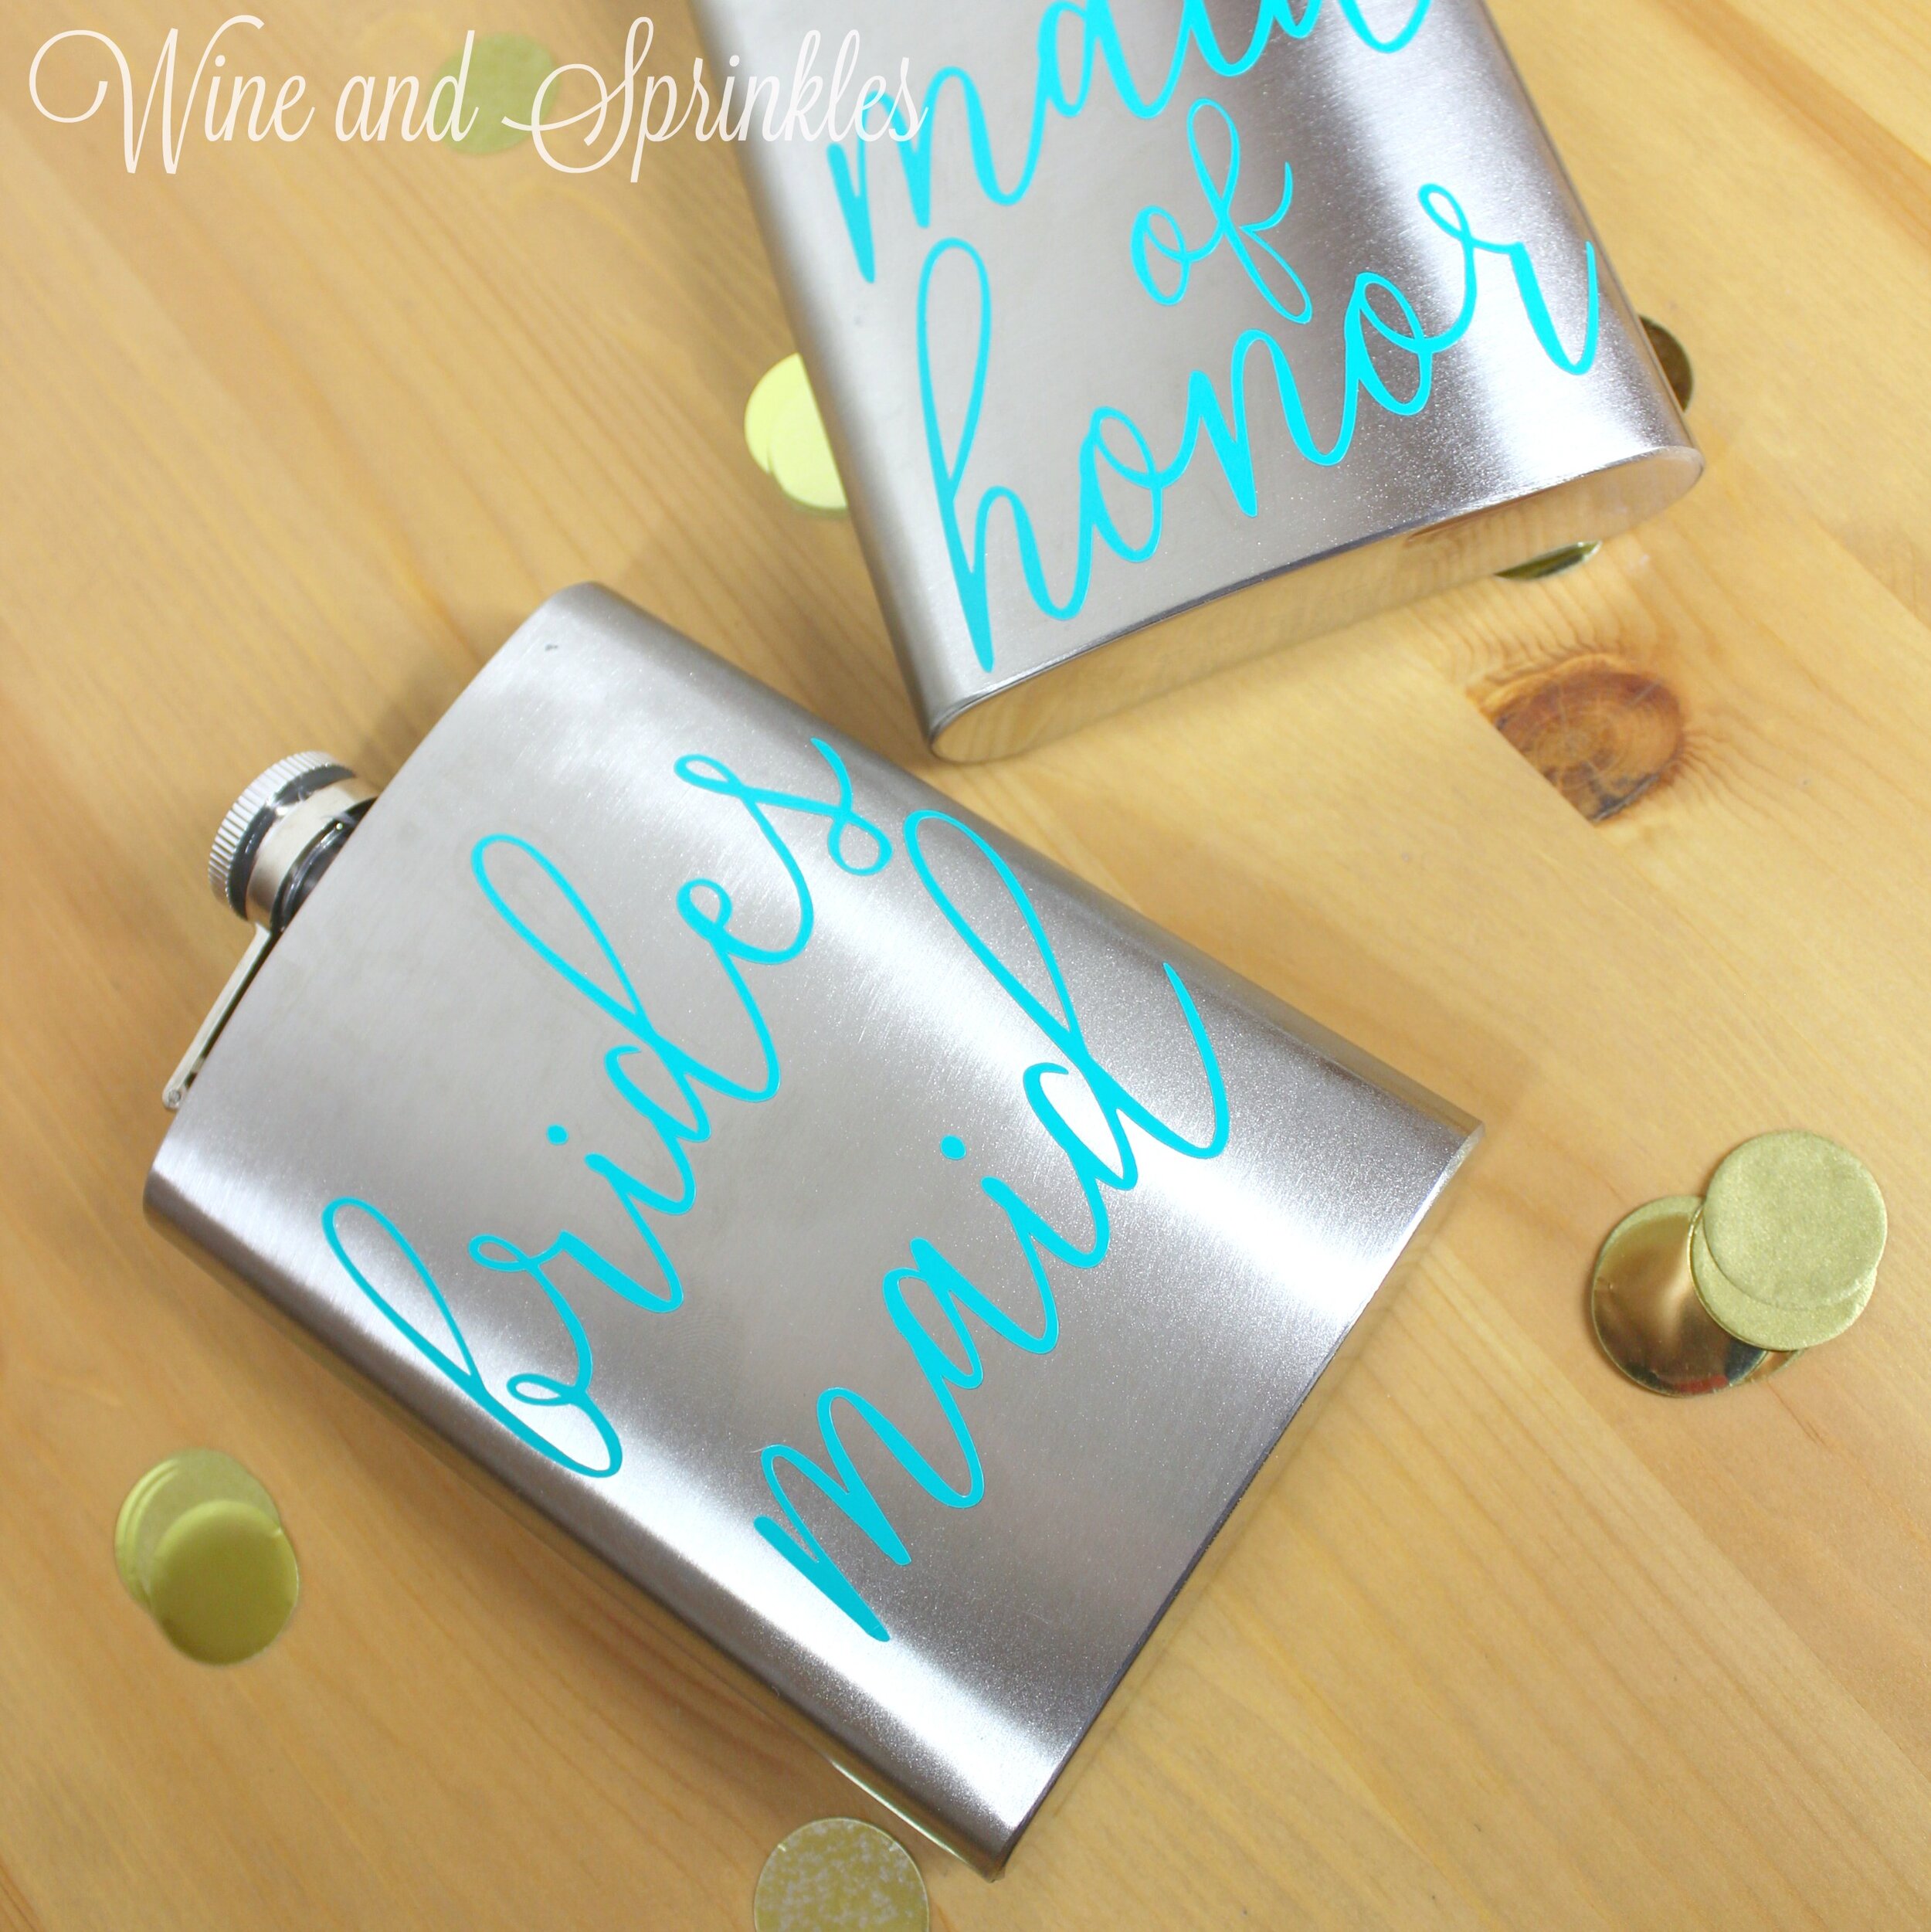
I made my decals in Oracal 651 Turquoise Permanent Adhesive Vinyl, and while its a pretty choice, I feel like darker colored vinyl (or a different colored flask) would make it even better! This is a great project to start with if you haven’t done much vinyl transfer, the slightly curved surface is still easy to transfer to and this girly delicate font is the perfect way to class up a standard flask!


For those of you that may want to create more personalized designs,  I used the font Clarissa for the decals, which you can download for free at dafont.com.

Romantic Font DIY Bridal Party Flasks for Bachelorette Parties, Weddings, Bridesmaid Proposals, and Bridesmaids Gifts #wineandsprinklesdiy #diywedding #bachelorette


  1. After downloading the cut files, import them into the Cricut Software. After creating a new project, select Upload Image. Select the file you wish to upload and it will automatically take you to the final upload screen, where you can name the file, then select Save.

  2. Cut the design(s) in your choice of permanent adhesive vinyl with the Vinyl Setting on your Cricut. The SVG Files are sized so that they will automatically cut to the size you see in the photos.

Romantic Font DIY Bridal Party Flasks for Bachelorette Parties, Weddings, Bridesmaid Proposals, and Bridesmaids Gifts #wineandsprinklesdiy #diywedding #bachelorette

3. Once the designs are cut, weed away the extra vinyl and cut a piece of transfer tape to 3.5" x 5". Cut away any excess backing from the vinyl design and smooth transfer tape over the design, aligning the decals as shown in the photos. The flasks are 3.5" x 4.5" so arrange the decals based on where you want it on the flask.  Using the smoother tool, smooth the tape over the vinyl, removing any air bubbles.

Romantic Font DIY Bridal Party Flasks for Bachelorette Parties, Weddings, Bridesmaid Proposals, and Bridesmaids Gifts #wineandsprinklesdiy #diywedding #bachelorette

4. Now, transfer the design to your flask. Remove the transfer tape from the vinyl backing, transferring the vinyl design to the transfer tape.

5. Align the design on the flask along the top edge of the flask . Smooth the design onto the flask, once again using the smoother to remove any air bubbles.

Romantic Font DIY Bridal Party Flasks for Bachelorette Parties, Weddings, Bridesmaid Proposals, and Bridesmaids Gifts #wineandsprinklesdiy #diywedding #bachelorette

6. Remove the transfer tape to leave the design on the flask, then repeat the process for all the additional flasks.

Romantic Font DIY Bridal Party Flasks for Bachelorette Parties, Weddings, Bridesmaid Proposals, and Bridesmaids Gifts #wineandsprinklesdiy #diywedding #bachelorette

Bride and Squad DIY Toasting Flutes

This post contains affiliate links, meaning that if you click on a link I will recieve a small comission. This costs you nothing extra and I only promote products I use and love! You can read our full disclosure here

DIY Bride and Squad Champagne Flutes for Bachelorette Parties, Bridesmaid Gifts, and Getting Ready on your Wedding Day #wineandsprinklesdiy #bridesquad #diywedding

To join our Bride and Tribe Flutes in the Bridesmaid Proposal Glassware Projects, their cousin the Bride and Squad Flutes! Champagne Flutes are a great choice for Bachelorette Parties, as well as for Bridesmaid Proposals or holding getting ready drinks the morning of your wedding!

I made my bride flute in Silver Glitter Permanent Adhesive Vinyl, and the squad flutes in Oracal 651 Purple Permanent Adhesive Vinyl, and the colors turned out perfect! But you could easily make dozens of different combinations to perfectly match your wedding or bachelorette colors. This is also a great project to start with if you haven’t done much vinyl transfer on curved surfaces before, the decal is easy to weed and the stemless flutes are much easier to align and transfer to than wine glasses.

DIY Bride and Squad Champagne Flutes for Bachelorette Parties, Bridesmaid Gifts, and Getting Ready on your Wedding Day #wineandsprinklesdiy #bridesquad #diywedding

For those of you that may want to create more personalized designs,  I used the font Passengers Script for the Bride and Squad Decals, which you can download for free at dafont.com.


DIY Bride and Squad Champagne Flutes for Bachelorette Parties, Bridesmaid Gifts, and Getting Ready on your Wedding Day #wineandsprinklesdiy #bridesquad #diywedding
  1. After downloading the cut files, import them into the Cricut Software. After creating a new project, select Upload Image. Select the file you wish to upload and it will automatically take you to the final upload screen, where you can name the file, then select Save.

  2. Cut the design(s) in your choice of permanent adhesive vinyl with the Vinyl Setting on your Cricut. The SVG Files are sized so that they will automatically cut to the size you see in the photos, but if you want to change the size to whatever you like. 

DIY Bride and Squad Champagne Flutes for Bachelorette Parties, Bridesmaid Gifts, and Getting Ready on your Wedding Day #wineandsprinklesdiy #bridesquad #diywedding

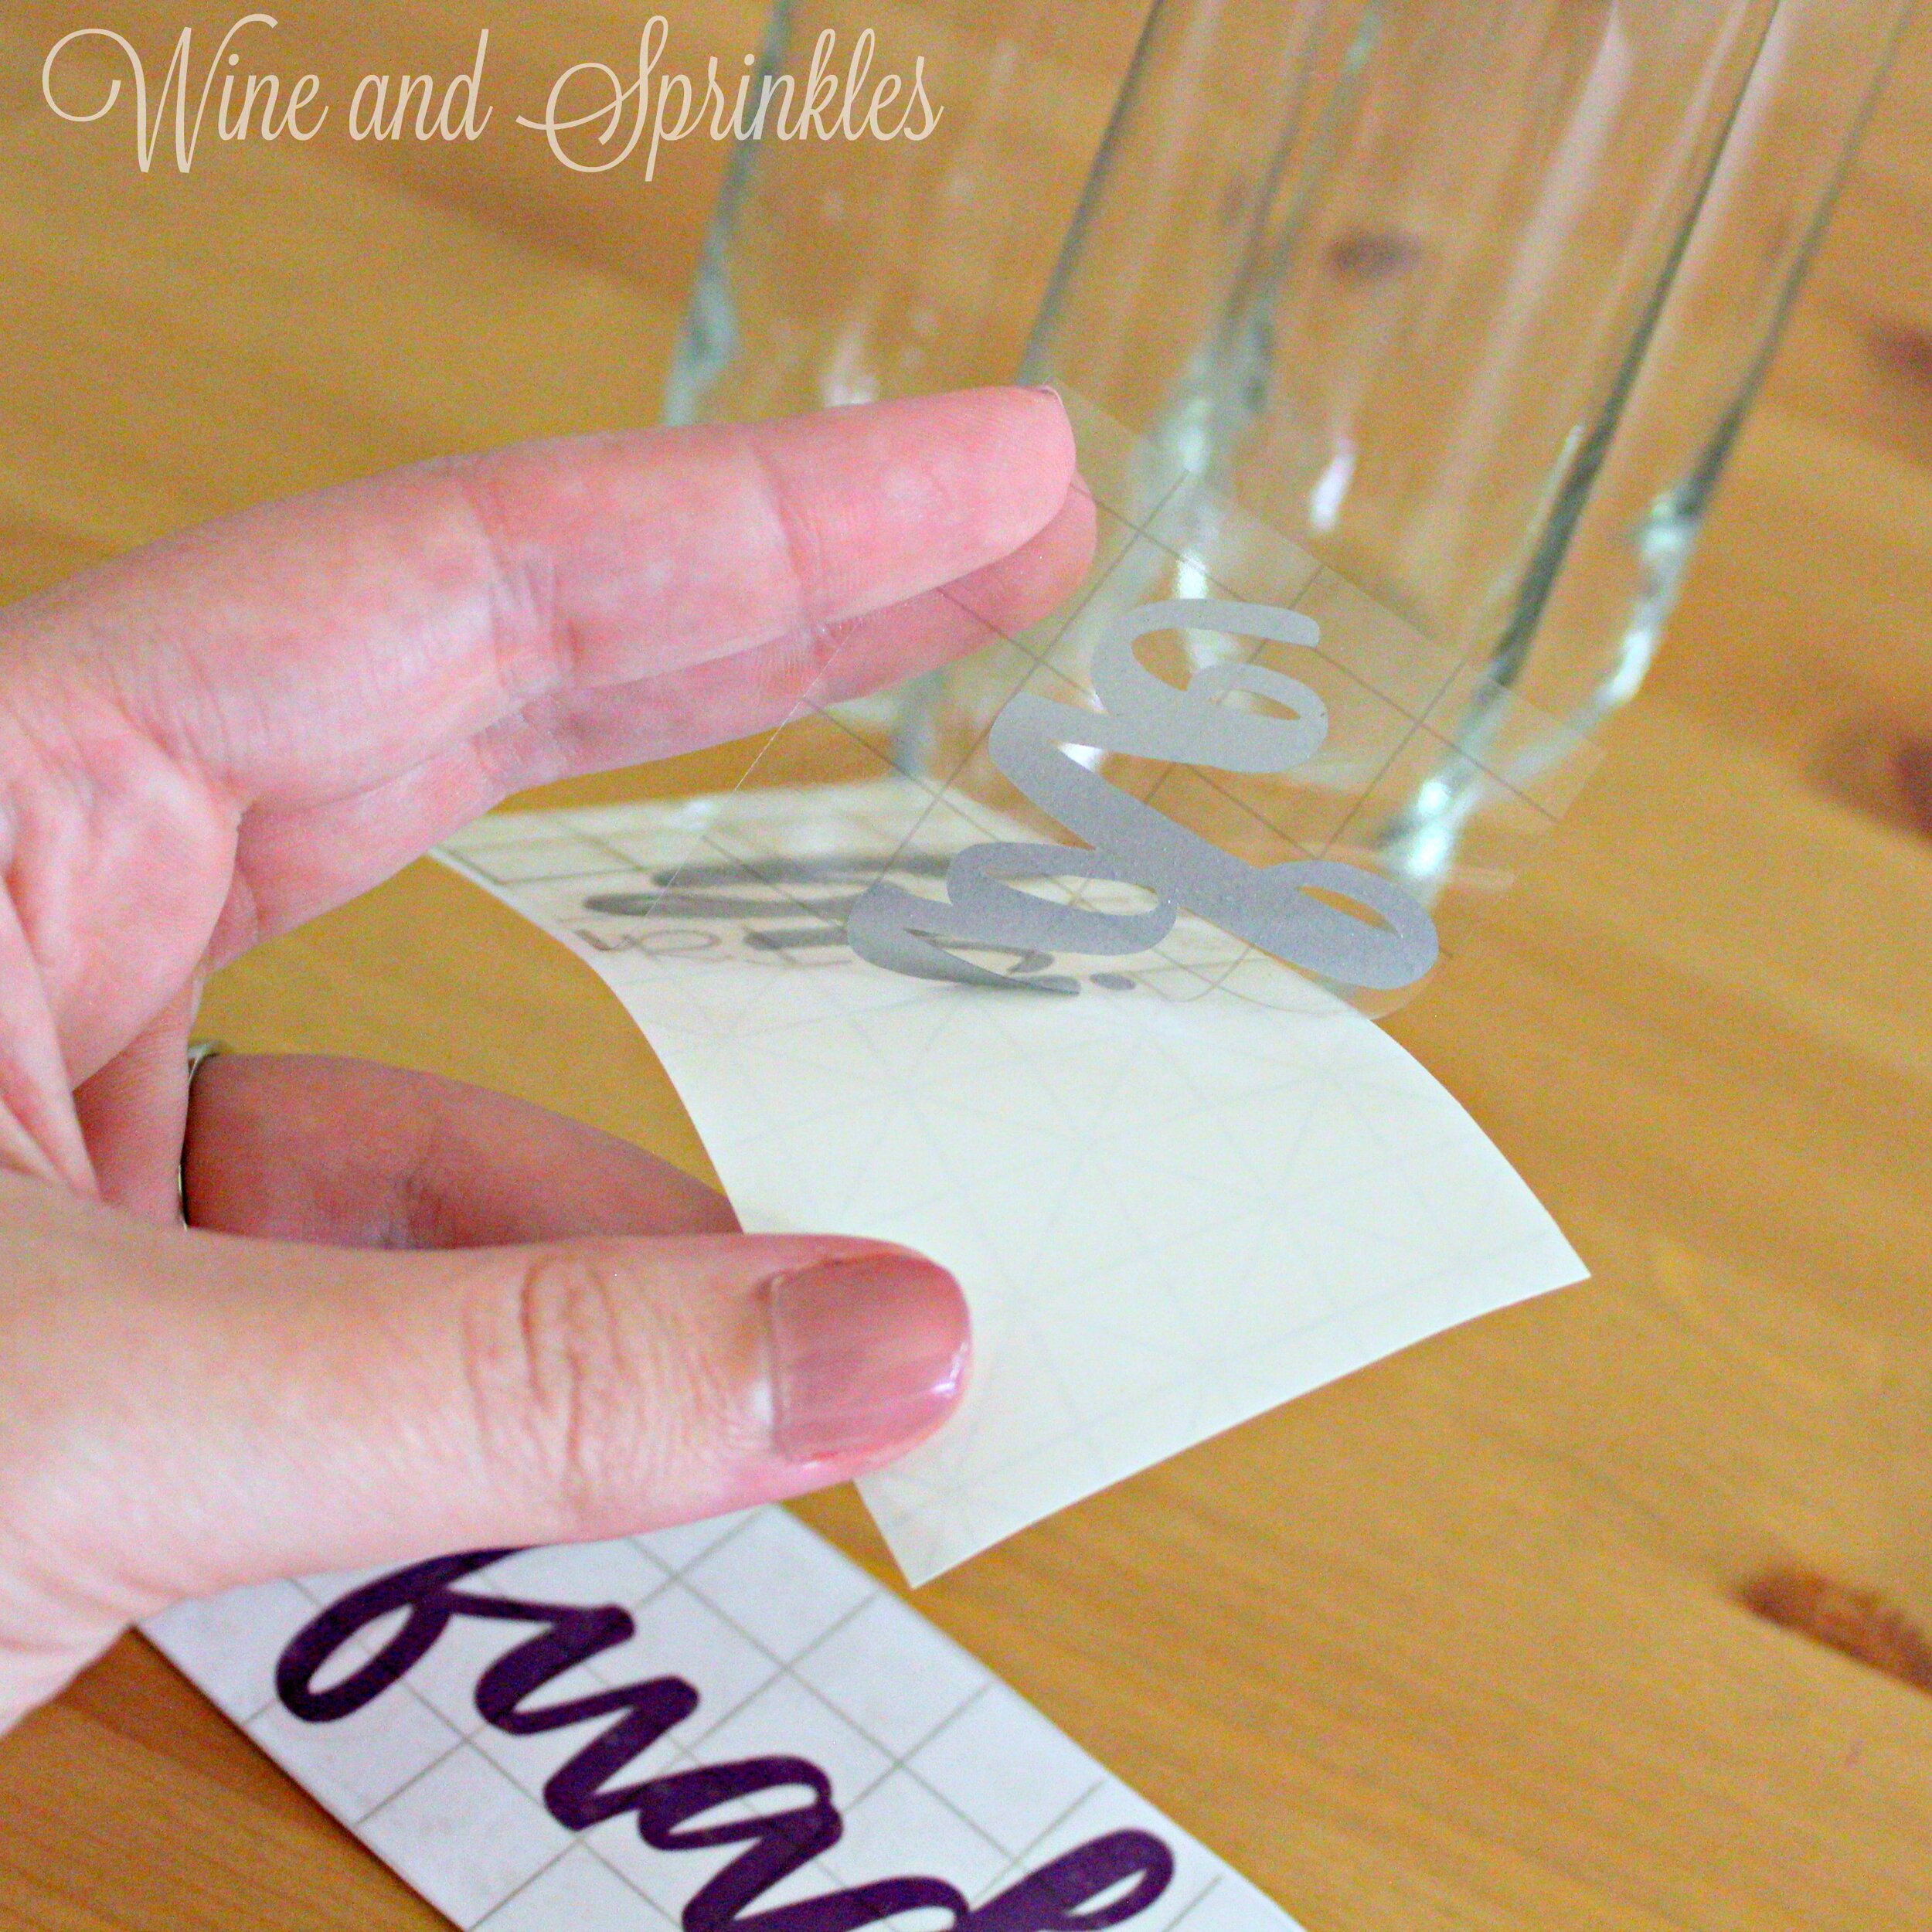
3. Once the designs are cut, weed away the extra vinyl and cut a piece of transfer tape to 2" x 5". Cut away any excess backing from the vinyl design and smooth transfer tape over the design. Align the “squad” decals with one of the 0.5” blocks of the transfer tape to the left of the decal and one block along the bottom of the letters “uad.” Align the “bride” decal with two blocks to the left of the decal,  and one block along the bottom of the “id.” This will make it easier to place it properly on the glasses later.

4. After smoothing the transfer tape of the designs with the smoother tool, remove the transfer tape from the backing, lifting the design with the transfer tape.

DIY Bride and Squad Champagne Flutes for Bachelorette Parties, Bridesmaid Gifts, and Getting Ready on your Wedding Day #wineandsprinklesdiy #bridesquad #diywedding

5. Using the transfer tape as a spacer, smooth the design onto the flutes, aligning the short side of the transfer tape along the top edge of the glasses. I adhered mine as shown below, with the tape parallel to the top of the glass just under the rim.

DIY Bride and Squad Champagne Flutes for Bachelorette Parties, Bridesmaid Gifts, and Getting Ready on your Wedding Day #wineandsprinklesdiy #bridesquad #diywedding

6. Once the transfer tape is aligned along the top, smooth it onto the glass from top to bottom. I smoothed mine by tracing the letters from top to bottom until the entire design was smoothed onto the flute.

7. Once the design has been smoothed and all air bubbles are removed, remove the transfer tape to leave the design on the flute. Repeat the process for all the remaining flutes.

DIY Bride and Squad Champagne Flutes for Bachelorette Parties, Bridesmaid Gifts, and Getting Ready on your Wedding Day #wineandsprinklesdiy #bridesquad #diywedding

Bride Squad DIY Skinny Tumblers

This post contains affiliate links, meaning that if you click on a link I will recieve a small comission. This costs you nothing extra and I only promote products I use and love! You can read our full disclosure here

Bride Squad DIY Bridal Party Skinny Tumblers for Bridesmaid Proposals, Bridesmaid Gifts, or Getting Ready Drinks #wineandsprinklesdiy #diywedding #bridesmaidgifts

For those of you that may want to create more personalized designs,  I used the font Passengers Script for the Bride and Bride Squad Decals, which you can download for free at dafont.com.

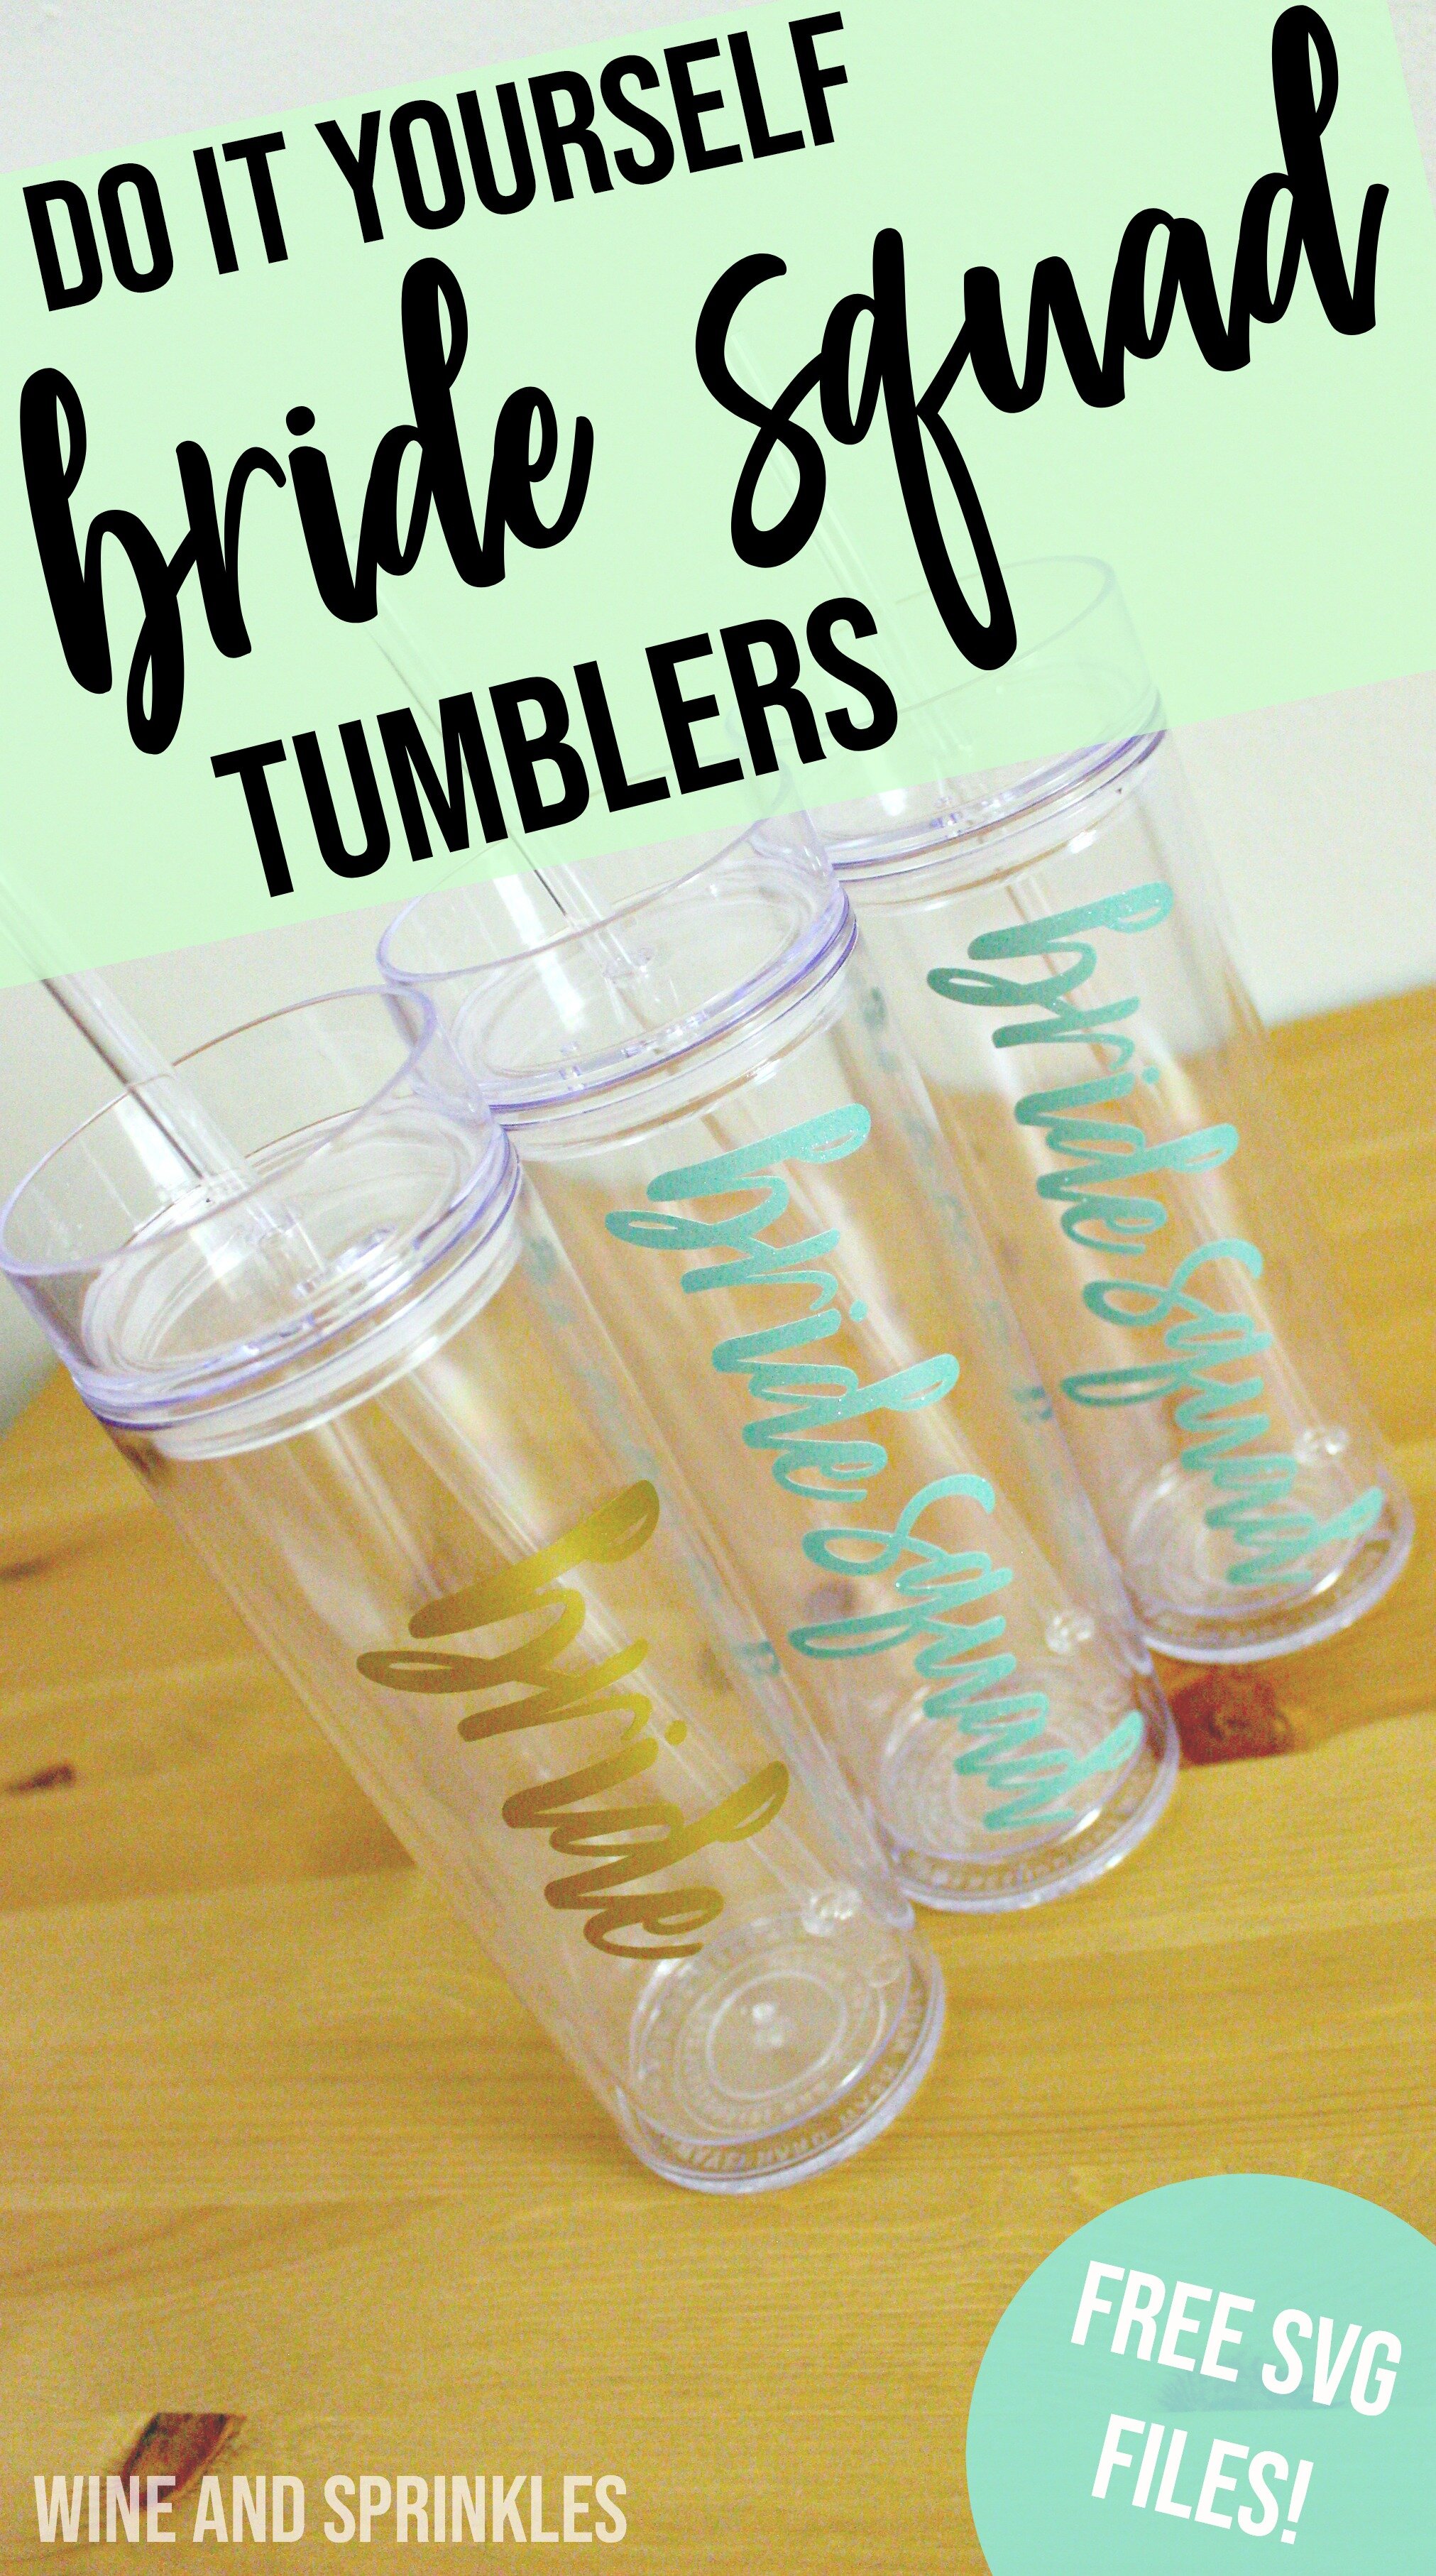
Skinny Tumblers are a great choice for  Bridesmaid Proposals, Bridesmaid Gifts, Bachelorette Party Favors, or getting ready drinks the morning of your wedding. Since they are also a great choice for crafty brides to DIY, we’ve made multiple Tumbler Designs for you to choose from! Up today are some bride squad skinny tumblers, Perfect for including in a bridesmaid box or for sipping bachelorette cocktails at the pool.

These decals are easy to weed and good project for beginners working on curved surfaces. While the tumblers are a curved surface, the cylindrical shape makes the transfer pretty easy. The bride decal was cut is Oracal 651 Gold Permanent Adhesive Vinyl with the bride squad cut in Glitter SeaFoam Green, which may be one of my new favorite color combinations!


Bride Squad DIY Bridal Party Skinny Tumblers for Bridesmaid Proposals, Bridesmaid Gifts, or Getting Ready Drinks #wineandsprinklesdiy #diywedding #bridesmaidgifts


  1. After downloading the cut files, import them into the Cricut Software. After creating a new project, select Upload Image. Select the file you wish to upload and it will automatically take you to the final upload screen, where you can name the file, then select Save.

  2. Cut the design(s) in your choice of permanent adhesive vinyl with the Vinyl Setting on your Cricut. The SVG Files are sized so that they will automatically cut to the size you see in the photos, but if you want to change the size you can.

Bride Squad DIY Bridal Party Skinny Tumblers for Bridesmaid Proposals, Bridesmaid Gifts, or Getting Ready Drinks #wineandsprinklesdiy #diywedding #bridesmaidgifts
 
Bride Squad DIY Bridal Party Skinny Tumblers for Bridesmaid Proposals, Bridesmaid Gifts, or Getting Ready Drinks #wineandsprinklesdiy #diywedding #bridesmaidgifts

3. Once the designs are cut, weed away the extra vinyl and cut a piece of transfer tape to 3" x 7.5". Cut away any excess backing from the vinyl design and smooth transfer tape over the design, aligning it with the text and arranging it such that one set of the 1/2” blocks are along the left of the decal, as shown in the photos. Using the smoother tool, smooth the tape over the vinyl, removing any air bubbles.

Bride Squad DIY Bridal Party Skinny Tumblers for Bridesmaid Proposals, Bridesmaid Gifts, or Getting Ready Drinks #wineandsprinklesdiy #diywedding #bridesmaidgifts

4. Now, transfer the design to your tumbler. Remove the tape and decal from the backing, making sure that the entire decal transfers to the transfer tape.

 
Bride Squad DIY Bridal Party Skinny Tumblers for Bridesmaid Proposals, Bridesmaid Gifts, or Getting Ready Drinks #wineandsprinklesdiy #diywedding #bridesmaidgifts

5. Arrange the design such that the short side of the transfer tape is along to top edge of the lip of the tumbler, as shown in the photos. Starting from the top and working down, trace the letters to smooth them onto the tumbler. Smooth the design to remove any air bubbles,. Remove the transfer tape from the tumbler, leaving the design on the tumbler.

6. Use the smoother tool or your finger to retrace the letters after removing the transfer tape to smooth out any additional air bubbles. Repeat with the remaining tumblers.

Bride Squad DIY Bridal Party Skinny Tumblers for Bridesmaid Proposals, Bridesmaid Gifts, or Getting Ready Drinks #wineandsprinklesdiy #diywedding #bridesmaidgifts

I Do Crew DIY Bridal Party Wine Glasses

This post contains affiliate links, meaning that if you click on a link I will recieve a small comission. This costs you nothing extra and I only promote products I use and love! You can read our full disclosure here

I Do Crew DIY Bridal Party Wine Glasses for Bridesmaid Proposals, Bridesmaid Gifts, or Bachelorette Party Favors #wineandsprinklesdiy #diywedding #idocrew

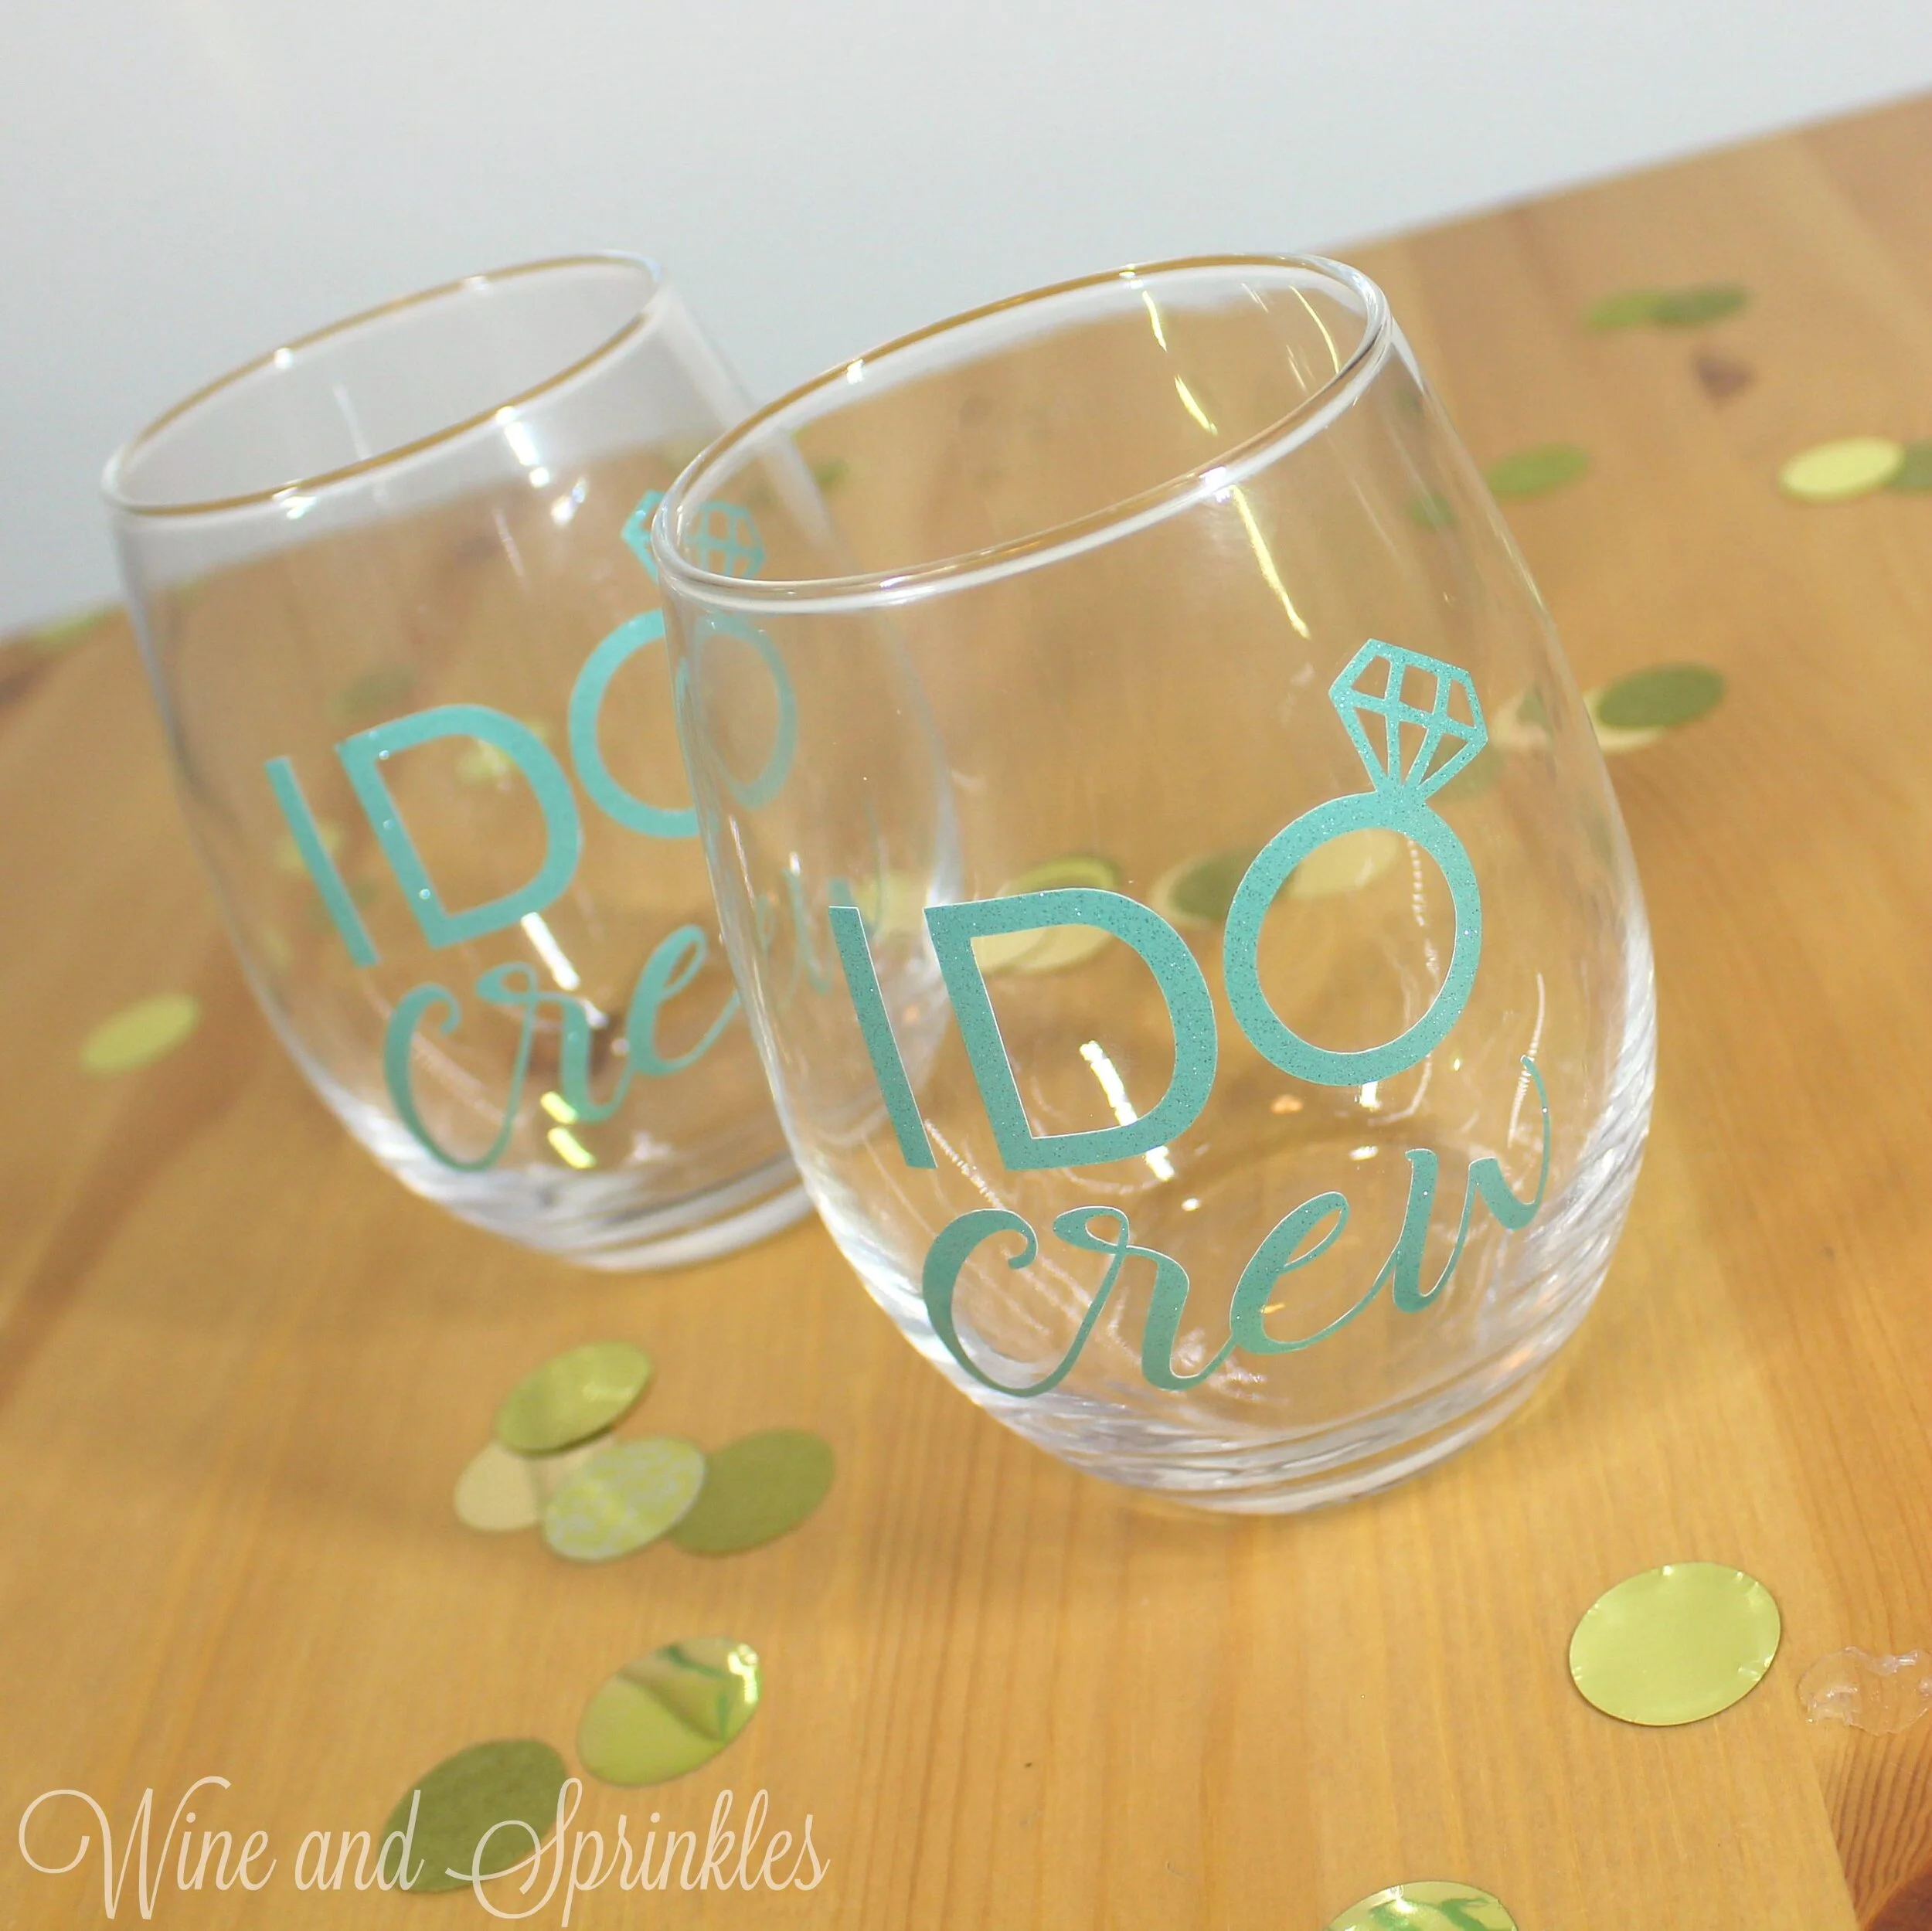
I always seem to get enamored with different little phrases to describe your bridal party, and this year was no different. Once I heard the phrase “I Do Crew,” I wanted (and succeeded) to put it on everything bridesmaid! So the first in a selection of the I Do Crew Projects coming out this year, I started with the perfect choice for a bridesmaid proposal, a wine glass! Wine glasses are a super cute way to invite your maids and are a particular favorite of mine because they are so easy to package into cute little boxes!

I made the decals in Glitter Seafoam Green Permanent Adhesive Vinyl, and I love how they turned out! Wine Glasses can be a little tricky to transfer to, so cut a couple extra decals and take your time with the transfer, starting in the middle of the design and working outward, once you get the hang of it it’s not too tricky!


For those of you that may want to create more personalized designs,  I used the font Bebas Kai for the “I Do” and the font Rachella Script for the “crew” lettering on the Decals, which you can download for free at dafont.com.

I Do Crew DIY Bridal Party Wine Glasses for Bridesmaid Proposals, Bridesmaid Gifts, or Bachelorette Party Favors #wineandsprinklesdiy #diywedding #idocrew


I Do Crew DIY Bridal Party Wine Glasses for Bridesmaid Proposals, Bridesmaid Gifts, or Bachelorette Party Favors #wineandsprinklesdiy #diywedding #idocrew
  1. After downloading the cut files, import them into the Cricut Software. After creating a new project, select Upload Image. Select the file you wish to upload and it will automatically take you to the final upload screen, where you can name the file, then select Save.

  2. Cut the design(s) in your choice of permanent adhesive vinyl with the Vinyl Setting on your Cricut. The SVG Files are sized so that they will automatically cut to the size you see in the photos, but if you want to change the size you can do so to fit another sized glass than the ones we recommend.

  3. Once the designs are cut, weed away the extra vinyl and cut a piece of transfer tape to 3.25" x 3". Cut away any excess backing from the vinyl design and smooth transfer tape over the design, aligning the bottom of the first set of blocks along the top of the text, as shown. Using the smoother tool, smooth the tape over the vinyl, removing any air bubbles.

I Do Crew DIY Bridal Party Wine Glasses for Bridesmaid Proposals, Bridesmaid Gifts, or Bachelorette Party Favors #wineandsprinklesdiy #diywedding #idocrew

4. Remove the transfer tape, making sure that the whole of the design transfers from the vinyl backing to the transfer tape.

5. Now, transfer the design to your glass. Arrange the decal on about the middle of the glass, then smooth the design around the curve of the glass from the middle of the design to the edges. Smooth any air bubbles out of the vinyl, but don’t worry about the crinkling of the transfer tape with the curved surface.

I Do Crew DIY Bridal Party Wine Glasses for Bridesmaid Proposals, Bridesmaid Gifts, or Bachelorette Party Favors #wineandsprinklesdiy #diywedding #idocrew

6. Remove the transfer tape to leave the design on the glass. Any additional bubbles in the design can now be smoothed out with either your fingers or the smoother tool. Repeat the process with all remaining wine glasses.

I Do Crew DIY Bridal Party Wine Glasses for Bridesmaid Proposals, Bridesmaid Gifts, or Bachelorette Party Favors #wineandsprinklesdiy #diywedding #idocrew
WS-24-7txt.jpg
I Do Crew DIY Bridal Party Wine Glasses for Bridesmaid Proposals, Bridesmaid Gifts, or Bachelorette Party Favors #wineandsprinklesdiy #diywedding #idocrew

Arrow Decal DIY Bridal Party Skinny Tumblers

This post contains affiliate links, meaning that if you click on a link I will recieve a small comission. This costs you nothing extra and I only promote products I use and love! You can read our full disclosure here

Arrow Decal DIY Bridal Party Skinny Tumblers for bridesmaid proposals, bridesmaid gifts, bachelorette party favors, or getting ready drinks #wineandsprinklesdiy #diywedding #bridesmaidgifts

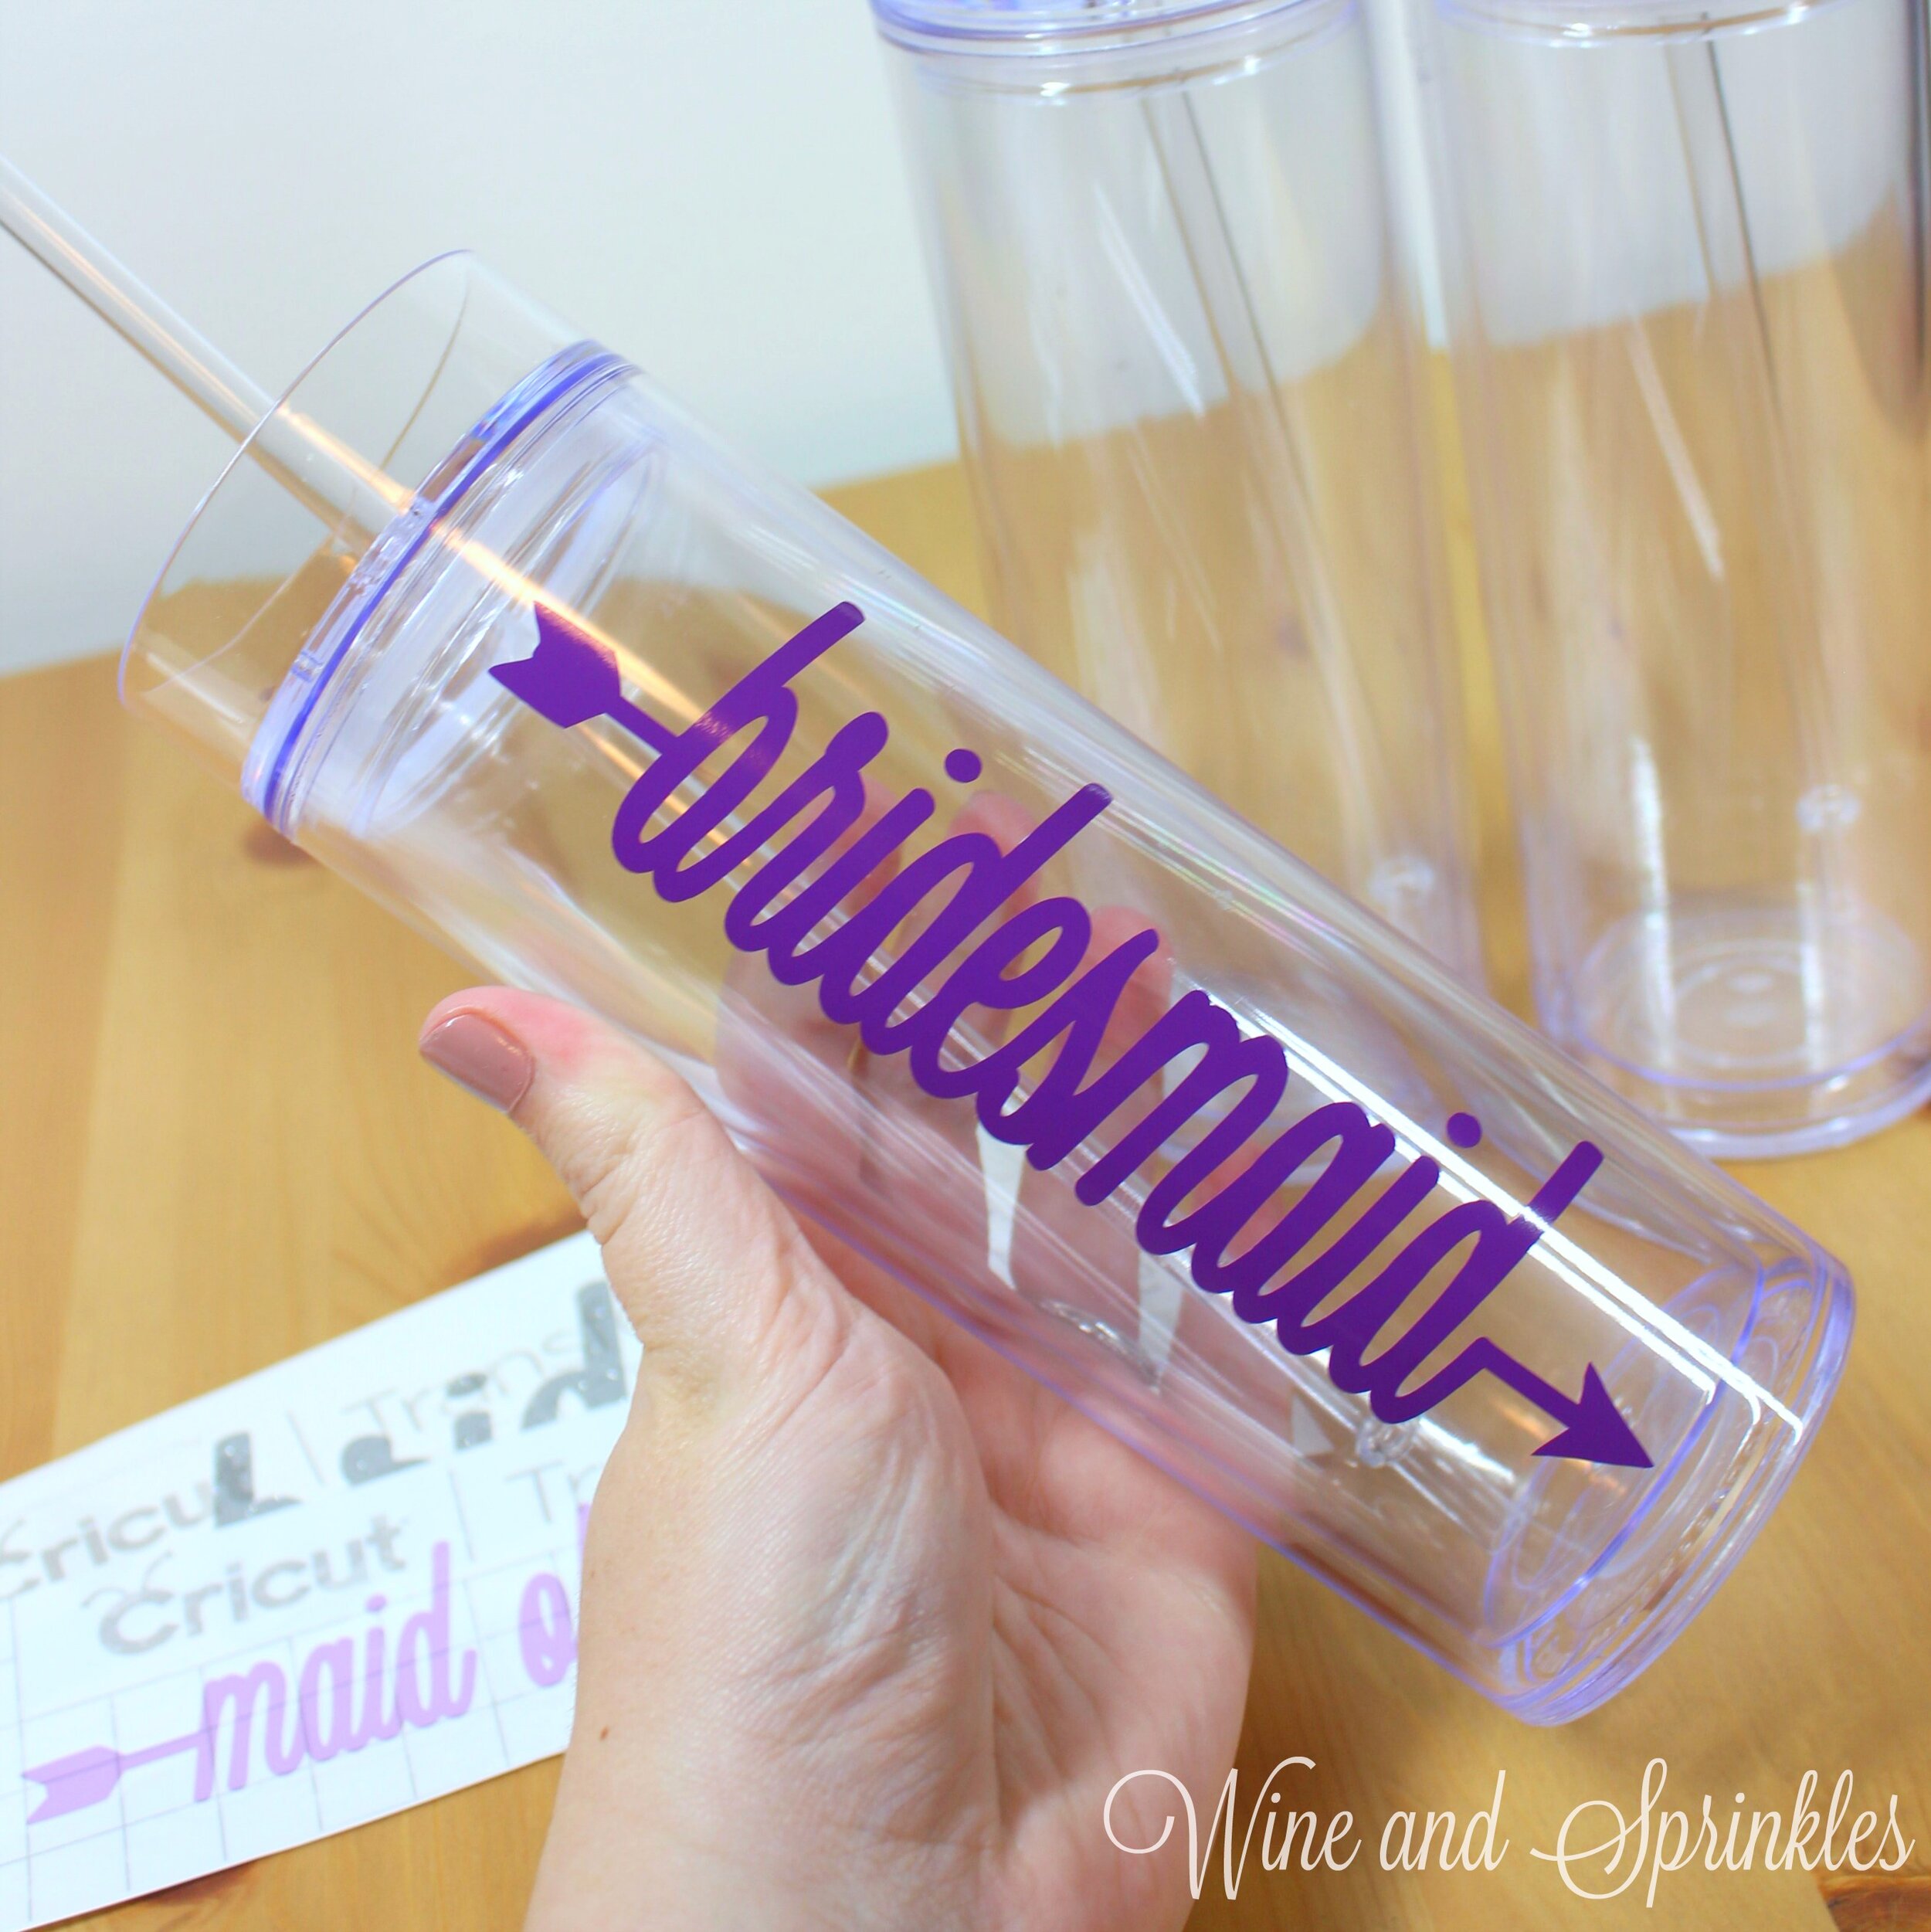
Bridal Party tumblers are always a great choice for Bridesmaid Proposals, Gifts, or as Bachelorette Party Favors, so we had to add to our collection of decals! Since we are starting the year with some fun projects to invite your bridal party to the wedding fun, our first tumbler project of the year are these Bridal Party Arrow Decal Tumblers.

The whimsical arrow decals are easy to weed and a great project for beginners. While the tumblers are a curved surface, the cylindrical shape makes the transfer far easier than wine glasses. The bride decal was cut is Silver Glitter Permanent Adhesive Vinyl, complemented by the maid of honor and bridesmaids tumblers in Lilac and Purple Permanent Adhesive Vinyl.


Arrow Decal DIY Bridal Party Skinny Tumblers for bridesmaid proposals, bridesmaid gifts, bachelorette party favors, or getting ready drinks #wineandsprinklesdiy #diywedding #bridesmaidgifts

For those of you that may want to create more personalized designs,  I used the font Bio Monster for the lettering in the arrow decals, which you can download for free at dafont.com.


Download Cut Files Here!
Arrow Decal DIY Bridal Party Skinny Tumblers for bridesmaid proposals, bridesmaid gifts, bachelorette party favors, or getting ready drinks #wineandsprinklesdiy #diywedding #bridesmaidgifts
  1. After downloading the cut files, import them into the Cricut Software. After creating a new project, select Upload Image. Select the file you wish to upload and it will automatically take you to the final upload screen, where you can name the file, then select Save.

  2. Cut the design(s) in your choice of permanent adhesive vinyl with the Vinyl Setting on your Cricut. The SVG Files are sized so that they will automatically cut to the size you see in the photos, but if you want to change the size you can.

Arrow Decal DIY Bridal Party Skinny Tumblers for bridesmaid proposals, bridesmaid gifts, bachelorette party favors, or getting ready drinks #wineandsprinklesdiy #diywedding #bridesmaidgifts

3. Once the designs are cut, weed away the extra vinyl and cut a piece of transfer tape to 2.5" x 7.5". Cut away any excess backing from the vinyl design and smooth transfer tape over the design, aligning it with the text and arranging it such that one set of the 1/2” blocks are to the left of the end of the arrow, with the decal horizontally aligned along the bottom of the text. Using the smoother tool, smooth the tape over the vinyl, removing any air bubbles.

4. Now, transfer the design to your tumbler. Remove the tape and decal from the backing, making sure that the entire decal transfers to the transfer tape.

Arrow Decal DIY Bridal Party Skinny Tumblers for bridesmaid proposals, bridesmaid gifts, bachelorette party favors, or getting ready drinks #wineandsprinklesdiy #diywedding #bridesmaidgifts

5. Arrange the design such that the short side of the transfer tape is along to top edge of the lip of the tumbler, as shown. Starting from the top and working down, trace the letters to smooth them onto the tumbler. Smooth the design to remove any air bubbles,. Remove the transfer tape from the tumbler, leaving the design on the tumbler.

6. Use the smoother tool or your finger to retrace the letters after removing the transfer tape to smooth out any additional air bubbles. Repeat with all remaining tumblers.

Arrow Decal DIY Bridal Party Skinny Tumblers for bridesmaid proposals, bridesmaid gifts, bachelorette party favors, or getting ready drinks #wineandsprinklesdiy #diywedding #bridesmaidgifts

DIY Bride and Tribe Bridal Party Champagne Flutes

This post contains affiliate links, meaning that if you click on a link I will recieve a small comission. This costs you nothing extra and I only promote products I use and love! You can read our full disclosure here

DIY Bride and Tribe Champagne Flutes for Bridal Showers, Bachelorettes and Getting Ready the day of your Wedding #wineandsprinklesdiy #diywedding #bridetribe

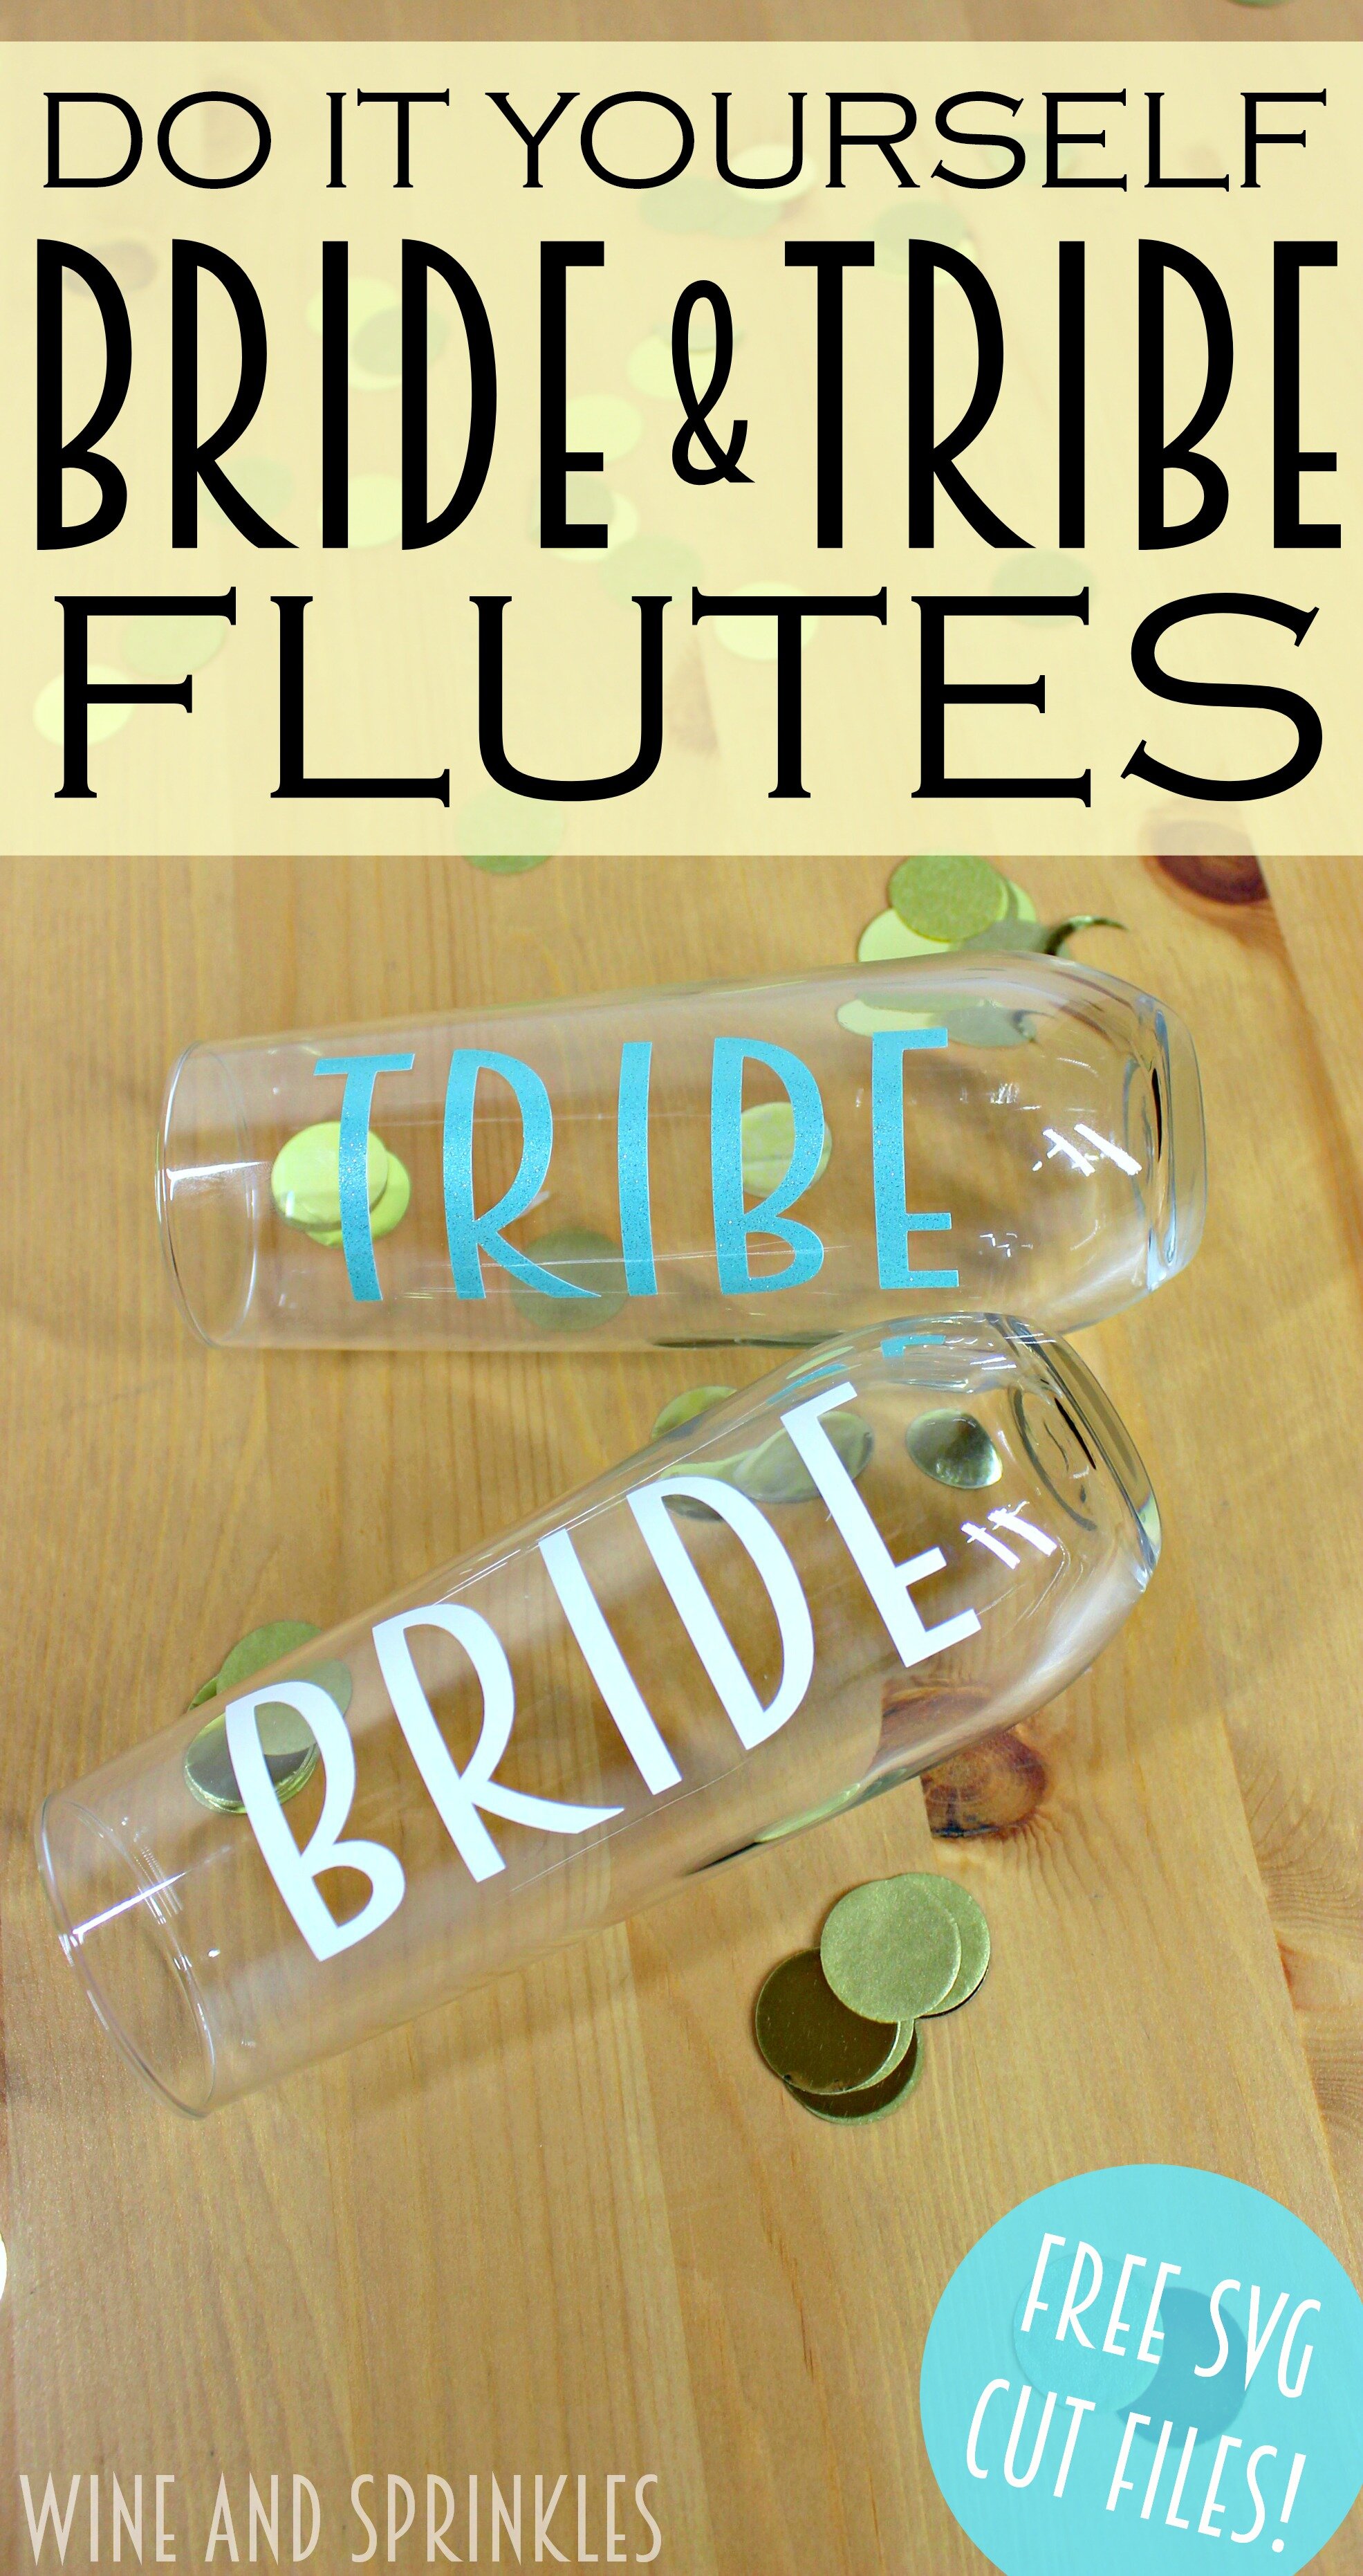
There's no better way to celebrate the New Year, and hopefully a New Years or Christmas Proposal, than a toast is some fun glittery DIY champagne flutes. These Bride and Tribe stemless flutes are a great choice for Bridesmaid Proposals, Gifts, or as Bachelorette Party Favors!

I made my bride flute in Oracal 651 White Permanent Adhesive Vinyl, and since I couldn’t decide between the Glitter Seafoam Green and the Glitter Rose Gold Vinyl, I ended up making Tribe decals in both colors! You may even see magically, some may say accidentally, that the flute switches colors part way through the tutorial!

DIY Bride and Tribe Champagne Flutes for Bridal Showers, Bachelorettes and Getting Ready the day of your Wedding #wineandsprinklesdiy #diywedding #bridetribe

This is also a great project to start with if you haven’t done much vinyl transfer on curved surfaces before, the decal is easy to weed and the stemless flutes are much easier to align and transfer to than wine glasses.

For those of you that may want to create more personalized designs,  I used the font Breamcatcher for the Bride and Tribe Decals, which you can download for free at dafont.com.


DIY Bride and Tribe Champagne Flutes for Bridal Showers, Bachelorettes and Getting Ready the day of your Wedding #wineandsprinklesdiy #diywedding #bridetribe

1. After downloading the cut files, import them into the Cricut Software. After creating a new project, select Upload Image. Select the file you wish to upload and it will automatically take you to the final upload screen, where you can name the file, then select Save.

2. Cut the design(s) in your choice of permanent adhesive vinyl with the Vinyl Setting on your Cricut. The SVG Files are sized so that they will automatically cut to the size you see in the photos, but if you want to change the size to whatever you like.

DIY Bride and Tribe Champagne Flutes for Bridal Showers, Bachelorettes and Getting Ready the day of your Wedding #wineandsprinklesdiy #diywedding #bridetribe

3. Once the designs are cut, weed away the extra vinyl and cut a piece of transfer tape to 2" x 5". Cut away any excess backing from the vinyl design and smooth transfer tape over the design, aligning it to along the first letter of the designs  with the bottom lines of the tape aligning to the text as shown above. Make sure to align it such that 1” of the transfer tape is to the left of the first letter to use in placing it properly on the glasses later.

4. After smoothing the transfer tape of the design with the smoother tool, remove the transfer tape from the backing, lifting the design from the backing with the transfer tape.

DIY Bride and Tribe Champagne Flutes for Bridal Showers, Bachelorettes and Getting Ready the day of your Wedding #wineandsprinklesdiy #diywedding #bridetribe

5. Using the transfer tape as a spacer, smooth the design onto the flutes, aligning the short side of the transfer tape along the top edge of the glasses. I adhered mine as shown to the right. with the tape parallel to the top of the glass just under the rim.

DIY Bride and Tribe Champagne Flutes for Bridal Showers, Bachelorettes and Getting Ready the day of your Wedding #wineandsprinklesdiy #diywedding #bridetribe

6. Once the transfer tape is aligned along the top, smooth it onto the glass from top to bottom. I smoothed mine by tracing the letters from top to bottom until the entire design was smoothed onto the flute,as shown to the left.

7. Once the design has been smoothed and all air bubbles are removed, remove the transfer tape to leave the design on the flute. Repeat the process for all the remaining flutes.

DIY Bride and Tribe Champagne Flutes for Bridal Showers, Bachelorettes and Getting Ready the day of your Wedding #wineandsprinklesdiy #diywedding #bridetribe

DIY Iron On HTV Brides Babes Tee Shirts

This post contains affiliate links, meaning that if you click on a link I will recieve a small comission. This costs you nothing extra and I only promote products I use and love! You can read our full disclosure here

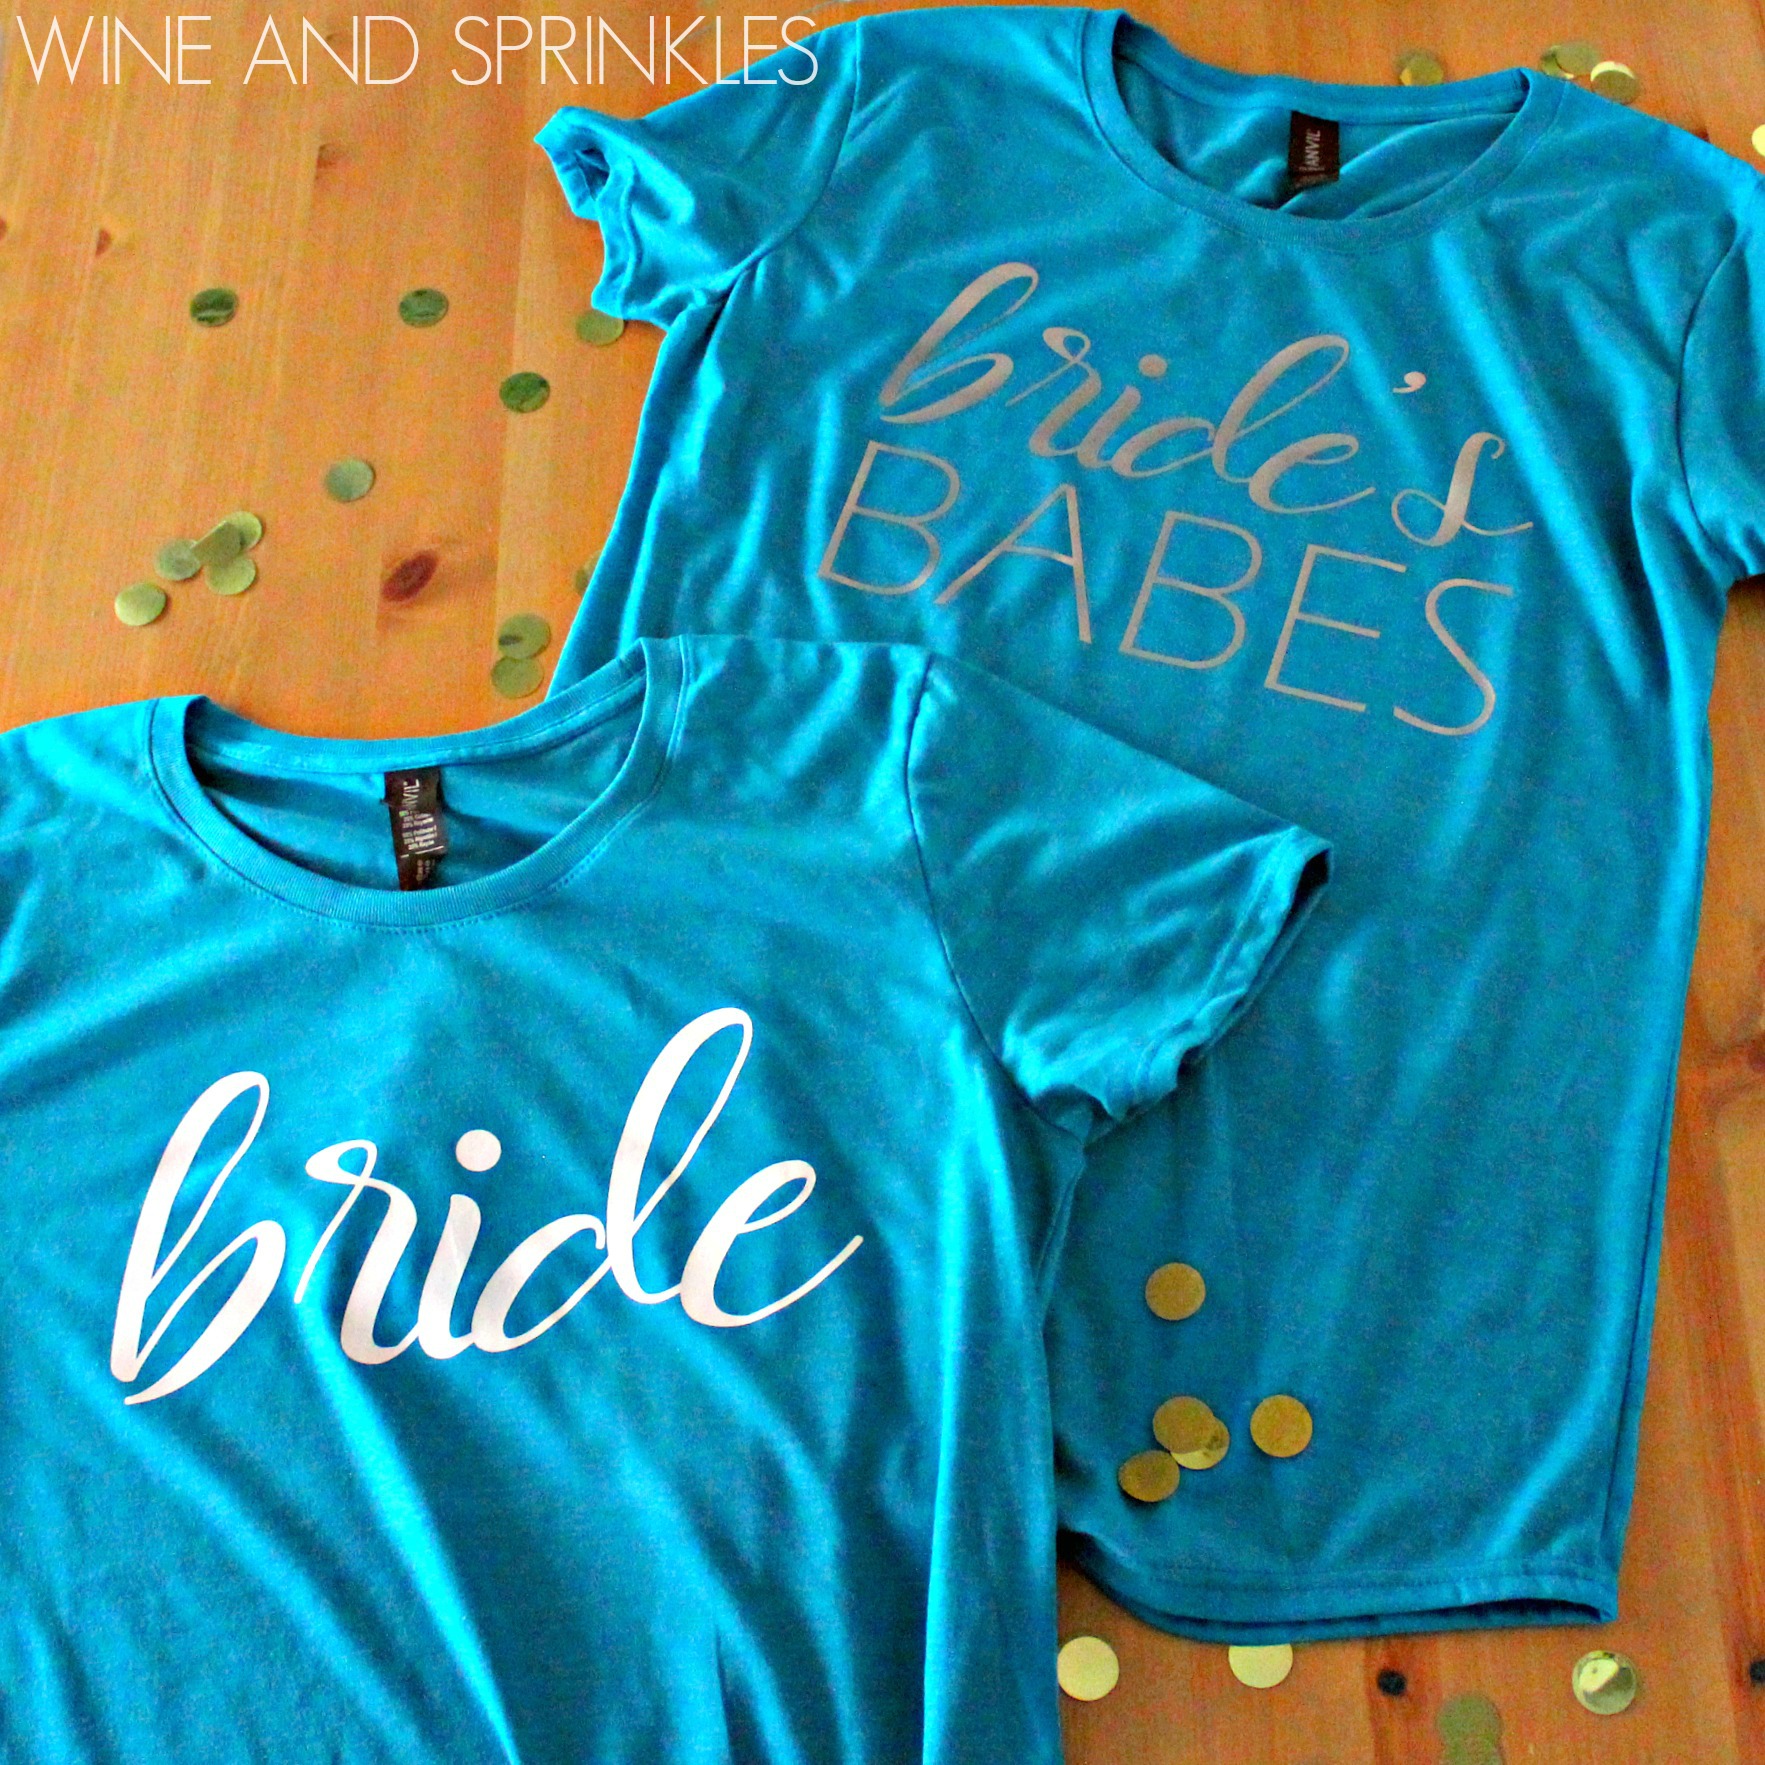
DIY Bride's Babes Iron On Bridal Party Tank Tops #bridesbabes #svgfiles #diywedding

Bridesmaid Proposal T Shirts are always a fun choice for brides to give to their girls for prewedding events, DIY nights, and for a general feeling of wedding camaraderie. As another option for Bridesmaid Proposal Wearables, I designed these feminine but modern Bride’s Babes T Shirt Decals.

I made the decals with White and Silver Easyweed Vinyl, using some of the leftover Tshirts I had, and while I like how they turned out I’d like to experiment with other color combinations to see what looks best!

 
DIY Bride's Babes Iron On Bridal Party Tank Tops #bridesbabes #svgfiles #diywedding
 
DIY Bride's Babes Iron On Bridal Party Tank Tops #bridesbabes #svgfiles #diywedding

1. After downloading the cut files, import them into the Cricut Software. After creating a new project, select Upload Image. Select the file you wish to upload and it will automatically take you to the final upload screen, where you can name the file the select Save. The SVG Files are sized so that they will automatically cut to the size you see in the photos, but if you want to change the size you can do so to fit the t-shirts the way you like.

2. After selecting “Make It” Make sure to select the Mirror Mode on the cutting screen. Cut the design(s) in your choice of heat transfer vinyl with the Iron On (for Easyweed Vinyl) or Iron On+ (for Glitter Vinyl) Setting on your Cricut, with the shiny side of the material down.

3. Weed the additional material off of the backing material so that, looking down with the shiny side up, you can see your design with the correct orientation.

DIY Bride's Babes Iron On Bridal Party Tank Tops #bridesbabes #svgfiles #diywedding

4. Iron your t-shirt to remove any creases, then center the design over the top half of the t-shirt, as shown above. Arrange the design shiny side up, then cover with parchment paper. Make sure to keep the parchment paper between the design and the iron.

5. Set your Iron to the second Highest setting and press the the iron down firmly on the design, not ironing but rather using it as a small heat press. I worked from the upper left to lower right on the design, pressing the iron on each part of the design for at least 20-30 seconds, then overlapping the last position as you move the iron across the design.

DIY Bride's Babes Iron On Bridal Party Tank Tops #bridesbabes #svgfiles #diywedding

6. Remove the backing from the design, leaving the design on the t-shirt. Repeat with all the remaining t-shirts.

DIY Bride's Babes Iron On Bridal Party Tank Tops #bridesbabes #svgfiles #diywedding

Check out our other TShirt and Tank Top Projects Here for more inspiration! :)

DIY Getting Ready Bridesmaid Dress Tumblers

This post contains affiliate links, meaning that if you click on a link I will recieve a small comission. This costs you nothing extra and I only promote products I use and love! You can read our full disclosure here

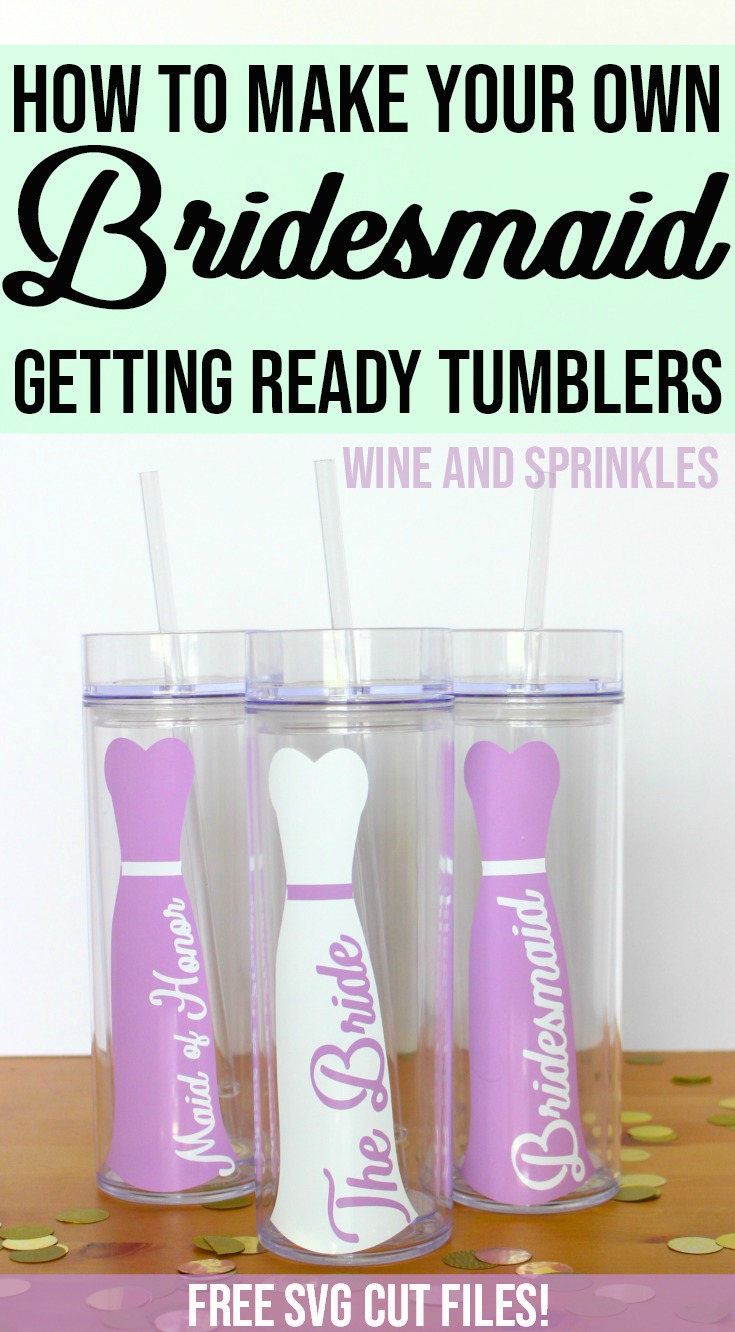
Do It Yourself Bridesmaid Dress Getting Ready Wedding Tumblers #bridesmaidgift #diywedding #svgfiles

I always see Bridesmaid Dress getting ready tumblers on Etsy and decided to try my hand at making my own! I’ve been designing skinny tumblers lately, so it was a perfect choice to attempt a long and lean evening gown option!

I made both a light colored and a dark colored dress set and both came out beautifully! The combinations I used were: Oracal 651 Lavender Vinyl Dress with White Vinyl Lettering and Amethyst Glitter Vinyl Dress with White Vinyl Lettering. The Bride’s tumblers have lettering in the color of the bridesmaid dresses with a Oracal 651 White Vinyl Dress.

Do It Yourself Bridesmaid Dress Getting Ready Wedding Tumblers #bridesmaidgift #diywedding #svgfiles

Transferring these designs is easiest in layers, similarly to the Princess Inspired Tumblers. It was far easier and cleaner to transfer the designs to the tumblers in layers as well as limiting the air bubbles from transferring and keeping the whole design smooth as its transferred to a curved surface.


1. After downloading the cut files, import them into the Cricut Software. After creating a new project, select Upload Image. Select the file you wish to upload and it will automatically take you to the final upload screen, where you can name the file the select Save. 

1. Supplies with text.jpgDo It Yourself Bridesmaid Dress Getting Ready Wedding Tumblers #bridesmaidgift #diywedding #svgfiles

2. Cut the design(s) in your choice of permanent adhesive vinyl with the Vinyl Setting on your Cricut. The SVG Files are sized so that they will automatically cut to the size you see in the photos, but if you want to change the size you can. :)

3. Once the designs are cut, weed away the extra vinyl and cut a piece of transfer tape to 2.5" x 7" for the dress decal and 2” x 5.5” for the lettering. Cut away any excess backing from the vinyl design and smooth transfer tape over the design, aligning it along the top of the dress, with one set of 1/2” blocks above the decal, as shown Below. For the text, I aligned it along the bottom of the belt as shown in the pictures. Using the smoother tool, smooth the tape to the vinyl, removing any air bubbles.

Do It Yourself Bridesmaid Dress Getting Ready Wedding Tumblers #bridesmaidgift #diywedding #svgfiles
 

4. Now, transfer the dress design to your tumbler. Remove the tape and decal from the backing and smooth the dress onto the tumbler, aligning it along the top lip of the tumbler as shown in the photo. It is easiest to start at the top and smooth from top to bottom, center to outside edges.

Do It Yourself Bridesmaid Dress Getting Ready Wedding Tumblers #bridesmaidgift #diywedding #svgfiles

5. Remove the transfer tape from the tumbler, leaving the dress decal on the tumbler. If there are air bubbles (mine had some), smooth out the ones you can with the smoother tool and for smaller or hard to smooth bubbles, prick them with a needle and smooth them to remove them. :)

6. Now, transfer the lettering to you tumbler. Align the text along the skirt of the dress, working from bottom to top and using the waistband as a guide on height.If your waistband is a little off, you can always trip the belt with an exacto knife, so go for overlap on the waistband.

Do It Yourself Bridesmaid Dress Getting Ready Wedding Tumblers #bridesmaidgift #diywedding #svgfiles

I absolutely adore how these turned out and they are suprisingly easy to make once you’ve done one of them, so don’t be afraid! :)

7. Trace the letters to smooth them onto the dress on the tumbler, as shown above. Once the design is set, remove the transfer tape from the tumbler, leaving the text layer of the design on the tumbler. Repeat with all remaining tumblers.

Do It Yourself Bridesmaid Dress Getting Ready Wedding Tumblers #bridesmaidgift #diywedding #svgfiles


DIY Bridesmaid Getting Ready HTV Iron on Tote Bags

This post contains affiliate links, meaning that if you click on a link I will recieve a small comission. This costs you nothing extra and I only promote products I use and love! You can read our full disclosure here

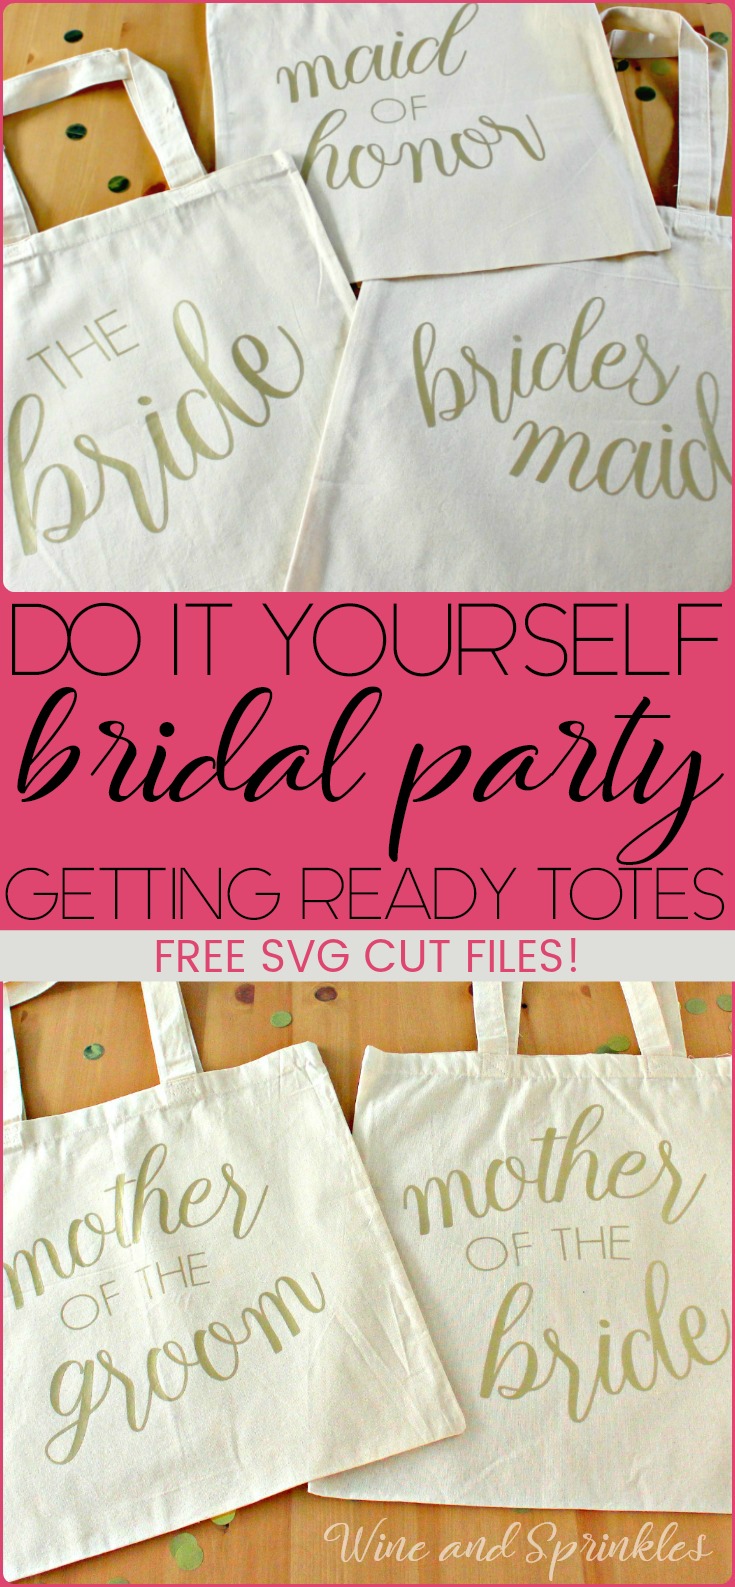
Bridal Party Getting Ready DIY Iron On Tote Bag #diywedding #htvvinyl #svgcutfiles

One of the most useful things our venue provided us the day of our wedding that I never would have thought about were tote bags for us and our bridal party to store our getting ready clothes and any other personal items in during the wedding. In that spirit, I wanted to design a simple and beautiful set that could easily go with any wedding.

For my first wedding welcome tote, I went with something cute, girly, and simple. After all, sometimes simple is best and this tote can be used for any out of town wedding guest bag, not just a beach. :) I used Easyweed Gold HTV for these bags, but I would love to see them in a Rose Gold Glitter HTV! :)

Bridal Party Getting Ready DIY Iron On Tote Bag #diywedding #htvvinyl #svgcutfiles
 
Bridal Party Getting Ready DIY Iron On Tote Bag #diywedding #htvvinyl #svgcutfiles
 

1. After downloading the cut files, import them into the Cricut Software. After creating a new project, select Upload Image. Select the file you wish to upload and it will automatically take you to the final upload screen, where you can name the file the select Save. The SVG Files are sized so that they will automatically cut to the size you see in the photos, but if you want to change the size you can do so to fit the tote bags the way you like.

Bridal Party Getting Ready DIY Iron On Tote Bag #diywedding #htvvinyl #svgcutfiles

2. After selecting “Make It” Make sure to select the Mirror Mode on the cutting screen. Cut the design(s) in your choice of heat transfer vinyl with the Iron On (for Easyweed Vinyl) or Iron On+ (for Glitter Vinyl) Setting on your Cricut, with the shiny side of the material down.

3. Weed the additional material off of the backing material so that, looking down with the shiny side up, you can see your design with the correct orientation.

Bridal Party Getting Ready DIY Iron On Tote Bag #diywedding #htvvinyl #svgcutfiles

4. Iron your tote bag to remove any creases, then center the design in the middle of the tote. Arrange the design shiny side up, then cover with parchment paper. Make sure to keep the parchment paper between the design and the iron.

5. Set your Iron to the second Highest setting and press the the iron down firmly on the design, not ironing but rather using it as a small heat press. I worked from the upper left to lower right on the design, pressing the iron on each part of the design for at least 30 seconds, then overlapping the last position as you move the iron across the design.

Bridal Party Getting Ready DIY Iron On Tote Bag #diywedding #htvvinyl #svgcutfiles
 
Bridal Party Getting Ready DIY Iron On Tote Bag #diywedding #htvvinyl #svgcutfiles

6. Remove the backing from the design, leaving the design on the tote bag. Repeat with all the remaining tote bags.

Check out more of our Tote Bag Projects Here! :)

Bridal Party Getting Ready DIY Iron On Tote Bag #diywedding #htvvinyl #svgcutfiles

DIY Bride Tribe Wine Glasses

This post contains affiliate links, meaning that if you click on a link I will recieve a small comission. This costs you nothing extra and I only promote products I use and love! You can read our full disclosure here

DIY Bride Tribe Bridesmaid Wine Glasses #bridetribe #wineglass #bridesmaid

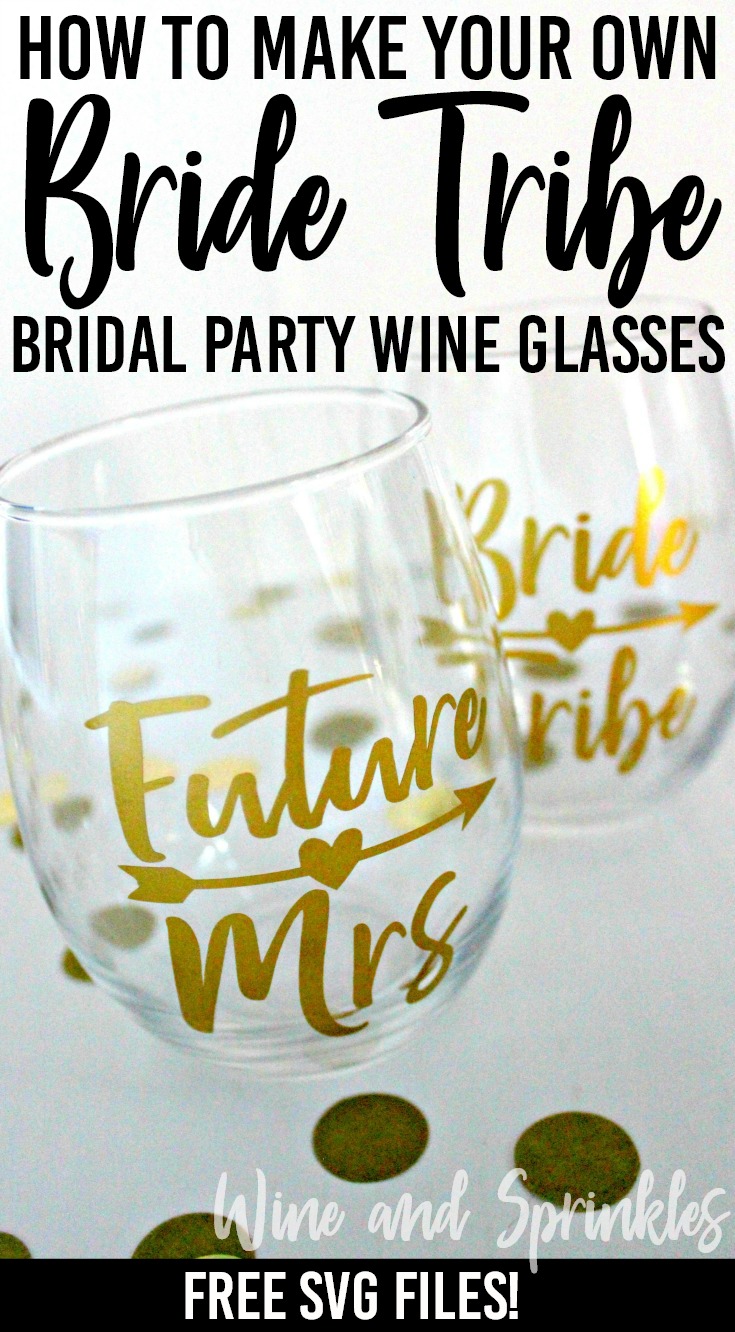
Every bridal party could use some fun wine glasses, and given how popular our Bridesmaid Wine Glasses have been, I wanted to add to the collection with a lovely “Bride Tribe” addition! I made these with two different options for the bride, either “Future Mrs.” or “The Bride” to go with your maids Bride Tribe Glasses.

I made these in Oracal 651 Gold Vinyl, which worked well and was easy to weed the small designs, but it never hurts to cut a couple extra decals if you are new to weeding vinyl or working with curved surfaces. In addition, its easiest to smooth the design from the middle to the top, then middle to the bottom to deal with the curvature of the glass.

DIY Bride Tribe Bridesmaid Wine Glasses #bridetribe #wineglass #bridesmaid

1. After downloading the cut files, import them into the Cricut Software. After creating a new project, select Upload Image. Select the file you wish to upload and it will automatically take you to the final upload screen, where you can name the file the select Save. 

2. Cut the design(s) in your choice of permanent adhesive vinyl with the Vinyl Setting on your Cricut. The SVG Files are sized so that they will automatically cut to the size you see in the photos, but if you want to change the size you can do so to fit another sized glass than the ones we recommend. :)

DIY Bride Tribe Bridesmaid Wine Glasses #bridetribe #wineglass #bridesmaid

3. Once the designs are cut, weed away the extra vinyl and cut a piece of transfer taper to 3" x 3.5". Cut away any excess backing from the vinyl design and smooth transfer tape over the design, aligning it along the bottom of the arrow, as shown below. I also aligned mine so that four sets of the 1/2” blocks on the transfer tape were above the arrow so the it was easy to align on the glass.Using the smoother tool, smooth the tape to the vinyl, removing any air bubbles.

DIY Bride Tribe Bridesmaid Wine Glasses #bridetribe #wineglass #bridesmaid

4. Remove the transfer tape, making sure that the whole of the design transfers from the vinyl backing to the transfer tape.

DIY Bride Tribe Bridesmaid Wine Glasses #bridetribe #wineglass #bridesmaid

5. Now, transfer the design to your glass. align the top of the transfer tape to the lip of the glass, as shown below. Smooth down the middle of the transfer tape to about the middle of the design, then smooth the design around the curve of the glass from the middle of the design to the edges. I started with the heart in the middle of the arrow and smoothed outward. Smooth any air bubbles out of the vinyl, but don’t worry about the crinkling of the transfer tape with the curved surface.

DIY Bride Tribe Bridesmaid Wine Glasses #bridetribe #wineglass #bridesmaid

6. Remove the transfer tape to leave the design on the glass. Any additional bubbles in the design can now be smoothed out with either your fingers or the smoother tool. Repeat the process with all remaining wine glasses.

DIY Bride Tribe Bridesmaid Wine Glasses #bridetribe #wineglass #bridesmaid

And now you have the perfect wine glasses to celebrate with your maids or to use while you DIY or do other wedding planning activities! Looking for more wine glass fun, check out out other Wine Glass Projects here!

DIY Bride Tribe Bridesmaid Wine Glasses #bridetribe #wineglass #bridesmaid


HTV Iron On Sporty Team Bride T Shirts

This post contains affiliate links, meaning that if you click on a link I will recieve a small comission. This costs you nothing extra and I only promote products I use and love! You can read our full disclosure here

DIY HTV Iron On Sporty Team Bride T Shirts #svgfiles #teambride #diywedding

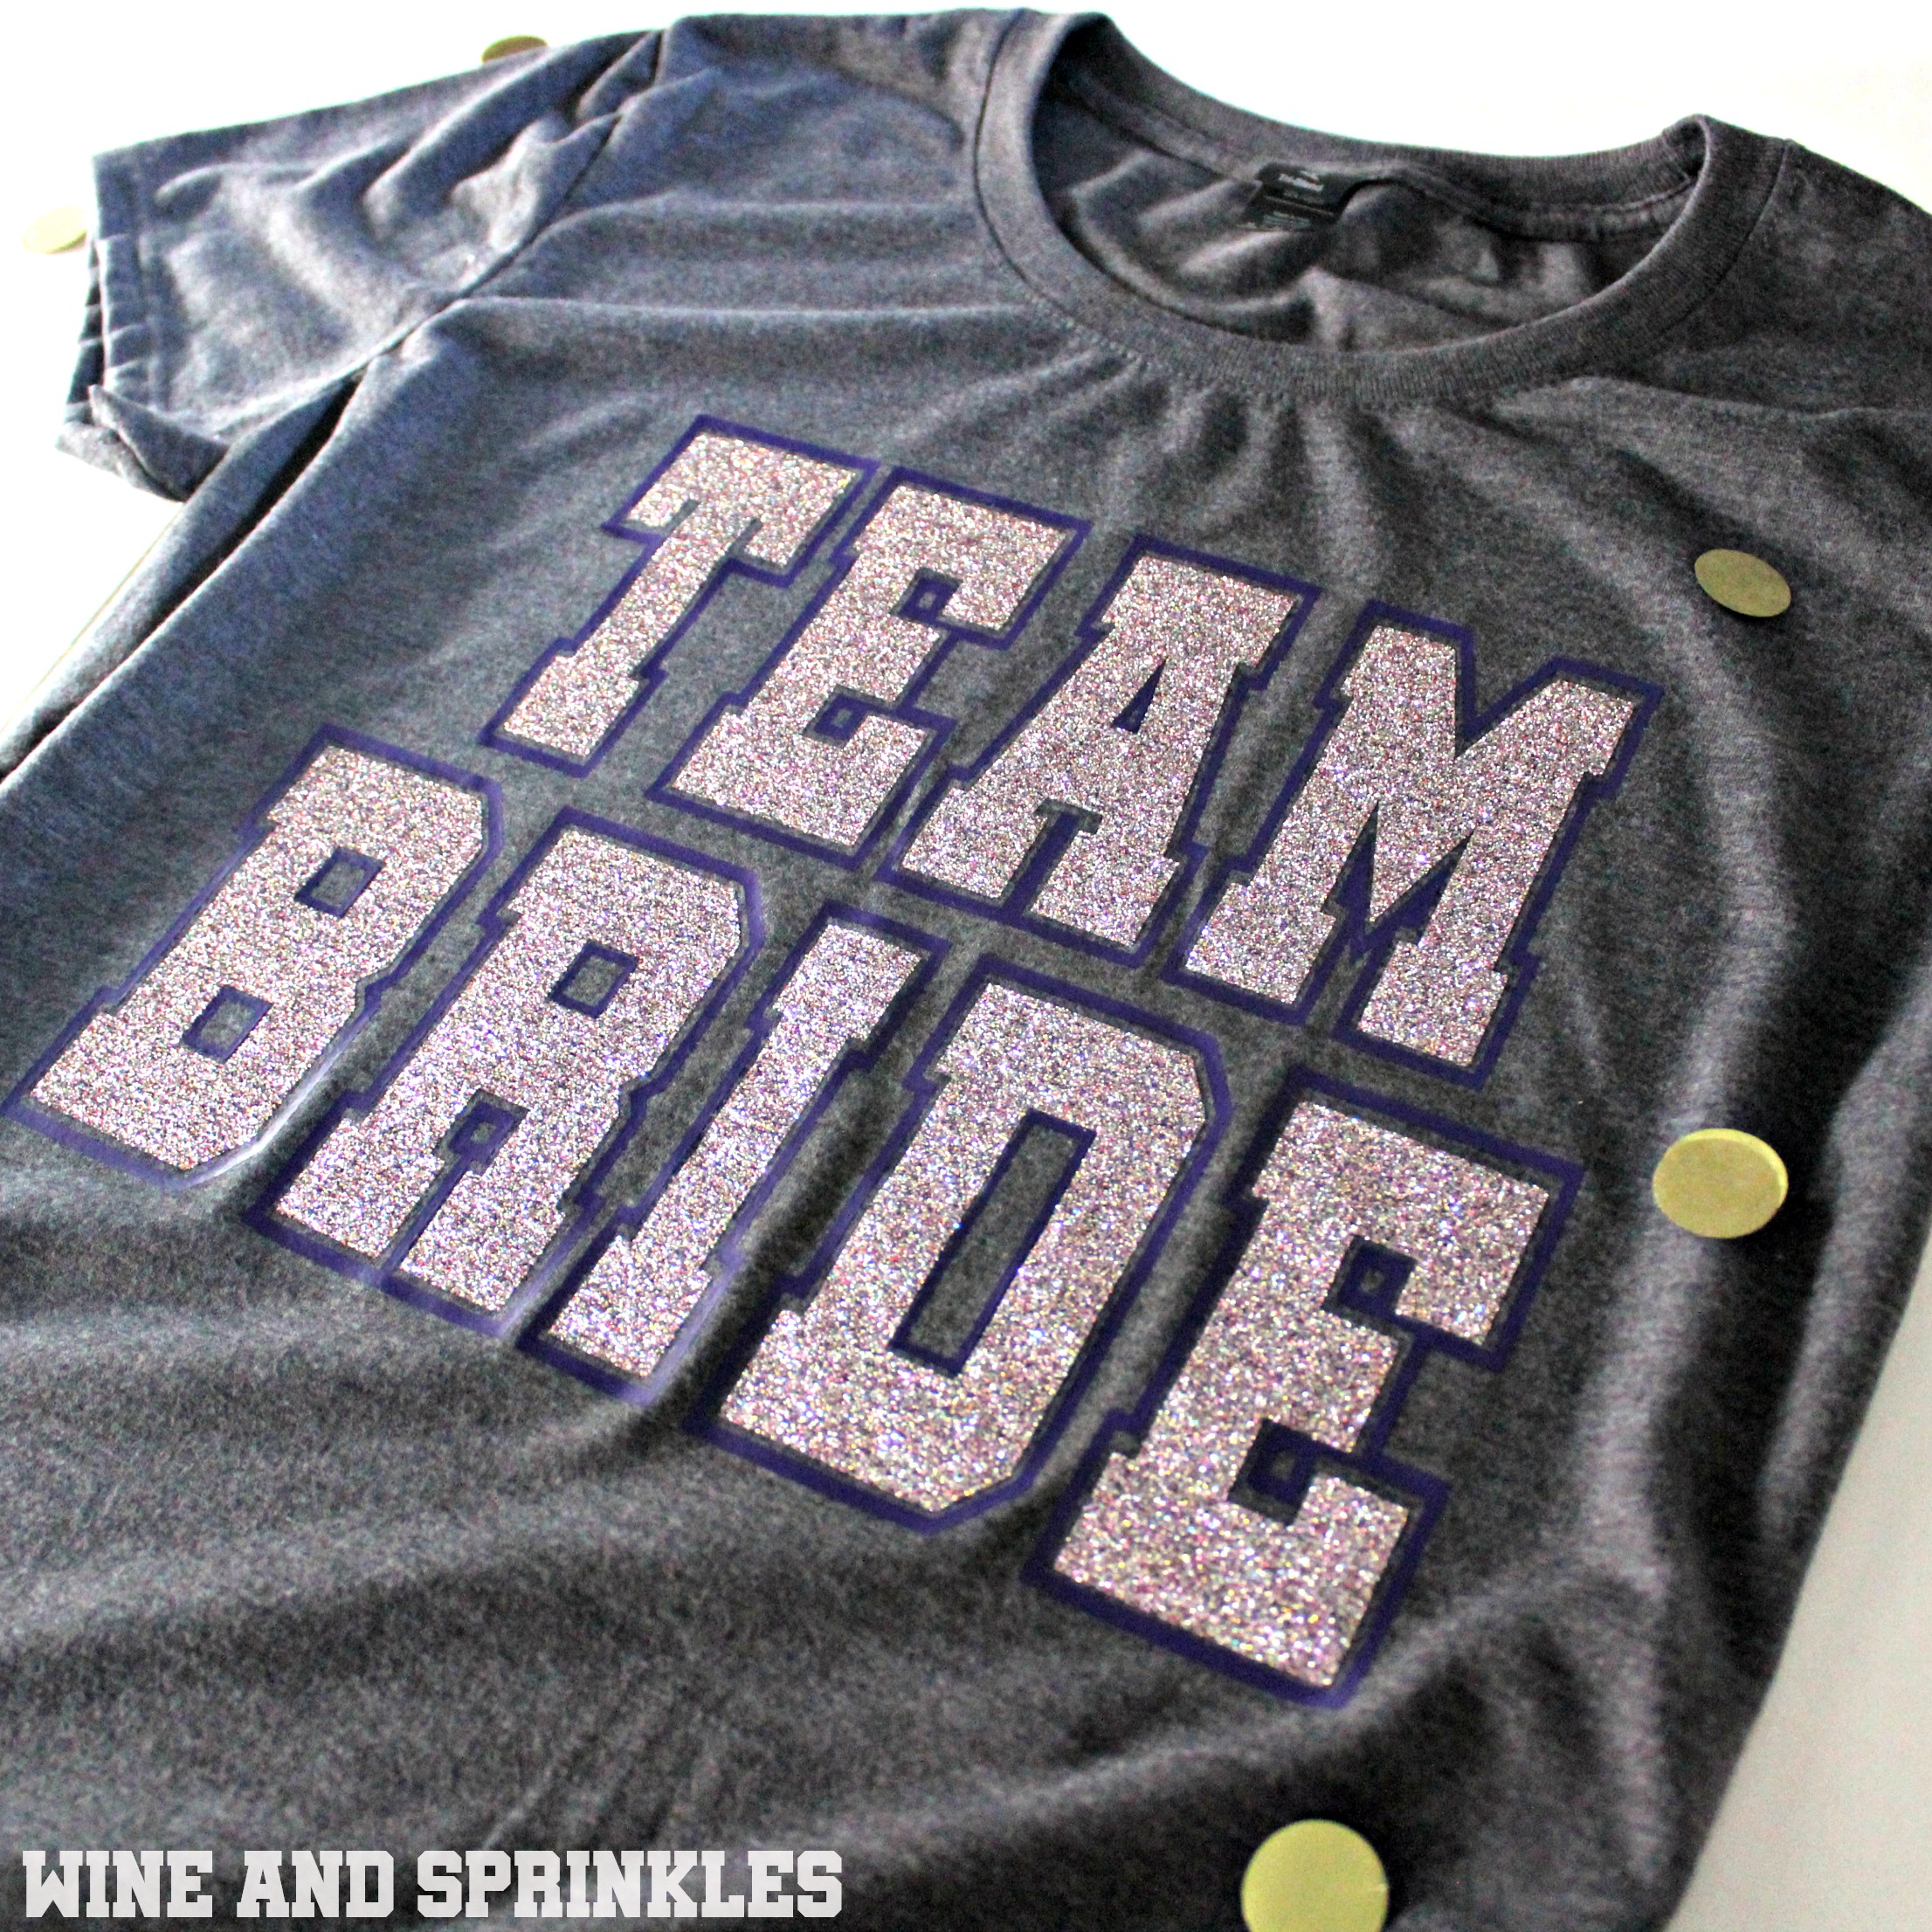
I love crafting for bridal parties and in honor of those sporty college days (and football season I guess) I made these Sporty Team Bride T Shirts!

I made these designs both in one color and two colors, and while I like them both I think that the two color best! I will say that you do have to waste a good amount of vinyl for the outline which does hurt the soul, so the single tone is great for getting the most use out of your HTV with that sporty feel.

DIY HTV Iron On Sporty Team Bride T Shirts #svgfiles #teambride #diywedding

1. After downloading the cut files, import them into the Cricut Software. After creating a new project, select Upload Image. Select the file you wish to upload and it will automatically take you to the final upload screen, where you can name the file the select Save. The SVG Files are sized so that they will automatically cut to the size you see in the photos, but if you want to change the size you can do so to fit the t-shirts the way you like.

Single Color

2. After selecting “Make It” Make sure to select the Mirror Mode on the cutting screen. Cut the design(s) in your choice of heat transfer vinyl (I used Silver Glitter HTV) with the Iron On (for Easyweed Vinyl) or Iron On+ (for Glitter Vinyl) Setting on your Cricut, with the shiny side of the material down.

3. Weed the additional material off of the backing material so that, looking down with the shiny side up, you can see your design with the correct orientation.

4. Iron your T Shirt to remove any creases, then center the design over the top half of the T Shirt. Arrange the design shiny side up, then cover with parchment paper. Make sure to keep the parchment paper between the design and the iron.

1. placement with text.jpgDIY HTV Iron On Sporty Team Bride T Shirts #svgfiles #teambride #diywedding

5. Set your Iron to the second Highest setting and press the the iron down firmly on the design, not ironing but rather using it as a small heat press. I worked from the upper left to lower right on the design, pressing the iron on each part of the design for at least 20-30 seconds, then overlapping the last position as you move the iron across the design.

DIY HTV Iron On Sporty Team Bride T Shirts #svgfiles #teambride #diywedding

6. Remove the backing from the design, leaving the design on the T Shirt. Repeat with all the remaining T Shirts.

DIY HTV Iron On Sporty Team Bride T Shirts #svgfiles #teambride #diywedding

Two Toned

2. After selecting “Make It” Make sure to select the Mirror Mode on the cutting screen. You will notice that the Cricut software divides the design colors into separate mats on its own. Cut the designs in your choice of heat transfer vinyl with the Iron On (for Easyweed Vinyl) or Iron On+ (for Glitter Vinyl) Setting on your Cricut, with the shiny side of the material down. I used Silver Glitter HTV for the inner letters and Purple Easyweed HTV for the outline.

3. Weed the additional material off of the backing material so that, looking down with the shiny side up, you can see your design with the correct orientation.

DIY HTV Iron On Sporty Team Bride T Shirts #svgfiles #teambride #diywedding

4. Iron your T Shirt to remove any creases, then center the inner letters of the design over the top half of the T Shirt. Arrange the design shiny side up, then cover with parchment paper. Make sure to keep the parchment paper between the design and the iron.

DIY HTV Iron On Sporty Team Bride T Shirts #svgfiles #teambride #diywedding

5. Set your Iron to the second Highest setting and press the the iron down firmly on the design, not ironing but rather using it as a small heat press. I worked from the upper left to lower right on the design, pressing the iron on each part of the design for at least 30 seconds, then overlapping the last position as you move the iron across the design.

DIY HTV Iron On Sporty Team Bride T Shirts #svgfiles #teambride #diywedding

6. Remove the backing to leave your first color of HTV on the T Shirt.

DIY HTV Iron On Sporty Team Bride T Shirts #svgfiles #teambride #diywedding

7. Now, arrange the outline design around the ironed on letters as shown below. Arrange the design shiny side up, then cover with parchment paper. Make sure to keep the parchment paper between the design and the iron.

DIY HTV Iron On Sporty Team Bride T Shirts #svgfiles #teambride #diywedding

8. Set your Iron to the second Highest setting and press the the iron down firmly on the design, not ironing but rather using it as a small heat press. Repeat the same ironing process as above for the second design color.

DIY HTV Iron On Sporty Team Bride T Shirts #svgfiles #teambride #diywedding

9. Remove the backing from the design, leaving the completed design on the T Shirt Repeat with all the remaining T Shirts.

DIY HTV Iron On Sporty Team Bride T Shirts #svgfiles #teambride #diywedding

HTV Iron On Team Bride Tote Bags

This post contains affiliate links, meaning that if you click on a link I will recieve a small comission. This costs you nothing extra and I only promote products I use and love! You can read our full disclosure here

DIY HTV Iron On Team Bride Canvas Tote Bags #teambride #svgfiles #htvvinyl

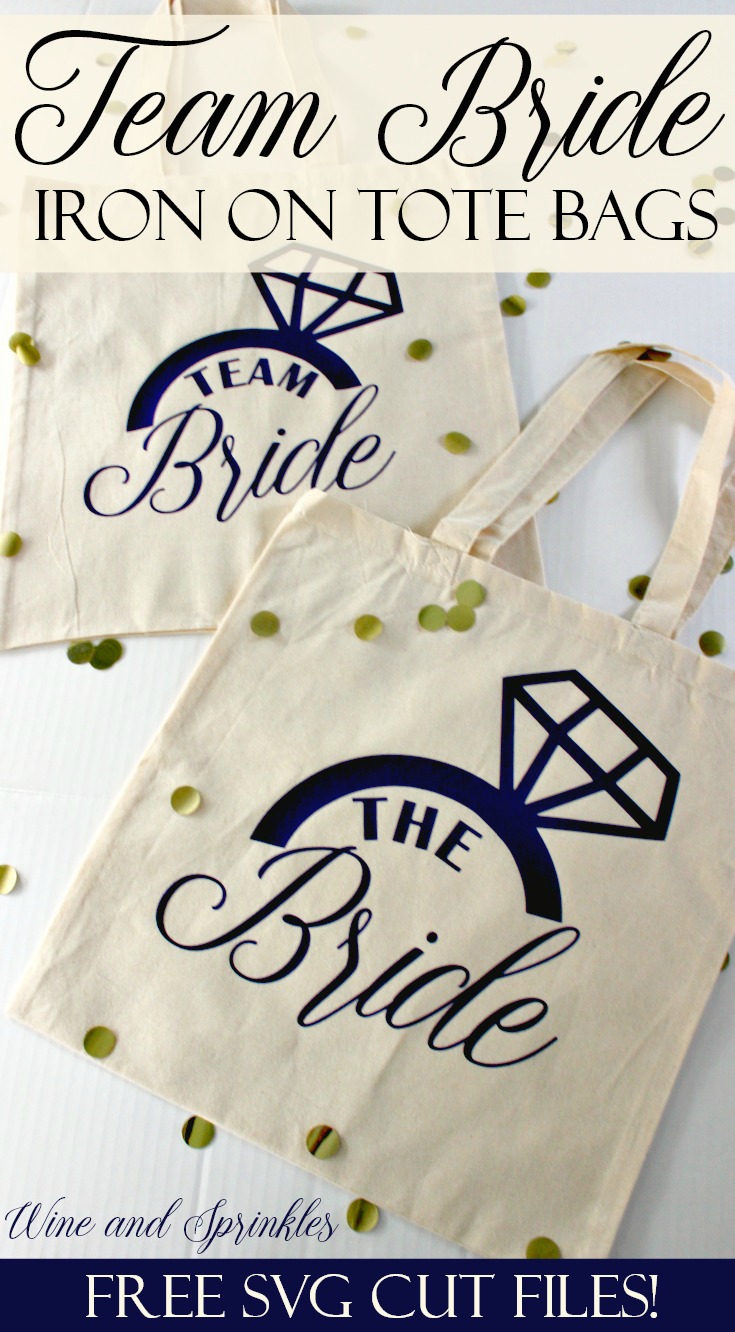
Now that you’ve got your own bridal tank tops and wine glasses, its time to do some crafting for the leading ladies in your life, you future bridesmaids! I started with tote bags because they are always nice for keeping a bunch of stuff in and moving things back and forth for DIY nights, getting ready the day of, or as overnight bags in general. :) I started with this basic design that can be used for any bridal party and are perfect for getting your dream team together to help you on your special day!

DIY HTV Iron On Team Bride Canvas Tote Bags #teambride #svgfiles #htvvinyl

I made these ones on standard canvas bags with purple vinyl, but the links I included below have bags in a variety of colors as well as HTV in a rainbow of choices! :) You will also notice that the Bride design is bigger than the team bride designs, I just always like the bride to pop a bit, even if the design is the same. :)

DIY HTV Iron On Team Bride Canvas Tote Bags #teambride #svgfiles #htvvinyl

1. After downloading the cut files, import them into the Cricut Software. After creating a new project, select Upload Image. Select the file you wish to upload and it will automatically take you to the final upload screen, where you can name the file the select Save. The SVG Files are sized so that they will automatically cut to the size you see in the photos, but if you want to change the size you can do so to fit the totes the way you like.

2. After selecting “Make It” Make sure to select the Mirror Mode on the cutting screen. Cut the design(s) in your choice of heat transfer vinyl (I used Purple Easyweed HTV) with the Iron On (for Easyweed Vinyl) or Iron On+ (for Glitter Vinyl) Setting on your Cricut, with the shiny side of the material down.

3. Weed the additional material off of the backing material so that, looking down with the shiny side up, you can see your design with the correct orientation.

DIY HTV Iron On Team Bride Canvas Tote Bags #teambride #svgfiles #htvvinyl

4. Iron your tote bag to remove any creases, then center the design in the middle of the tote bag. Arrange the design shiny side up, then cover with parchment paper. Make sure to keep the parchment paper between the design and the iron.

DIY HTV Iron On Team Bride Canvas Tote Bags #teambride #svgfiles #htvvinyl

5. Set your Iron to the second Highest setting and press the the iron down firmly on the design, not ironing but rather using it as a small heat press. I worked from the upper left to lower right on the design, pressing the iron on each part of the design for at least 15-20 seconds, then overlapping the last position as you move the iron across the design.

DIY HTV Iron On Team Bride Canvas Tote Bags #teambride #svgfiles #htvvinyl

6. Remove the backing from the design, leaving the design on the Tote Bags. Repeat with all the remaining totes.

DIY HTV Iron On Team Bride Canvas Tote Bags #teambride #svgfiles #htvvinyl

Monogram Canvas Tote Bags

This post contains affiliate links, meaning that if you click on a link I will recieve a small comission. This costs you nothing extra and I only promote products I use and love! You can read our full disclosure here

DIY Monogram Bridal Canvas Tote Bags #diywedding #cricutprojects #monogram

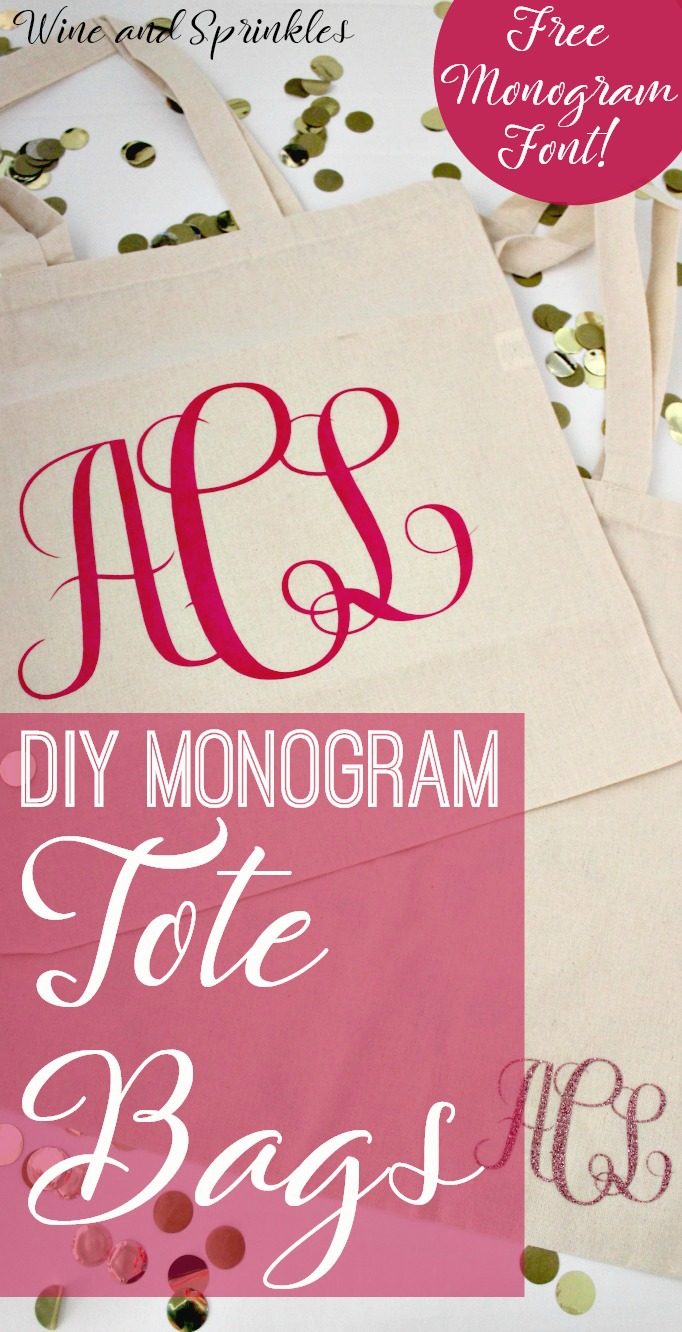
If there is one thing I adore on Etsy its all the monogrammed swag you can buy for yourself and your maids for your wedding! I love monogrammed items, but have always been nervous to try it myself because I assumed it would be difficult. Luckily, that was not the case! :)

DIY Monogram Bridal Canvas Tote Bags #diywedding #cricutprojects #monogram

I ended up finding a free monogram font (that I reference below) and it took all of 15 minutes of playing around with the software for my Cricut to easily make oodles of monograms, so I started with tote bags! Tote bags, especially canvas ones like these, are great for your wedding party for a beach or destination wedding where your maids will want a beach bag to throw their things in. :)

DIY Monogram Bridal Canvas Tote Bags #diywedding #cricutprojects #monogram

In this tutorial, I’ll go step by step to show you how to make monograms in your Cricut software for tote bags of your own or whatever else you want to monogram! :)

Supplies:
Blank Tote Bags
Easyweed Heat Transfer Vinyl or Glitter Heat Transfer Vinyl
Craft Cutter and Tool set
Adhesive Mat
Iron and Ironing Mat

Designing Your Monogram:

1. First, if you don't already own a Monogram style font, download one. The font I used is called Free Monogram Font from DaFont.com and it worked perfectly for what I wanted, and as the name implies its totally free!

2. Now, open a new project in your Cricut design software and create a text box. Select the Monogram font from your font choices and use it to type the initials for your monogram.

DIY Monogram Bridal Canvas Tote Bags #diywedding #cricutprojects #monogram

3. If you are using the font I mentioned, for smaller side letters you use lower case letters and for the center letter you use uppercase letters. For example, my initials on the monogram shown are typed in as "aCl" .

DIY Monogram Bridal Canvas Tote Bags #diywedding #cricutprojects #monogram

4. Next, overlap your letters by changing the letter spacing of your font. I chose -2 for the spacing of my letters but it is better to mess with it a little bit to find out what looks best to you.

DIY Monogram Bridal Canvas Tote Bags #diywedding #cricutprojects #monogram

5. Once all your letters are spaced to your satisfaction, select the "Weld" tool to combine your letters into a single set of cutting curves. 

DIY Monogram Bridal Canvas Tote Bags #diywedding #cricutprojects #monogram

6. Now,  you can size your monogram to whatever size you like best. For the small monograms, I made them 3" wide and for the large monograms, I made them 10.5" wide.

DIY Monogram Bridal Canvas Tote Bags #diywedding #cricutprojects #monogram

7. Finally, cut the monograms on your choice of vinyl. I used the Iron On+ setting for Glitter HTV and the Standard Iron On Setting for regular Easyweed Vinyl. Make sure that you select the "Mirror" Function and load your Iron On material Shiny side down so that your design cuts correctly! :)

DIY Monogram Bridal Canvas Tote Bags #diywedding #cricutprojects #monogram

Transferring your Design

8. Once your design is cut, weed away the extra material, leaving only your monogram.

DIY Monogram Bridal Canvas Tote Bags #diywedding #cricutprojects #monogram

9. Iron your Tote Bag to remove any creases, then arrange the Monogram where you want to transfer it on your tote. For large monograms I put it in the middle and for smaller monograms I preferred the lower right corner. Arrange the design shiny side up, then cover with parchment paper. Make sure to keep the parchment paper between the design and the iron.

DIY Monogram Bridal Canvas Tote Bags #diywedding #cricutprojects #monogram

10. Set your Iron to the second Highest setting and press the the iron down firmly on the design, not ironing but rather using it as a small heat press. I worked from the upper left to lower right on the design, pressing the iron on each part of the design for at least 30 seconds, then overlapping the last position as you move the iron across the design.

DIY Monogram Bridal Canvas Tote Bags #diywedding #cricutprojects #monogram

11. Remove the backing from the design, leaving the Monogram on the Tote Bag. Repeat with all the remaining Totes.

DIY Monogram Bridal Canvas Tote Bags #diywedding #cricutprojects #monogram

I was very pleasantly surprised with how easy these were to make and now have several other monogram projects in the wings to show bunches of different monogrammed projects! :) What are your favorite monogrammed items?

DIY Monogram Bridal Canvas Tote Bags #diywedding #cricutprojects #monogram