This post contains affiliate links, meaning that if you click on a link I will recieve a small comission. This costs you nothing extra and I only promote products I use and love! You can read our full disclosure here
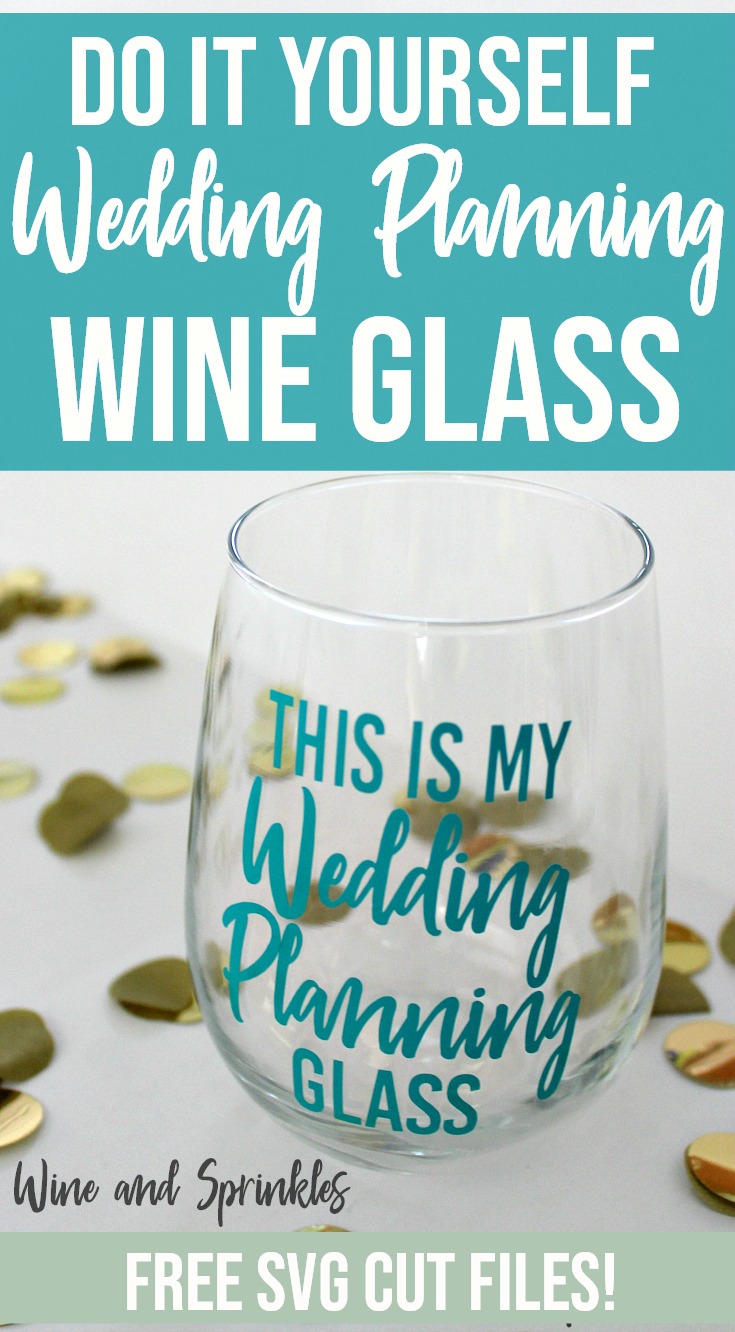
Happy New Year and congratulations to all the new future brides that got engaged over the holiday season! :) What better way than to celebrate and help you get through the wedding planning process than a lovely diy wine glass!

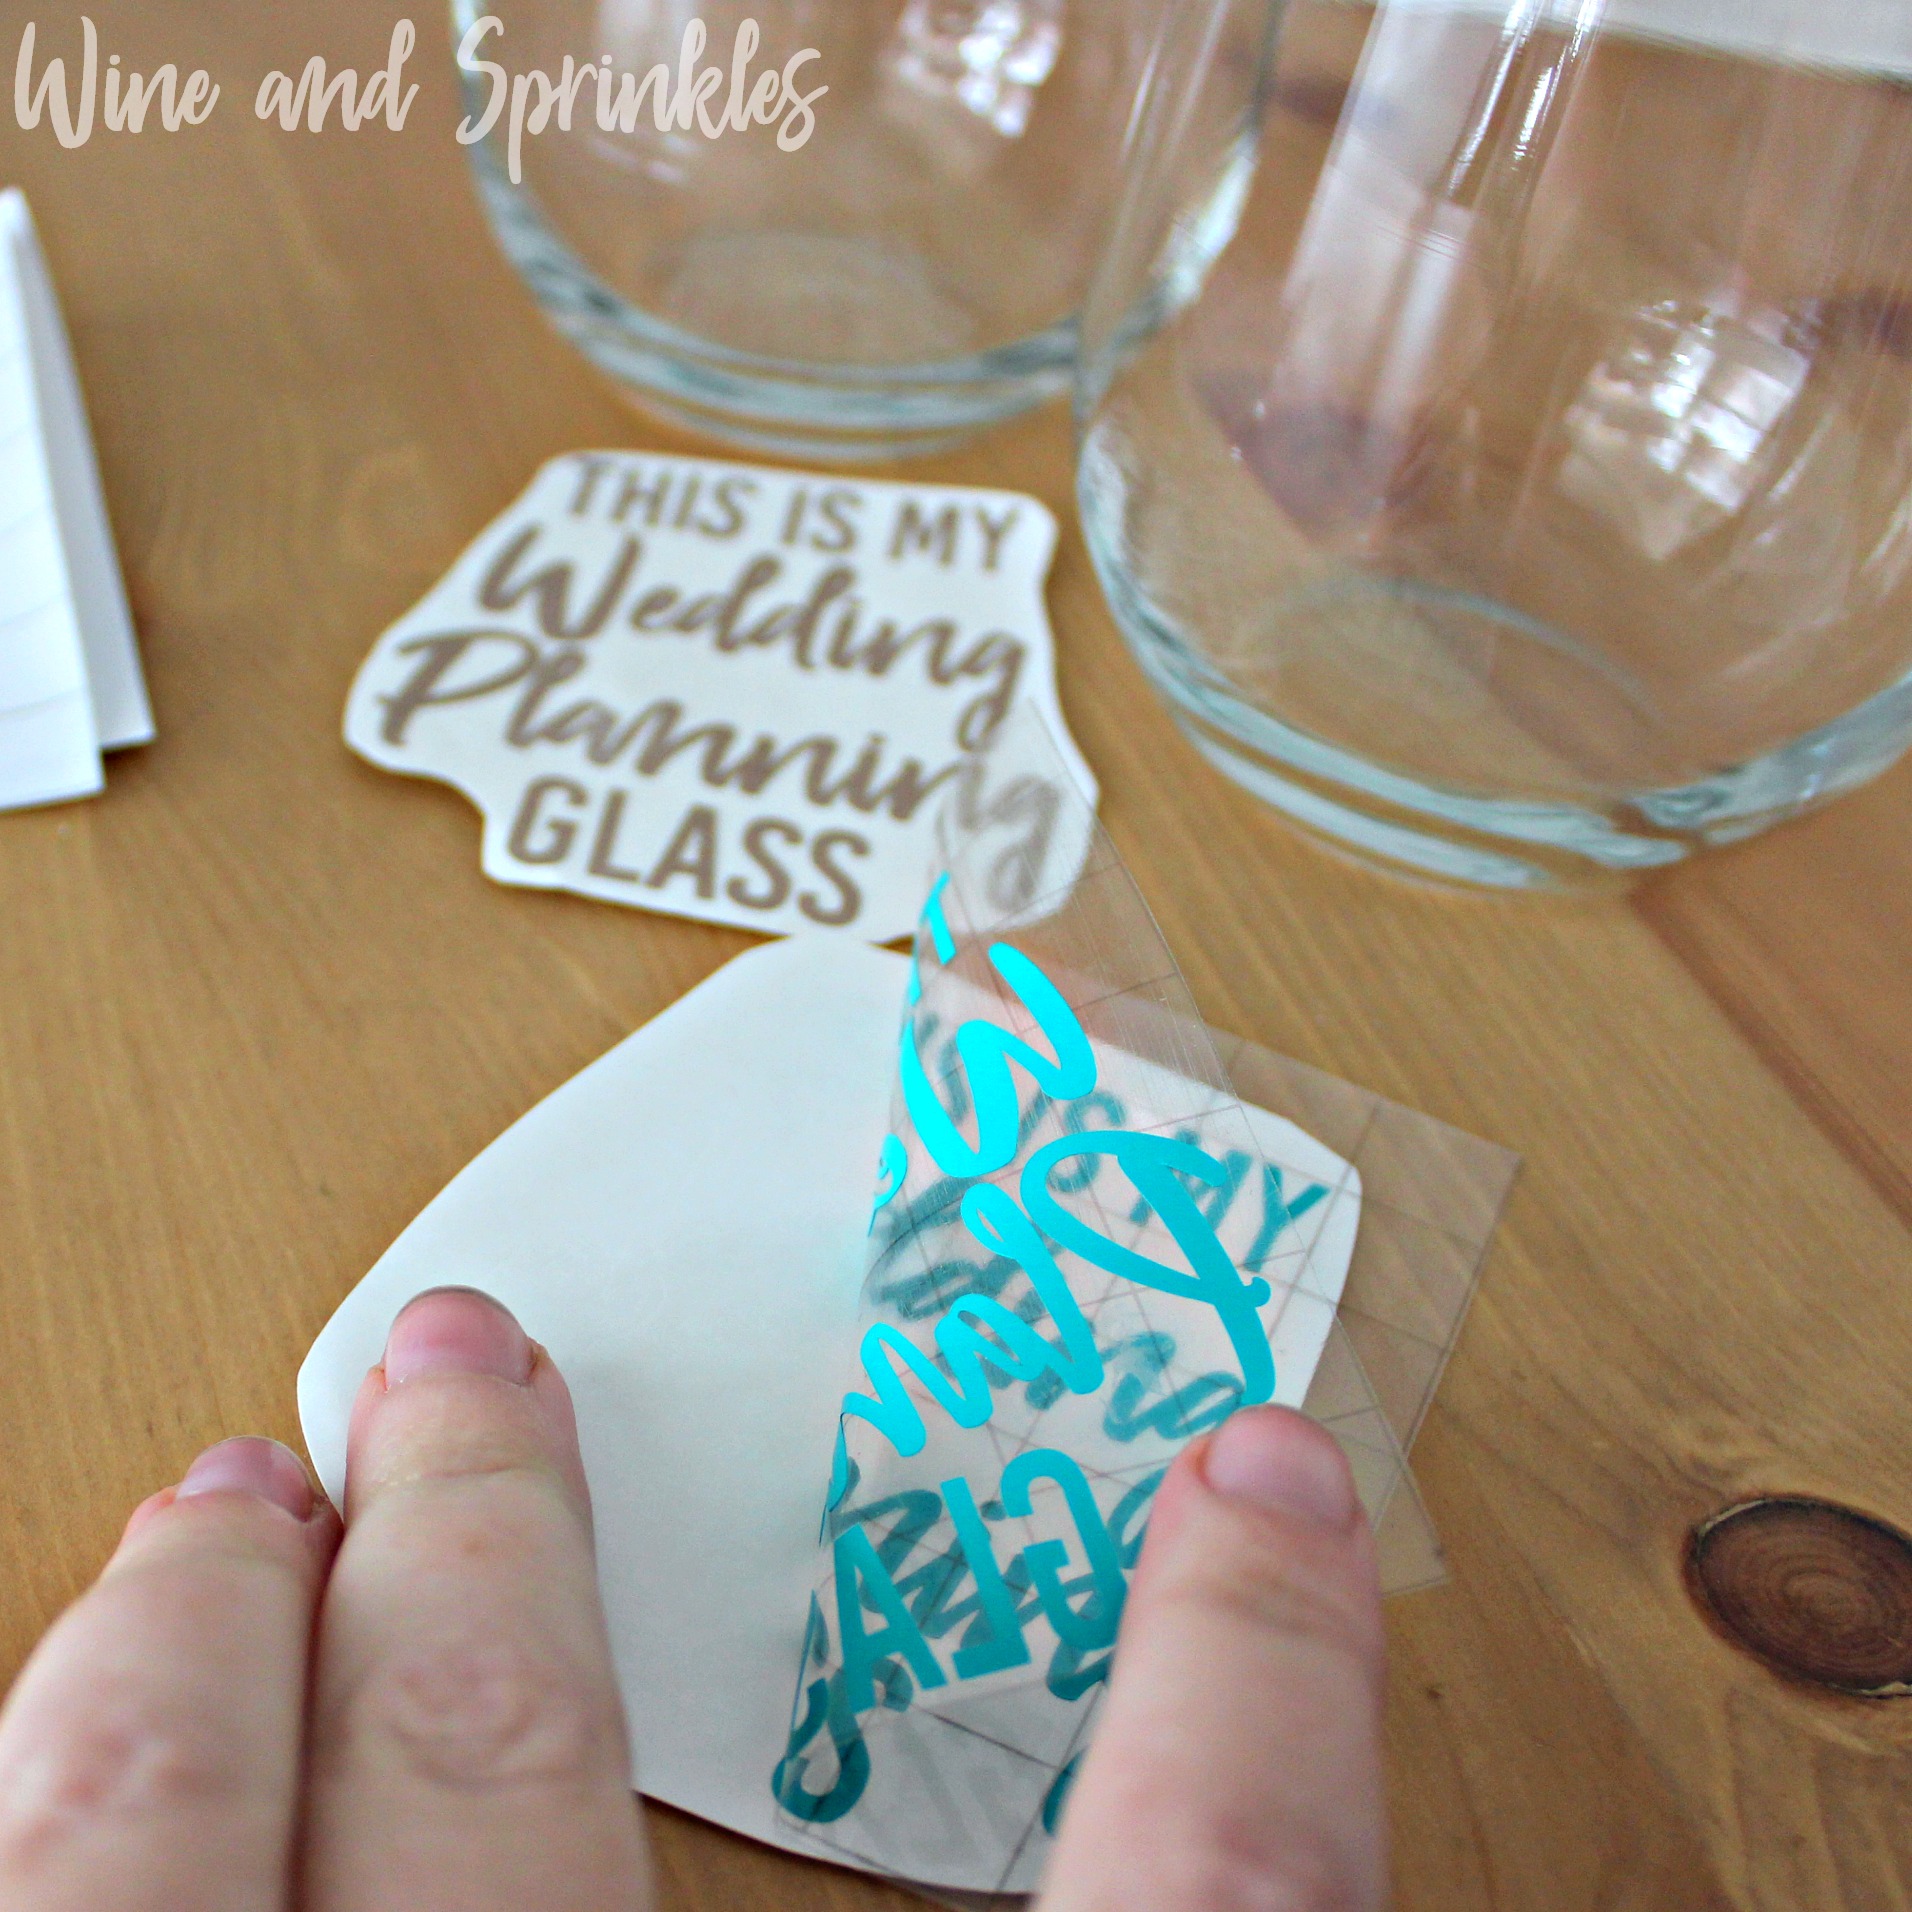
I made one in a Champagne Glitter Vinyl and another in a Turquoise Vinyl, but if you are new to weeding small vinyl designs I would recommend not using the glitter vinyl. In addition, its easiest to smooth the design from the middle to the top, then middle to the bottom to deal with the curvature of the glass.


1. After downloading the cut files, import them into the Cricut Software. After creating a new project, select Upload Image. Select the file you wish to upload and it will automatically take you to the final upload screen, where you can name the file the select Save.
2. Cut the design(s) in your choice of permanent adhesive vinyl with the Vinyl Setting on your Cricut. The SVG Files are sized so that they will automatically cut to the size you see in the photos, but if you want to change the size you can do so to fit another sized glass than the ones we recommend. :)

3. Once the designs are cut, weed away the extra vinyl and cut a piece of transfer taper to 3" x 3.5". Cut away any excess backing from the vinyl design and smooth transfer tape over the design, aligning it to the top of the text (“this is my”). I also aligned mine so that one set of the 1/2” blocks on the transfer tape were above the text so the it was easy to align on the glass.Using the smoother tool, smooth the tape to the vinyl, removing any air bubbles.

4. Remove the transfer tape, making sure that the whole of the design transfers from the vinyl backing to the transfer tape.

5. Now, transfer the design to your glass. align the top of the transfer tape to the lip of the glass, as shown below. Smooth down the middle of the transfer tape to about the middle of the design, then smooth the design around the curve of the glass from the middle of the design to the edges. Smooth any air bubbles out of the vinyl, but don’t worry about the crinkling of the transfer tape with the curved surface.

6. Remove the transfer tape to leave the design on the glass. Any additional bubbles in the design can now be smoothed out with either your fingers or the smoother tool. The letters are small enough that I only had one to smooth and it did quite easily. :)

And now you have the perfect wine glass to help you or your new favorite bride get through the fun and stress of planning a wedding! :)


