This post contains affiliate links, meaning that if you click on a link I will recieve a small comission. This costs you nothing extra and I only promote products I use and love! You can read our full disclosure here

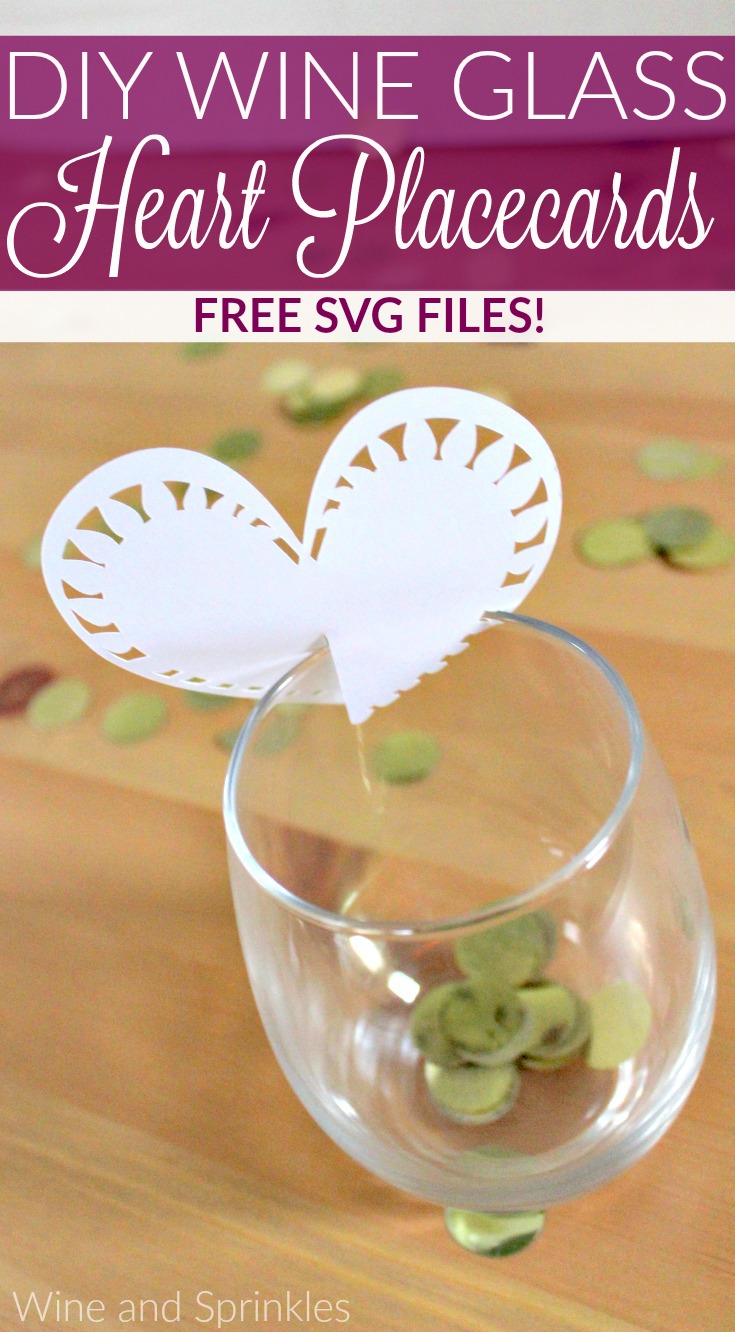
What better way to adorn your wine glasses in this lovely Valentine’s Season! I’m on a heart kick right now, probably due to really wanting to have a Galentine’s Brunch. :) For Galentine’s Day, Valentines Day, or any Wedding Celebration; these place cards are a cute and fun way to give your guests a glass and their table information.
I’ve made a couple place cards before but I want to try some Wine Glass Place cards again, but this time cutting them so they could sit on the edge of the glass. I started with a simple heart place cards that can easily be handwritten with your guest information. These ones are super simple, literally cut out, slight fold, and ready to go! :)

Supplies:
White Cardstock
Craft Cutter and Tool Set
Adhesive Mat
Heart Place Card Design File


1. After downloading the cut files, import them into the Cricut Software. After creating a new project, select Upload Image. Select the file you wish to upload and it will automatically take you to the final upload screen, where you can name the file the select Save. Copy and Paste the design for as many placecards as you want (1 standard sheet of paper will fit 6 hearts).
2. Cut the design(s) in your choice of card stock with the Light Card stock Setting on your Cricut. The SVG Files are sized so that they will automatically cut to the size you see in the photos, but if you want to change the size you can. :) Load the Cricut with card stock (portrait orientation) and cut the designs.
Note: You’ll notice that I used a standard mat for this project, but I would recommend the Light Grip Mats for Paper Products. This just happens to be one of my older mats that’s not quite so sticky anymore :)
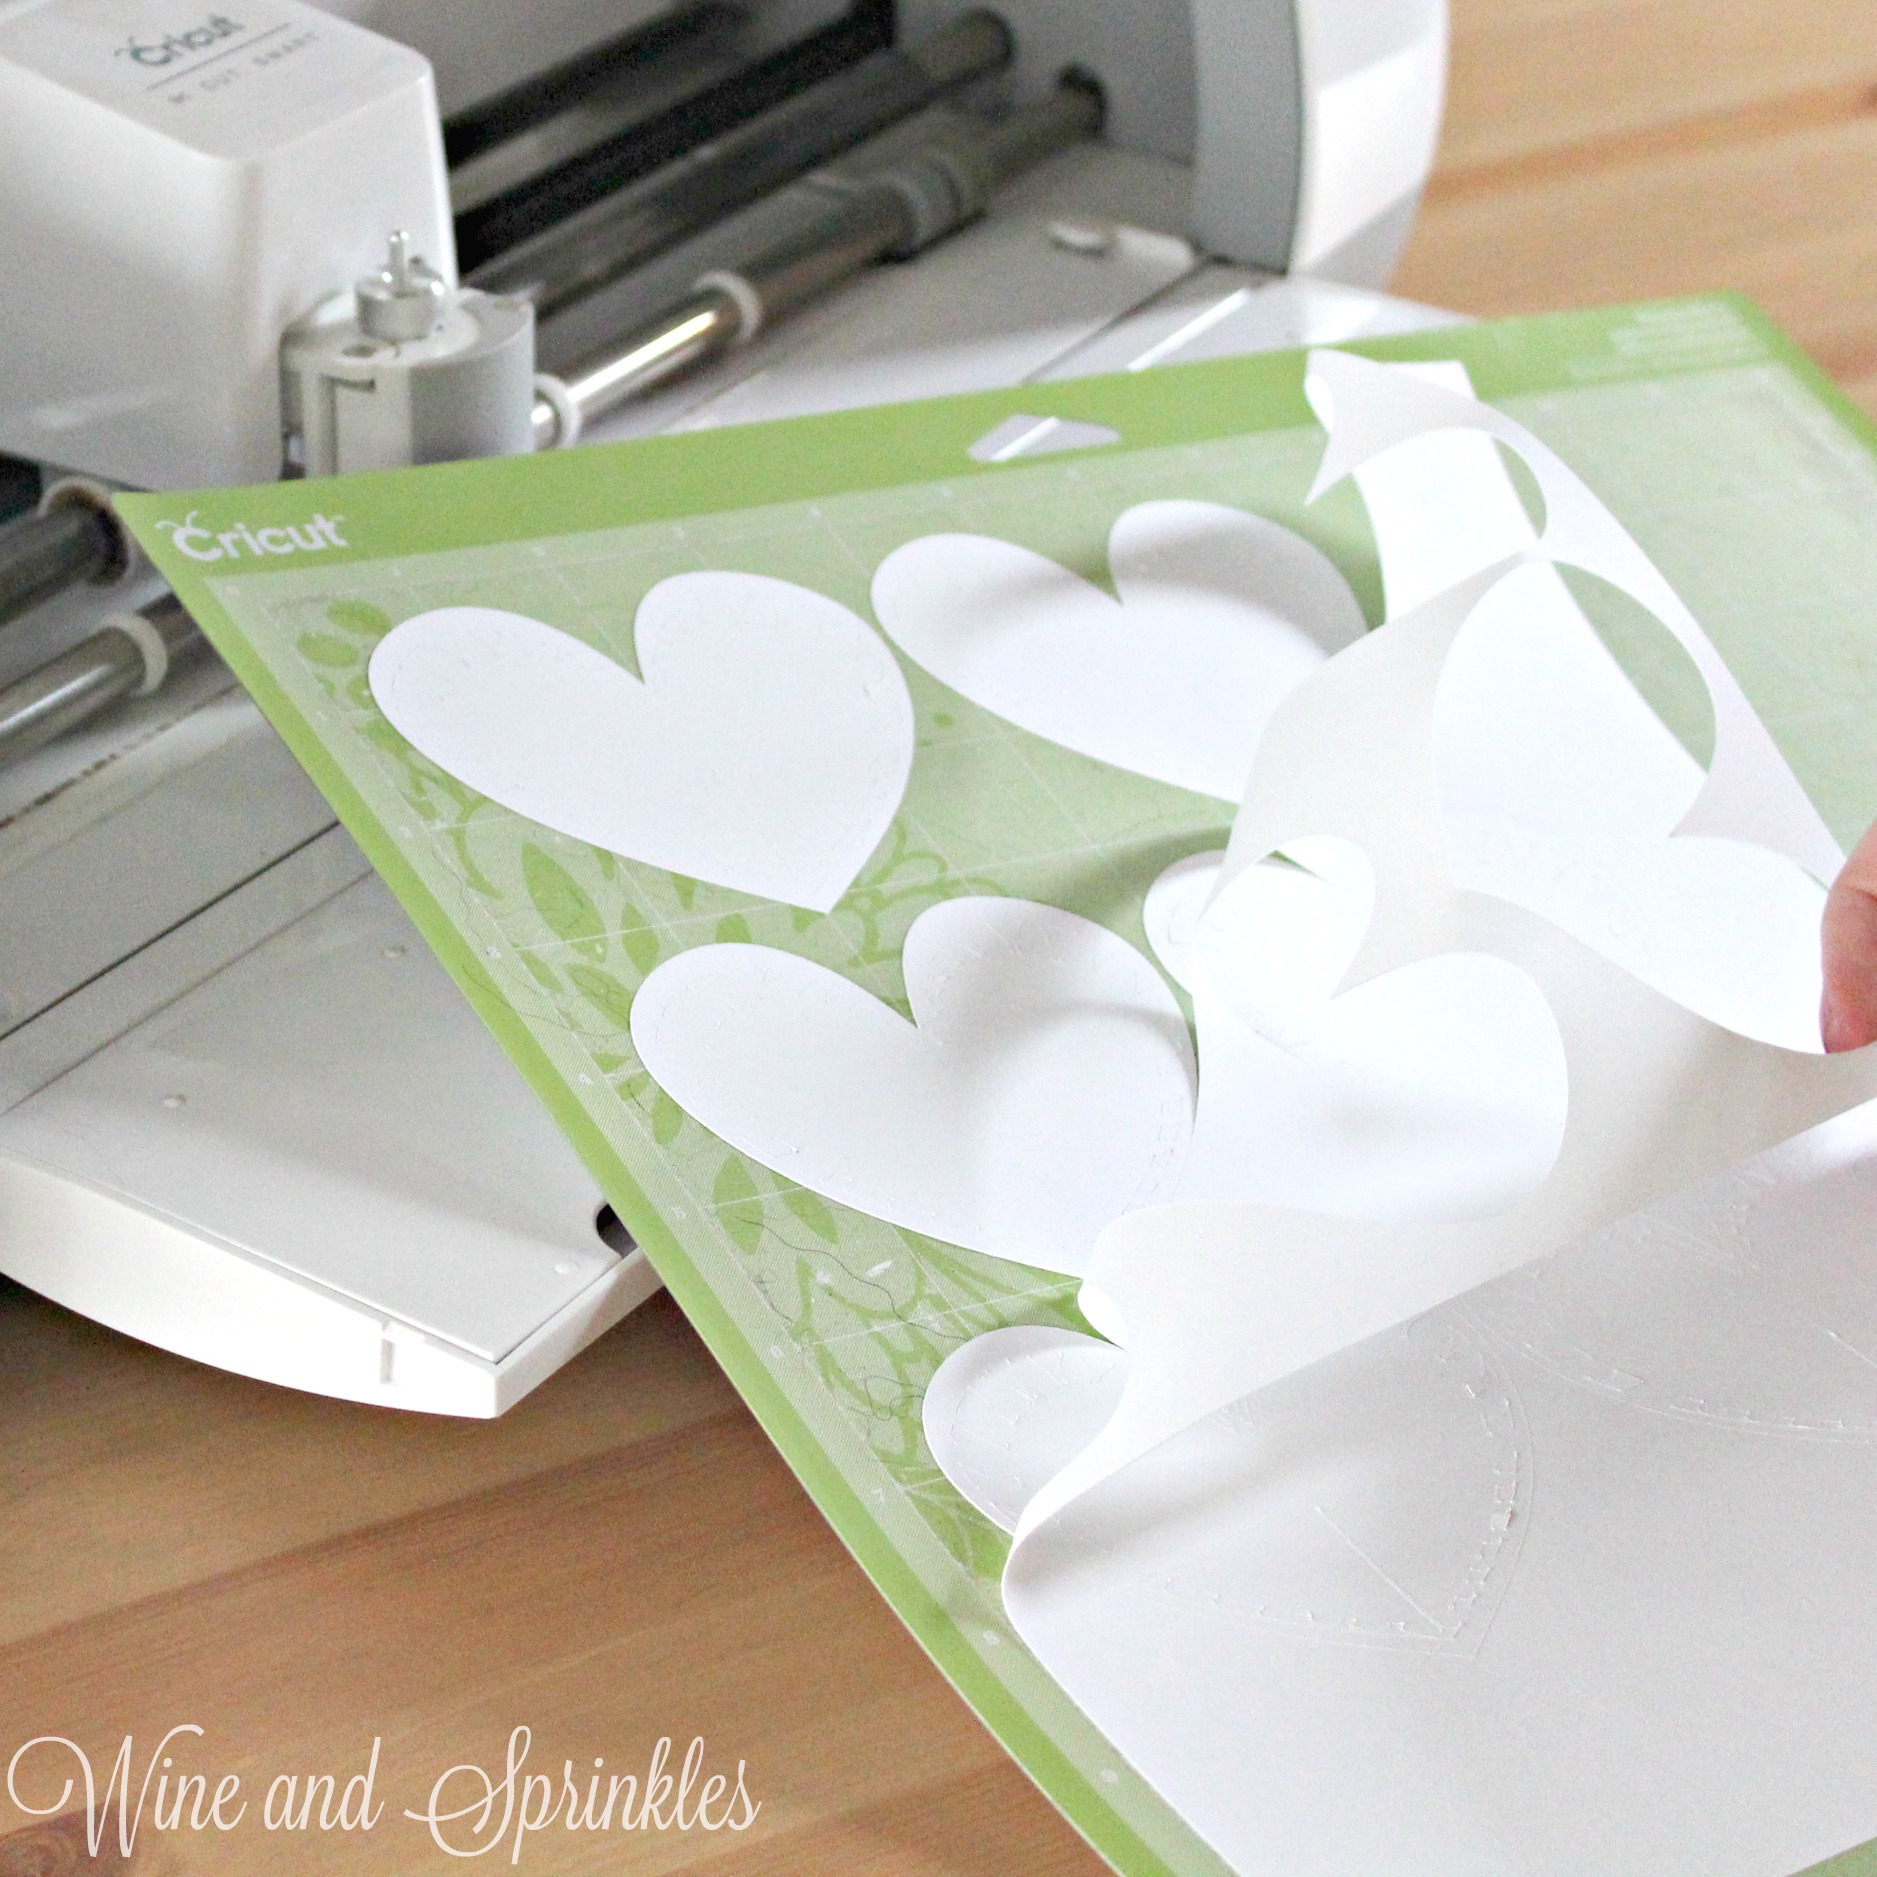
3. Remove the card stock from the outer edge, leaving the hearts on the cutting mat.

4. Peel off each place card from the edge of the design, leaving the extra paper on the cutting mat. Repeat with all hearts, then remove and discard all the card stock left on the cutting mat.

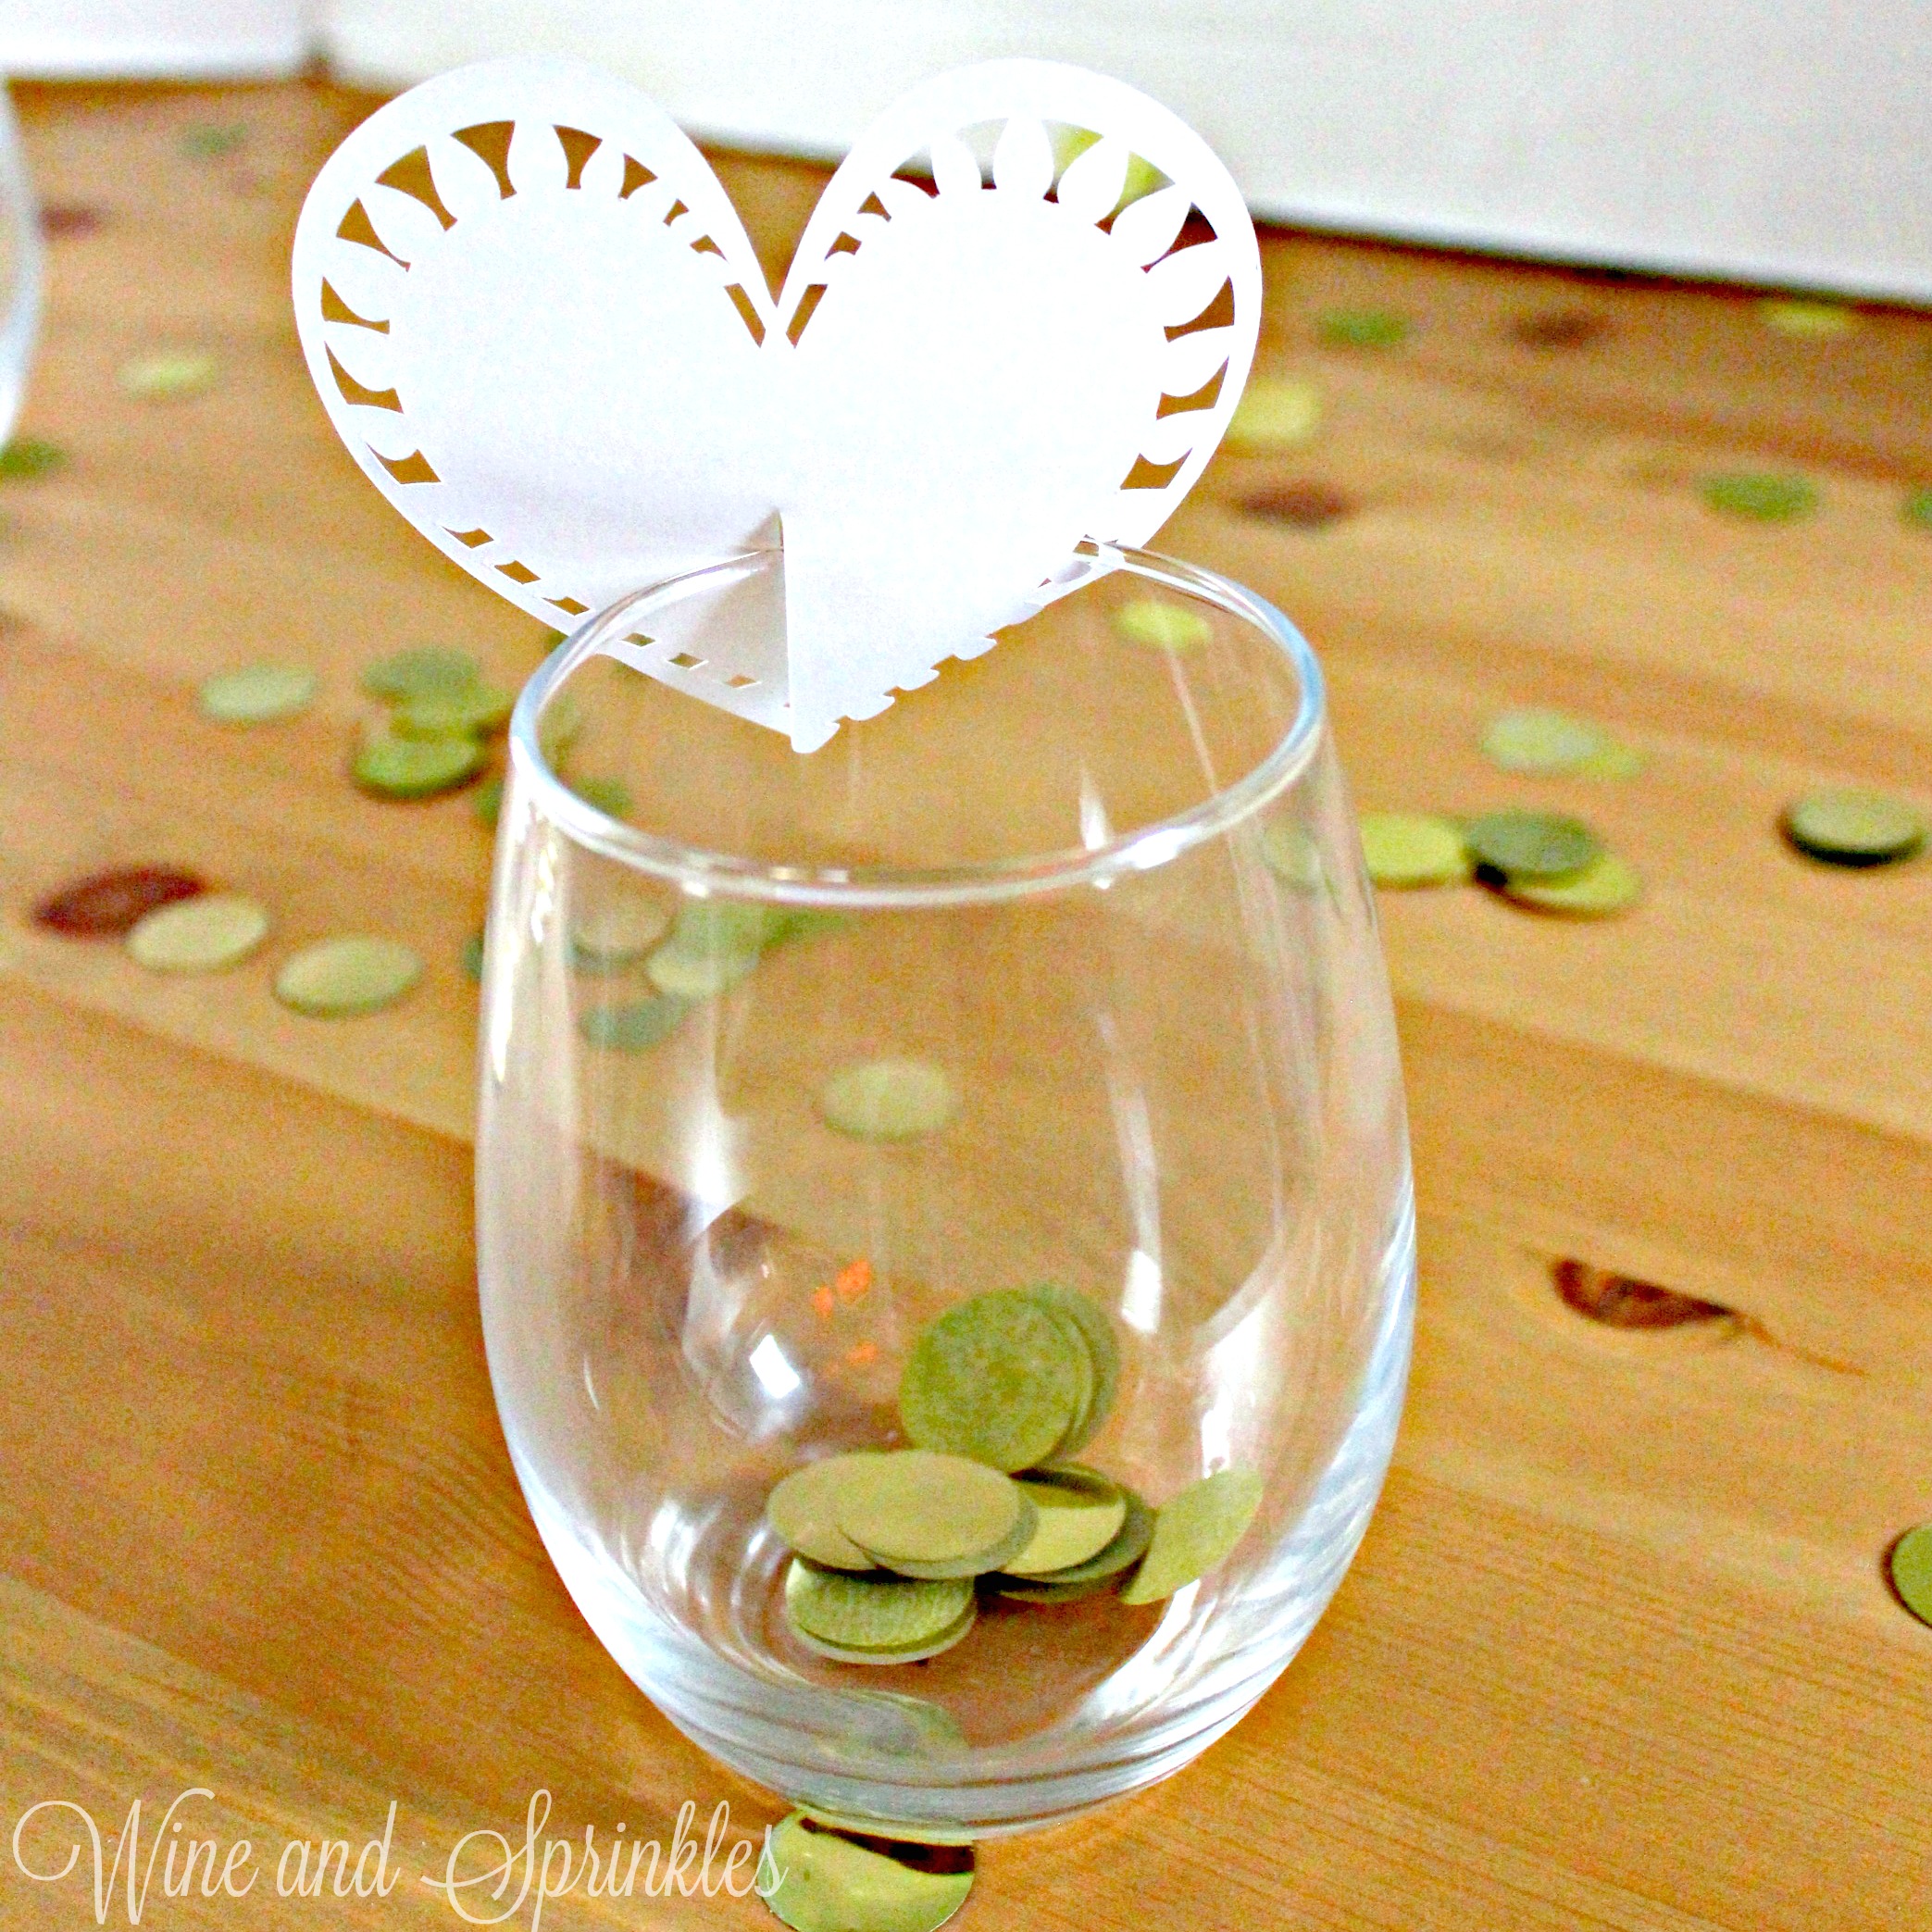
5. Using your finger, create a bend horizontally on the card, not folding the card but pressing it with your fingers into a curved shape. This will make it easier to sit nicely on the glass.
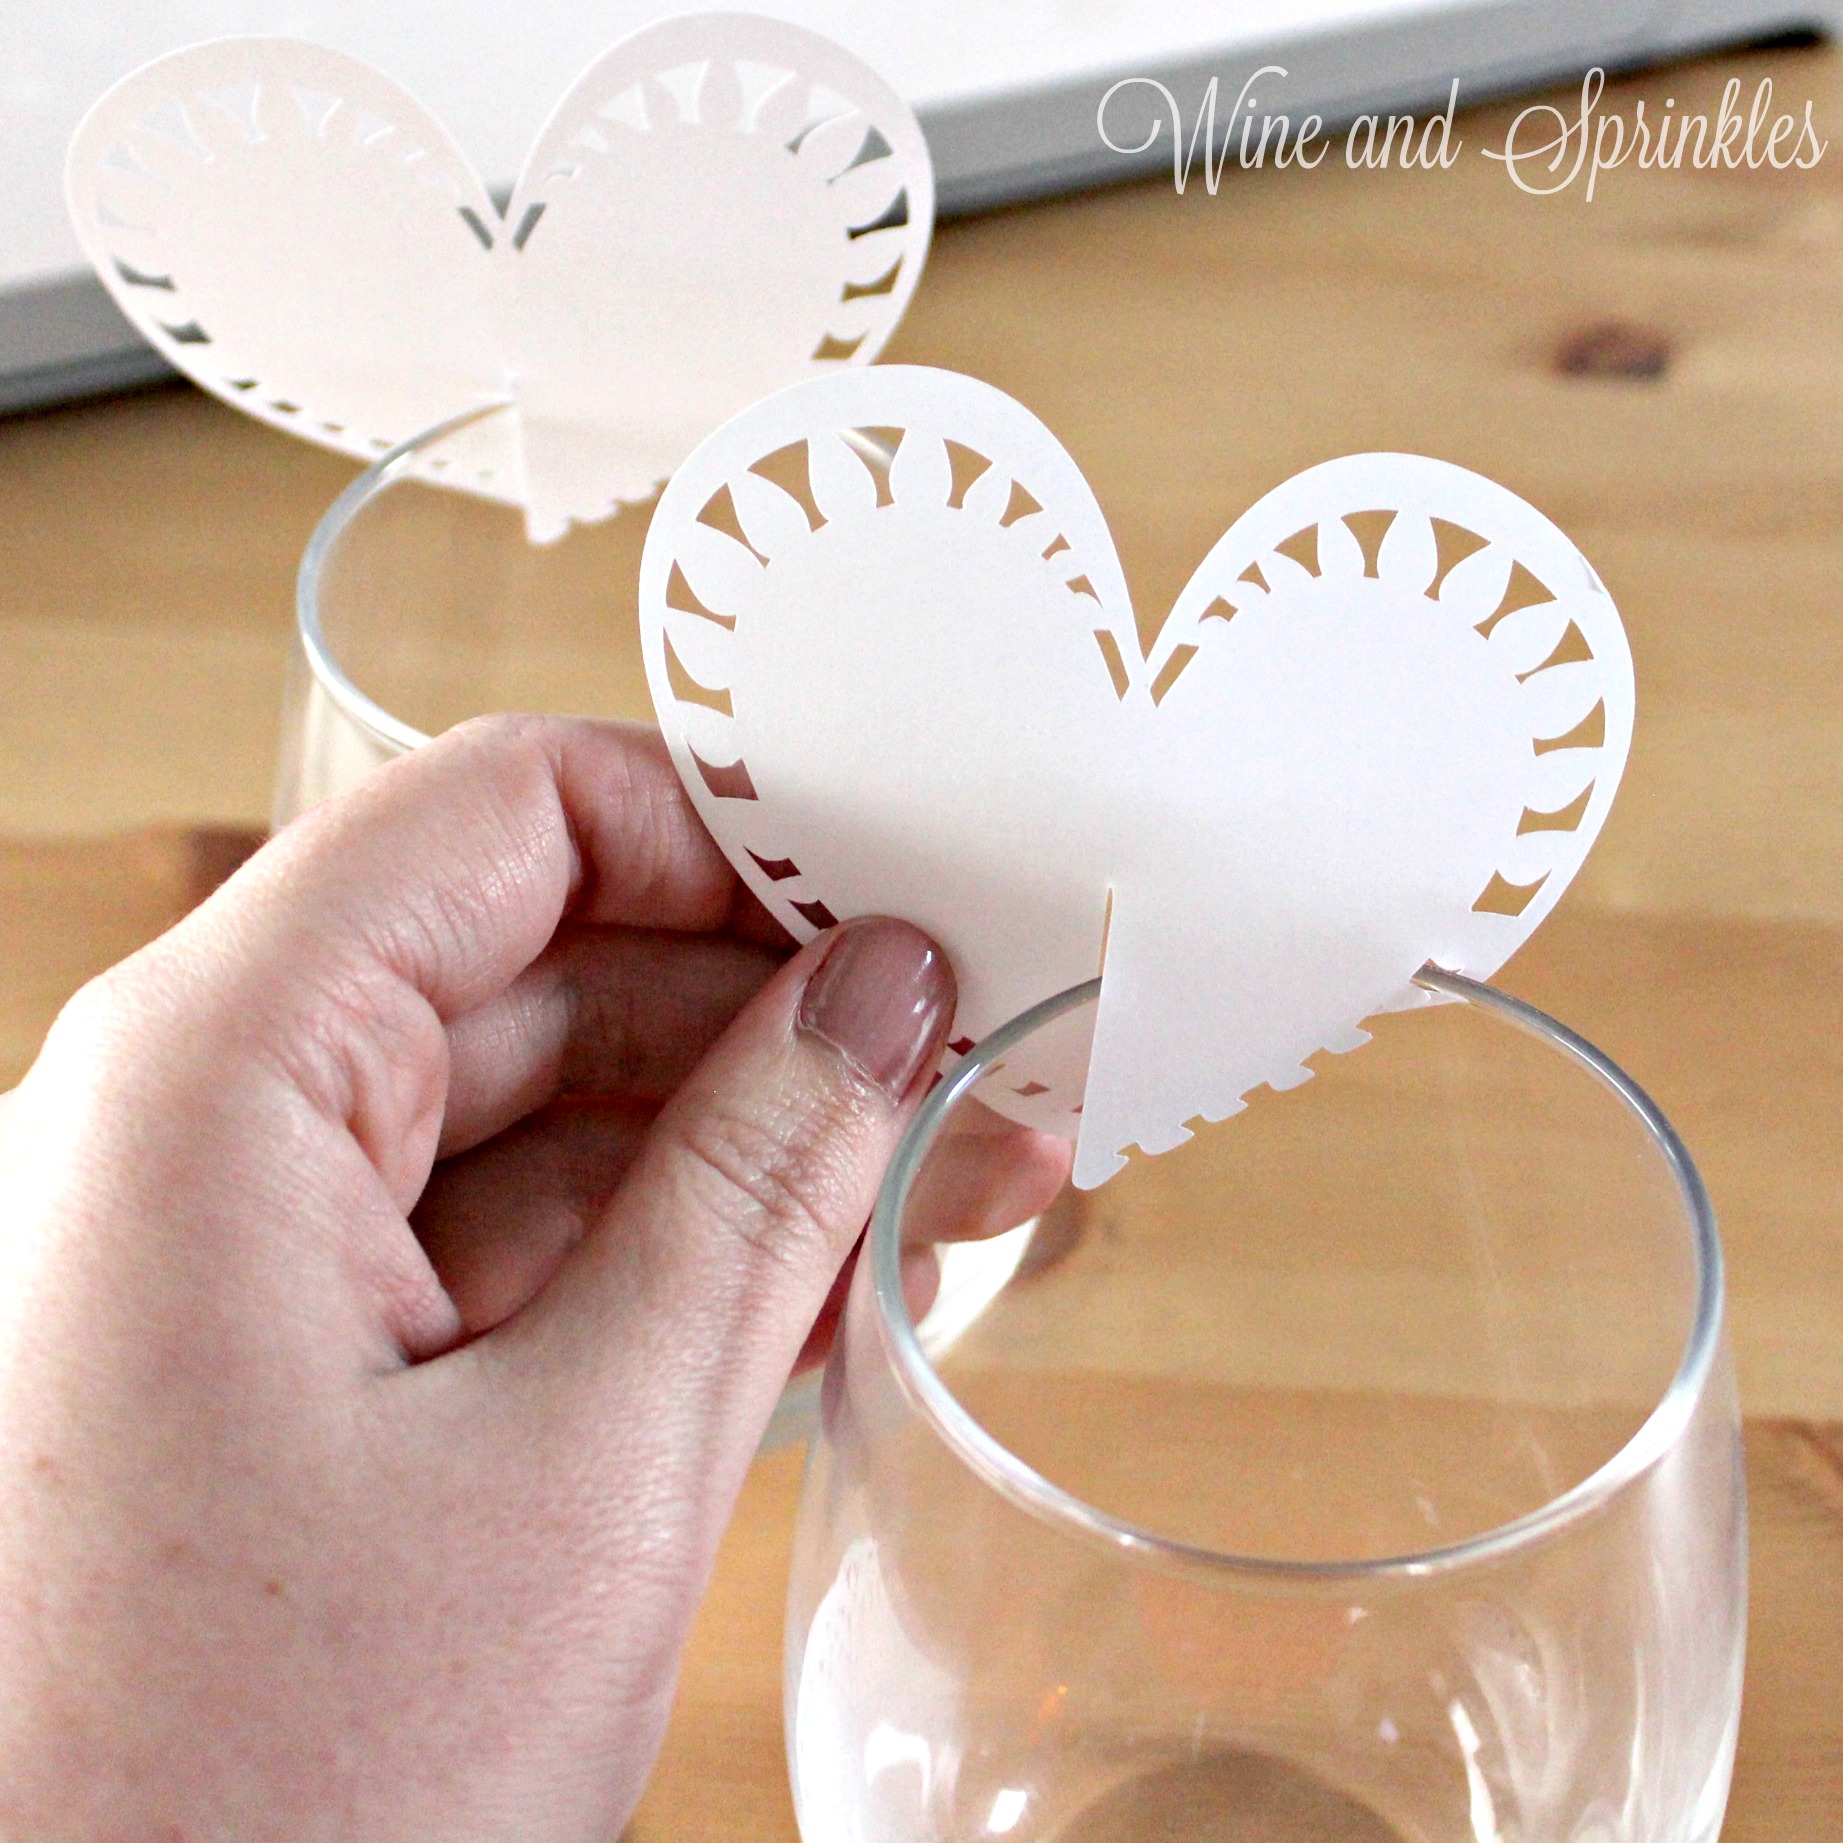
6. Place on the glass with the cut out “tab” side of the heart on the inside of the glass. Once your guest information has been written, they can be stored until you are ready to place them on the glasses of your event! :)