
As promised in the last post, here are the steps I took to make the glitter sugar rim for the Kinky Lemon Drops. I originally planned on just rimming the glasses in glitter, but after tasting the glitter (and enduring a glittery tongue for a couple hours) I found that the glitter itself is tasteless. To me that took away one of the best parts of the lemon drop, a sweet sugary rim with a cold tart cocktail!

To start I took some of the rose pink cake dye I already owned and dyed about 1 cup of sugar. To dye sugar your best bet is to get a gel based food coloring, which you can find in the cake section of your local craft store. Gel based food coloring won't dissolve and causes far fewer sugar clumps than liquid food coloring does and will give a much more vibrant color. I always use a mini whisk to make colored sugars but any small whisk should do the trick. Start with about a 1/4 tsp. of food coloring (I just dipped my clean whisk in the dye) and whisk into the sugar until the color is fully incorporated. Continue to add food coloring until you reach your desired color; however, if you are using the "whisk dip" method like me, make sure to clean your whisk before every dip. You don't wan't sugar or other contaminants getting into your dye! Don't be discouraged by how long you have to whisk in sugar, it takes a while but the result is beautiful!

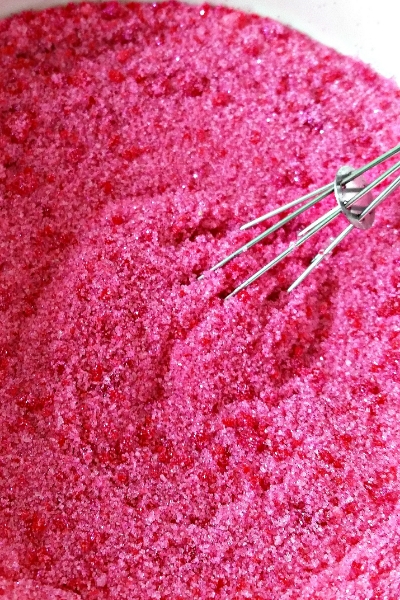
Start of the whisking through adding the glitter.
While sugar is still slightly damp from the dye, whisk in the edible glitter. The gel dye will help it cling to the sugar and not just sift to the bottom. I ended up using about half a jar of glitter for a cup and a half of sugar and it turned out perfect!
And there you have it! A magical batch of sugar for your next cocktail party! I usually just store mine in a mason jar but any method you use to store sugar will do. If you have questions, leave them in the comments!