This post contains affiliate links, meaning that if you click on a link I will recieve a small comission. This costs you nothing extra and I only promote products I use and love! You can read our full disclosure here
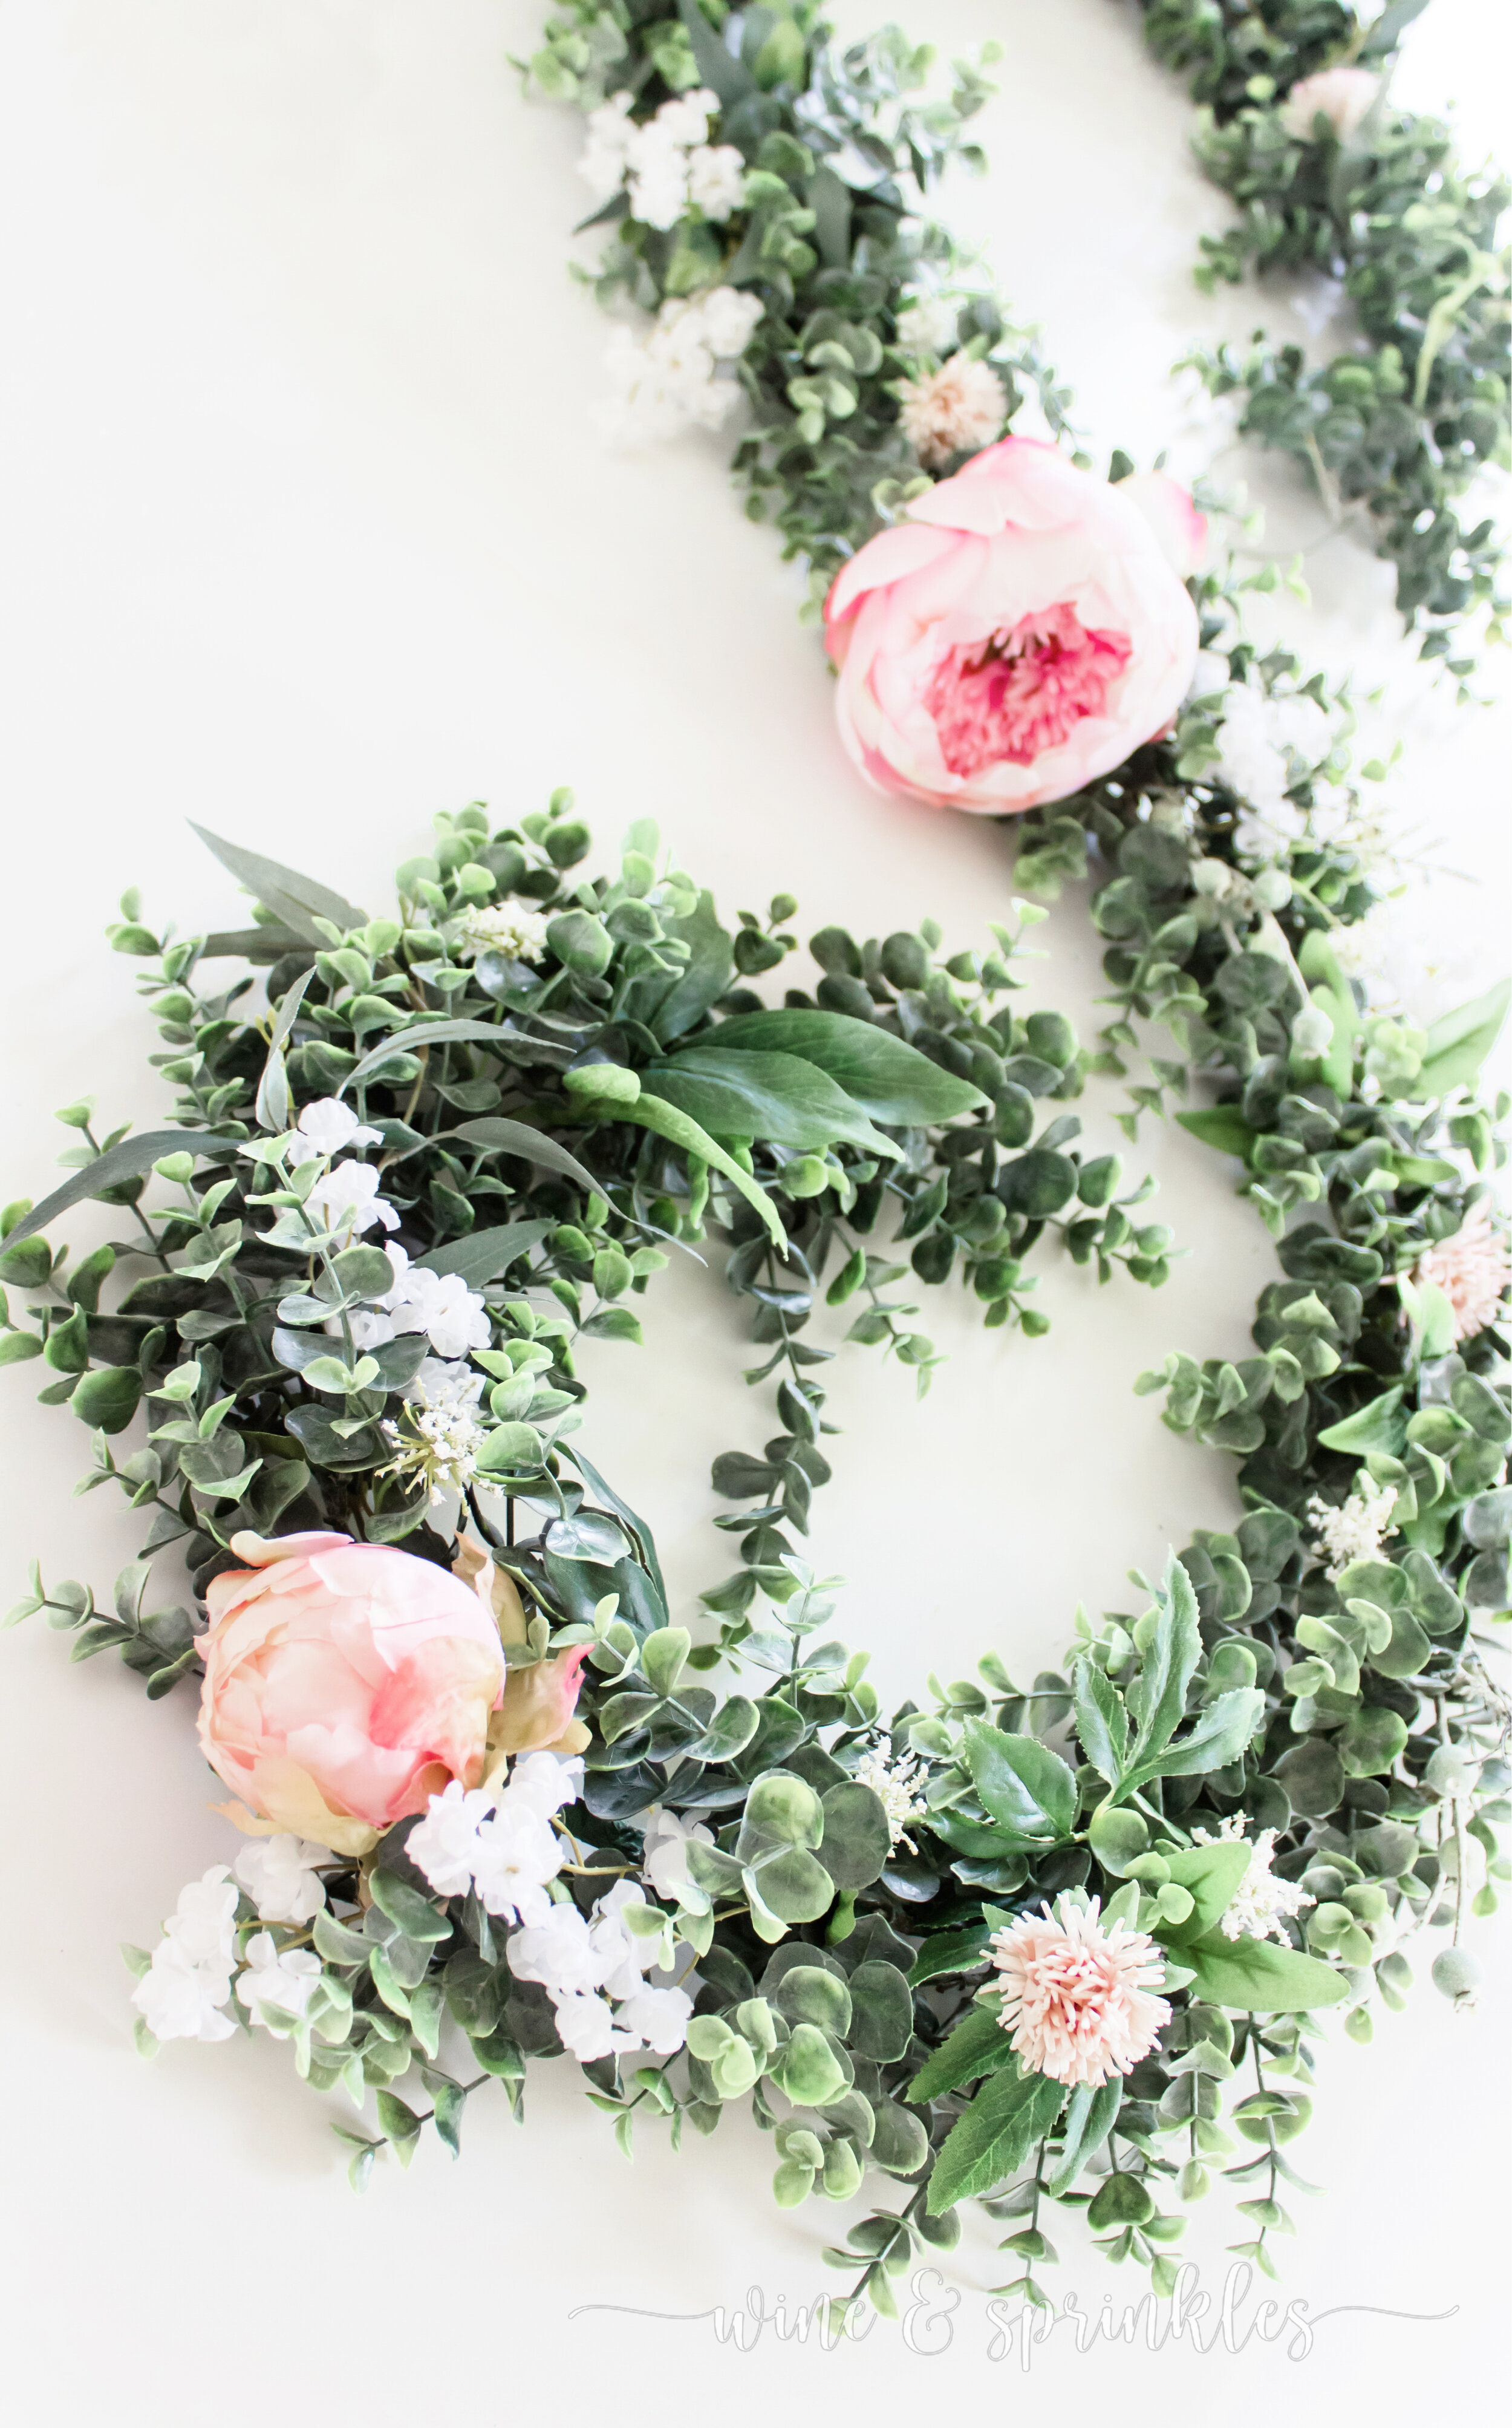
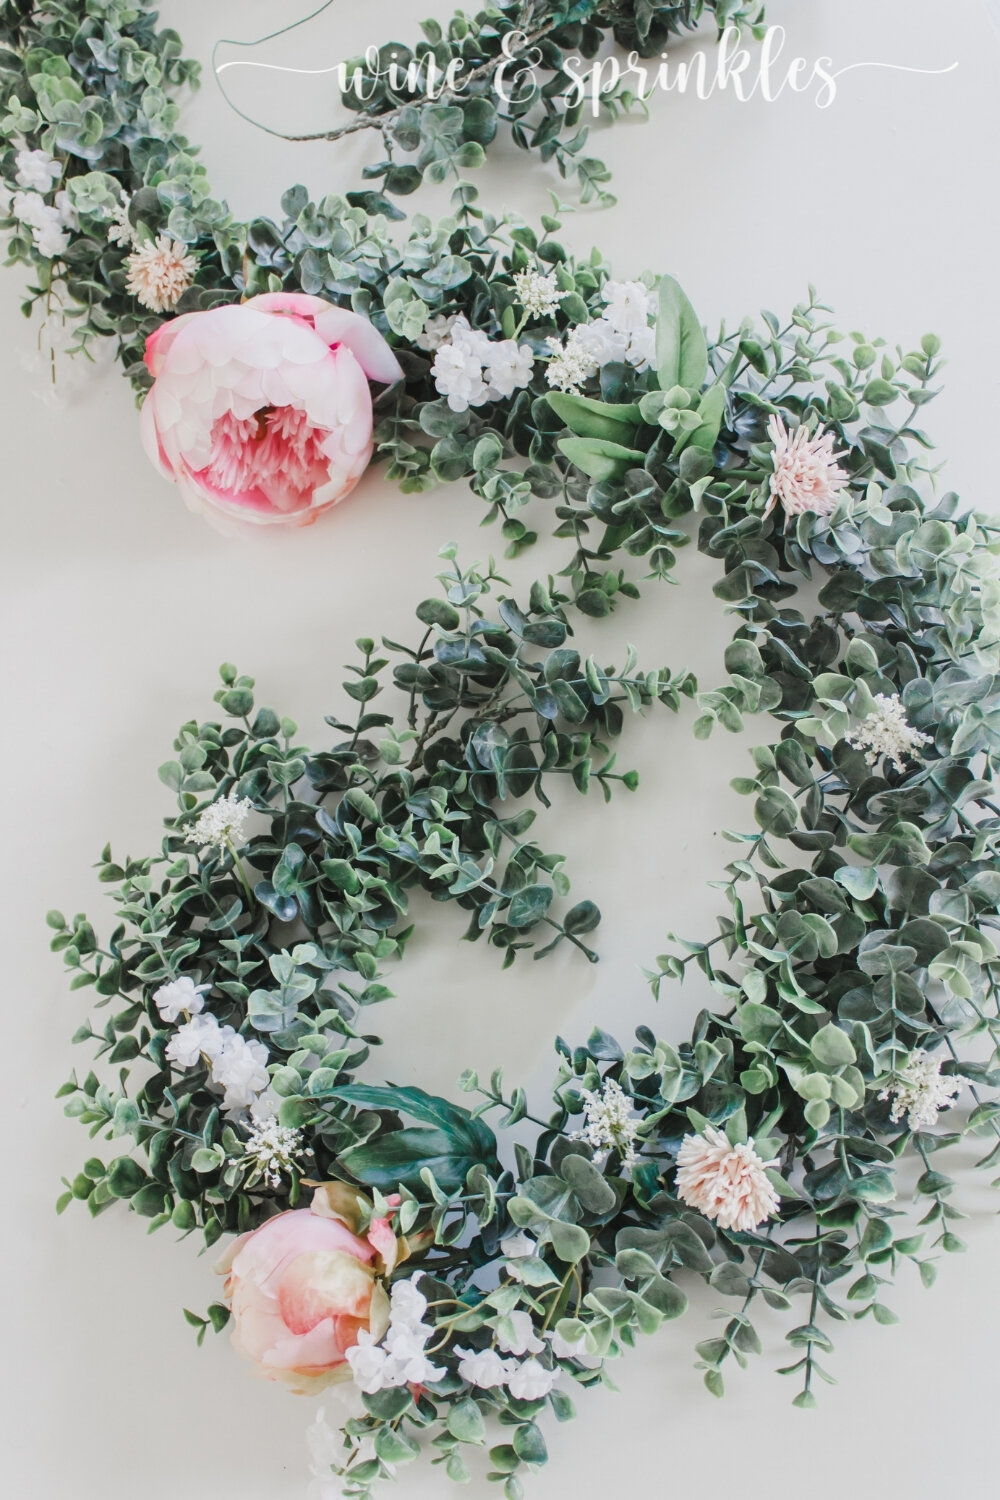
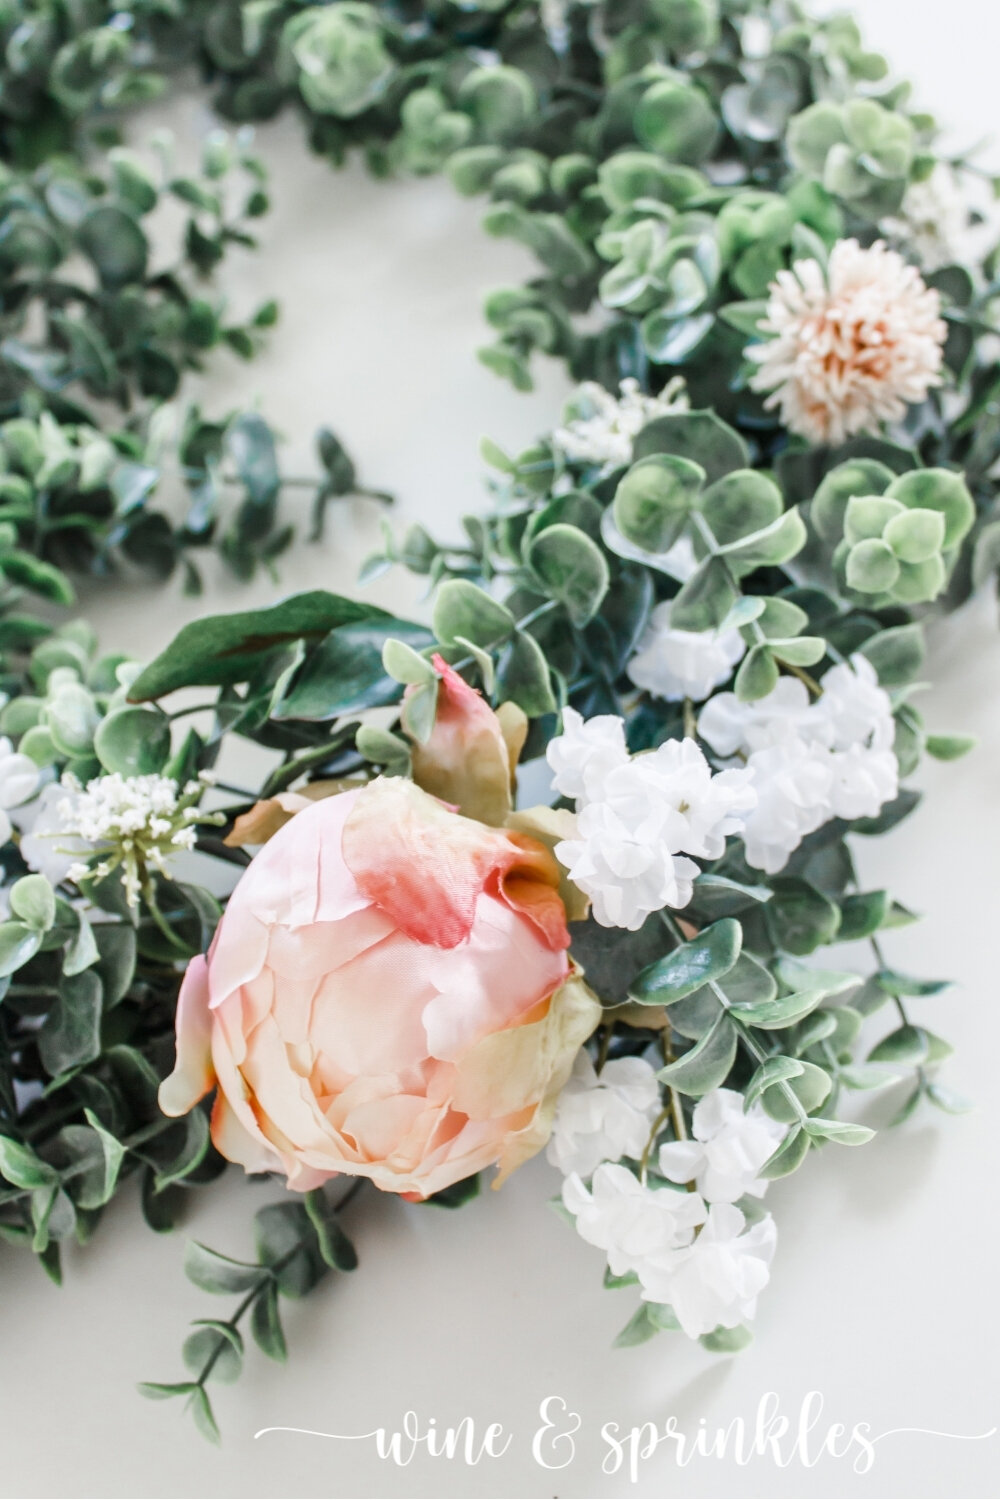
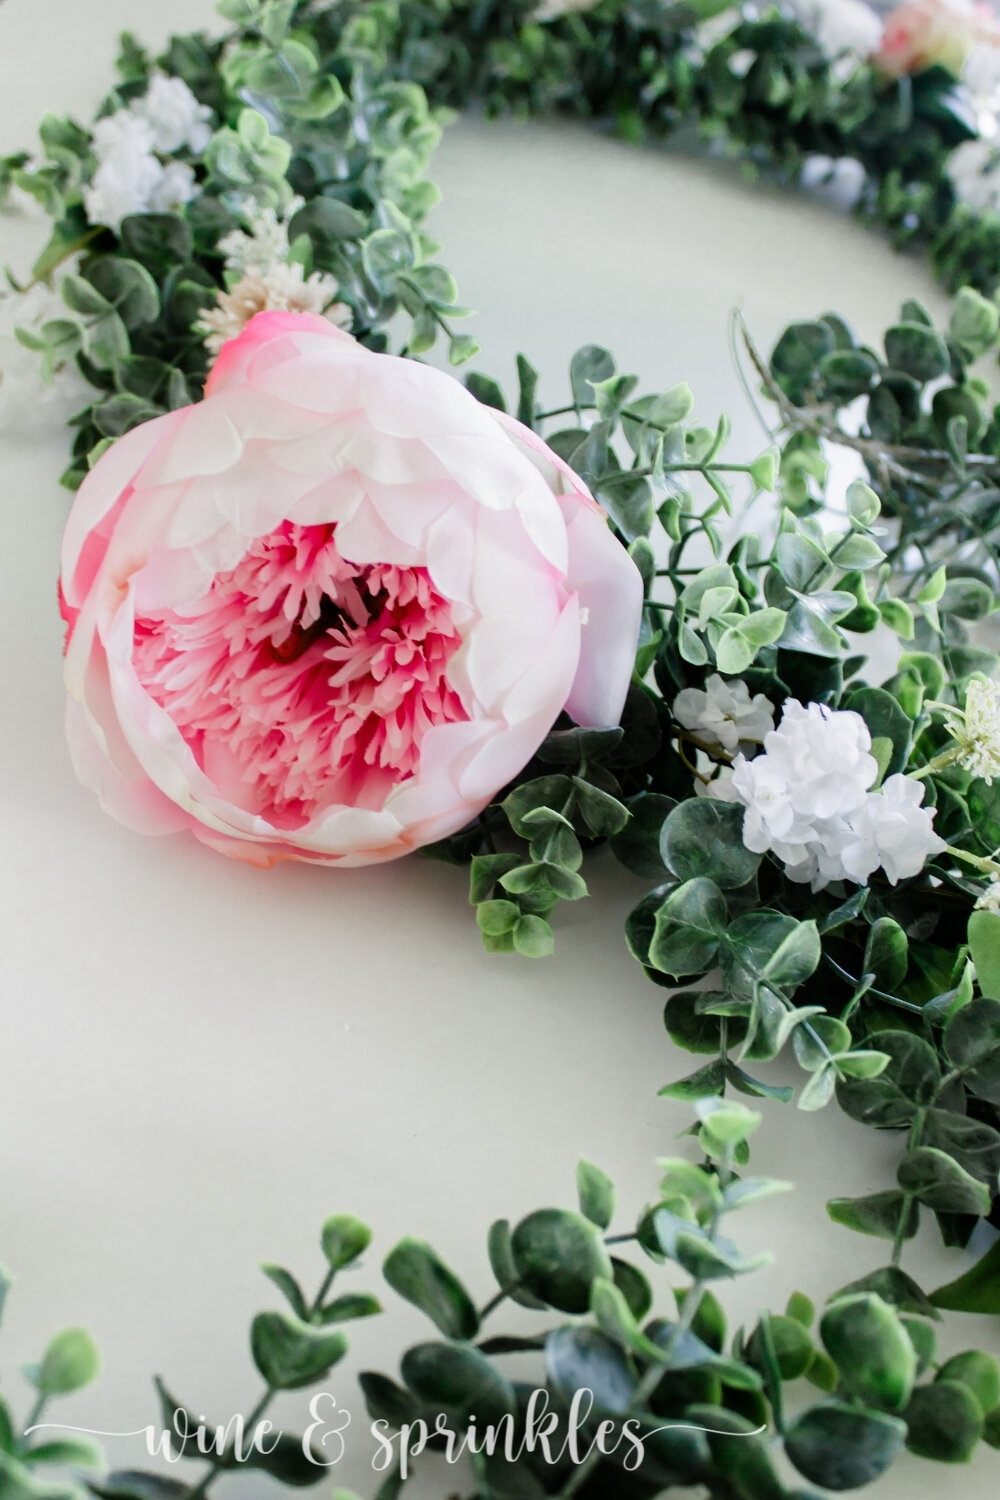
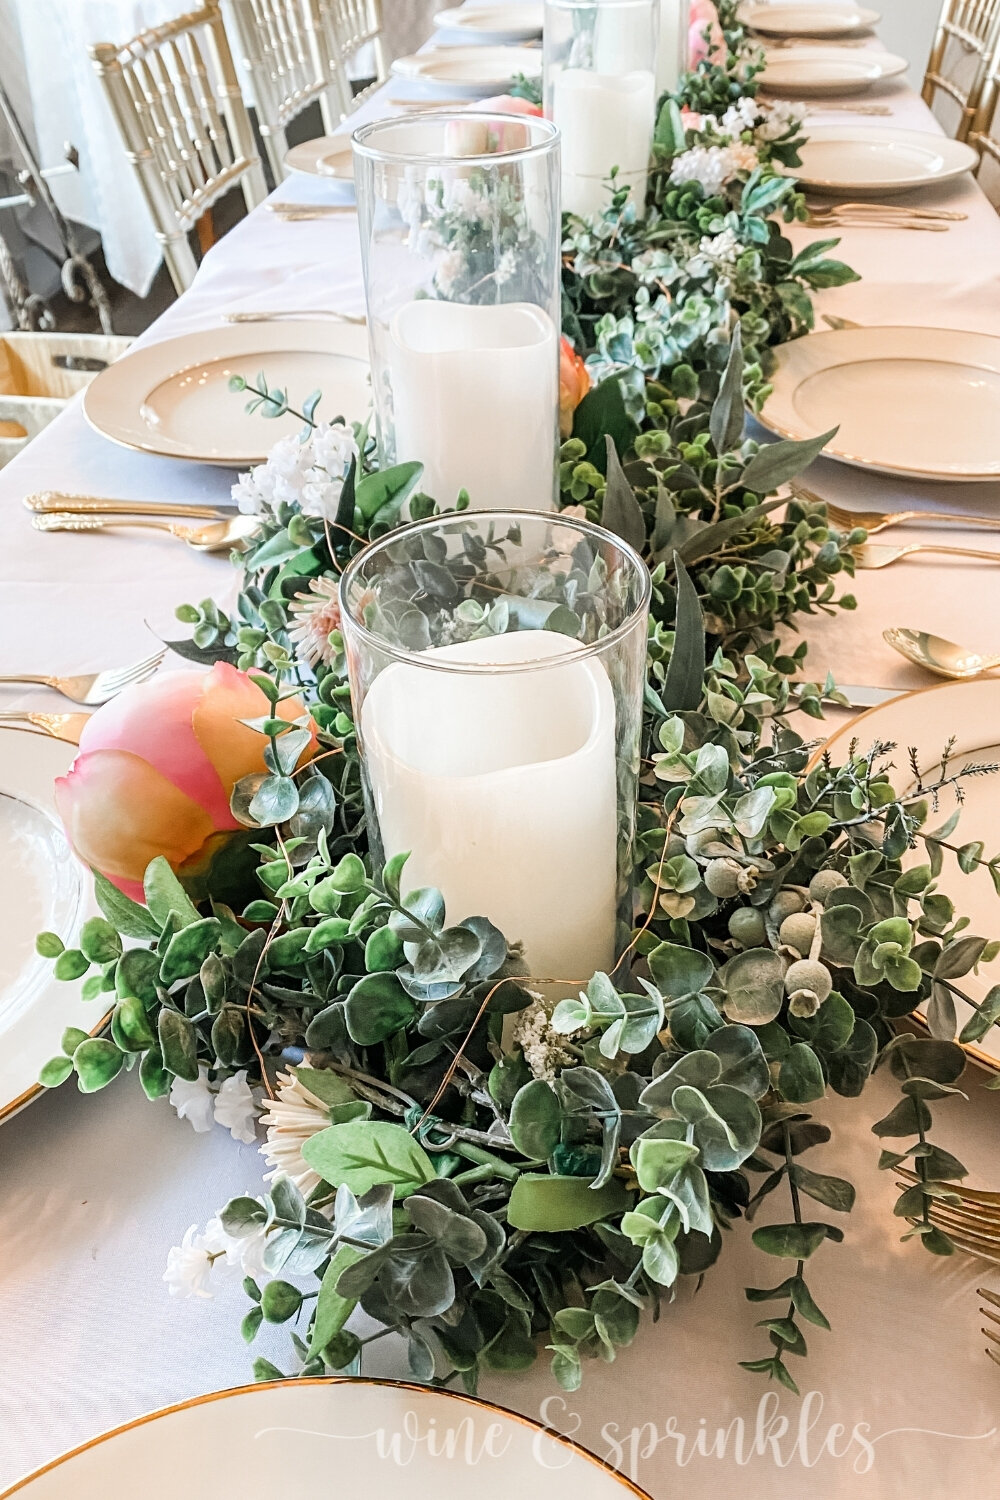
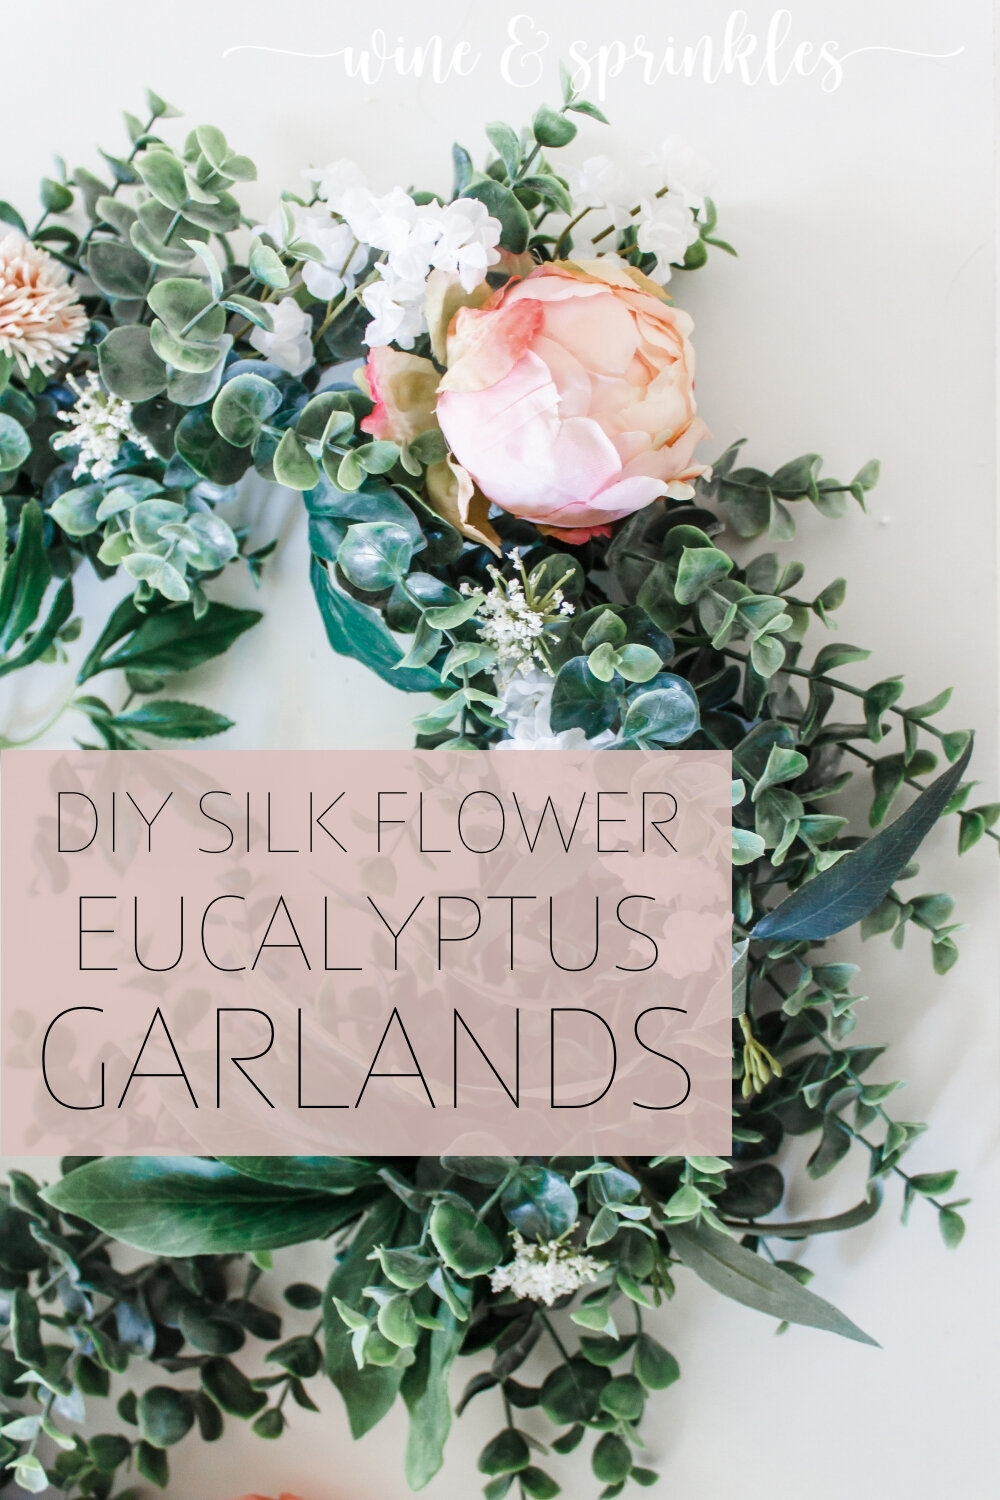
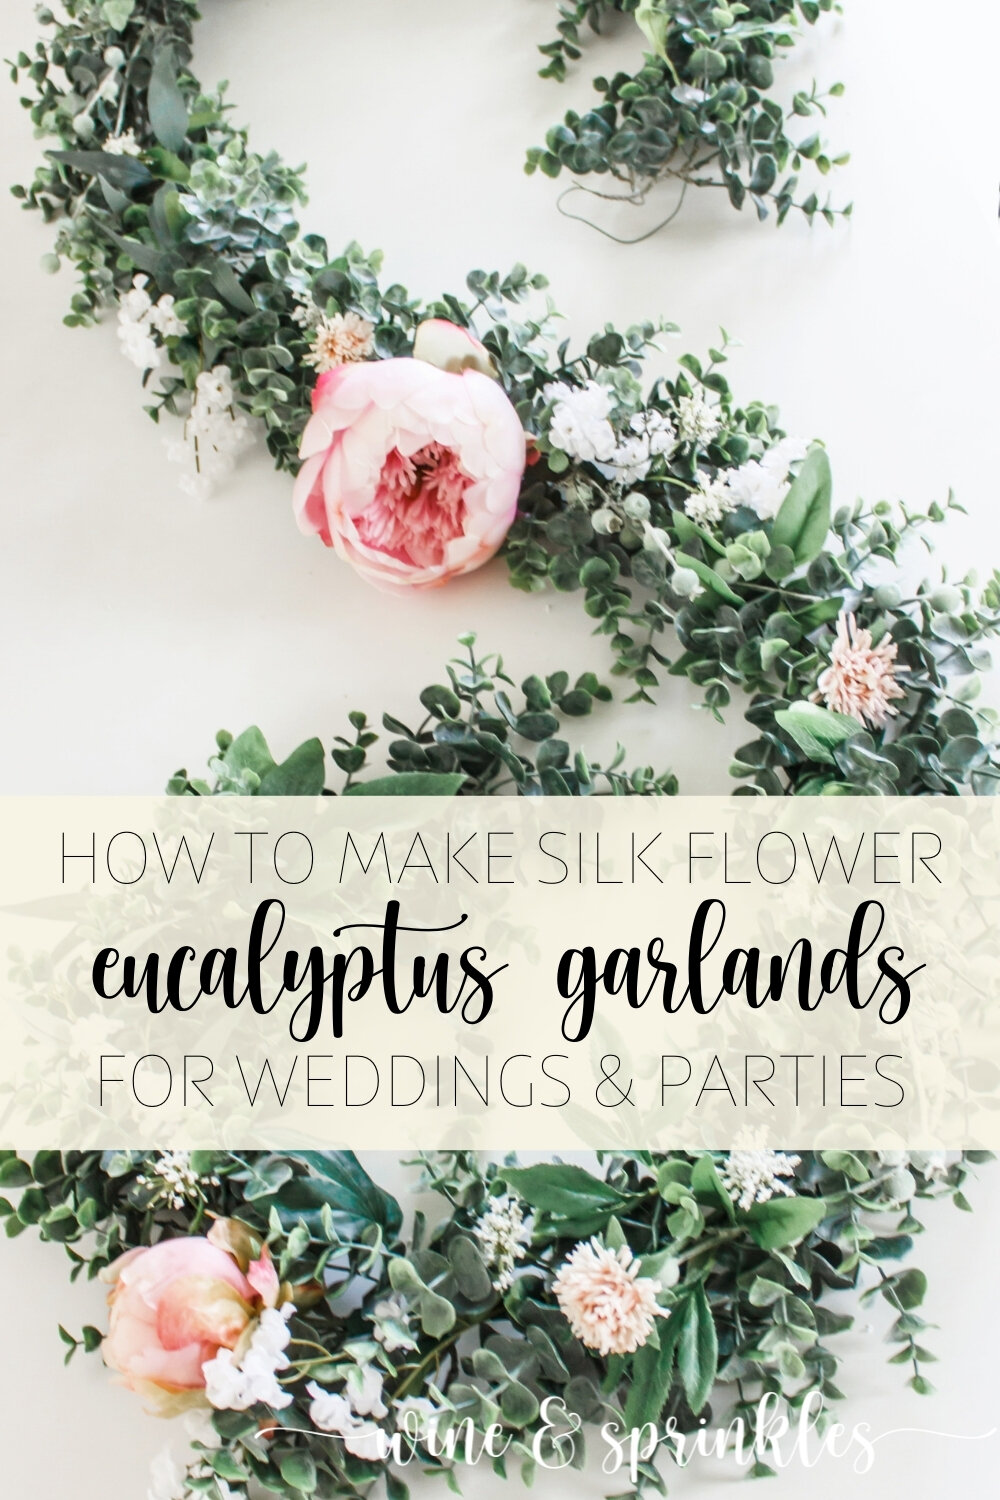
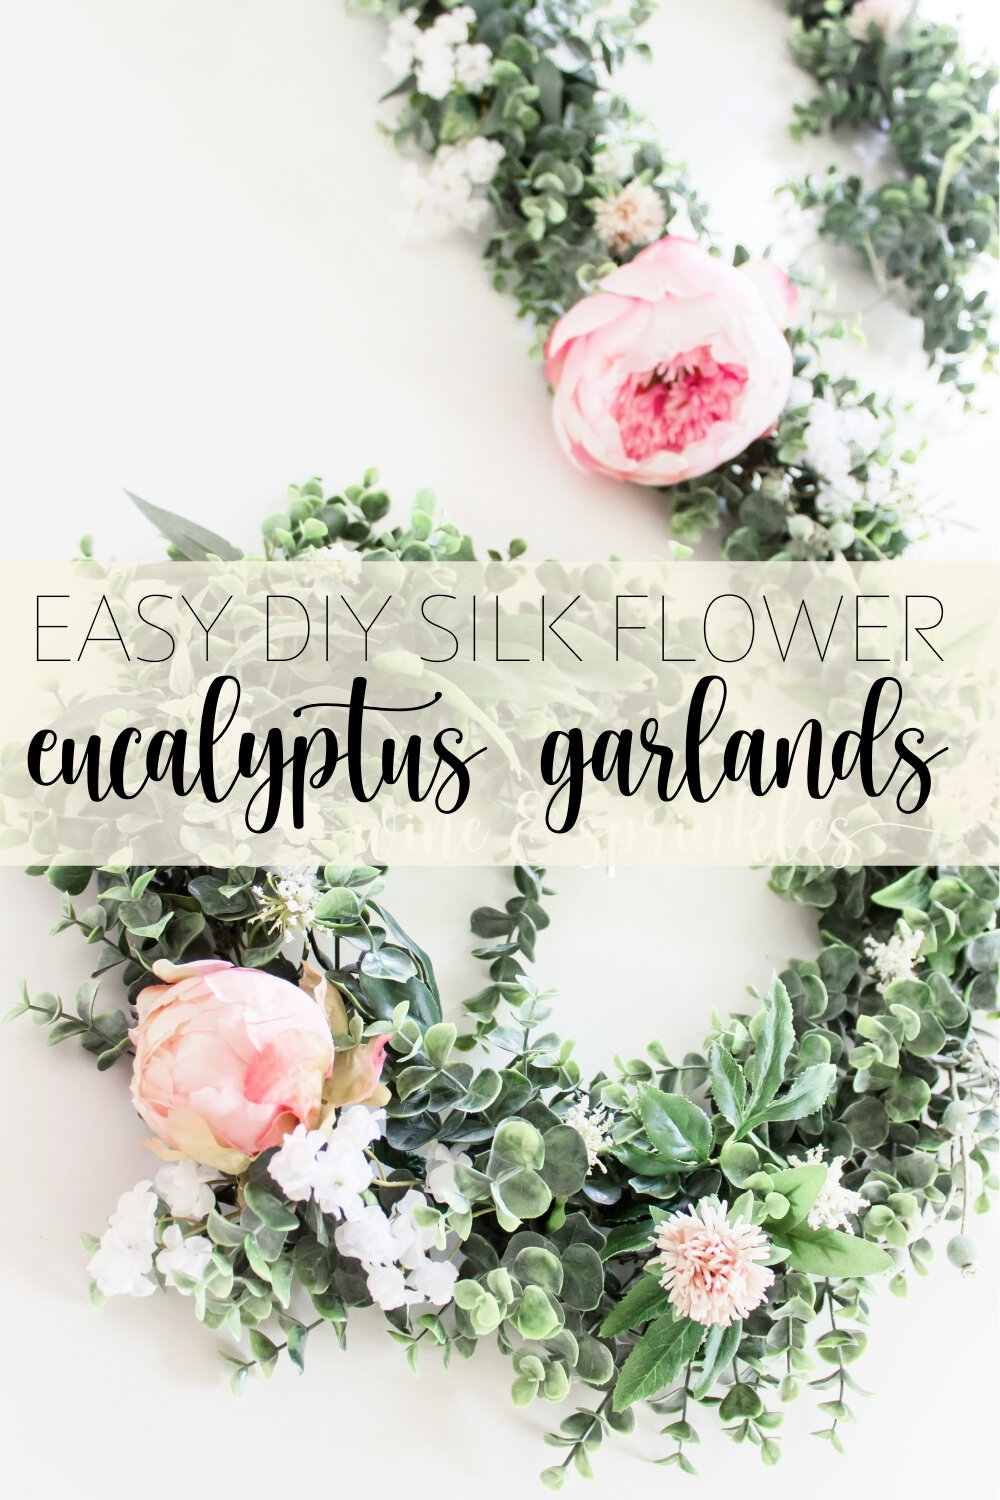
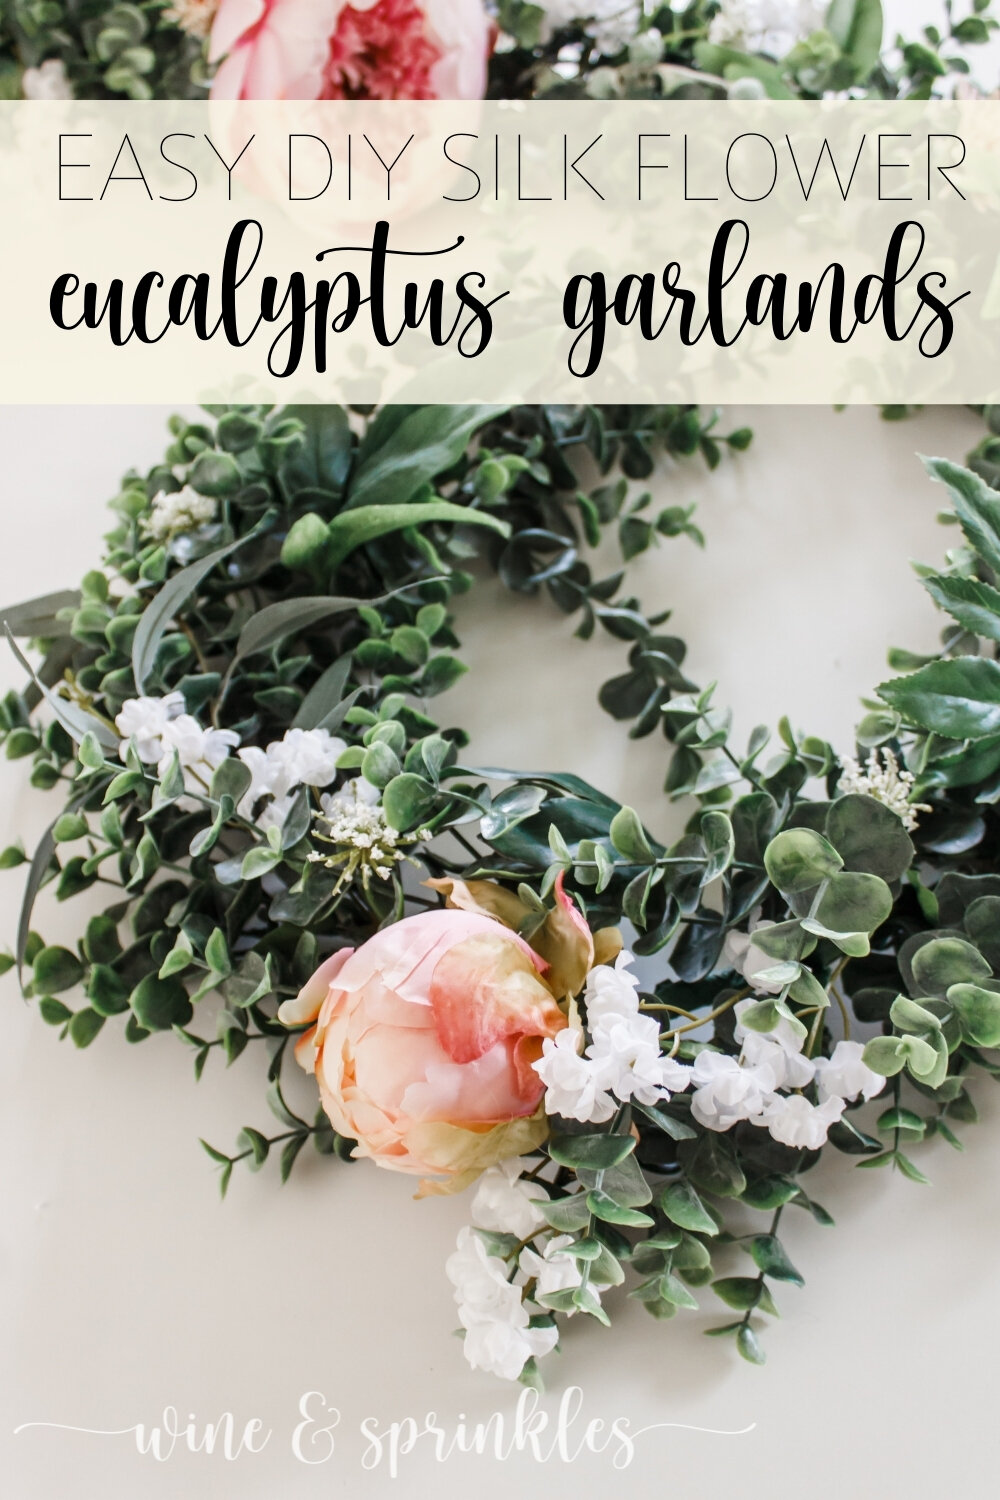
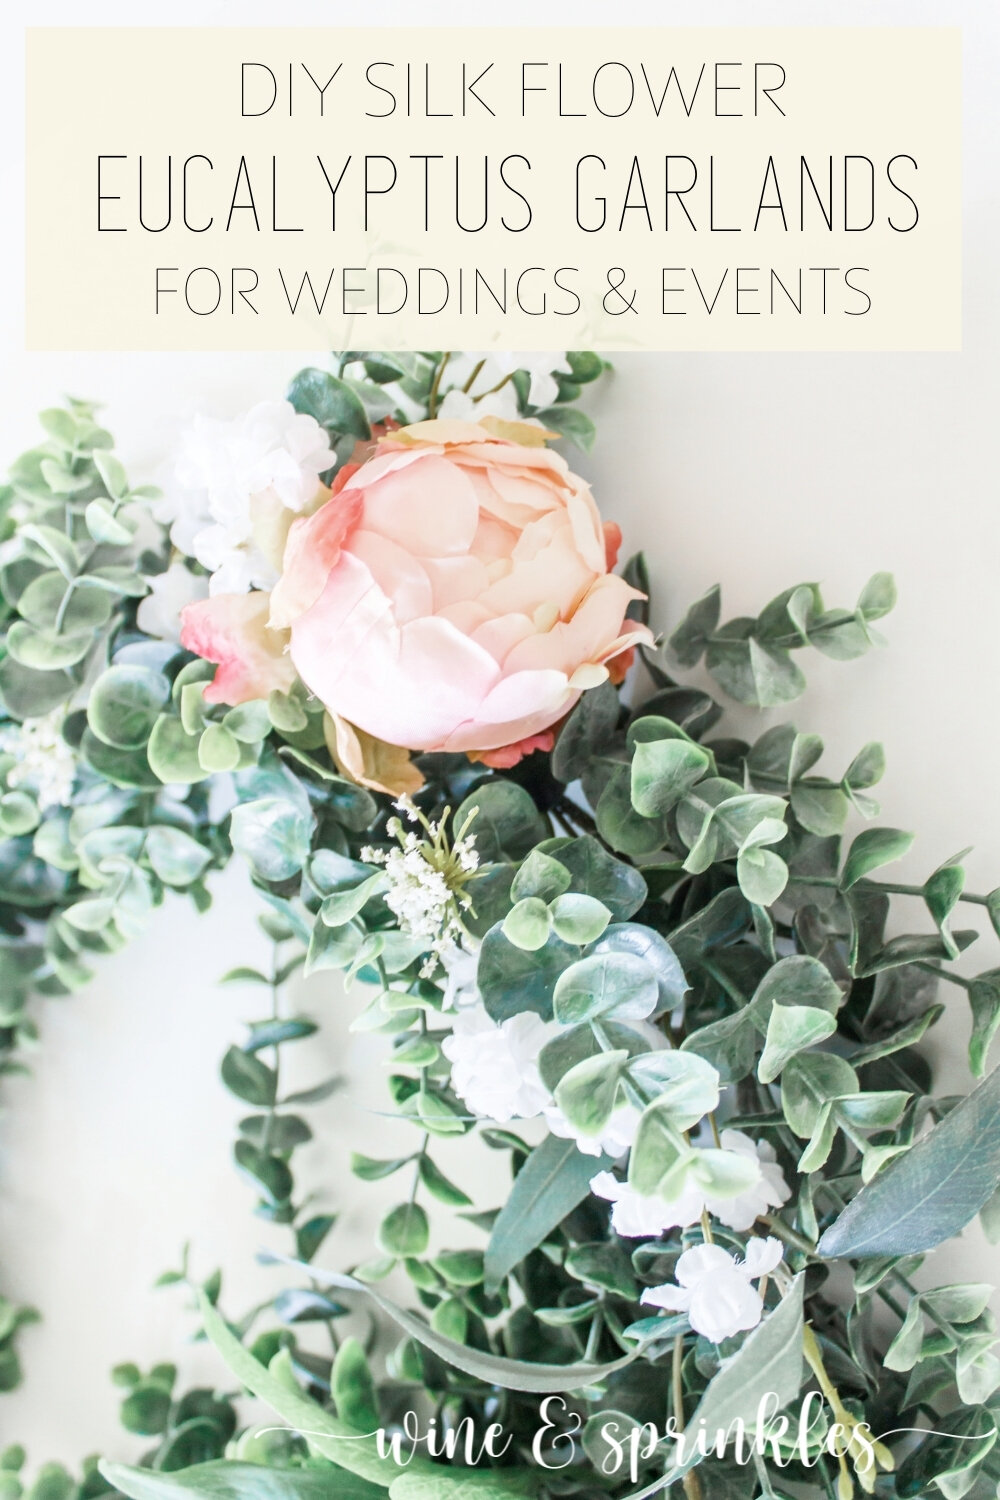
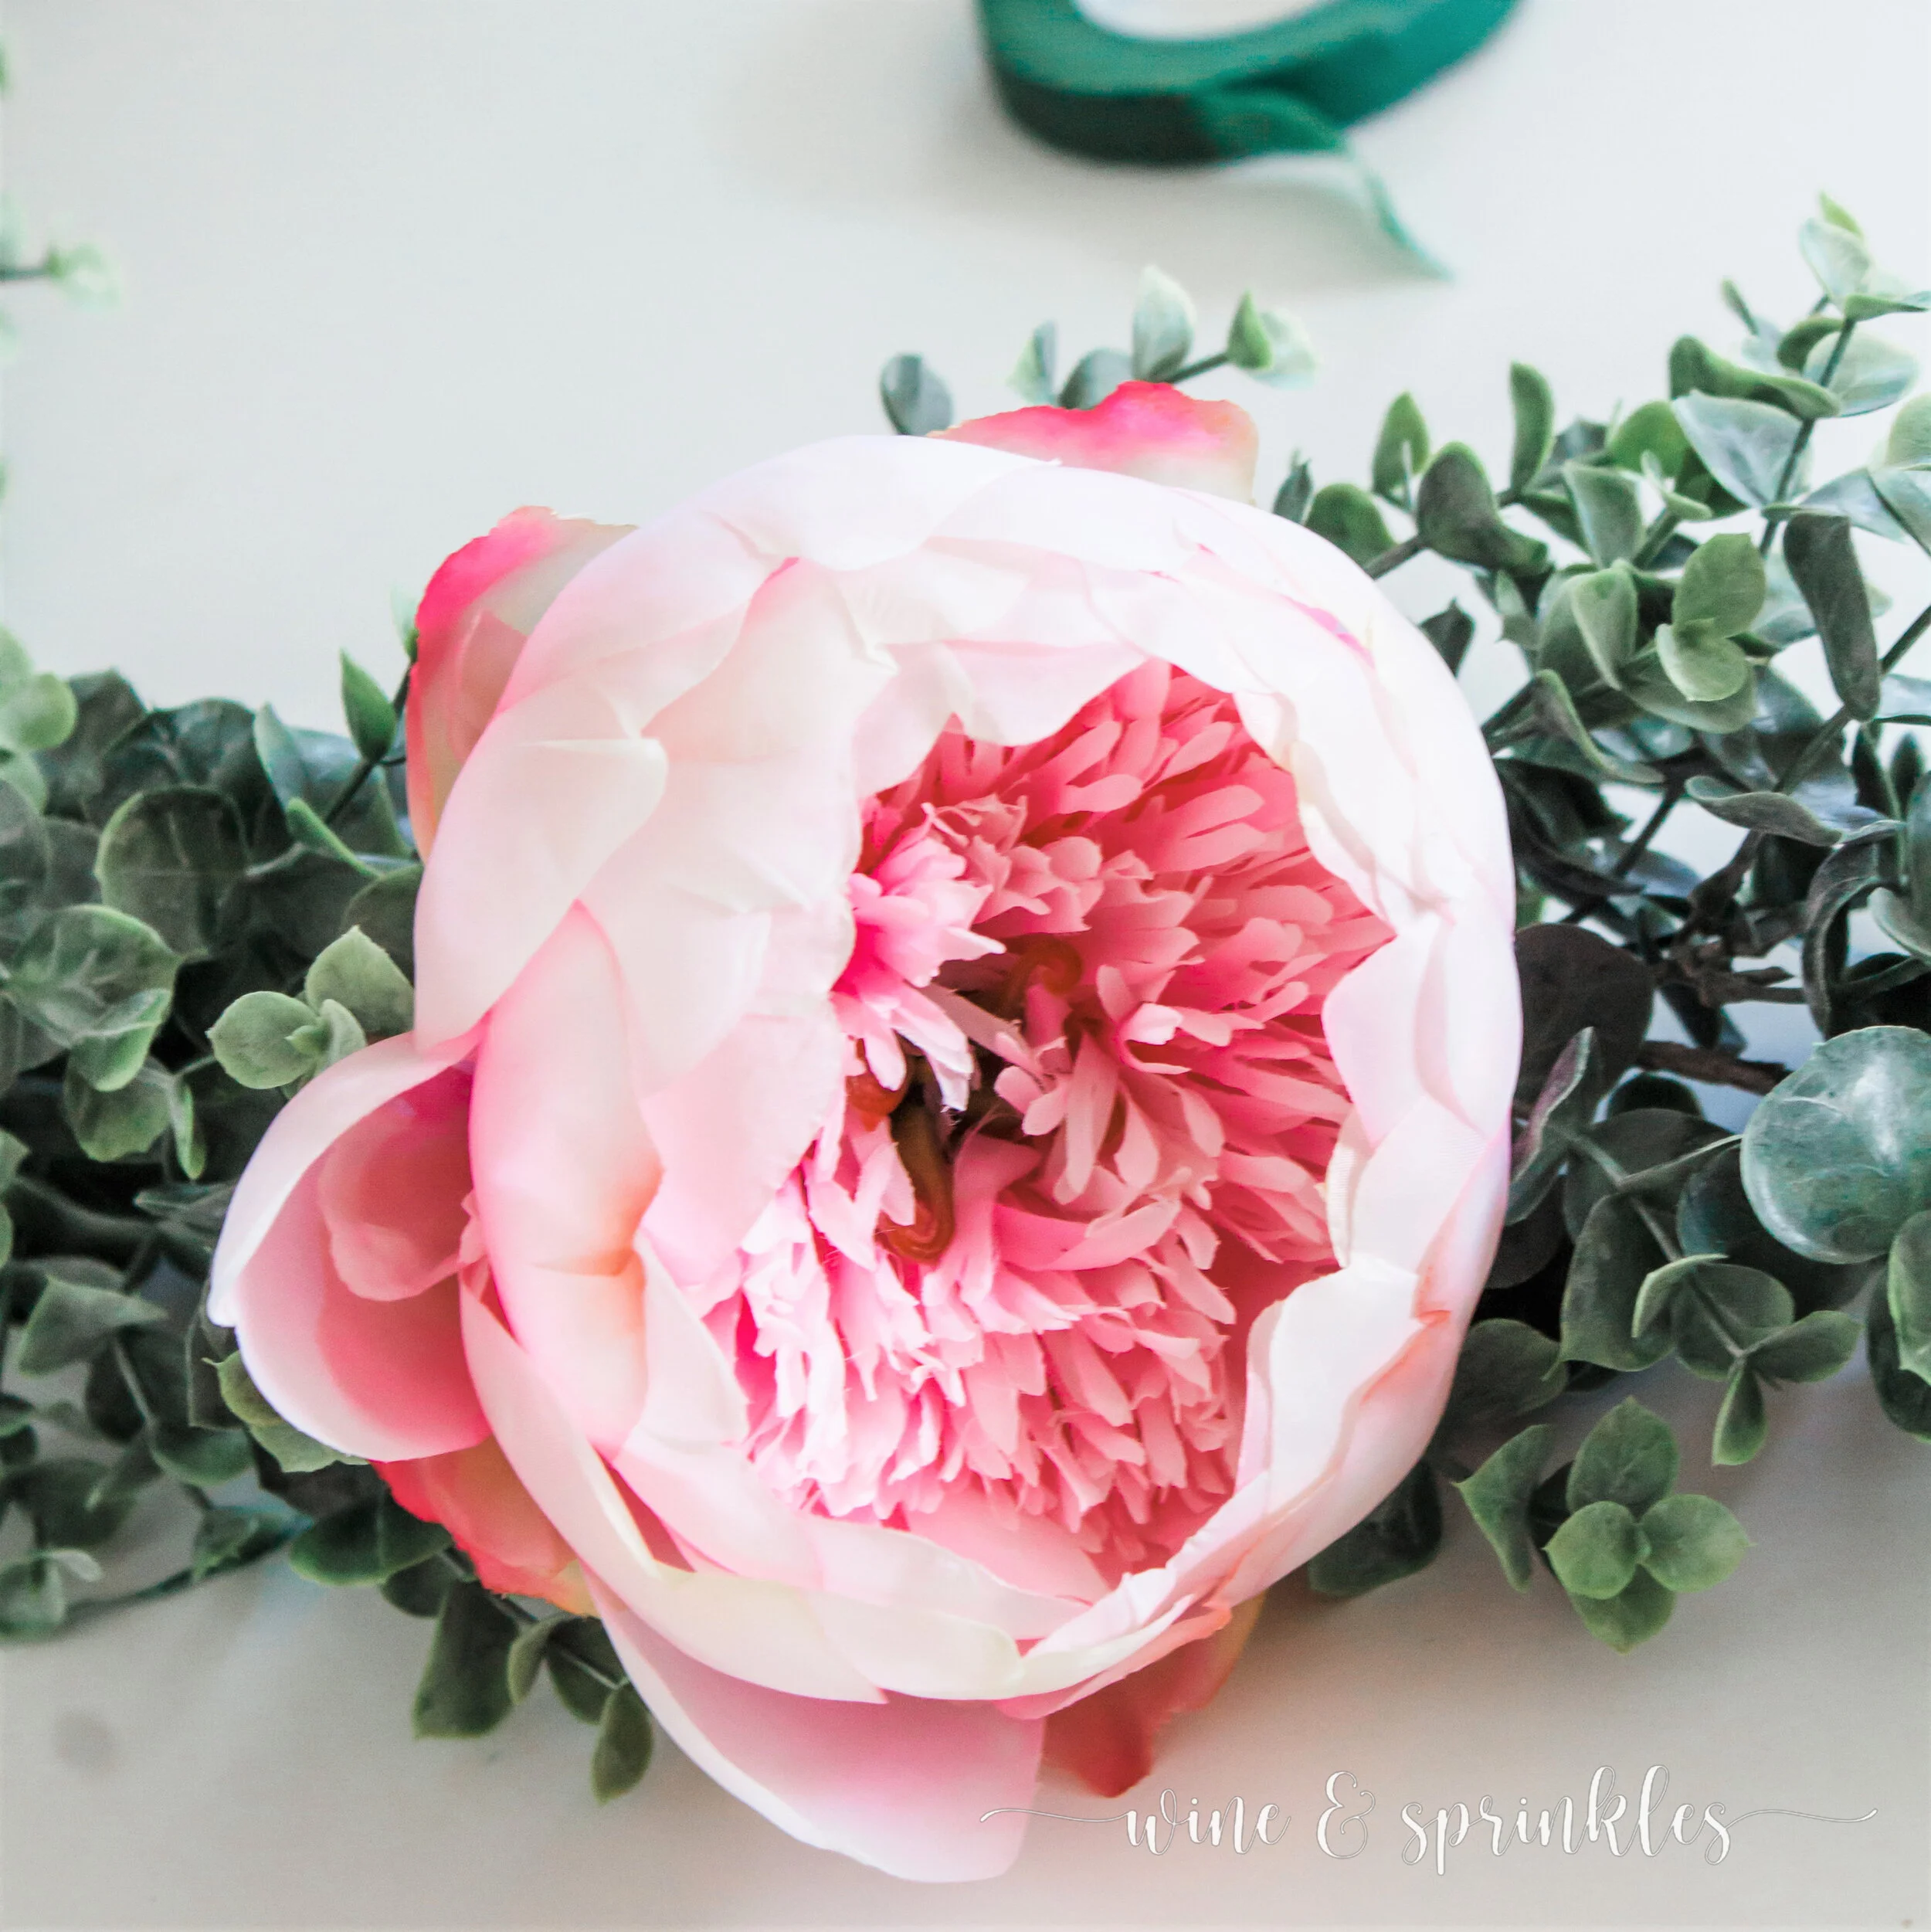
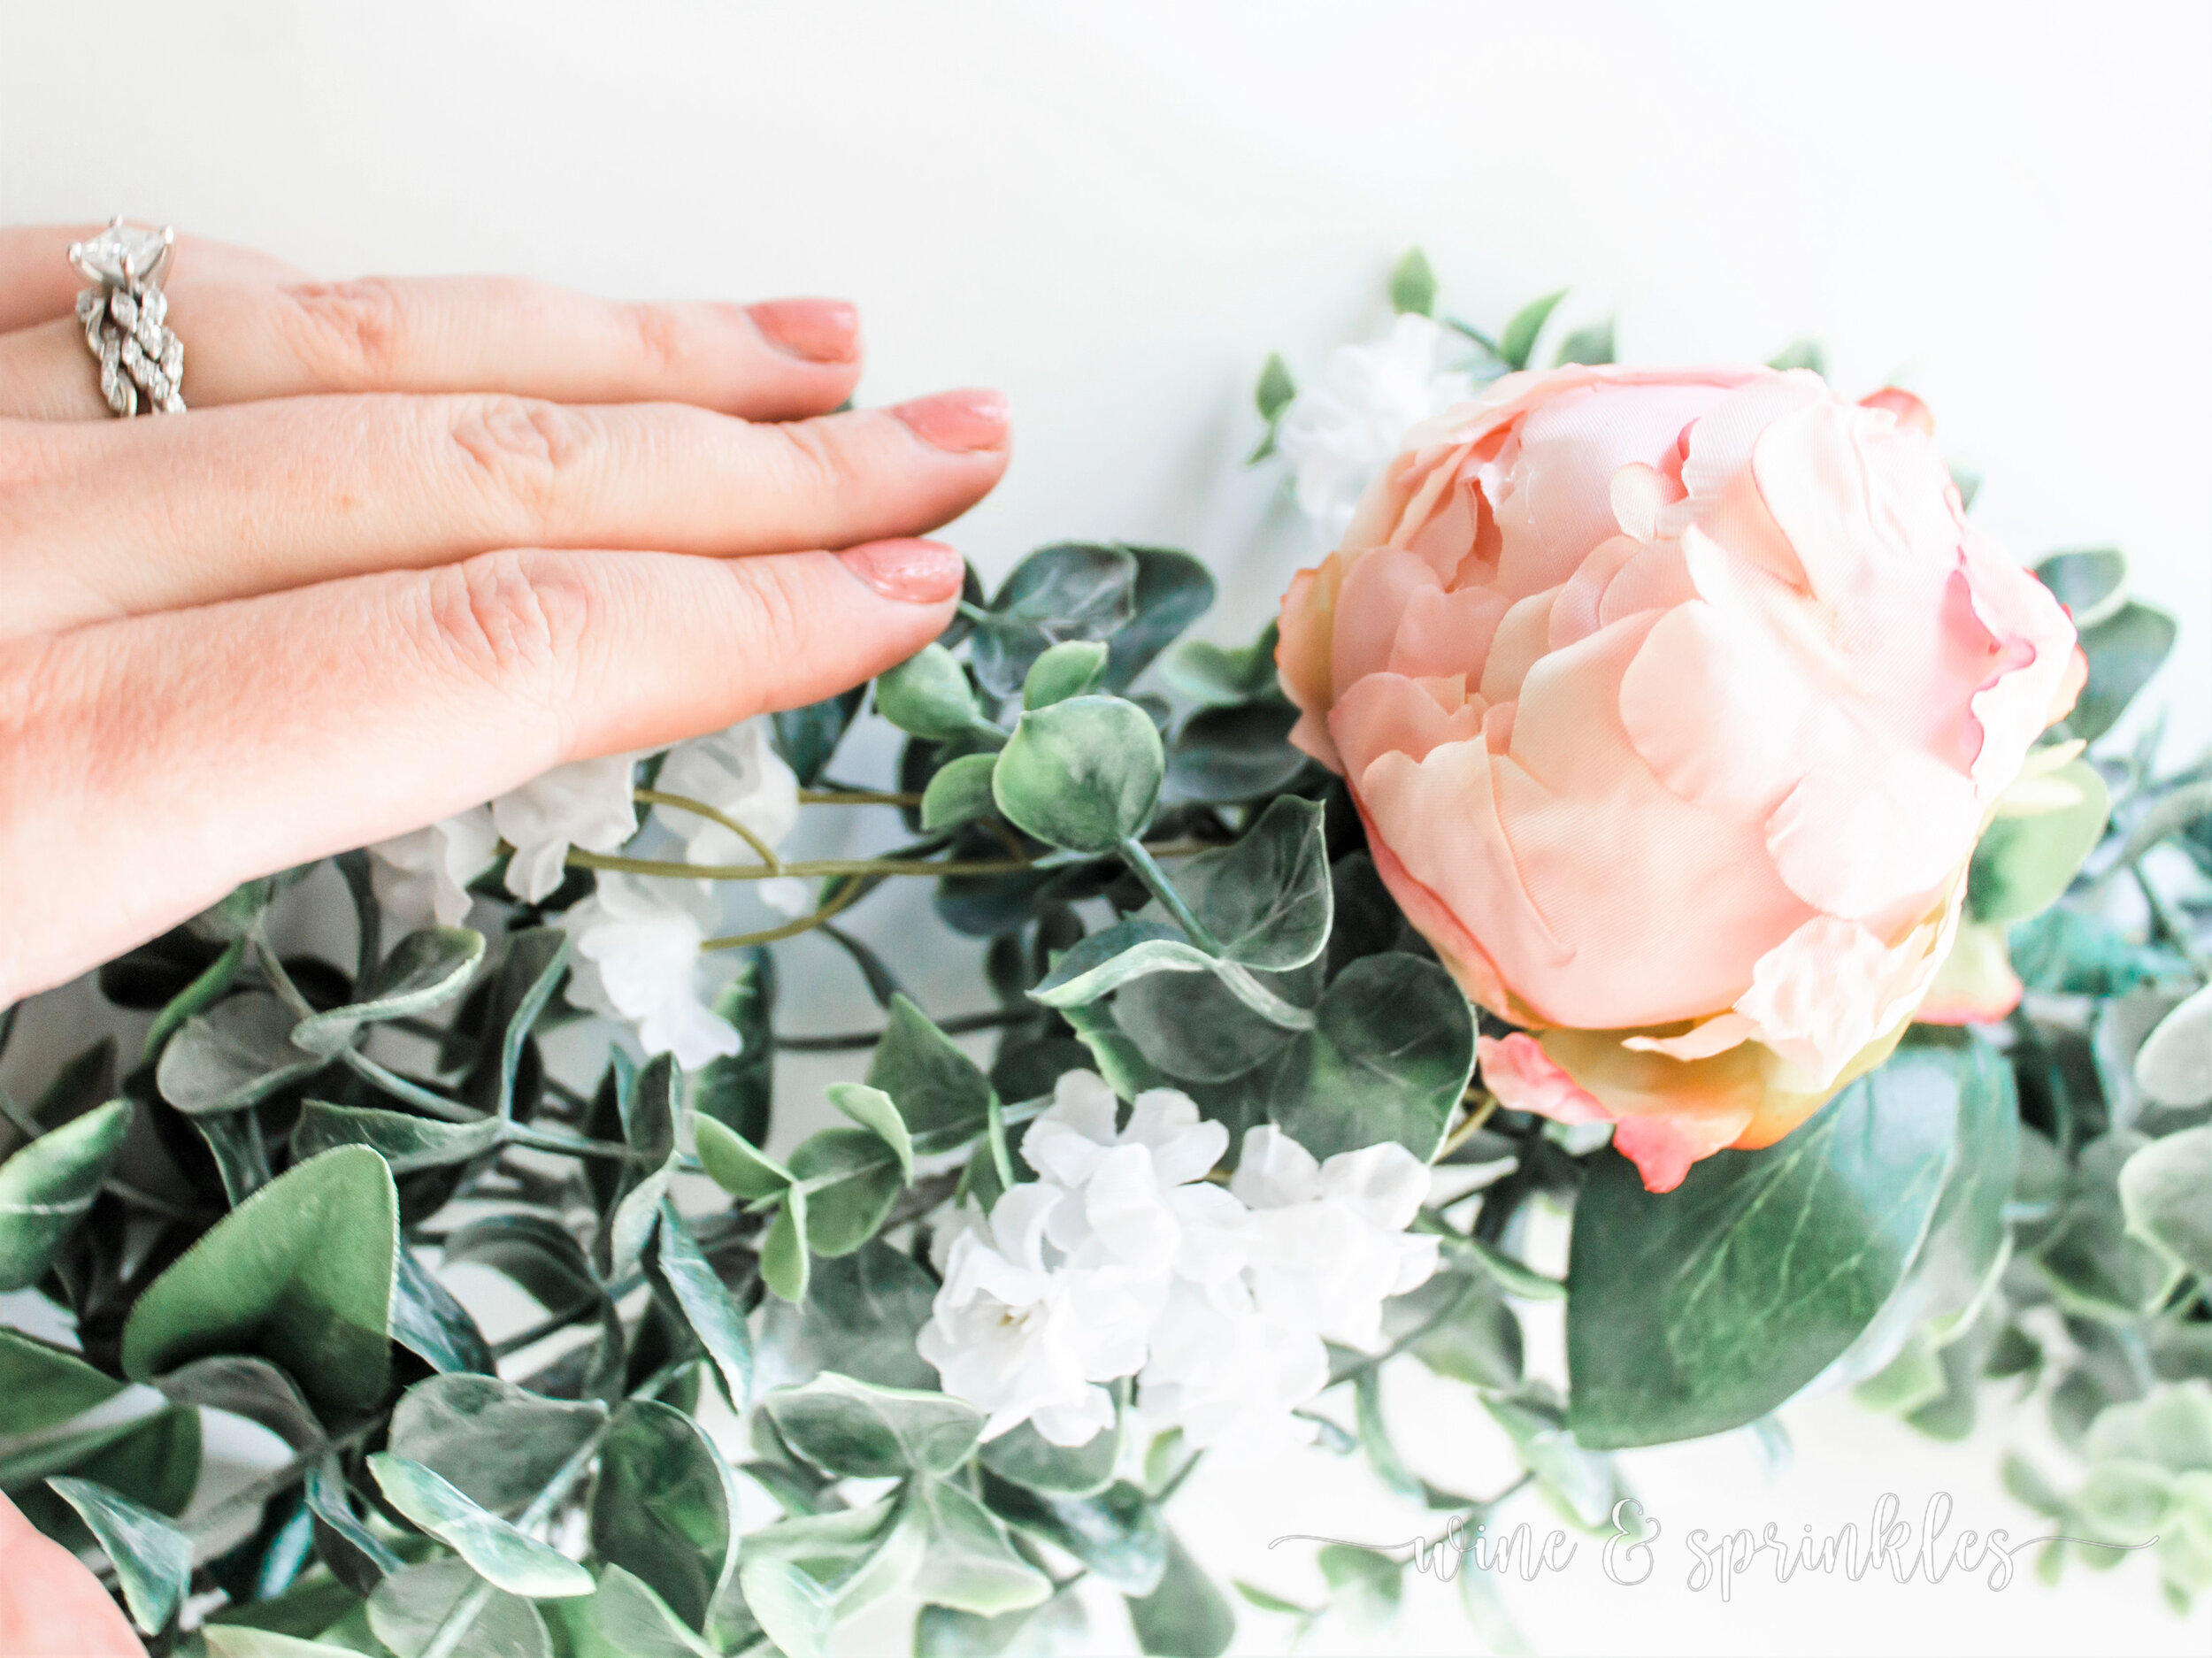
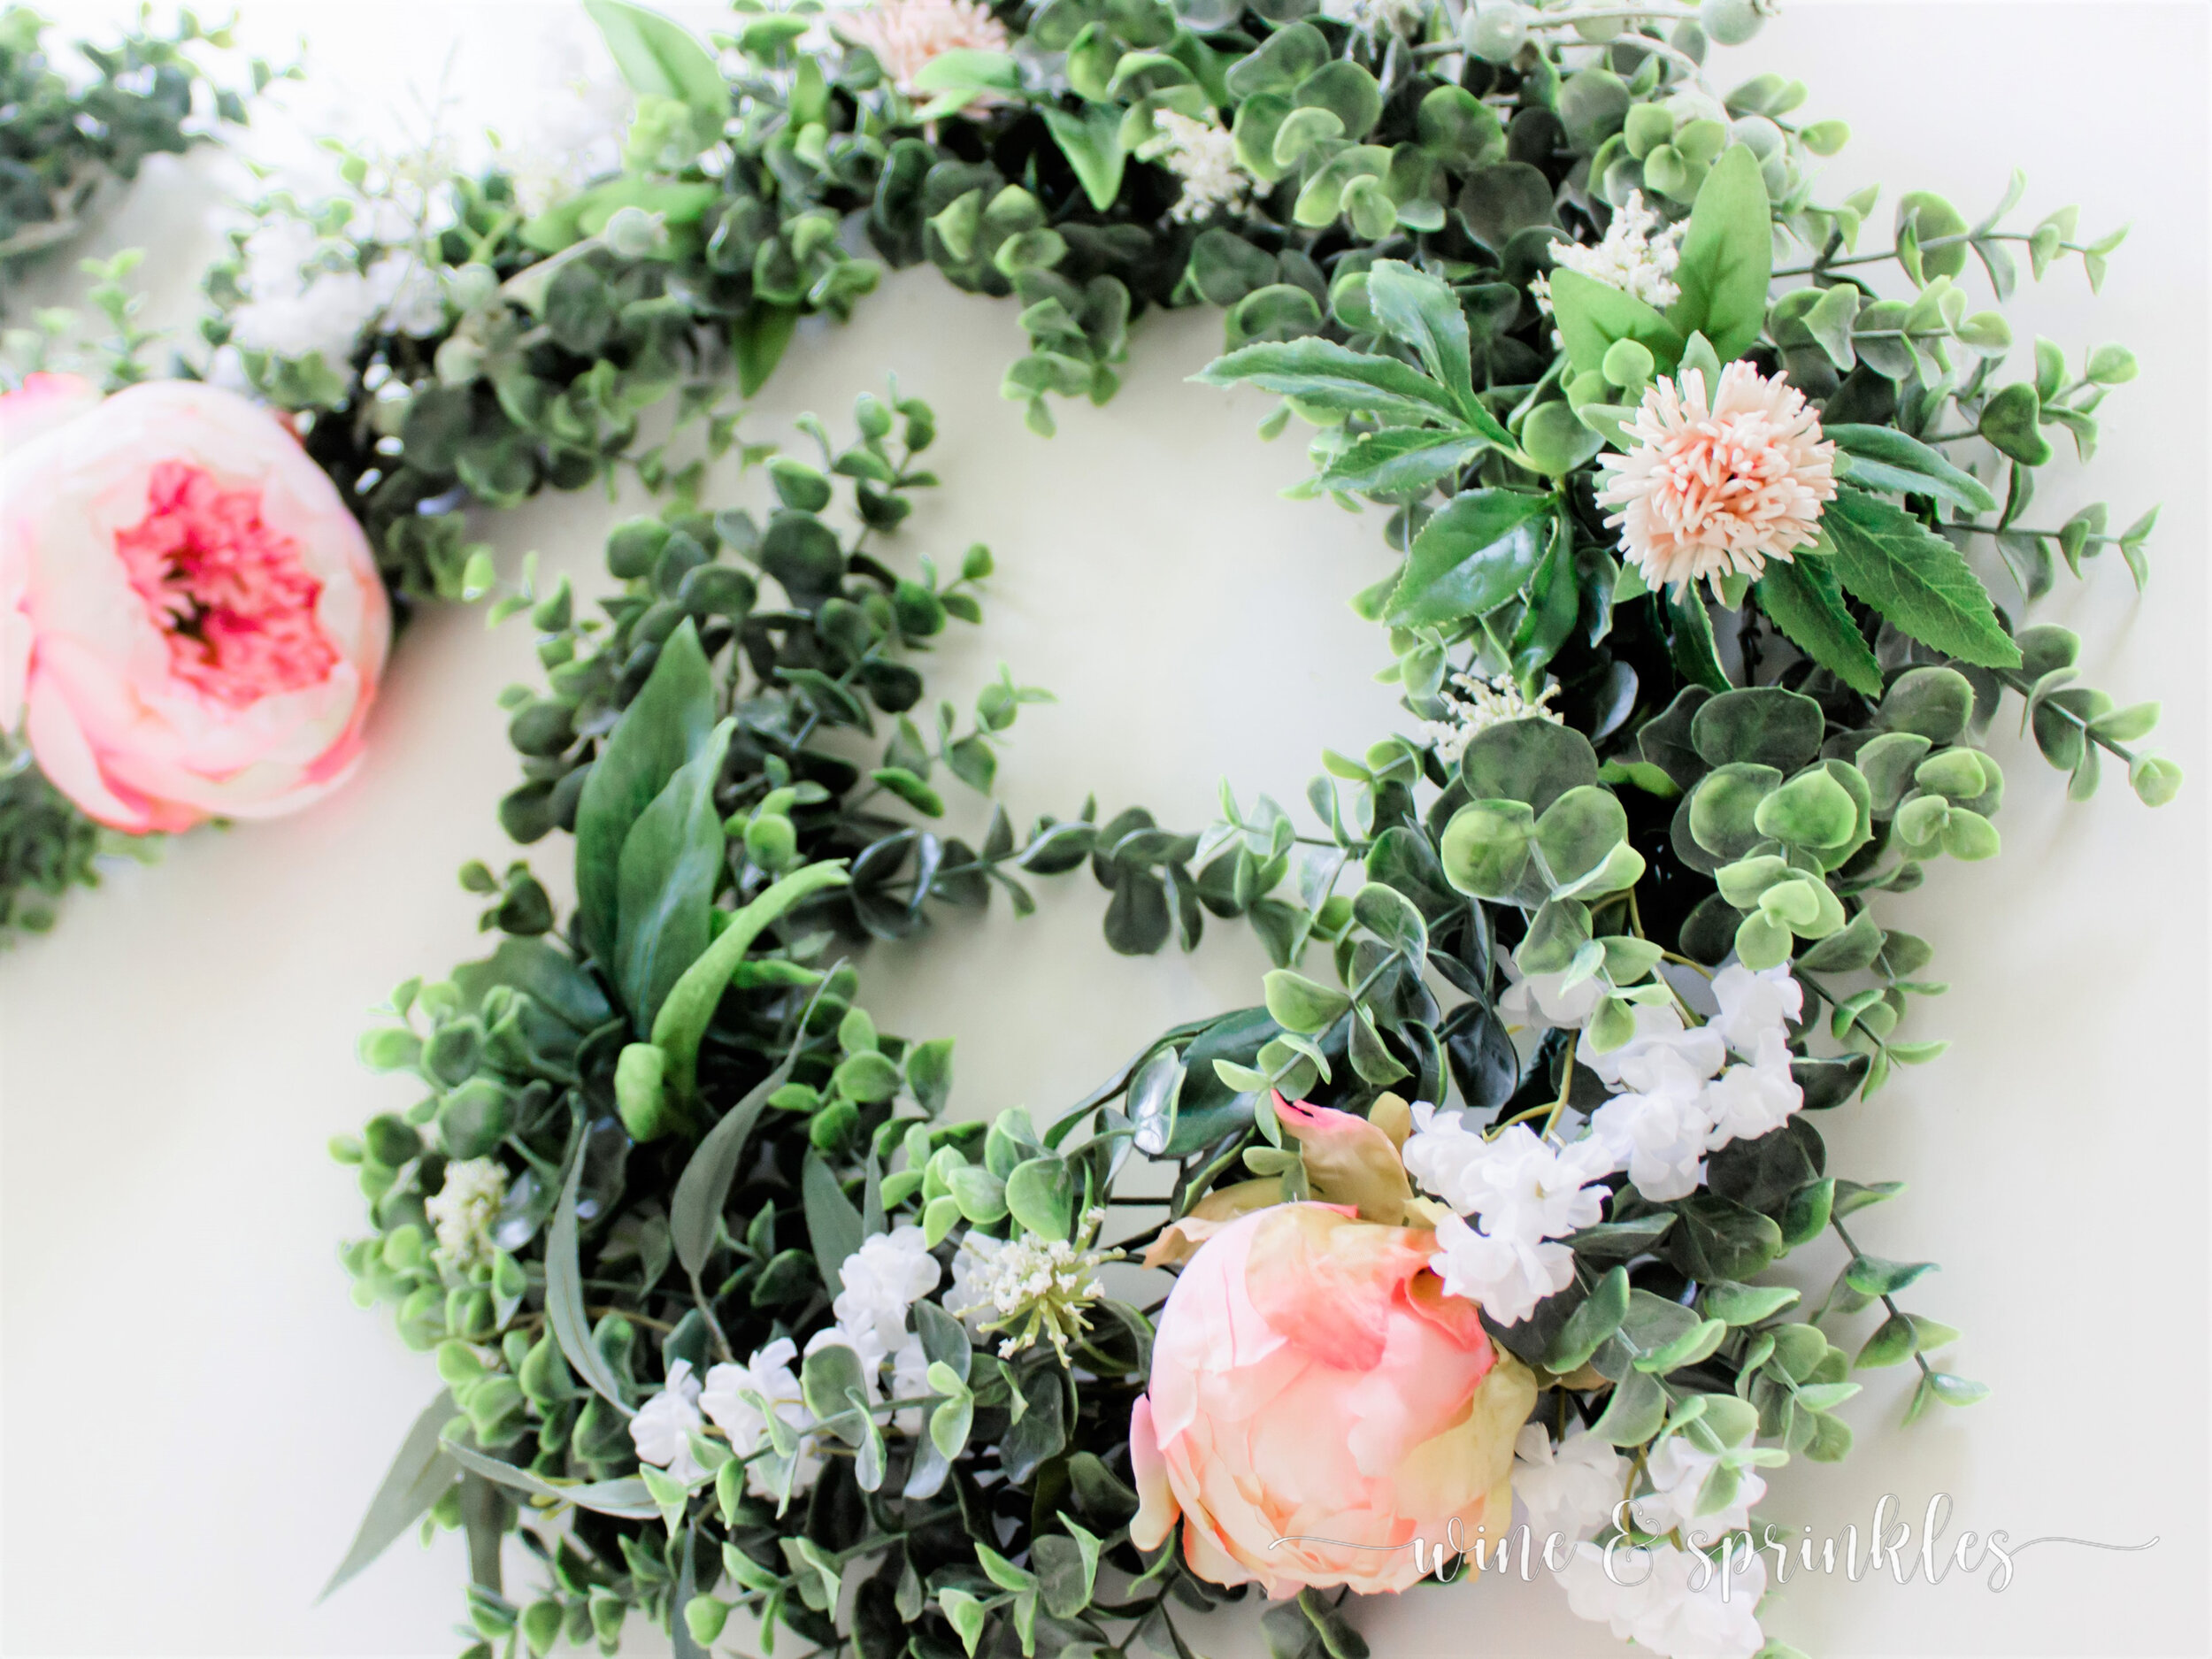
When I started designing these garlands, I wanted to make decorations that could be used every year in my spring decor and parties but could also be used for wedding floral decorations. With that in mind, I chose one of my favorite springtime flowers in a blushy pink hue, none other than the peony! I love peonies for their large billowy blooms and it's no wonder that they are popular for spring weddings too, a beautiful romantic flower with volume is never a bad thing in a bouquet! I accented my peonies with a mix of my favorite filler flowers and wildflowers, all in light creams and whites to pop against the greenery. In another respect, they are perfect for the DIY bride because, being made from silk flowers, you can make them months ahead of time and they will still look beautiful the day of, and for all the days after too!

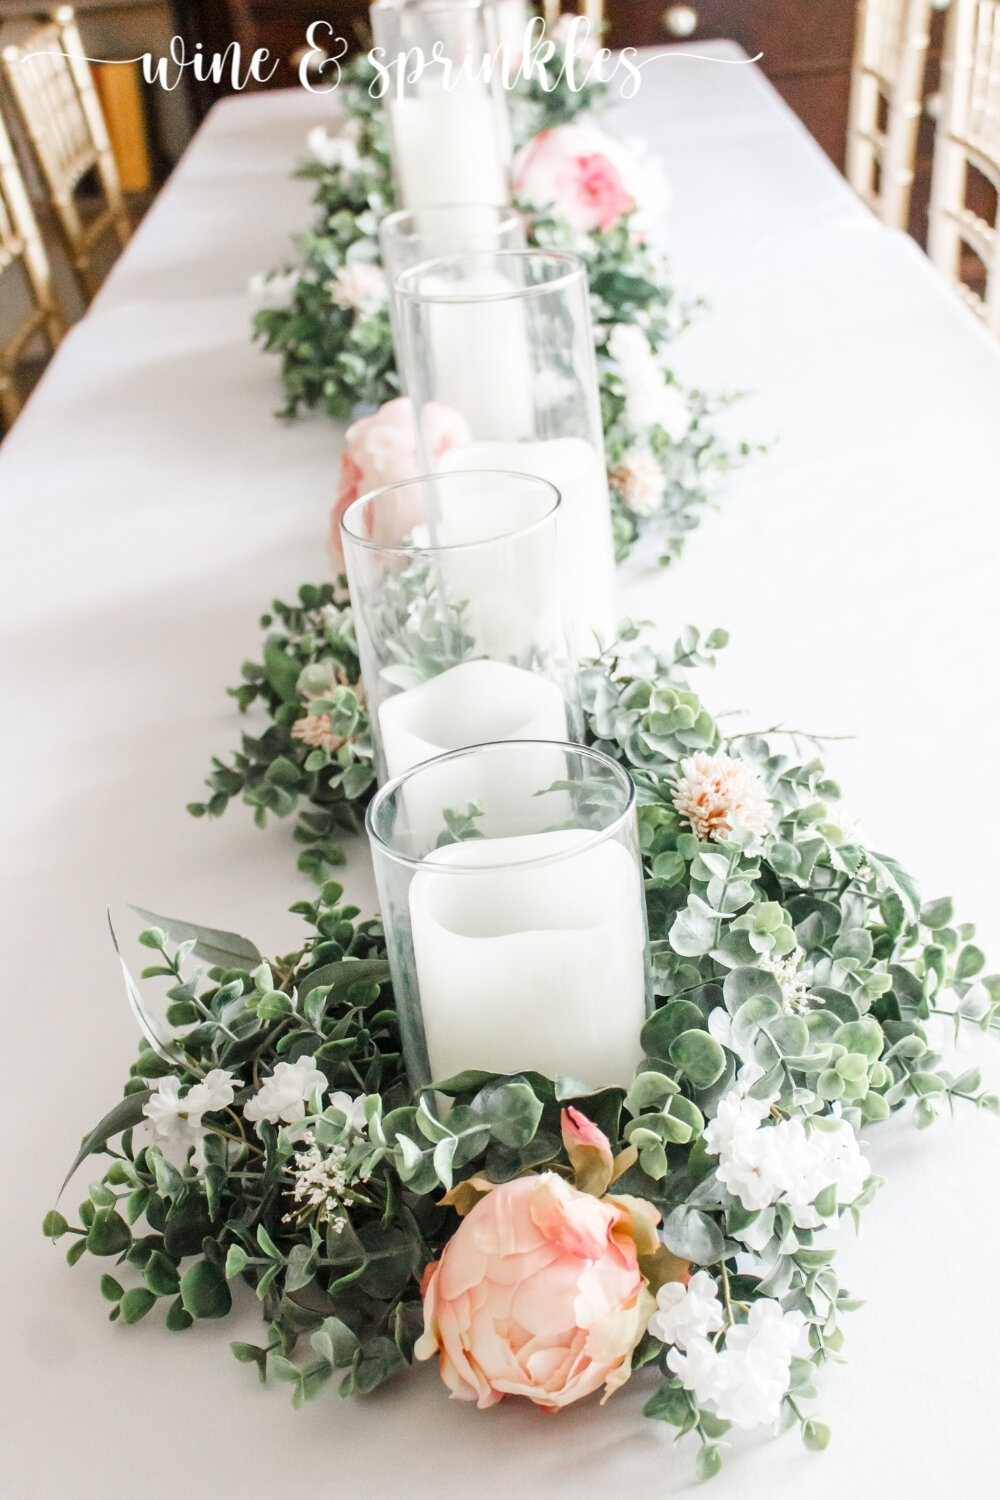
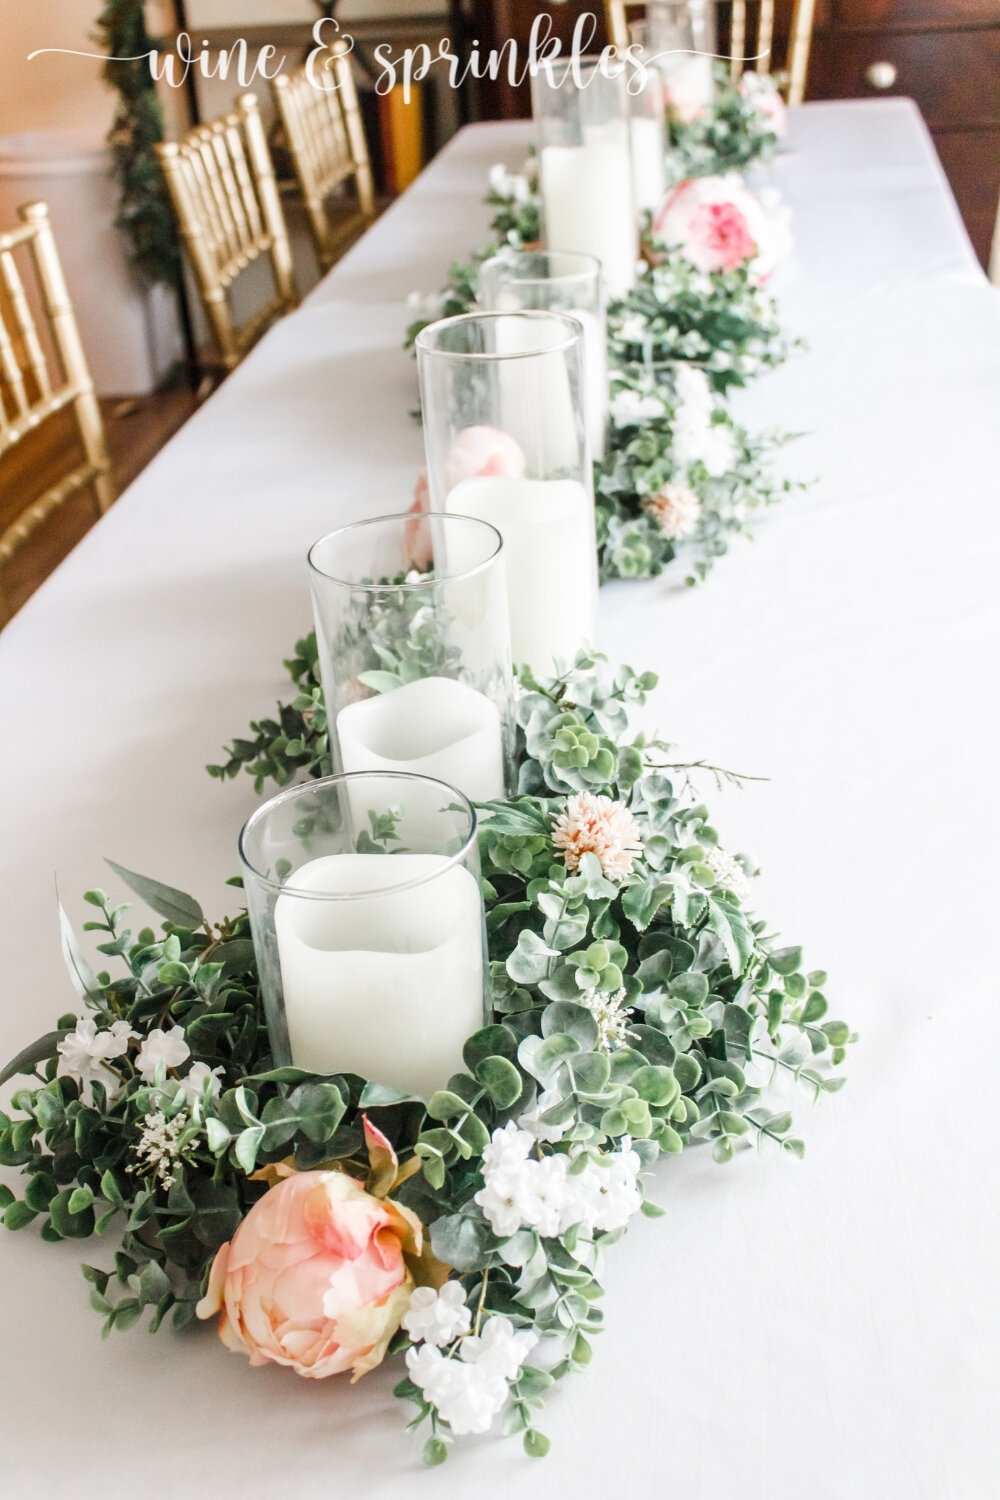
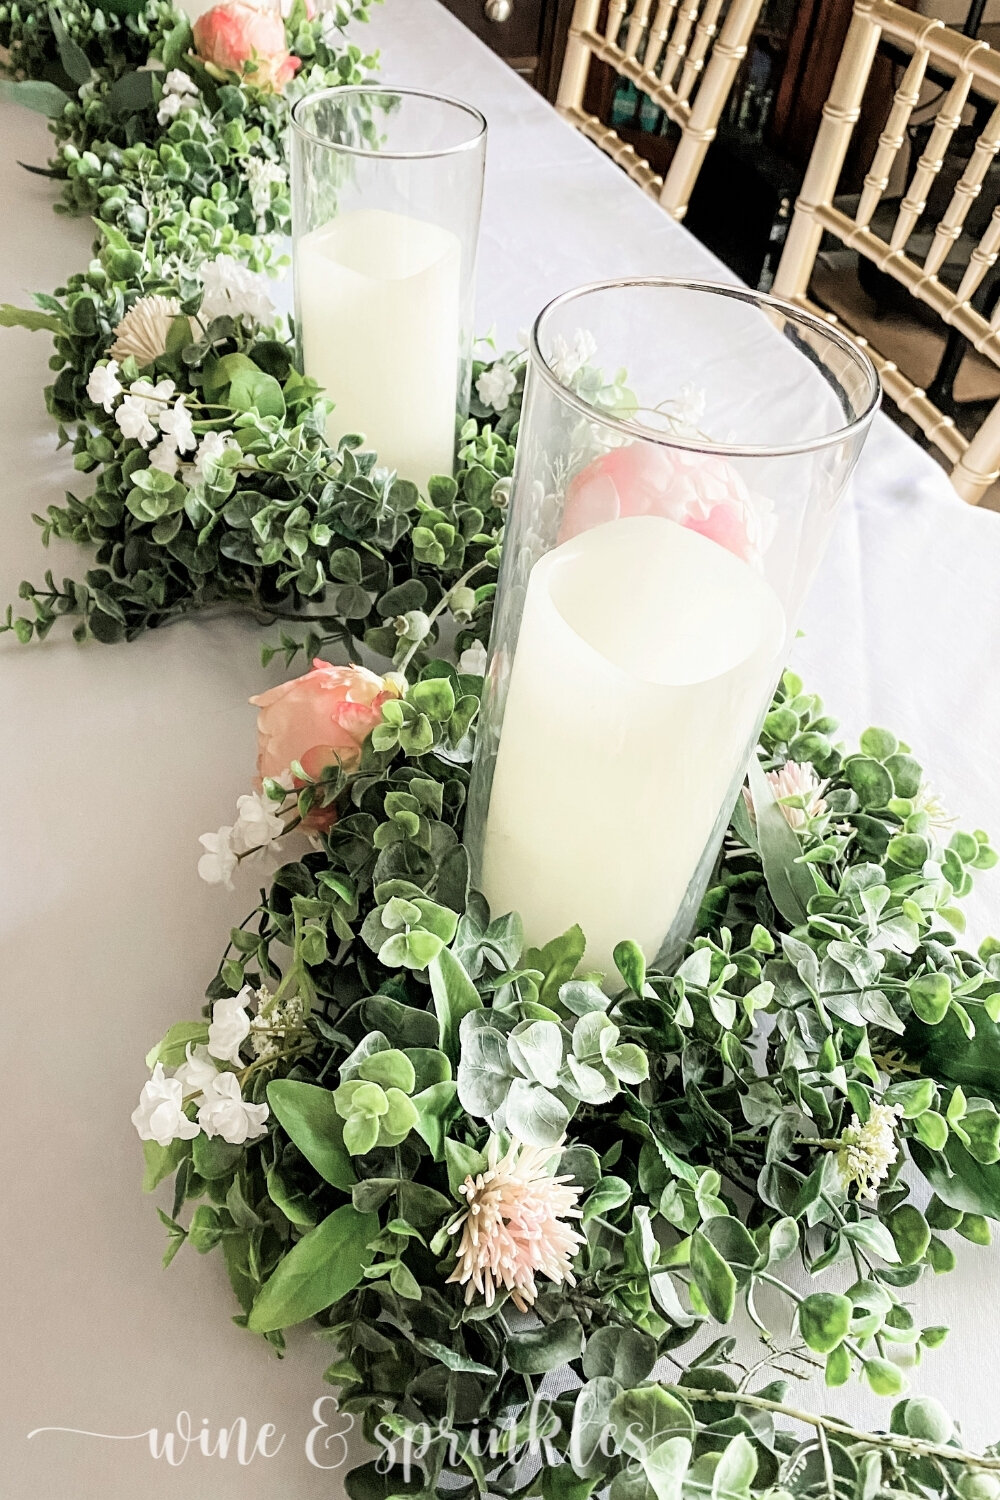
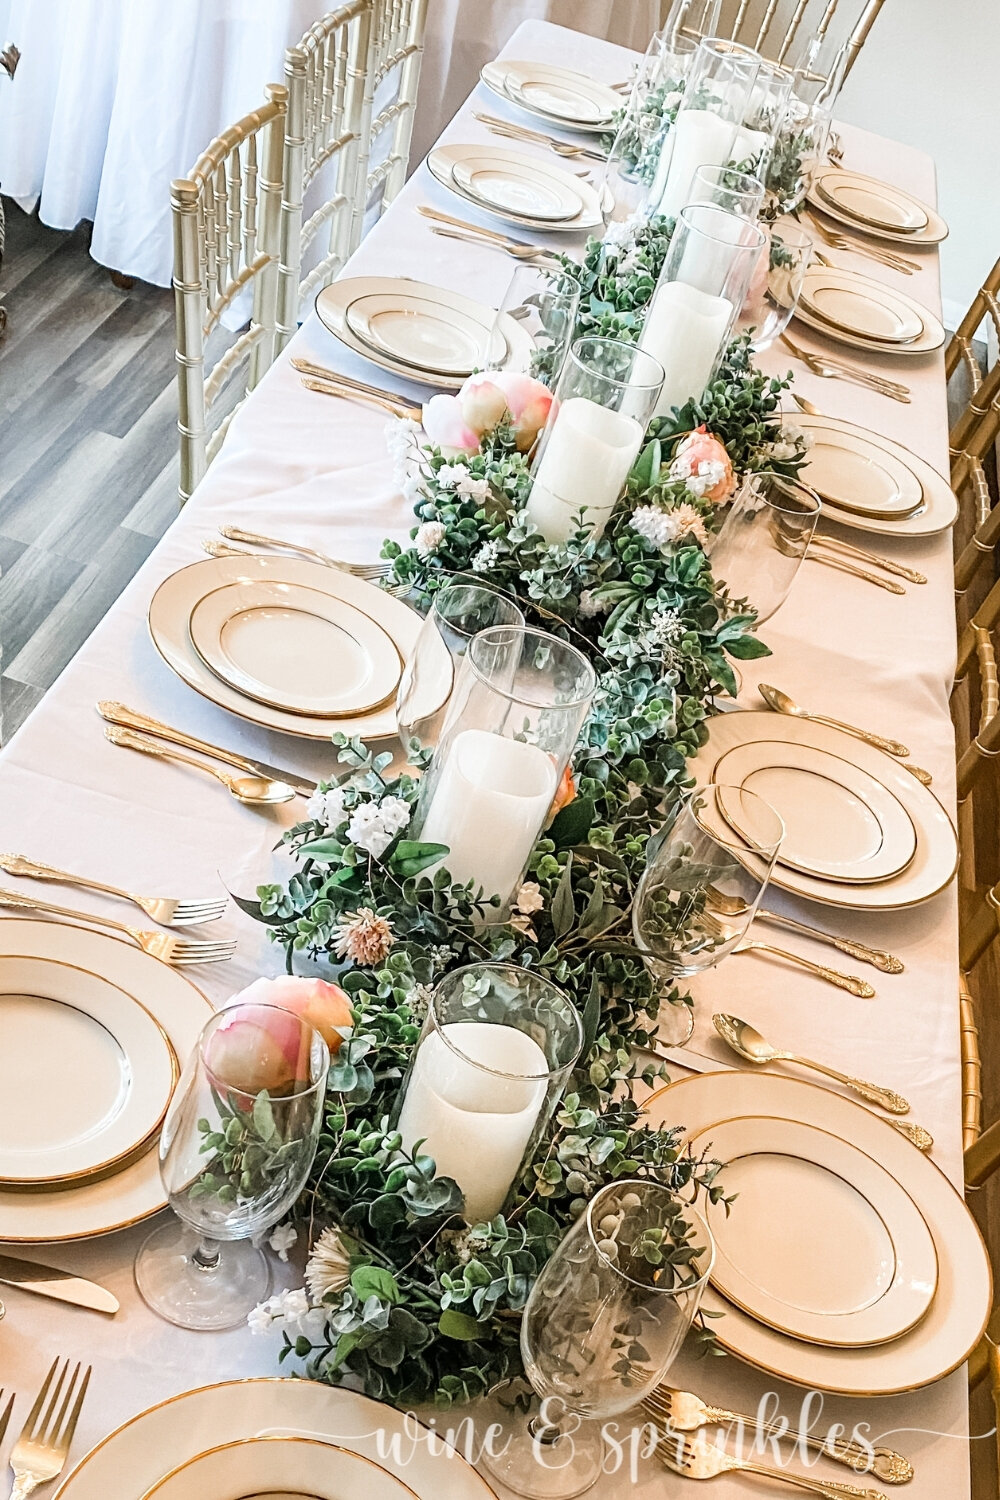
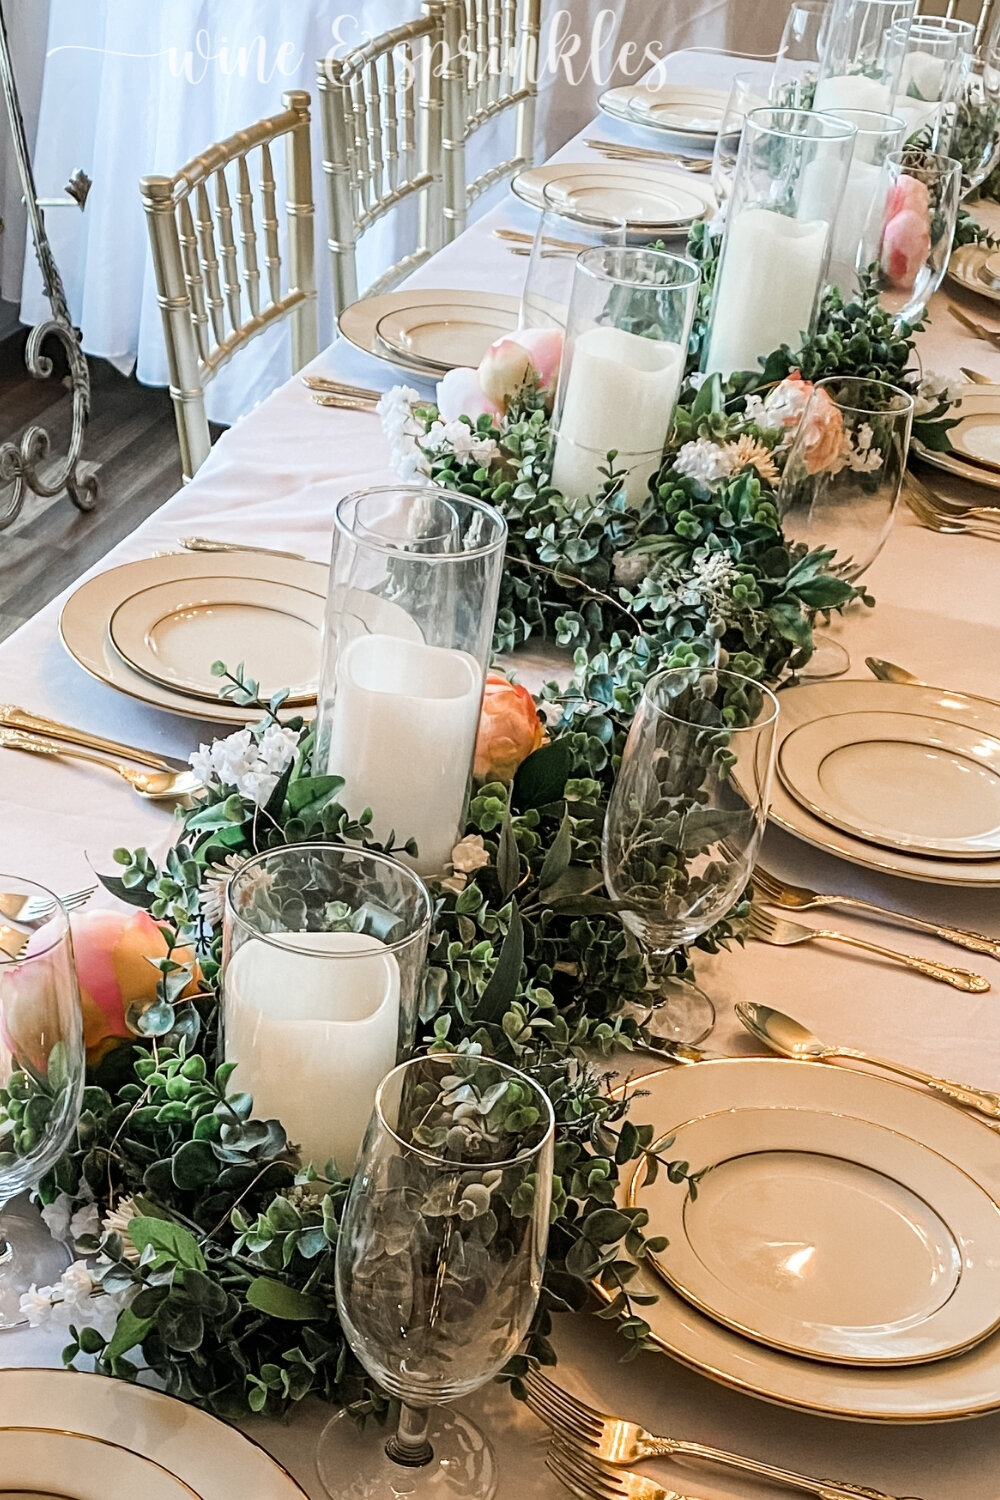
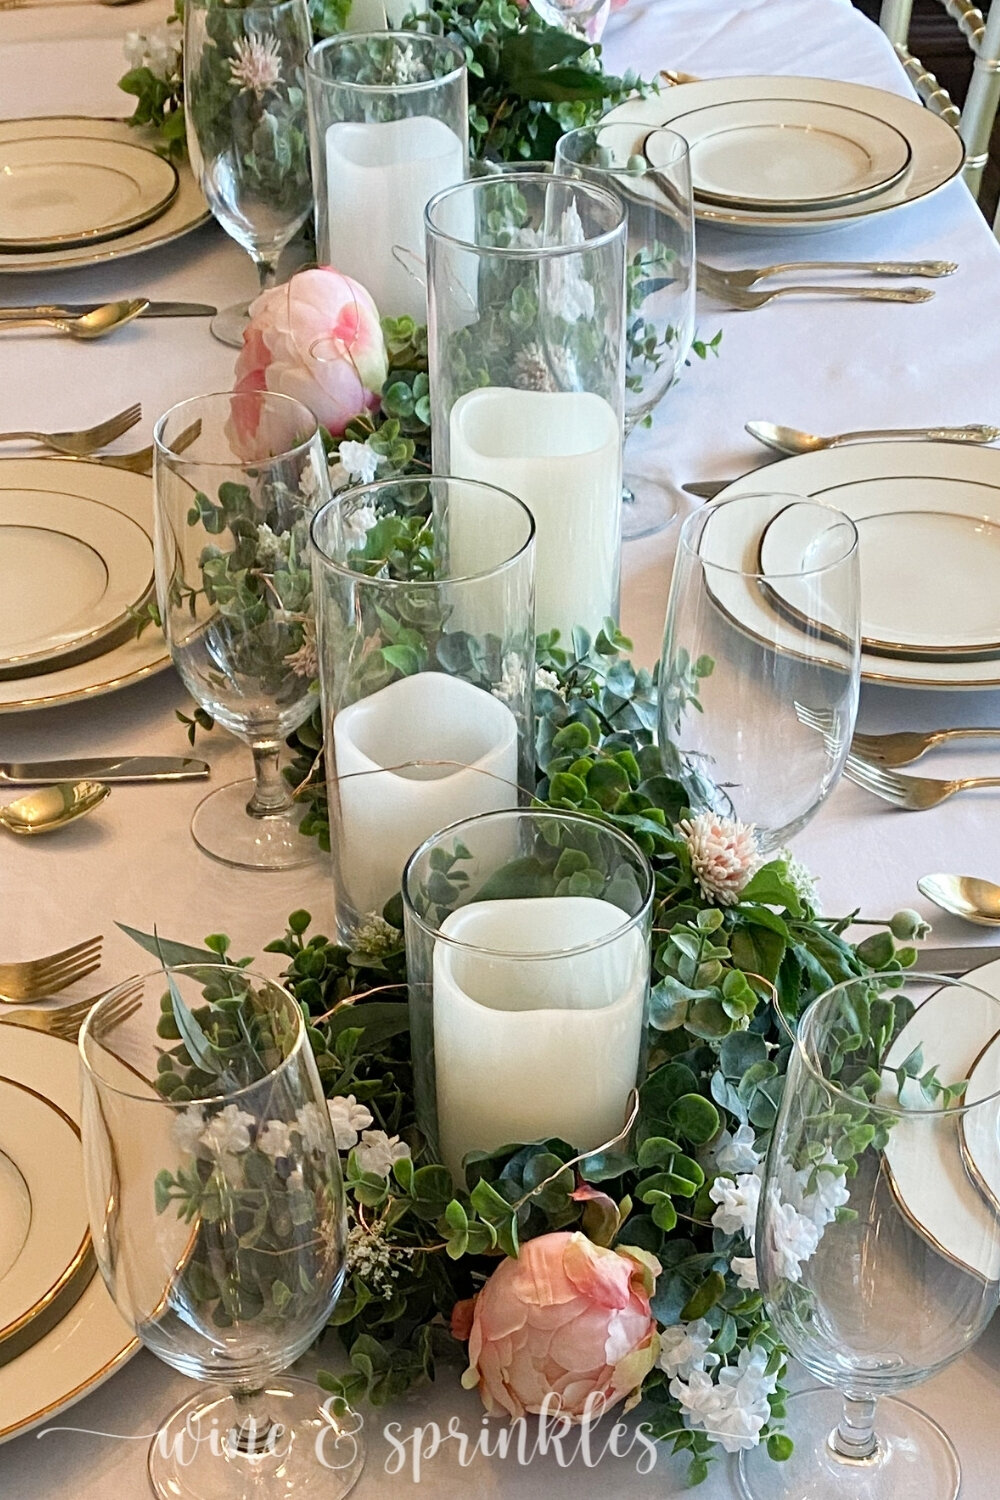
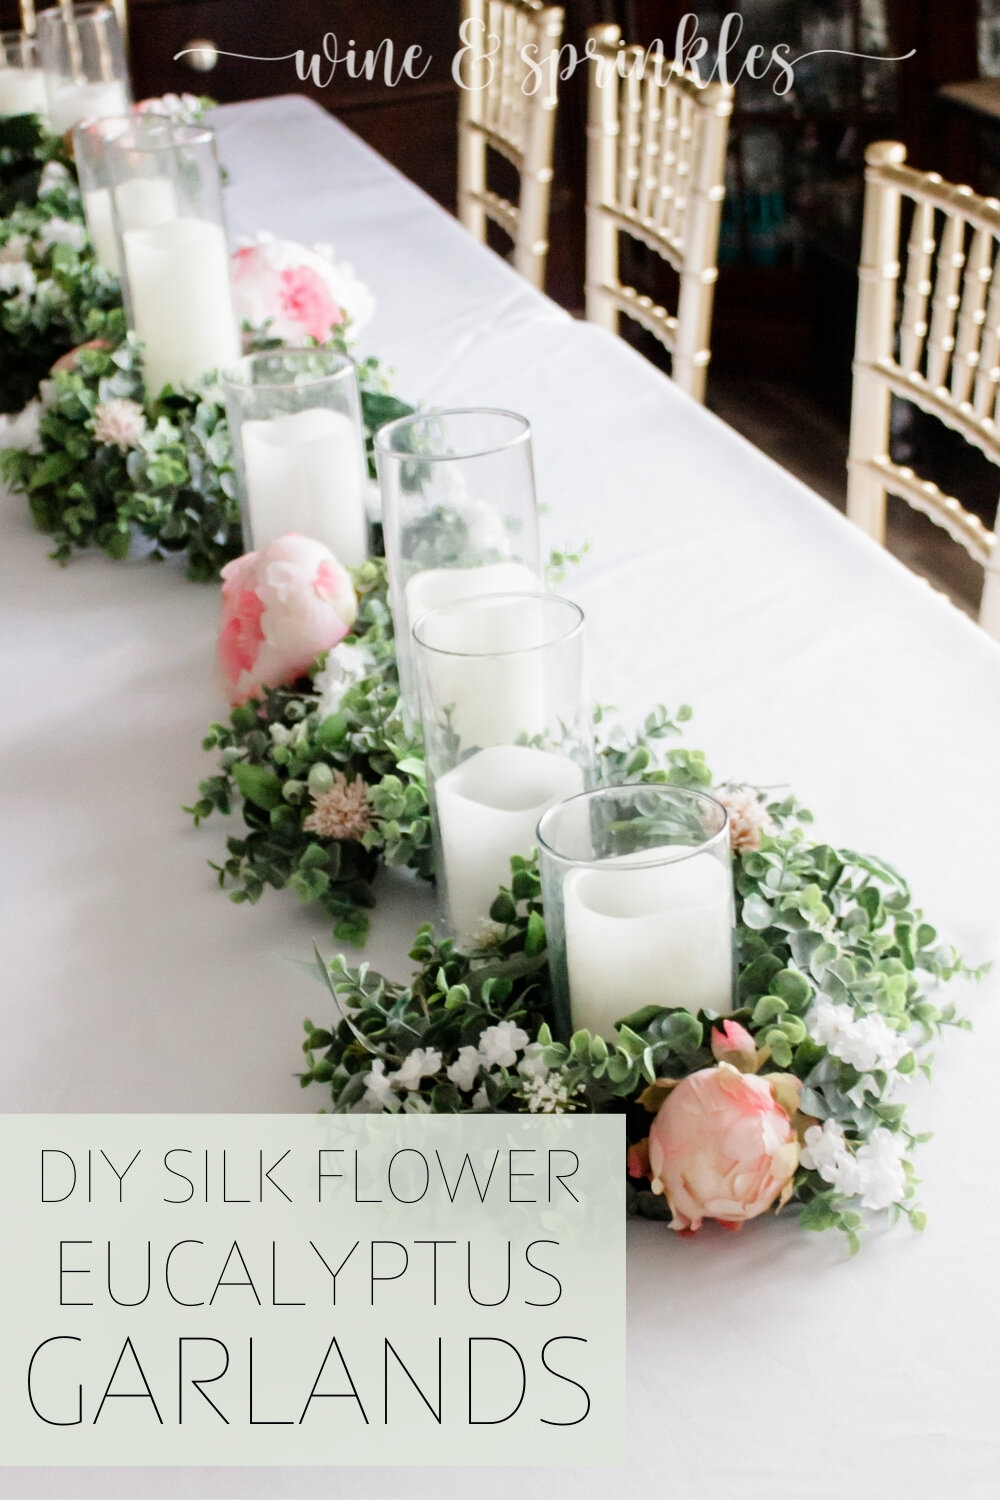
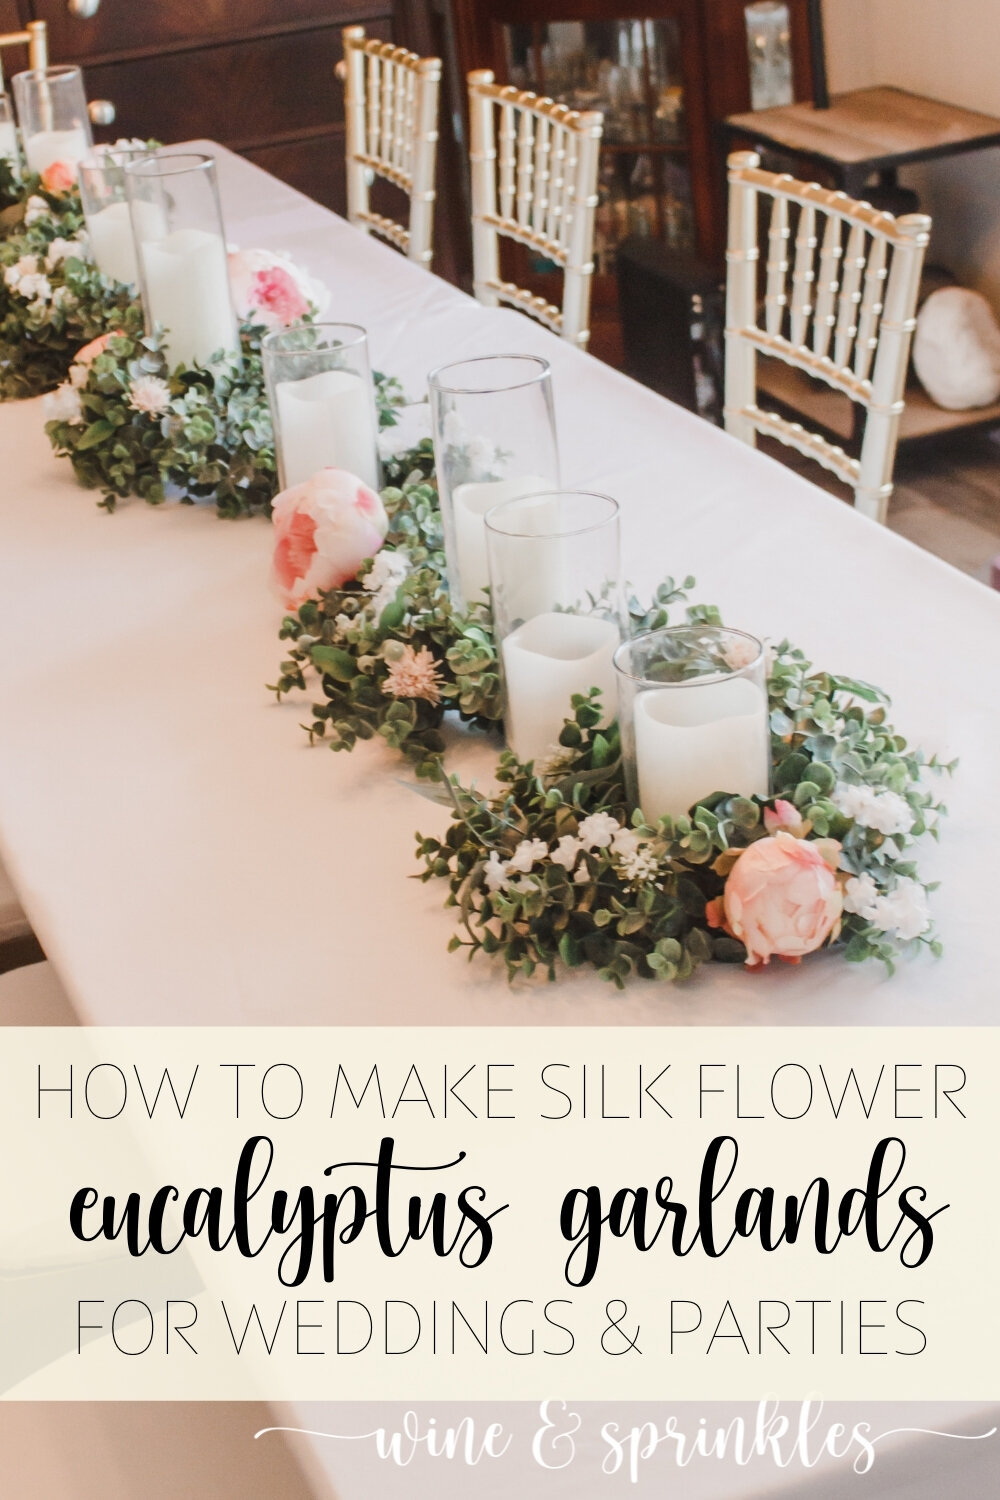
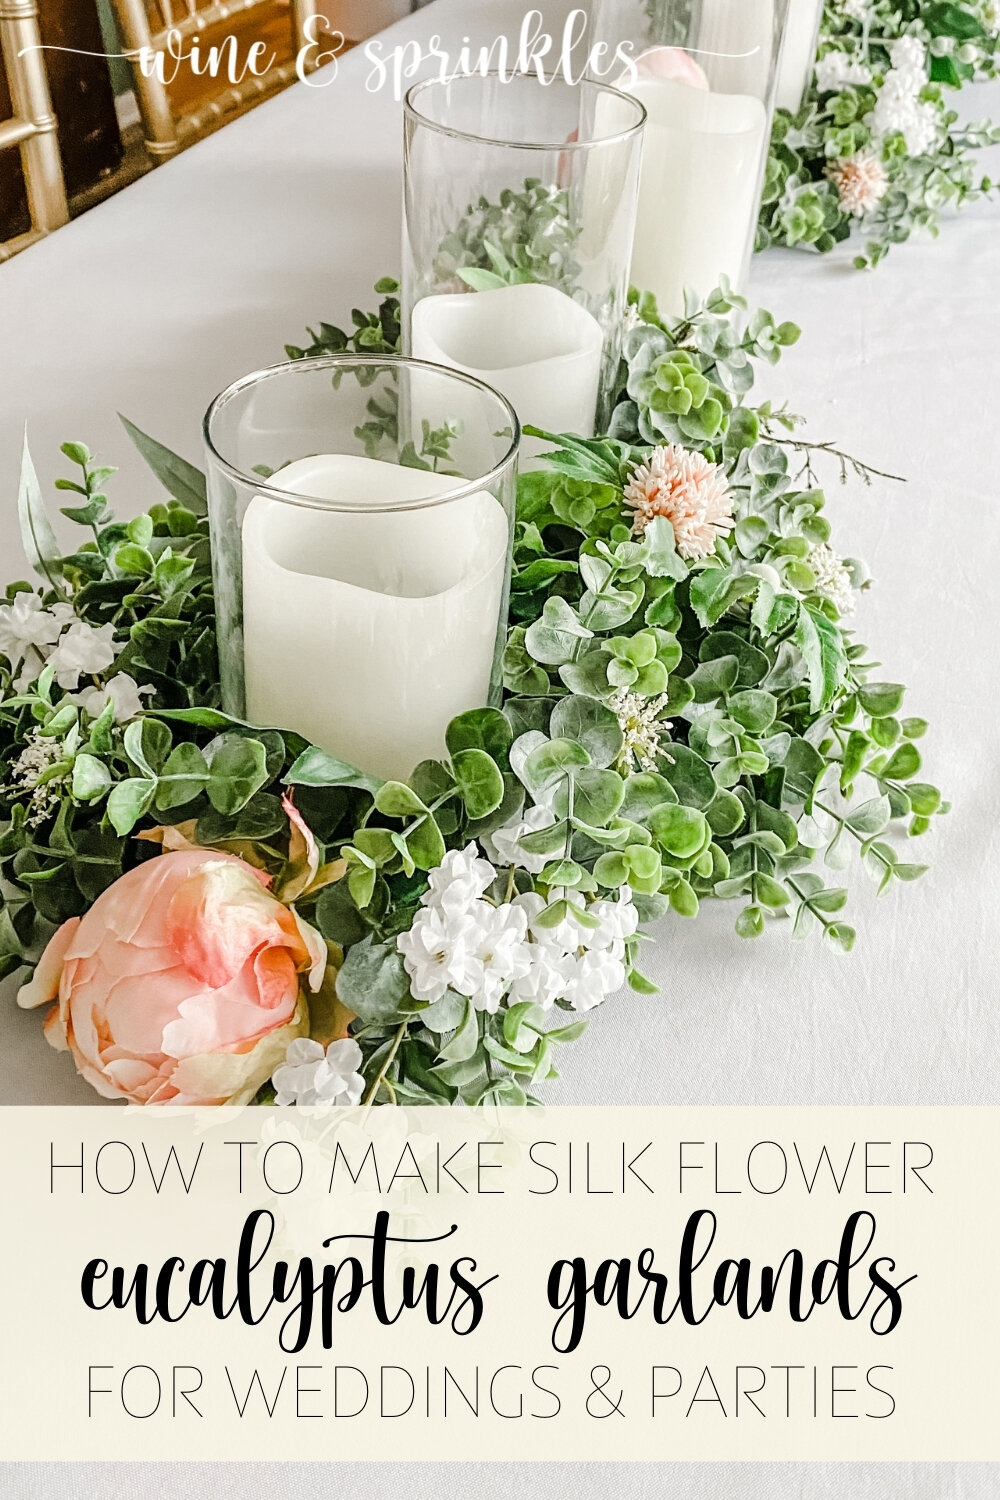
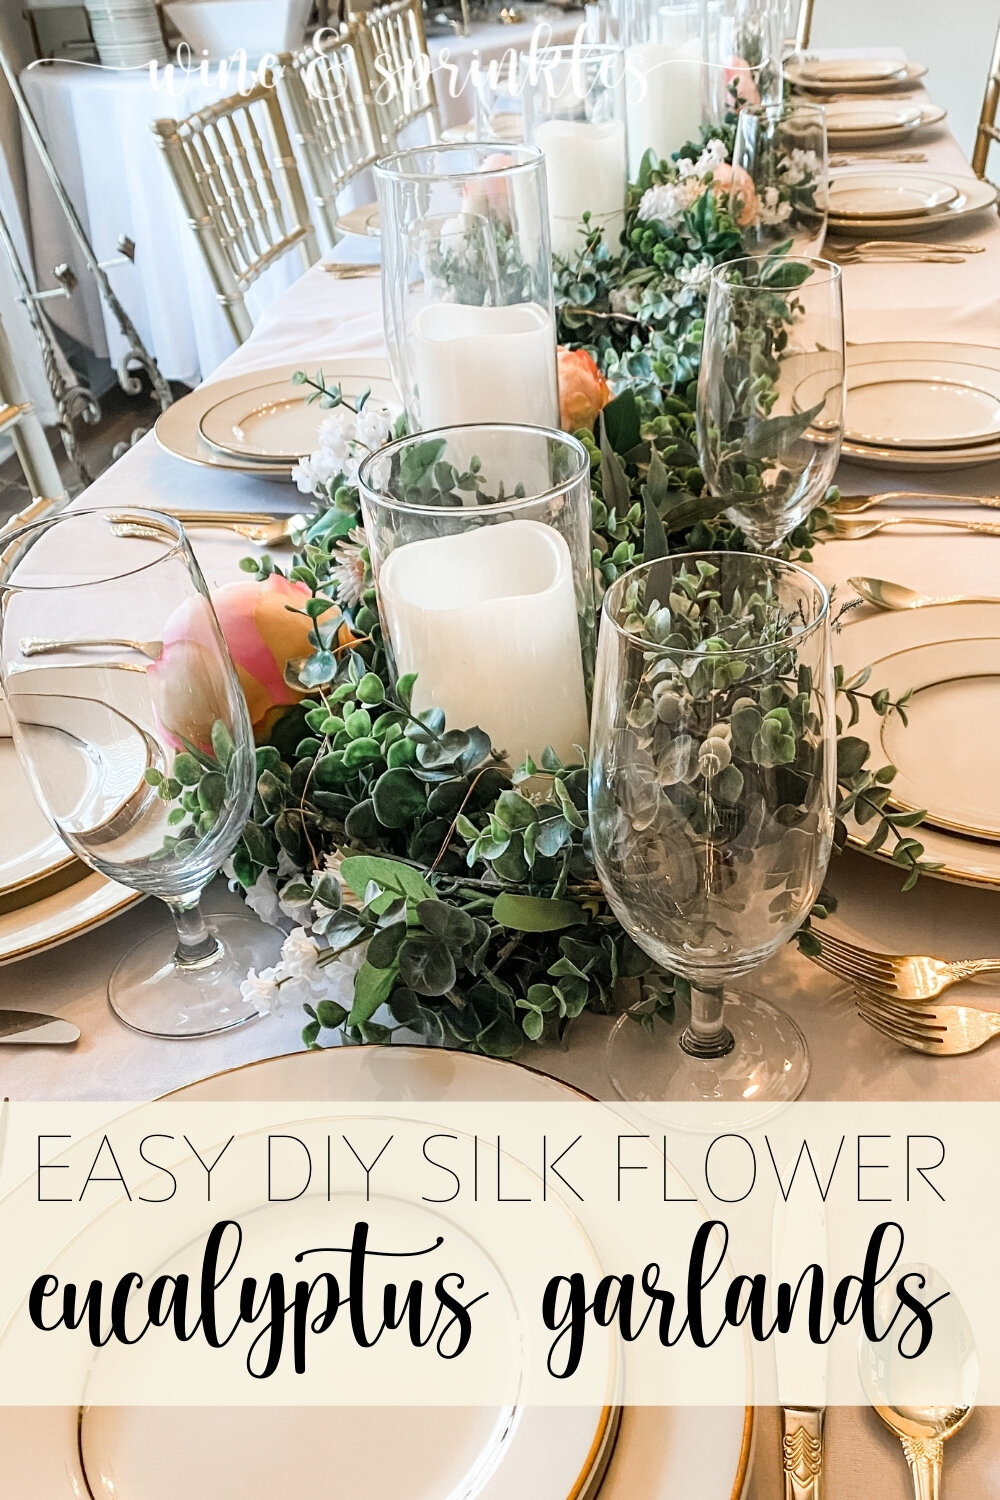
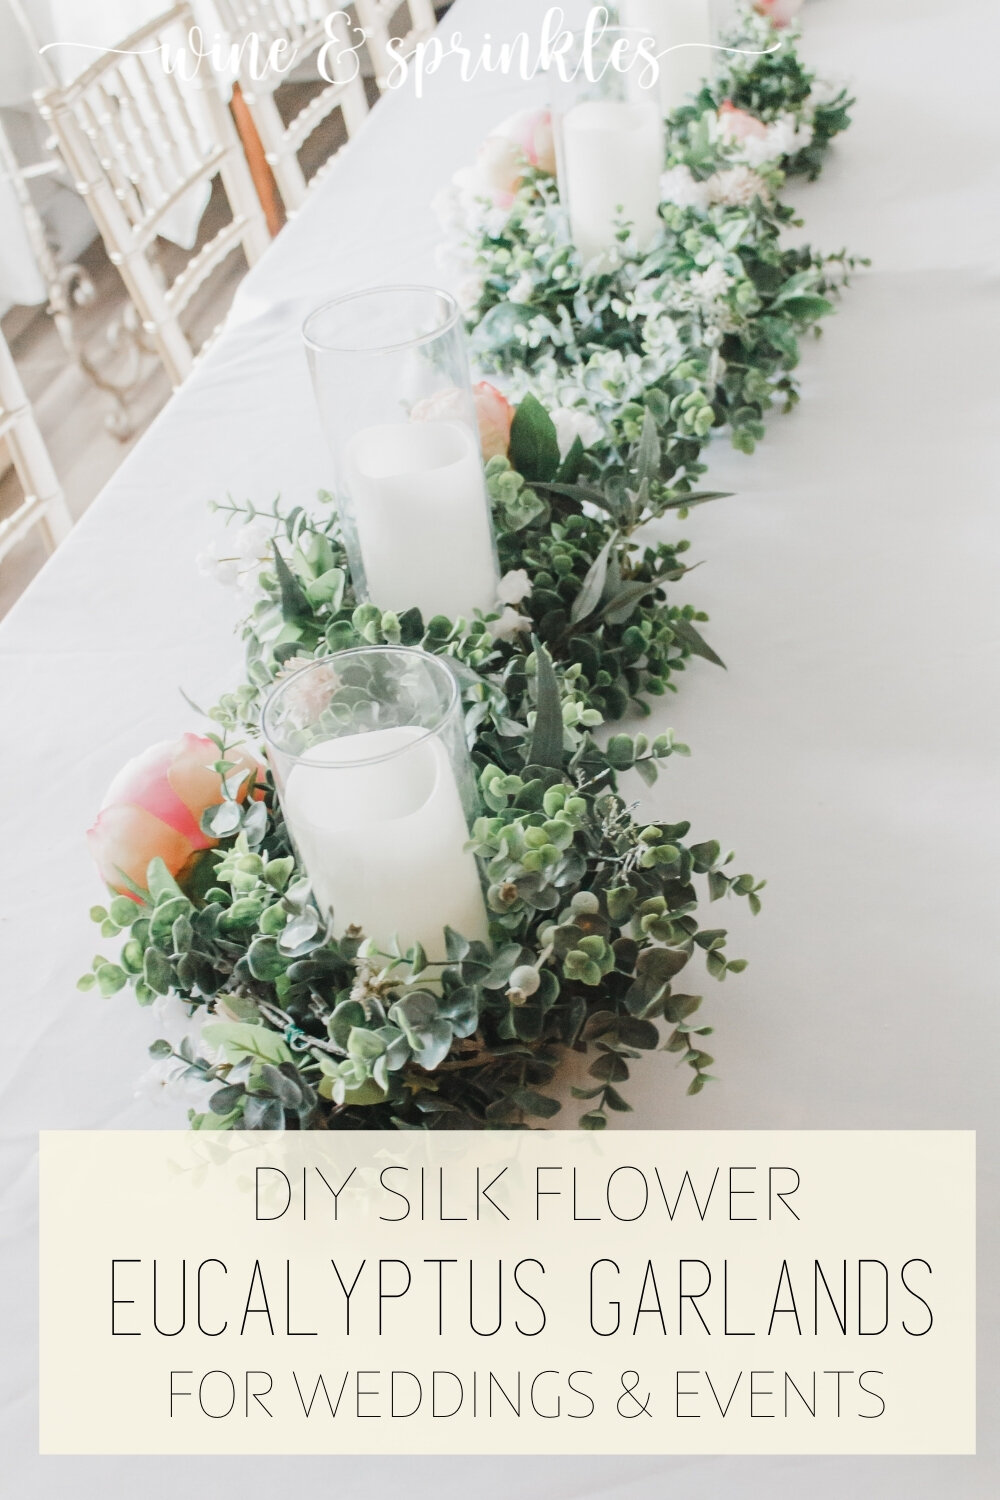
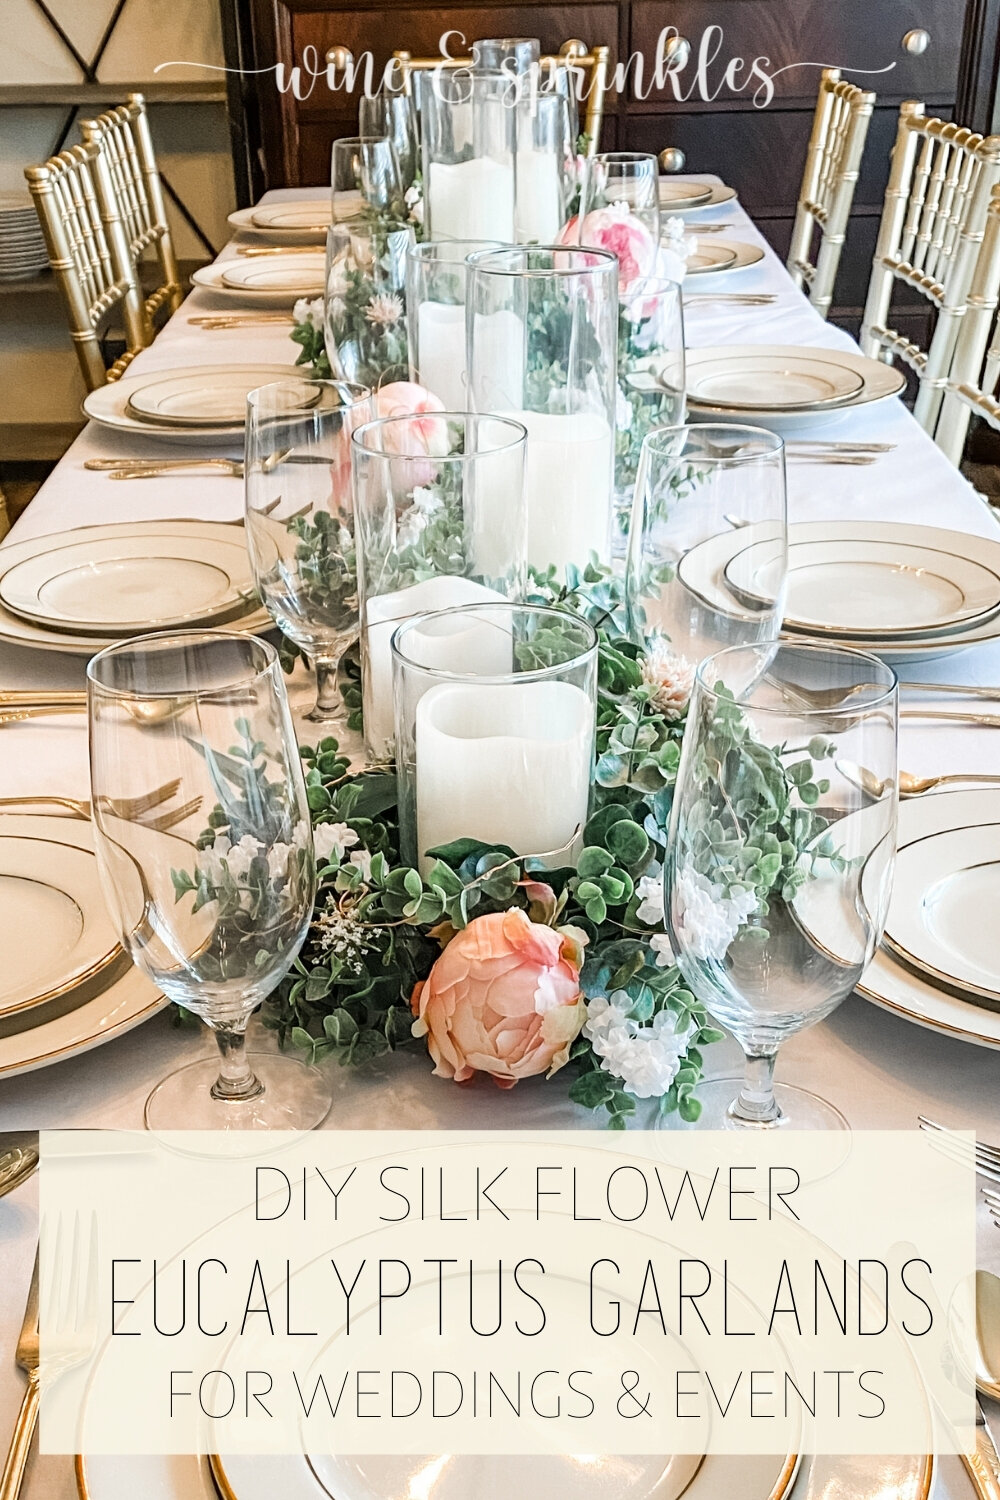
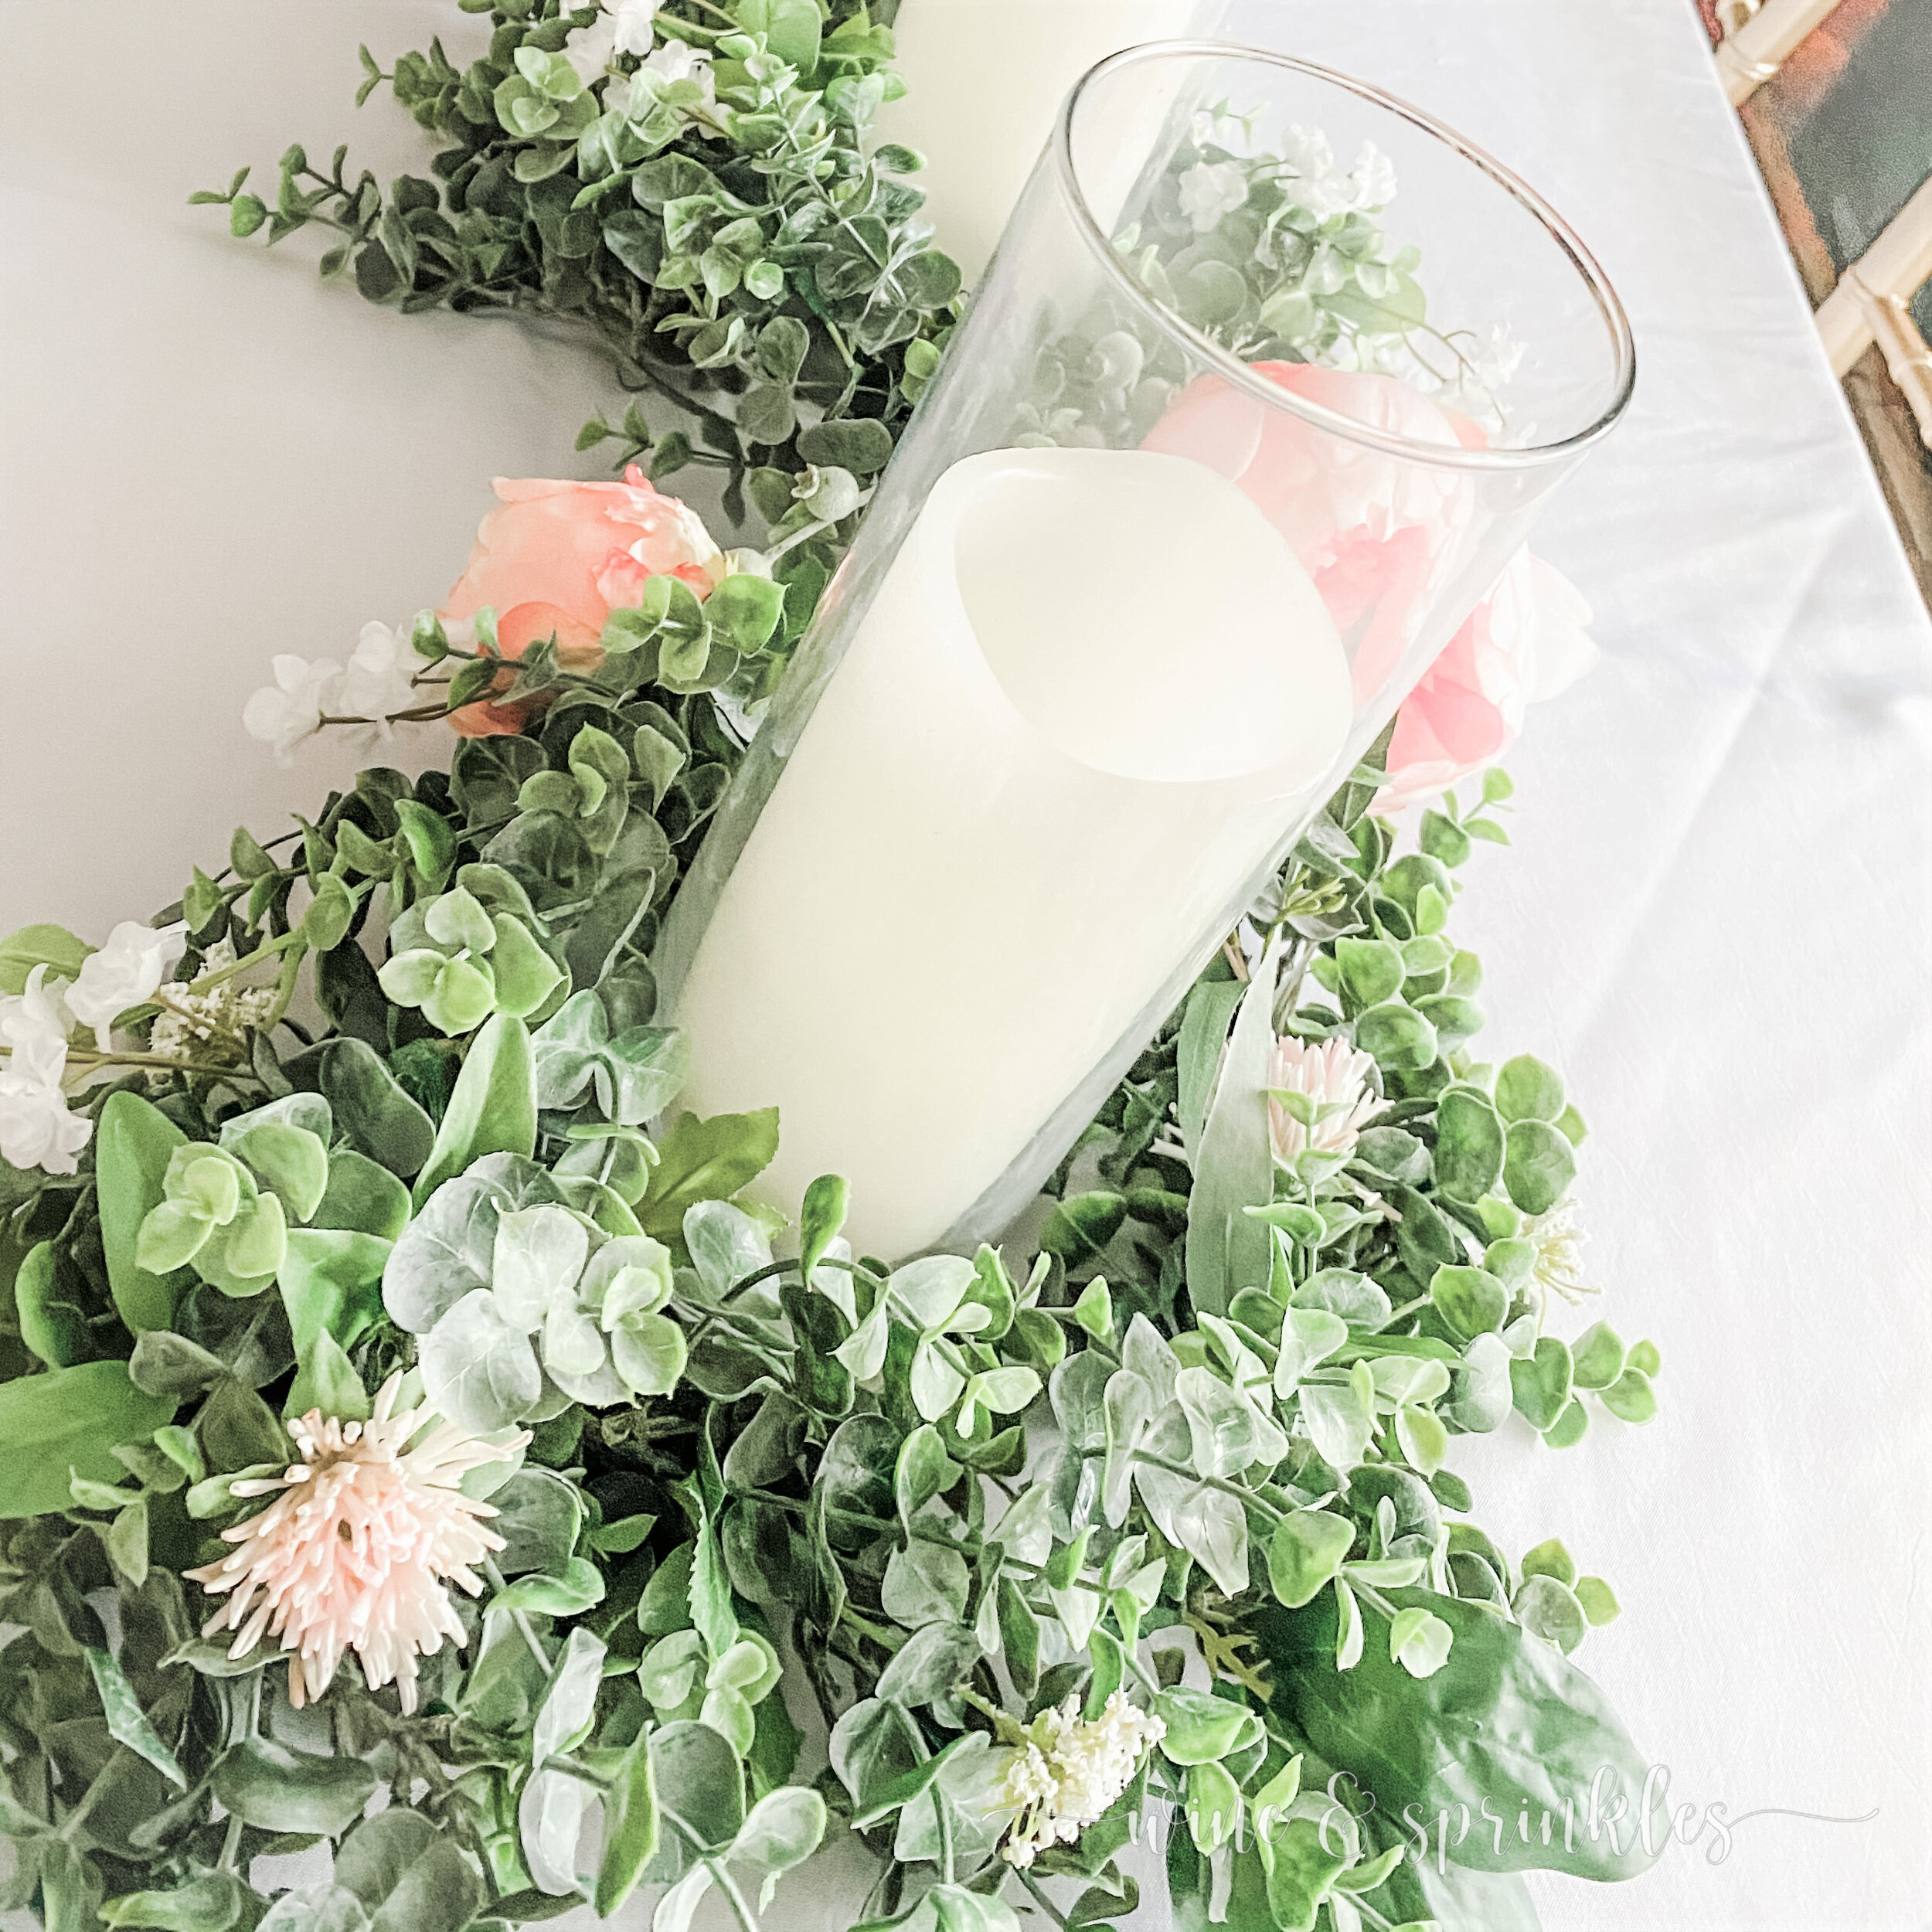
Garlands covered with beautiful blooms are the perfect way to deck out any table in a romantic springtime vibe, whether for a wedding or a fancy dinner at home! When I was designing my dinner table for my Goddess of Spring Cocktail Party, I knew I wanted to incorporate a long, over the top, gorgeous floral garland to set the mood for a romantic and opulent evening and these beautiful, easy to make garlands were the perfect choice!


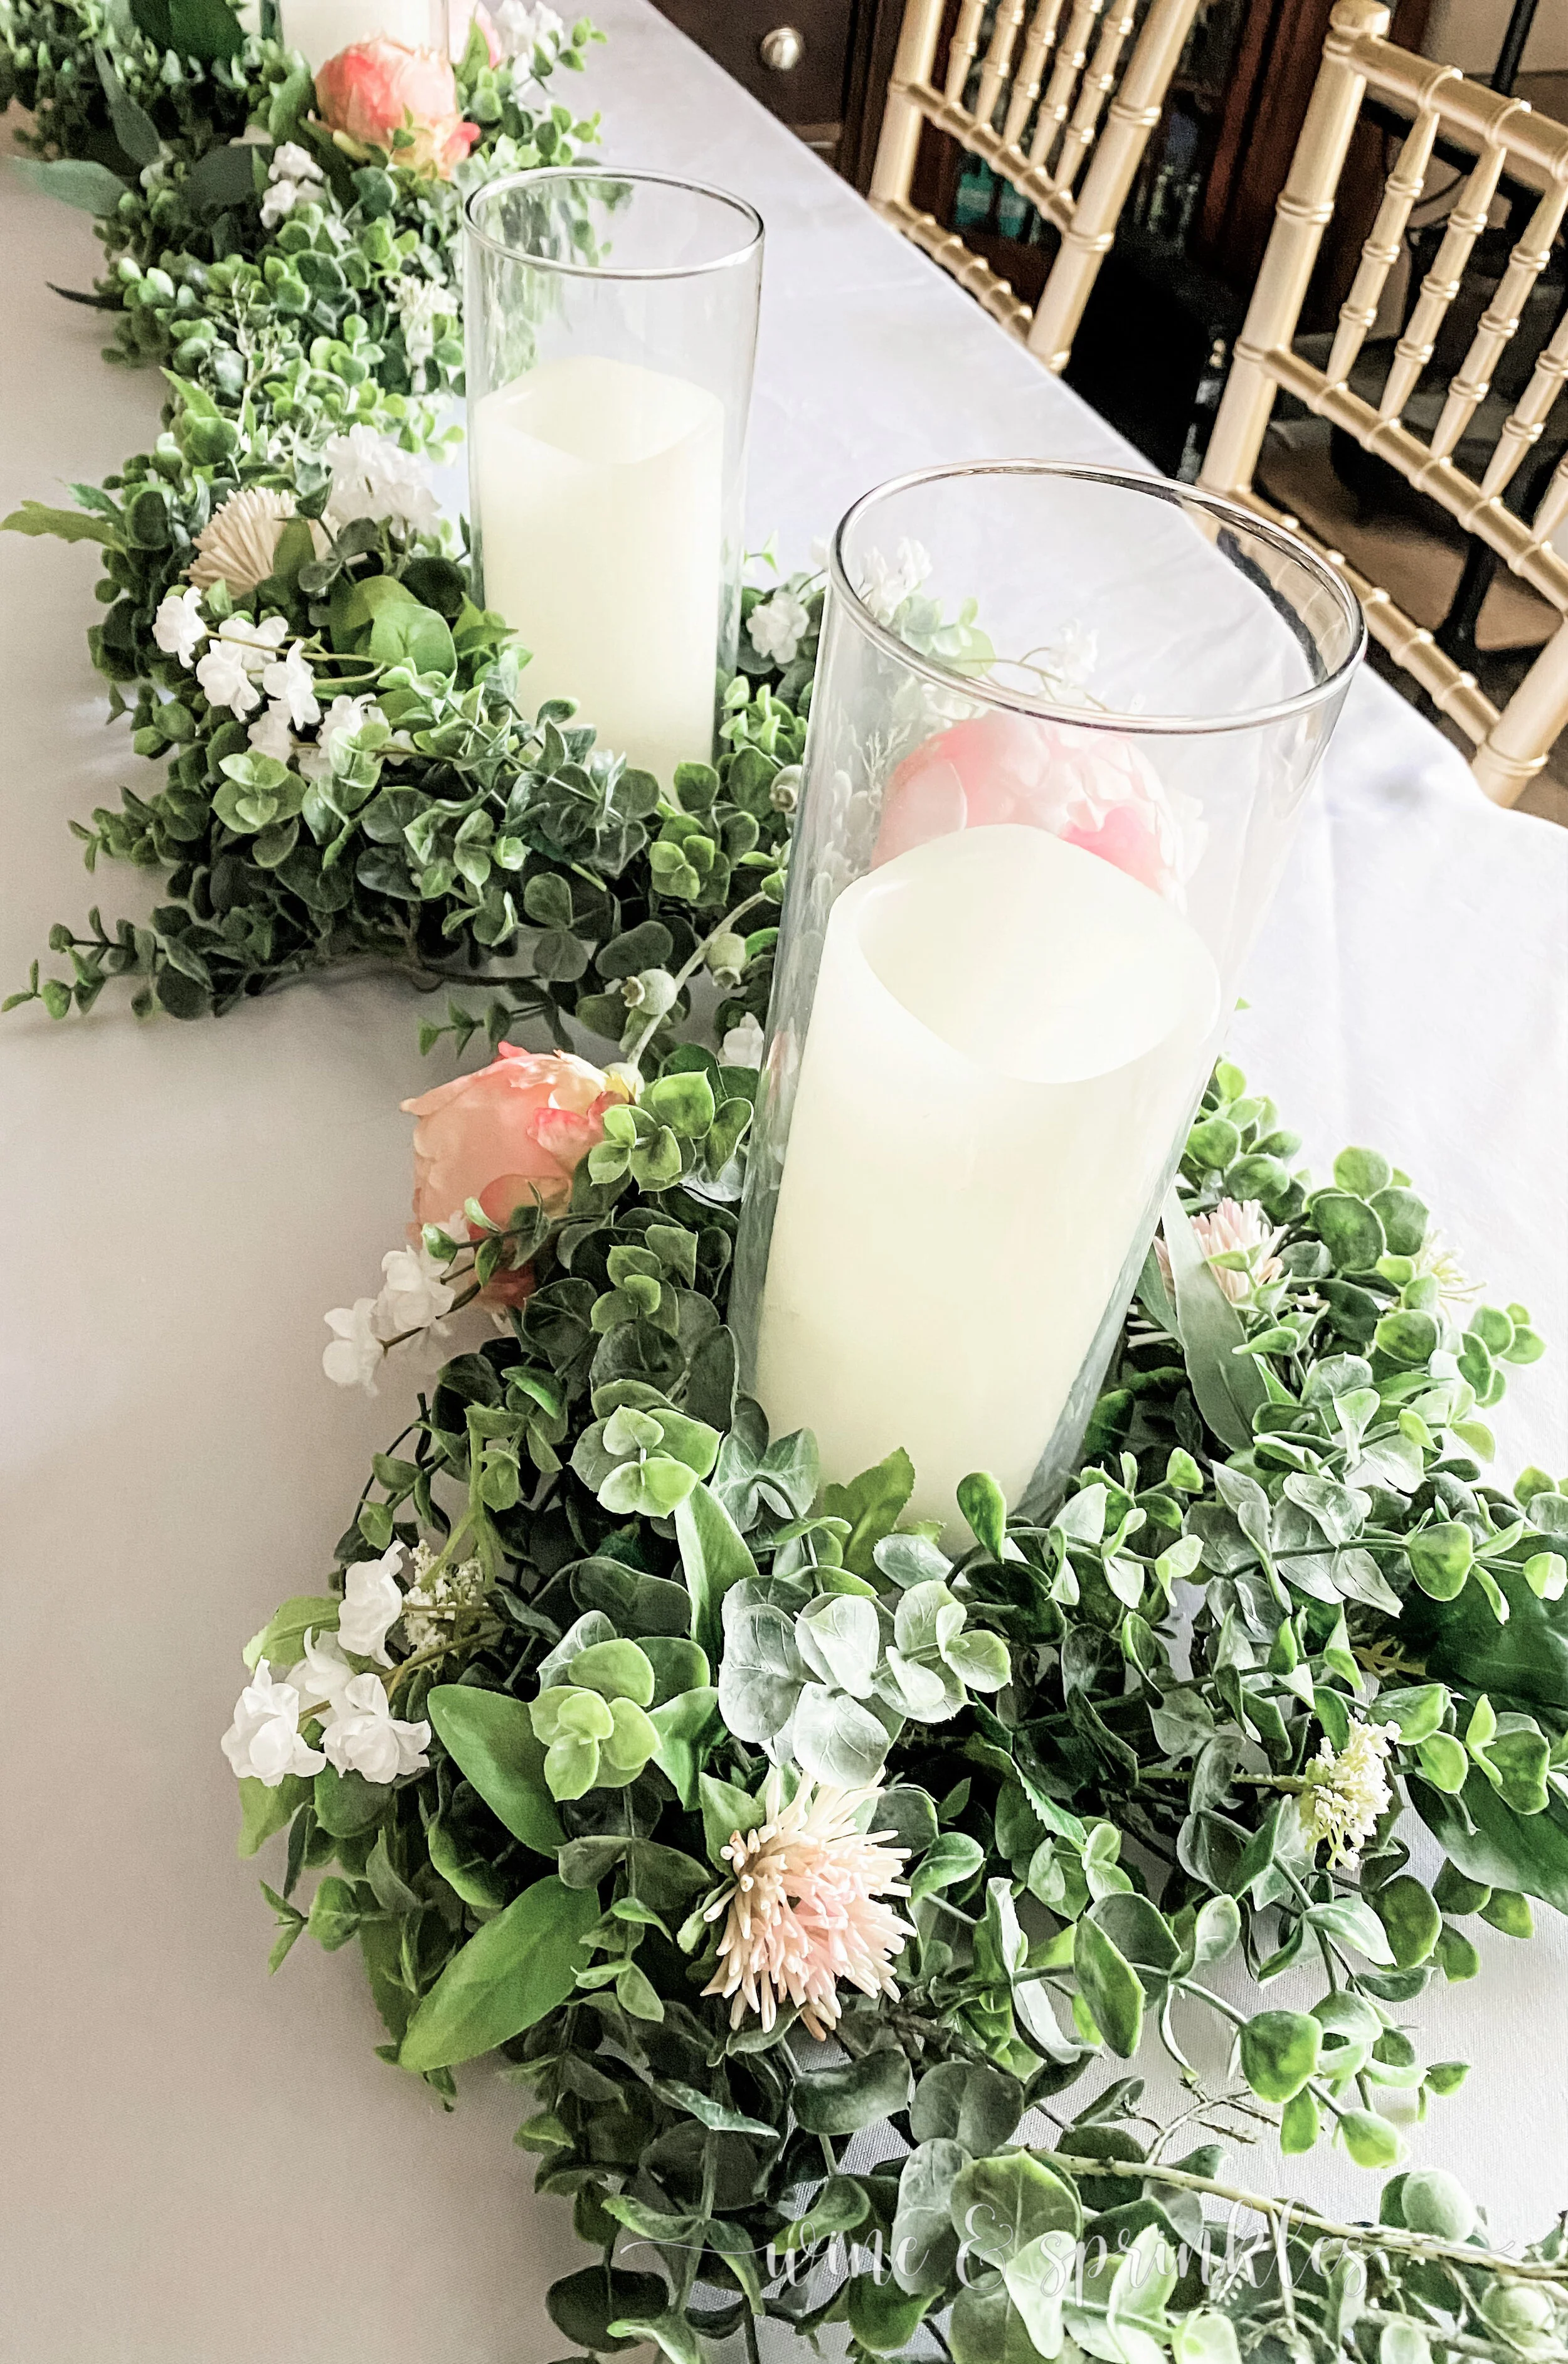
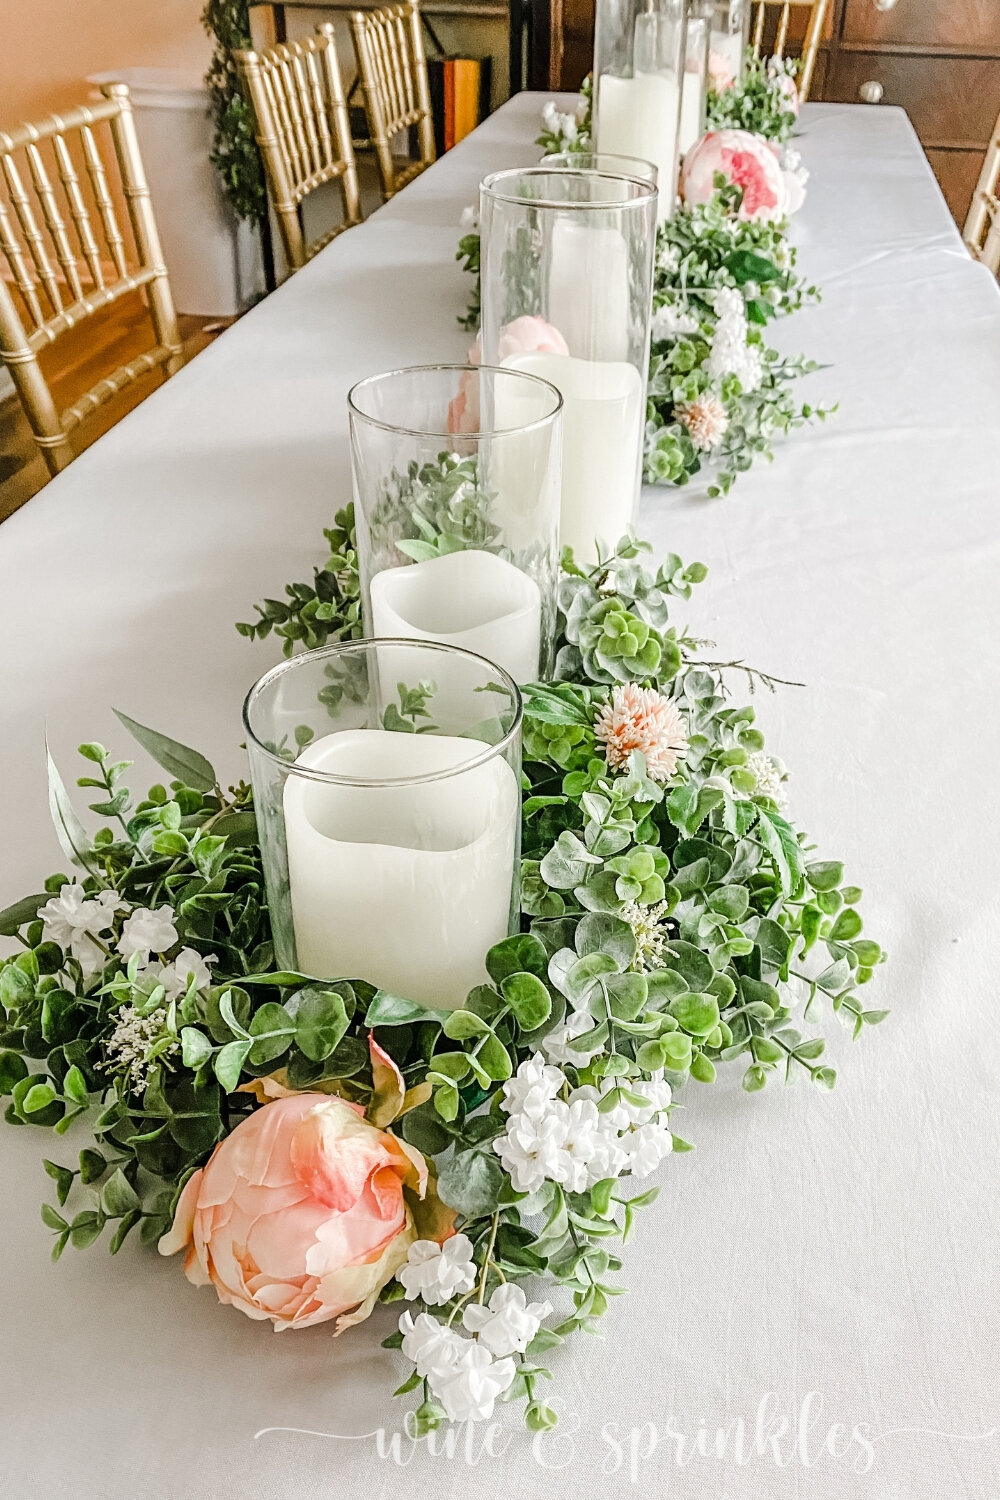
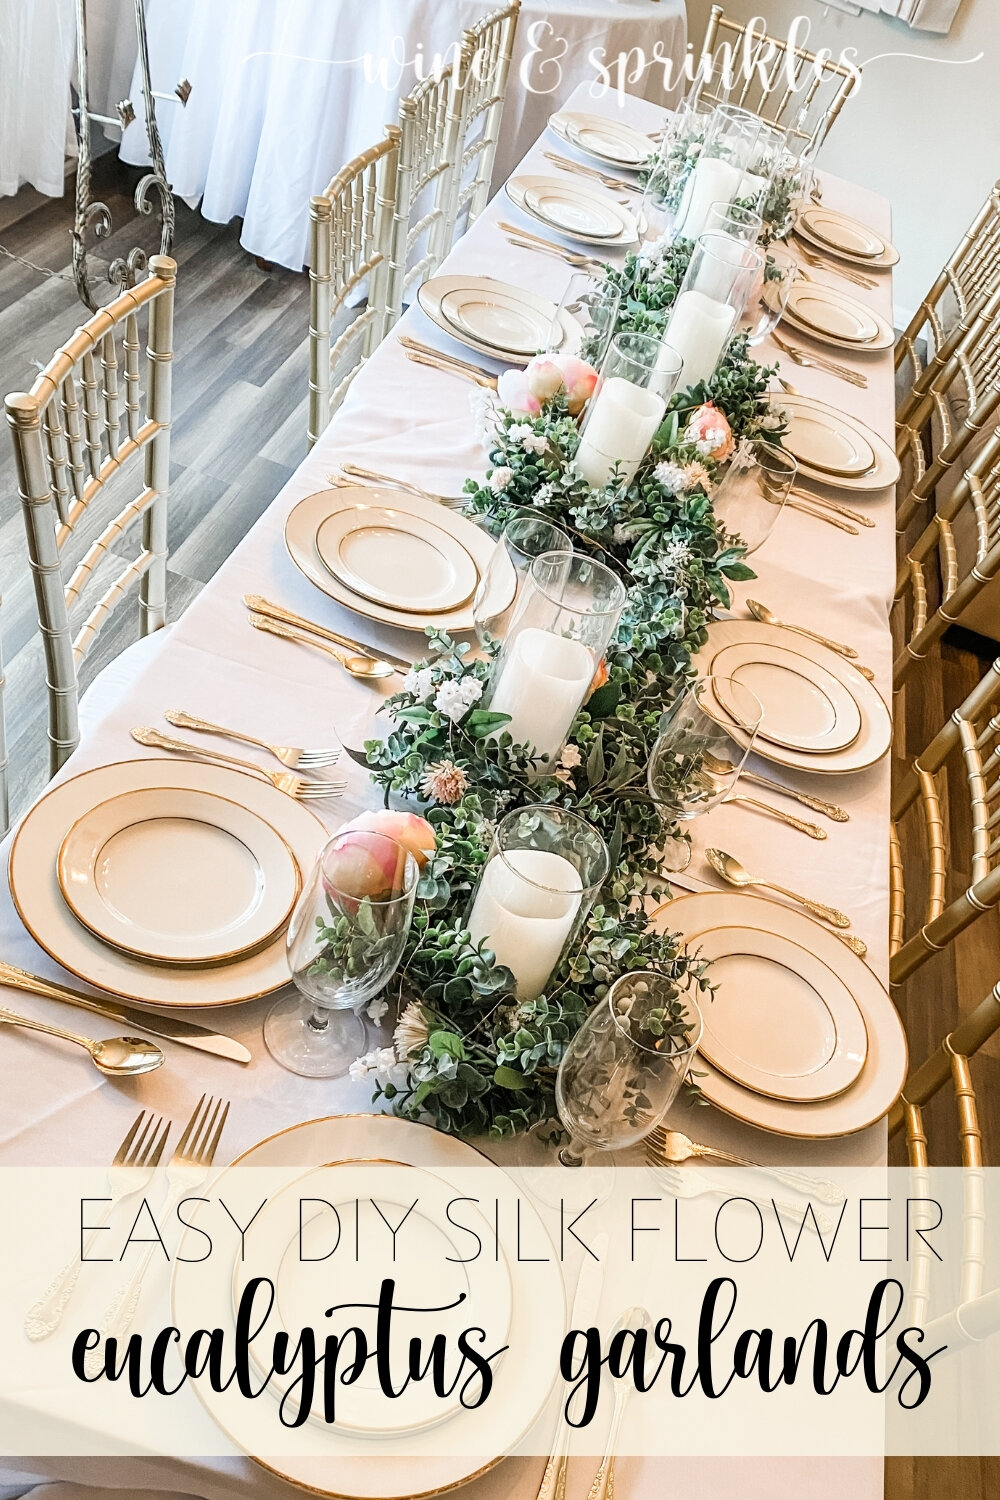
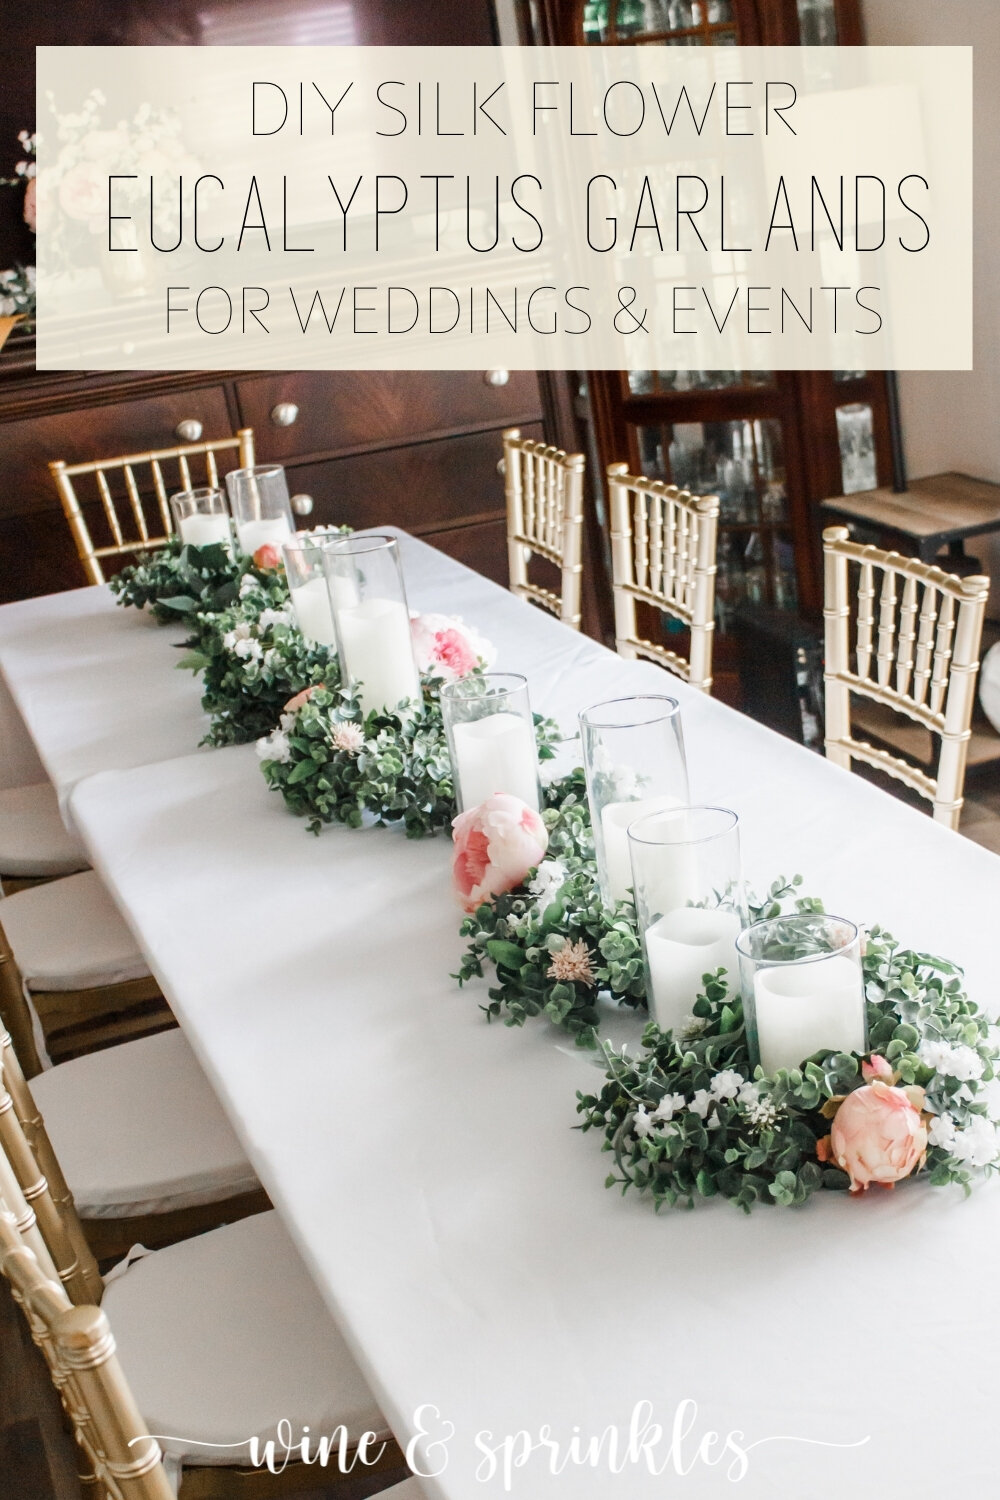
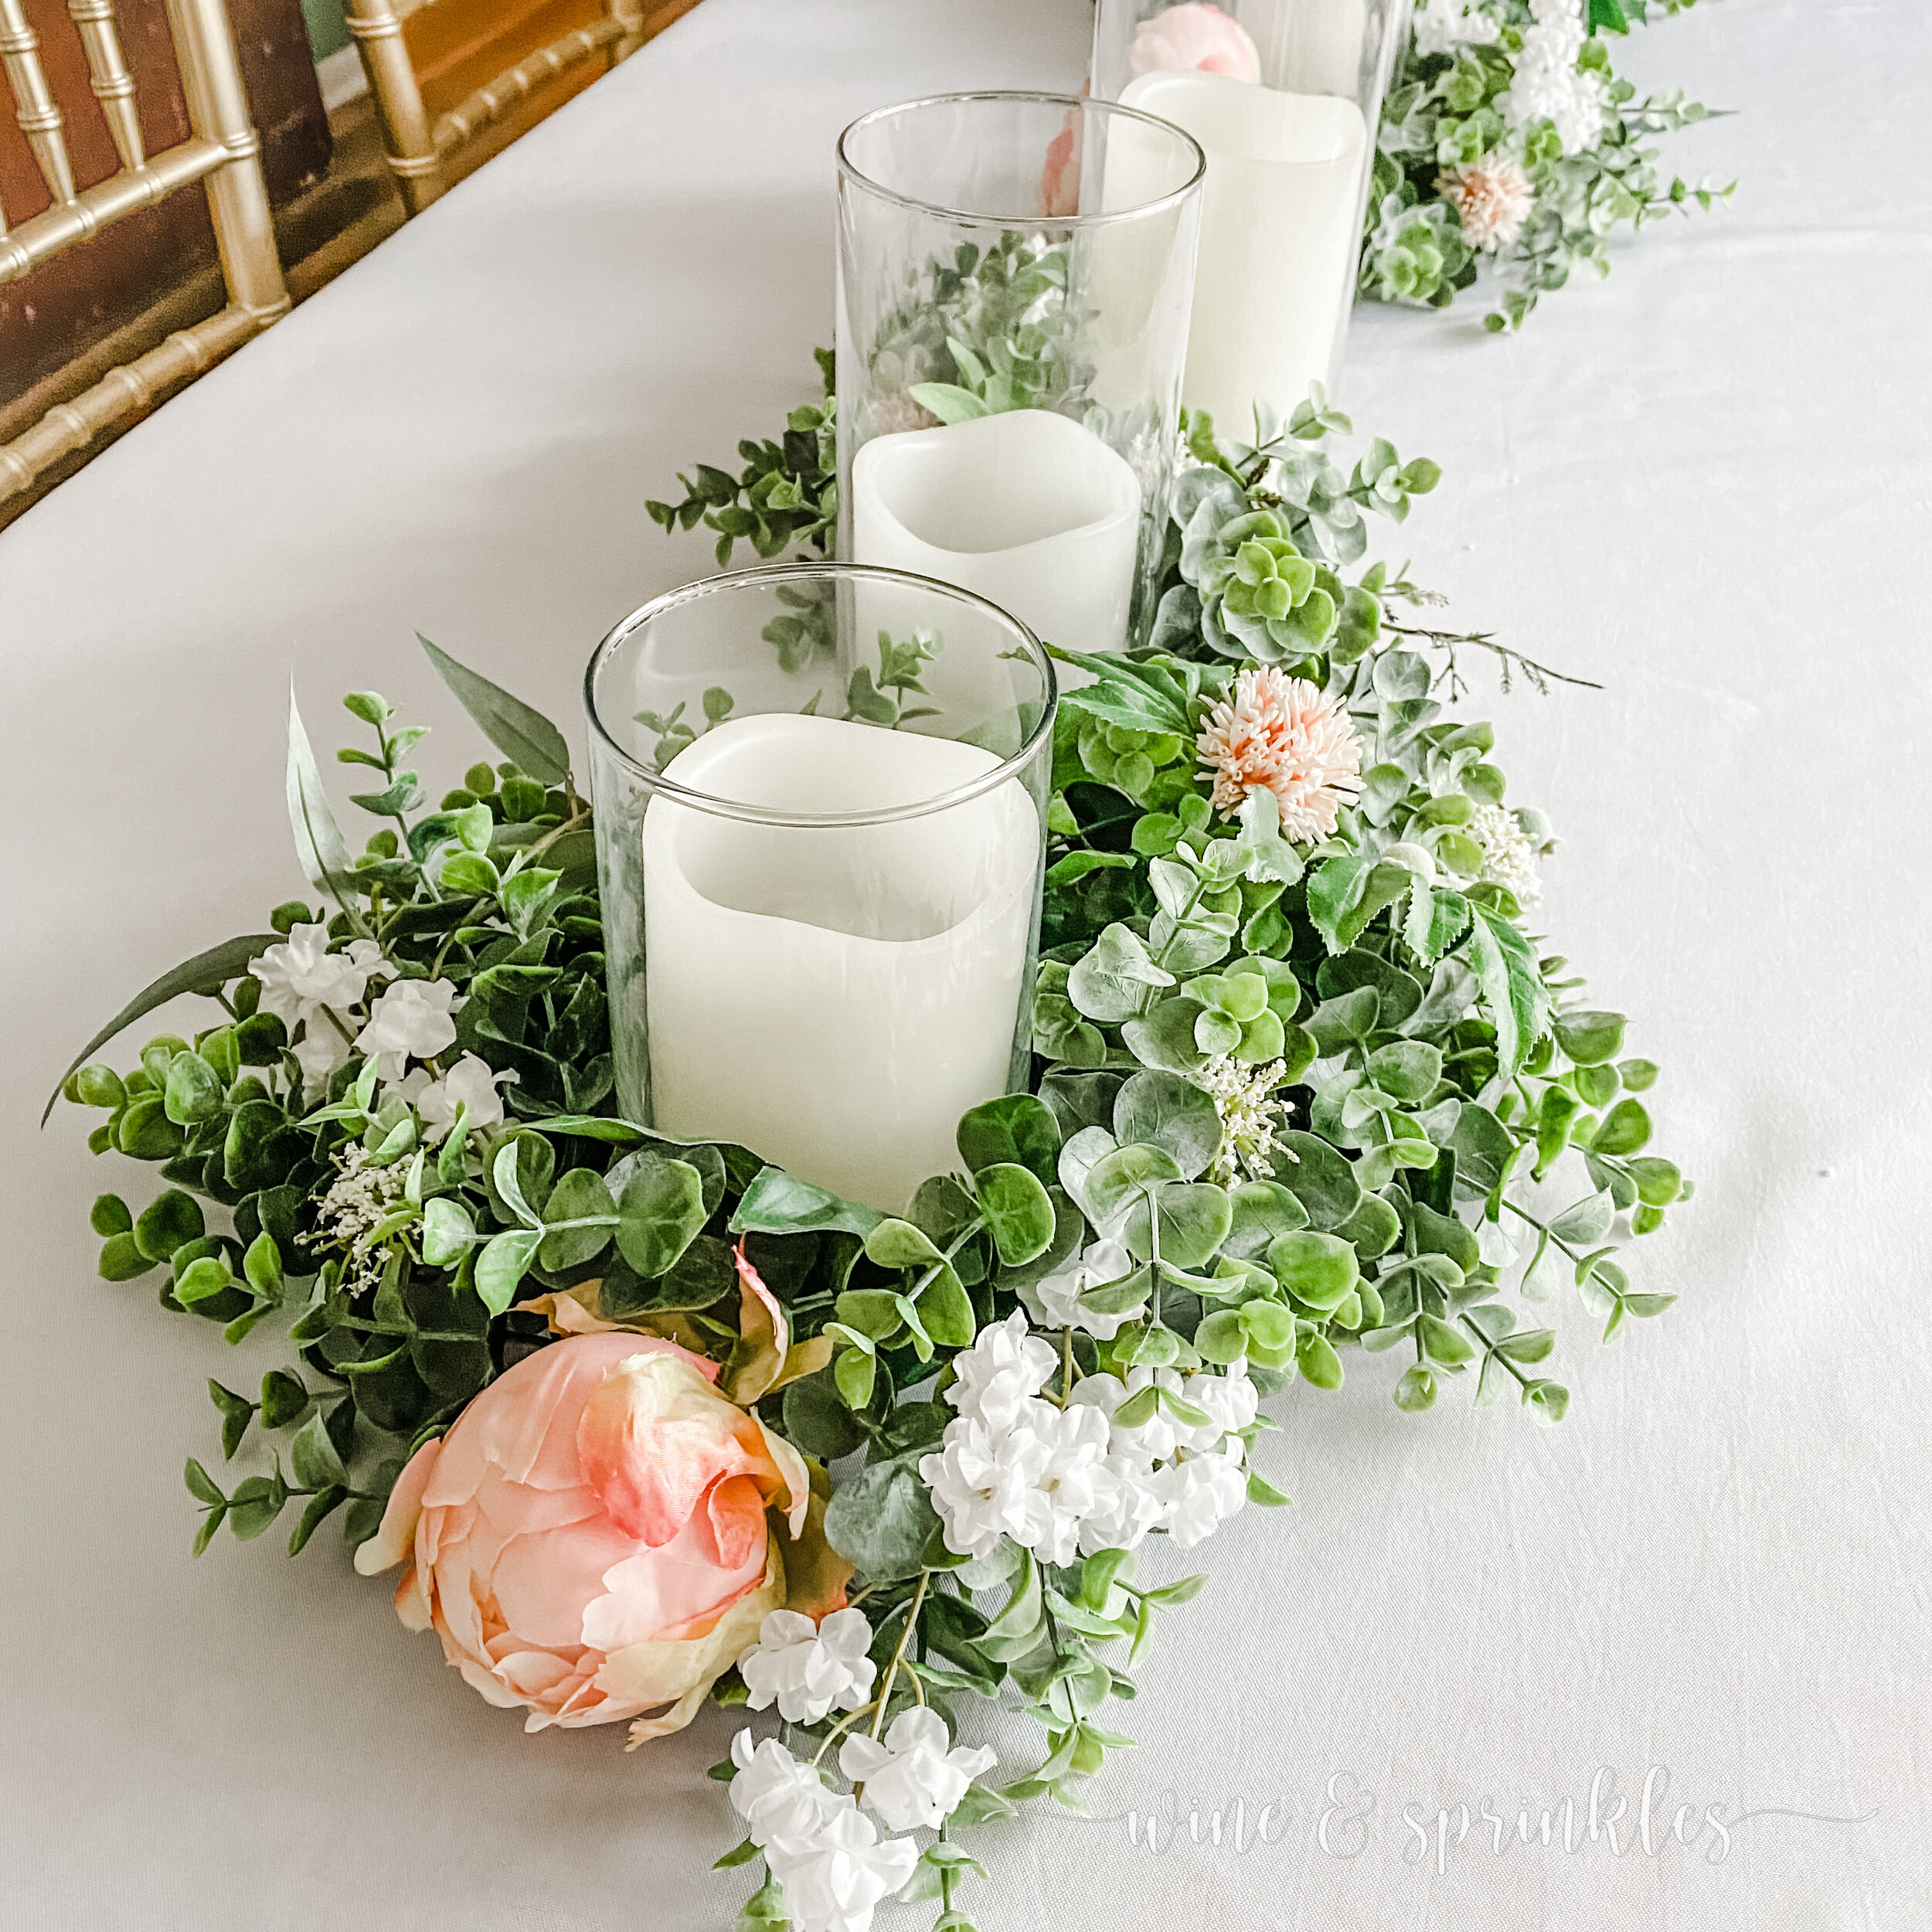
I intended to drape my completed garlands over the ends of the table, in the style I love seeing on Pinterest wedding tables, but that didn’t quite work out as planned. To fit all my fabulous friends for dinner I ended up wrapping and circling them around glass cylinder candle holders to use the ends of the table. So while they didn’t flow over the ends of the table This led to them being a long and lush candlescape, though there was plenty of length with two garlands for either style. I can’t wait to try decorative draping ideas with them next spring on bars and phot booths!
SUPPLIES
For my Silk Flower Centerpieces and Garlands, I started by choosing the flowers I wanted to work with first, and then designed my projects around them. For all my floral projects, you’ll notice that I separate my flowers into three groups: main flowers, support flowers, and greenery. For my garlands, I found all of my floral supplies from an online company, Afloral, and I absolutely adored all the greenery and flowers I received! Not only were they all beautiful quality, but they had a large selection of unique silk flowers I wouldn’t have thought of. While I’ll be linking to all the flowers I used, keep in mind that as they sell out they won’t be available until they restock (which is sometimes seasonal), and I encourage you to look through all their flower choices to pick what works perfectly for you and use my garlands as an example to create ones that are uniquely yours! To learn more about Afloral and all their lovely products, check out my review on what I’ve bought from them so far here!
MAIN FLOWERS
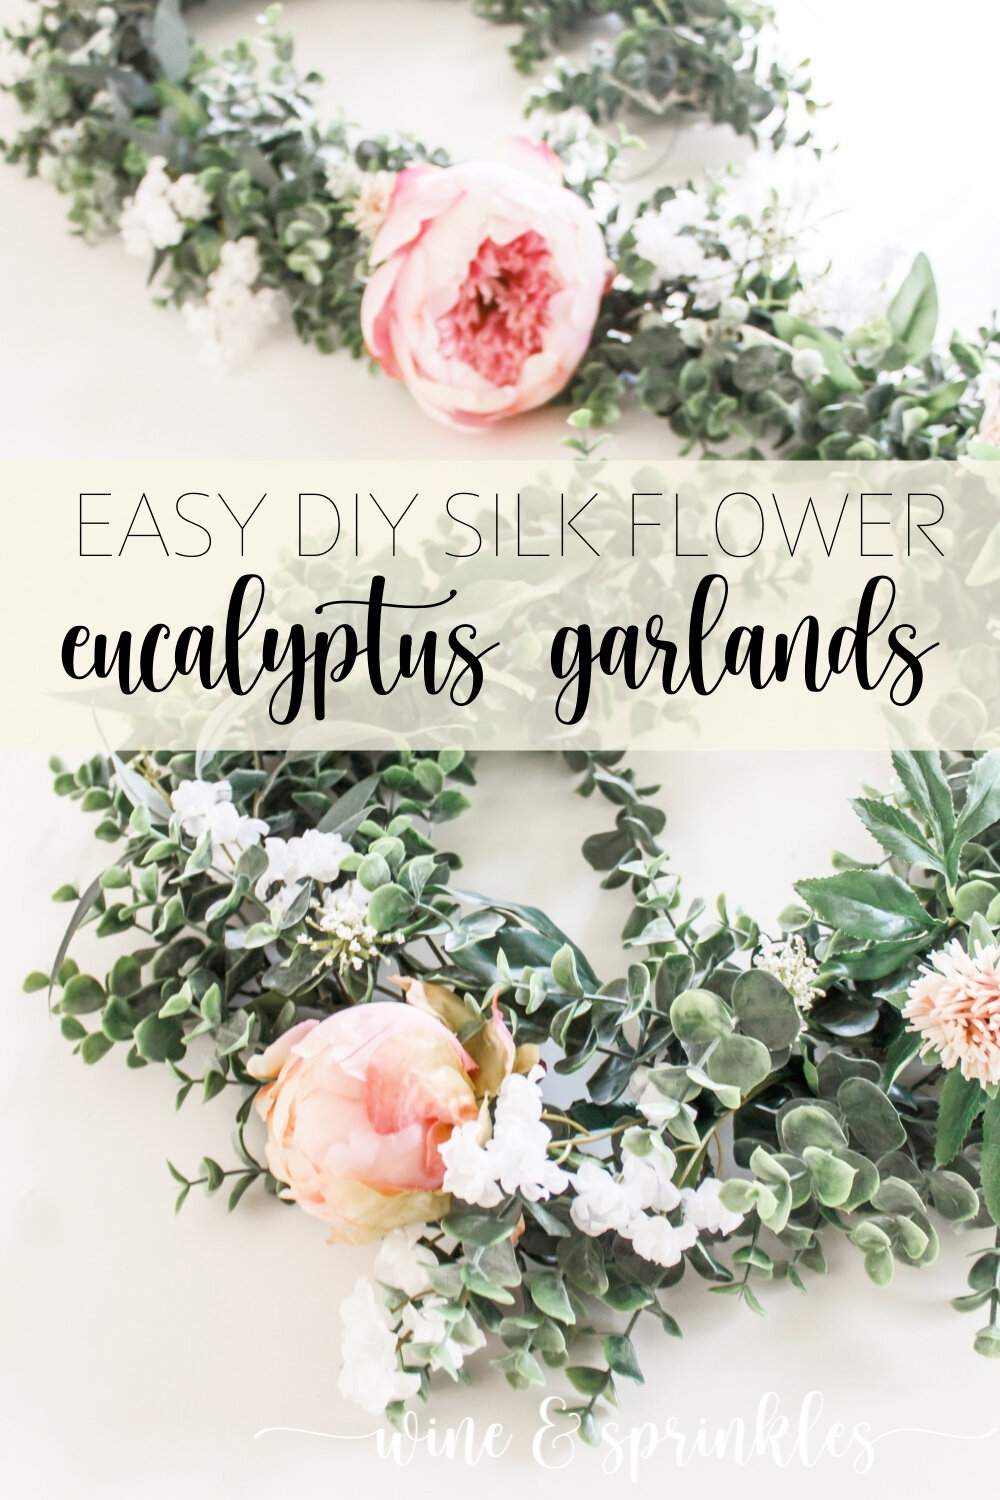
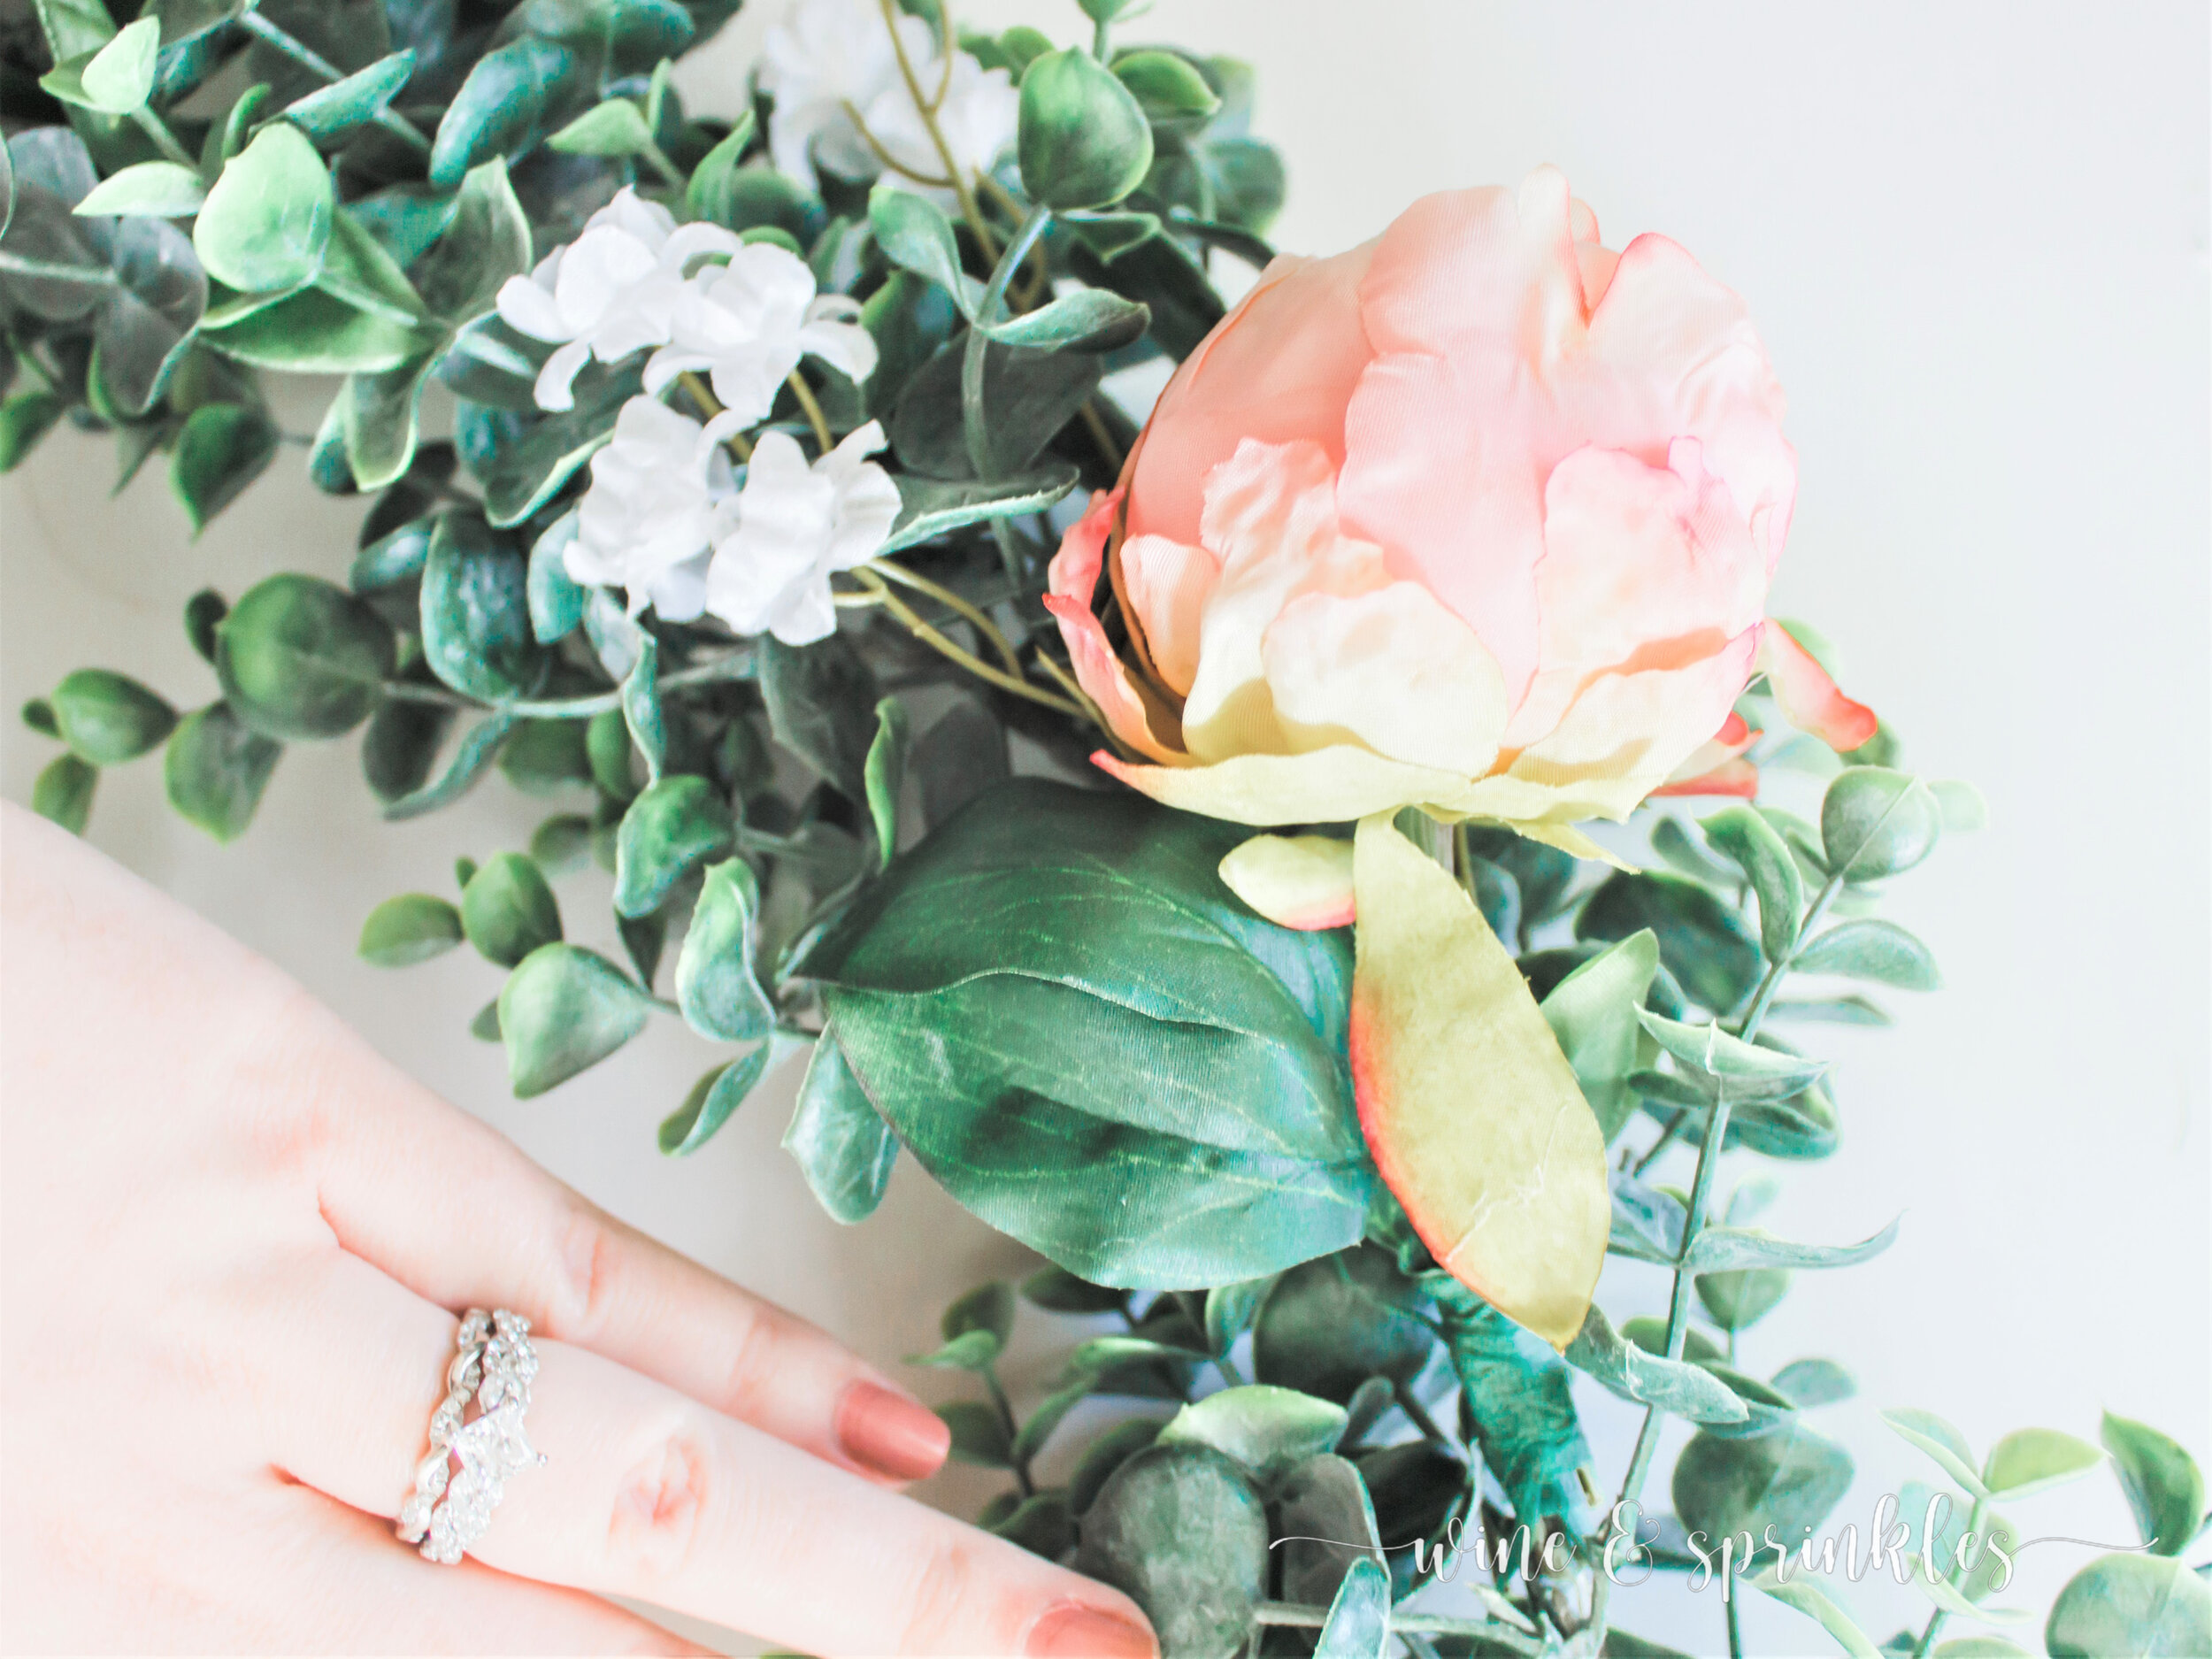
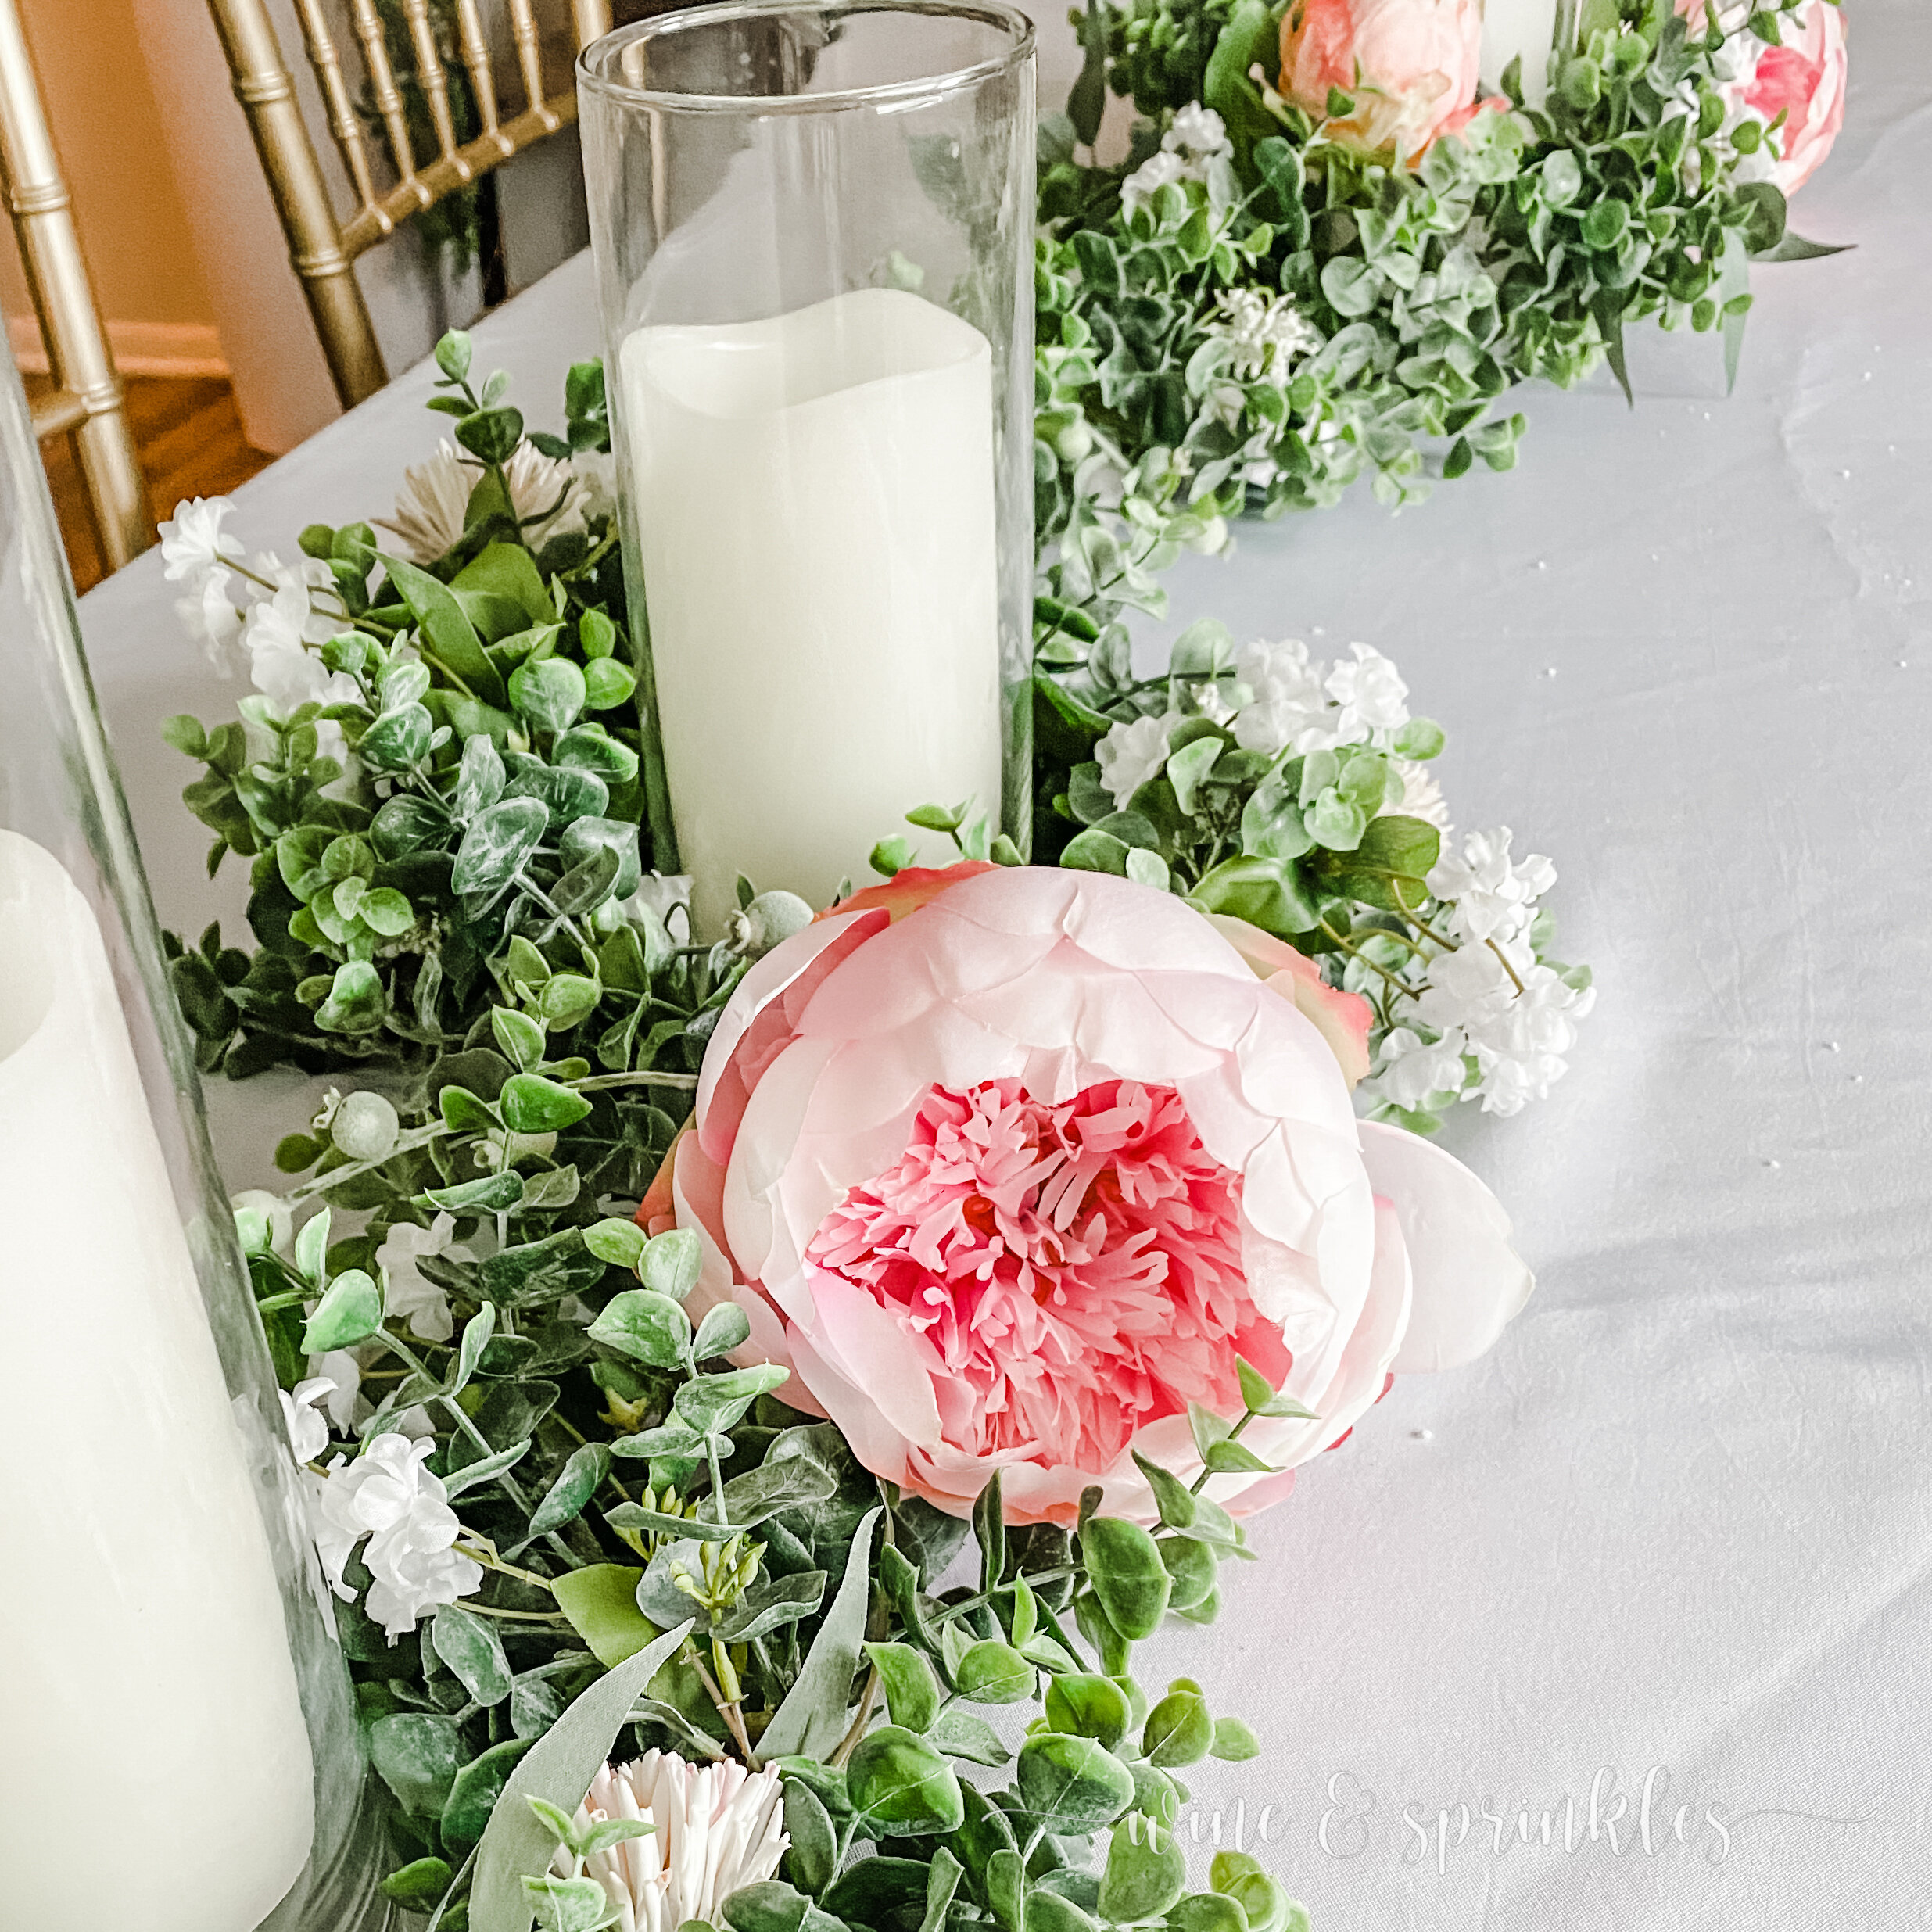
Peonies & Peony Buds: For the main flower in my garlands, I had to go with peonies. They are one of my absolute favorite wedding flowers, and these beautiful blush ones were the perfect star for a romantic floral vibe that goes with any Spring fete. But if pink isn’t your color, I highly encourage you to look at all Silk Peony Flower options Afloral has to pick your perfect peony! I chose a set of buds and blooming flowers so I could alternate them throughout the garland and I loved the look, though there aren’t as many peony bud color options so keep that in mind.


SUPPORT FLOWERS
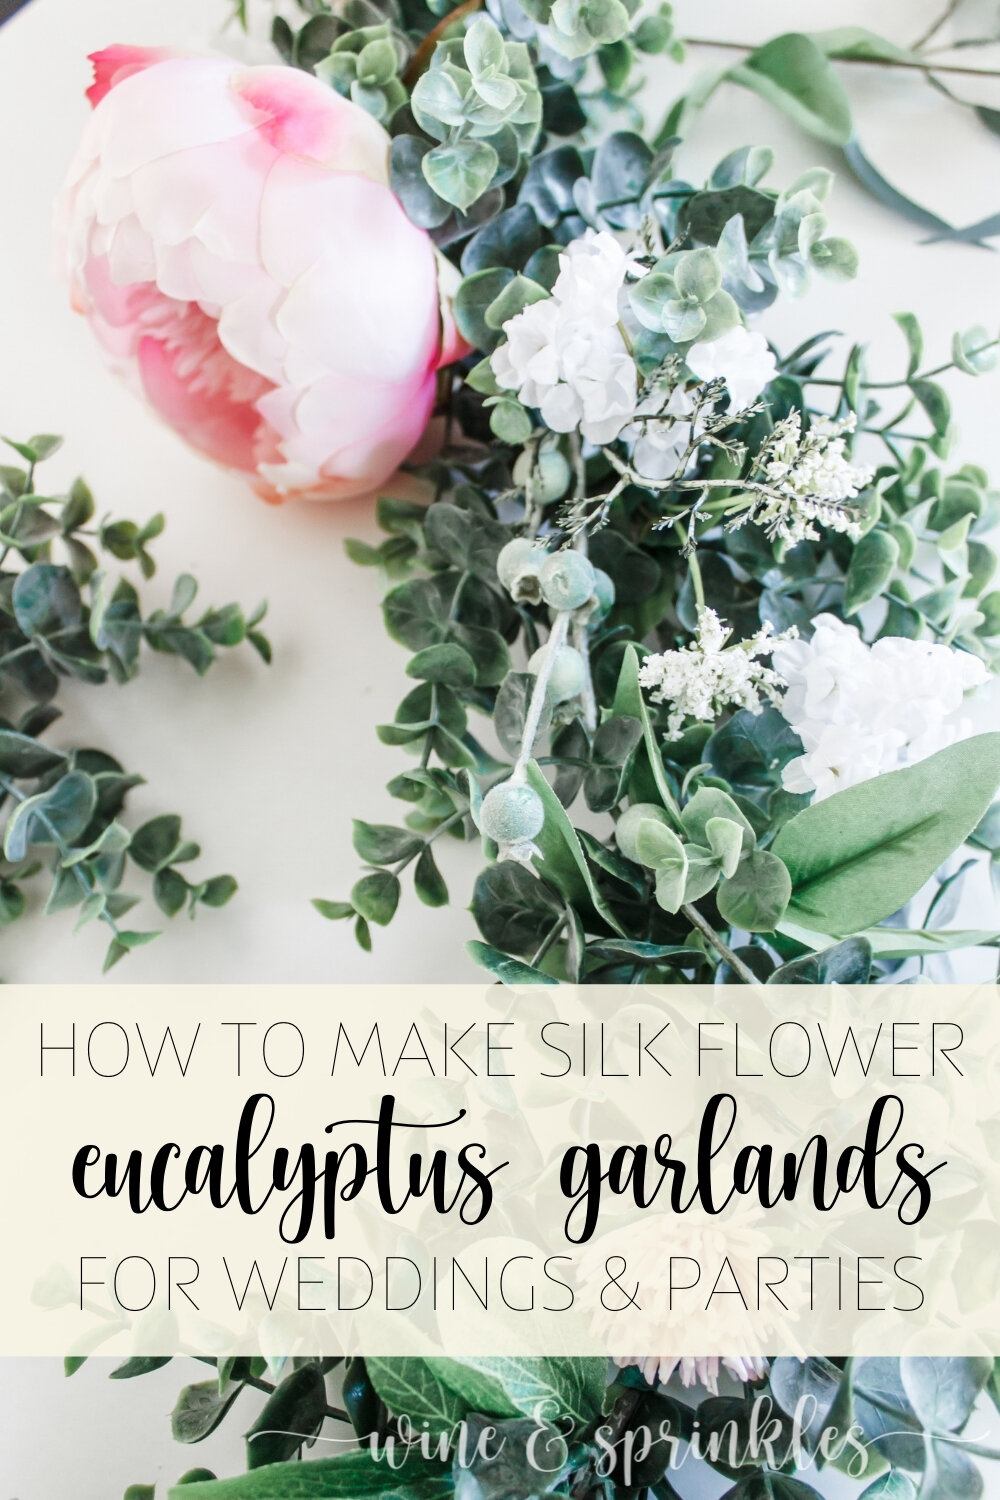
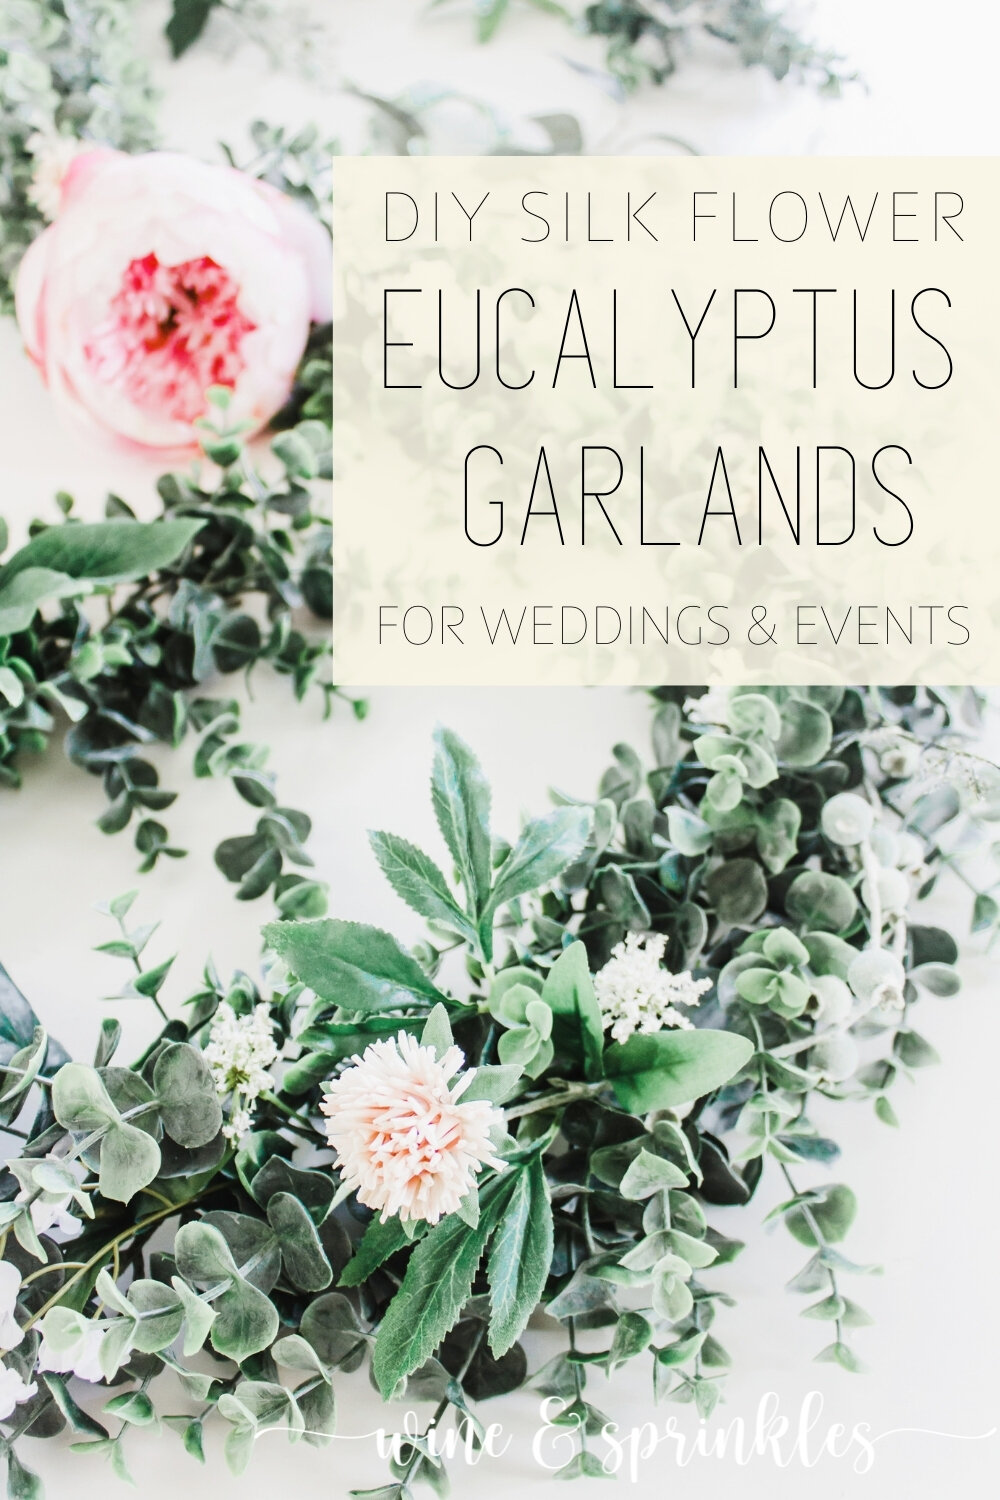
Clovers: With my pretty pink peonies, I wanted to go with creams and whites in the support flowers I used, and these cream clovers were the perfect whimsical wildflower addition to my spring garlands. If clovers aren’t your jam, there are dozens of other beautiful silk Wildflowers and Berry Sprays to choose from as well.


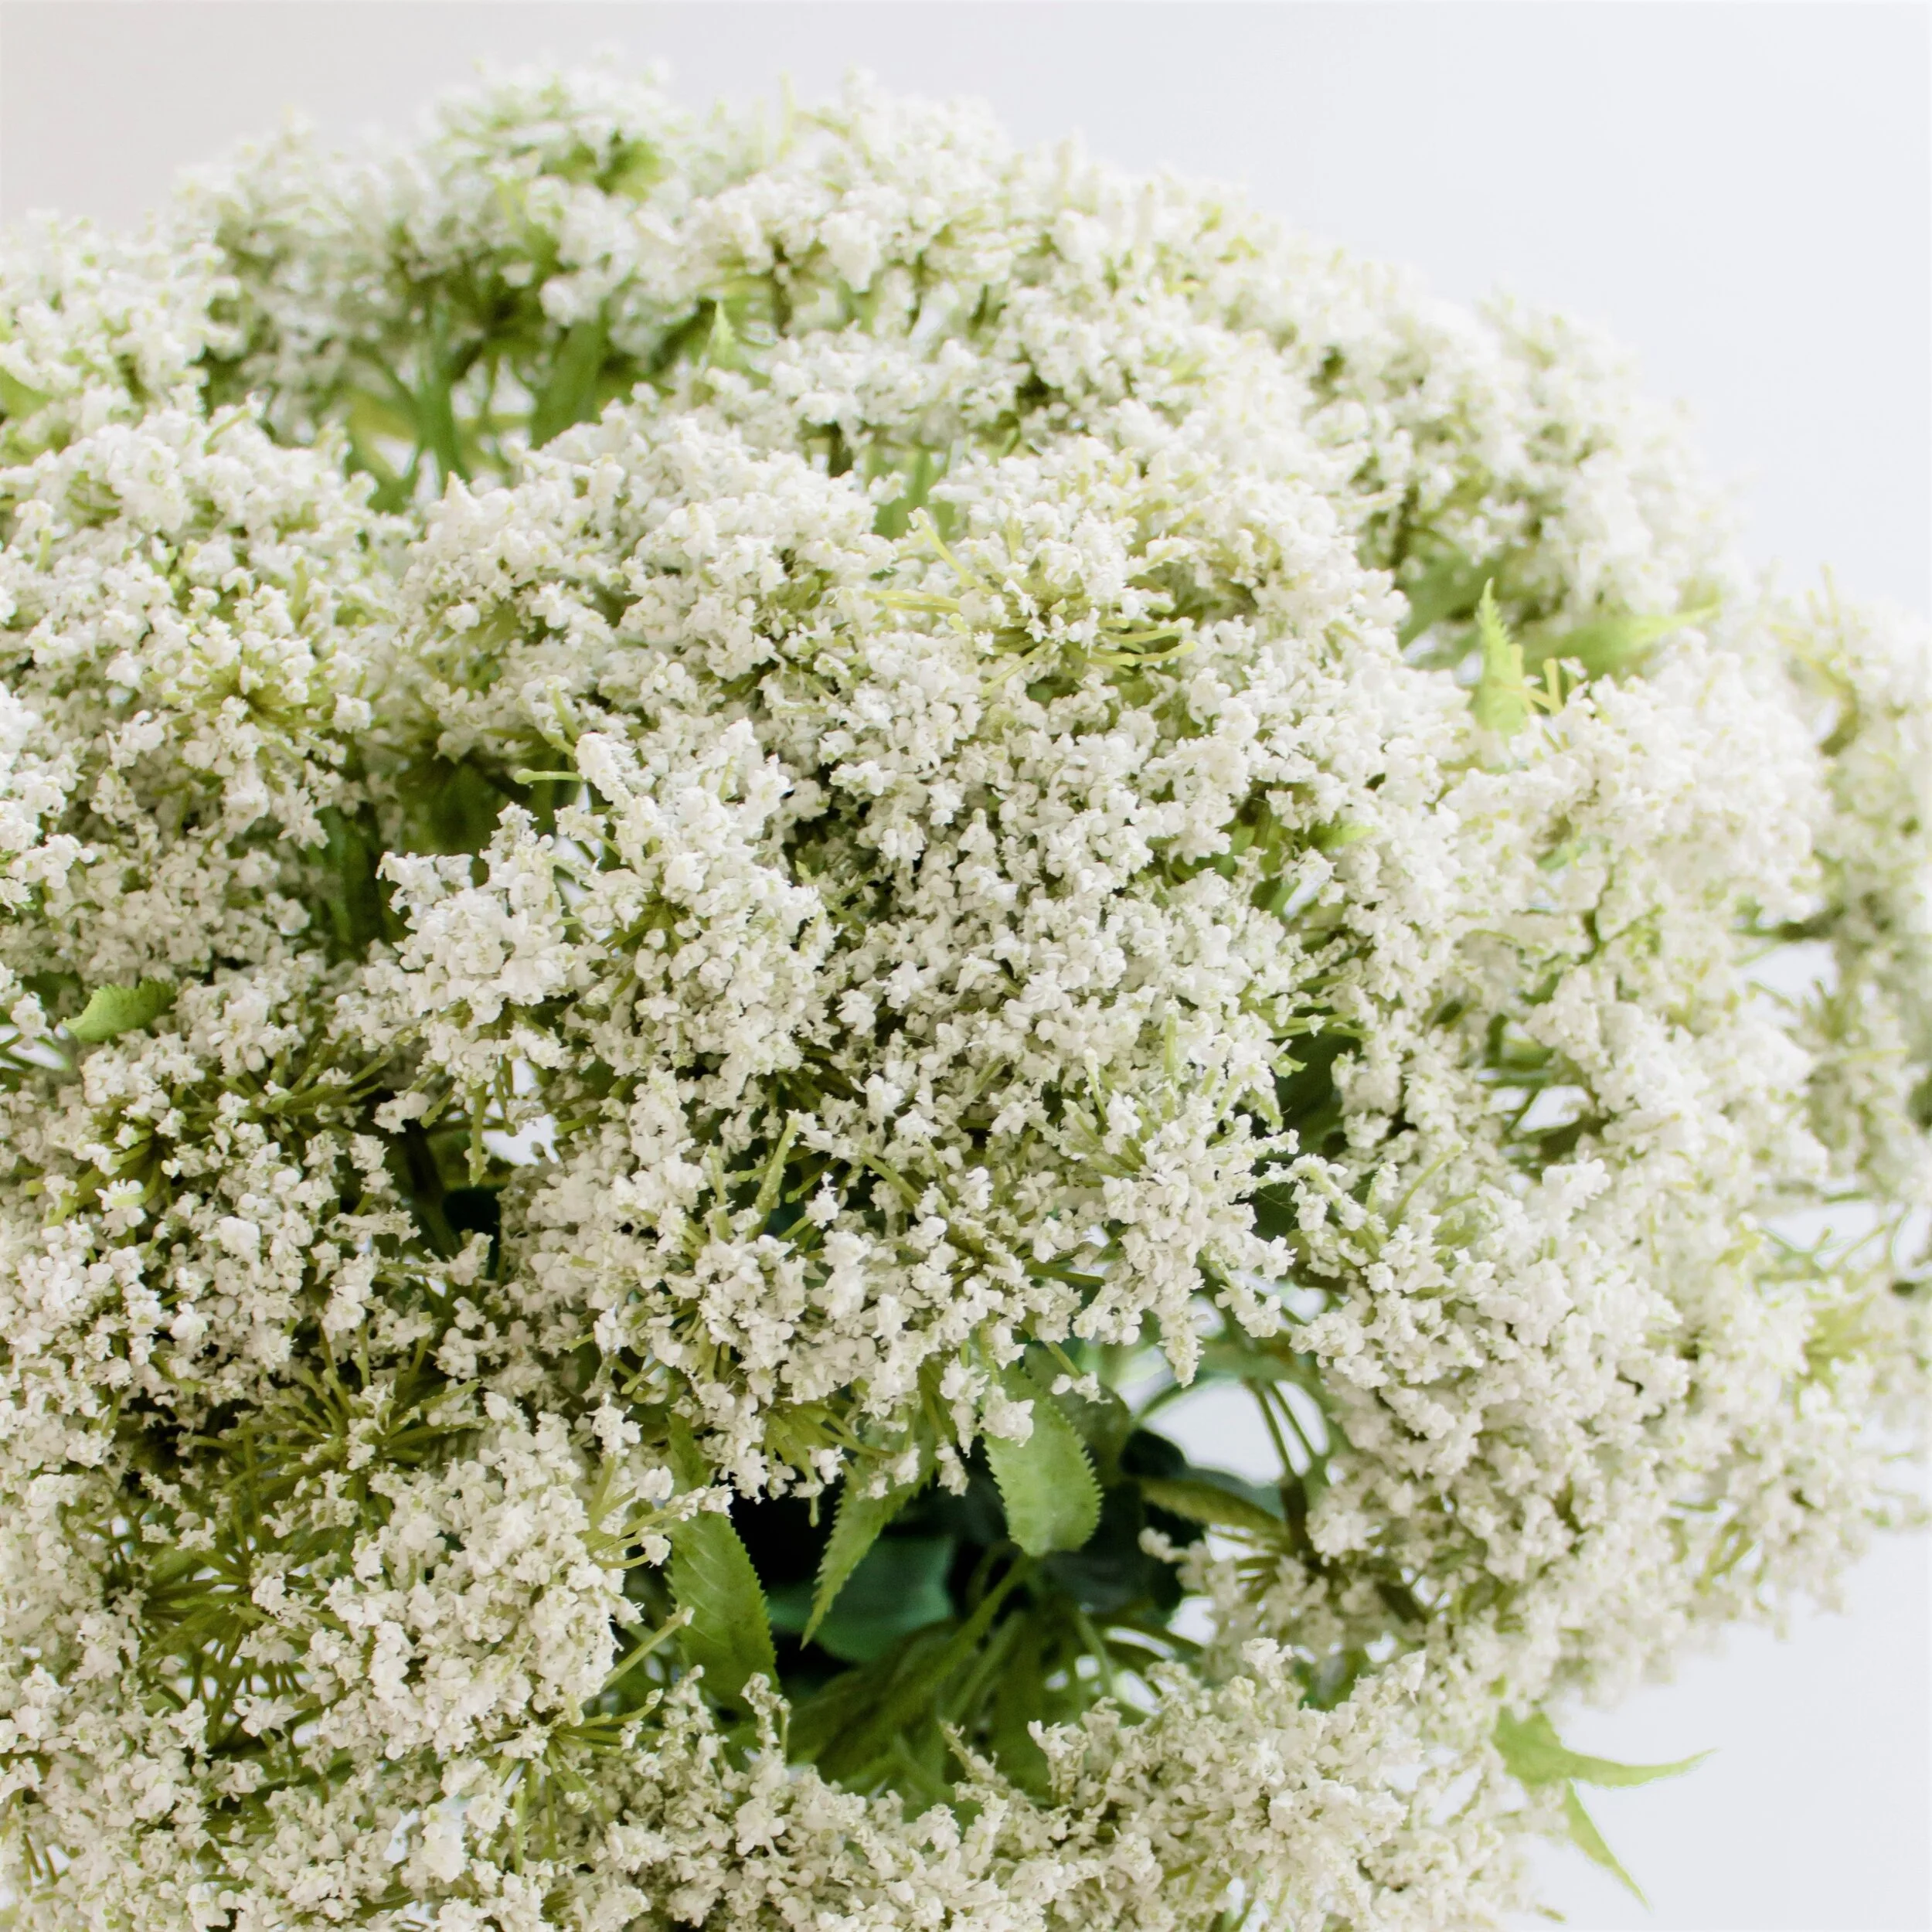
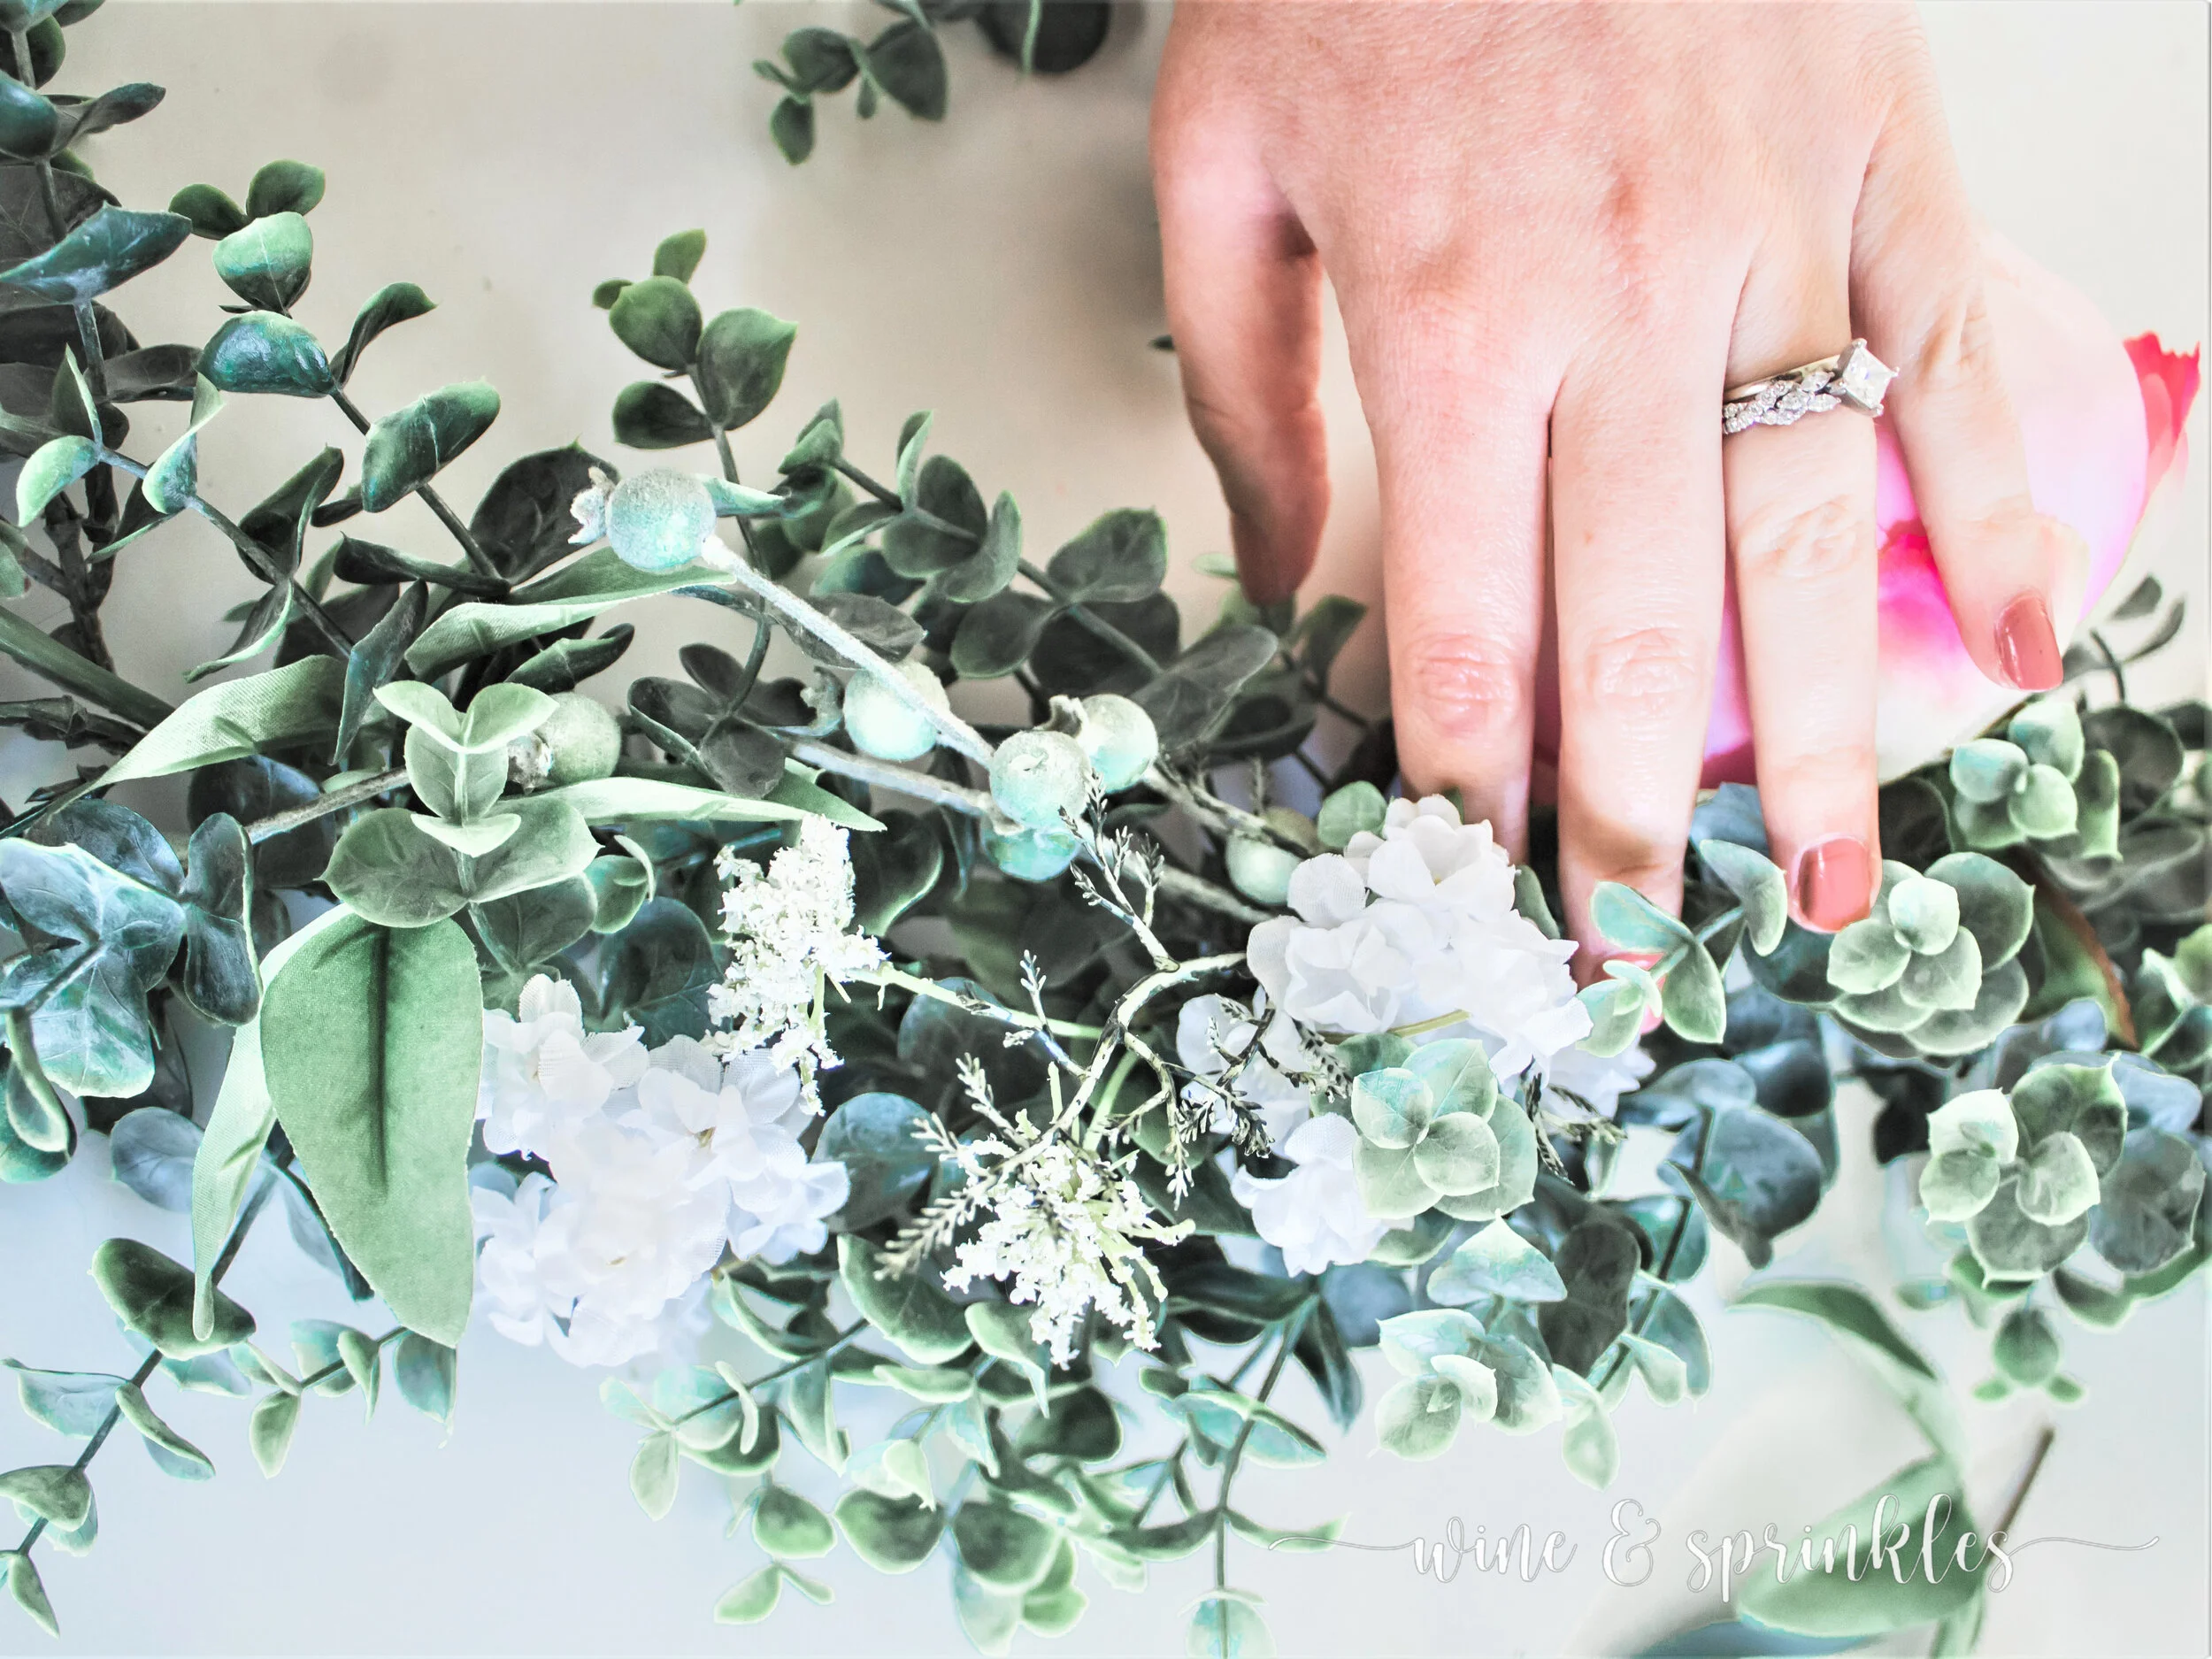
Babies Breath: Babies breath is always a favorite filler flower for me, and these garlands are no exception! It was perfect for adding some floral pops and filling in sparse areas of the garlands, as well as being very affordable.
Queens Anne Lace: For some light and airy floral touches throughout the garlands, I used small clumps of Queens Anne Lace. It was the perfect way to add dimension with little pops of this voluminous flower, and one stem went a long way! All the filler flowers are linked here, because its often in short supply so you may need to find a different flower for your own garlands!
GREENERY

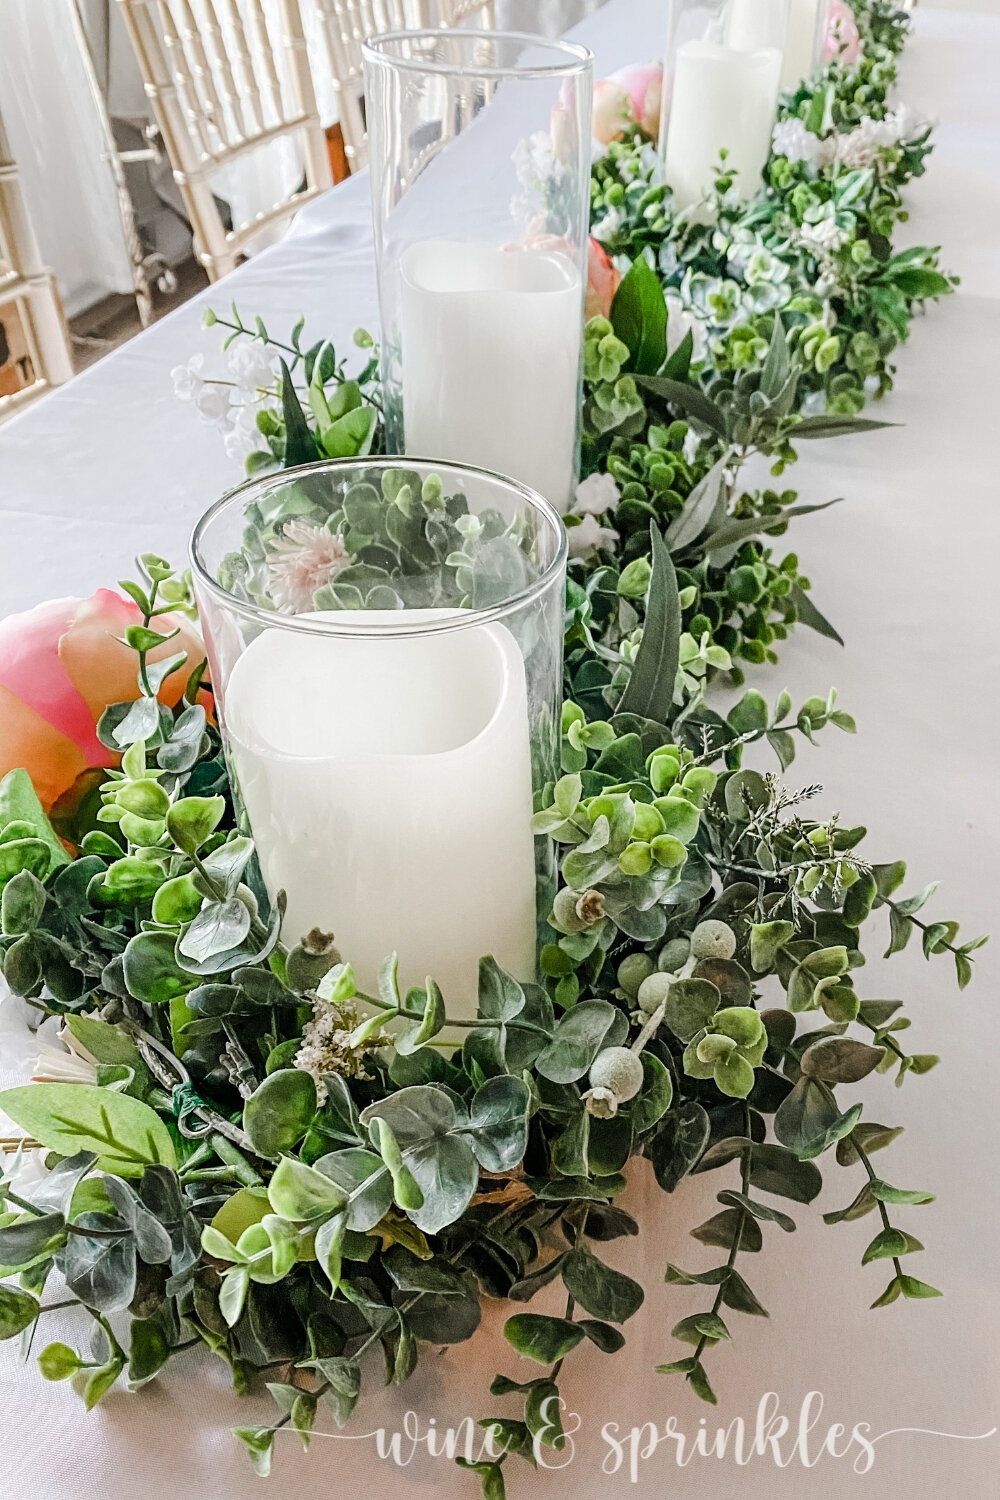
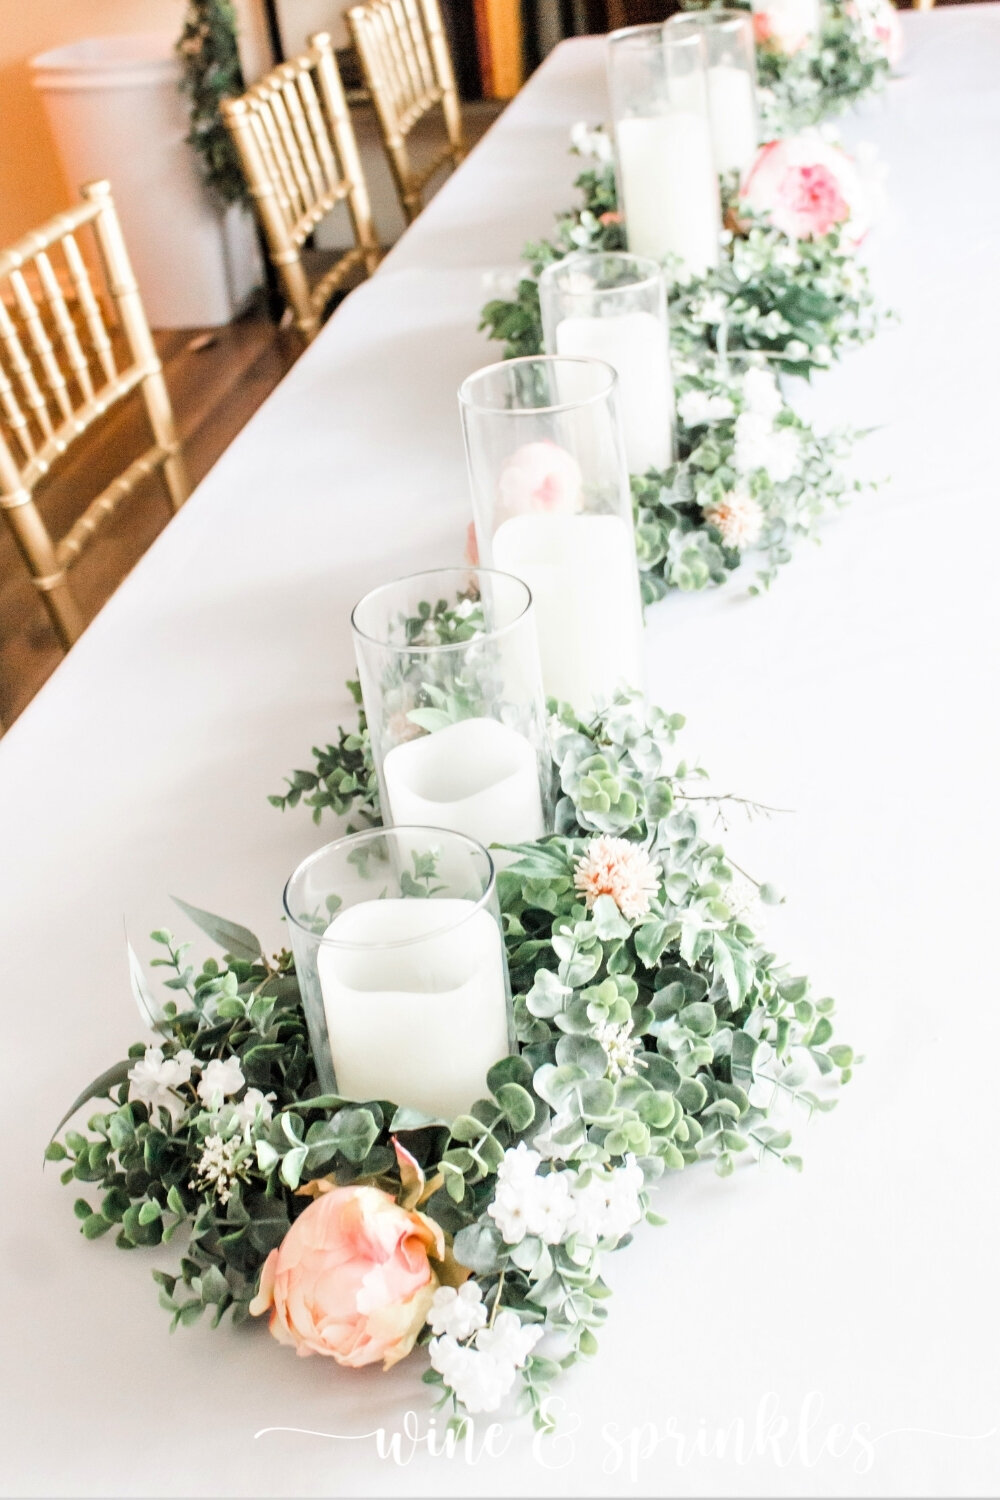
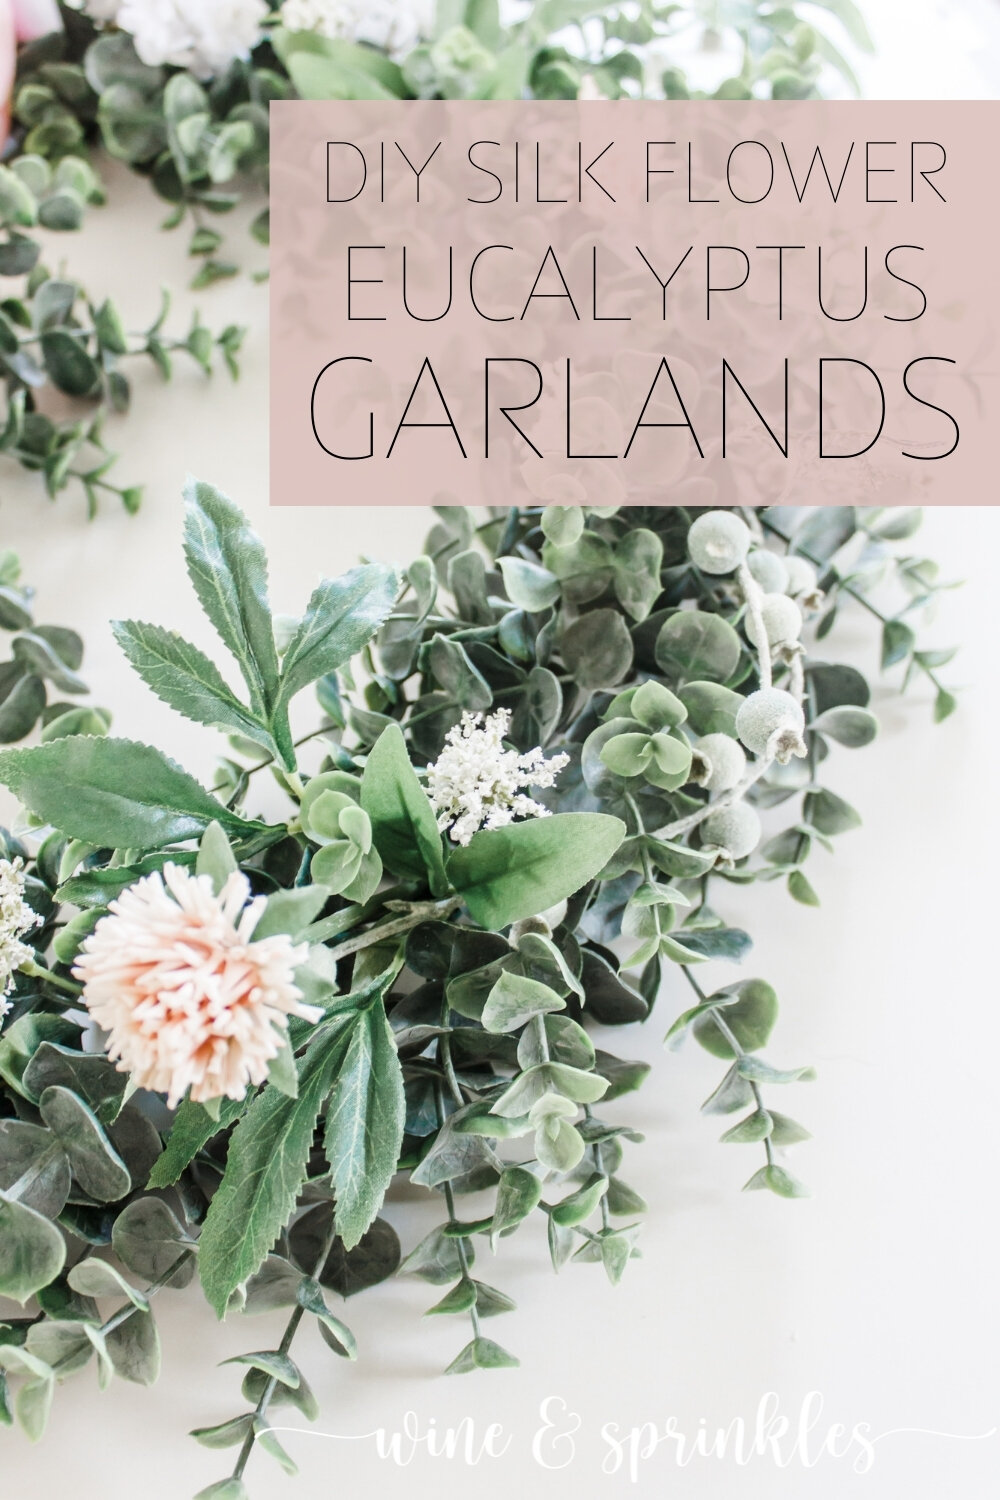
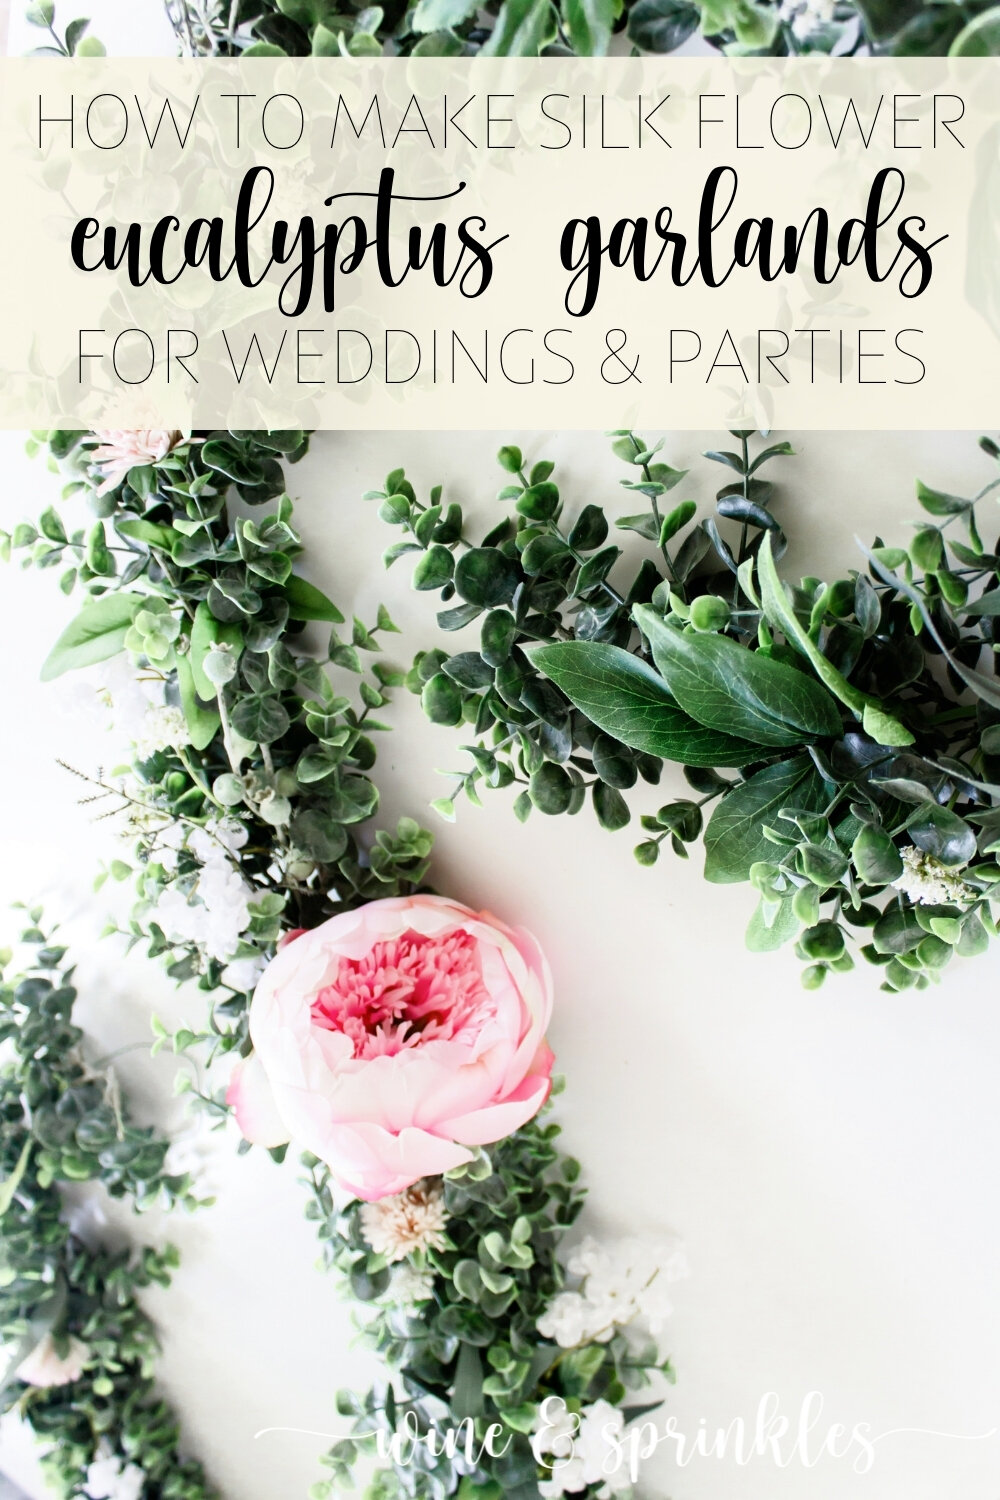
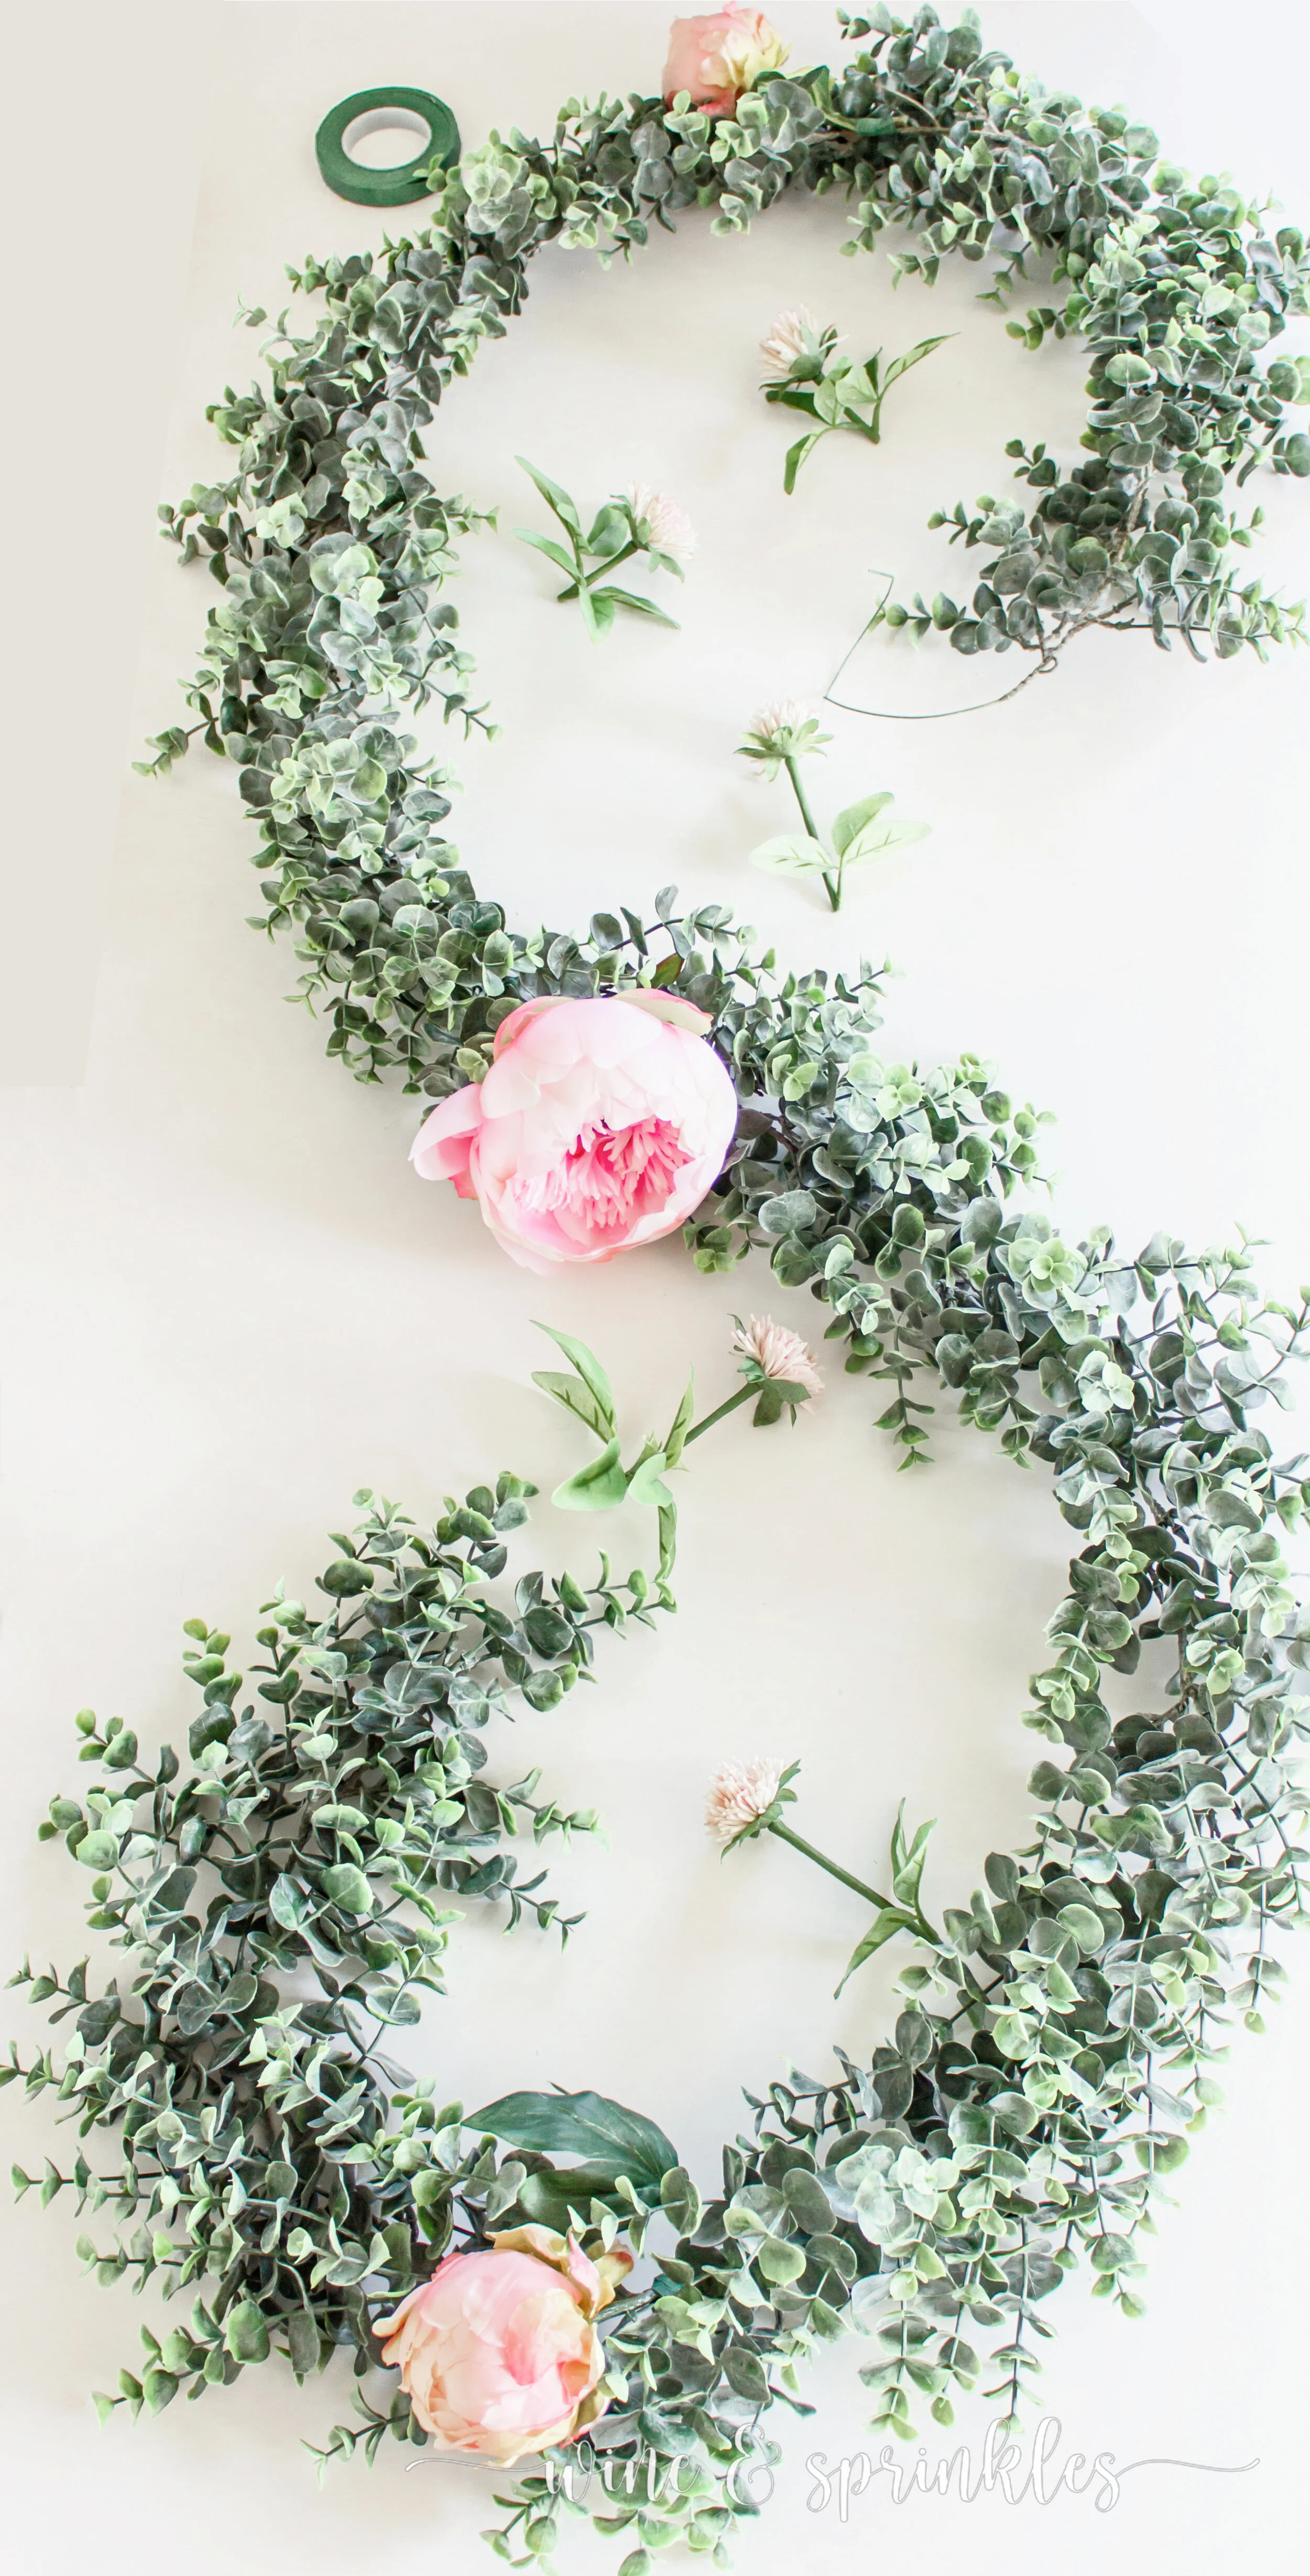
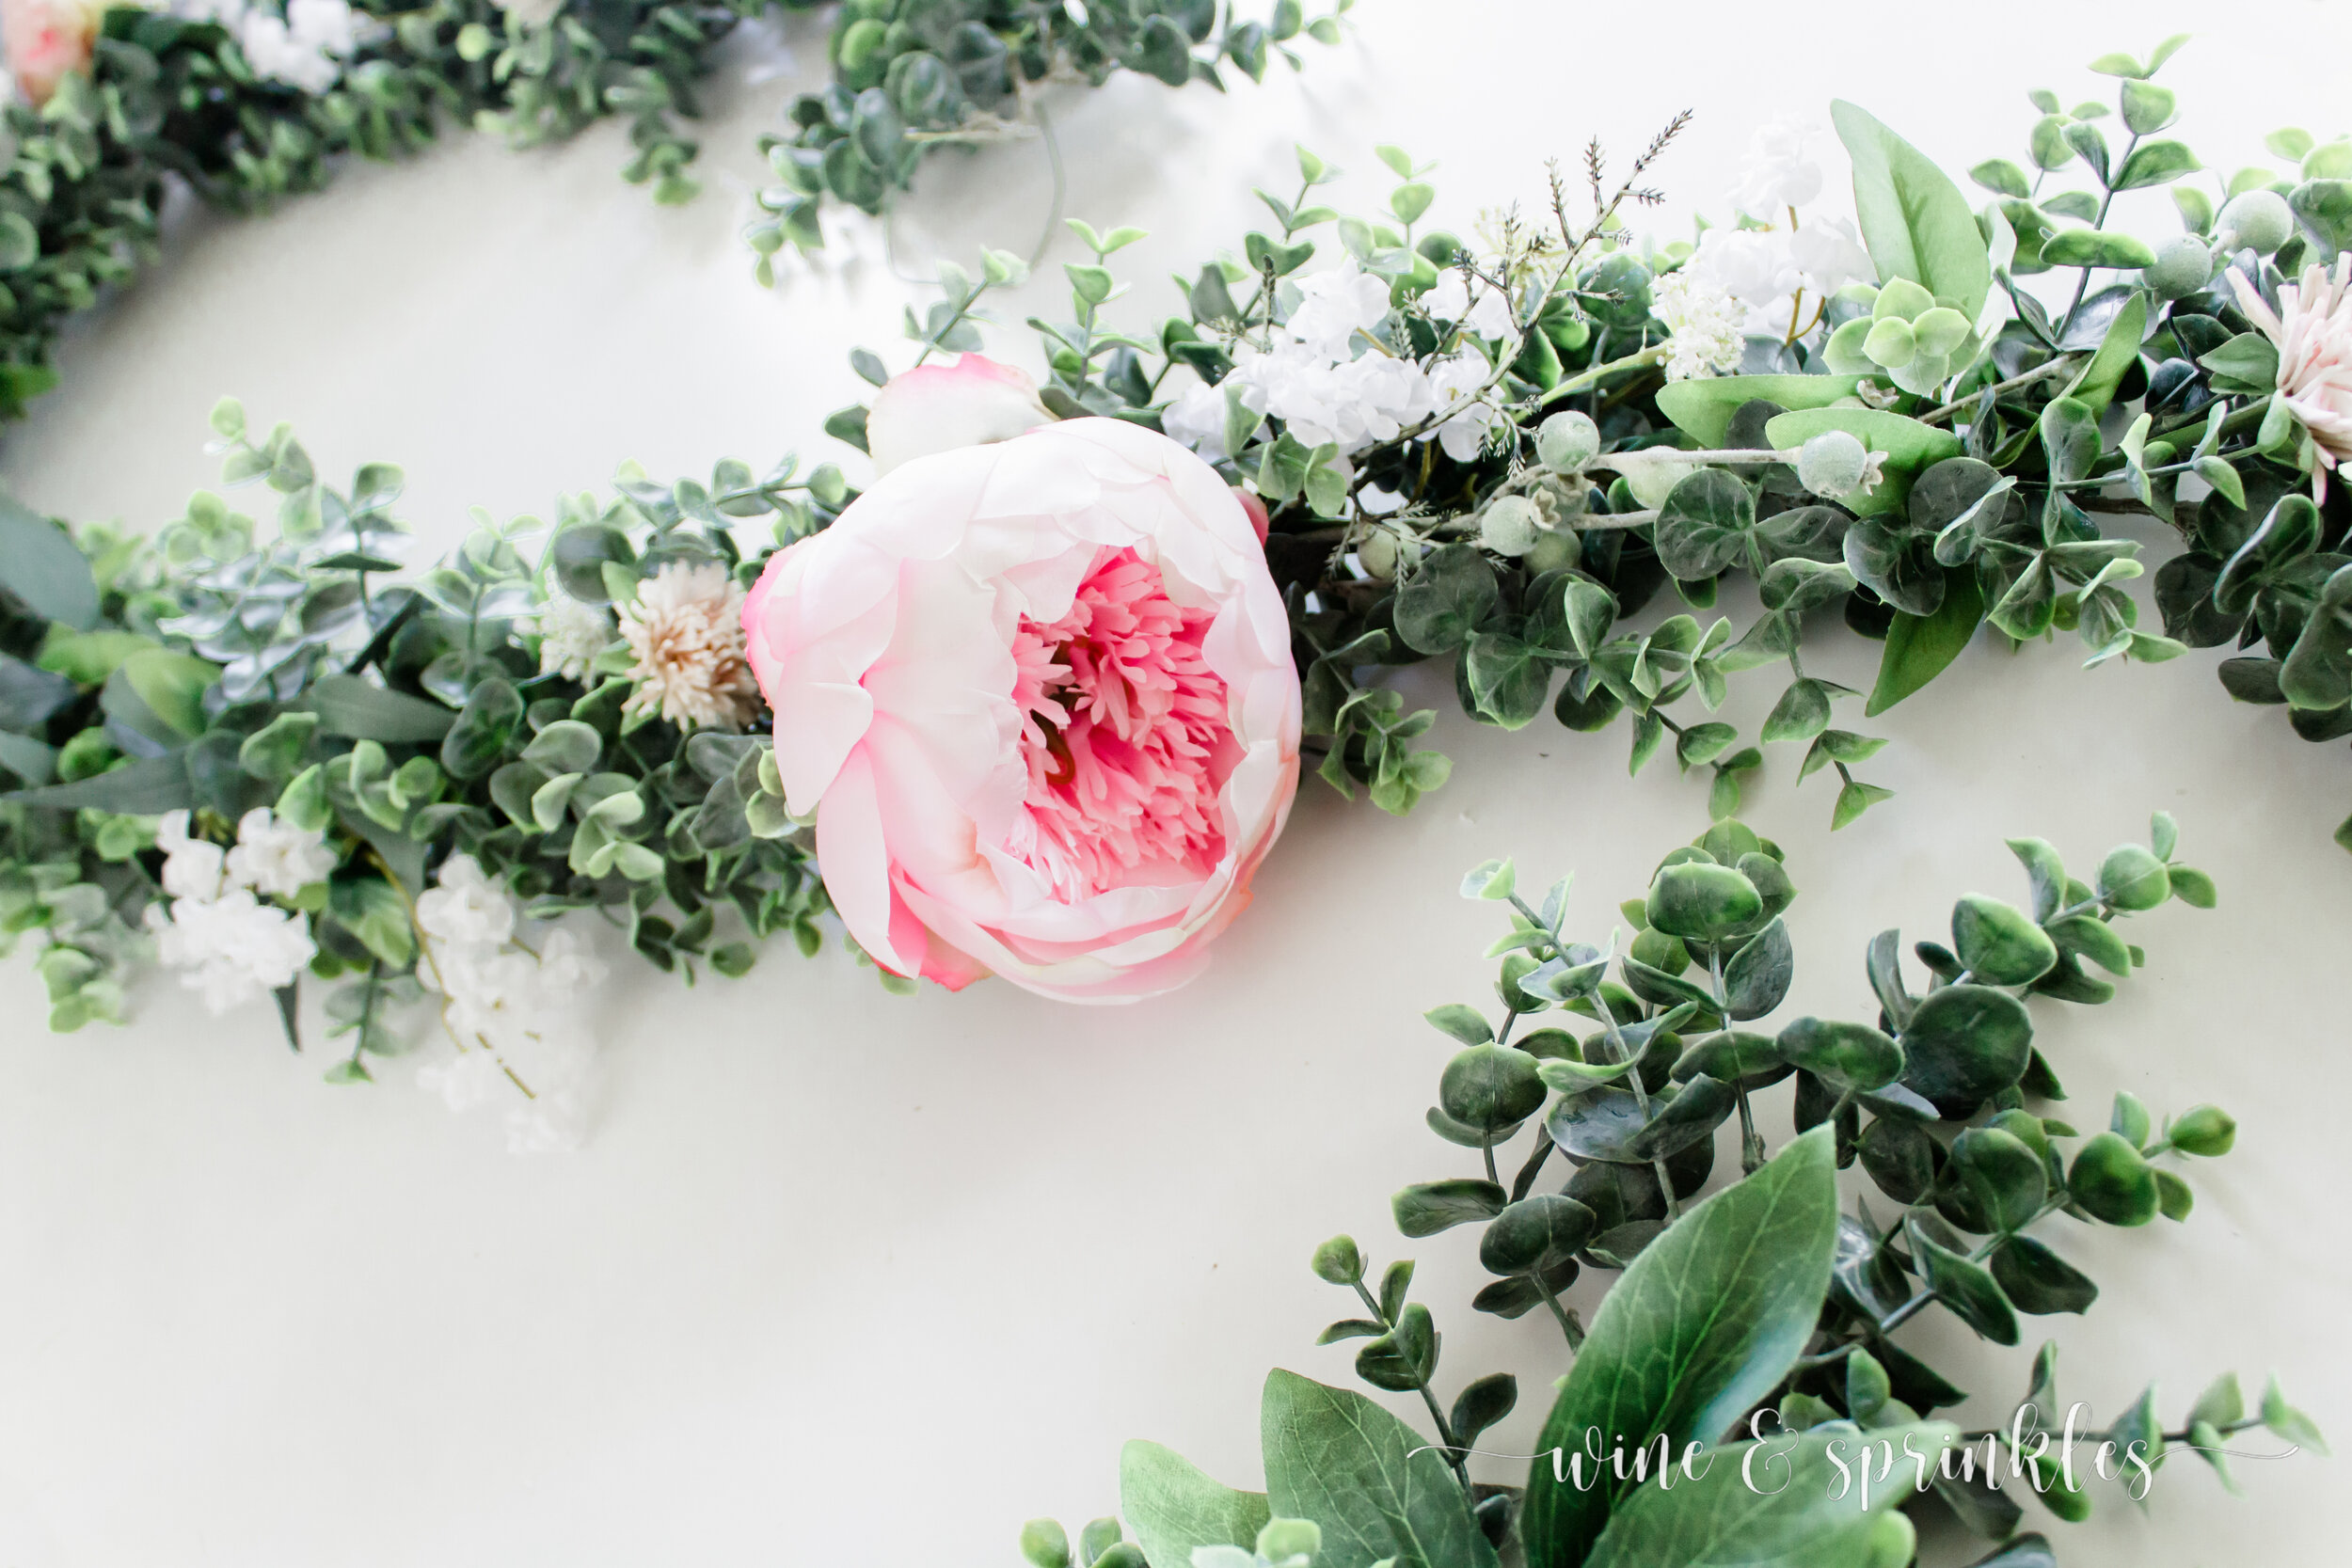
Spiral Eucalyptus Garlands: Unlike centerpieces in vases and containers, for the base of this project I used premade eucalyptus garlands and attached the flowers and greenery to it, creating sturdy garlands that I now store for all my spring parties! I personally loved these Spiral Eucalyptus Garlands both for the volume that the spiral eucalyptus gives the garland from the start and for the lengths, which gives you the option of long garlands that drape over the ends of your table or that can be wrapped around candle holders like I did for lush garland candlescapes. While I used spiral eucalyptus, Afloral has several other Eucalyptus Garlands that would be beautiful as well!
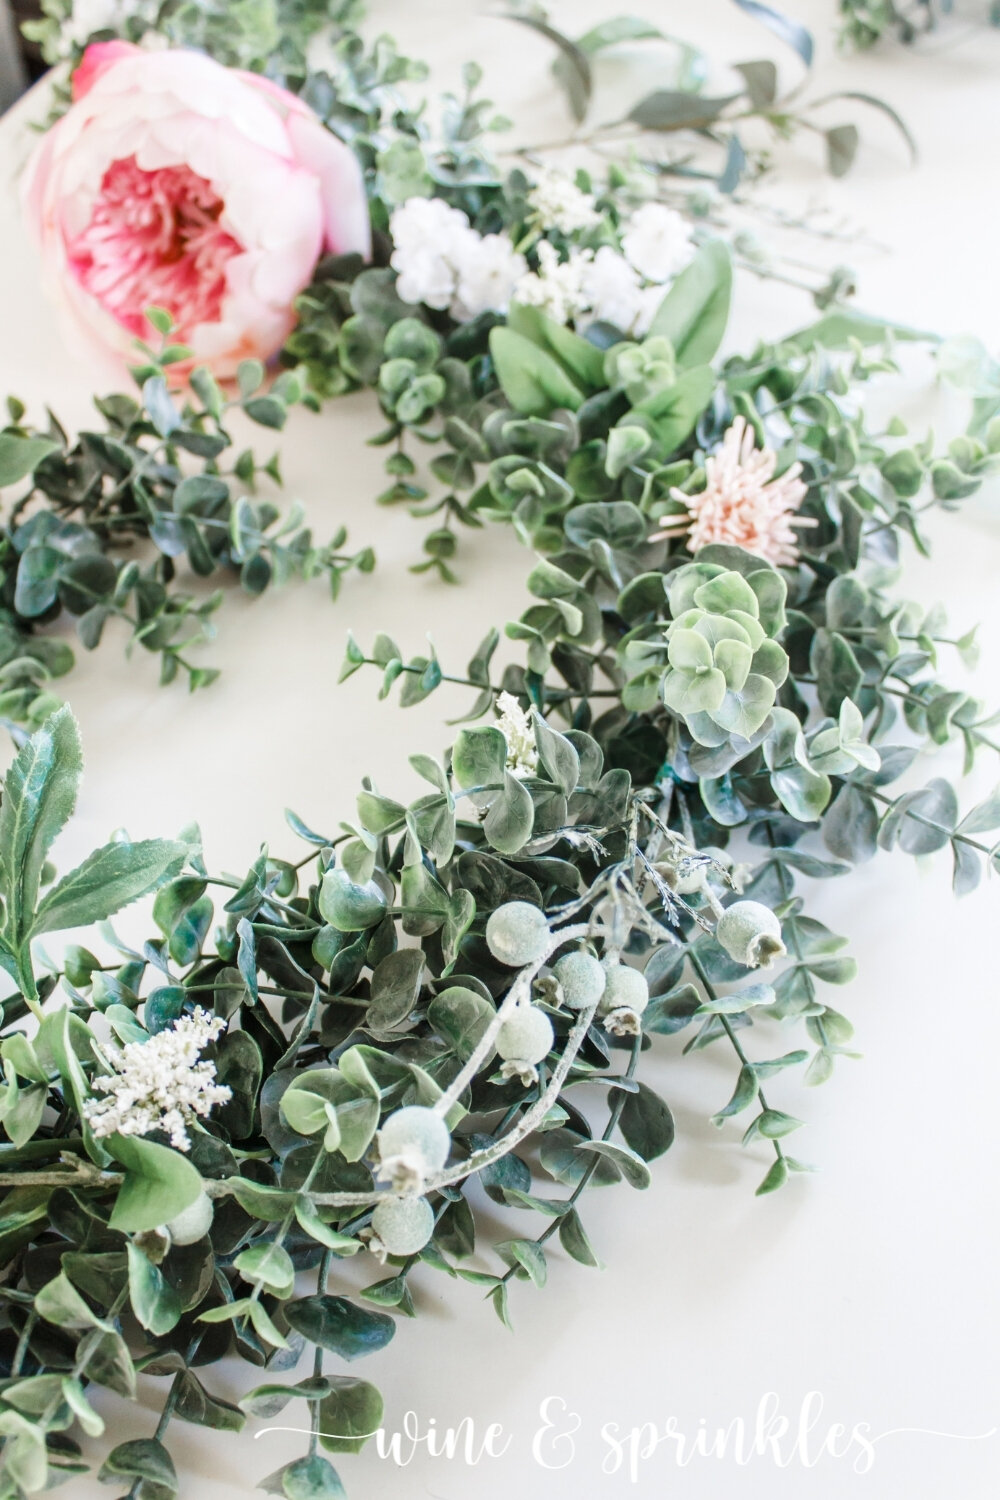
Seeded Eucalyptus: Mixing different types of eucalyptus is always classy, and I love the deep green of this Seeded Eucalyptus with the blush and cream flowers on the garland!


Berry Pods: When I found these Berry Pods as I was browsing through the full selection of Greenery Items, I knew they were the perfect whimsical touch I wanted in all my Spring Flower Arrangements! They are a little delicate, so cutting them into smaller pieces to attach to the garland was the perfect choice, giving little pops of berries with small sturdier berry pod bits.
OTHER SUPPLIES
Artificial Flower Shears: I highly recommend getting some floral shears for trimming your flowers, I bought them on a whim and they were excellent! I was even more happy with my purchase when I tried to cut even a small silk flower stem with regular scissors and failed miserably, well worth it for working with wired artificial stems.
Floral Tape: To secure all the flowers and greenery to the garlands, floral tape is a must! One roll is more than enough for two garlands and it's the perfect discrete way to secure all your flowers so your garlands are both sturdy and beautiful.
Unlike my other Silk Flower Centerpieces where my supplies list is for a single centerpiece, I made these as a set of two garlands so that I could alternate Peonies and Peony Buds for a less uniform feel throughout the table. I also prefer garlands like these in sets of two, especially for decorating long rectangular tables for parties and weddings, so i have a lot of length to work with when I’m wrapping them around candle holders or draping them over table edges.
SUPPLIES LIST:
[For 2 Garlands]
Spiral Eucalyptus Garlands x 2
Peonies x 3
Peony Buds x 3
Clover Spray x 3
Babies Breath x 4
Queen’s Anne Lace x 1
Seeded Eucalyptus x 2
Berry Pods x 1
Floral Shears x 1
Floral Tape x 1

DIRECTIONS

1. Gather the flowers you plan to use while making your garlands. Using silk flower shears, trim the flowers, seeded eucalyptus, and berry pods; dividing each stem into singular or small bunches of flowers and leaves with 4 to 6 inches of stems on the ends. When you are trimming your flowers, especially the peonies, you will have extra leaves and greenery that aren’t connected to your flower pieces. Trim and save these extra leaves and greenery for filling in any sparse areas in your garlands after the flowers are arranged and secured.


2. Arrange your garland base in a swirling serpentine pattern on your work table, similar to how you would arrange it on a dining table. This will help you get a feel for where you want to place your flowers as you go along. Beginning with your largest flowers, arrange them uniformly in the garland, securing each with floral tape around the main stem of the garland. For my garland, this was the peony and peony buds, which I used to divide the garland into thirds. I made two garlands for my party, so for one I used two buds and one blooming flower and the reverse on the other to save money and make sure they didn’t look exactly the same.


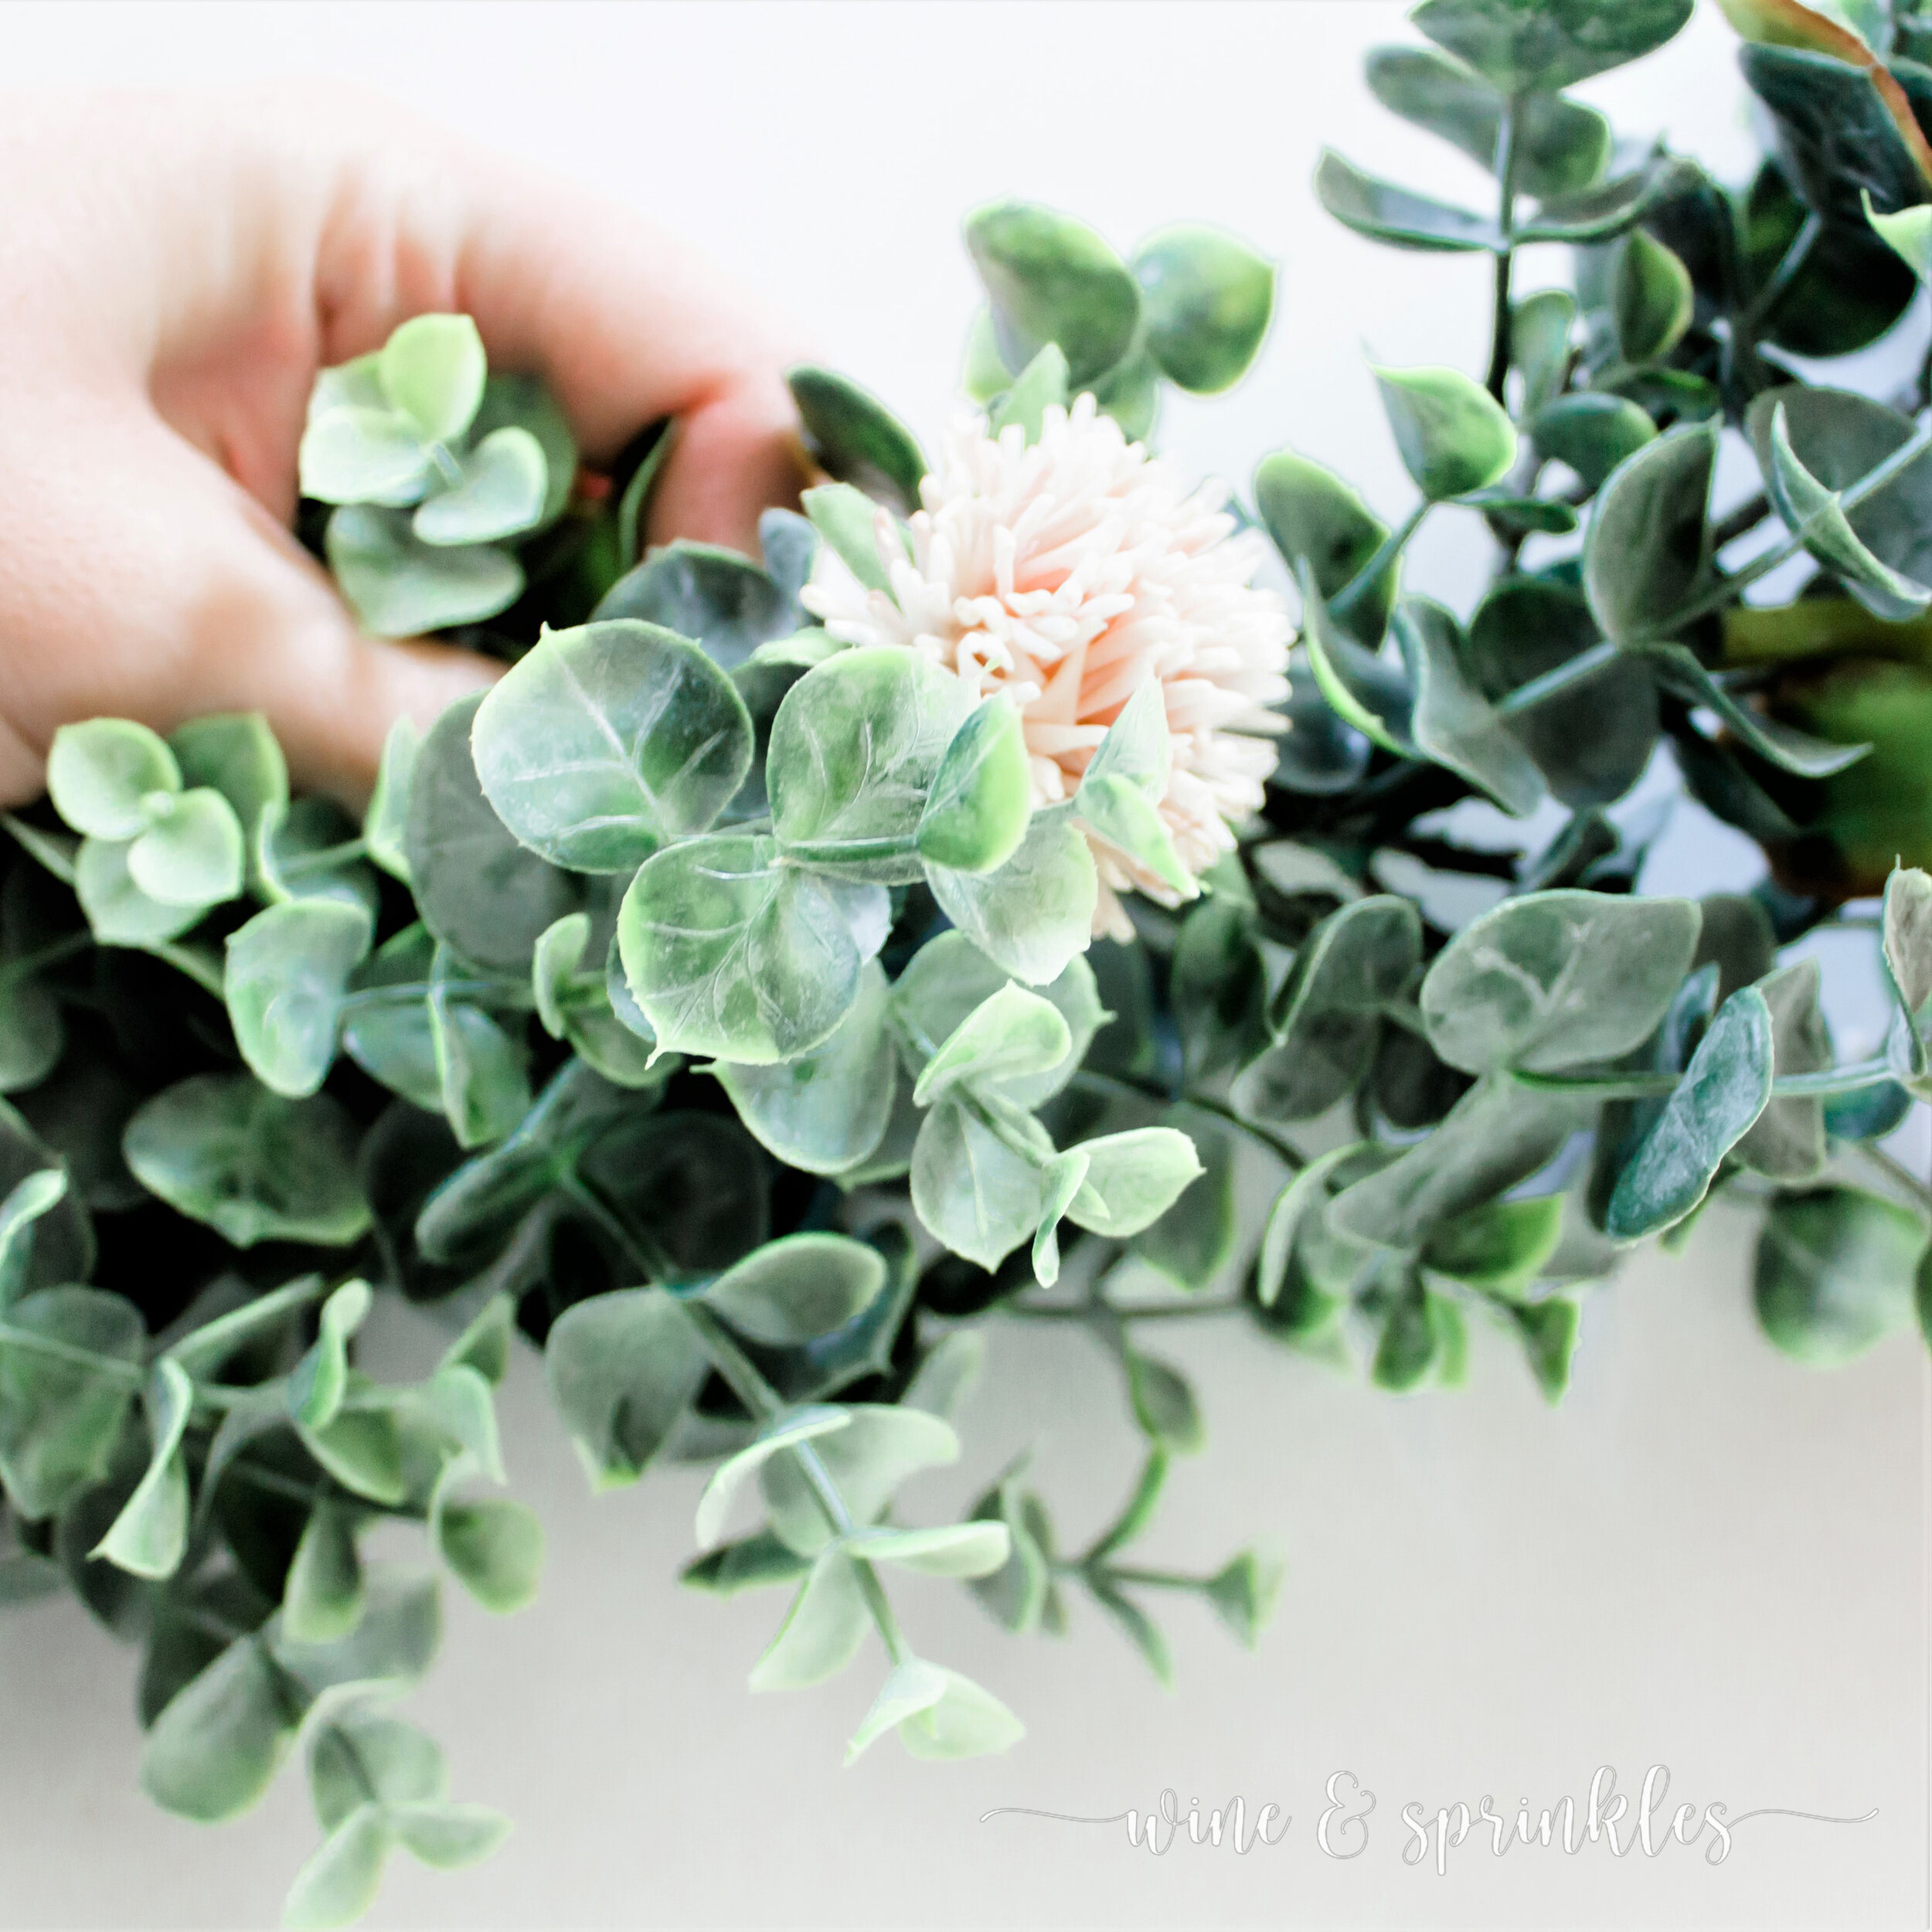
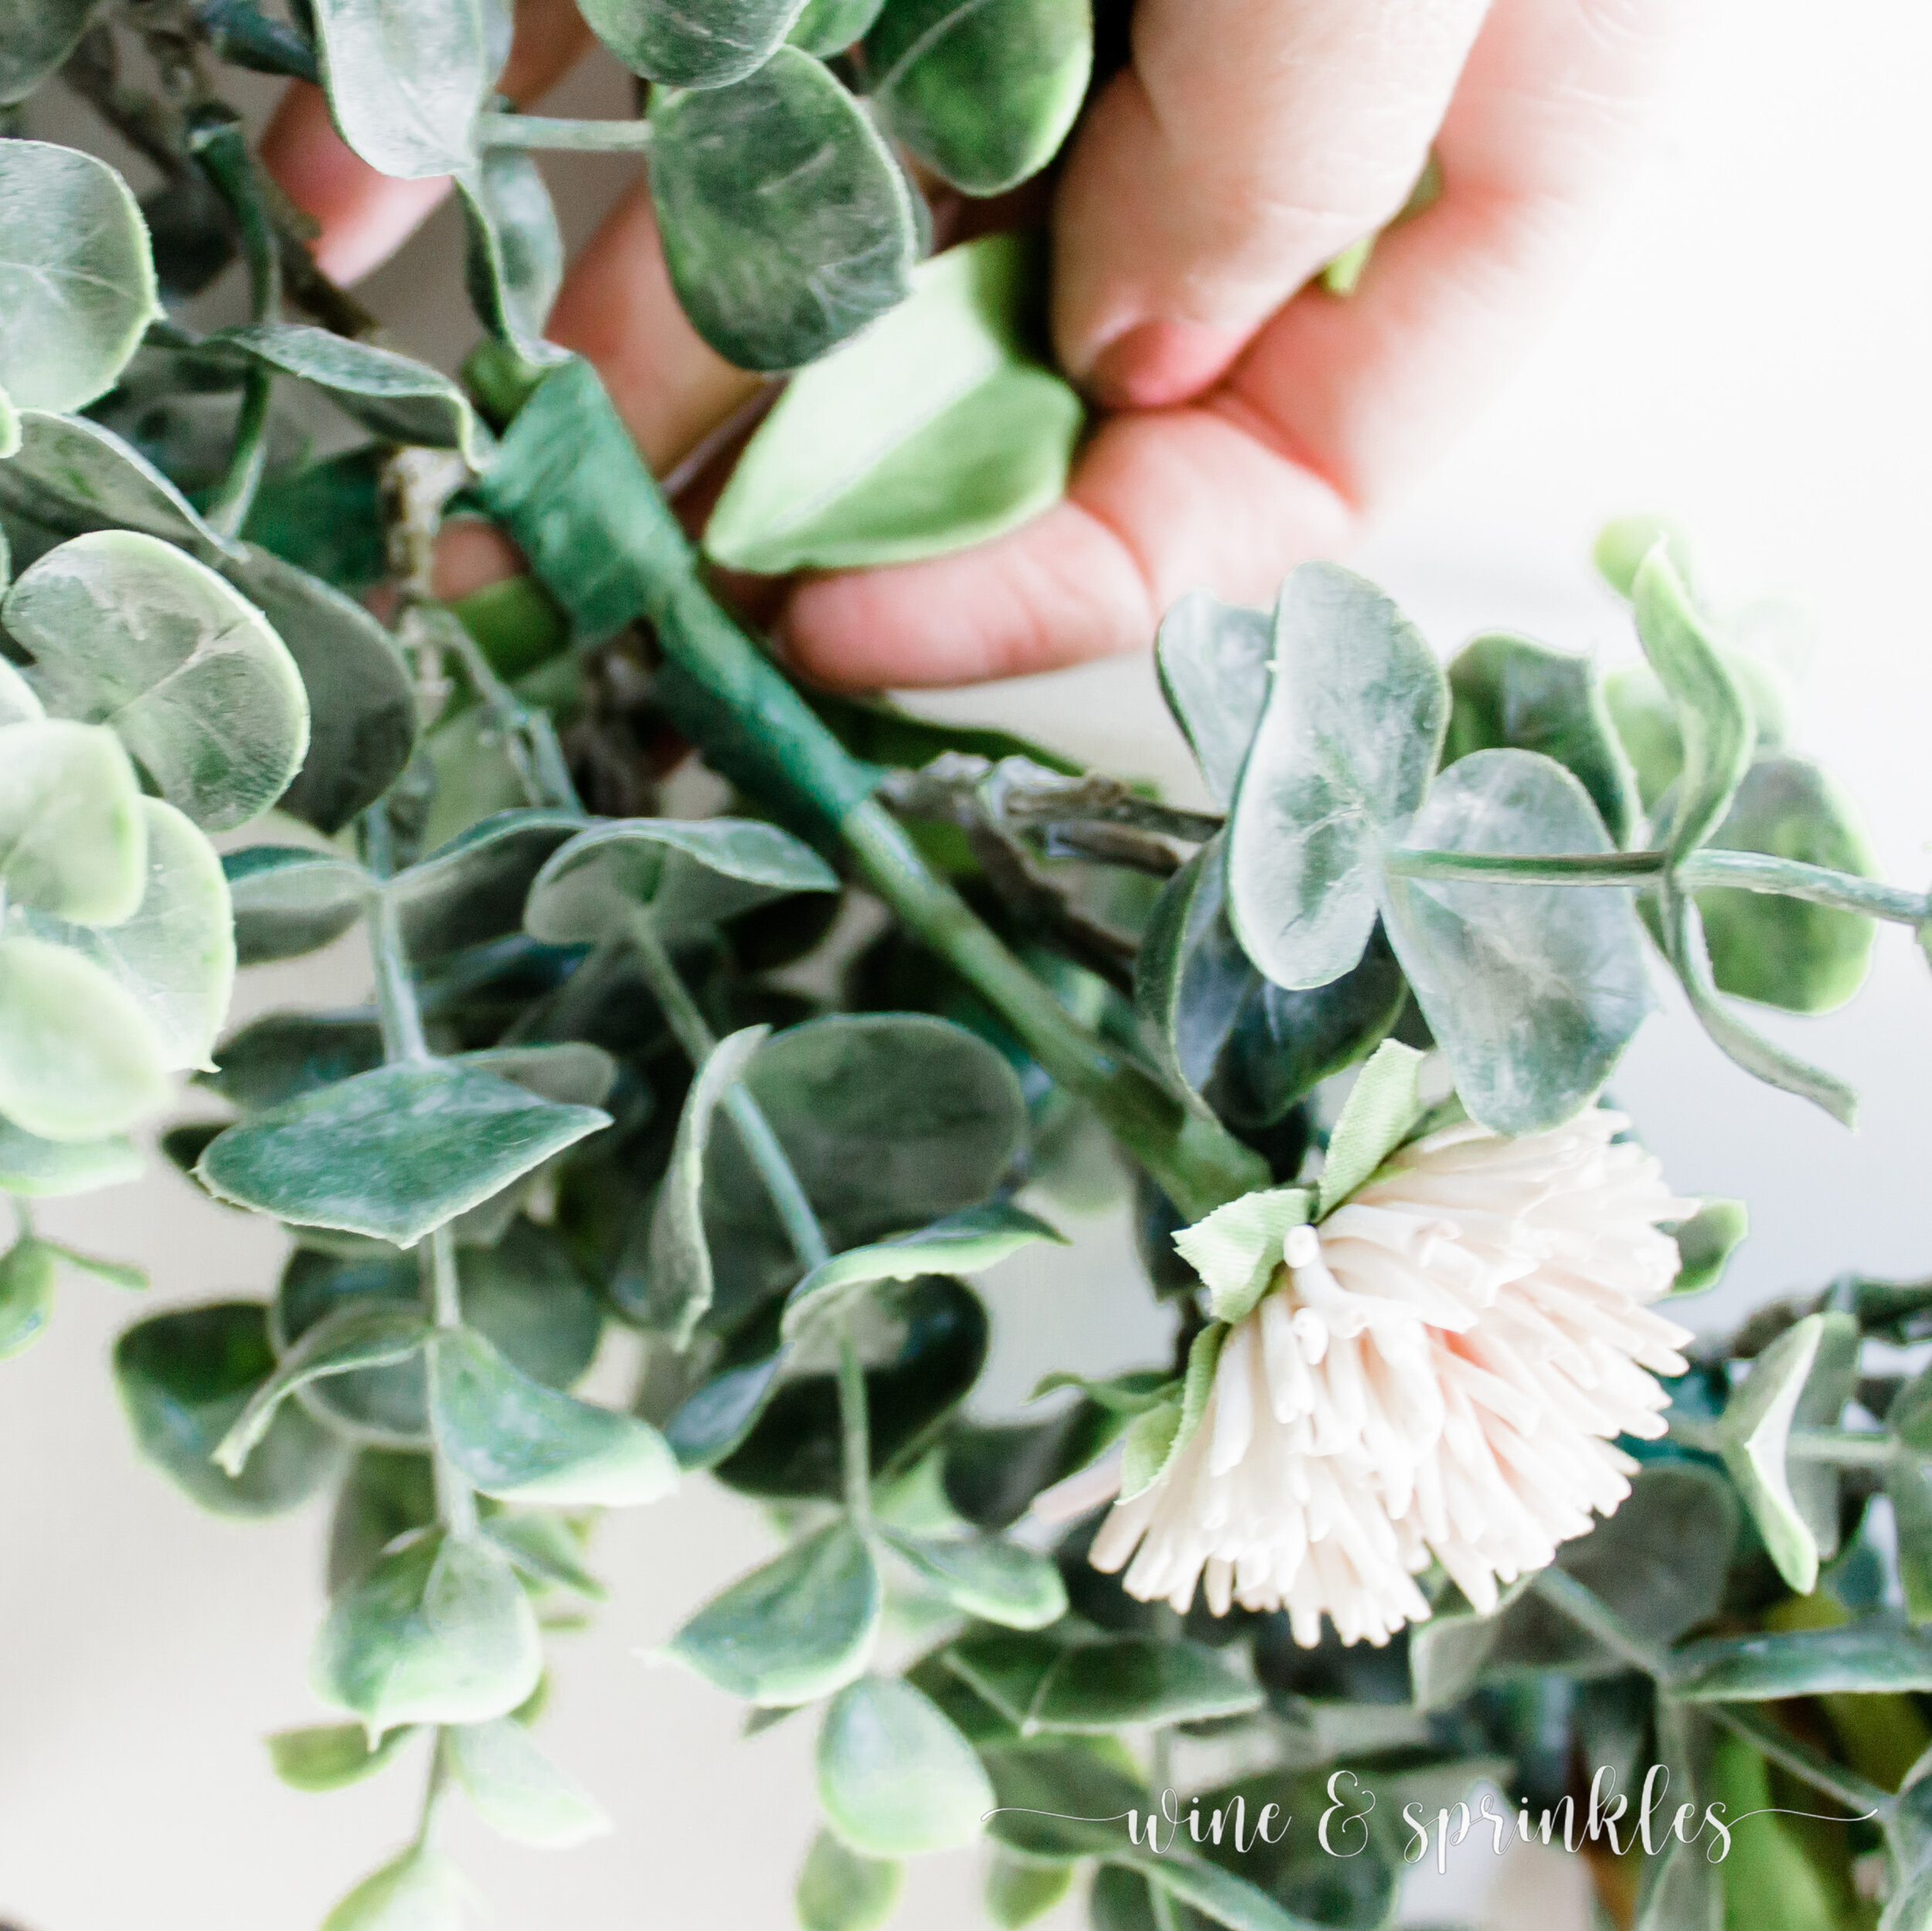

3. Once your main flowers are placed and secured add your support flowers in, arranging them out from where you have placed your peonies. Working with one set of flowers at a time, secure them to the garland with floral tape like before, using the main stem when you can but securing to the outside branches for the smaller flowers. I chose to work with my flowers from largest to smallest, so I first arranged the clovers, followed by the babies breath and finished with the small pieces of Queen Anne’s lace feathered throughout the entire Garland. The clovers and babies breath were easy to secure to the base stem of the garland, but the littles wisps of Queens Anne lace were easier to secure to the branches of the garland instead.


4. Once the flowers are placed and secured, it’s time to finish the garland by filling in empty space with greenery. I chose seeded eucalyptus, some leftover peony leaves and berry pods; arranging them where I felt the garland needed interest or more volume. Using floral tape, secure in the greenery just like the flowers, and your garlands are complete. I store them in airtight plastic tubs until they are ready to be used just so they don’t get damaged, so now they can be used anytime!

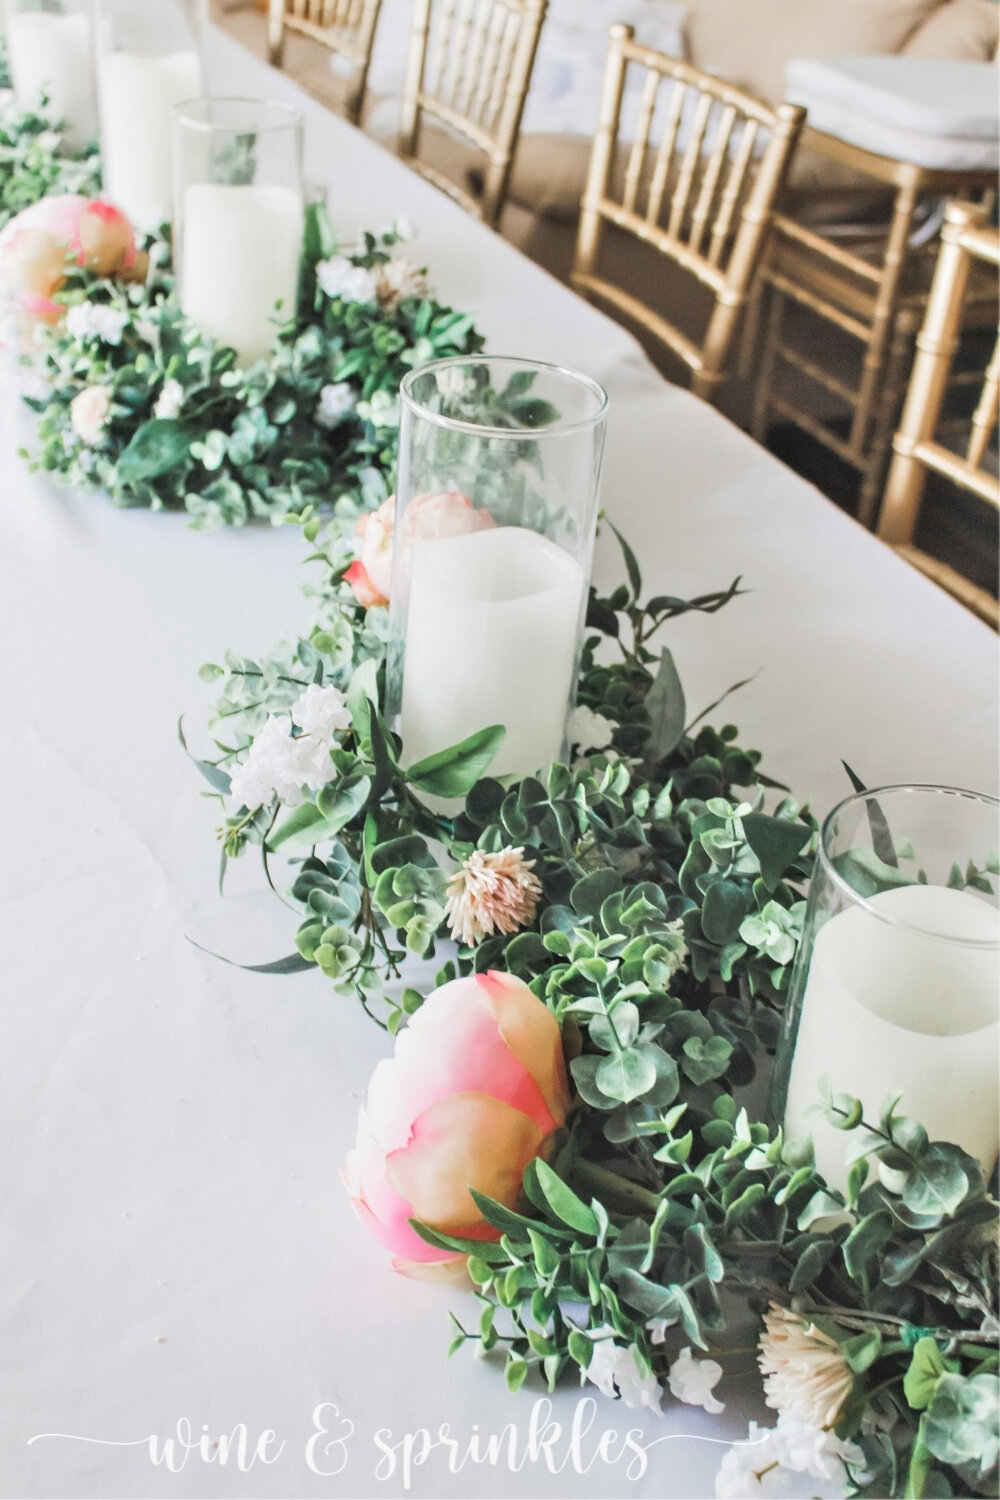
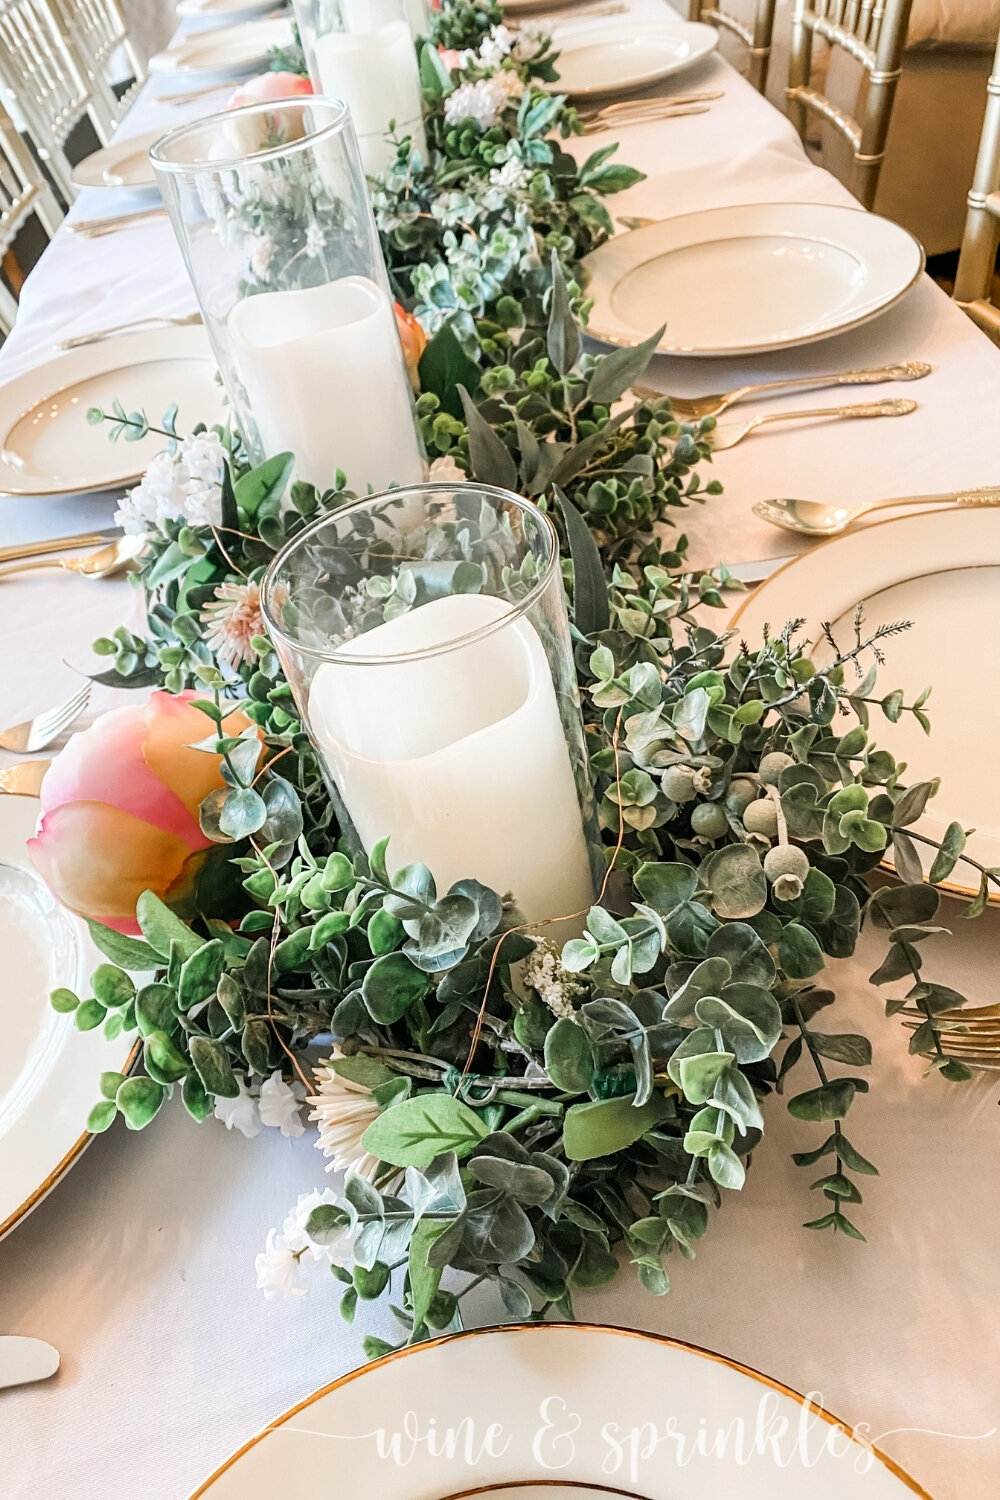
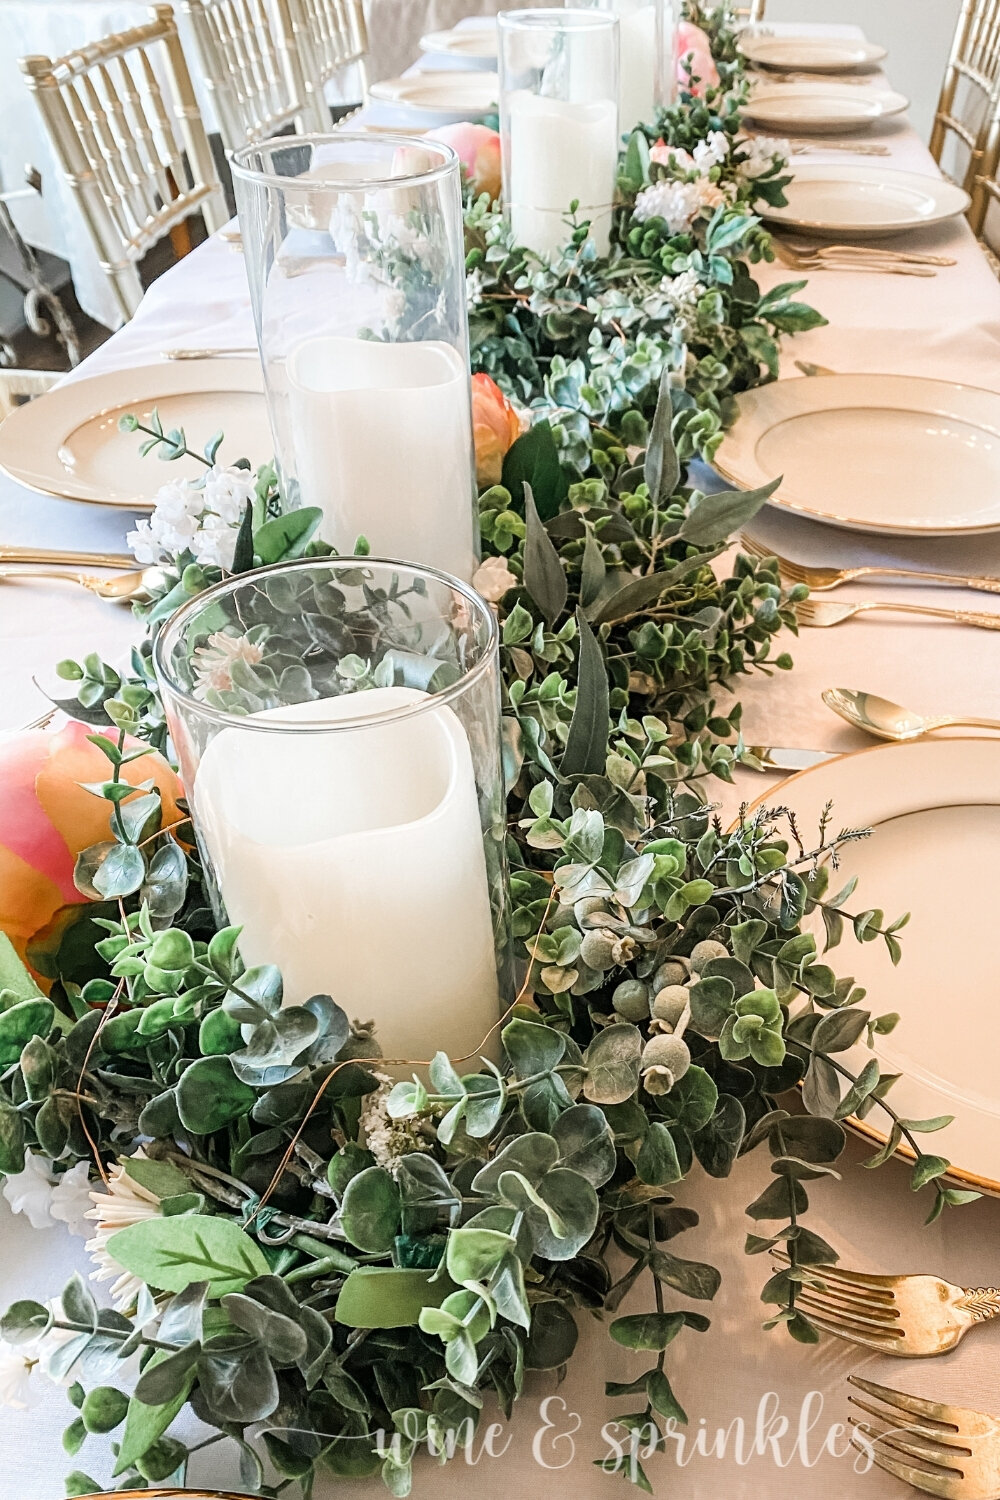
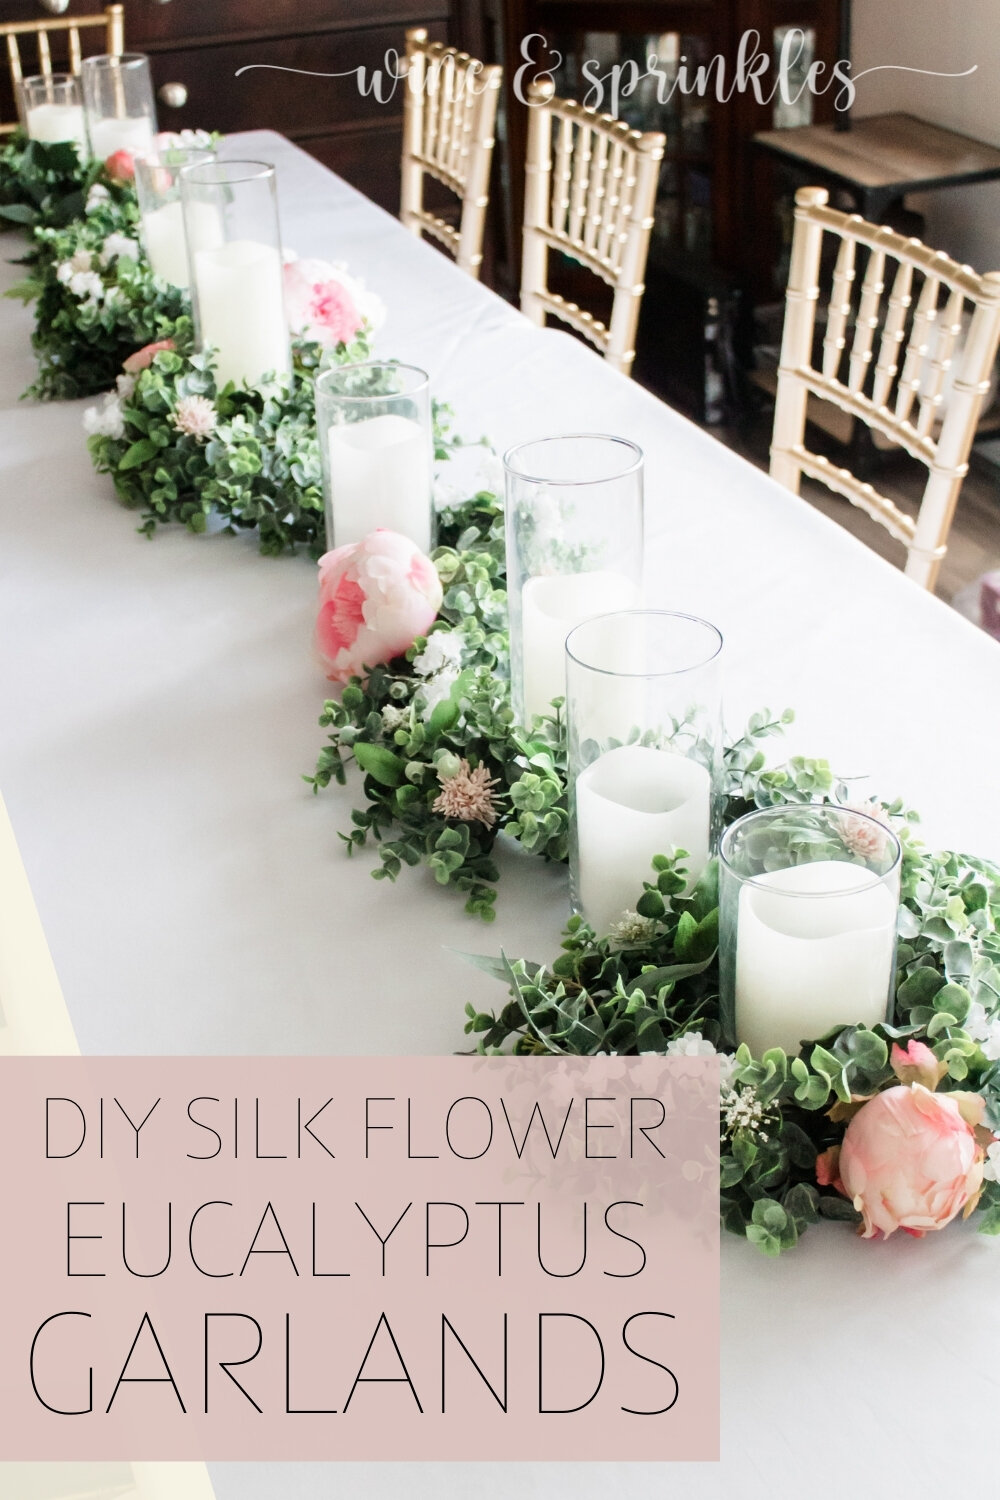
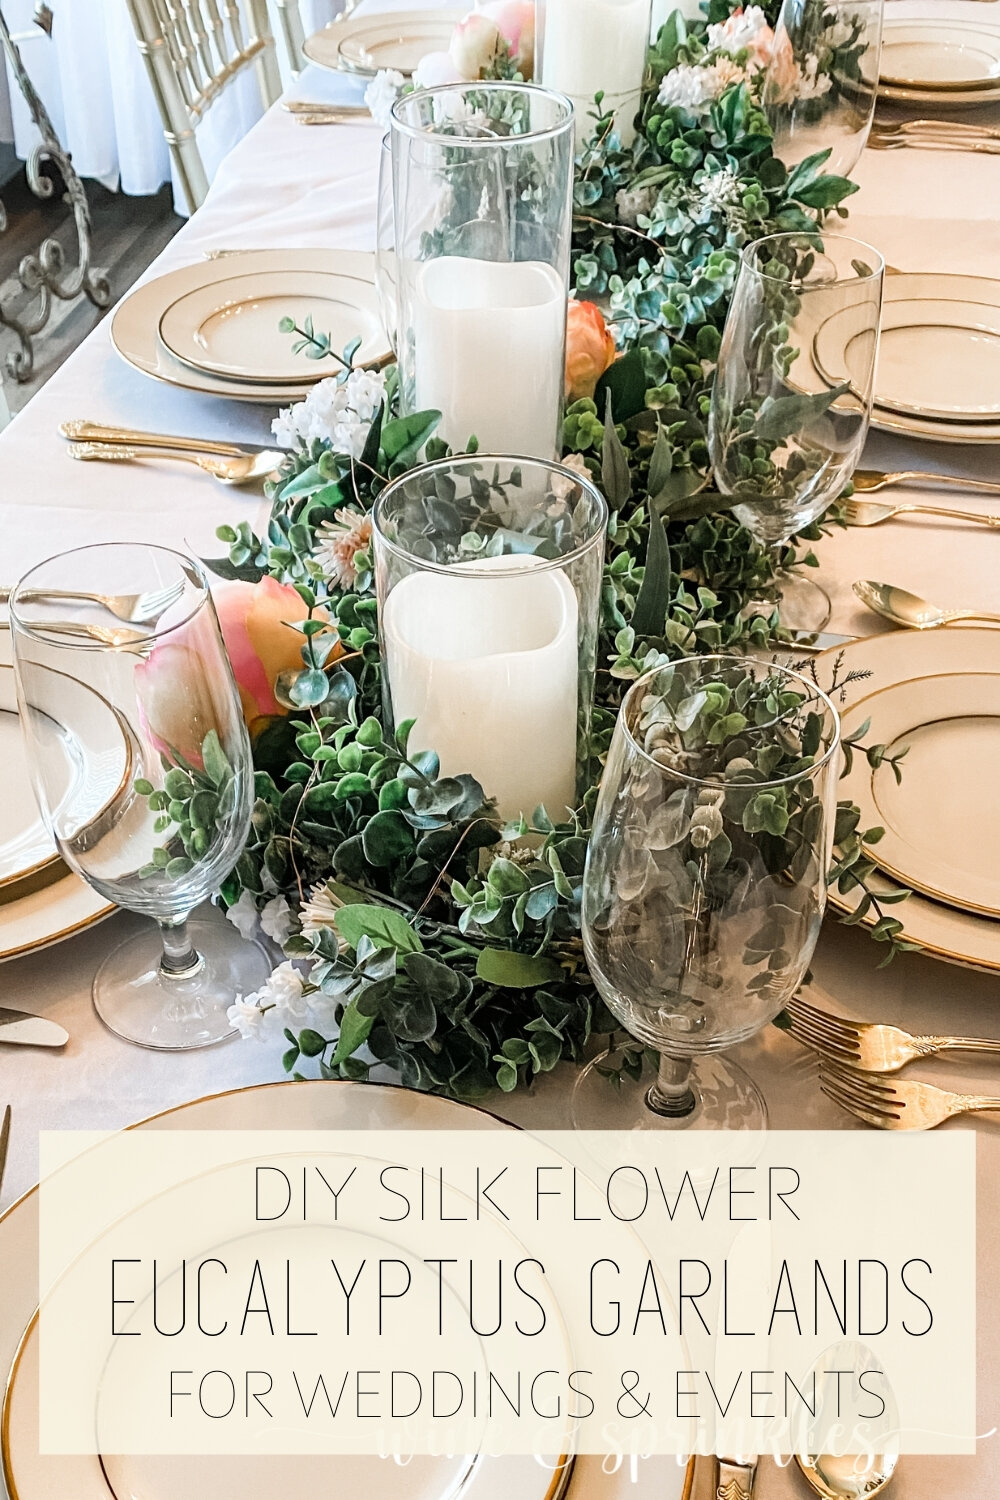
5. When it's time to arrange the garlands, first place the candle holders you want to use along the table. Starting at the end of the table, twist the garland around the candle holders so that it serpentines between them, displaying the flowers out and around the different candleholders
If you want to add extra lighting to your table, these garlands are also excellent for wrapping in fairy lights! Starting at one end of the garland, wrap the fairy lights around, circling the entire length of the garland with them until you run out of lights. Hide the switch under one of the large flowers and simply turn it on when you’re ready to go!
While I have my garlands wrapped around candle holders, these beauties could easily be stand alone centerpieces along your tables or accented with a couple votives for a low key romantic vibe. I can’t wait to continue to find new ways to decorate with these gorgeous garlands and you are sure to see them at my future springtime parties!
SEE OUR RELATED POSTS HERE:


OUR PINS FOR THIS POST: