This post contains affiliate links, meaning that if you click on a link I will recieve a small comission. This costs you nothing extra and I only promote products I use and love! You can read our full disclosure here
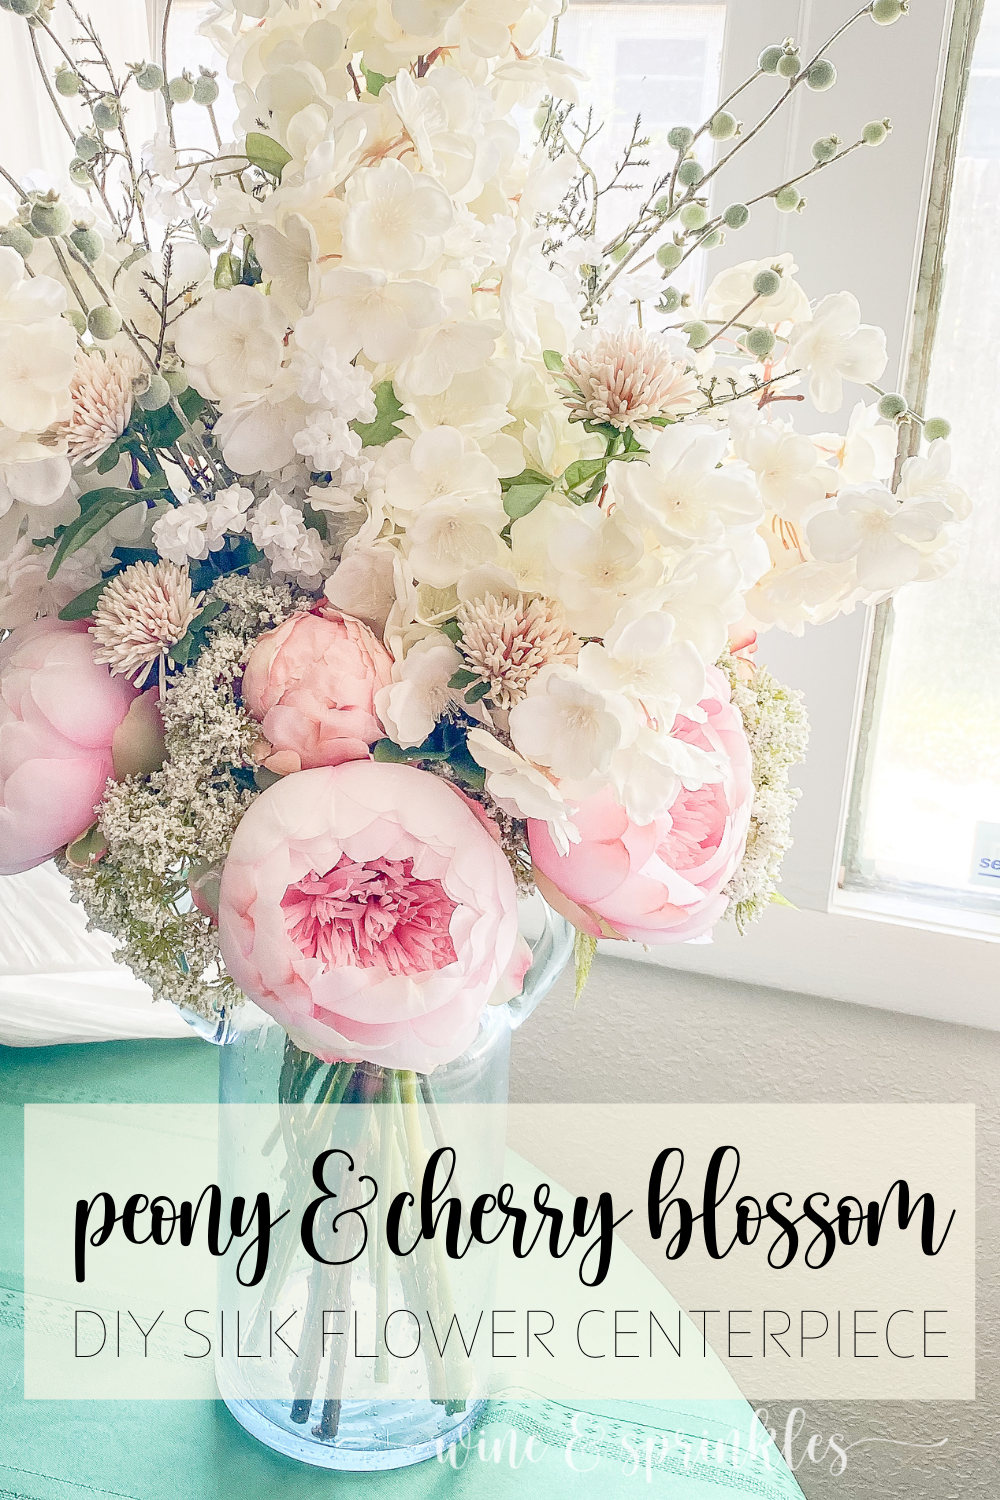
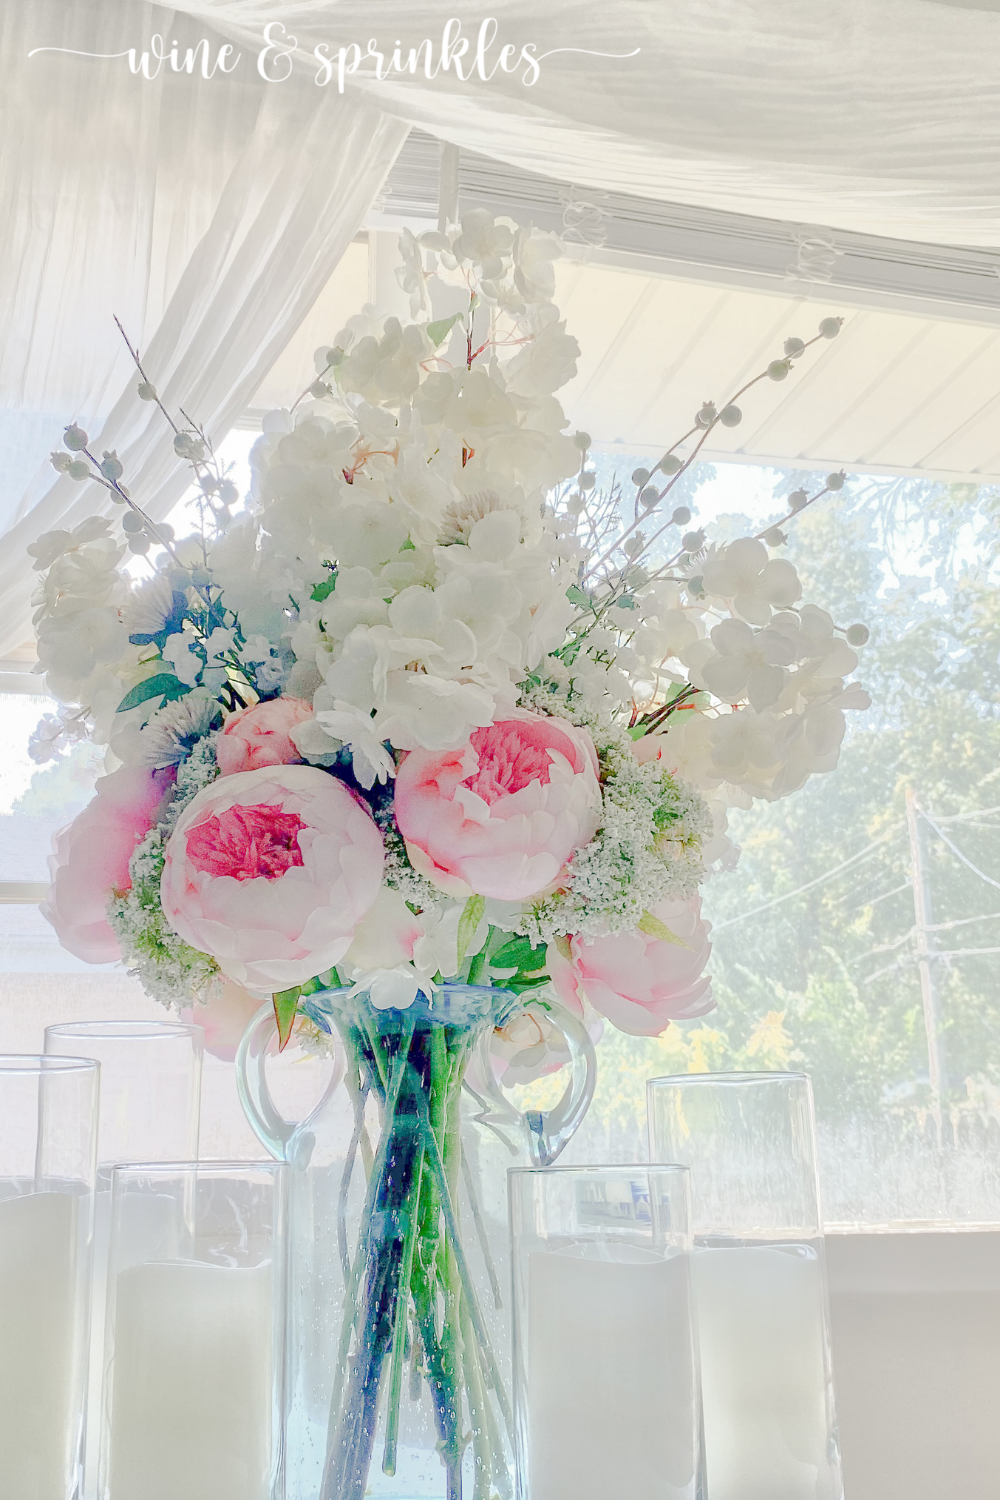
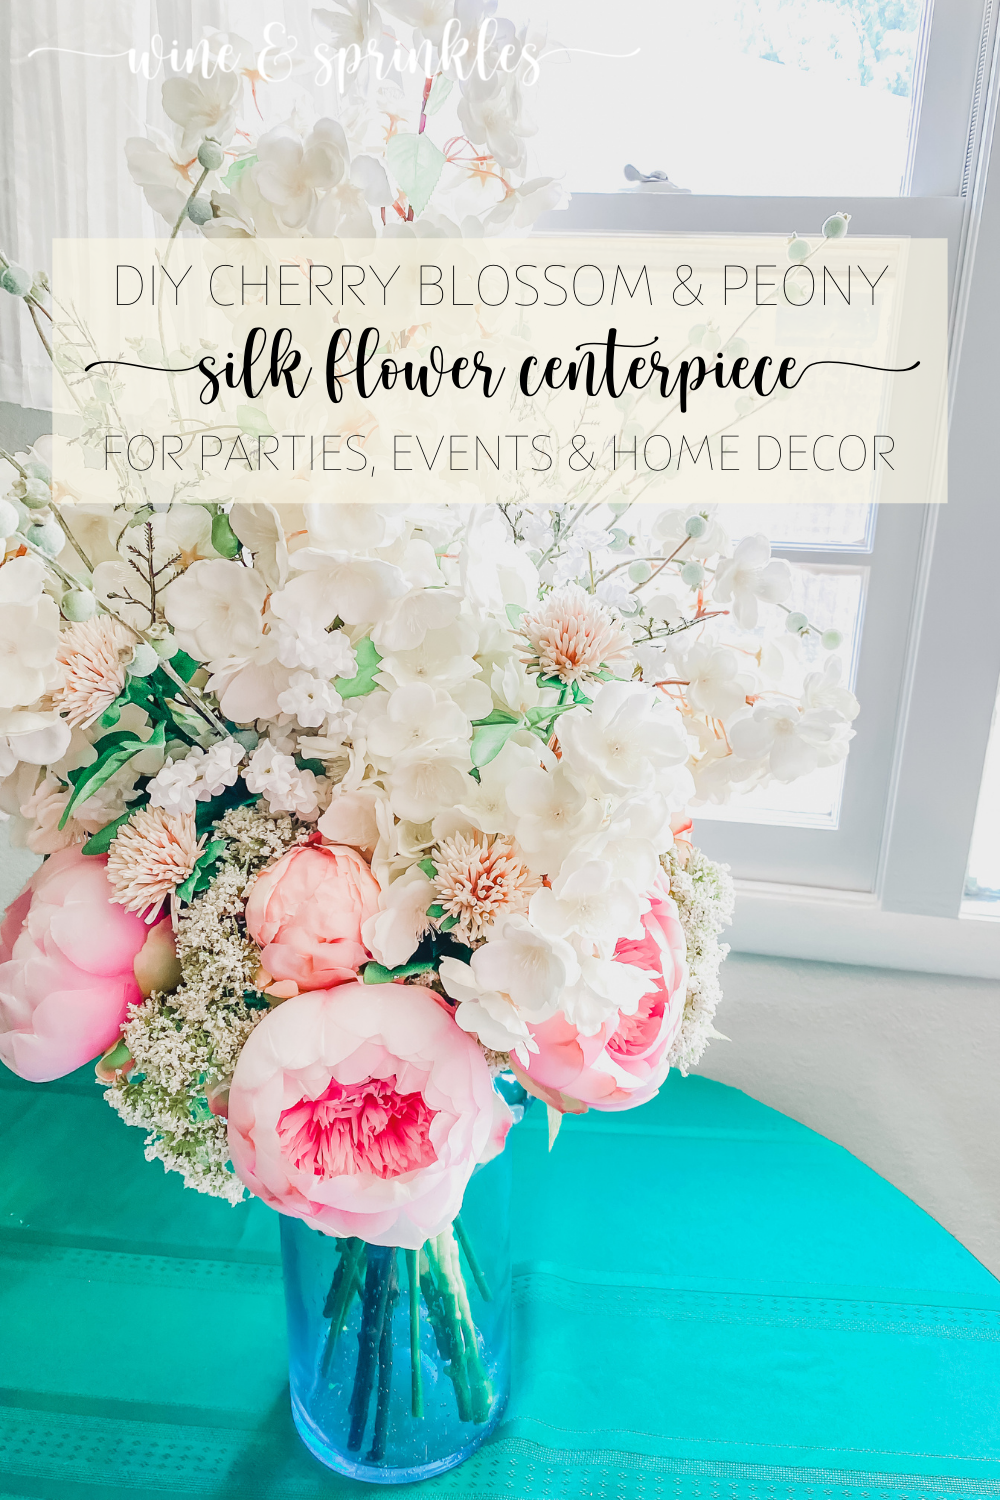
Spring has sprung and there are flowers in the air! As we all know, April showers bring May flowers, so my perfect way to end this month is by showcasing all my favorite silk flower projects I’ve made so far and finally finish writing their tutorials, starting with this big and bold Cherry Blossom and peony milk jug centerpiece!
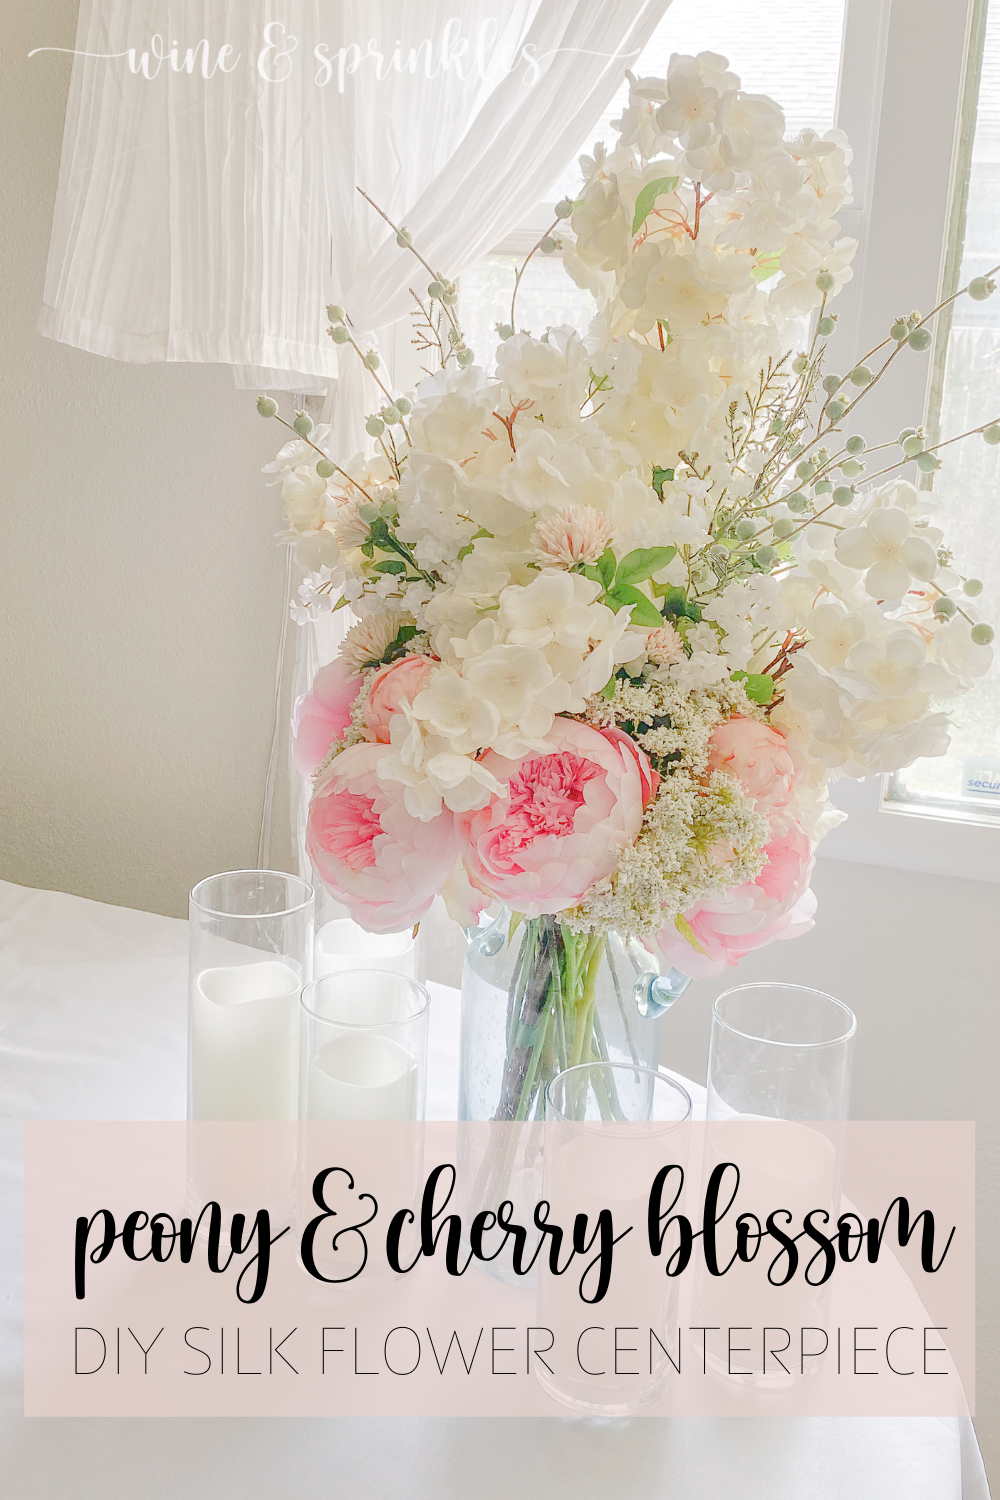
I originally made it for my Goddess of Spring 30th Birthday Party, after which it continued to grace different areas in my house as a beautiful pop of floral until fall made me feel that it was finally time to disassemble it and save the blooms for my next spring centerpieces.
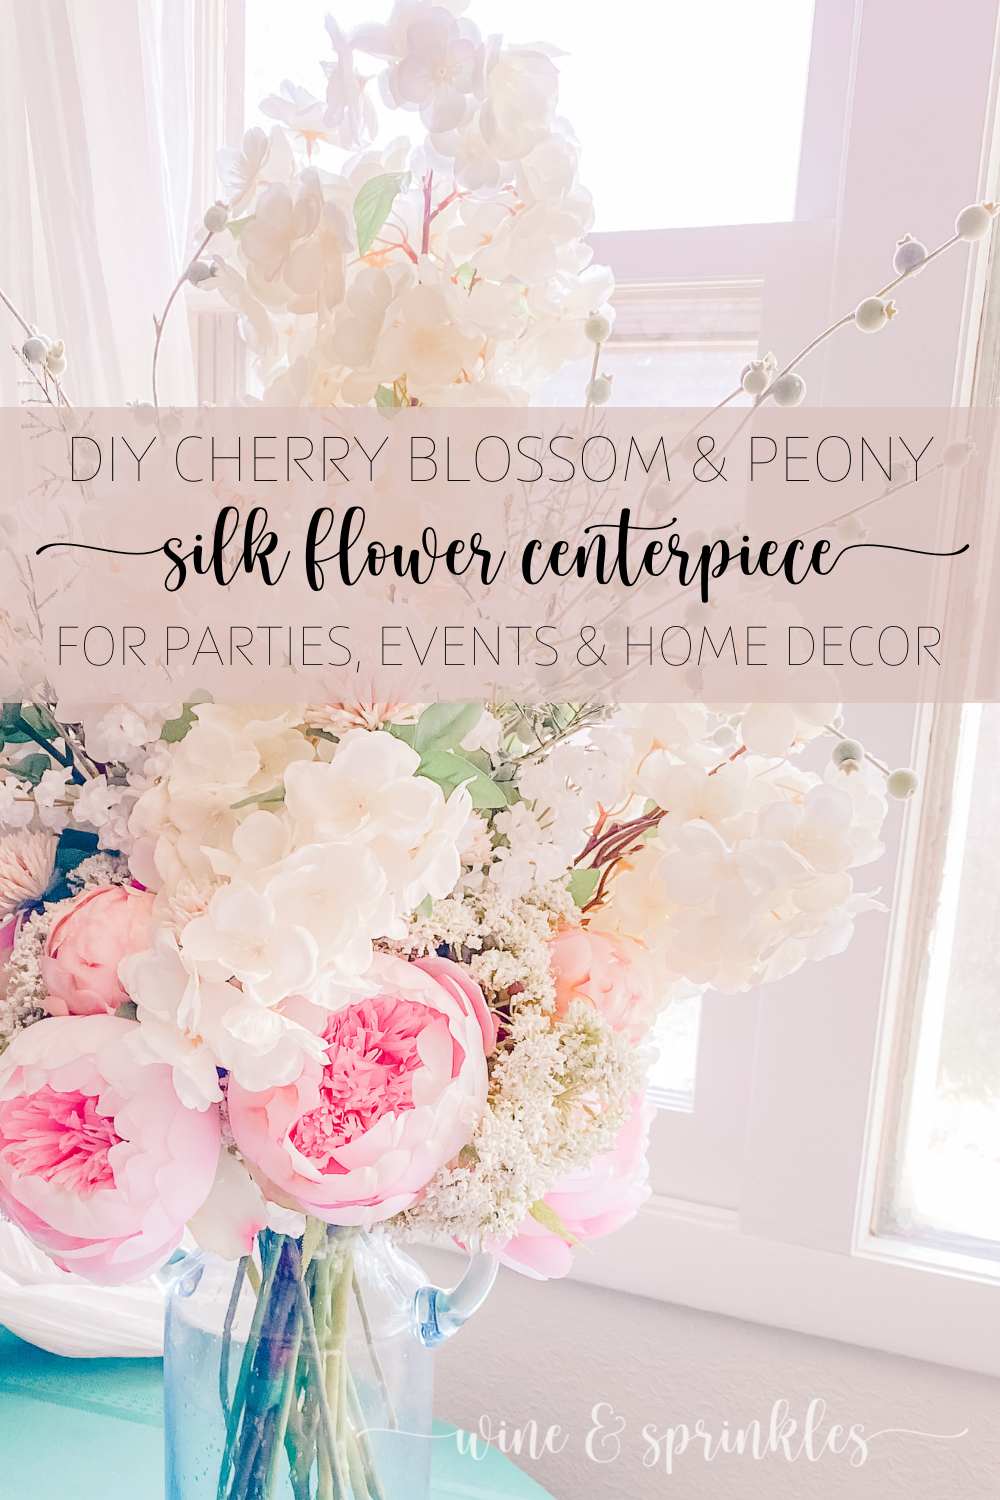
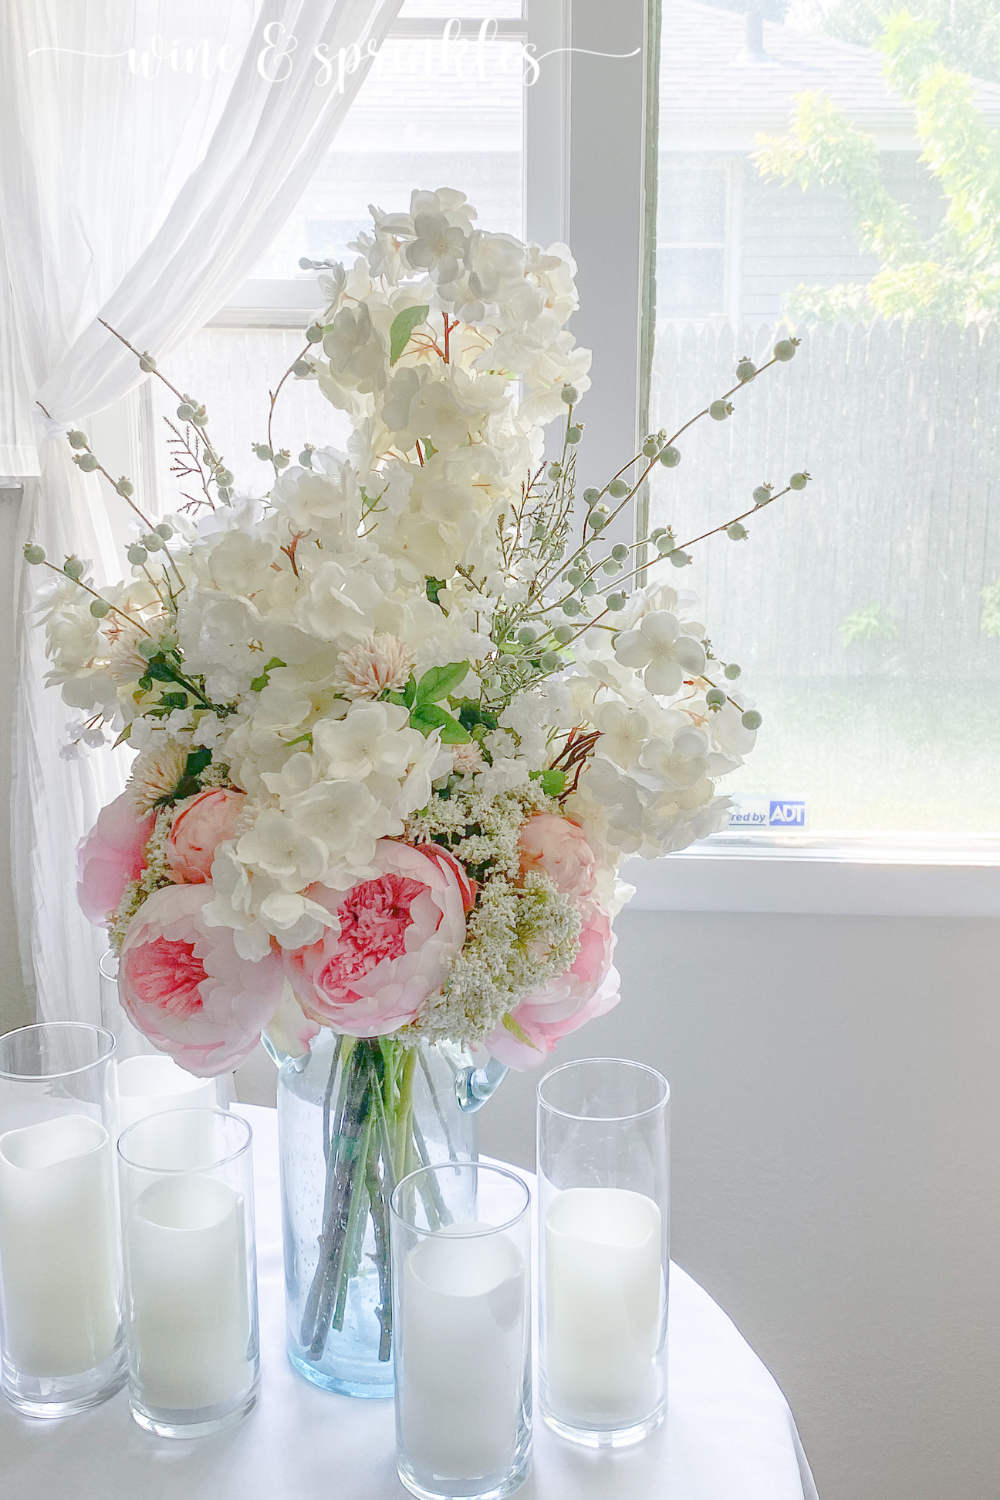
Similarly to my Silk Flower Birthday Crown, this centerpiece showcases my favorite spring blooms, cherry blossoms and peonies! After floral taping several lush cherry blossom stems together, I stuffed the rest of my milk jug with as many peonies as I could fit; followed by some lovely clovers, babies breath, berry pods, and seeded eucalyptus to add dimension and more spring beauty to this over the top floral explosion!
I bought all of these flowers from my affiliate partner, as well as my new favorite silk and dried flower supplier, Afloral! Afloral is a silk and dried flower company that specializes in selling beautiful and realistic fake flowers for event and wedding centerpieces, bouquets and DIY projects; so as you might imagine this shop is right up my alley and I’ve absolutely adored all the flowers I’ve bought from them so far! I also love that they have a stock of cherry blossom branches and peonies in a variety of colors, so the next time I’m ordering flowers I know my favorites will be there! That being said, they have so many different choices for all seasons, along with a constantly changing stock, I’d encourage you to look through all the different flowers they have to pick the prettiest for your own unique arrangements! To learn more about Afloral and all their lovely products, check out my review on what I’ve bought from them so far here!
My favorite thing about silk flowers is I can use them again and again for different centerpieces, and in that spirit all these lovely blooms are being used for some beautiful decorations I’m crafting for my summer party! As I create garlands, rings, and other permanent centerpieces out of them, I loved using them first for more free spirited arrangements like this, and I’m sure to always have some silk flower stems for vase centerpieces in my party closet to experiment with from now on!

SUPPLIES
CENTERPIECE SUPPLIES

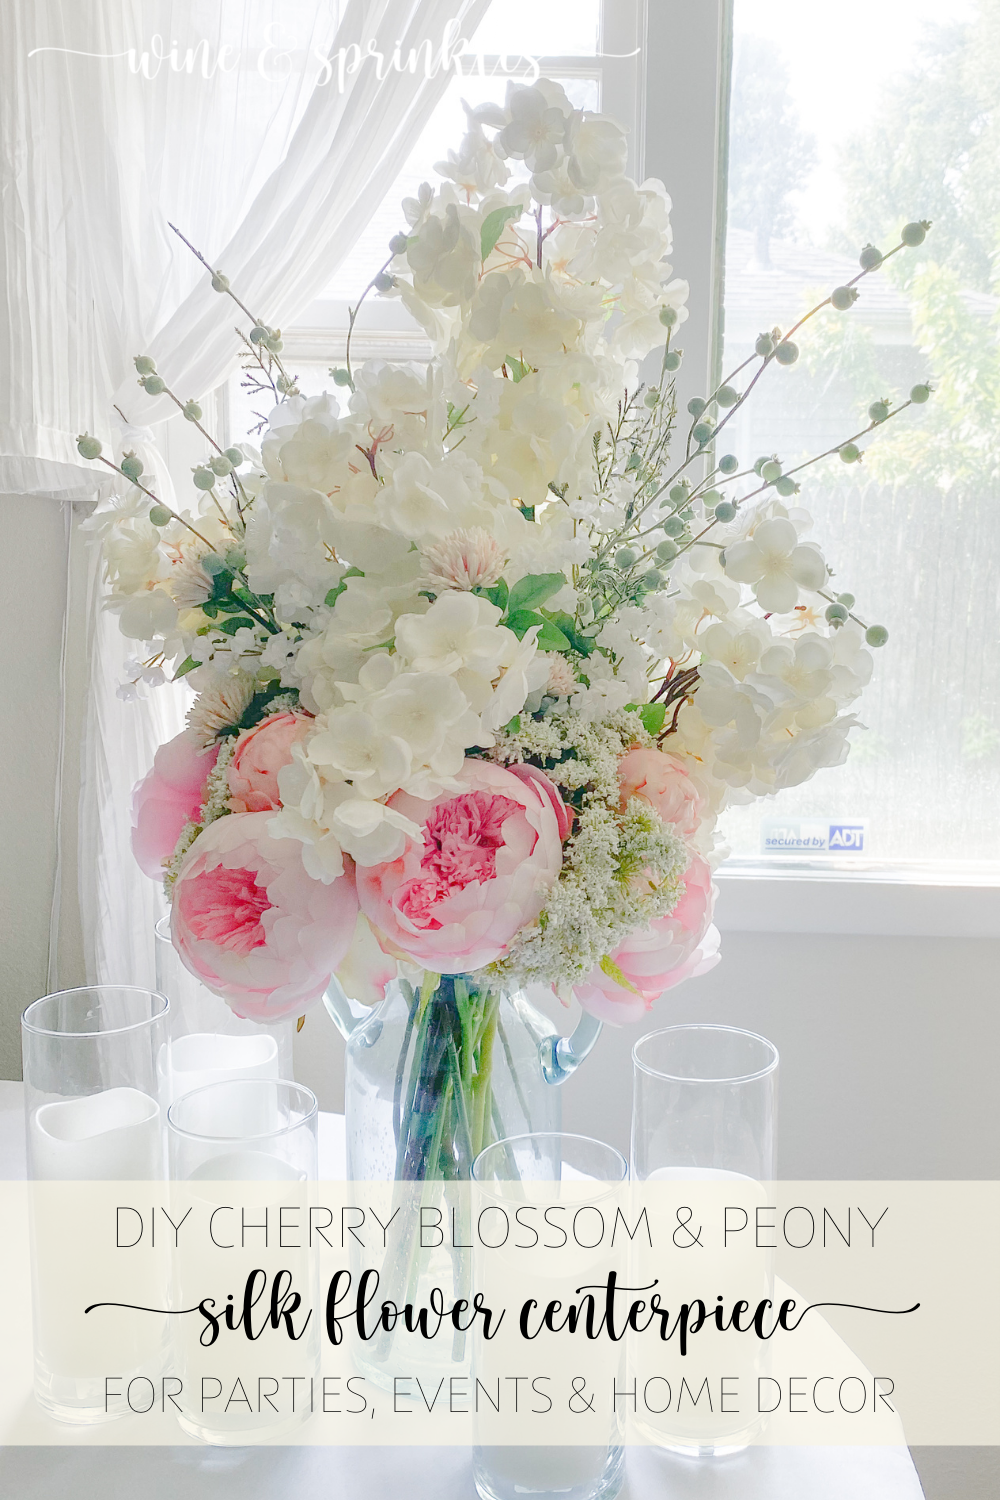
Glass Milk Jug or Large Vase: This is the base that you will build this centerpiece with! The actual style and size is up to you, but this glass milk jug vase was the perfect choice for me! You are looking for a relatively tall vase that can support the height of your cherry blossom branches as well as keeping the stems of your flowers long. My vase is approximately 11 ½ “ tall with a 3” opening at the top for stems. Depending on the size of vase you pick, the number of flowers you need will change also so I have put ranges on my supplies list below. I used the lower of the numbers for my vase, but use your best judgment for your own!
MAIN FLOWERS
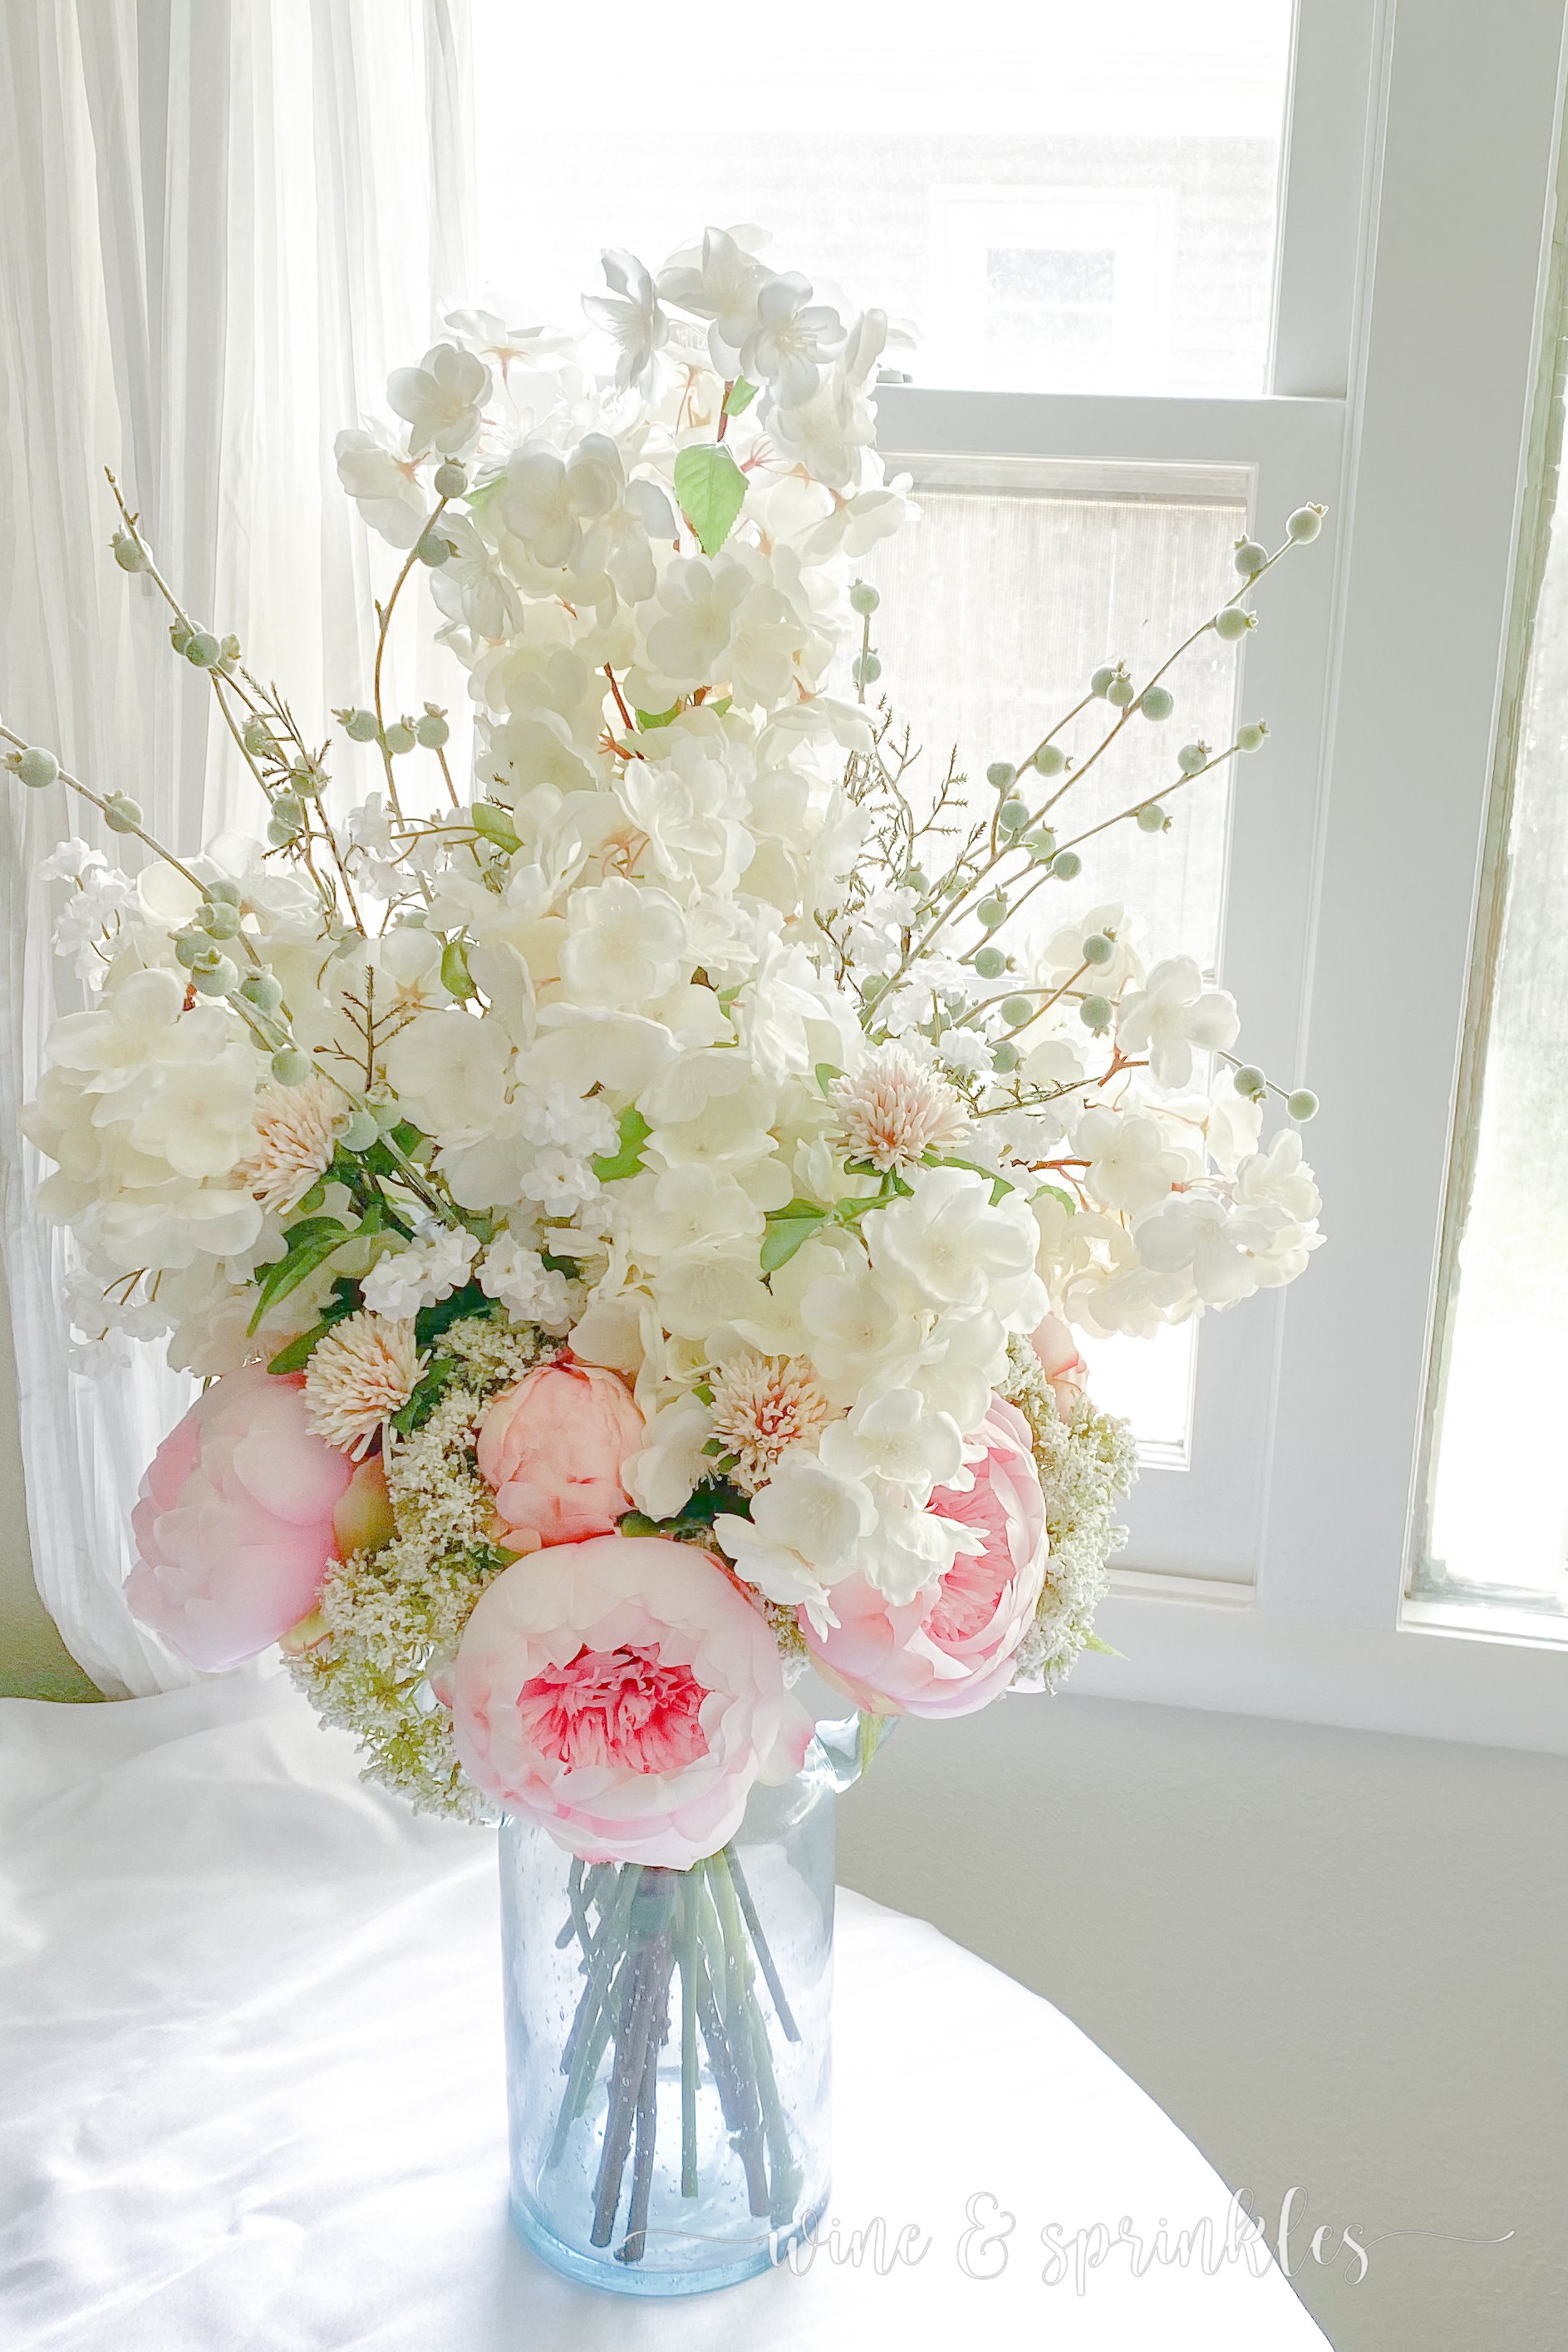
Cherry Blossom Branches: The boldest and base flower of this centerpiece are cherry blossom branches, which are perfect for adding height and volume to this centerpiece! Afloral always has several beautifully colored options to choose from, but I went with a traditional white colored blossom to offset the pink of my peonies.
Peonies & Peony Buds: the other main flower for this arrangement is one of my springtime favorites, the peony! These light blush beauties added a pastel pop of color to this centerpiece, but Afloral has a variety of colors to choose from to personalize it to your favorite hues.
SUPPORT FLOWERS
Clovers: I love clovers for giving a more whimsical wildflower style to any spring centerpiece, and this one is no exception! These blooms also added a little dimension to the otherwise round and cloudlike feel of the other blossoms in the arrangement, helping the peonies with adding some interesting texture instead of color.
Babies Breath: for an affordable beautiful filler flower, my favorite has to be babies breath! It was great for adding smaller white blossoms to fill in around the cherry blossoms, but I love using it whenever I need white filler flowers for any silk flower project.
Queen Anne’s Lace: while not always available, I love Queen Anne’s Lace as a cloudlike filler flower in centerpieces as well as for cutting smaller clumps of the silk flowers to tape into my flower crowns and garlands. In this centerpiece, I use the whole blooms and arrange them around the peonies instead, which made them storable for future projects when I finally took this arrangement apart.
GREENERY
Berry Pods: I didn’t really want a lot of greenery in this arrangement, so instead I opted for some whimsical pops of the dusty green berry pods, to keep the centerpiece light and bright while adding more vertical interest to go with the cherry blossoms.
TOOLS & OTHER SUPPLIES
Floral Shears: for trimming the stems of your flowers
Floral Tape: for creating a grid on the top of the vase to help in arranging your stems as you build your centerpiece and taping together your cherry blossom stems.
SUPPLIES LIST:
[for 1 large centerpiece]
CENTERPIECE SUPPLIES
Glass Milk Jug or Large Vase x 1
MAIN FLOWERS
Cherry Blossom Branches x 3
Peonies x 6
Peony Buds x 3
SUPPORT FLOWERS
Clovers x 3-4
Babies Breath x 6-8
Queen Anne’s Lace x 3-4
GREENERY
Berry Pods x 3-4
TOOLS & OTHER SUPPLIES
Floral Shears
Floral Tape x 1

DIRECTIONS

1. Gather all of your flowers and greenery along with the large vase you want to use in designing your centerpiece. Trim each flower so that the blooms begin just above the lip of the vase and remove any extra leaves from the stems that would be below the top of the vase with floral shears. Now, use floral tape to create a tic tac toe pattern on the top of your vase to use while arranging your flowers.
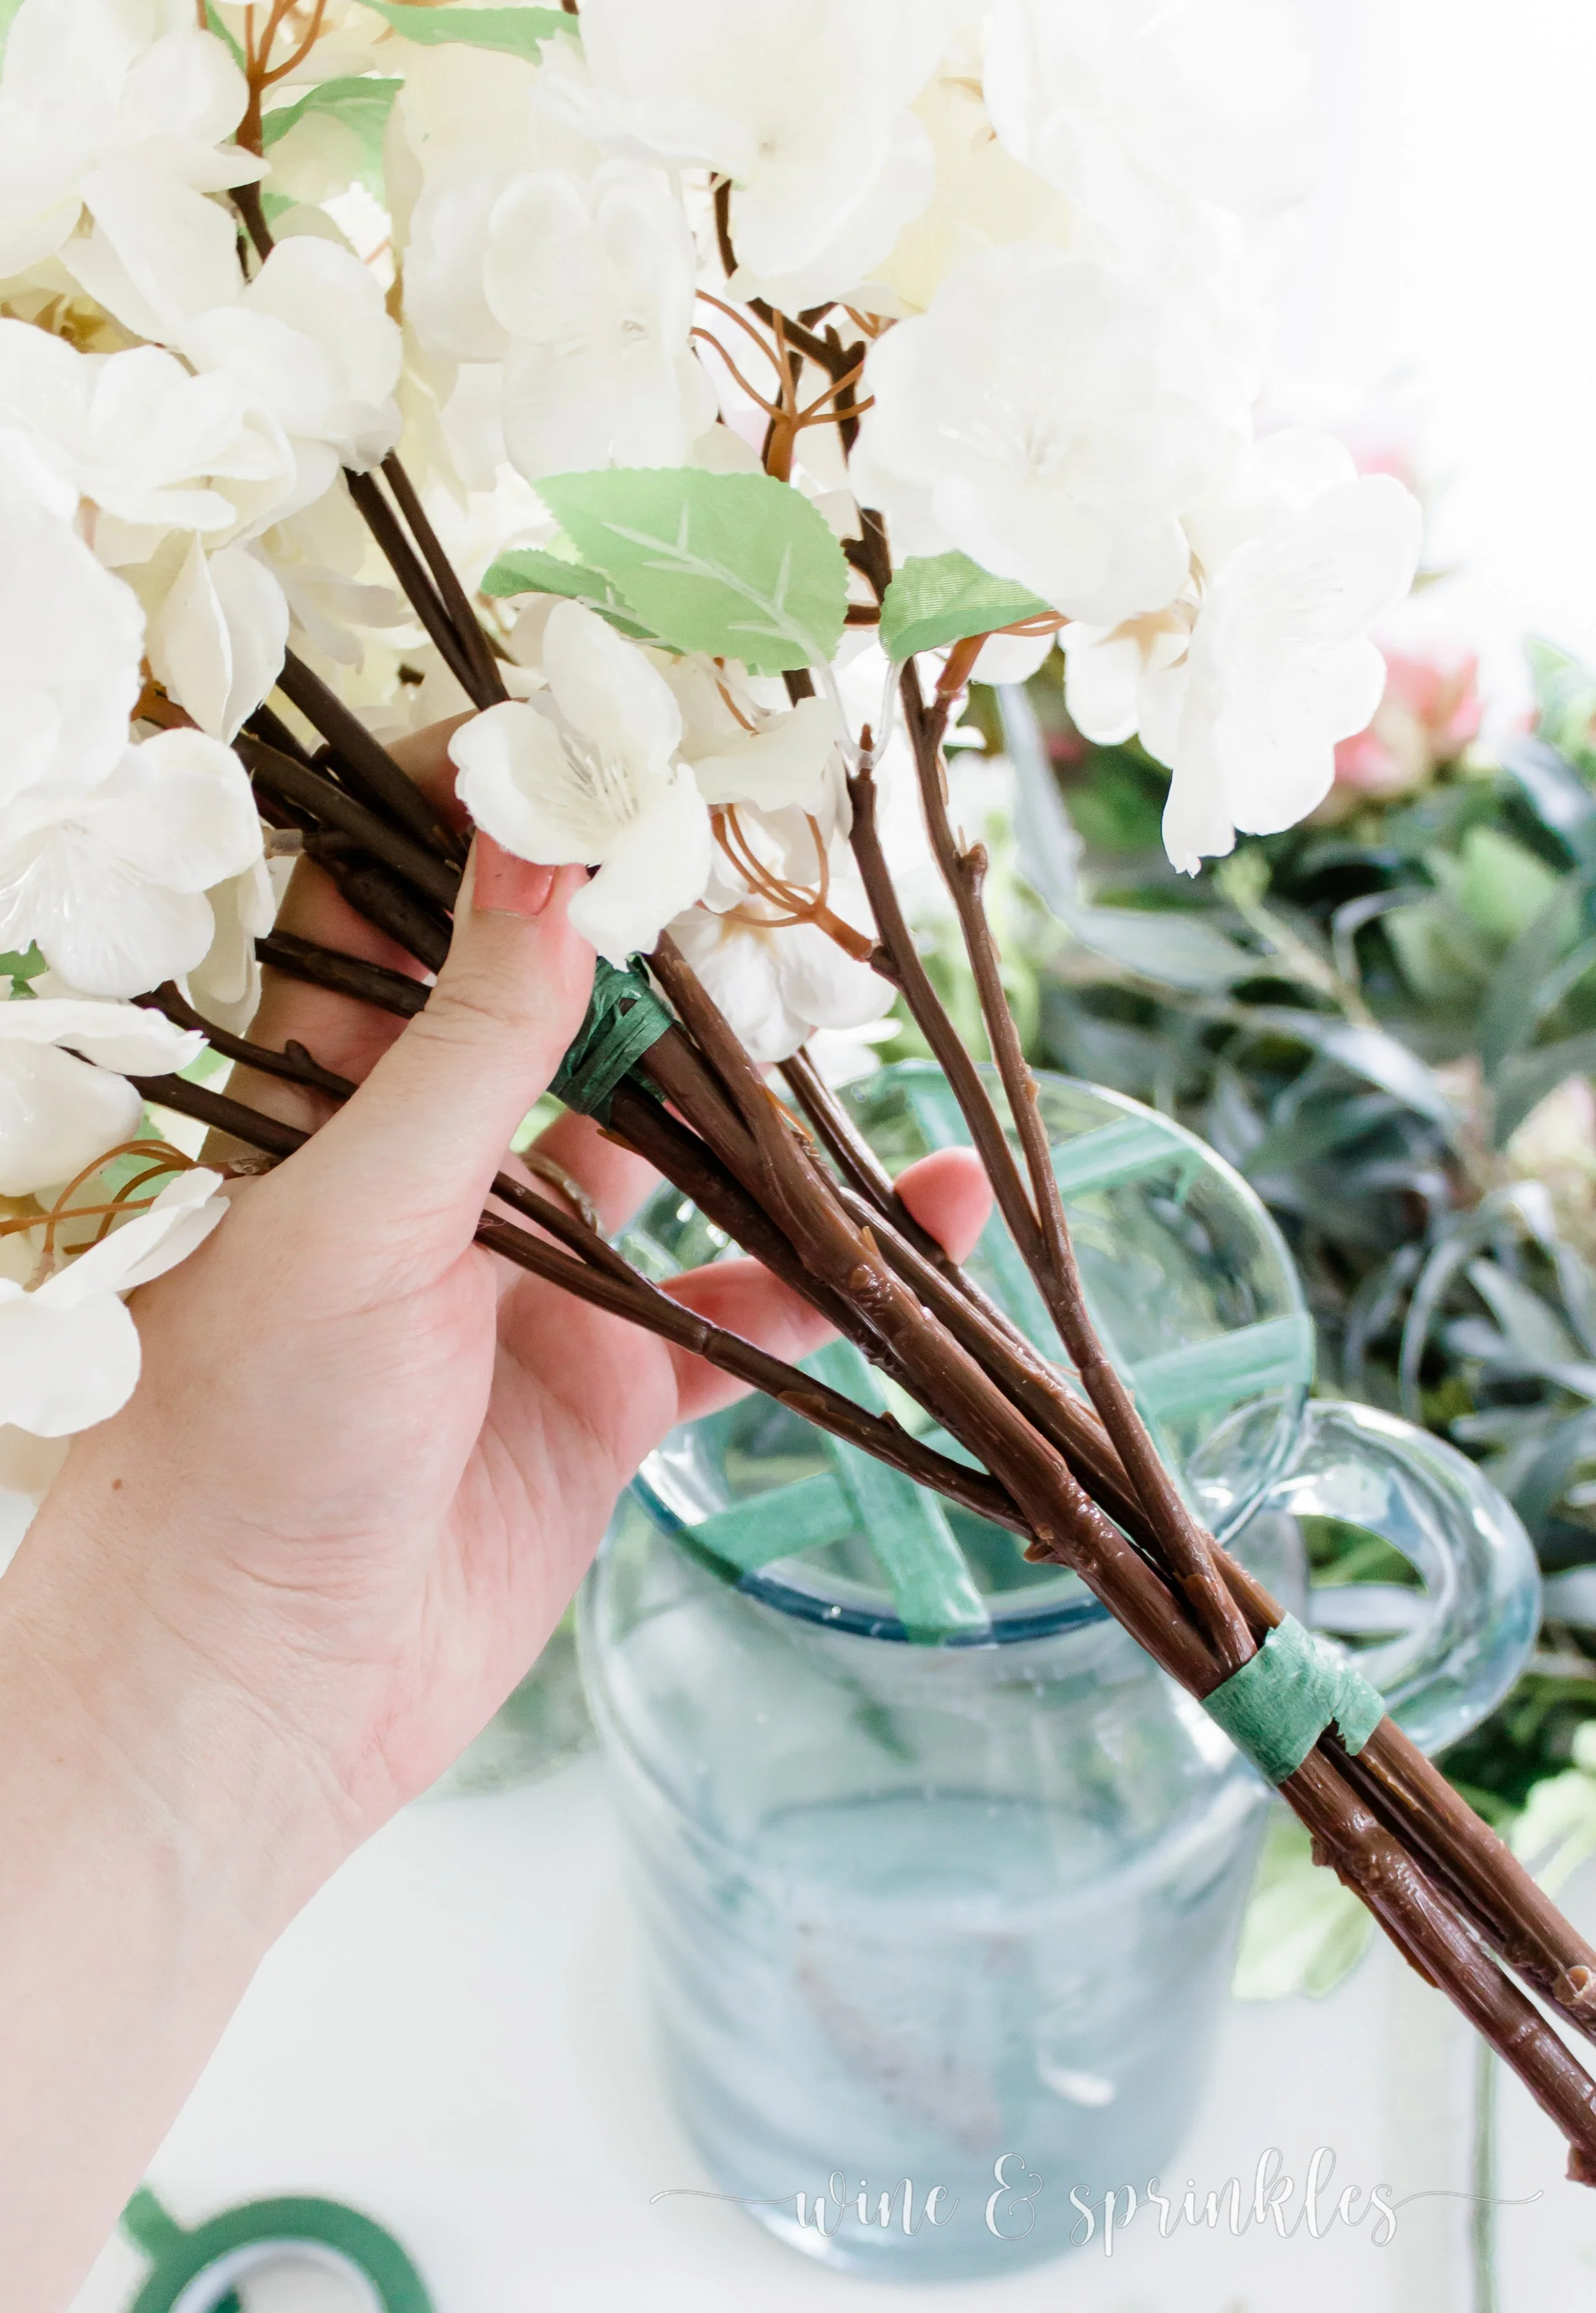
2. Starting with the cherry blossom branches, tape them together with floral tape in several places up the length of the stems to create one long flower stem with the blossoms all together at one end. I used three cherry blossom branches, where I taped the longest ends facing outward together and secured it with tape just above the bottom branches as well. Place this into the center square of your floral tape pattern to create the center of your centerpiece.


3. Next, place your peonies around the base of the cherry blossoms, using the floral tape grid to keep them equally spaced around the centerpiece, then add the peony buds in empty sections amongst the blooming peonies. I worked on the centerpiece in sections, so each third of the centerpiece had two peonies and one bud grouped together.

4. Now, start adding in your supporting flowers. Starting with whatever your most voluminous filler flower is, in my case the Queen Anne’s lace, insert it into empty spaces around the peonies, pulling the smaller flower clumps in between the peonies and buds to distribute them more organically around the base of the centerpiece.


5. After this, add in your babies breath or other white filler flowers in the empty spaces between the cherry blossom branches, to bulk up the volume in the middle of your centerpiece. Finish your centerpiece with your taller accent filler flowers, in my case the berry pods and clovers, to fill in any open areas and give your arrangement its own springtime flair!


This arrangement is bursting with all my favorite spring blooms and was the perfect decoration for both my birthday party and to adorn my dining room for many months after. The best part is with the beautiful silk flowers, I can reuse them for my future projects and decorations to keep creating new beautiful centerpieces year after year. So I encourage you to find your own floral favorites and start your own stock of favorite silk flowers for your own seasonal arrangement creations!

SEE OUR RELATED POSTS HERE:


OUR PINS FOR THIS POST: