This post contains affiliate links, meaning that if you click on a link I will recieve a small comission. This costs you nothing extra and I only promote products I use and love! You can read our full disclosure here
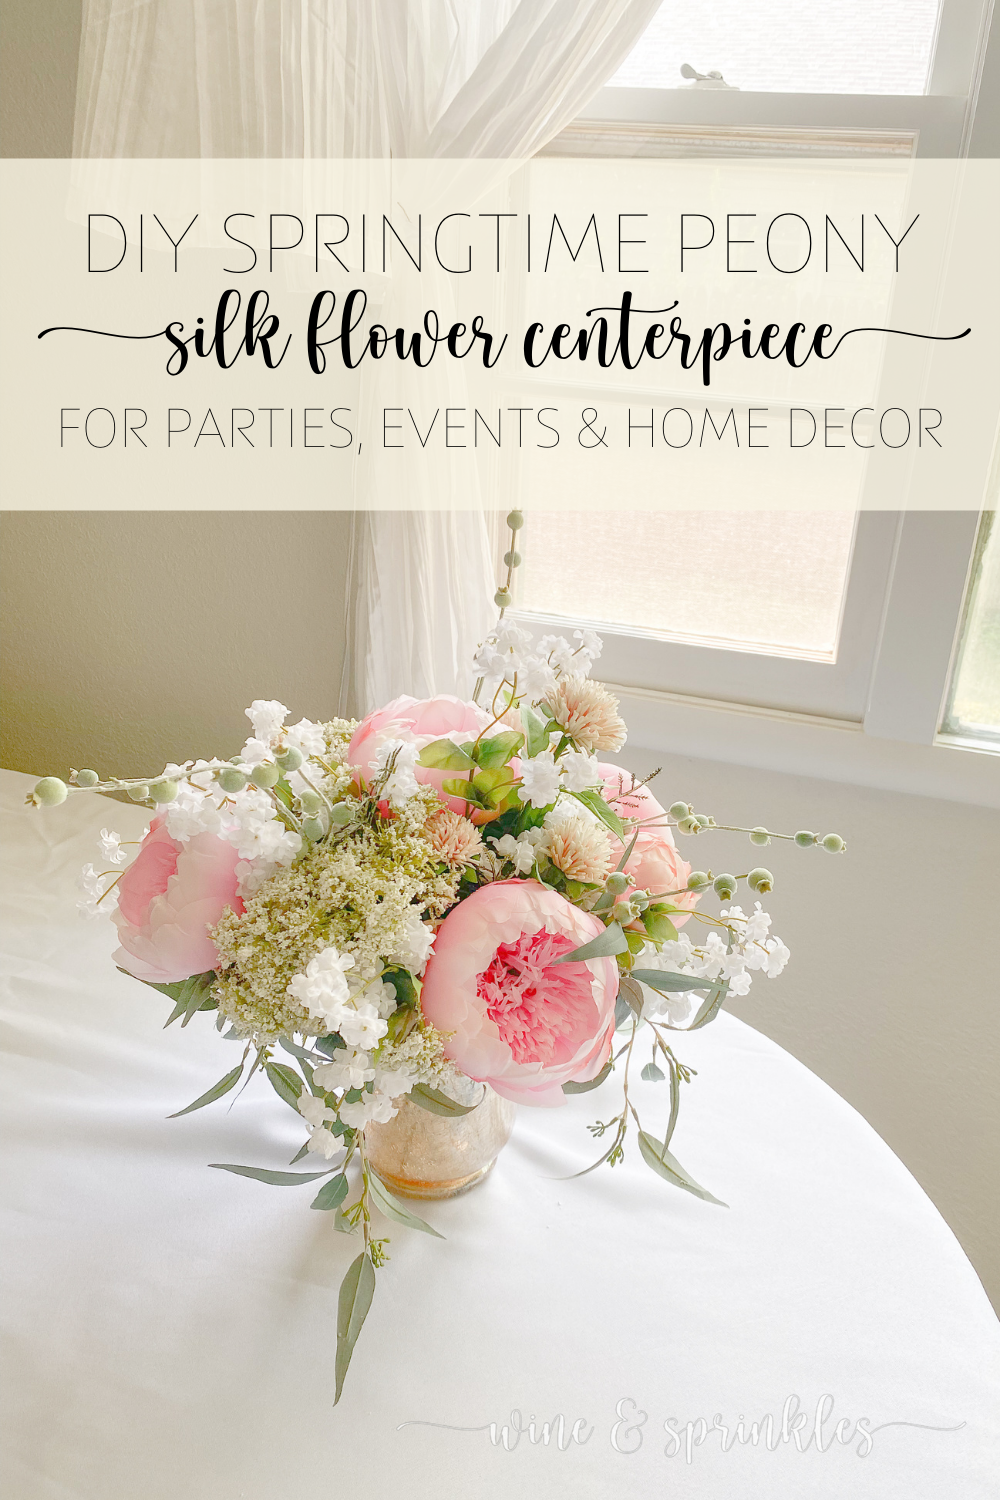
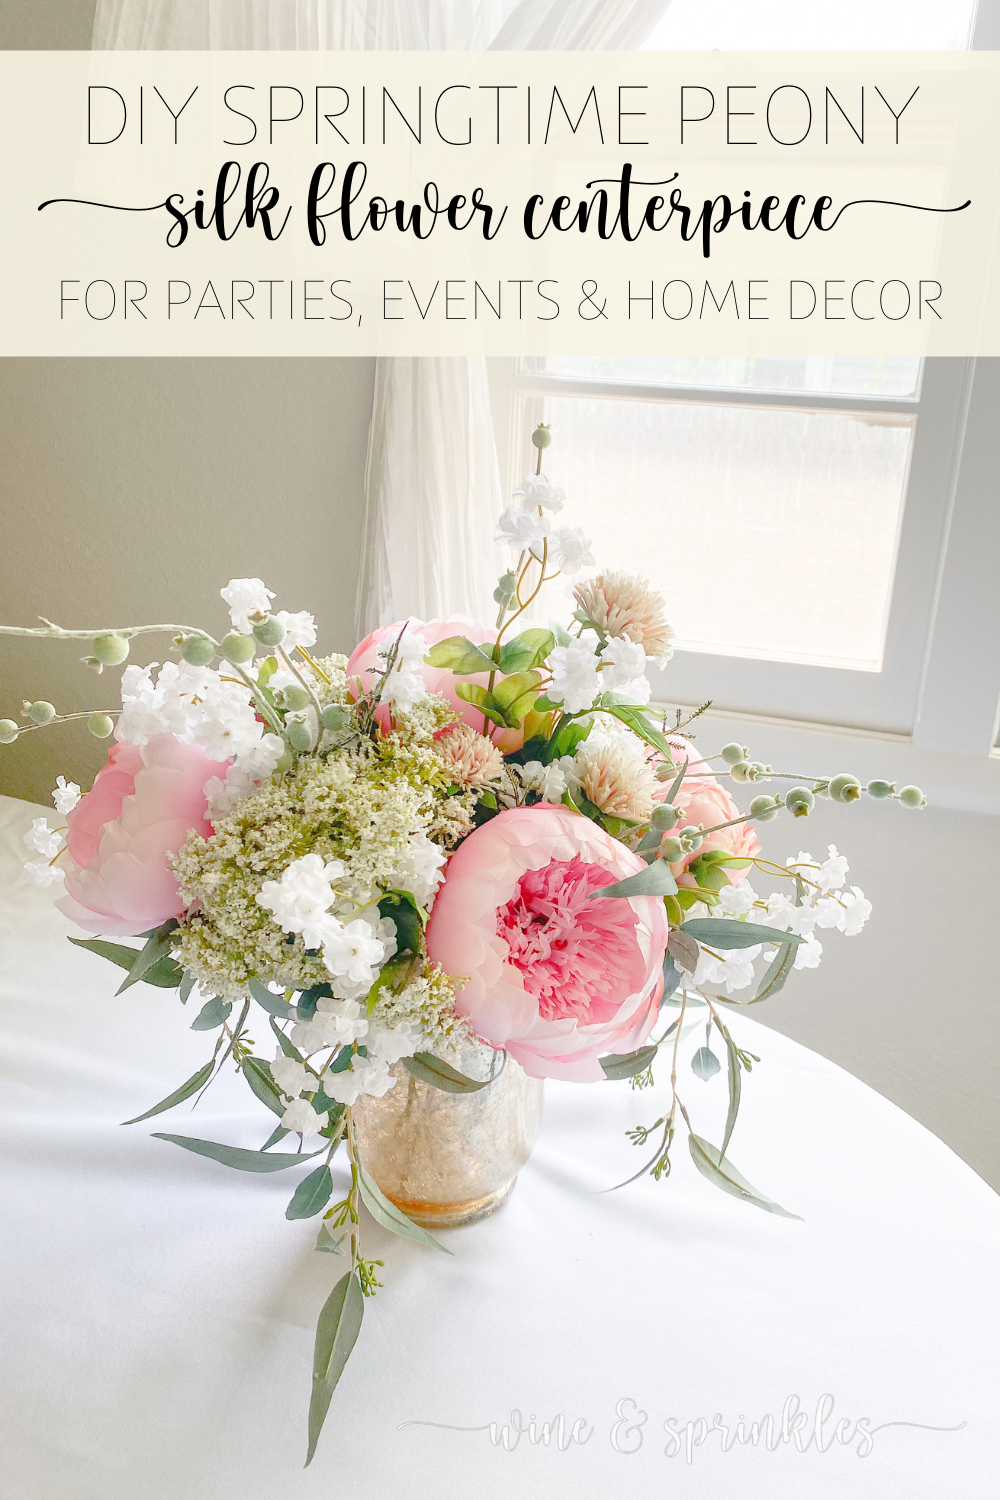
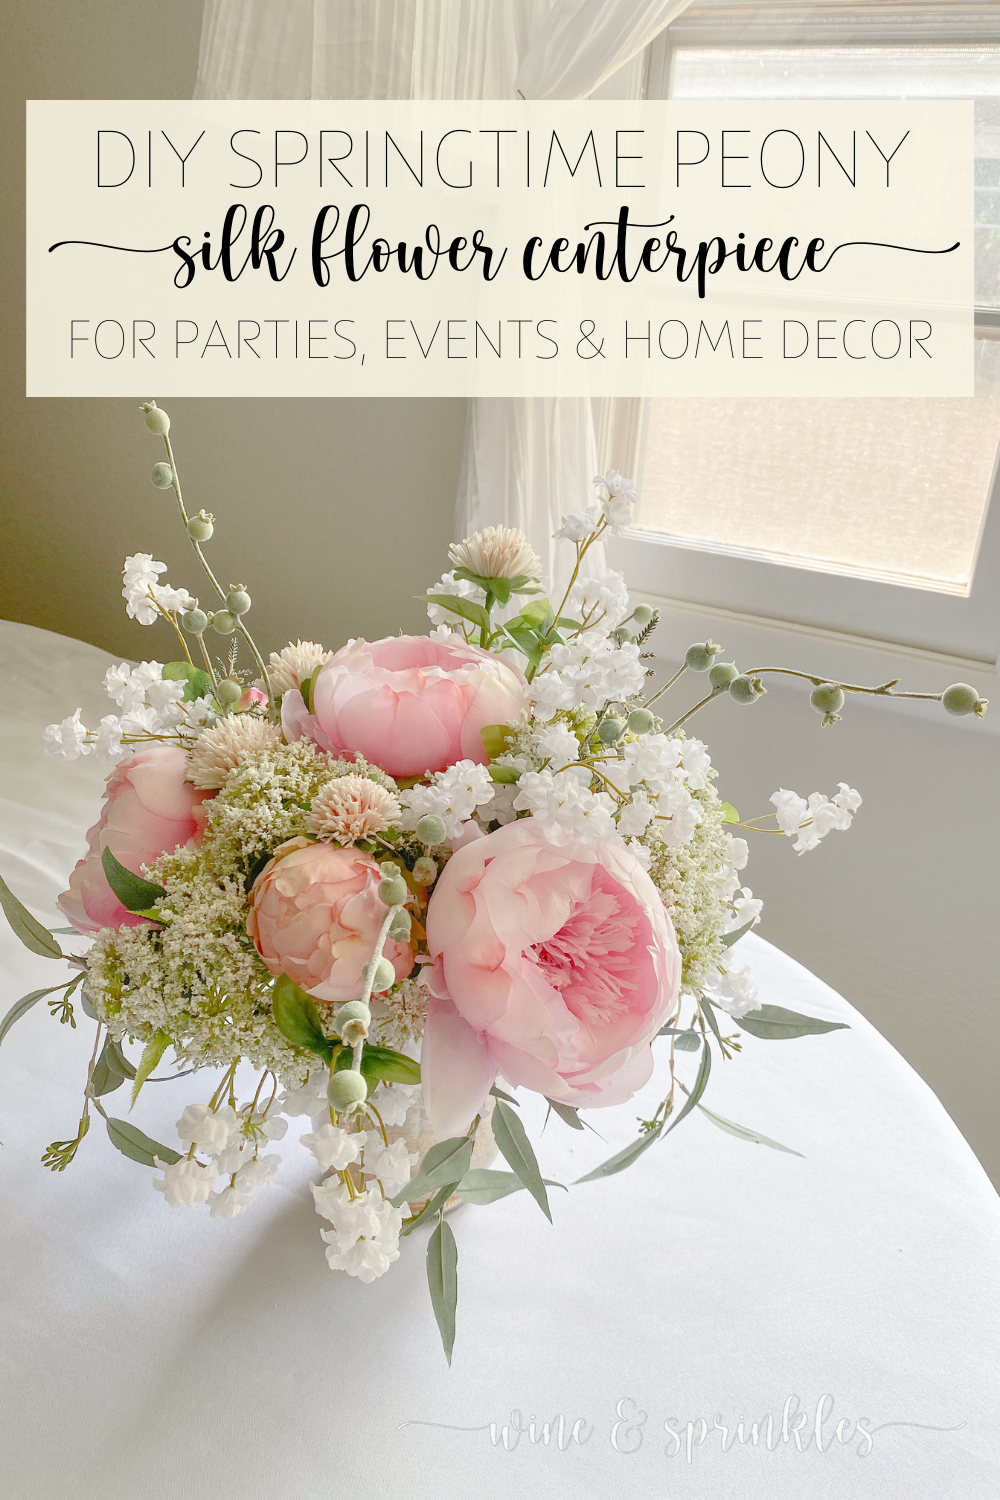
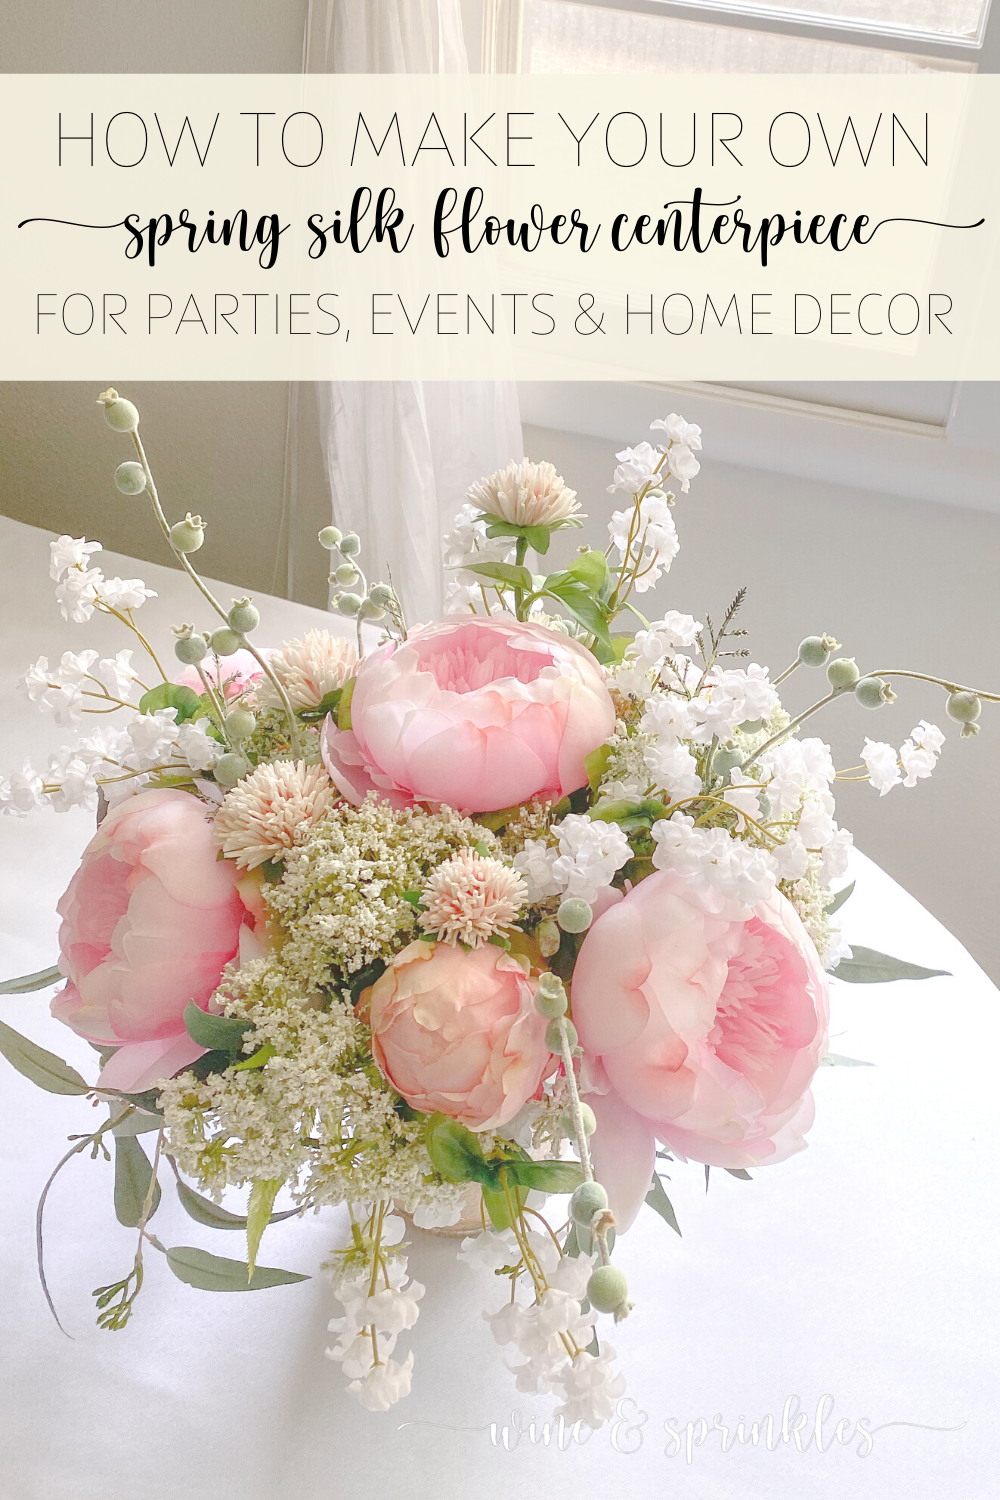
If there's a big beautiful bloom I love for spring, it has to be the peony! They are the soft, delicate, romantic beauty that I always want to include in my party decorations, so my Goddess of Spring 30th Birthday was the perfect time to stock up and experiment with them in all sorts of centerpieces and flower crowns! It also gave me the perfect chance to craft a silk flower centerpiece around my favorite flower that is an easy and beautiful arrangement for any event, this whimsical springtime Peony themed vase centerpiece.
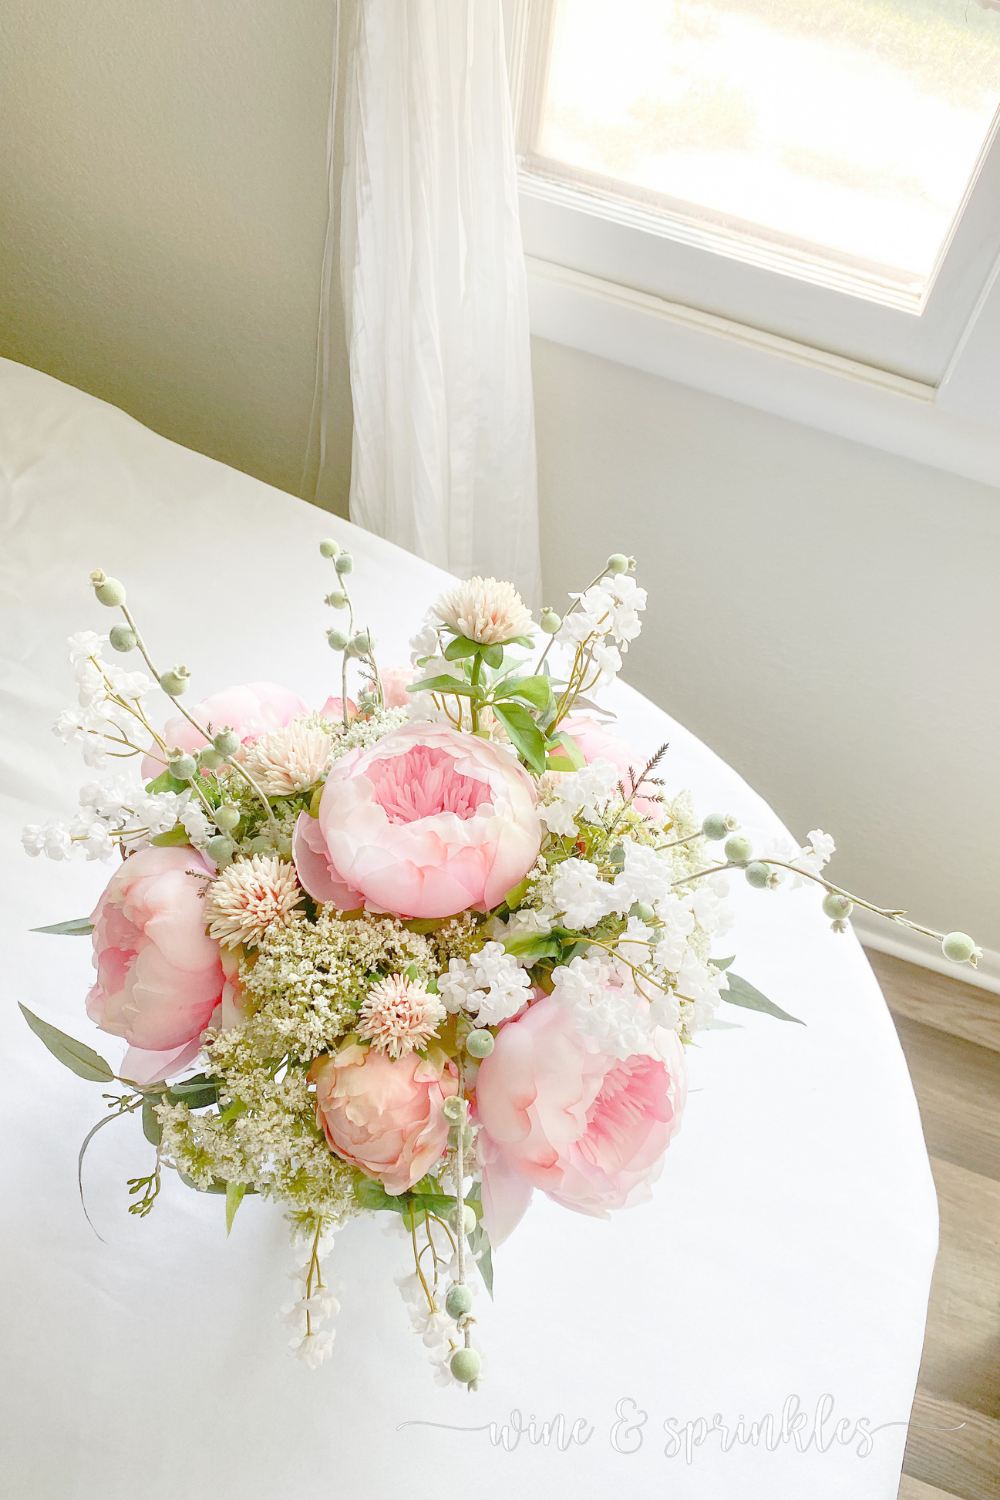
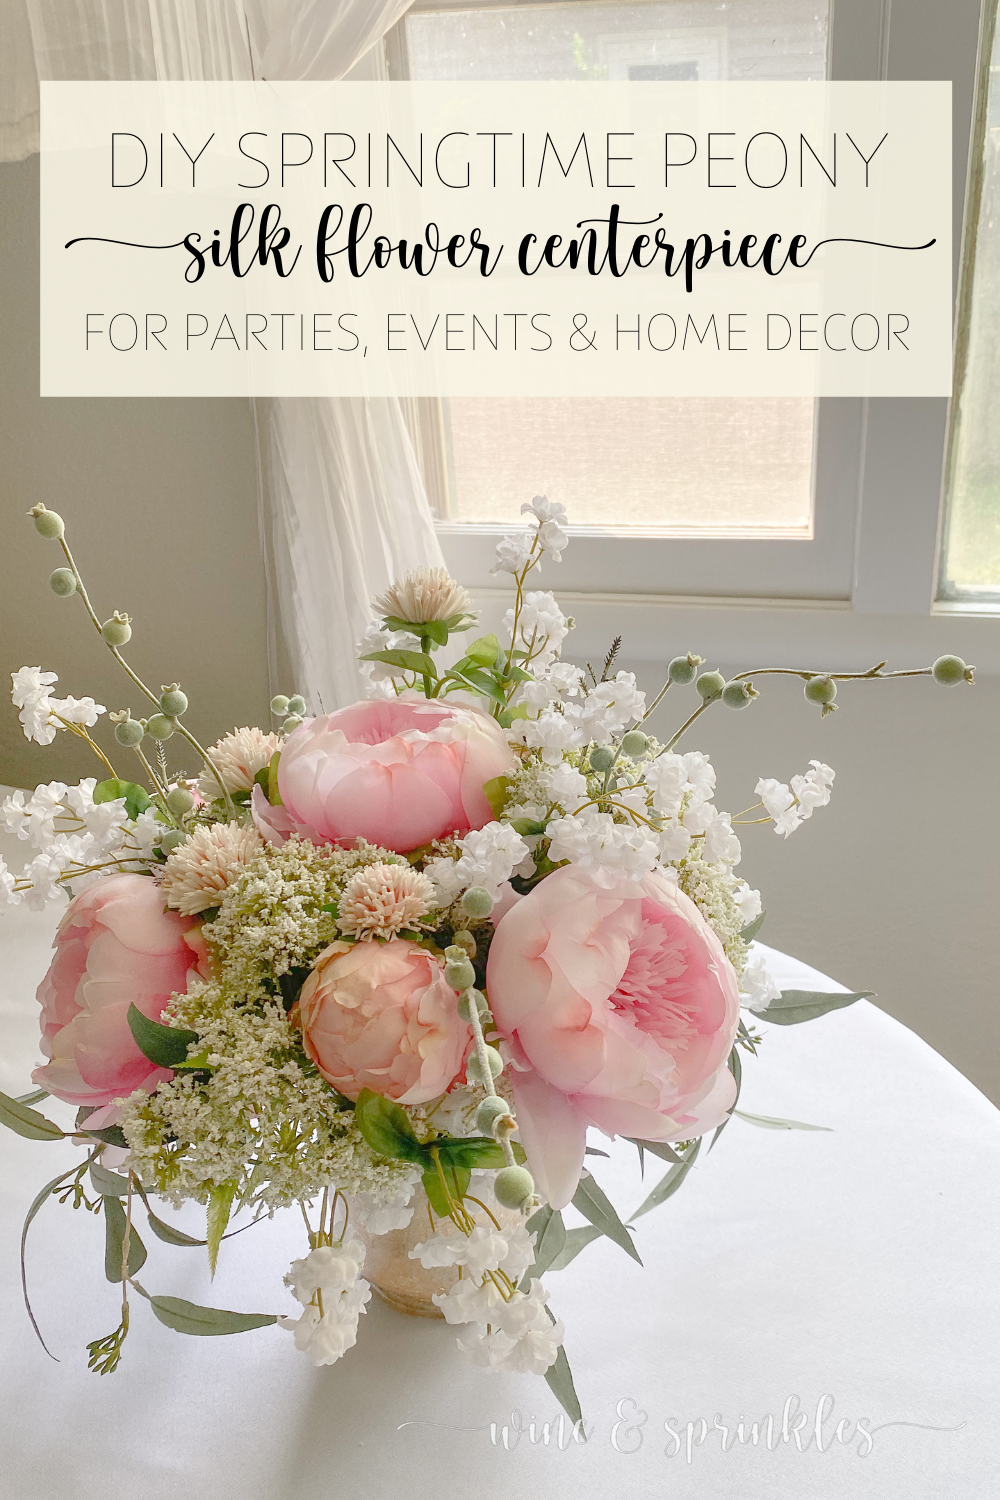
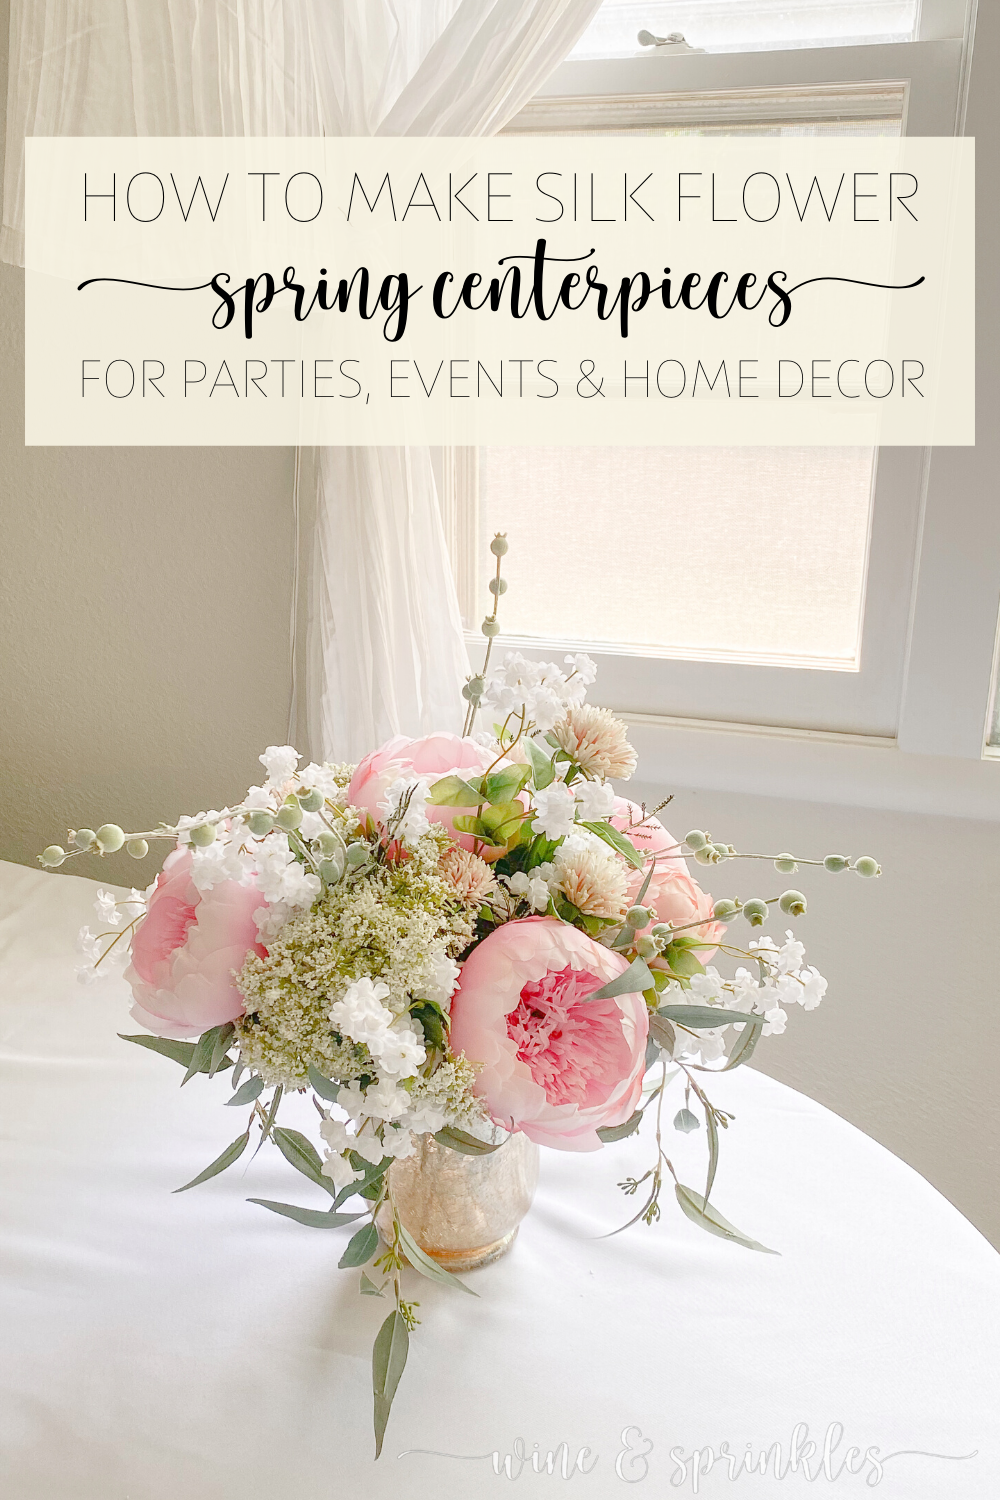
While my Cherry Blossom & Peony Milk Jug Centerpiece was a tall and overflowing cherry blossom arrangement, this lower centerpiece was perfect for showcasing my favorite big bloom of spring while still being a lush whimsical centerpiece for any wedding table or event décor! Like my big beauty, this fun floral filled vase was rotated around all my favorite rooms, and now its blooms and cuttings are being used for my future party centerpieces!
Similar to my other Silk Flower Centerpieces and Garlands, I purchased the flowers I used for this project from one of my favorite companies and affiliate partners, Afloral! This online shop specialized in silk and dried flowers for making your own DIY arrangements and projects, with their stock of silk flowers and greenery constantly being rotated for new seasonal florals and fillers, along with keeping constant stock of some of my favorite types of silk flowers; namely, Cherry Blossom Branches, Orchids, and Peonies. I highly recommend them for your own silk flower crowns, centerpieces, and creative projects; I absolutely love all the flowers I’ve bought from them so far and can’t wait to explore more of their stock for my future fall floral projects! In the meantime, I’m repurposing all my beautiful blooms for my party this summer! To learn more about Afloral and all their beautiful products, check out my review on what I’ve bought from them so far here!


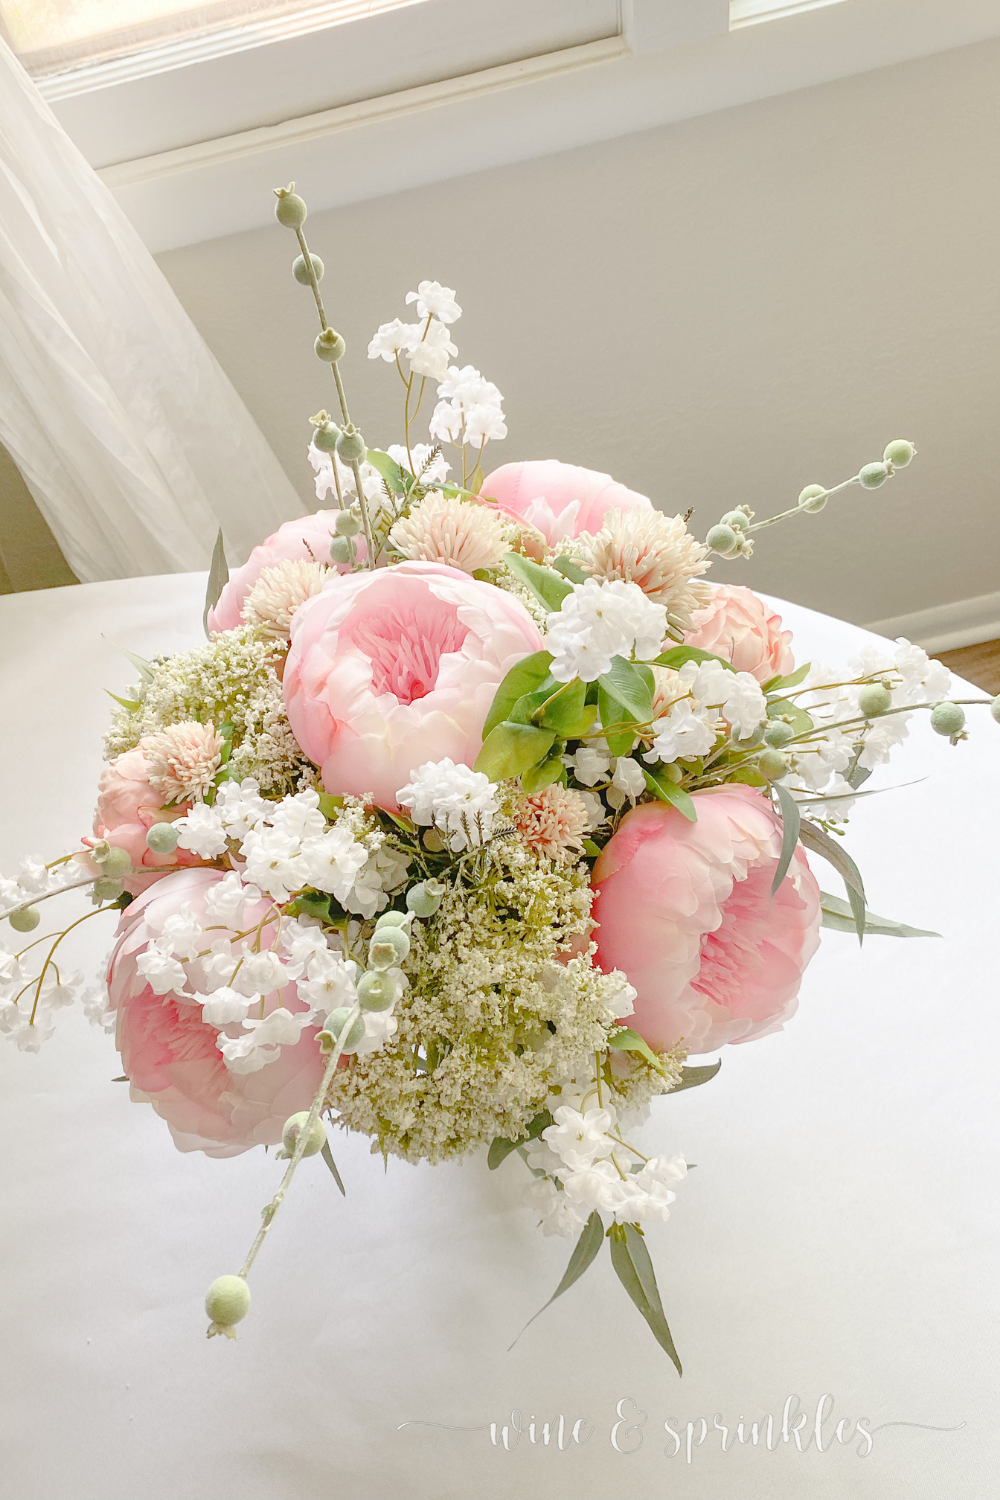
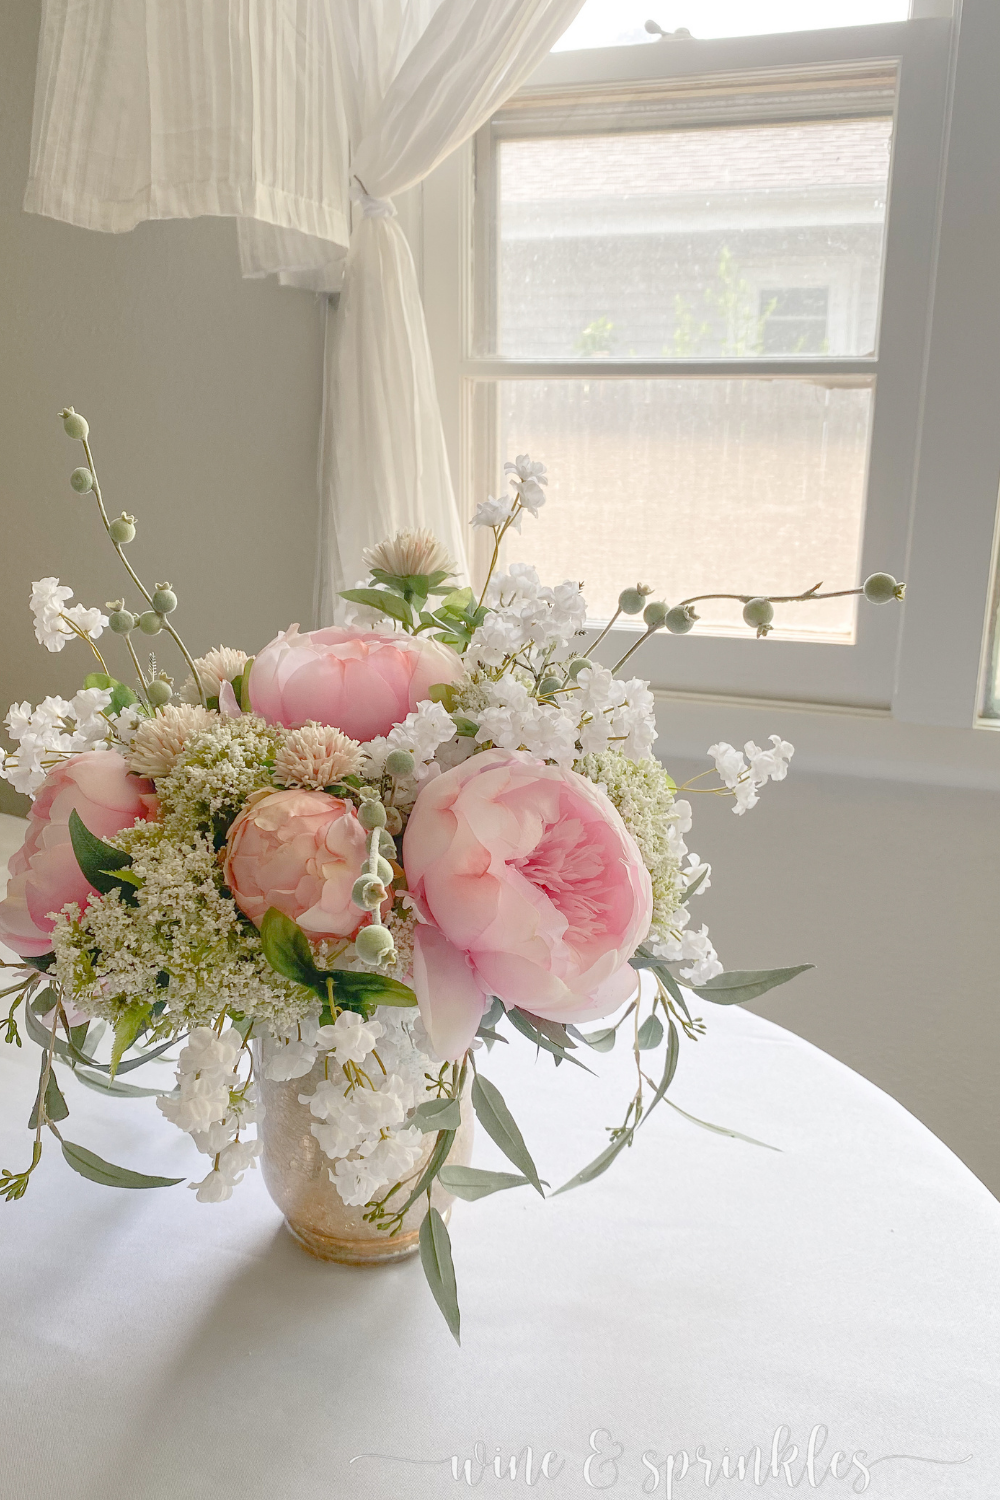
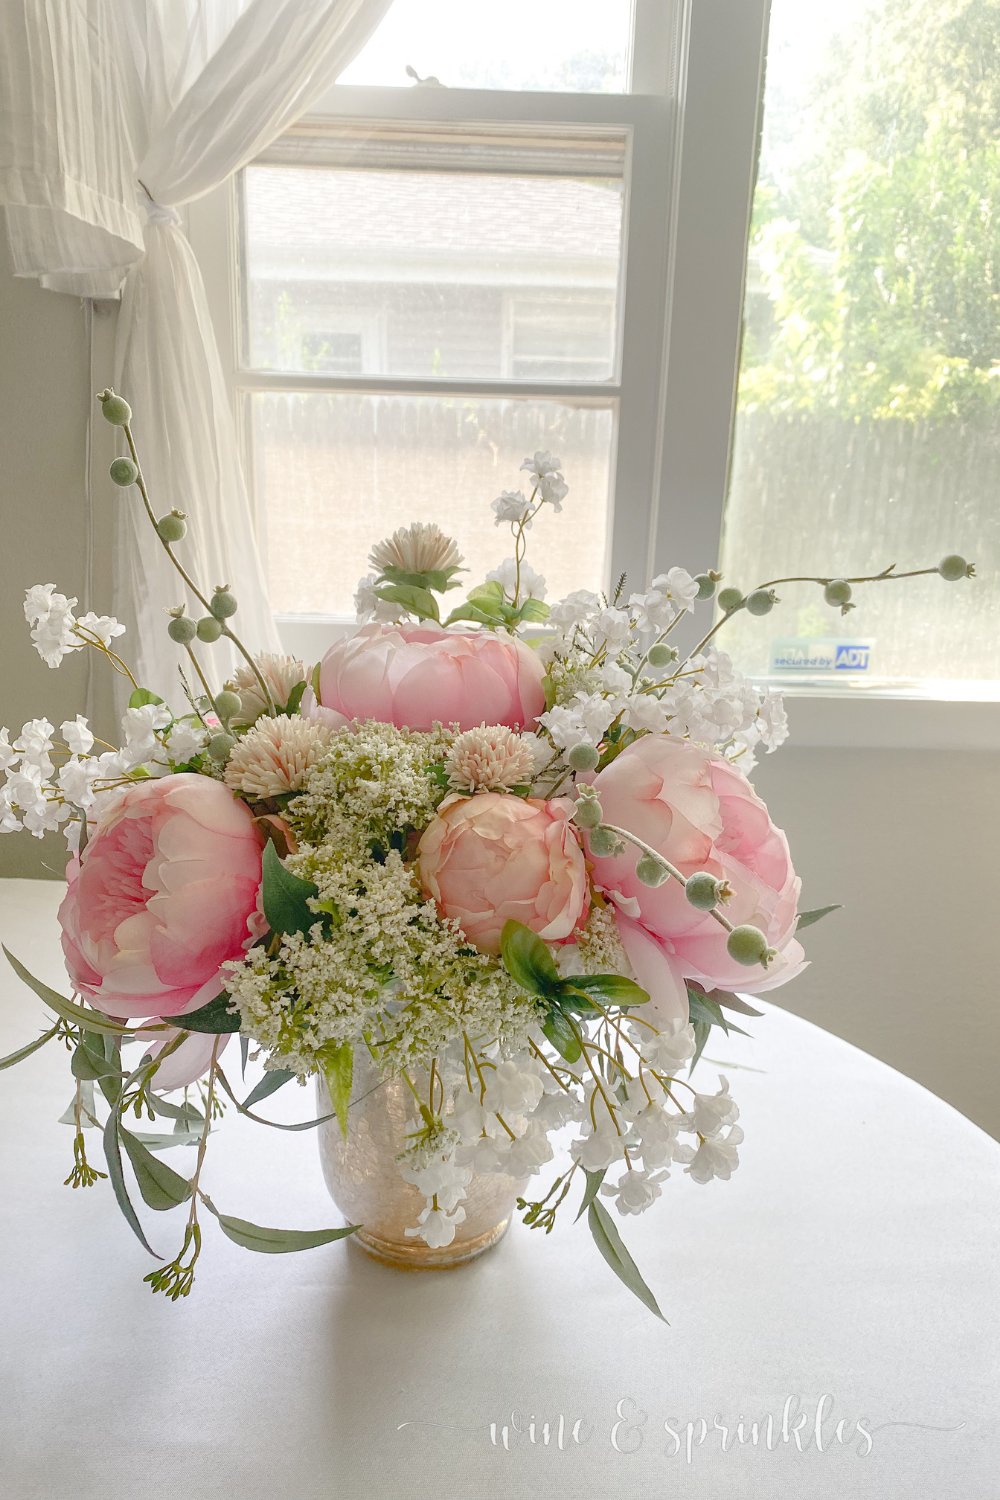
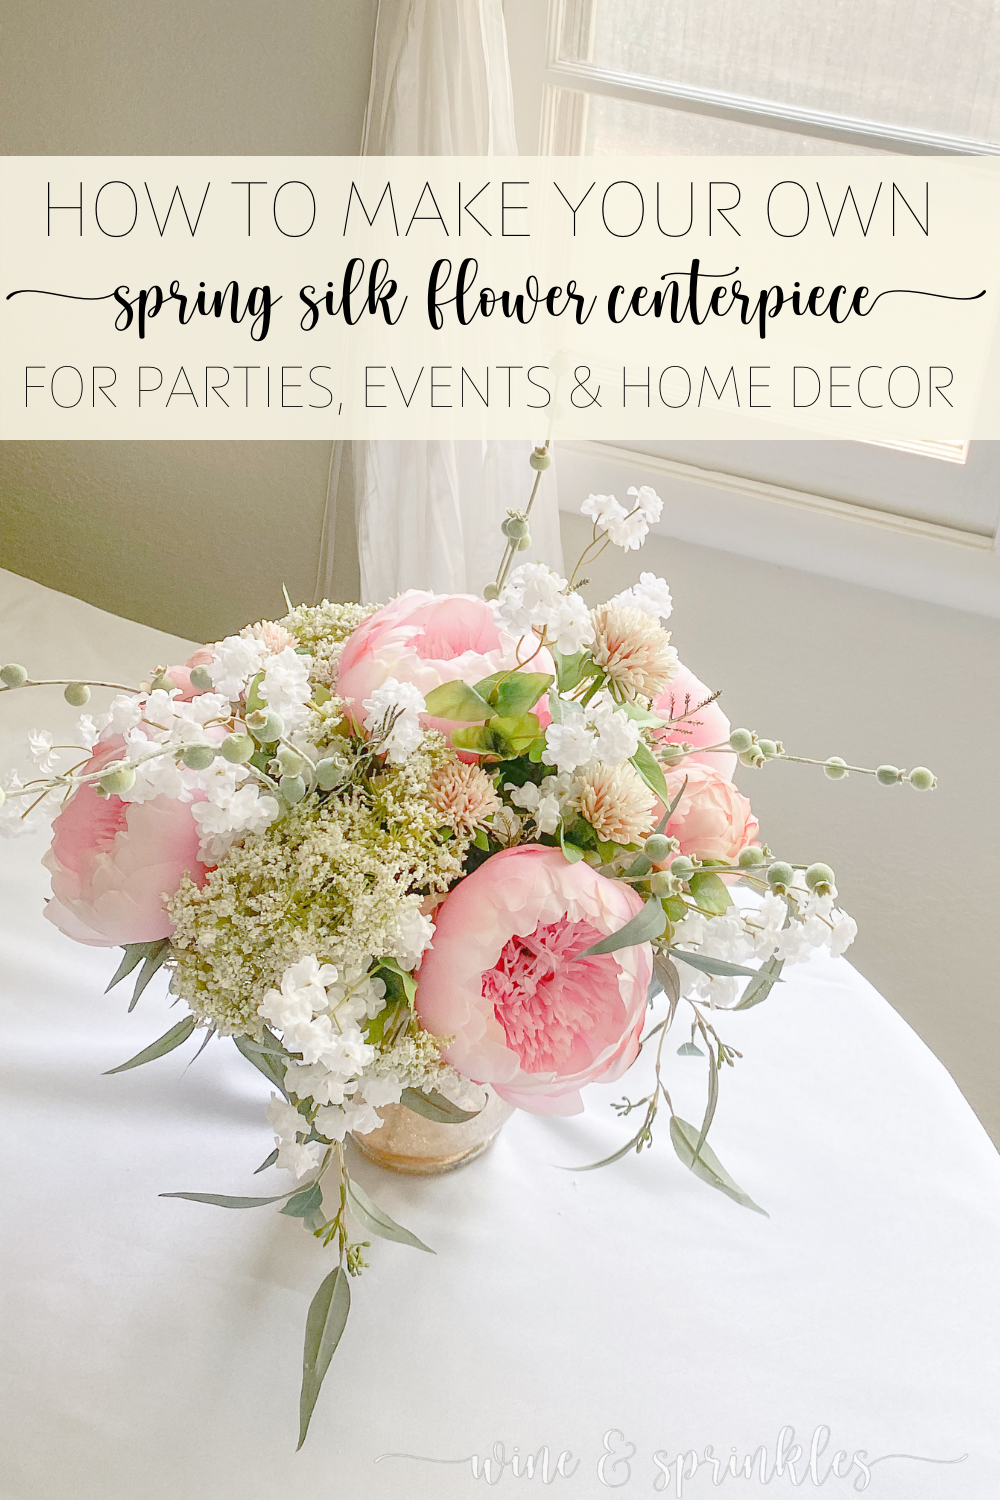
Now I’d love to say I used a nifty floral arranging method to make my centerpieces, but this was not at all the case! I started this beauty by fitting as many peonies and their buds as possible into my vase, then filling in around them with all my other supporting spring silk flowers and greenery, but I love the result! The berry pods and babies breath added some fun dimension peeking out from the rounded arrangement, with the Queen Anne's Lace and clovers being beautifully nestled between my pretty pink peonies! The moral of the story is this: pick your favorite flower to add first, then use your creativity and imagination to fill in the rest!
SUPPLIES
CENTERPIECE SUPPLIES:
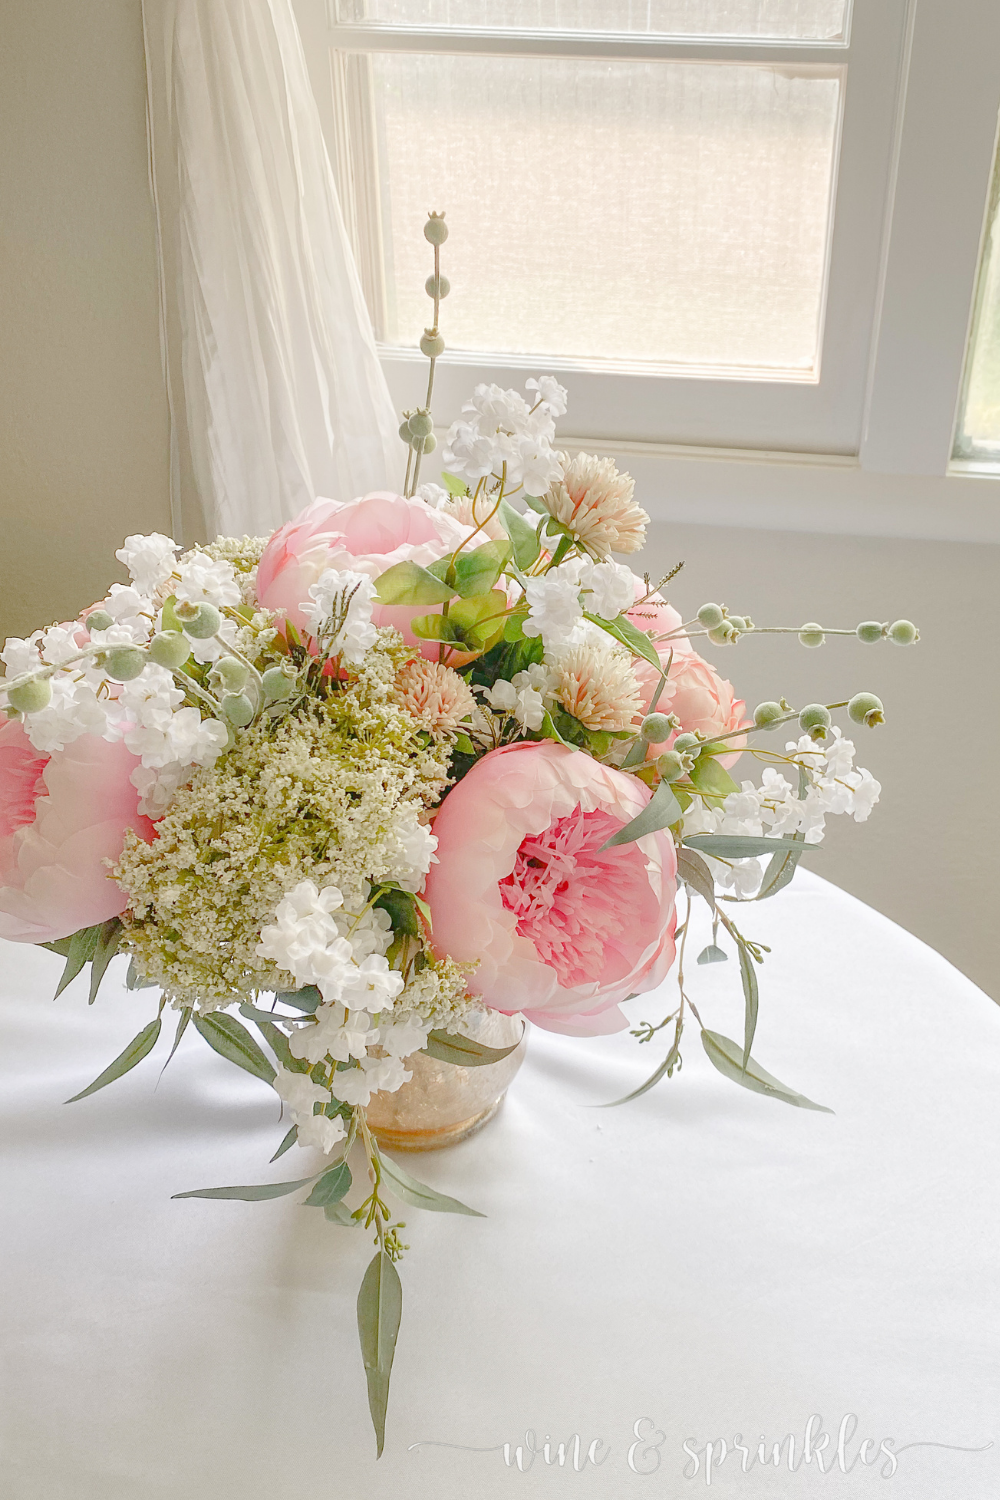
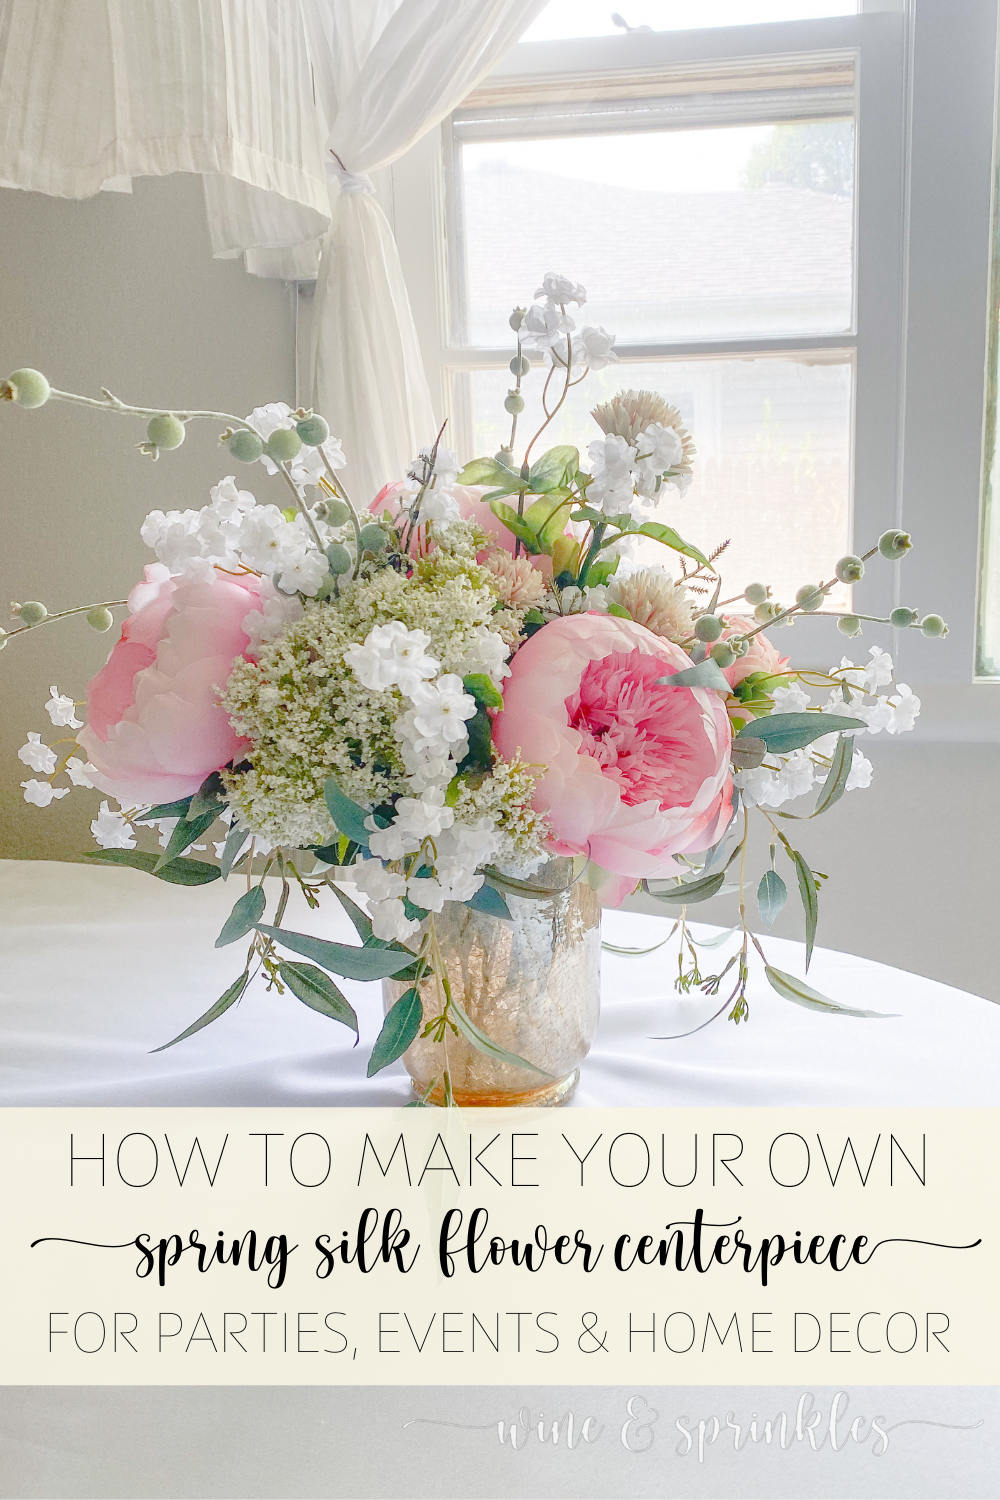
Vase or Candle Holder: I bought this golden glass candle holder years ago for Christmas decorations, but now I love using it as a vase for my different silk flower centerpieces! You can find your own vase that you love best, what's most important is its size, how big it is determines how many stems you can fit into your centerpiece! My vase was 5 inches wide at the opening and about 4 ½” at its narrowest point, and just under 7” high.
MAIN FLOWERS
Peony & Peony Buds: like my other spring centerpieces and many of my other Silk Flower Projects, the star of this arrangement is one of my favorite spring flowers, the peony! I did a mix of both buds and blooms, with my vase fitting five full peonies with a couple buds scattered throughout.
SUPPORT FLOWERS
Clovers: I love using clovers to add texture to spring flowers, and the remind me of blooming meadows in the spring! You can choose these beauties or pick one of your own personal favorites, but the idea is to add a fun texture into an otherwise soft ethereal arrangement!
Babies Breath: when it comes to small filler flowers, babies breath is my favorite! These small white blooms were perfect for adding a little whimsy and making the arrangement less rounded and more interesting! As my originals are no longer available, these are the closest babies breath I could find on Amazon; but I love all the white filler flowers that Afloral supplies, and will be experimenting with more beautiful white blooms soon!
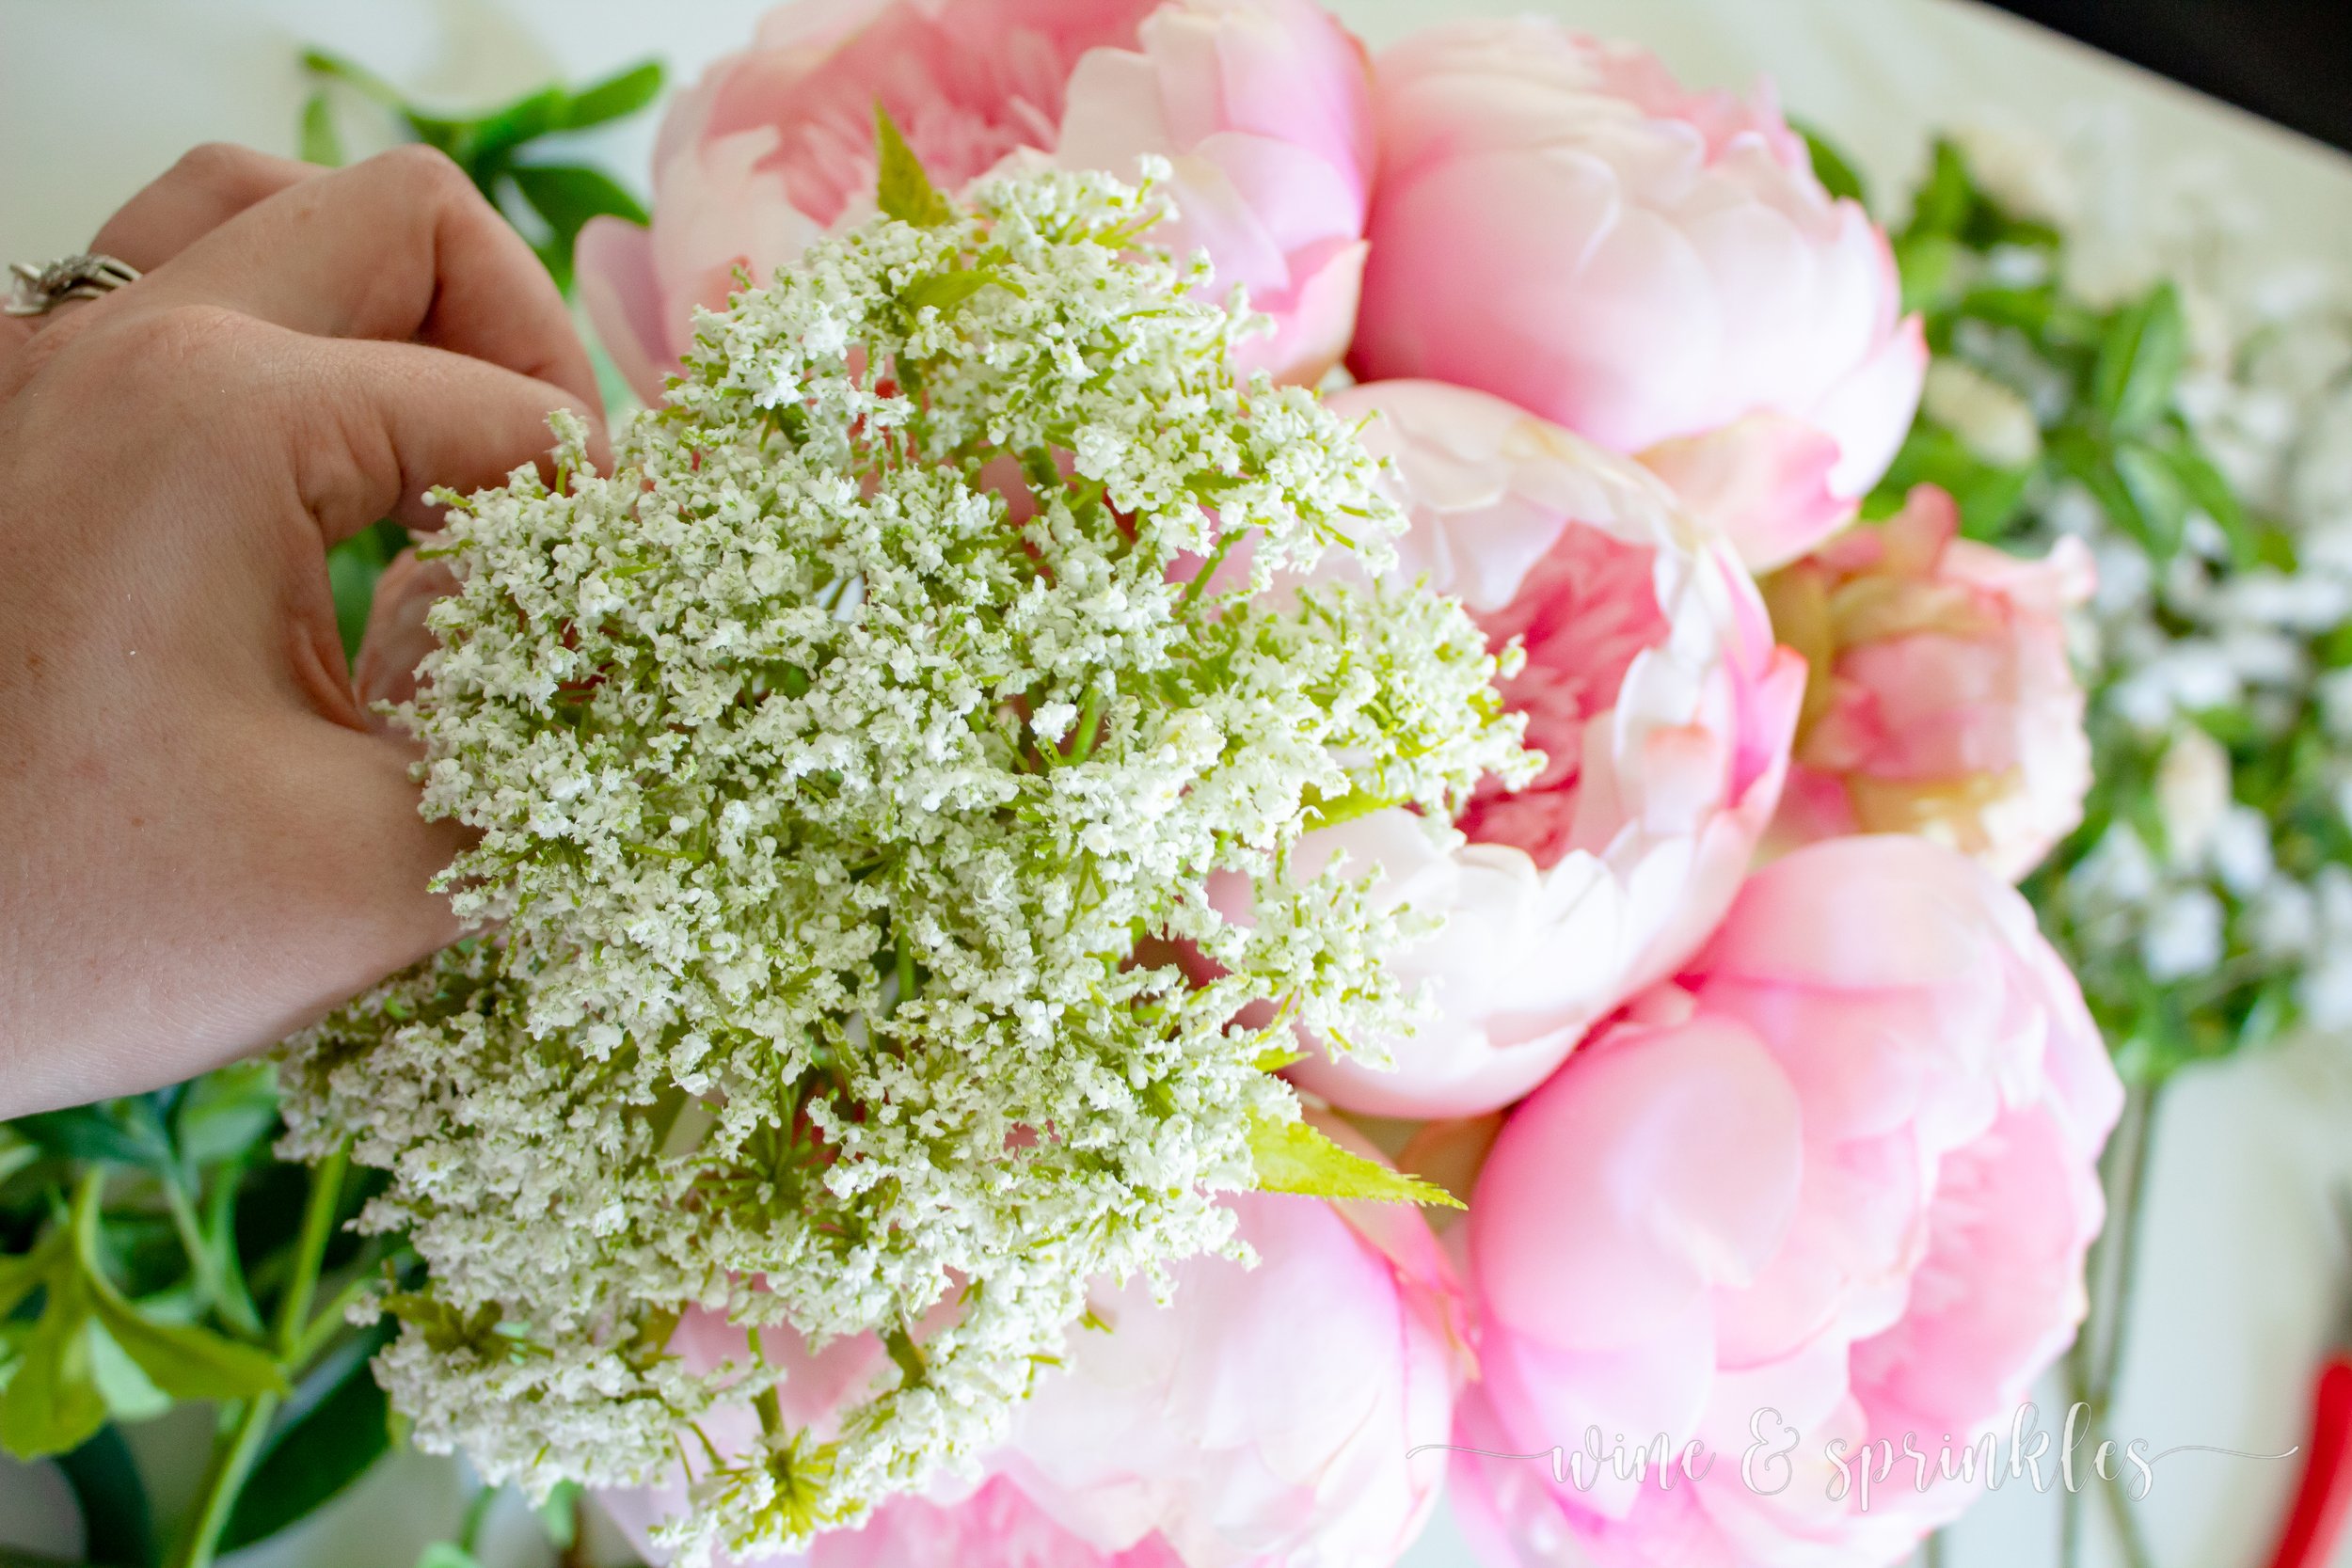
Queen Anne’s Lace: while not always available, this is certainly one of my favorite high volume filler flowers. That being said, there’s so many options for voluminous filler flowers, I’ve linked my favorite selection from Afloral’s shop. Pick your favorite to work with, the most important thing is that it's a flower with a bundle of small blossoms to arrange around the peonies (my personal favorite backup - hydrangeas!).
GREENERY
Seeded Eucalyptus: to add a little greenery at the bottom of the arrangement, I went with an understated and flexible greenery piece like this seeded eucalyptus. It's easy to add in at the end, and drapes over the edges of the vase without disturbing all the flowers you’ve previously stuffed into your arrangement!
Berry Pods: for that added spring whimsy, I love adding branch style greenery like berry pods and small blossom branches! I’ve linked Afloral’s branch assortment as my pods are no longer available, but any beautiful branch like addition will work! I cut my larger branches into a couple sprigs to add at the end, so you should only need 1-2 of these for your entire arrangement.
TOOLS & OTHER SUPPLIES
Floral Shears: for trimming stems and leaves on your silk flowers
SUPPLIES LIST:
[for 1 centerpiece]
CENTERPIECE SUPPLIES:
Vase x 1
MAIN FLOWERS
Peonies x 5
Peony Buds x 2
SUPPORT FLOWERS
Clovers x 3
Babies Breath x 8
Queen Anne’s Lace x 3
GREENERY
Berry Pods x 1-2
Seeded Eucalyptus x 4-6
TOOLS & OTHER SUPPLIES
Floral Shears

DIRECTIONS


Start by trimming the excess stems and leaves from all the peonies and peony buds you are using, cutting the stems so that the blooms sit just above the lip of your chosen vase. Gathering them together like a bouquet, place the bunch of peonies in the vase to create the base of your centerpiece.

2. Trim your support flowers likewise if needed, keeping the greenery and leaves intact. Add your most voluminous support flowers between you peonies, in my case this was the Queen Anne’s Lace, dividing the clusters of flowers and arranging them around the outsides of your peonies, equally distributing them throughout the blooms and filling in empty space


3. Next, add your babies breath and other small supporting flowers, filling in around the entire arrangement. Group these around the outsides of the peonies where there is less of your voluminous support flowers, filling in those spots while also breaking up the rounded shape of the current arrangement with the blossoms coming up out above the peonies and buds.


4. Add your clovers and other fun textured flowers in small clumps where you feel they are needed, starting near the center peony and working outward. These flowers I generally trim a little shorter than the vase height to save on stem space in my centerpiece while also making them easier to arrange when there are already so many flowers in the vase!


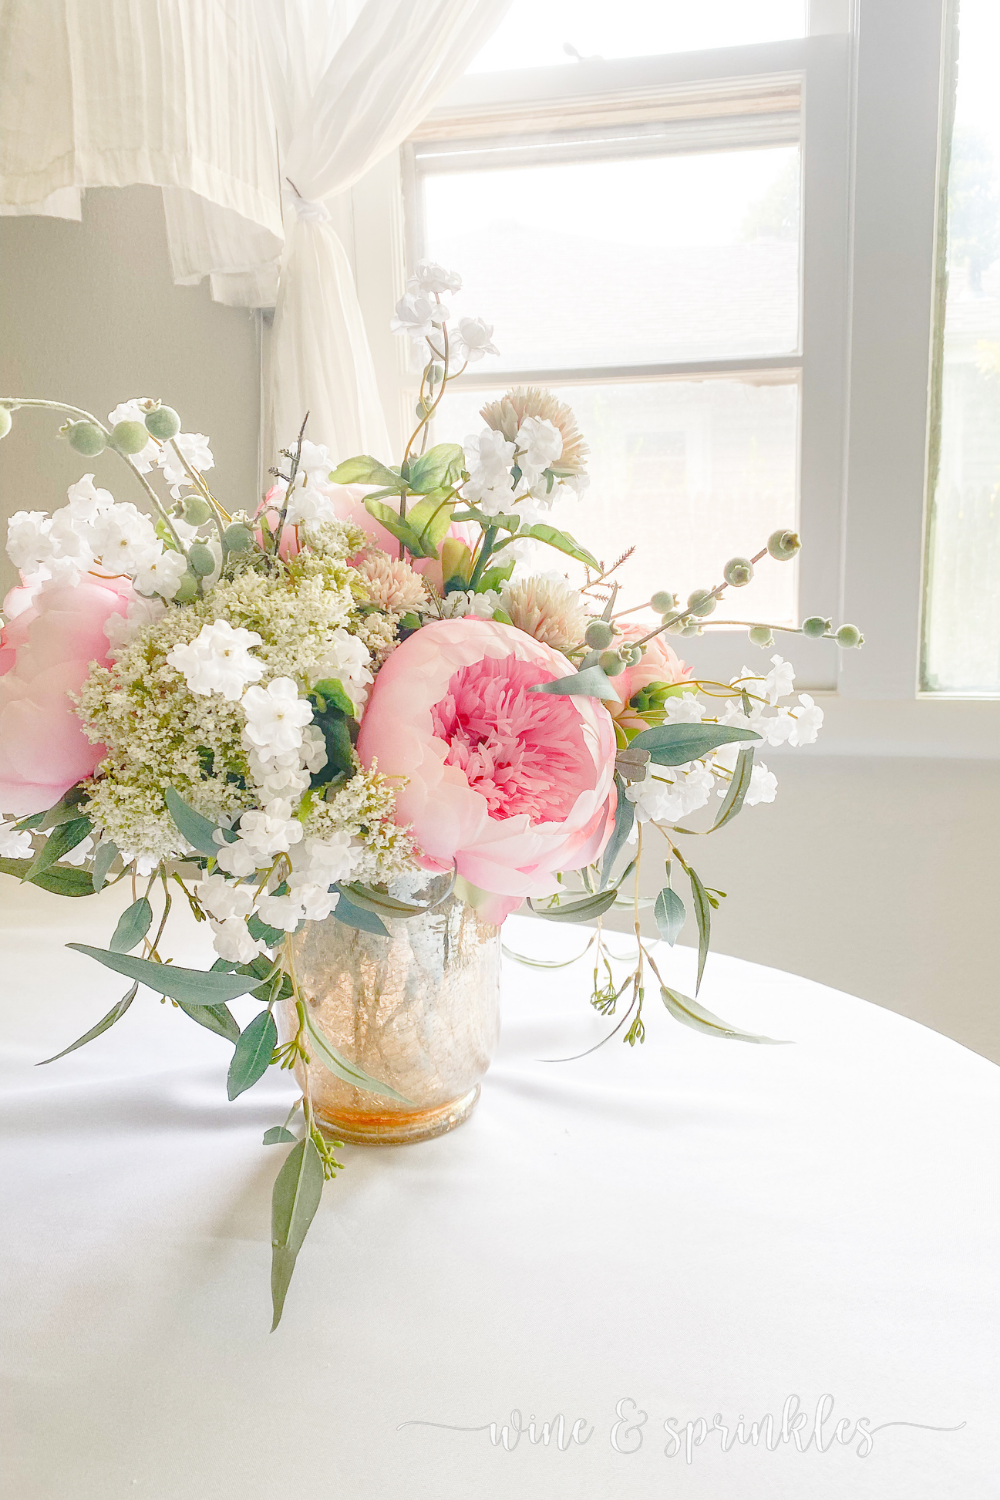
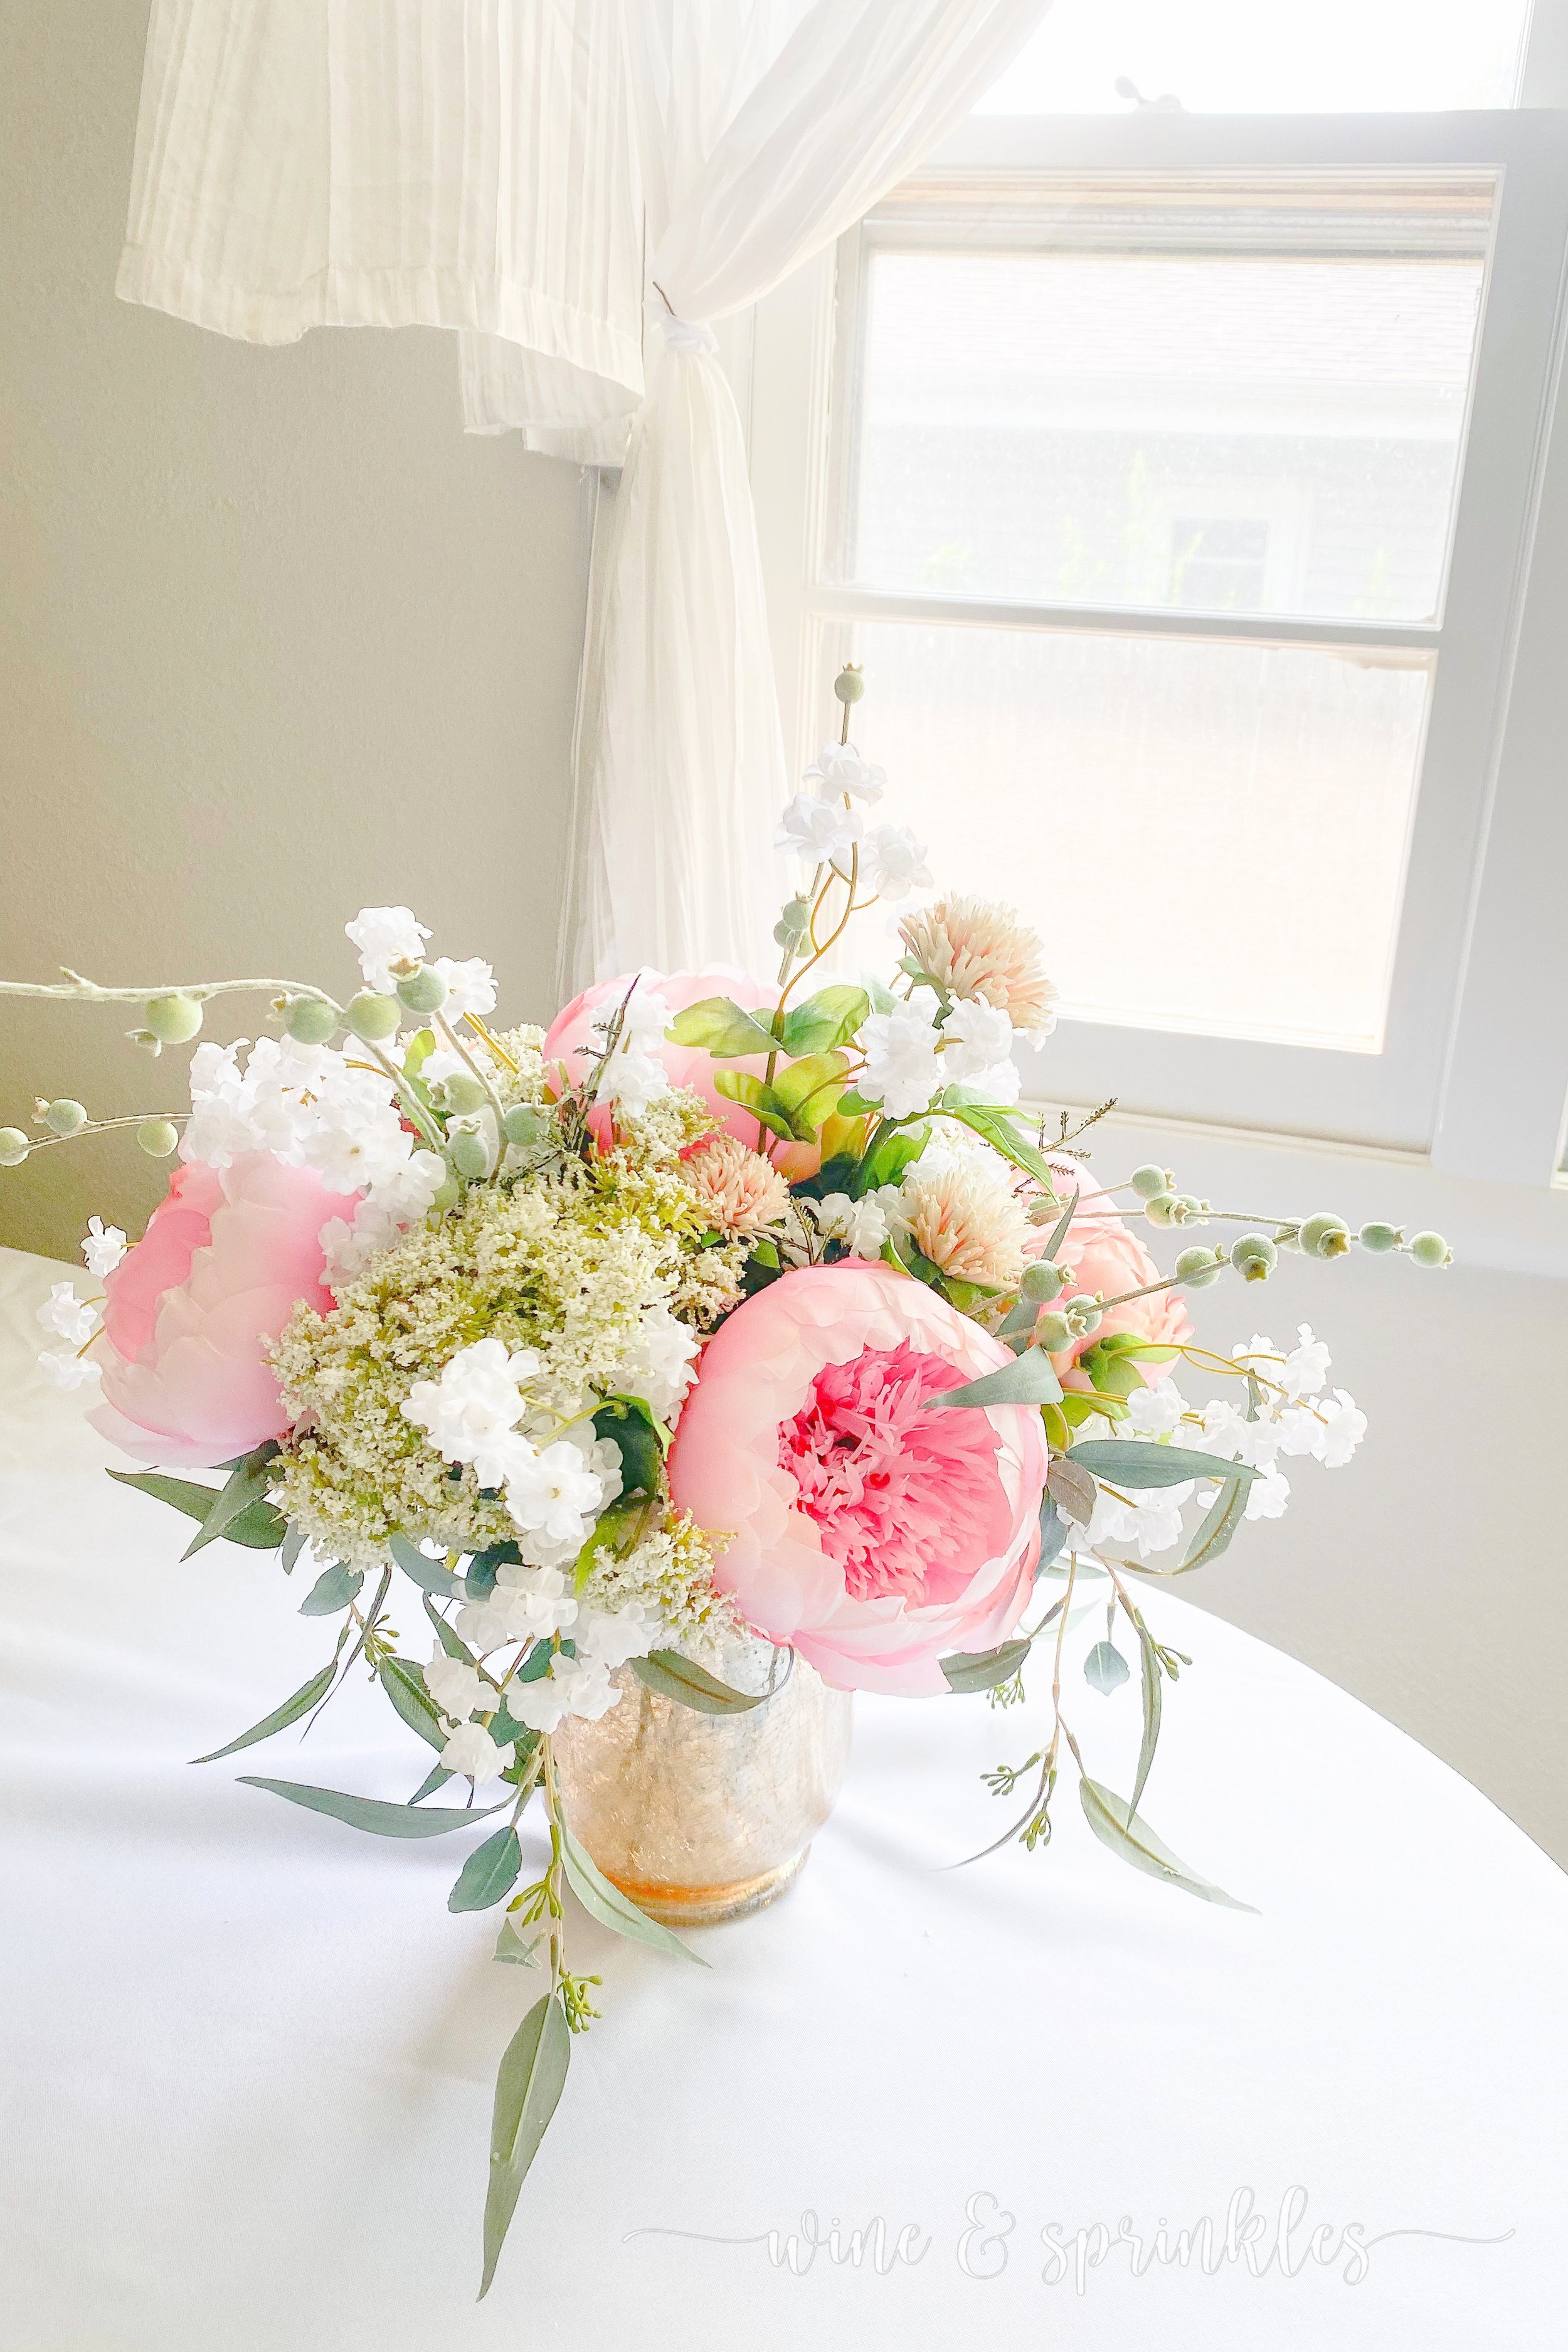
5. Finally, its time to add any extra greenery and finish your arrangement! Start by arranging your branch style greenery, in my case the berry pods, in a similar fashion to the babies breath, trimming their stems so small sprigs can be easily added where there are open spaces or you feel your arrangement needs a little visual interest. Complete the centerpiece by tucking any flexible greenery, like my seeded eucalyptus, under the flowers around the bottom of the arrangement. I added these until my vase couldn’t fit anymore and my centerpiece was complete!

I absolutely adore the wild and whimsical vibes of this arrangement, as well as being able to use all these stems later in my future projects! Whether you are looking to create a pretty spring centerpiece for you house, party, or even as a wedding table centerpiece, I encourage you to find your own set of favorite flowers and create your own! It was easy, fun, and inspired me for so many fun floral future party projects!

SEE OUR RELATED POSTS HERE:


OUR PINS FOR THIS POST: