This post contains affiliate links, meaning that if you click on a link I will recieve a small comission. This costs you nothing extra and I only promote products I use and love! You can read our full disclosure here
As you read this post, you’ll notice a lot of bolded words, some that highlight pink and link to other posts and products, and others that don’t do anything. That’s because I am still writing and working on the posts those words go to! As these posts get published, I’ll be updating this post until all the projects are complete! Subscribe to my Newsletter or Follow me on Facebook to keep updated on when I post new content!

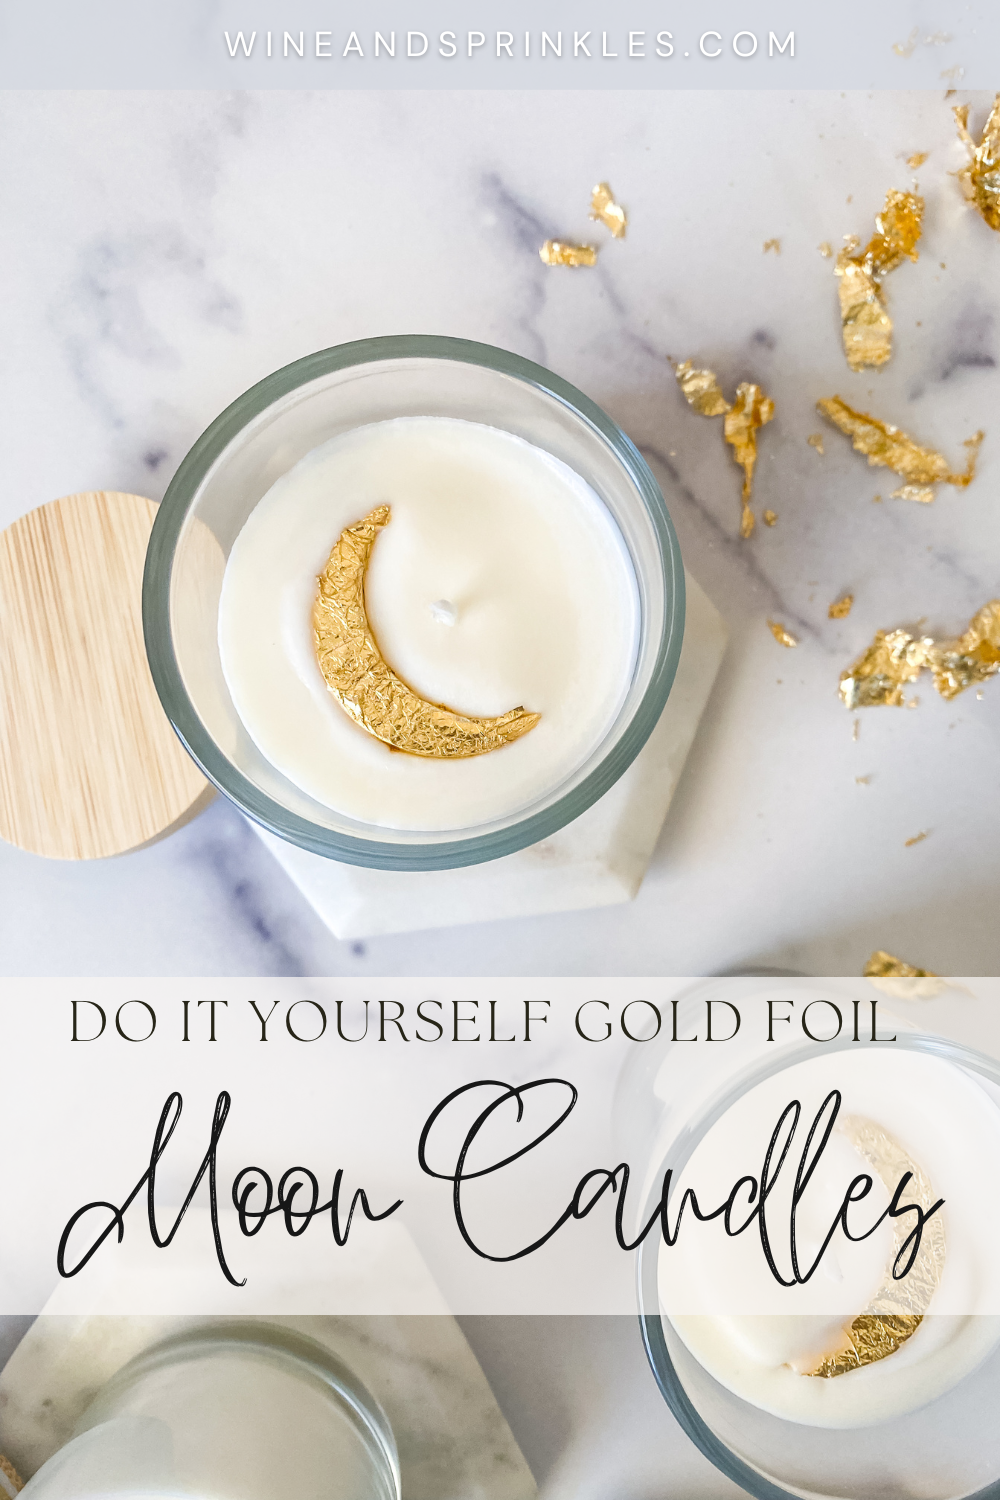
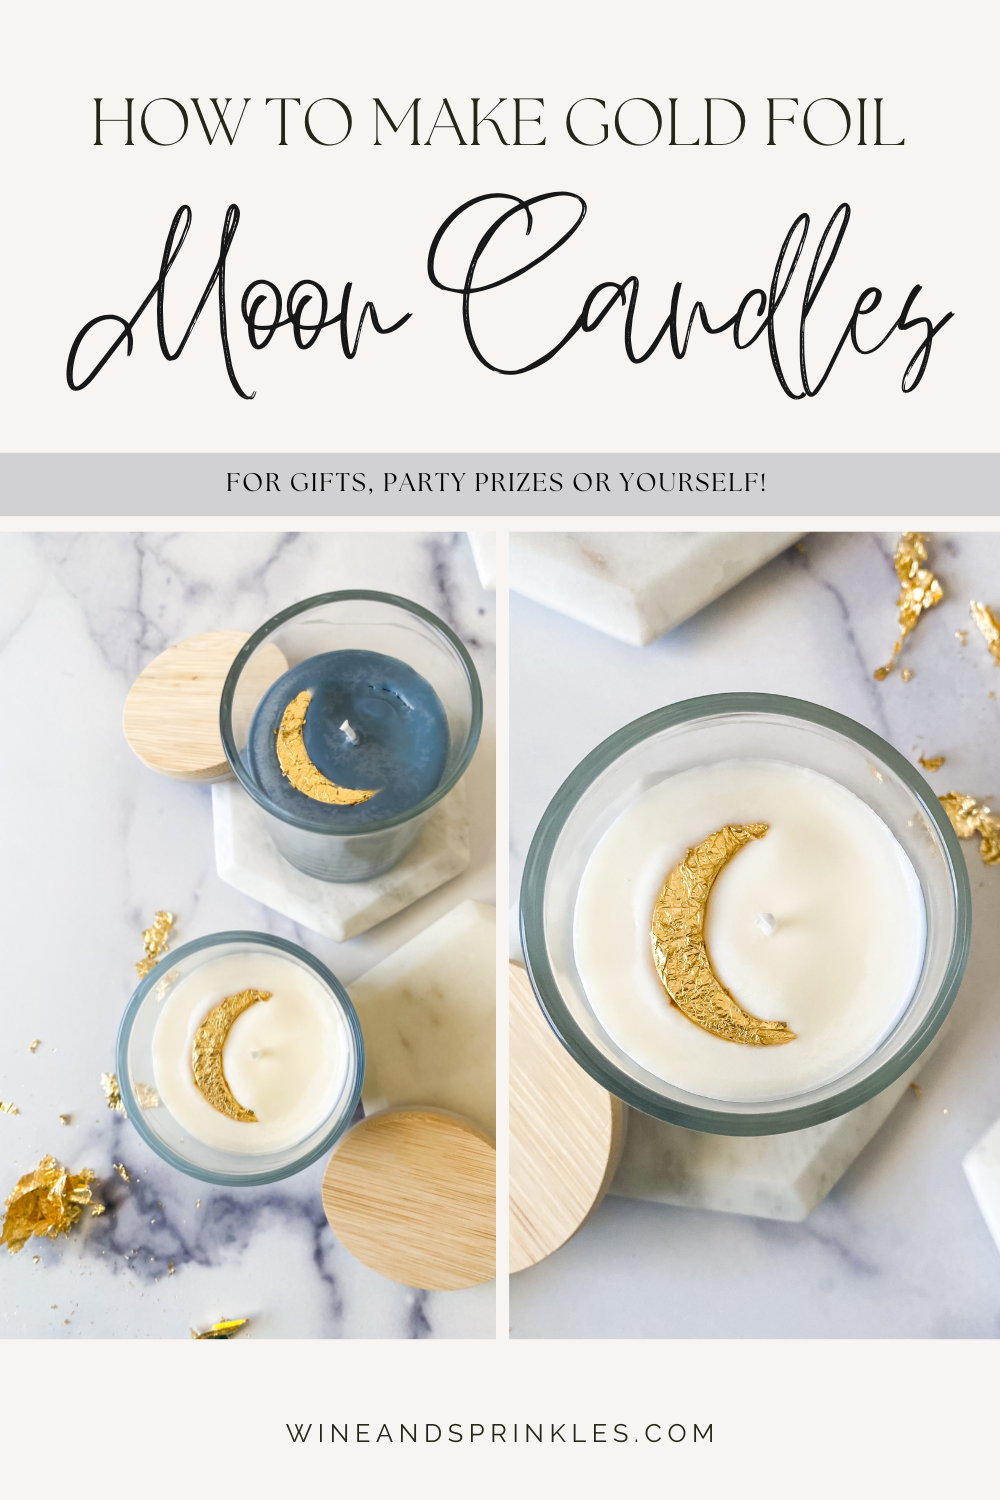
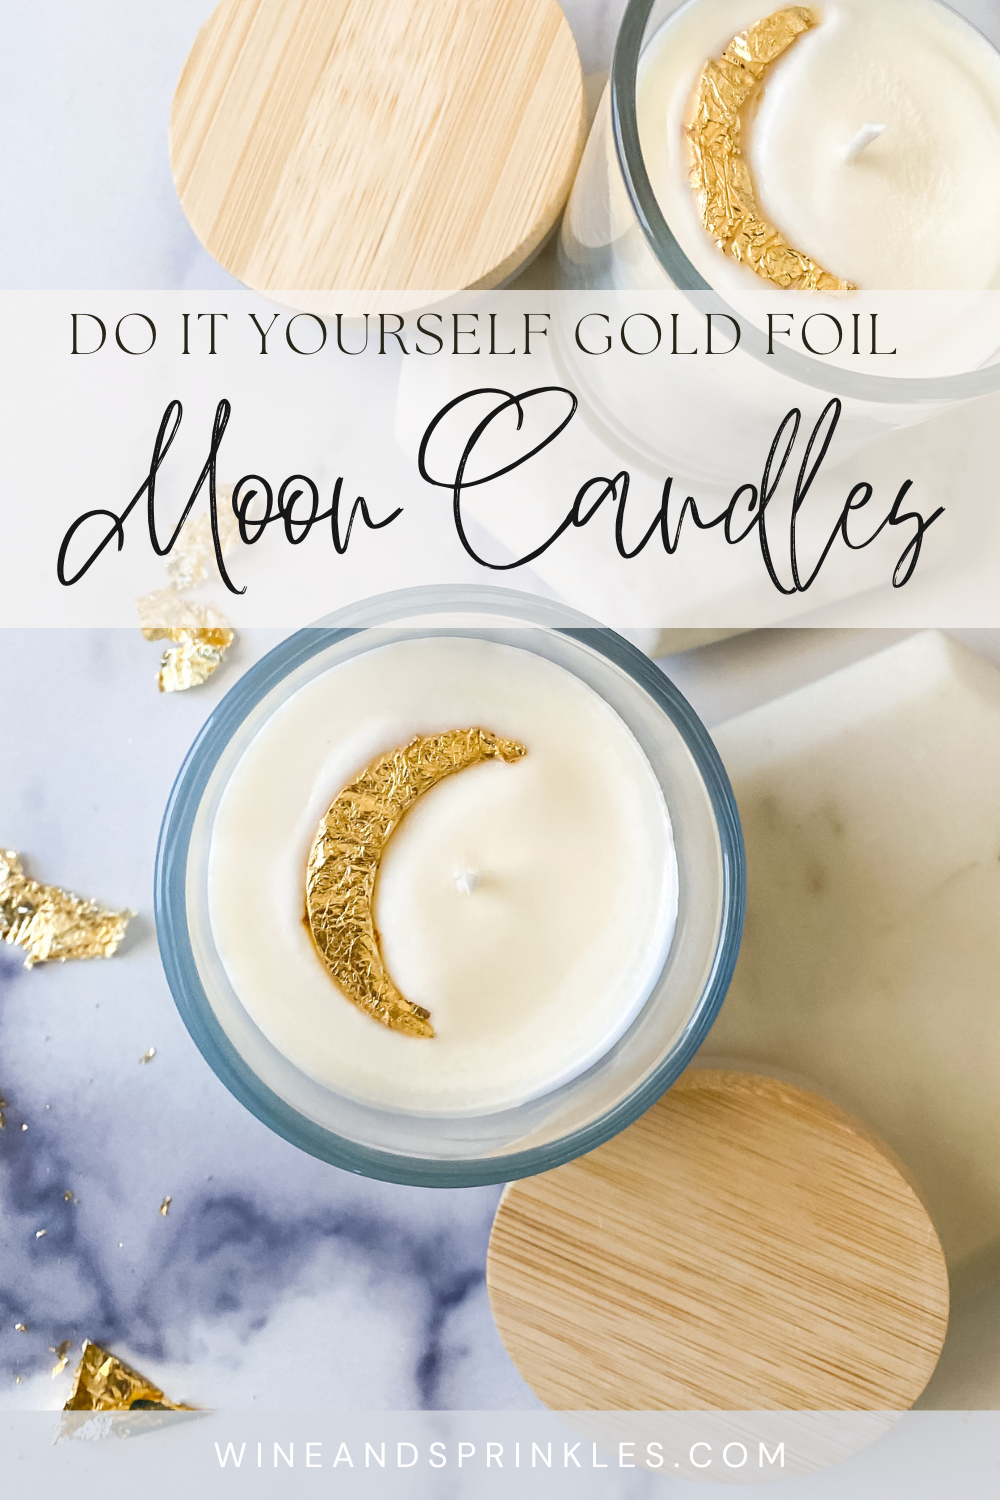
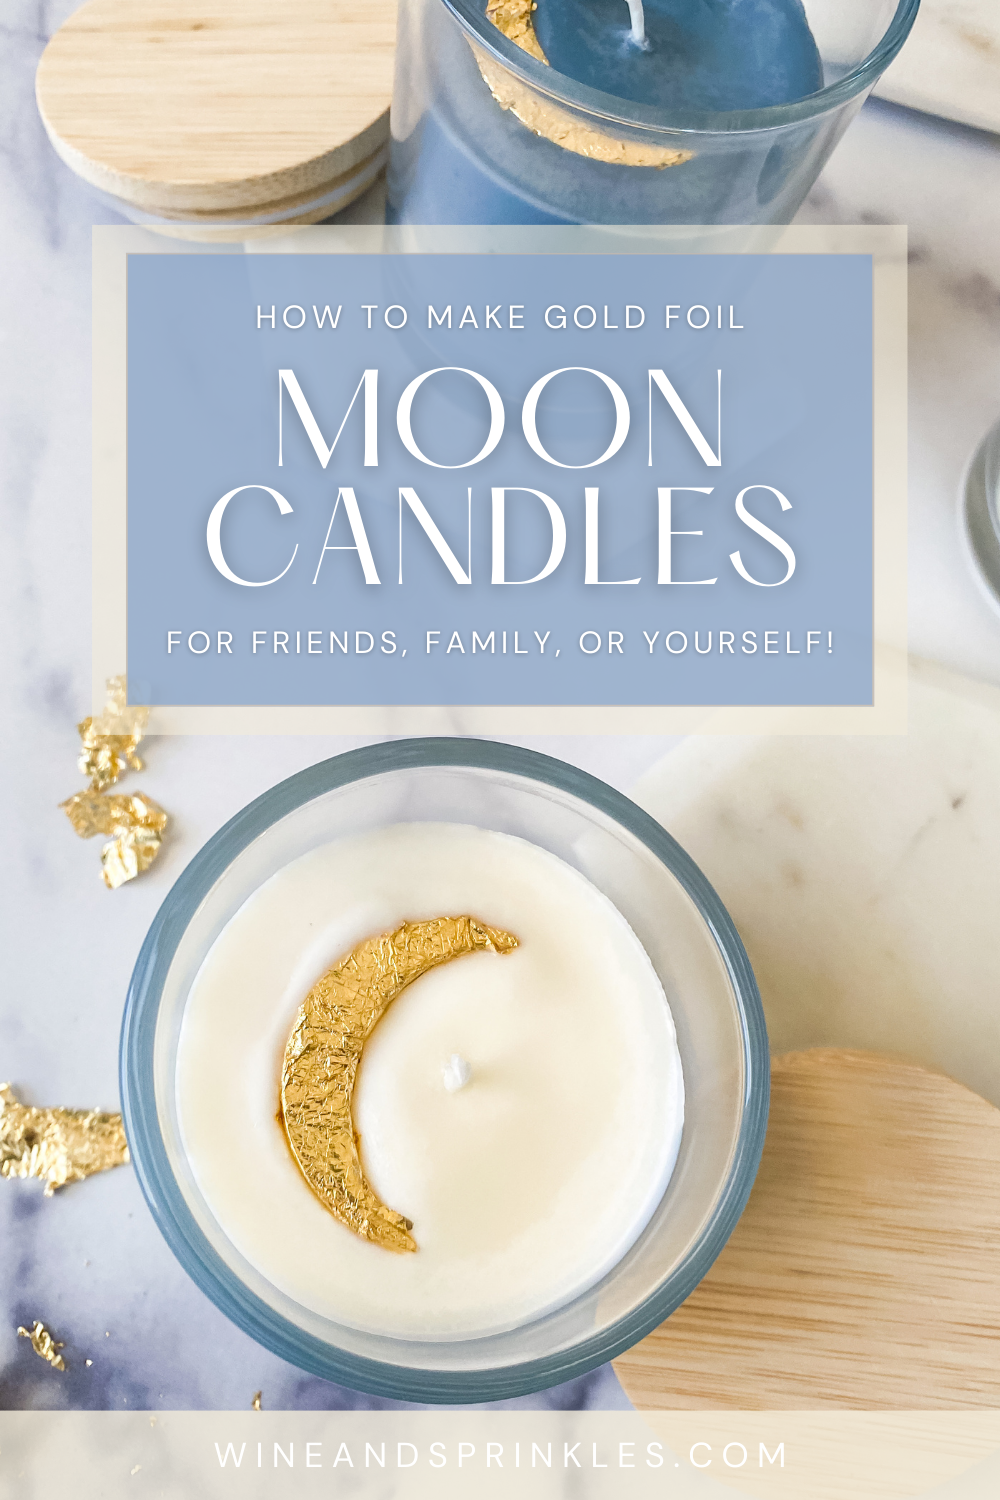
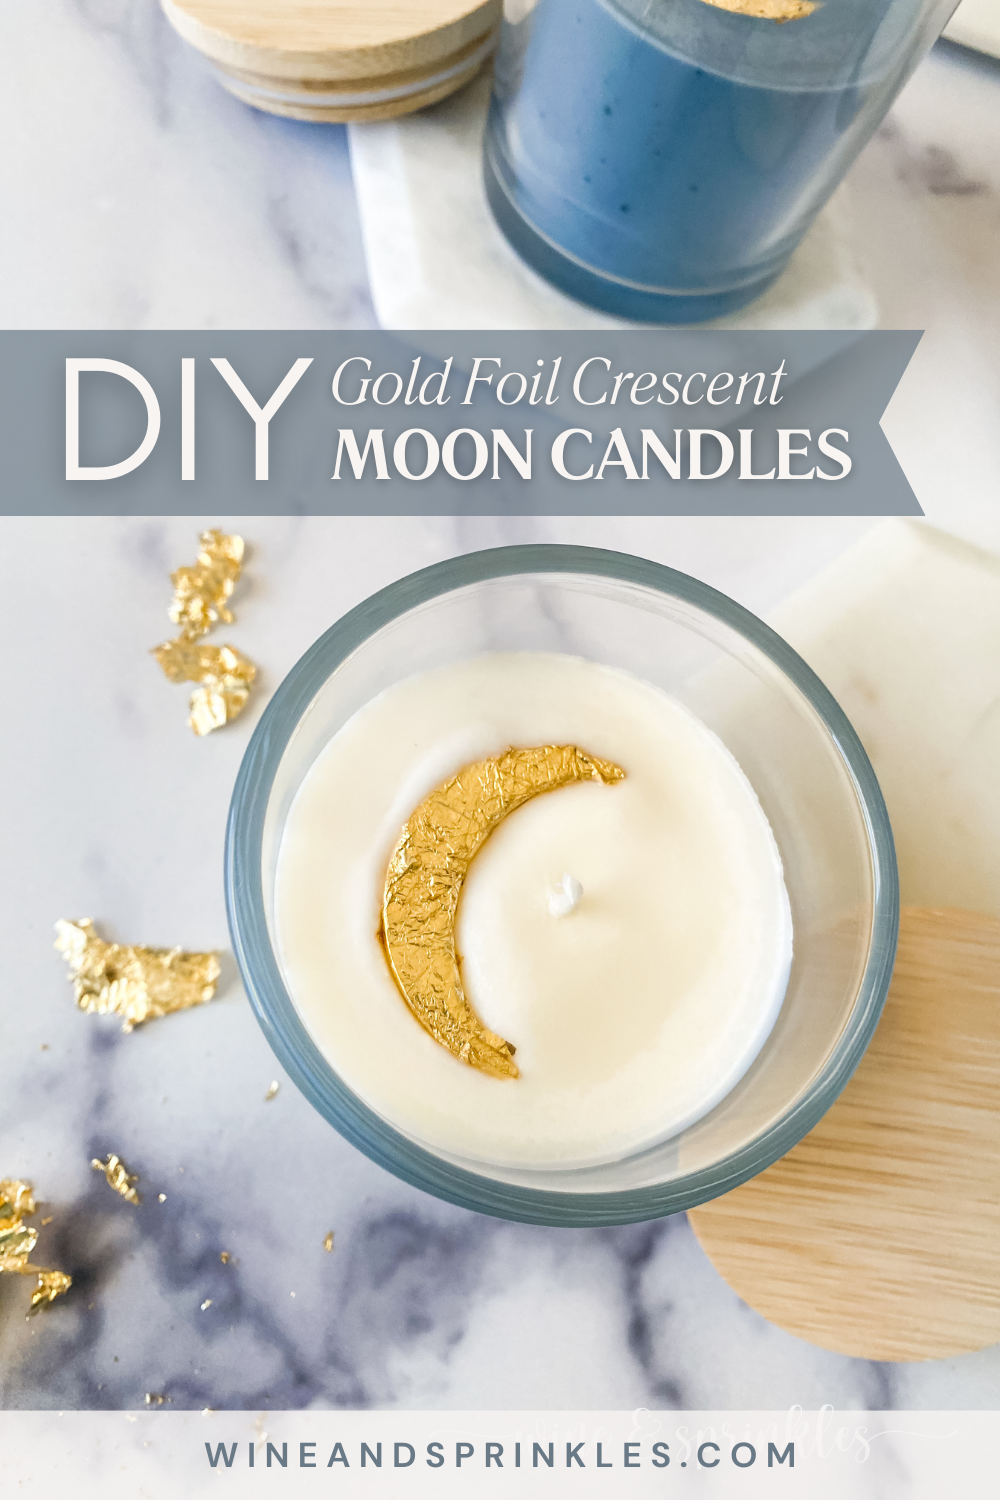
I love cleverly crafted candles and experimenting with new methods of making them as gifts for my friends! So while I was thinking of fun additions to my Galentine’s gift boxes last year, it was the perfect time to try putting pretty gold foil accents into my candle crafting and thus these gorgeous Crescent Moon Candles came to be!
When I was making my Galaxy Galentine Gift Boxes I wanted to include something celestial, and these cute candles were the perfect way to give a little moon themed flair to each box, all scented lavender since it's a great smell for getting a good night’s sleep! These candles are as simple as pouring a regular candle with one twist, adding a little foiled wax moon as the candle solidifies to give a golden accent as a special touch!

For making the moons, I found a dreamcatcher mold that’s usually used for resin style projects, but it worked well enough with wax too! The unmolding of the moons and the whole gold foiling process is a little delicate, but after getting the hang of it with my first moons it became easier and easier! Also it helps that if you break a moon while unmolding it, you can use melted wax to just glue the pieces back together or throw it back into the melted wax and try again.

These are just one of my many candle creations over the years and you can find the others as well as my other Spa themed DIY Projects Here! I adore these candles as a simple design that can be used for a variety of space, celestial, or moon themed gifts, but this same method could be used for gold foiling other wax shapes for custom topped candles all your own. Check out the supplies and method I used for creating these candles below and I hope they inspire some beautiful candle creations for your own favorite people!
SUPPLIES
CANDLE MAKING SUPPLIES
Glass Candle Jars: To use as the containers for these candles, I found that these 7 oz candle jars were just right for the size I wanted. I chose these pretty clear jars with bamboo lids from Amazon, and they were absolutely perfect and probably my go to now for all my candle making! You can also go with colored or opaque glass for your container, I got these originally to try to gold foil the inside edges (didn’t work) but love them for these, my Color Striped Candles and my Pressed Flower Candles!
Soy Wax Beads: to melt down and create your candles and moons, I use these soy wax beads from Amazon. I love them for easy weighing and melting in the microwave for my candle projects, and it's also great at retaining the fragrances and dyes as well!
Fragrance Oil: to scent your candle wax. I used lavender in keeping with the night time theme of my crescent moon candles, but you can pick your favorite scent for personalizing your own candles!
Wax Dye: to dye your candle wax if you wish. While most of my candles remained the standard white wax, I dyed one as dark as I could to make a black Luna themed candle for one of my Galentine’s Day Gift Boxes.
Candle Wicks: for putting wicks in your candles of course! I choose cotton wicks for these cuties but I love a good wooden wick too, like in my Wooden Wick Candles!
Wick Centering Devices: to center and hold your wicks while your candles cool.
TOOLS & OTHER SUPPLIES
Crescent Moon Mold: for creating the base moon to cover in foil, I went to Amazon to start looking through their various molds to find what I was looking for. I used the moons that were in this Resin suncatcher mold set, which I’m definitely looking forward to using with other materials in the future! While there are many sets available, make sure the mold is flexible to get out the moons easily and small enough that the moons fit within the diameter of your candle jar.
Gold Foil Flakes: for foiling your moons and making them beautifully metallic! I got a trio of three types of foil from Amazon, which worked well for this project and will certainly be used in my future Wax Seal Projects as well!
Microwave Safe Measuring Cup: for melting your wax and pouring it into your candle jars. I go for a 4 cup Pyrex and it's great for making small batches of candles in the microwave, while my Candle Melting Pot is better for large batches on a hot plate.
Mixing Bowl and Towel: to fill with hot water to place your melted wax cup in to keep your wax warm longer while you make moons.
Popsicle Stick: for smoothing away extra wax while making moons in molds.
Tweezers: for dipping and handling the gold foiled wax moons.
Heat Gun: to melt and smooth out any imperfections in the tops of your candles.
SUPPLIES LIST:
[for 6 candles]
CANDLE MAKING SUPPLIES
Glass Candle Jars x 6
Soy Wax Beads x 48oz
Cotton Wicks x 6
Wick Centering Devices x 6
Fragrance Oil
Wax Dye (opt.)
TOOLS & OTHER SUPPLIES
Crescent Moon Mold
Gold Foil Flakes
Microwave Safe Measuring Cup
Mixing Bowl & Towel
Popsicle Stick
Tweezers
Heat Gun

DIRECTIONS
STEP 1: MAKE WAX MOONS
1. First, it’s time to make the moons! Start by melting your wax beads in the microwave according to the manufacturer’s instructions. I melted mine for 30 seconds at a time until all the wax was liquid. To keep your wax liquid longer, I kept my measuring cup in a mixing bowl full of hot water, which was perfect for this purpose while I was molding moons. Just keep a washcloth on hand to dry the bottom of your cup as you take it in and out of water.
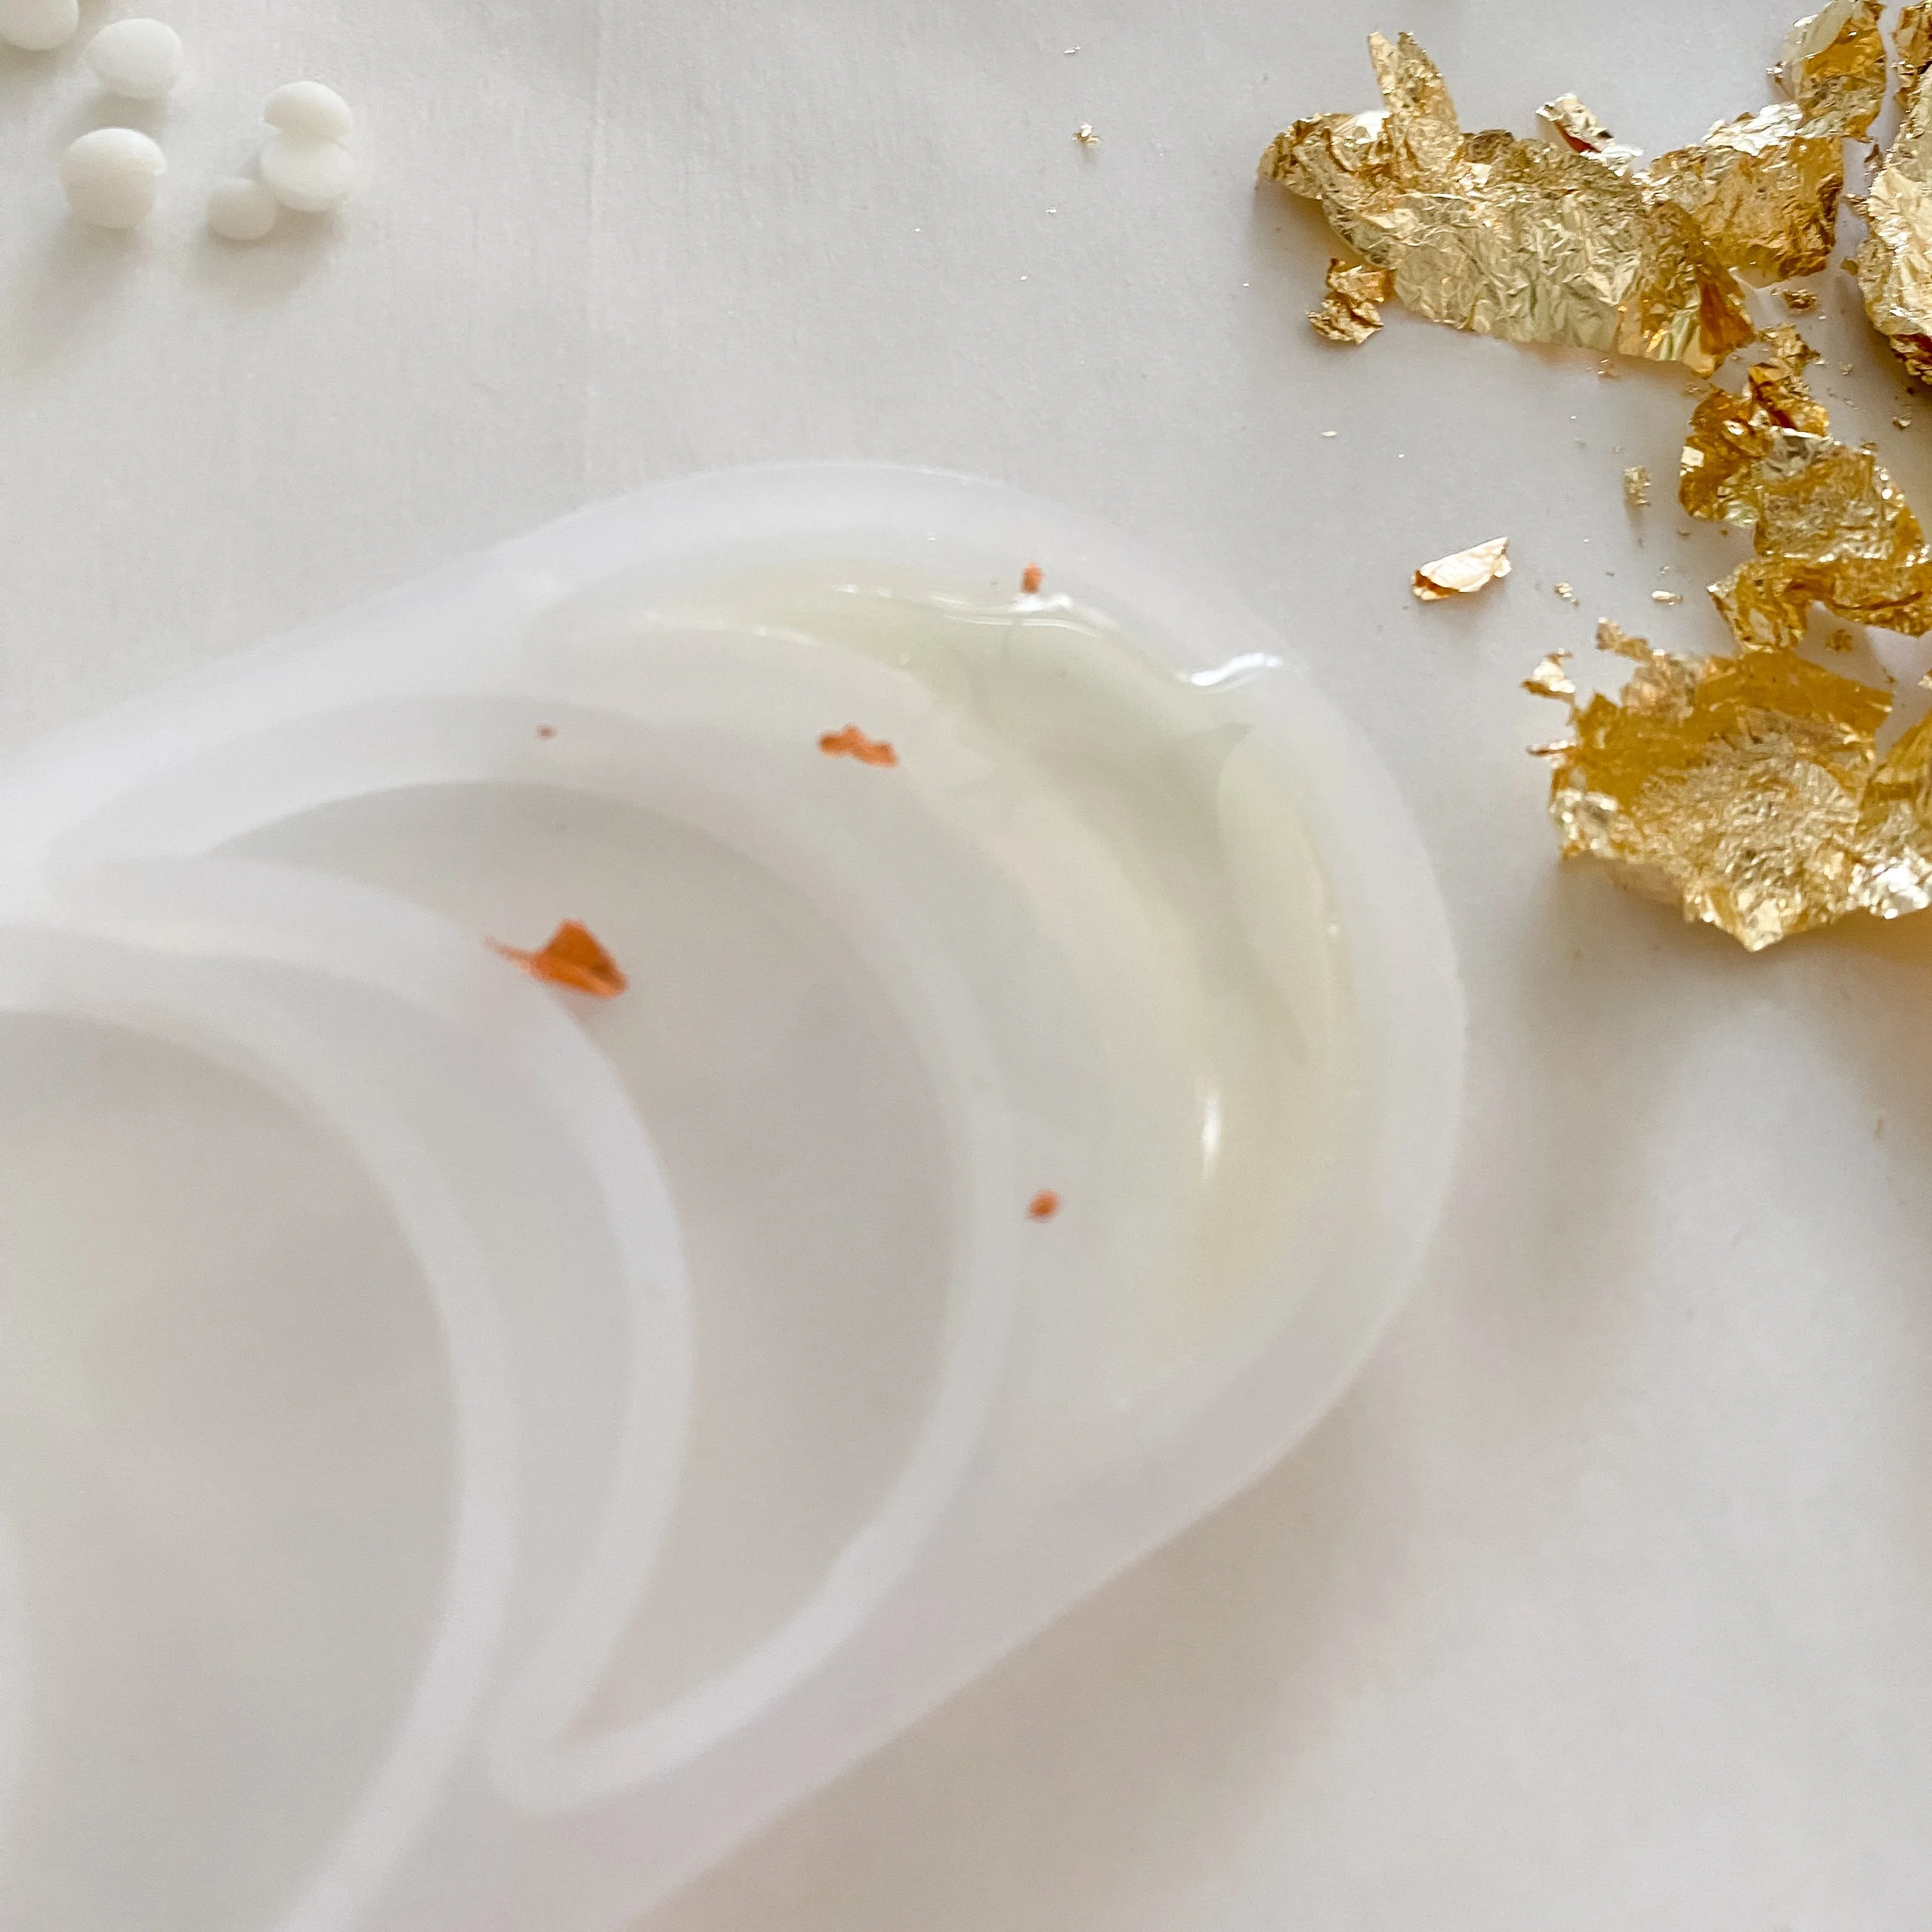


2. Lay your moon mold out on parchment paper, then fill it to the top with wax, using a popsicle stick to smooth over any overflow or drips. Once the moon has solidified, carefully unmold it and if the moon breaks, dip one end into the melted wax and stick it back together, then place on the parchment paper while you get the foil ready.


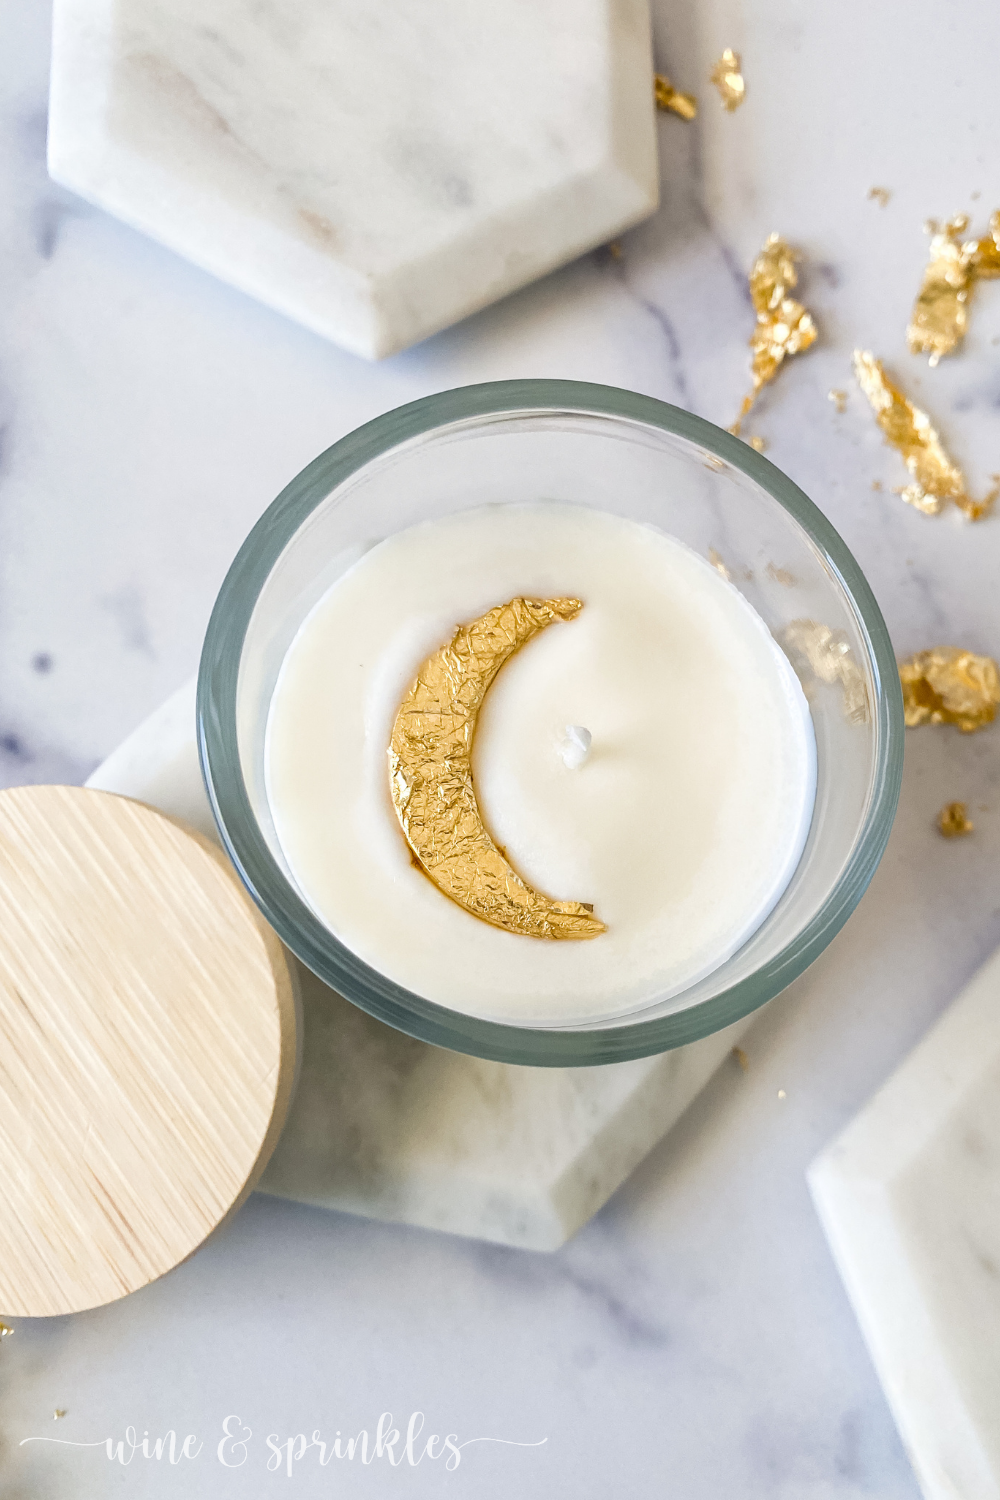
3. Lay out foil in a layer where the entire moon face will be covered, ideally as one big piece but you can also layer a few smaller pieces together, the important thing is there is gold foil anywhere the moon face will touch! Then, using the tweezers to hold each moon, dip the flattest side into the melted wax then place it directly onto the gold foil you laid out. Let the moon rest for 15-20 seconds, then use your fingers to rub the foil around the moon until it is covered on the top and sides.
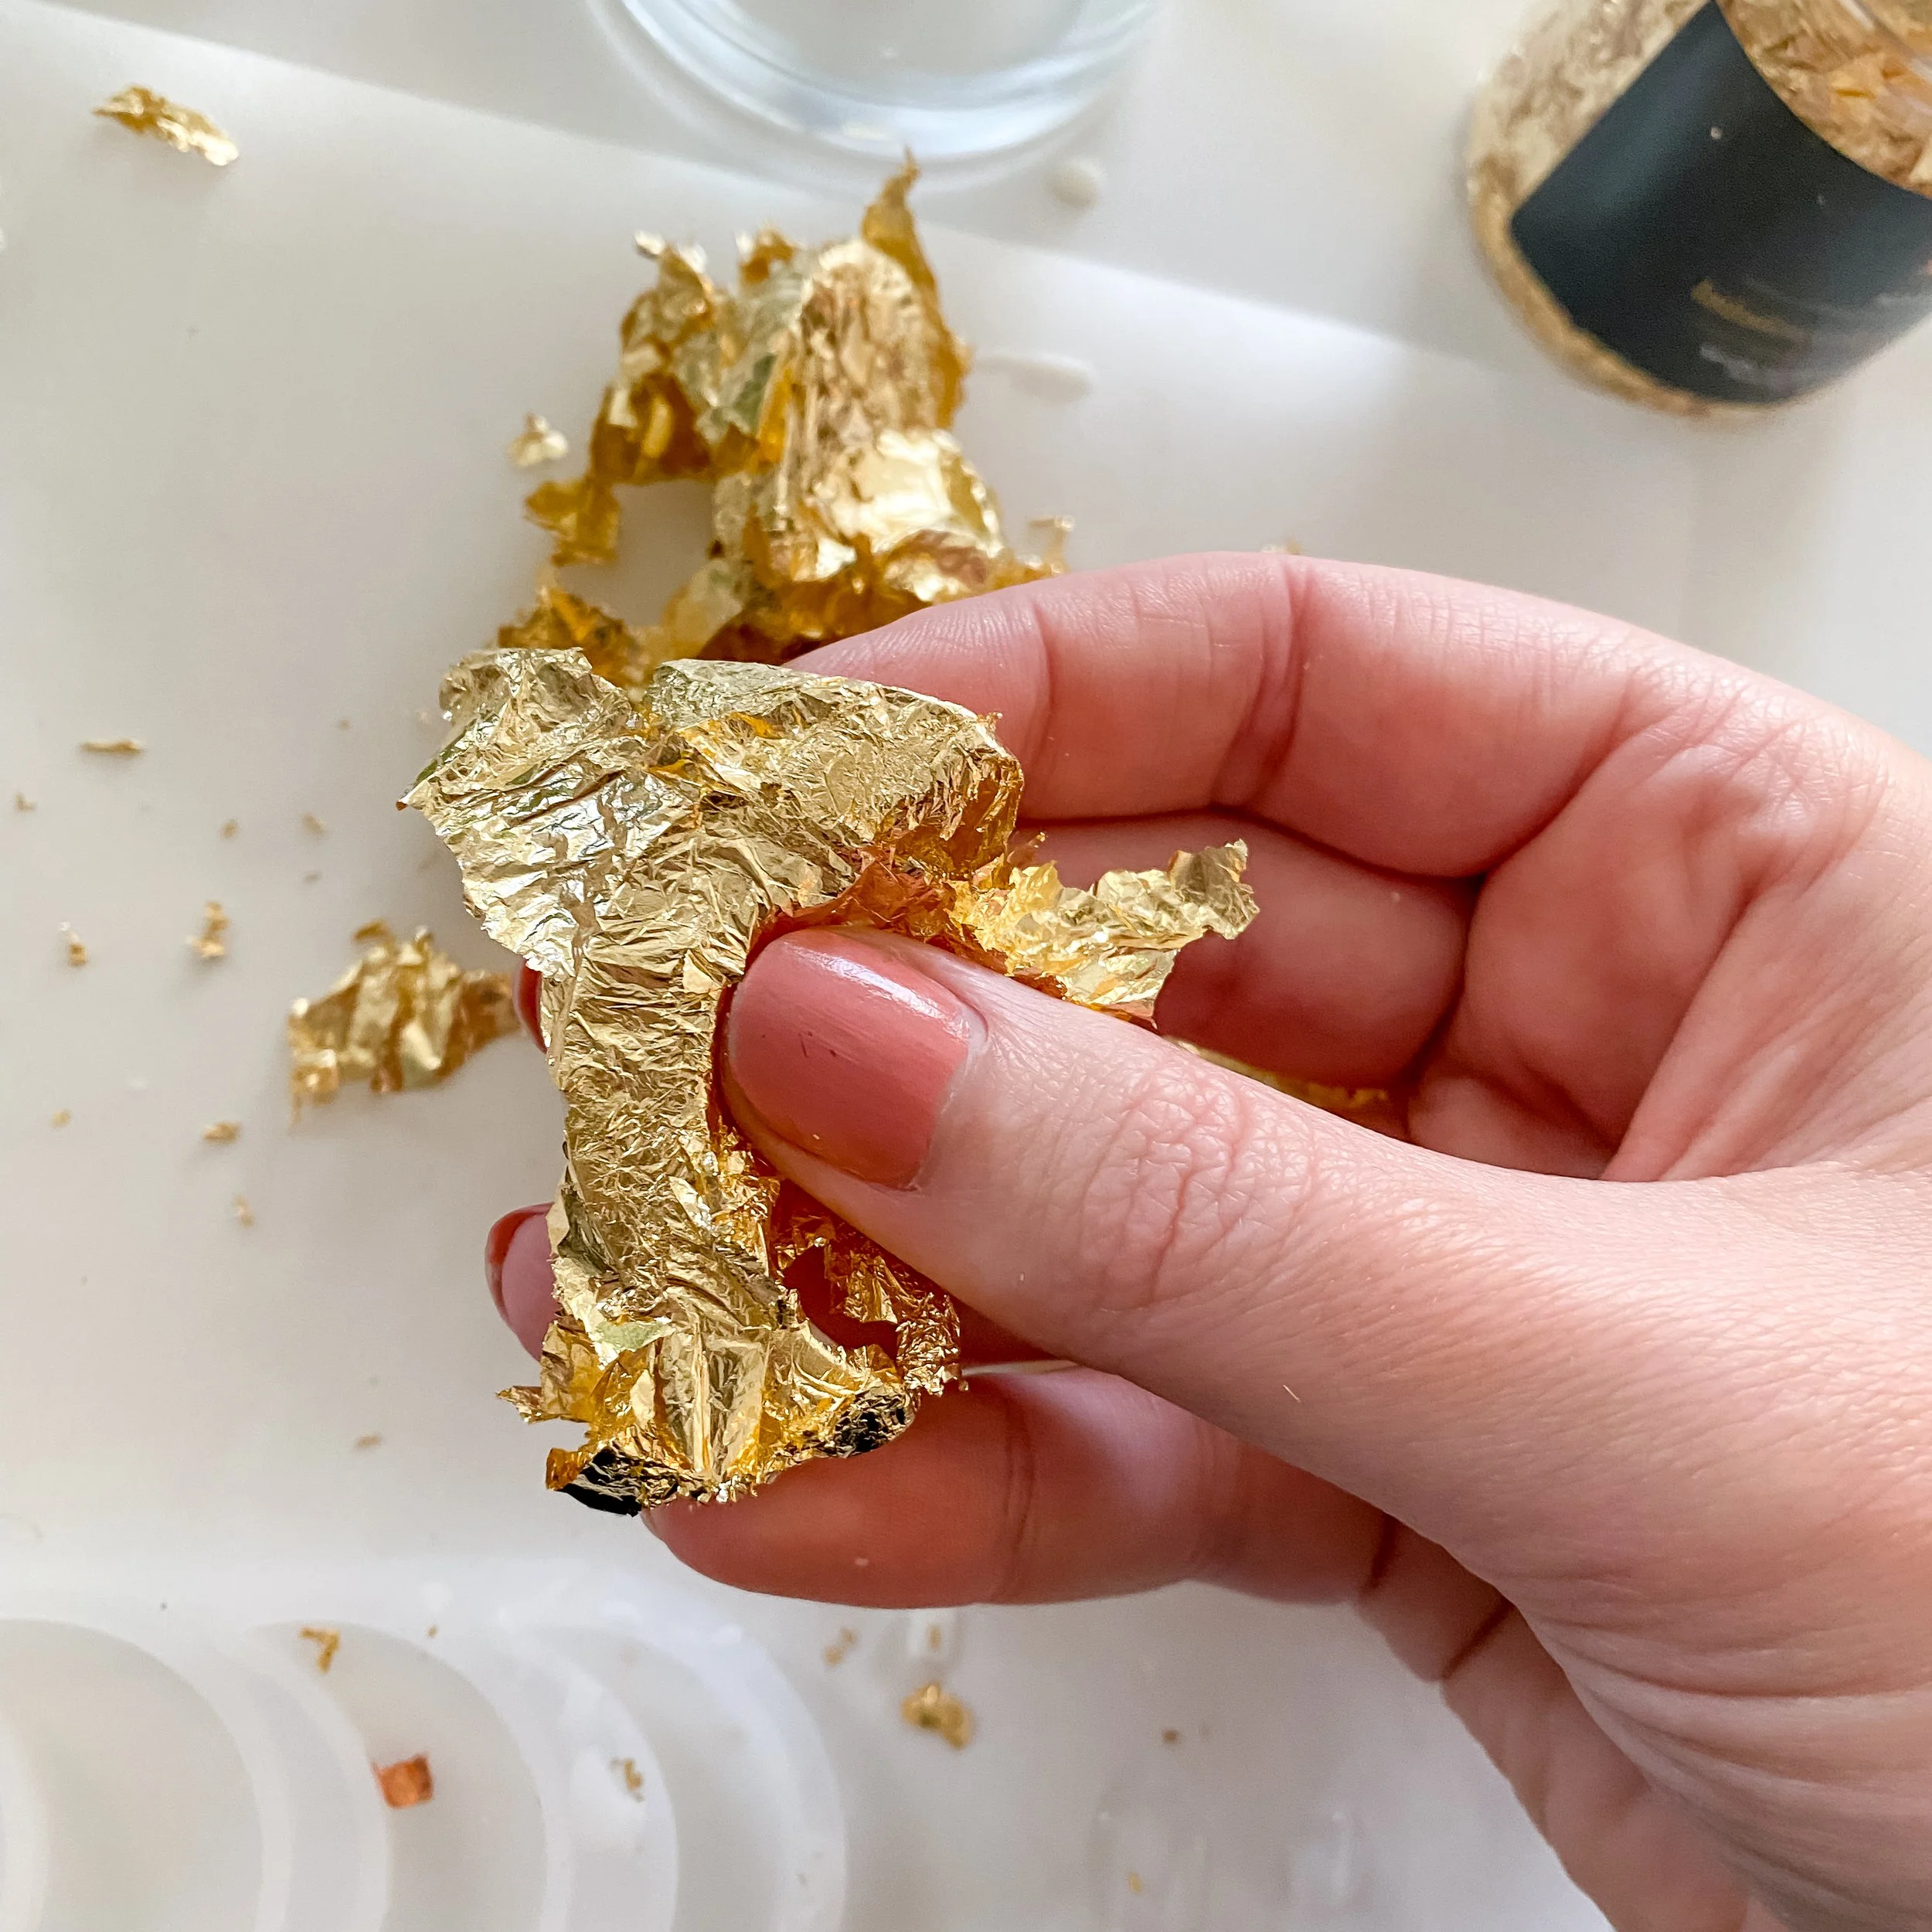
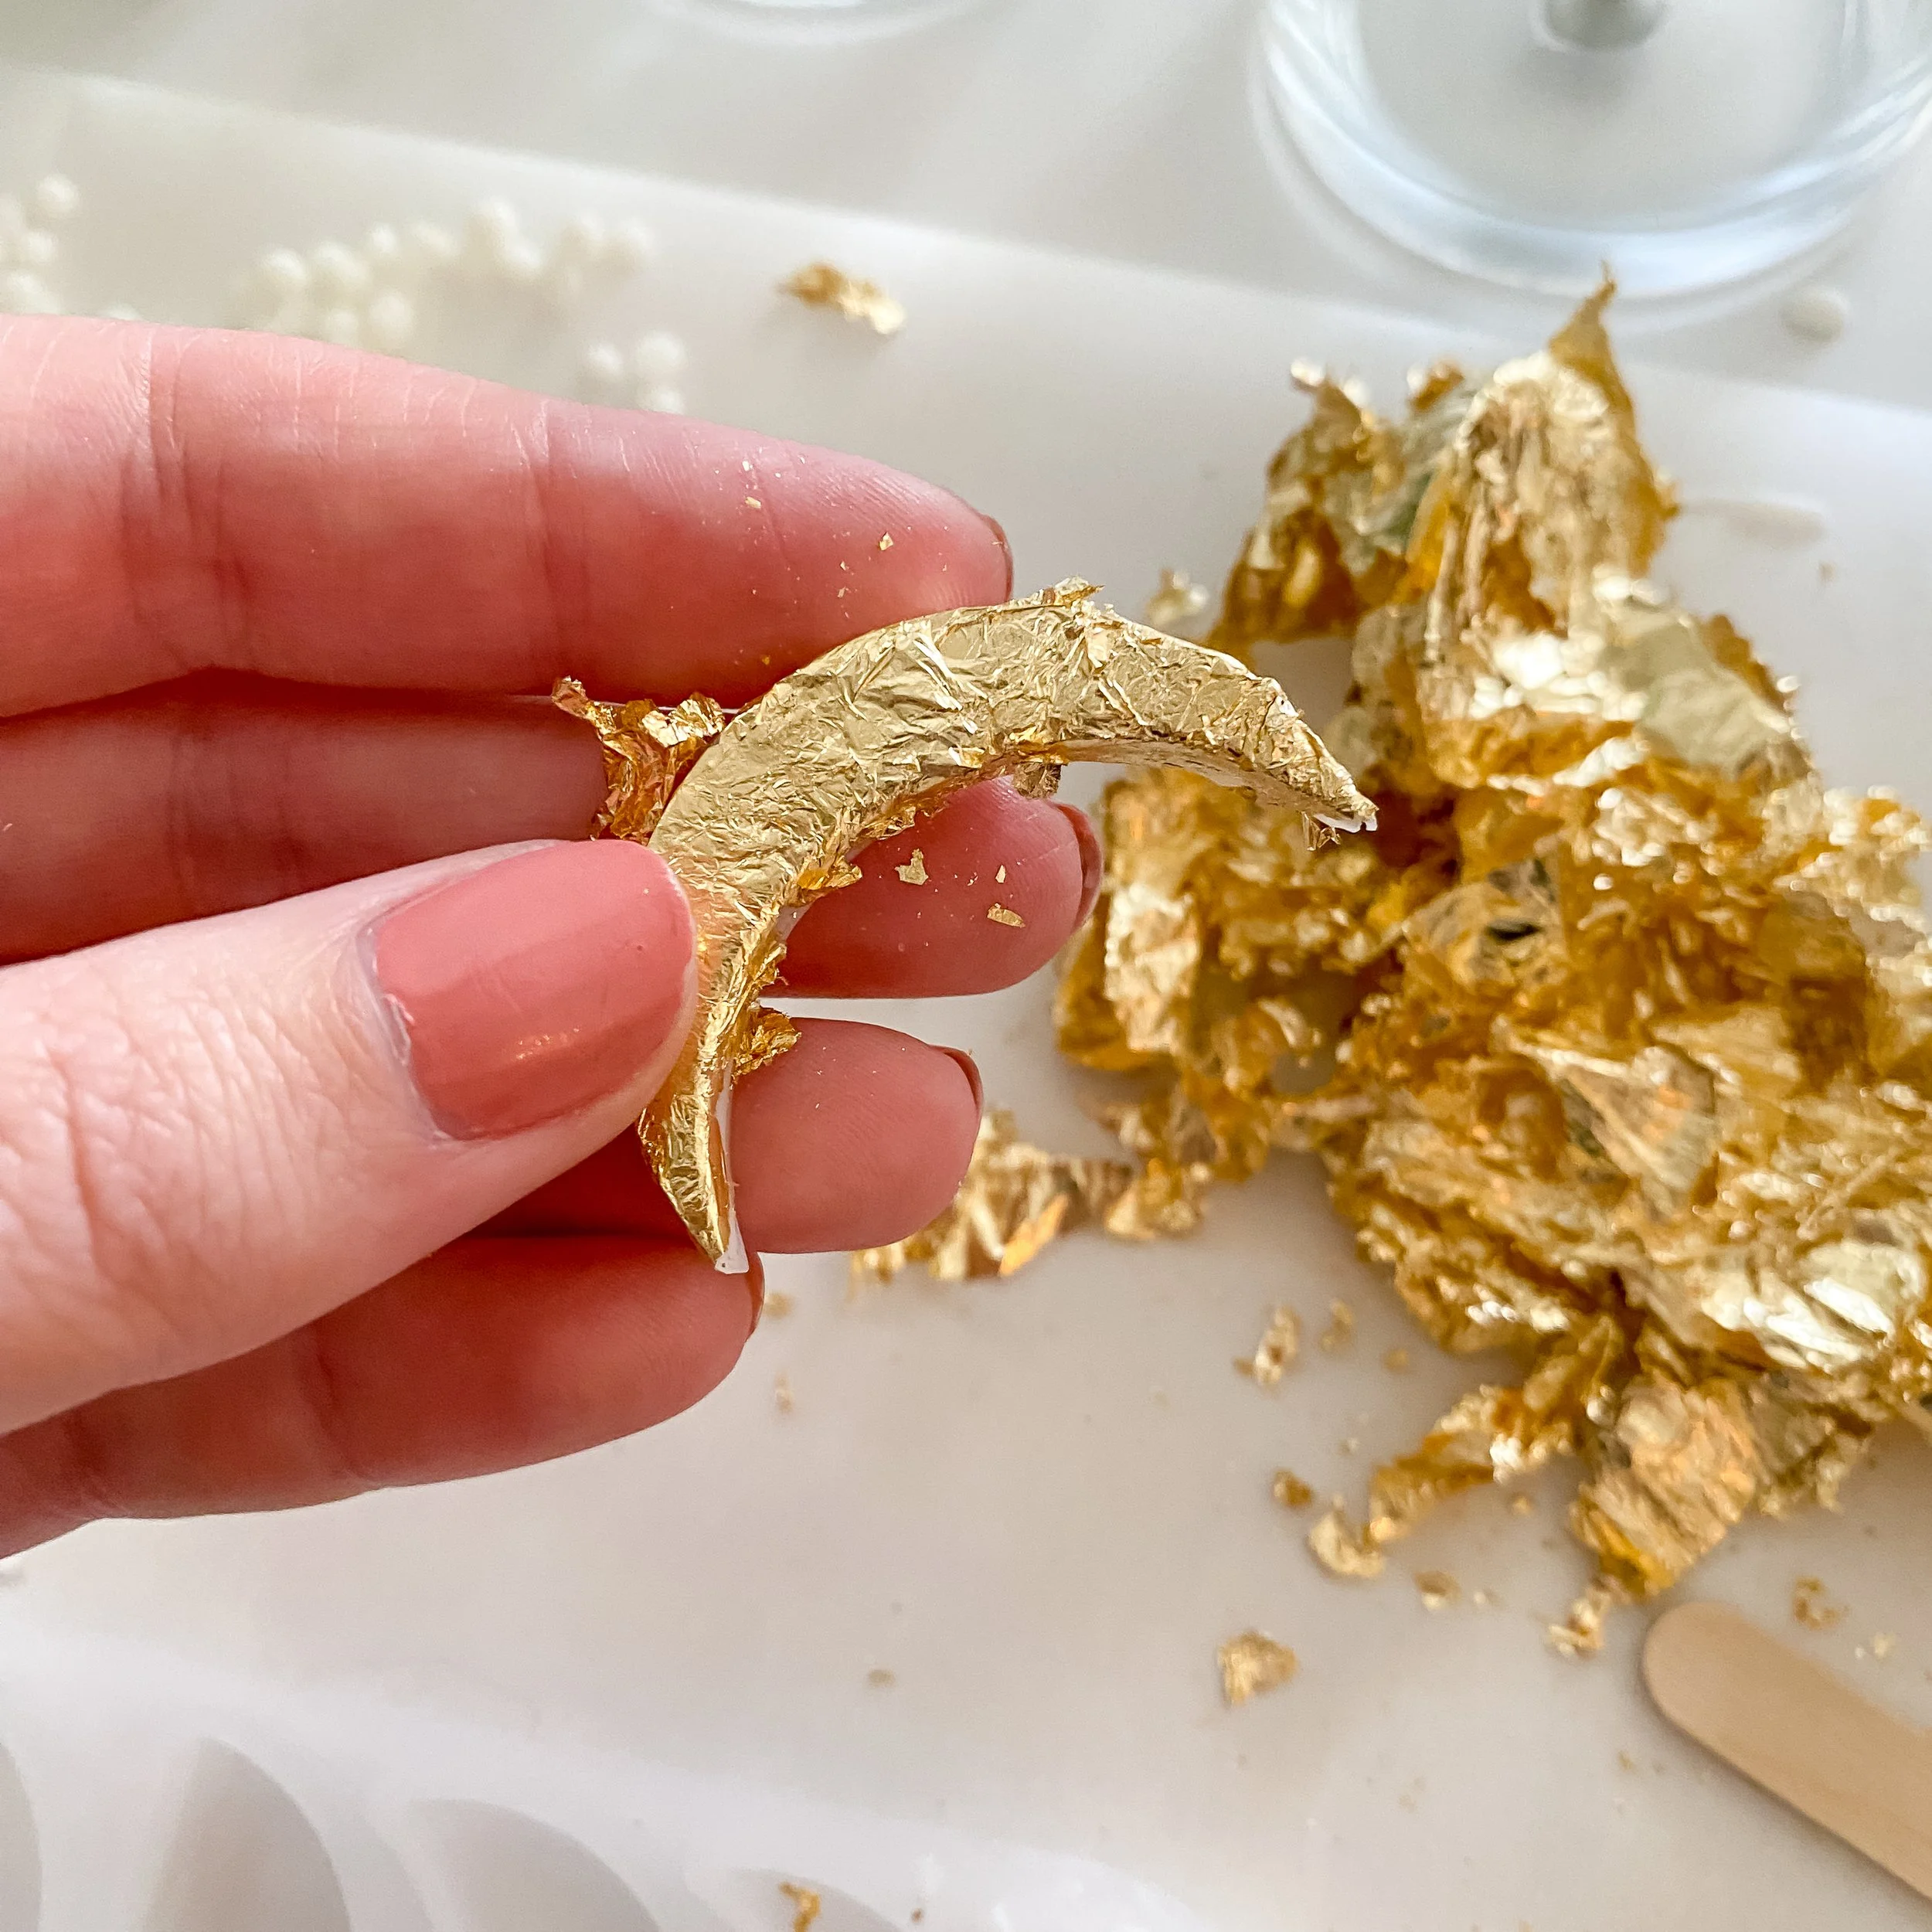

Place it pretty side up on a piece of parchment paper and then repeat this for all the candles you wish to make. I found my fingers made enough heat to seal the sides of the moons easily enough, while a little warm wax on the face gave a nice golden crescent to show off on the top of the candle.
STEP 2: SCENT & POUR CANDLES

4. Once you have your moons, it’s time to start creating candles! Add more wax beads to the remaining hot wax and melt like before, in 30 second intervals in the microwave or per your own wax bead’s instructions. Once your wax is liquid, add any dyes you would like then wait until it is around 180-185 degrees F (if you are using soy wax like me), then add your fragrance oils. I used lavender for these candles because they were night time themed and it's a scent to help people sleep!


5. Now, it's time to place your wicks and fill your candles. Dip the metal stand of each wick into the hot wax, the press into the bottom of your candle jars. Thread the metal centering device through the wick, then place it on top of the jar and let the wick cool so that they are stuck centered in the bottom of the jar. Repeat for all jars, then get ready to pour!


6. Place your jars, one at a time, on the kitchen scale and gently pour hot wax into the jar to 4.5 oz. then take off of the scale and repeat until all the jars have been filled. Now, wait for the wax to cool until you start to see it solidifying around the edges. Then, it's time to add the moons!


7. Remove the centering device, then gently pick up each moon with the tweezers. Arrange the moon around the wick, then release it into the wax, gently pressing the top with the tweezers if needed so that the moon face is level with or just above the candle wax. Replace the centering device and let the candle cool completely.


8. Once the candles are cooled, remove the centering devices. If you see any little imperfections or dips in the wax, take a small heat gun and melt the top layer to smooth them out, then trim the wicks and your candles are complete!

SEE OUR RELATED POSTS HERE:


OUR MOST RECENT BLOG POSTS:


OUR PINS FOR THIS POST: