This post contains affiliate links, meaning that if you click on a link I will recieve a small comission. This costs you nothing extra and I only promote products I use and love! You can read our full disclosure here
For my own Bridal Shower years ago, my bridesmaids chose wooden wick candles as the prizes for my bridal shower games and I thought it was the best idea ever! For the fall or for just feeling cozy, there is nothing like the sound of a crackling fire and the crackling candles gave that same feel and were a beloved prize by all those lucky enough to win them! As I was deciding what prizes I wanted to give at my best friends shower this November, I knew some Wooden Wick Candles had to be Included!
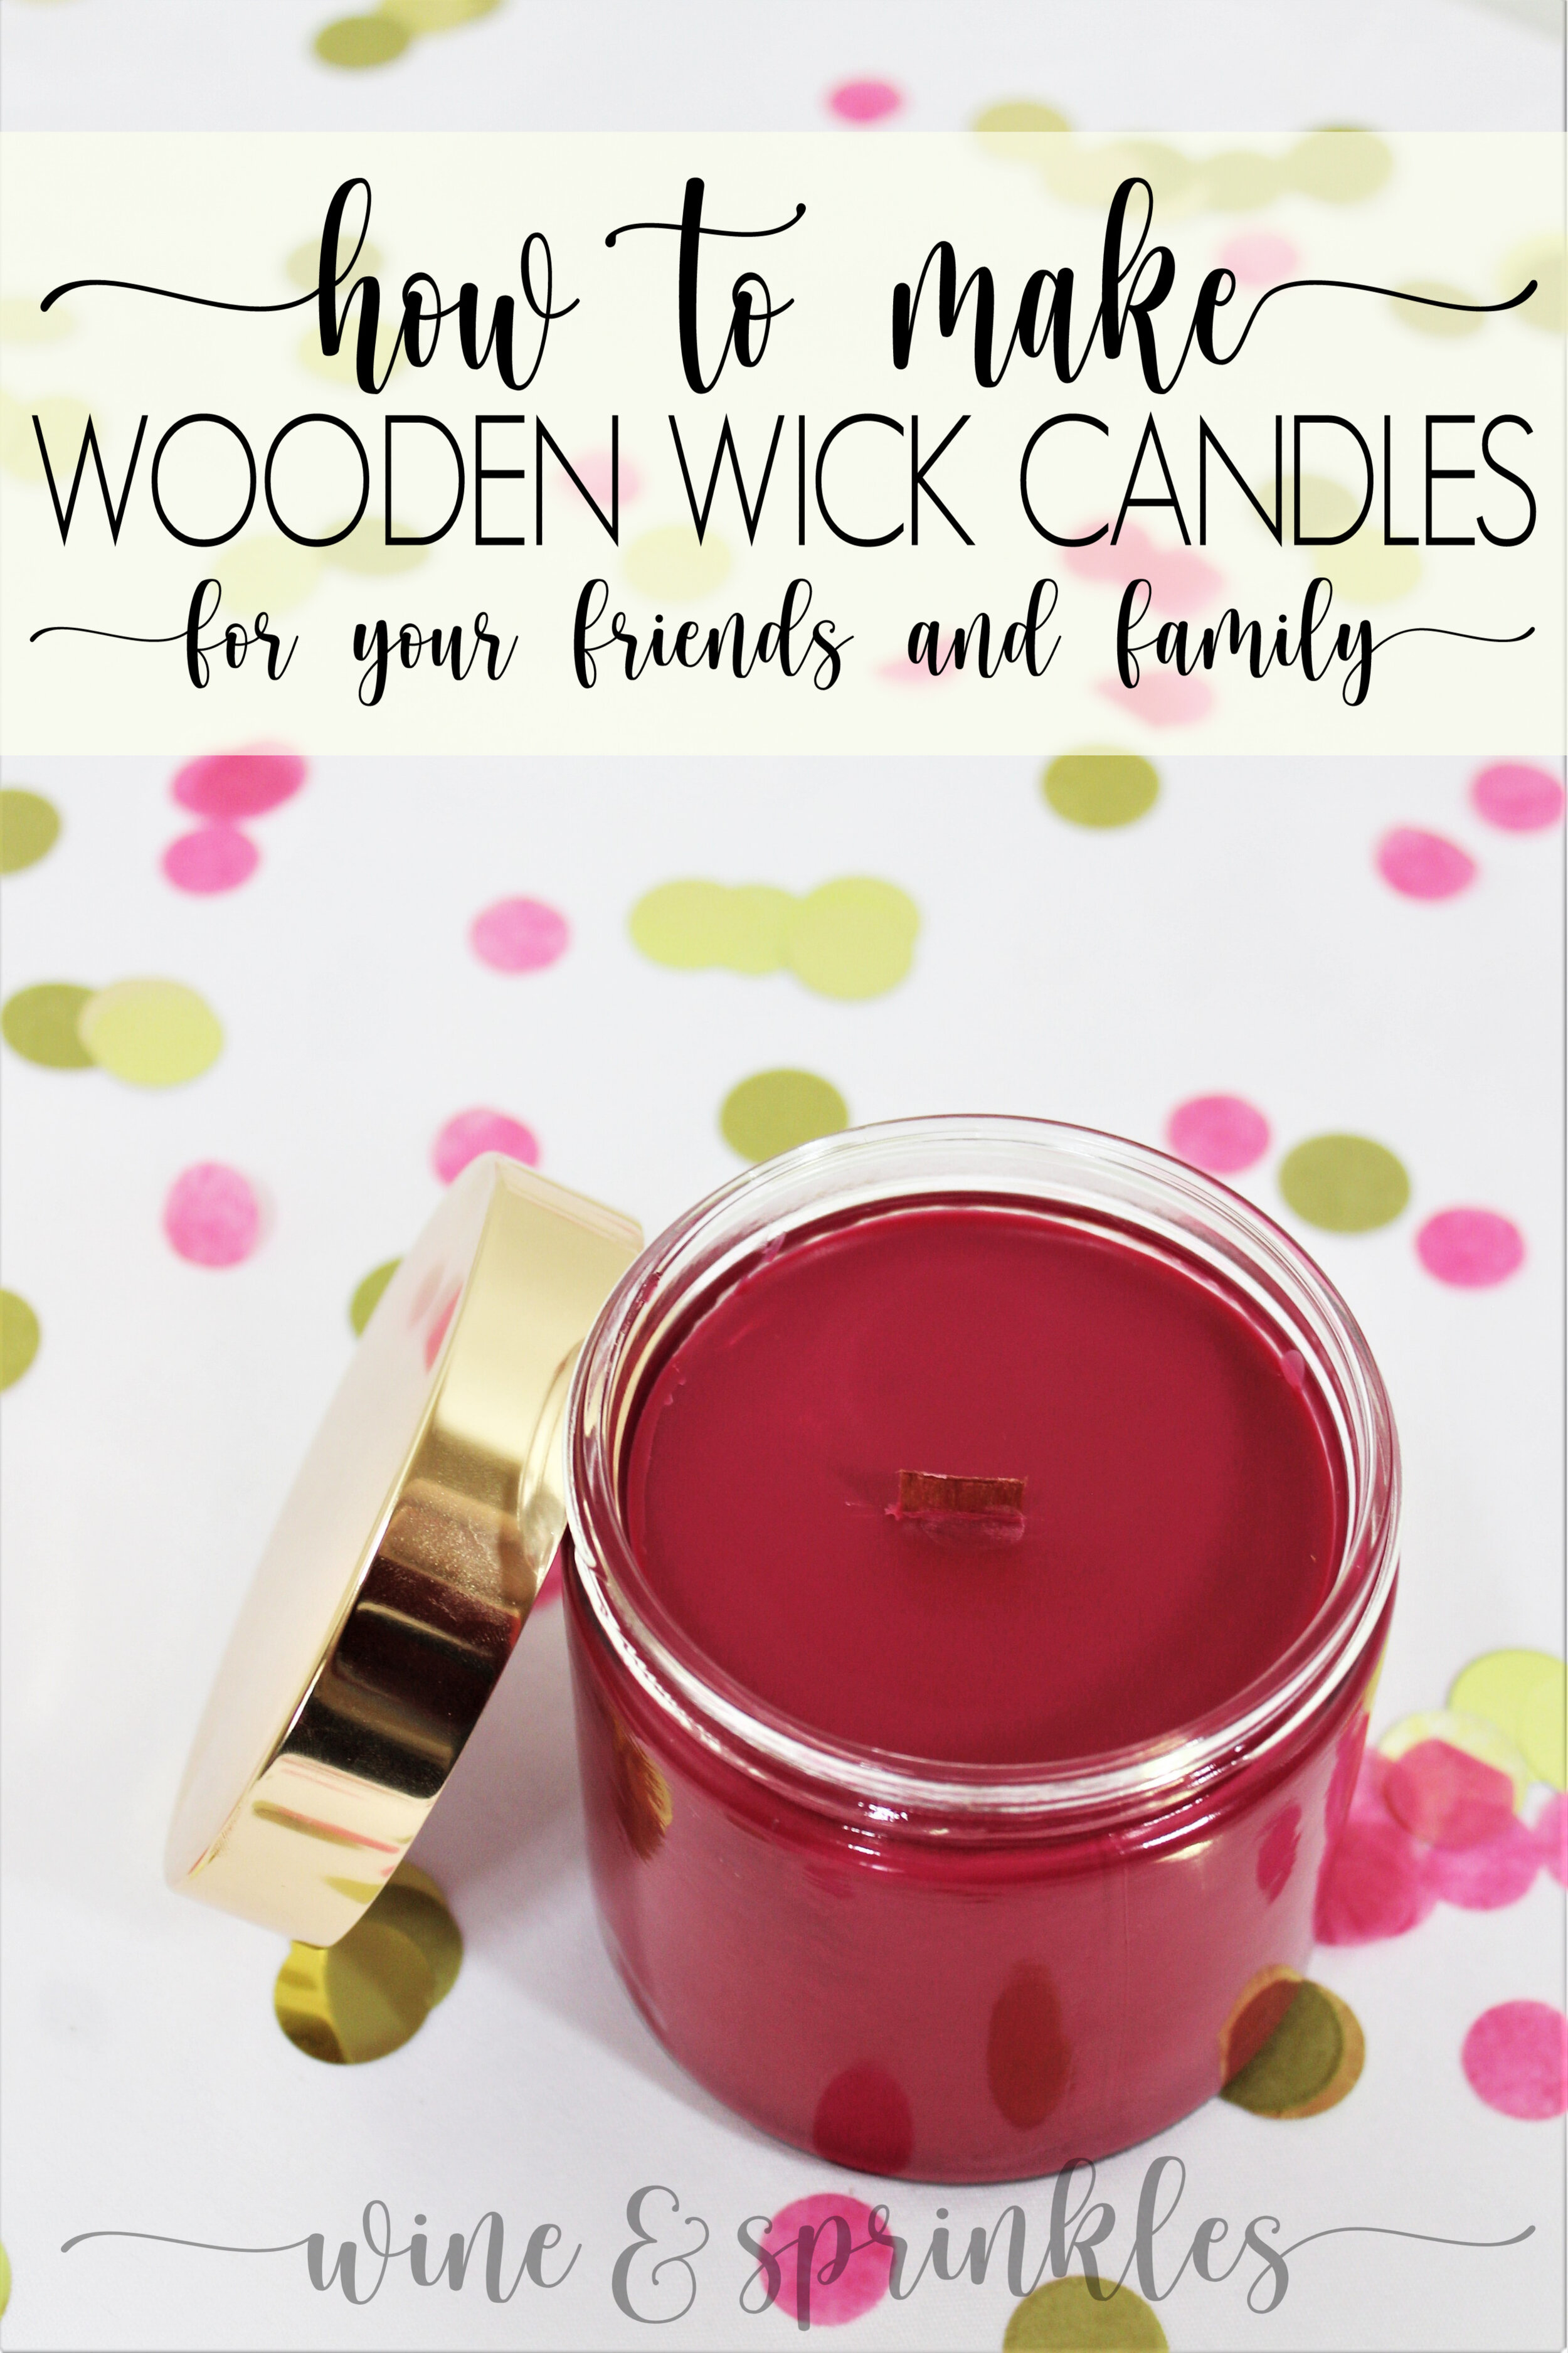
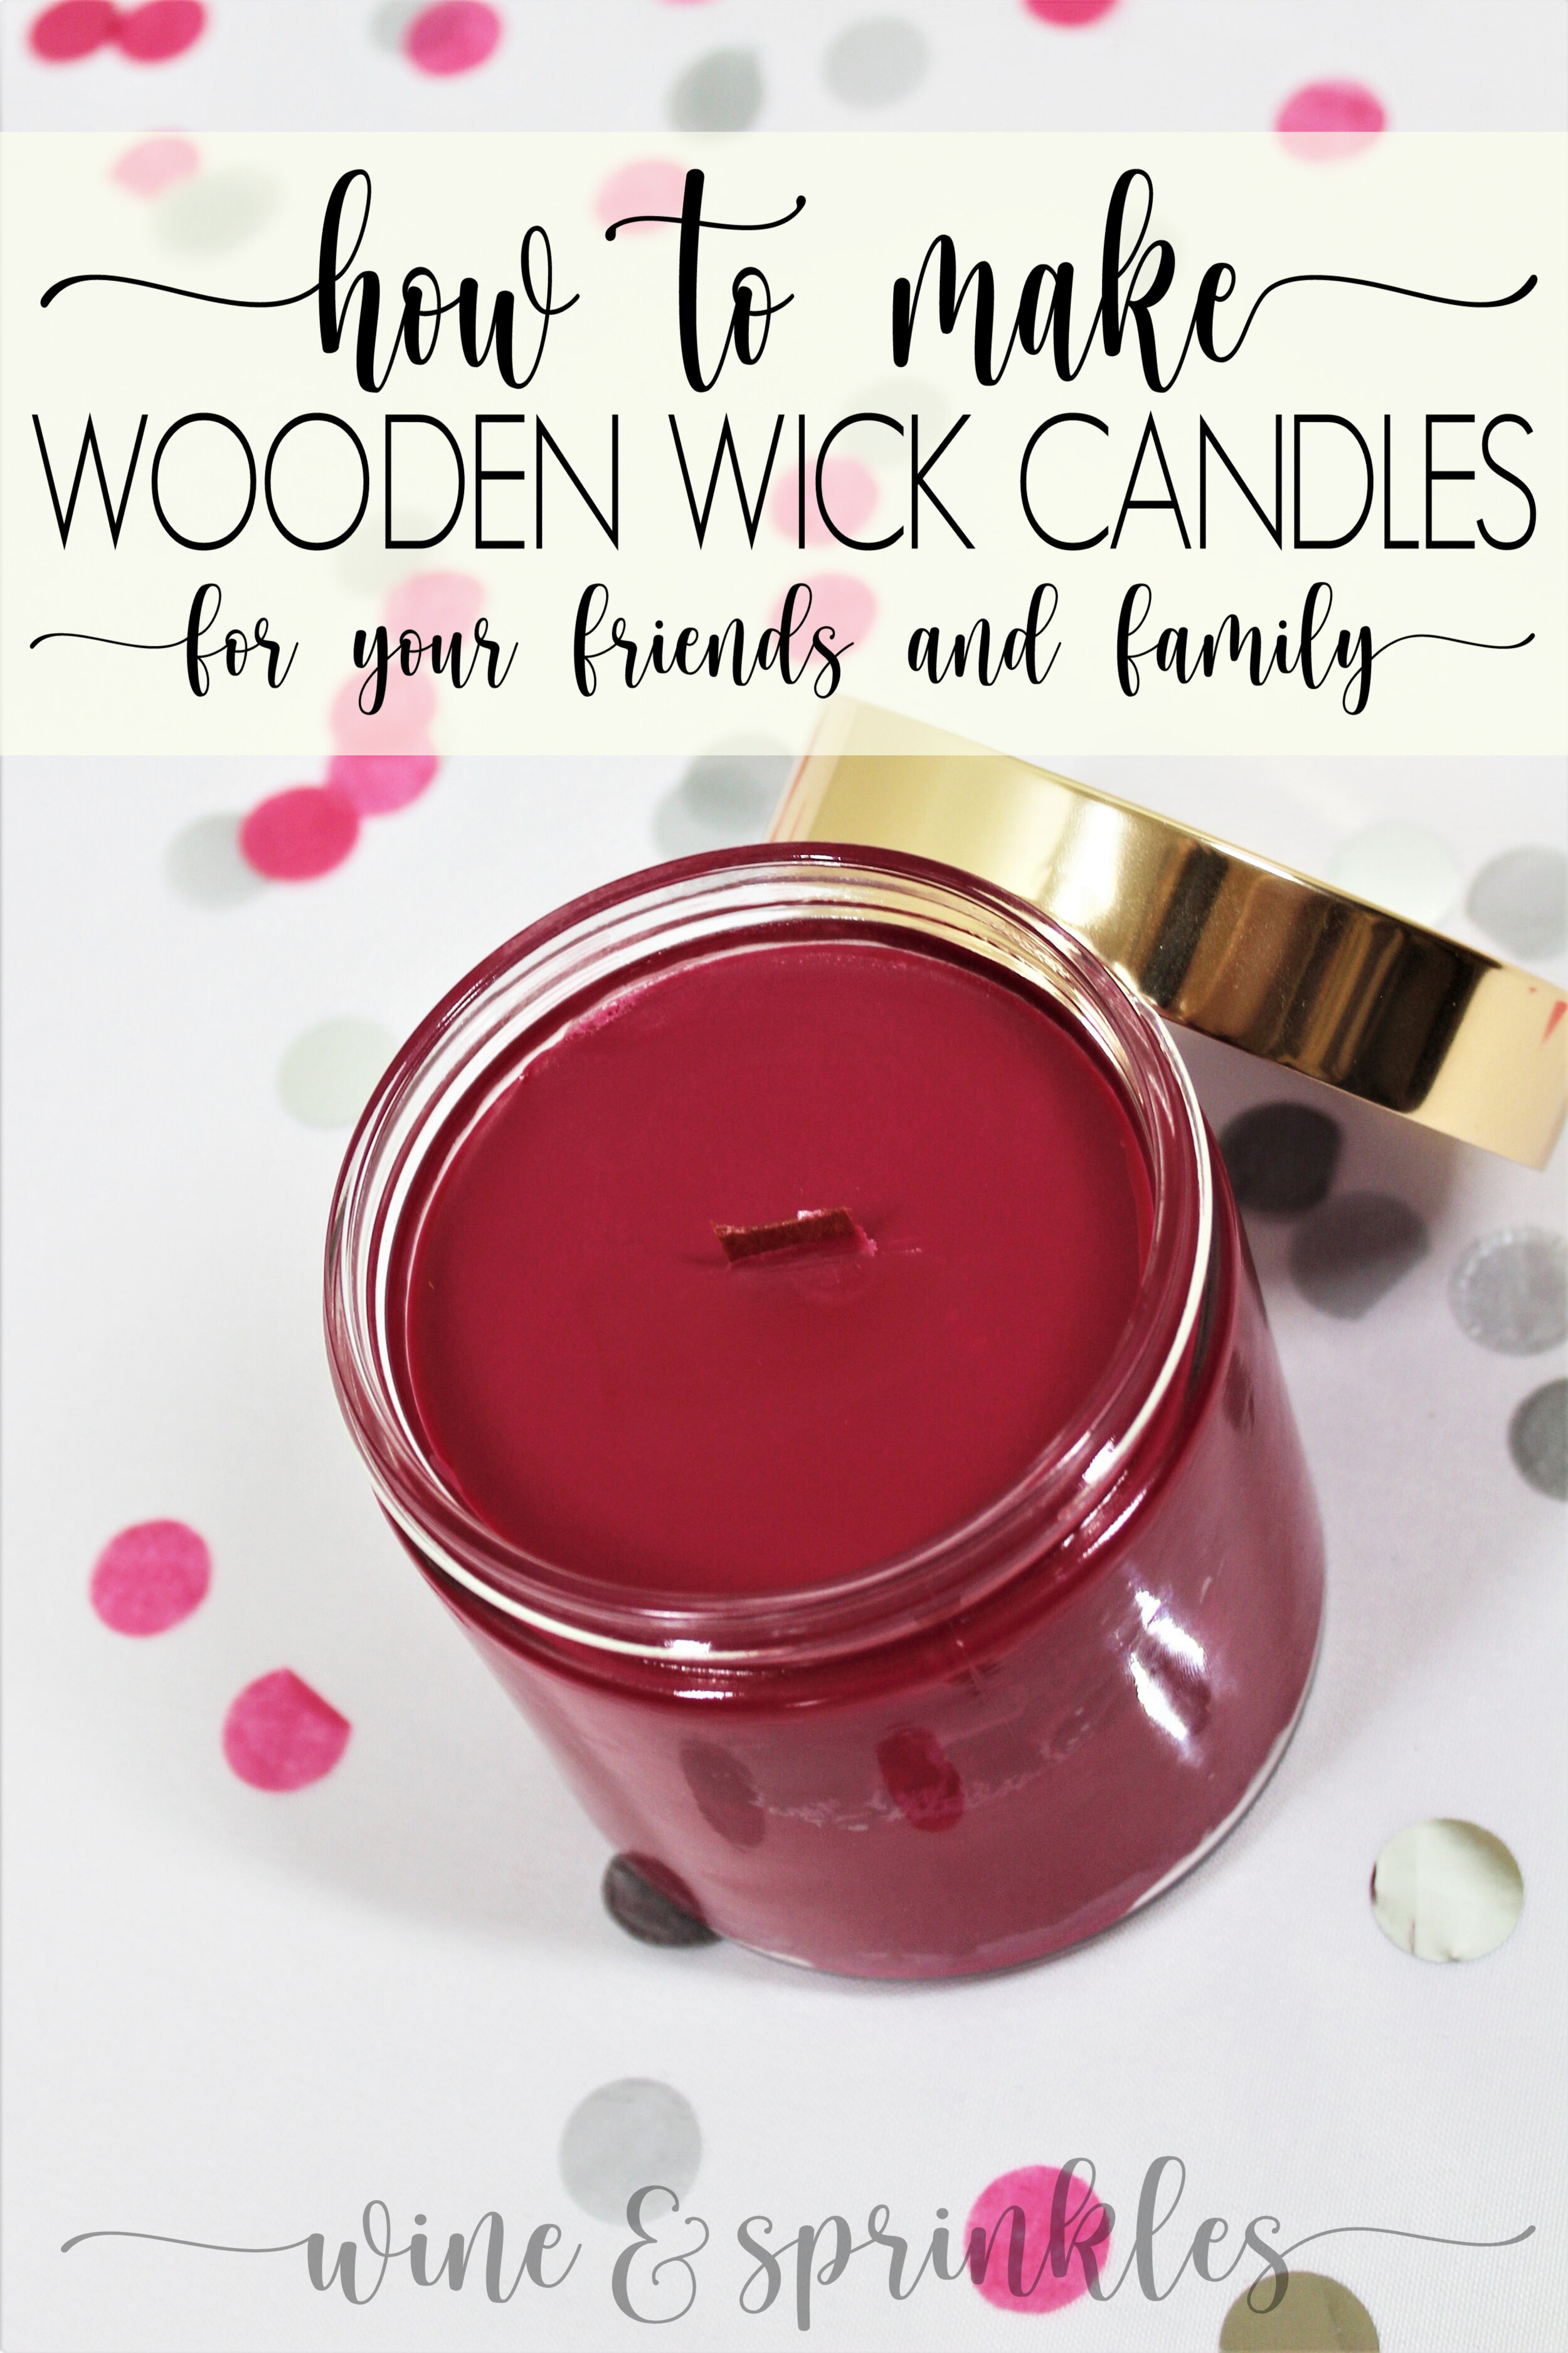
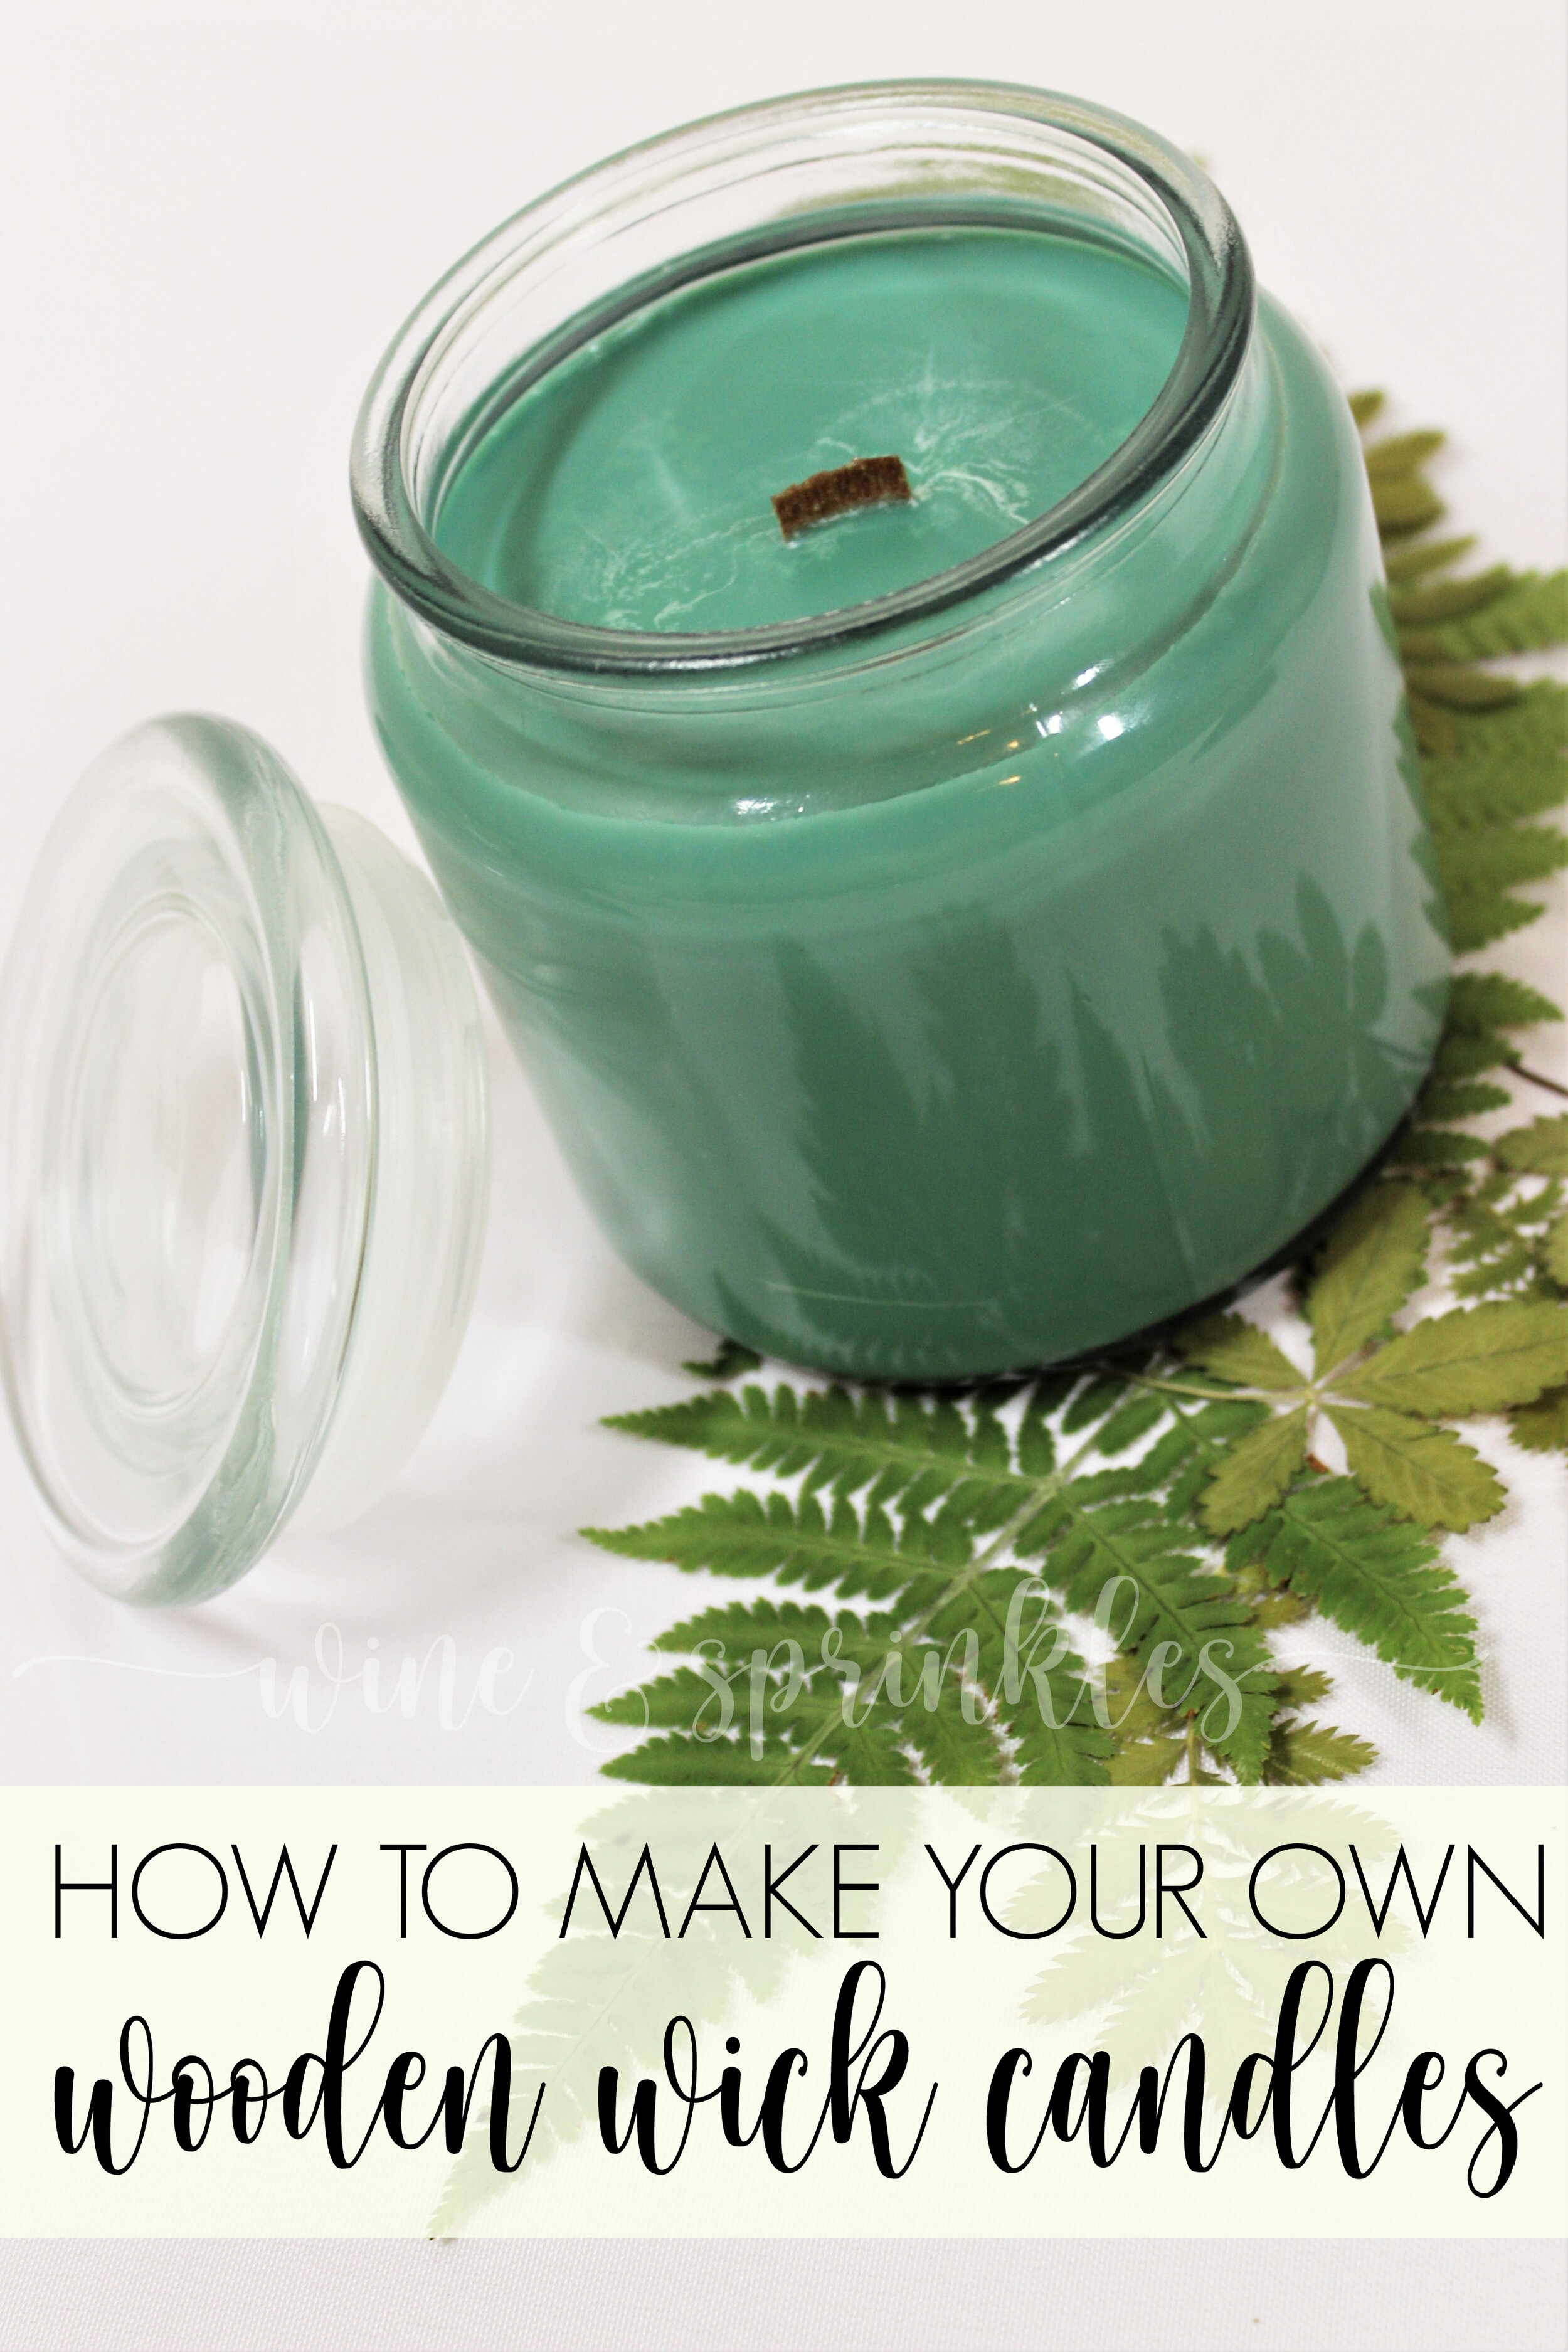
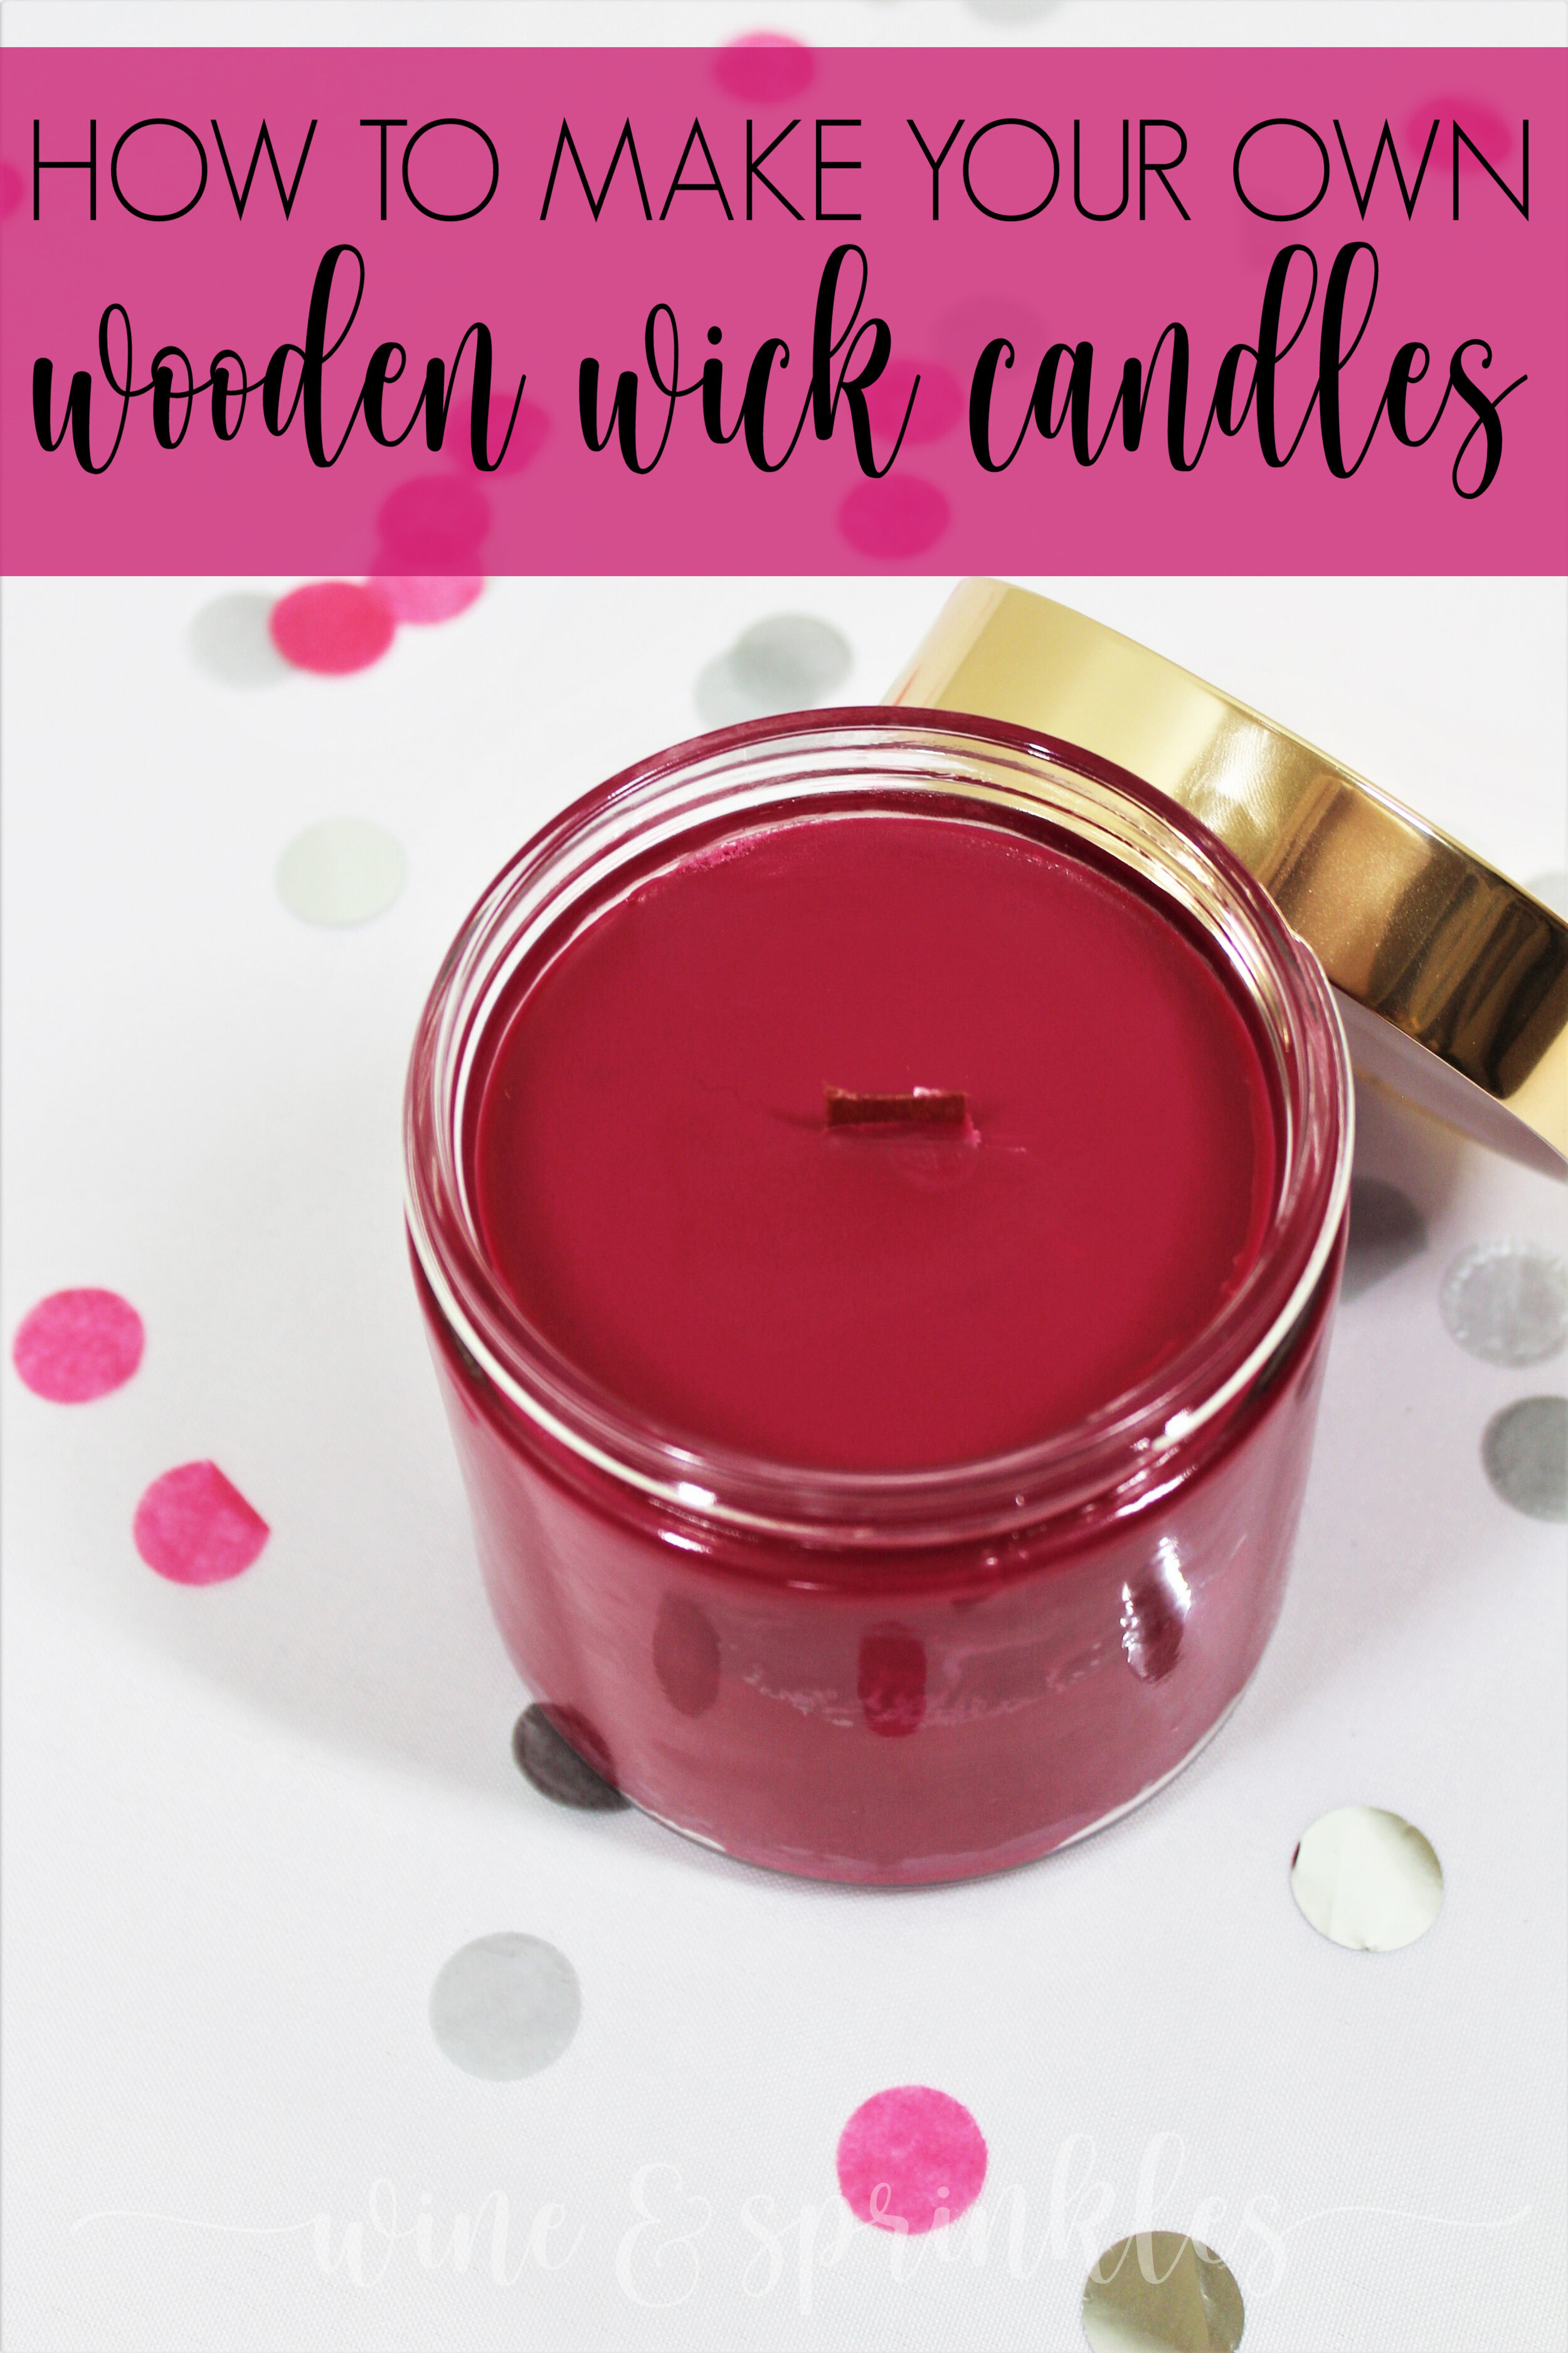
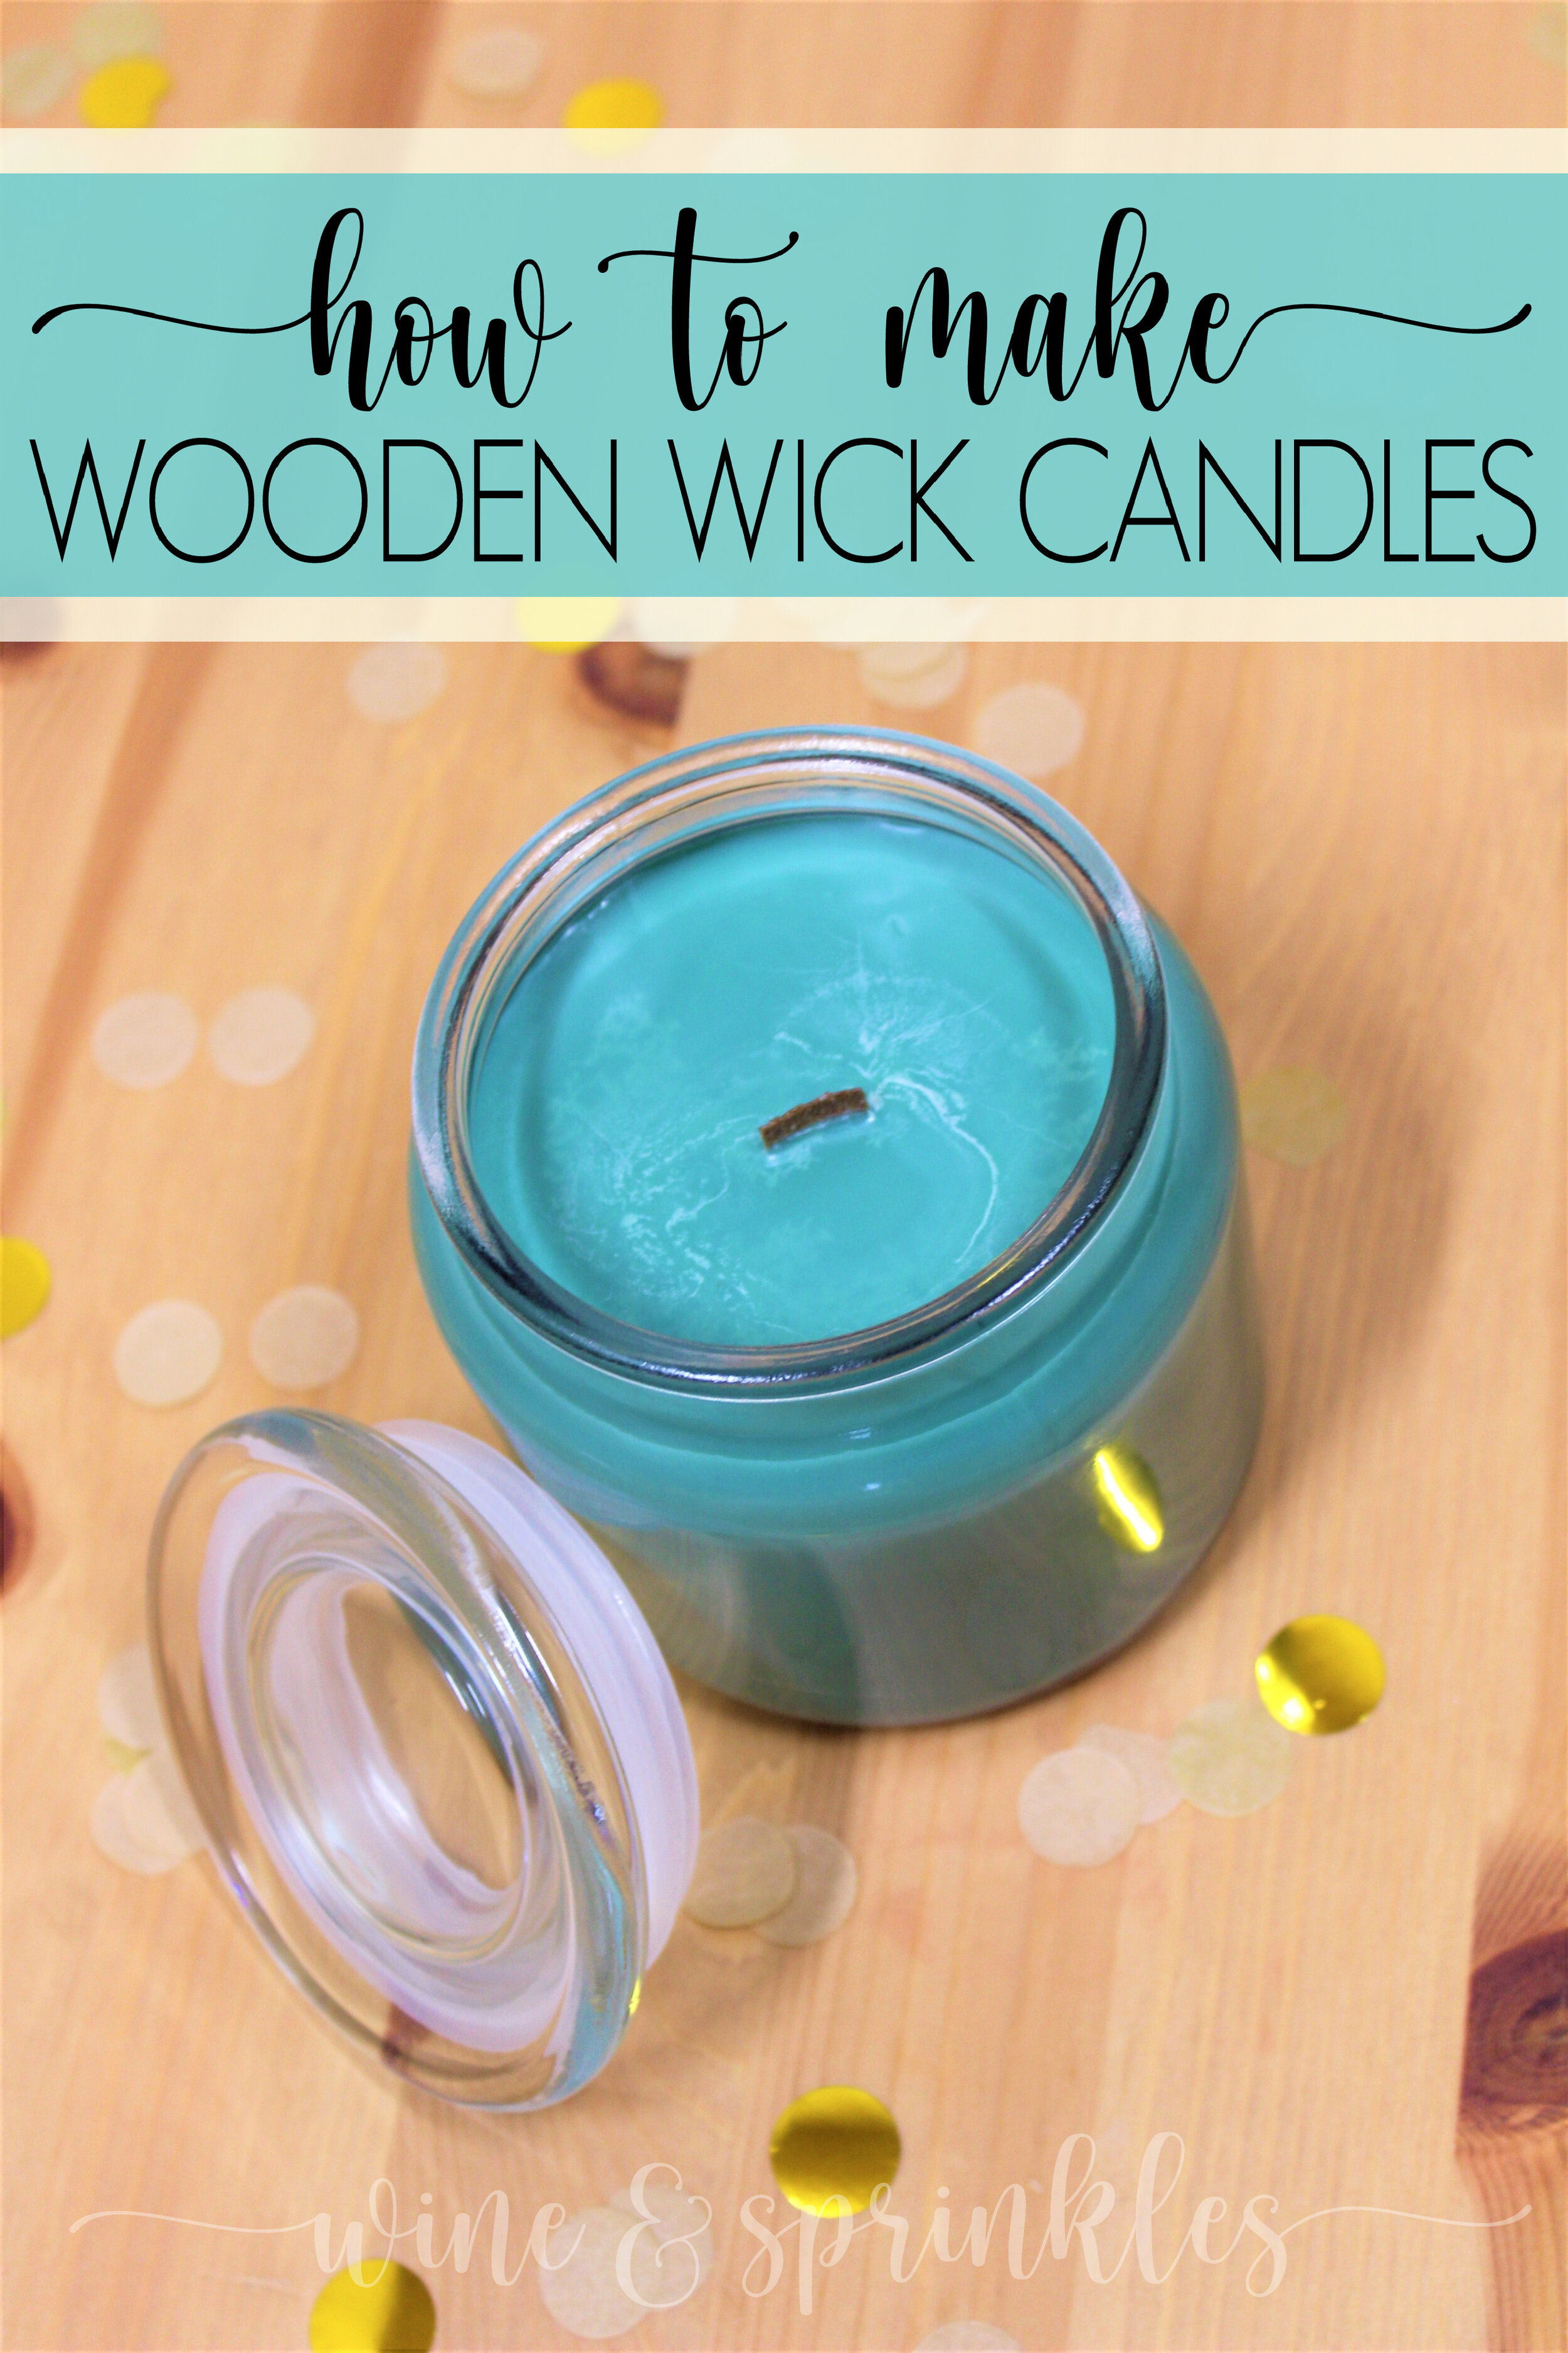
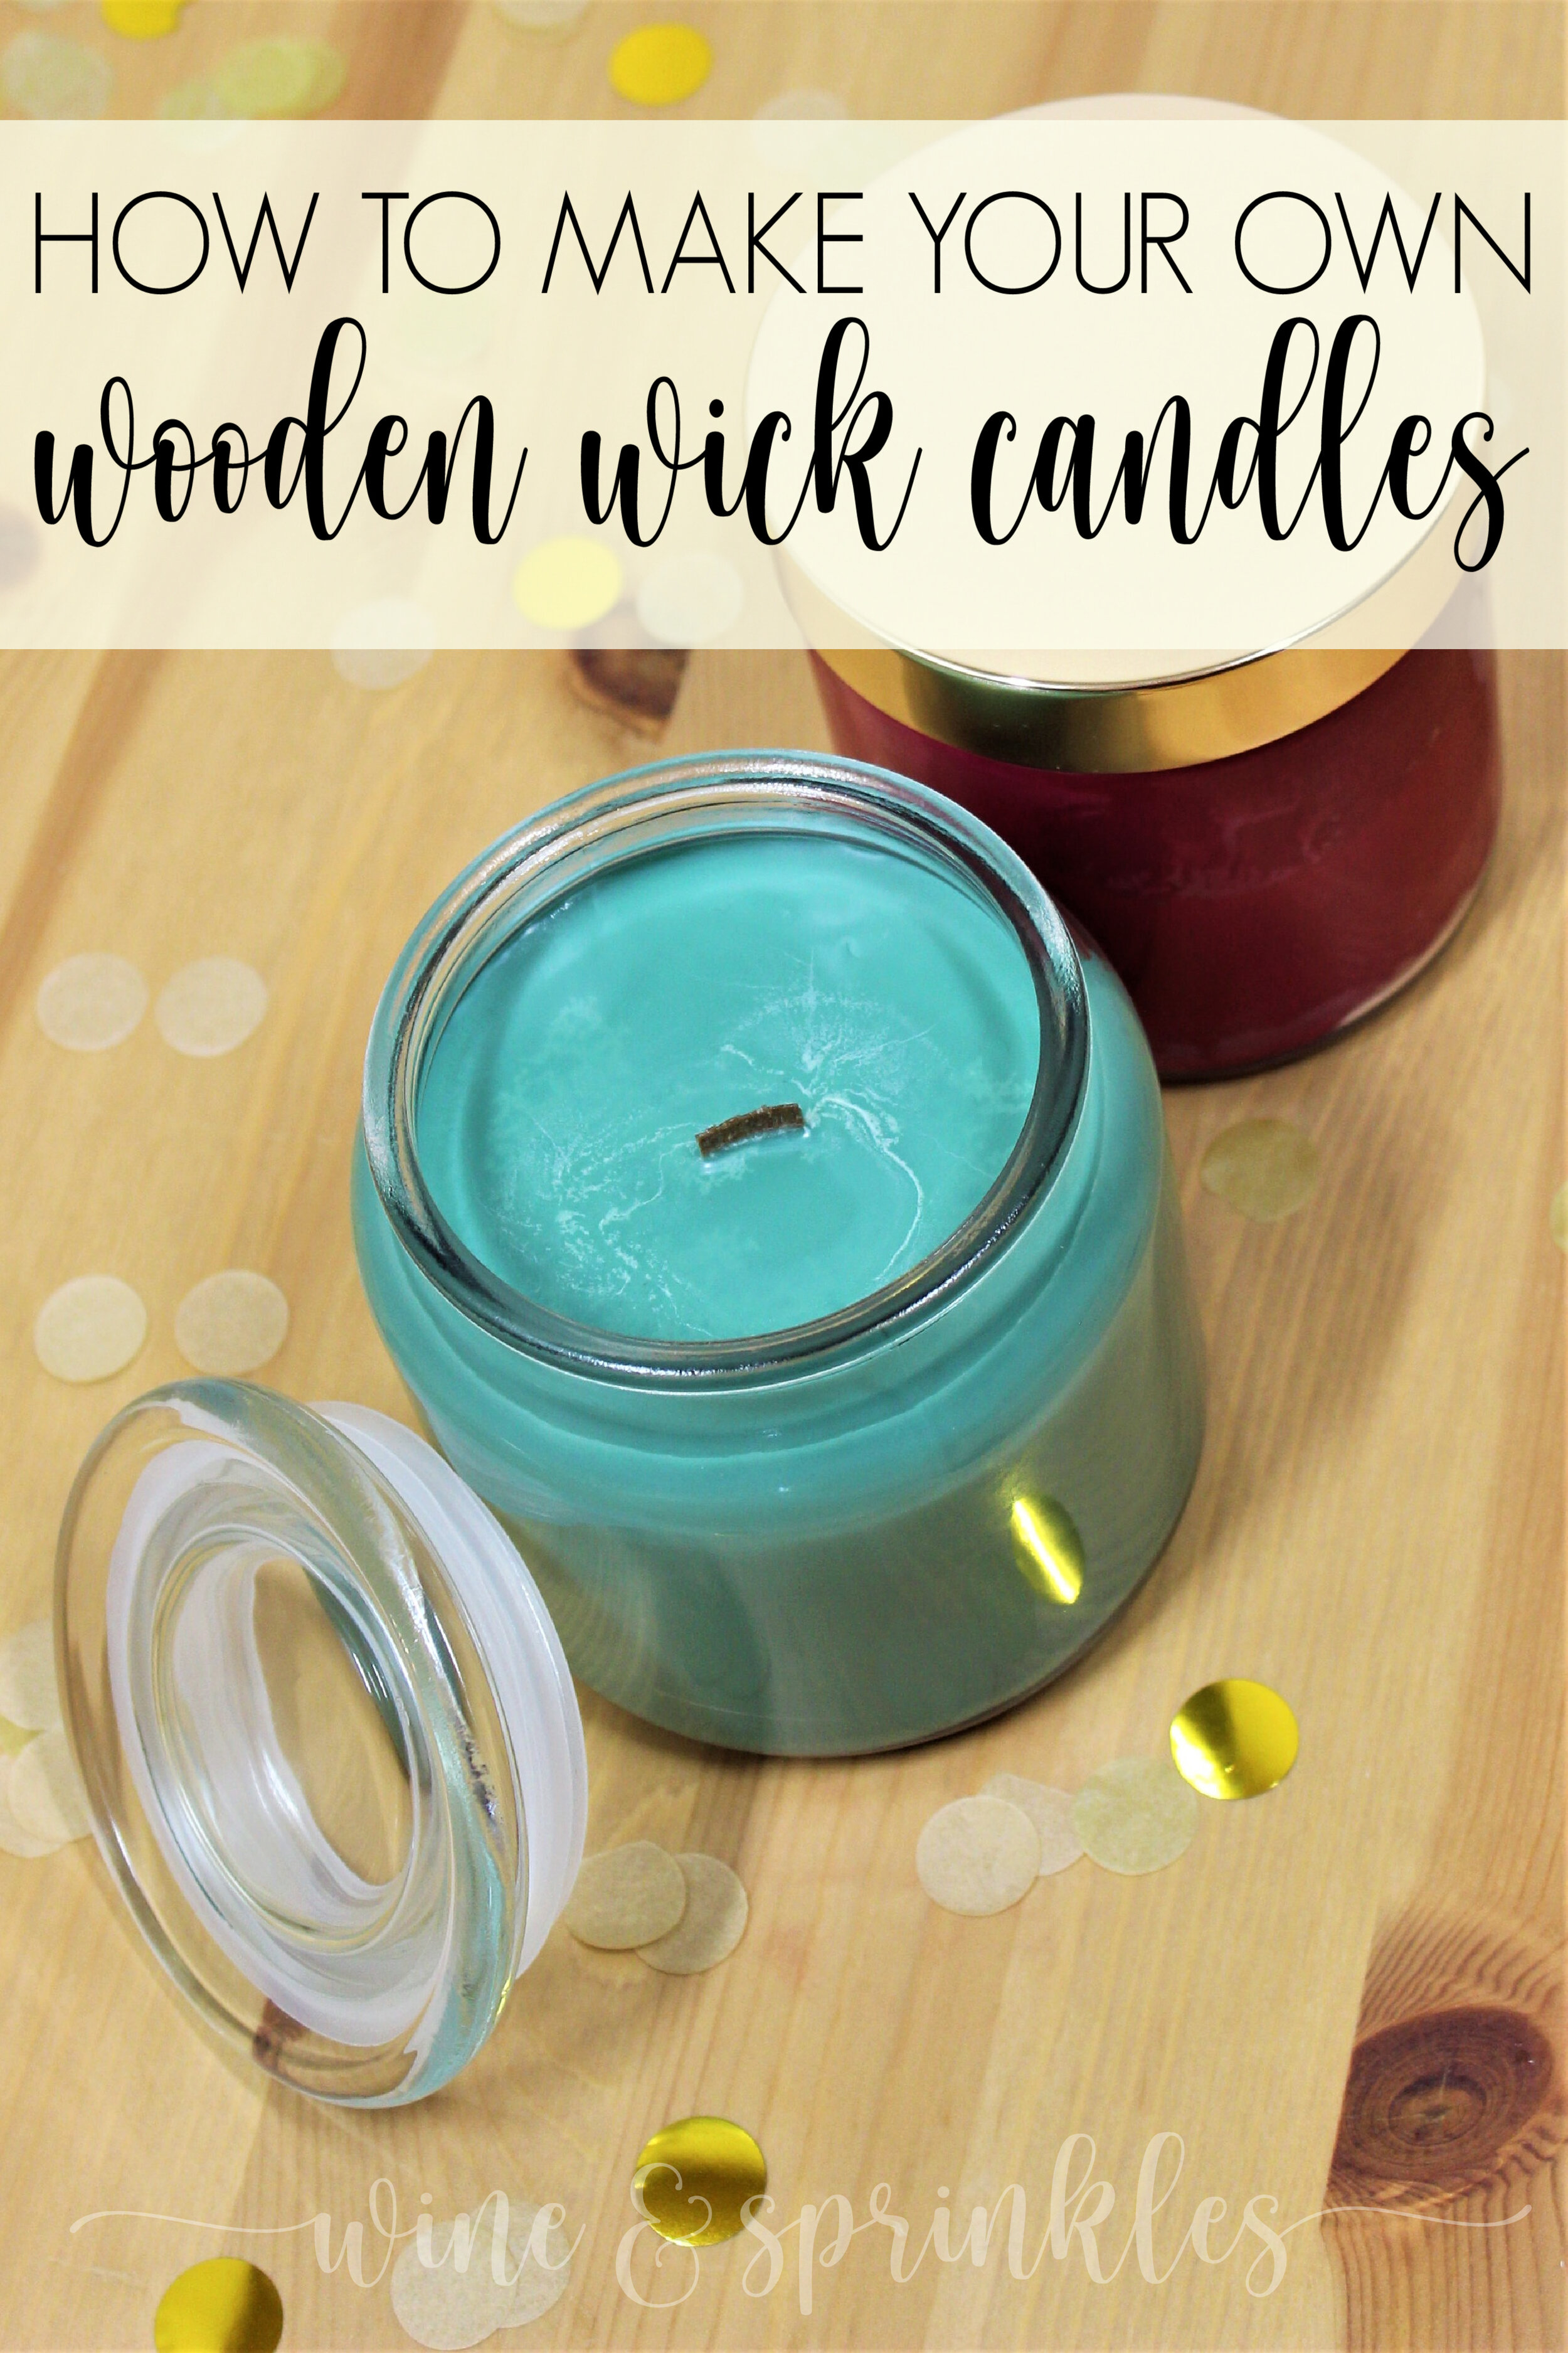
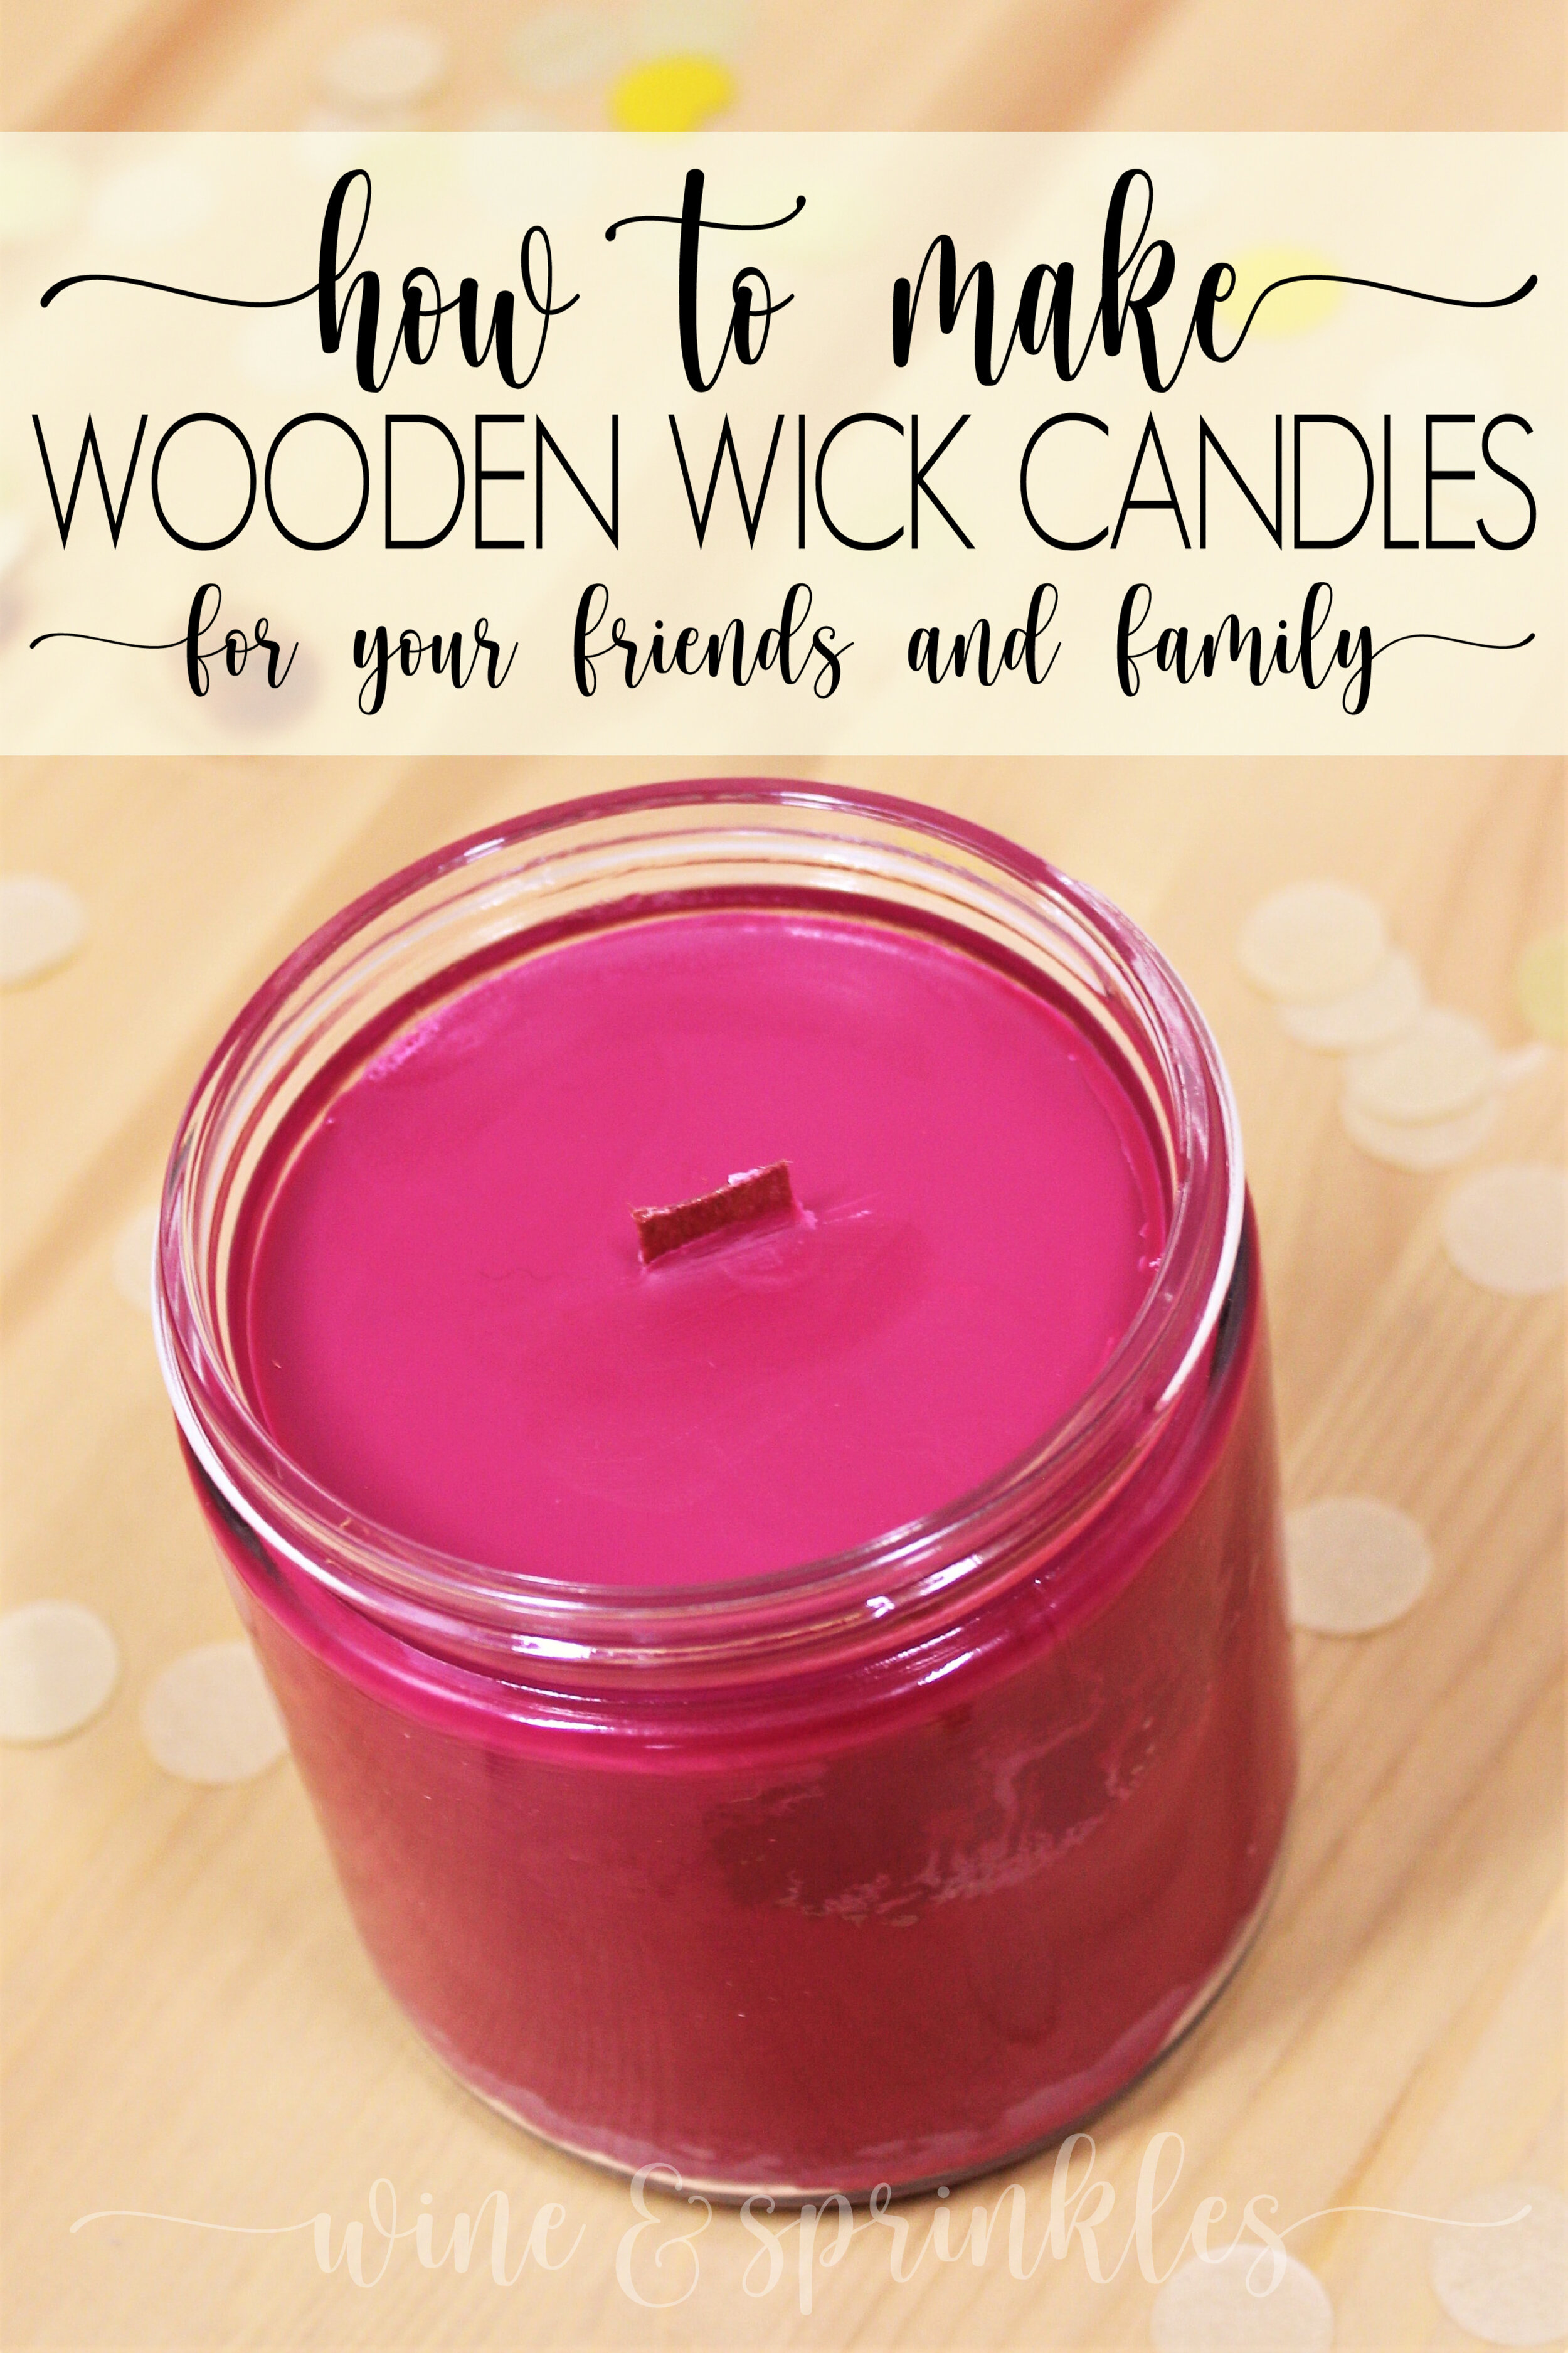
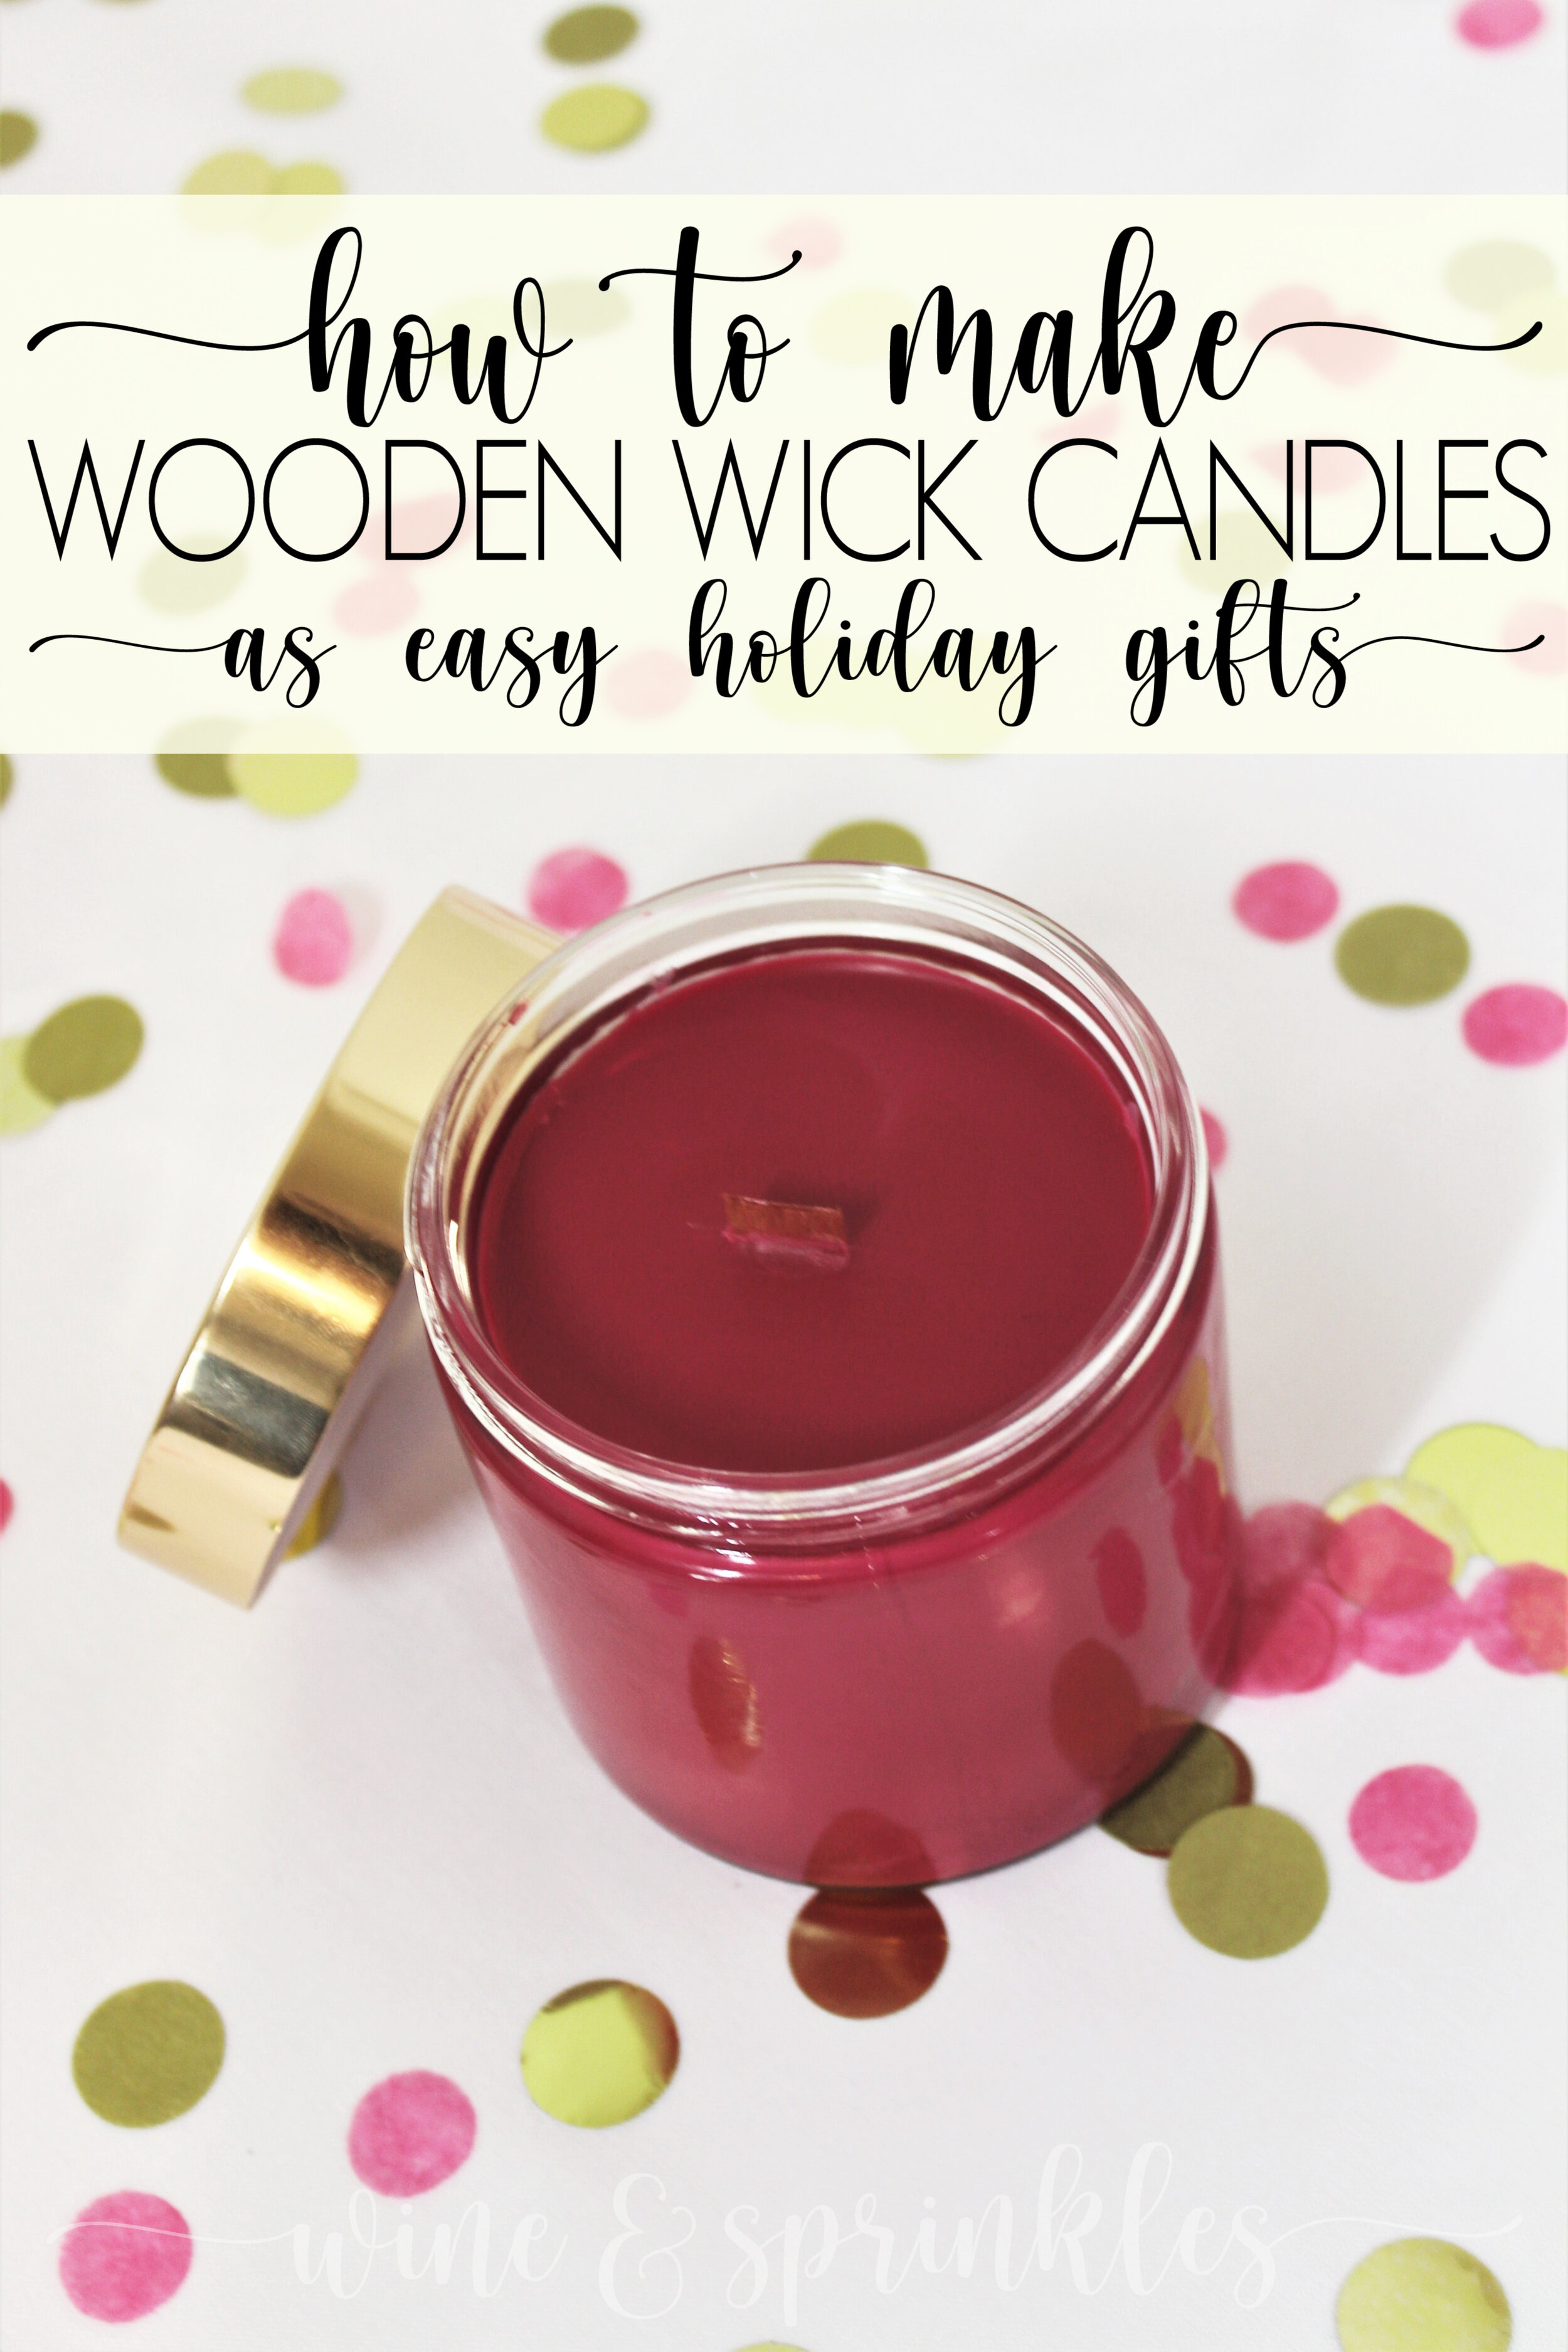
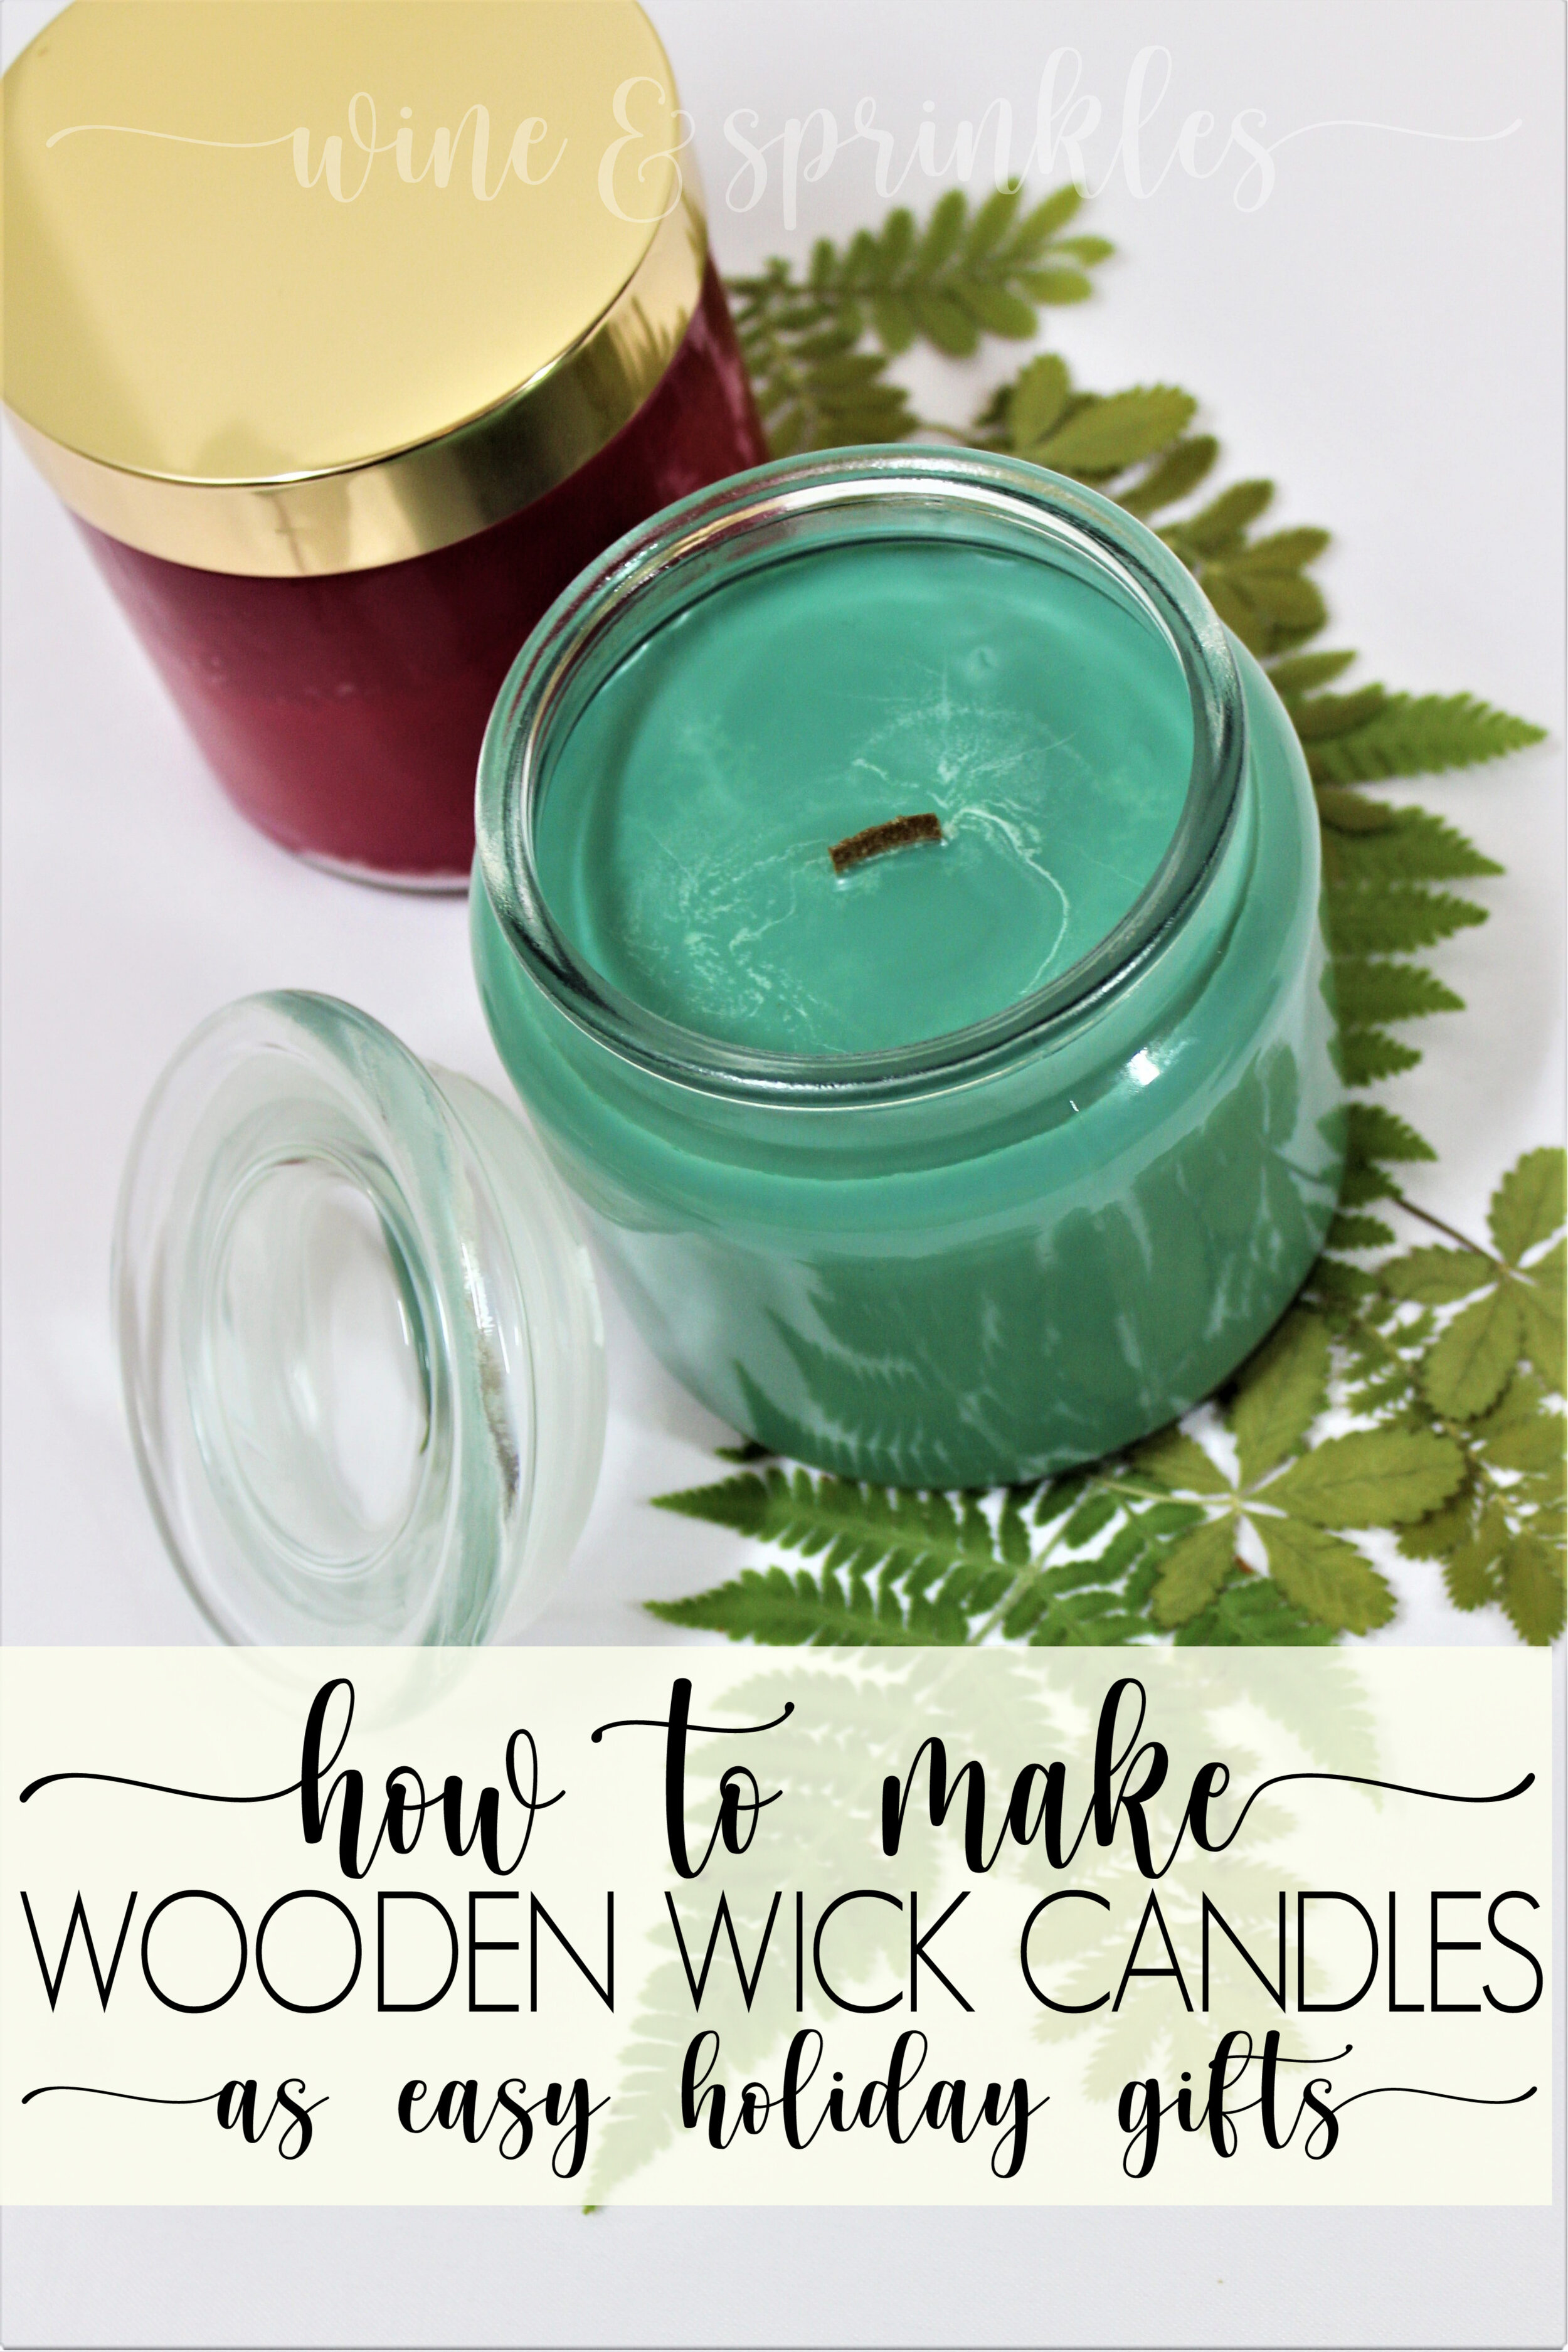
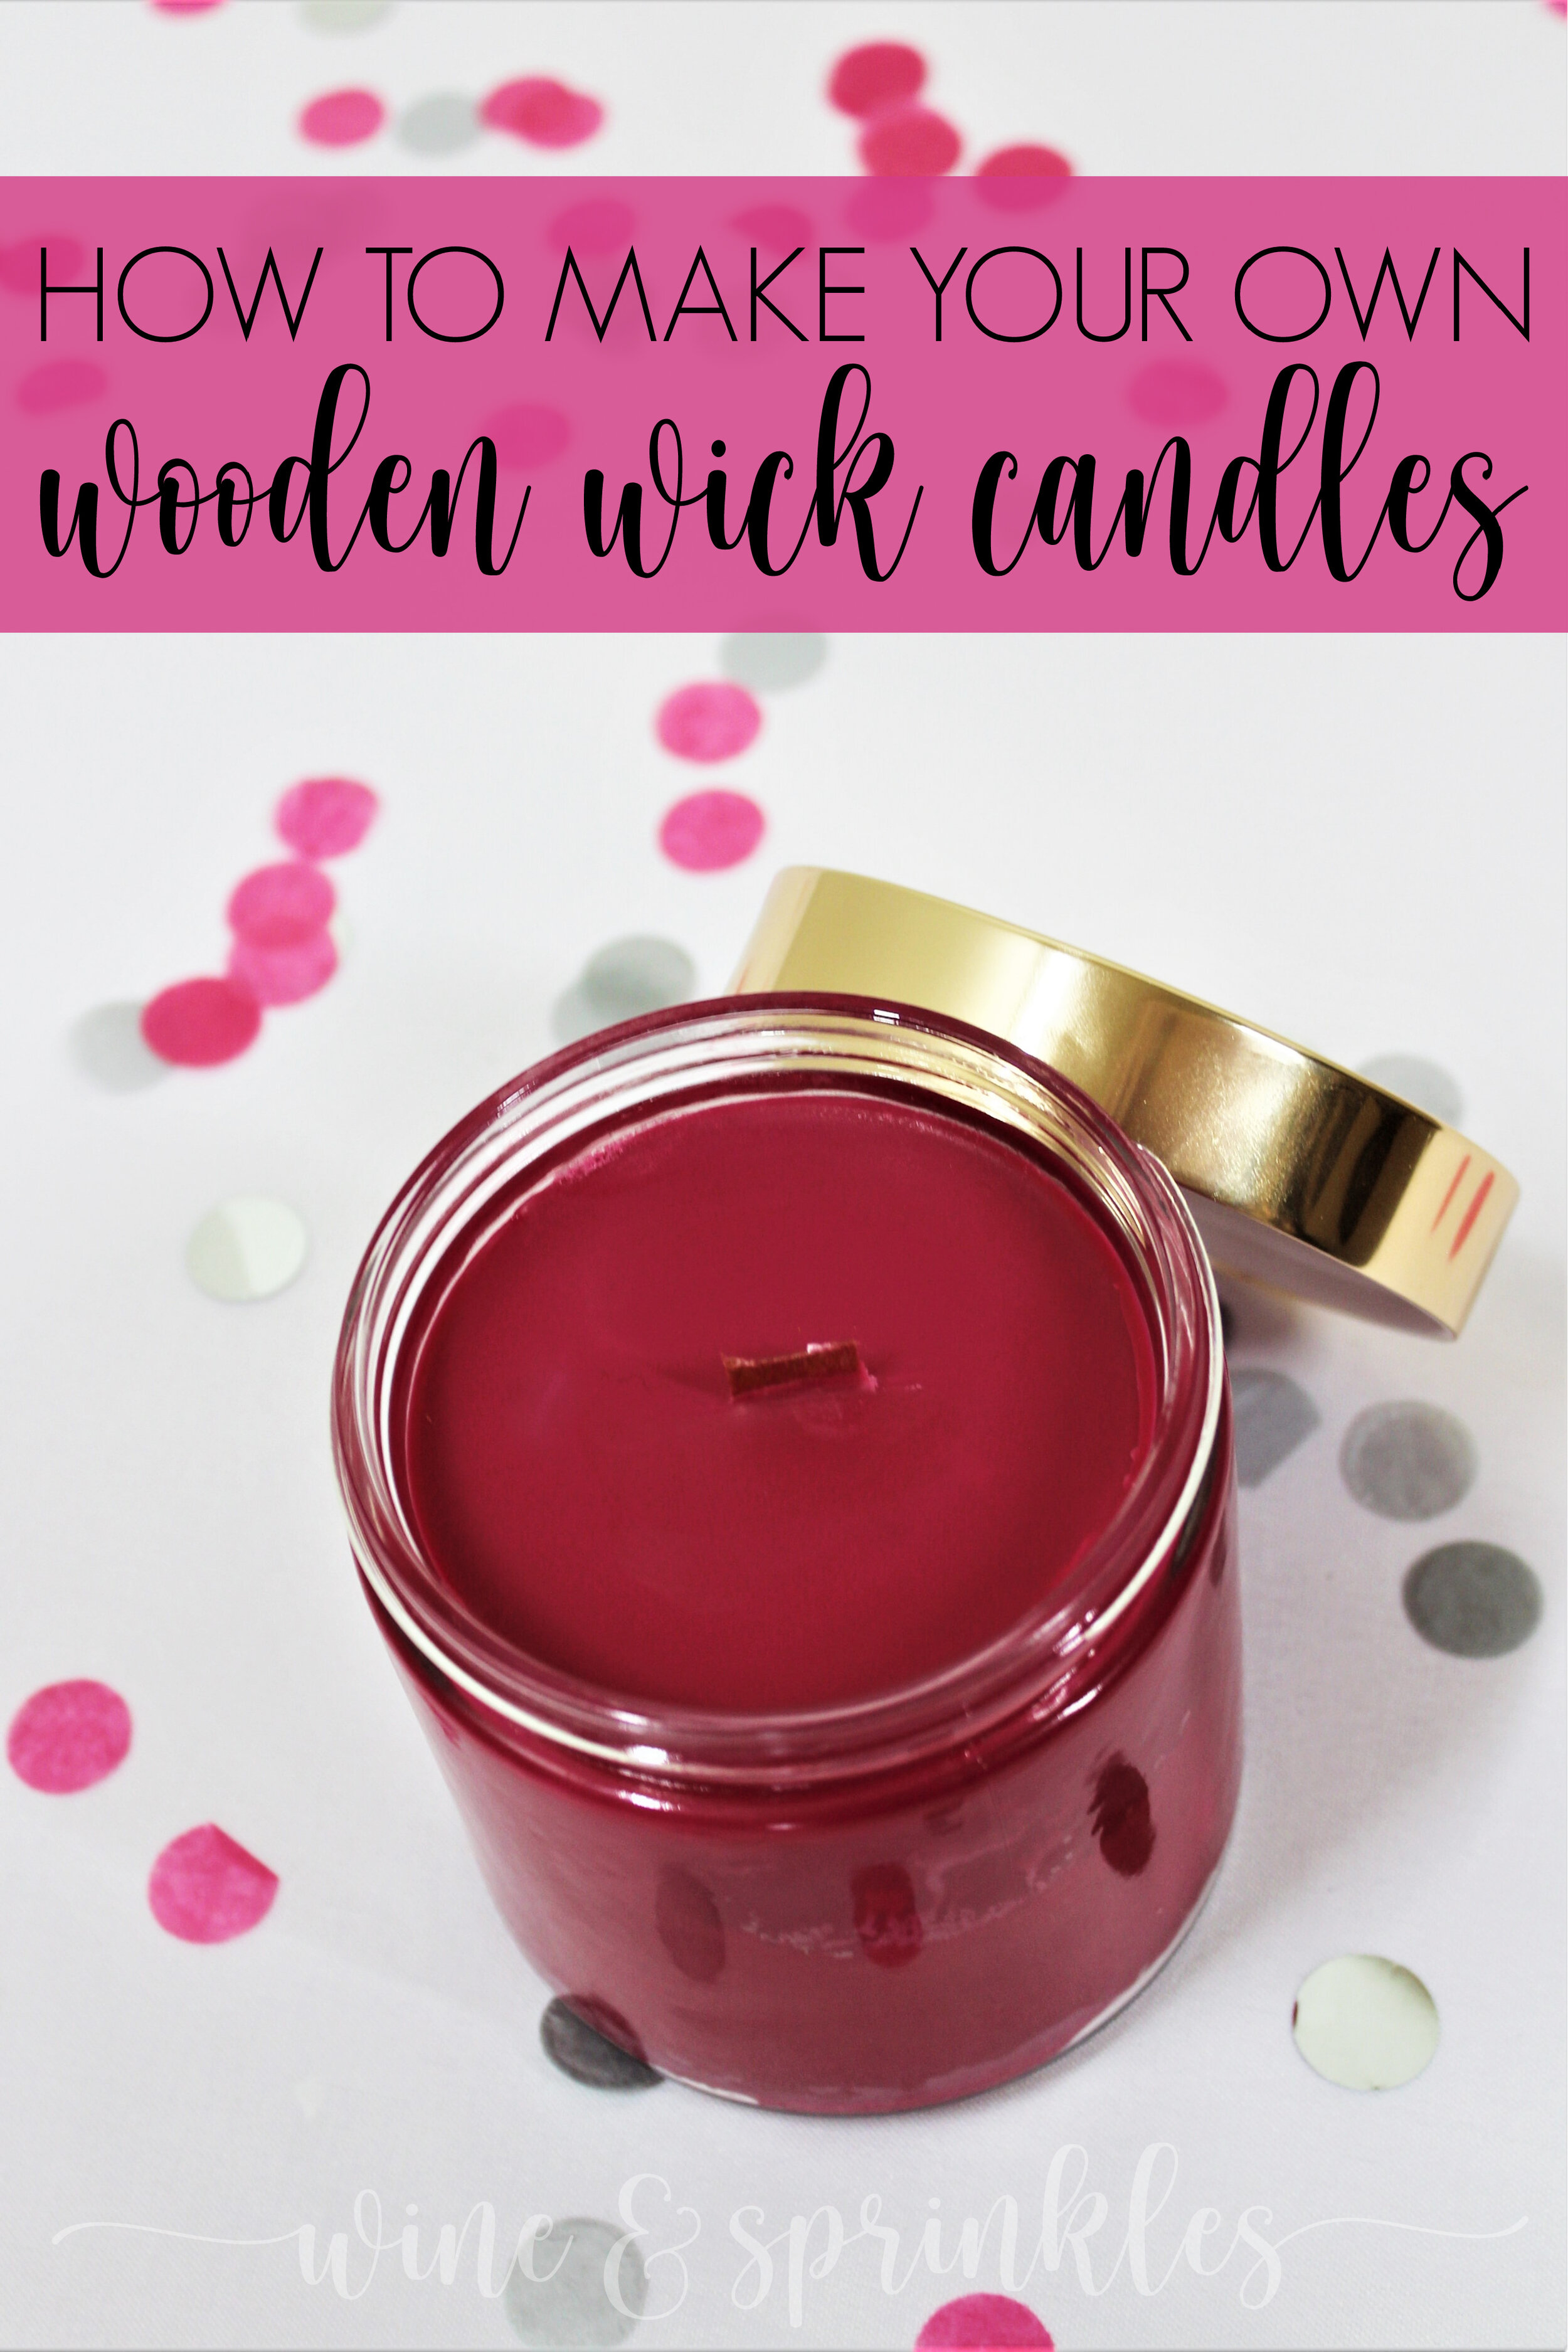
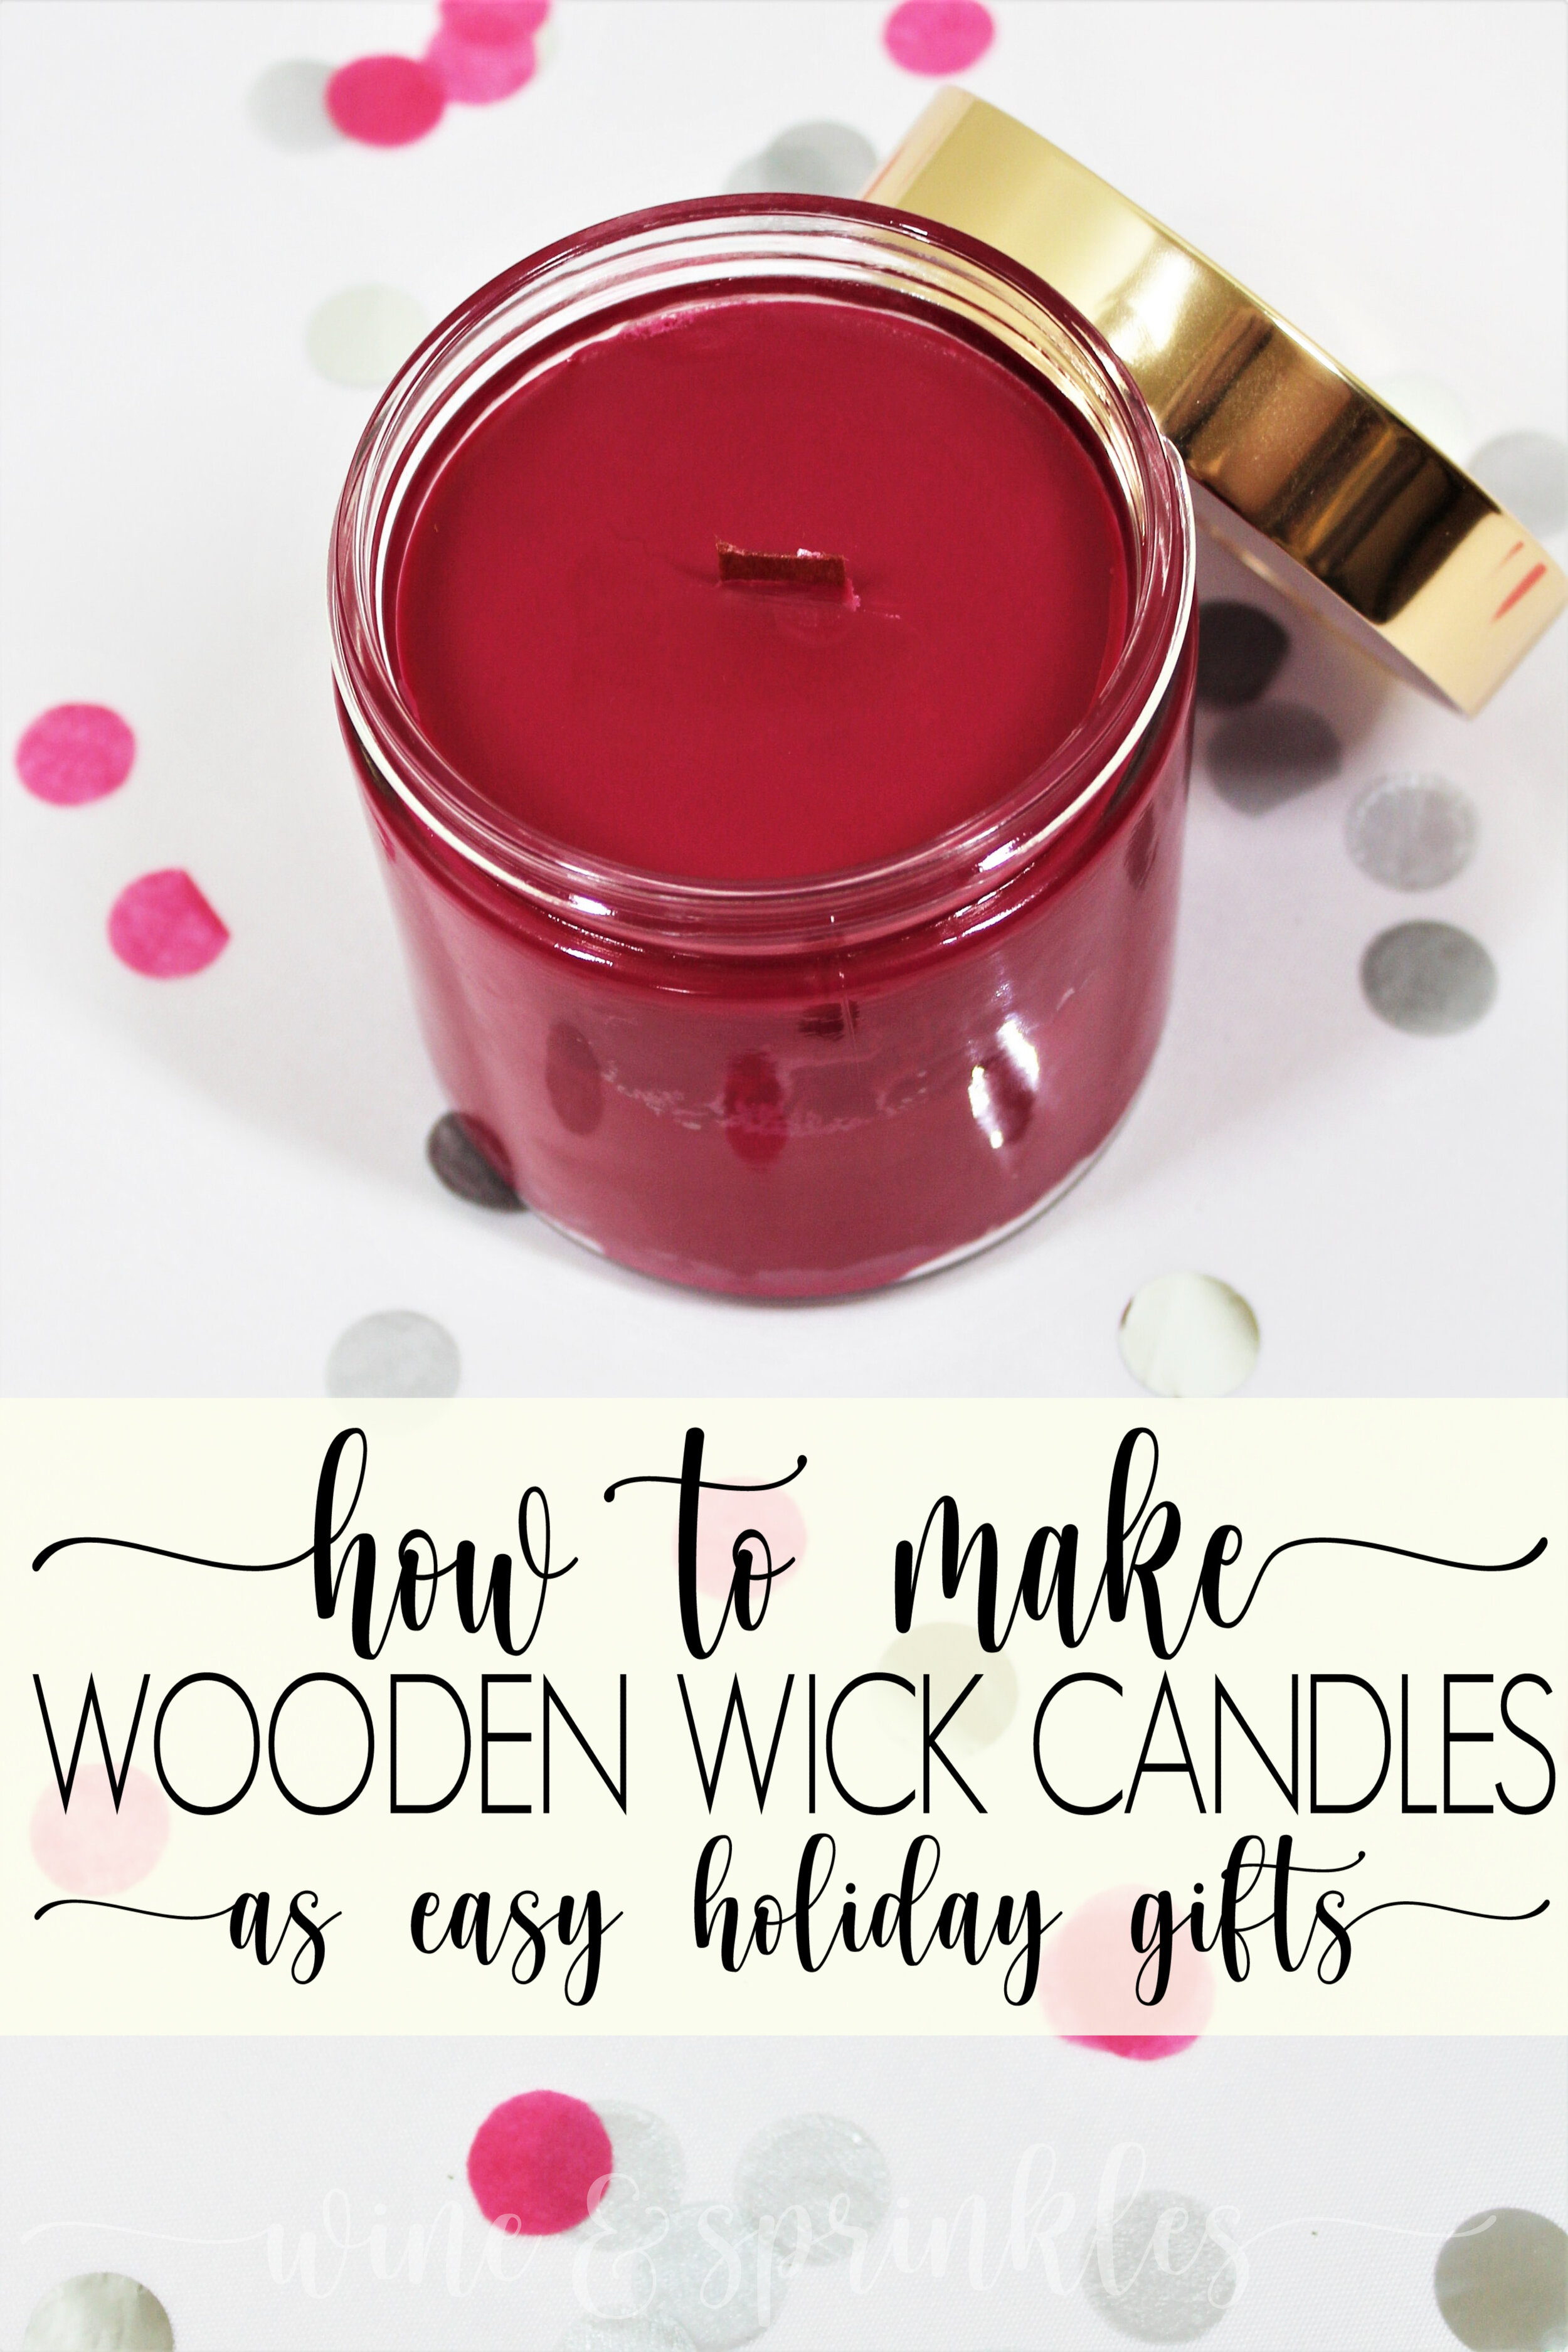
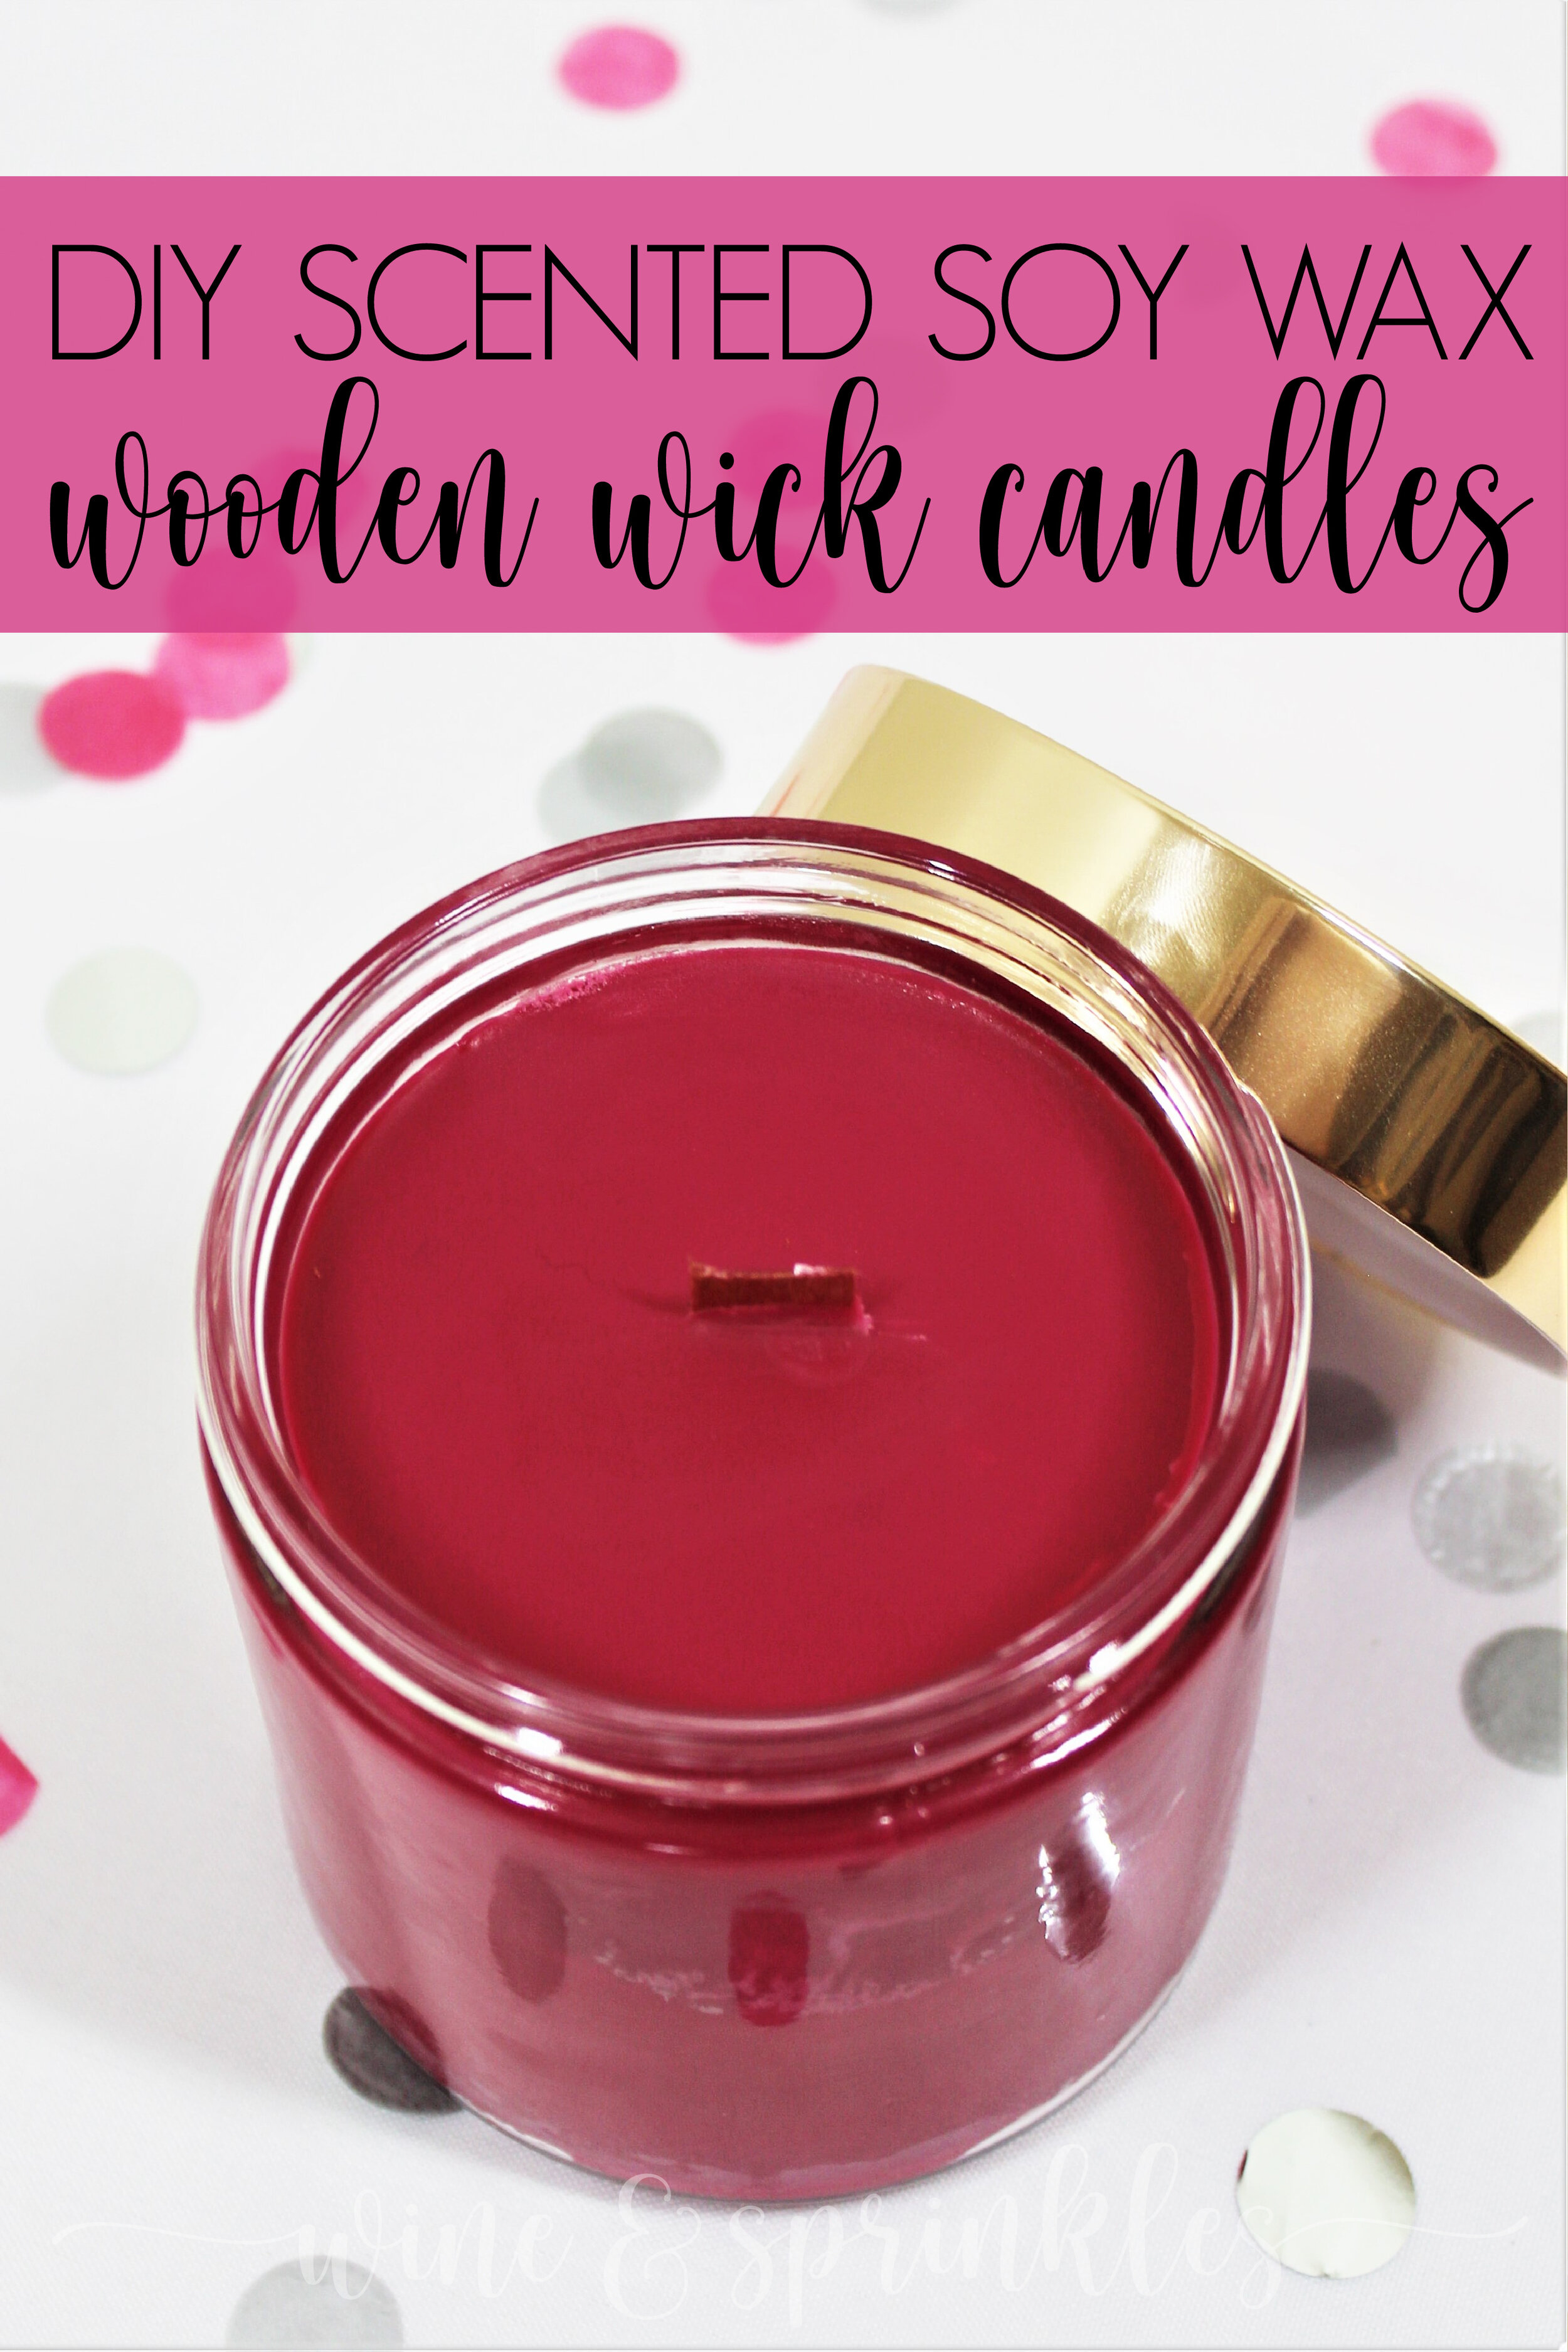
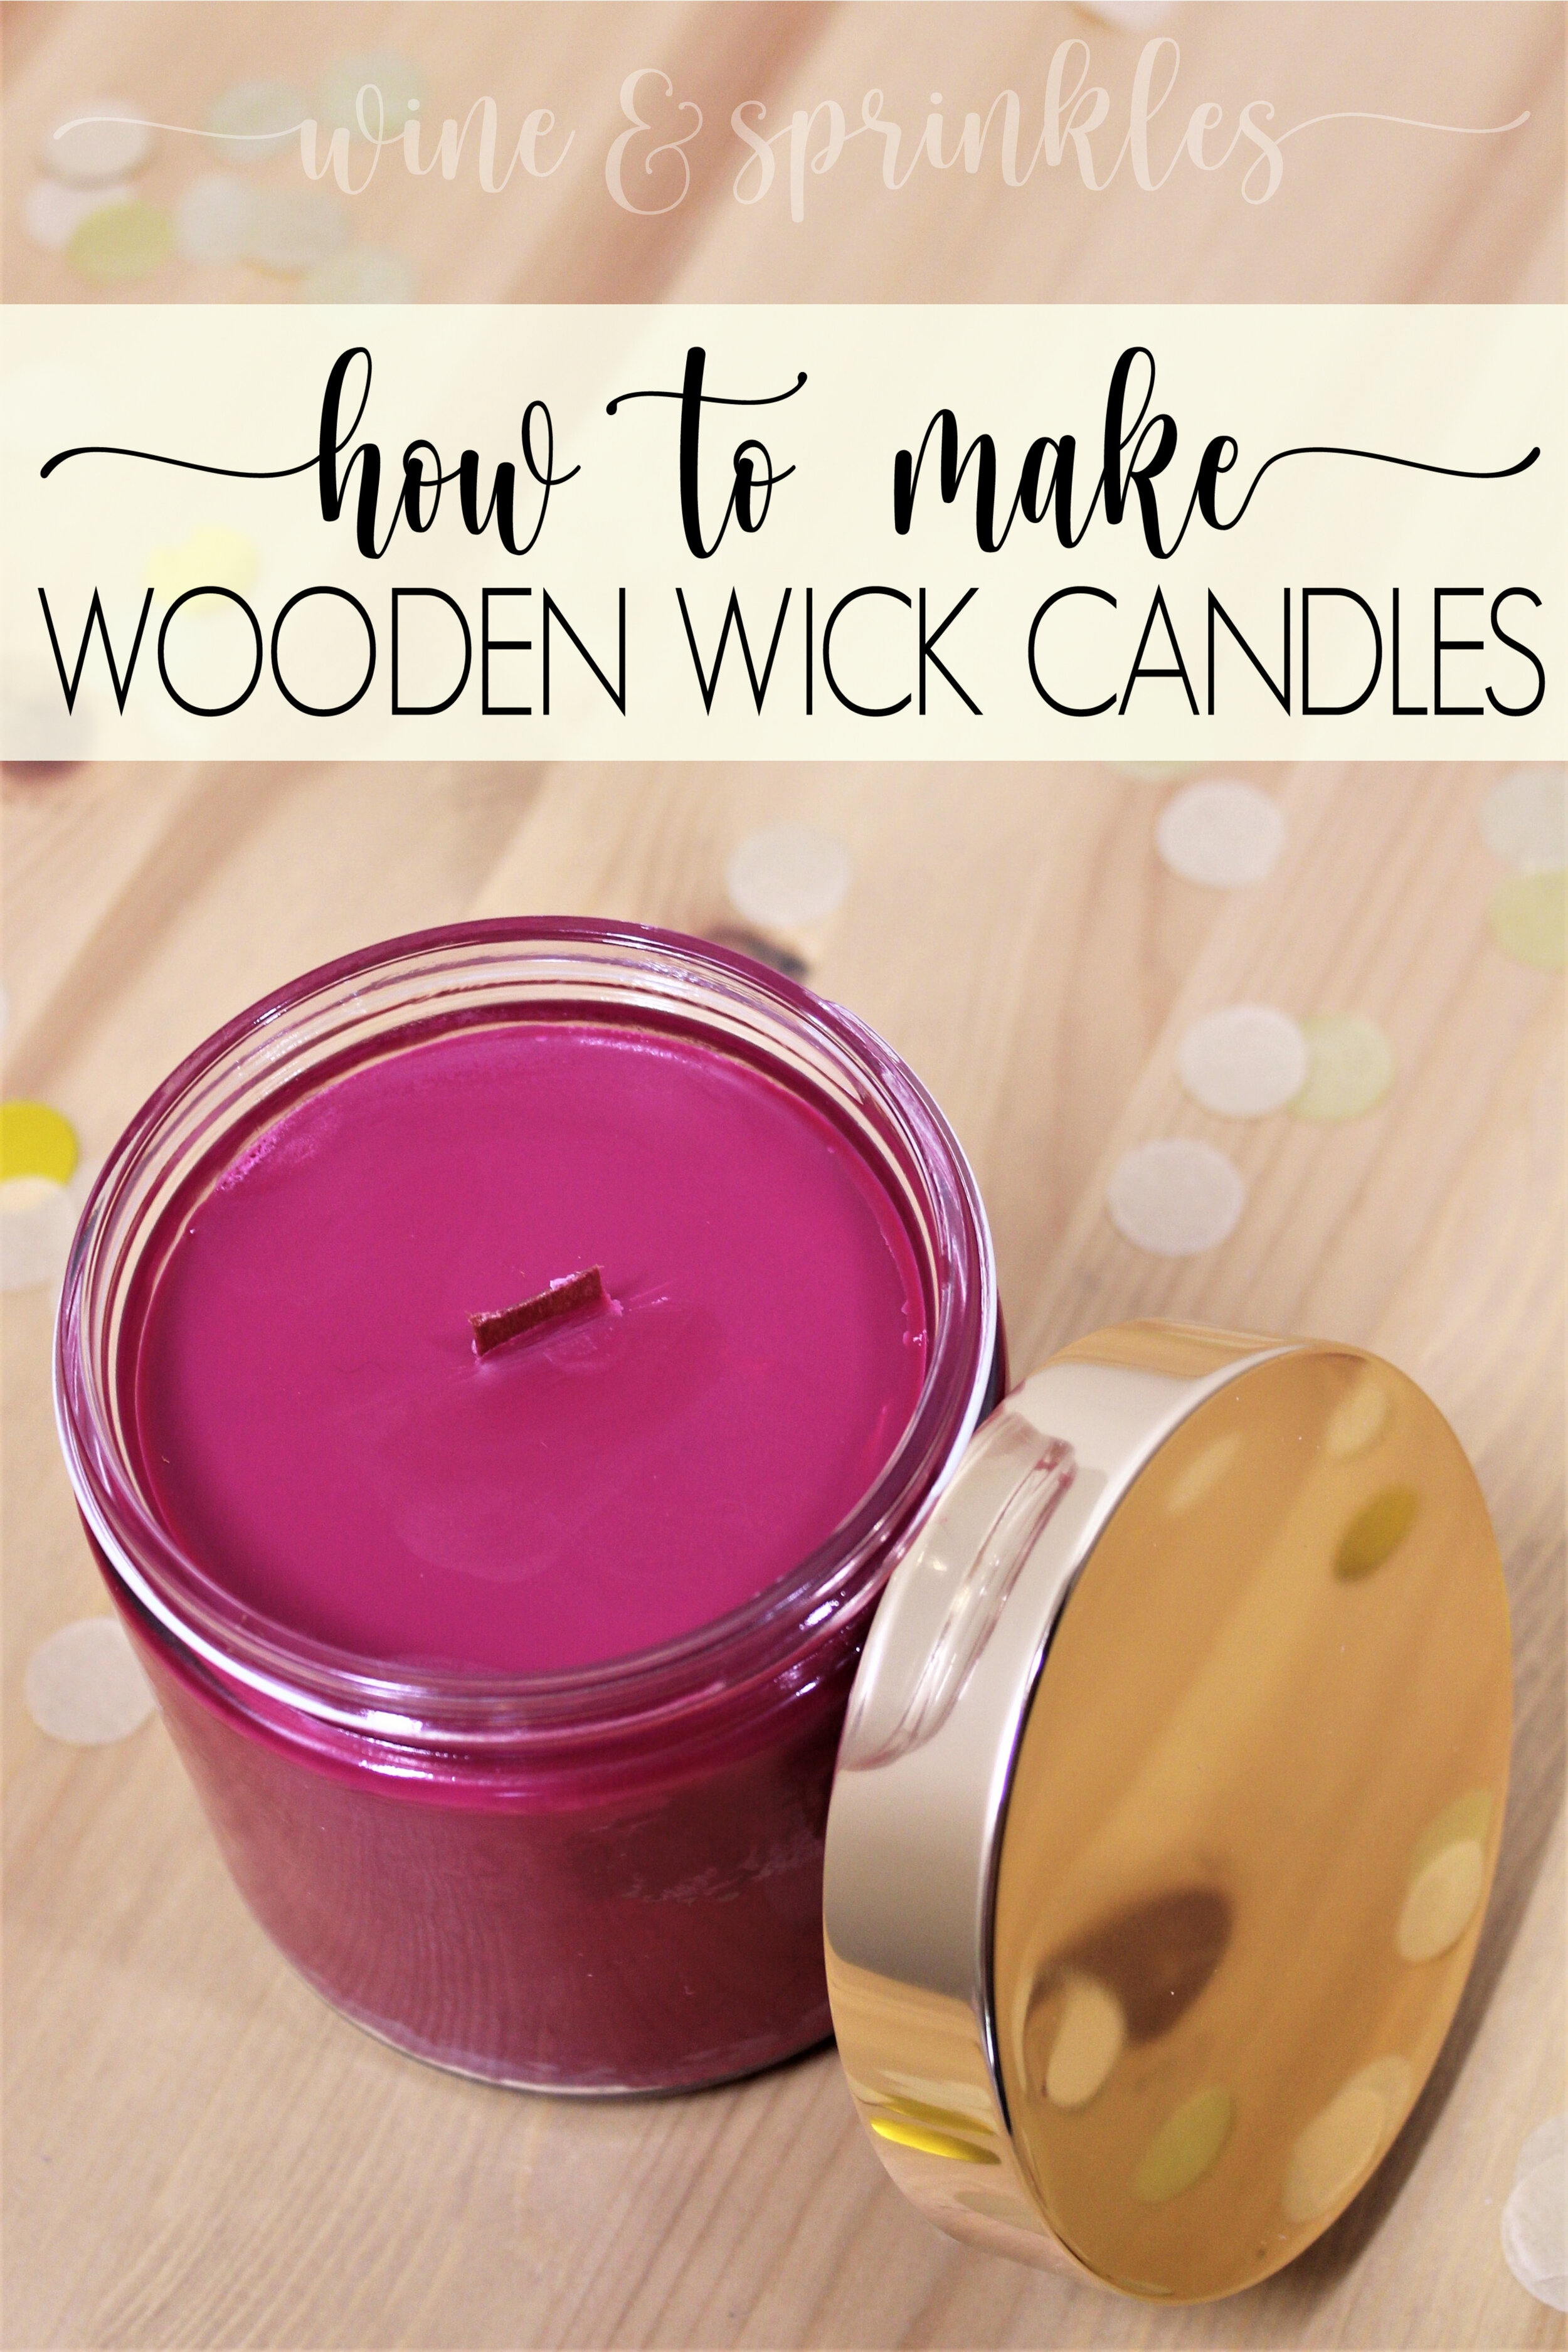
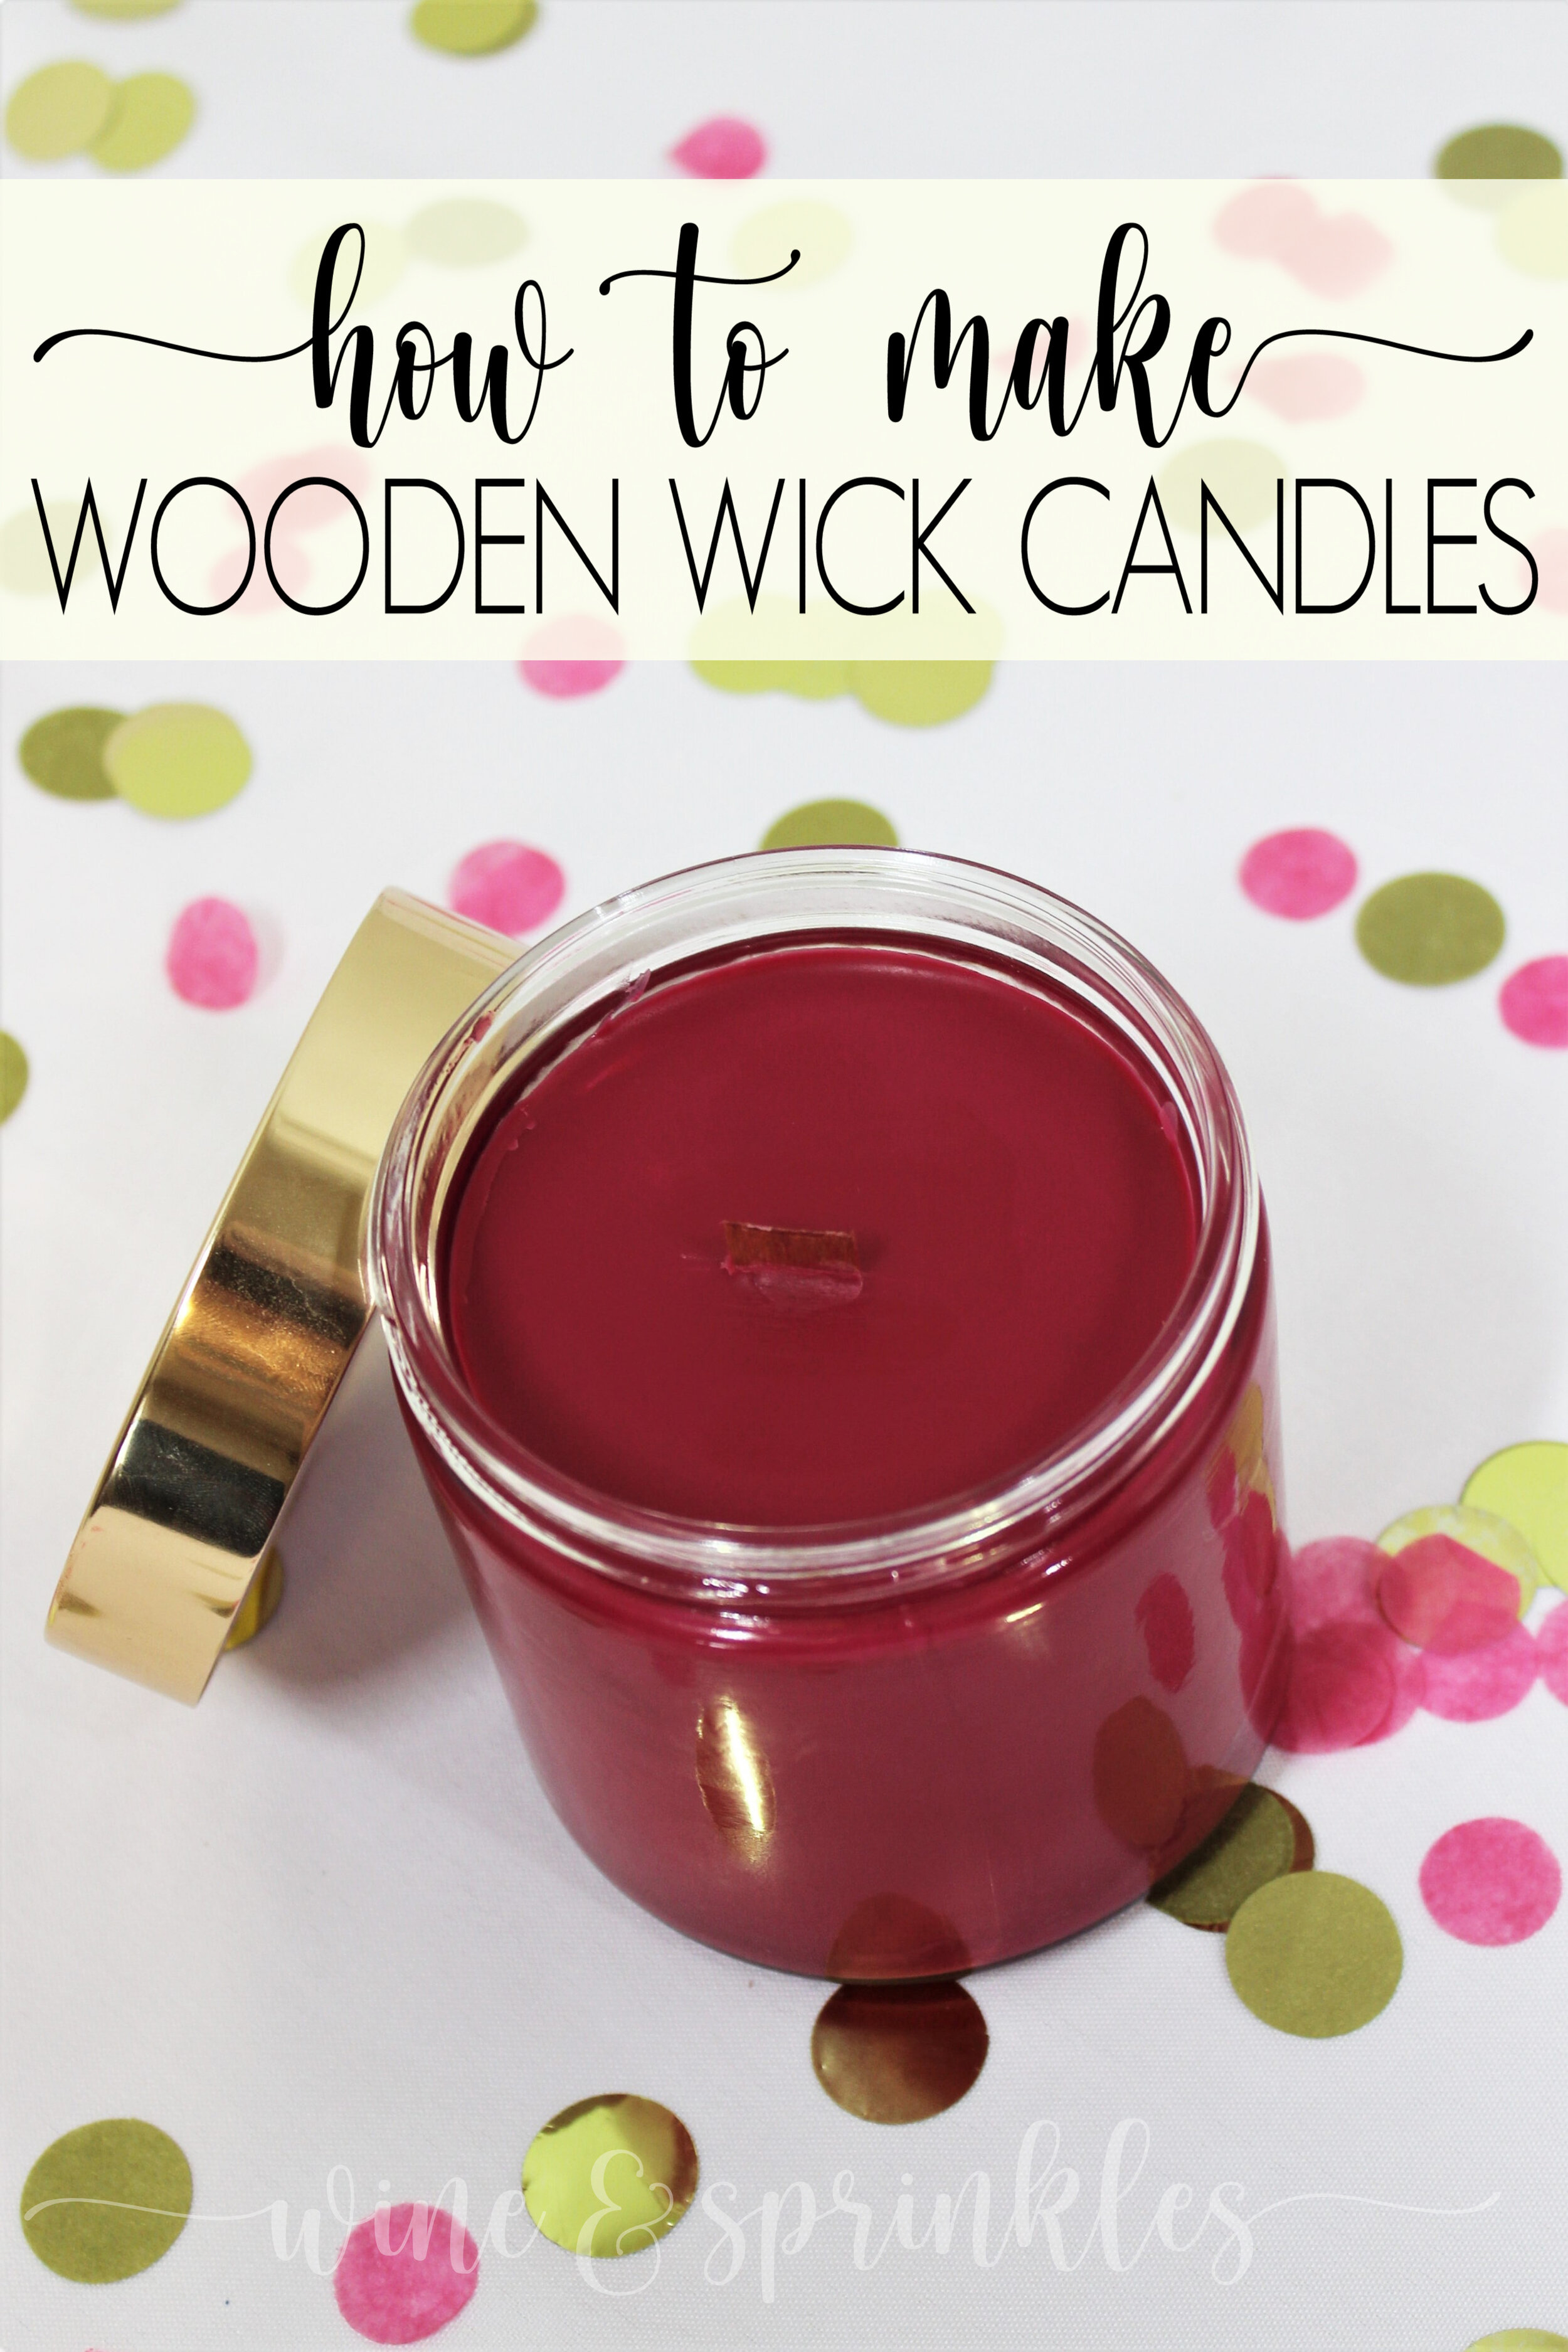
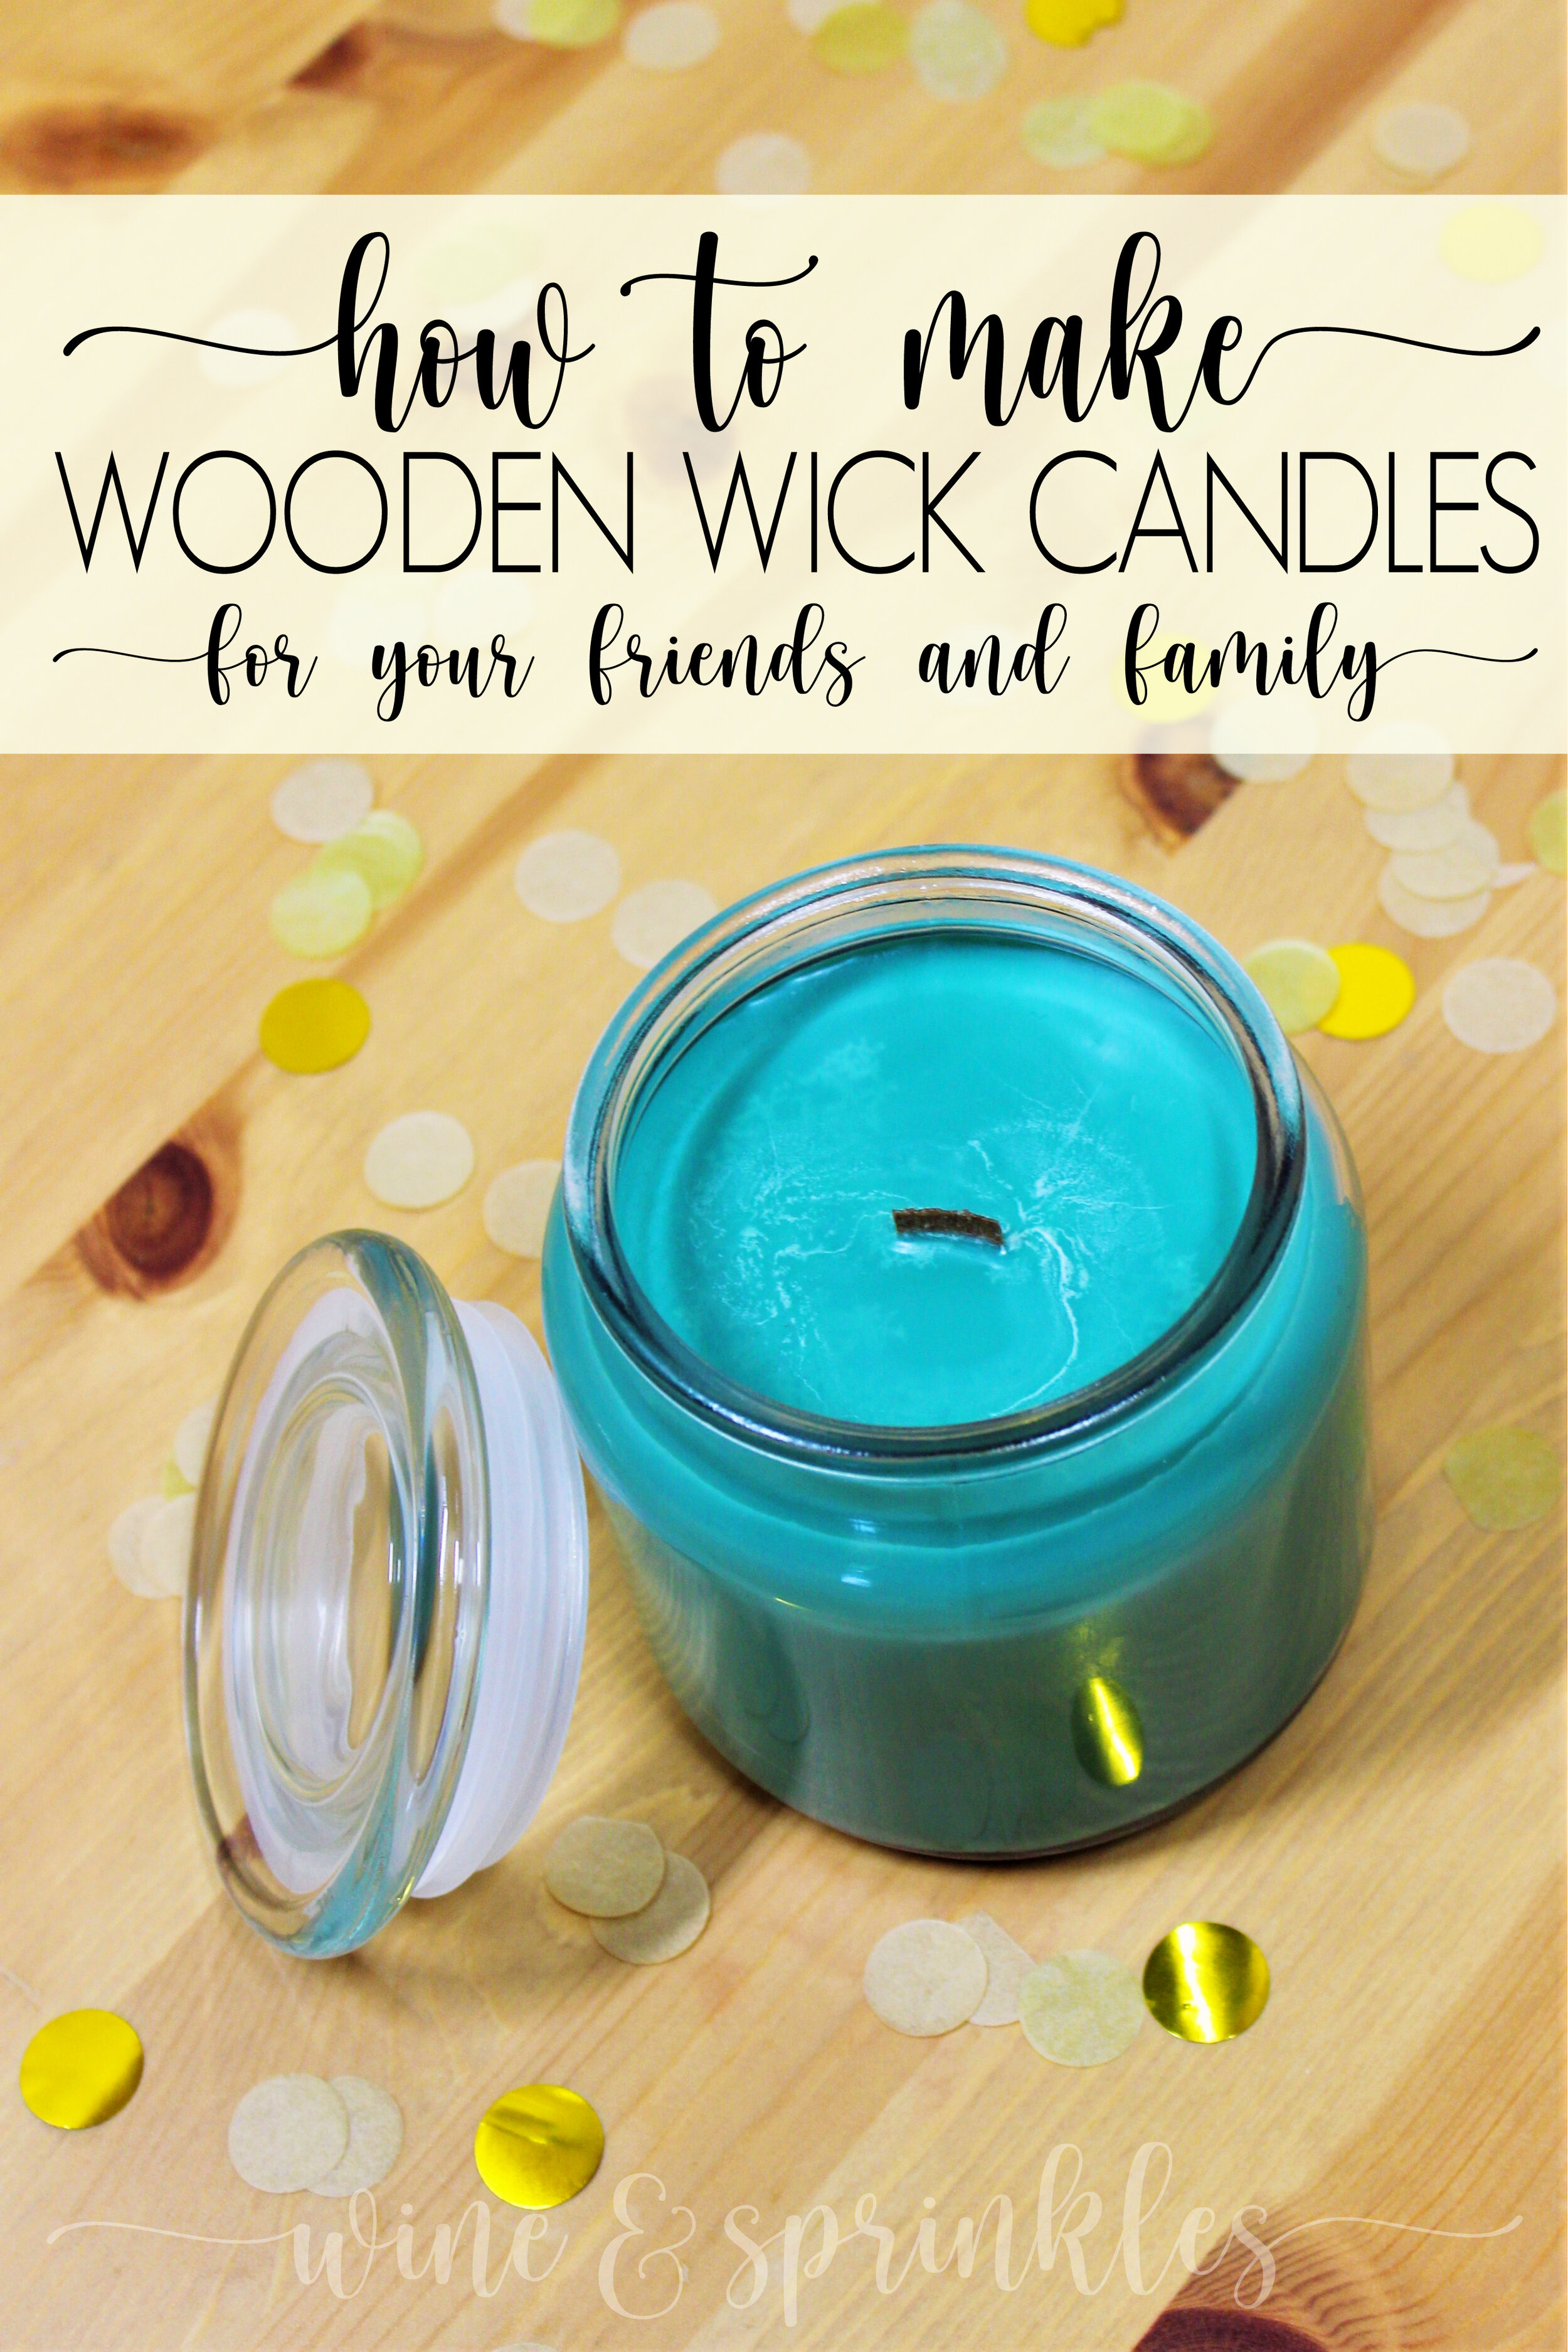
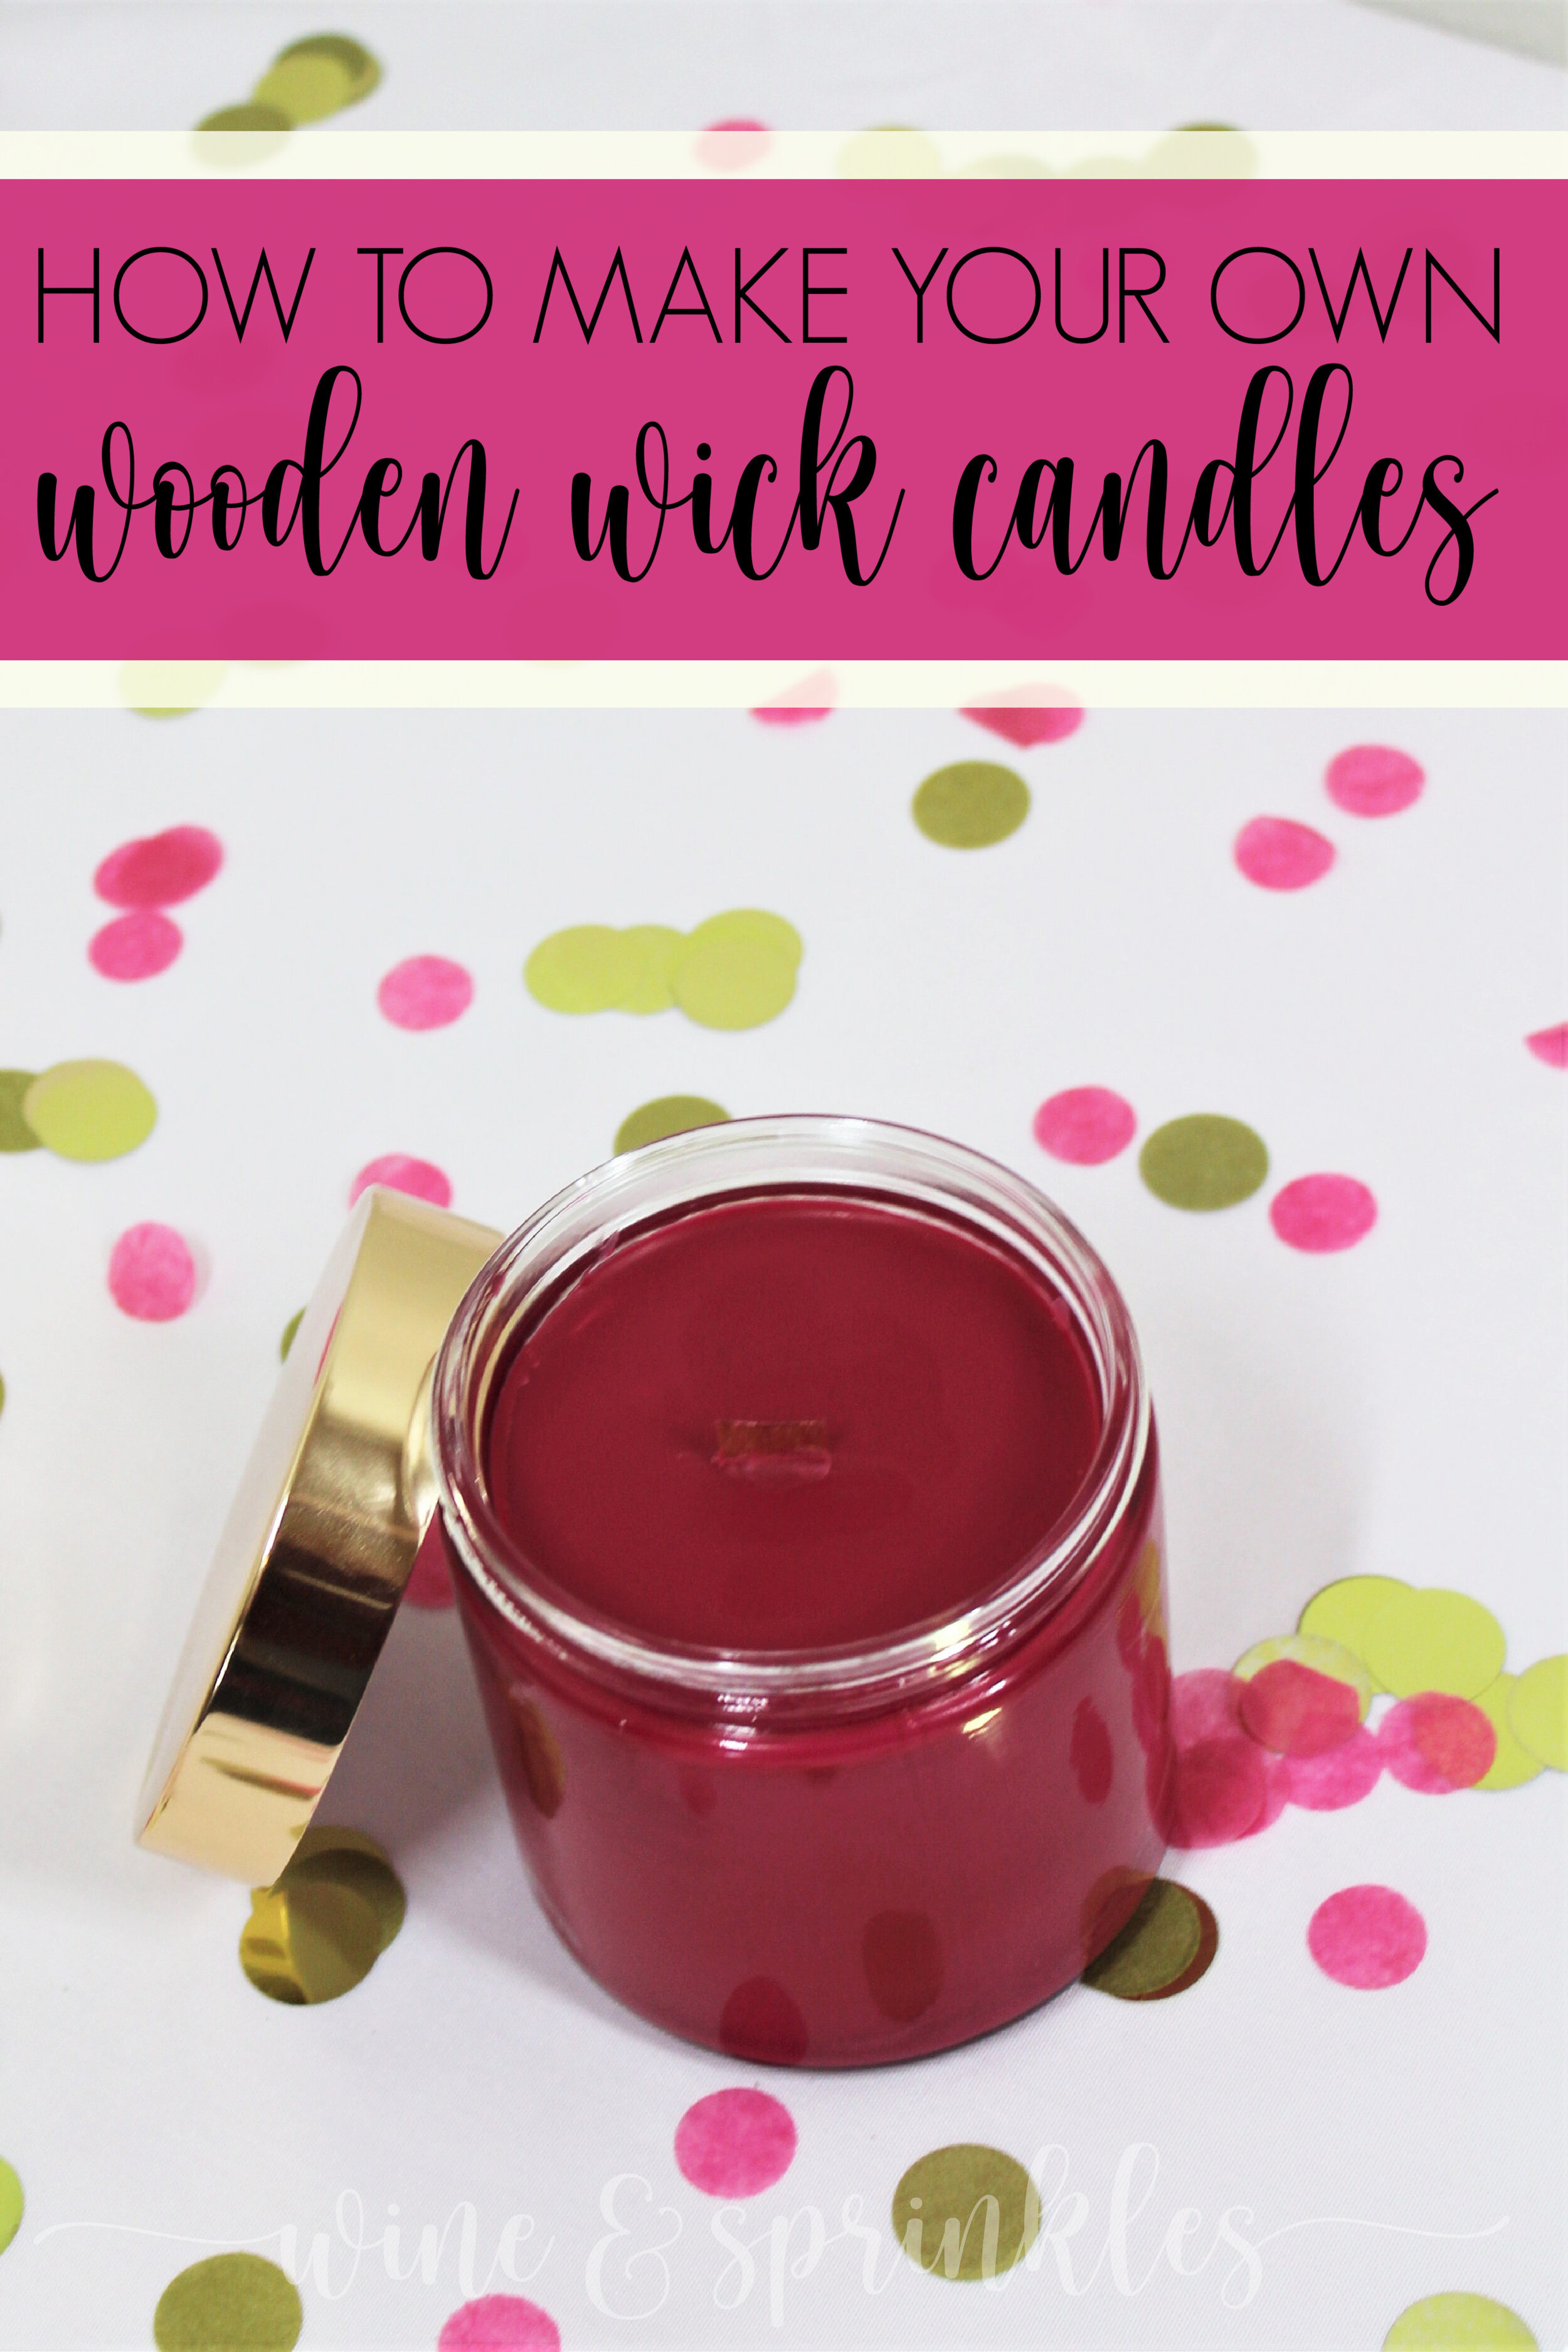
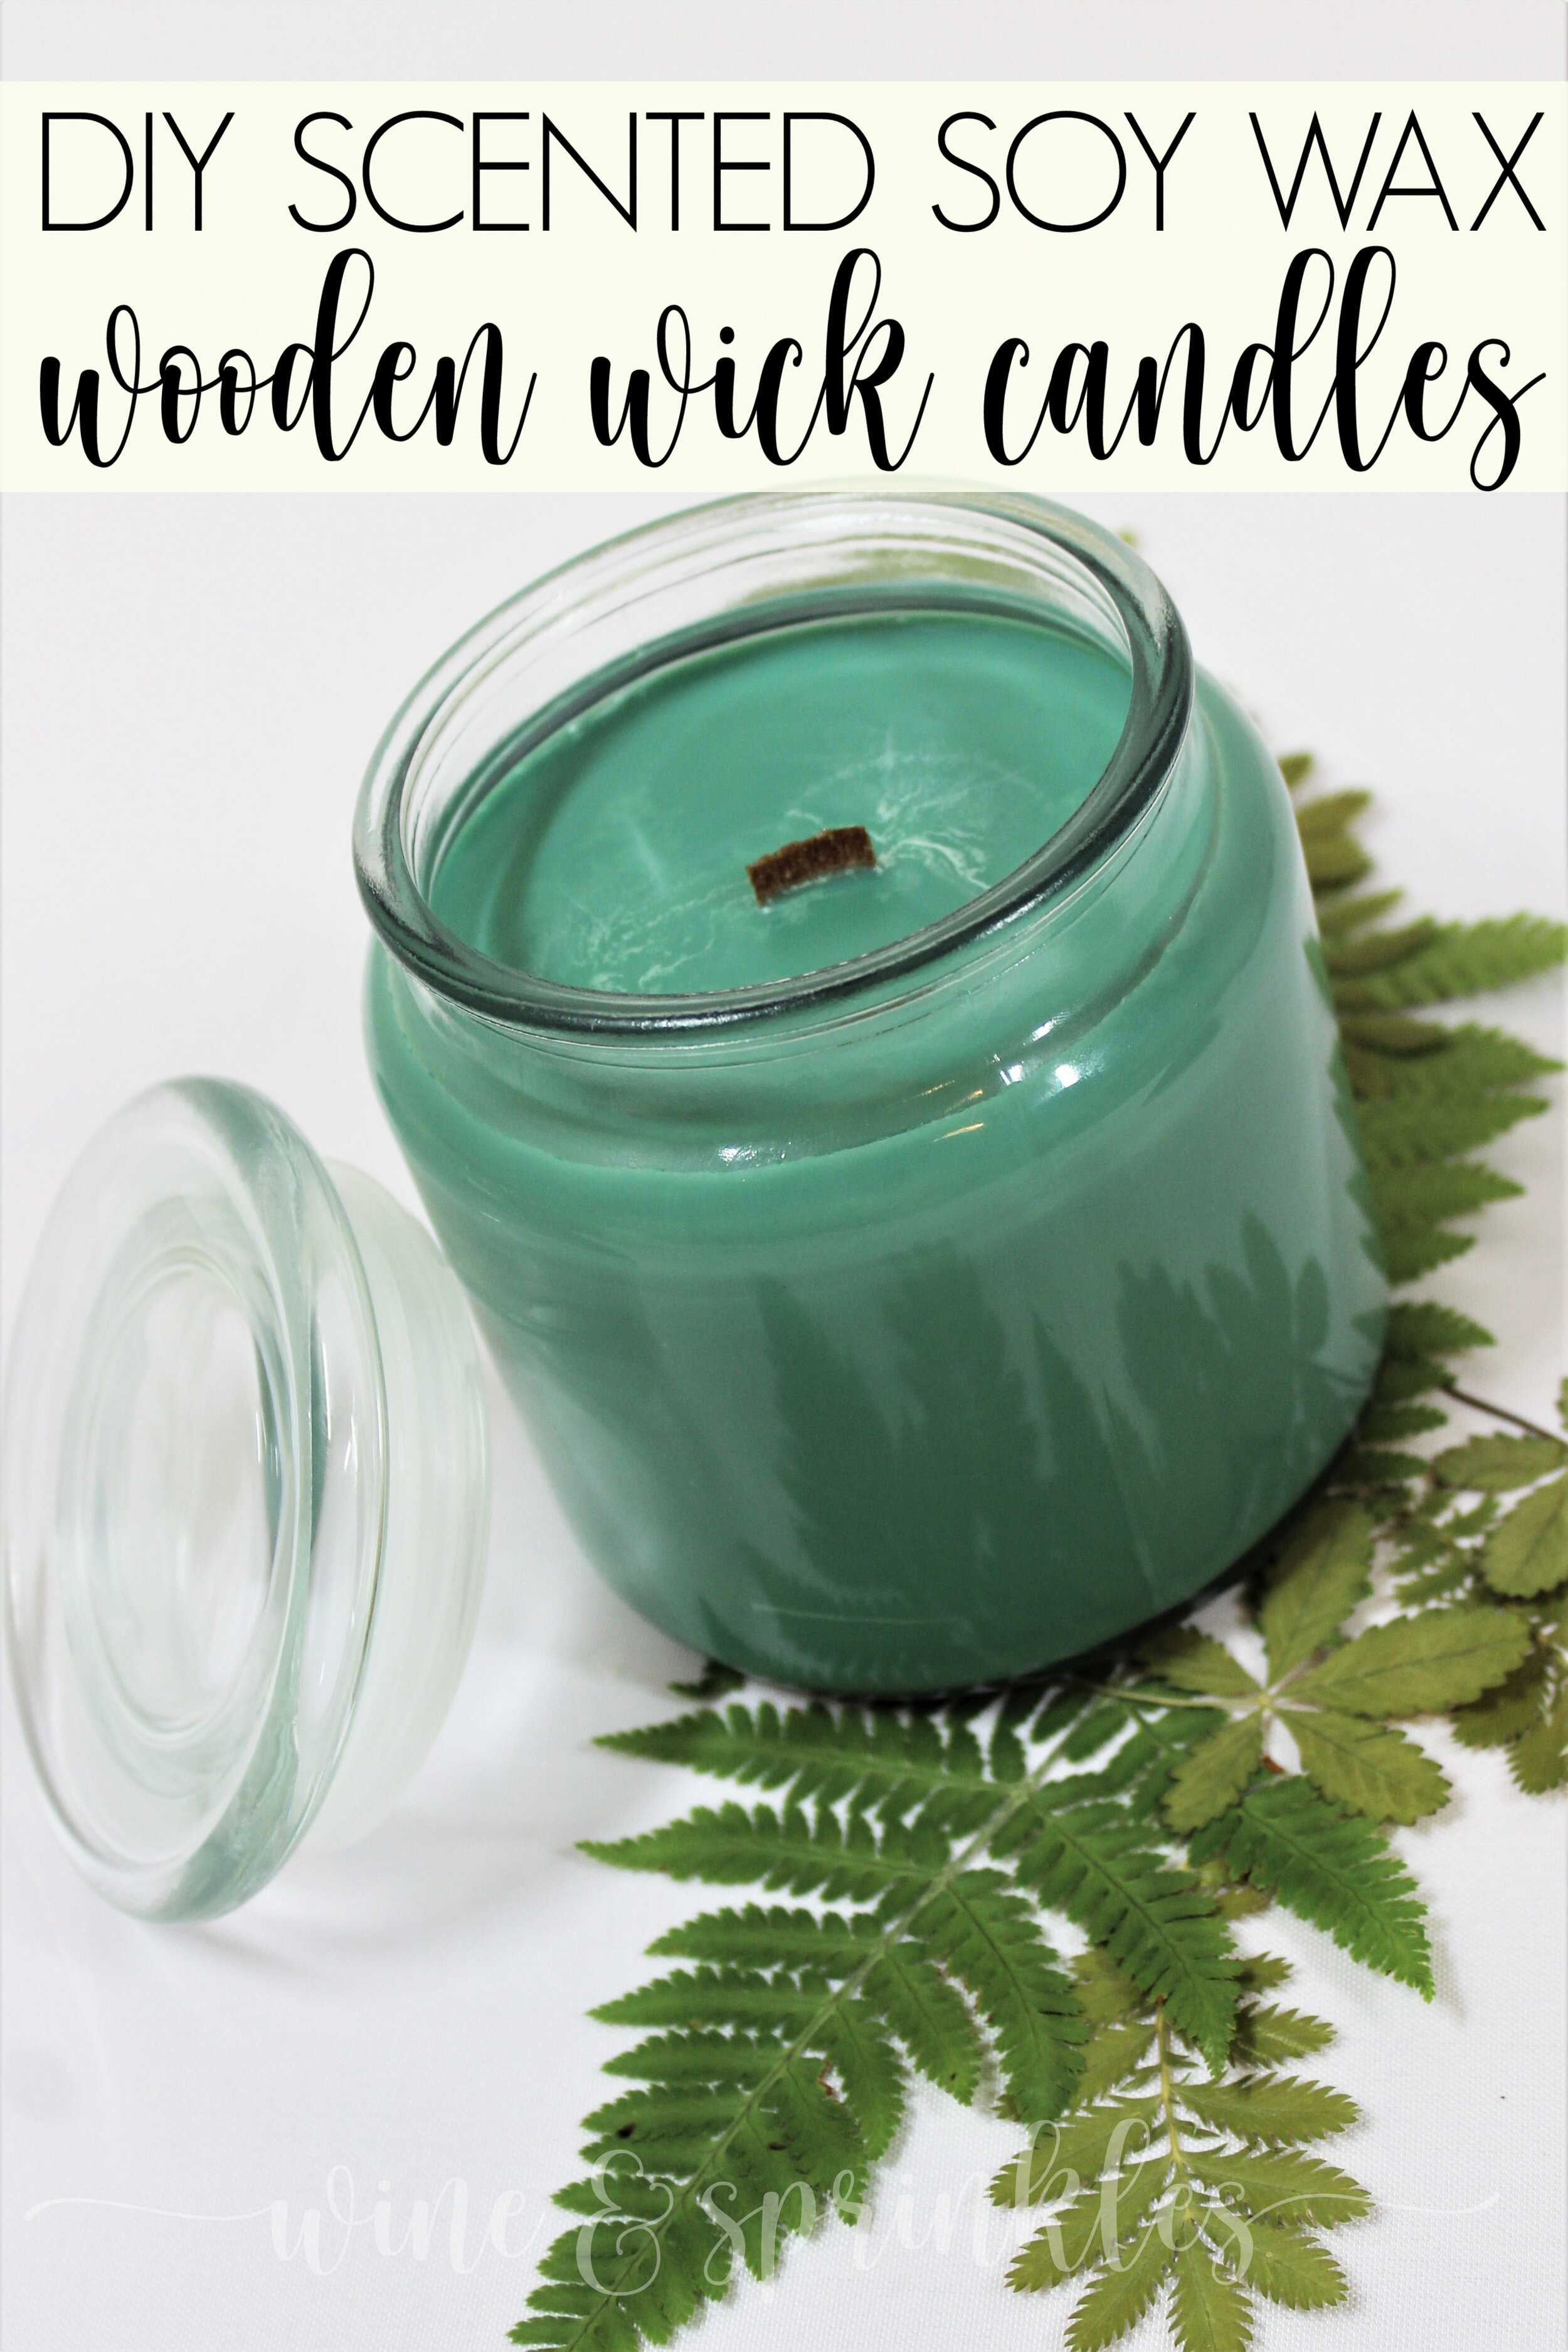
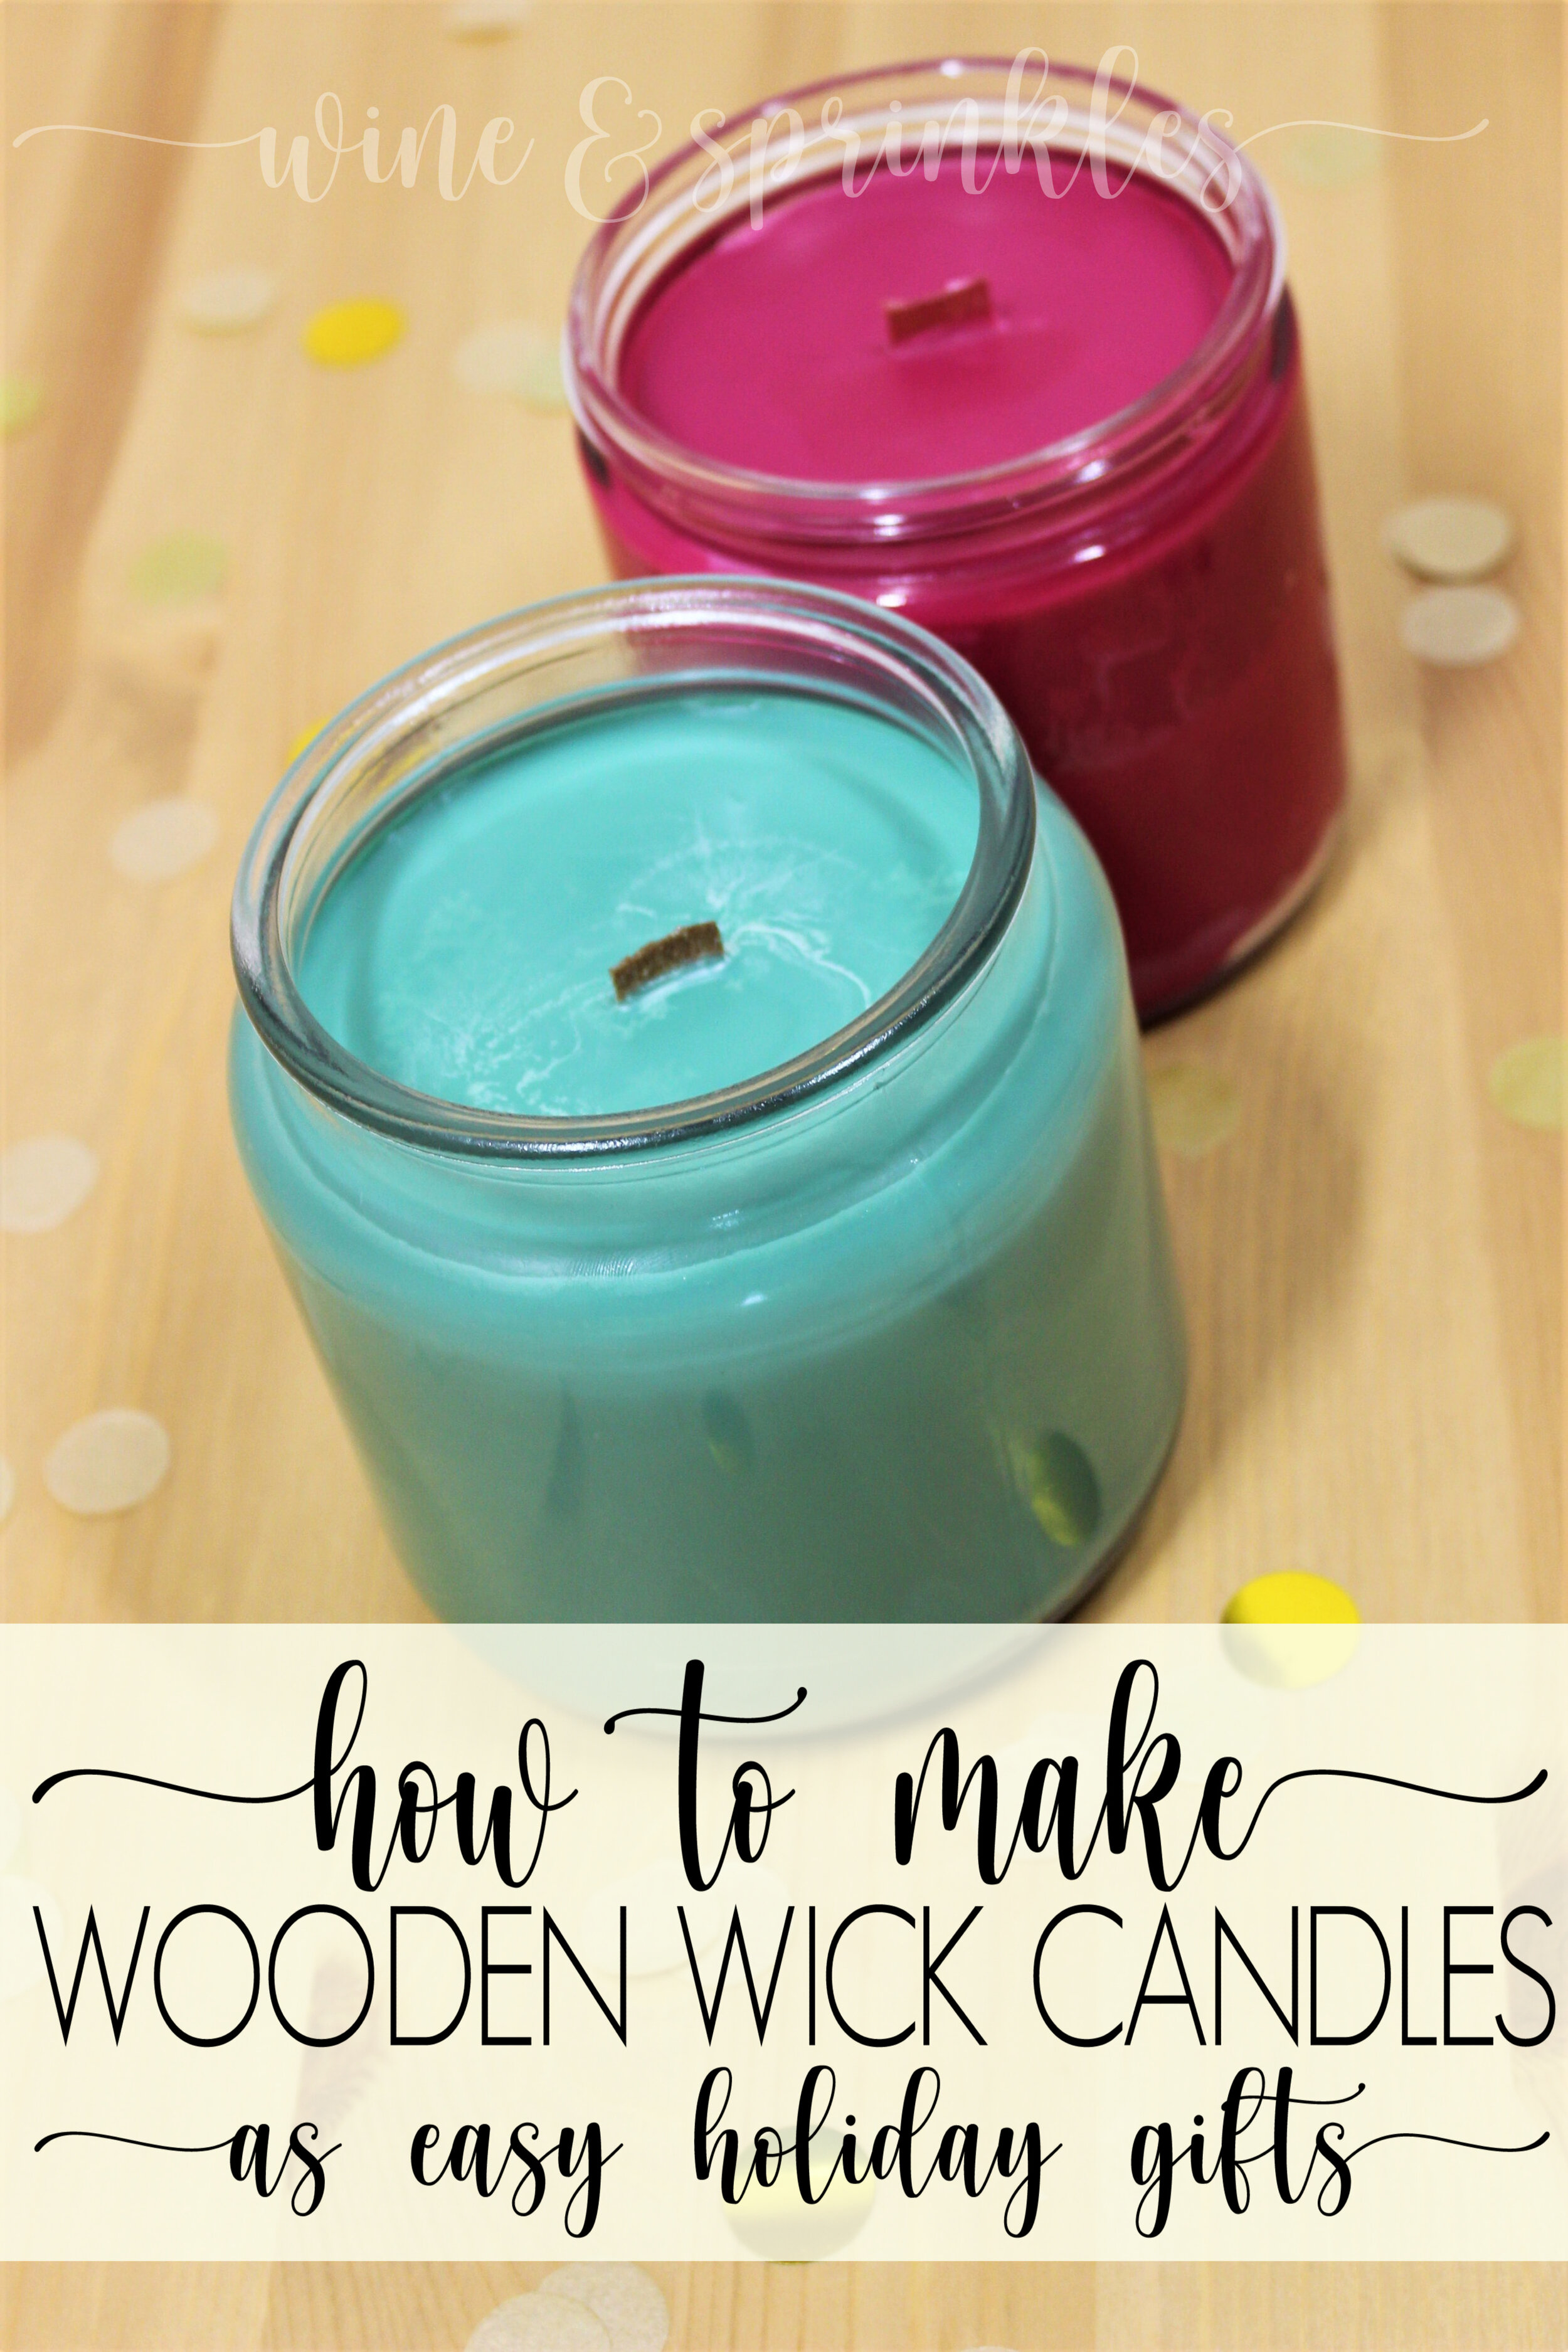
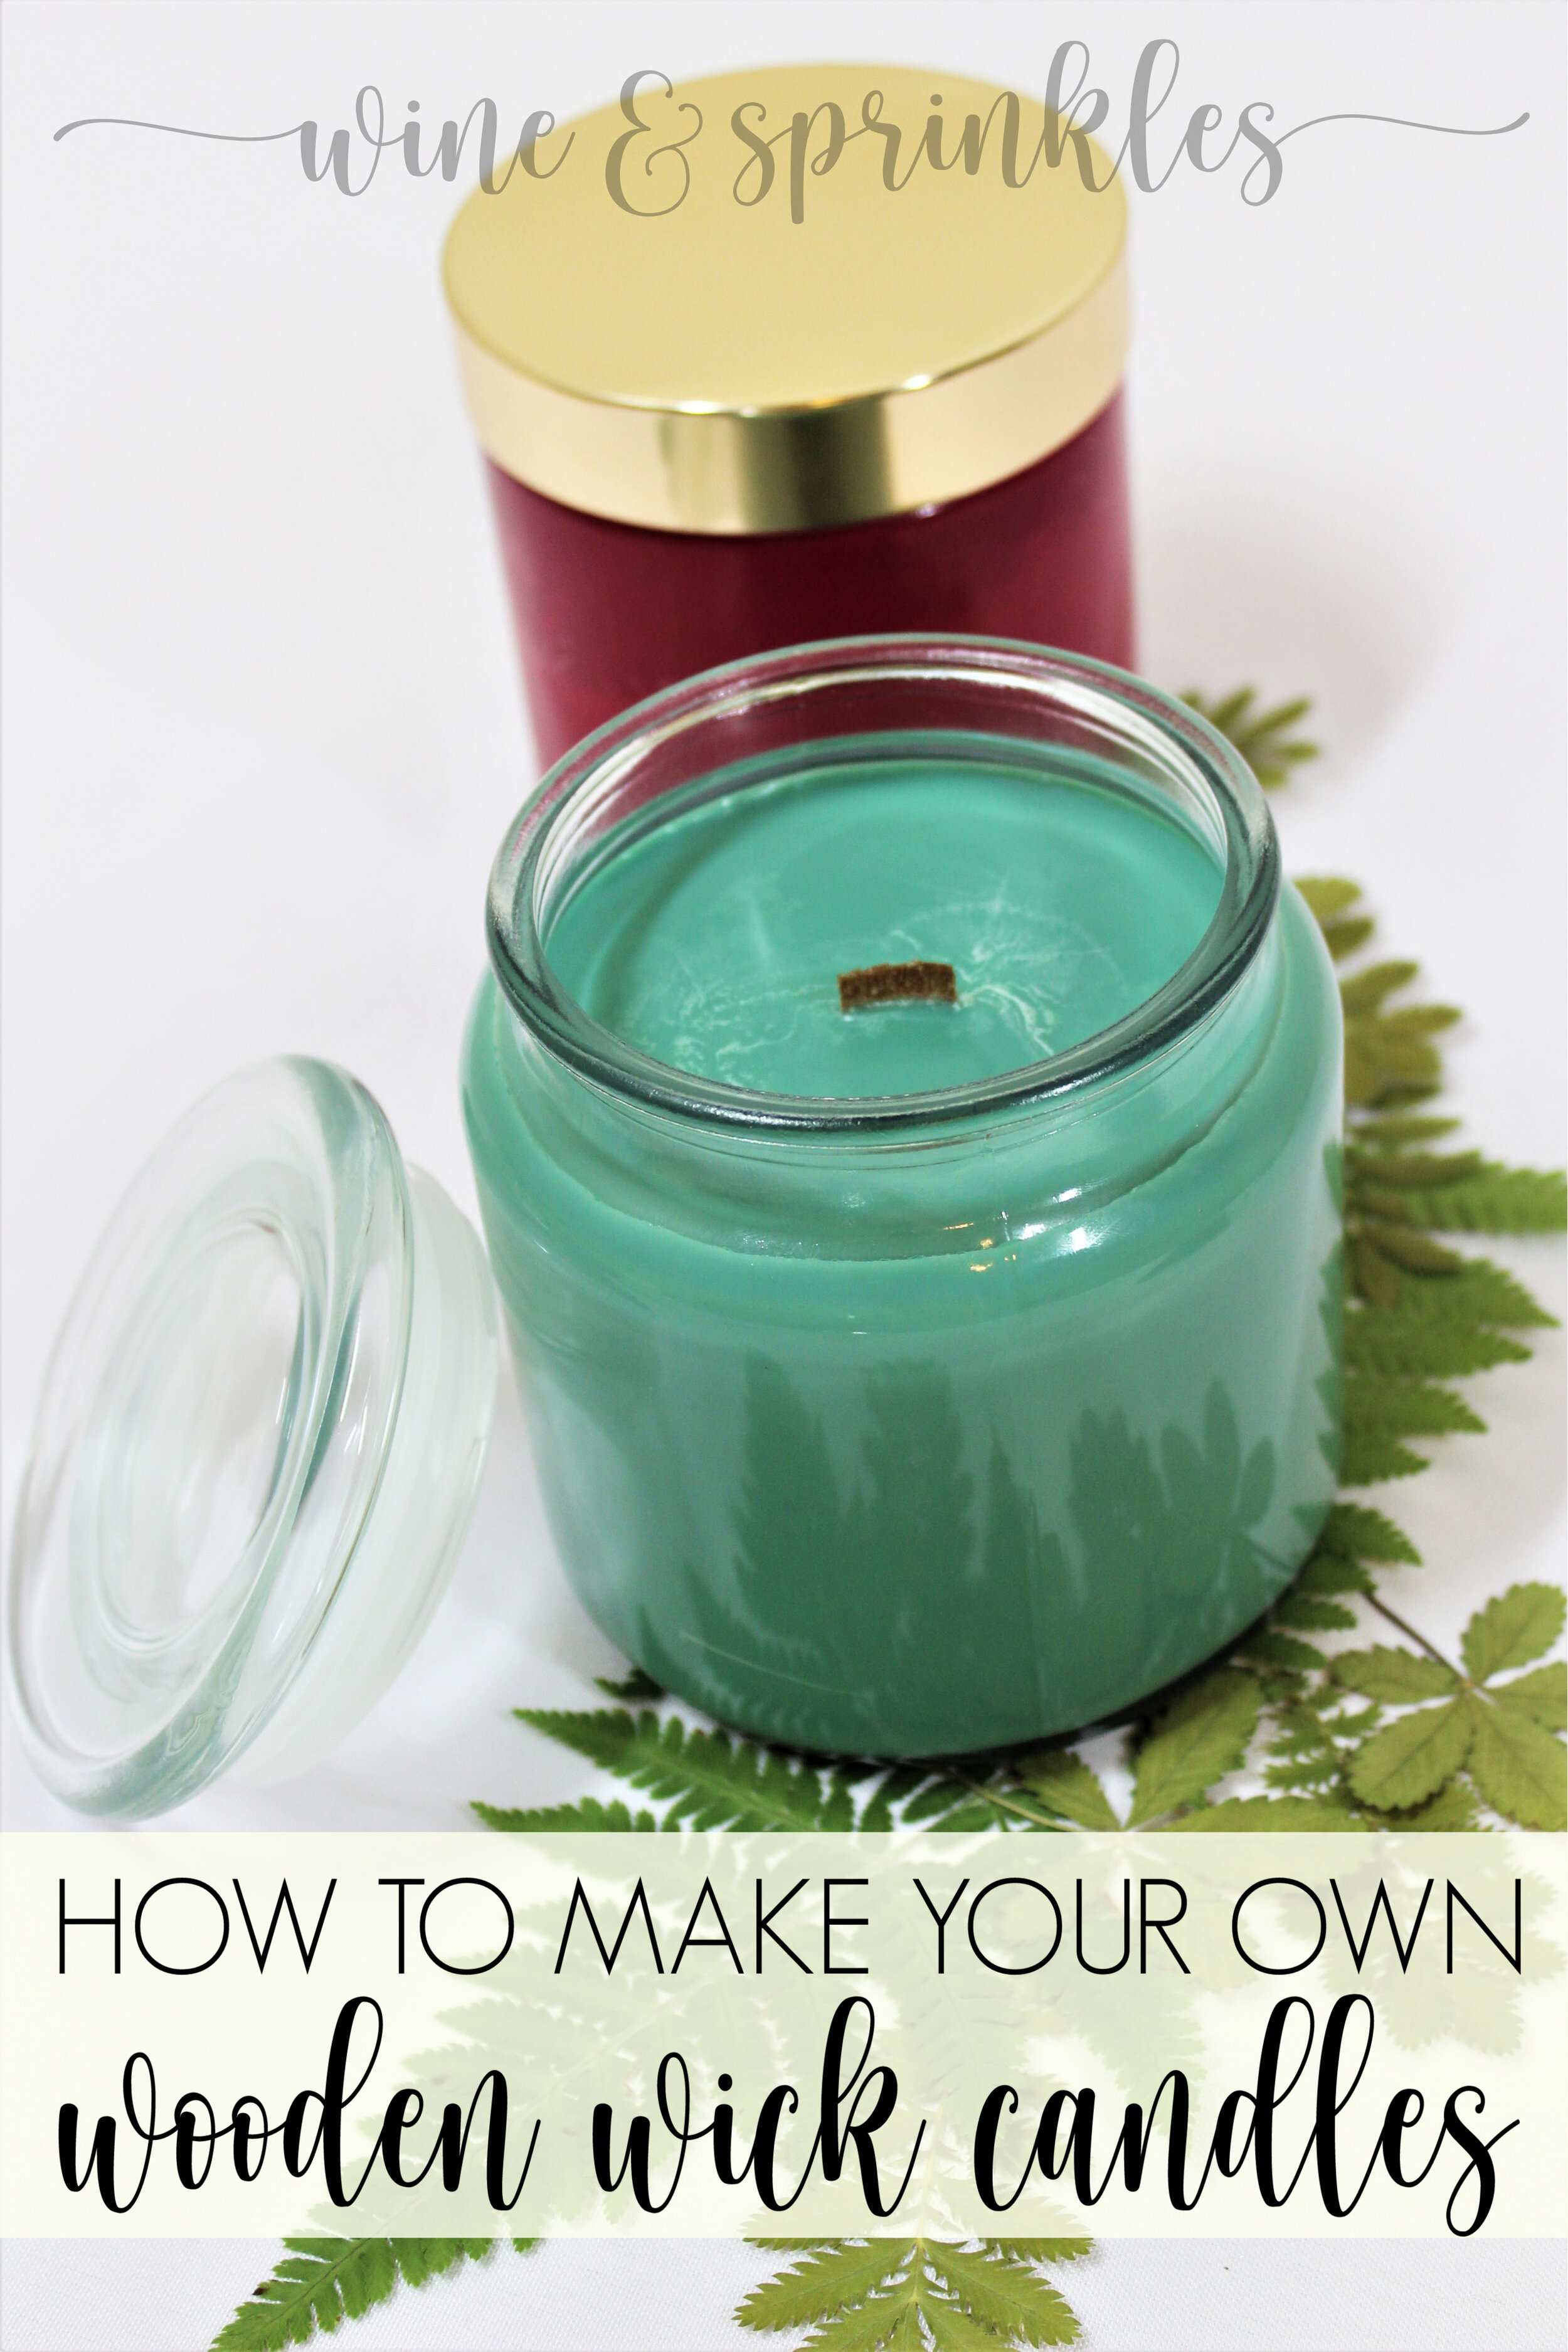
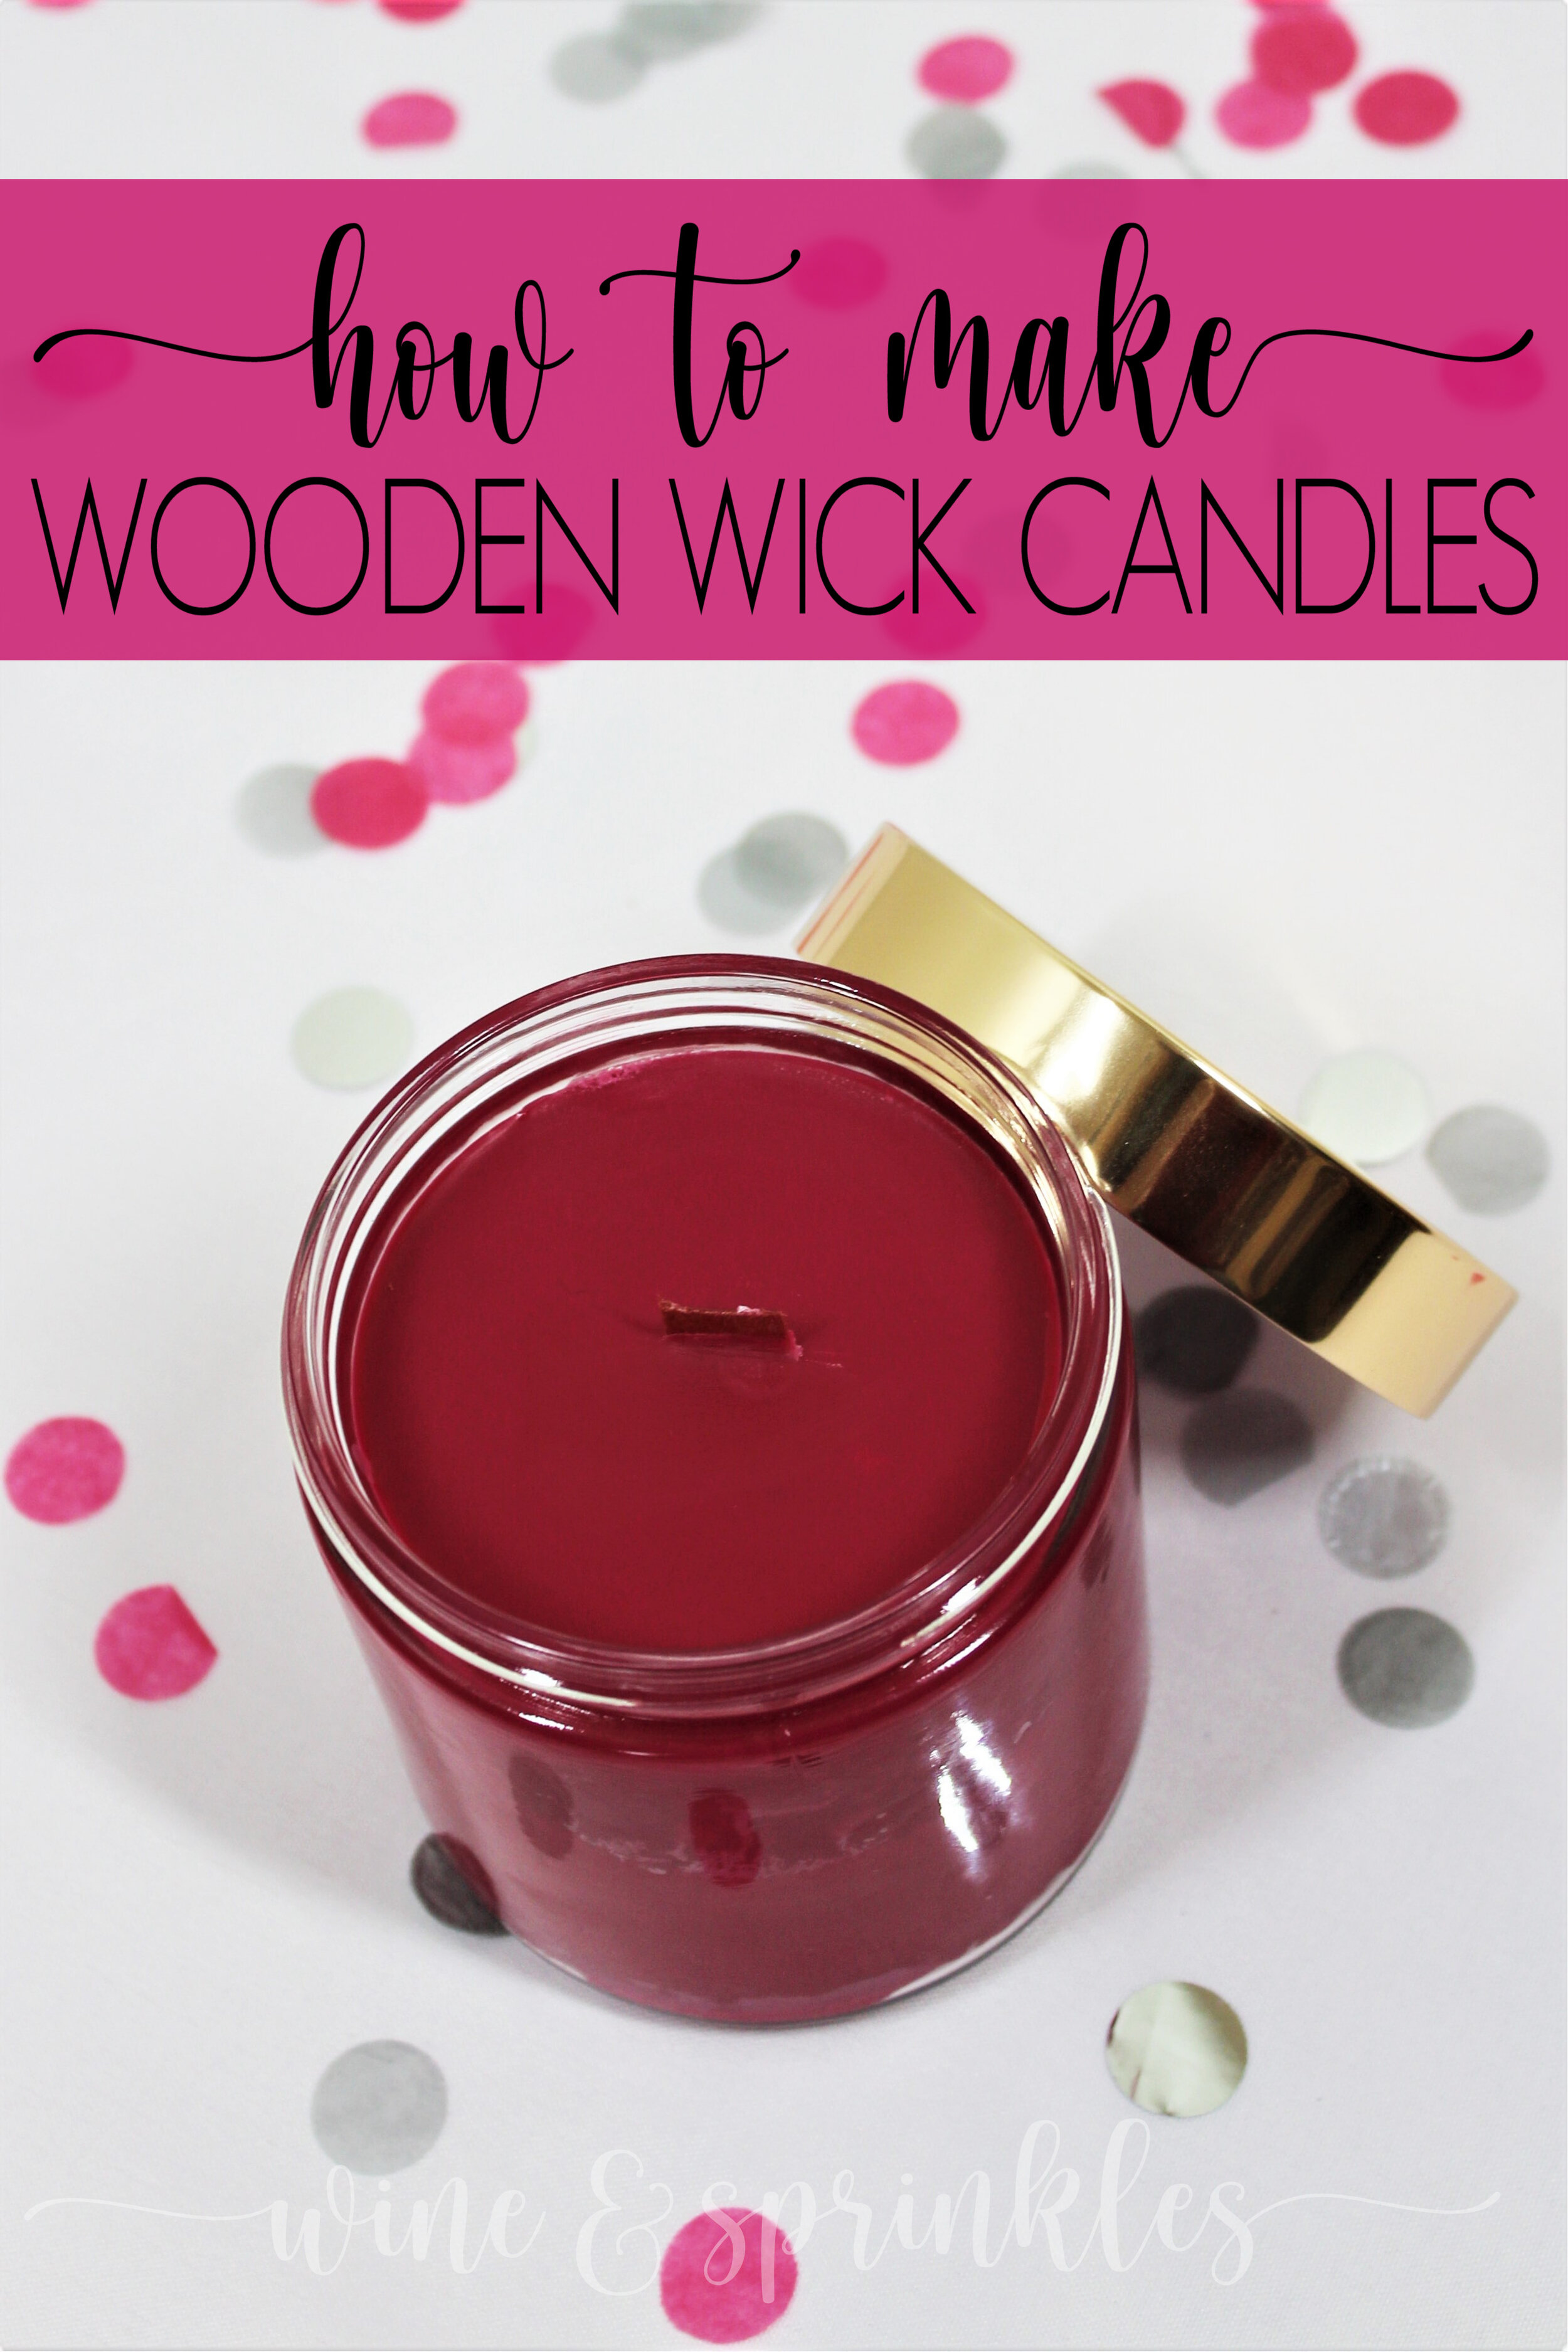
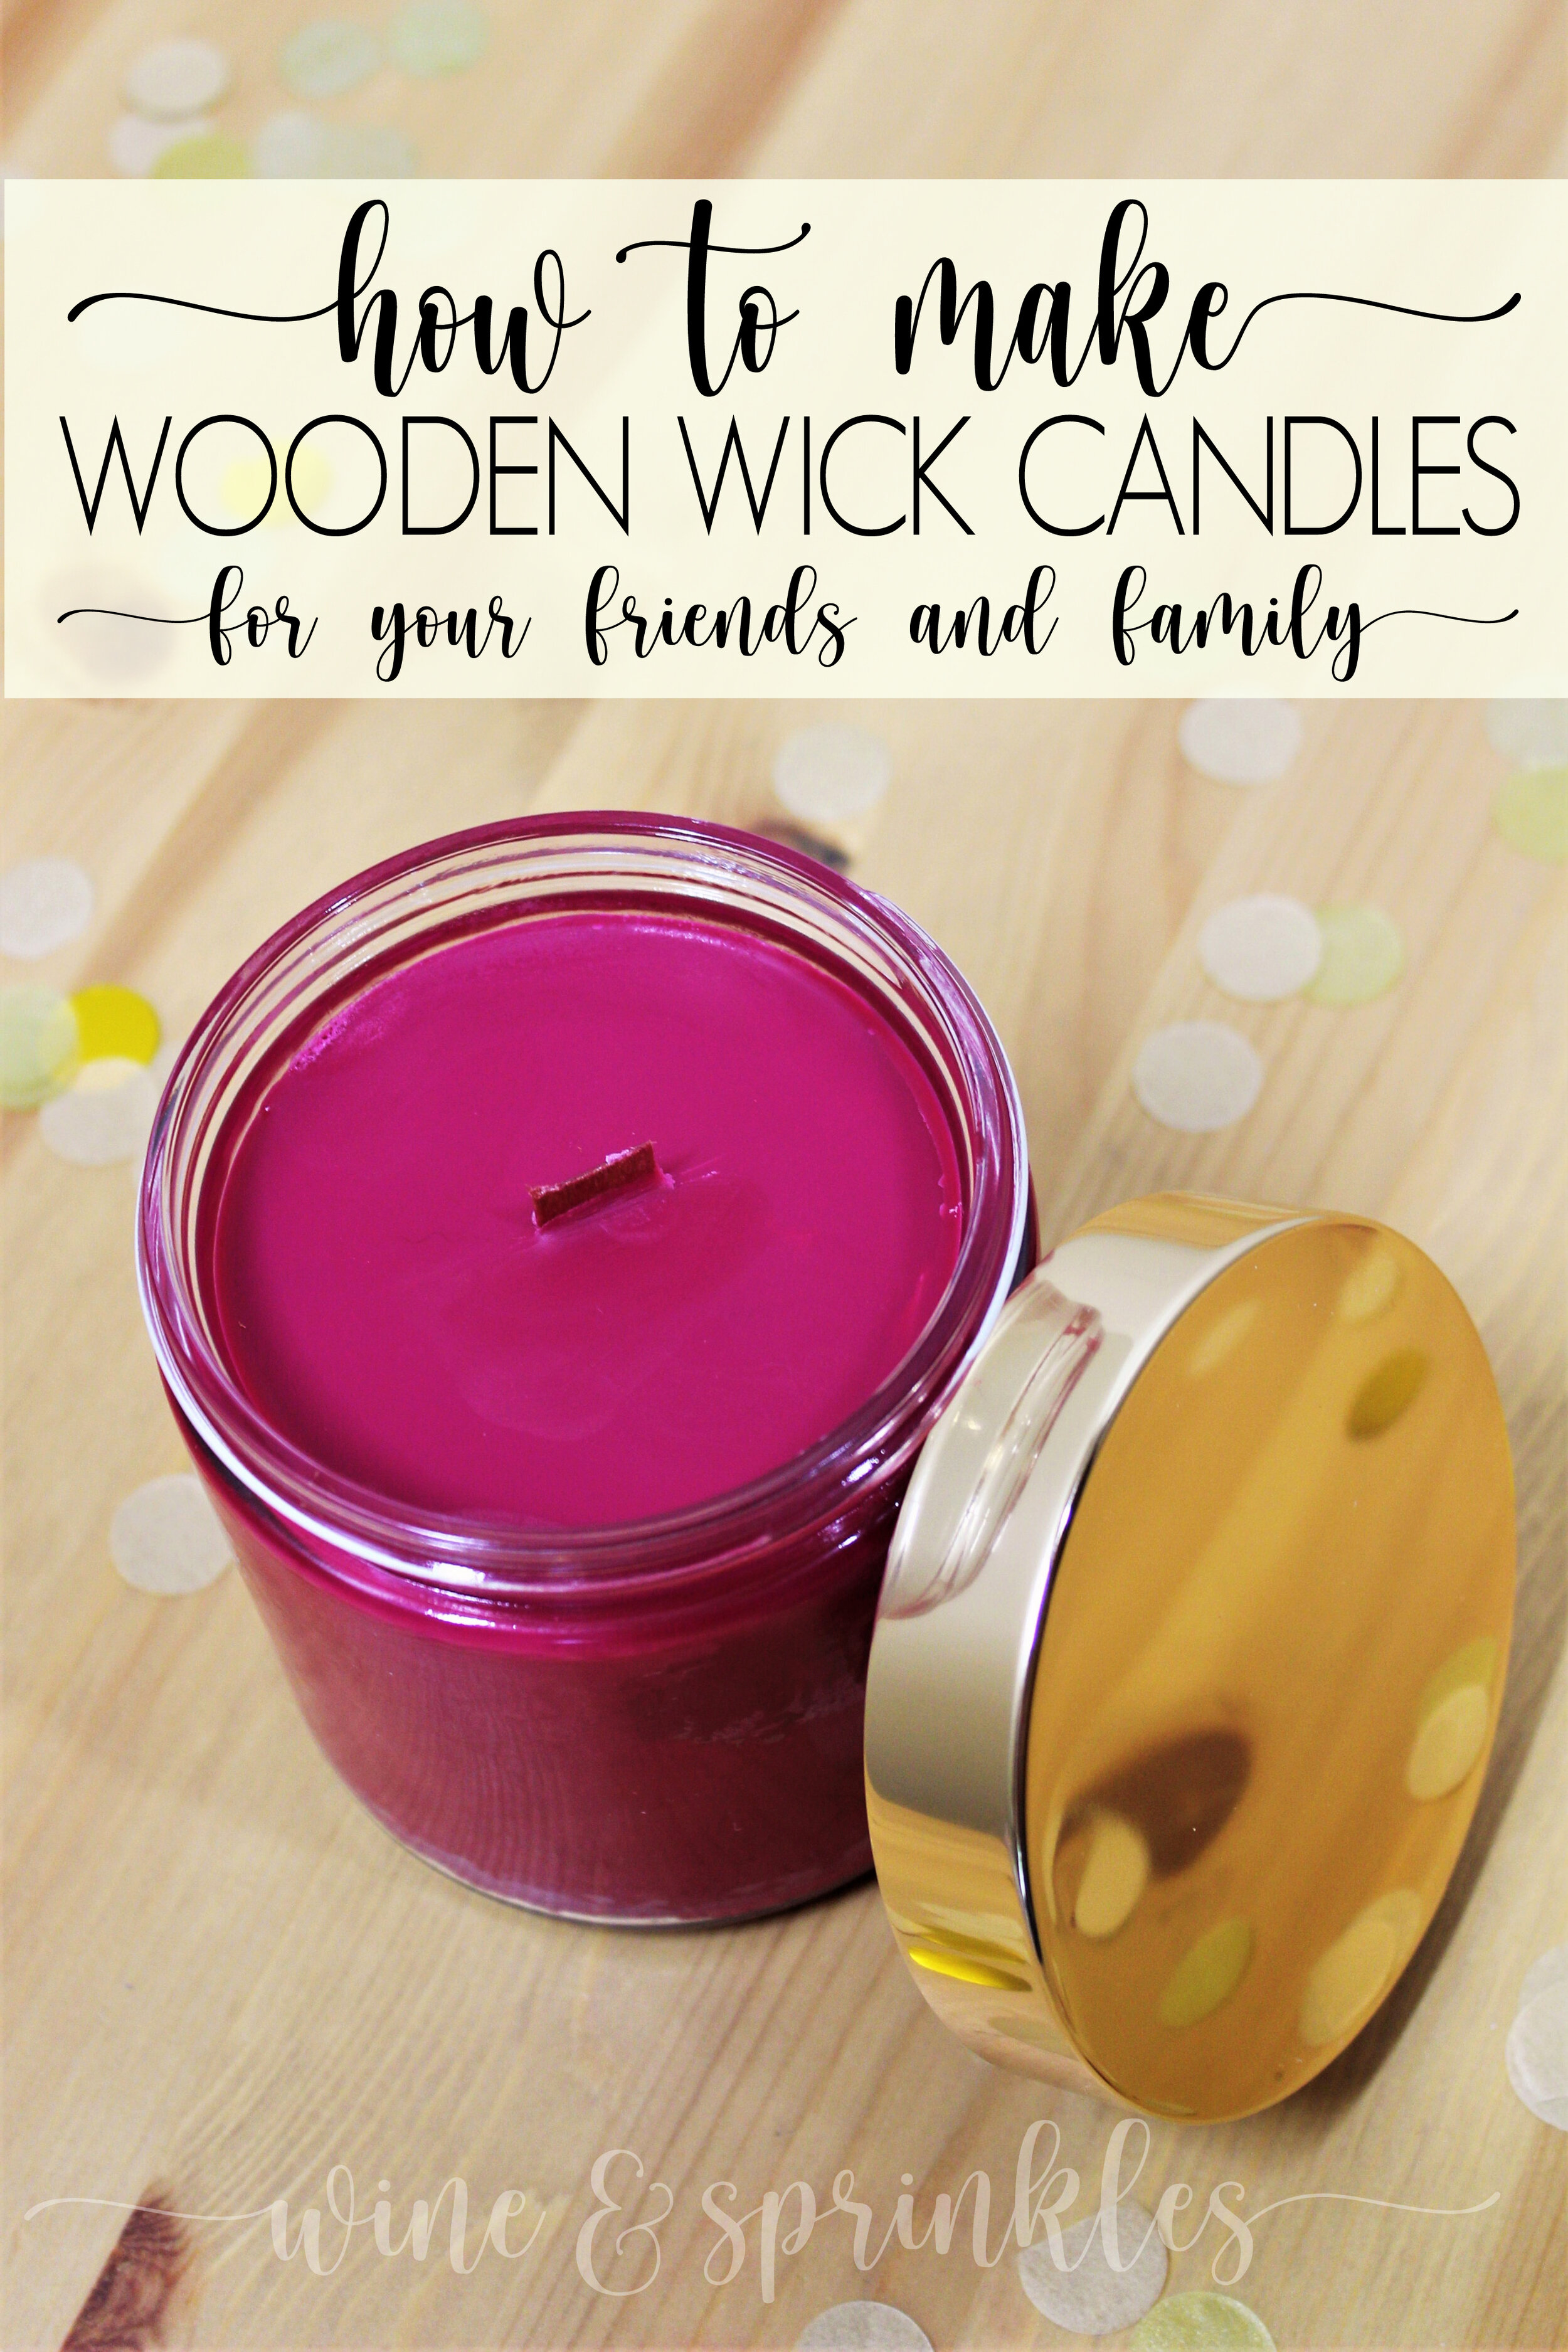
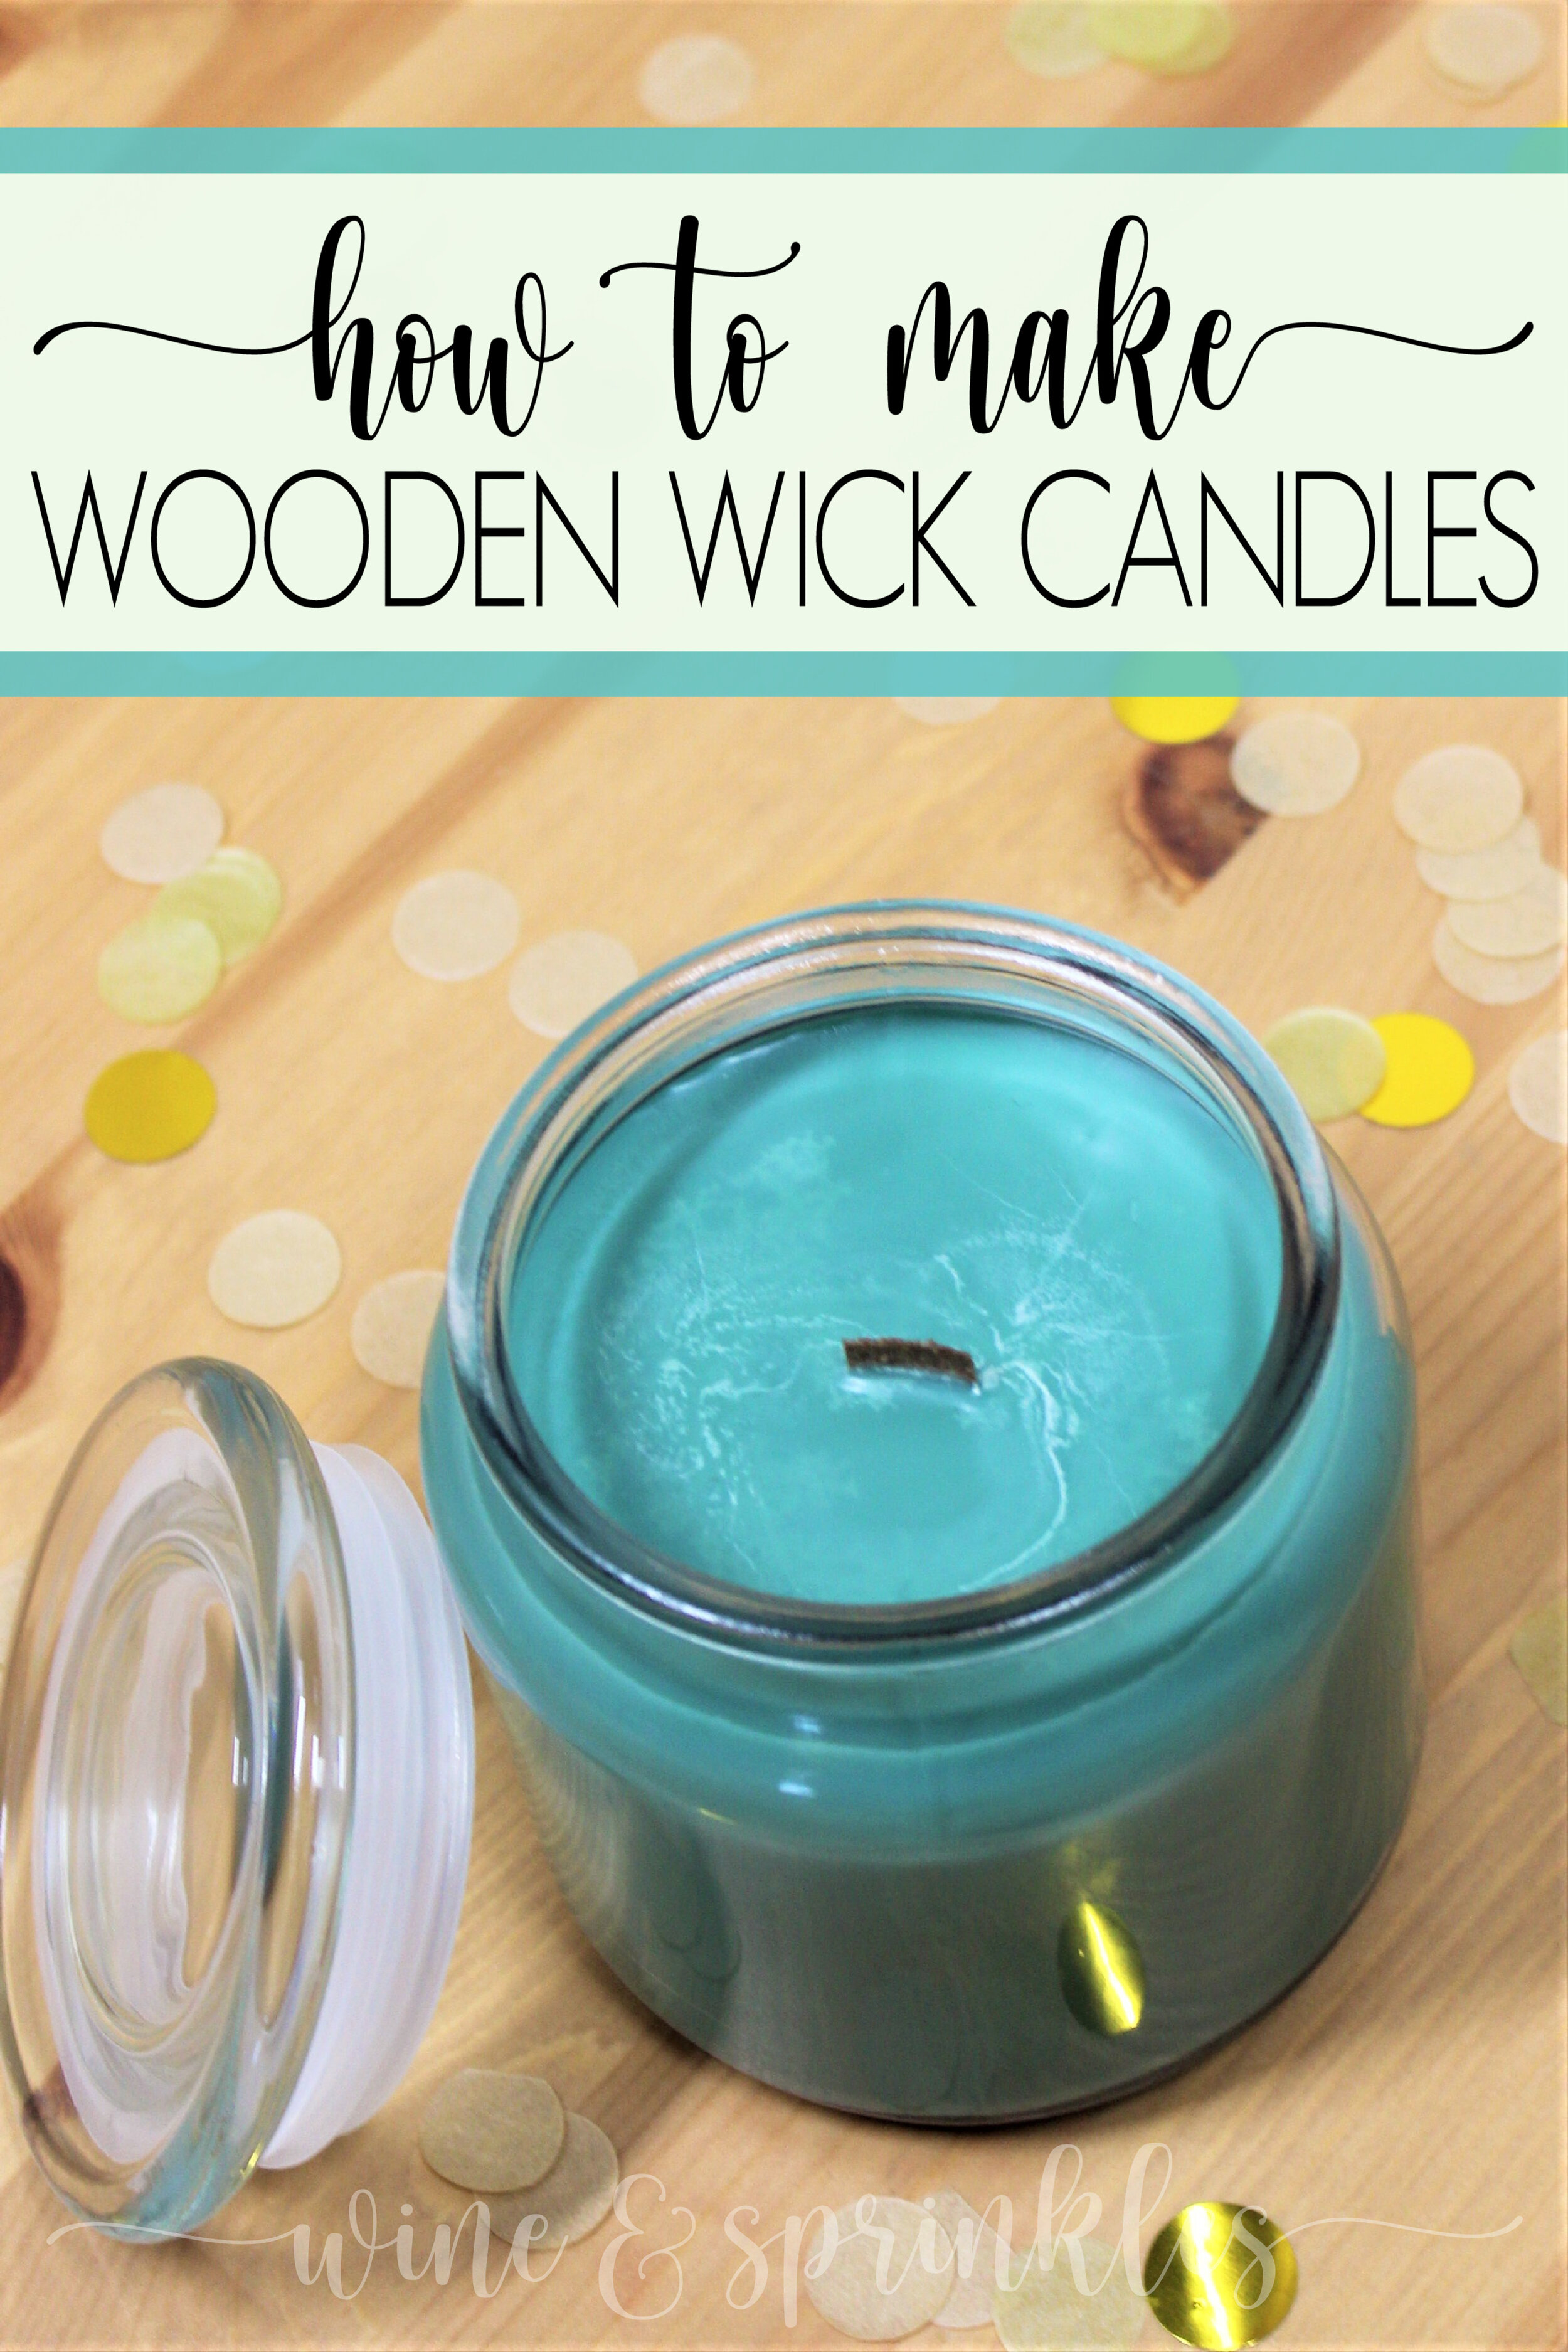
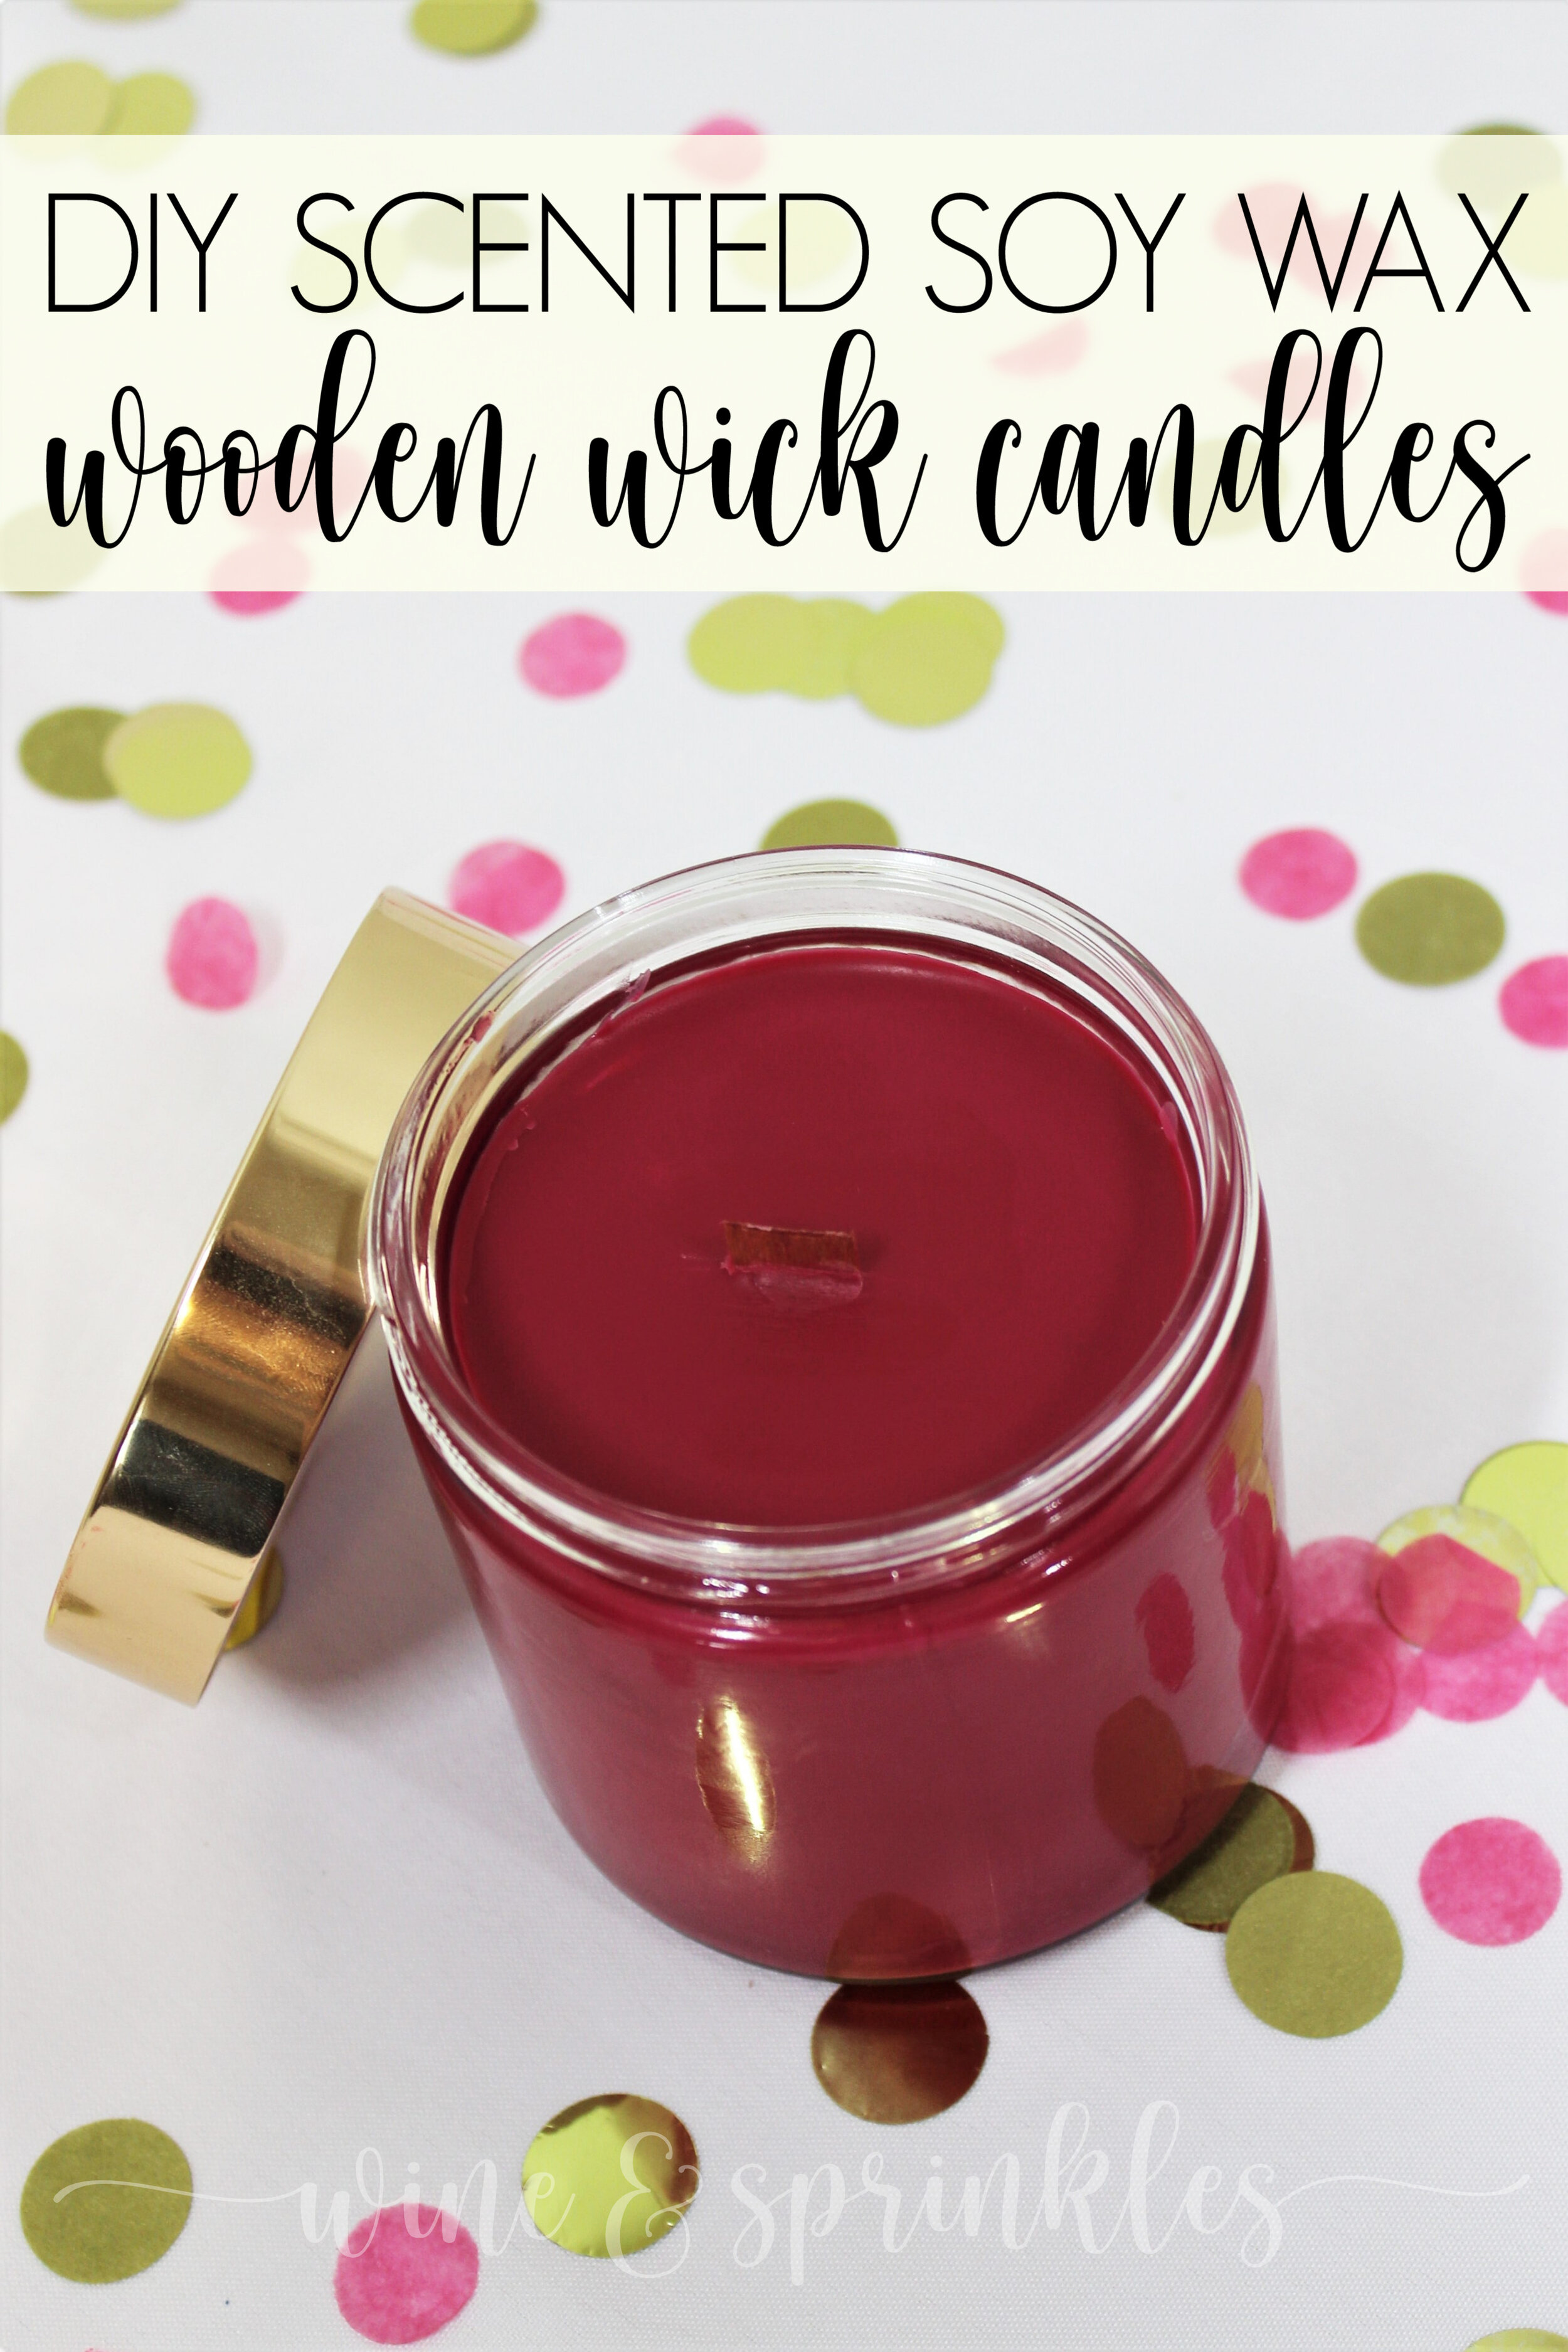
For my candles, I made one of them a Deep Rose Pink with a Rose and Vanilla Scent for my bestie’s Beauty and the Beast Tea Party Bridal Shower, and the other a light Silver Sage Green with a Cedar, Peppermint, and Lemon Scents for a nice cozy wintertime feel, which I can’t wait to burn myself this holiday season! For these candles, I bought a Candle Dye and Fragrance Set that came with a variety of different color and scent options, while also making use of my Essential Oils Set I bought for my other Spa Themed Projects to scent my Silver Sage Candle, so make sure to check out the scent available in both sets to decide what you want to do for your own candles.


I melted, dyed, and scented each of my candles individually, which I also love for making each candle unique for your recipient. While I’m using my candles for Bridal Shower Prizes and my own personal use, these candles are an easy and fun gift to make for Bridesmaid Proposals, Holiday Gifts, or Baby Shower Prizes too!
Supplies:
- Soy Wax
- Wooden Wicks with Iron Holding Stands
- Lidded Candle Jars or Glass Candle Jars
- Candle Pouring Pot
- Candle Dye
- Fragrance Oils or Essential Oils
- Glass Thermometer
- Silicone Whisk or Spatula
- Hot Plate or Burner


1. Start by weighing out your candle wax for the candles you wish to make into your pot or candle pouring pot. I used 16 oz per for each candle, the full volume of the jars I used, so that I had a little extra wax to work with and top them with at the end. For the bits of extra wax I used in these projects I made myself a couple of little striped Candles in Favor Jars to burn in my office! You can make up to four candles if you are using a melting pot like I am, but I liked melting 16 oz at once so I could color and scent each candle uniquely, which is super fun for personalizing them for your friends, bridesmaids, or yourself!

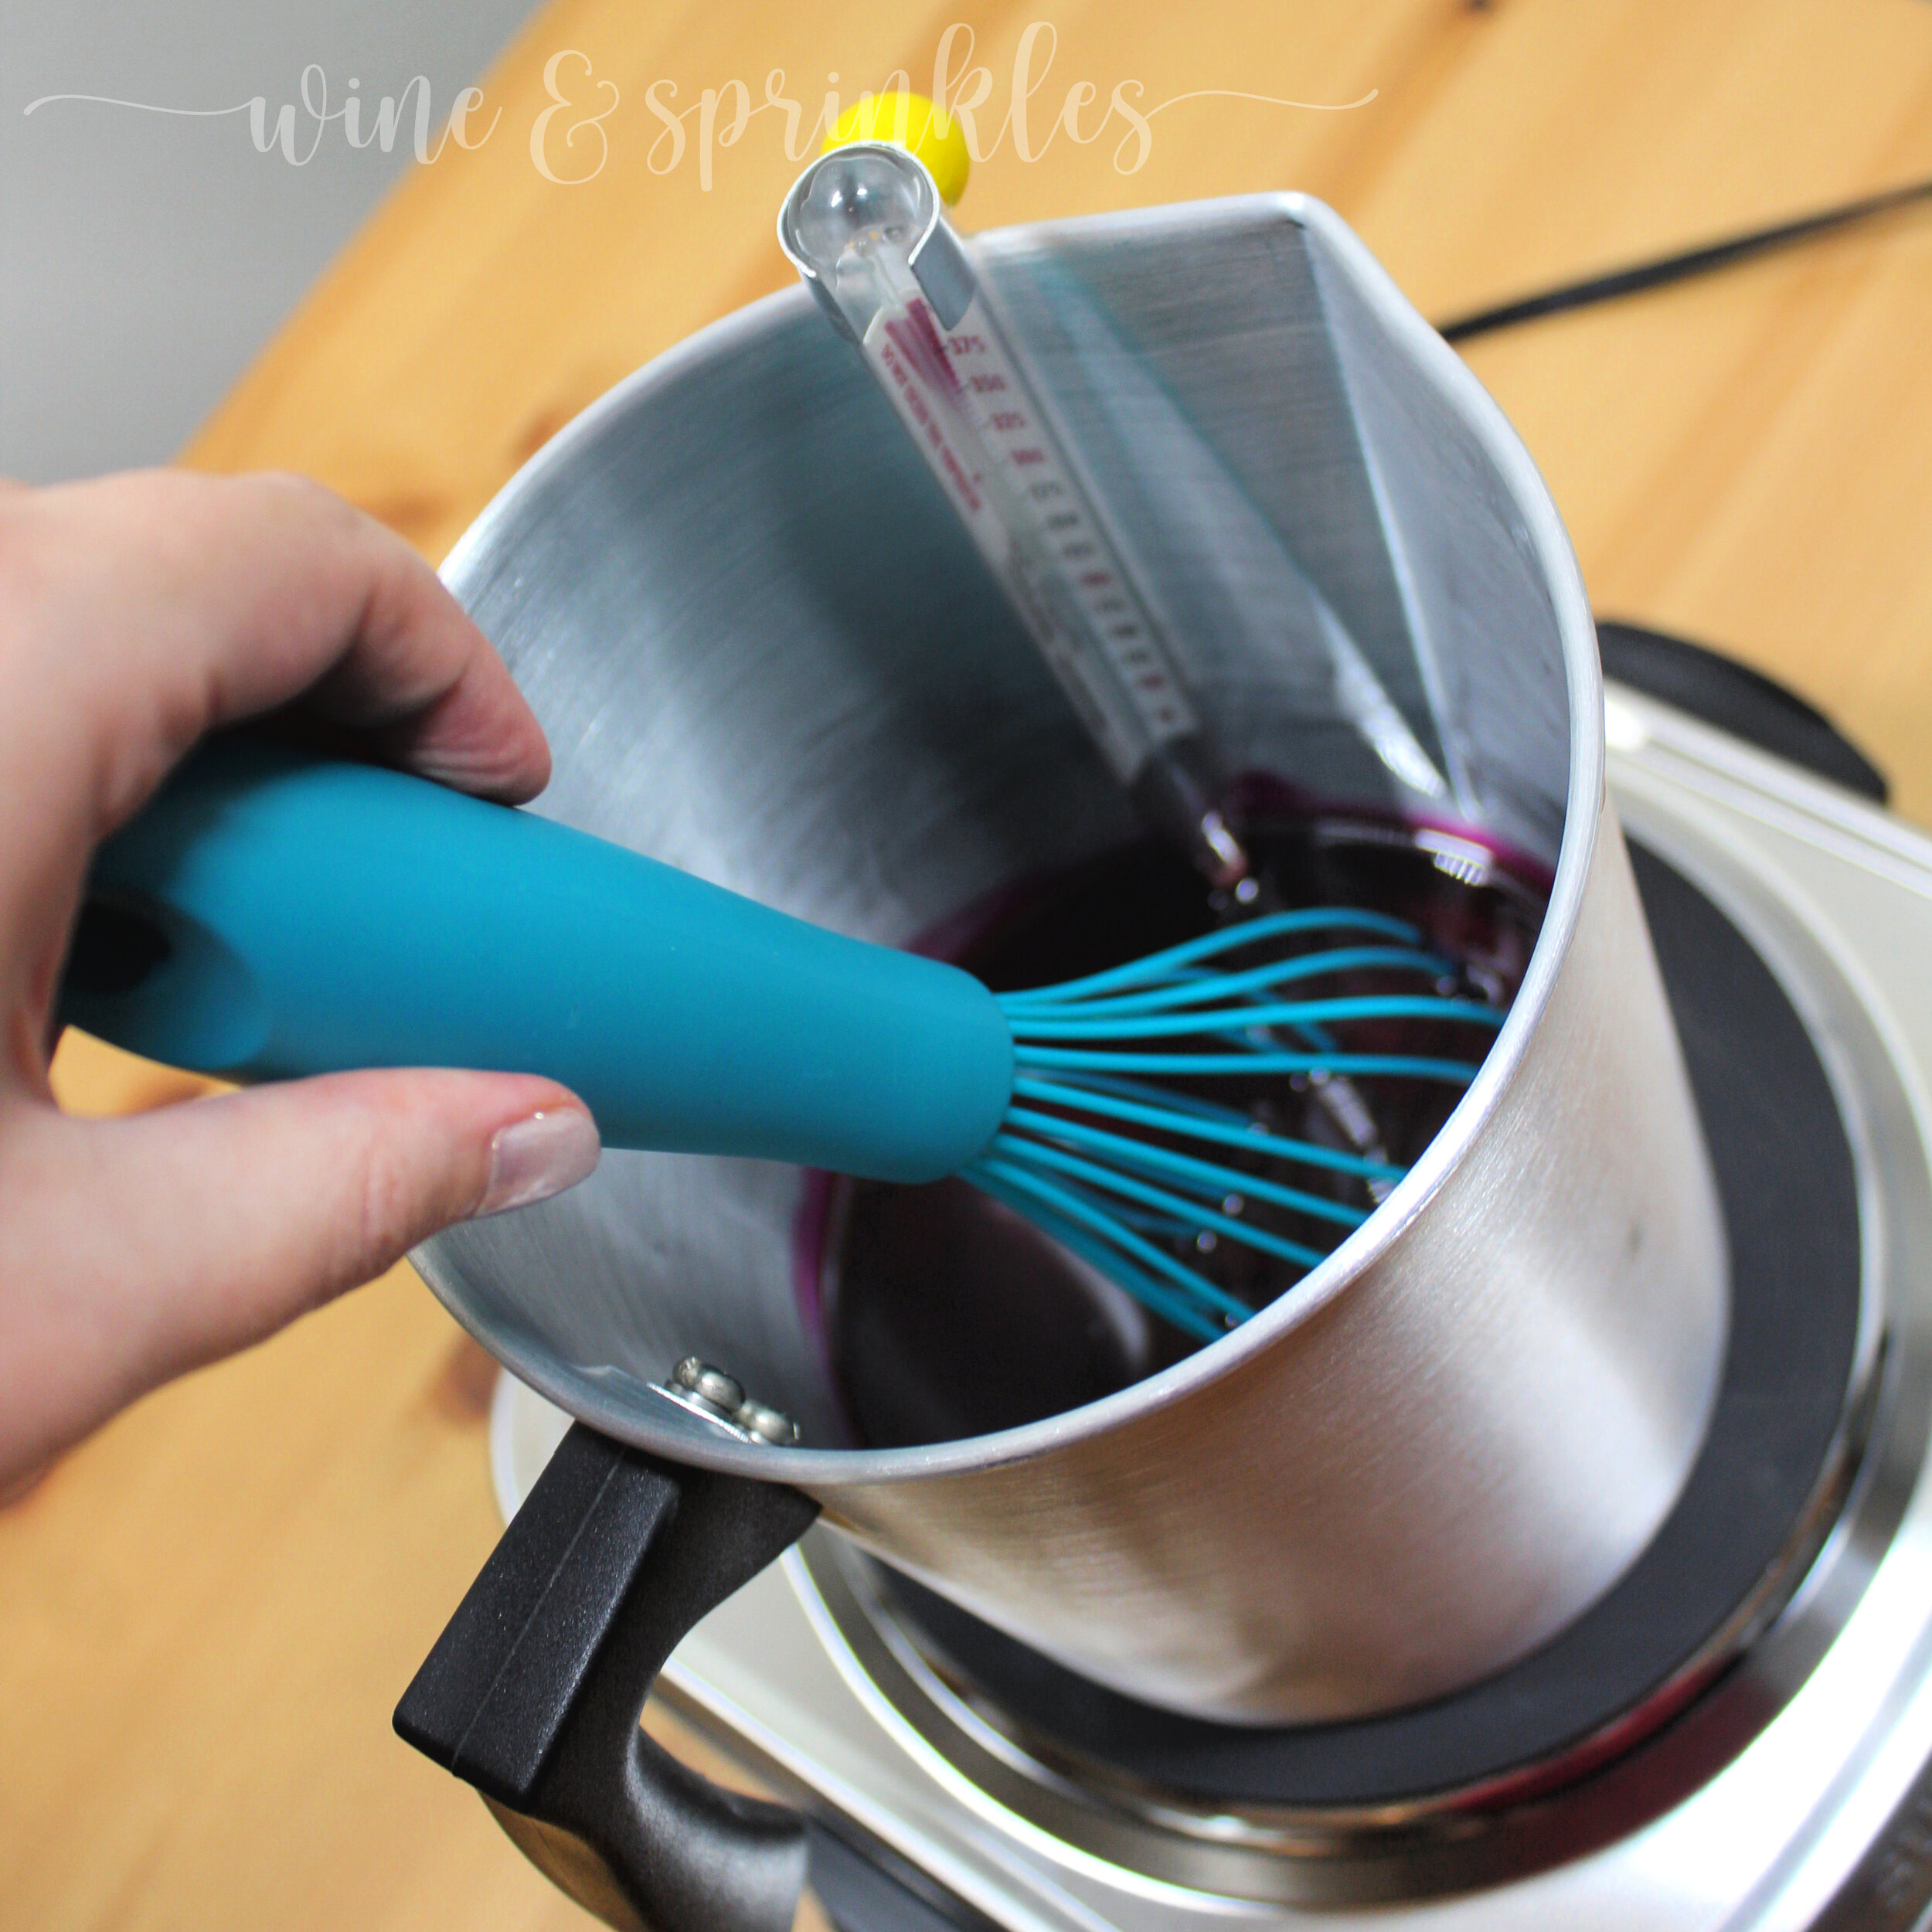
2. Melt the wax over medium low heat until the wax is between 200-220 F. Once it has reached this temperature, add your wax coloring, mixing with a silicone whisk until it is completely incorporated. Check the color of your wax as you add more dye by letting wax dry on the back of a metal spoon, until it has reached the desired shade. Remove wax from heat.
For my candles, I used a mix of two dyes per candle, one to make a rosy gold shade and one to make a silvery sage shade.
Rose Gold: (per 16 oz of candle)
Fuschia Dye: 3g
Gold Dye: 2g
Silver Sage: (per 16 oz of candle)
Dark Green Dye: 2g
Silver Grey Dye: 2g
These were the first candles I dyed, and while I like their darker colors, my scale wasn’t accurate enough to measure these small amounts of grams accurately! If you also don’t have a scale that can measure 1-5 g, I’d recommend adding the dye a few chips at a time and checking the color until it reaches the right shade, which is how I did the rest of my Candle Projects.
3. Let the wax cool to 150 F and then add the fragrance or essential oil of your choice, continuously stirring the wax with your whisk to bond the fragrance and continue to cool for pouring. The fragrances I chose for my candles were:

Rose Gold: Candle Fragrance Oils
Rose Fragrance - 15 drops
Vanilla Fragrance - 5-10 drops
Silver Sage: Essential Oils Set
Cedar Essential Oil - 10 drops
Peppermint Essential Oil - 5 drops
Lemon Essential Oil - 5 drops
When the wax has cooled to about 120 F, it is ready to pour into the jars.
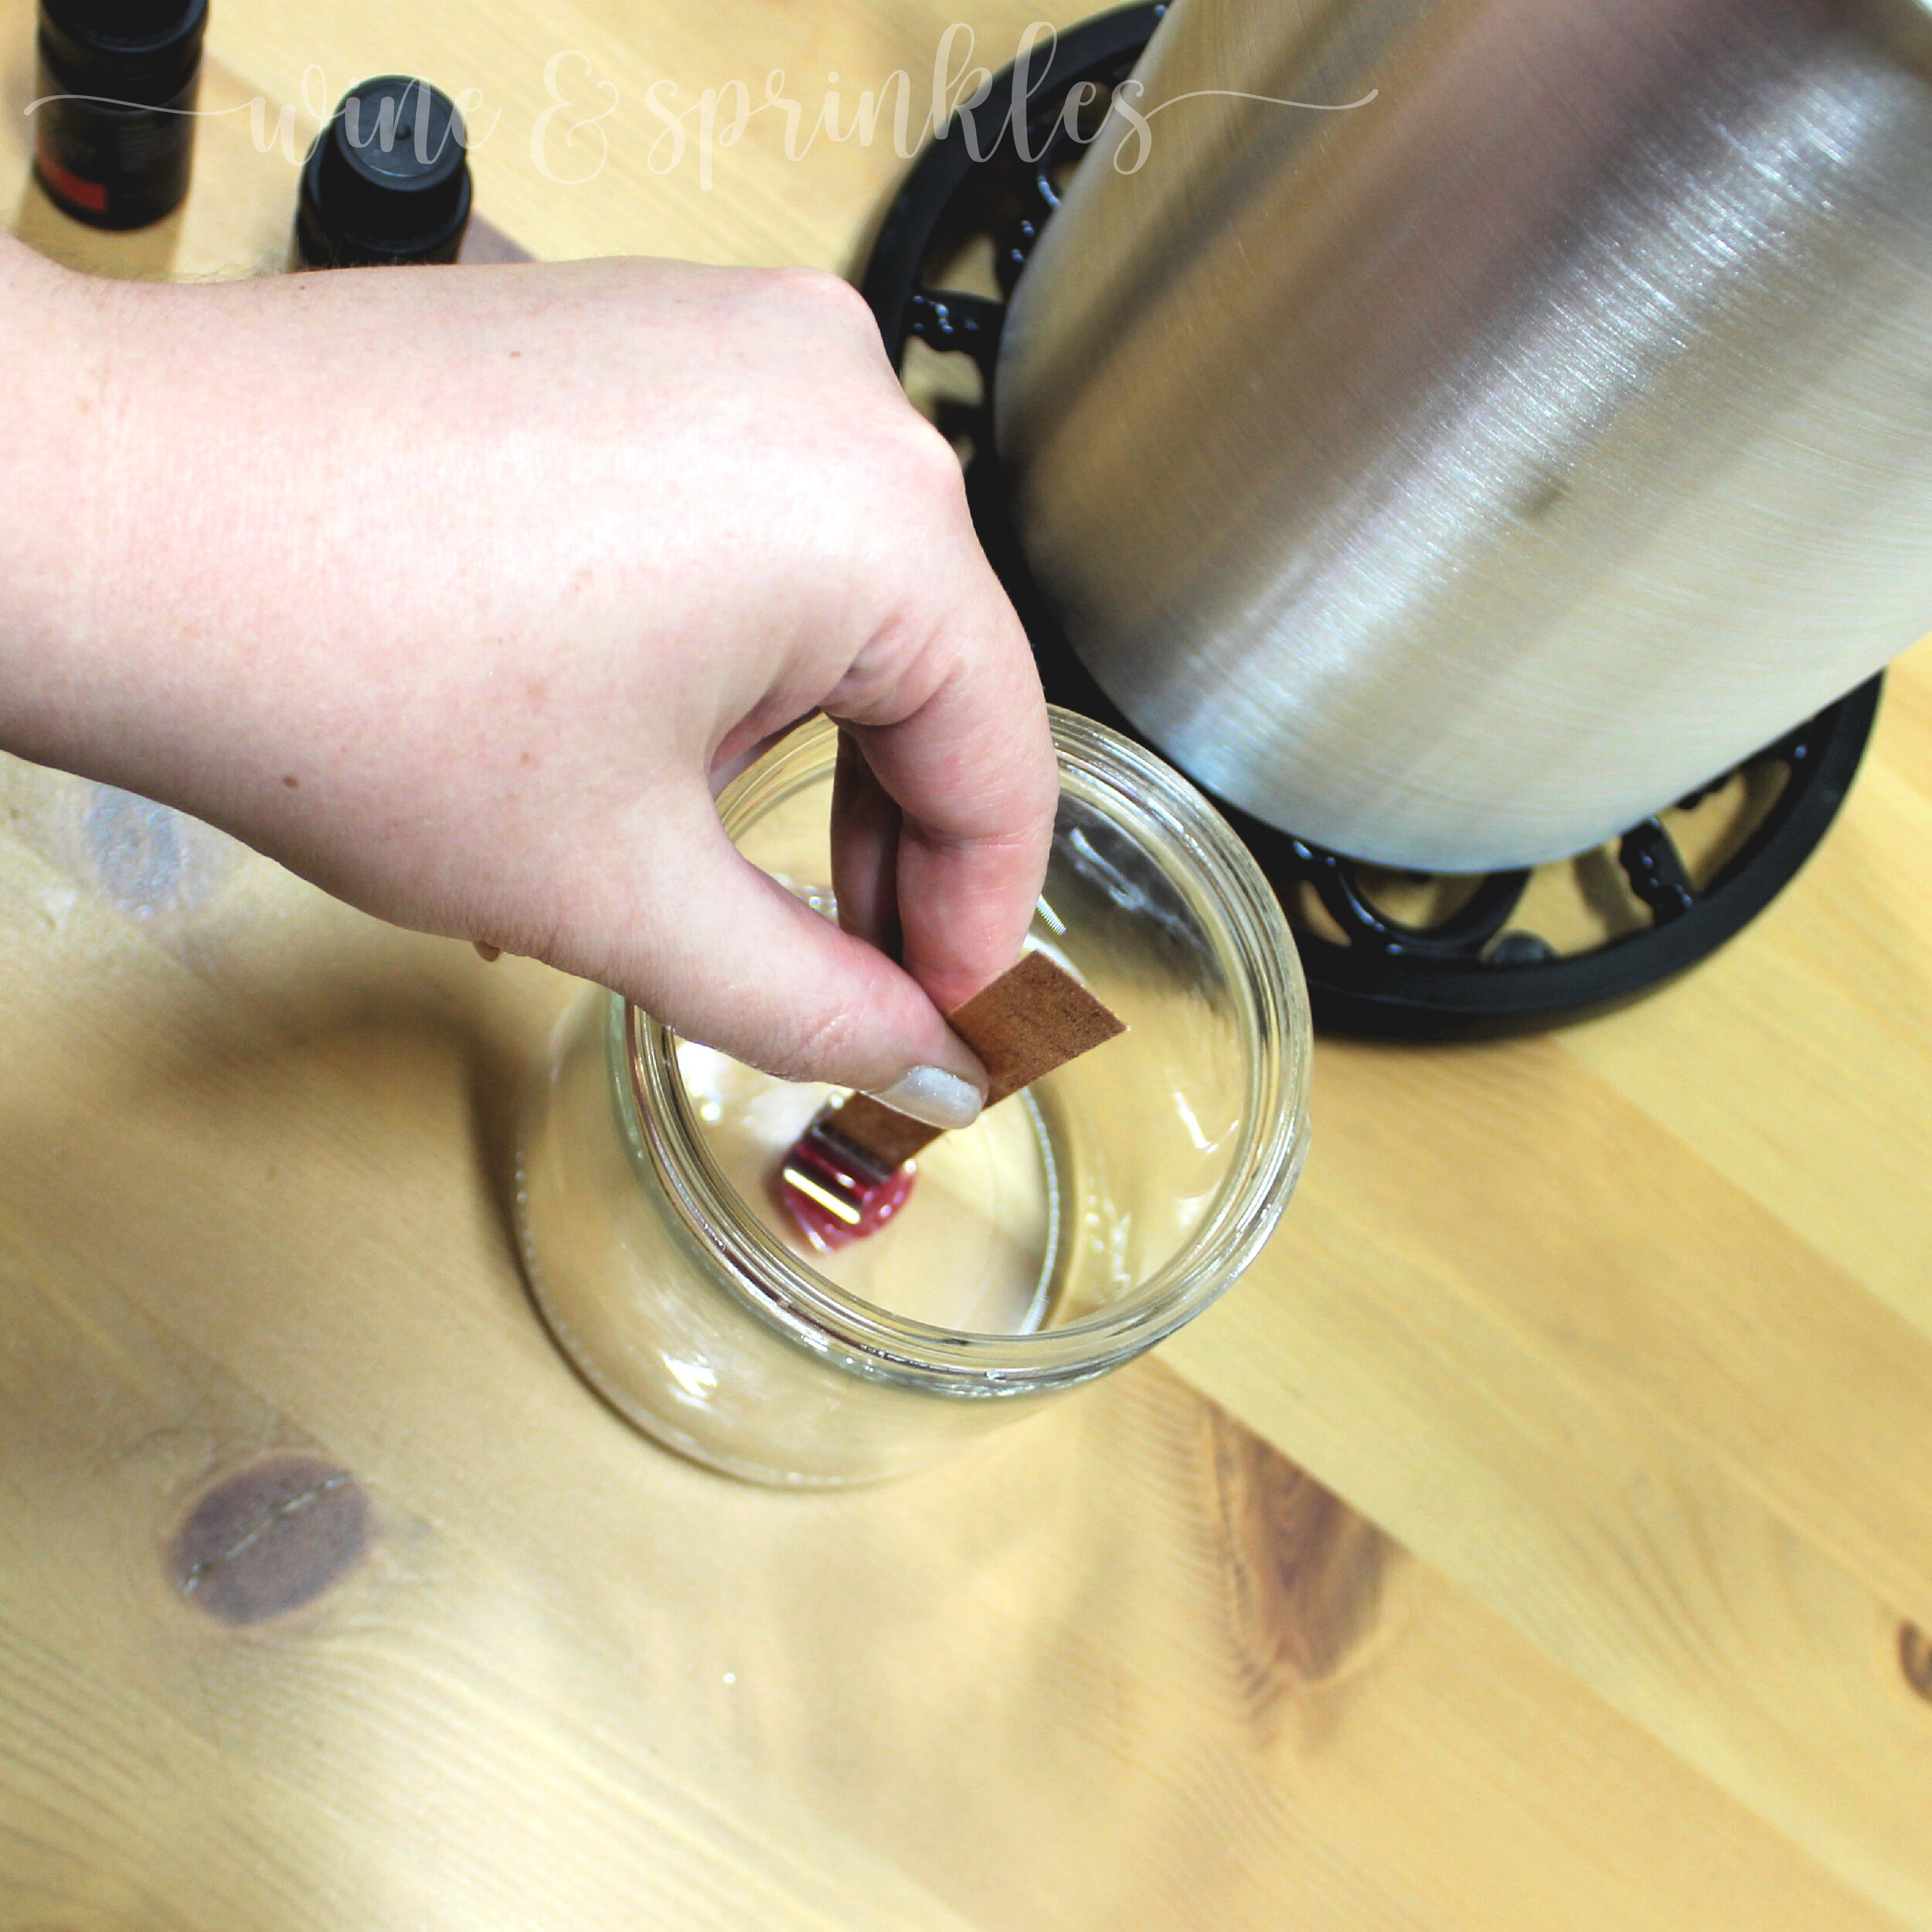
4. While the wax is cooling, prepare your wicks and jars. I used to think that you had to soak your wooden wicks in melted wax prior to candle making, but from new research that is not the case, though with soy wax you may want to add a drop or two of fragrance oil to your wicks for easier burning! Taking a wooden wick secured in its iron stand, dip the stand end into the melted wax and place into the candle jar, using the wax to seal it to the bottom of the jar. Once the wicks are dry, use your candle pourer to fill your candles just below the lip of the jar, reserving any extra wax to finish the candle. Now let the candle cool completely.


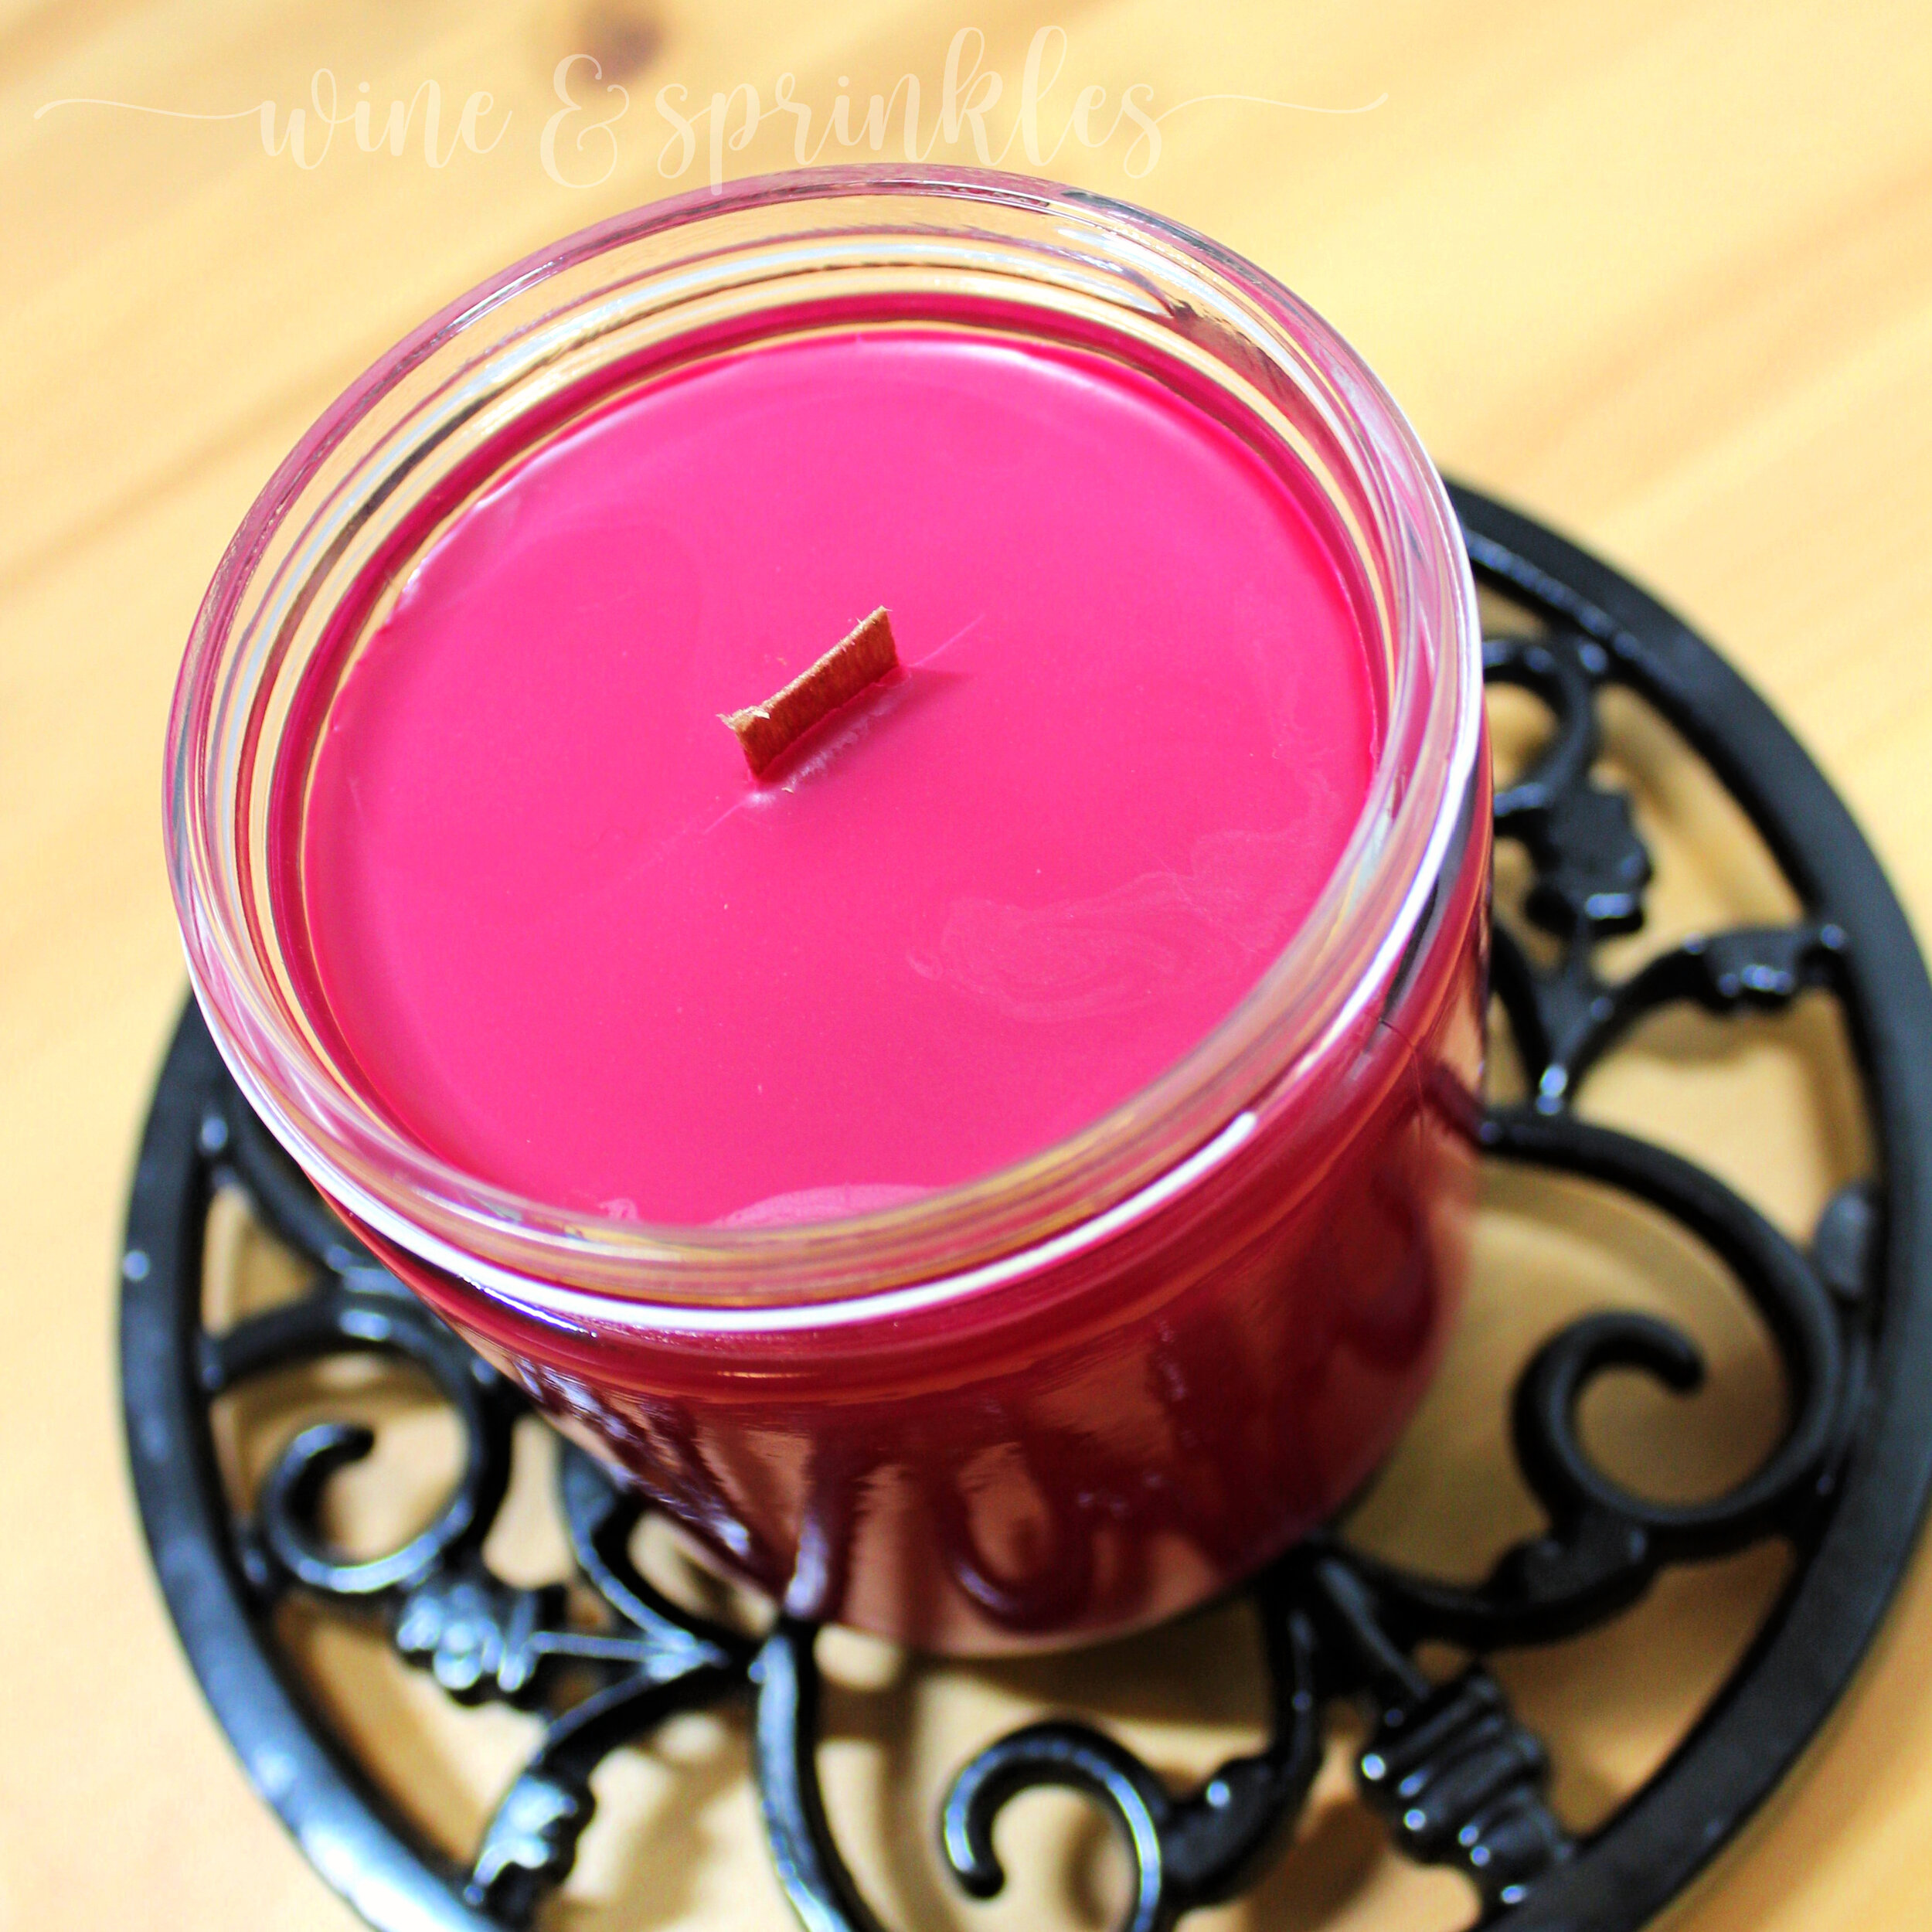
5. Once the candle is cooled, check the top to see if there are any divots or imperfections in the top of the candle, which can happen during cooling. If needed, remelt the remaining wax to 120 F and “top off” any imperfections on the top of the candle, again allowing it to cool completely. Trim the wooden wick with nail clippers, cuticle cutters, or small scissors and you’re done!

Looking for more DIY Candle Inspiration?
SEE MORE CANDLE PROJECTS HERE


OUR PINS FOR THIS POST: