Spooky Season Projects

DIY Gold Foil Crescent Moon Candles

DIY Gold Foil Crescent Moon Candles

I love cleverly crafted candles and experimenting with new methods of making them as gifts for my friends! So while I was thinking of fun additions to my Galentine’s gift boxes last year, it was the perfect time to try putting pretty gold foil accents into my candle crafting and thus these gorgeous Crescent Moon Candles came to be!

Read More

Heart & Moon Patterned HTV Skinny Koozies

Heart & Moon Patterned HTV Skinny Koozies

There’s no better way to soak up the summer sun than with a tasty beverage, and for my friends and I that drink is all the delicious seltzers the world can offer! So when I was deciding on additions to some galentine’s gifts for my best girls, I broke into my new Cricut materials to create some pretty patterned koozies, and thus these Heart and Moon Patterned Skinny Koozies were born!

Read More

Sealing Wax Taper Candle Wine Bottle Centerpieces

Sealing Wax Taper Candle Wine Bottle Centerpieces

Be it a party or a date night at home, there’s nothing like a little romantic candle light to set the mood,  and one of my favorite styles I’ve seen is when tapered candles are used to create candlescapes with wine bottles! Unfortunately for me, real candles are a little too much of a fire hazard for our home’s parties at present, but it was the perfect opportunity to create reusable candle holders from my existing wine bottles, with a little help from my favorite stationery sealing wax.

Read More

Halloween Witch Canvas

This post contains affiliate links, meaning that if you click on a link I will recieve a small comission. This costs you nothing extra and I only promote products I use and love! You can read our full disclosure here

Title Picture.jpg

After how much fun I had making the Ombre Wedding Canvases I decided to make a whole slew of them for the upcoming holidays! First, I designed a fun spooky canvas for the Halloween Season.

I didn’t want to ombre this one but instead tried to make the background a black and purple squiggles as a nice offset to the black decals and lettering.

Supplies:
11 x 14 Canvas
Black and Purple Paint
Paint Brush
Paint Bowls
Craft Cutter and Tool Set
Adhesive Mat
Black Vinyl
Lettering and Decal Cut File

Purple Paint Collage.jpg

1.     Mix your black and purple paint with a tablespoon or two of water, just enough to give it a watercolor consistency. Paint the purple on first in wavy squiggles along the canvas until the canvas is mostly covered in paint.

Black Paint Collage.jpg

2.     Wash out the brush and fill in some of the lighter purple spots with squiggly line of black. Be careful to not over paint with the black, if you do too much, you end up with just a black canvas.

3.     Upload the cut file into the Cricut Design software. Size the file to be 11.5” tall. Cut out in black vinyl.

Supplies 1.jpg

4.     Cut the vinyl design in half so that the text and bottom canvas decal are on two separate pieces. Weed the excess vinyl from the designs, leaving only the text and bottom decal. Lay transfer paper over the designs and smooth out, removing all the air bubbles. Lift the text design and arrange on the center top of the canvas. Smooth the design onto the canvas and remove the transfer paper, leaving the text on the canvas.

Text transfer collage.jpg

5.     Repeat with the cauldron and pumpkins decal, arranging it along the bottom of the canvas.

Finished DIY.jpg

I also ended up making this on a smaller canvas than the wedding signs, mainly because I want to hang it on my door! An added benefit is that you don’t need a special long mat to cut it and can just use the standard mat. Happy Halloween!

Harry Potter Wine Labels

This post contains affiliate links, meaning that if you click on a link I will recieve a small comission. This costs you nothing extra and I only promote products I use and love! You can read our full disclosure here

Pinterest 1.jpg

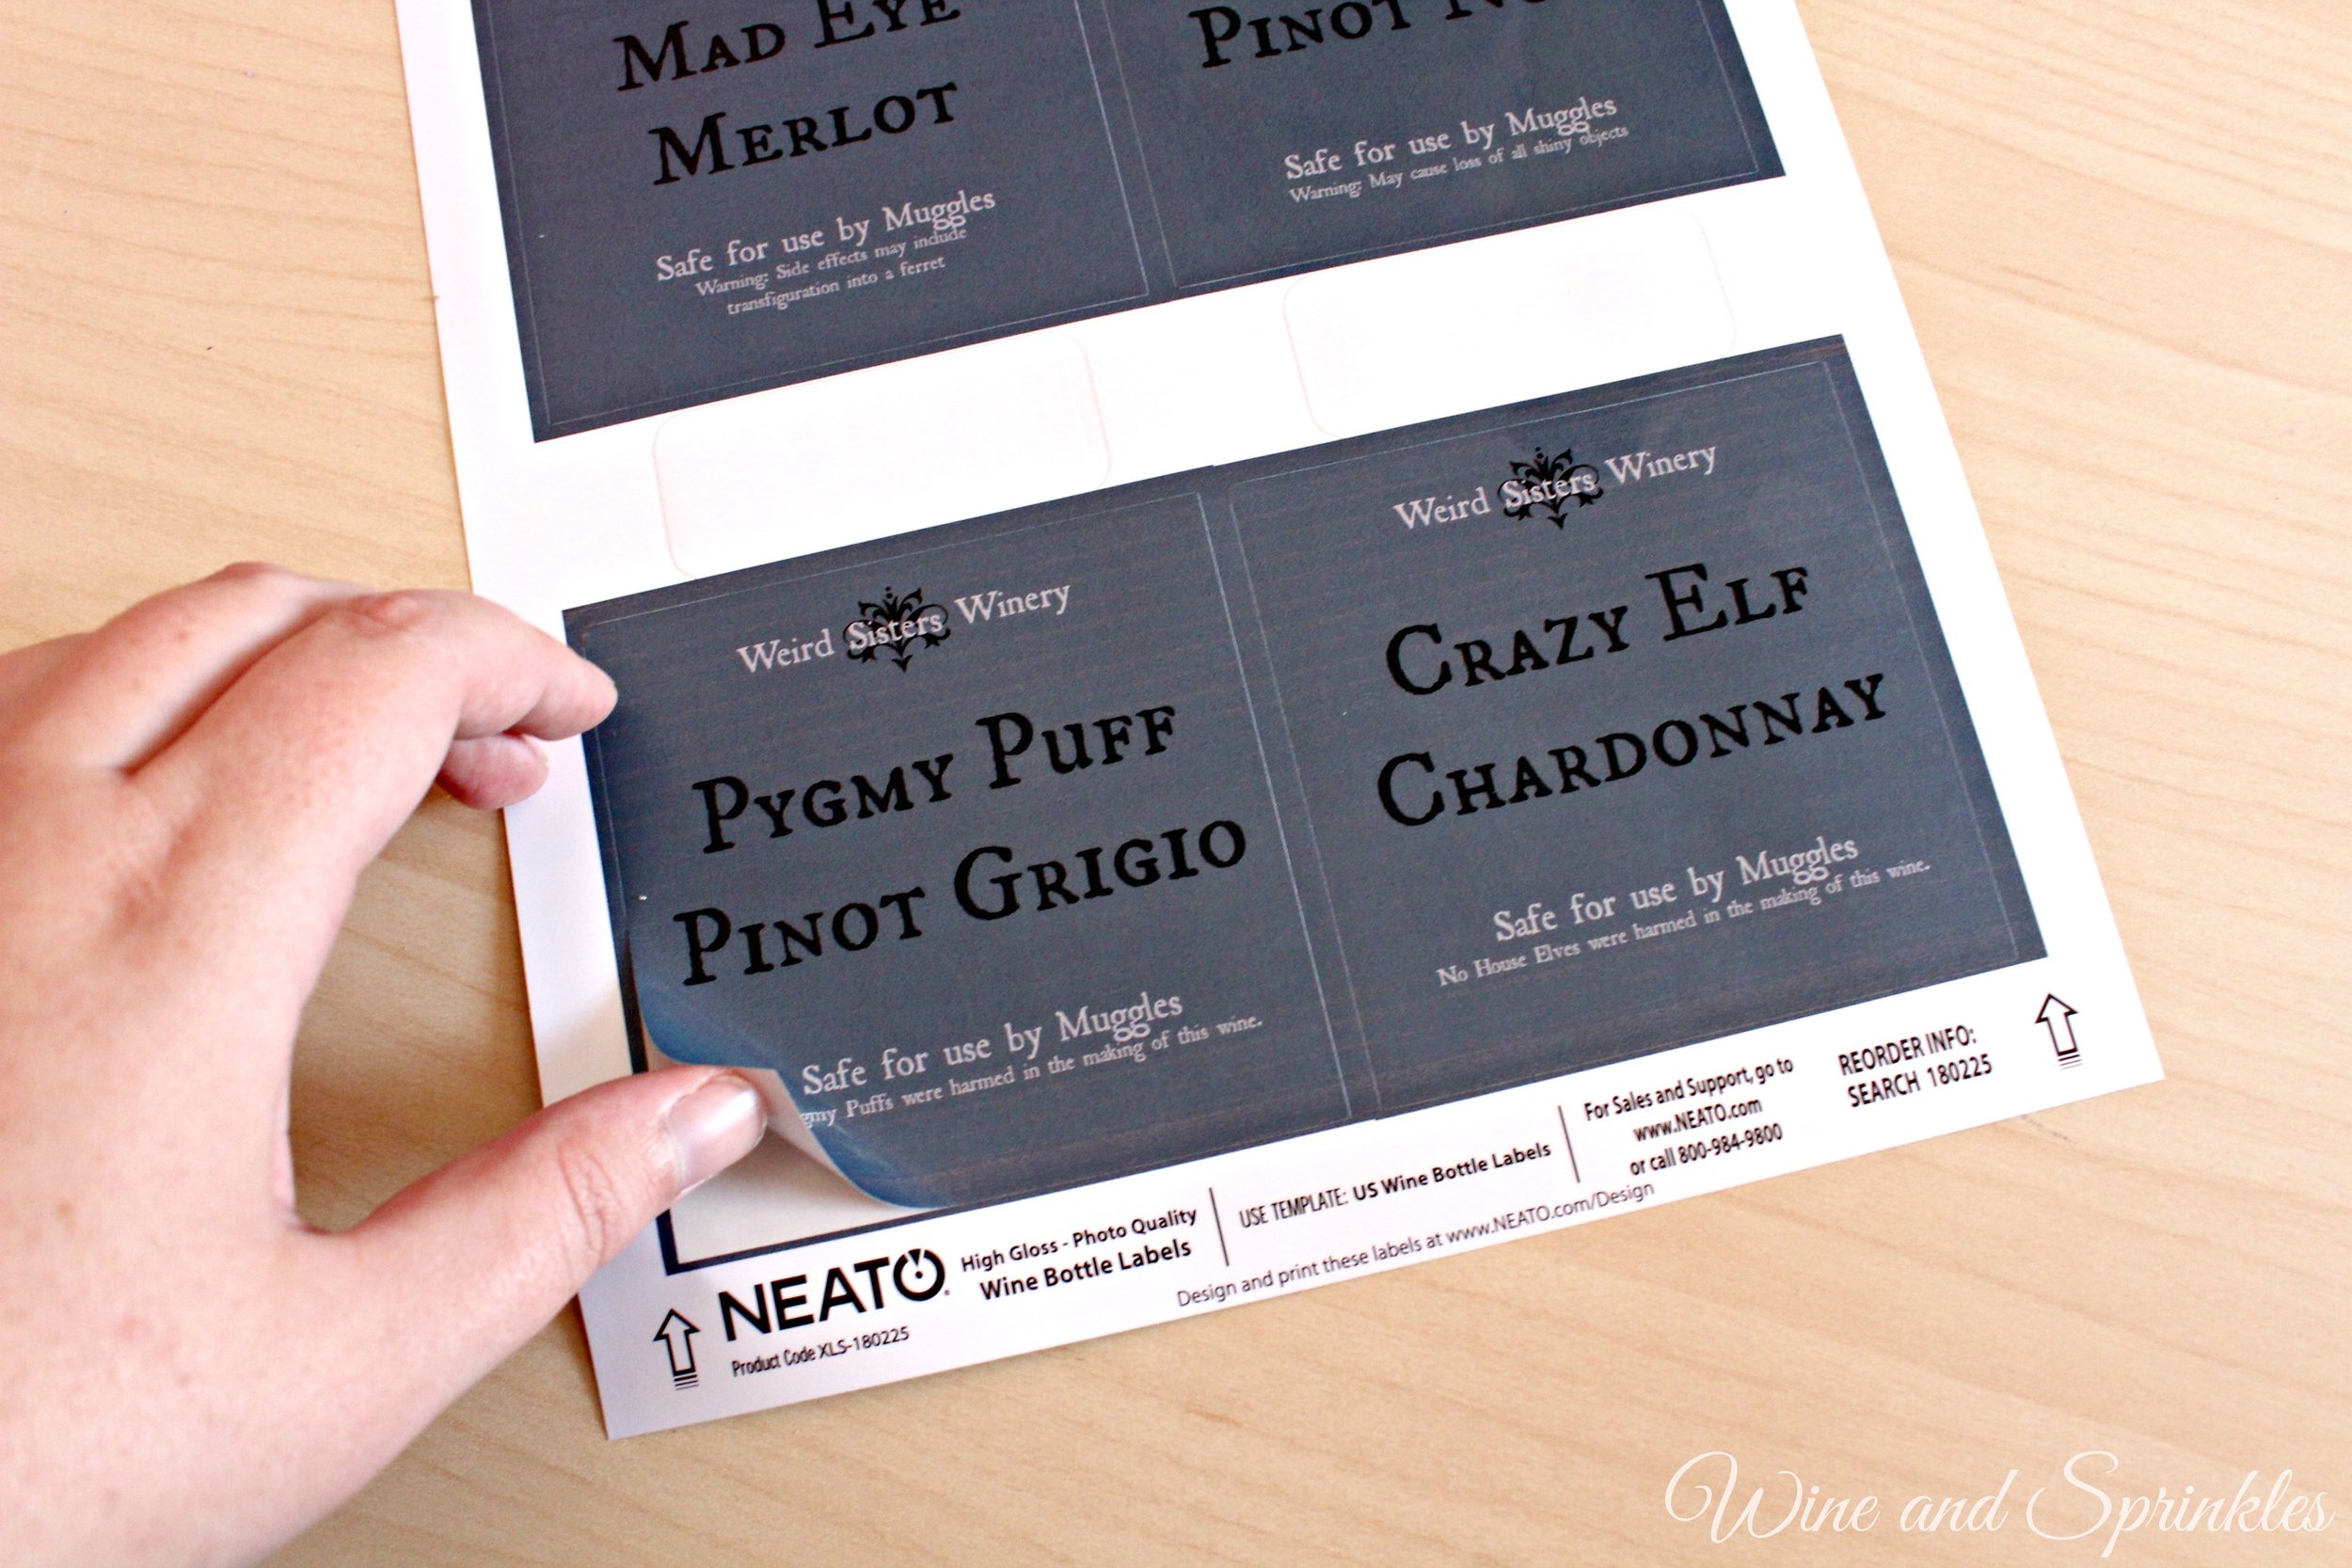
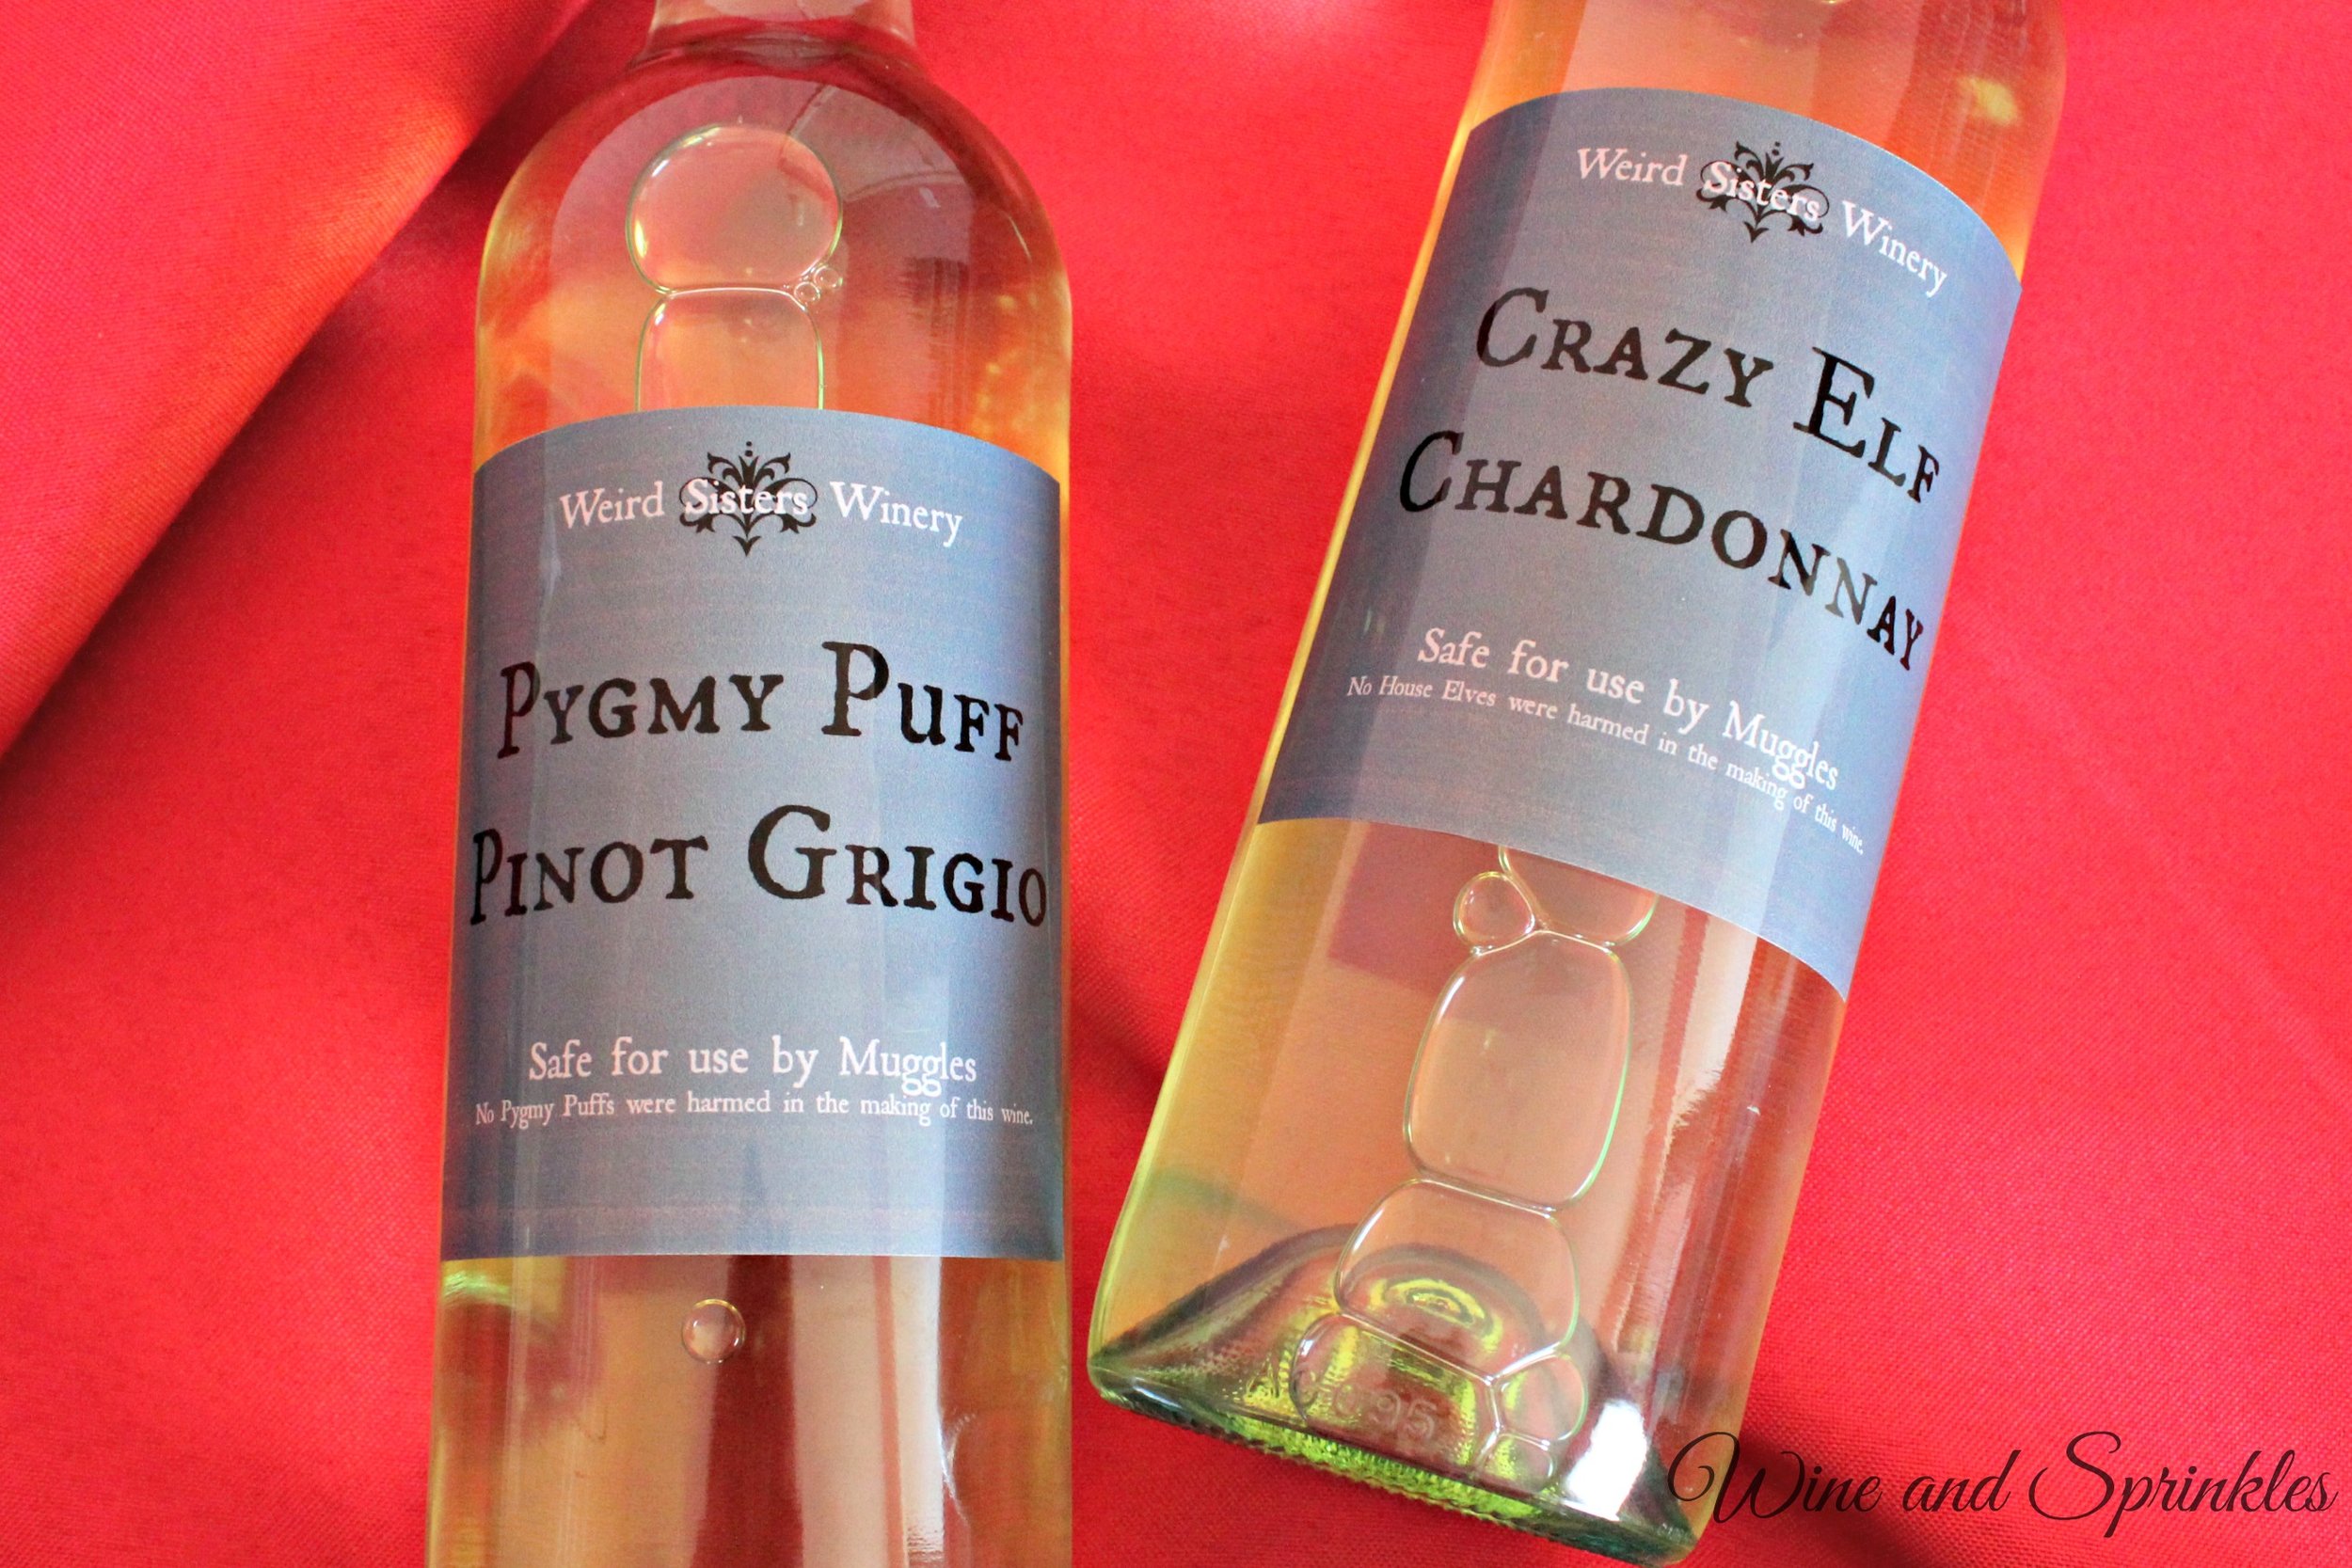
Harry Potter Wine Labels? What could be more fun for our Harry Potter Bachelorette Bash! When I was designing these, I had so much fun coming up with the names that I made one for four different types of wine! And just like the Bridesmaid Proposal Wine Bottles, these are as easy as peel, stick and done!

Instagram.jpg

Supplies:

Neato Wine Bottle Labels
Harry Potter Wine Printable
Wine of Choice (Labels are for Pinot Grigio, Chardonnay, Merlot and Cabernet Sauvignon)
 

Supplies.jpg

1.     Download the Printable and Print your labels. I have made them specifically for Chardonnay, Pinot Grigio, Cabernet Sauvignon, and Merlot because those are my favorites! (Yes, four favorite types of wine is totally acceptable)

2.     Soak off the Label from your wine bottles with hot soapy water. Scrub any remaining residue off with a sponge and dry the outside of the bottles.

Peeling Label.jpg

3.     Place the square label where the old label used to be and you are done!

placing label.jpg
finished bottle.jpg

This is a wonderful way to add some Halloween and Harry Potter fun to your wine and it really only costs as much as the wine and a set of labels. Want to design your own labels? The company that created these label sheets has an online design studio so you can always come up with a design all your own!

finished bottles with text.jpg

Harry Potter Martini Mixer Labels

This post contains affiliate links, meaning that if you click on a link I will recieve a small comission. This costs you nothing extra and I only promote products I use and love! You can read our full disclosure here

Pinterest 1.jpg

Happy Halloweentime everyone! To keep with the spooky spirit, its time for some Halloween style tutorials! First up are some labels and decorations I made for my friend's bachelorette party, which as luck would have it, was Harry Potter themed!

Since I was bringing martini mixers, wine and paper signs, I wanted them all designed for such a fun theme, so my question became, what wizard would sell martini mixers? Why Gilderoy Lockhart of course! Why?

#1 - He is beloved by ladies, ladies love martini mixers
#2- Lockhart would totally sell a mixer as a potion to his adoring fans

In true Lockhart fashion, each mixer is themed on one of his bestselling books, and for legalities they do in fact state that they “contain no magical properties” (Not that anyone who knows Gilderoy would assume they work). I ended up buying a set of martini mixers from Amazon which are what I designed my stickers to and it was perfect for having a selection of martini mixers for the bachelorette party.

Finished Potions 3.jpg
finished potion.jpg
supplies.jpg

1.     Print out Labels on Sticker Paper. Cut out with Scissors.

peeling labels with text.jpg

2.     Peel off the existing Martini Mixers and replace with the new Lockhart Labels. The original flavors are also on the new labels so I found it easiest to take off the old label and replace it one bottle at a time so that I didn’t get mixed up and put the wrong label on the wrong bottle.

placing labels.jpg

And it’s as easy as that! I love being able to add little touches to themes like this with bottle labels, cheap and super cute! What Harry Potter Themed drinks would you make?

finished potions 2.jpg