This post contains affiliate links, meaning that if you click on a link I will recieve a small comission. This costs you nothing extra and I only promote products I use and love! You can read our full disclosure here

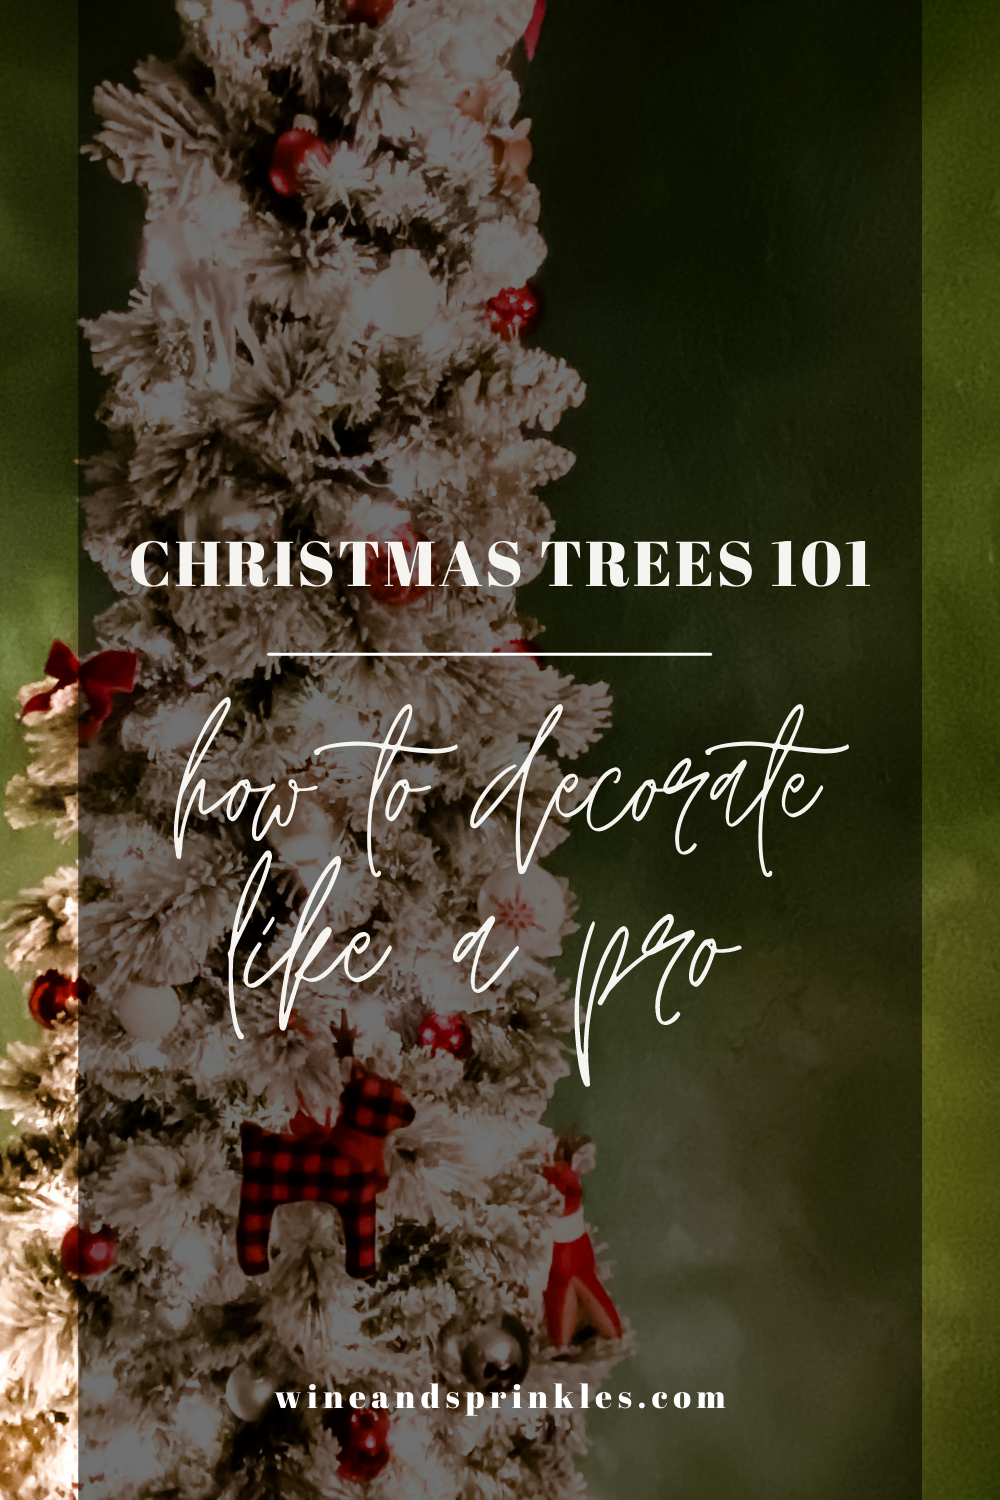
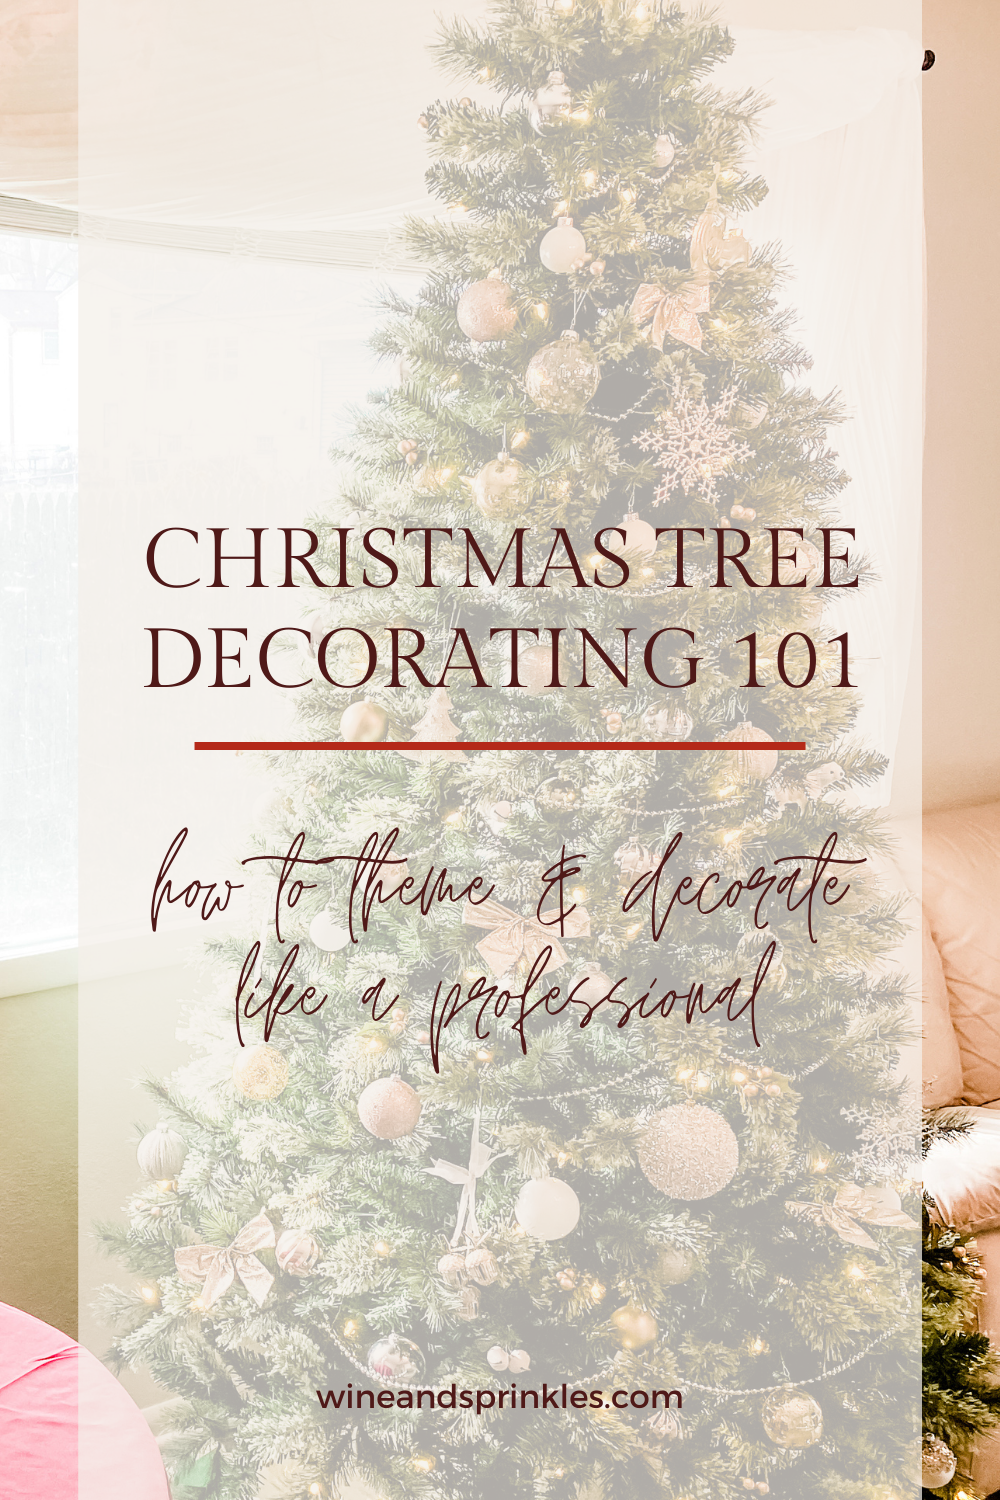
If there’s something I love about the holidays that I don’t get to indulge in the rest of the year, it has to be designing and decorating Christmas Trees to give my house all sorts of holiday cheer! I’ve always had a tree of some shape or size to decorate every season, so upon decorating for the first Cookies & Cocoa Bar Holiday Brunch in our new home, it was time to find the perfect tree to deck the halls and begin creating our collection of decorations for our new home. But when my husband imprudently agreed to let me buy multiple trees for our house, I used it as an opportunity to create this guide on how to decorate these festive firs with your own creative sleigh style! From garlands to toppers, I’ll be going through the ins and outs of how I decorate all my trees for the holidays; especially since we are now a three tree household!
Full of all my favorite tips and tricks for professional looking Christmas trees, every year as I design new trees, make new ornaments and DIY decorations, and find new ways to trim my own trees; I’ll be adding it to this post to document my creative holiday ventures and give you new ideas for creating your own custom trees. So whether you are decorating a tiny tree for your cubicle or a mini forest for your house, pick your favorite parts of this post for your holiday decorating and make your own Christmas Tree your favorite one yet!


WHAT MAKES UP A CHRISTMAS TREE
What goes into a Christmas Tree? Glad you asked! While many have a general idea of what goes into a tree, when I bought my forest and suddenly had way more trees to decorate than every before, it was time to make some lists and get organized on what I actually use to decorate! I worked in the layers of the tree in the order I decorate it and started brainstorming, buying, and crafting my décor dreams, from the tree itself to the star on top! For your tree decorating journey this season, here’s what you’ll need:
A Tree to Decorate: As one might imagine, the tree you are decorating is of course the first and most important part of your tree decorating! I’ve had both live and artificial trees in the past, but for the lack of sap, watering and liking my real pine trees in the ground, I prefer artificial trees for my indoor decorating, so that what this guide focuses on decorating. For my little artificial forest, I did a couple different types of trees to give me an idea of their sizes and styles, settling on a Flocked Pencil Tree and two pretty Cashmere Pines to make up my collection, and you can read more about picking your own trees below!
Tree Skirt: for arranging around the bottom of your tree to place gifts as well as to cover the base of your tree prettily, a tree skirt of some sort is a must! What you pick will be dependent on the size of the base of your tree and its supports, it needs to be able to cover them completely and in the case of real trees, having a fabric cover that extends past its branches is ideal for catching sap or falling needles. While I invested in a couple fabric ring style tree skirts, there are tons of unique options for both live and artificial trees. Some of my favorite options include:
Fabric & Woven Tree Skirts
Glittered and Woven Tree Collars
Wooden Tree Boxes
Metal Tree Bases & Christmas Tree Rings
Lights, Garlands, Ribbons, & Beads: The next layer of any tree is then the long garlands, beads, and other trimmings that are wrapped around the tree to decorate it before tying and hanging pieces from the branches. My trees always host some sort of Beaded Garlands and I even made a garland of my own out of yarn and jingle bells, but there are so many fun ideas that you can use for your own trees! Some examples include:
Beaded Garlands
Popcorn and Candy Garlands
Paper Chains
Ribbons
Extra Lights
Pom Pom Garlands
Jingle Bell Garlands
Embellishments: after garlands and lights, the next layers of my trees are generally things I have to tie or wire in, like bows and artificial berries. I love embellishments for giving more sparkle and interest to my trees as well as for adding a little natural flair to bare branches in the form of berries or pine cones. Some of my favorite tree embellishments include:
Pine Cones & Artificial Berries
Wreath Picks
Bows & Ribbons
Jingle Bells
Candy Canes & Treat Cones
Ornaments: when it comes to tree decorating, the most festive and varied of decorations come in as the hanging baubles and bulbs from the branches, that’s right it’s time to talk ornaments! From the simple hanging spheres to all sorts of themed creations, ornaments are my favorite way to incorporate themes into my trees, but also capture memories of our lives to look back on each holiday season. I collect them from my travels and love to pick up an annual fancy ornament to add to our set, but ornament are also a great choice for crafting special designs all your own! I’ll certainly be crafting up a set this year for tutorials next holiday season, but in the meantime some of my favorite DIY ornament ideas are:
Hand Painted Ball Ornaments
Glitter, Pom Pom, & Fake Snow “Snow Globe” style Ornaments
Modgepodge Glittered Ornaments
Cast Resin Glitter Ornaments
Vinyl Decal Decorated Ornaments
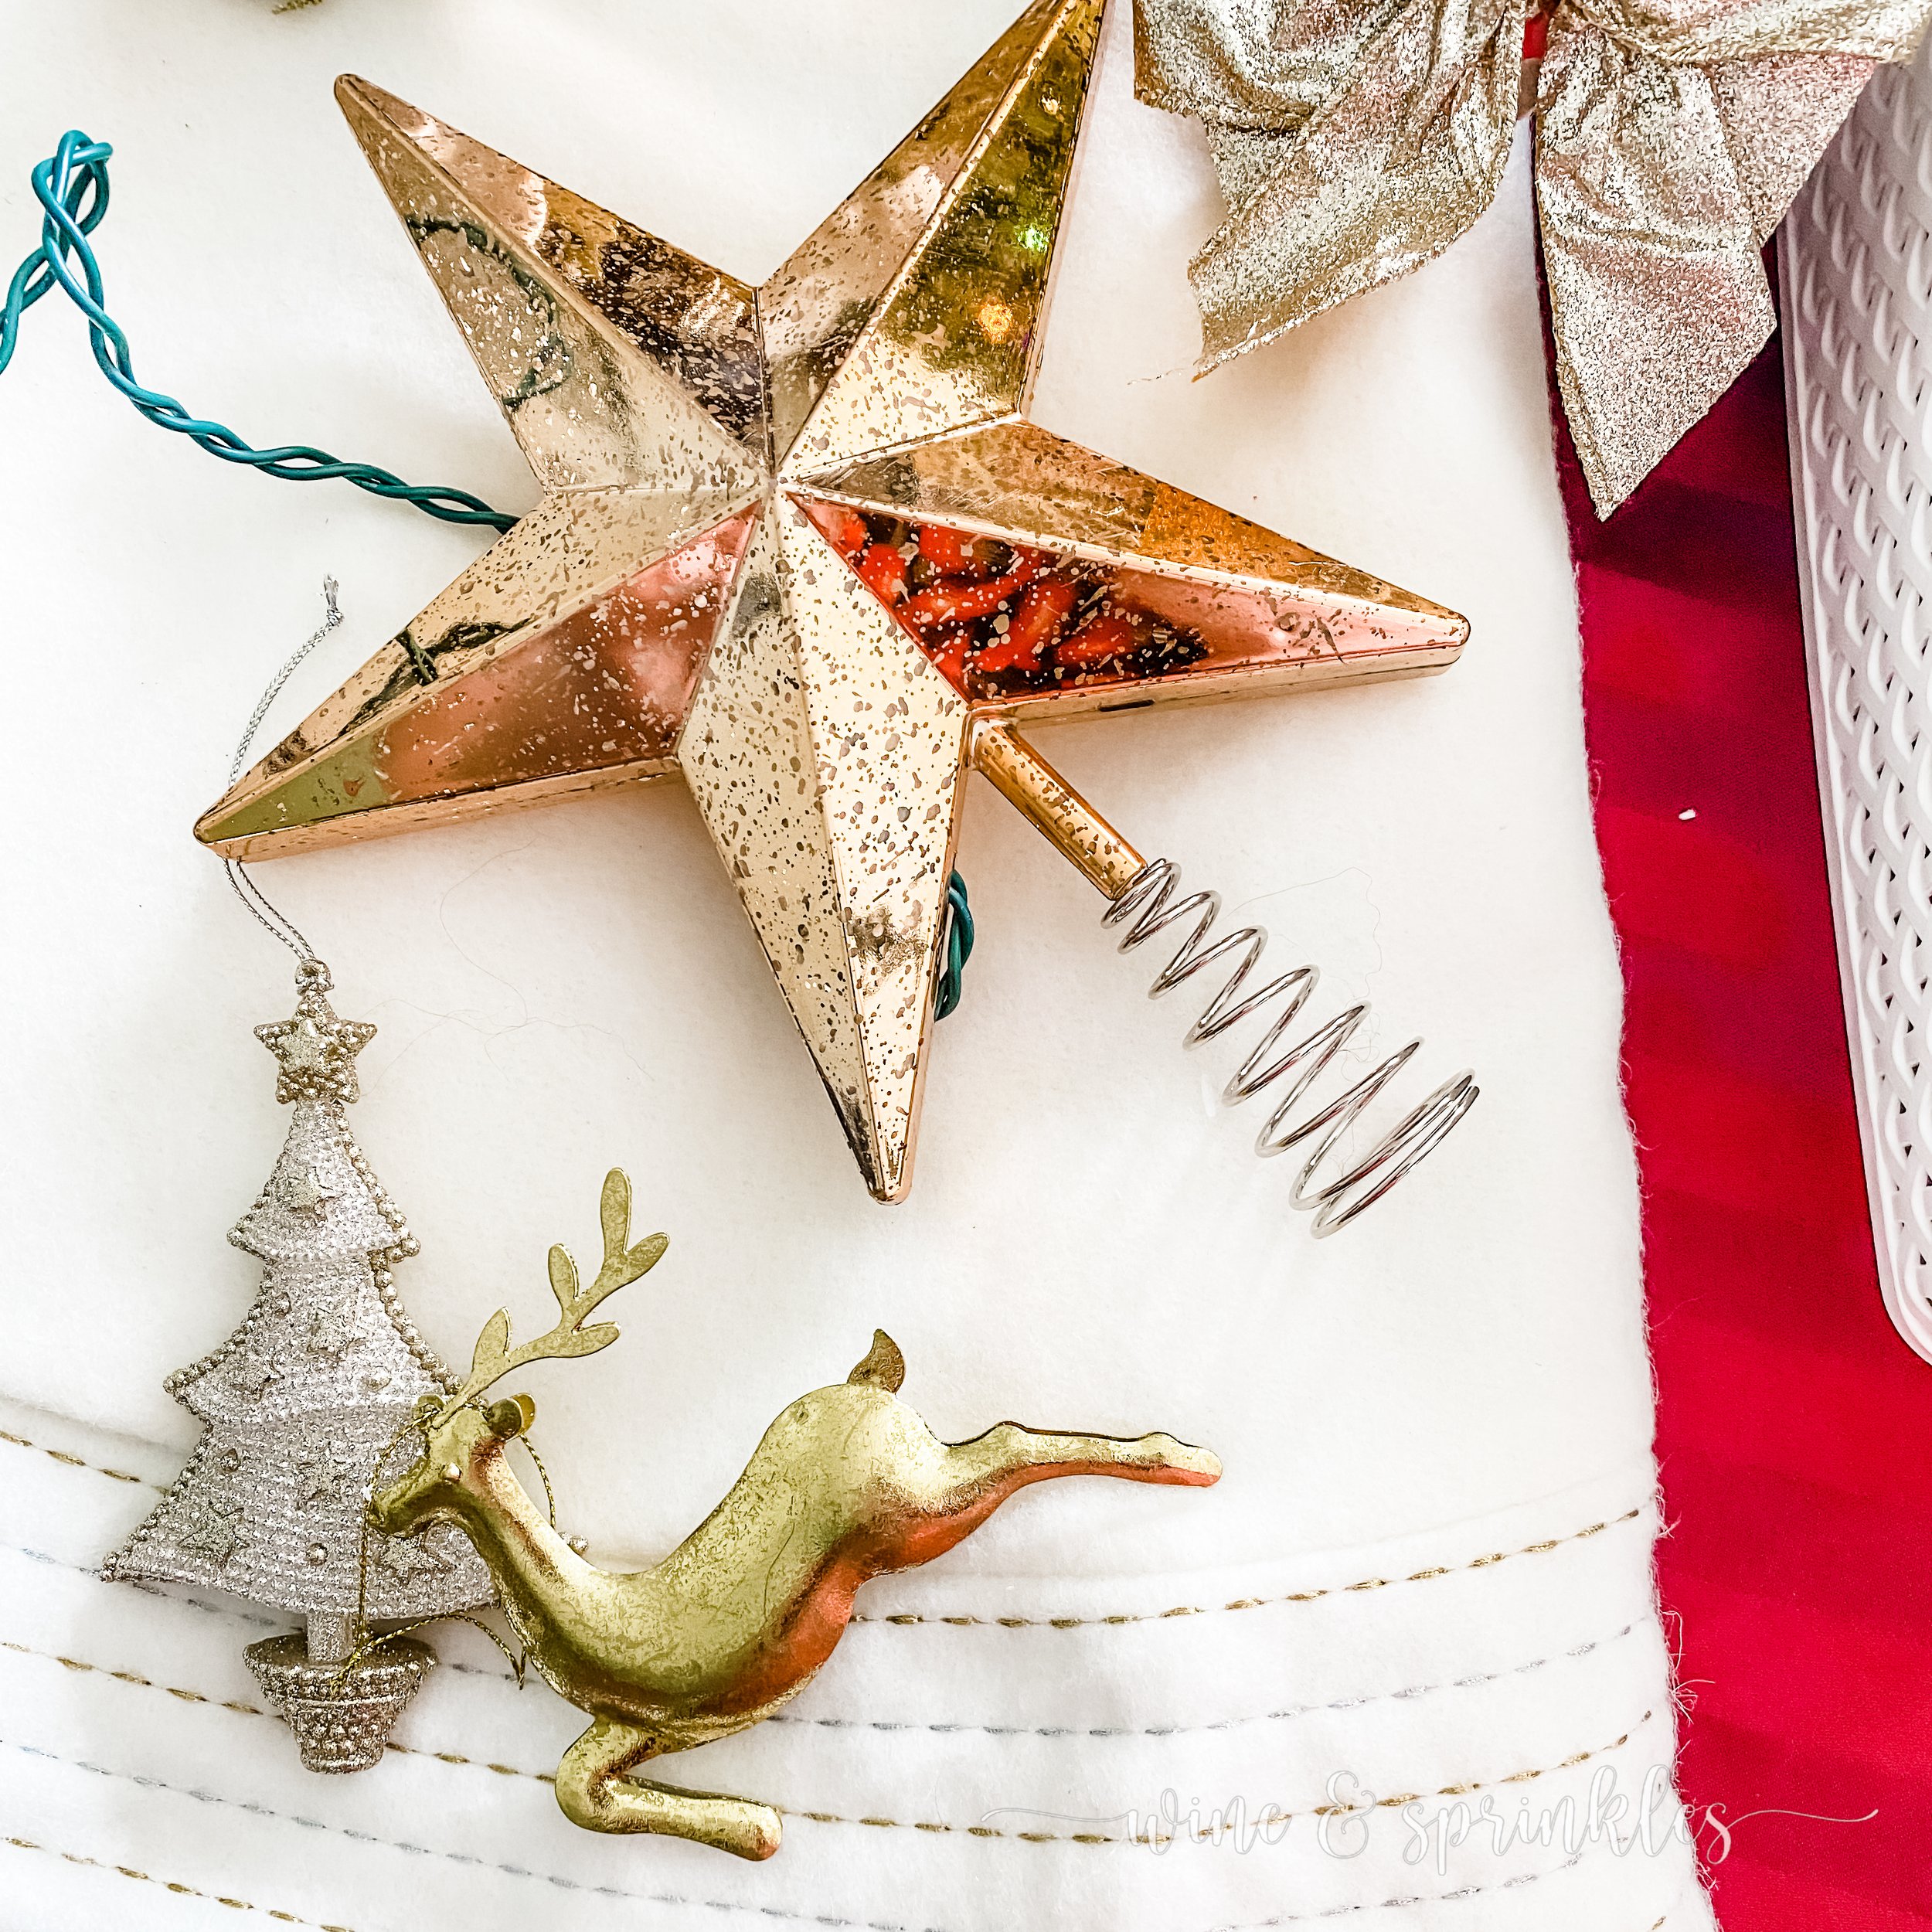
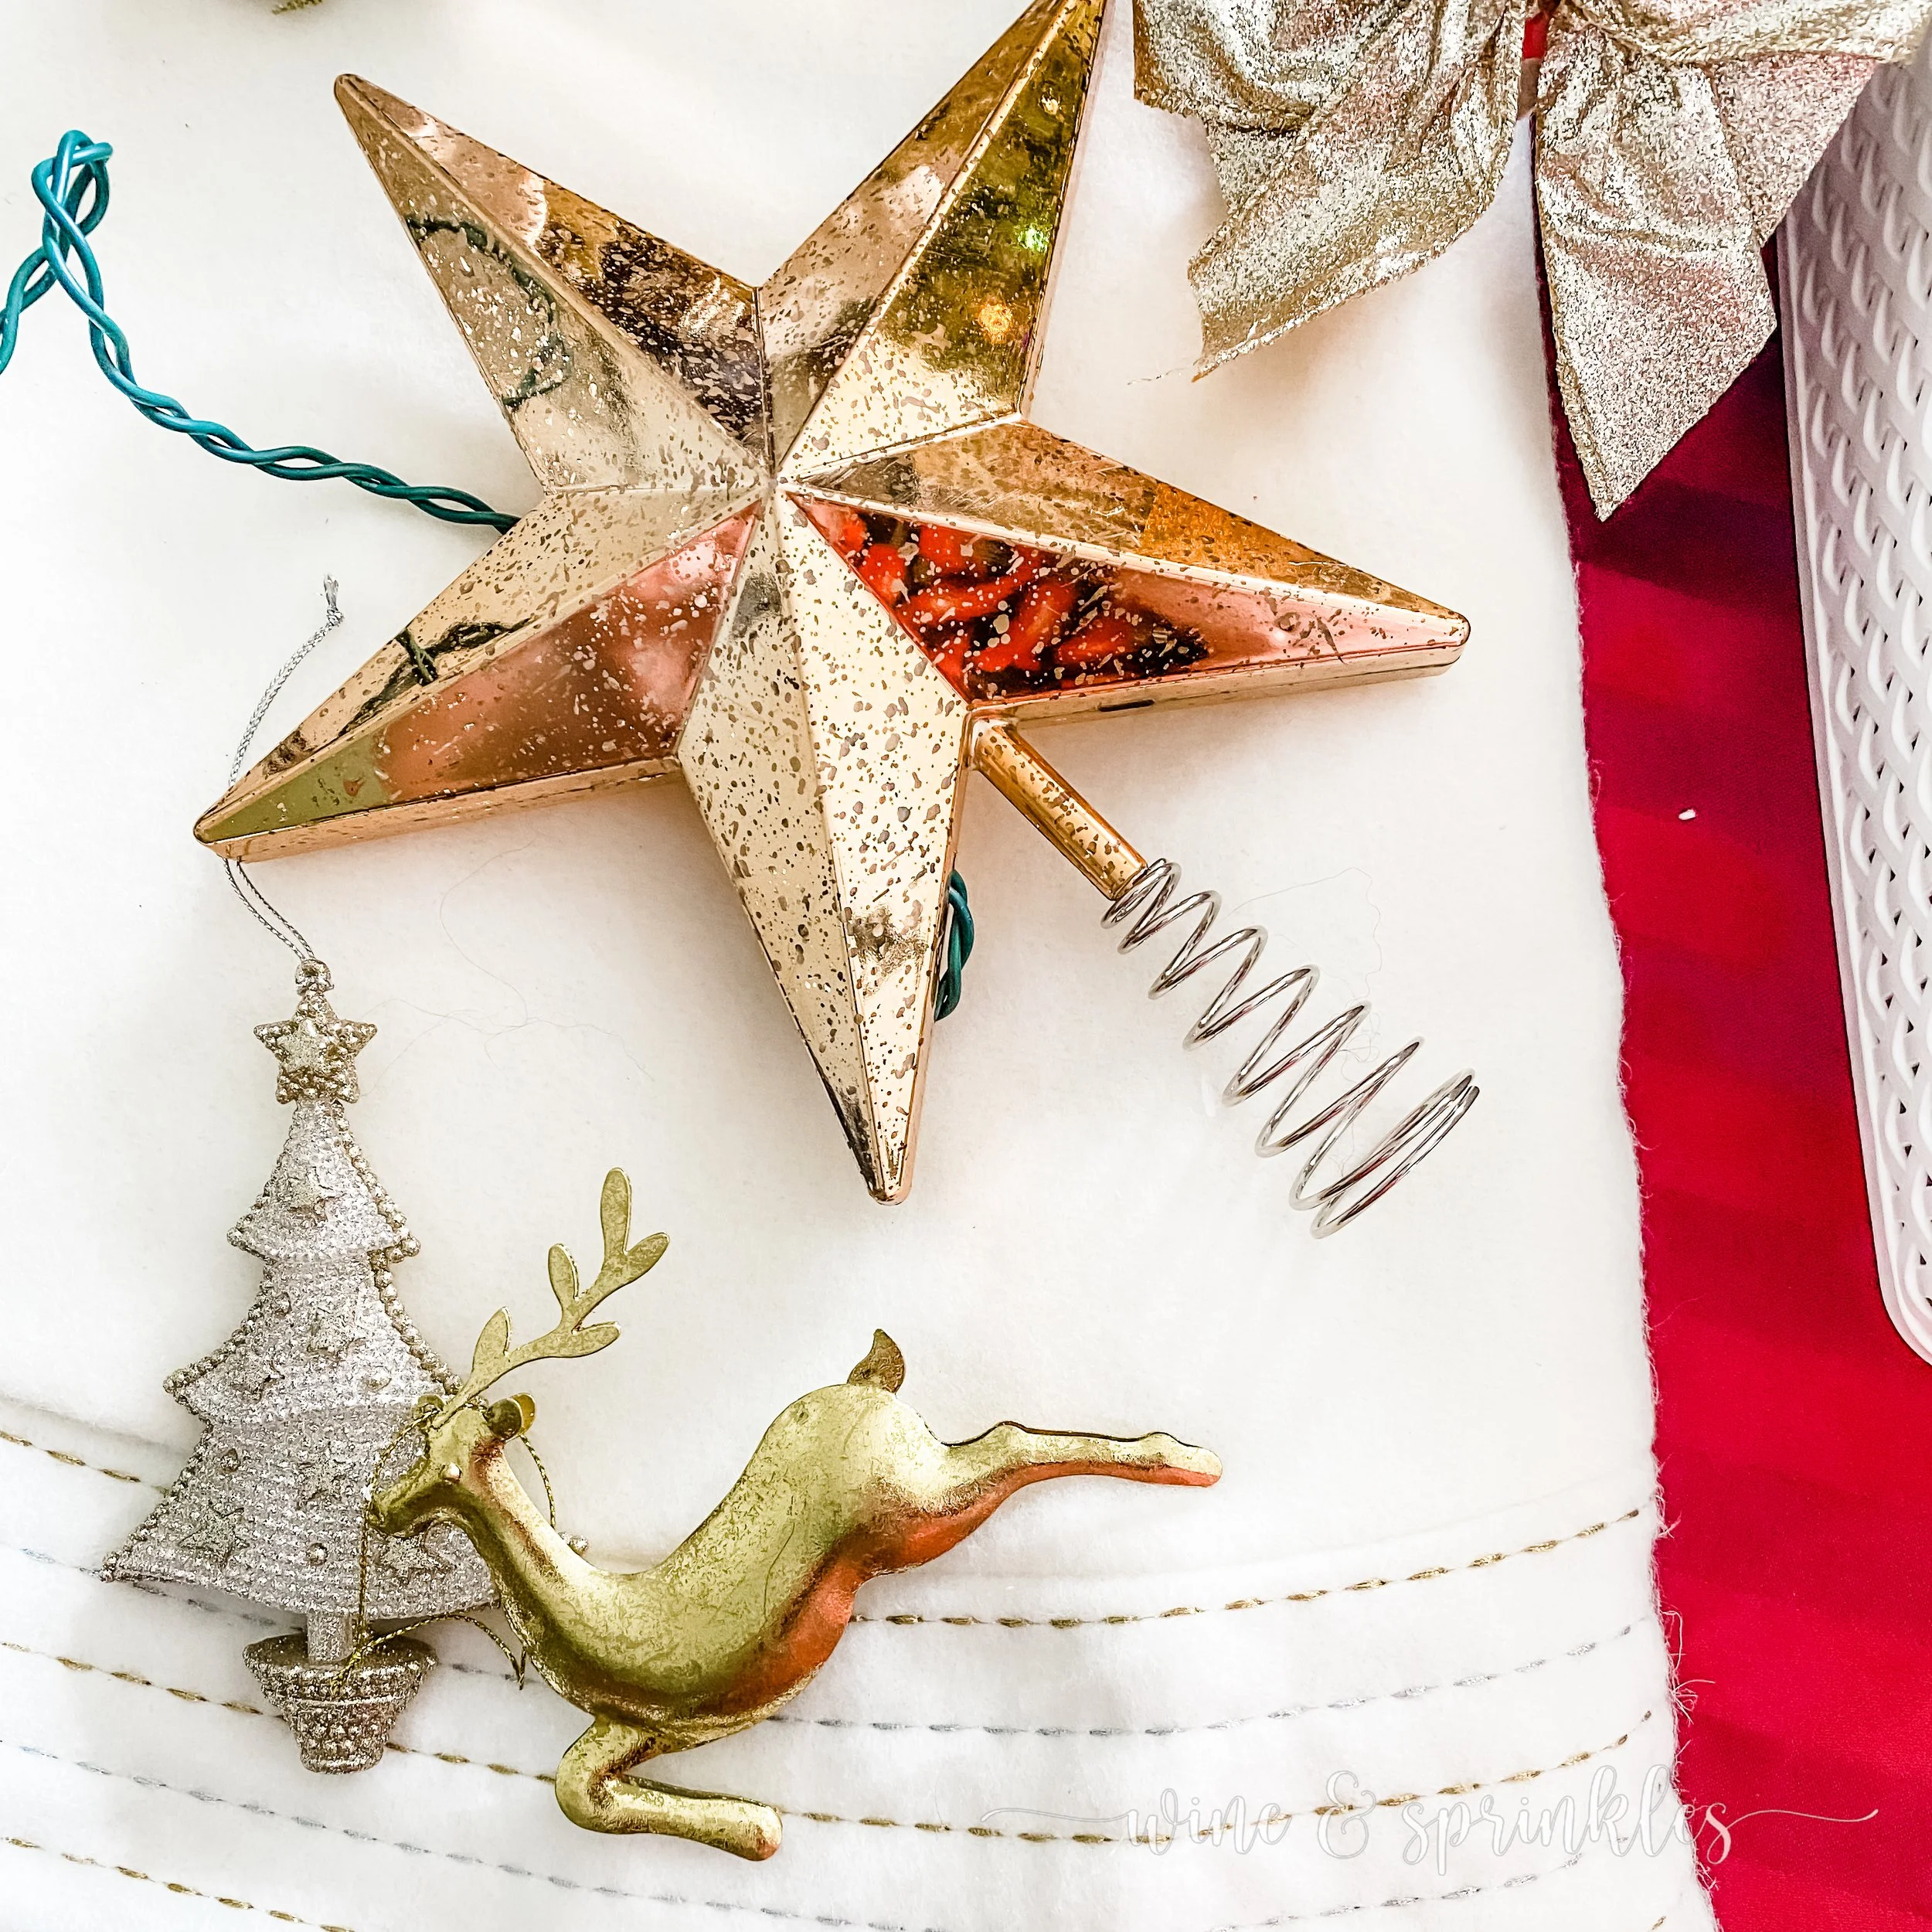
Tree Toppers: after all the trimming around the rest of your tree, all that’s left is the top! I had a tree star growing up so I’m always partial to them, but since my husband and I started Christmas together we found a little owl to deck the top of our tree instead! Now that we are a three tree household, it’s time for more stars and maybe a tree hat to get in the game! Some of my favorite common tree toppers include:
Tree Stars & Snowflakes
Christmas Angels
Giant Bows
Santa & Top Hats


Even with all the ideas above, really the limit to your different decorations is your own imagination. But before you start buying and DIYing all the ideas in your head, it’s time to decide what type of tree you want and what vibe you want your theme your tree to! So first we’ll start with picking your perfect tree!
PART 1: PICKING YOUR PERFECT TREE

REAL VS. ARTIFICIAL TREES
The first consideration in any tree purchase has to be: do you want a real or an artificial tree? Over the years, I’ve had both styles of trees in my home and each has its pros and cons to be considered before making your own tree purchase.
Real Trees:
Pros:
Each year you get a new tree and have the experience of picking it out, whether its cutting it at a tree farm (my favorite), visiting a tree lot, or buying one at your local nursery or stores.
They smell AMAZING! And there’s nothing like bringing the outdoors in for a cozy Christmas feel.
Cons:
It’s a real tree with real tree needs; like being watered, dropping pine needles, and being filled with sap that can get on your ornaments and decorations
You have to go through a good amount of work to procure, maintain, and then dispose of the tree at the end of the season.
While they can be less expensive that artificial trees, they only last 3-4 weeks where an artificial tree lasts for many years before they may need to be replaced.
Artificial Trees:
Pros:
These beauties can last for years, really only needing to be disposed of when you feel that it is too worn out and not because it is dead.
I like that I’m not killing a real tree or having to deal with the needs that a real tree has, once they are decorated an artificial tree is good to go until you take it down, no maintenance required!
Many trees come pre-lit and are easy to set up, cutting down on the time it takes to put it up and take it down each season and any forgotten ornaments or decorations stay with your tree and not in the trash.
You have a large array of choice in the types of trees you can choose, from actual tree species to trees flocked in snow to trees made entirely of tinsel, the limit is your creativity and taste!
Cons:
The more lifelike the tree, the more expensive they get and boy can that price go up fast! Depending on the type and size of tree they can cost hundreds of dollars.
You miss out on that nostalgic holiday feel that a real tree gives you, I burn candles but always miss the smell of real trees during the holidays.
You need a place to store it! Storing my three trees takes up a good chunk of space, where a real tree gets thrown out at the end of the season.
In general, I prefer the lifelike artificial trees to real ones because I can use them year after year, I don’t have to worry about sticky sap getting all over my homemade and sentimental ornaments. That being said, I love my memories with my real trees too so pick what works best for you!
WHAT SIZE SHOULD I BUY?
How tall of a tree you should get is really dependent on your ceiling height and what you want to top your tree with, for my part I’m always trying to fit trees that are a little taller than they should be into my rooms! In general, I find that your tree should be 12-18 inches lower than your ceiling if you want a tree topper with a little room, but generally I just make sure my trees are at least 6 inches lower than my ceiling instead, then I bend over the top most branch to get a little room back.
For smaller rooms like bedrooms, I prefer the pencil style trees as opposed to the standard style, then I can still have holiday cheer in my little rooms just with a smaller footprint!
PART 2: THEMING YOUR TREE
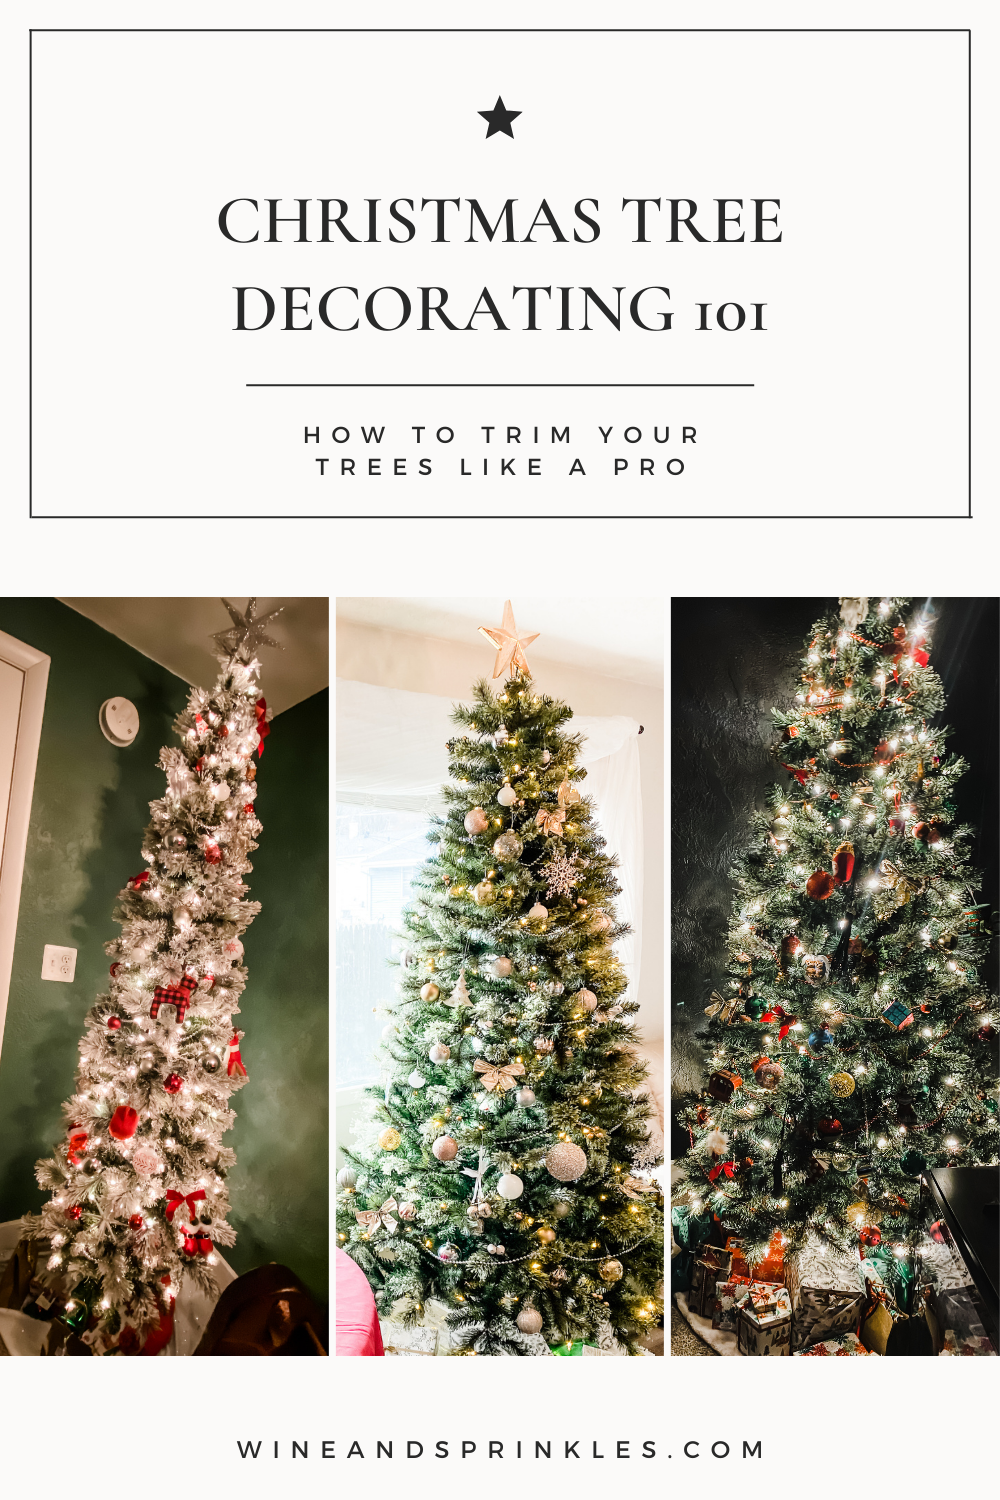
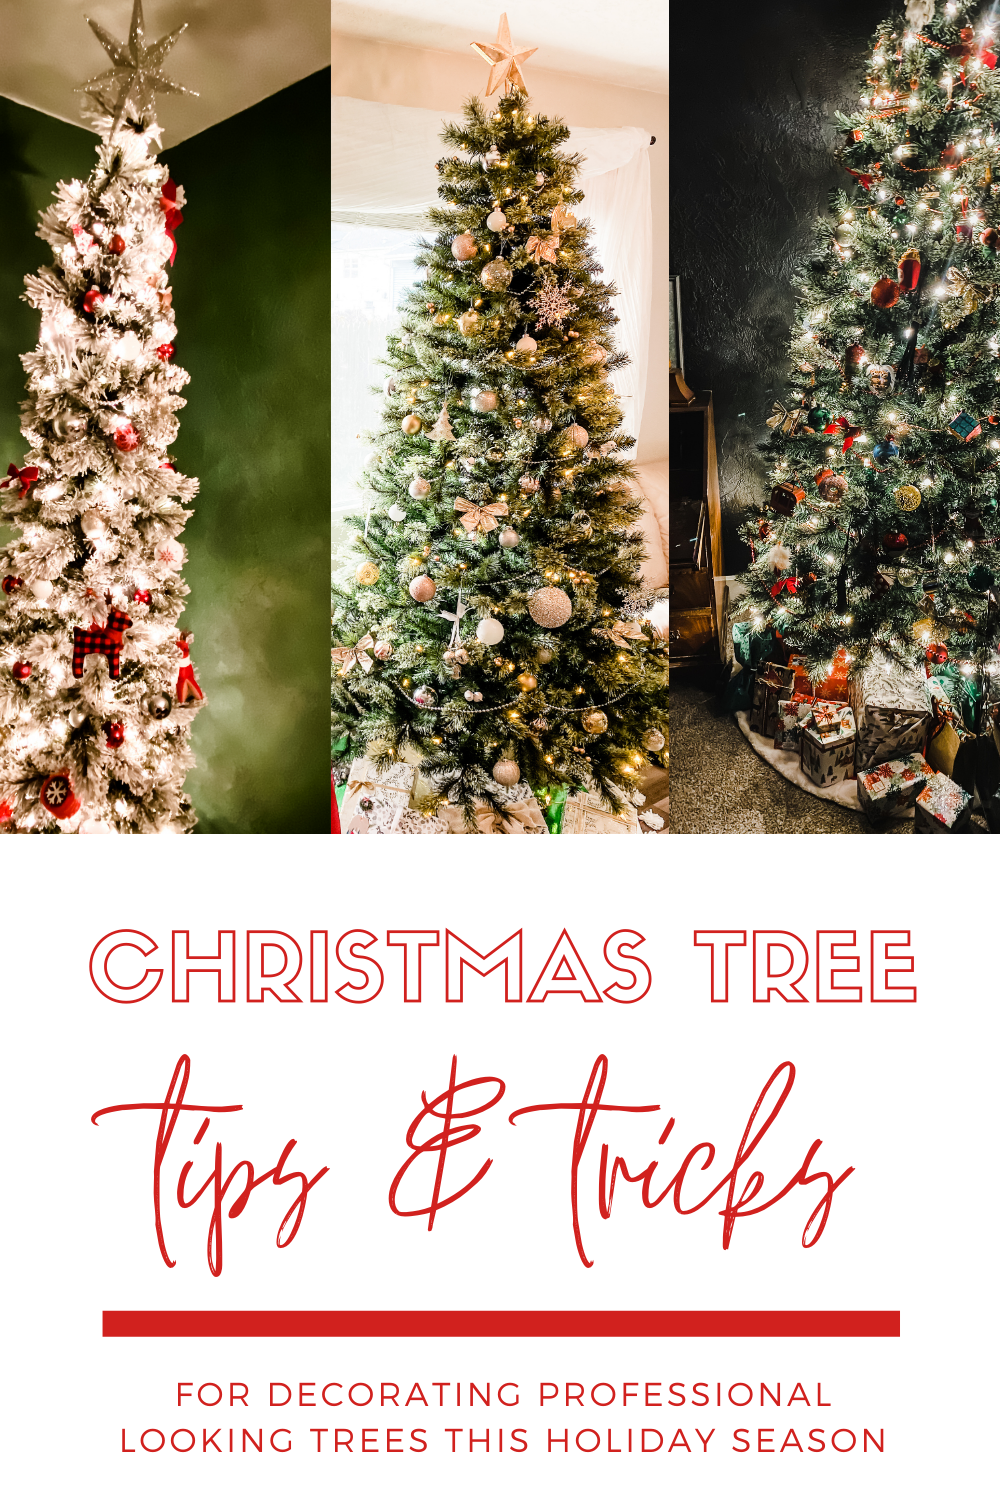
This year is the first year that I have gotten to have more than one tree in my house at a time. My husband was unwise in a moment of weakness to agree to multiple trees so I’m taking full advantage of it and decorating each one in a different theme, which also gives me the perfect chance to use them for examples on how to theme your own Christmas trees!
THE TRADITIONAL TREE
This is the tree that holds the special family ornaments, tree trimming traditions, and general childhood memories. I feel like this tree is the first and most necessary tree, and when you only have one to decorate you certainly want it to shine and look its best. For trees like this I pick their garlands, enhancements, and supporting ornaments in metallics and colors that complement my favorite ornaments that I like to show off at the front of the tree. In my family we also always put red beaded garland all over our family Christmas tree, so it always has a place on my traditional tree now.


THE COLOR COORDINATED TREE
The second style and my second type of Christmas tree is the color coordinated tree, where you pick or craft all of your ornaments, enhancements and accessories along a specific color scheme you pick as your inspiration. Now I personally like to pick a few of my favorite coordinating sentimental ornaments to get an idea of what color scheme I want the tree to be, which turned out to be some of my favorite white and metallic ornaments that reminded me of our engagement and winter wedding. I gathered a couple other special ornaments from the pile and it all came together, this tree was going to be mixed metallic with whites for falling snow, one of the overarching details of our wedding day and favorite times together!
THE THEMED TREE
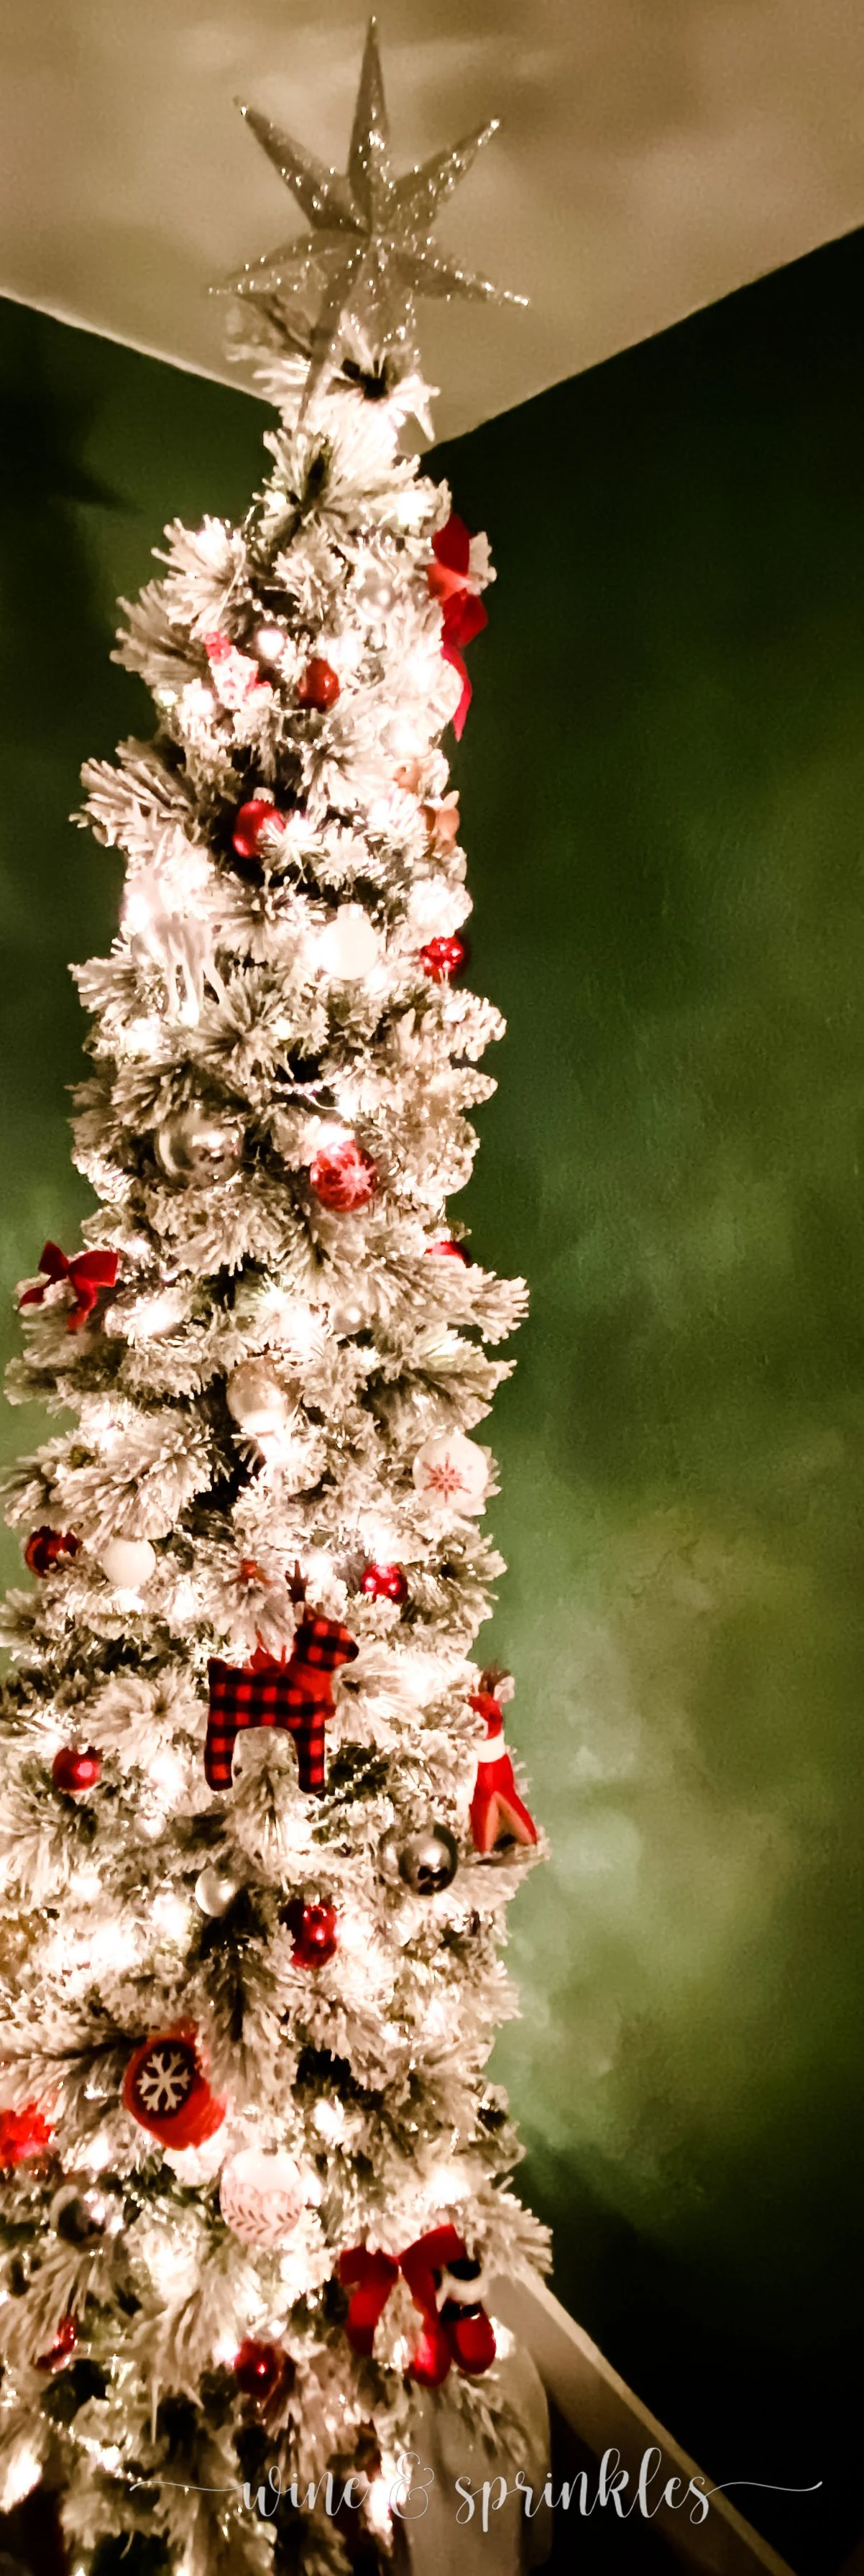
With all the theme parties I have, of course my last style of Christmas tree would be the themed tree! This style of tree is all about having fun and being creative along whatever theme you pick. Making your garland, ornaments, and other tree details go along with whatever style you pick! For my skinny flocked tree, I wanted to make a themed tree for the bedroom as we have a little nook that has no use, perfect both for decorations and the couple personal presents we get each other for our holiday date night. This year the theme of the tree is Christmas Eve night, which happens to be the evening we get to unwrap the presents under it! Silvers, reds, Santas, and reindeer bedecked this little beauty, along with fun inexpensive ornaments I found for representing our other fun traditions on Christmas Eve, like drinking cocoa and watching the Polar Express.

PART 3: SORTING YOUR DECORATING SUPPLIES
Now that you have picked your tree, its inspiration, and what you want to decorate it with; its time to sort all your supplies and get ready for tree setup and decorating! I sort my items based on when they will be going on the tree; starting with detangling and laying out all my additional lights, garlands, and bead strands, then dividing out my embellishments that get wired or tied into the trees: like bows, wreath accents, and jingles bells. Finally, I sort my ornaments between supporting ornaments, like traditional ball ornaments, and my special sentimental ornaments.
If, like me, you are dividing up your ornament collection between a couple trees, the easiest thing to do is to sort your ornaments and other embellishments before the trees go up. Picking your color schemes and putting them into piles makes it much easier to have things ready for each tree, and then you can get an idea of how all the ornaments look together and know that each tree is getting enough attention. In addition, you can also divide up your supporting decorations between all the trees to give them a feeling of going together while keeping individual styles. For my three trees, I have them divided into three sets based on theme and color; with all the trees sharing some assortment of bells, bows, and ball ornaments.

The Traditional Tree: This tree got the color of my traditional childhood tree; red, green, and gold. All the red and green ball ornaments, accented with gold metallic and glitter ornaments, red and gold bows, gold berries, and rustic wreath enhancers that were in the red and gold themed family as well. For garlands a mix of the traditional red beads along with one DIY garland made of red and white yarn and red jingle bells makes for an adorable nostalgic tree of my childhood!


The Color Coordinated Tree: as mentioned above, this tree was metallics and whites, mainly gold but with silver, champagne, and any other metallic I could get in the mix. In this case I also used silver beaded garlands, white jingle bells, gold bows, and gold berries for more metallic colored touches, but stayed away from anything in a non-metallic color for all the ornaments. I sorted out some of our sentimental ornaments for this tree as well, but any ornament I used had to stay within the color parameters I set. You don’t have to be as intense as me, your tree can have any color palette you want, but the more rigid you stick to your rules, the better it will turn out!


The Christmas Eve Night Themed Tree: This tree I wanted not just the feel of traditional Christmas, but specifically Christmas Eve. The movie that my husband and I always seem to watch that evening is the Polar Express, so the ornaments I used were indicative of the traditional Santa colors: reds, whites, and silvers. Unlike my color schemed tree, I wanted no gold in sight for this snowy Santa tree, so silver garlands bedecked its branches with the additional accents of silver jingle bells, red bows, and reindeer ornaments galore as an ode to the reindeer pulling Santa's sleigh


PART 4: ARTIFICIAL TREE SETUP & FLUFFING

Set up your artificial tree as the box describes, putting the sections together if there are any and placing it in a tree stand. Arrange your tree such that it is near an outlet to be plugged into as well as near its final home, but that you can walk around all the sides of it. We want to have room to work around the whole tree before being able to gently move it to its final display home. Plug in any light sections that need to connect and plug in and test your tree to confirm that all the lights are turning on.


Now it's time to fluff your tree! This is what I consider the most important part of your tree prep and greatly greatly increases how expensive or inexpensive your tree looks. I’ll spend twice as much time as I do decorating a tree in fluffing it, more fullness means a prettier tree and less ornaments to make it look full!
To fluff: take each branch individually and stretch out its twigs so that they fill in any dead space in the tree. When do you think you’re done fluffing the tree, do another run through of your tree and continue to fluff it. Remember, trees in nature would want their branches as far apart as possible for all the sunlight, the more you fluff the more like a real tree it will look!
I always spend more time fluffing my tree than on any other part of tree decorating, I always assume I’m done before I am but how well your tree is fluffed greatly makes everything easier later, from hanging any additional lights and beads to ornaments.
TREE FLUFFING TRICKS & TIPS
Use gloves when fluffing your tree, artificial trees always scratch up my hands something fierce if I don’t!
Start at the back of each branch segment and separate and fluff the individual sprigs moving out to the outside branches of the tree. It’s always easier to get to the back branches before you fluff the front ones
Start by fluffing the bottom branches and work your way up to the top branches, it’s much easier to get to and fluff the bottom branches before you do the top ones and the bottom branches generally need more fluffing
PART 5: TREE SKIRTS, GARLANDS, & TREE EMBELLISHMENTS


Once the tree is fluffed it’s time to add any long garlands, ribbons, or beads to the tree. You can start from the bottom or the top depending on what you prefer but I usually like to start at the top of the tree because if I run out of beads and need to go get more to finish it it’s always easier to have the top done first. I start at the top by twisting the bead garland to form a loop, securing it on a top branch, then walking around the tree to place the garland; working in a spiral down the tree and keeping the distance between the layers of garland uniform as I go.
Once all the garlands are placed on your tree, move the tree against the wall or into the corner that it will be displayed and wrap its tree skirt around it, smoothing so it lays flat. Now you’re ready to start adding ornaments and enhancement pieces!

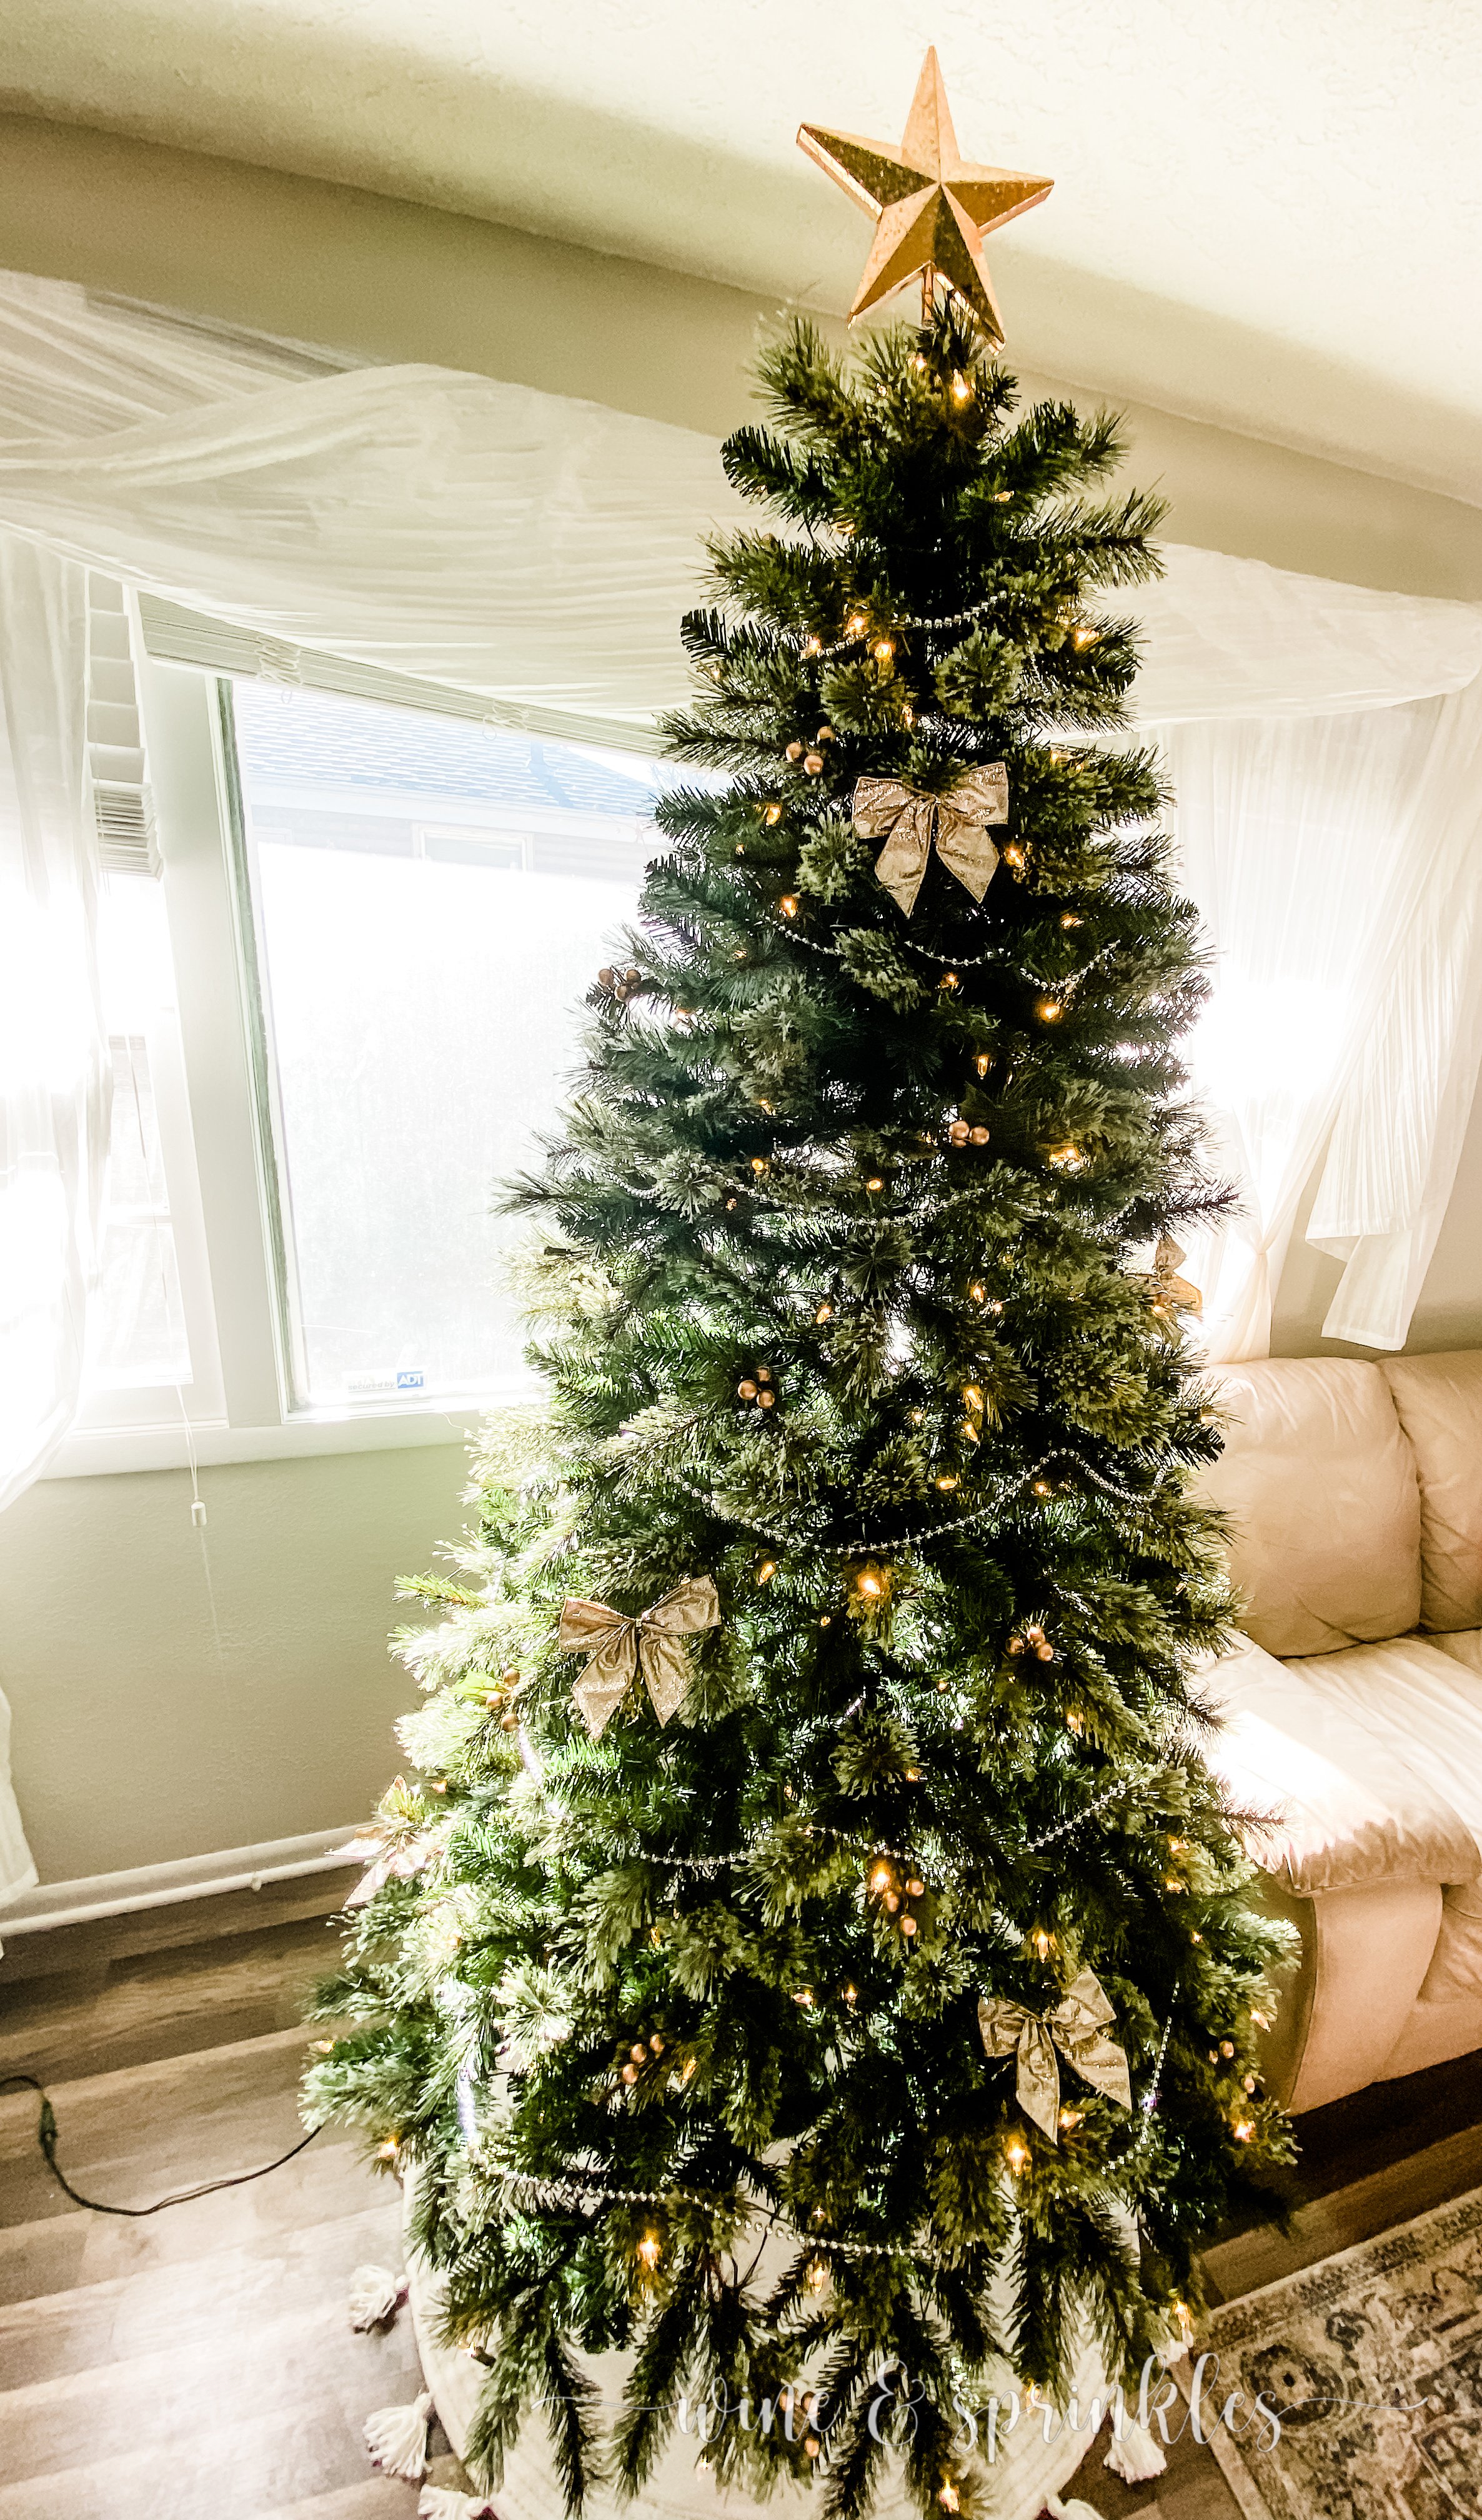

Before ornaments, I generally secure any of the embellishments I have that need to be tied or wired into the tree; such as bows, fake holly berries, jingle bells, and other wreath enhancements. I find it easiest to do before as you can more equally space them out but you aren’t worried about bumping any ornaments while you work on wiring things into branches. My color coordinated tree got trimmed in a myriad of gold glitter bows, white bells and gold berries, the Christmas Eve tree hosted silver bells and red bows, while my traditional tree had a mix of all the bows and berries!


WHEN TO ADD A TREE STAR?
Traditionally I always put tree toppers on at the end as the finishing piece on a tree; however, It’s actually much easier if you don’t care about the order to place your tree topper right after fluffing and before you start putting on any garlands. I did this with both my Christmas Eve night and color coordinated trees, having my husband place the tree topper after we did our sentimental ornament hanging on the traditional tree.
PART 6: ORNAMENTS & FINISHING TOUCHES

Now I’d imagine everyone has a favorite way of hanging ornaments, when I was little we’d hang our favorites first and then get to the ball ornaments, bows, and other less interesting pieces when we were done with those. Now, I prefer to do it just the opposite way, adding bows and embellishments first, then ball ornaments, then finish by placing my favorites on the tree. If I want to place one of my more special ornaments where an ornament already is, I have no scruple simply taking off the more simple one and replacing it with my favorite. Then I just find it a new home on the tree or add it back to my basket of extras to use on making wreaths and Christmas garlands.
Place your ball and filler ornaments into your tree first, looking for open areas inside the tree to hang them as well as on the edges of the branches. There are a couple different ways you can arrange these ornaments in your tree, but start by placing the biggest of my ball ornaments first then work my way to the smallest. For a traditional looking tree I keep the larger ornaments near the bottom and they gradually work smaller as I move up the tree, but for more modern style trees like my upstairs tree I like instead to scatter the sizes evenly throughout the entire length of the tree giving pops of interest of different sizes at different levels.
I also start with the most glittery or reflective ornaments first and then use the matte balls later. The more reflection of light you can get in your tree, the more magical and professional it will look. I try to hang them as near the Christmas lights as I can for this reason. Remember, you can always remove an ornament and replace it with a special one you like better later, but reflective ball ornaments are cheap in bulk and add so much fullness and dimension to trees
Once your ball ornaments are placed, it's time to finish your tree with your favorite special ornaments! Place them in the spots that still feel empty in the tree where they will be most visible to you, moving ball ornaments to new positions as necessary to finish your Christmas tree!


LAST TIPS: BE CREATIVE & HAVE FUN!


Now you’re ready to trim your own perfect holiday tree and to finish my guide, here are my last tips to all my fellow yuletide tree trimmers!
When you are picking out a tree, the height and lights are most important. I try to make my trees at least 6” lower than my ceilings and prefer the ones with warm white or color changeable lights, then I can decide each season which would look best for each tree.
Take advantage of the lights in your tree with glittered ornaments, mirrors, and embellishments that bounce light. The more light, the more magical the tree.
Don’t limit yourself to expected trimmings or tree stars. We’ve topped our traditional Christmas tree with a little fabric owl for years and we still love it best even with my sparkly new stars!
Use you imagination with what you decorate with: I gathered all my loose jingle bells to create yarn garlands and wire them into branches, made candy bags to tie into the tree with trees for my friends, and will generally take any loose decorations in my tubs to try to turn them into an ornament.
Love a theme with your tree? Keep it going with the gifts! I love wrapping and ribboning gifts to match their trees and it makes them feel like they should be in a photoshoot!


SEE OUR RELATED POSTS HERE:


OUR MOST RECENT BLOG POSTS:


OUR PINS FOR THIS POST: