This post contains affiliate links, meaning that if you click on a link I will recieve a small comission. This costs you nothing extra and I only promote products I use and love! You can read our full disclosure here
This post is sponsored by our affiliate partner, Artisaire, who provided the supplies to create this tutorial and whose products I love to use and recommend!

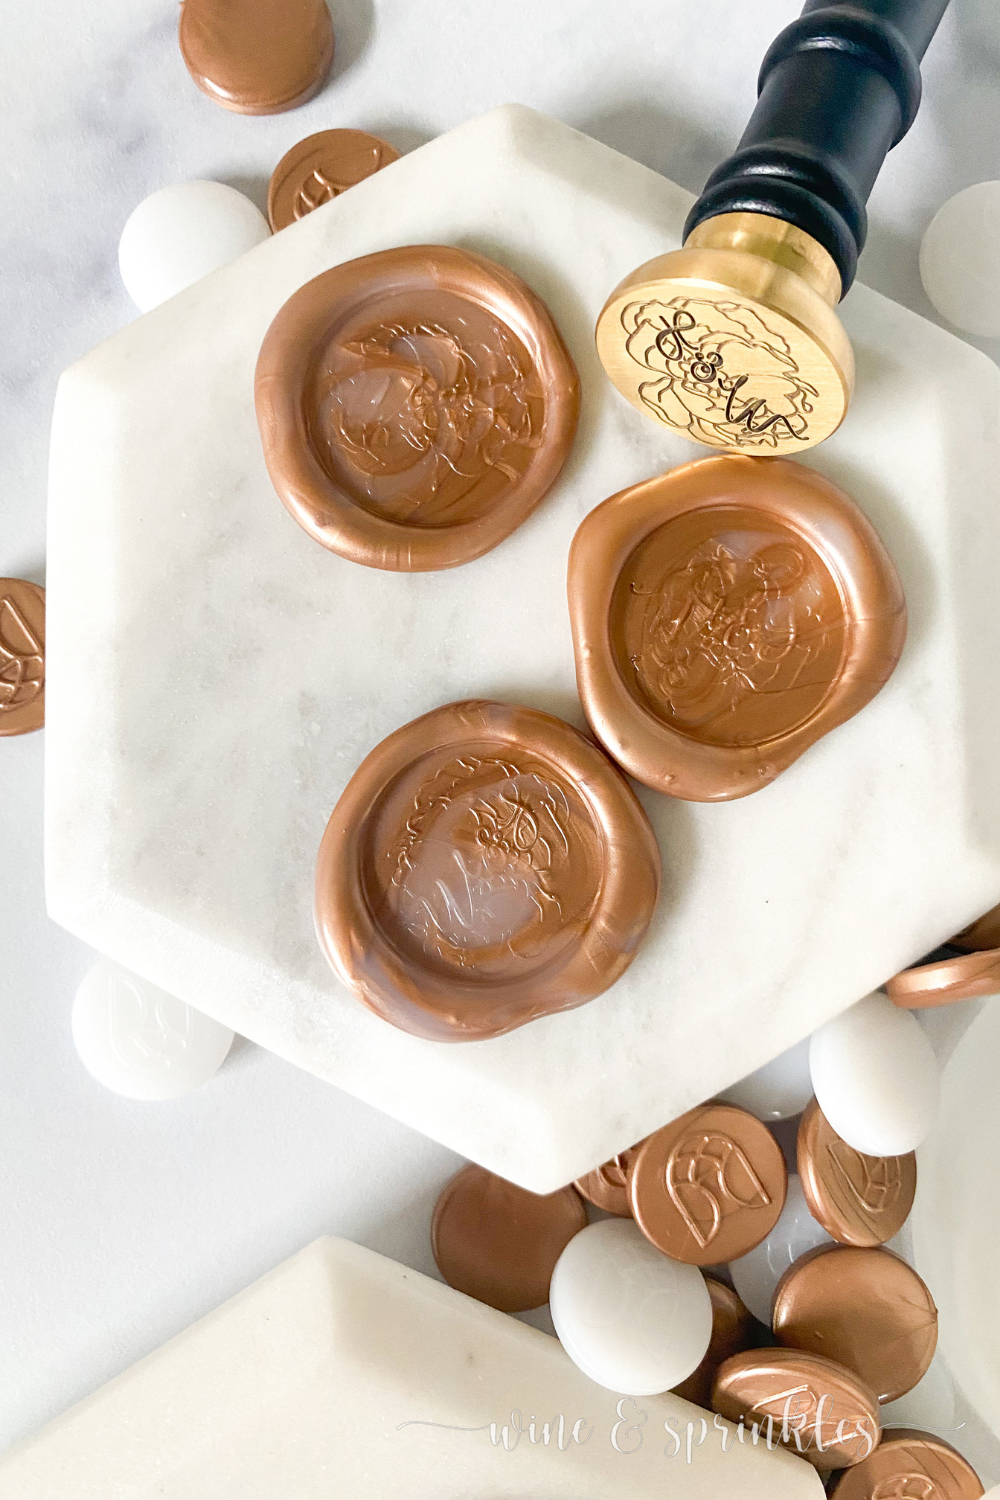
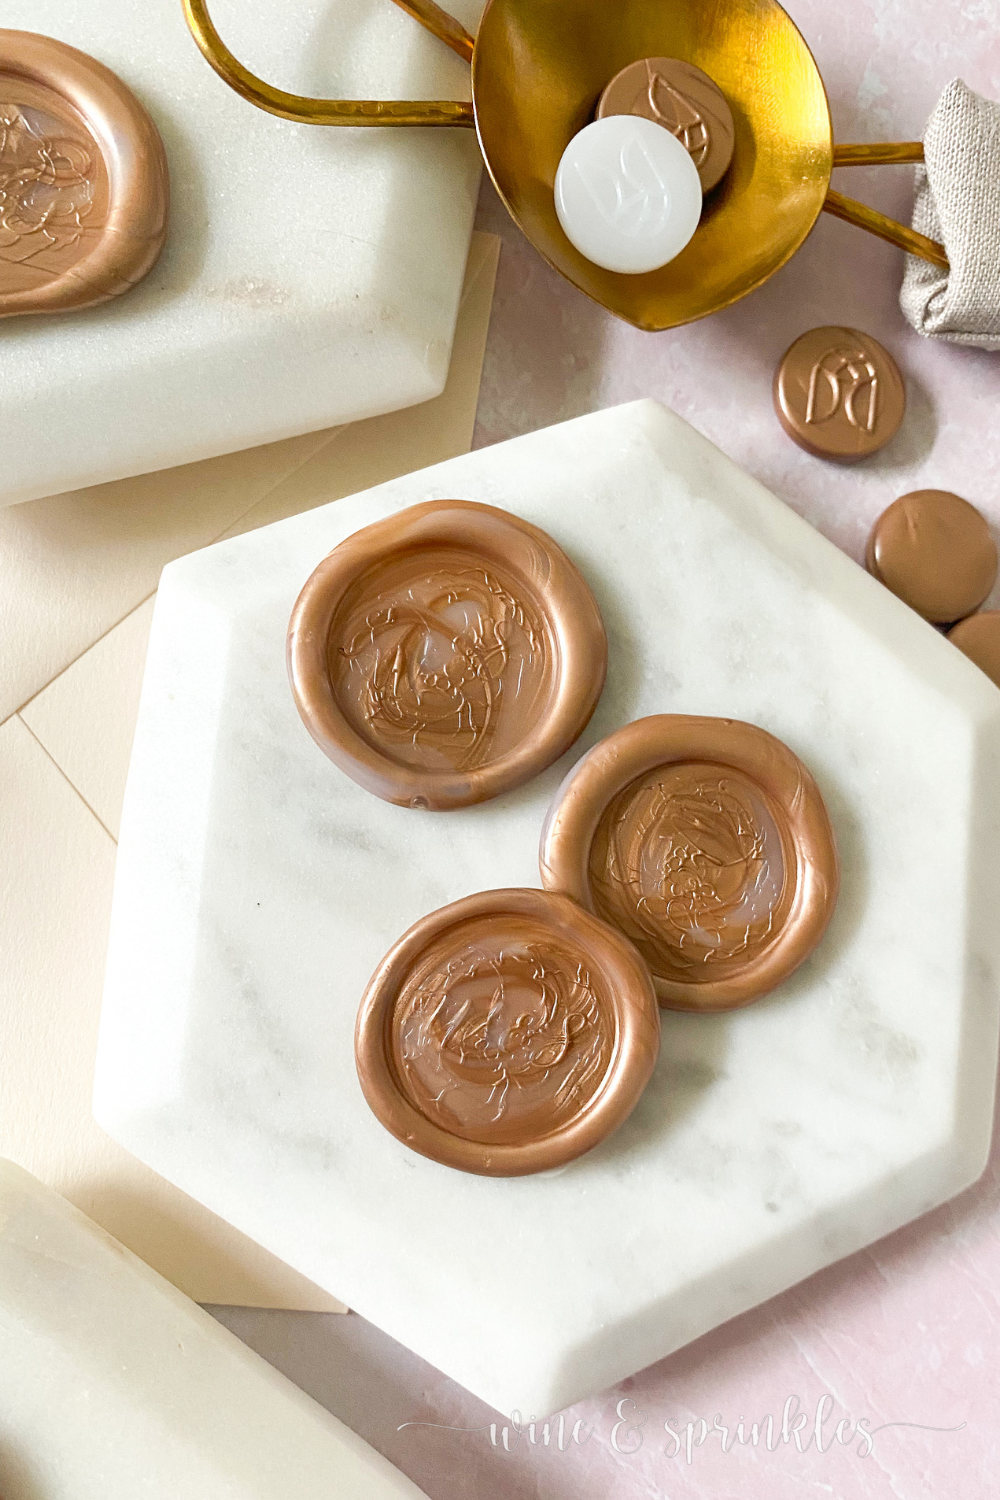
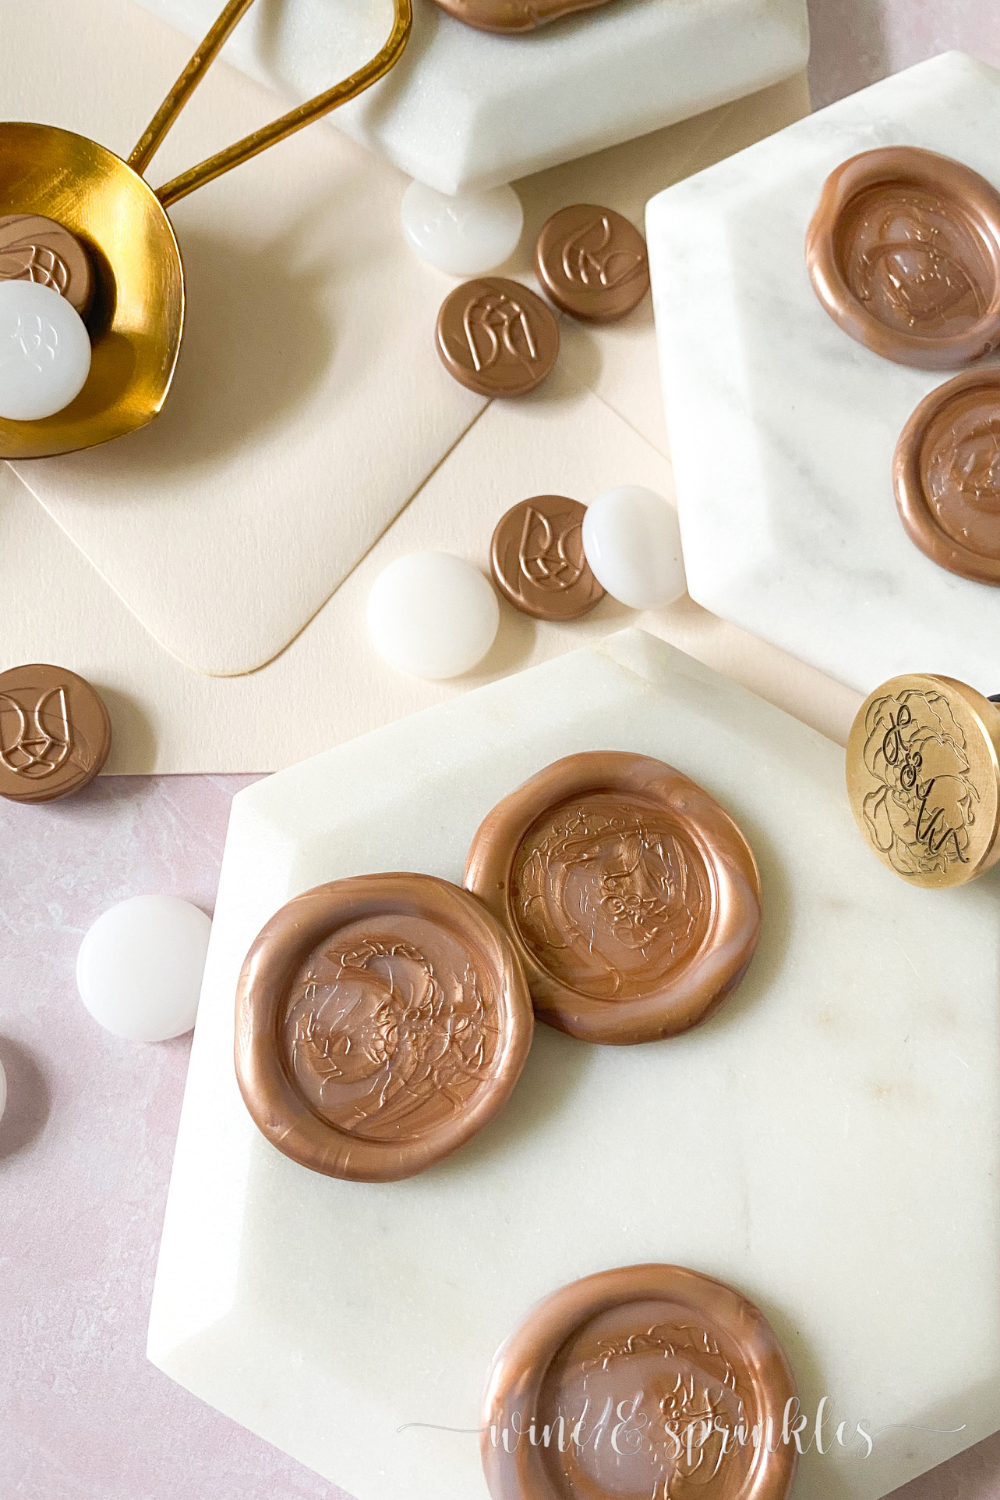
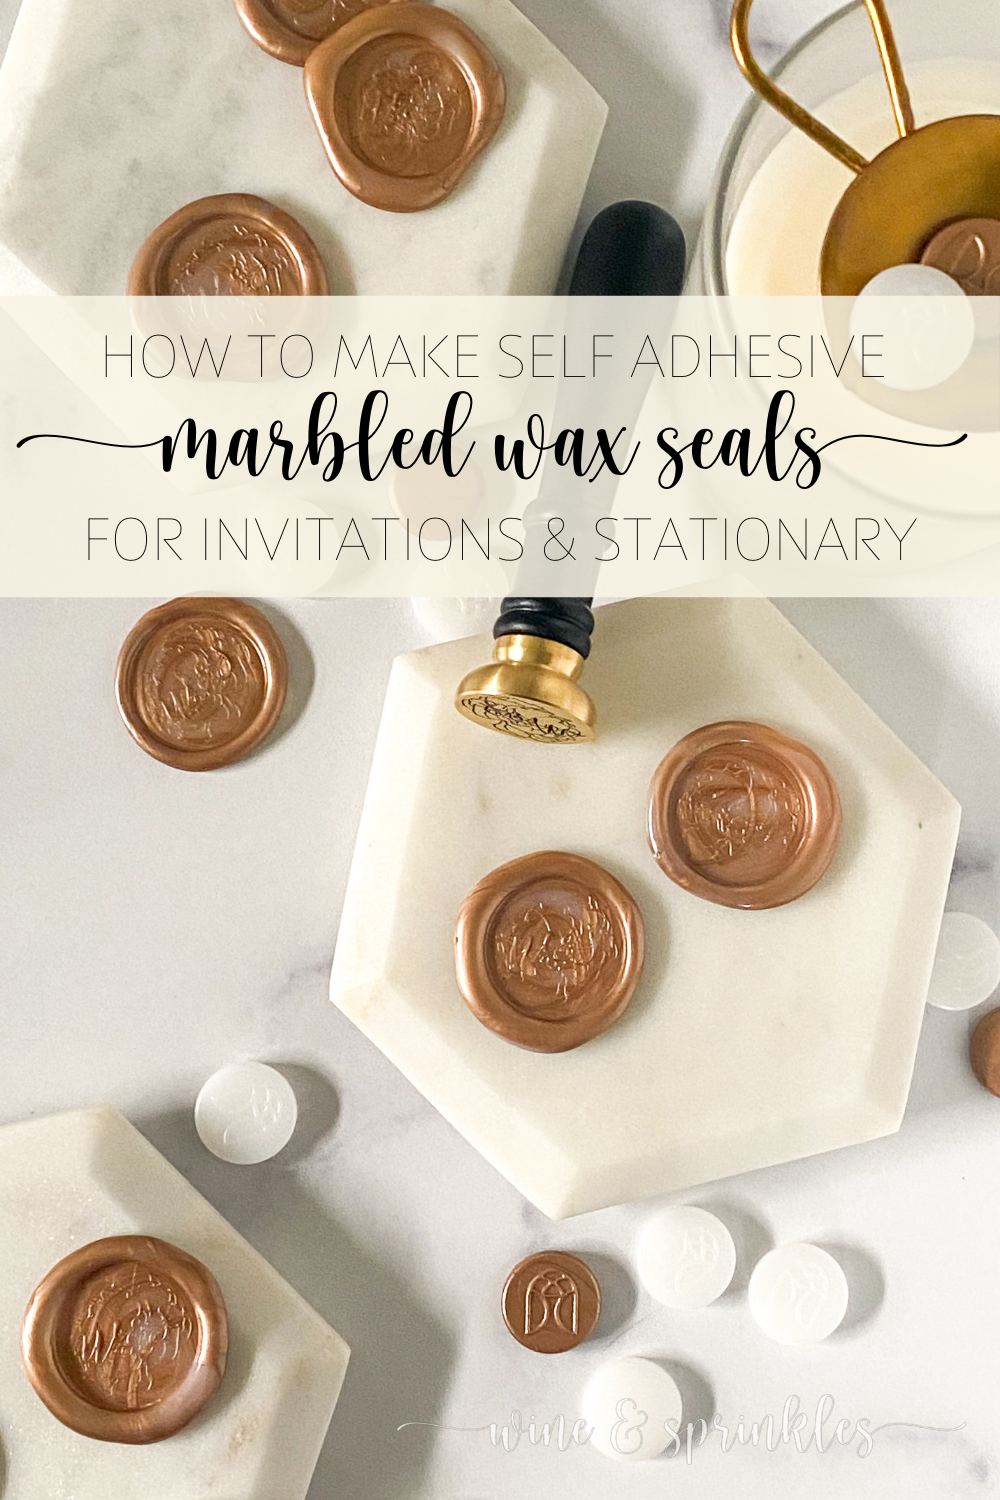
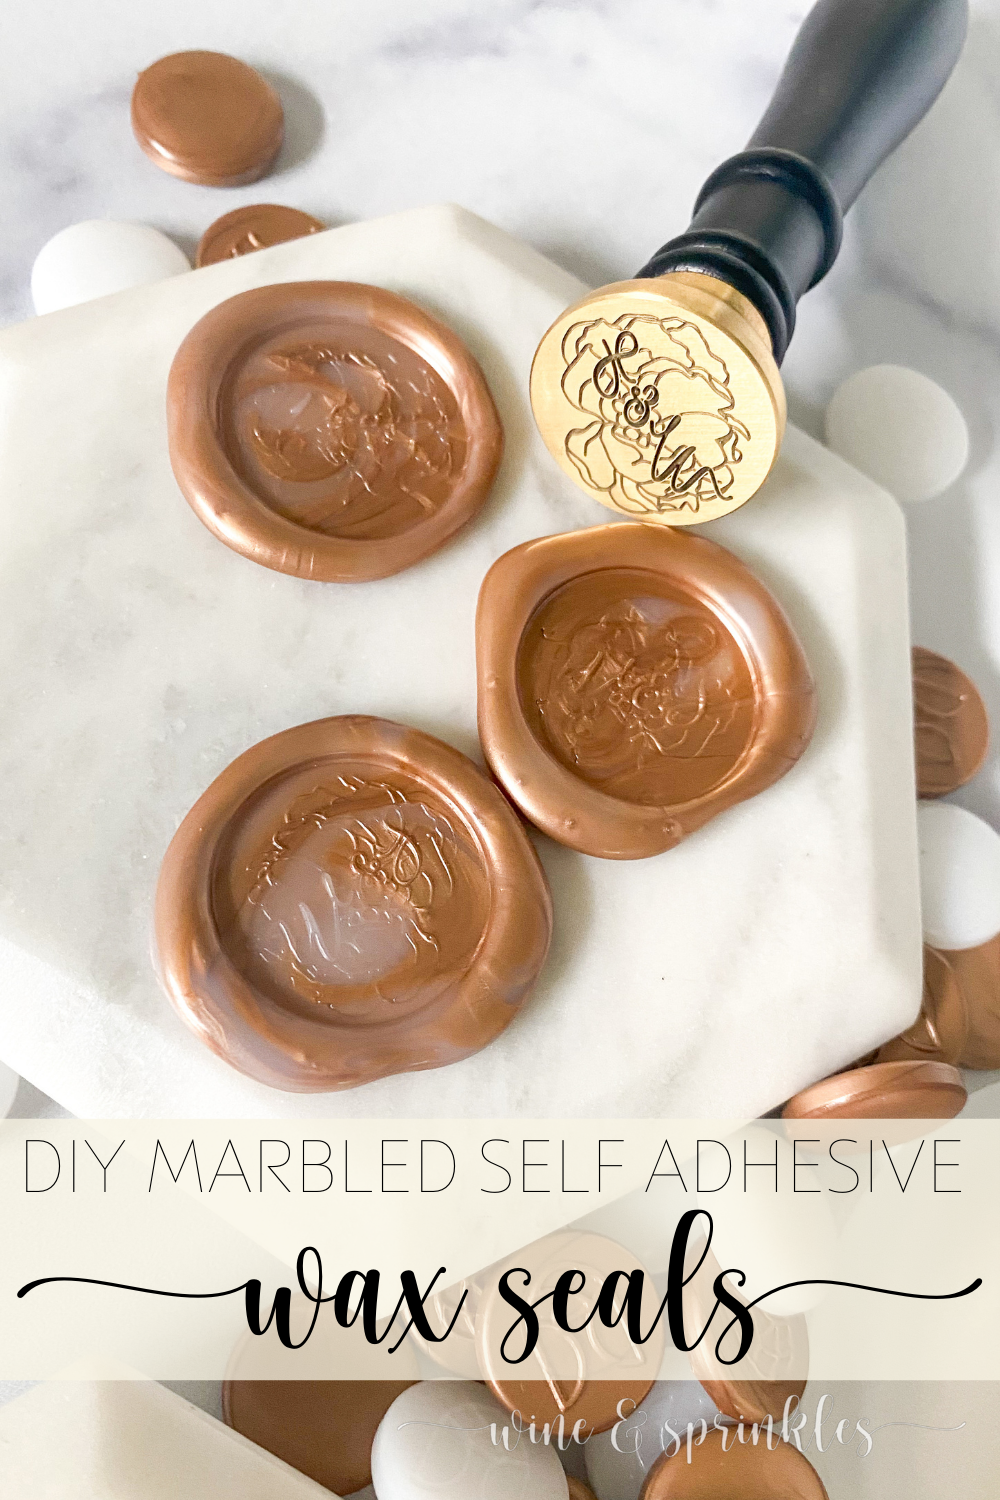
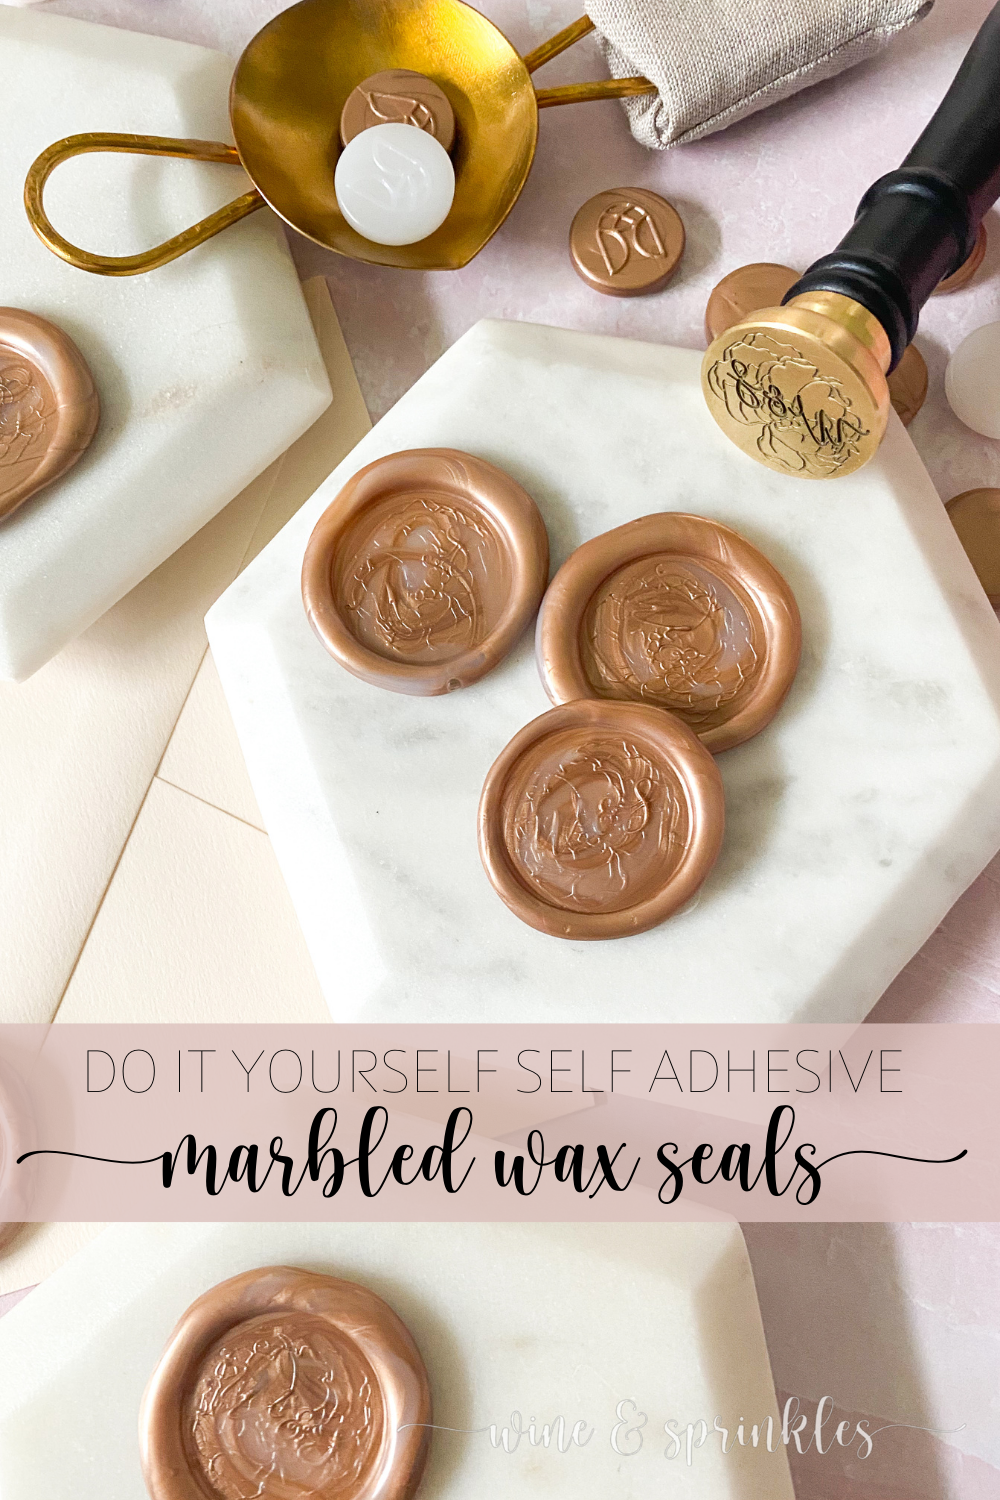
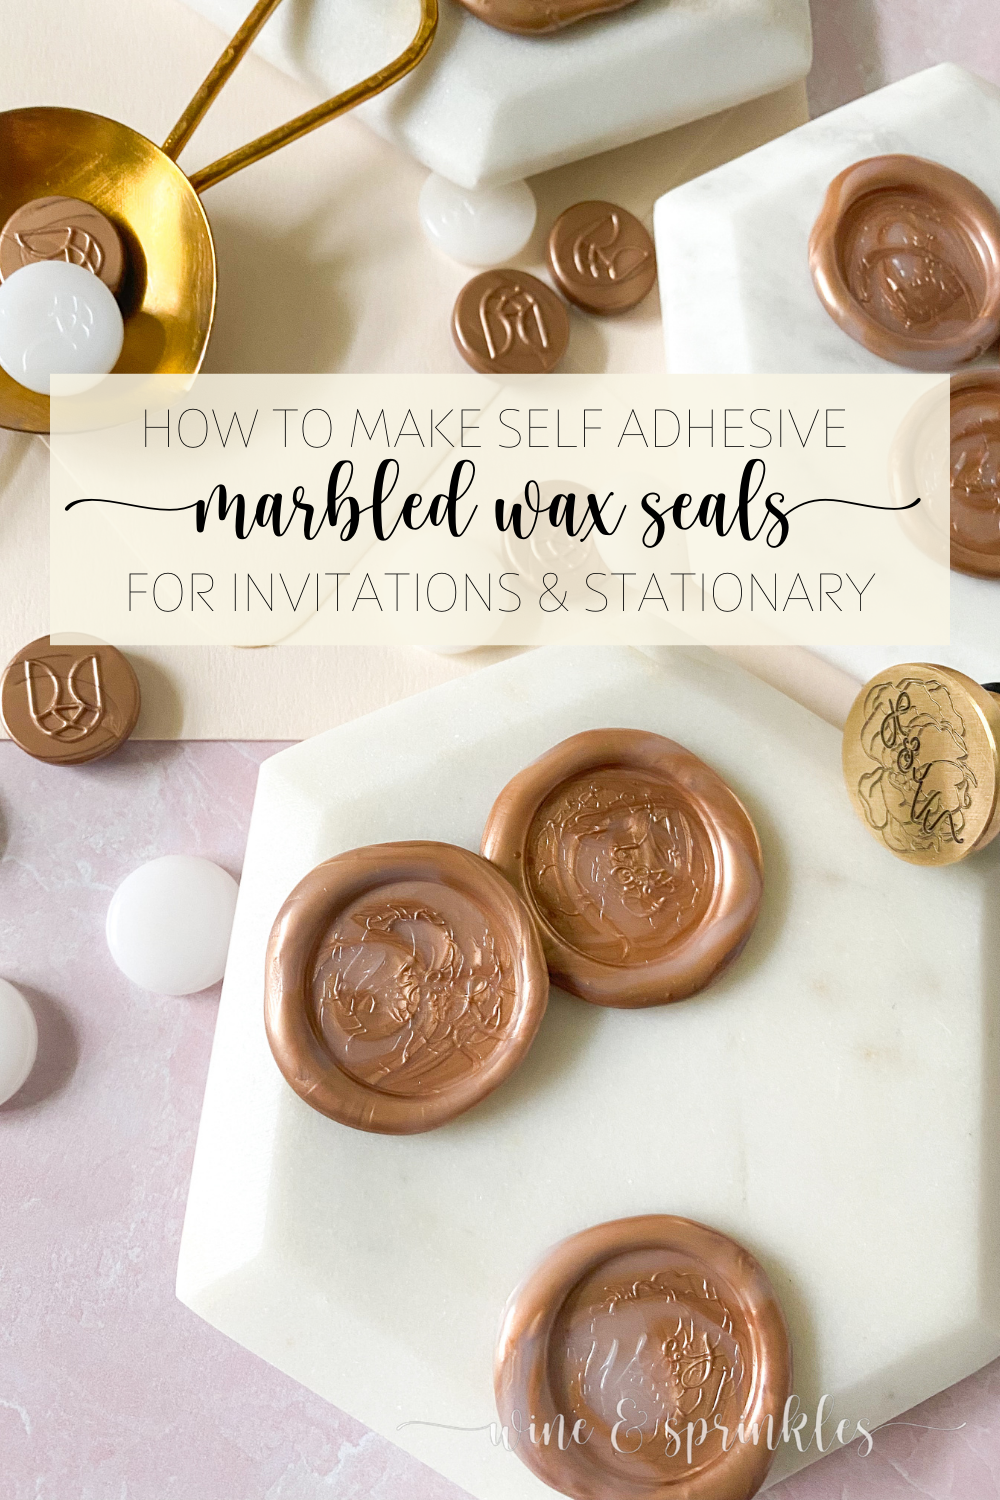
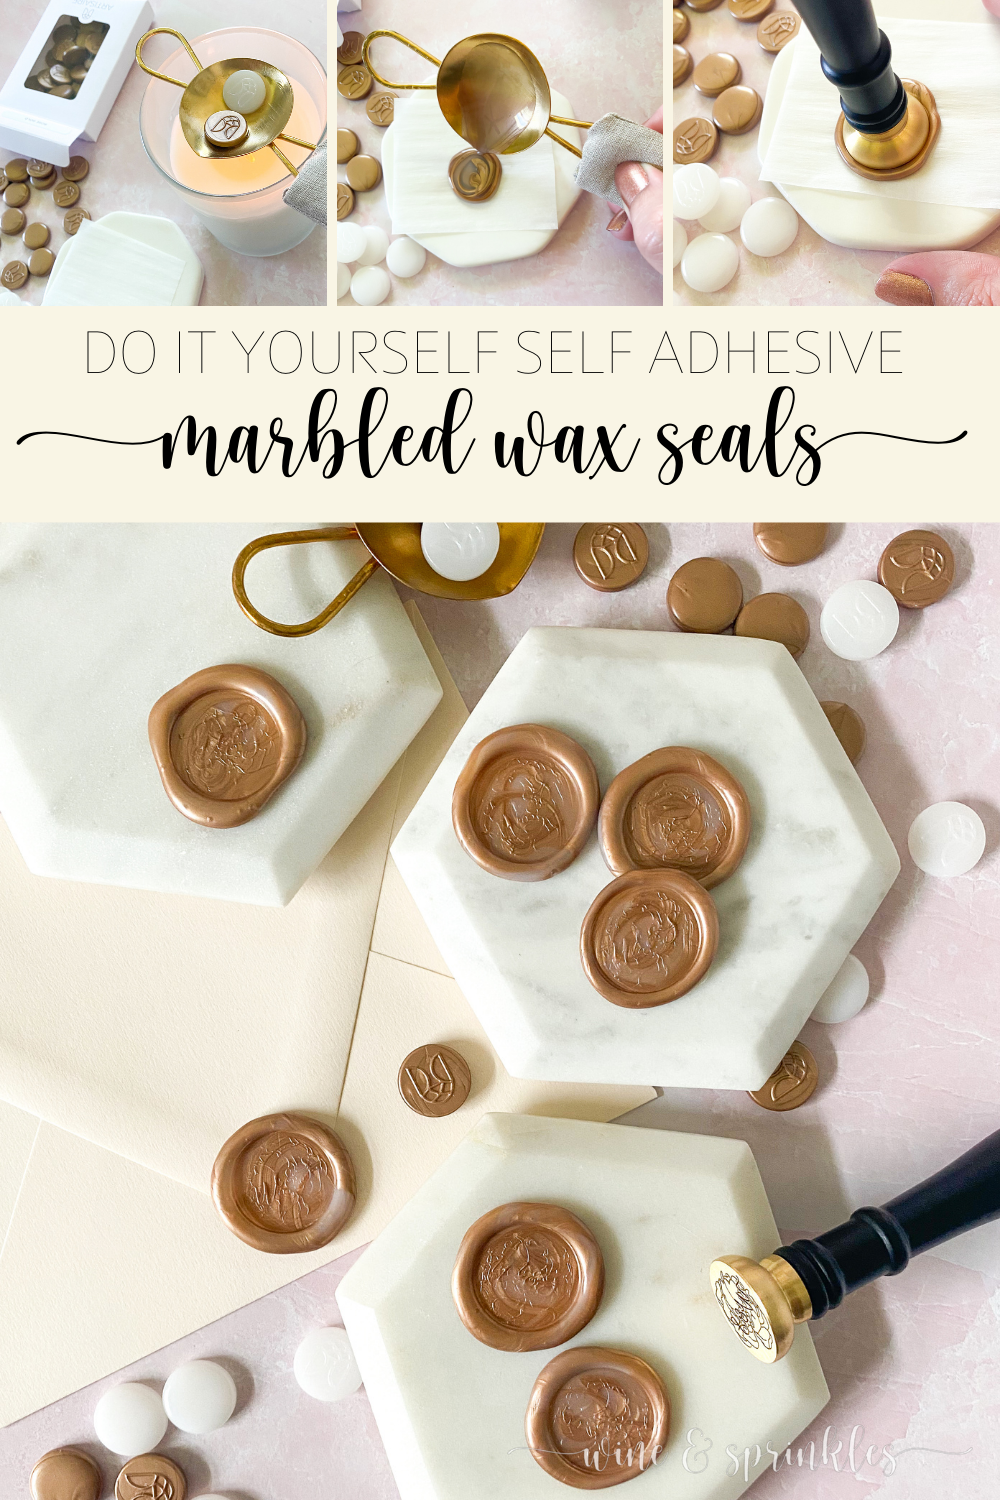
While any wax seal makes for a classy finishing touch to wedding stationary or party paperie, there is something even more magical in a marbled seal! I love being able to mix hues in my seals and with my next event featuring all sorts of projects from this newest crafting obsession, this was the perfect time for incorporating more colors and metallics to my party palette. So while I began my wax sealing projects with simple seals for adding to my invitations, the next set of seals for my party projects had to be these Marbled Self Adhesive Wax Seals!
I made my first attempt at marbled wax seals when I was creating gift bags for my Zodiac Summer’s Eve Party, and while they turned out cute enough the wax beads themselves melted unevenly and were a headache to try to make consistently sized, so as I researched better wax bead options for the future, I happened upon my new favorite wax seal supplies shop, affiliate partners, and the official sponsor of this post, Artisaire!
Artisaire is a wax seal, stamp, and sealing wax supply shop based in Canada that specializes not only in beautiful modern colored sealing wax, but also a variety of intricately designed wax stamps; with new wax colors, stamp designs, and artistic collaborations coming out seasonally. After buying and absolutely loving their wax seal sticks for my Simple Self Adhesive Wax Seals, I reached out to them to collaborate on trying some of their wax seal beads for my next project, and they sent not only some beautiful sealing beads to try; but also the gorgeous Pascala Monogrammed Wax Stamp from their 2022 Spring and Summer collection, along with what is now my new favorite sealing wax spoon!


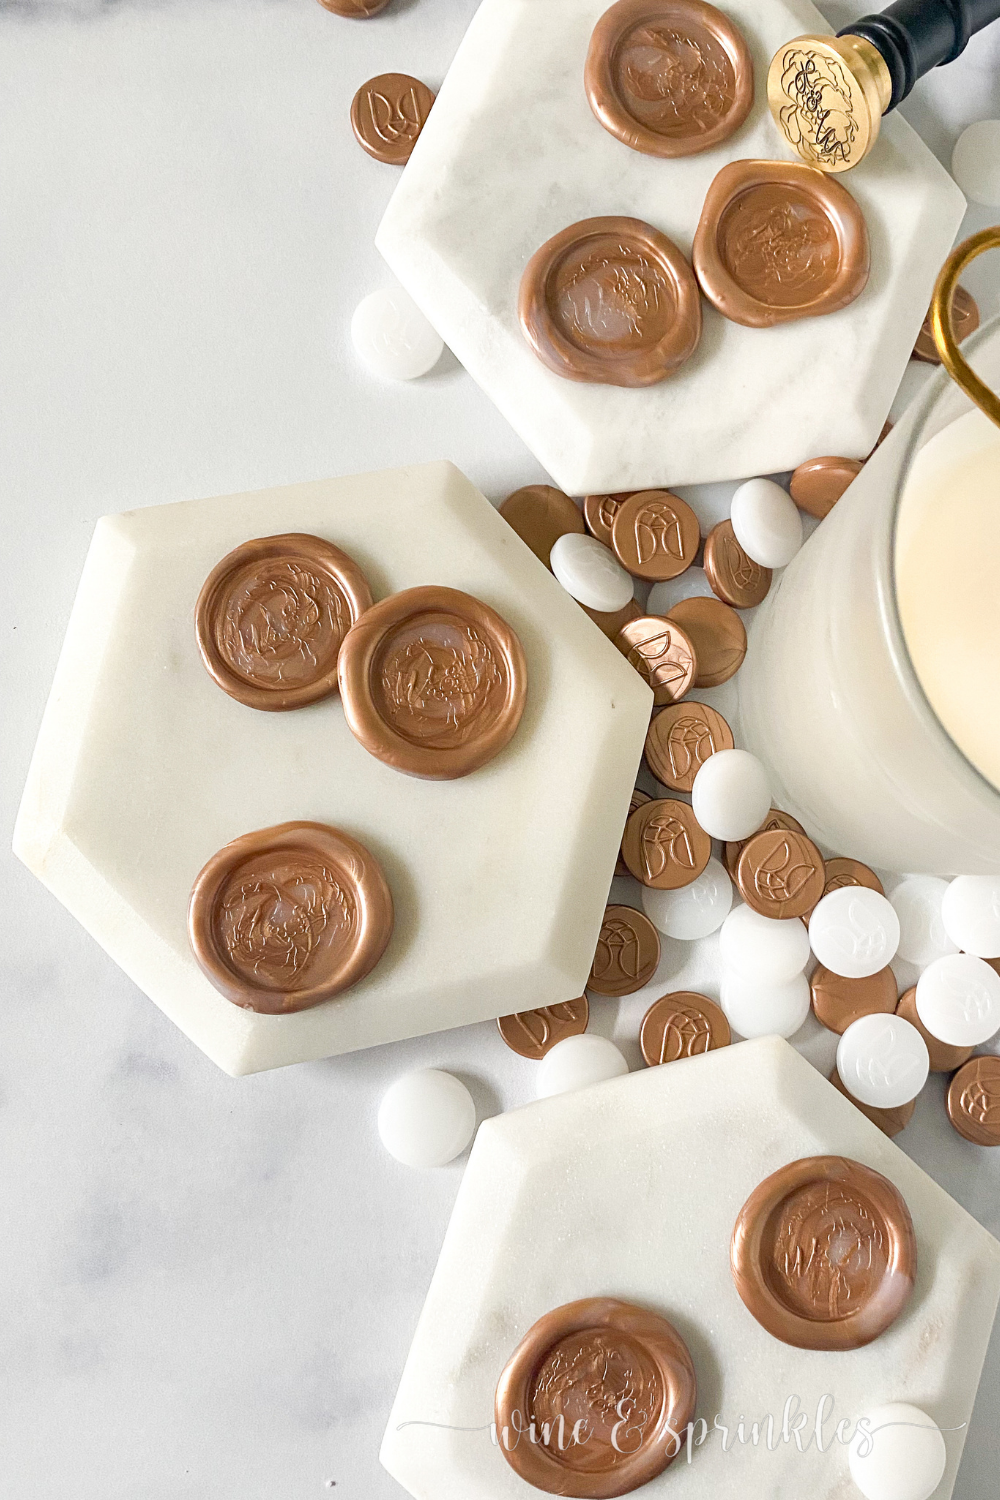
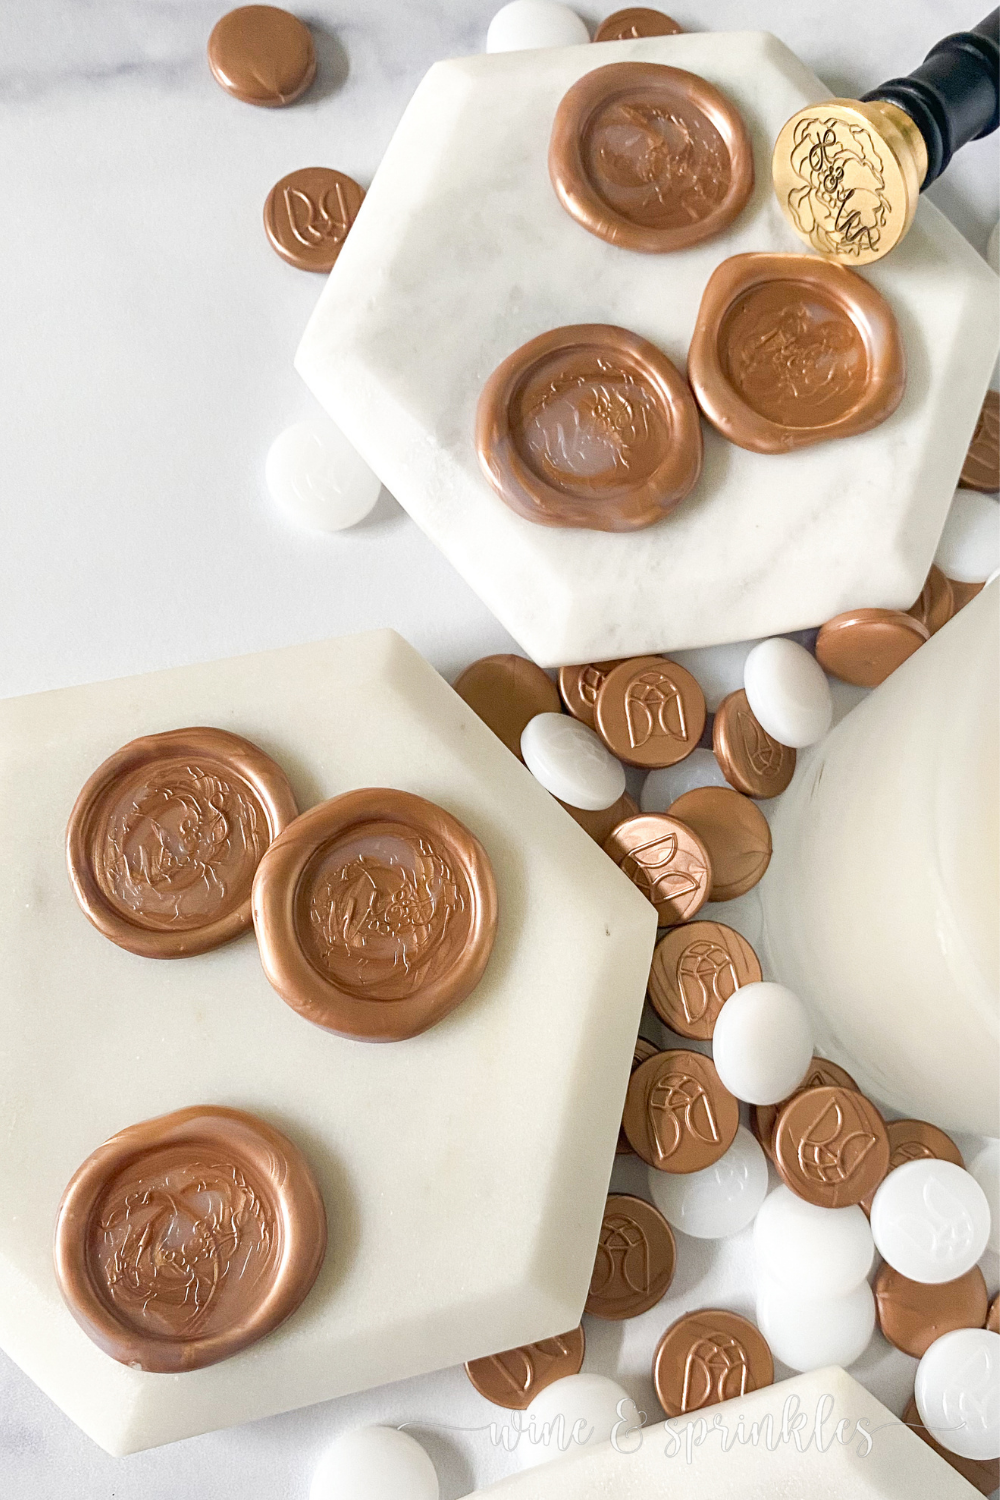
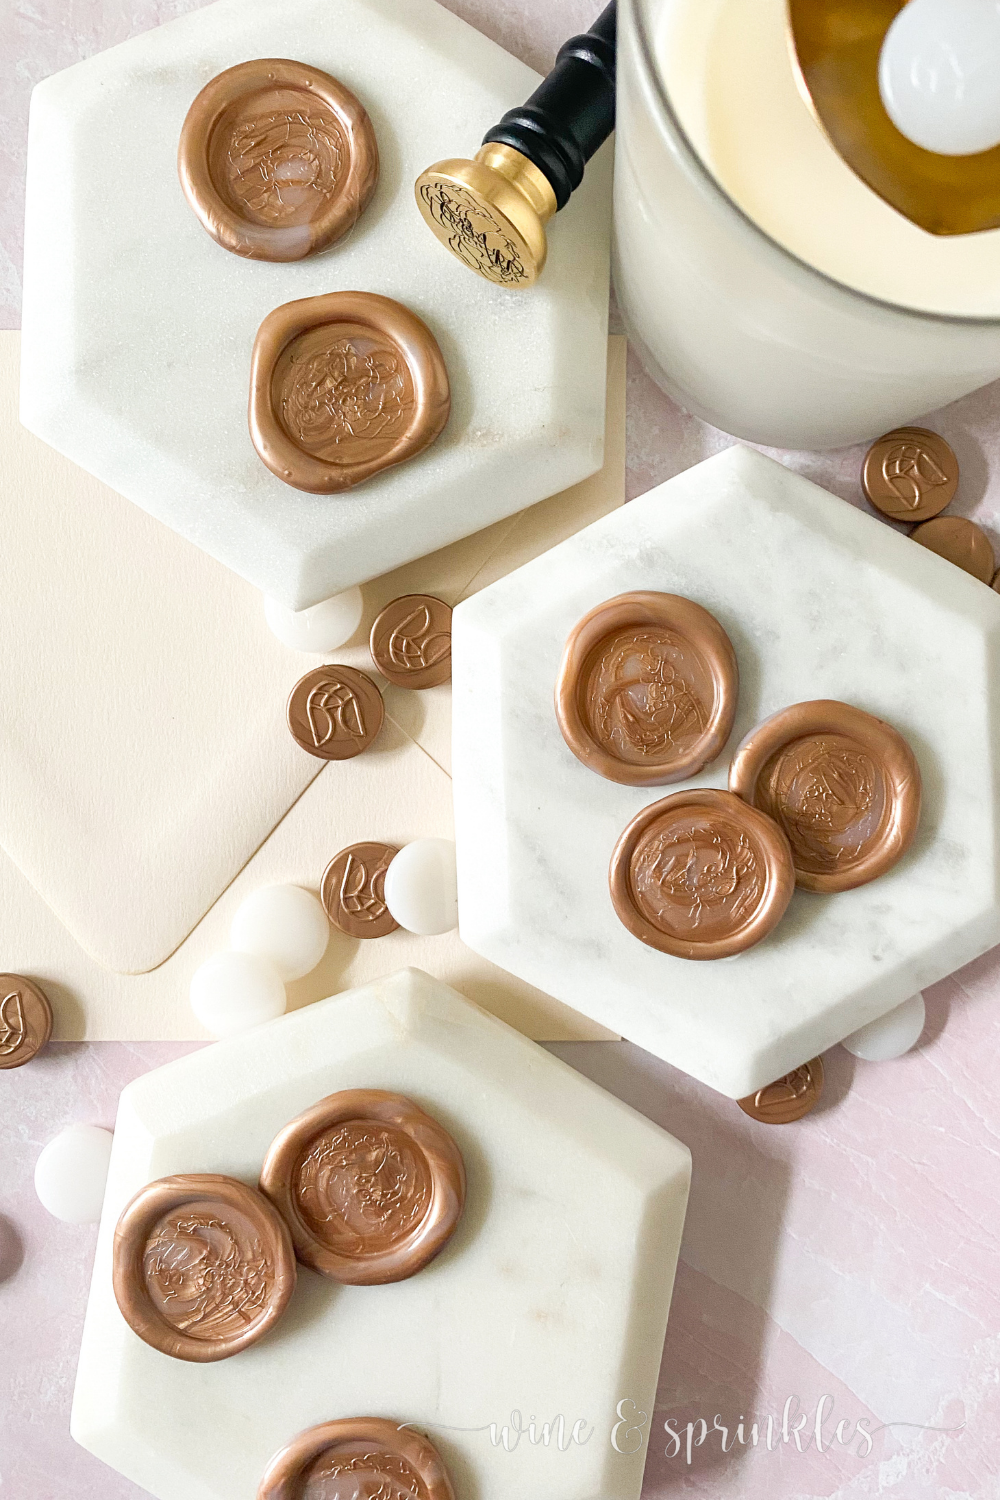
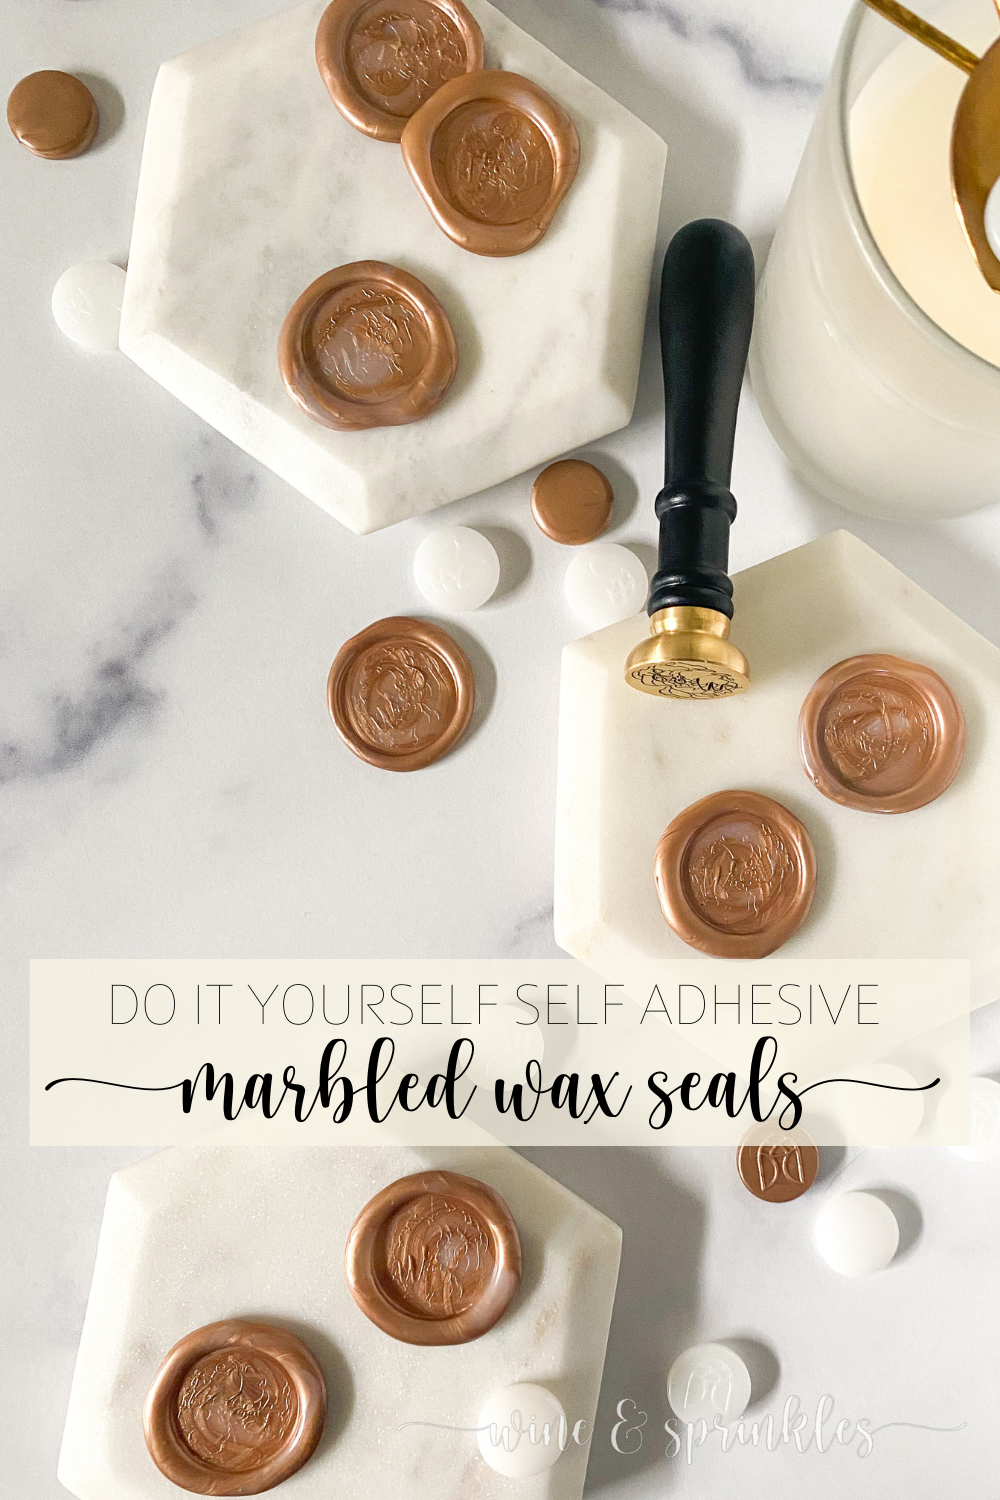
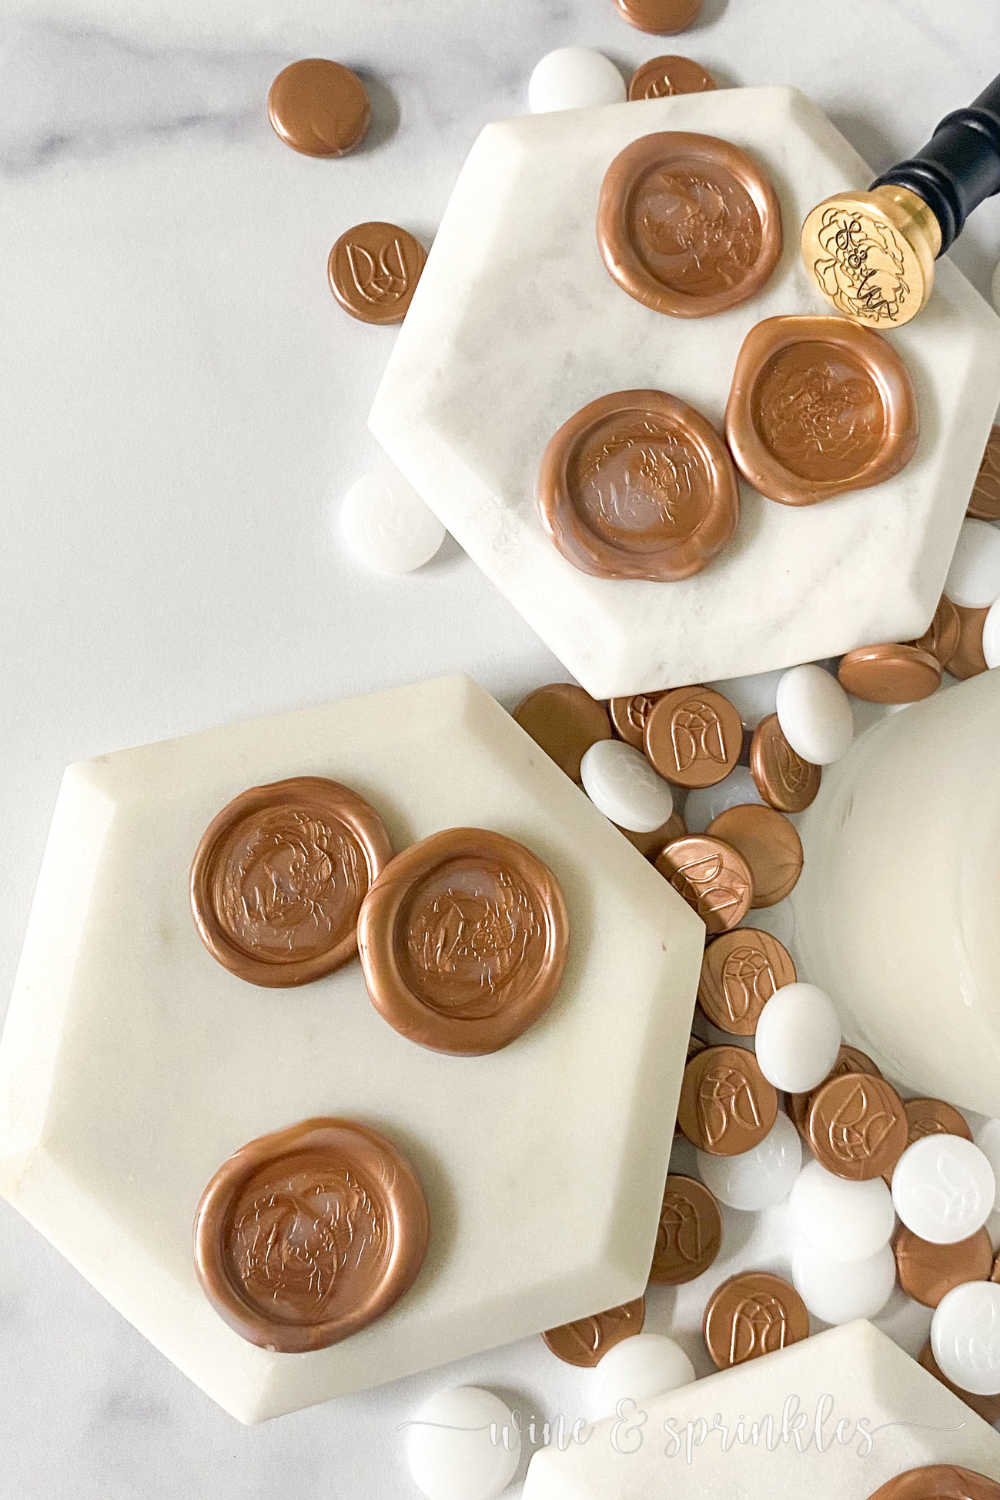
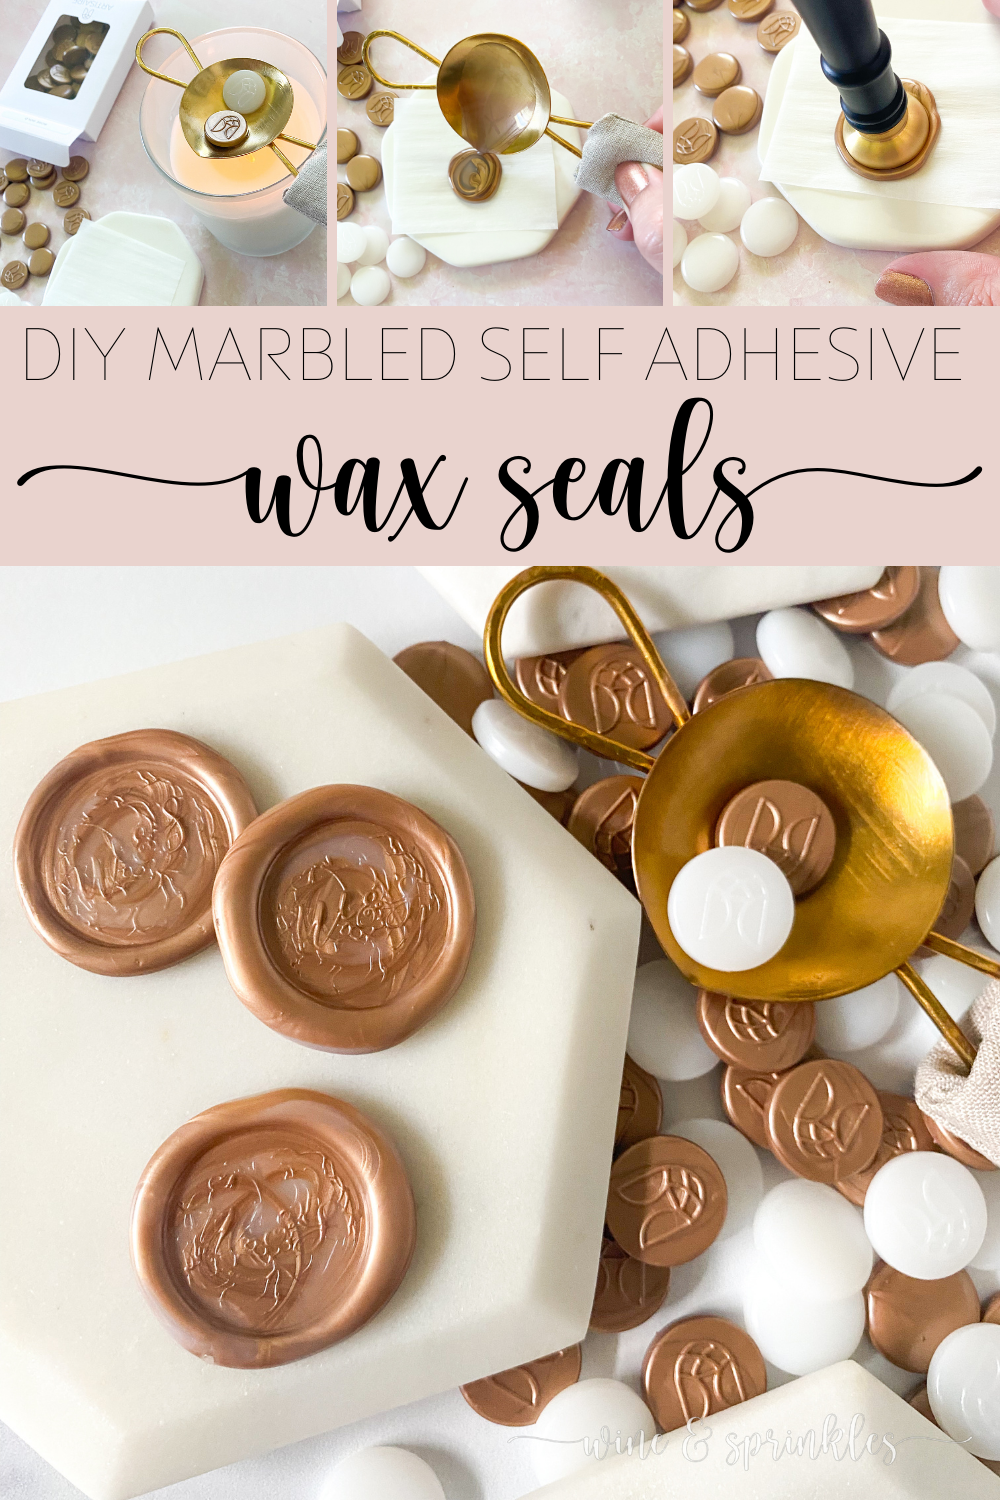
When I was making my marbled seals, I wanted a mix of translucent and metallic, and with my favorite metallic of the moment being rose gold, the Vellum and Rose Gold Sealing Beads were perfect combination wax for my vision! While I loved the colors that were supplied; what I loved even more was that the beads were sized so that two beads made one seal, making it easy to create a bunch of marbled seals that were all the same size. These beads melted easily and in the same amount of time, unlike my previous beads where every different color had a different melting time, while also easily marbling as I poured without just mixing into one color, which was another problem I had with my first set of beads!
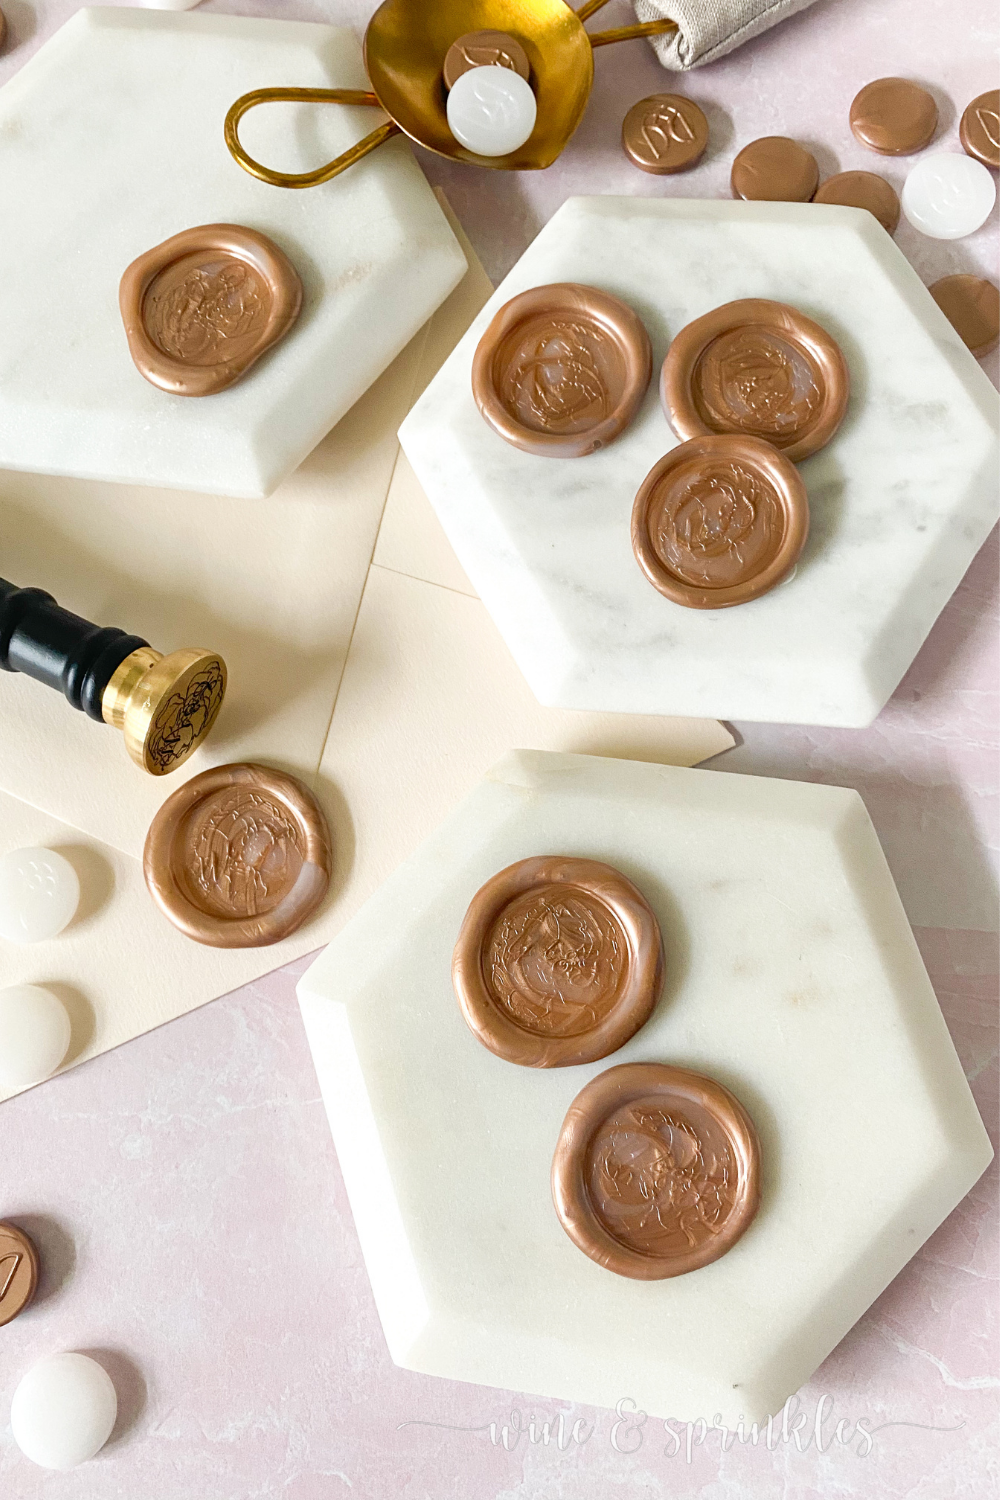
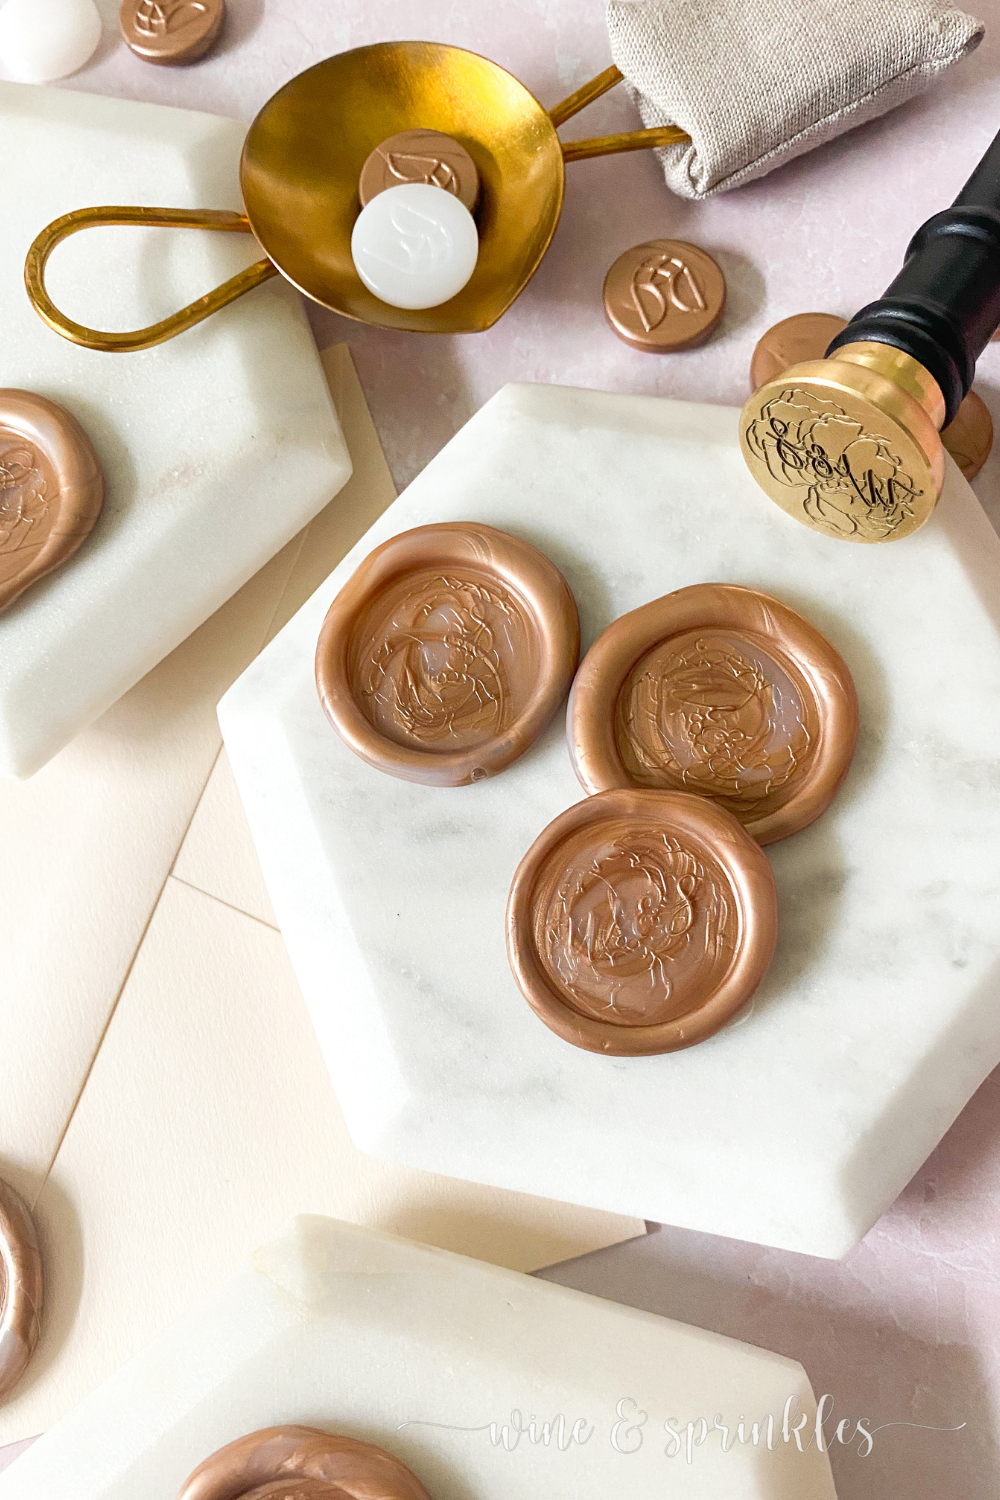
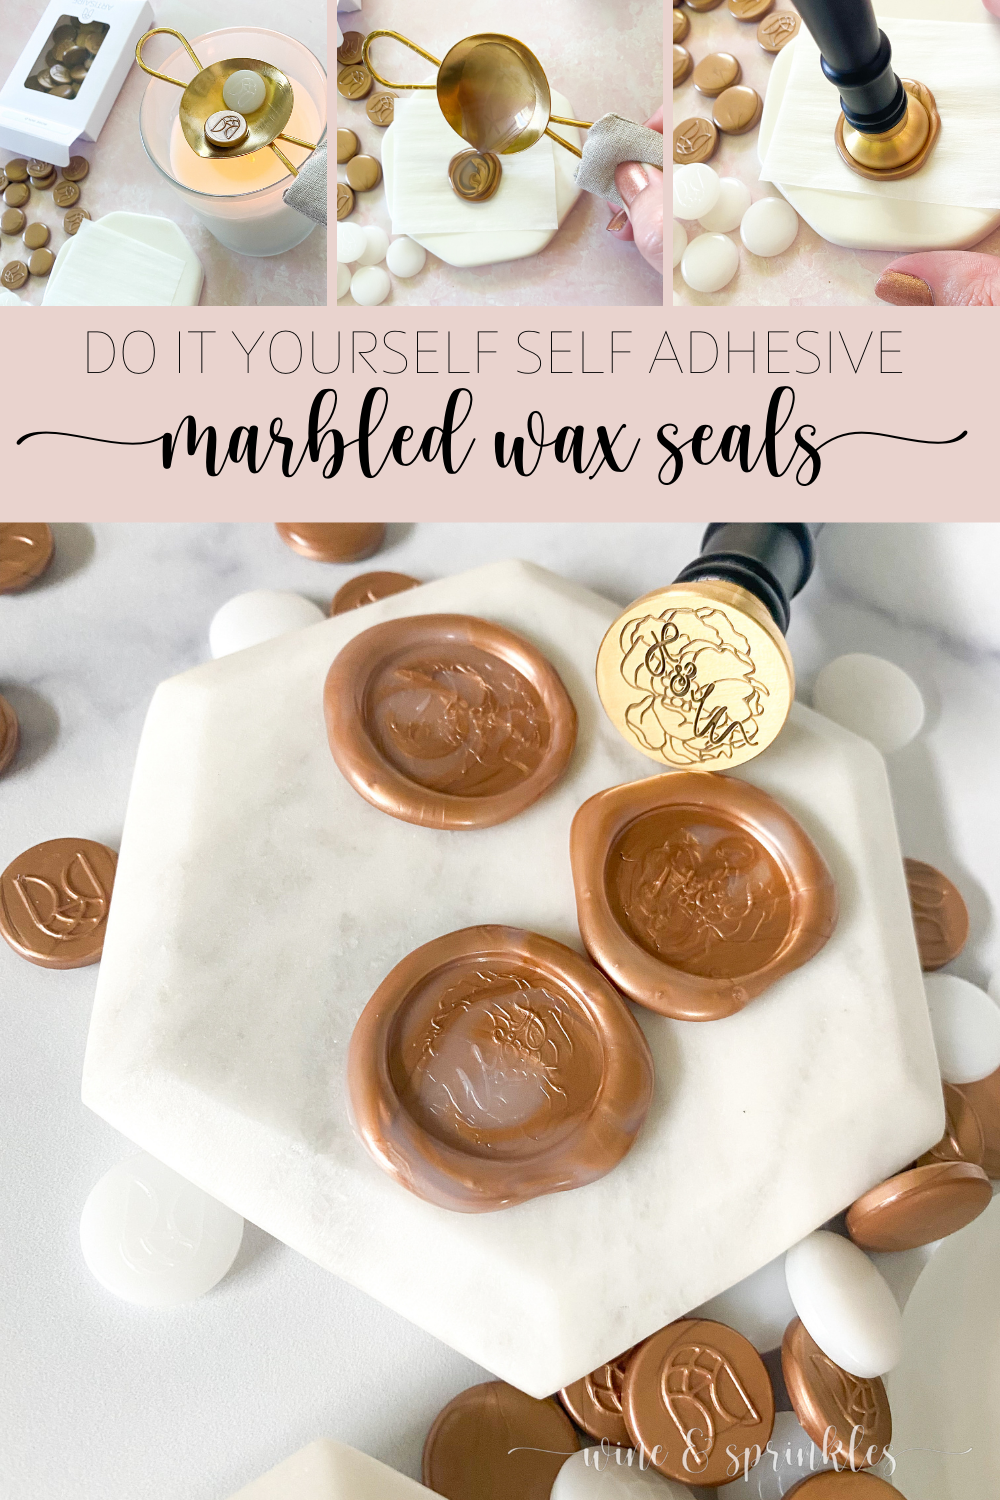
While the sealing wax beads were themselves a revelation to my stamp making process, I also can’t say enough good things about the Grace Sealing Spoon and Pascala Monogrammed Stamp that I used for this project. While part of me loves the sealing spoon because its just so freaking pretty and I feel like a fancy Victorian lady making wax seals, it also was just so much better at evenly heating than my previous spoon and I love that it can be placed over a small glass candle instead of the tiny tealight holders most wax sealing sets start with. In addition to this, the wide style spoon and spout make it easy to keep your colors separate and to pour the melted wax consistently, making it ideal for making many marbled seals at once, which is how I always seem to be creating them myself.
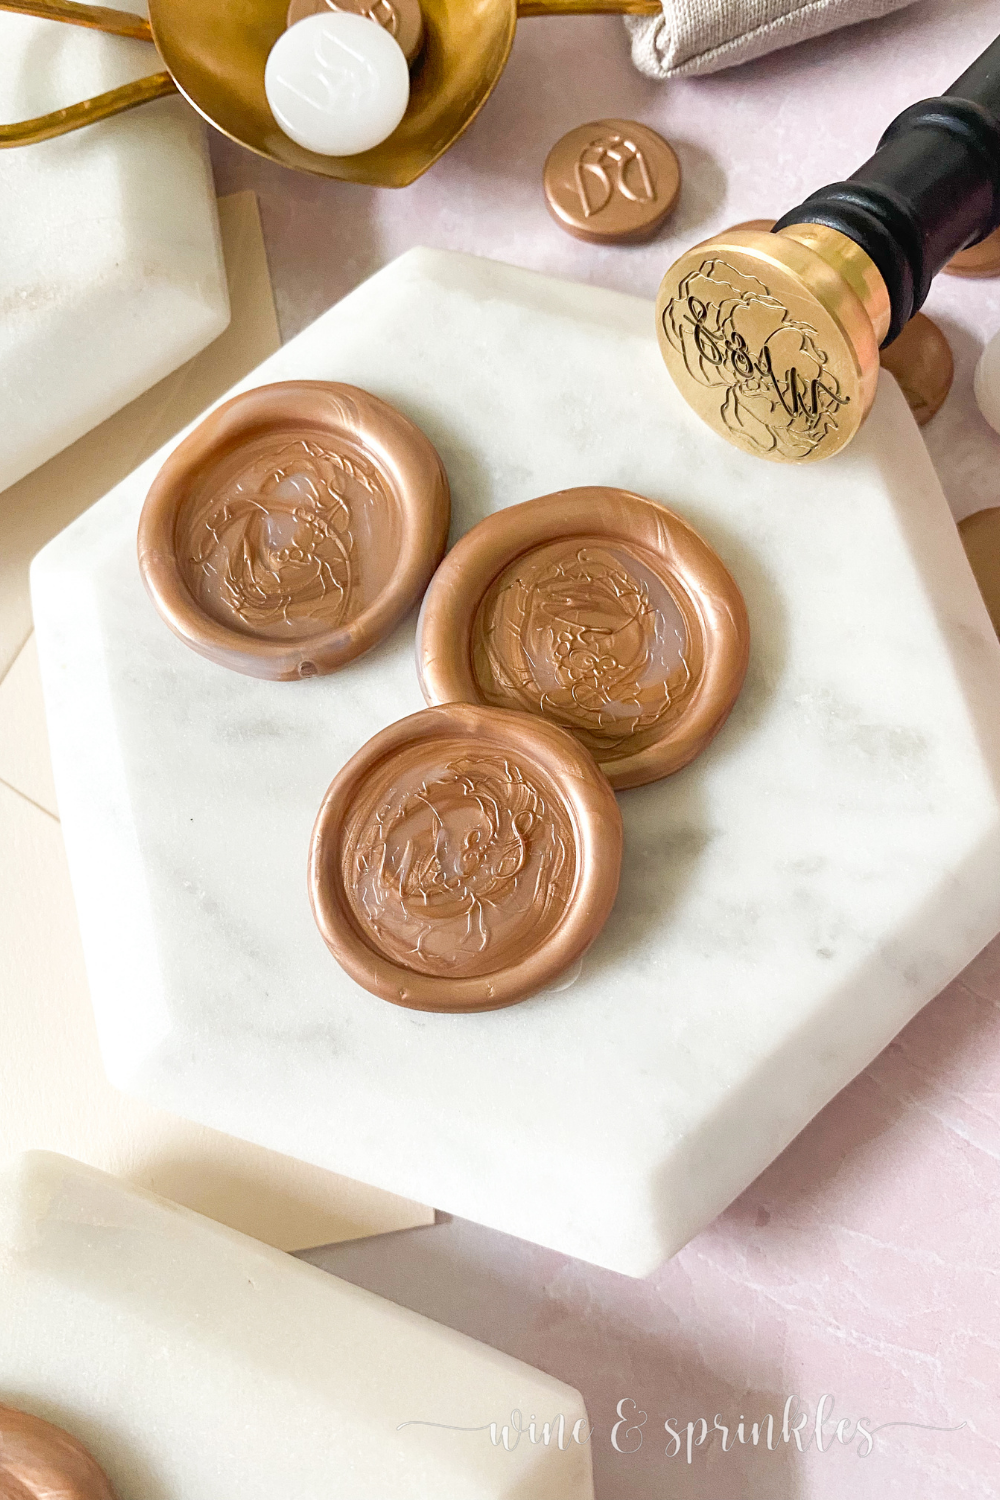
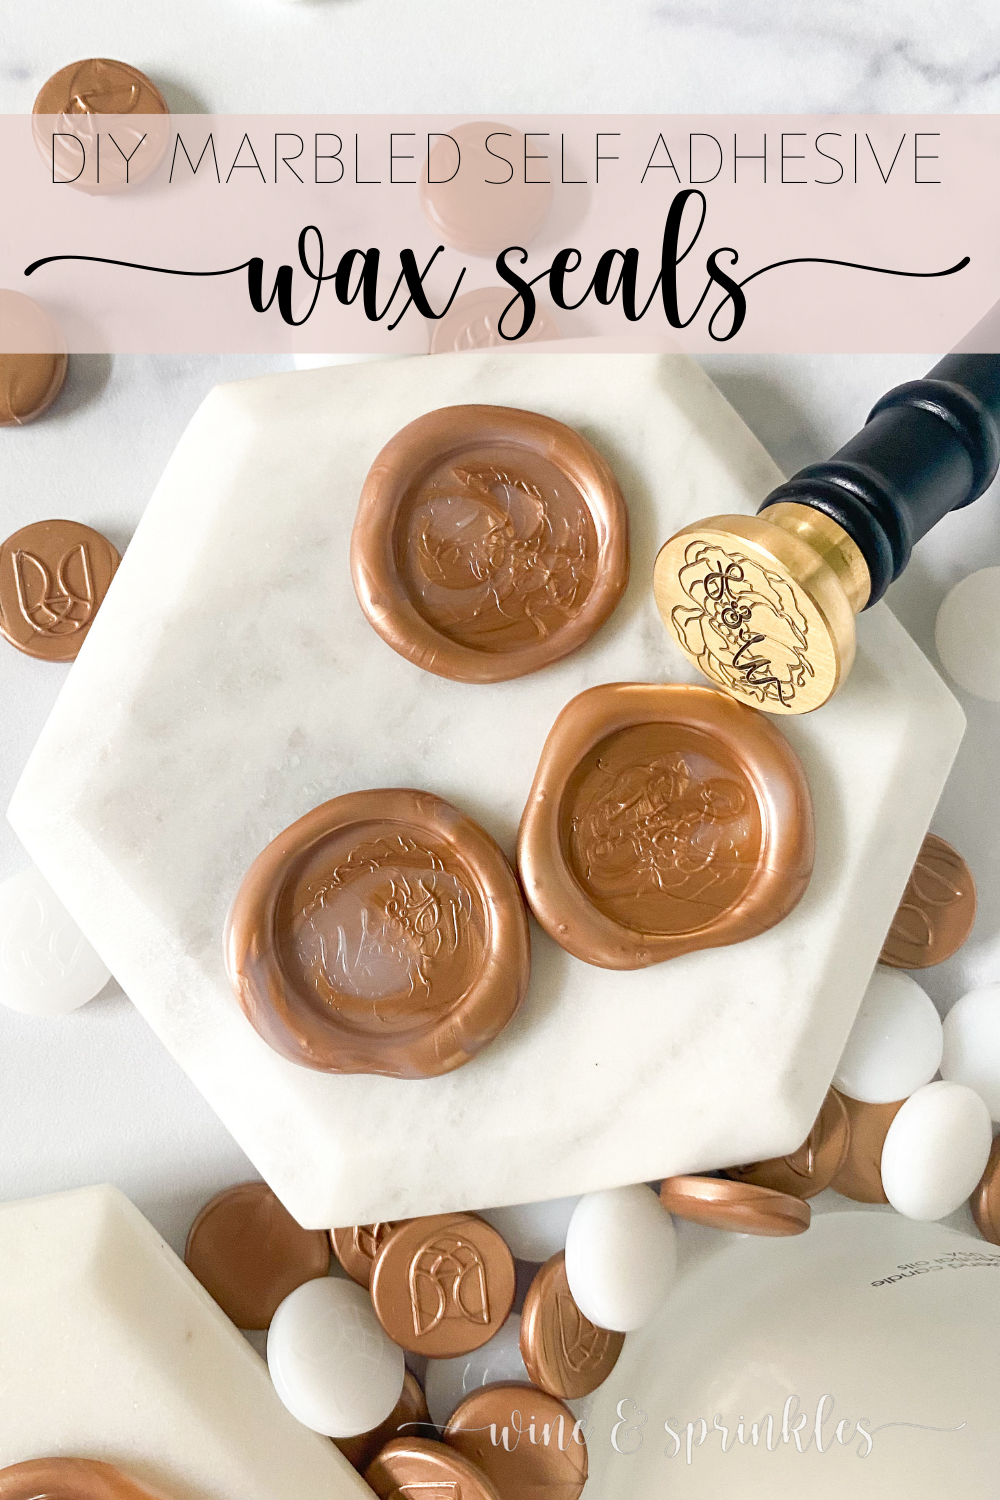
And my newest wax stamp? I was a little worried about the delicate design being legible on my marbled surface, but the impression came out clean and the seals turned out stunning! Needless to say, it's by far the prettiest stamp I own and I can’t wait to add more of Artisaire’s beautiful set of wax stamps to my crafting collection! To learn more about Artisaire’s beautiful waxes and stamps along with the different styles of wax seal methods, check out my review of Artisaire and their products here!
It’s not only in monogrammed stamps like this that their designs shine, but they also feature so many beautiful botanical and floral stamp options that are perfect for creating a collection of timeless and modern wax seal products for your own wedding stationery or party paperie. You are sure to see many of their stamps in my future Wax Seal Projects, and in the meantime go pick out your perfect design to make some marbled seals all your own!
SUPPLIES
WAX STAMP & SEALING SUPPLIES
Wax Stamp & Handle: for creating these beautiful seals, I used the Pascala Monogram Stamp that Artisaire sent me to try, and I loved it so much I’ve used it on almost every wax stamp project I can! I’ve had many wax stamps that I’ve tried in the past, but nothing comes close to the beautiful modern floral and monogram stamps that Artisaire creates! This stamp’s pattern is by far the most delicate of any in my collection, while still creating distinct seals that I’ll be using again and again! This is the first of what will be many stamps that I try from them, and I encourage you to look through their whole collection of gorgeous stamps to find your favorite!


Sealing Wax Beads: Unlike most of my sealing projects where I use sealing wax sticks, for these beautiful marbled seals I went with using wax seal beads for the ability to blend multiple colors of wax. I was hesitant to use beads again just due to the inconsistency I had in the melting of the ones I had tried before, but Artisaire beads gave me a whole new love for them and making wax seals with them in the future! They melted so smoothly, blended so beautifully, and were so much better in every respect; that I can't wait to collect a variety of colors and create so many more seals this way! For this project, I used a combination of a beautiful translucent Vellum Wax Beads and metallic Rose Gold Wax Beads, and these two formed a stunning result!
TOOLS & OTHER SUPPLIES

Melting Spoon & Candle: For melting your wax beads down to a smooth, pourable wax, a good melting spoon is a must! I had gotten a basic melting spoon before, but it was never good at heating consistently and led to a lot of lumpy wax that would mix together before it got marbled. Enter this beauty from Artisaire, a double handled spoon that's perfect for placing over any candle of your choice! Just like their wax beads, I was blown away by how much better this spoon did than the last one I owned, in fact, I threw it away after trying this one! With its large, shallow spoon and easy pour spout, it perfectly melted the wax down with minimal stirring to give the exact marbled look I wanted! I found my candle at Target, though you want the diameter of the opening of your candle jar to be on the smaller side, between 2.5” - 3.5” across.
Toothpicks: for mixing your wax gently as needed while it melts down in your spoon.
Ceramic Wax Melting Pad: to create a flat workspace that cools down quickly for you to dispense your hot wax onto to create your seals.
Parchment Paper: for putting on your melting pad so that you can easily remove your cooled seals.
Double Sided Self Adhesive Backings: for adhering to the back of your cooled wax seals so you can stick them to stationary, gift tags, or anything you like!
SUPPLIES LIST:
[for 50 wax seals]
WAX STAMP & SEALING SUPPLIES
Wax Stamp & Handle x 1
Sealing Wax Beads x 50 (25 in each color)
TOOLS & OTHER SUPPLIES
Melting Spoon & Candle x 1
Toothpicks
Ceramic Wax Melting Pad
Parchment Paper
Double Sided Self Adhesive Backings x 50

DIRECTIONS
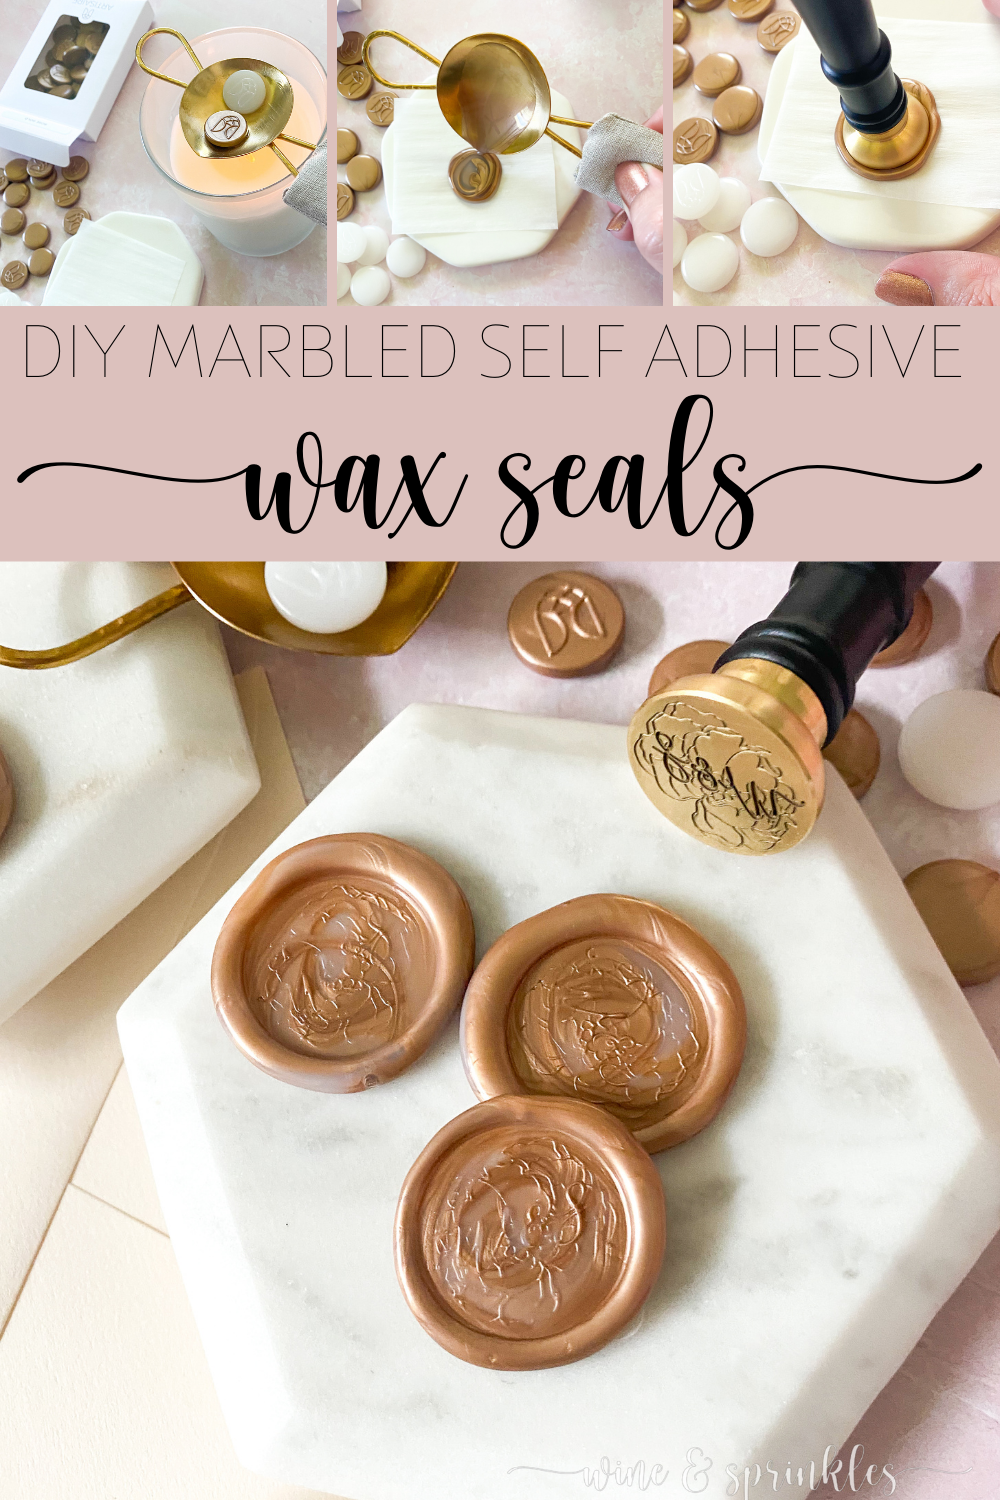
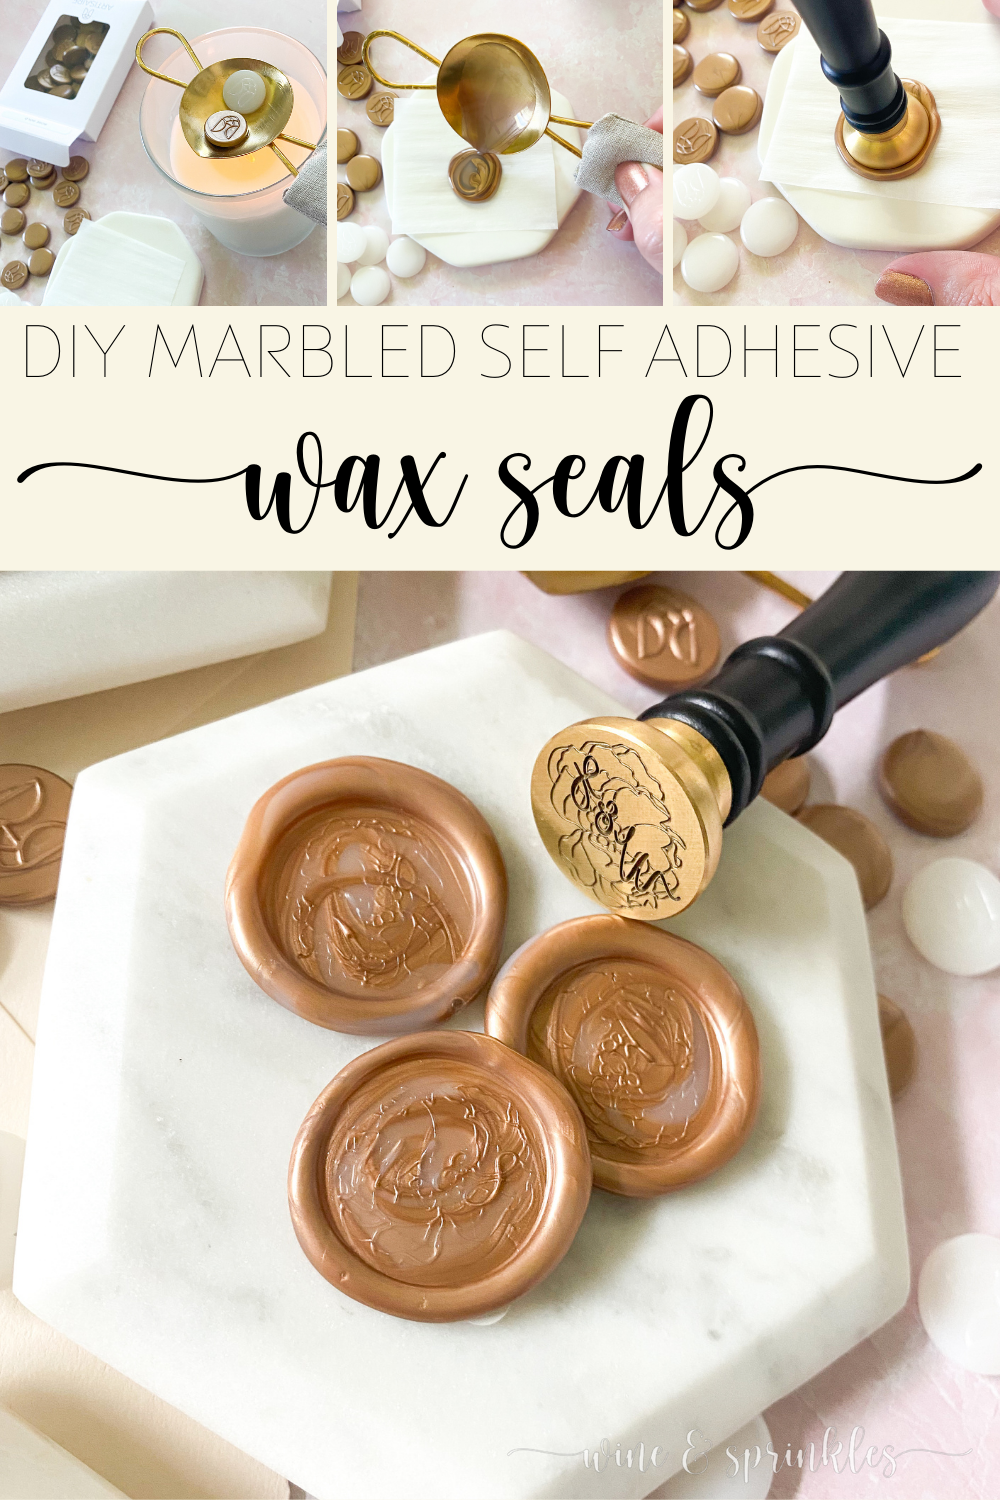
1. Cut your parchment paper into small squares to place on your ceramic cooling pad and pick out the wax stamps you want to use. Place a piece of parchment paper on your cooling pad, then your workspace is ready to make seals. Light your candle and place your melting spoon, linen cover on, over the flame of your candle. Don’t let the flame of your candle touch the spoon, as this can cause an ash buildup on the bottom!


2. Place one bead of each color you want to marble into your spoon, and heat the beads until they are completely melted. Using a toothpick, gently swirl your colors to confirm that the wax is melted and to start the marbling of your two colors.

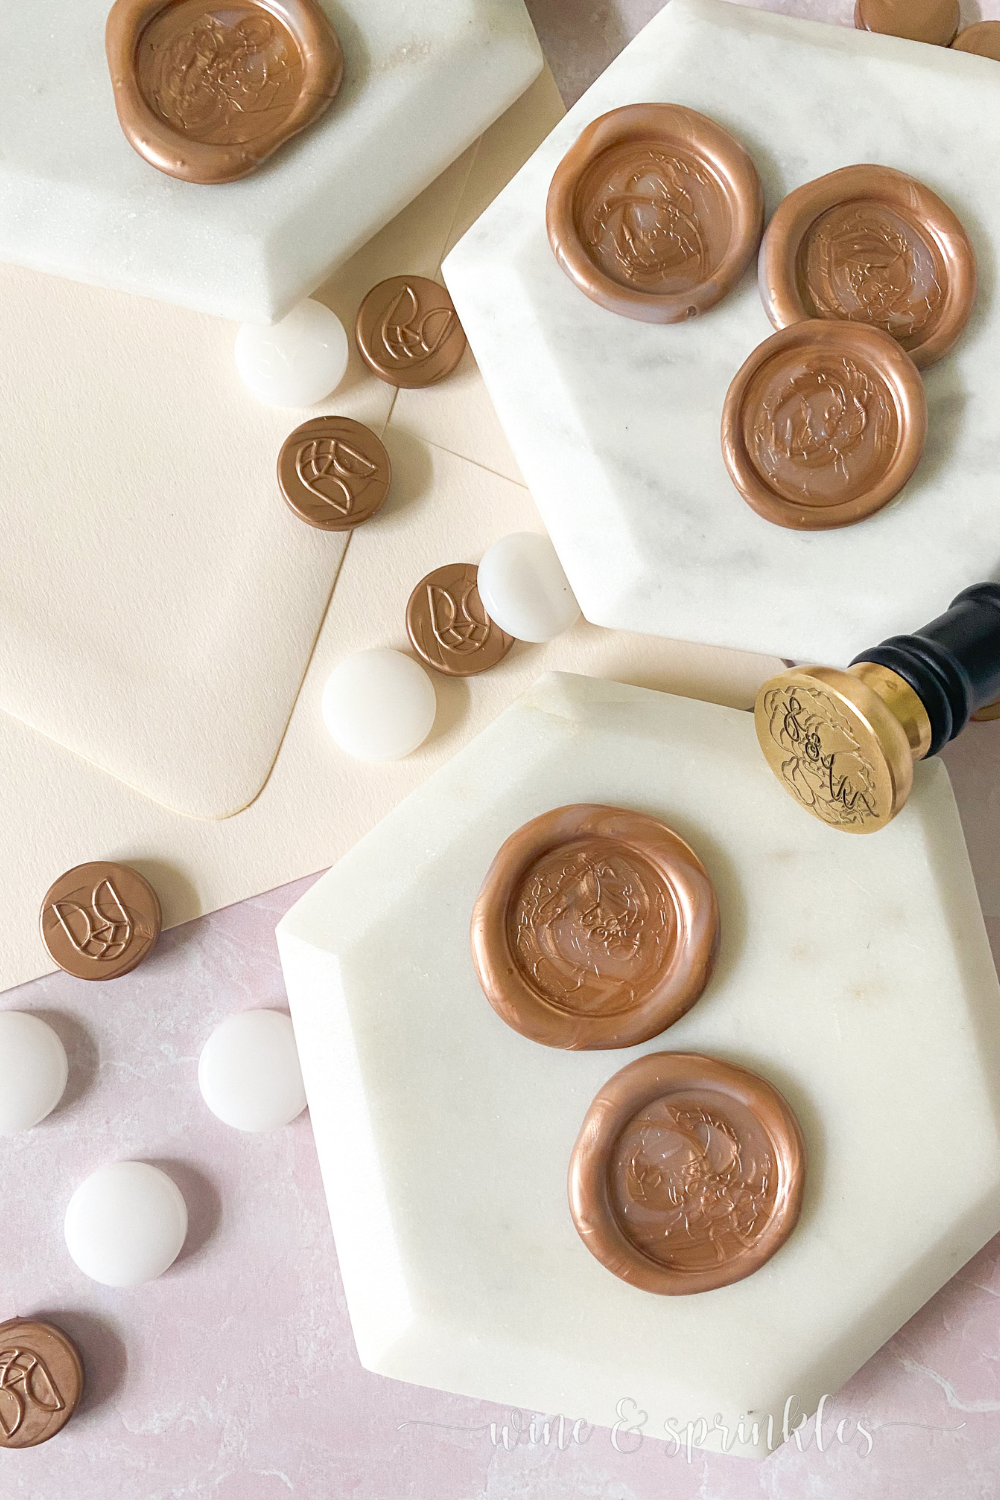
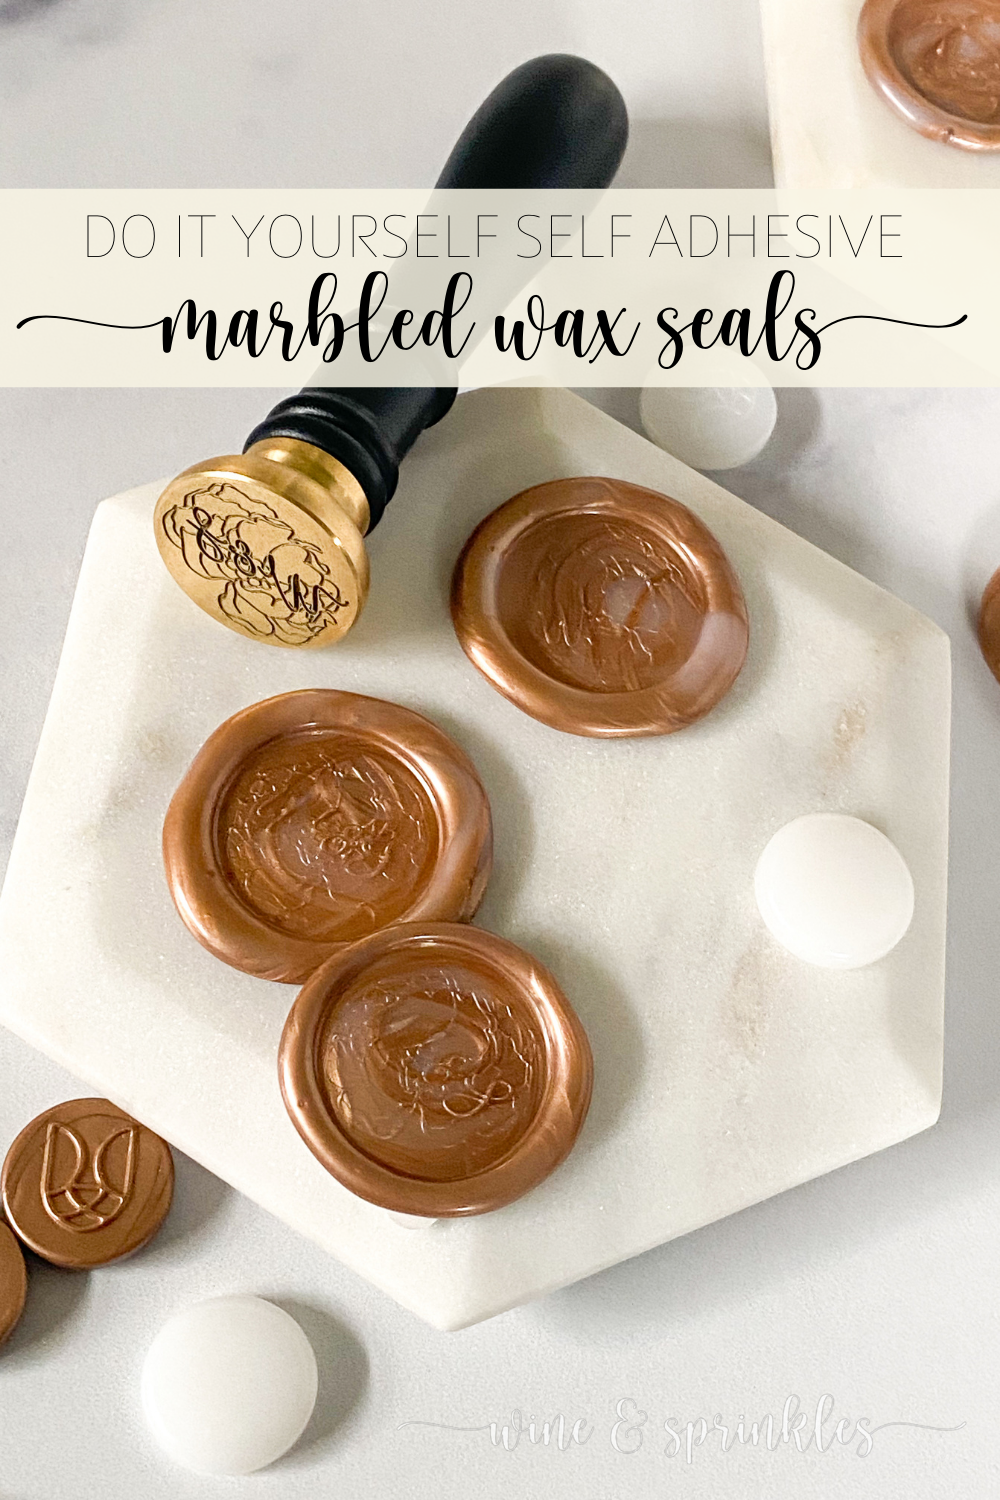
3. Using the linen handled side of the spoon, pour the wax from the spout side in a circular motion onto the parchment paper on your cooling pad, creating a round puddle of marbled hot wax.

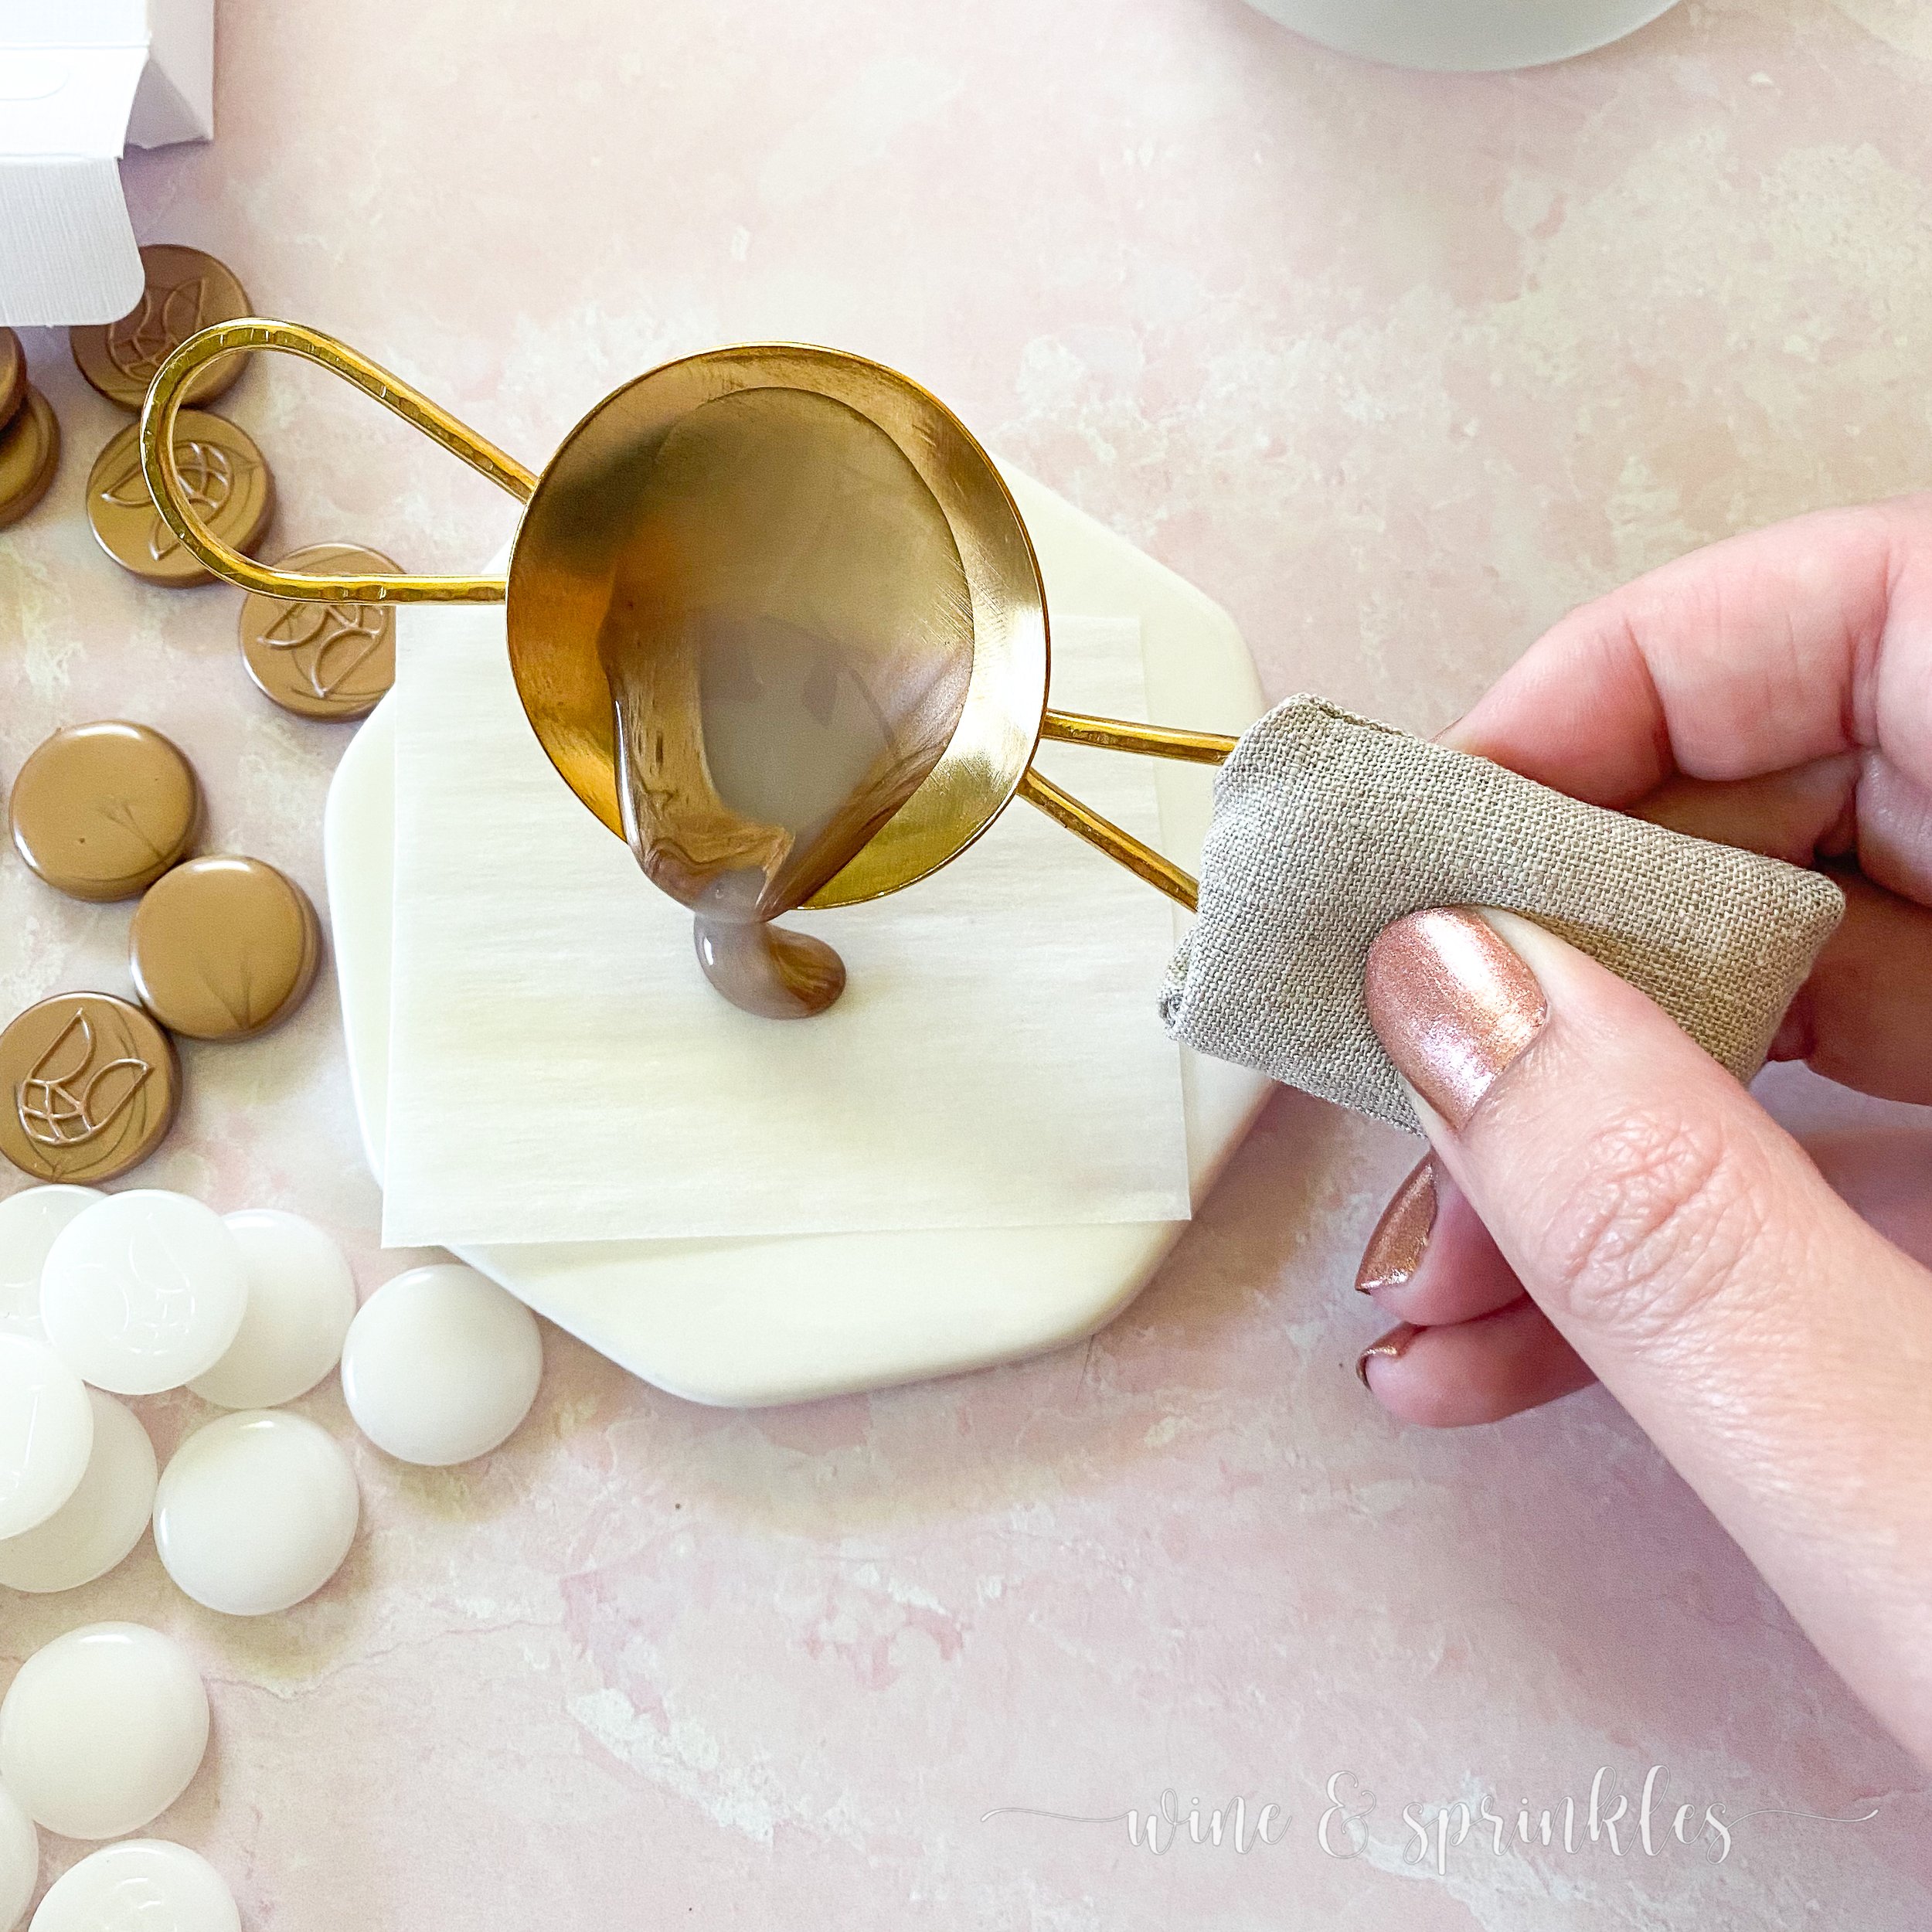


4. Press your stamp firmly and evenly into the wax, leaving for 15-30 seconds until it is set, then carefully peel the stamp off of the seal, leaving the impression in the cooled wax. While the seal cools, clean out your spoon with a folded paper towel. Remember, your spoon will be hot so clean and handle carefully!


5. Peel the wax seal off of the parchment paper, then turn over and stick an adhesive circle to the back, leaving one side of the sticker on its backing so that they can be used to peel and stick later. Repeat this process for as many wax seals as you need and you are done!


TIPS & TRICKS
- Don’t let the flame of your candle touch the bottom of the spoon to prevent ash buildup on the bottom
- clean out your spoon with a folded over paper towel between pour to keep your seals clean and size consistent
- Have a separate area or candle jar (unlit) to hold your hot spoon between seals; I poured, set the spoon aside, then stamped the wax and clean the spoon between impressions

SEE OUR RELATED POSTS HERE:


OUR PINS FOR THIS POST: