This post contains affiliate links, meaning that if you click on a link I will recieve a small comission. This costs you nothing extra and I only promote products I use and love! You can read our full disclosure here
As you read this post, you’ll notice a lot of bolded words, some that highlight pink and link to other posts and products, and others that don’t do anything. That’s because I am still writing and working on the posts those words go to! As these posts get published, I’ll be updating this post until all the projects are complete! Subscribe to my Newsletter or Follow me on Facebook to keep updated on when I post new content!

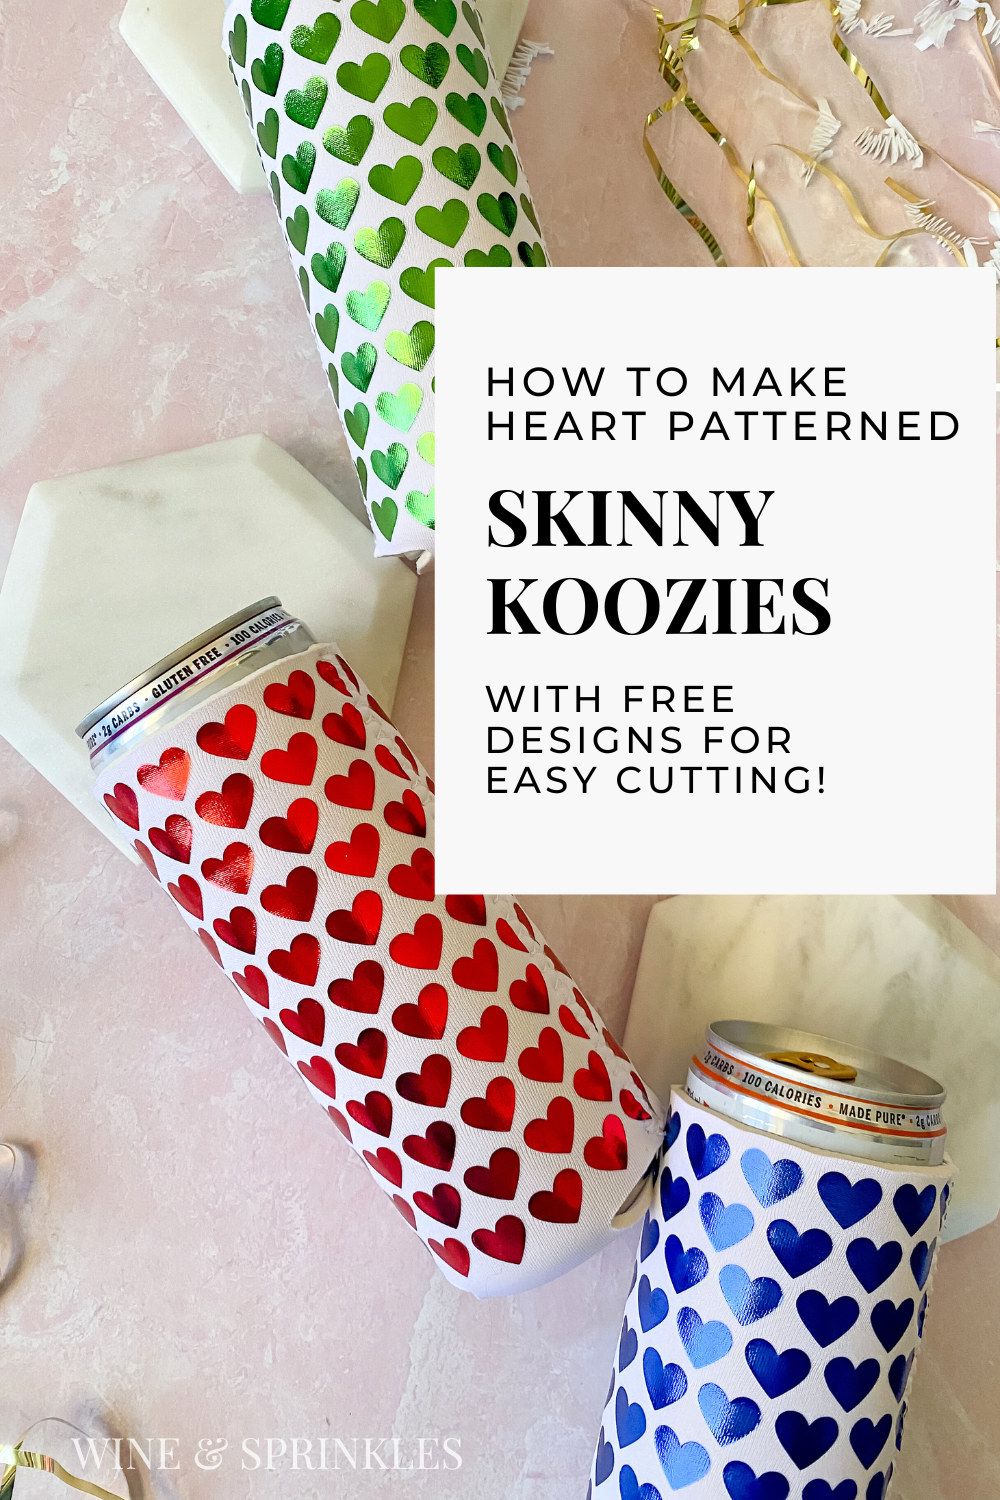
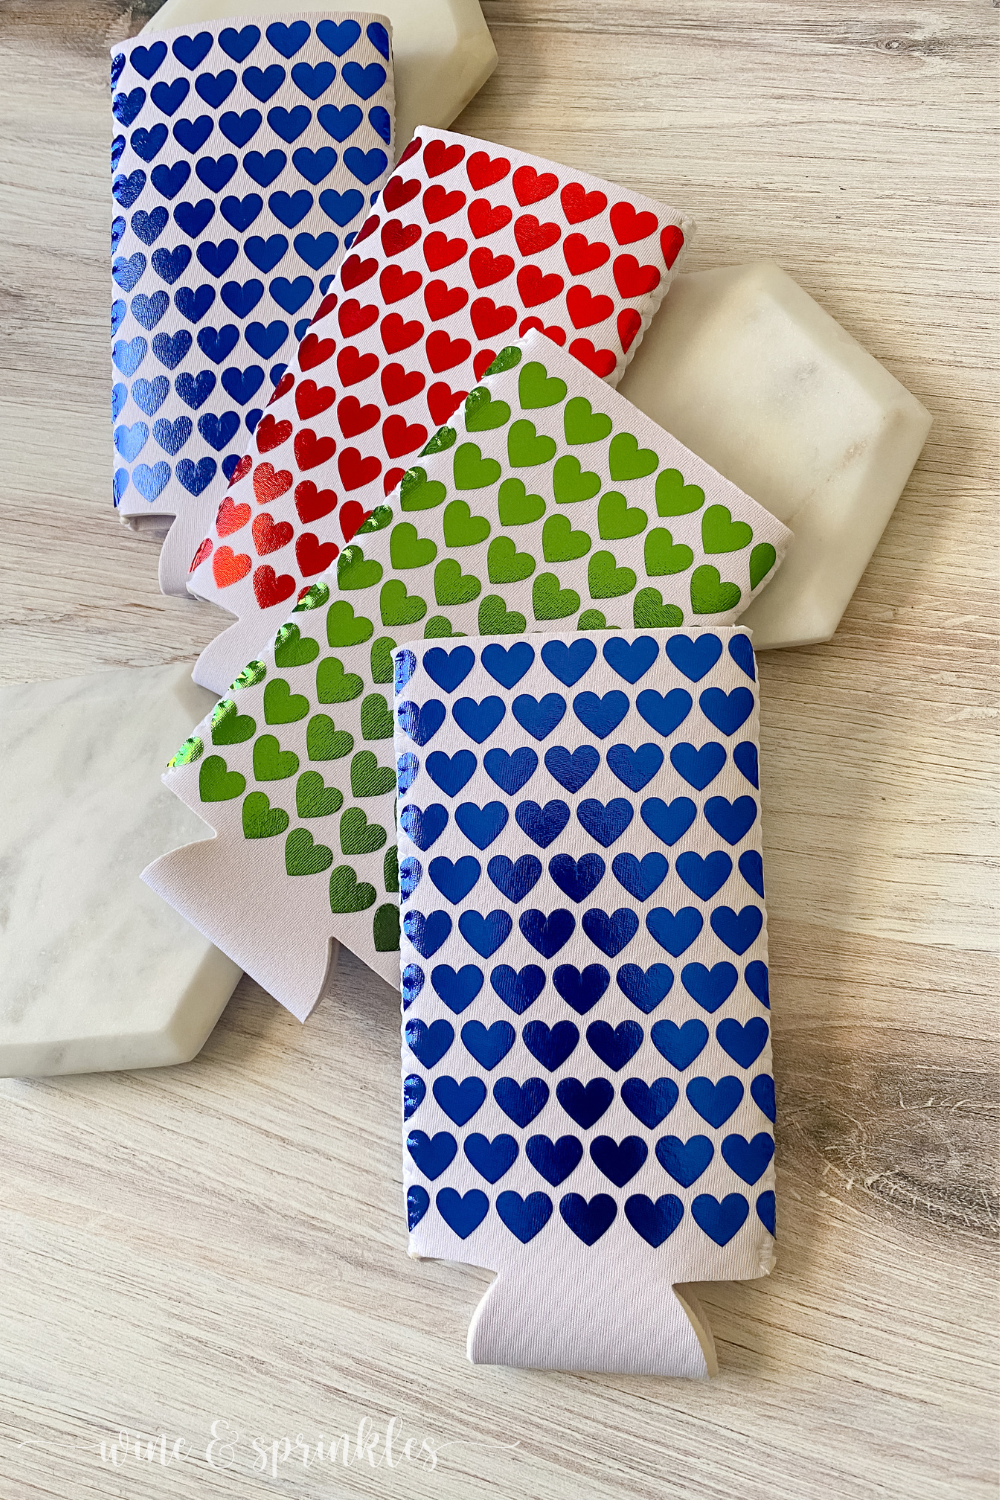
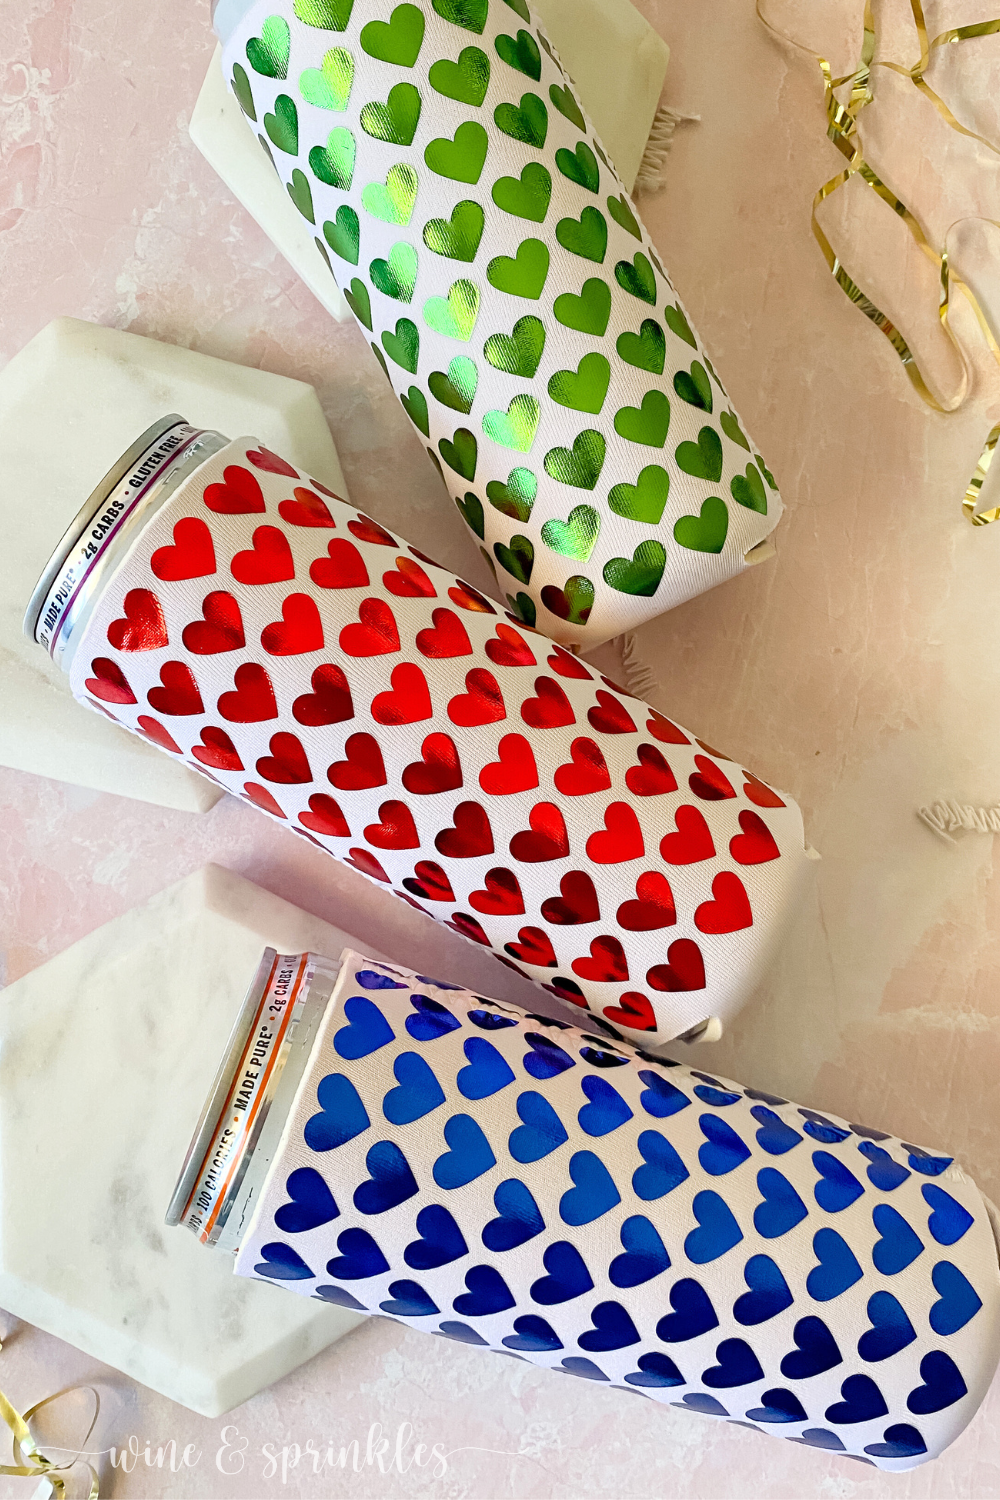
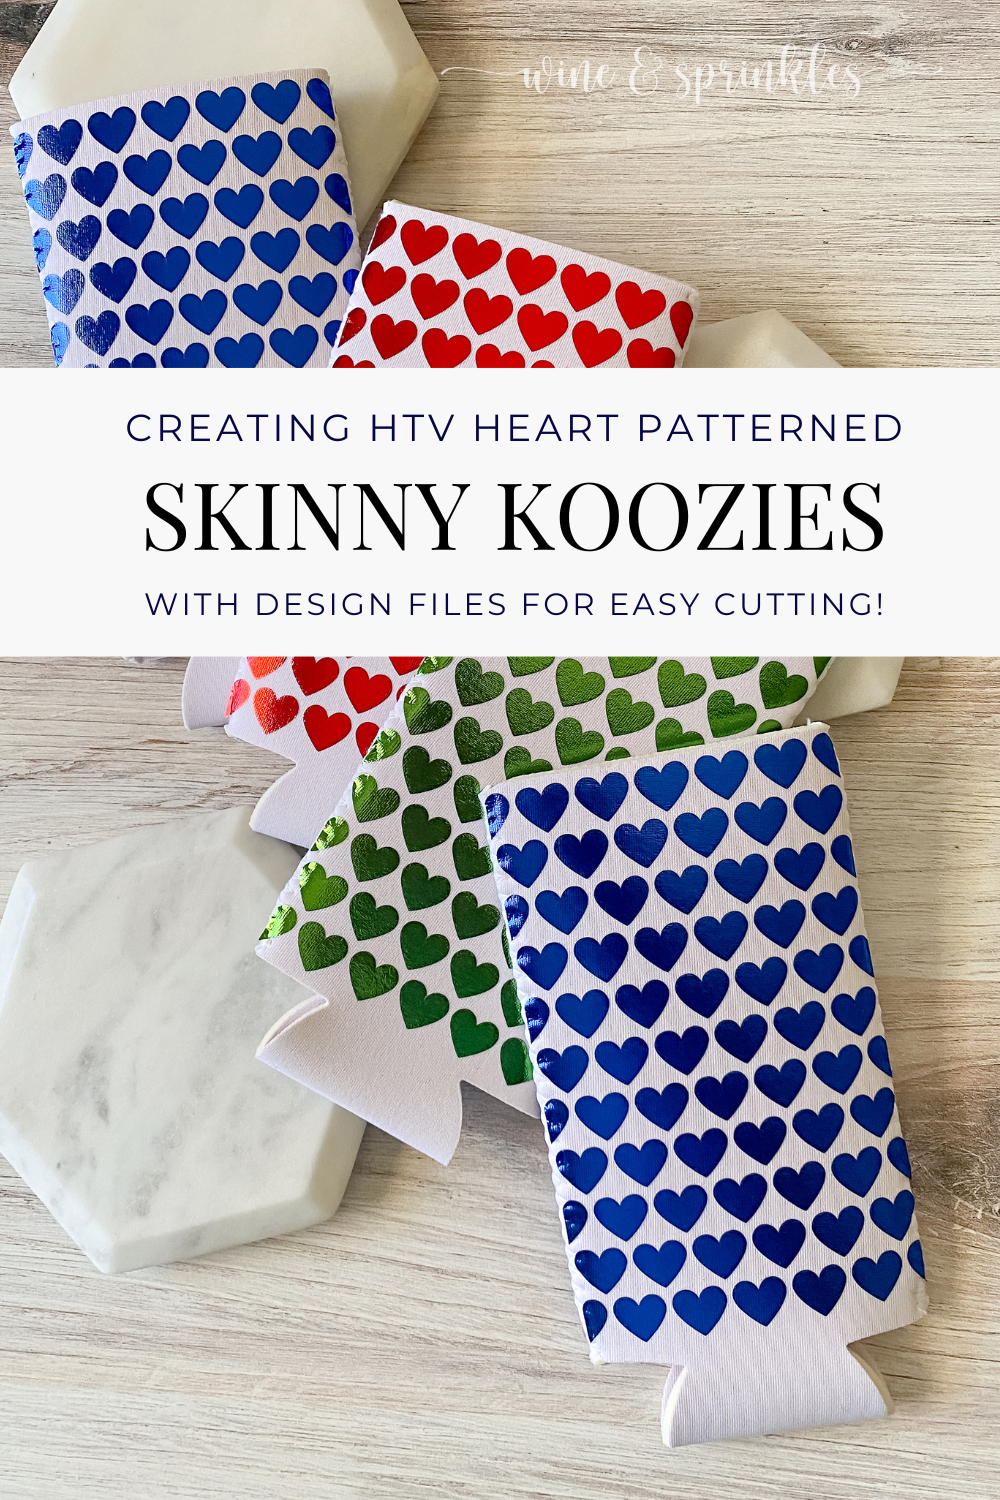
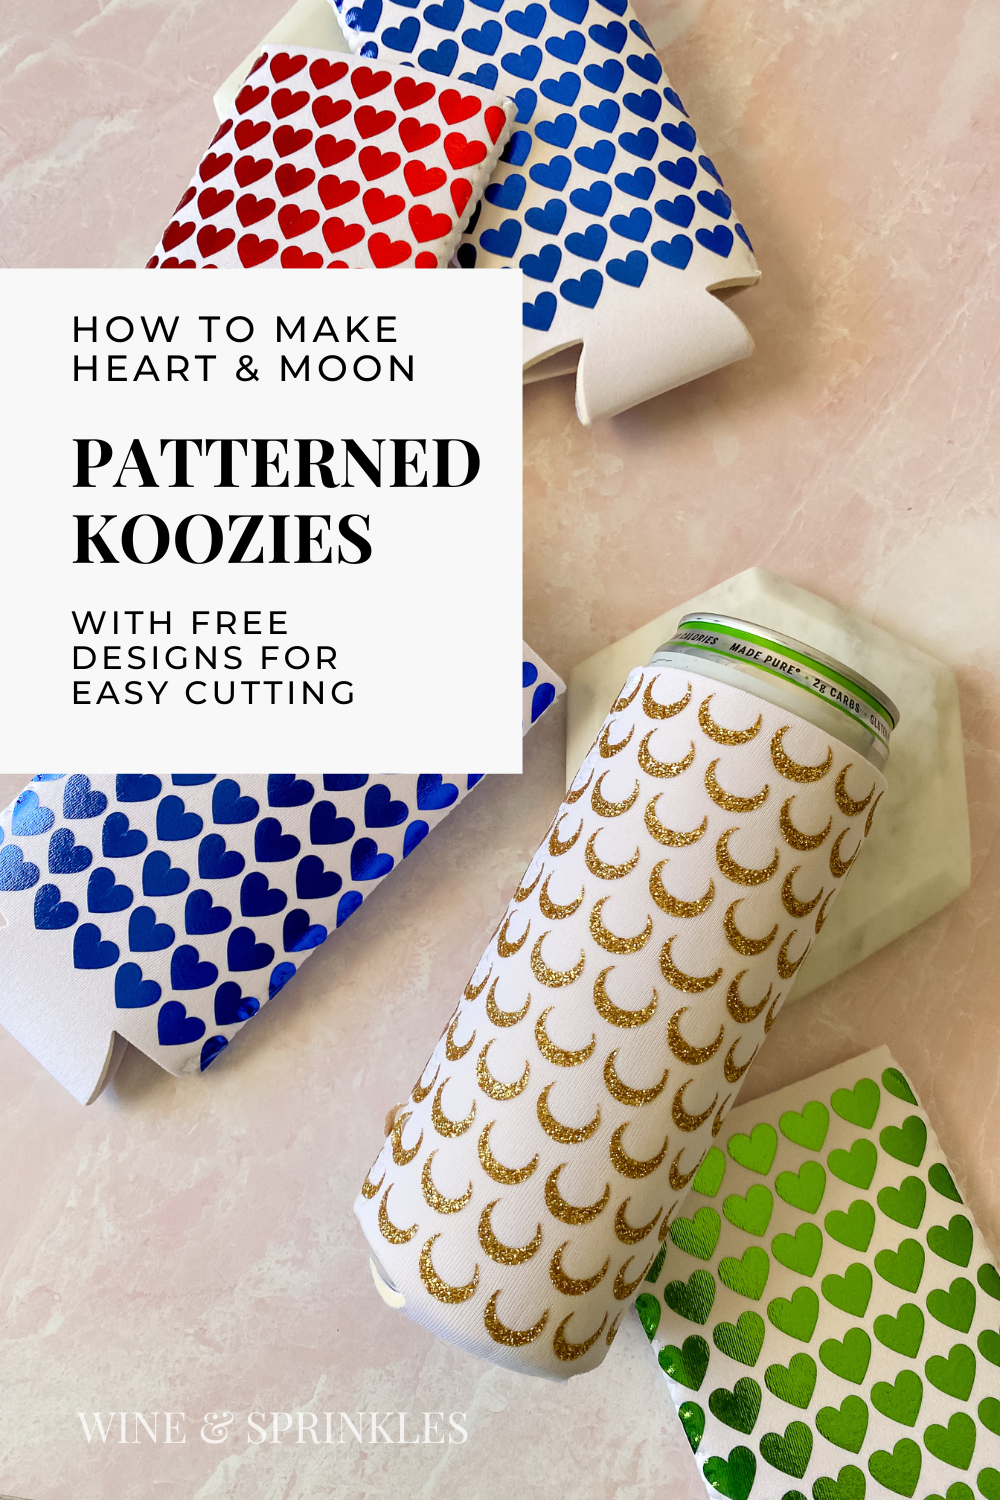
There’s no better way to soak up the summer sun than with a tasty beverage, and for my friends and I that drink is all the delicious seltzers the world can offer! So when I was deciding on additions to some galentine’s gifts for my best girls, I broke into my new Cricut materials to create some pretty patterned koozies, and thus these Heart and Moon Patterned Skinny Koozies were born!
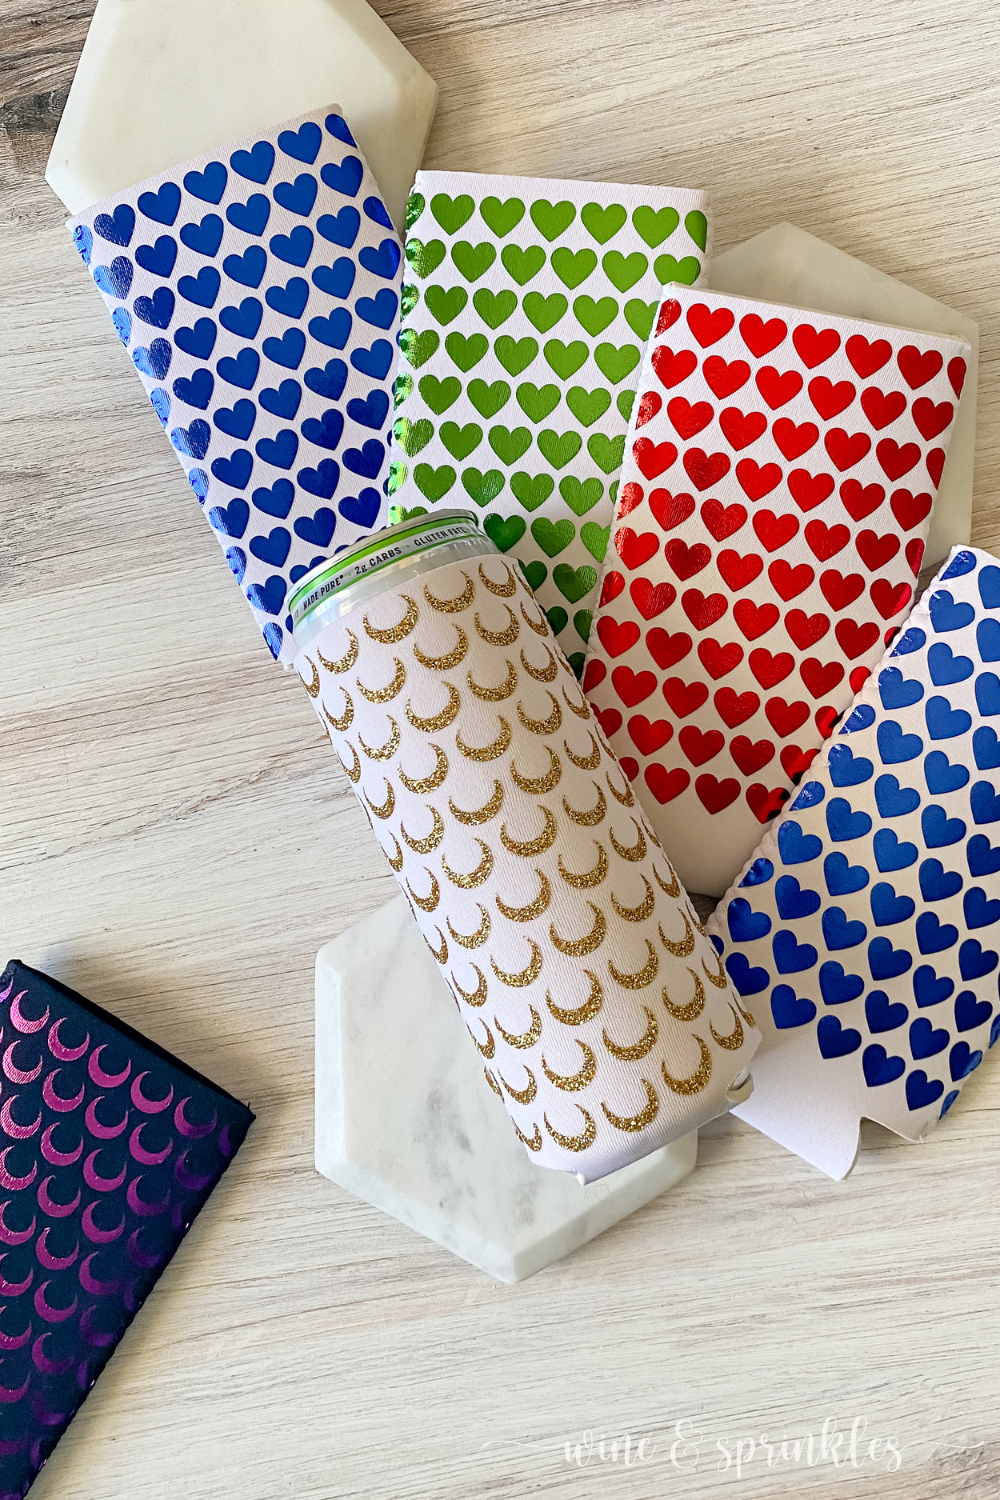
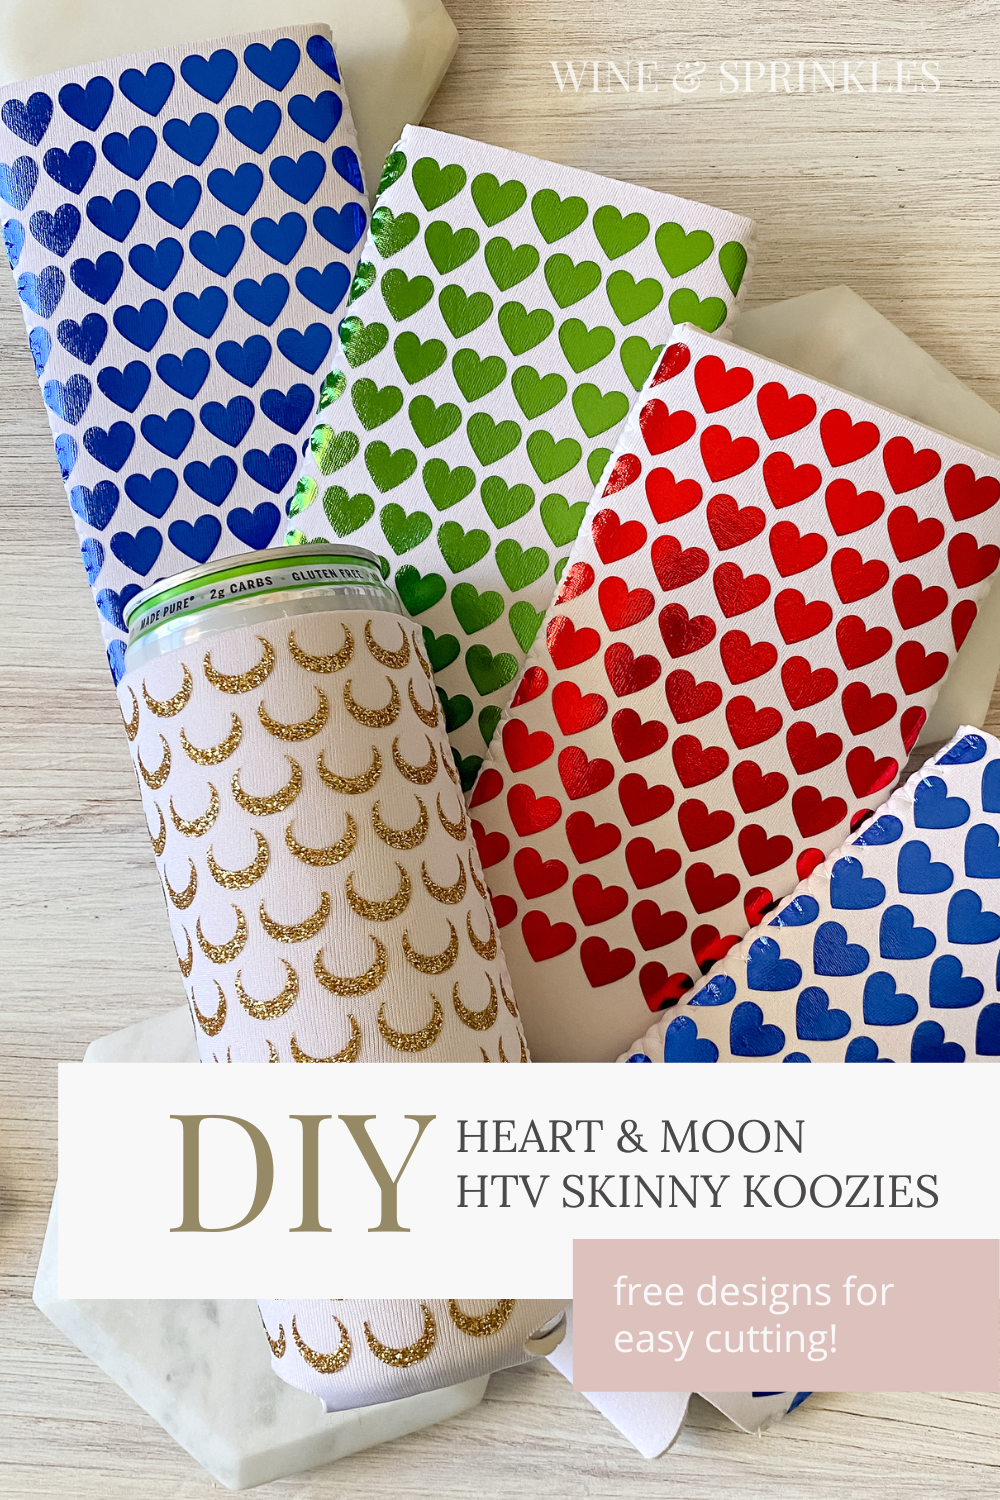
While both the hearts and the moons are adorable patterns that could be used for a variety of events or gifts, I had a reason for choosing these as my first patterns and it’s all because of the Galentine’s Gift Boxes I made for my best gals, which all just happened to be Sailor Moon themed! As I designed all the boxes based on the different Sailor Scouts and Cats, hearts in the colors of the scout and moons that went with each cat made for out of this world combos that all my girls loved but also perfectly matched their outfits!


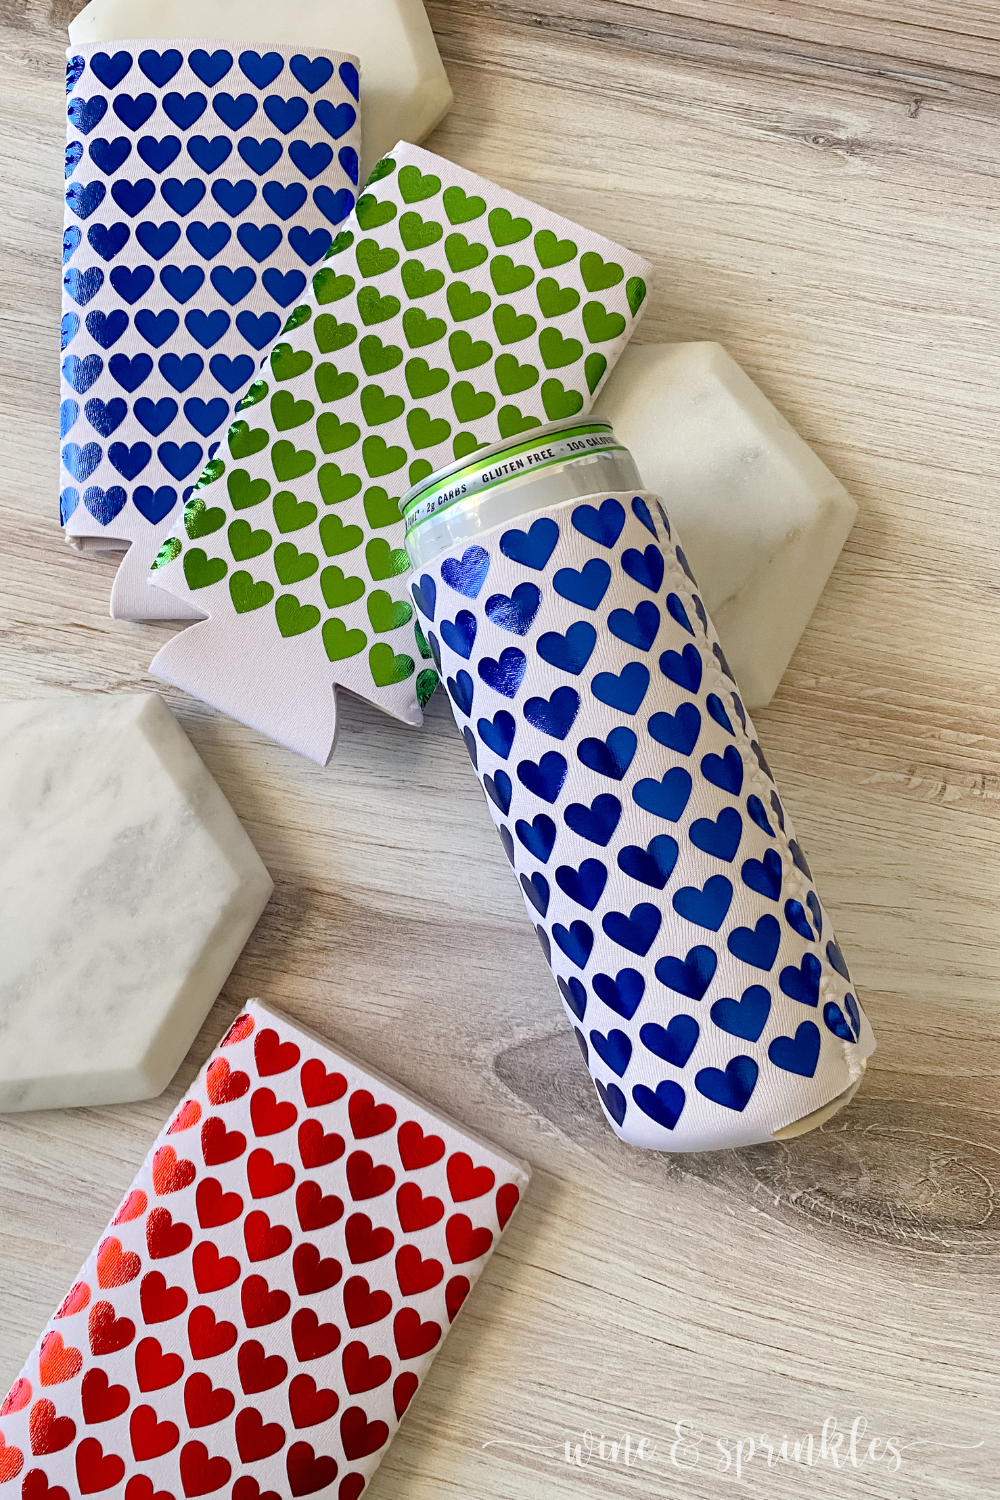
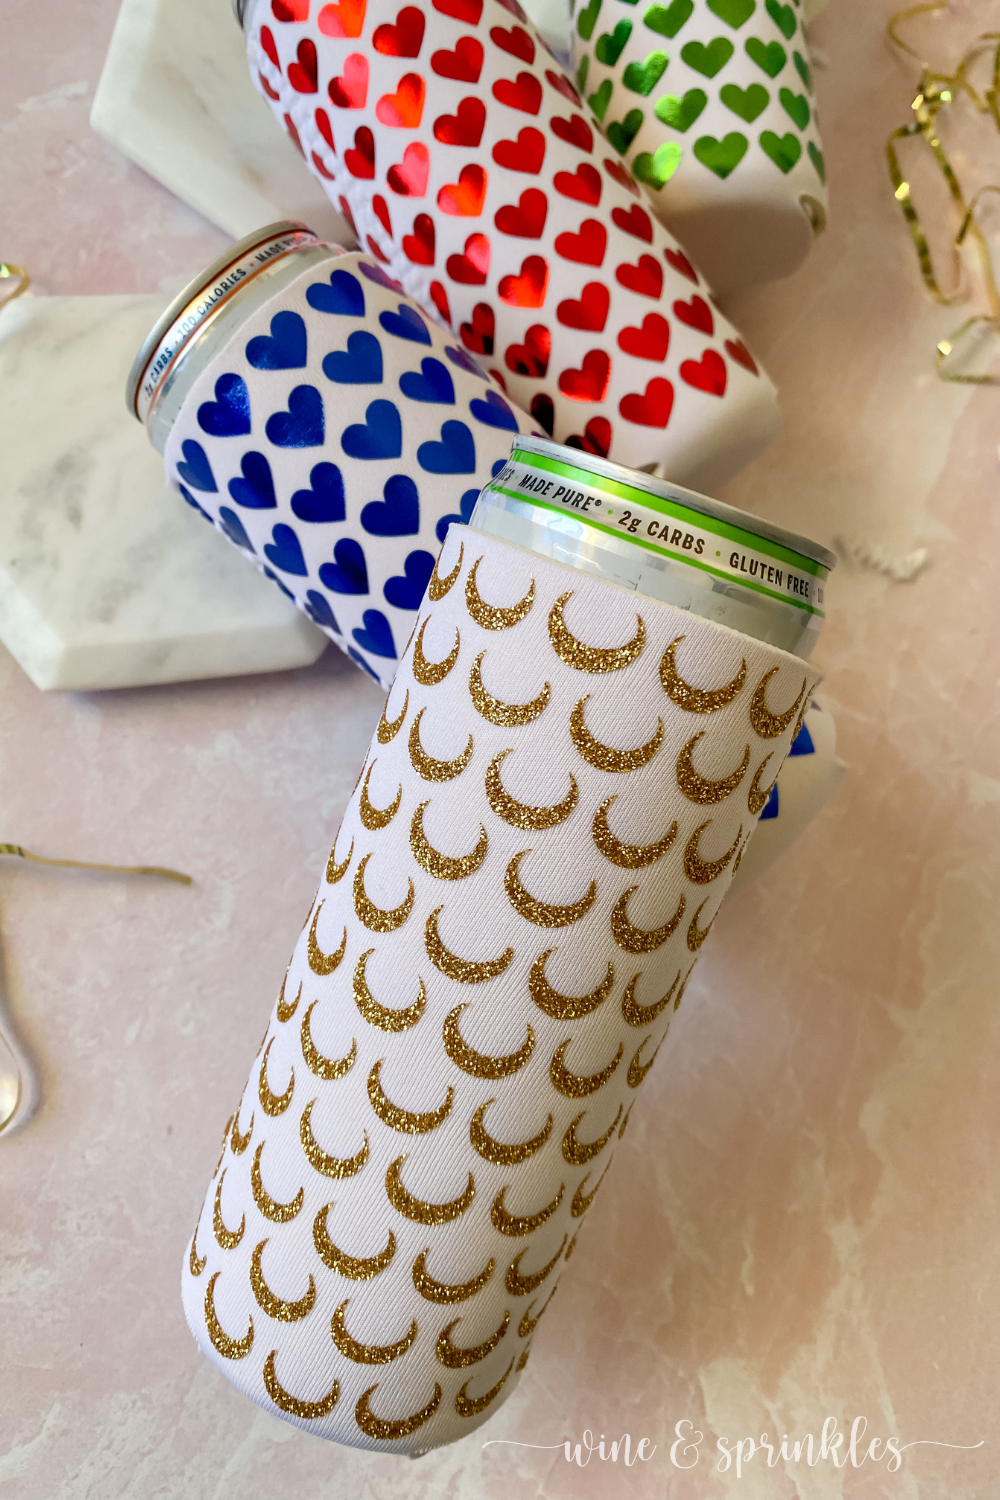
I’ve made plenty of standard koozies for a variety of Bridesmaid Koozies and Groomsmen Koozies as well as Bachelorette Party Koozies, but this was my first time crafting with skinny koozies and trying to carry a pattern, and I have to say I love the result! I wanted to try making a pattern in general both so I can design more future party koozies, but also because it feels like it's wasting less of my pretty HTV Foil to do a bold pattern and my variety pack of colors perfectly fit the bill! Both the heart and moon koozies weeded and transferred surprisingly easily on the neoprene but a word to the wise, the glitter HTV I used for one of my moon koozies was rough to transfer, do foil and not glitter for these delicate decals!
Whether you make them for yourself, your friends, Valentine's day, or for fun spooky moon themed activities; these koozies are sure to impress as well as an easy project to take your own HTV transfer game to the next level!
SUPPLIES
HTV BLANKS & MATERIALS
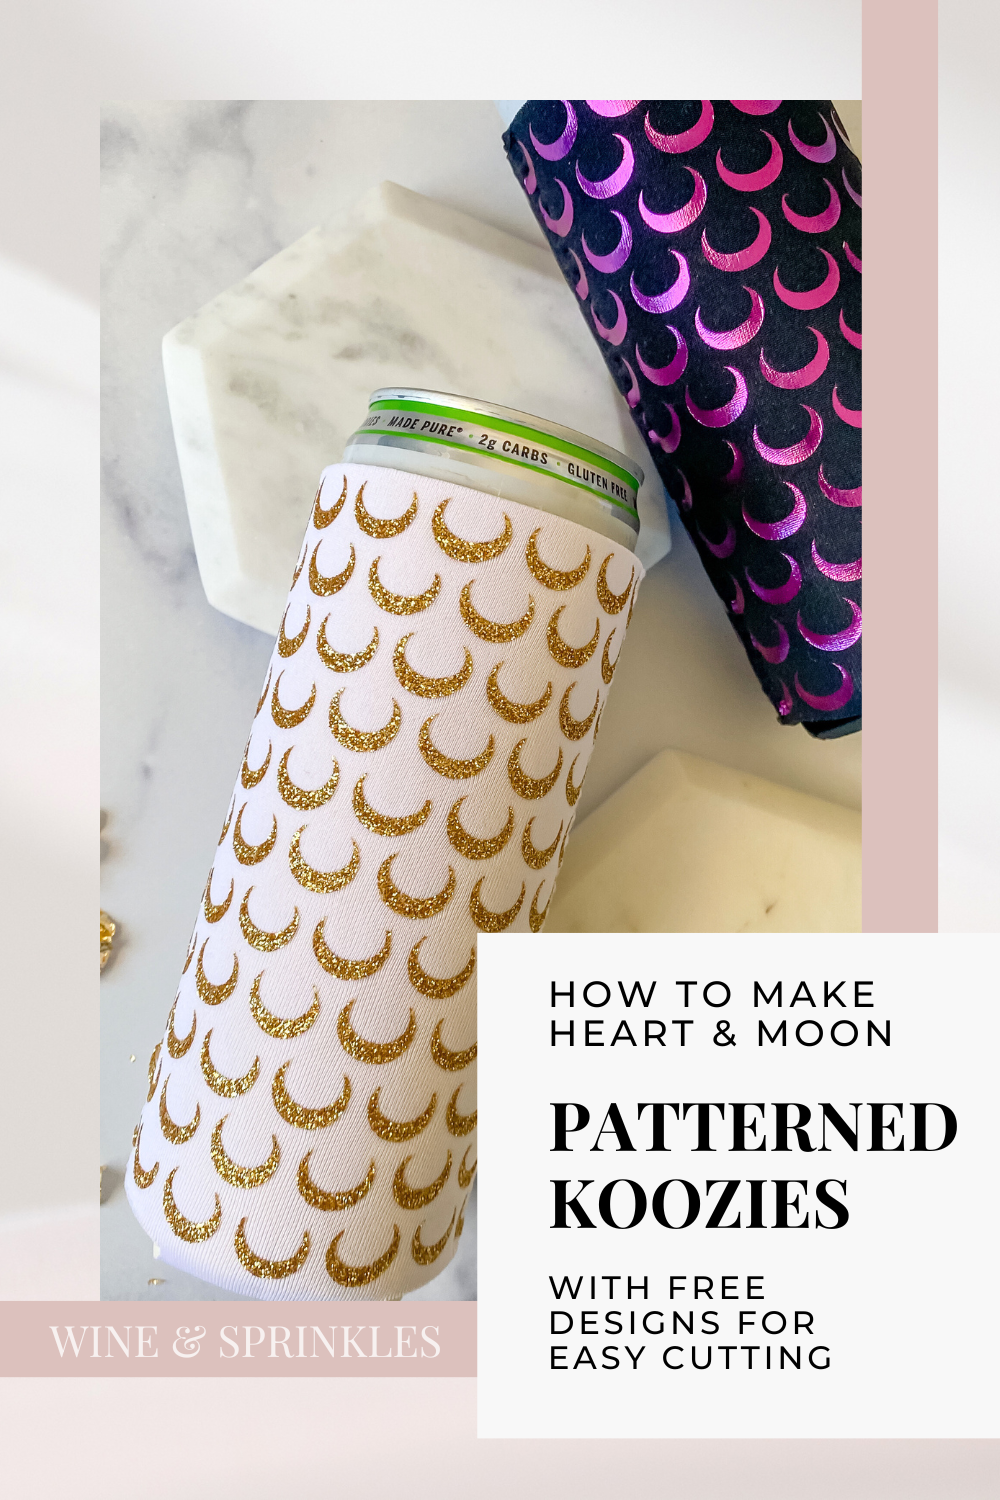
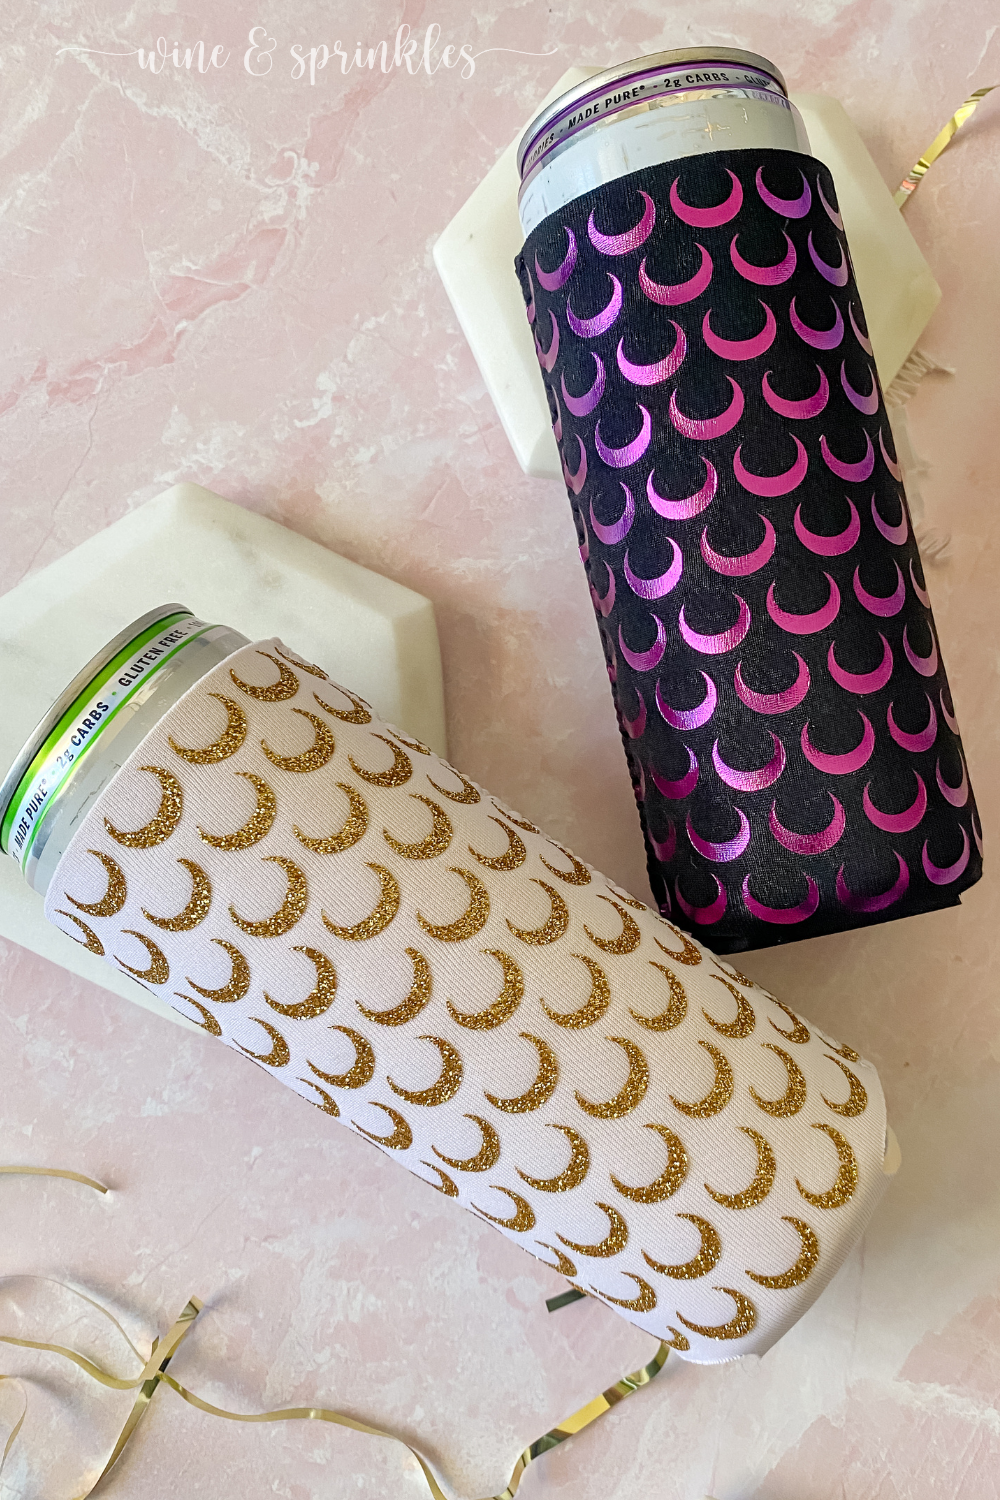
Skinny Koozies: with seltzers being the drink of choice, skinny koozies were the blanks to buy. I found a lovely multipack consisting of only black and white koozies, so that most could be white for Artemis and to match the tops of the sailor scout outfits and one could be black for Luna the cat!
Heat Transfer Vinyl (HTV): for creating the decal patterns for my koozies, I used the Foil Iron On Bejeweled Sampler Pack I got from my Cricut Everything Materials Bundle for the majority of my heart patterned koozies, along with the purple for one of my crescent moon koozies. The only exception is that I tried the Gold Glitter HTV for one of my moon koozies, and while it turned out adorable, it was much harder to use on this project than I’ve found it to be on many others, mainly due to it not liking to stick to neoprene and the low heat the koozie can stand from the heat press. In the future, I’m only using the foil or Everyday HTV for koozies and keeping my glitter for other projects!
TOOLS & OTHER SUPPLIES
Cricut Craft Cutter: for cutting out the koozie pattern decals, my Cricut Maker did an excellent job cutting everything accurately and quickly. It's always my go to for cutting vinyl and HTV decals, which would be impossible to make otherwise, and I’ve loved and constantly used my machines for dozens of projects over the years.
Cricut Heat Press: for transferring the decals to the koozies. While you can also use an iron for transferring the decals, I absolutely love my new heat press for all things HTV, and more especially here because neoprene is pretty easy to melt with an iron! I also love that Cricut has a Heat Guide to use with it so you know what you should set your press to for each material you want to use, and so far it's never led me wrong!
Standard Grip Mat: for keeping your material in place for cutting, a standard grip mat works best here and the one I use in most all my HTV and vinyl projects.
Heat Press Mat: for protecting the surface you are using to heat press your decals on.
Parchment Paper: for creating a barrier between your decal backing and your iron or heat press. While not required with the heat press, I like to use it as a barrier for it as well, mainly because old habits die hard and neoprene always makes me nervous about melting stuff.
Weeding & Transfer Toolset: for weeding away the excess HTV from the backing material after its cut.
DESIGN TEMPLATES & FILES
Heart and Moon Pattern Cricut Design File: to make it easy to cut out these decals without having to upload files, I’ve created the project in the Cricut Design software with a shareable link for all of you! I’ll teach you how to use it to cut your own decals in the tutorial below, and as a straightforward way for me to share my cuttable creations, you’ll be seeing the majority of my future Cricut Designs done this way.
SUPPLIES LIST:
[for 6 skinny koozies]
HTV BLANKS & MATERIALS
Skinny Koozies x 6
Heat Transfer Vinyl (HTV) x 6 - 3.5” x 5.5” pieces
TOOLS & OTHER SUPPLIES
Cricut Craft Cutter
Cricut Heat Press
Standard Grip Mat
Heat Press Mat
Parchment Paper
Weeding & Transfer Toolset
DESIGN TEMPLATES & FILES

DIRECTIONS
STEP 1: ACCESS DESIGN & CUT DECALS
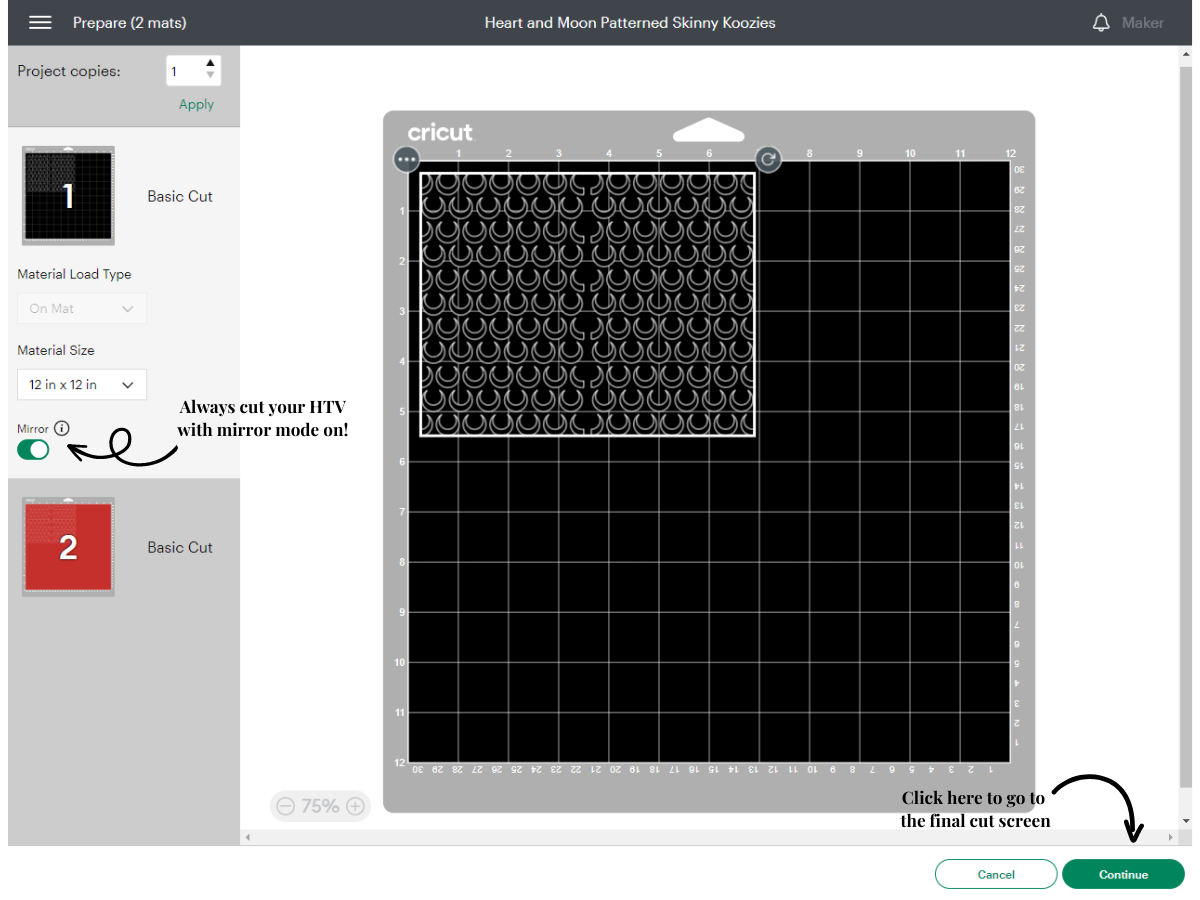
Start by opening the design file by clicking the link here, in the supplies list, or the button below. This will send you to the Cricut Design Software, where the patterns for the two sides of each koozie are sized to the skinny koozies I was using, 3.25” x 5.2” for each side decal with the attached pair being a little over double that width. If you want to cut them exactly like mine are, select “Make it” and it will take you to the cut screens, but if you need to customize it or make multiples, select “Customize” to open it as a design file that you can manipulate

If you need to resize these, use the padlock on the upper toolbar to change them to whatever size you need, though in this case you can use the “Detach” Function to separate the front and backs before resizing, located on the lower right side of the design screen. If you don’t need one of the decals, you can exclude it from being cut either by selecting and deleting it, or hovering over its layer on the right side of the screen and clicking the eyeball on the right so that the symbol shows it crossed out.
You will see that each front and back of the decal designs are attached together, so Copy and Paste the cut files for as many koozies in each pattern as you need, then select “Make it” in the upper right of the screen to cut out your decals. Cut out on mirror mode with the material set from the options given, in my case Adhesive Foil HTV, with HTV shiny side down. I also like to specify the pressure setting to “More,” though this isn’t a requirement and instead a preference so that I’m sure it cuts deeply enough.

STEP 2: WEED & TRANSFER DECALS
Remove the mat from your cutter, keeping the material attached to make weeding easier. Weed away the excess HTV, then cut the backing so each decal is separated to transfer to each side of the individual koozies. Now it's time to transfer the design!
Start by preheating your heat press to the right temperature based on the koozies and material you are using, which can be found by using the Cricut Heat Guide. Change the temperature by pressing the thermometer button until the temperature on the screen blinks, then use the arrows to the right of the screen to change the temperature to what you wish. You can likewise do this for the timer by pressing the watch icon button and, once the timer is blinking, change it with the same arrows. Keep your heat press in its stand while it's preheating and anytime it's hot and you aren’t pressing something to keep you and your work surface safe! For my neoprene koozies and adhesive foil pressed on the heat press mat, my press was set to 280℉ for 20 seconds
Once your press is preheated, place your koozie centered on the heat mat, then press it for 5 seconds to preheat the material. Then, place one of your decals, backing side up, over your koozie, aligning it so that the pattern is centered and just reaches the side stitching of the koozie, then cover with parchment paper.


Using firm pressure, press the design into the koozie with your heat press, using the timer by pressing the Cricut symbol button, then remove the press when the timer runs out. Once the backing is cool enough to touch, carefully remove it to leave the pattern on the first side of the koozie.


Flip the koozie over and repeat the heat pressing process, using the half hearts or moons from the patterned side to line up the second decal so that the pattern is continuous to the stitched edges of the koozies. Cover it with parchment paper and press just like the first side, removing the backing when it is cool enough to touch. Repeat this process for all of the koozies you are crafting, then you’re done!


SEE OUR RELATED POSTS HERE:
OUR PINS FOR THIS POST:
OUR MOST RECENT BLOG POSTS:


