This post contains affiliate links, meaning that if you click on a link I will recieve a small comission. This costs you nothing extra and I only promote products I use and love! You can read our full disclosure here

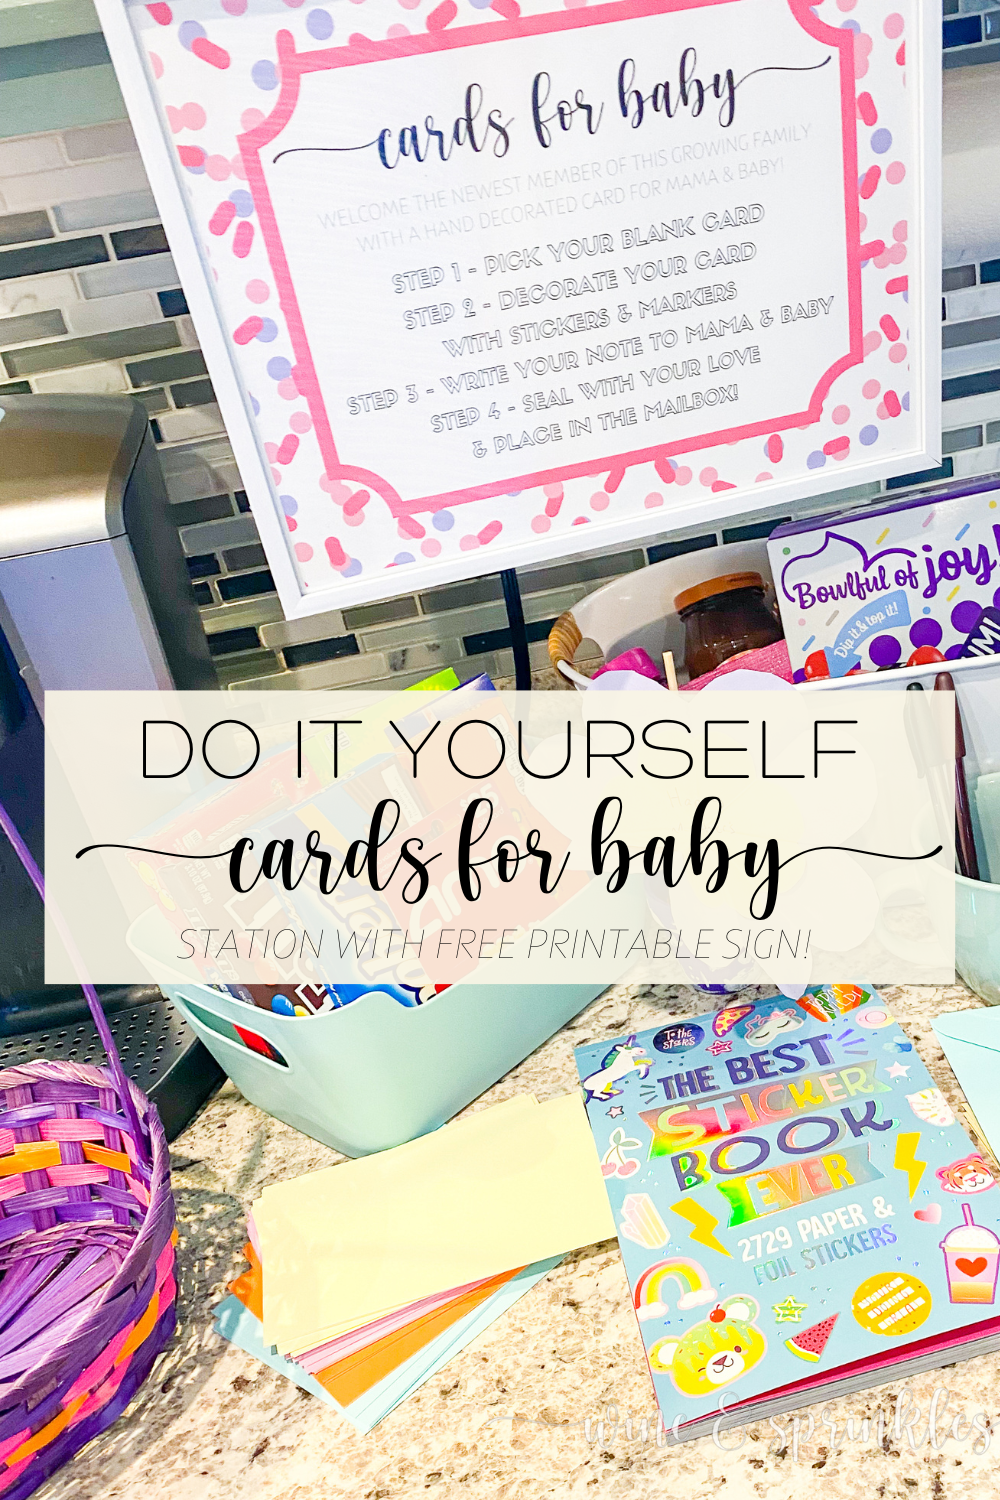
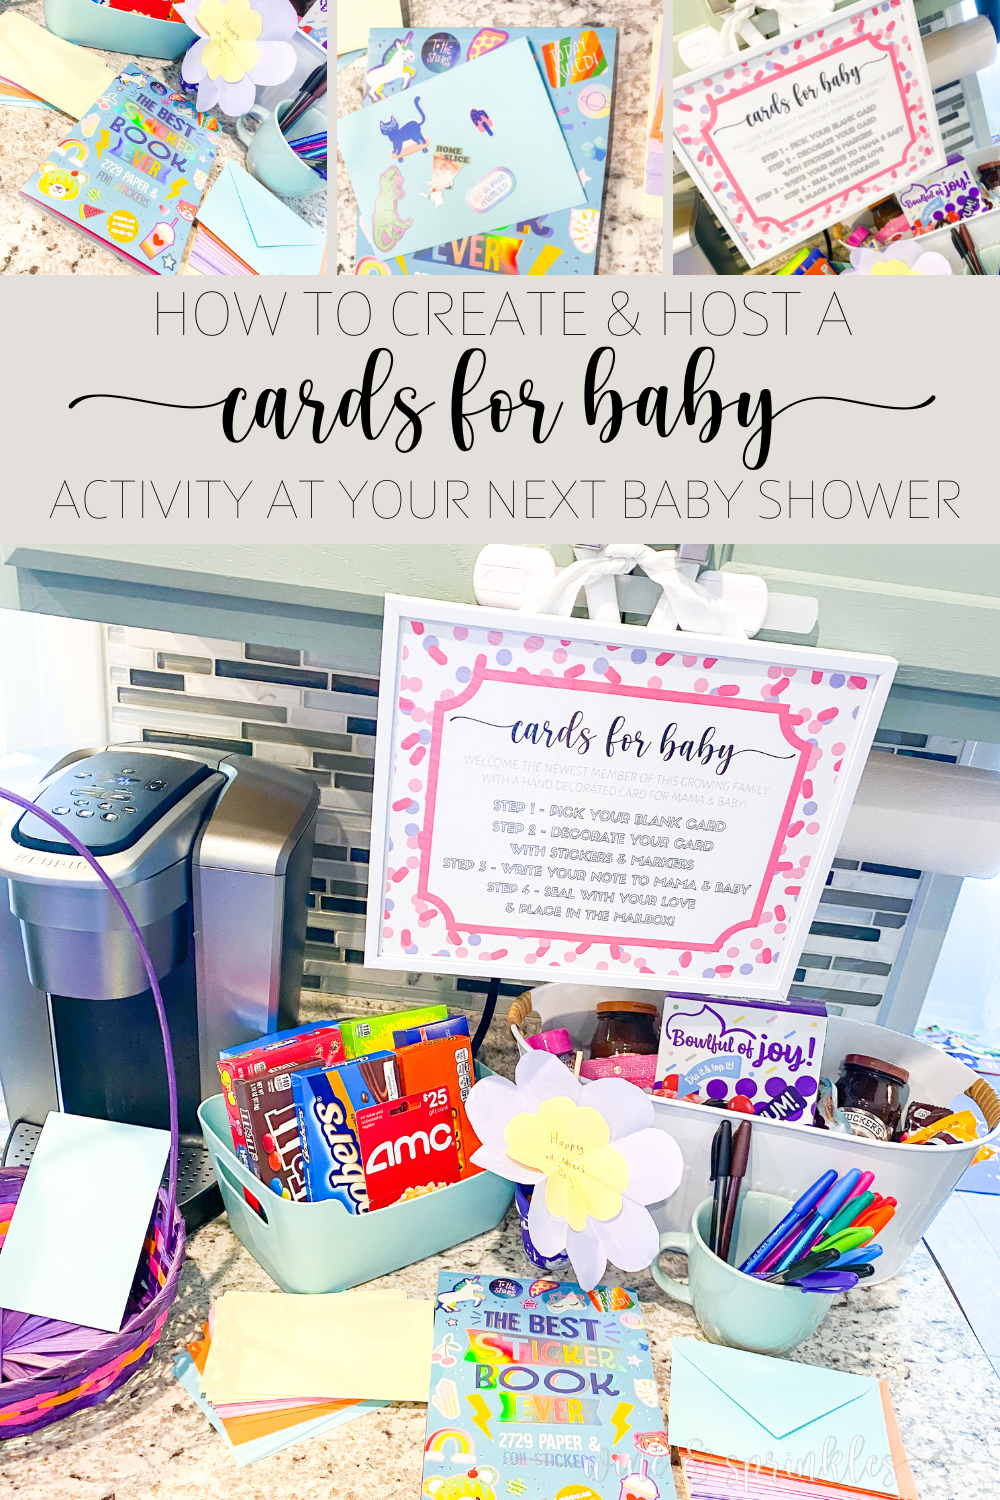
There’s nothing quite like the sentimentality of a homemade card, and when you are adding to your family they are even more beloved for welcoming the newest member to it! So, when I was crafting up ideas and stationery for my friend’s Unicorn Diaper Raffle Baby Sprinkle, I created a Cards for Baby Activity Station for all the guests to create their own cards for the newest baby and mom for the soon to be family of four!
I can’t take credit for this cute baby shower idea, it was suggested by one of my friends who was helping with ideas and remembered loving it at a different celebration. I immediately agreed and got to creating another set of signs for my collections, then found a slew of card making supplies and stickers for guests to make their own cards.


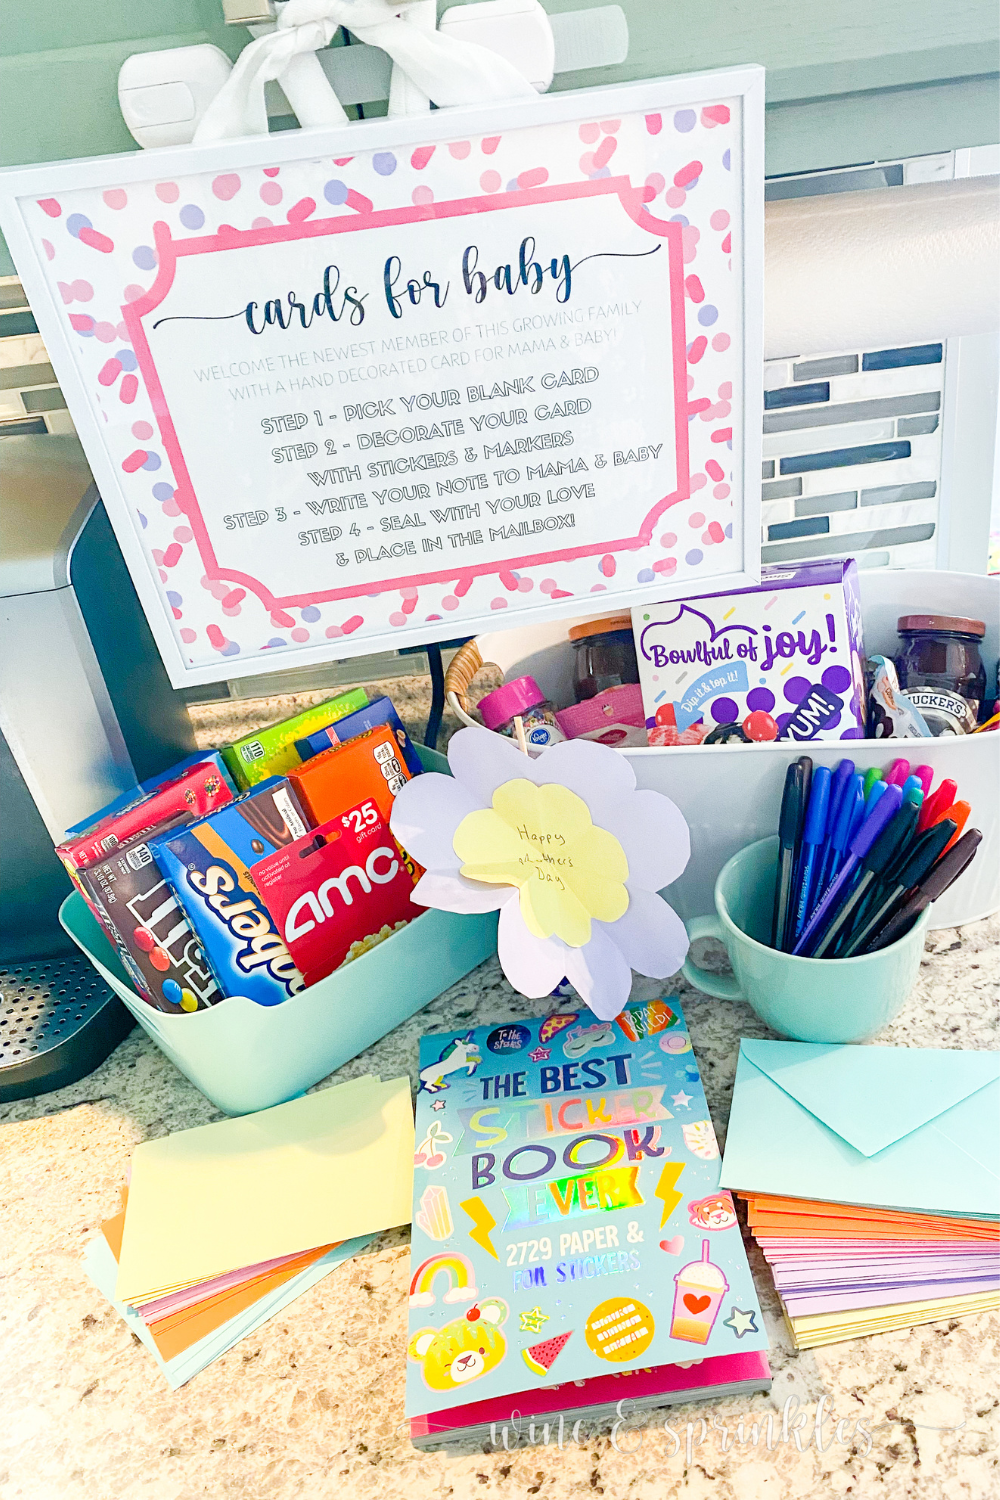
The station was so much fun for all the guests, but especially the children, who loved making special notes and bedecking them with stickers; though I’ll proudly say my own card out stickered them all! Next time I do this station, the one thing I will certainly do is cut my sticker book pages into smaller sets so guests can pick a little pack to take with them for card making, as most were nervous to take stickers off full pages or wait for the book to be available. So you’ll see that, while the pictures from the party have the sticker book intact, my other photos have them separated to incorporate this change for the better!

You’ll notice that, like my Diaper Raffle Signs and Tickets, the sign for this activity station is also available in two styles, sprinkles and blue gingham, so pick the pattern that goes best with your baby shower and check out our other Baby Shower Games and Activities for more fun printables in the same pattern collections!
SUPPLIES
CARD MAKING SUPPLIES:
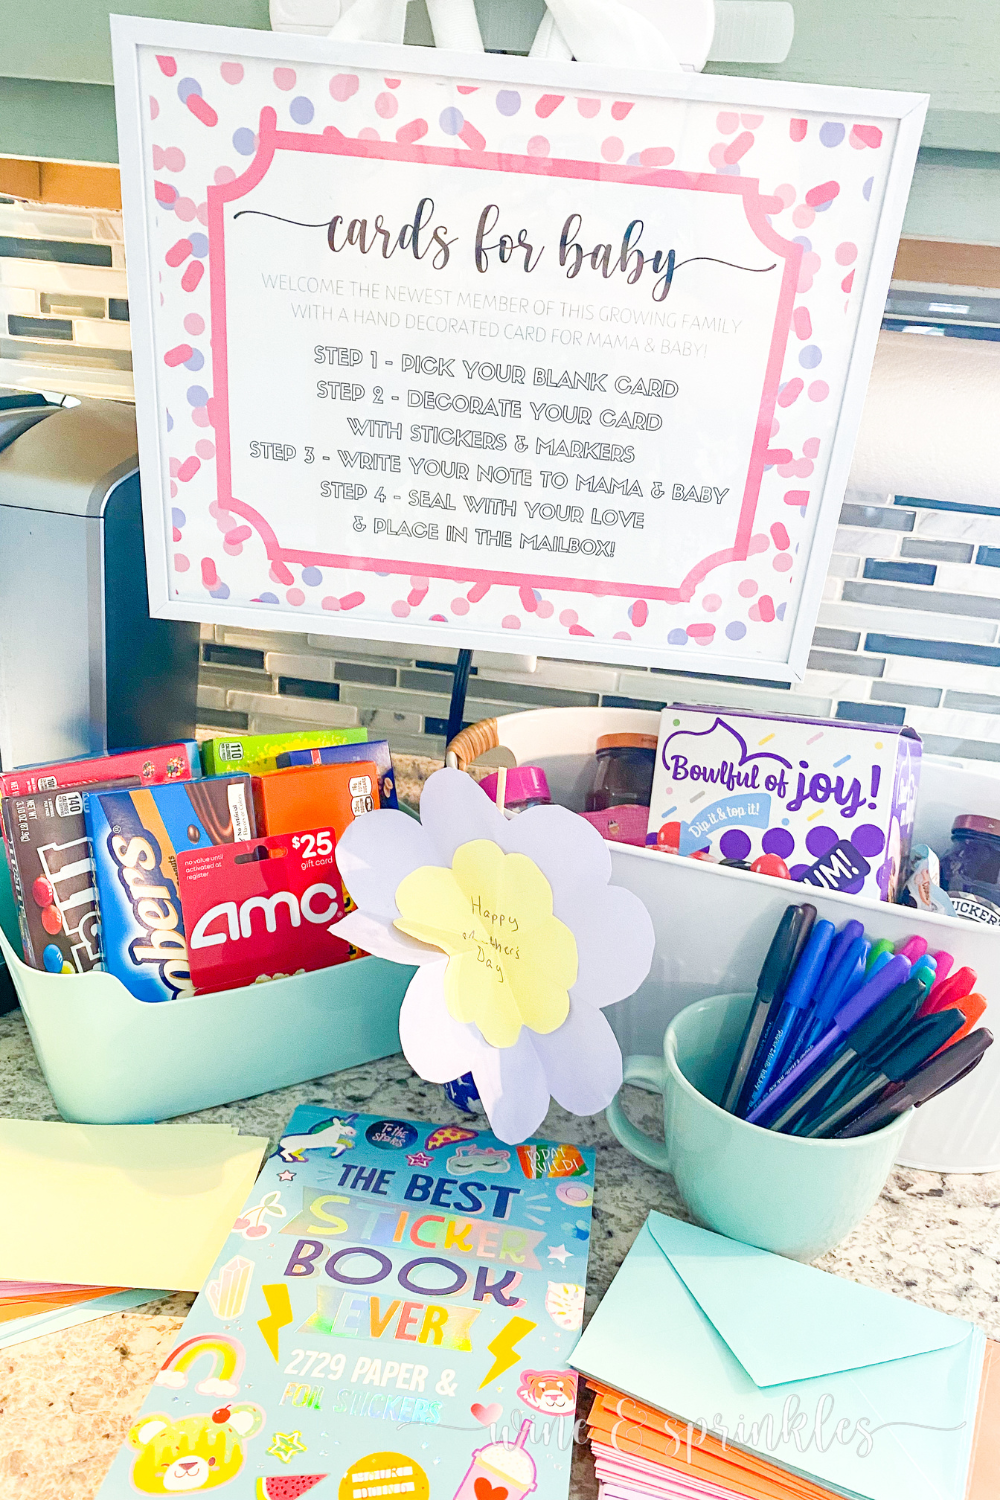
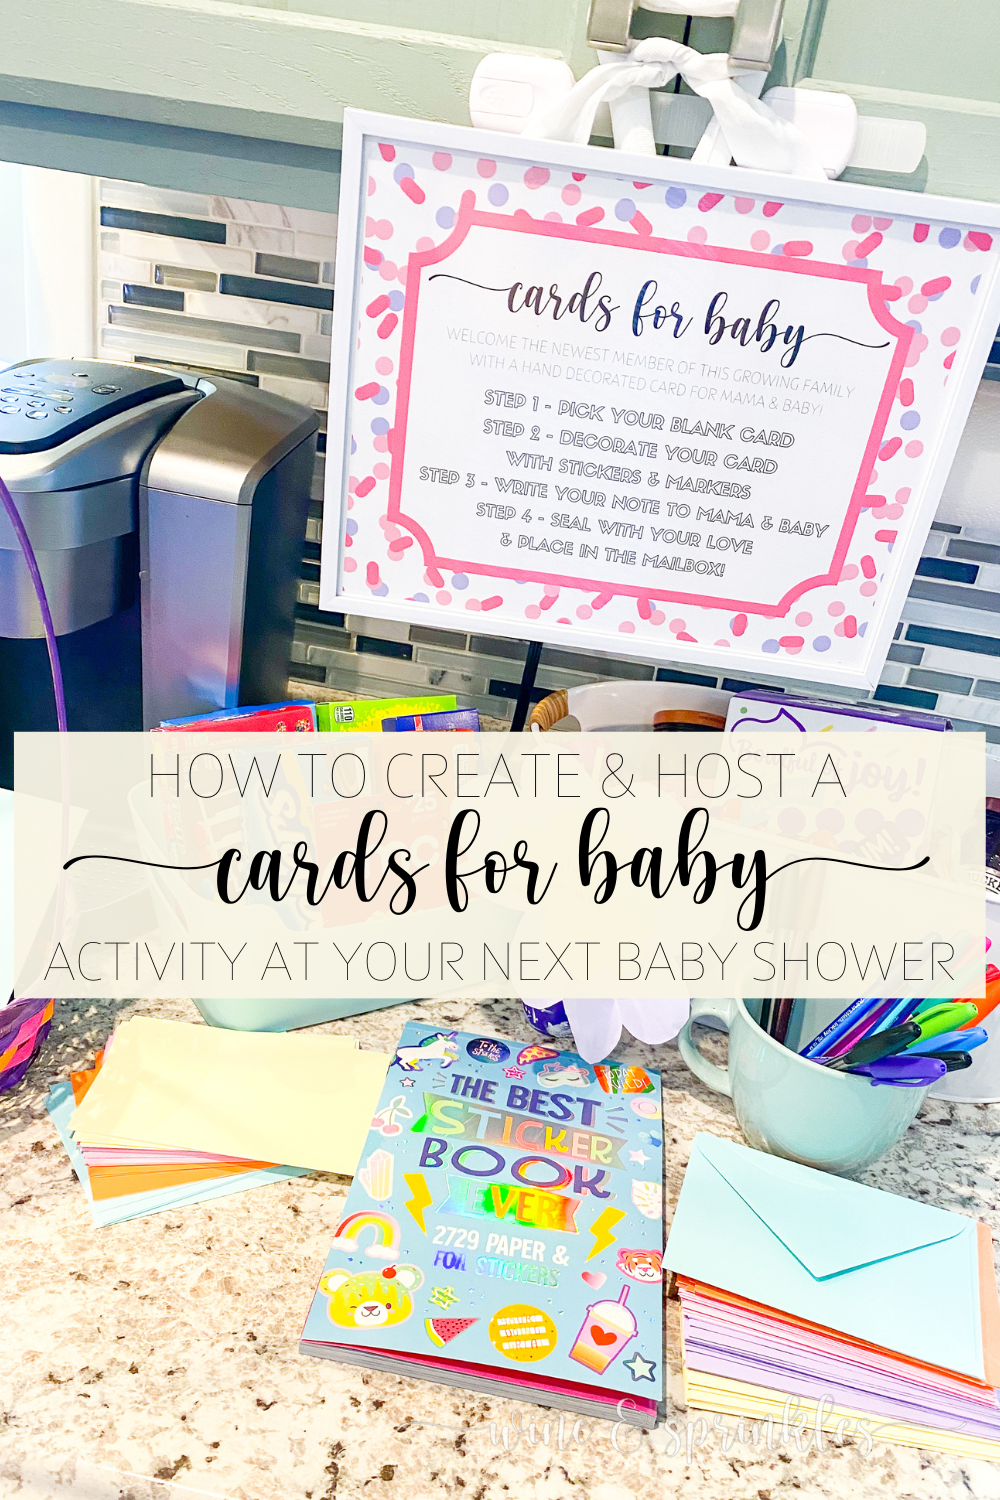
Blank Cards: for guests to use as the base for their card designs. You can either get folded cards or flat cards depending on your preference, the only important thing is that the size of your cards and envelopes match. The stationary set I bought came with an assortment of flat cards, so we made our masterpieces postcard style where one side was decorated and the back of the card displayed the note to the mama and baby.
Envelopes: for guests to seal their finished cards in! My stationary set came with an assortment of these envelopes to go with the cards, but you can always purchase them separately to customize your colors!
Sticker Book: to easily decorate cards. I got an assorted sticker book because I wanted guests to have a bunch of different themes of stickers to choose from, which worked out just like I had planned! As you will see below, the change I made to this party prep and presentation compared to my first card making station was that I cut the stickers out into smaller sheets so that guests could pick a favorite to take with them to decorate, keeping the book together made it less likely people would take stickers.
Pens & Markers: for decorating the fronts of the cards and writing the notes to the future parents and baby!
OTHER SUPPLIES:
Cardstock: for printing out your instruction sign to teach your guests how to make cards at your activity station
Construction Paper: to use as a back mat for your sign if your frame doesn’t cover up the margins of your sign if you are printing from home, like me!
Printer & Ink: to print out your instruction sign.
Picture Frame: for displaying your sign at your card station!
Scissors: to trim around your sign to remove the print border and to cut your sticker book into small sticker packets
Double Sided Tape: to stick your sign to your construction paper mat.
Basket or Mailbox: to collect your guest’s completed cards
SUPPLIES LIST:
[for 1 card station]
CARD MAKING SUPPLIES:
Blank Cards
Envelopes
Sticker Book
Pens & Markers
OTHER SUPPLIES:
Cardstock x 1
Construction Paper x 1
Printer & Ink
Picture Frame x 1
Scissors
Double Sided Tape

PART 1: PARTY PREPERATION
STEP 1: PRINT & FRAME YOUR SIGN

1. Download the printable sign in the pattern of your choice as pdf’s, then print it to the best quality your printer can on cardstock. Using scissors, trim around the outside margin of your sign, removing the unprinted edges on all sides. Using double sided tape, center and stick your trimmed sign onto construction paper in the color of your choice, then secure it in your picture frame.
STEP 2: GATHER MATERIALS & CUT STICKERS

Gather your cards, envelopes, pens and markers; setting aside for party setup. Take your sticker book and, using scissors, cut the sheets into smaller sheets of 4-6 stickers each; rounding sharp edges, then set with the rest of your supplies.


PART 2: PARTY SETUP & HOW TO PLAY
1. Set up your cards for baby activity sign; then, arrange your blank cards, envelopes, pens, markers, and small sticker sheets around it so that guests can easily grab one of each and then take it to a table to decorate. Near the instruction sign, place a mailbox, basket, or other container to collect the finished cards.


As guests arrive, ask them to make a card for the mother and baby to read later, and when guests have finished decorating and sealing up their cards, have them drop them off in the card box for the mom-to-be to read after the shower.
This crafty activity station is sure to be a hit at any shower, and is so easy to make that we gathered all the materials on a quick shopping trip and I just made a themed sign down to put it all together. Give your guests a fun creative activity at your next baby shower or sprinkle, and let them surprise you with their pretty cards and thoughtful notes to the mama and newest little one to join her family!

SEE OUR RELATED POSTS HERE:
OUR PINS FOR THIS POST:
OUR MOST RECENT BLOG POSTS:


