This post contains affiliate links, meaning that if you click on a link I will recieve a small comission. This costs you nothing extra and I only promote products I use and love! You can read our full disclosure here
As you read this post, you’ll notice a lot of bolded words, some that highlight pink and link to other posts and products, and others that don’t do anything. That’s because I am still writing and working on the posts those words go to! As these posts get published, I’ll be updating this post until all the projects are complete! Subscribe to my Newsletter or Follow me on Facebook to keep updated on when I post new content!

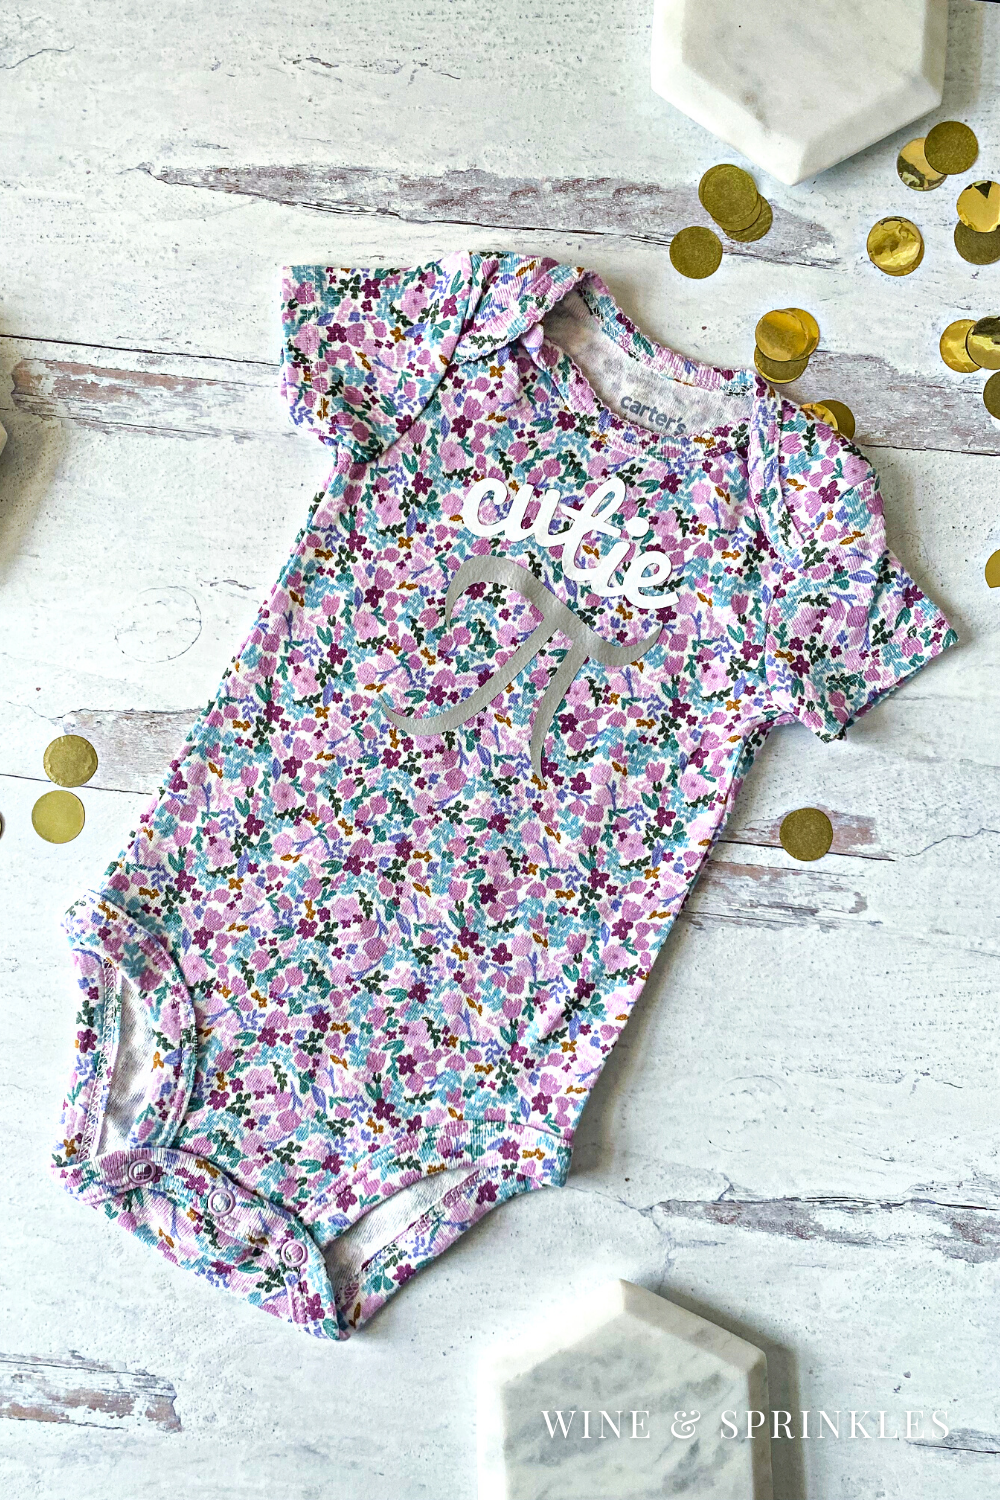
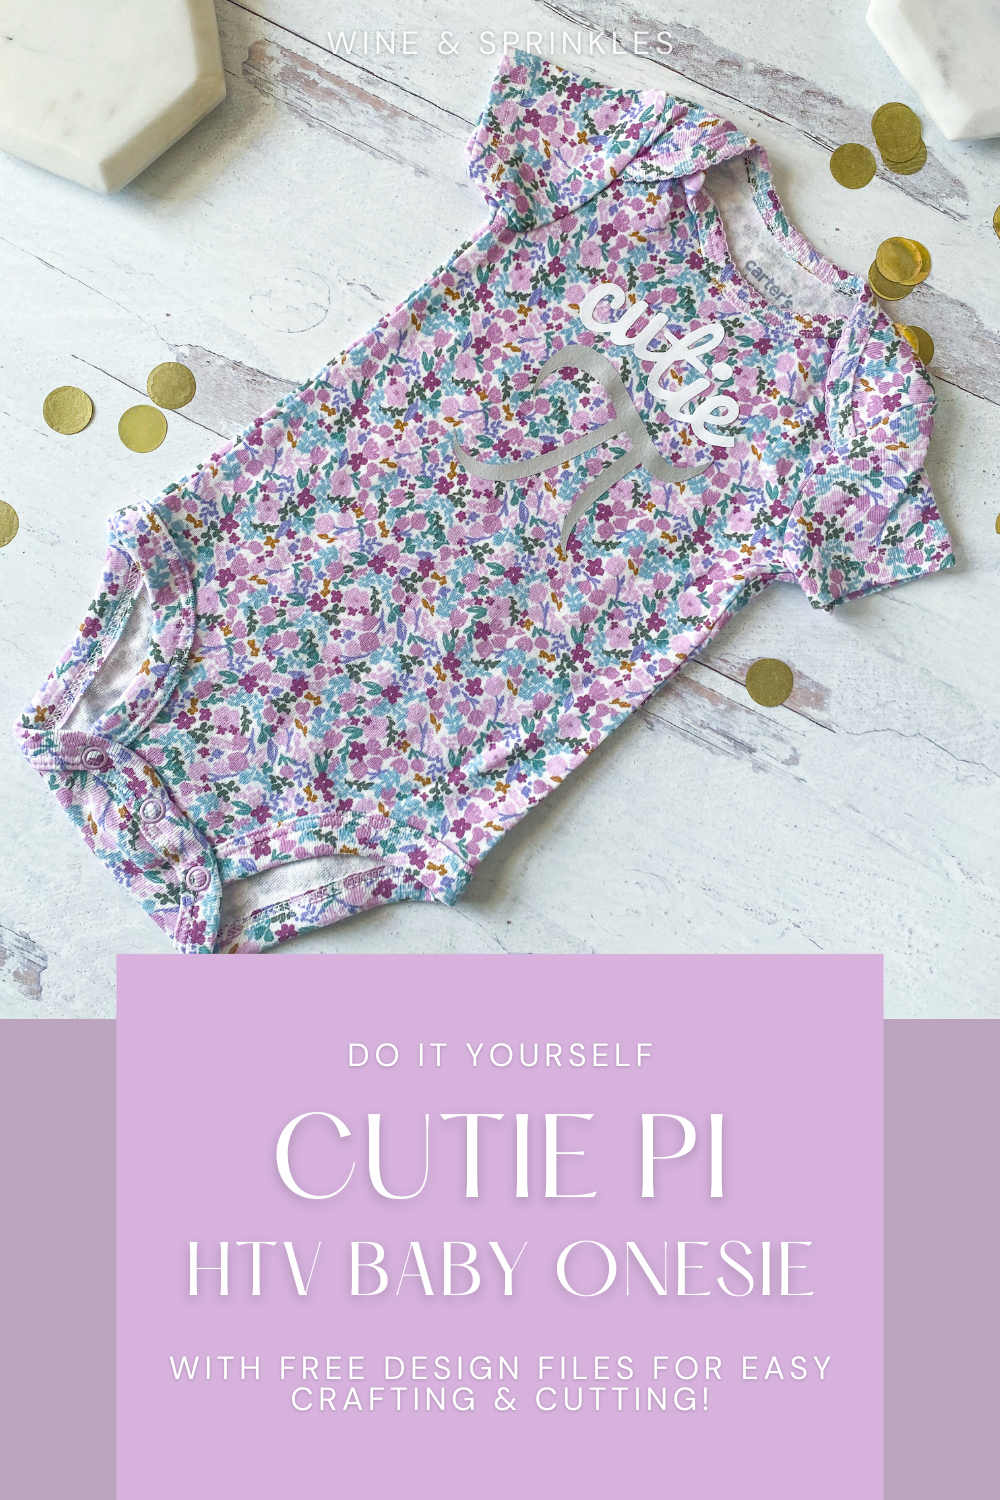
When it comes to easy and adorable HTV Projects, baby clothes have to be one of my favorites! So when I was designing decals for a clothing themed baby gift for one of my out of town friends, it was the perfect time to add to my collection of onesies from the past but with a fun nerdy twist, and thus this Cutie Pi Onesie was born!
While I’ve created a bunch of DIY Baby Onesie Projects in the past, I also wanted to start adding new ones into the mix as I continued making new ones for all my friends and the tiny additions to their families, and being a math nerd myself I couldn’t help but make my next decal an adorable ode to my favorite subject, but I actually revisited a bunch of my favorite older designs to make all the onesies I wanted and updated their pictures too! The result was a bunch of adorable bodysuits to go in my Clothesline Laundry Basket Baby Gift along with some Seasonal Holiday Bibs, Sassy Baby Socks, and a couple Personalized Baby Hats for a mini wardrobe to start any baby closet off right!
Like many of my other HTV Projects, this onesie design is two different colored decals but I varied the charm a little by instead choosing a fun floral patterned onesie to transfer to. I loved it so much that it led to many patterned pressed DIY onesies that now grace some of my older DIY Baby Onesie Projects in their now updated photos; and now I can’t wait to find new cute patterned blanks to dress up with decals now! That being said, I’ll always love Hand Dying Baby Onesies for a pretty palette I can customize to my favorite hues too!

For cutting these and all my different baby clothing decals, I made use of my newest additions to my own crafting arsenal, my Cricut Maker and Heat Press! I’ve had a Cricut Explore for years and adored it, but when it was time to upgrade I’m so glad I went with the Maker! It has so many materials it can cut and mine came with a whole set of materials to use too, very aptly named the Everything Materials Bundle! The Heat Press likewise came with a whole bunch of different HTV’s in its Essentials Materials Bundle so I started by using a bunch of the Everyday HTV in all the baby projects I’ve done since and they are perfect for using up spare bits of HTV with their petite decals.
Below you can view the supplies and process I used for this project, access the design files, and create a cutie pi onesie for your favorite little! For a simple and adorable project, this is a great place to start and is sure to be beloved by nerdy parents everywhere!
SUPPLIES
HTV BLANKS & MATERIALS
Baby Onesie: I found this adorable floral onesie out shopping, and similar to the other onesies I’ve made in the past, it's from one of my favorite clothing brands for babies, Carters! You can use any onesie you wish, but I’ve linked my favorite floral Carter’s find from Amazon, and in general I like to use sizes for 3 mo.+ so that baby stays in them and parents get to enjoy them longer.
Heat Transfer Vinyl (HTV): for making my decals, I went with a simple Silver HTV from the Everyday Iron On Classics Sampler Pack as well as the Everyday Iron On White HTV to create this two toned decal. With so much floral on the onesie, I wanted to keep the decal solid colors and easier to read, but for a white or solid colored onesie, patterned HTV would also be a great choice!
TOOLS & OTHER SUPPLIES
Cricut Heat Press: for transferring your decals to your onesie, you’ll need either a heat press or an iron, but ever since I first tried it, I adored my heat press so much that I can never go back! I love that Cricut gives a Heat Guide so that I always know what temperature and time to heat press my projects, and for when I was mass making these as well as all the other items for my Clothesline Basket Baby Gift, it made my assembly line of decal layering and transferring go quickly and smoothly.
Cricut Craft Cutter: for cutting out HTV decals, my favorite tool is my Cricut craft cutter! I used my new Maker for these projects and like all of the craft cutters I’ve purchased from them, it did a great job at cutting everything easily and accurately, especially now that I can specify unique HTV’s and other materials in the software before cutting.
Standard Grip Mat: to secure your material for cutting, I prefer the standard grip mat for my HTV projects. It keeps everything in place for cutting and easy weeding, but is easy to remove the decal from afterwards.
Heat Press Mat: for protecting the surface you are using to heat press your decals on.
Parchment Paper: to put between your decal backing and your iron or heat press. While not required for the heat press, I like to use it when using multiple colors of HTV so I don’t have to be paranoid about the backing melting or the already transferred HTV getting damaged, and from having used an iron for many years to transfer HTV, old habits die hard!
Weeding & Transfer Toolset: for weeding away excess HTV and prepping decals to transfer to your onesie.
DESIGN TEMPLATES & FILES
Cutie Pi Design File: to make it easy to cut out these decals without having to upload files, I’ve created the project in the Cricut Design software with a shareable link for all of you! I’ll teach you how to use it to cut your own decals in the tutorial below, and as a straightforward way for me to share my cuttable creations, you’ll be seeing the majority of my future Cricut Designs done this way.
SUPPLIES LIST:
[for 1 onesie]
HTV BLANKS & MATERIALS
Baby Onesie x 1
Heat Transfer Vinyl (HTV) x 2 -(2” x 4” for cutie and 3” x 4” for pi)
TOOLS & OTHER SUPPLIES
Cricut Heat Press
Cricut Craft Cutter
Standard Grip Mat
Heat Press Mat
Parchment Paper
Weeding & Transfer Toolset
DESIGN TEMPLATES & FILES
Cutie Pi Design File

DIRECTIONS
STEP 1: ACCESS DESIGN & CUT DECALS
Start by opening the design file by clicking the link here, in the supplies list, or the button below. This will send you to the Cricut Design Software, where the two toned onesie design is sized to the one I was using, about 3.5” x 4.5”. In general, I always try to keep any of my baby onesie designs around this size, which I find fits most sizes best! If you want to cut them exactly like mine are, select “Make it” and it will take you to the cut screens, but if you need to customize it or make multiples, select “Customize” to open it as a design file that you can manipulate.

If you need to resize these, use the padlock on the upper toolbar to change it to whatever size you wish, then copy and paste to make as many decals as you want to cut. You’ll notice that this design is two toned, so it will divide the design between two separate mats automatically to cut two different colored pieces of HTV. You can keep it like this and cut them individually, or since it's a small decal, make it all the same color on this screen then move the separate design pieces in the pre cutting phase to separate locations on your mat with different colors of HTV attached to it.


Select “Make it” in the upper right of the screen to cut out your decals. Cut out on mirror mode with the material set from the options given, in my case Everyday Iron On HTV, with HTV shiny side down.
STEP 2: WEED & TRANSFER DECALS
Remove the mat from your cutter, keeping the material attached to make weeding easier. Weed away the excess HTV, then cut away the excess backing so each decal is separated to transfer to your onesie. Now it's time to press the design!

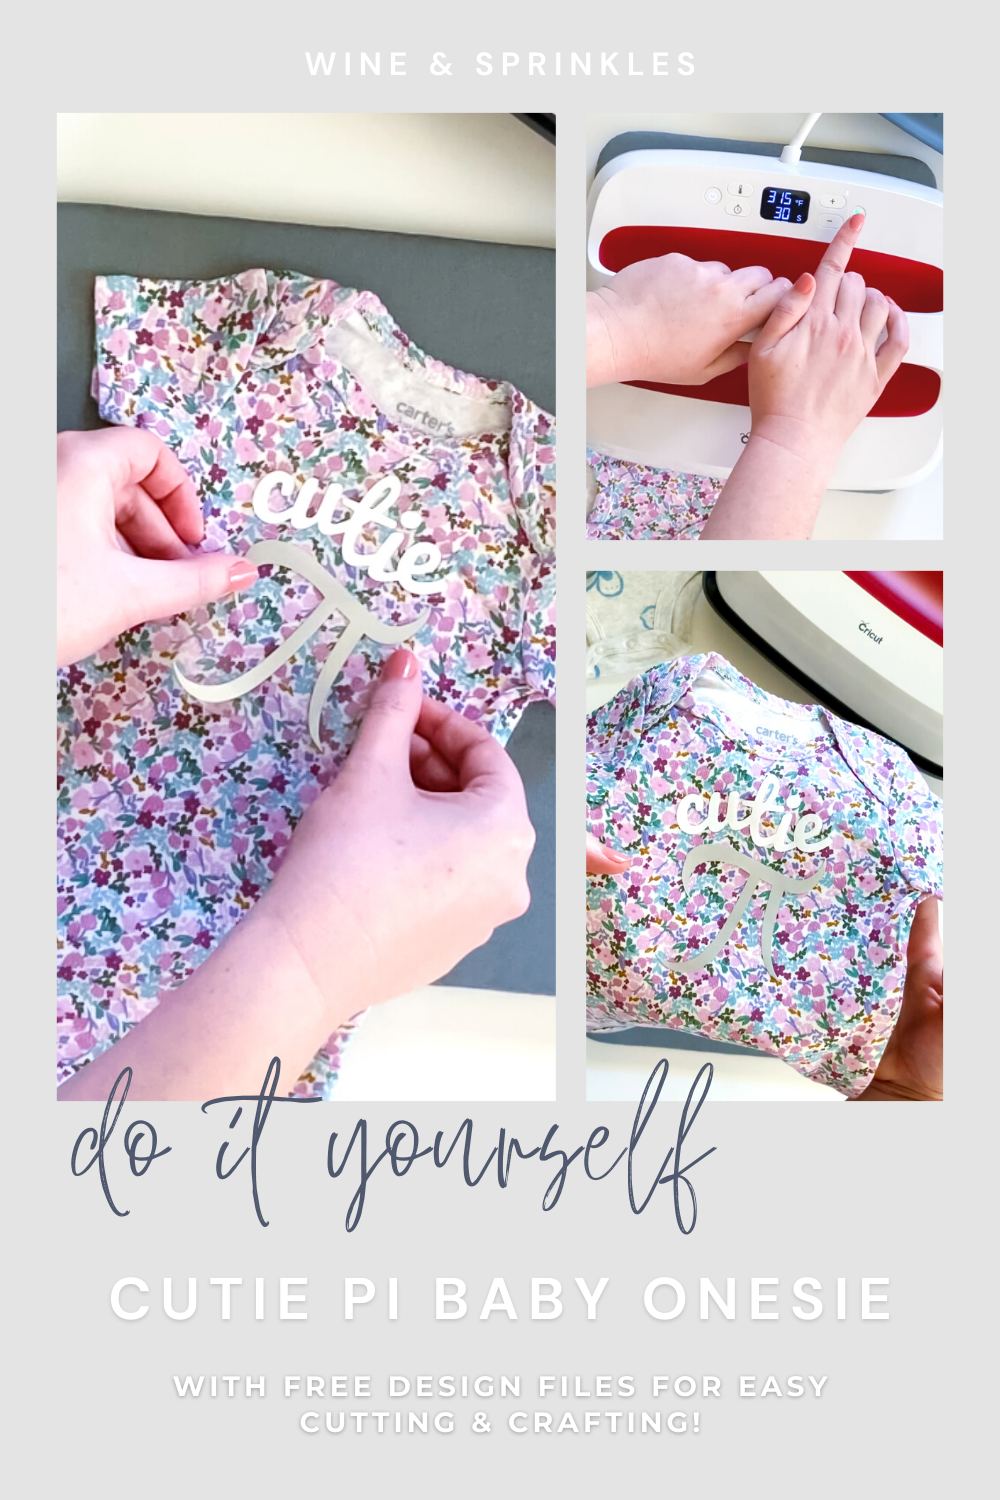
Start by preheating your heat press to the right temperature based on the onesie and HTV you are using, which can be found by using the Cricut Heat Guide. Change the temperature by pressing the thermometer button until the temperature on the screen blinks, then use the arrows to the right of the screen to change the temperature to what you wish. You can likewise do this for the timer by pressing the watch icon button and, once the timer is blinking, change it with the same arrows. Keep your heat press in its stand while it's preheating and anytime it's hot and you aren’t pressing something to keep you and your work surface safe! For my cotton onesie with Everyday HTV, pressed on the heat press mat, my press was set to 315℉ for 30 seconds.
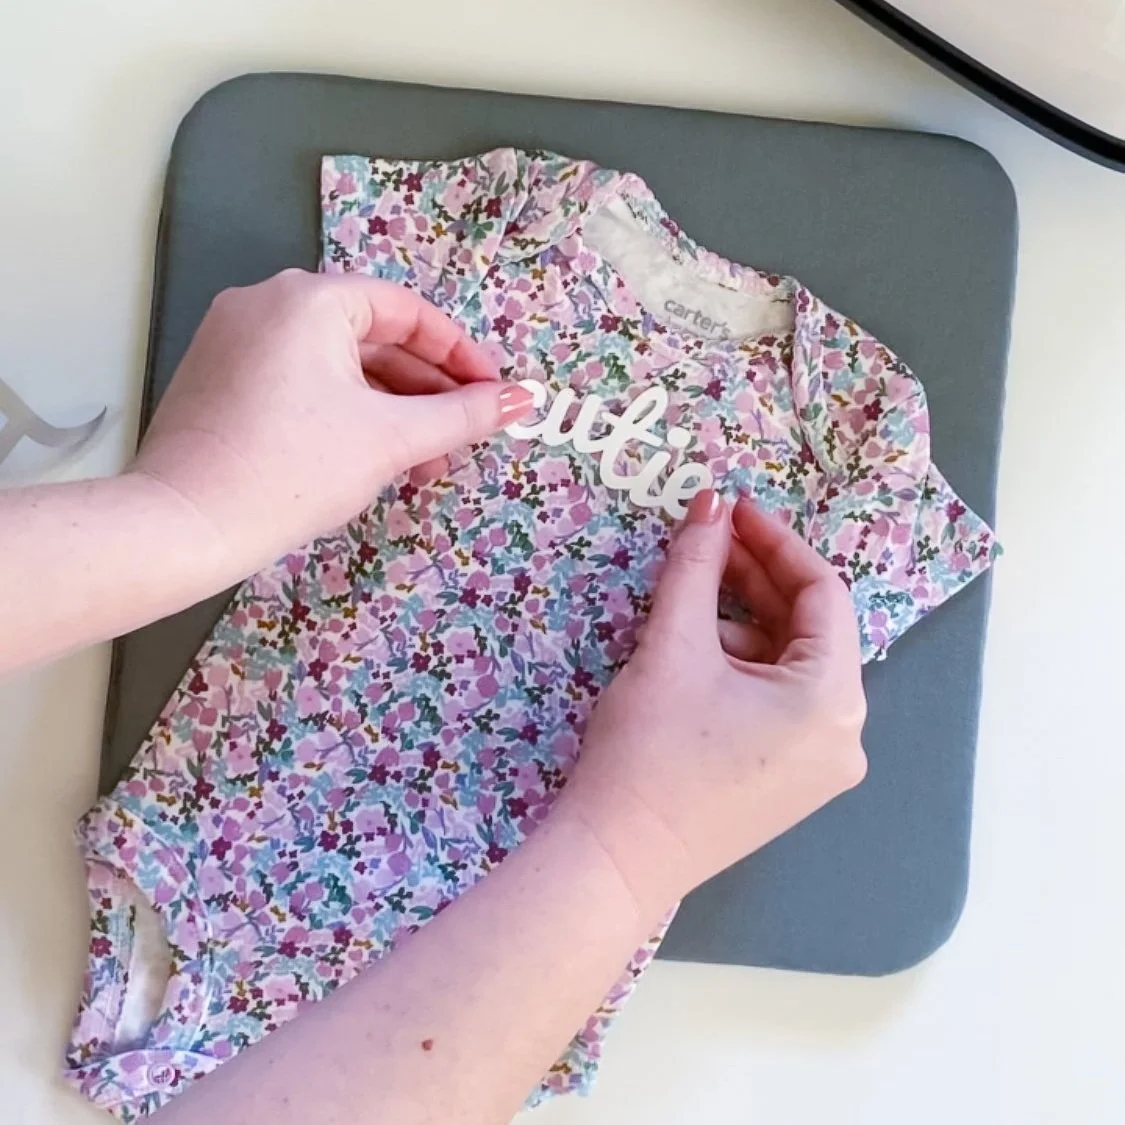

Once your press is preheated, place your onesie centered on the heat mat, then press it for 5 seconds to preheat the material. Place the first layer of the design, the “cutie” decal, centered just under the neck hole of the onesie as shown. Next, arrange the pi decal under it as shown, making sure that the backings and HTV don’t overlap, then cover with parchment paper.


Using firm pressure, press the decals into the onesie with your heat press, using the timer by pressing the Cricut symbol button, then remove the press when the timer runs out. Once the backing is cool enough to touch, carefully remove the back of each of the decals on the onesie. Repeat this process for all of the onesies you are crafting, then you’re done!


For other adorable decals to build your own DIY baby wardrobe, you can see all the Baby Onesie Projects I’ve made so far here, then pick your favorites and start pressing!
SEE OUR RELATED POSTS HERE:
OUR MOST RECENT BLOG POSTS:


OUR PINS FOR THIS POST: