This post contains affiliate links, meaning that if you click on a link I will recieve a small comission. This costs you nothing extra and I only promote products I use and love! You can read our full disclosure here

So many weddings these days come with the cutest guest books, gone are the days of just a book and pen! My husband and I had people sign the mat of a picture frame, but I’ve seen puzzle pieces, messages in a bottle, and photobooks used as other great guest book alternatives! One thing you should think about with these guest books is to make sure your guests know they are supposed to sign it. With that in mind, I designed this lovely little Guestbook sign for the gold rustic wedding I have been DIYing for.
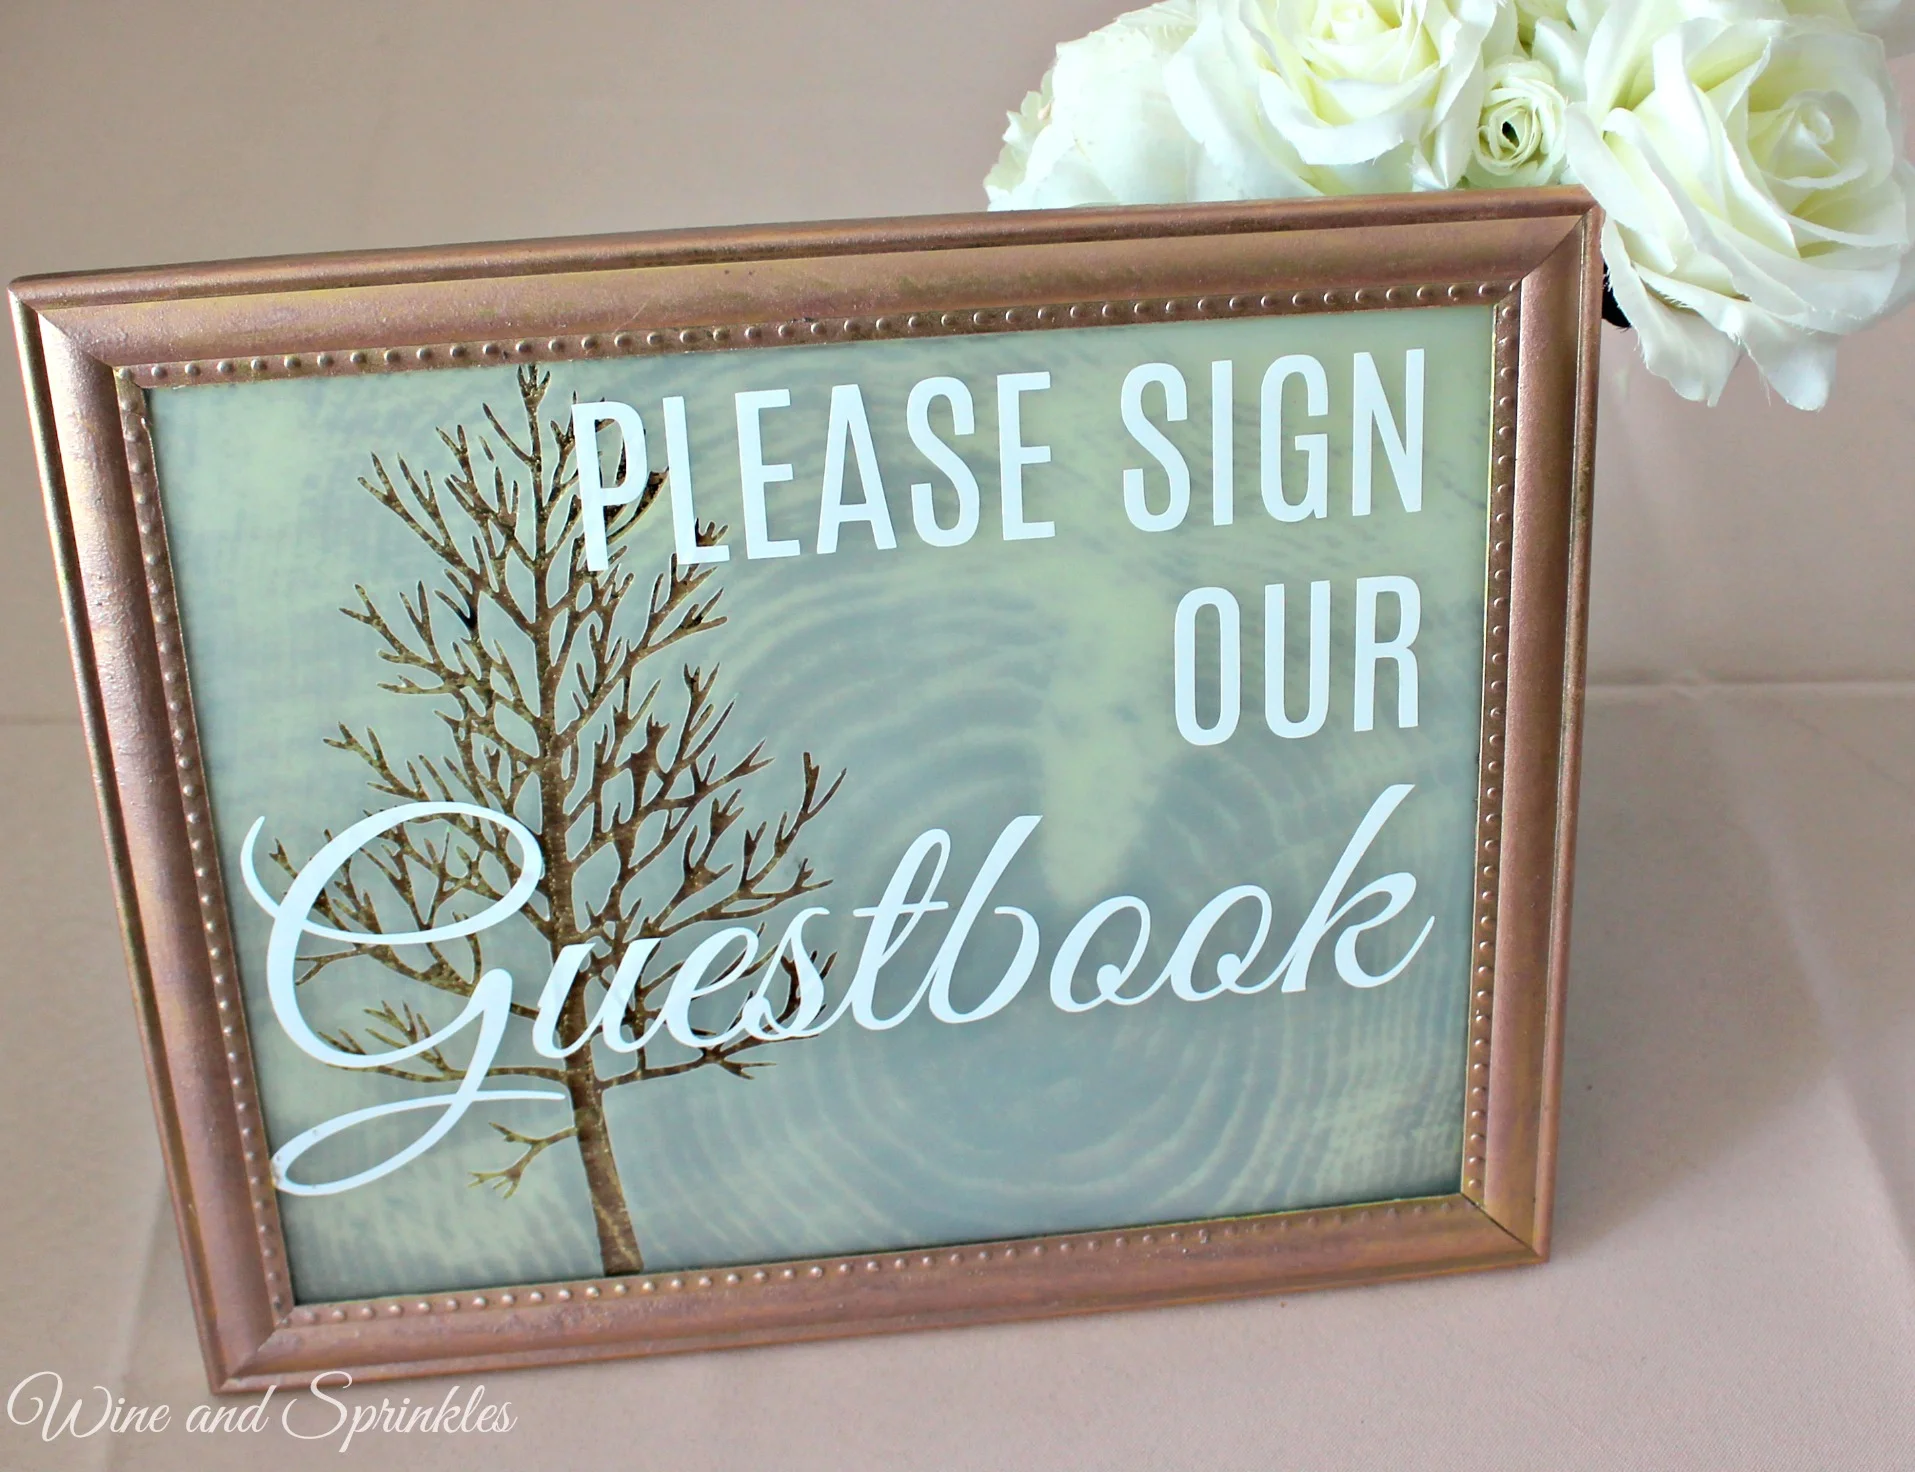
This is similar to the DIY Wedding Frames I did previously, but with just a little extra detail of the tree with the frosted glass to give a special touch to this sign. Originally I was going to do this with a mirror, but the silvery finish of the mirror and the gold made it look too Christmassy as opposed to wedding. However, if silver is one of your metallics, doing this project with a mirror instead of a frame would look beautiful!
Supplies:
Picture Frame (I used an 8” x 10” picture frame)
Removable Vinyl
White Vinyl
Scrapbook Paper
Frosted Glass Paint
Craft Cutter and Tool Set
Adhesive Mat
Sign our Guestbook Cut File
1. Like the DIY Wedding Frames, trace and cutout the correct size of paper based on your frame and mount in your frame.

2. Cut out your Tree or other design with the Cricut. I found a free piece of clipart for mine. Use removable vinyl and measure your glass to ensure that you make it the right size. Using transfer paper, affix your design onto your frame.


3. Remove the glass from your frame or, if like mine your frame and glass are one piece, cover the frame with painter’s tape. Using your frosted glass paint, cover your picture frame or glass with 2 to 3 coats of paint, waiting between coats for the paint to dry.

4. Once the paint is dry, remove your vinyl tree design. Depending on how think your paint layer is, it is helpful to use the hook tool that comes with the Cricut or a toothpick to lift some of the skinnier branches while not pulling up the paint as well.


5. Now, cut out the “Sign our Guestbook” Lettering with your craft cutter similar to the DIY Wedding Frames, but size the file based on the height and width of the frame you chose.

6. Cut out the design, weed the excess vinyl and transfer it to the front of your frame with transfer paper and you are done!

I love that the frosted glass still shows the tree slab design on the paper and the actual tree design gives a little extra dimension to the whole sign. At the end of mine, I actually painted the frame a more champagne gold to go with the others I had made and it turned out perfect! What other wedding signs would you make for your wedding? :)