This post contains affiliate links, meaning that if you click on a link I will recieve a small comission. This costs you nothing extra and I only promote products I use and love! You can read our full disclosure here
One of my favorite things about planning DIY Parties and my Cricut is that it makes it so easy to make custom decorations for your theme that guests are always impressed by! Here we are starting with something simple, designing your own quote cutouts using your Cricut!
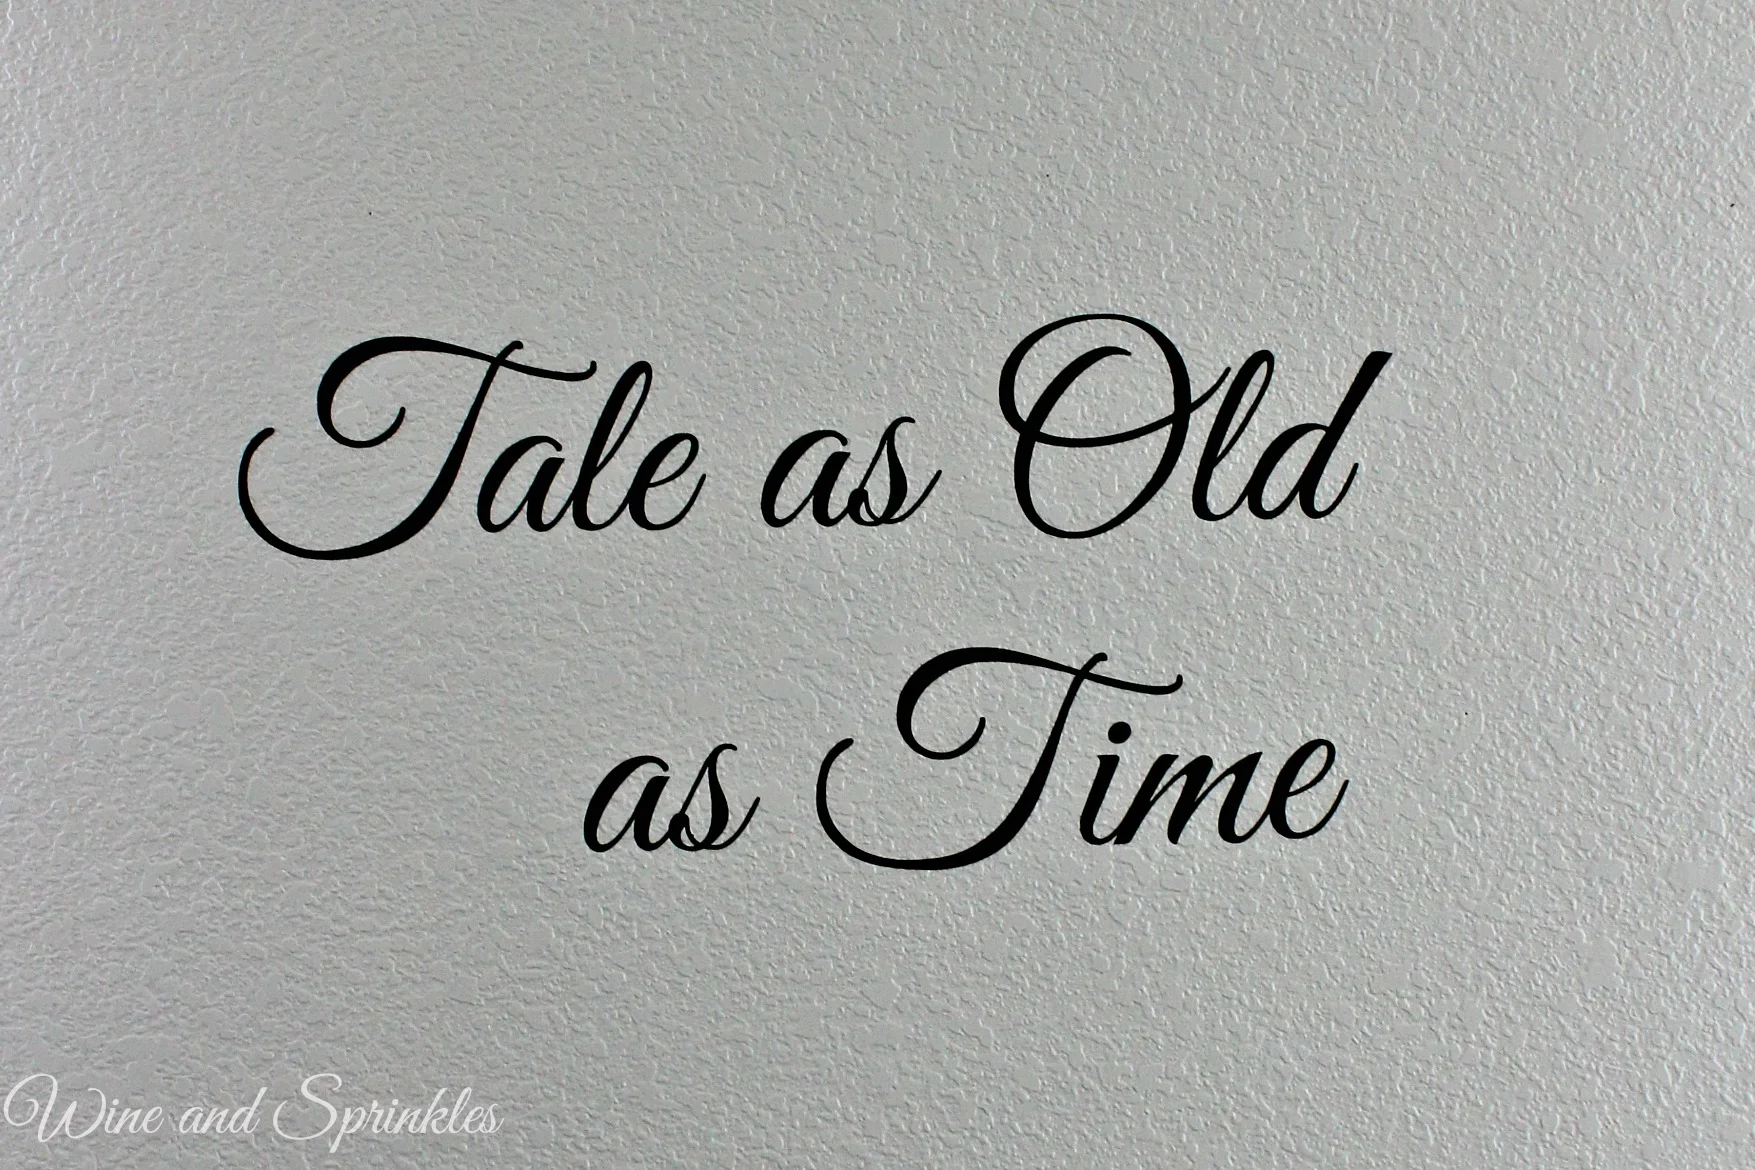
For the Beauty and the Beast Theme, I went with movie quotes that worked well with what I was designing, mainly the Tea Bar, Teacup and Tea Favors, Food, and Guestbook.
For this project I would highly recommend getting a larger 12” x 24” mat, it makes it so much easier to design and cut your quotes!
Supplies:
Black Adhesive Vinyl Roll
Craft Cutter and Tool Set
Adhesive Mat
1. To start, you need to make your text into a picture. I have done some text cuts in the Cricut software but it doesn’t work as well for the cursive style texts as well. When I need to make such pictures, I use PicMonkey. You can use the free version for this font with no issues! Go to picmonkey.com and select the Design Tab on the Top. Don’t pick any of the suboptions and it should take you to a blank square to start.

2. For Canvas Color, select the “Transparent Canvas” Box and Apply.

3. Now, resize the background to 2000 x 1000 pixels. Go to the Resize tab, uncheck the “Keep Proportions” Option, then enter your number and click Apply.

4. Now you can insert the text of your choice! Select the Button the text button (Tt), Select the Font you want (I used Great Vibes for my text), then click add text

5. A small text box will appear on your canvas. Type in whatever text you want, then using the text options or by manually dragging the box, change the size of the text to fit your background. You can also change colors and other text properties here but there is no need for this project.

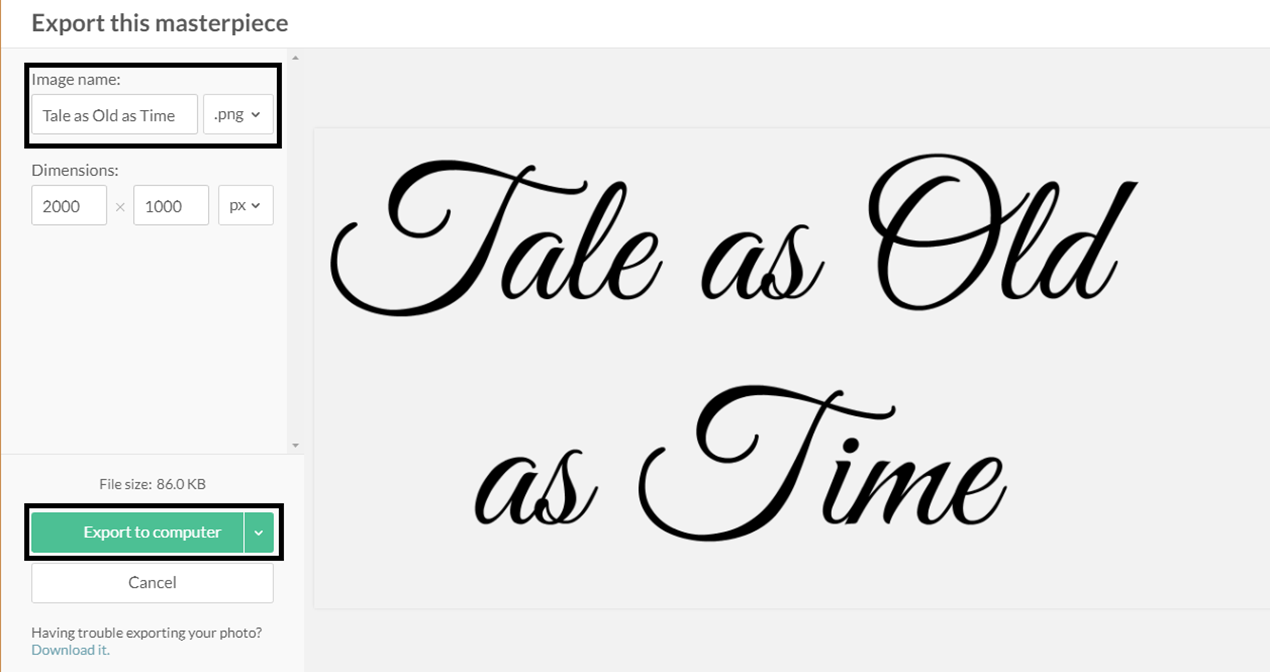
6. Save the design as a picture by selecting “Export” on the upper options bar, naming the file, then export to computer.
7. Now, Import the Picture into the Cricut Software. Follow the tutorial for the Bride Tribe Tumblers if you need help importing the photo to the software.
8. Size the Picture to be 11.5” tall. Confirm that the width is no longer that 23.5”. Cut out the image on removable vinyl with the large cutting mat.

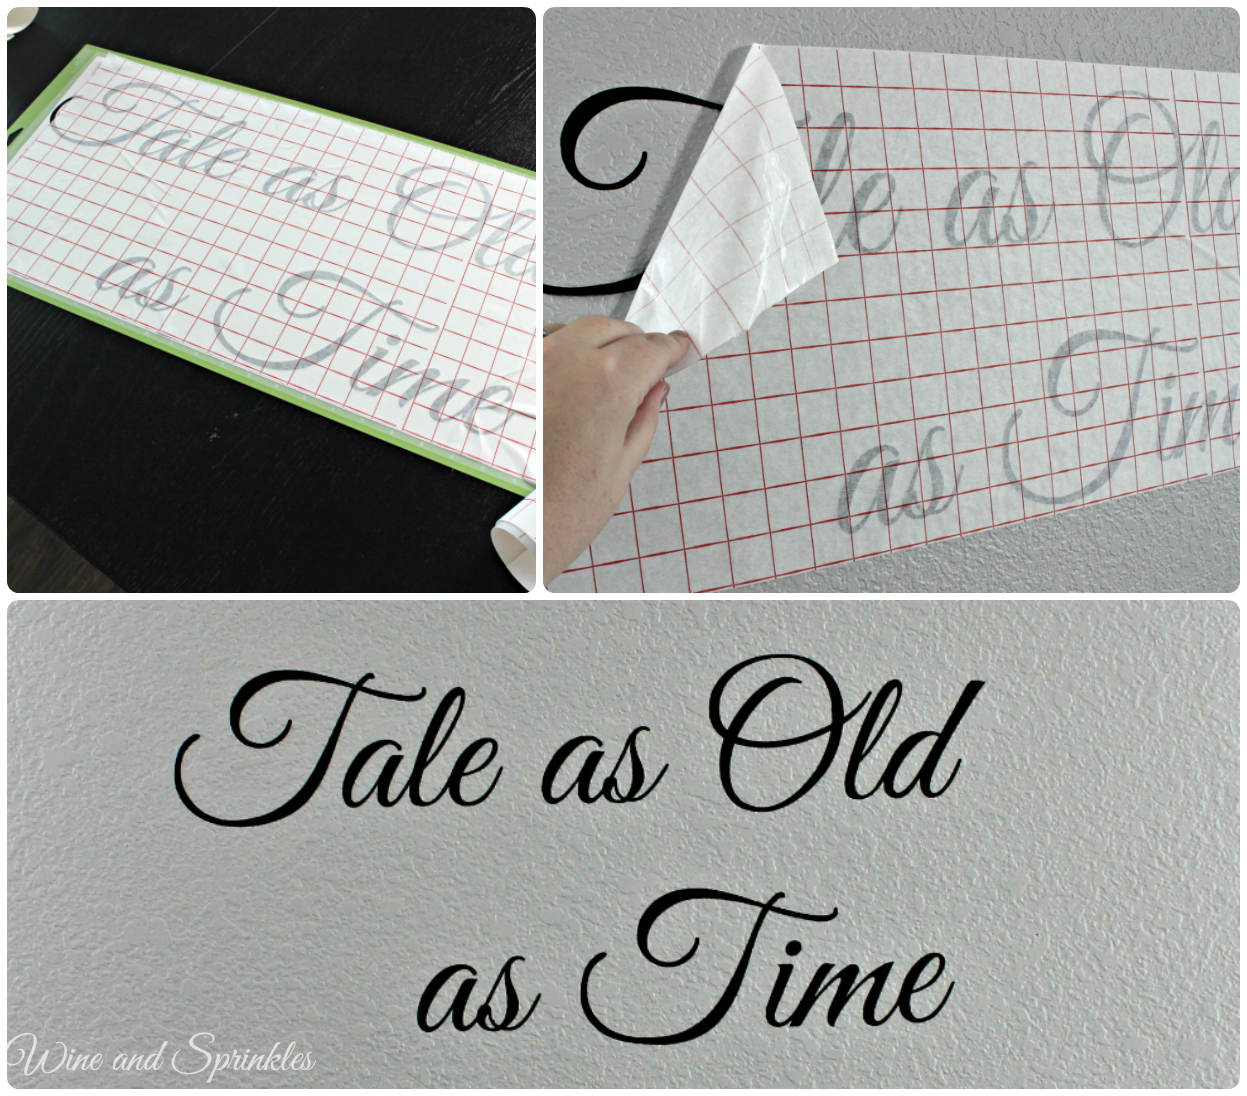
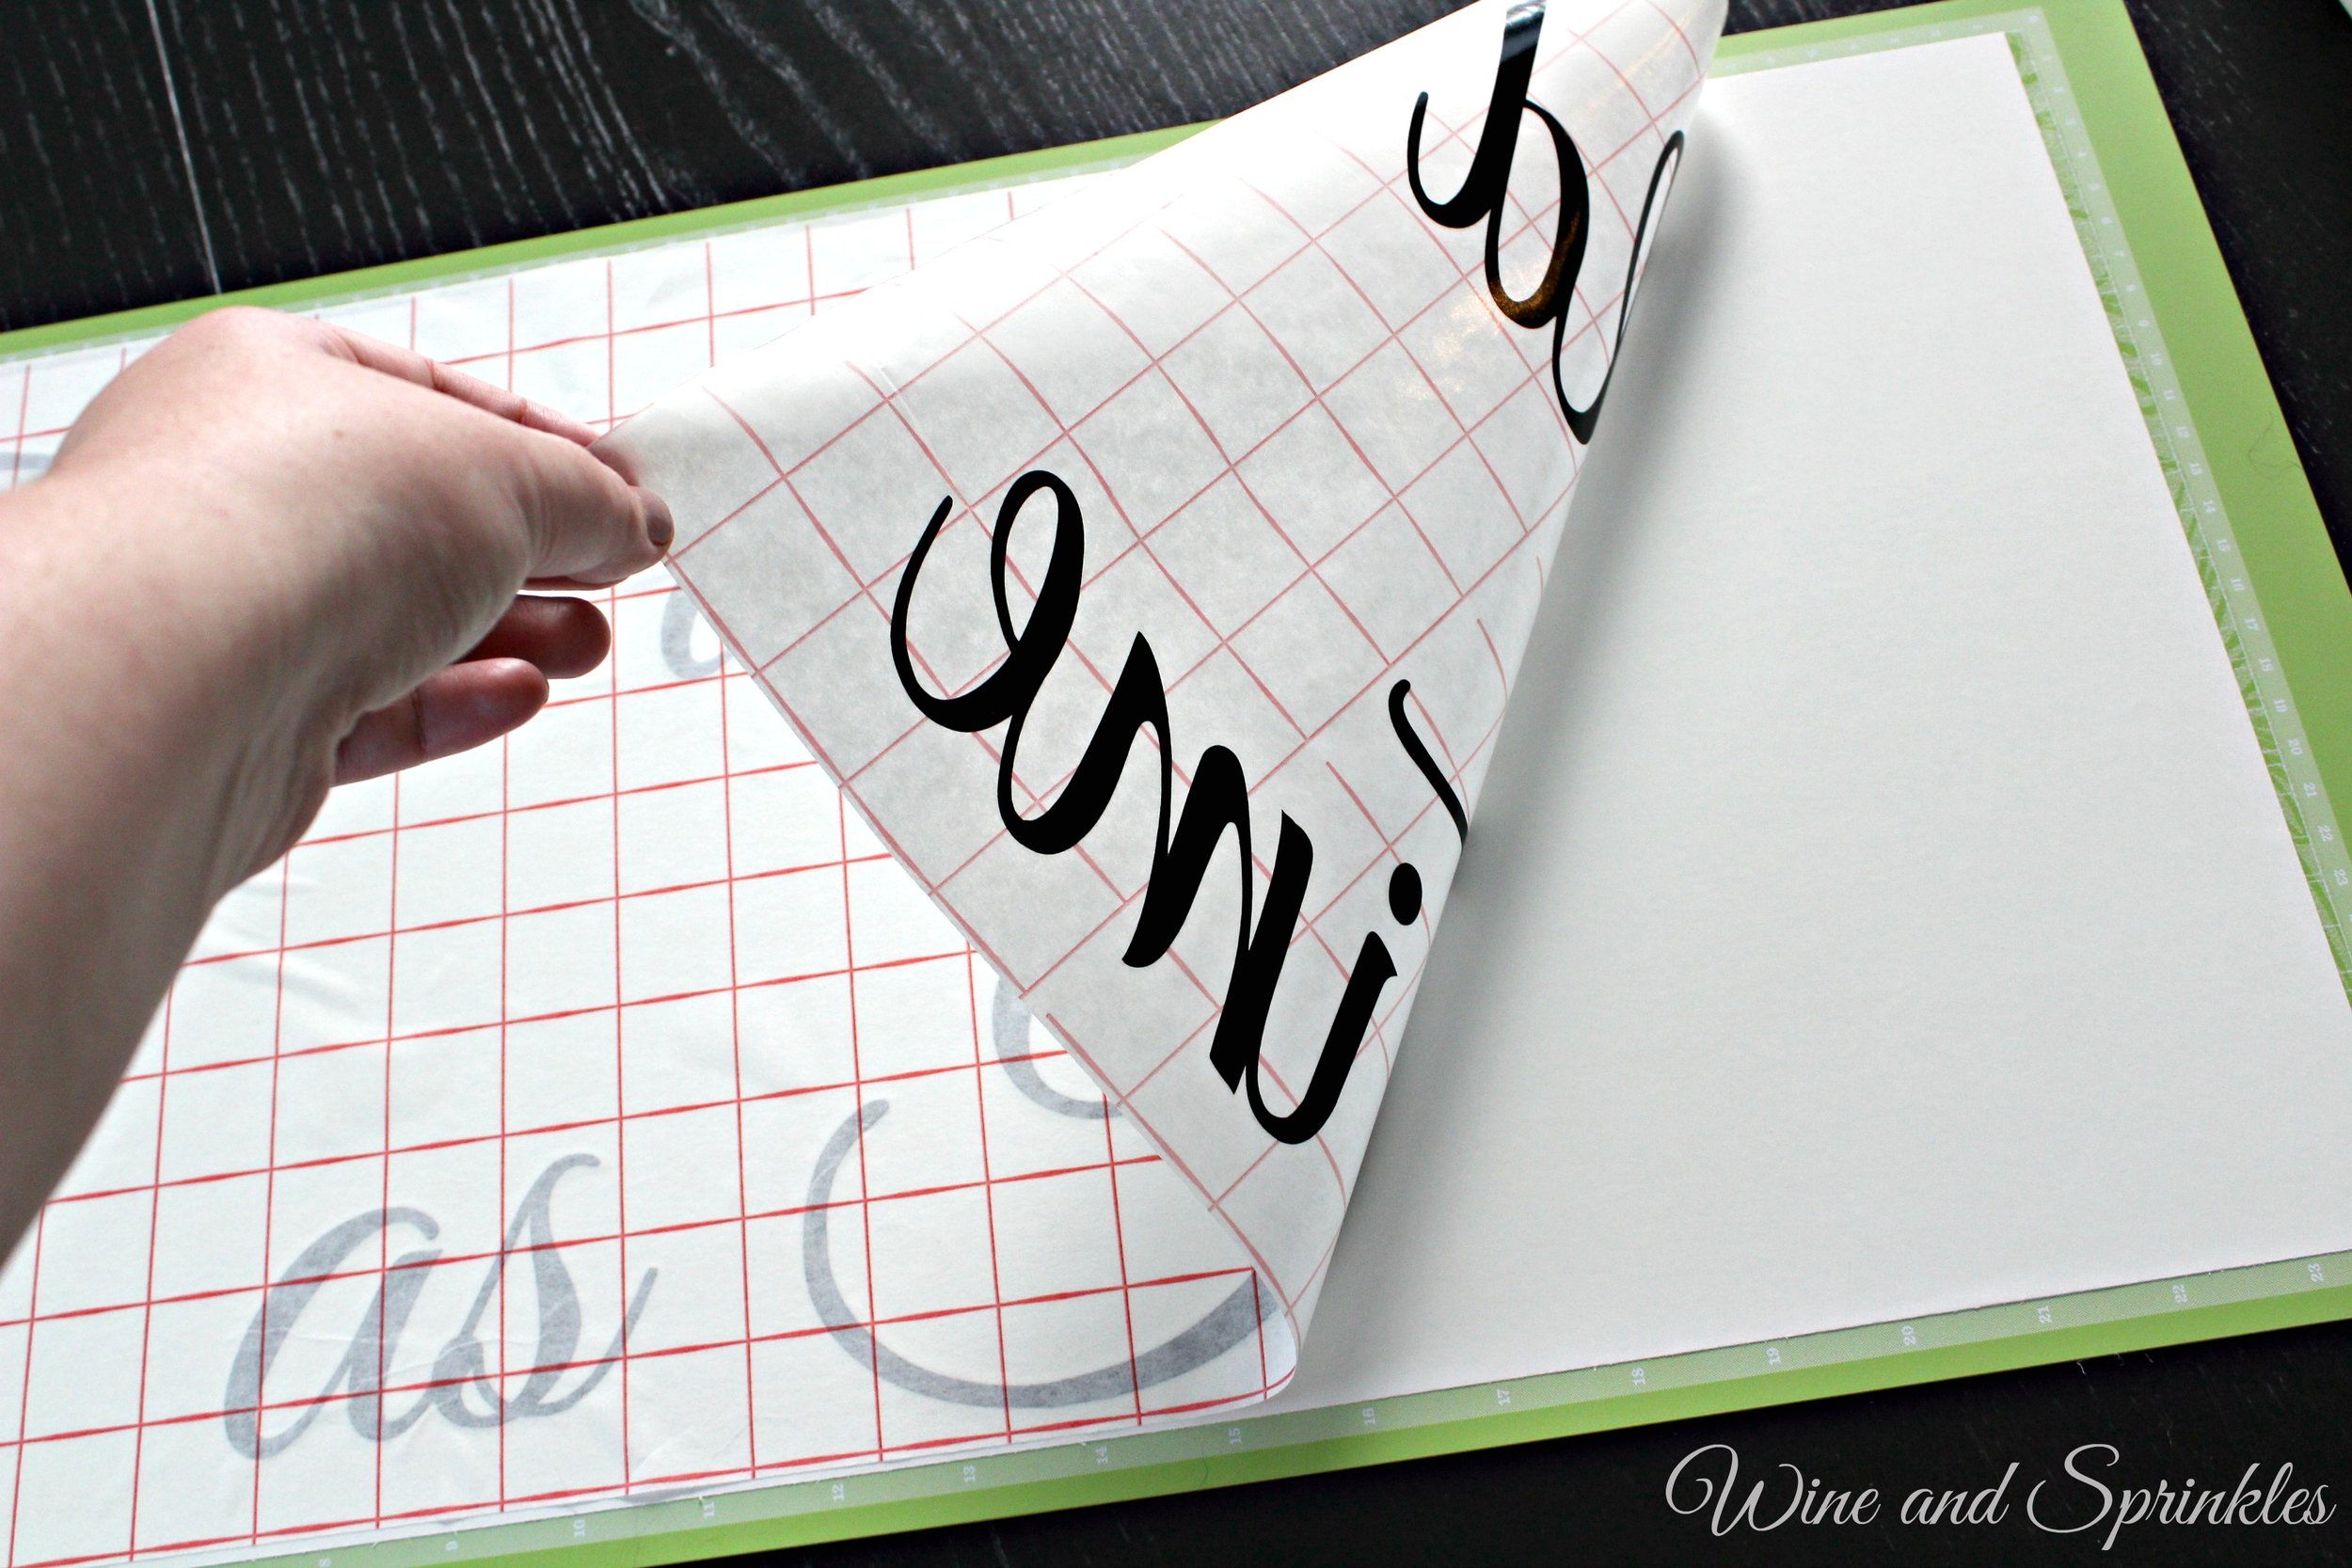
9. Remove all the excess vinyl from the image and cover with contact paper. Smooth the contact paper to adhere the design and remove any air bubbles.

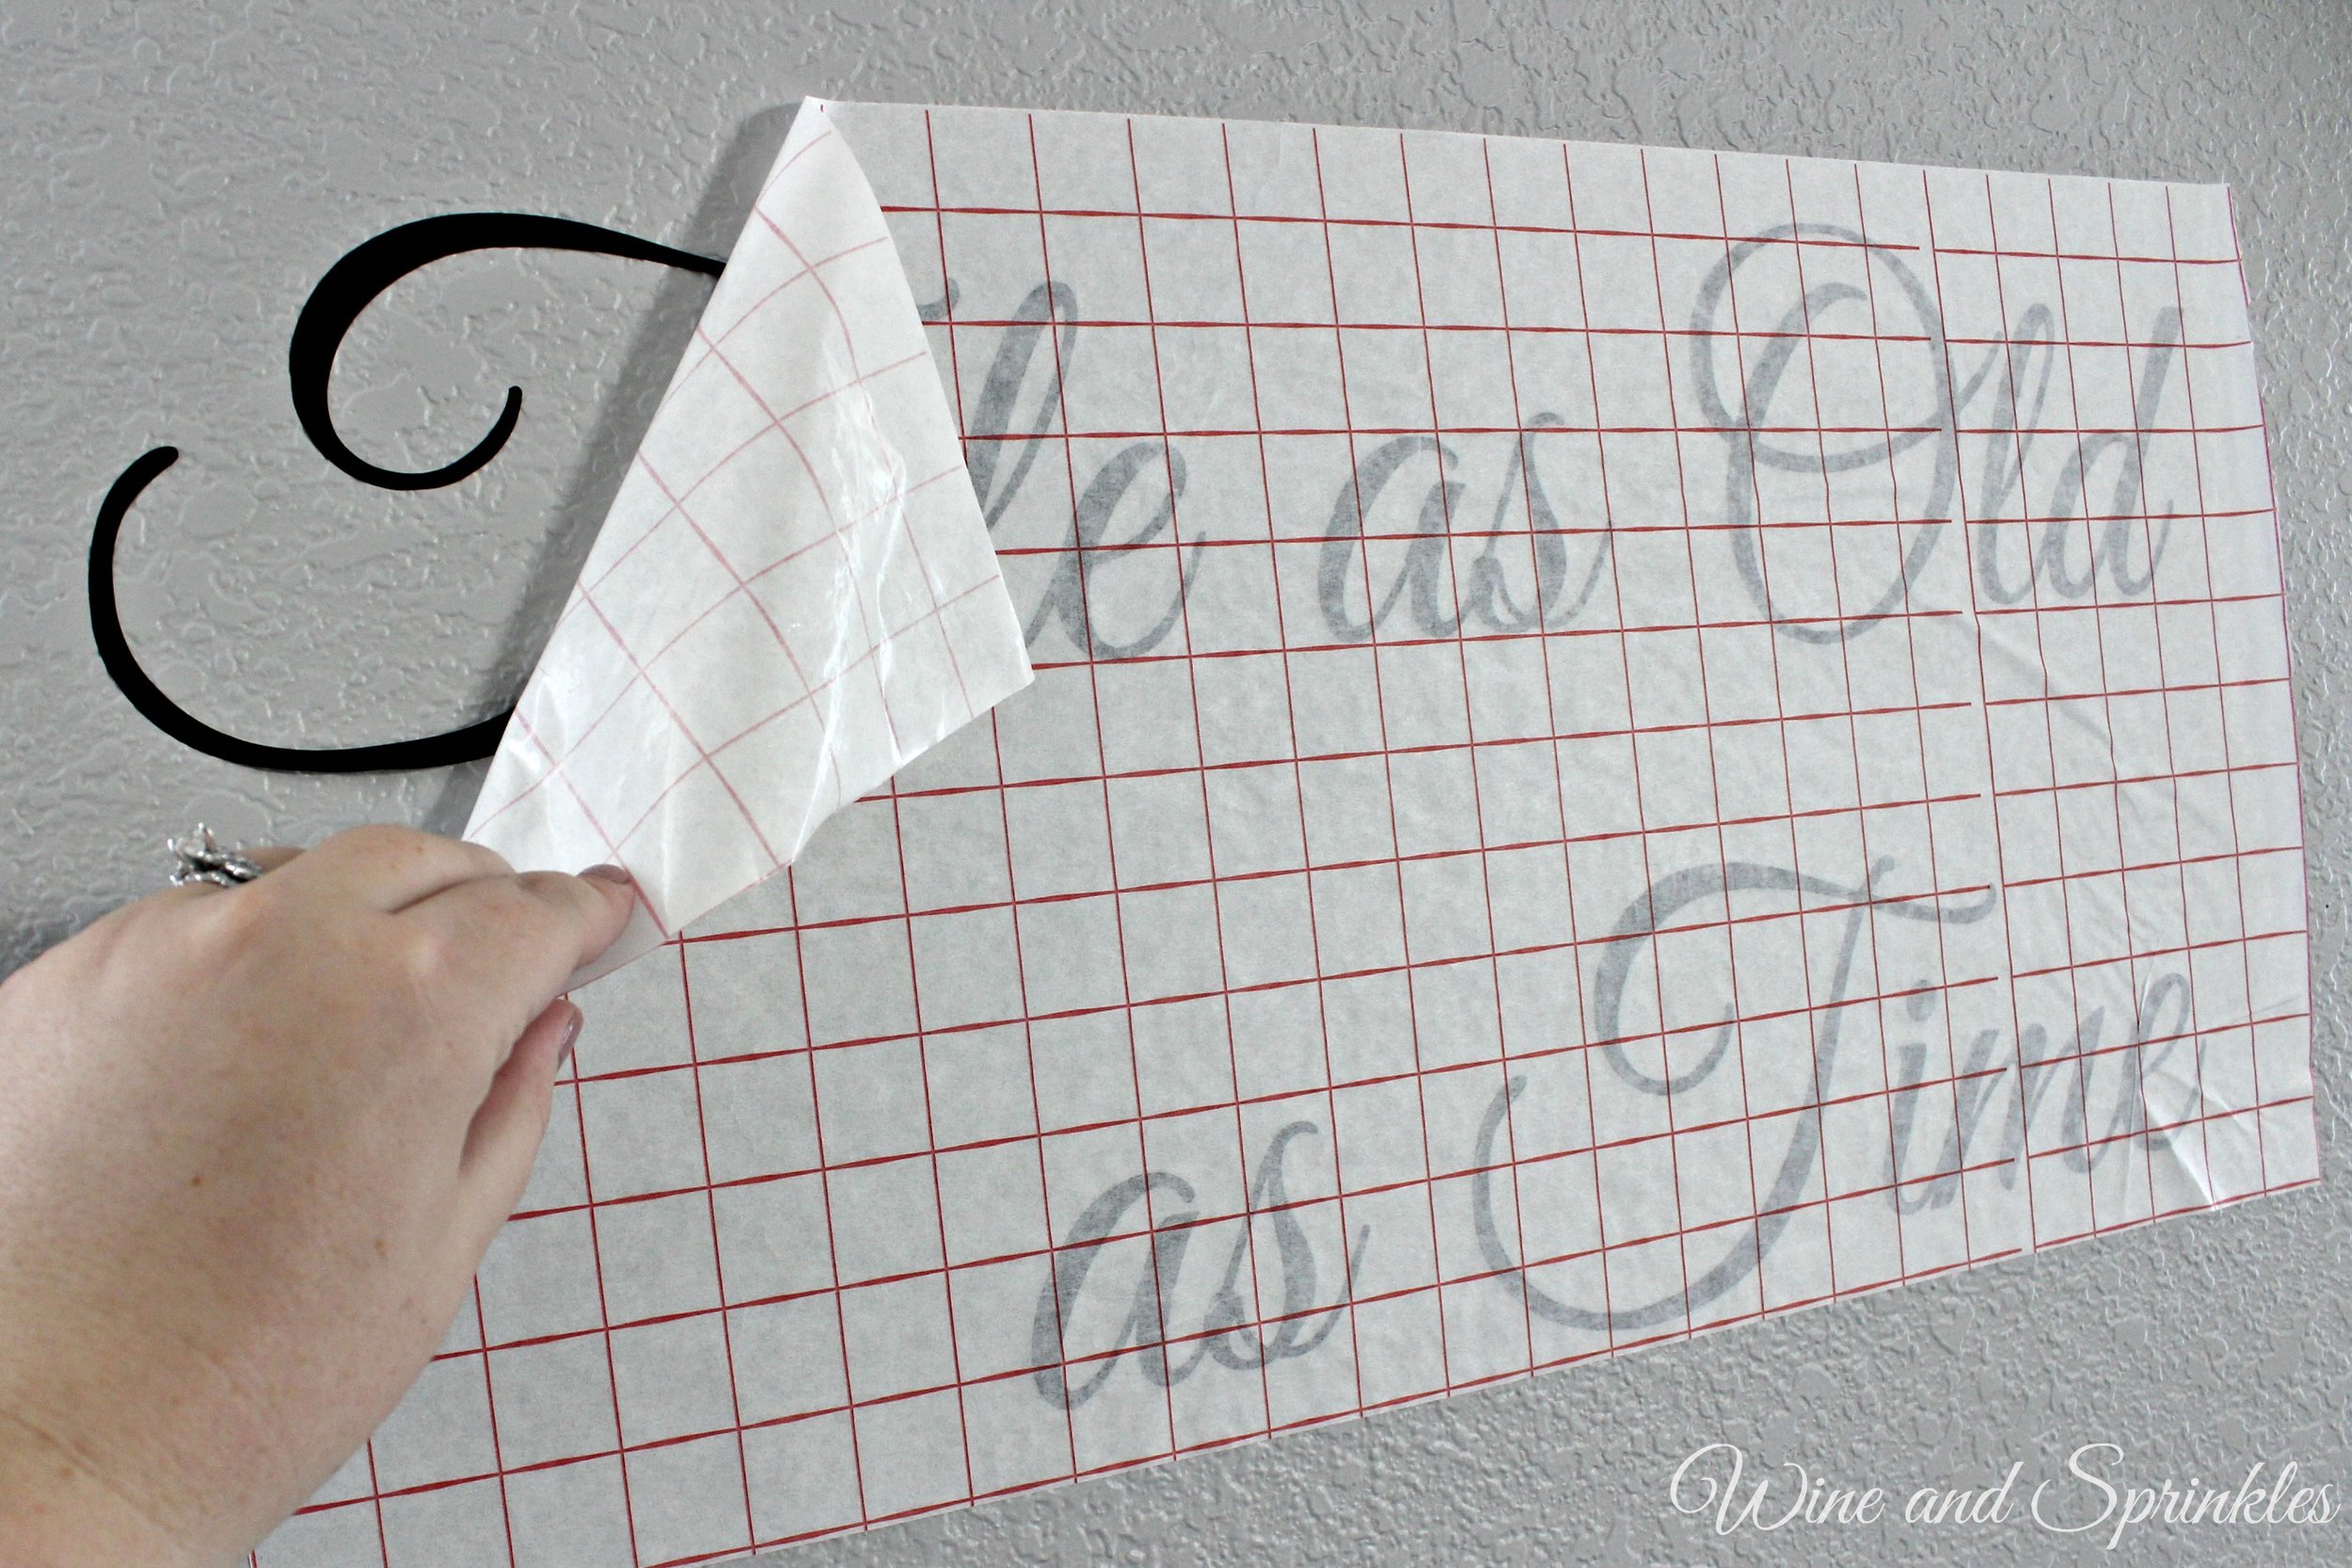
10. Stick to the wall! Clean the wall beforehand; then arrange where you want your design and smooth the contact paper onto the wall.
11. Smooth out any air bubbles again and slowly remove the contact paper. My contact paper did a really good job of sticking to the design and not as good of a job unsticking it, so smooth the letters as you remove the contact paper to fully stick them to your wall.
As you can see, you can easily make any words you like in a myriad of fonts once you get the basics down! What quotes would you put on your wall? :)