Bridesmaid Proposal Misc.

Be my Bridesmaid Macaron Box Bridesmaid Proposal Boxes

This post contains affiliate links, meaning that if you click on a link I will recieve a small comission. This costs you nothing extra and I only promote products I use and love! You can read our full disclosure here

Be my Bridesmaid Macaron Box DIY Bridesmaid Proposal #svgfiles #diywedding  #bridesmaidproposal

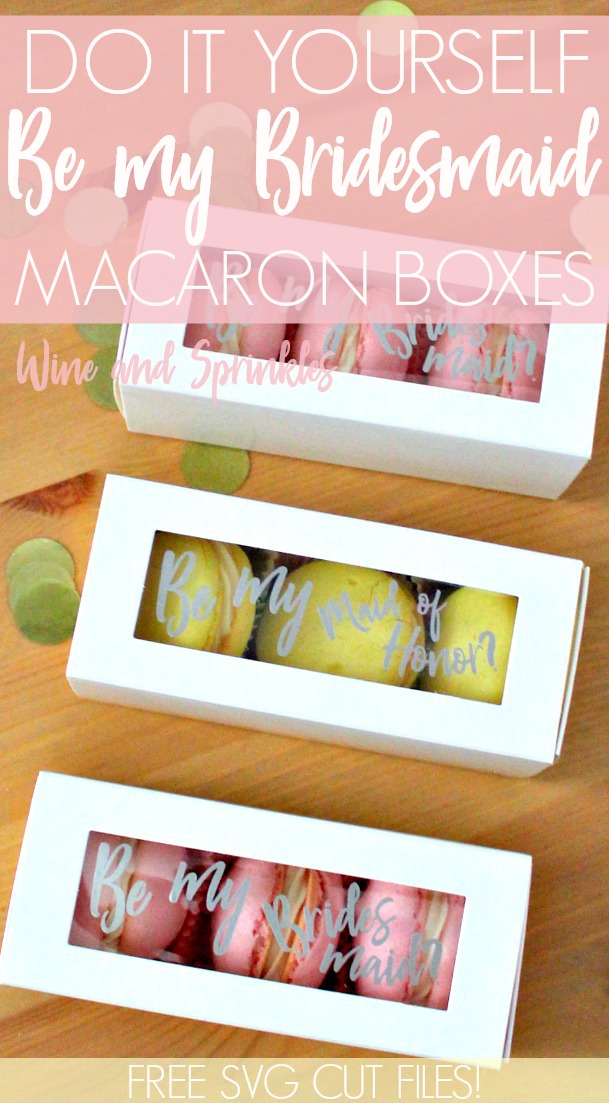
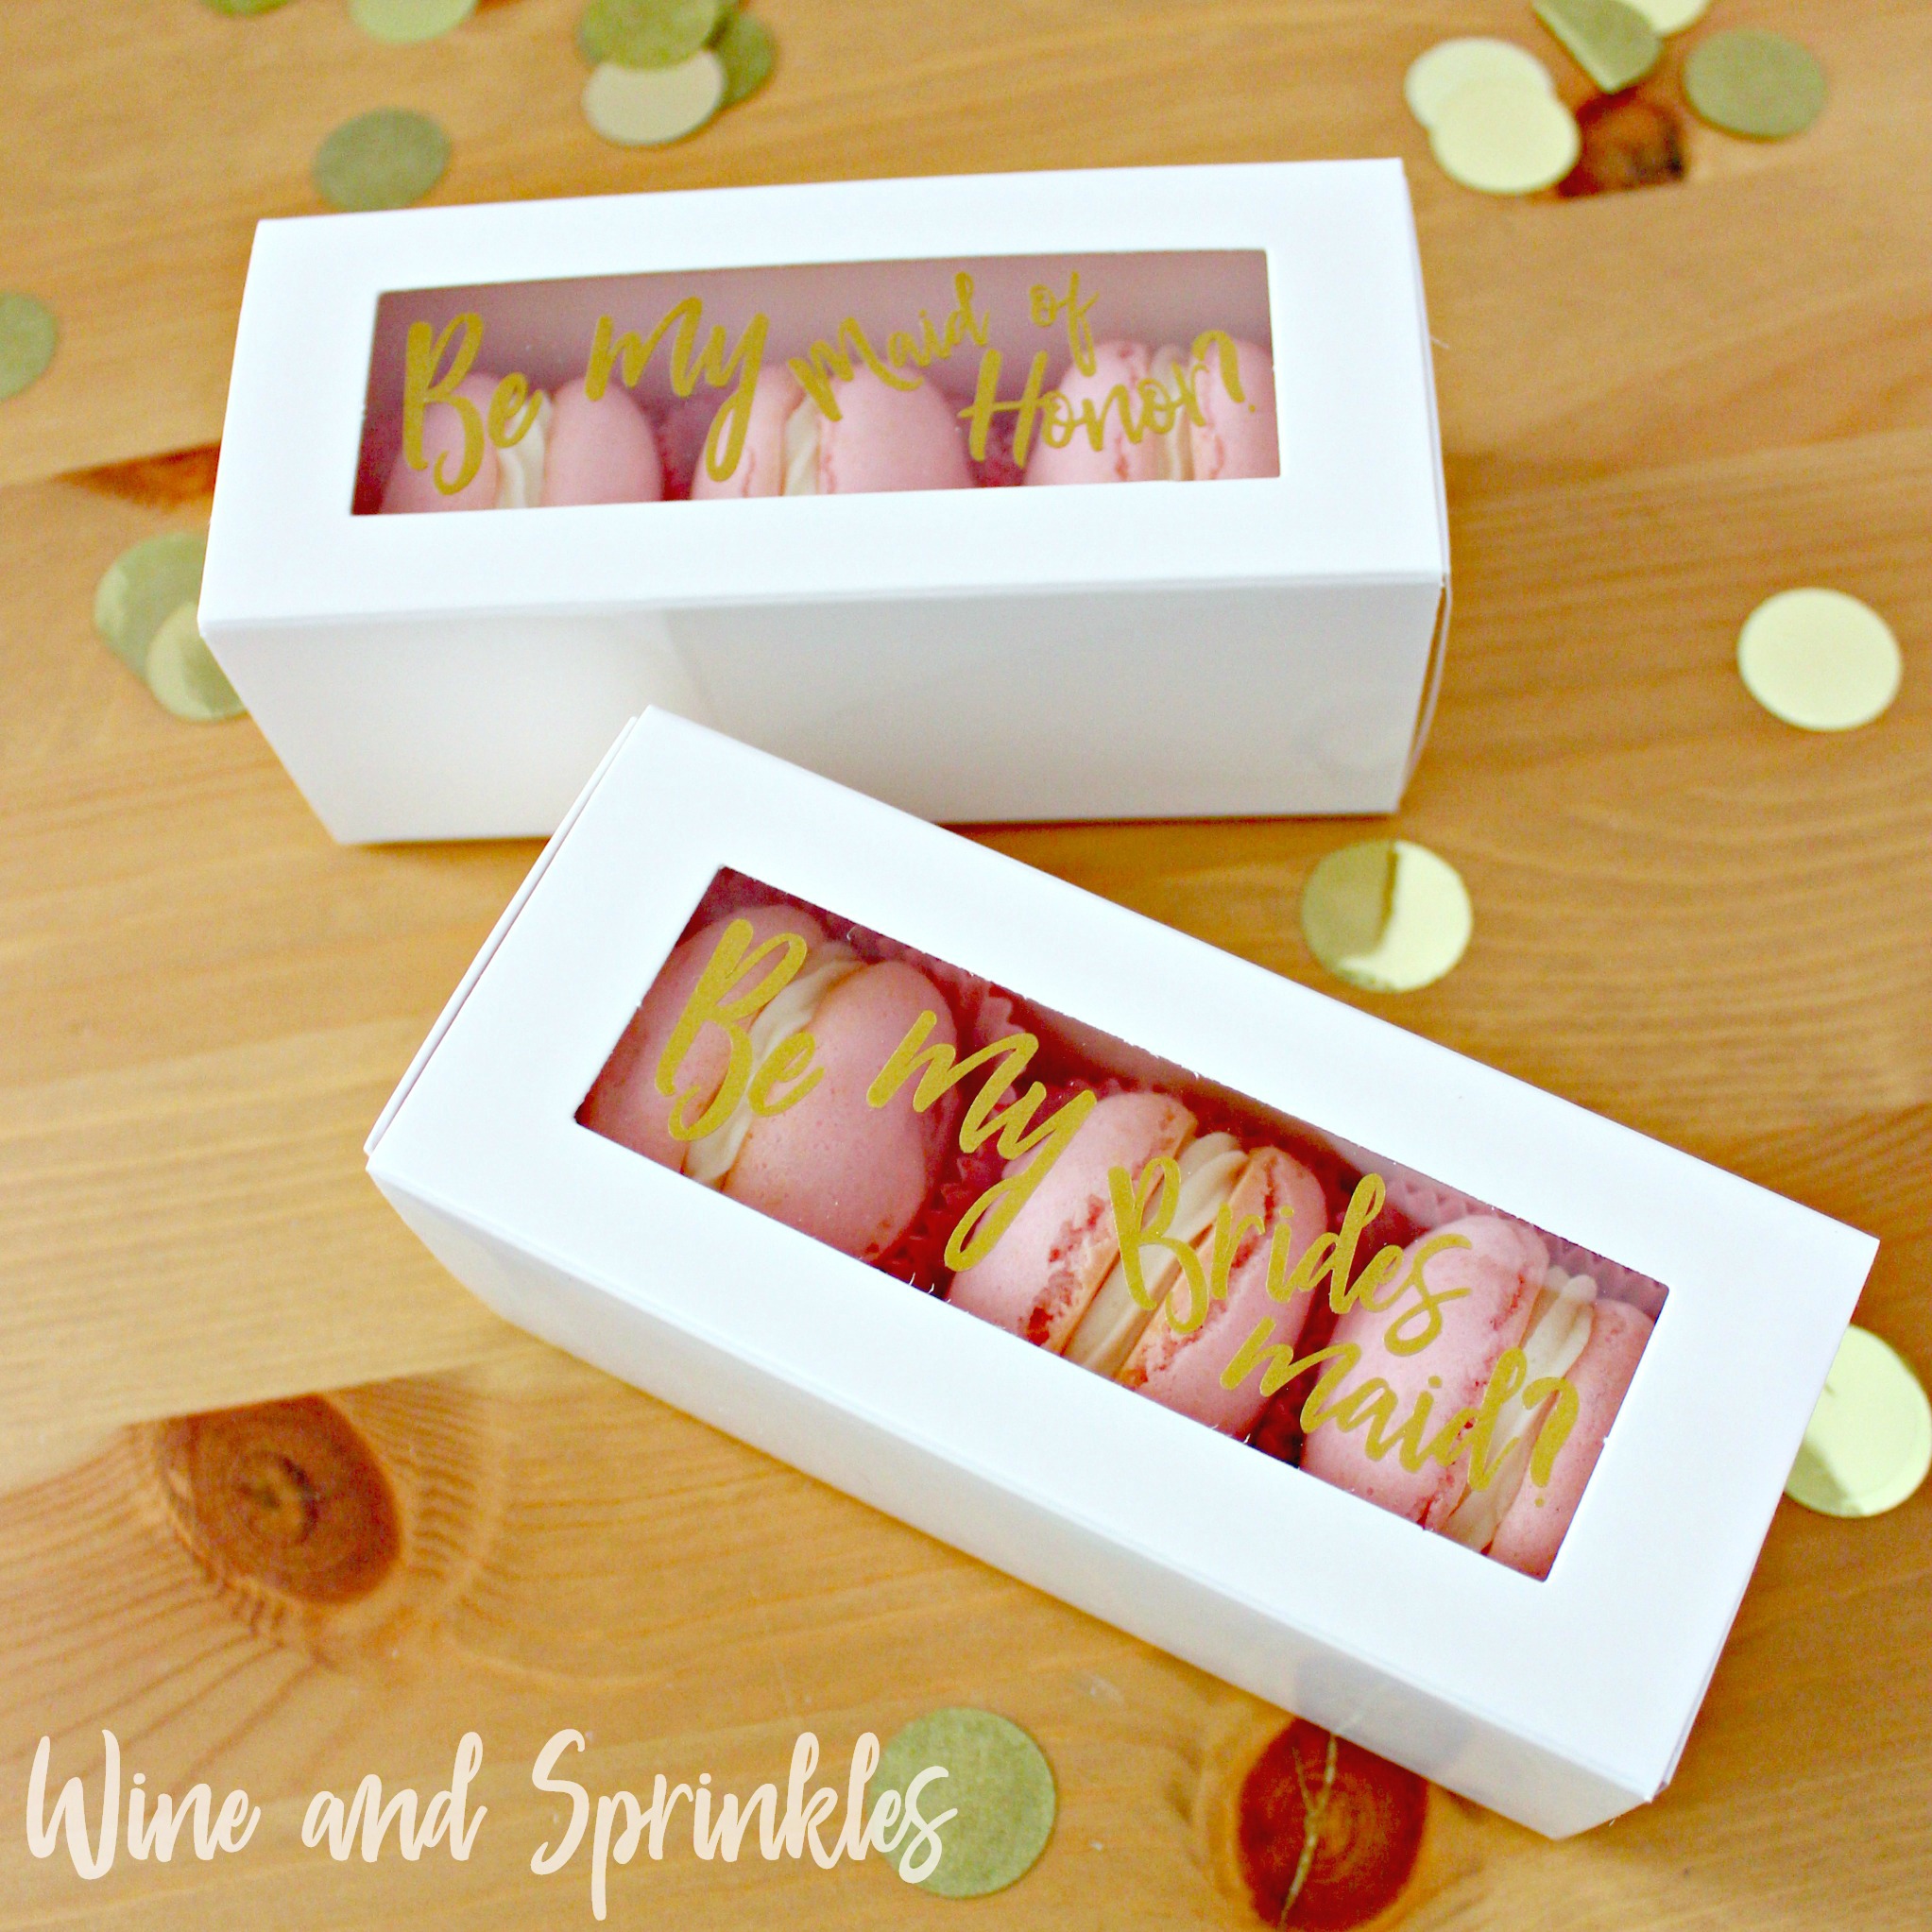
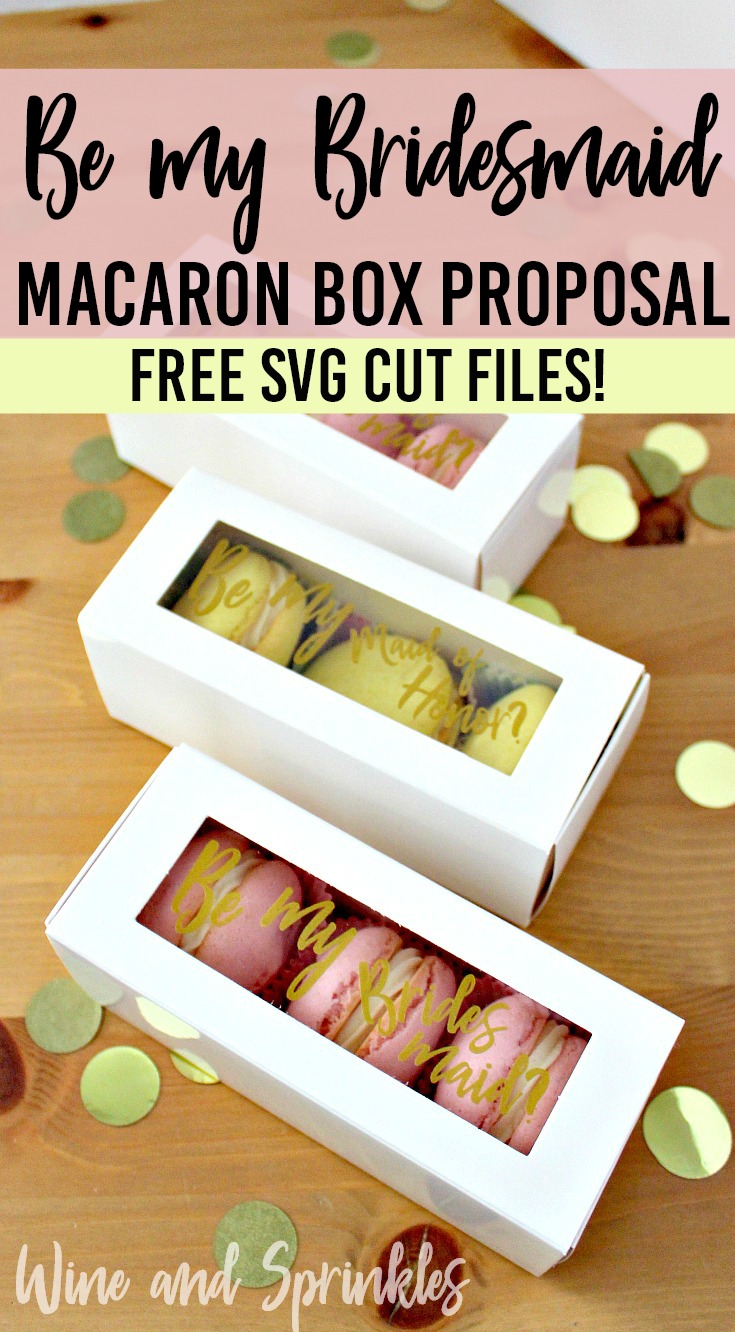
What better way to invite your best girls to be your bridesmaids than with some super tasty macarons! I love the idea of having a brunch or cocktail party to invite them ,and to have these at their seats when they arrive!

Regardless, they are easy to make and great for filling with any treat, and perfect as a proposal on their own or as part of a bridesmaid box!

I chose Oracal 651 Gold and Silver Vinyl for my stickers and had my first successful macaron baking day to fill them! :) My personal favorite color combination was the pink strawberry macarons with the gold lettering!

Be my Bridesmaid Macaron Box DIY Bridesmaid Proposal #svgfiles #diywedding  #bridesmaidproposal
 
 
Be my Bridesmaid Macaron Box DIY Bridesmaid Proposal #svgfiles #diywedding  #bridesmaidproposal

1. After downloading the cut files, import them into the Cricut Software. After creating a new project, select Upload Image. Select the file you wish to upload and it will automatically take you to the final upload screen, where you can name the file the select Save. 

2. Cut the design(s) in your choice of permanent adhesive vinyl with the Vinyl Setting on your Cricut. The SVG Files are sized so that they will automatically cut to the size you see in the photos, but if you want to change the size you can do so in the Cricut Software.

3. Once the designs are cut, weed away the extra vinyl and cut a piece of transfer tape to 1" x 4". Cut away any excess backing from the vinyl design and smooth transfer tape over the design, aligning along the bottom of the text, as shown below. Using the smoother tool, smooth the tape to the vinyl, removing any air bubbles.

Be my Bridesmaid Macaron Box DIY Bridesmaid Proposal #svgfiles #diywedding  #bridesmaidproposal

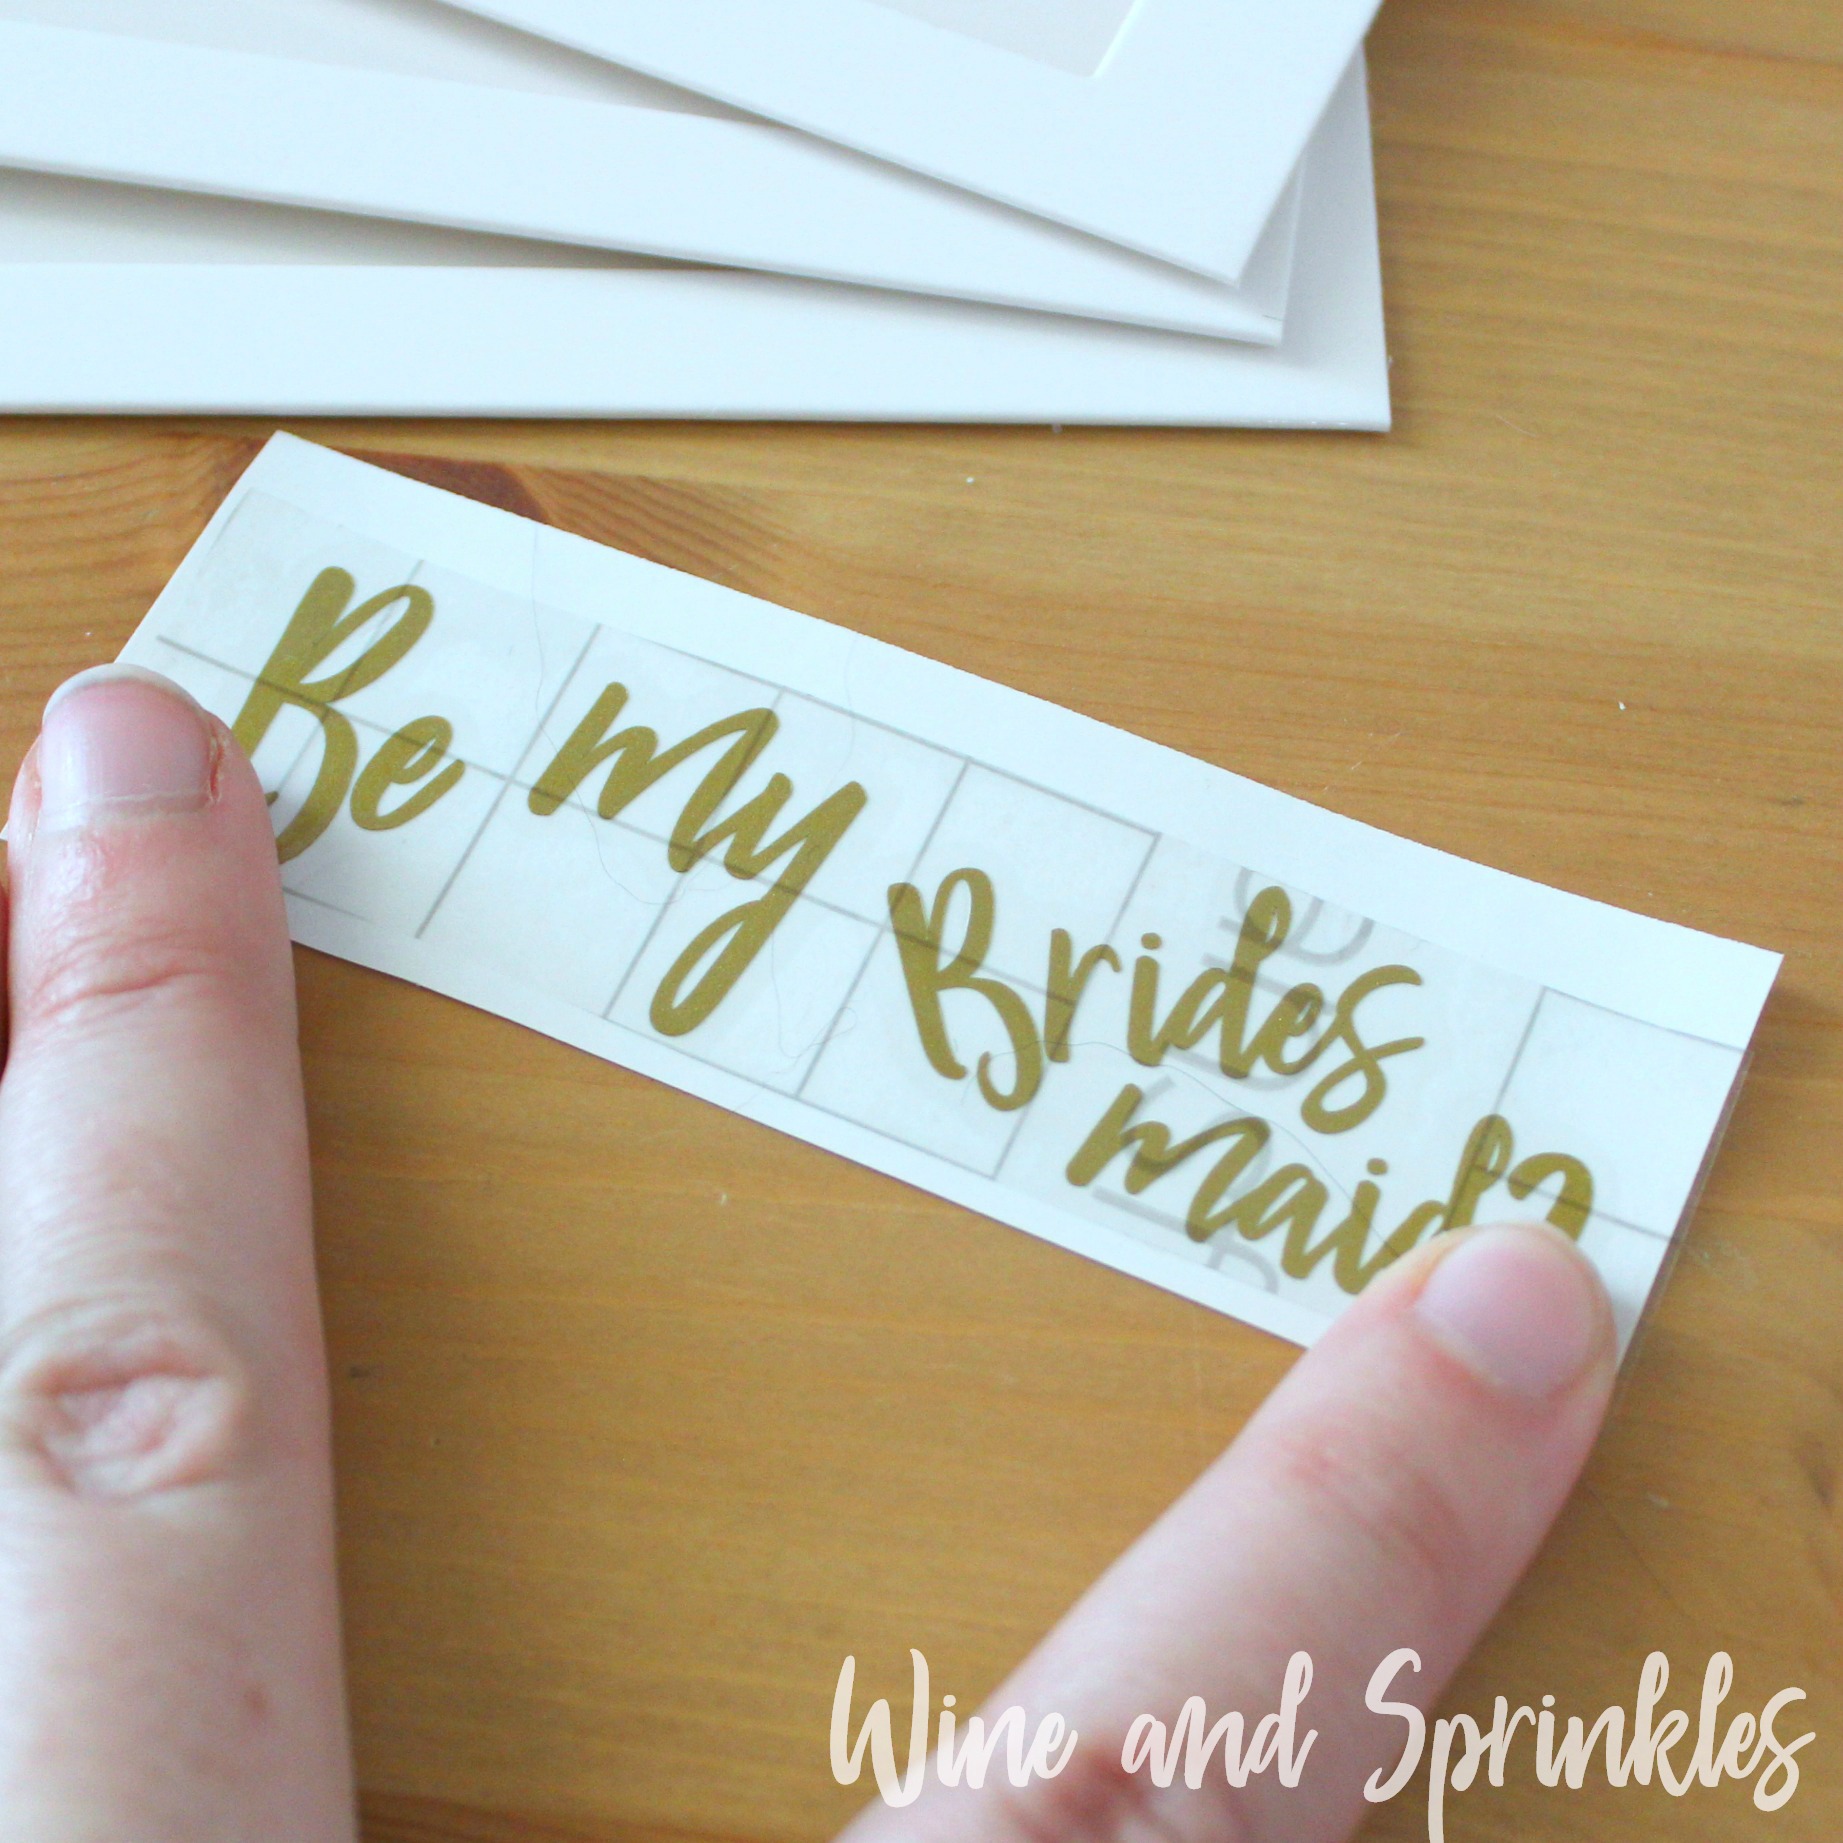
4. Remove the transfer tape from the backing, lifting the design from the backing to the transfer tape.

5. Aligning the transfer tape along the bottom edge of the clear window on the sleeve of the box, place the design in the middle of the window. With the tape aligning the bottom, I was able to center it in the window pretty easily and its also decently forgiving if its not exactly right, as long as the bottom is aligned.

Be my Bridesmaid Macaron Box DIY Bridesmaid Proposal #svgfiles #diywedding  #bridesmaidproposal

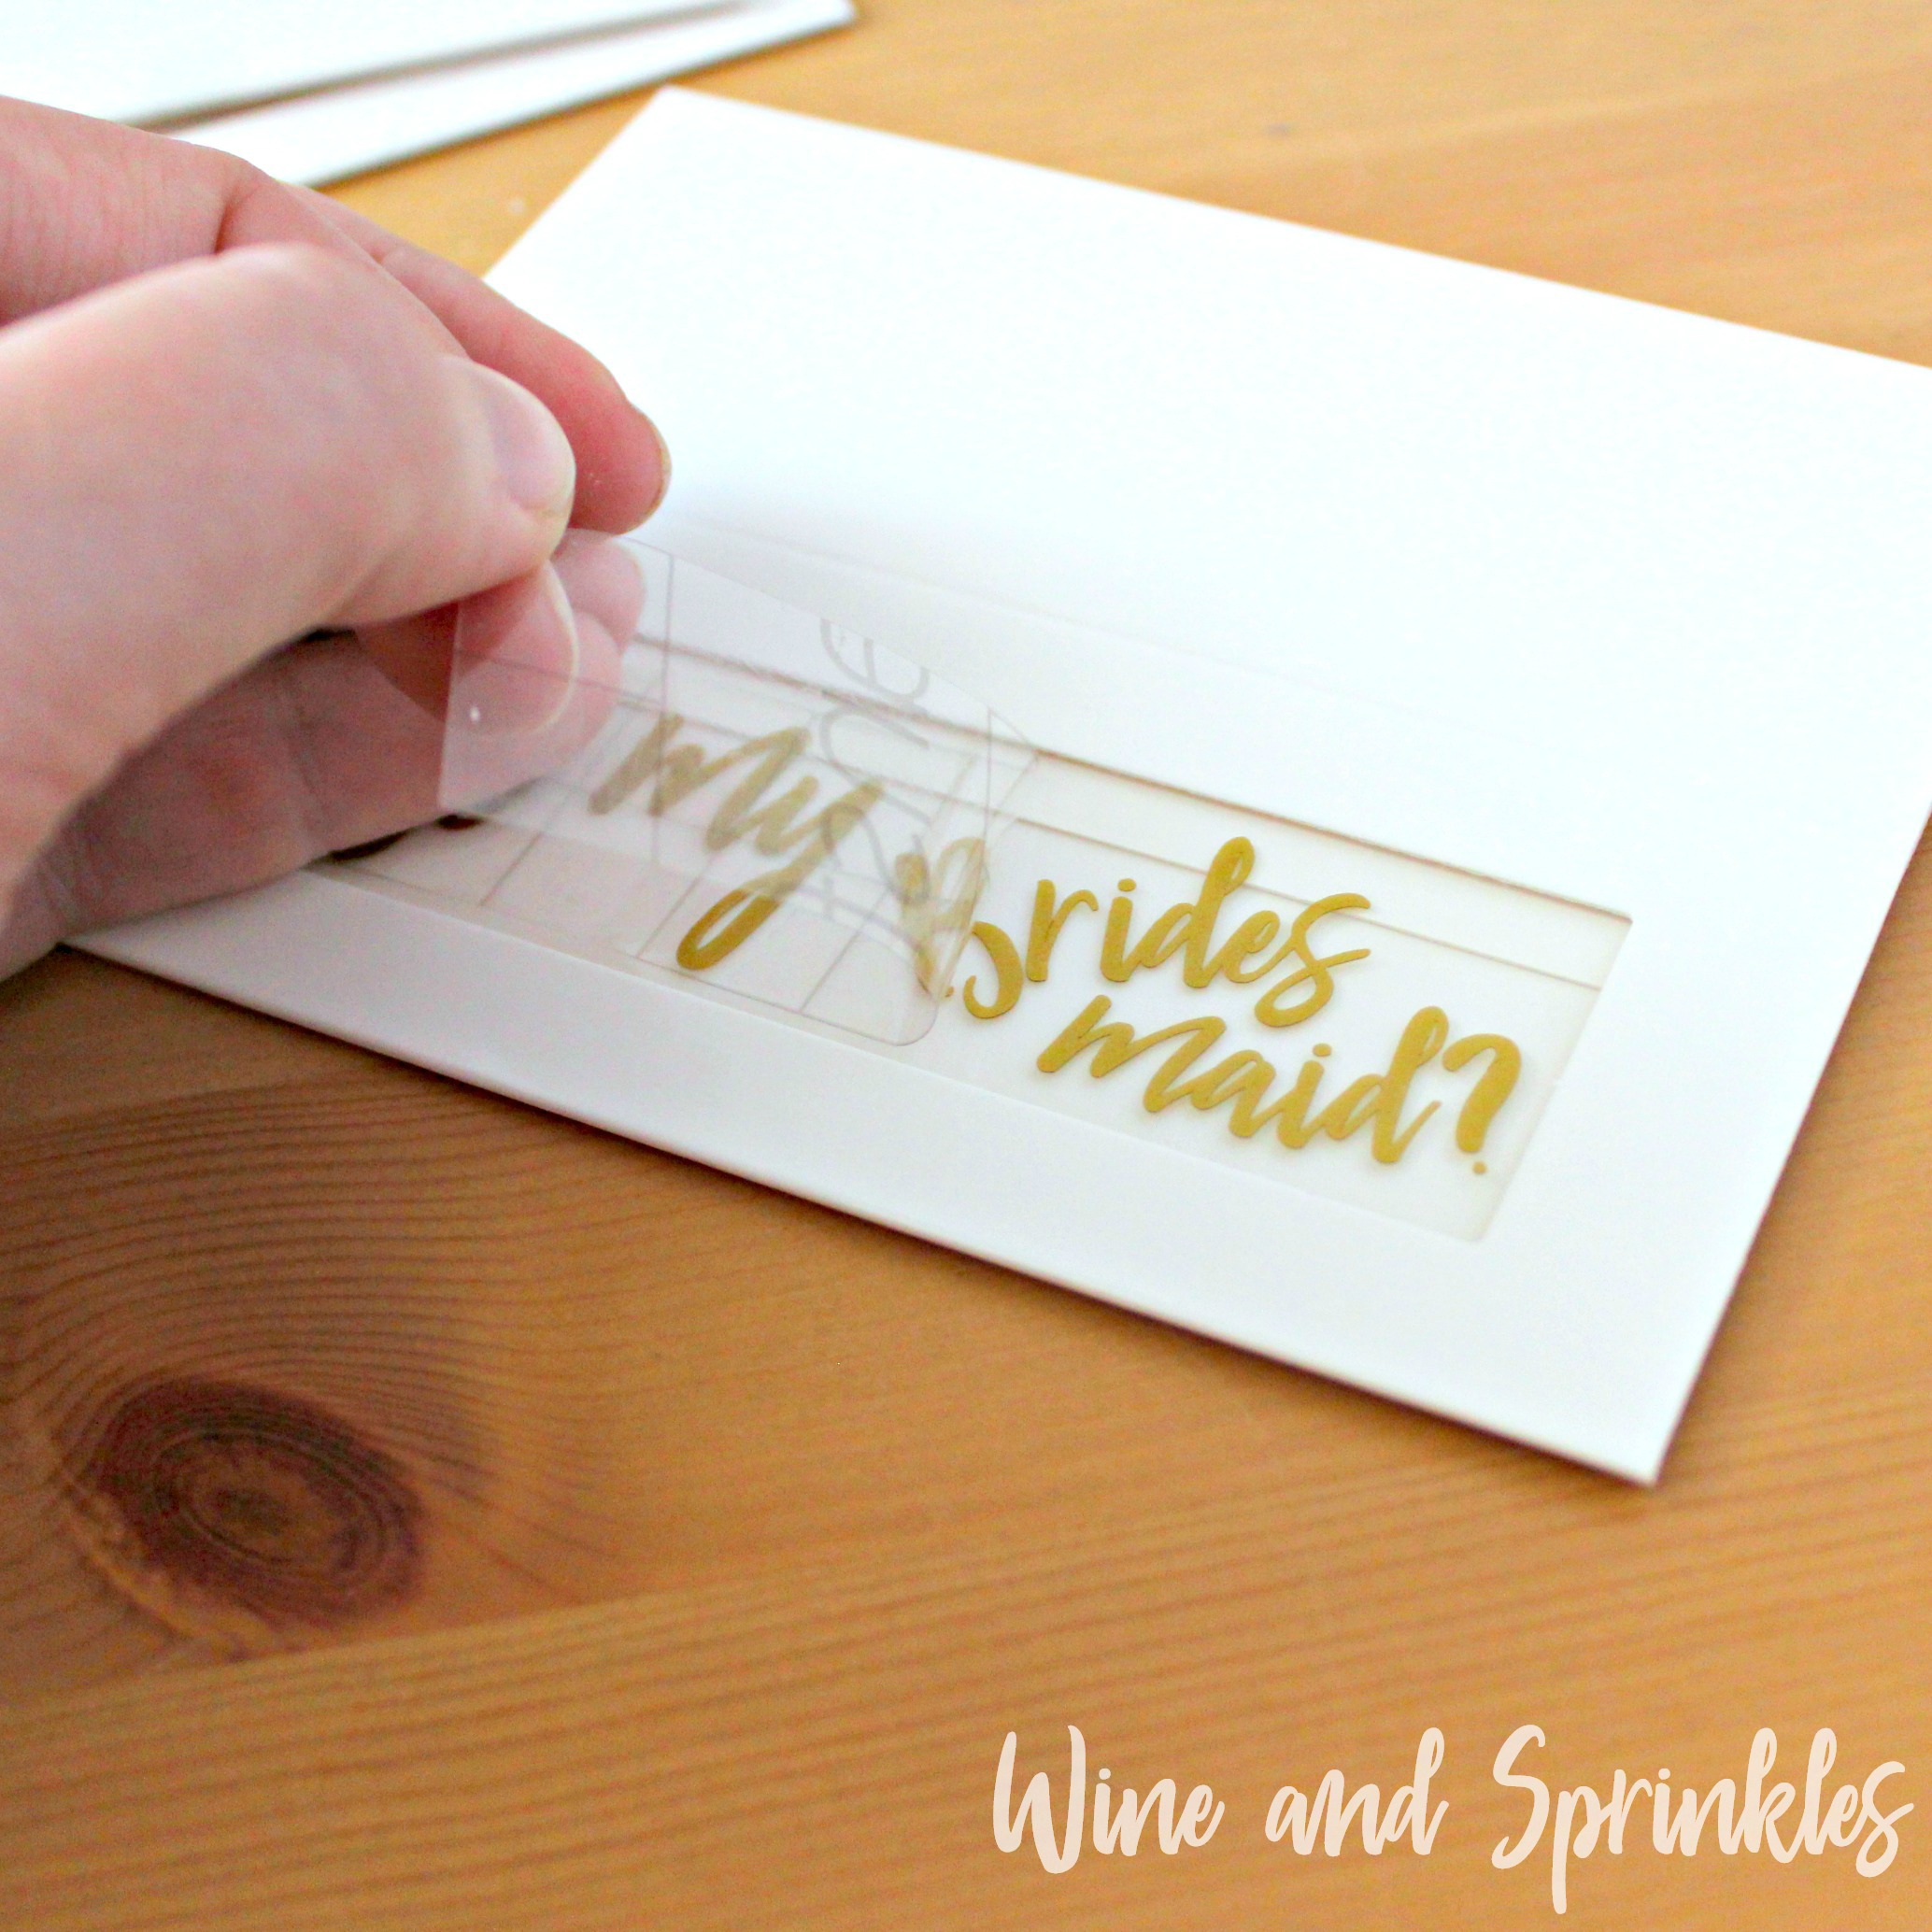
6. Smooth the design on the window, using your fingers to smooth each letter onto the plastic.

7. Remove the transfer tape, leaving the design on the sleeve.

With the sleeves complete, next it is time to fold the boxes that will hold the macaroons! It took me a little trial and error to get it right so I will share it here as well, since my boxes didn’t come with instructions. I did my best on the description and took lots of pictures so hopefully it will help you as well if you are having trouble! :)


Box Assembly

Since these boxes are the same as my Love is Sweet Macaron Favor Boxes, I’m using those pictures! :)

Be my Bridesmaid Macaron Box DIY Bridesmaid Proposal #svgfiles #diywedding  #bridesmaidproposal

1. Start by folding all of the lines on the box, as shown in the photo. This will make the box easier to bend later and help you see how it goes together.

Be my Bridesmaid Macaron Box DIY Bridesmaid Proposal #svgfiles #diywedding  #bridesmaidproposal

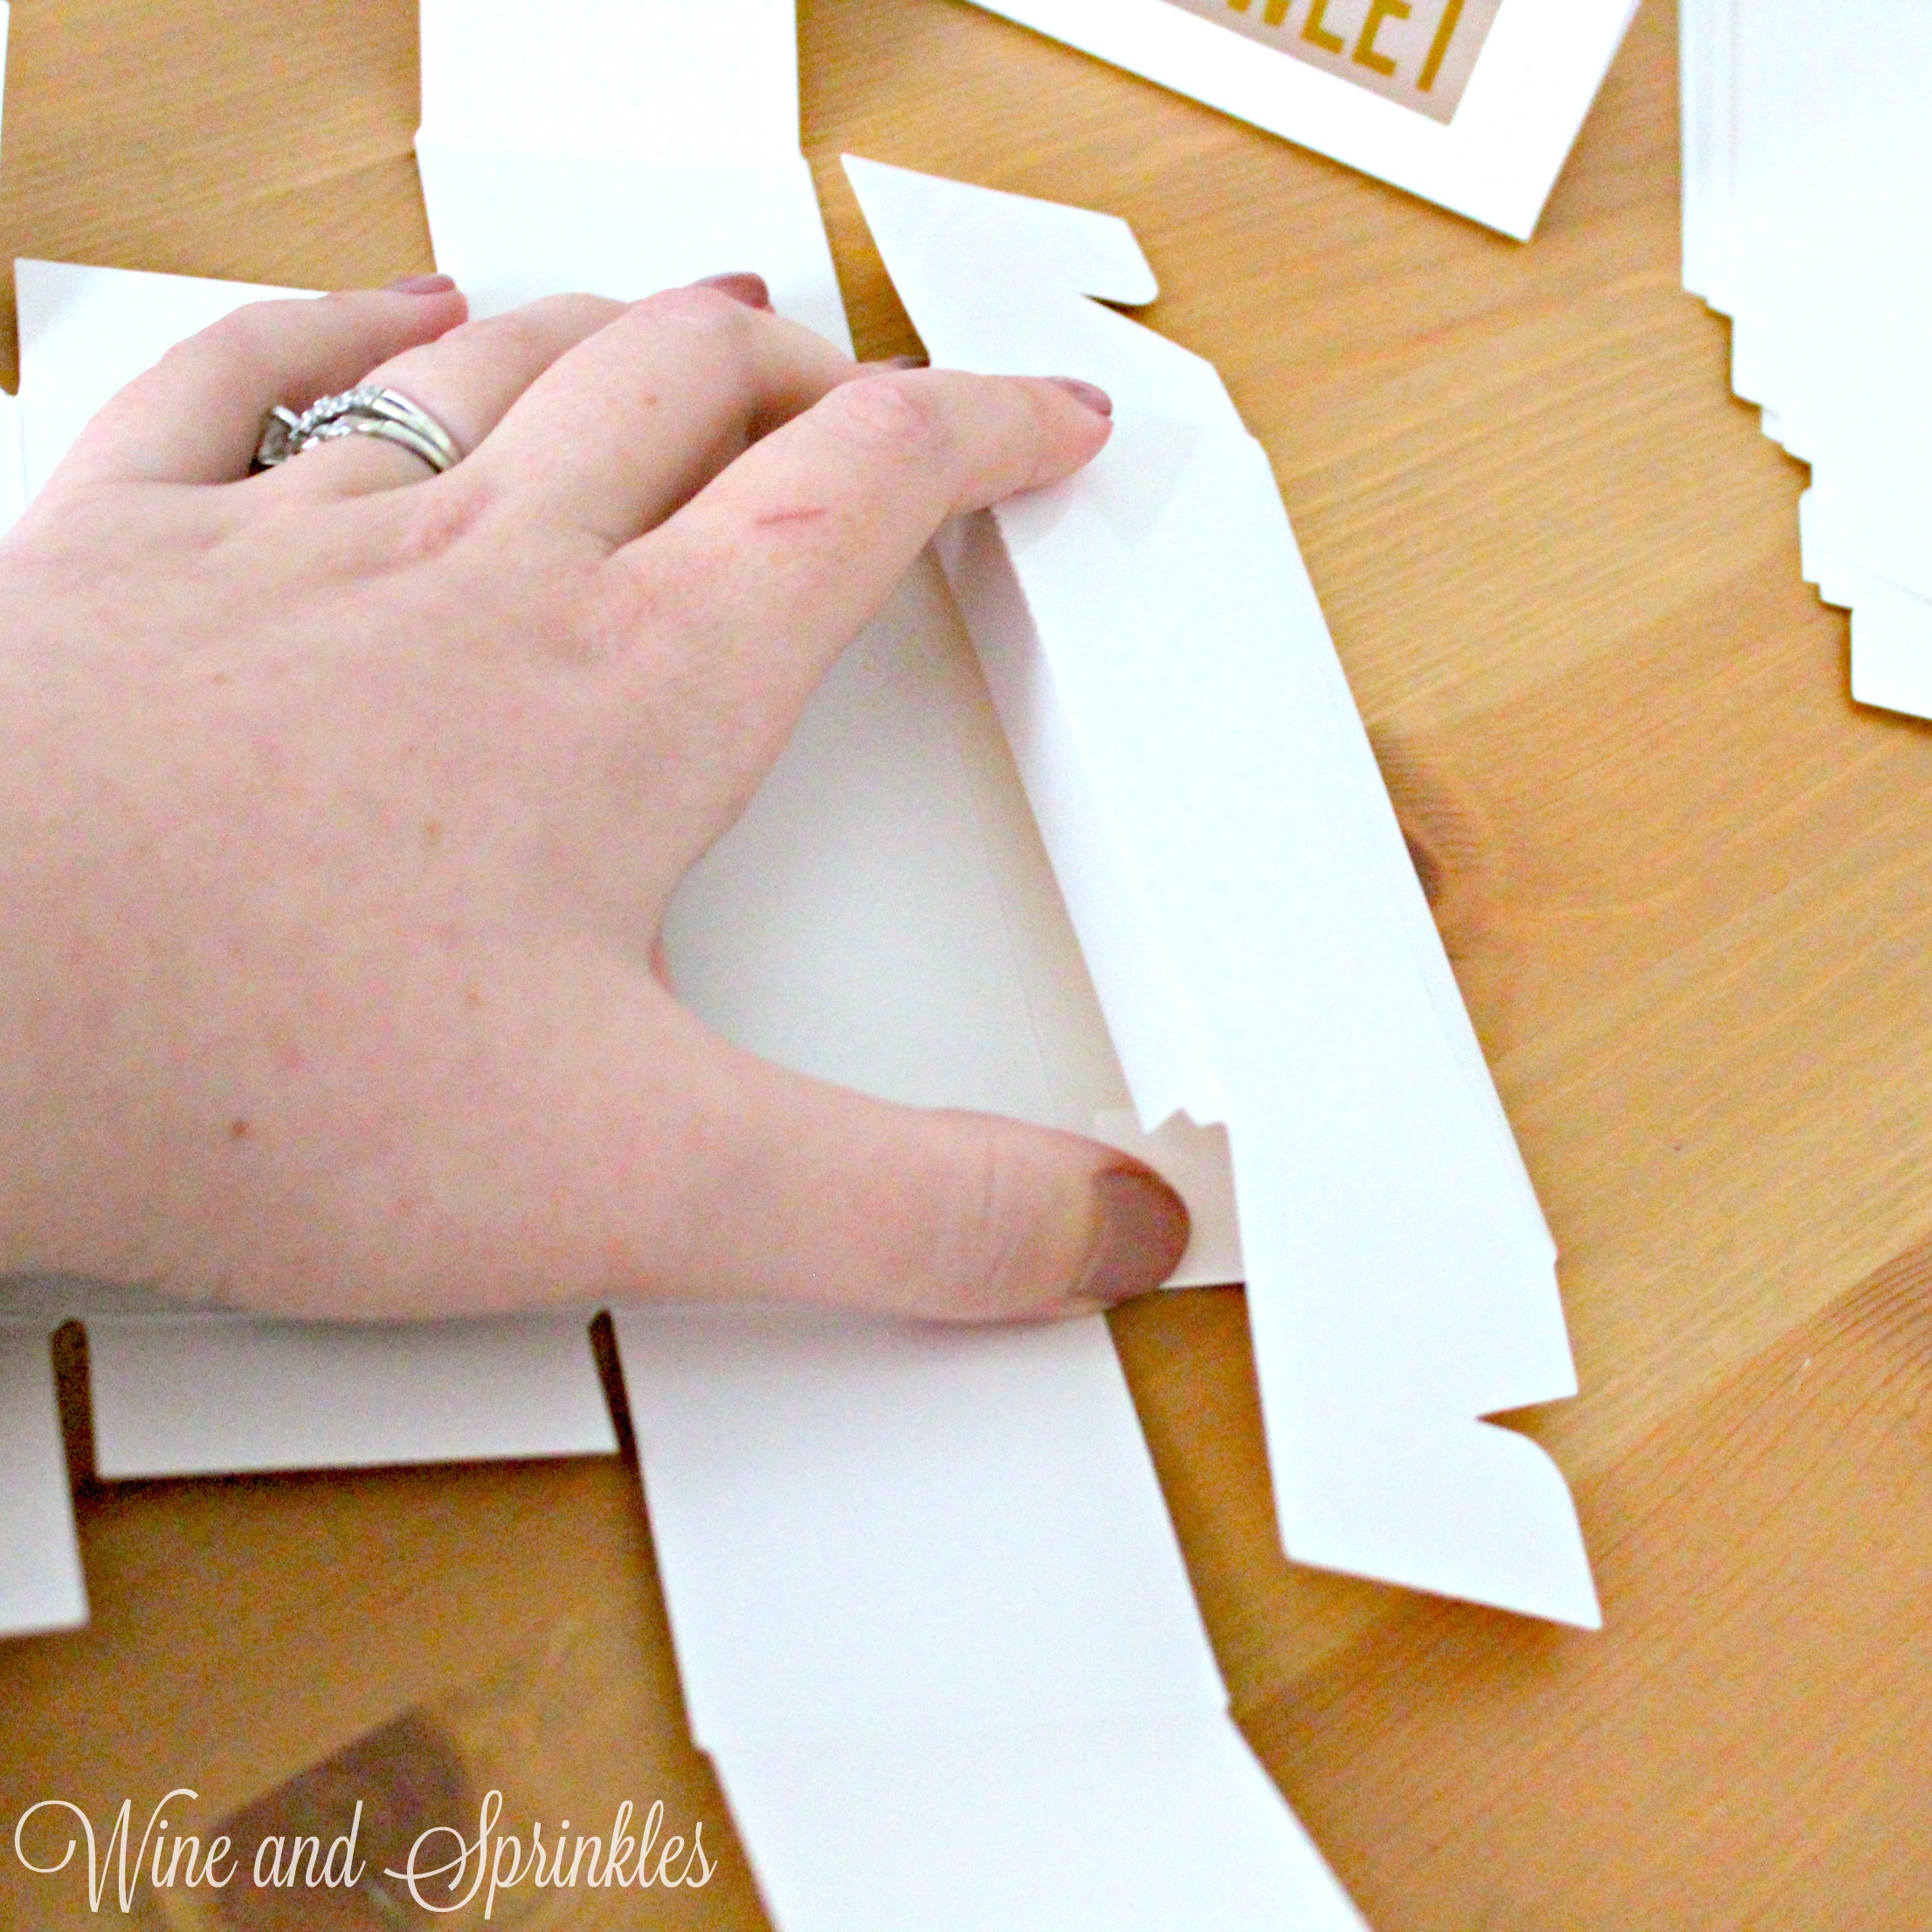
2. Taking the long edge, tuck in the two short middle flaps on the side, then fold over the wall and tuck the edge flap under the wall, forming the lengthwise wall as shown. Repeat for both lengthwise walls.

Be my Bridesmaid Macaron Box DIY Bridesmaid Proposal #svgfiles #diywedding  #bridesmaidproposal

3. Taking the end flaps on each of the lengthwise walls, hook them together to form the shorter wall of the box. once they are locked in, fold the last side flap over the wall, tucking the end flap under to complete the short wall of the box.

Be my Bridesmaid Macaron Box DIY Bridesmaid Proposal #svgfiles #diywedding  #bridesmaidproposal

4. Once the boxes are made, fill them with macaroons, and then slide your sleeves over the cookies to finish the favors. I would recommend making all your sleeves and boxes beforehand, then filling them with their cookies the night before or morning of your event. :)

Be my Bridesmaid Macaron Box DIY Bridesmaid Proposal #svgfiles #diywedding  #bridesmaidproposal


Bridesmaid Proposal Wine Labels

This post contains affiliate links, meaning that if you click on a link I will recieve a small comission. This costs you nothing extra and I only promote products I use and love! You can read our full disclosure here

Bridesmaid Wine Label Pin.jpg

What Bridesmaids wouldn’t appreciate a bottle of wine to toast to the new wedding journey? I love the idea of giving a bottle of wine; it’s always appreciated and is not that expensive compared to the other bridesmaids invitation options out there. I must say I bought a bunch of swag for my maids to invite them, and while I don’t regret it in the least (they did A LOT of DIY) most people don’t want or need to drop a bunch of cash on their bridal party invitations.

Making these Bridal Party Invitations is very straightforward and turned out so cute! I would recommend wines in clear bottles for the labels to show to their best advantage, but you can use them on most any wine bottle you like!

Finished Label Pin 2 with text.jpg

Supplies:
Wine Bottle Labels
Wine Label Printable
Wine of Choice

1.     Download the Printable and Print your labels. I have made them specifically for Chardonnay wine bottles but you can always use something else and not use the top strips. :)

Supplies with text.jpg

2.     Soak off the Label from your wine bottles with hot soapy water. Scrub any remaining residue off with a sponge and dry the outside of the bottles.

3.     Peel off the label and affix it to your cleaned bottle. I found the edge of the bottle and used the vertical line to line up my label so it would be level.

Labelling Collage.png
finished labels no gems.jpg

4. If using the Chardonnay labels, wrap them around the top where the foil meets the bottle.

Chardonnay Collage.png

5.     Optional: Glue on a few clear and pink gems to give your bottles some extra sparkle! I just used regualr tacky glue and some extra gems I had lying around from previous bachelorette parties. :)

This is a wonderful way to invite your maids and it really only costs as much as the wine and a set of labels. Want to design your own labels? The company that created these label sheets has an online design studio so you can always come up with a design all your own!