This post contains affiliate links, meaning that if you click on a link I will recieve a small comission. This costs you nothing extra and I only promote products I use and love! You can read our full disclosure here

These wedding signs may be my favorite thing I’ve made in September for my two brides, and funnily enough they were the thing that was made “in a hurry.” I had finished the other crafts, gotten all my candle holders and decorations together, and my friend/bride asked if I had any ideas for a “Pick a Seat, not a Side” signs.
I considered staining wood and using vinyl for lettering since it was an outdoor wedding, but I only had 3 days before the wedding and wasn’t about to get that done in time. Then I saw my pile of blank canvases (come now we all have one, those darn Michaels sales!) and saw a great opportunity to use them!
I used removable vinyl for the lettering and would highly recommend you doing so if you don’t plan to keep these forever. They held up just fine outside and even when it rained, but the vinyl being removable made it much easier to move the lettering if you don’t position it just right the first time.
When we had first started thinking about her wedding, there were so many ombre details we saw on Pinterest that we loved so I figured, why not ombre these signs? I absolutely love how they came out and, other than making sure my letters were all looking nice, easy to make and only took a couple hours! And by a couple hours, that was half an hour of doing things and a couple hours of letting paint dry.
Supplies:
Craft Cutter and Tool Set
Adhesive Mat
Transfer Paper
White Adhesive Vinyl
Purple, Lavender, and White Paint
16” x 20” Canvases
Paint Brush
Bowls for Paint
Pick a Seat Cut File
Not a Side Cut File
You’re Loved by both Cut File
The Groom and Bride Cut File

1. First, mix your different colors of paint. I used a mix of white, lavender, and violet to make 4 different shades. Add a couple tablespoons of water to each bowl to thin the paint, making it only slightly thicker than water so that it acts more like a watercolor.

2. Starting from light to dark, paint ¼ of the canvas light purple. Take the next darkest shade and paint the second quarter of the canvas. Wash the brush and using the lighter shade, brush across the canvas between the two color stripes to blend the colors. Continue in this fashion until the canvases are both painted. Let dry.

3. Do a second coat on each canvas the same way as you painted the first one, making sure to wash your brush between colors. Once completed, wash out brush and from dark to light, brush horizontally across the canvas to smooth any paint lines. Let Dry.

4. Using the Provided cut files, cut the "you're loved.." file to 5 inches tall and the other files to 11.5 inches tall (I made mine 16 inches wide and that made it a lot harder to keep them on the canvas and cut them). I’d recommend the 12” x 24” mat on these to fit them to the larger canvases.
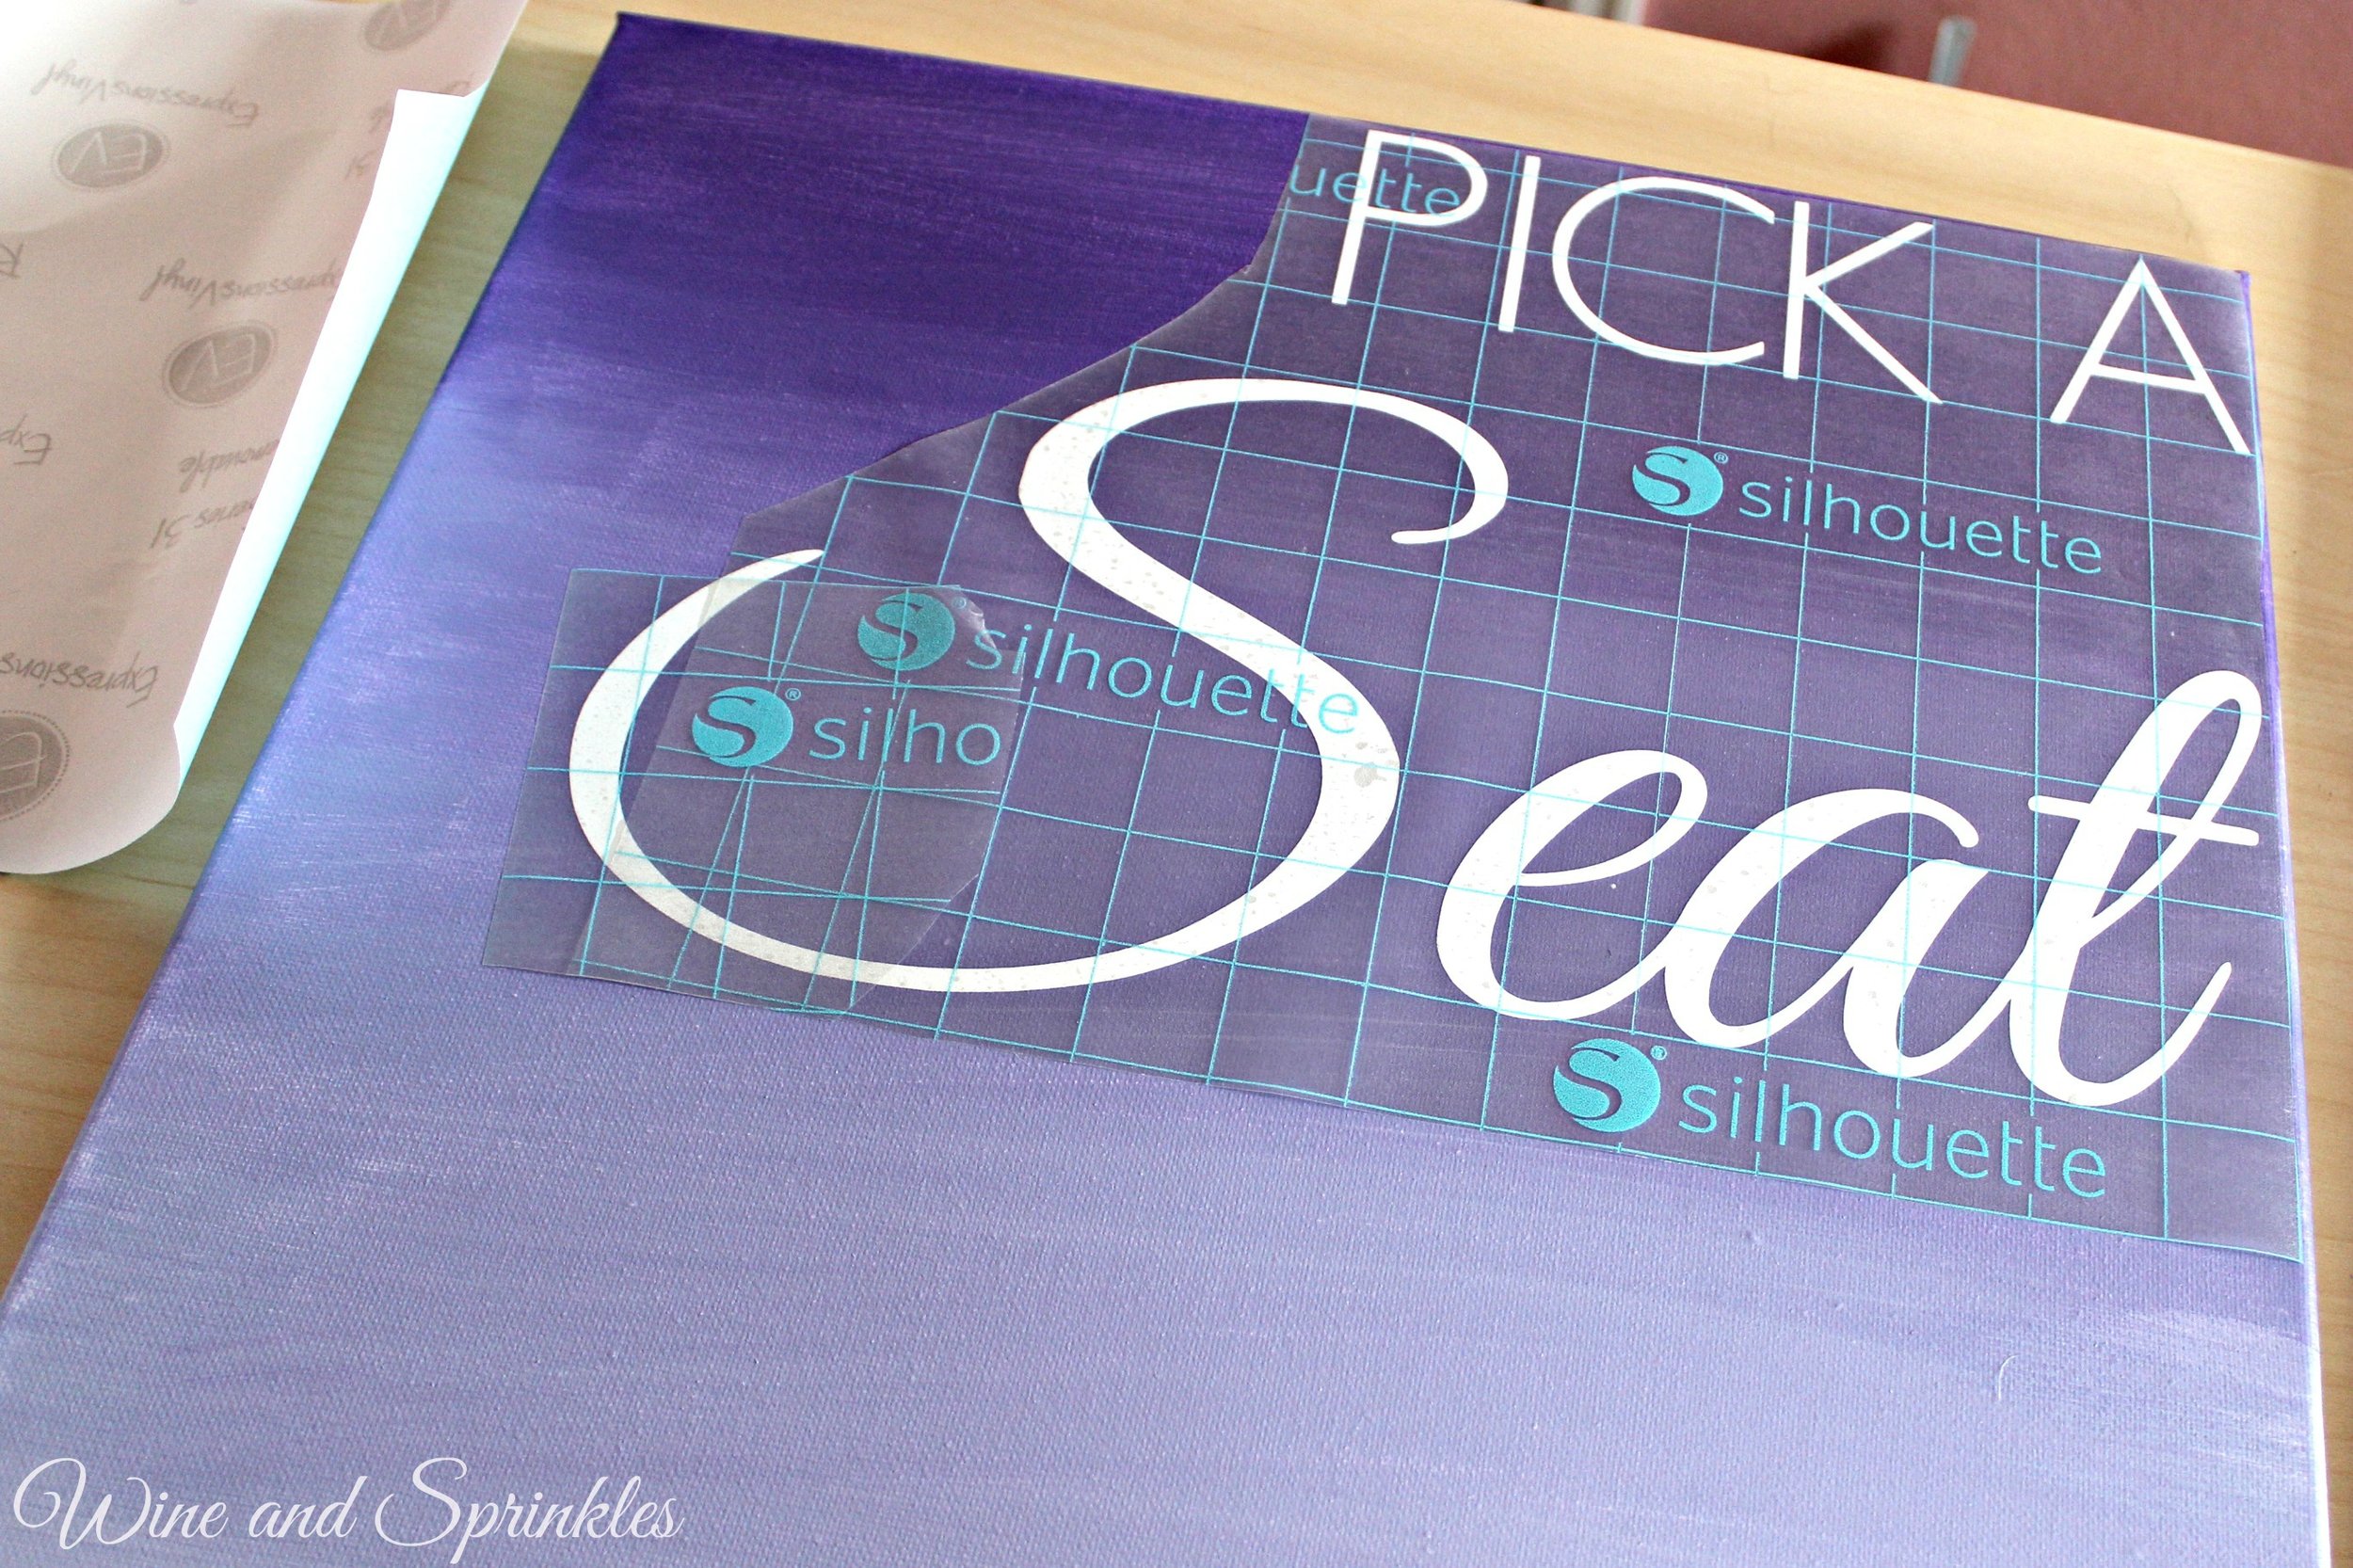

5. Weed the designs and cover with transfer paper. I prefer grid line transfer paper to help keep all your letters level.

6. Transfer the designs onto your dry canvases. Press out any air bubbles and remove transfer paper, leaving the design behind.

These could easily be made in different colors to fit most wedding themes and were a fun twist on the traditional signs. Better yet, I already had everything to make them so they were free! :) Would you make these signs for your wedding?

