This post contains affiliate links, meaning that if you click on a link I will recieve a small comission. This costs you nothing extra and I only promote products I use and love! You can read our full disclosure here

For my wedding, one of my best friends hand painted an adorable card box for us that I still have and love. So when my Gold Rustic Bride needed a card box, I decided to make her a card box too!
For this one, I actually ended up covering an old card box I had with fabric and decorating it with dark brown banding and antique gold upholstery trim to try to make it look a bit like a steamer trunk. Why? Because I always see this couple travelling and what cuter way to receive cards than a little trunk? :)

Now I outlined in the tutorial how I did this but honestly a lot of it was cutting, eyeballing and gluing fabric until it looked how I wanted it to so sorry if it’s a bit confusing! Hopefully the pictures will help if you want to make a card box too! :)
Supplies:
Card Box (I got mine from Michaels)
Beige Canvas Fabric
Teal Lining Fabric
Dark Brown Banding
Antique Gold Upholstery Trim
Glue (I would recommend Fabritac for this because my craft glue was much harder to use!)
Cover the Outside of the Box in Beige Fabric:

1. Cover bottom and sides with beige fabric: Run a line of glue along the top edges of the box and tuck the fabric into the crease. Let dry. Stretch fabric under card box and trim to fit into the crease of the other side. Glue fabric into the edge similar to the other side.

2. You will notice the excess fabric around front and back: trim apx. ½” from the corner, glue flush to the front and back.


3. Cover top sides: cut piece of fabric slightly larger than edges, run lines of glue along sides and under top, gluing fabric pieces in place. Let dry.

4. Cover the front to lid: Measure and cut a piece of fabric that can wrap from the top front of your box over the lid and tuck under the front lip. Fold over long edge of the fabric and glue to create a clean edge. Line up edge of box to finished edge, then trim and fold over fabric on the other side to create a rectangle with two folded and glued seams that are the width of your box.

5. Starting at the front, glue along the vertical edges of the box and glue fabric rectangle from the front of the box, under the bottom and over the lid. Glue edges into the creases as before.
Add Banding and Upholstery nails around the bottom and to the lid:

1. Run lines of glue along the bottom of the box and secure banding around the perimeter. Let Dry.

2. Measure and Cut a Strip of the Upholstery Nail Trim that goes all the way around the box. Using the nails provided, nail the trim around the box at the designated holes.
3. There will likely be a little extra space if the perimeter of your box doesn’t perfectly align with the trim. Make the trim as close as you can and using some of the extra nails finish the pattern by nailing in the last few brads.

4. Once the bottom is done, glue banding along the top edge of the lid of your box. Let Dry.
Line the Inside of the Box:
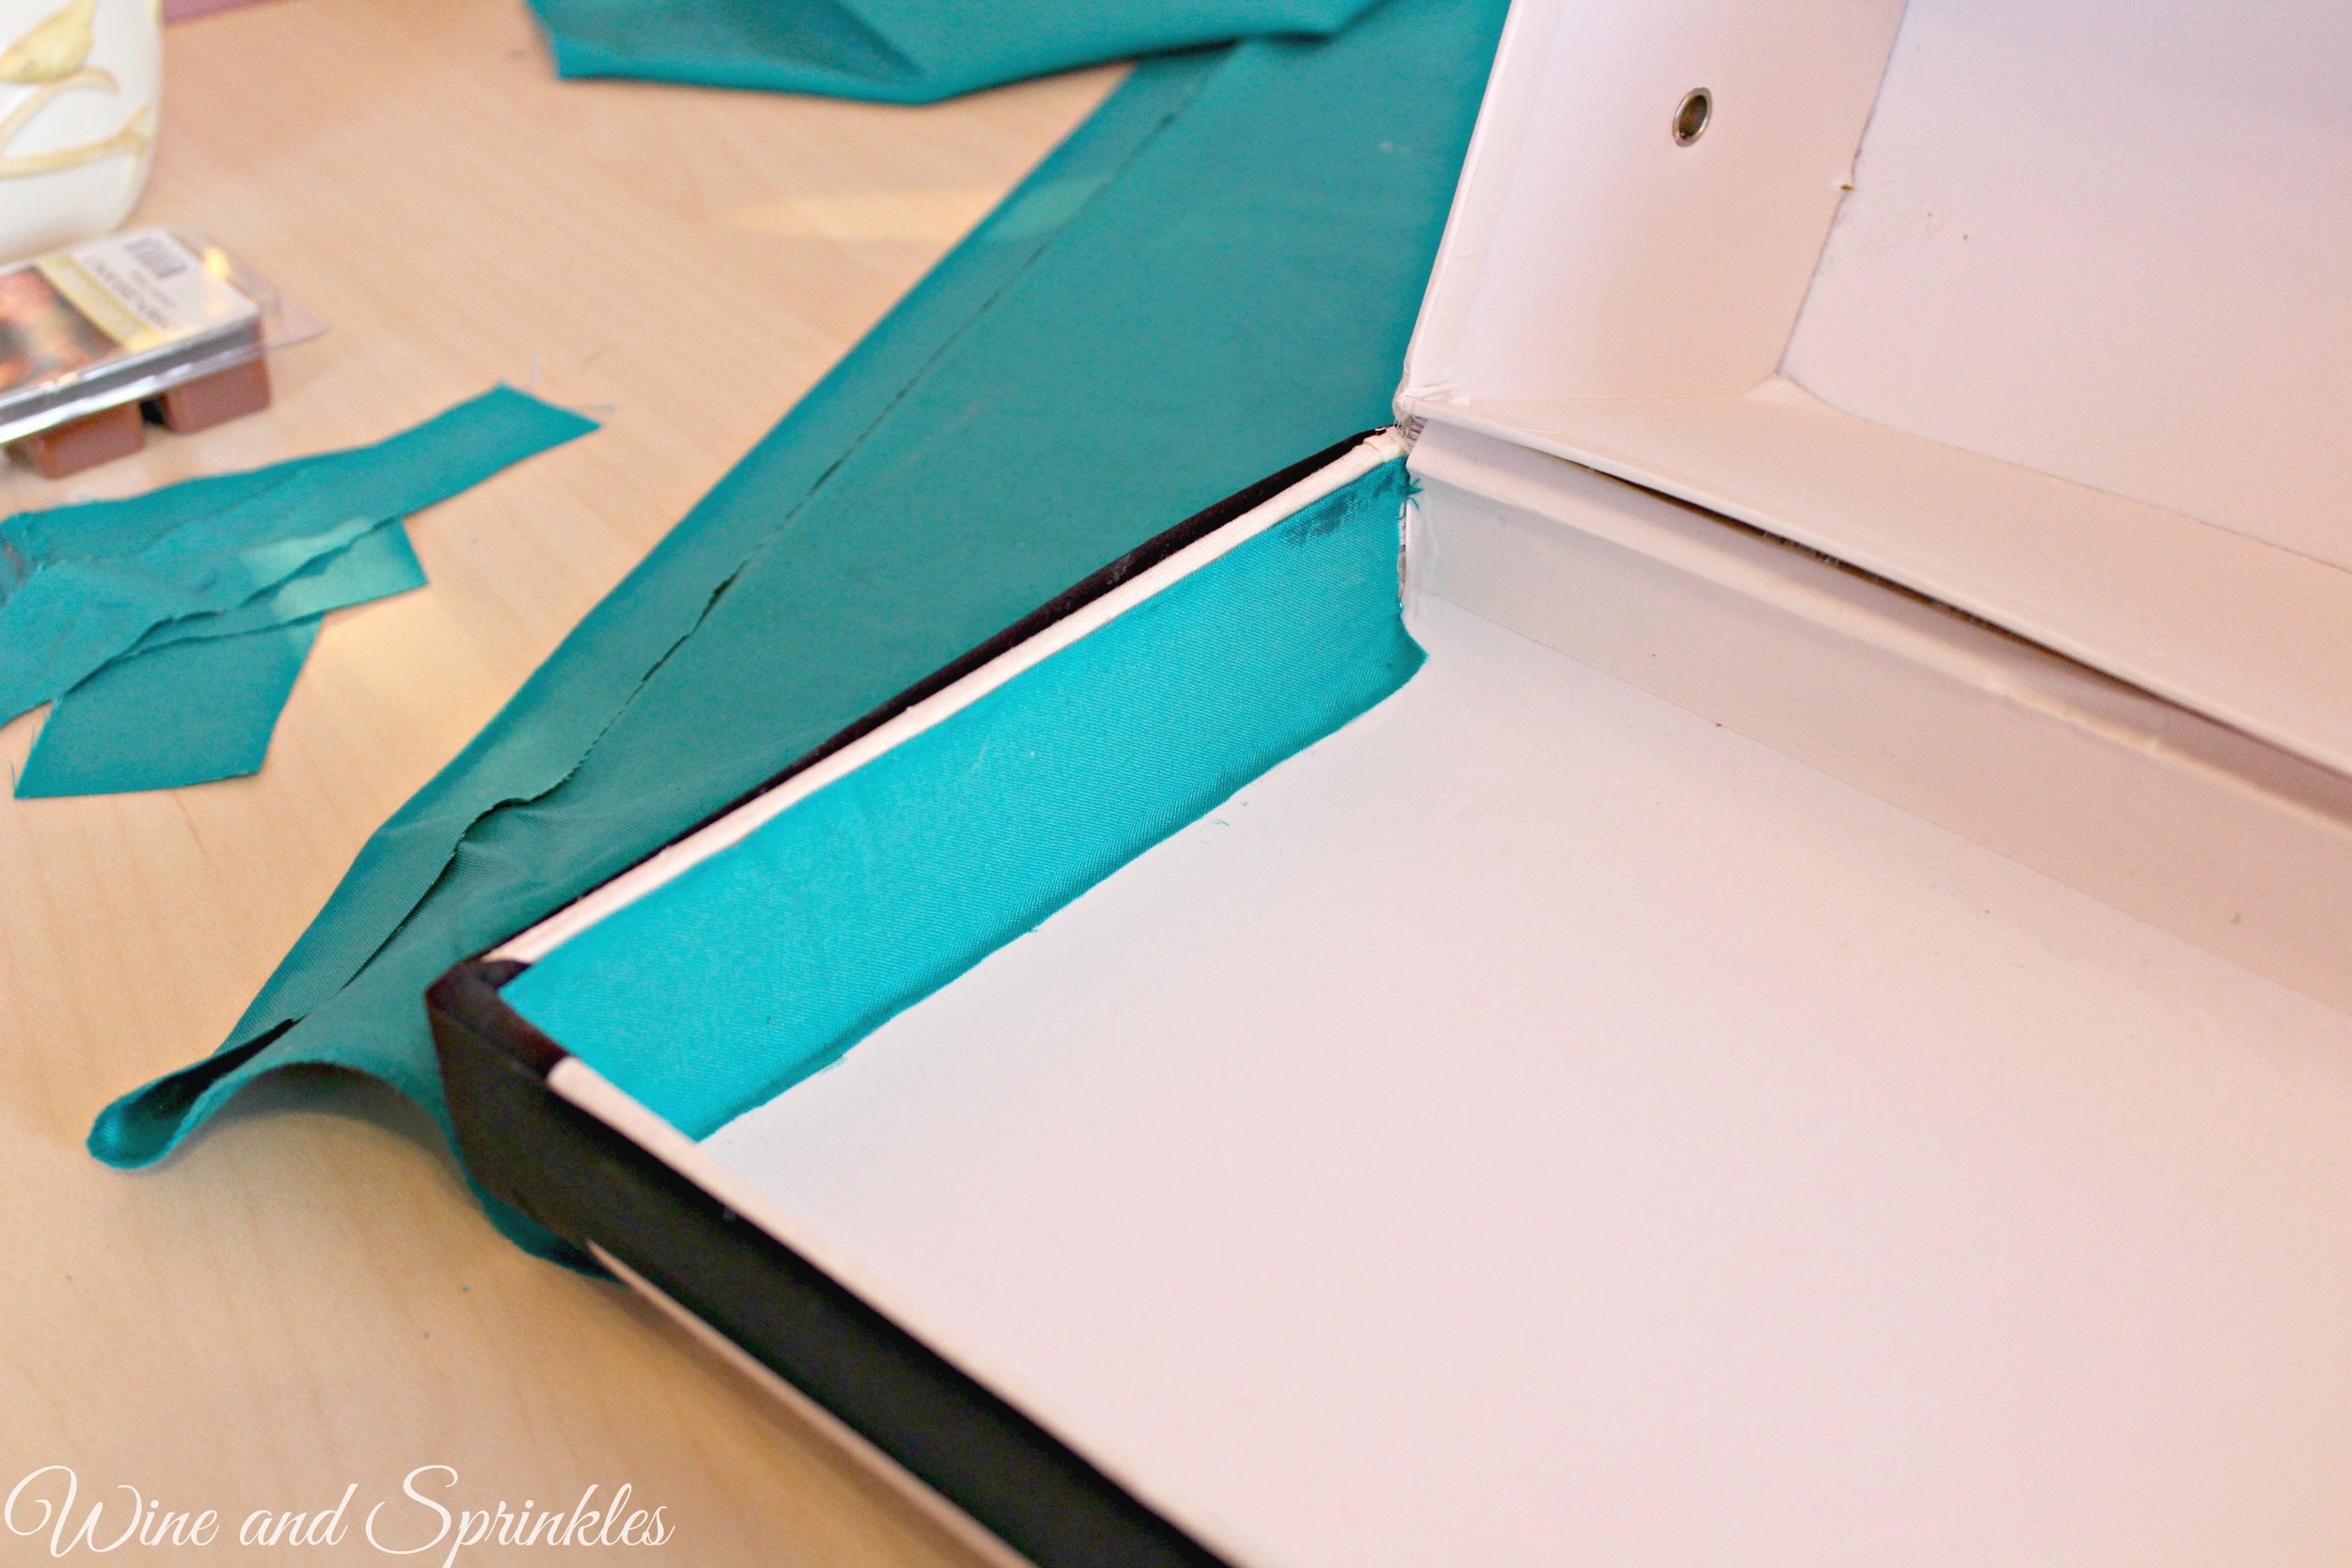
1. Similar to covering the outside, start by cutting out two small strips to glue into the sides of the lid of your box. Stretch to fit and glue in place.

2. Make a rectangle that is slightly larger than the inside of your box lid, then glue and fold over the edges to make a clean-lined fabric rectangle (like step 4 of covering the outside. Glue into the lid of your box, leaving the rough edge towards the bottom.
3. Glue and tuck in two pieces of lining fabric for the inside front and back of your box. Make another rectangle with glued edges that are long enough to go down the side of your box, across the bottom, and up the other side of the box. Glue into the box along the edges and let dry.
Finish Banding around the Top of the Box:
1. Along the edges where the teal and beige fabric meet, run glue along both sides of the edges of the box. Unfold the banding once so that it can be slipped over the top of the edge with banding on both sides.

2. Secure banding in place with the glue lines and let dry.
Optional: Prop your Card Box open against a wall and glue in a piece of banding connecting the lid to the bottom of the box and let dry (I also clipped my pieces to the box while they dried for extra stability). This will help your box look pretty and stay open to receive cards! :)
