This post contains affiliate links, meaning that if you click on a link I will recieve a small comission. This costs you nothing extra and I only promote products I use and love! You can read our full disclosure here

Happy February everyone! To kick off the lovely Valentines Day Season, I started February with some adorable Vinyl Heart Wine Glasses for your Bridal Party! :) These go great for Valentine’s Themed Bridesmaid Proposals, Galentines Brunches with your girls before DIY, or just in general as a cute wine glass to get ready with. :)

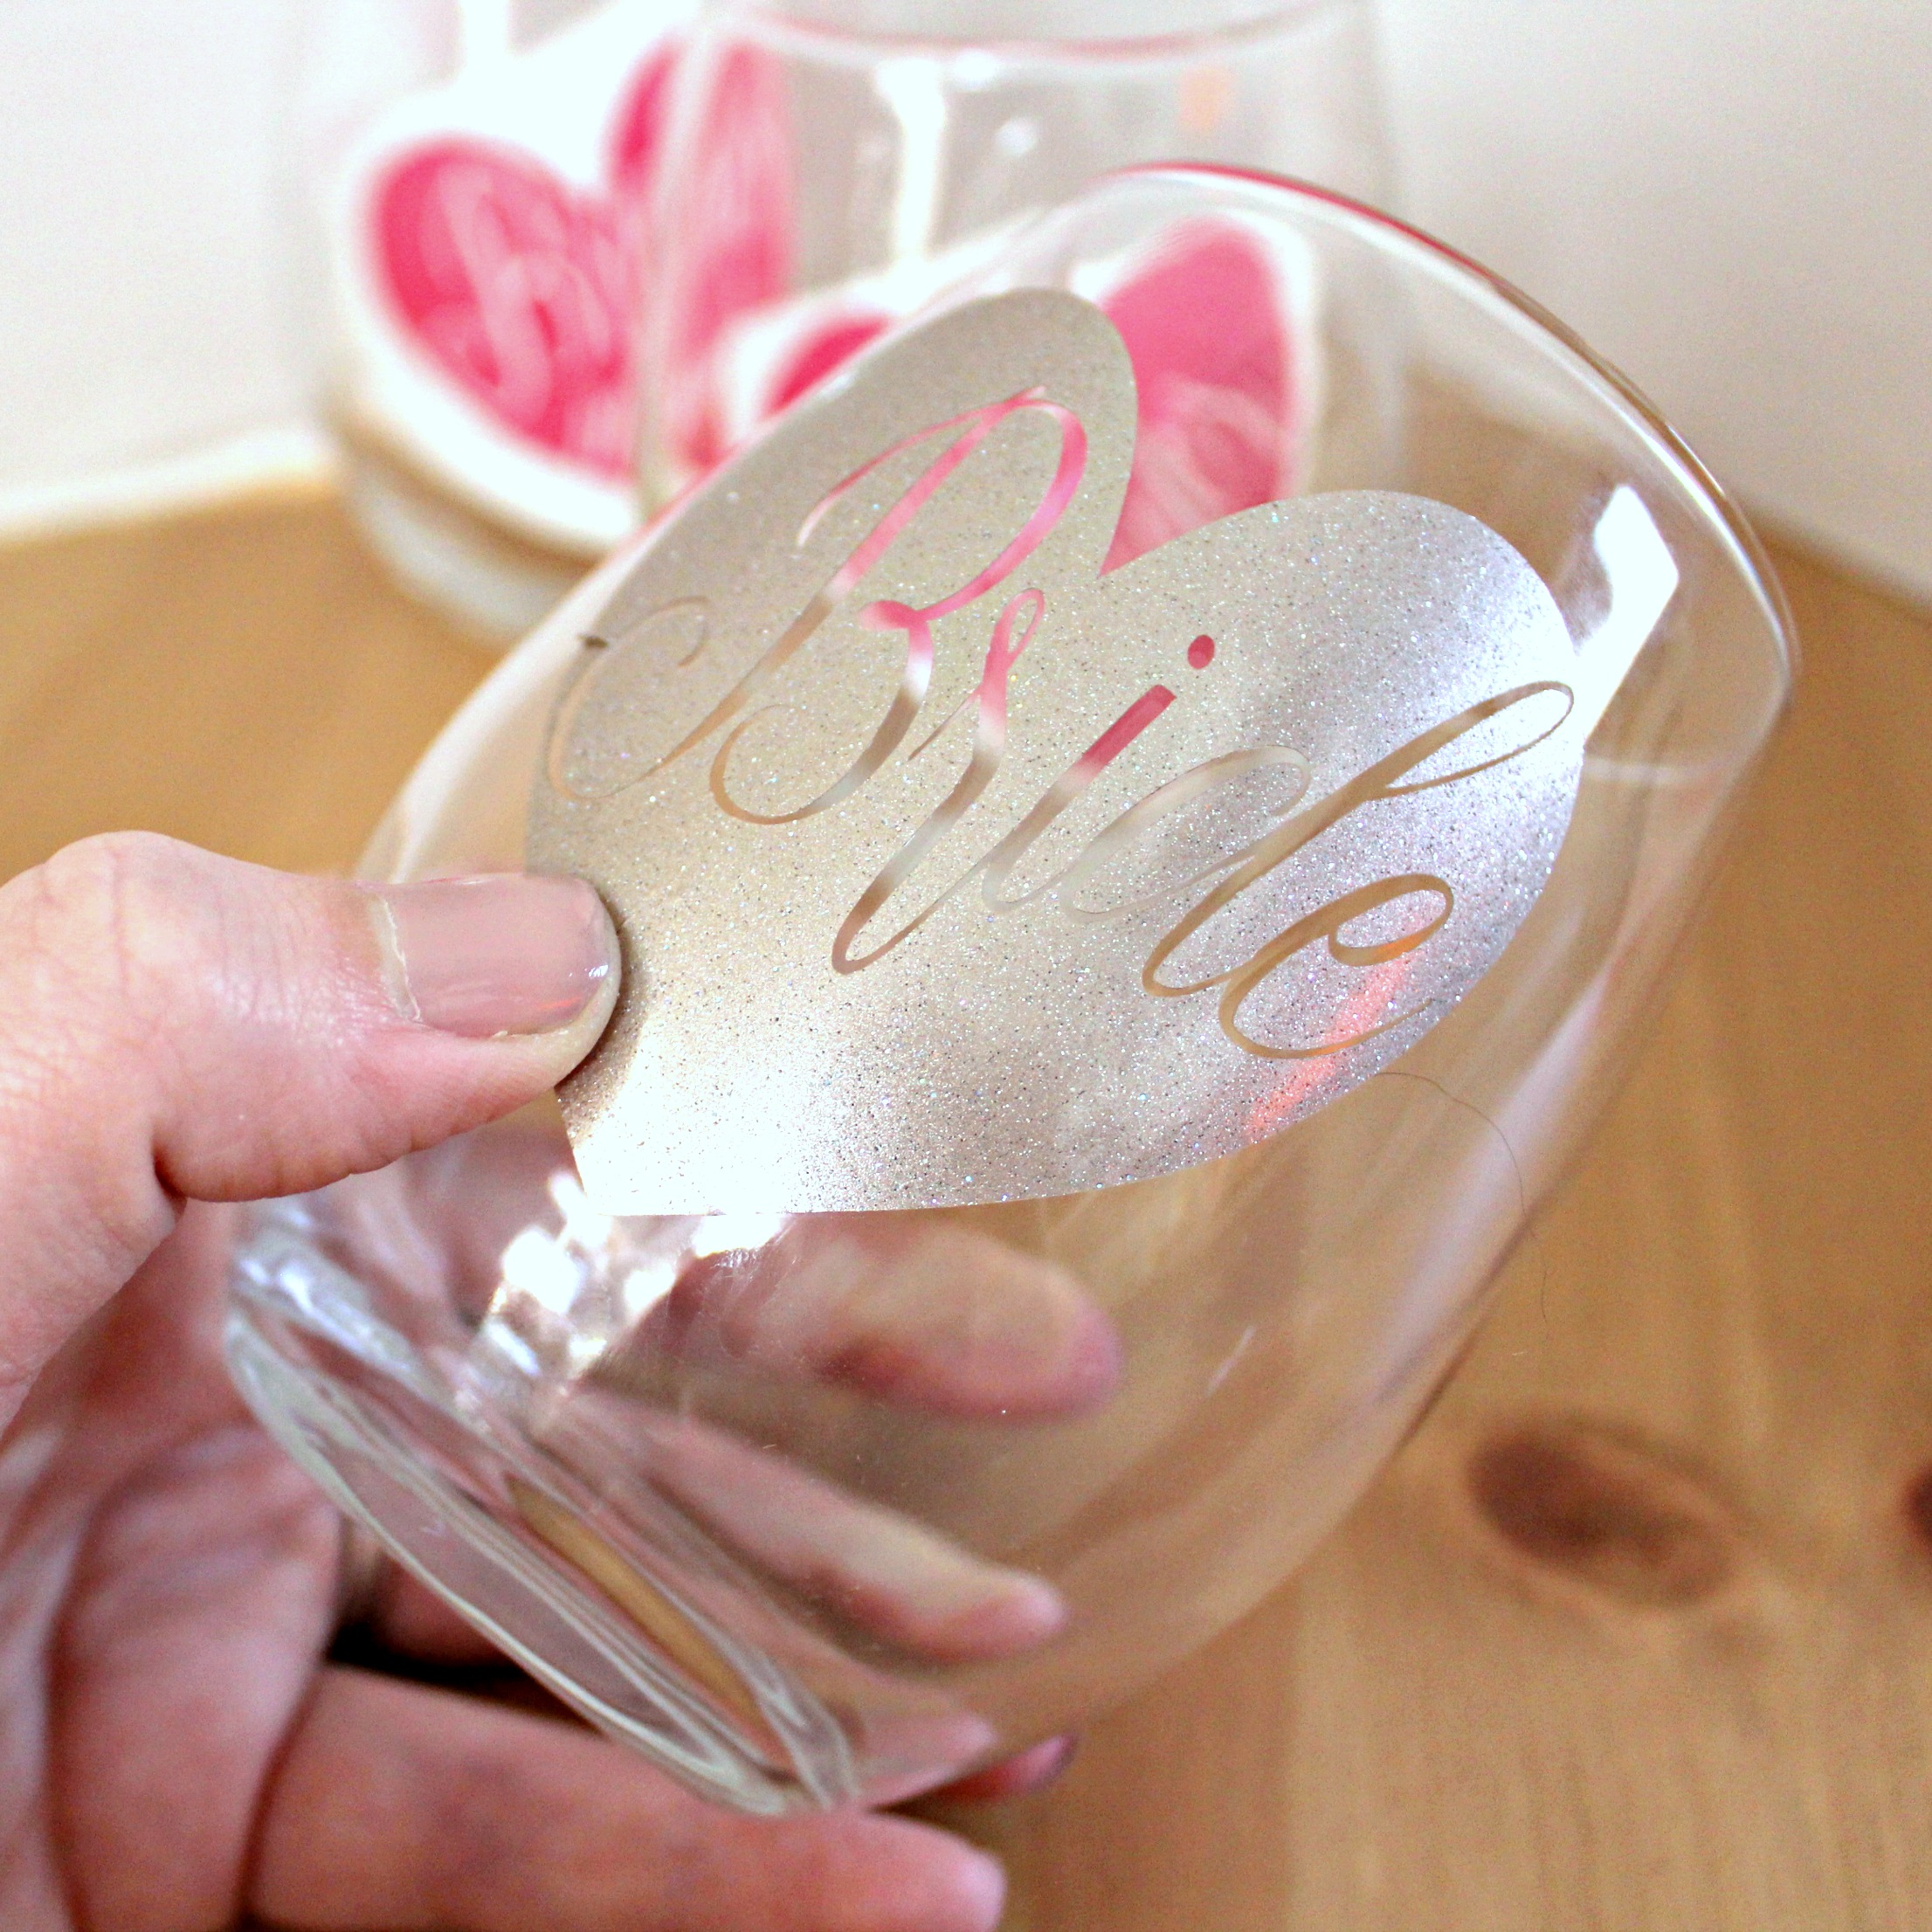
Because of the size of these hearts and the thinness of the fonts, these are a bit tougher to get curved around the glass, so they are a labor of love or for the more intermediate vinyl user. I made mine in Champagne Glitter Vinyl for the Bride Heart and Oracal 651 Pink Vinyl for the Bridesmaid and Maid of Honor Hearts.

Supplies:
Stemless Wine Glasses
Permanent Adhesive Vinyl
Transfer Paper
Craft Cutter and Tool Set
Adhesive Mat
Wine Glass Design Cut File

1. After downloading the cut files, import them into the Cricut Software. After creating a new project, select Upload Image. Select the file you wish to upload and it will automatically take you to the final upload screen, where you can name the file the select Save.
2. Cut the design(s) in your choice of permanent adhesive vinyl with the Vinyl Setting on your Cricut. The SVG Files are sized so that they will automatically cut to the size you see in the photos, but if you want to change the size you can.

3. Once the designs are cut, weed away the extra vinyl and cut a piece of transfer tape to 3" x 2.5". Cut away any excess backing from the vinyl design and smooth transfer tape over the design, aligning it to the top of the heart. It is more important to cover the text with the transfer tape; the bottom of my heart wasn’t covered and it made it easier to transfer and the heart acts like a giant sticker. Using the smoother tool, smooth the tape to the vinyl, removing any air bubbles. The transfer tape should overlap the backing of the design, so that you can stick the tape to an object with the backing still on the design.

4. Lift the transfer tape from the backing, making sure that the vinyl transfers itself from the backing to the transfer tape.

5. Smooth the design onto the wine glass, putting it higher on the wine glass for easier smoothing. Start in the center of the design, and make sure all the words are pressed into the glass firmly. Then start smoothing from the center to the outside edges until the design is smoothed as much as possible onto the glass. The curve will make these hearts more difficult than some of our other Wine Glass Projects, so try to be patient with it. :) You can remove the transfer tape as soon as you can and then continue smoothing the heart on to the glass.

6. After the heart has been smoothed as much as possible, pop any air bubbles with a pin. Small creases in the heart where material has overlapped can also be cut with cuticle scissors and smoothed again to give a smoother overall finish. Repeat the process for all the additional wine glasses.

