This post contains affiliate links, meaning that if you click on a link I will recieve a small comission. This costs you nothing extra and I only promote products I use and love! You can read our full disclosure here

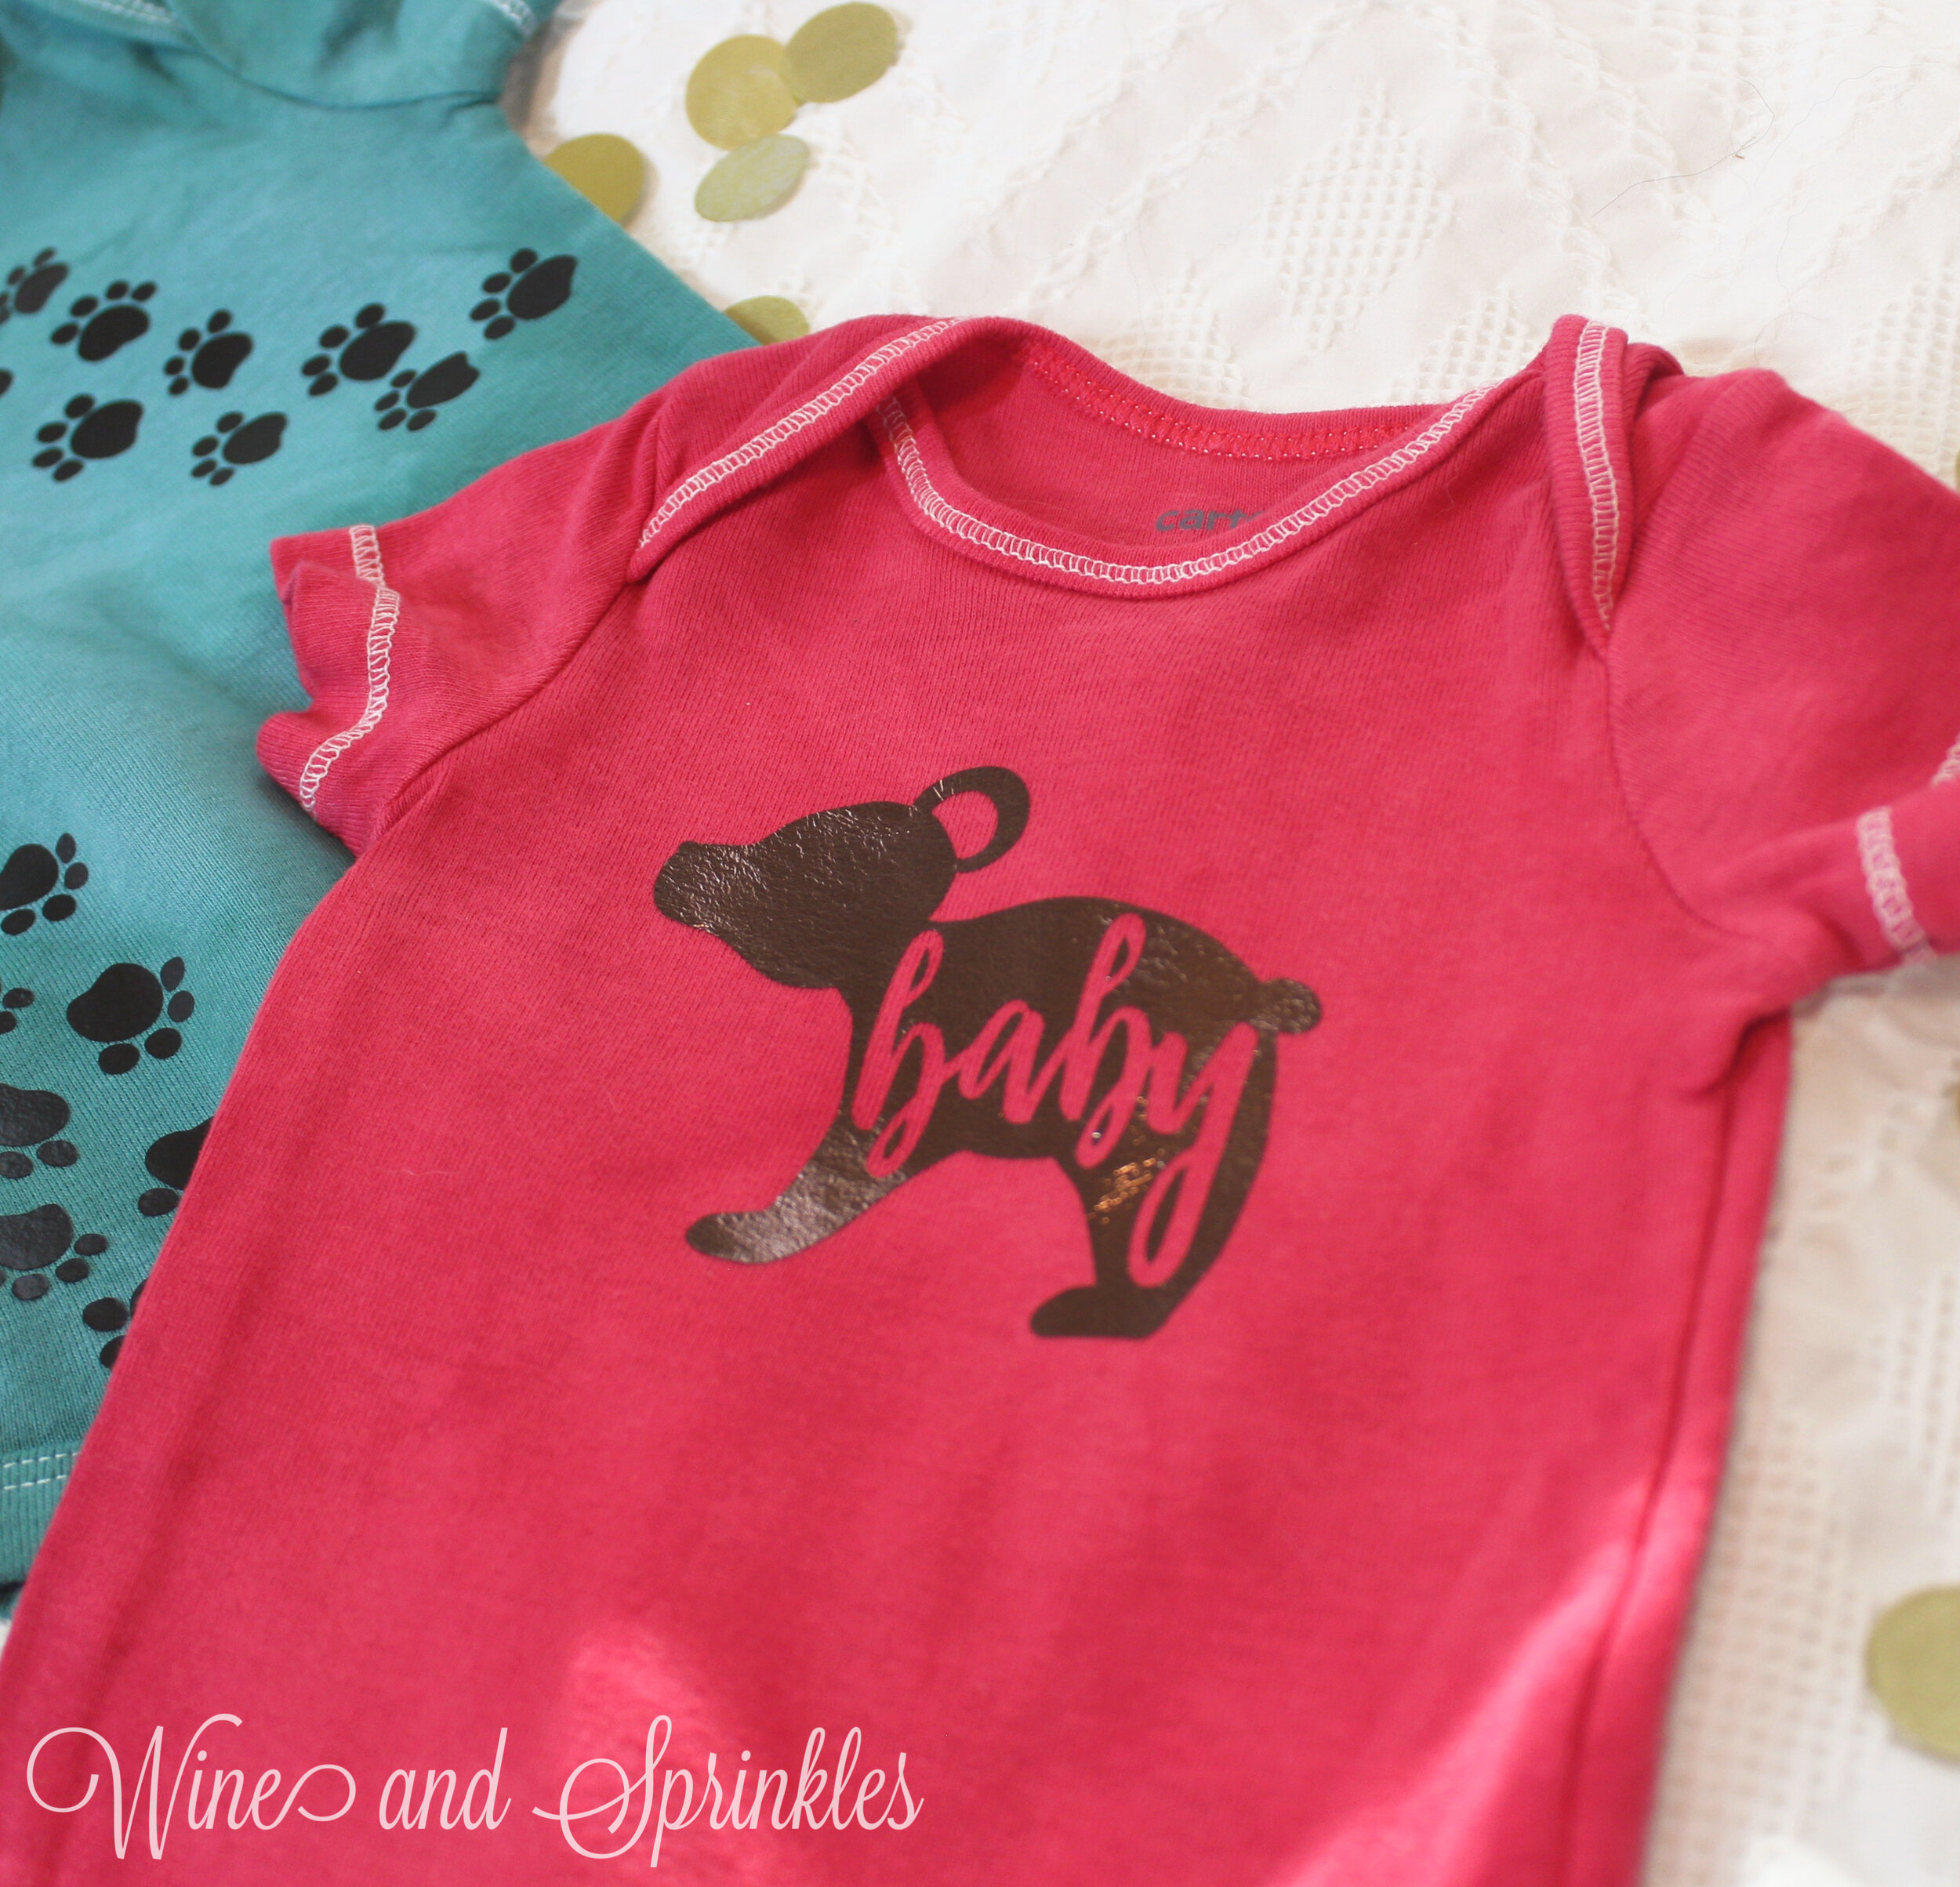
One of my best friends is expecting a baby soon and received an adorable Mama Bear themed sweater for the winter, and as soon as I saw it I knew there had to be a baby bear onesie to go with it for when her little one arrived! Thus, my baby bear onesie was born! Since her sweater has the silhouette of a bear with Mama cut out of it oh, it was only fitting that her little girls onesie was a little bear cub silhouette with baby cut out!
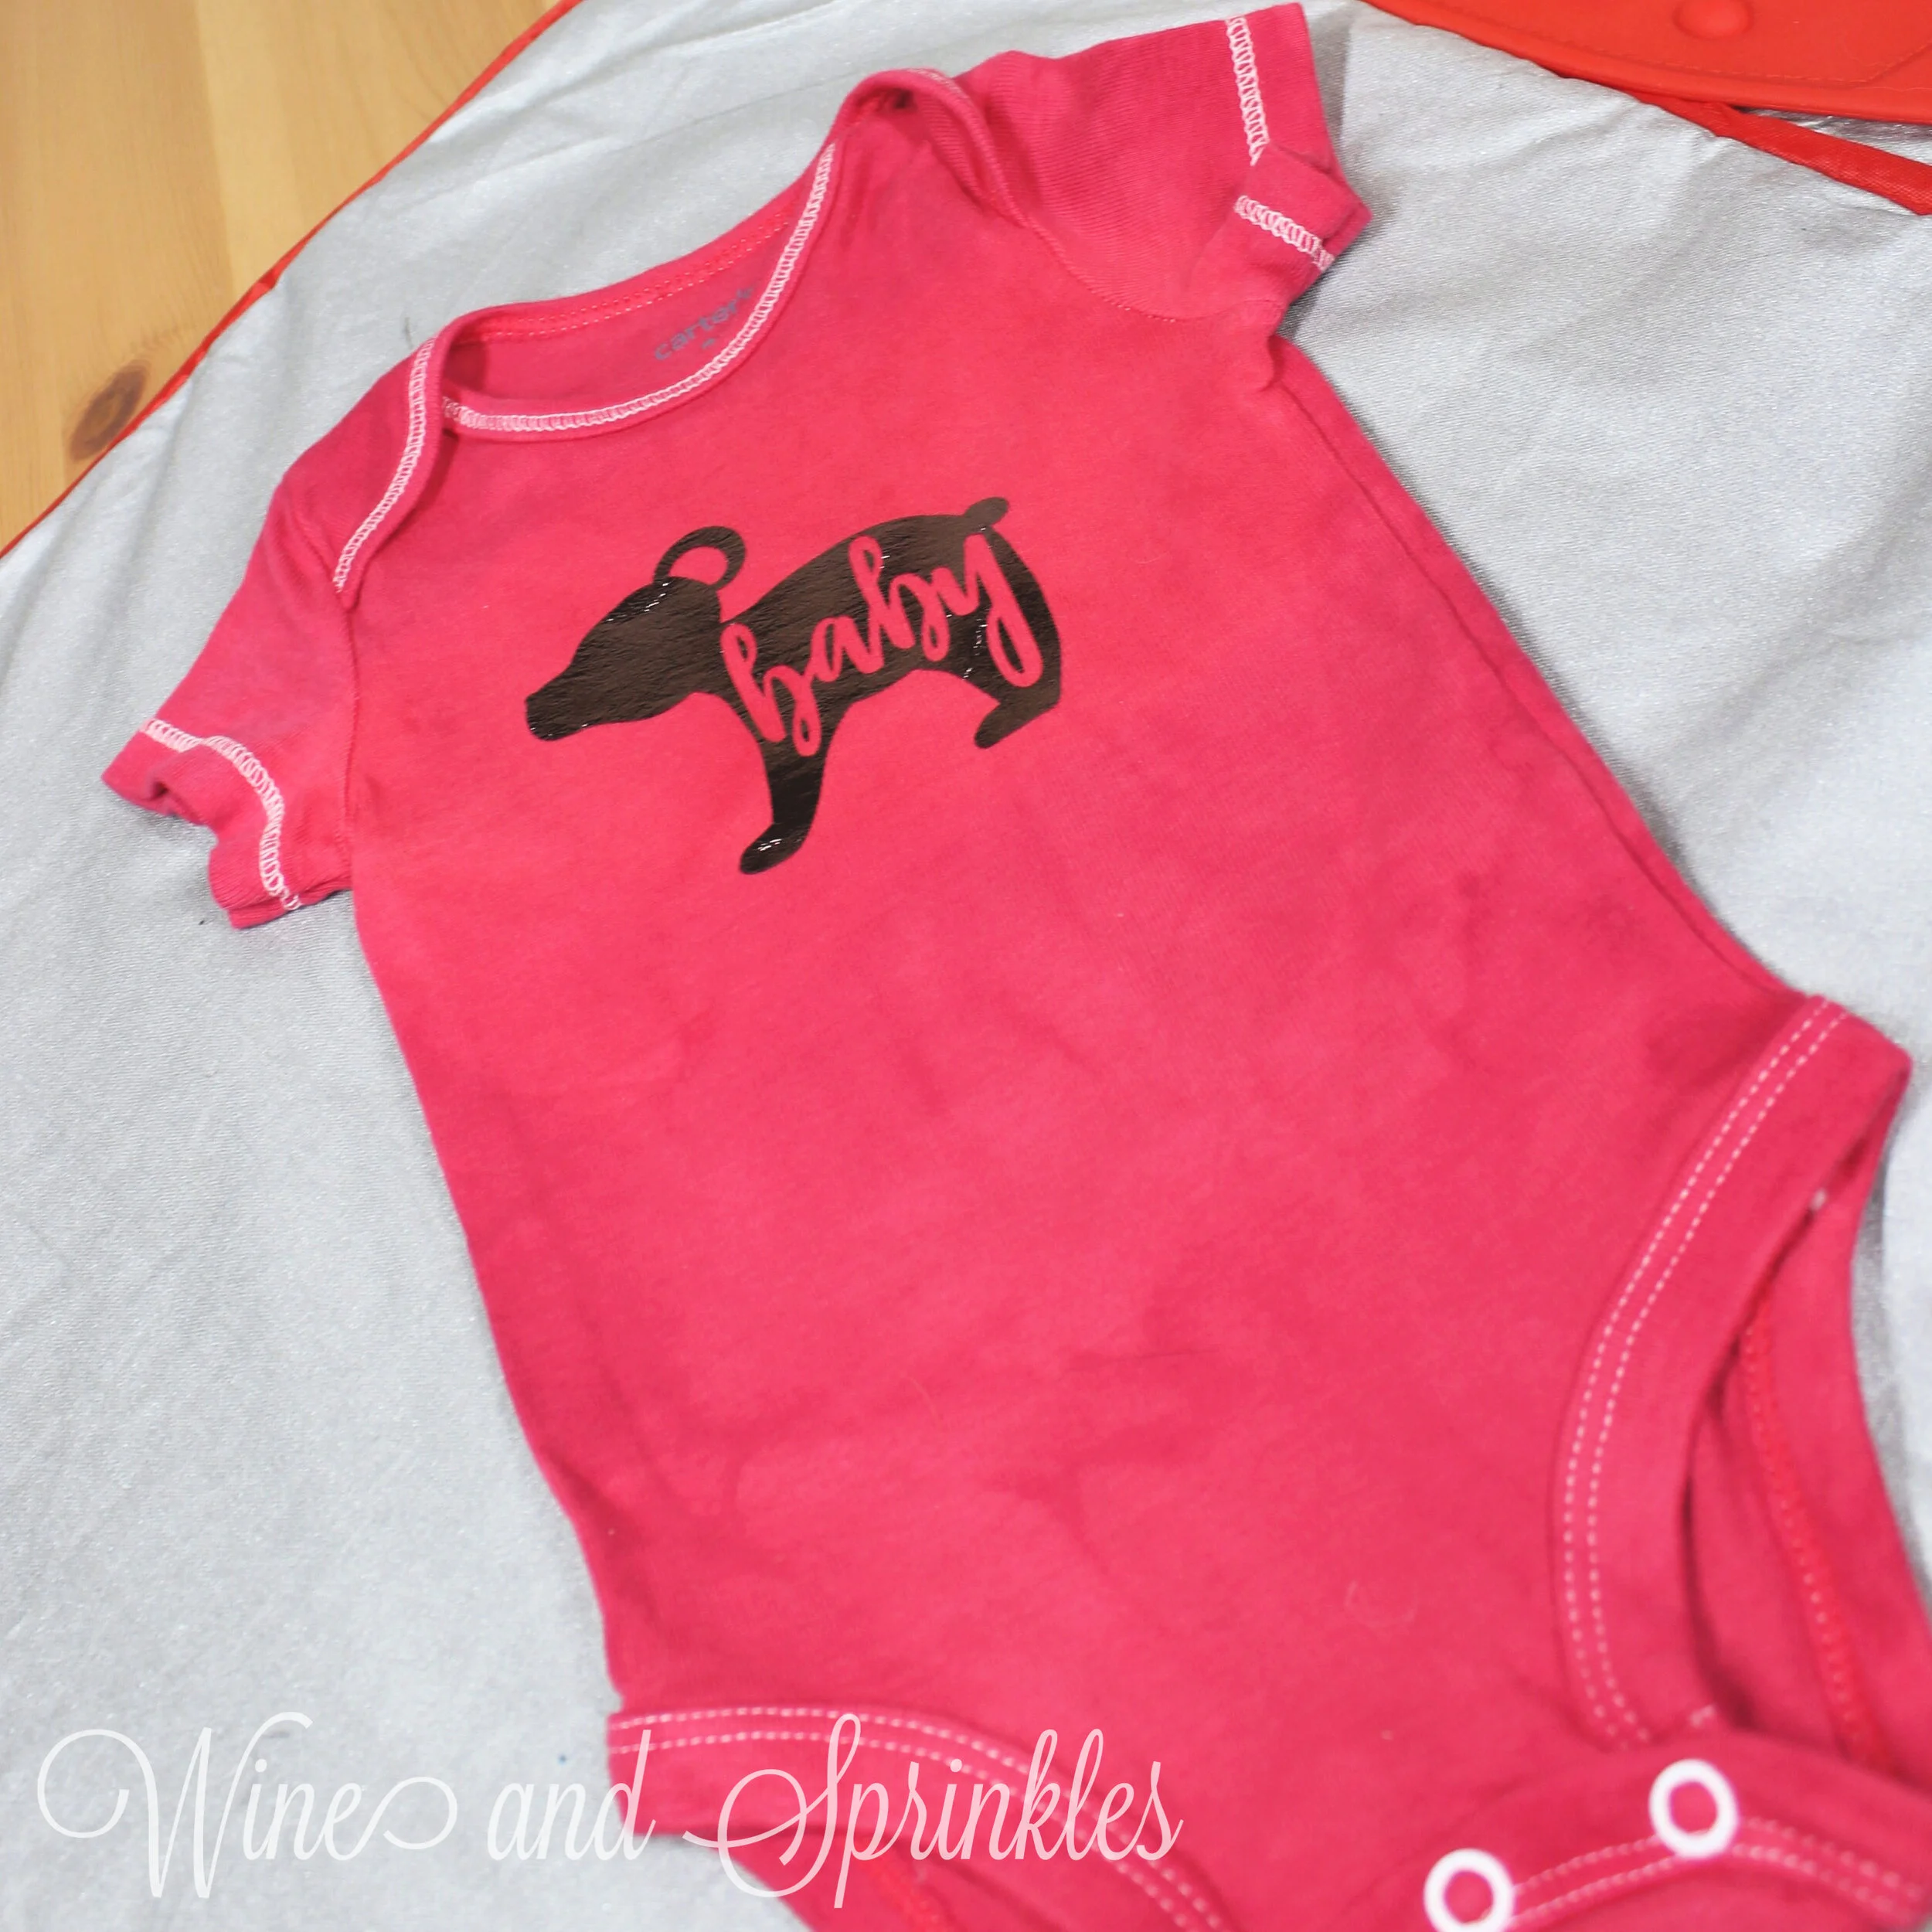
The decal was made with Brown Easyweed HTV on a Hand Dyed Red Onesie and it turned out so adorable! Can't wait to see what it looks like in silver glitter and purple next! This project is a great beginner HTV transfer project; the decal is easy to cut, weed, and small enough to fit entirely under your iron in one press.
Make sure to check out our other Baby Onesie Projects for more DIY Baby Shower Gift Inspiration!

Supplies:
Dyed or White Onesies
Easyweed Heat Transfer Vinyl or Glitter Heat Transfer Vinyl
Craft Cutter and Tool Set
Adhesive Mat
Onesie Design Cut Files


After downloading the cut files, import them into the Cricut Software. After creating a new project, select Upload Image. Select the file you wish to upload and it will automatically take you to the final upload screen, where you can name the file, then select Save. The SVG Files are sized so that they will automatically cut to the size you see in the photos, but if you want to change the size you can do so to fit your onesies the way you like.
After selecting “Make It” Make sure to select the Mirror Mode on the cutting screen. Cut the design in your choice of heat transfer vinyl with the Iron On (for Easyweed HTV) or Iron On+ (for Glitter HTV) Setting on your Cricut, with the shiny side of the material down.

4. Set your Iron to the second Highest setting. Cover the parchment paper and decal with your iron, pressing down firmly on the design. Using your iron like a small heat press, press the design for at least 20-30 seconds, repeating and overlapping the last position as you move across the design. Luckily, onesie decals are so small, you should be able to fit the whole decal under the iron in a single press!
3. Weed the additional material off of the backing material so that, looking down with the shiny side up, you can see your design with the correct orientation.Iron your onesie to remove any creases, then center the design over the top half of the onesie. Arrange the design shiny side up, then cover with parchment paper. Make sure to keep the parchment paper between the design and the iron.

5. Remove the parchment paper and peel the clear backing from the decal, leaving the design on the onesie.

Check out our other Baby Onesie Projects for more DIY Baby Shower Gift Inspiration!
