This post contains affiliate links, meaning that if you click on a link I will recieve a small comission. This costs you nothing extra and I only promote products I use and love! You can read our full disclosure here

As we get closer to Valentine's Day and its impending tea party, I keep finding bits and pieces that I forgot about. A few days ago I realized in a panic that I didn't have enough matching tea cups for the whole party. Yes I am a little crazy when it comes to things matching at parties, but on the bright side it gave me the idea for these little beauties, personalized Valentine's Day Tea Cups! Not only will they function as place cards when people get their tea but they become great favors for each guest to take home. The best part, in my opinion, was the price. I found plain white tea cups at Walmart for a dollar a piece and I already had all the vinyl I needed for the project so I ended up only spending $10 on the whole set!
Supplies:
Plain white teacups (i found mine at Walmart)
Permanent Adhesive Vinyl in pinks, white and red (I use Expressions Vinyl)
Craft Cutter and Tool Set
Adhesive Mat
Scissors
1. First, cut out the valentine heart using your craft cutter. You can download the one I used here. I made my hearts about 3" wide. Once cut, weed away the extra vinyl.
2. Next cut out the the names in a white matte vinyl. I used the Brush Script for my names and made sure that the longest was 2" wide maximum. Additionally, cut out 1" hearts in varying colors of pink and red, about 5 per cup.

3. Once the names are weeded, use transfer paper to adhere it to the hearts while they are still on the mat. I did mine on a slant for fun, but it is by no means required! Decide how you like them best. :)

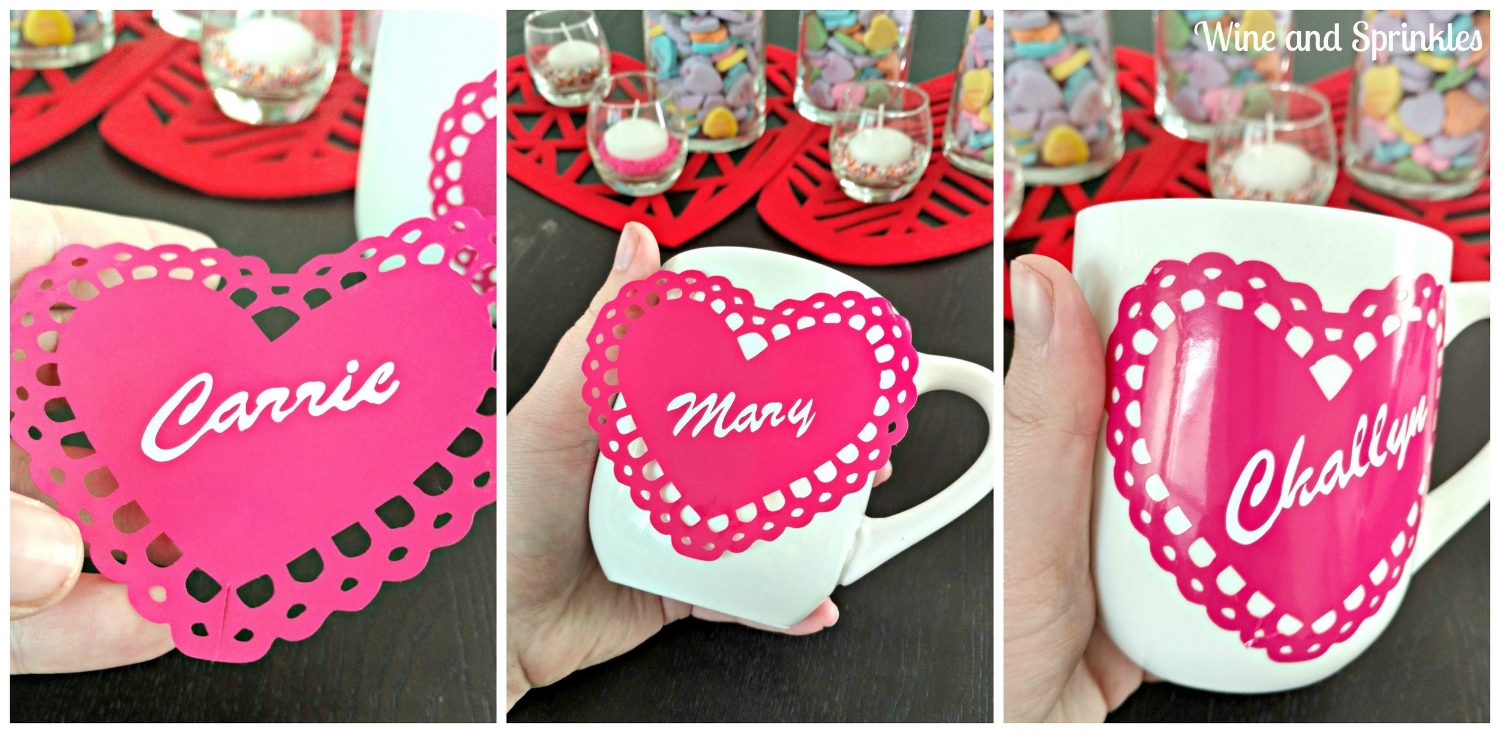
4. Now, peel off the main heart just like a stick and cut a small slit in the bottom near the point. This will help you overlap the bottom that is closer to the curve. Place squarely on the teacup, with the teacup handle on whatever side you plan to drink from (mine are right because I assumed everyone was right handed). Starting in the middle on the heart, smooth it out to the edges, starting at the top and ending at the bottom, so any excess can be easily hidden in the point.
5. Finish each teacup by sticking on the smaller assorted hearts you cut. I found that about 5 filled up the cup nicely but didn't overlap.

I absolutely adore these cups! Next year I may do something similar with champagne flutes because this tea party may become a yearly tradition. And since they are made with permanent vinyl, they are a hand washable addition to your friends mug collection! :)