This post contains affiliate links, meaning that if you click on a link I will recieve a small comission. This costs you nothing extra and I only promote products I use and love! You can read our full disclosure here

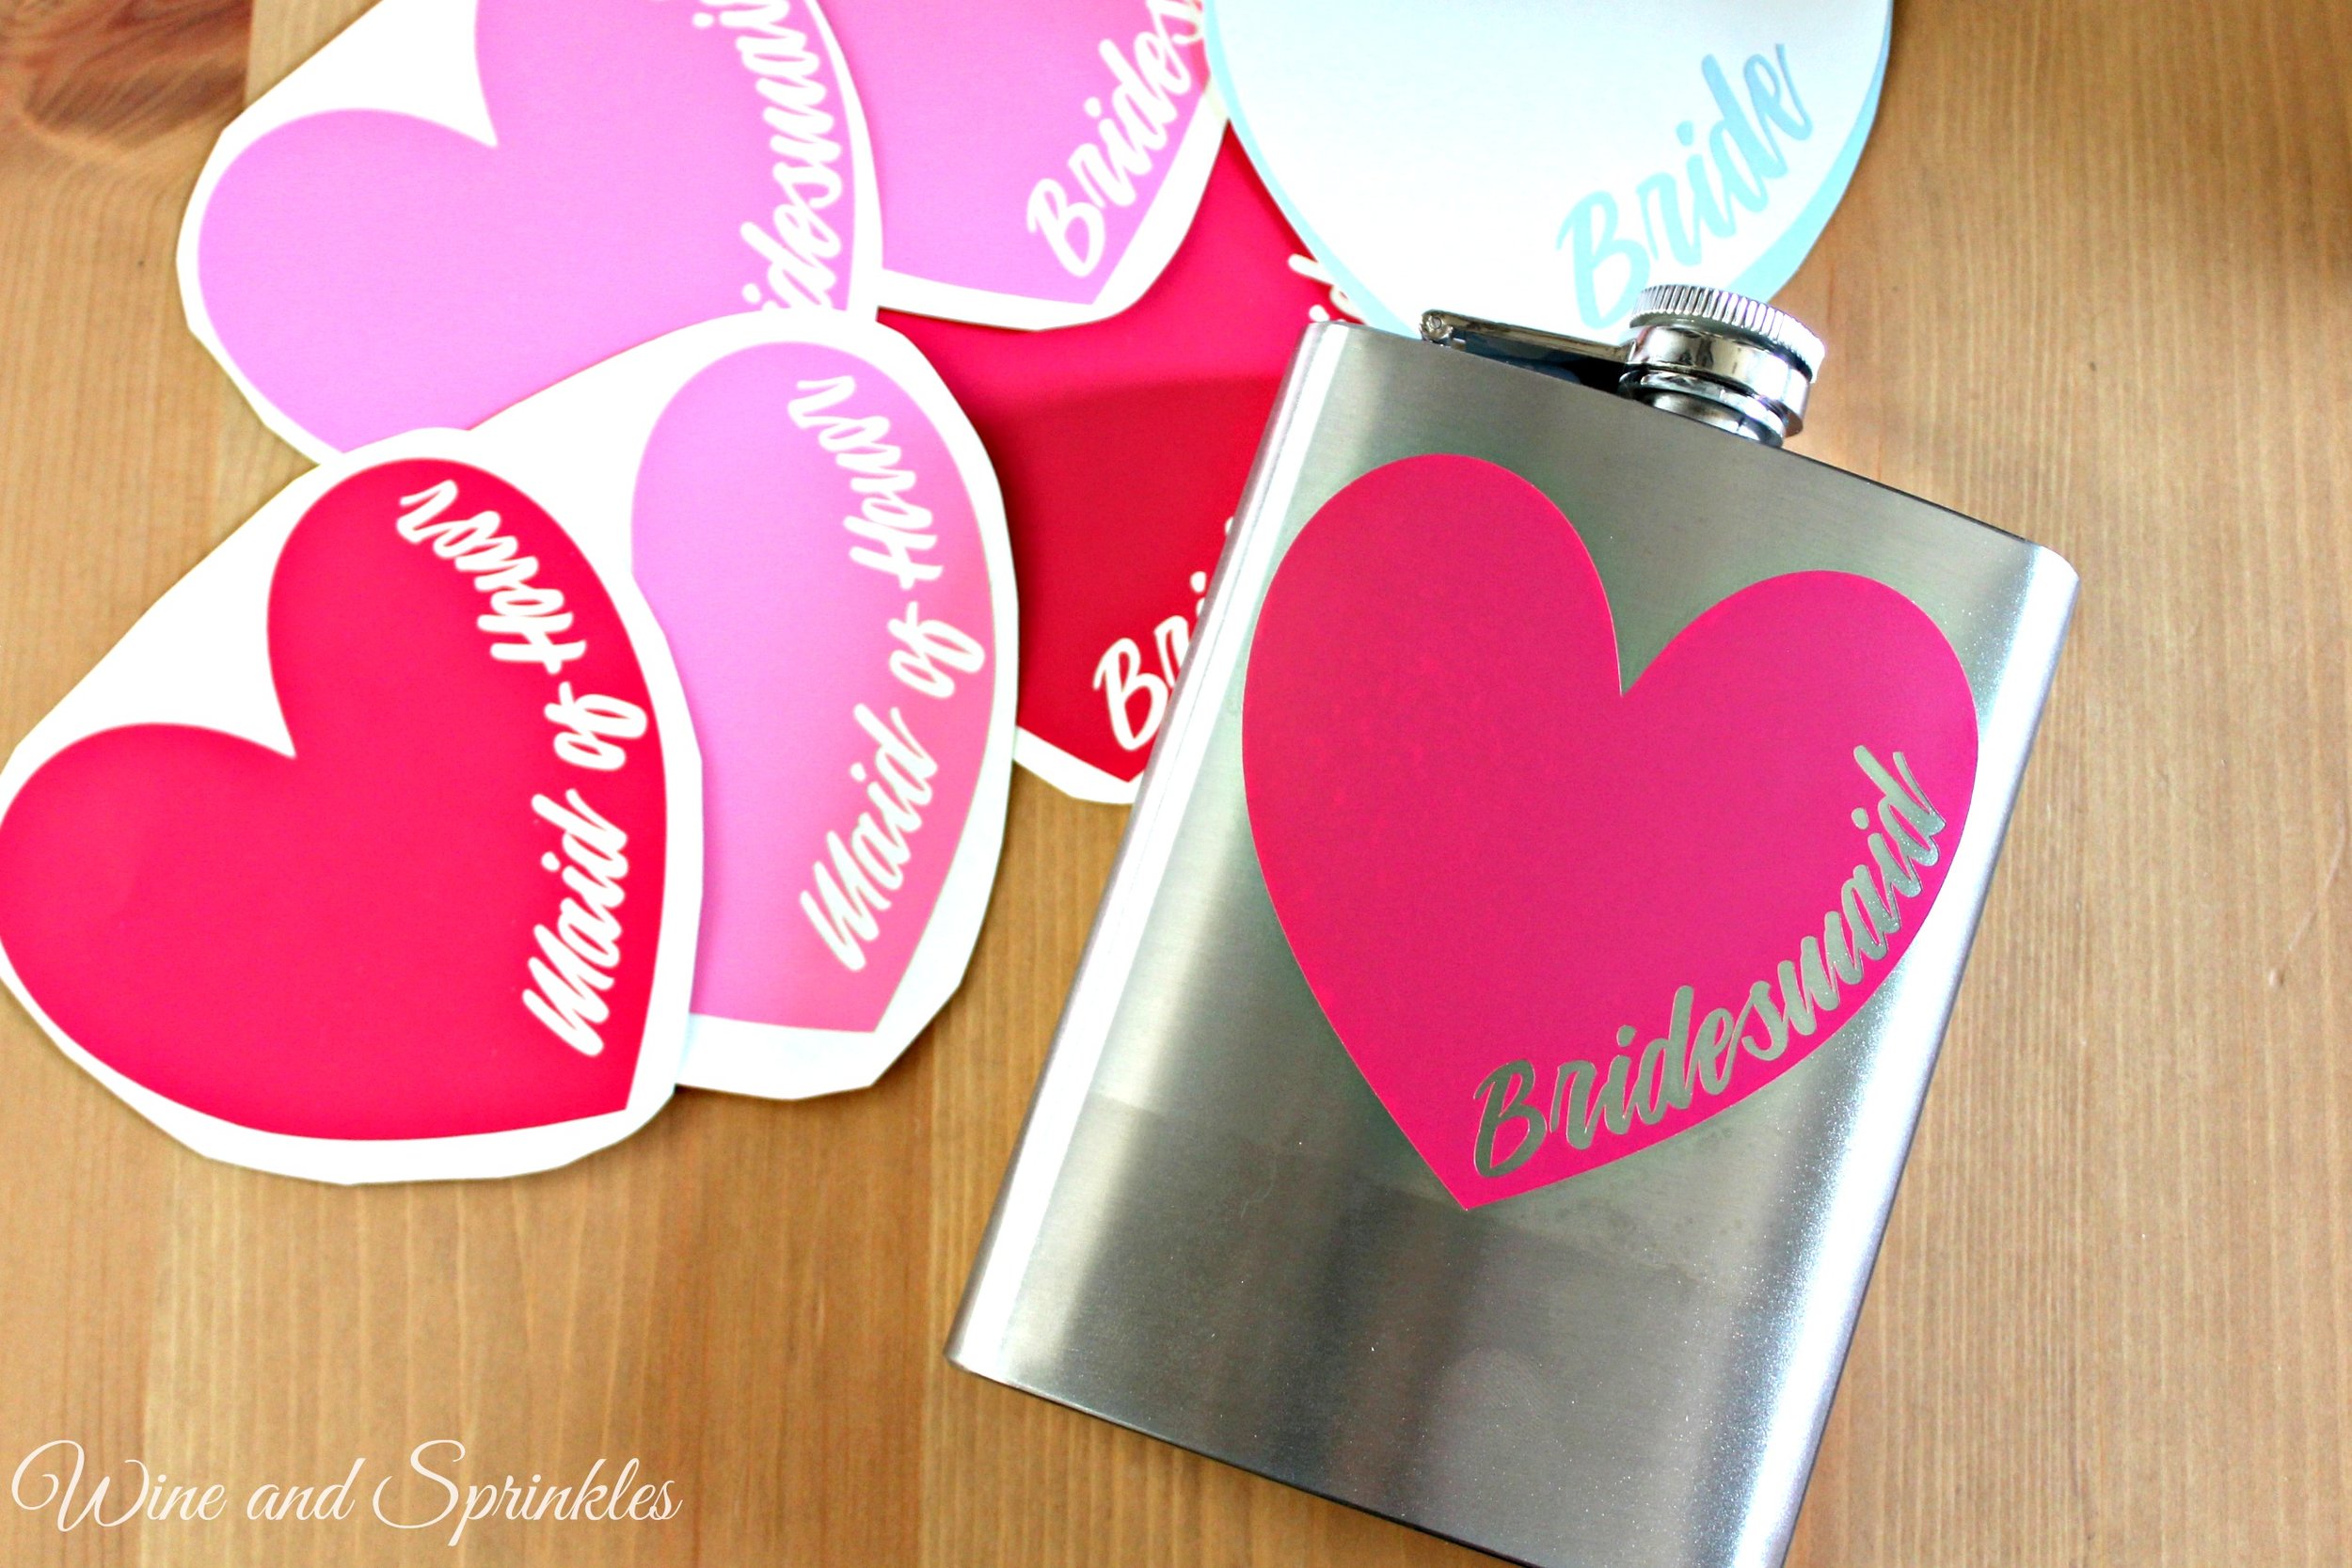
With all the fun I had making the Groomsman Mustache Flasks, I couldn't leave the Bridesmaids out of the shinanigans! These Heart flasks are a simple and understated way to invite your bridesmaids to your wedding party or to use as a bachelorette favor or wedding gift! And of course I included one for the Bride so that all the wedding ladies can celebrate together!

The only difficult part of this project is to make sure some of the smaller pieces of vinyl don't get removed while weeding the letters from the heart (like the middle of the "e's" and "d's") so take your time on weeding the design and cut a couple extras if you are nervous! :)

Supplies:
Flasks
Permanent Adhesive Vinyl
Transfer Paper
Craft Cutter and Tool Set
Adhesive Mat
Flask Design Cut File

1. After downloading the cut files, import them into the Cricut Software. After creating a new project, select Upload Image. Select the file you wish to upload and it will automatically take you to the final upload screen, where you can name the file the select Save.
2. Cut the design(s) in your choice of permanent adhesive vinyl with the Vinyl Setting on your Cricut. The SVG Files are sized so that they will automatically cut to the size you see in the photos, but if you want to change the size you can do so to fit the flask the way you like.

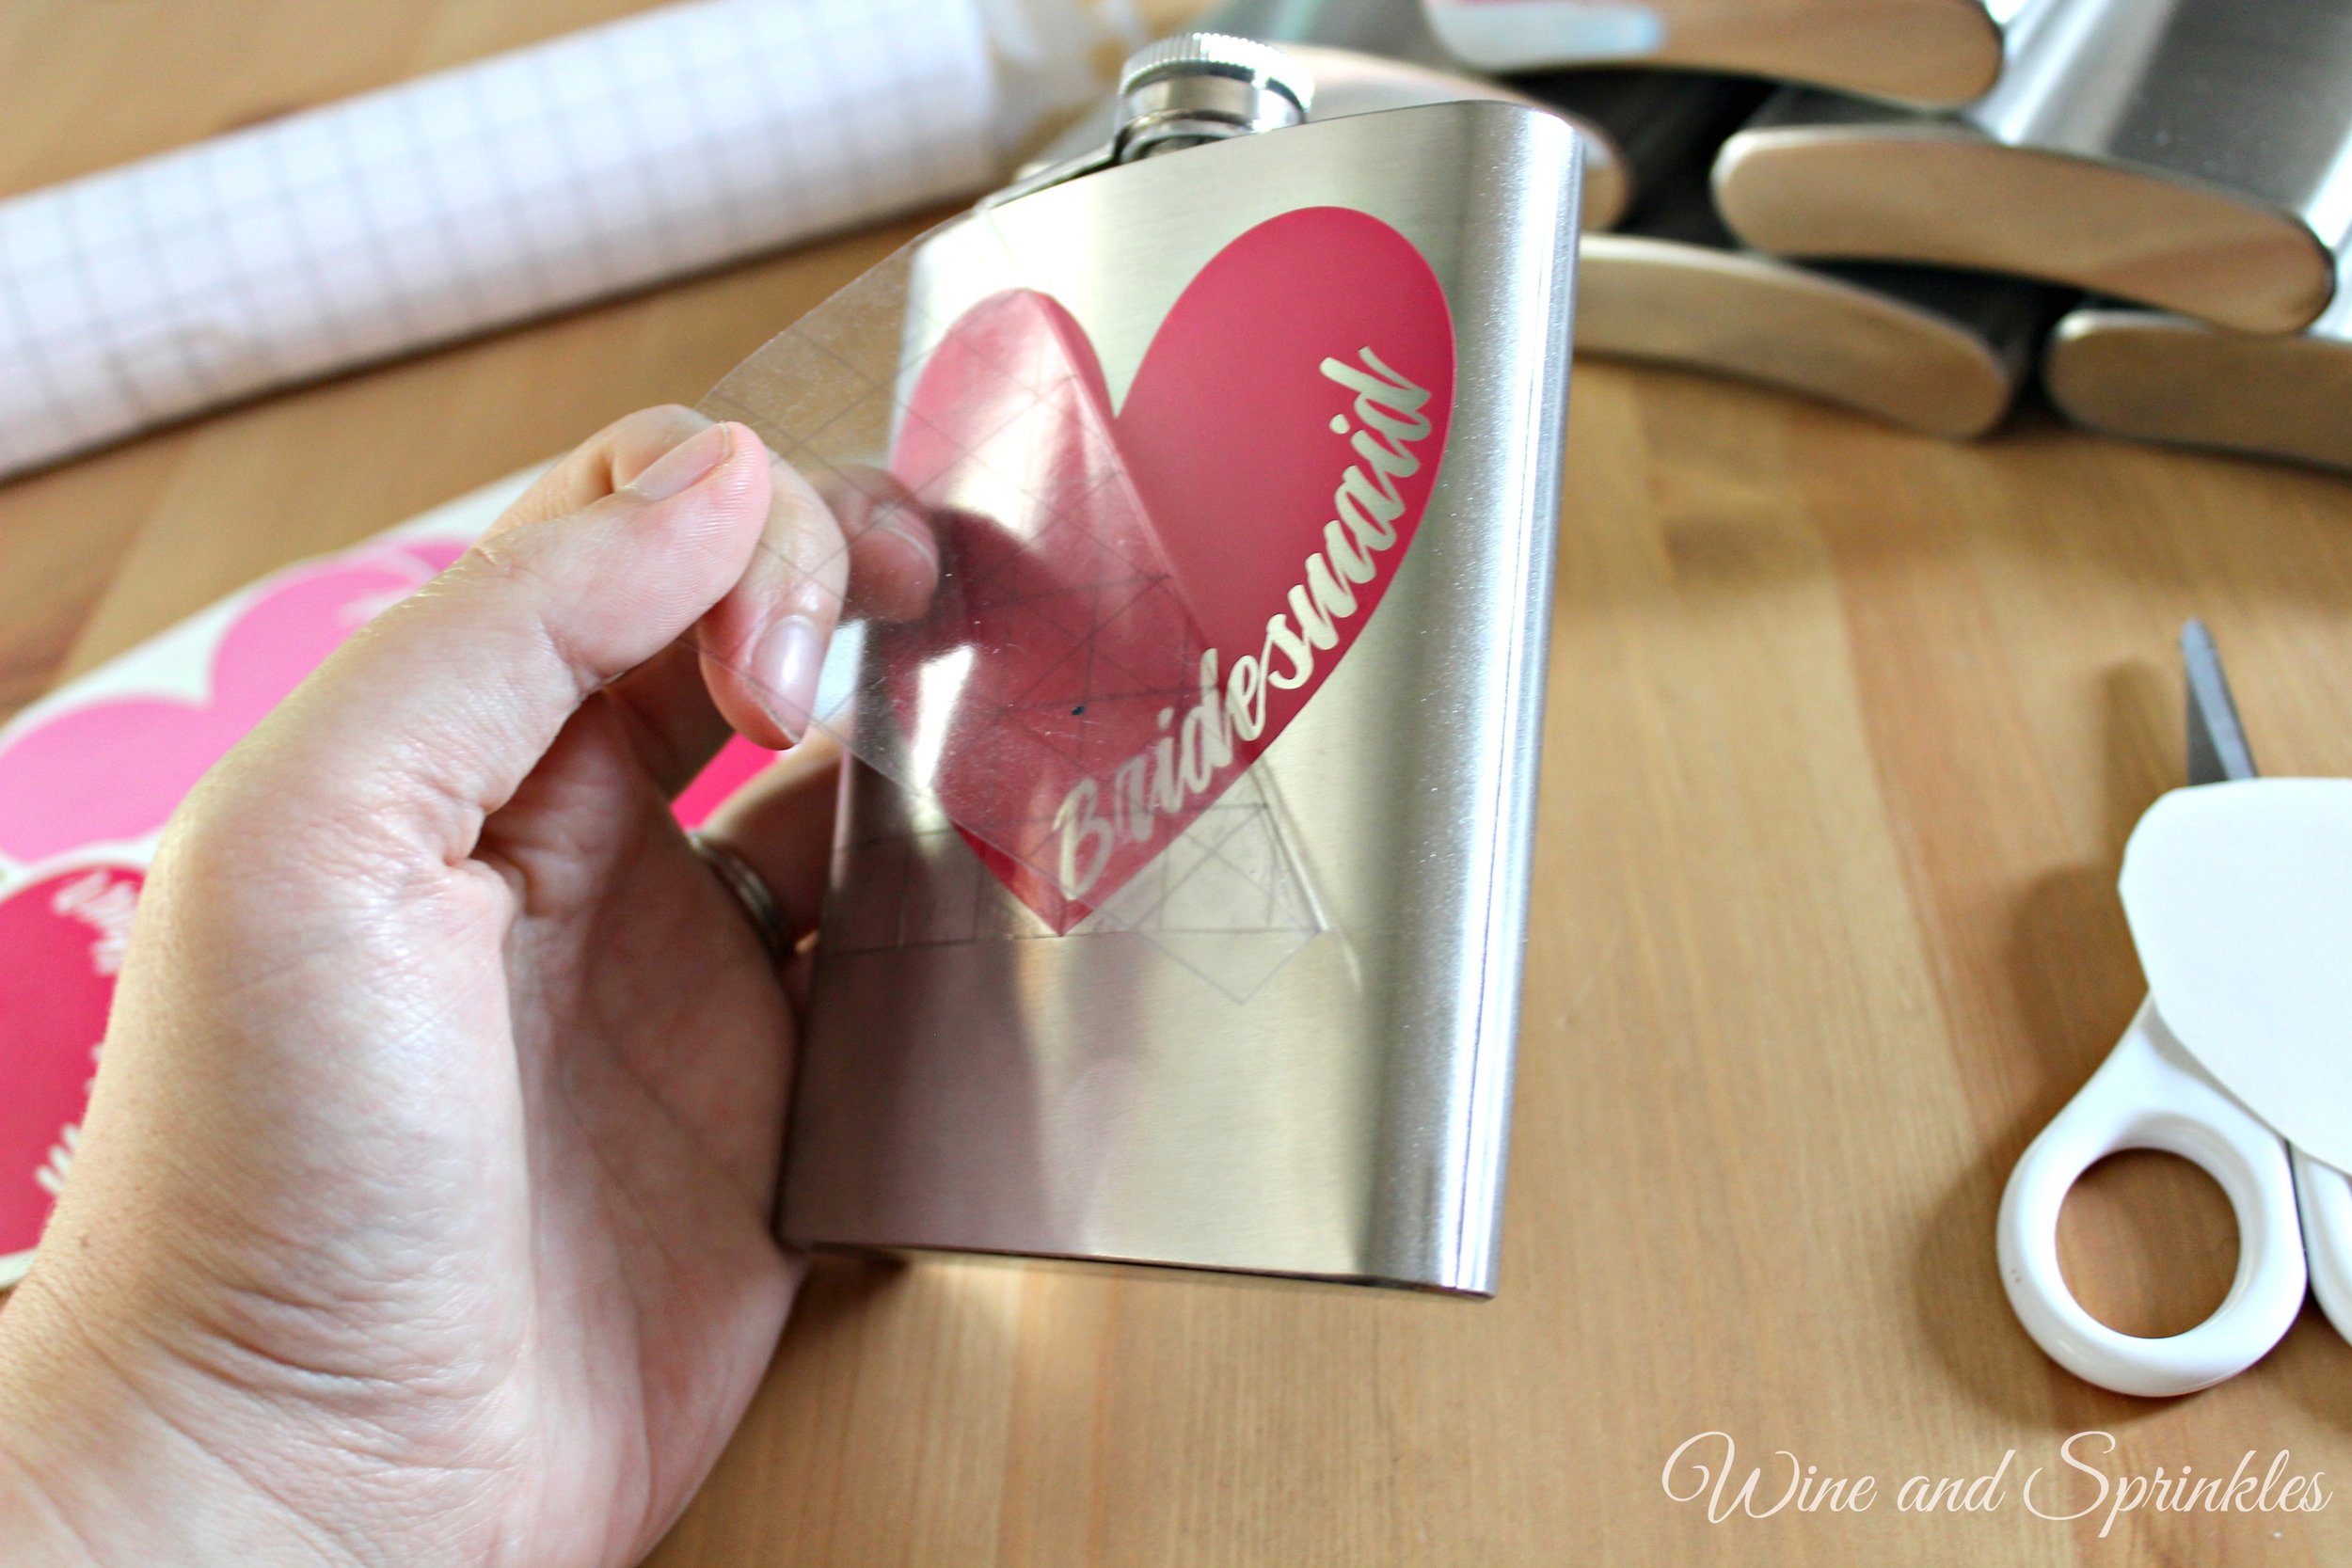
3. Once the designs are cut, weed away the extra vinyl and cut a piece of transfer taper to 4" x 3.5". I recommend using a transfer tape with 1/2" gridlines such as the Cricut brand tape as it makes it much easier to precisely transfer to the flasks. Cut away any excess backing and smooth transfer tape over the design, aligning it so that the middle on the long side of your transfer tape is centered along the middle of the heart, with the bottom of the heart at the bottom of the transfer tape, as shown below. Using the smoother tool, smooth the tape to the vinyl, removing any air bubbles. The transfer tape should overlap the backing of the design, so that you can stick the tape to an object with the backing still on the design.


4. Now, transfer the design to your flask. If you are comfortable centering the designs you can remove the tape from the backing and directly place the design on the flask. If not, arrange the design to be centered on the flask before removing the backing, sticking it with the overlapping transfer tape. I aligned mine such that the middle of each heart was centered on the top cap of the flask and the top of the transfer tape ran along the top edge of the flask, as shown in the photos below.

5. Once your design is placed to your satisfaction, carefully peel the tape off the backing, transferring the vinyl to the transfer tape while not unsticking it from the flask. Remove the backing then smooth the design onto the flask, once again using the smoother to remove any air bubbles.

6. Remove the transfer taper to leave the design on the flask, then repeat the process for all the additional flasks.