This post contains affiliate links, meaning that if you click on a link I will recieve a small comission. This costs you nothing extra and I only promote products I use and love! You can read our full disclosure here
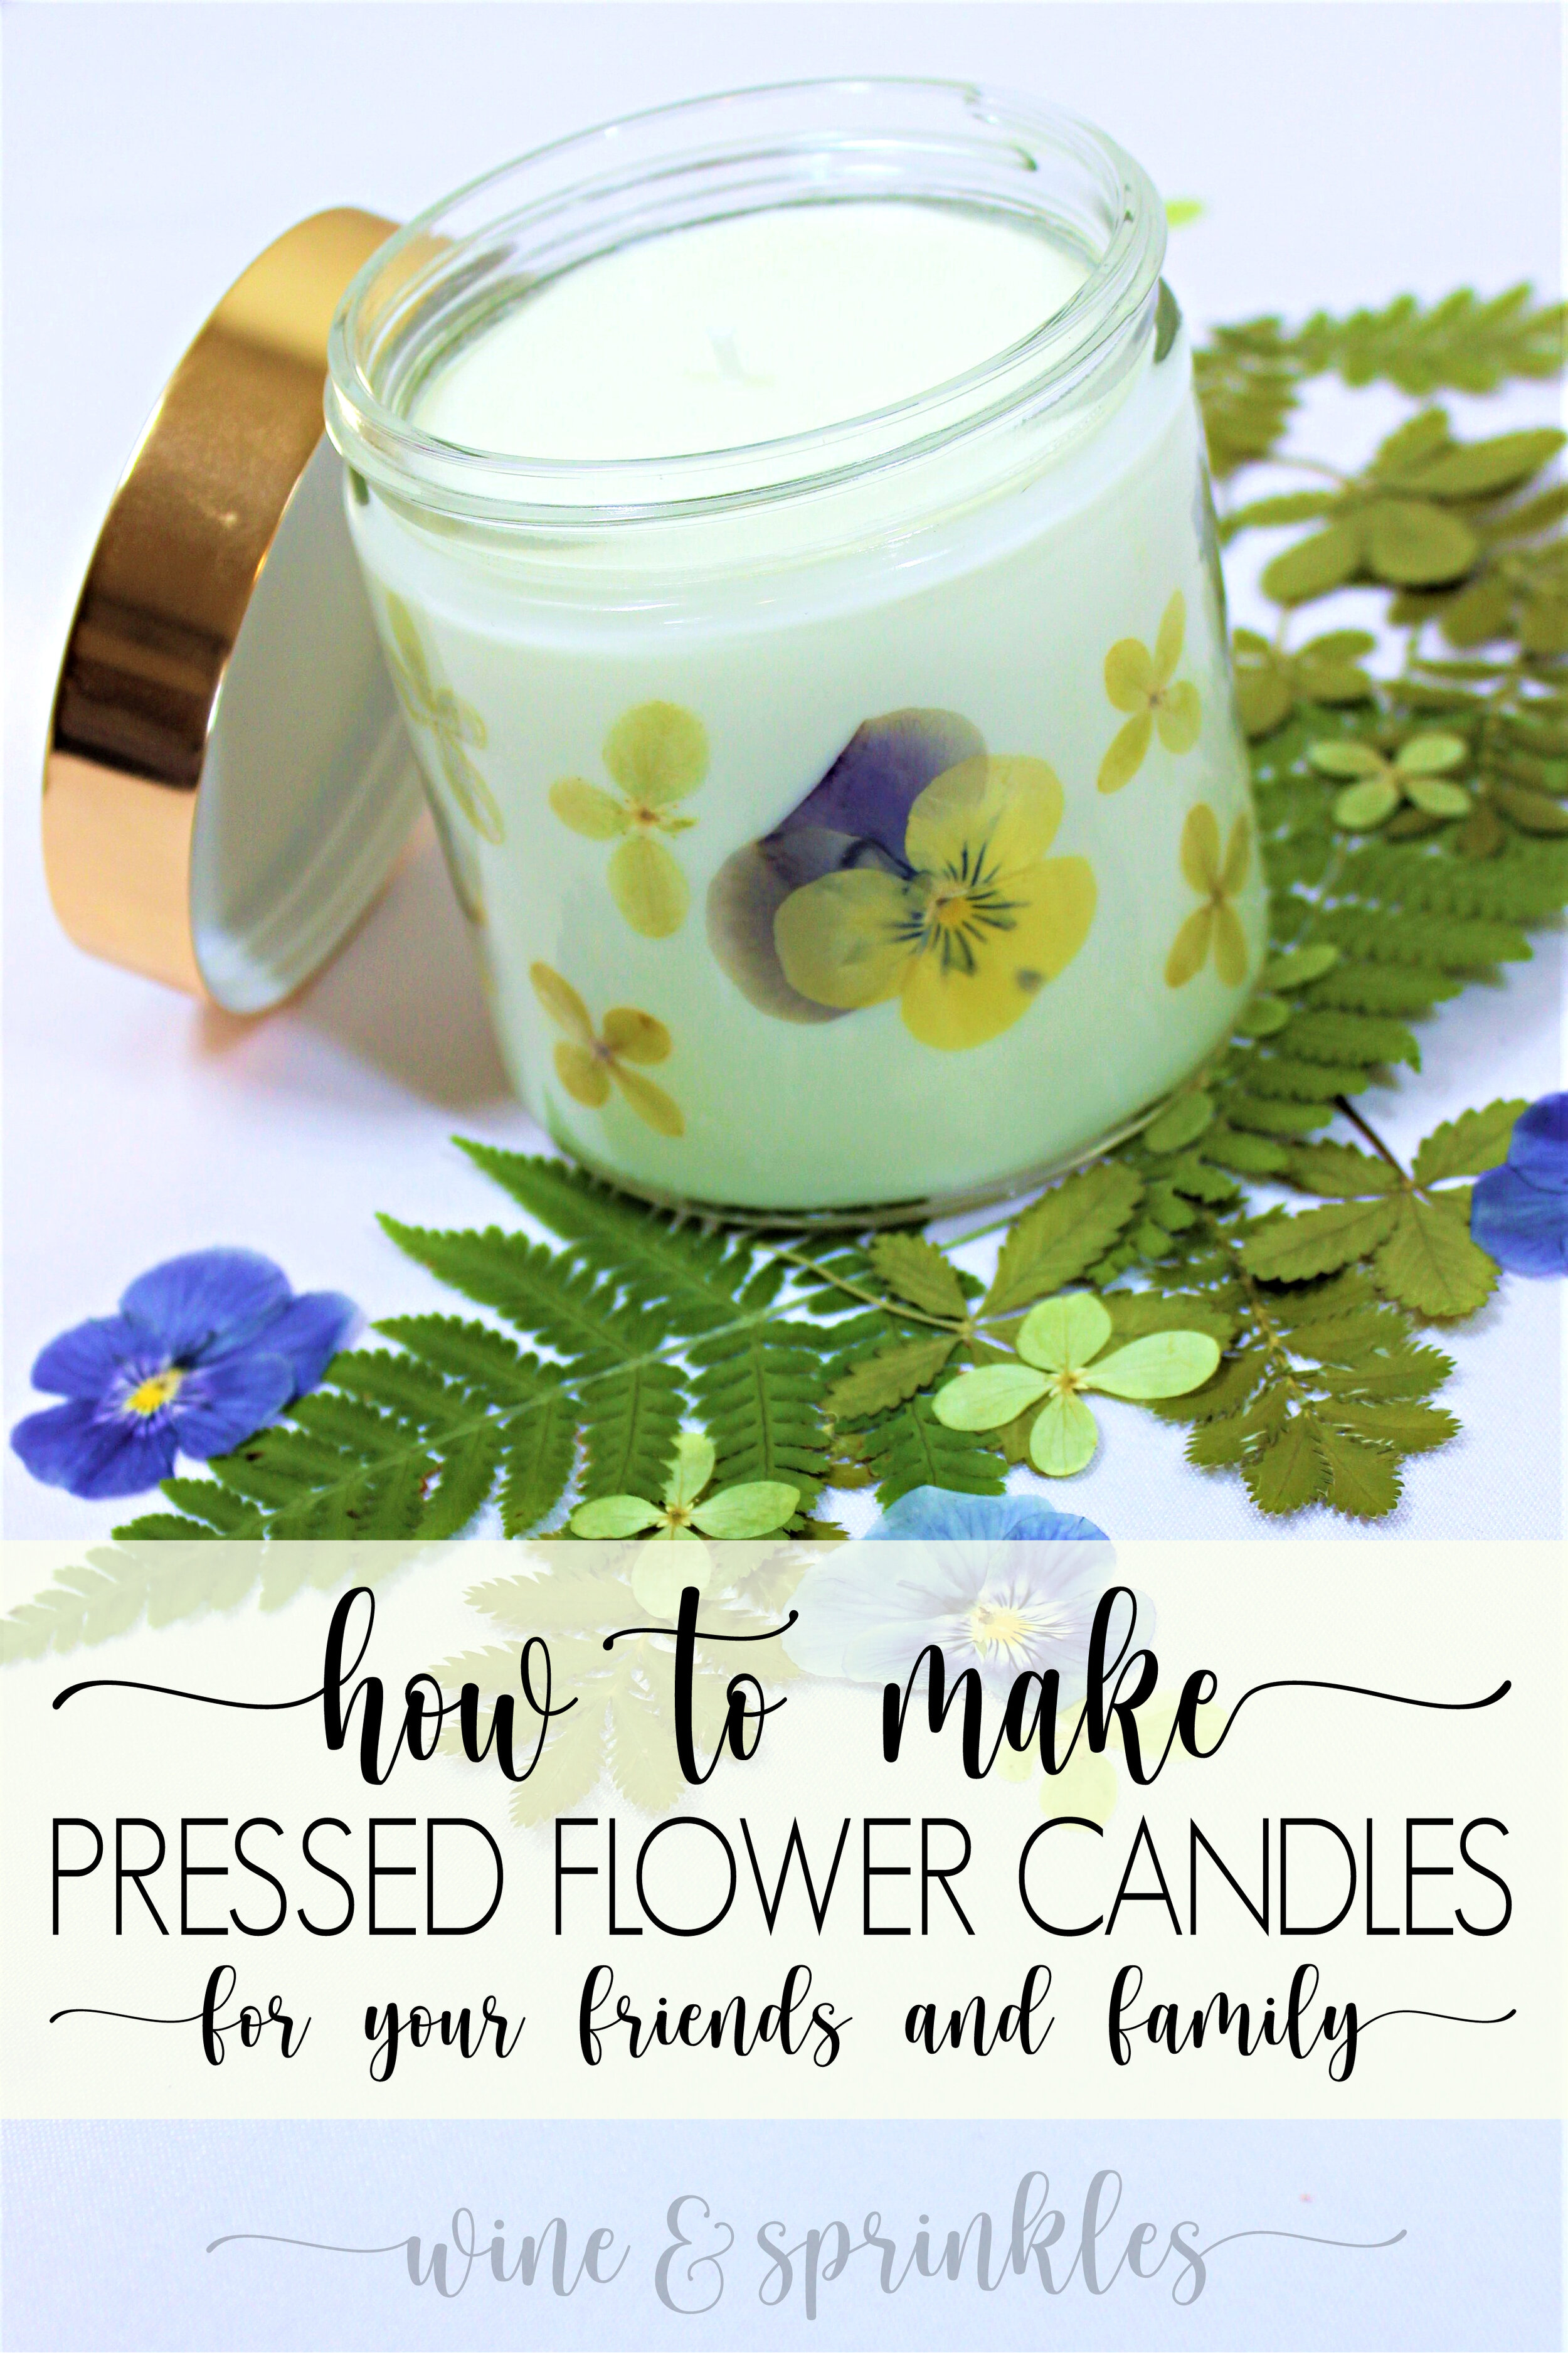
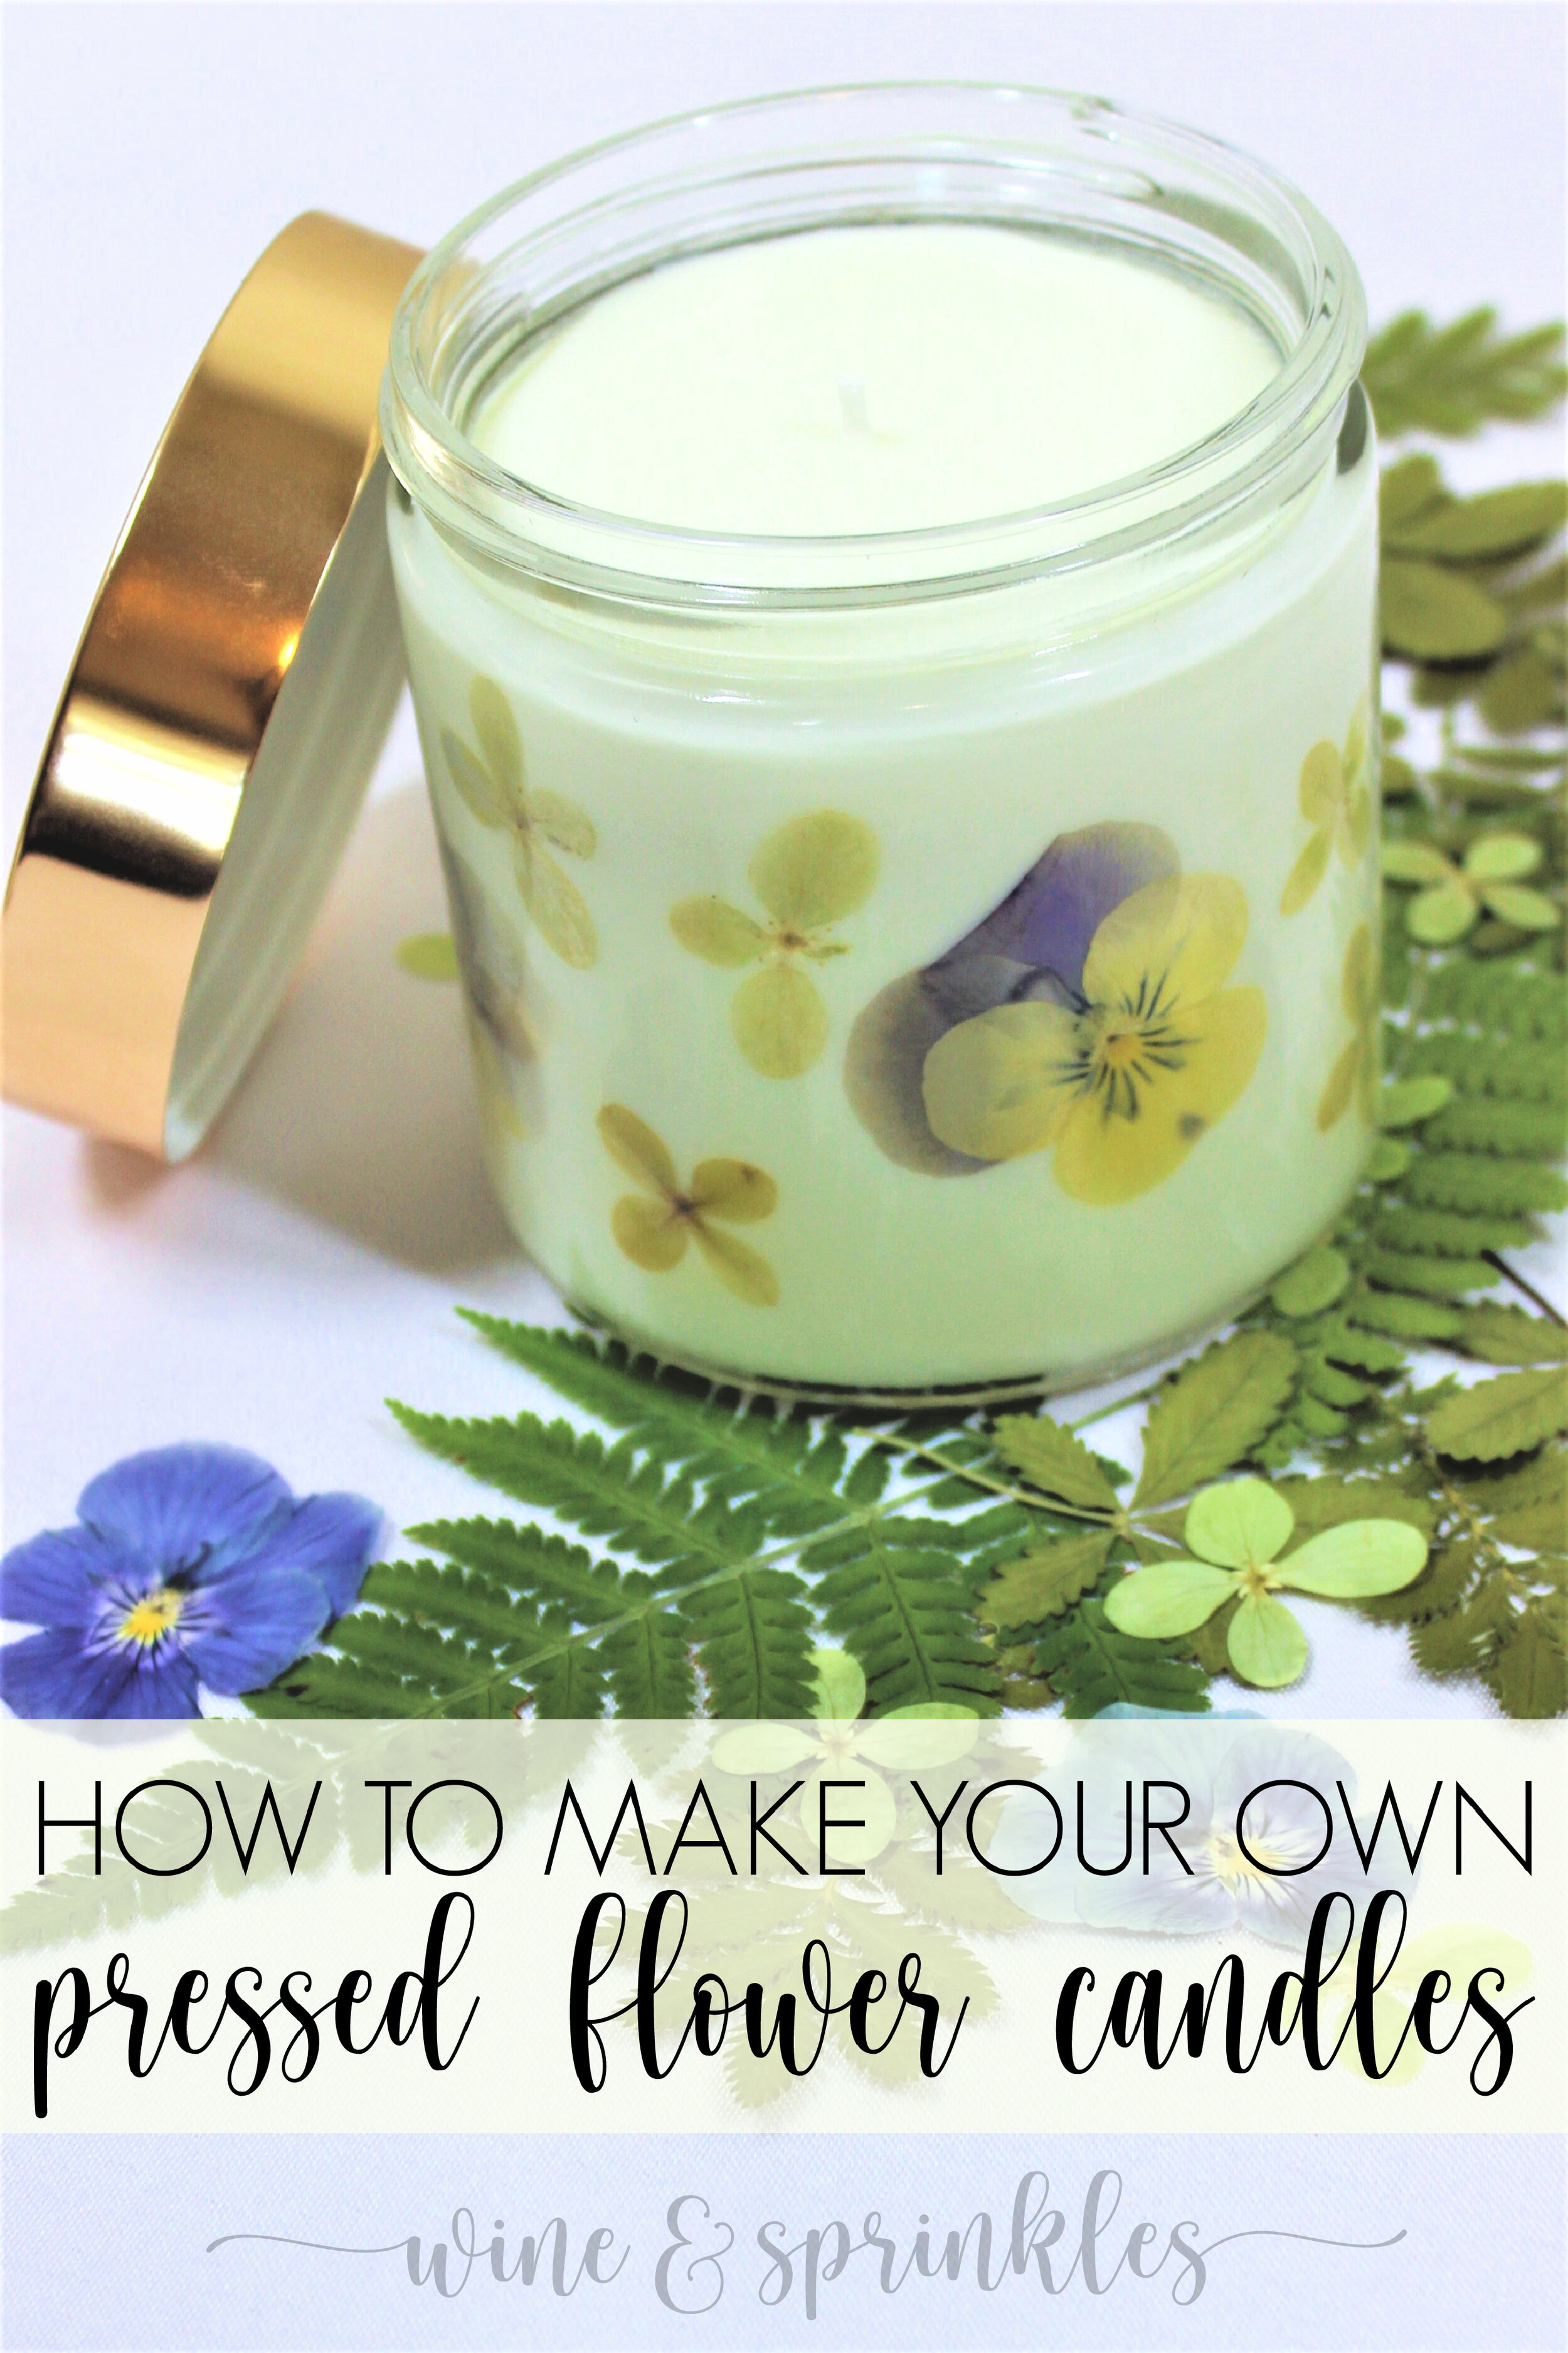
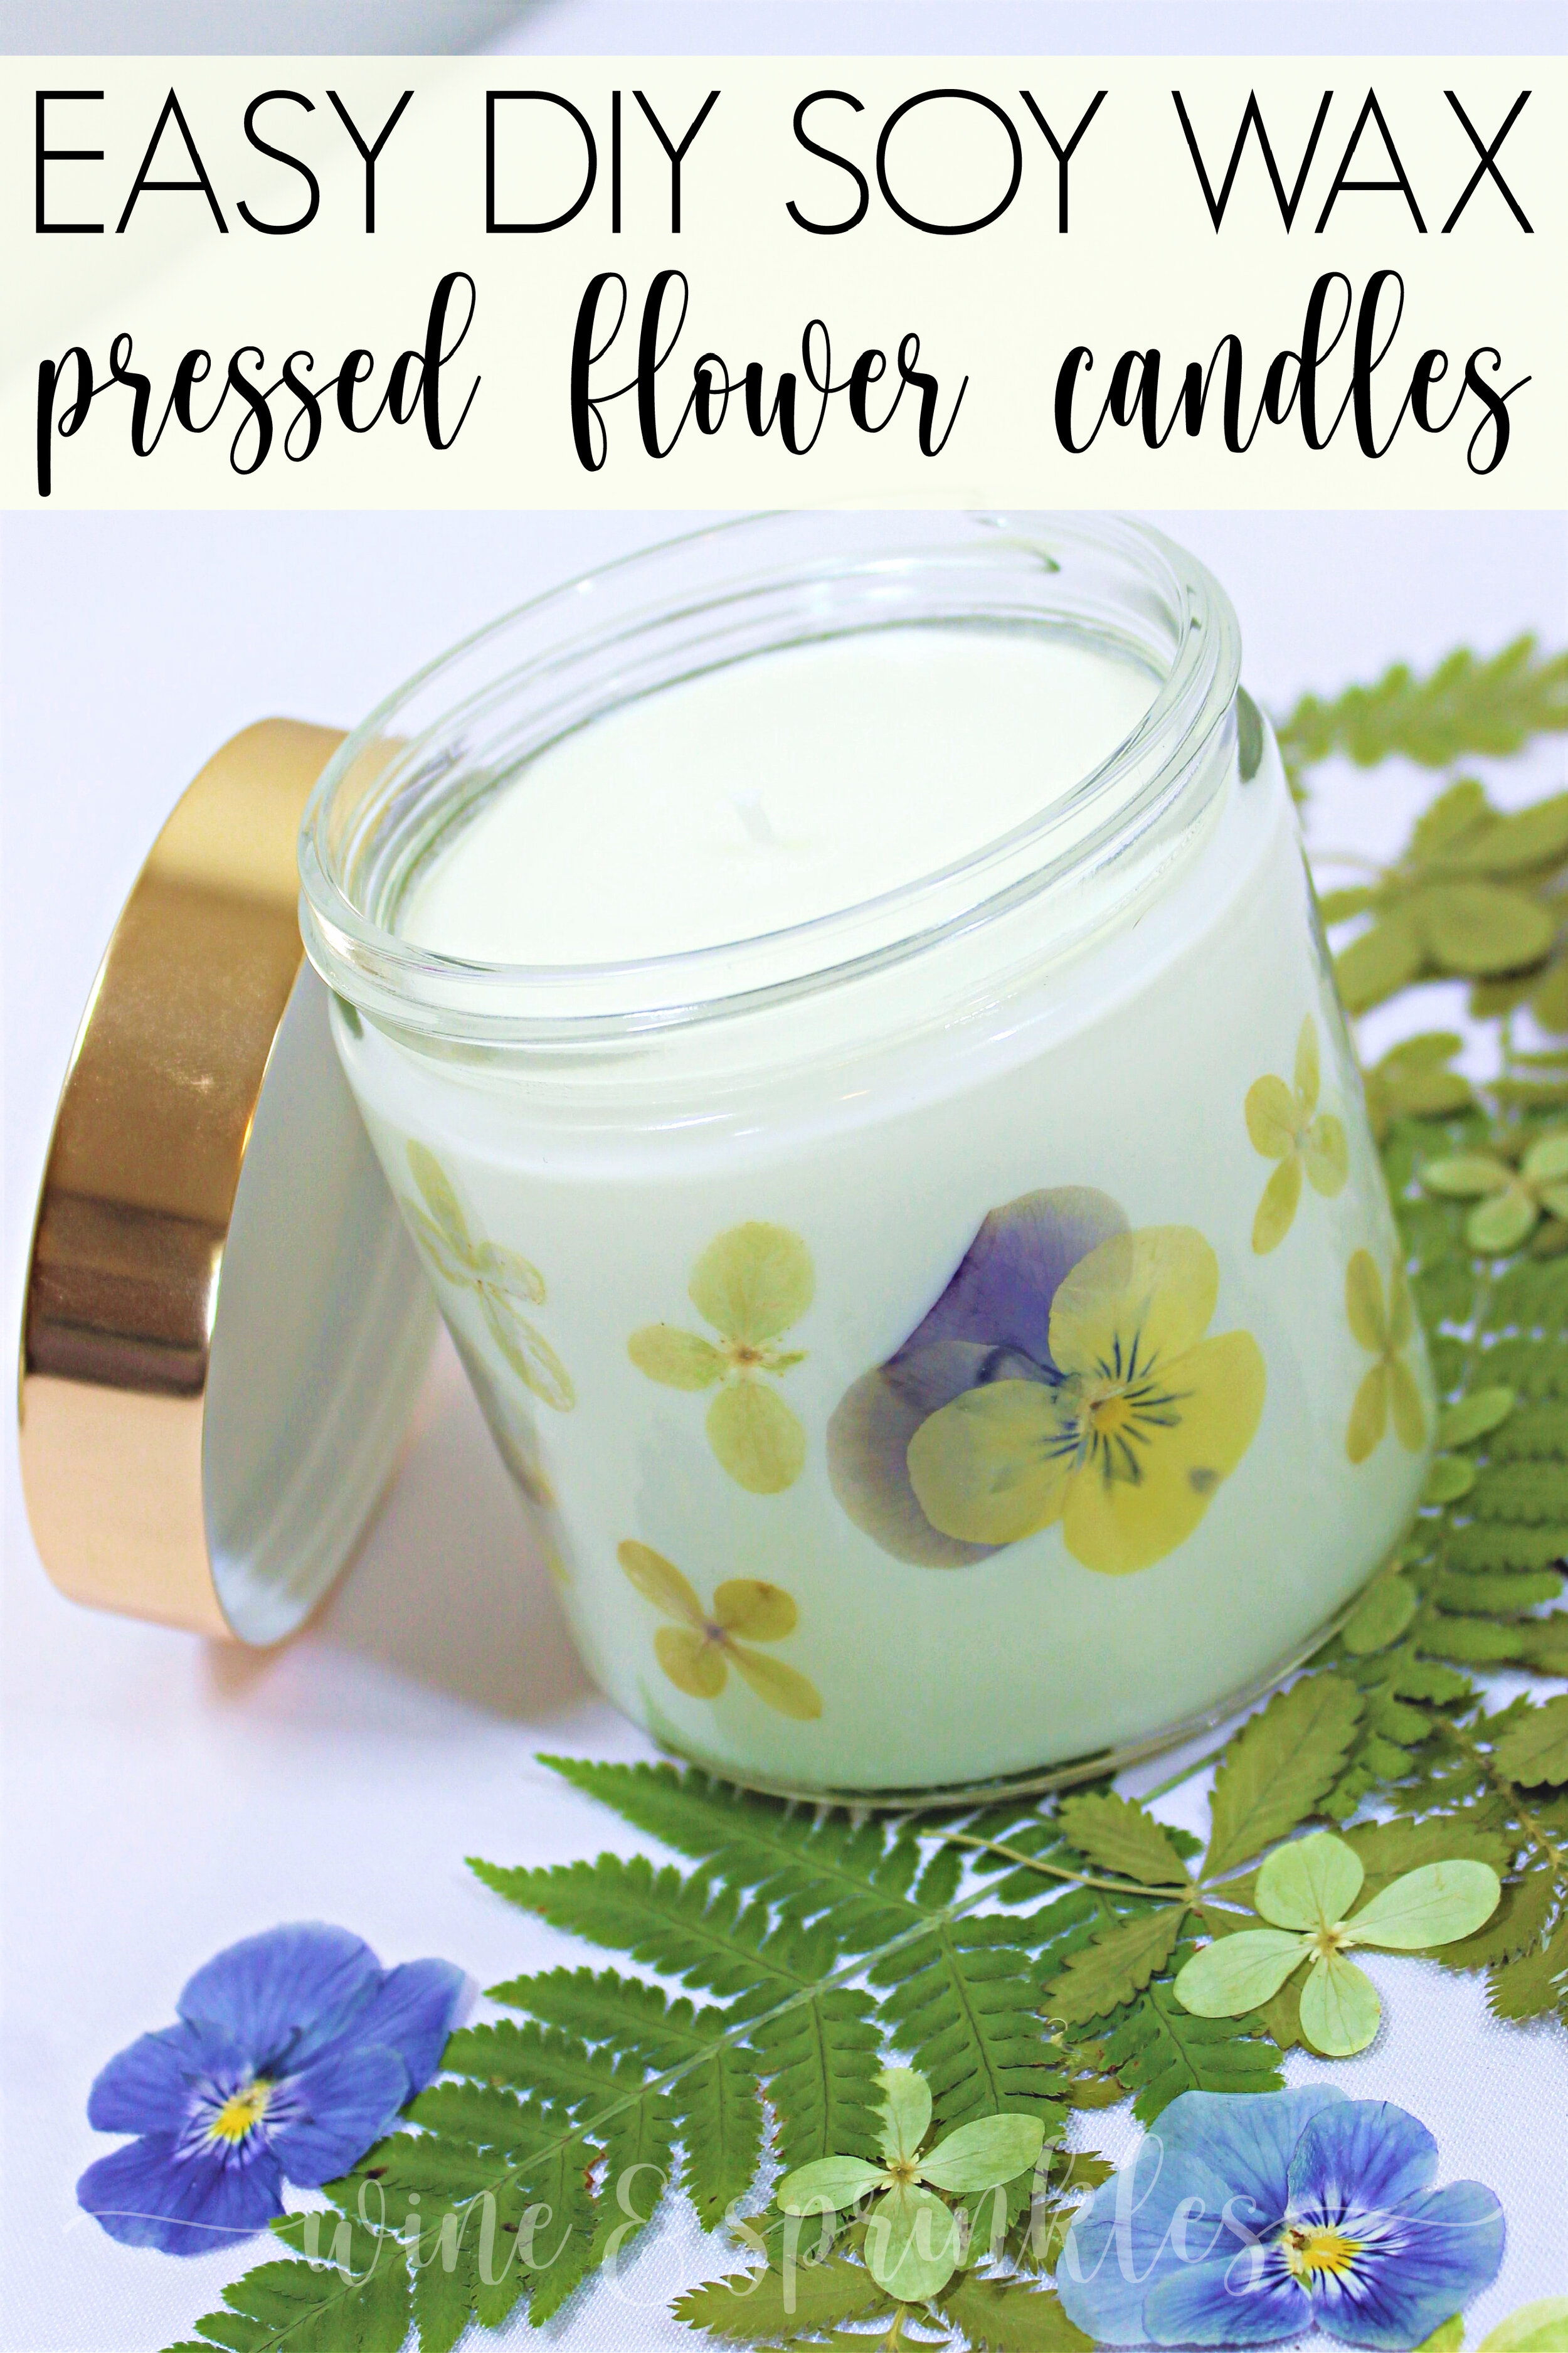
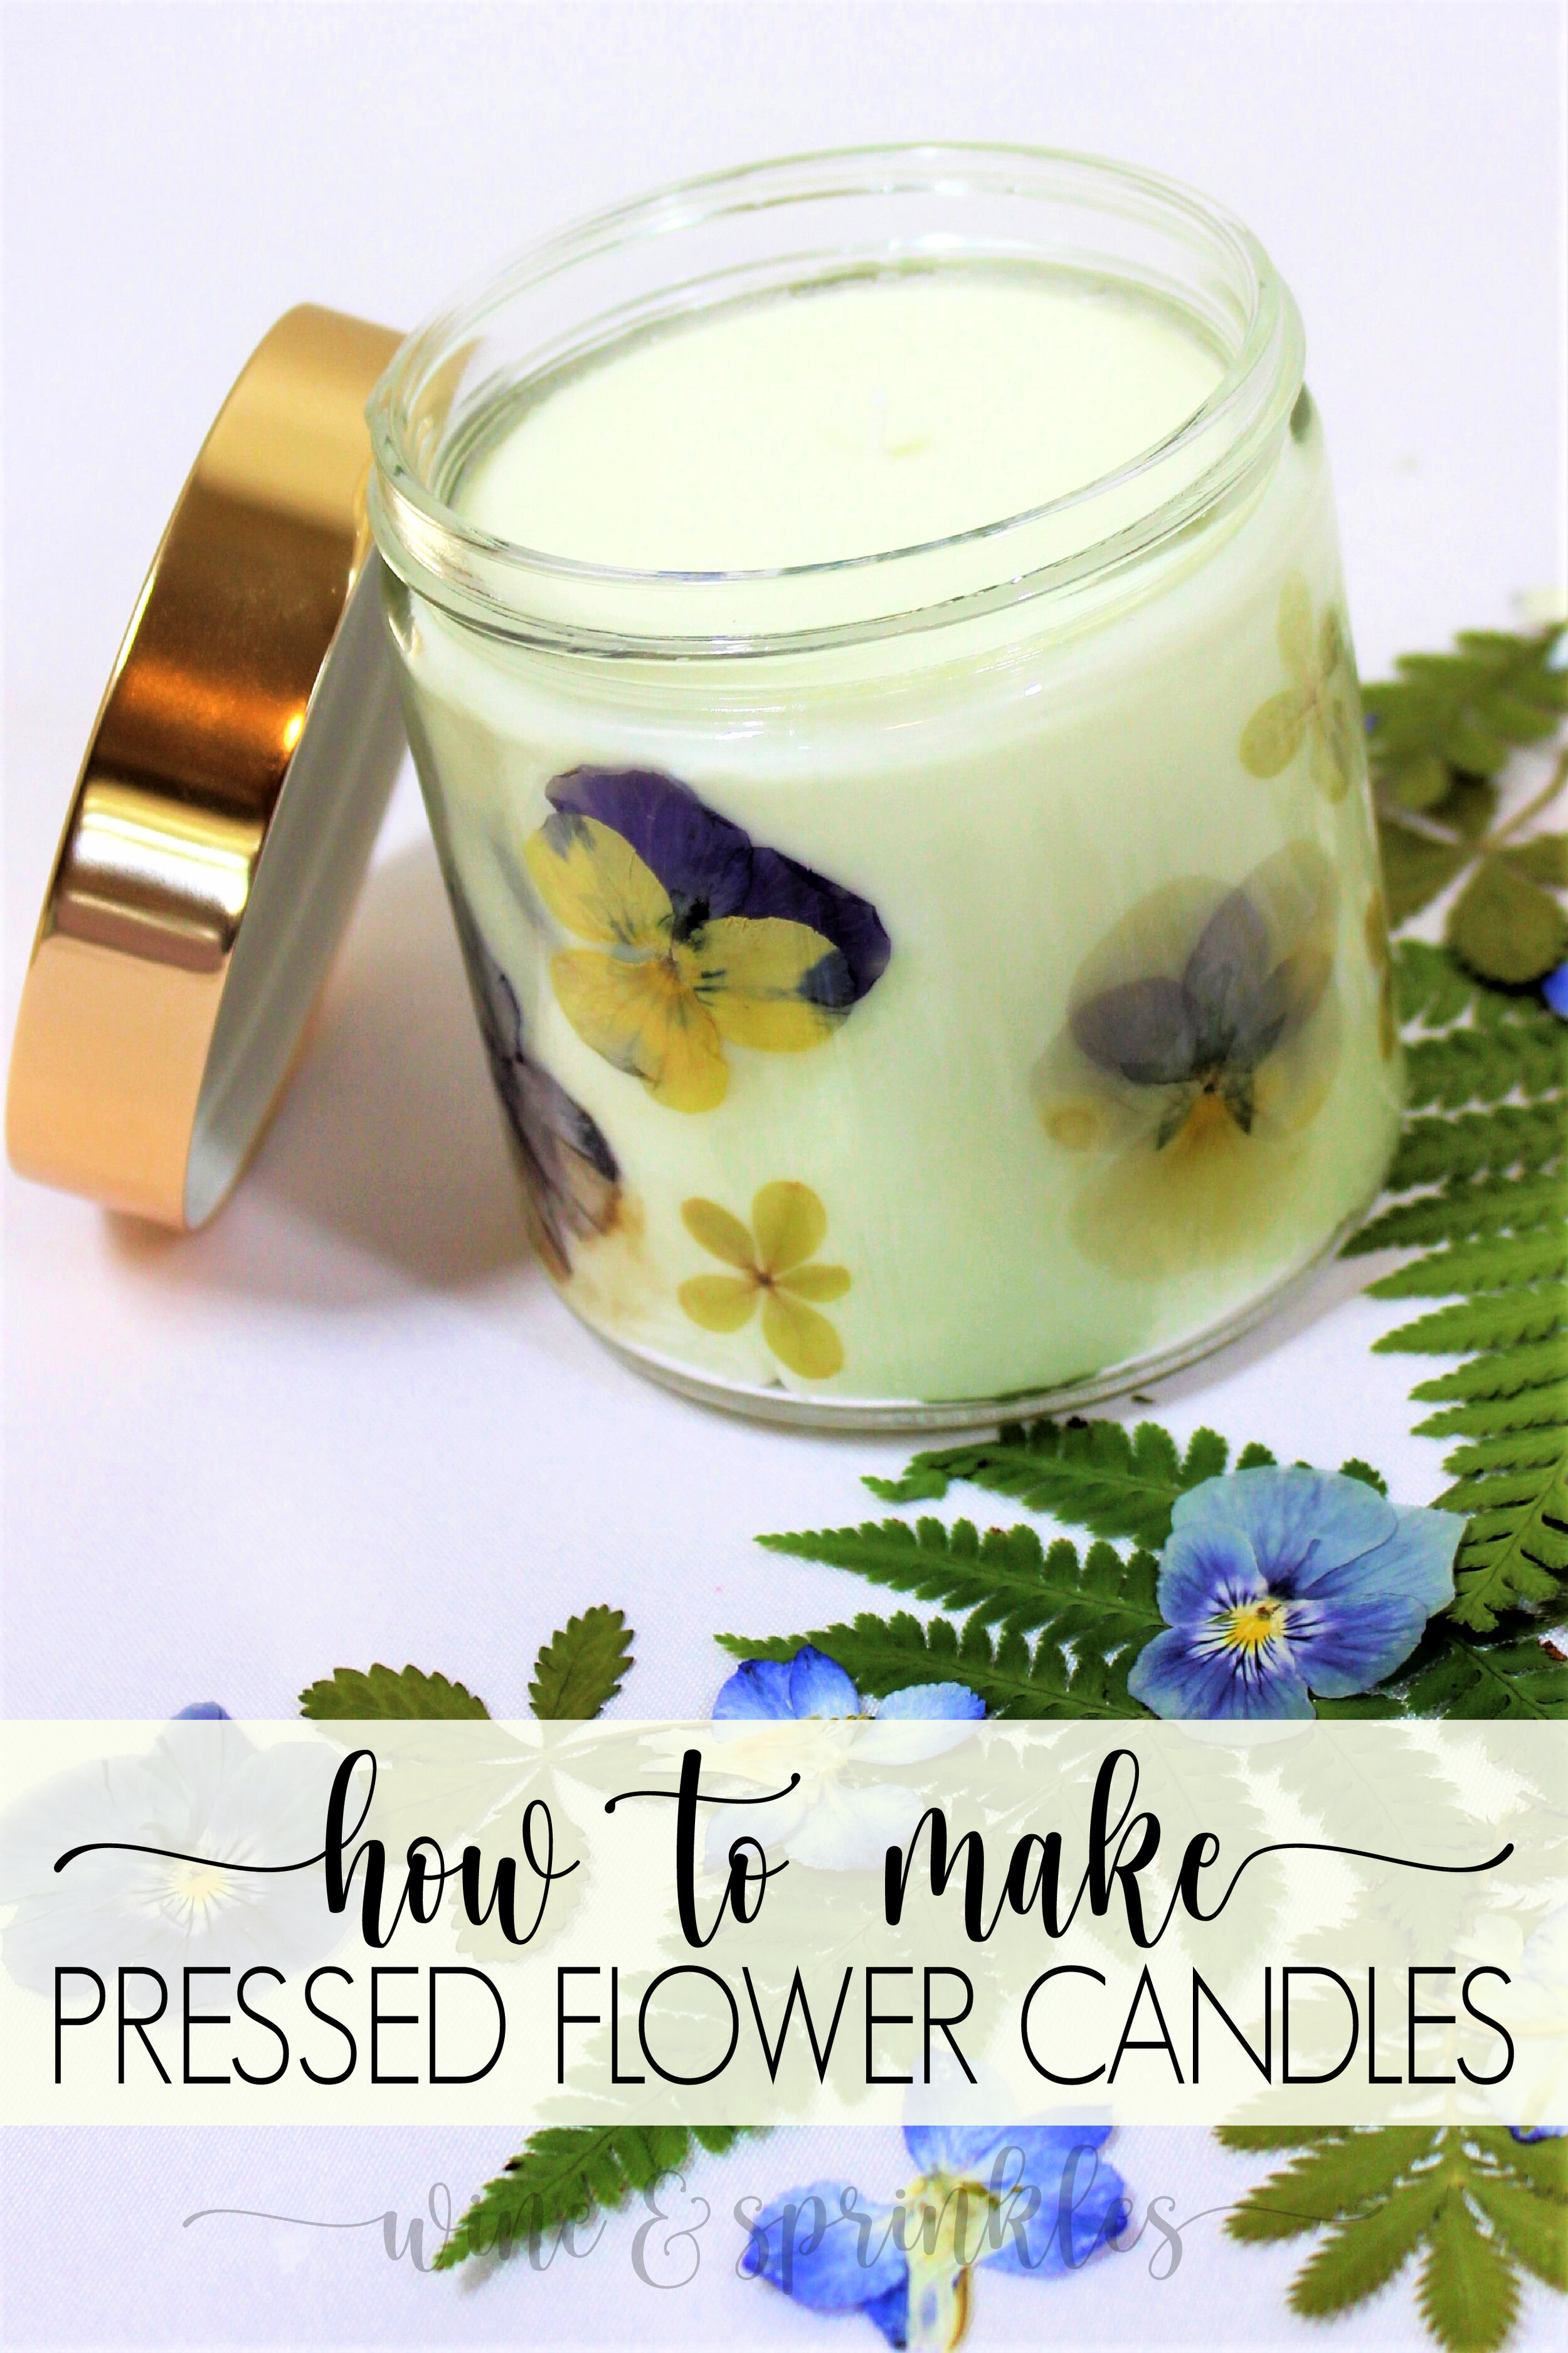
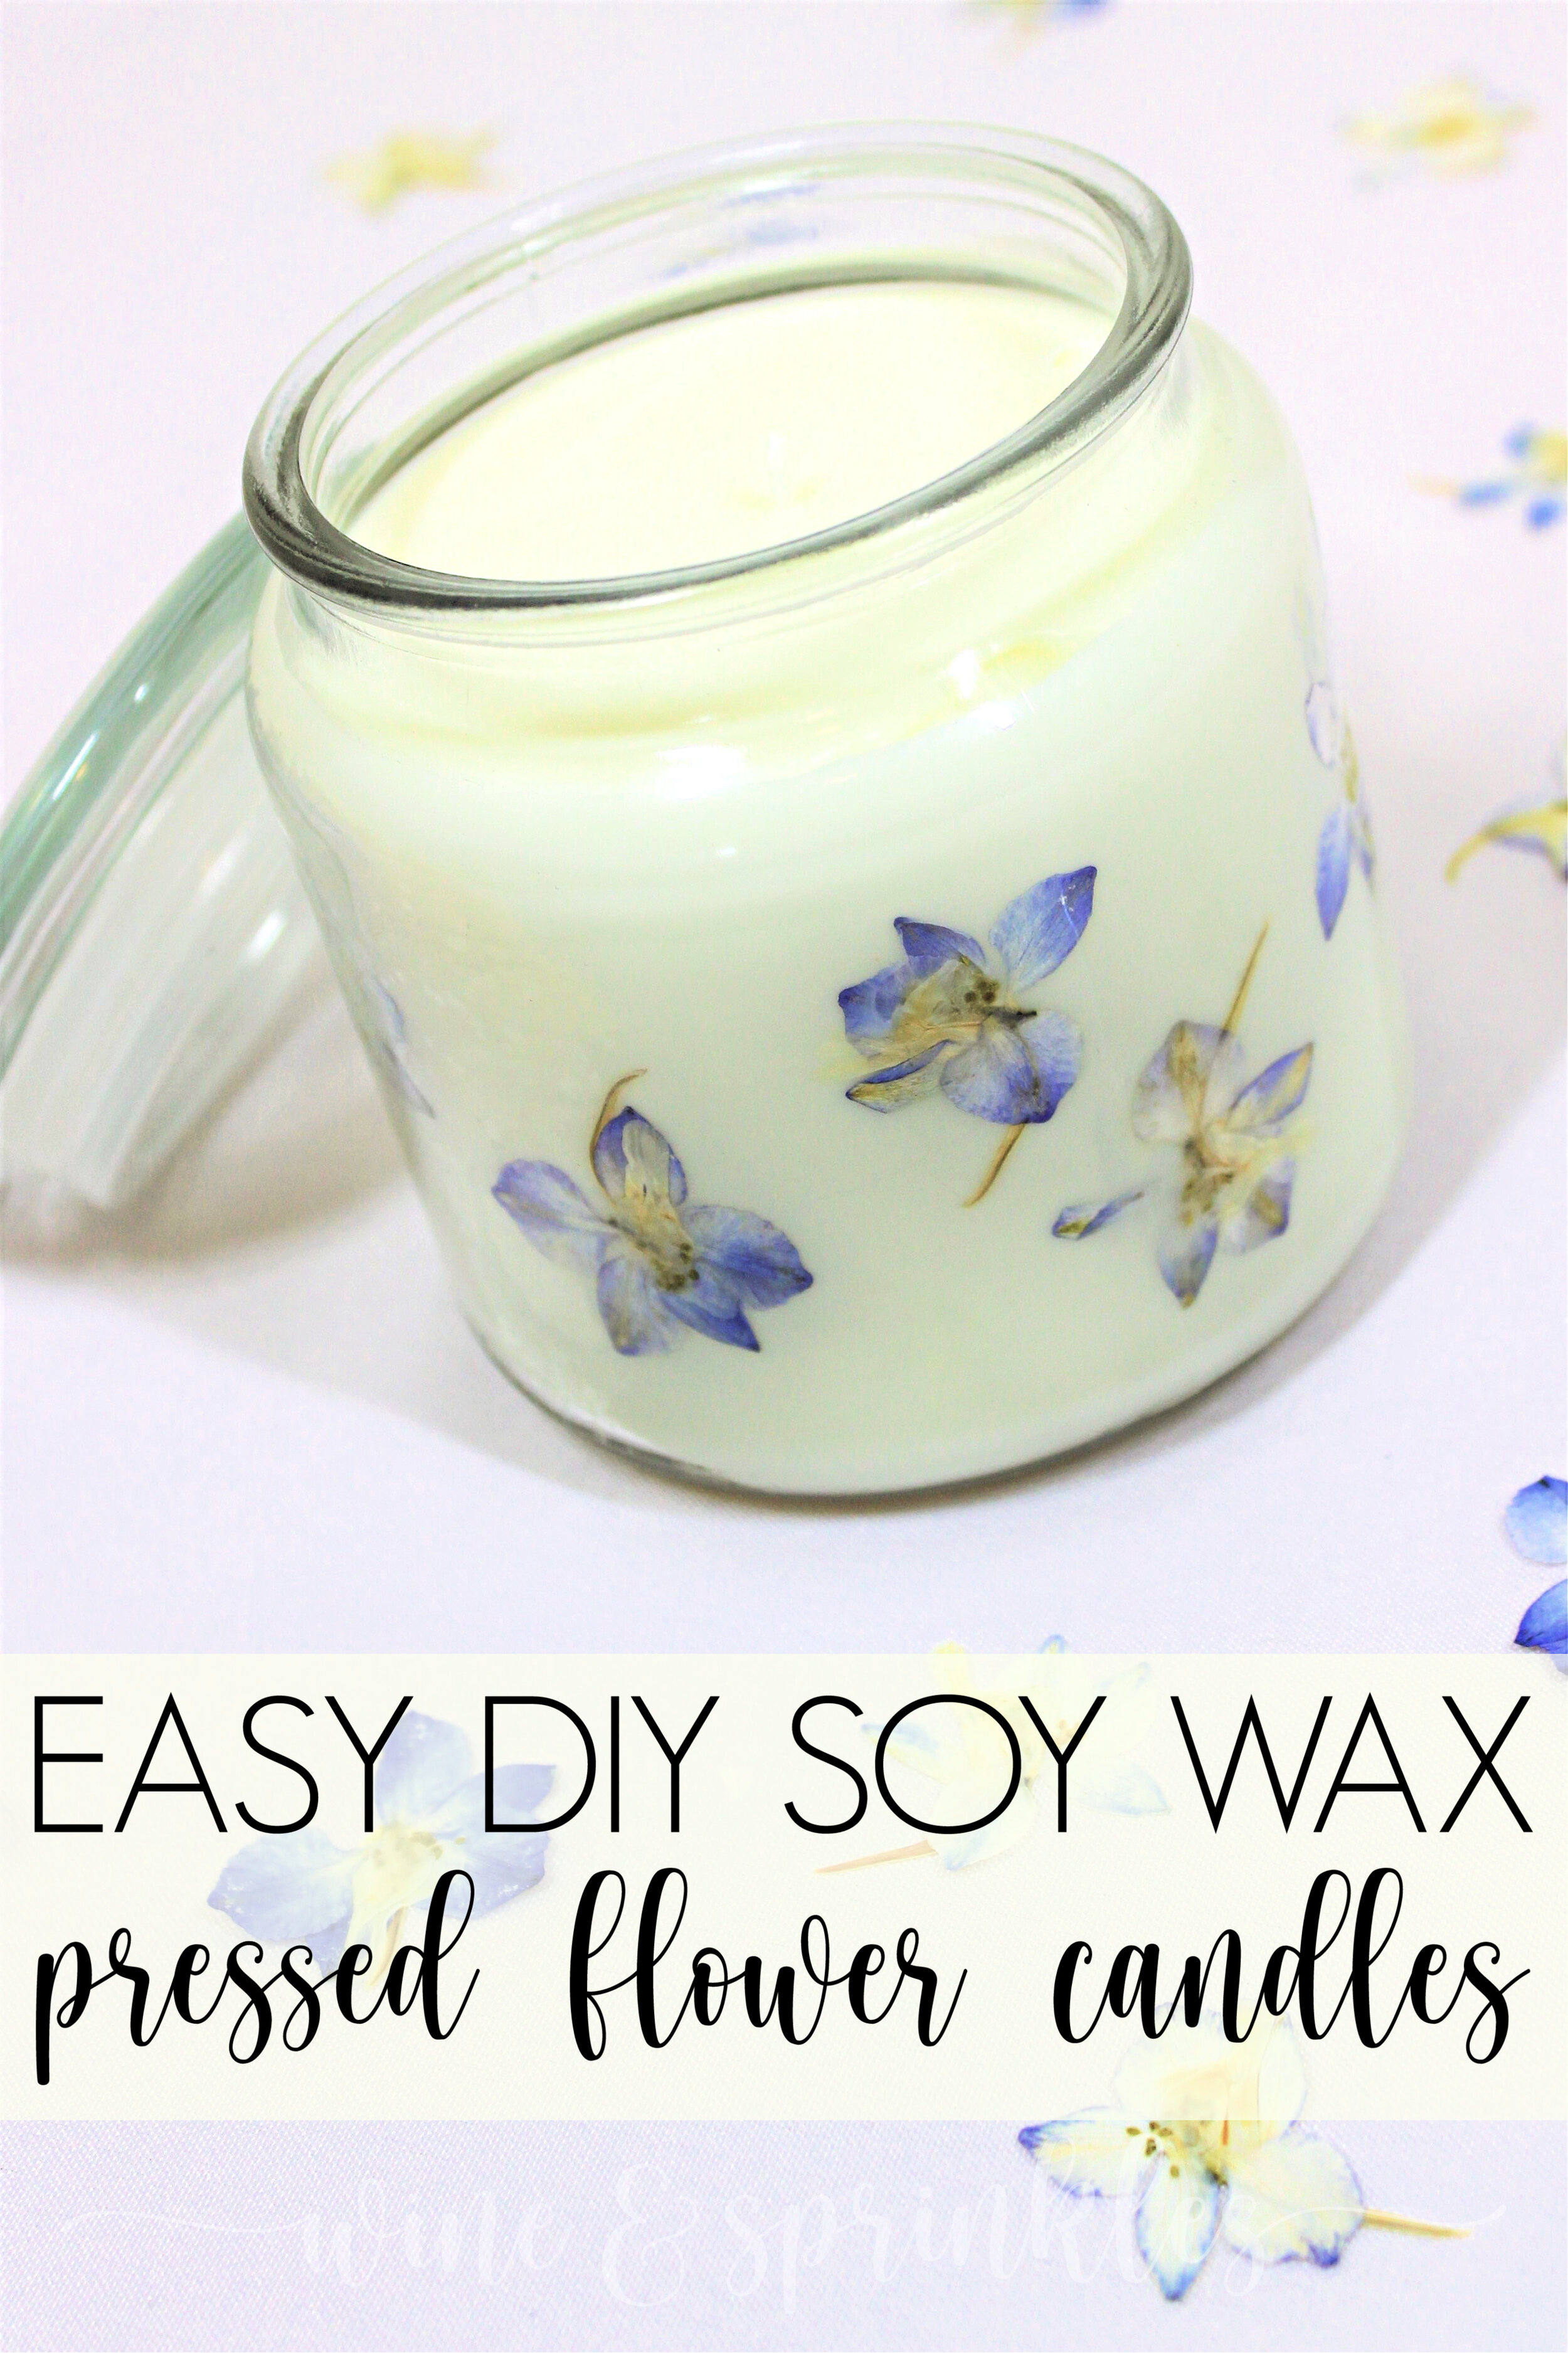
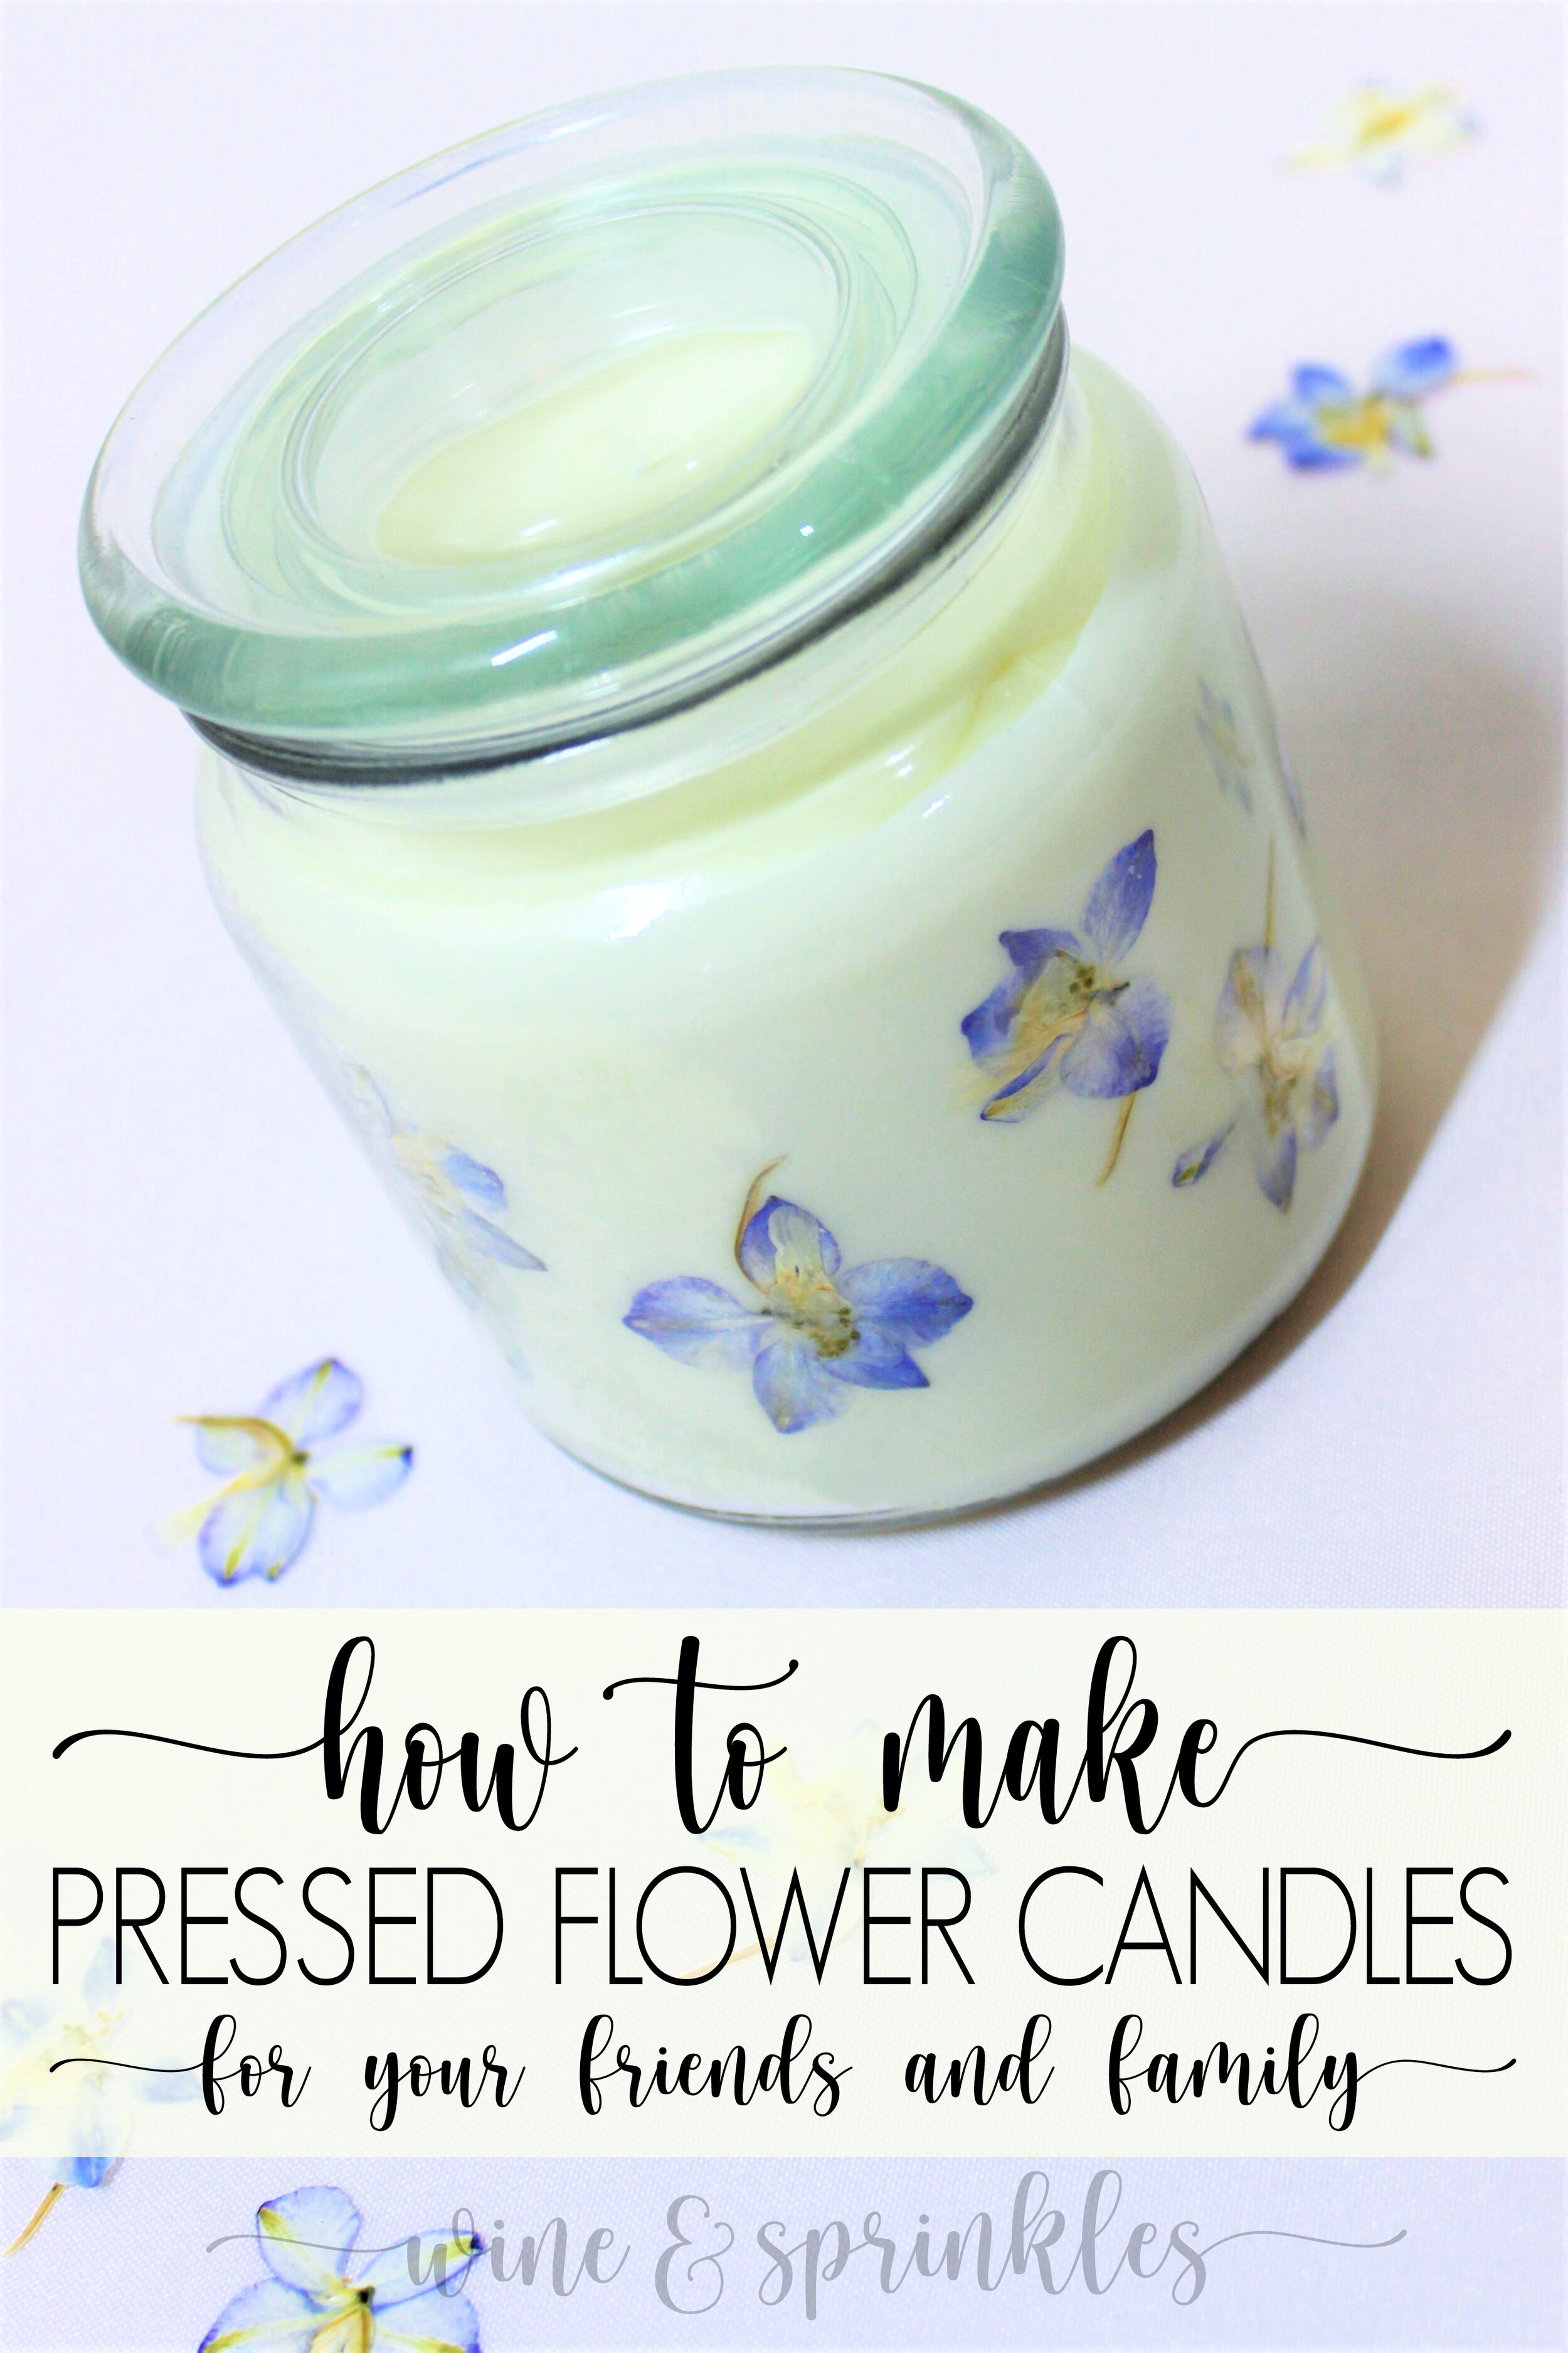
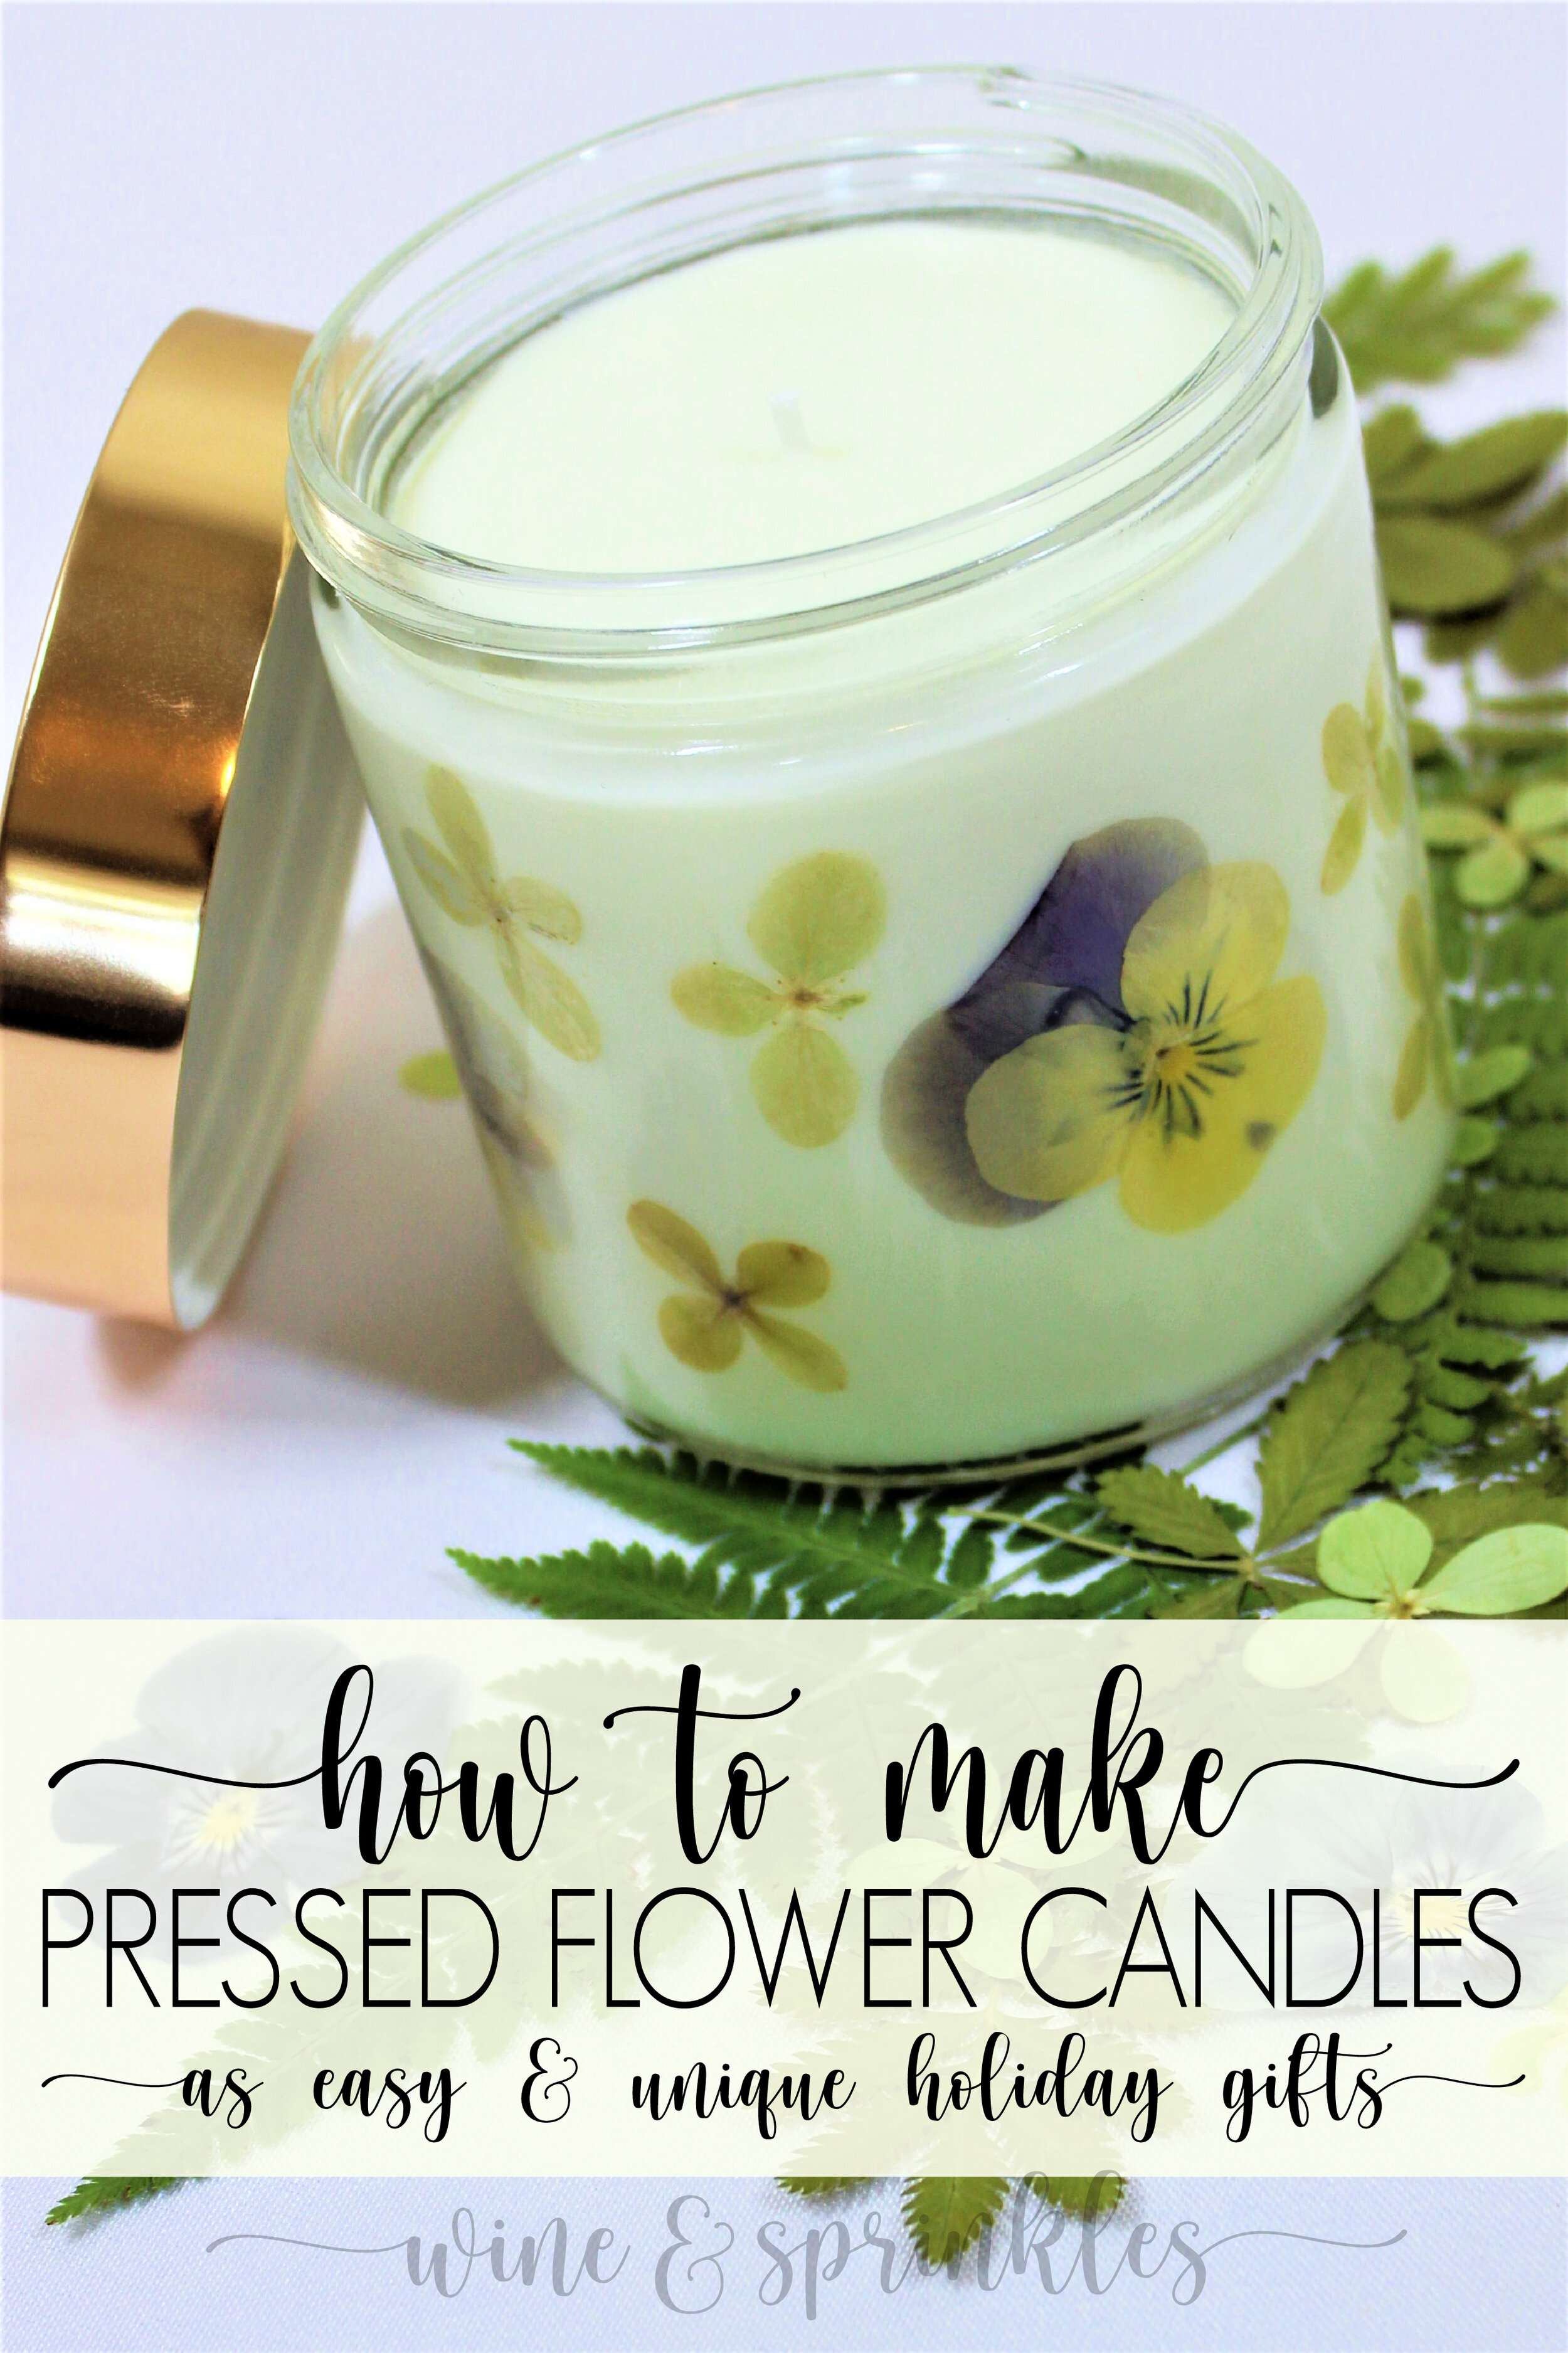
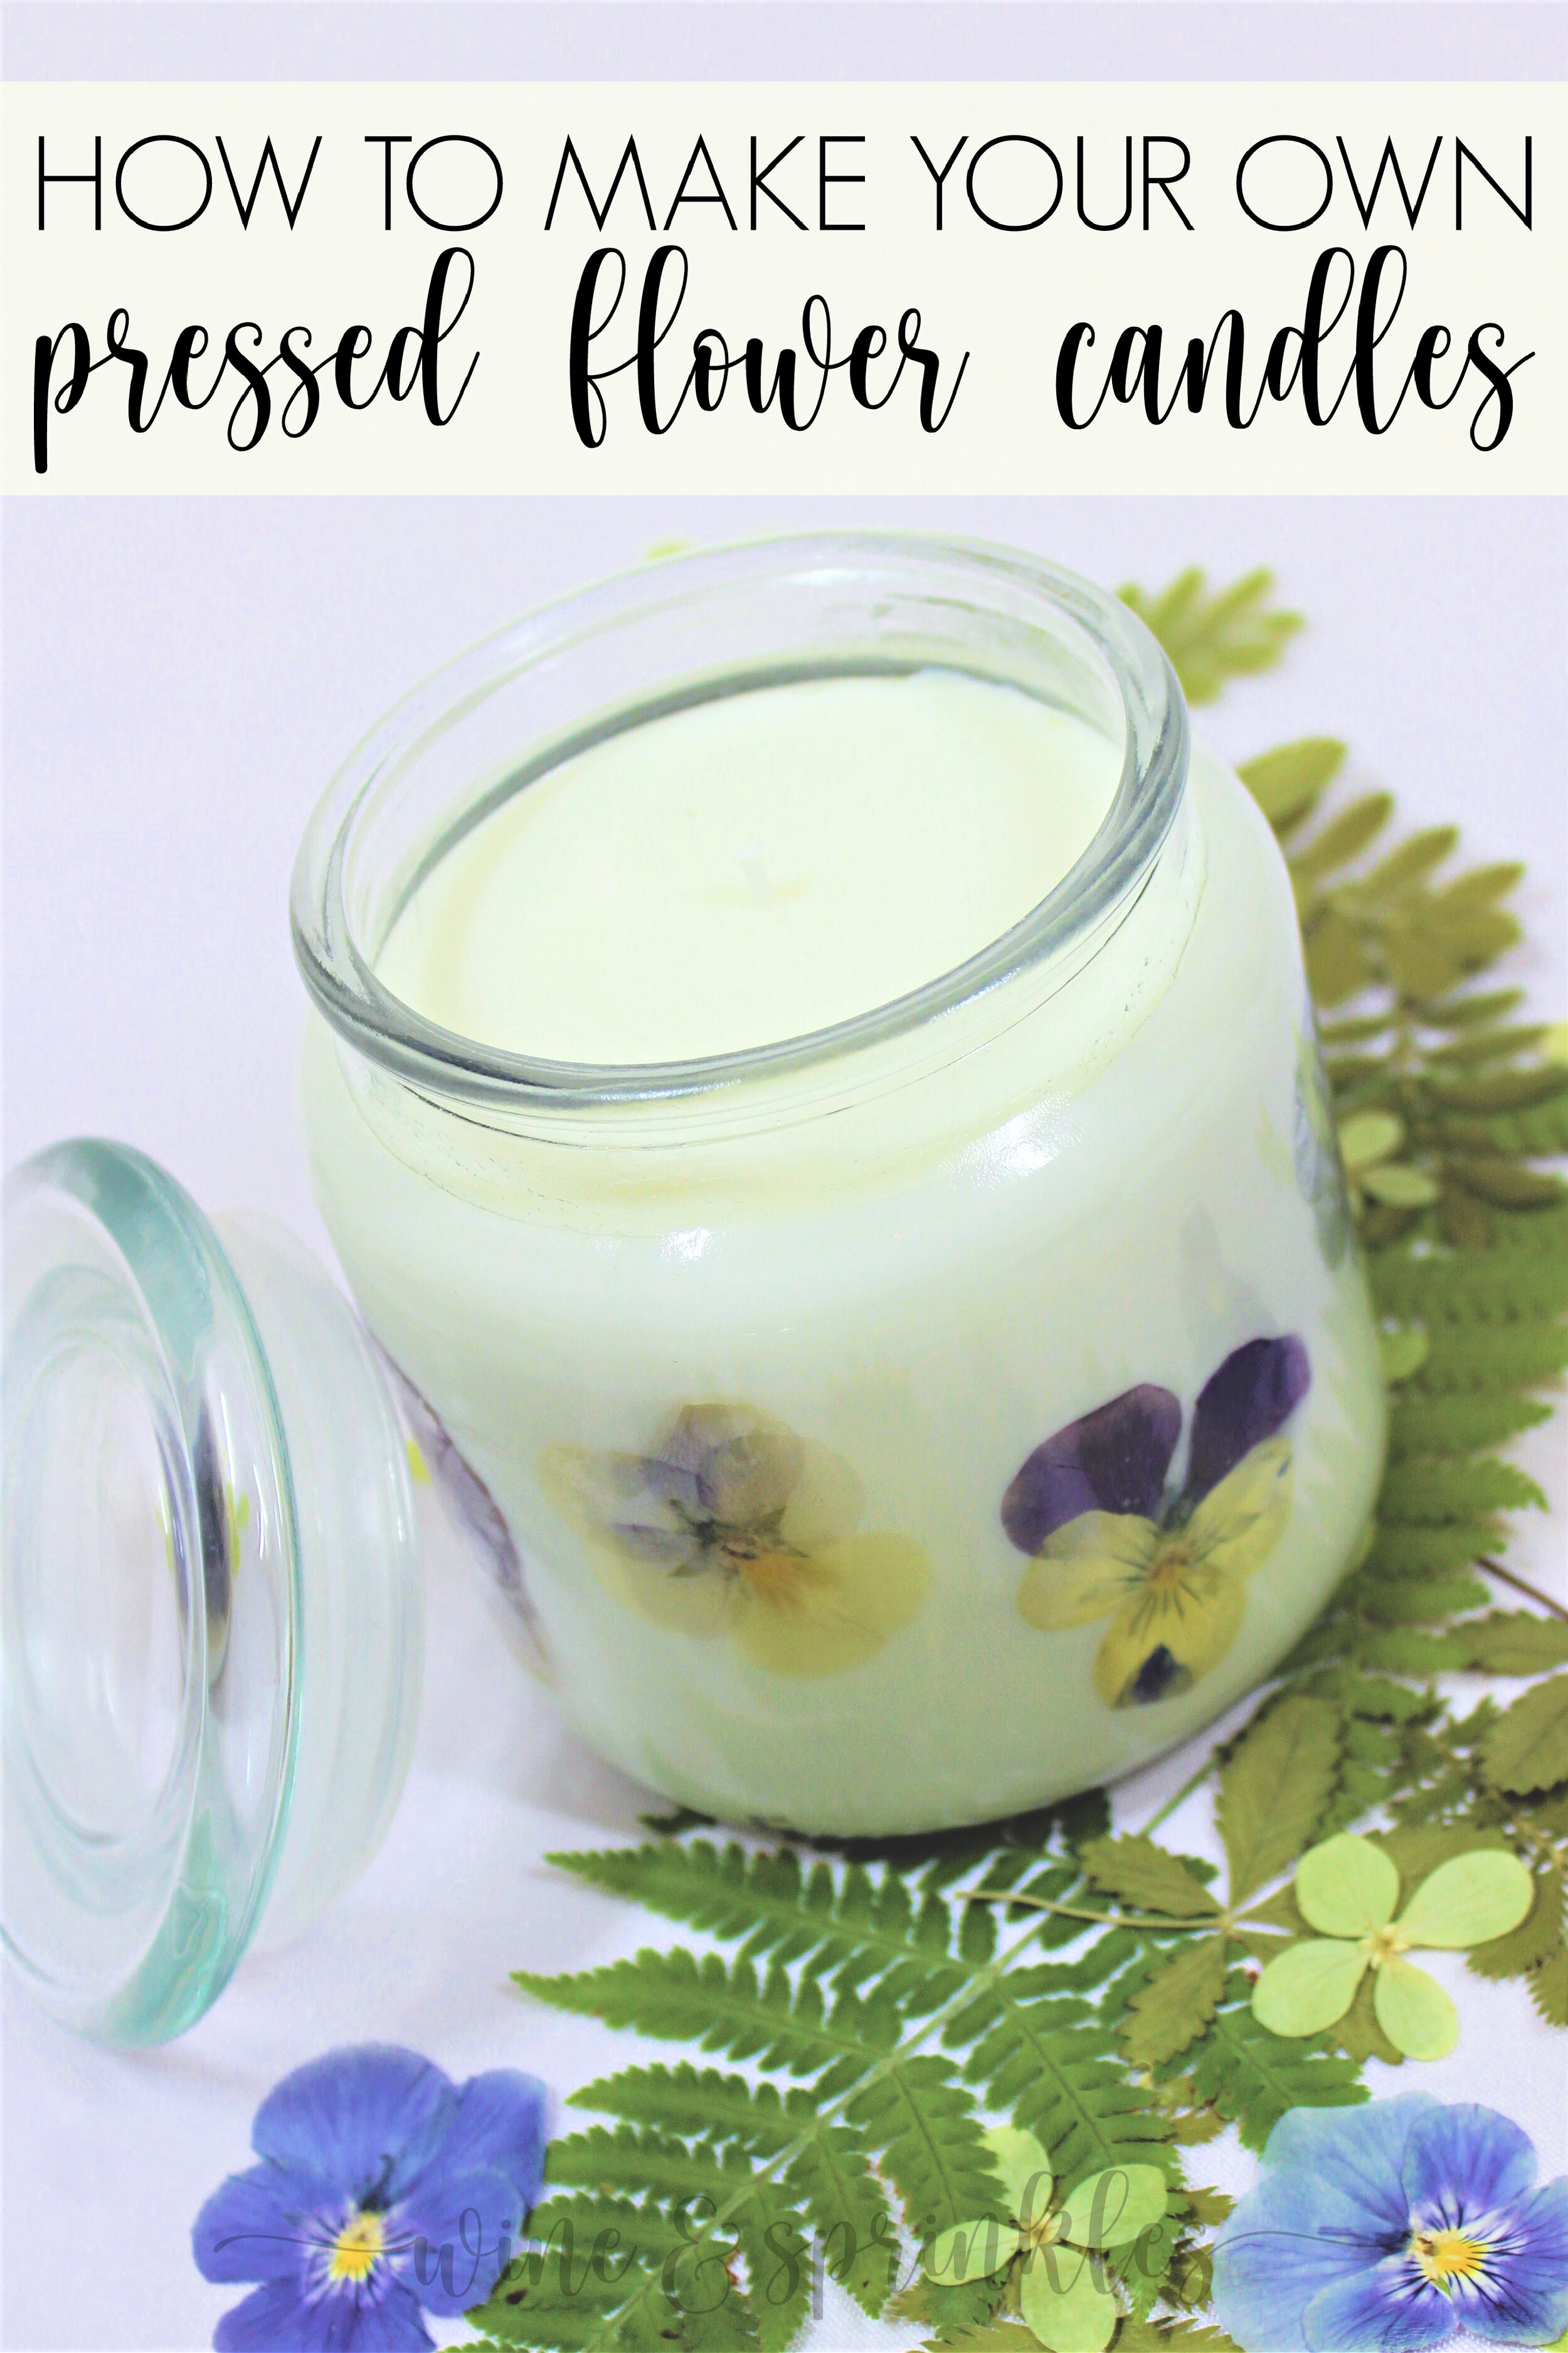
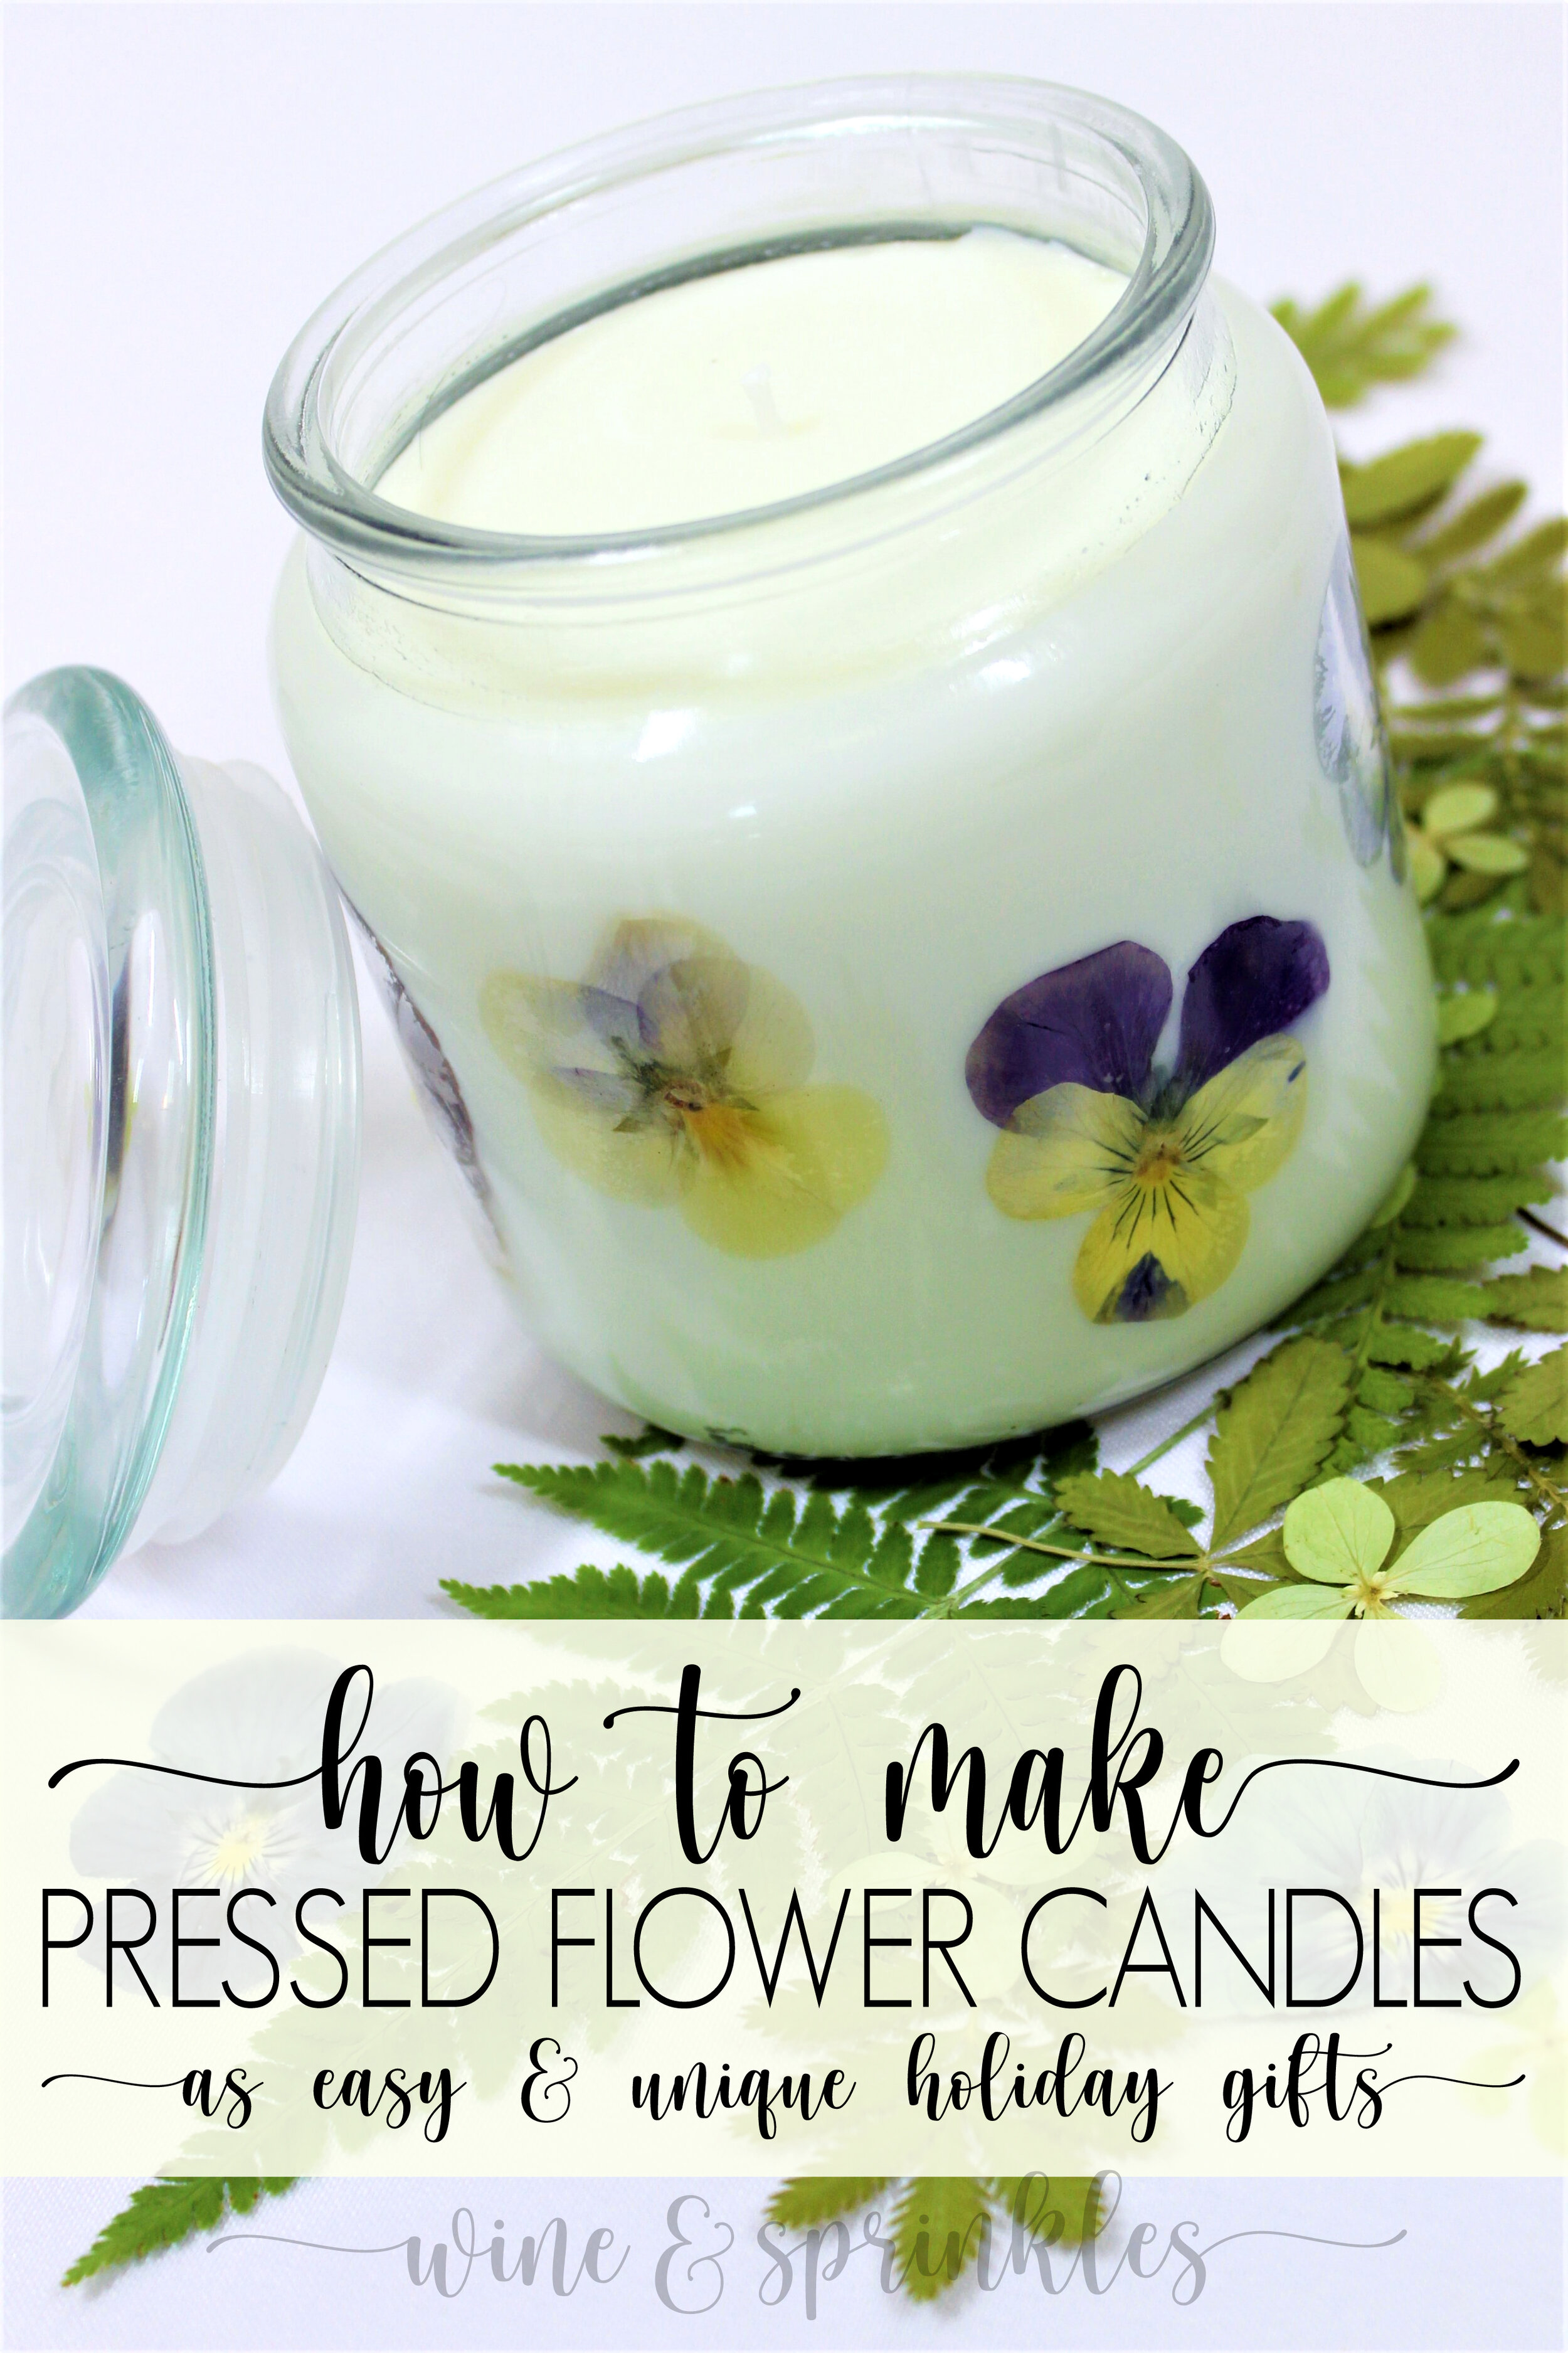
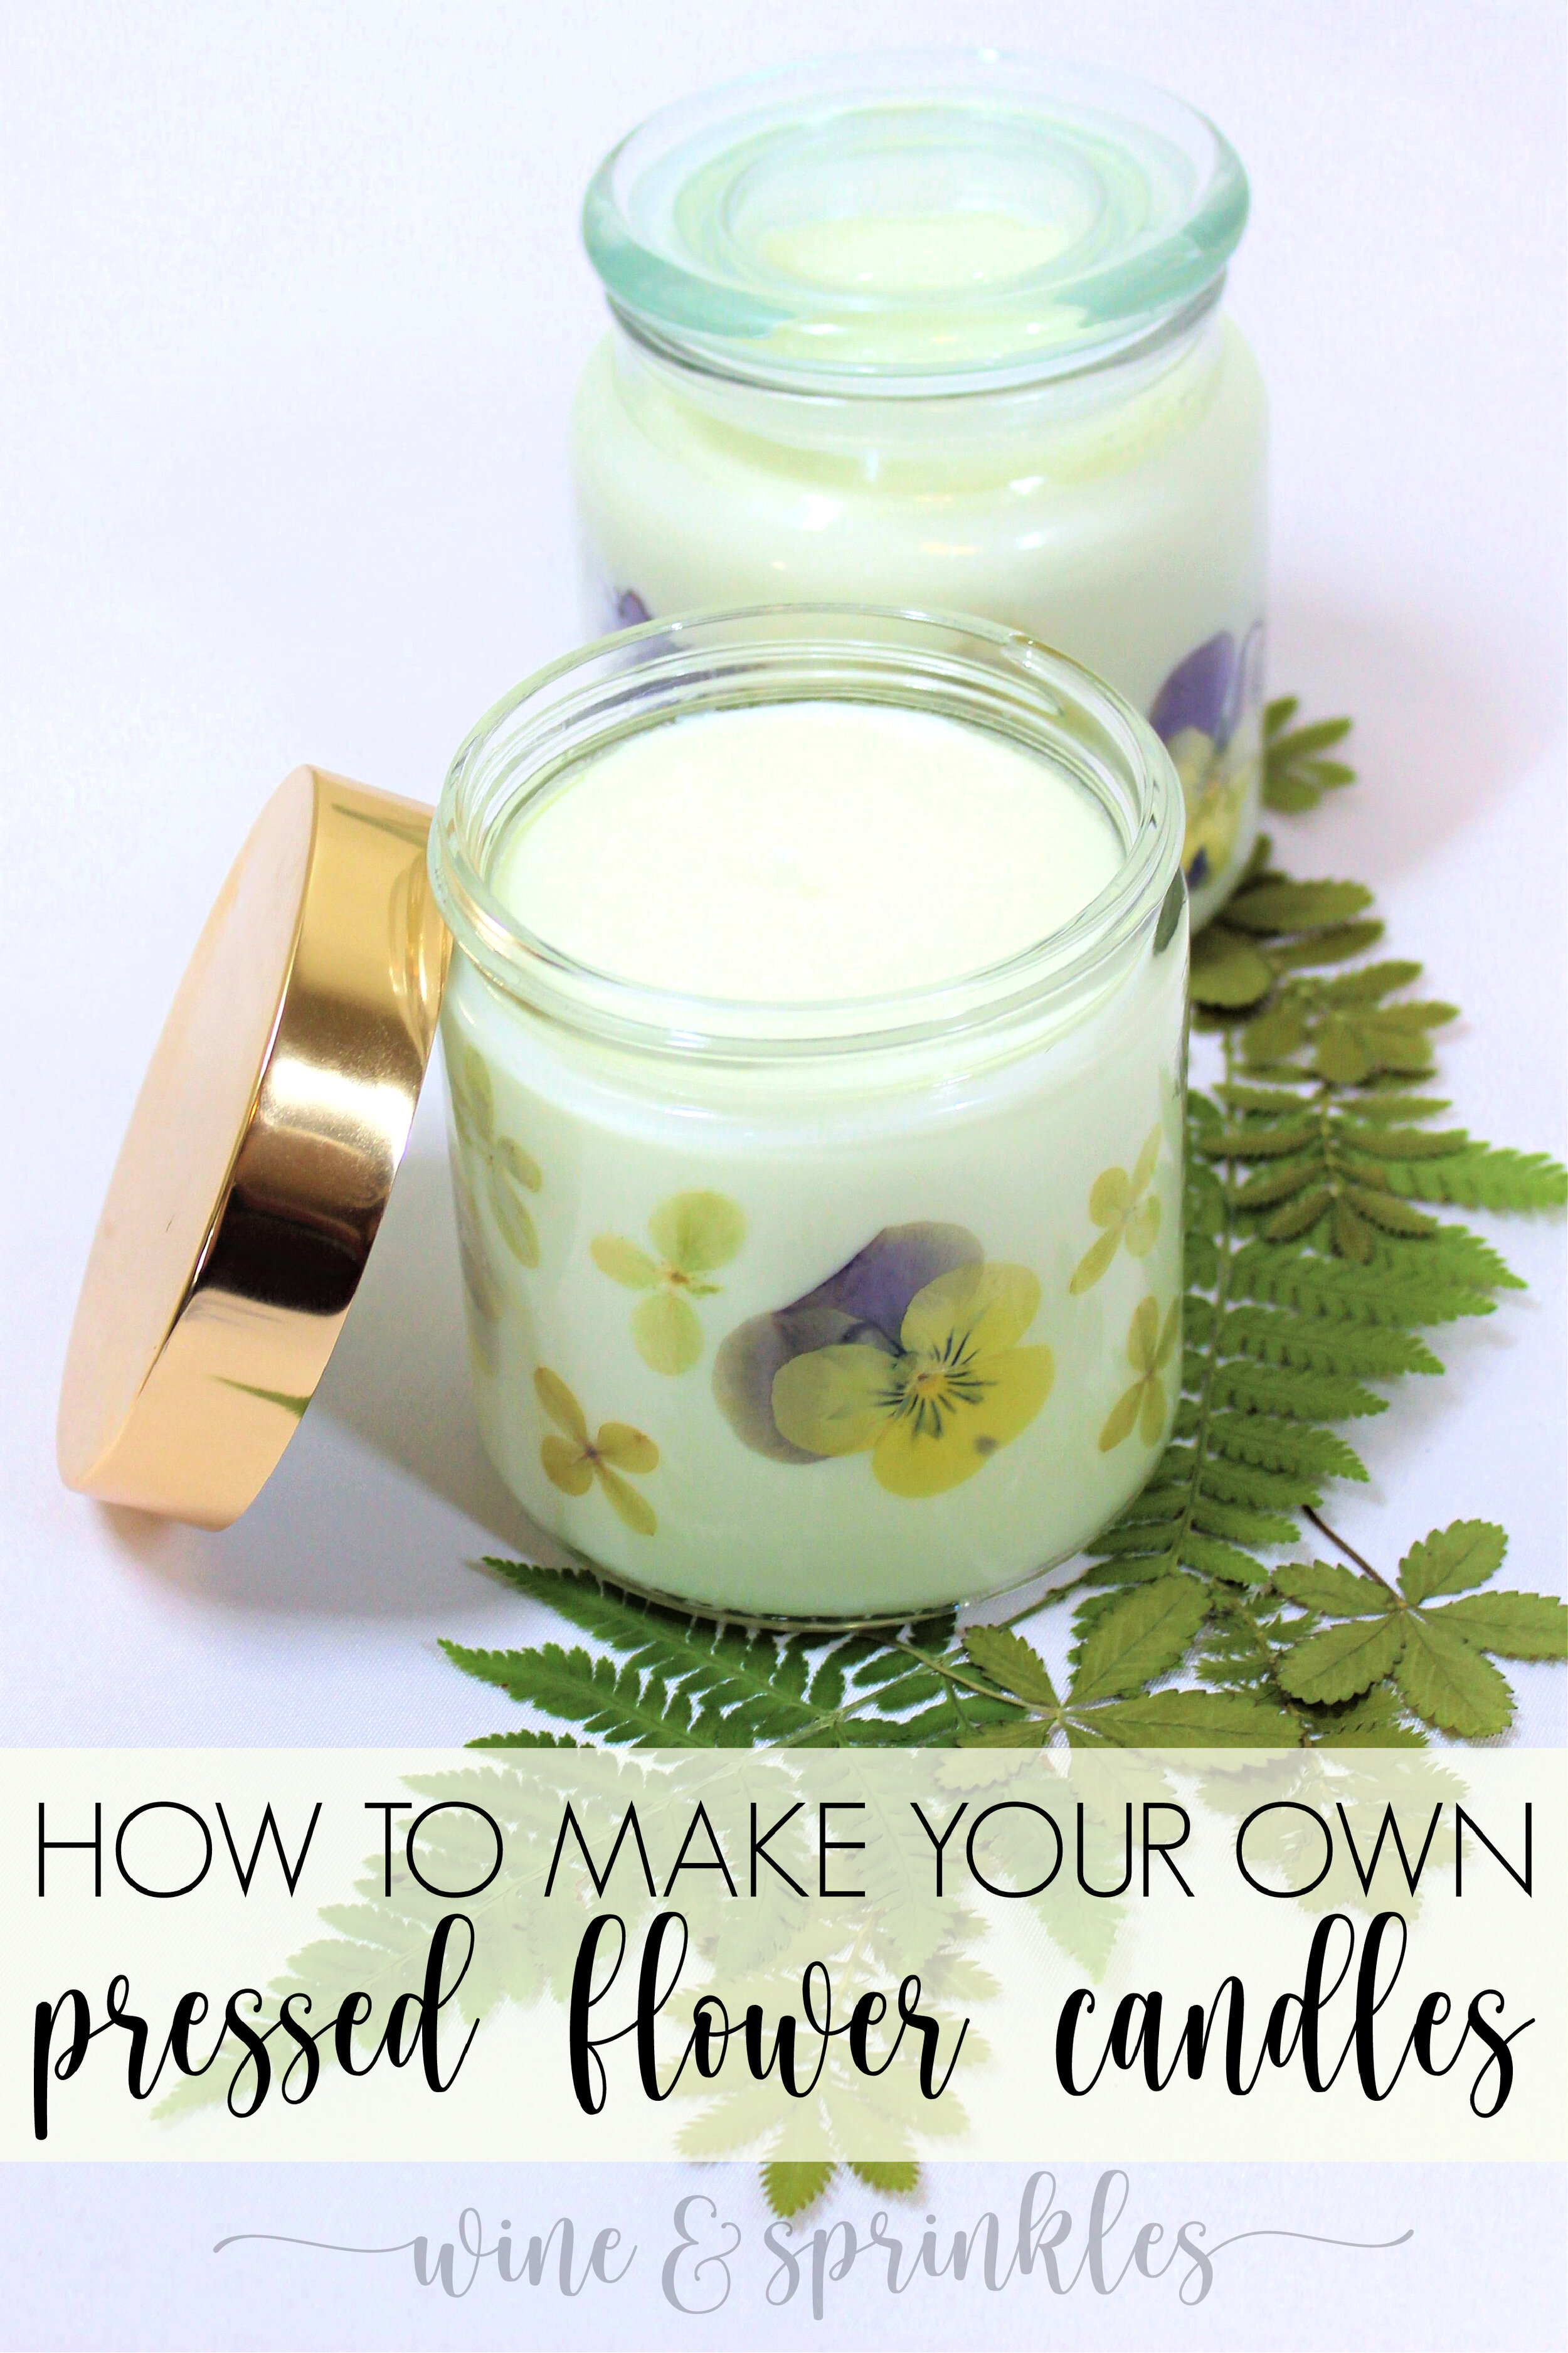
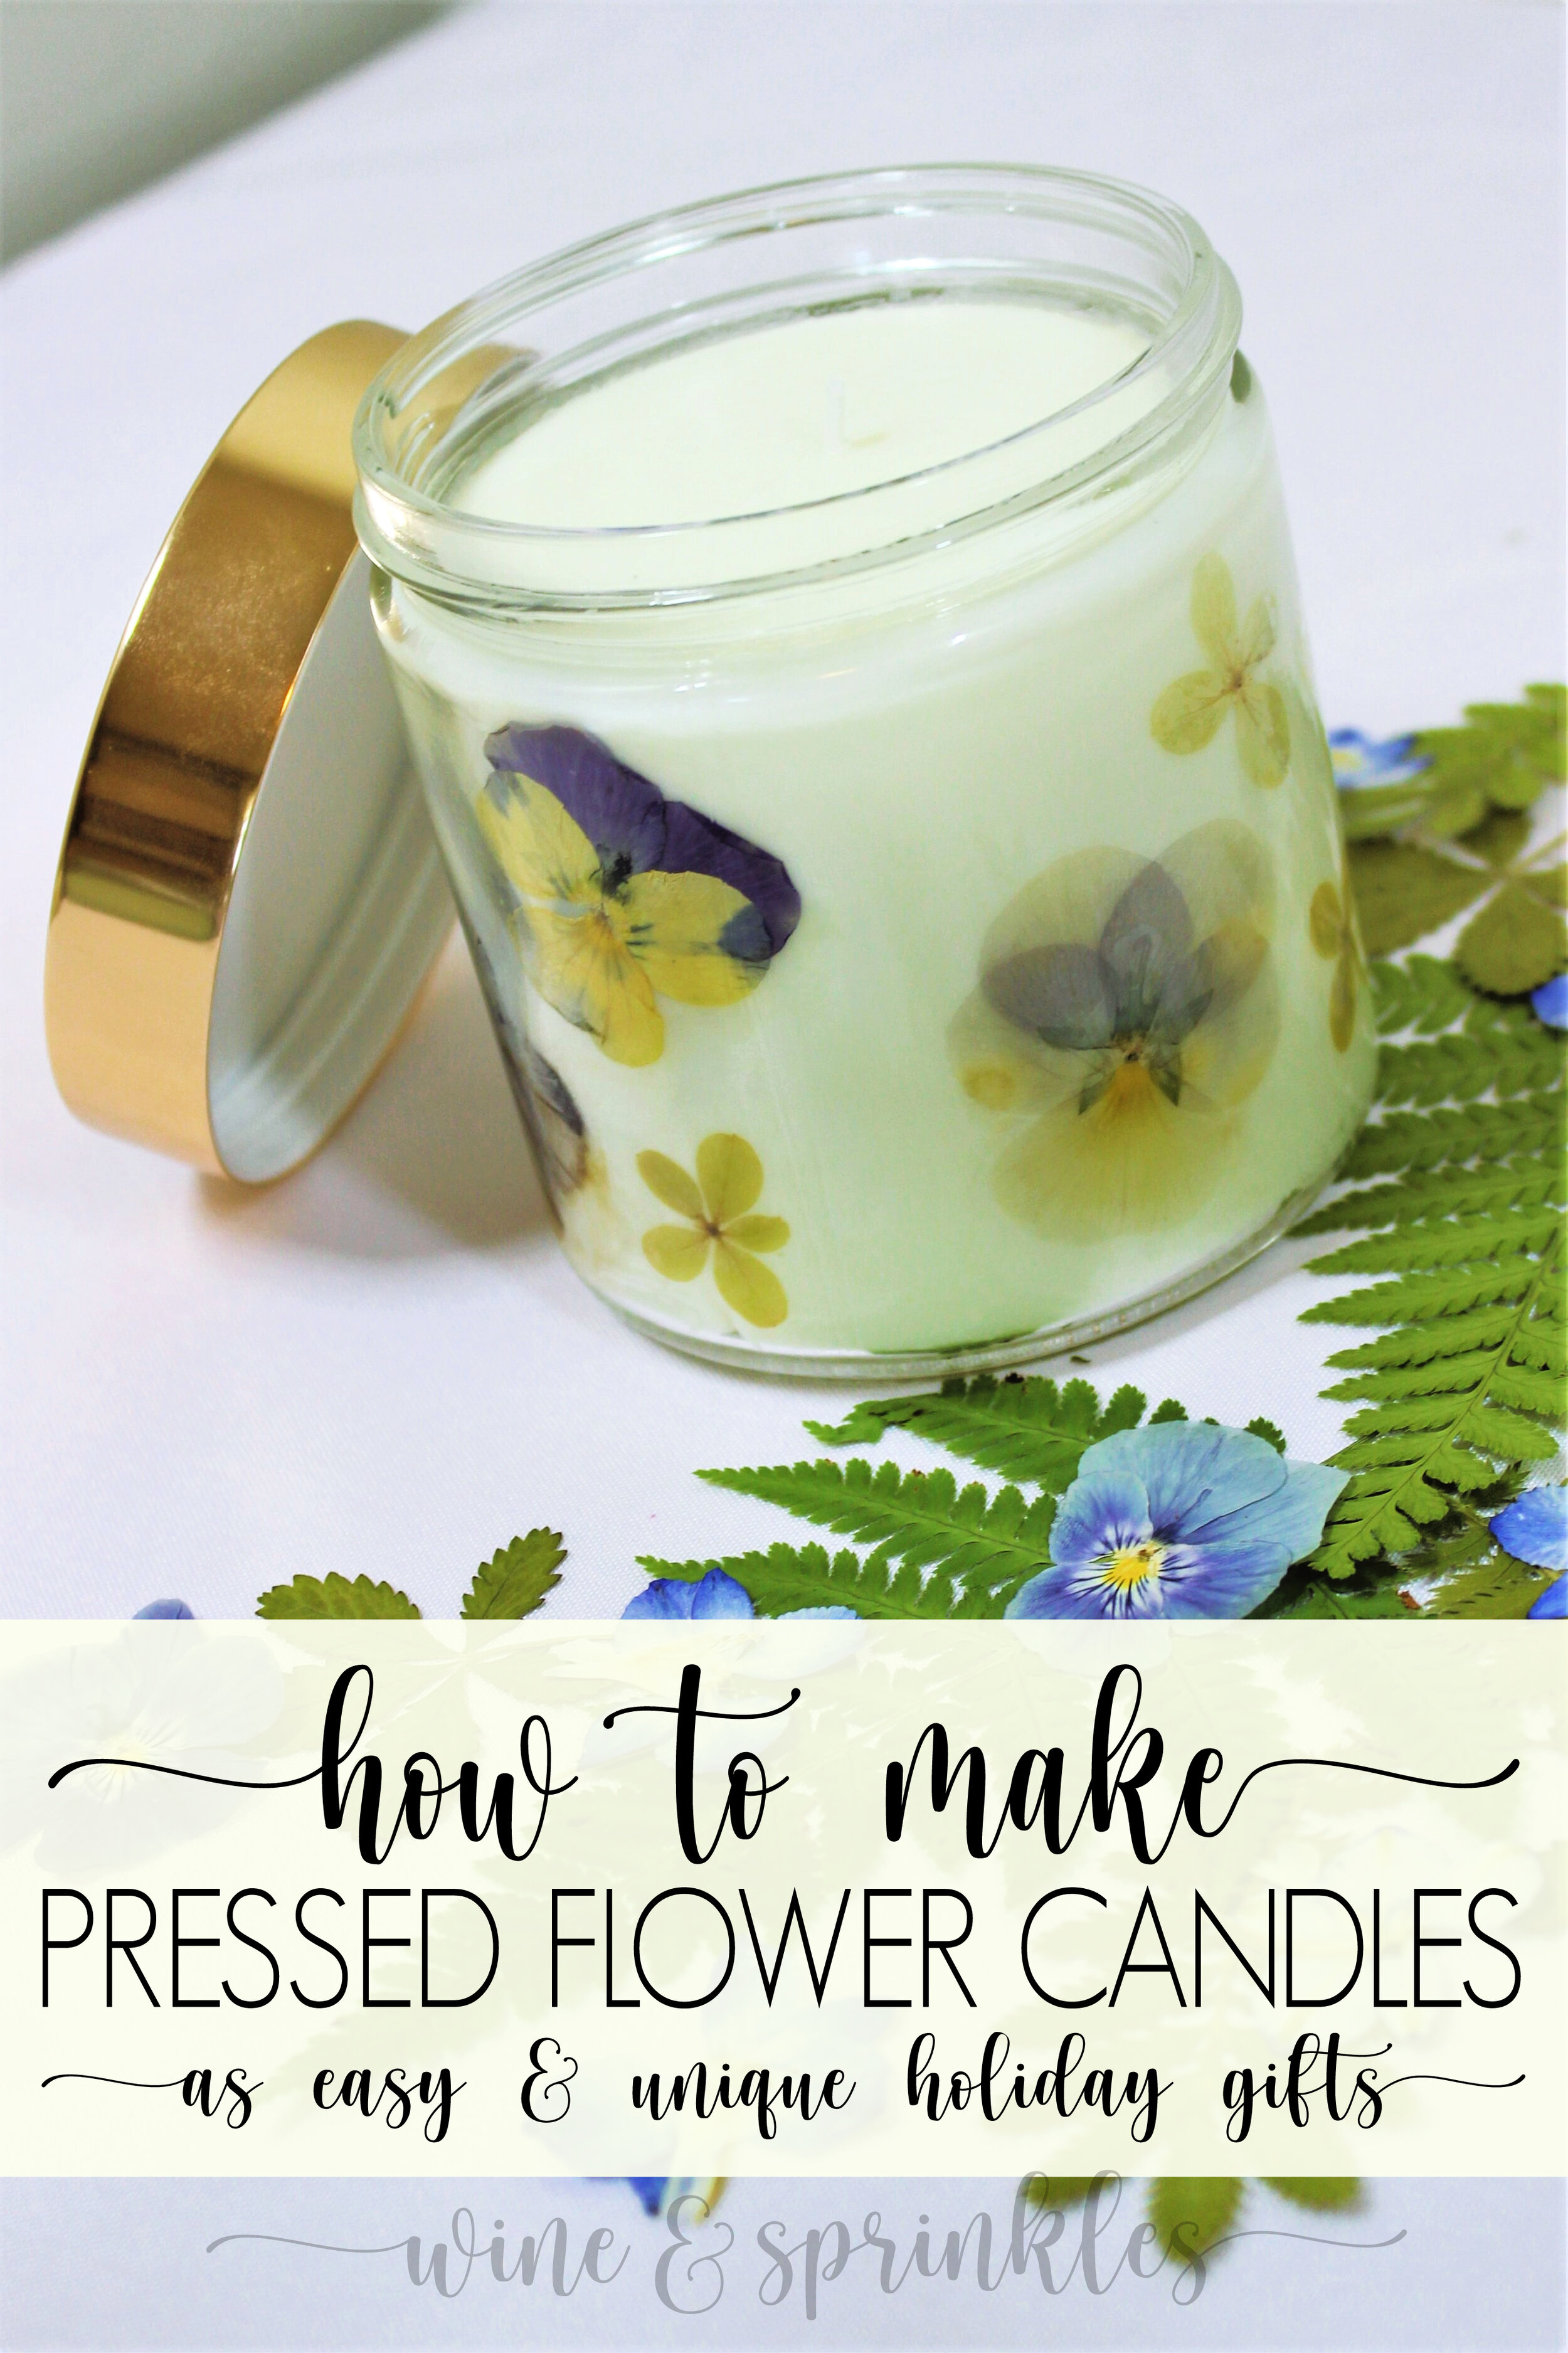
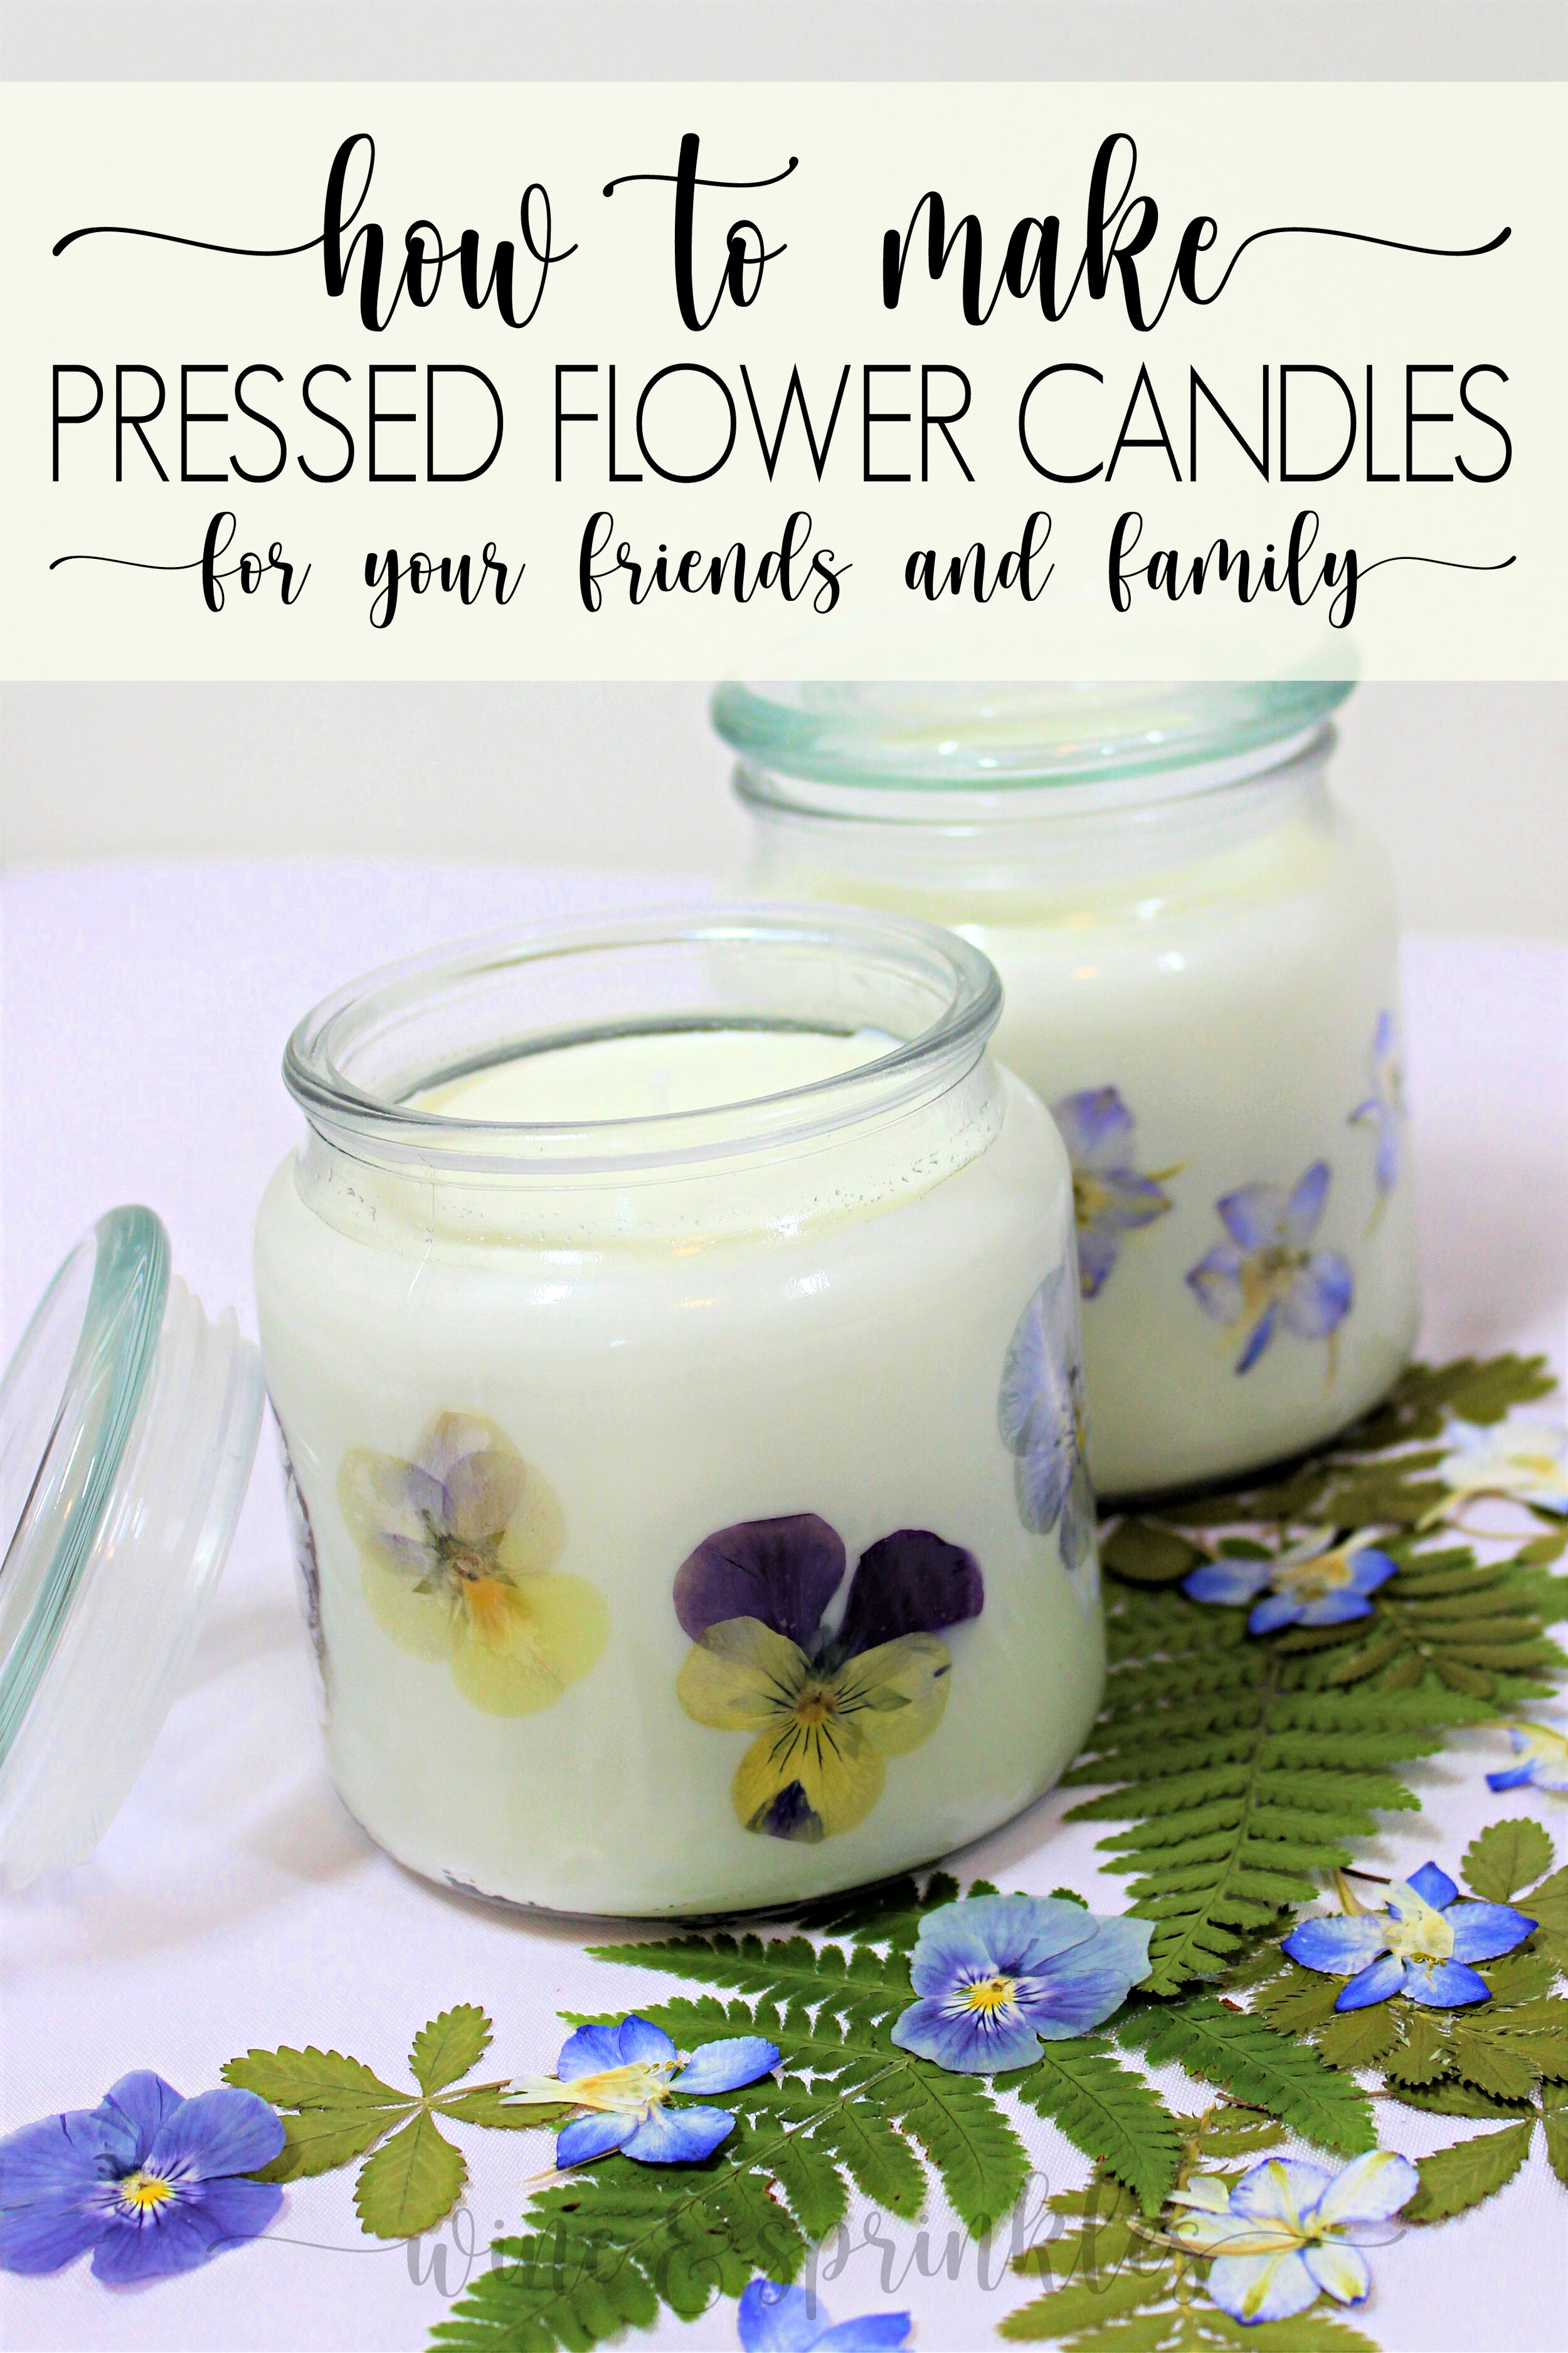
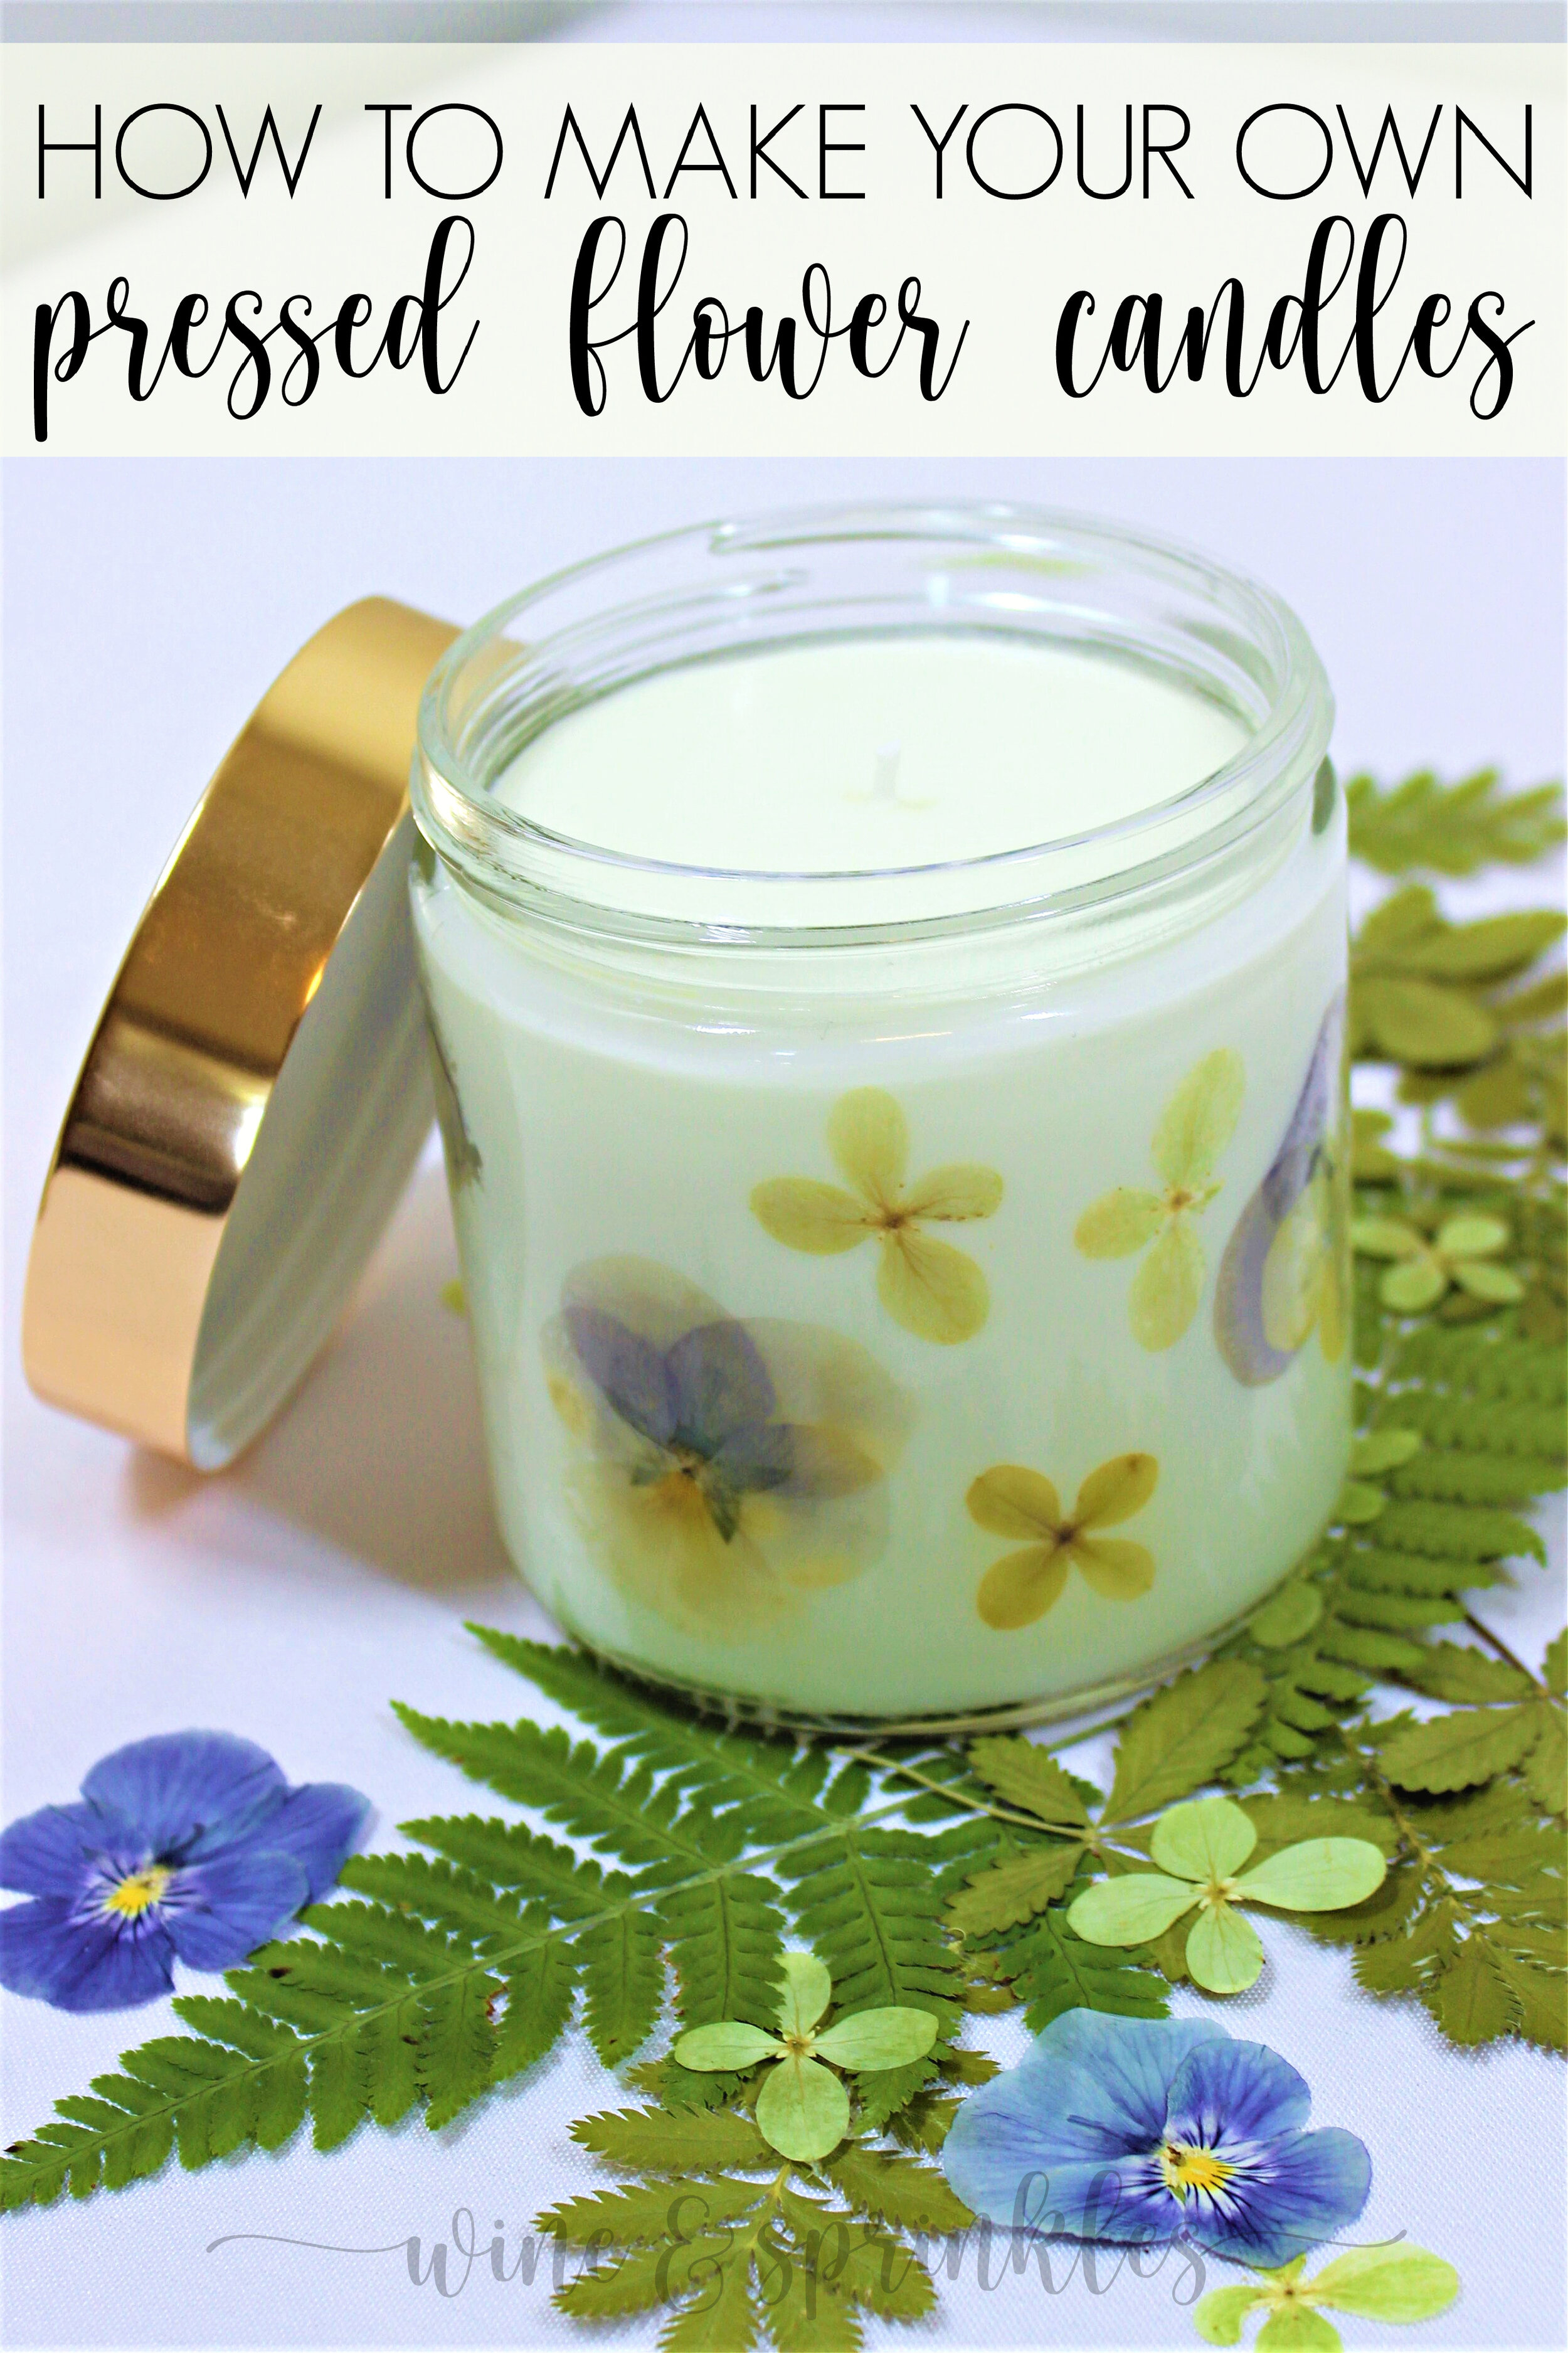
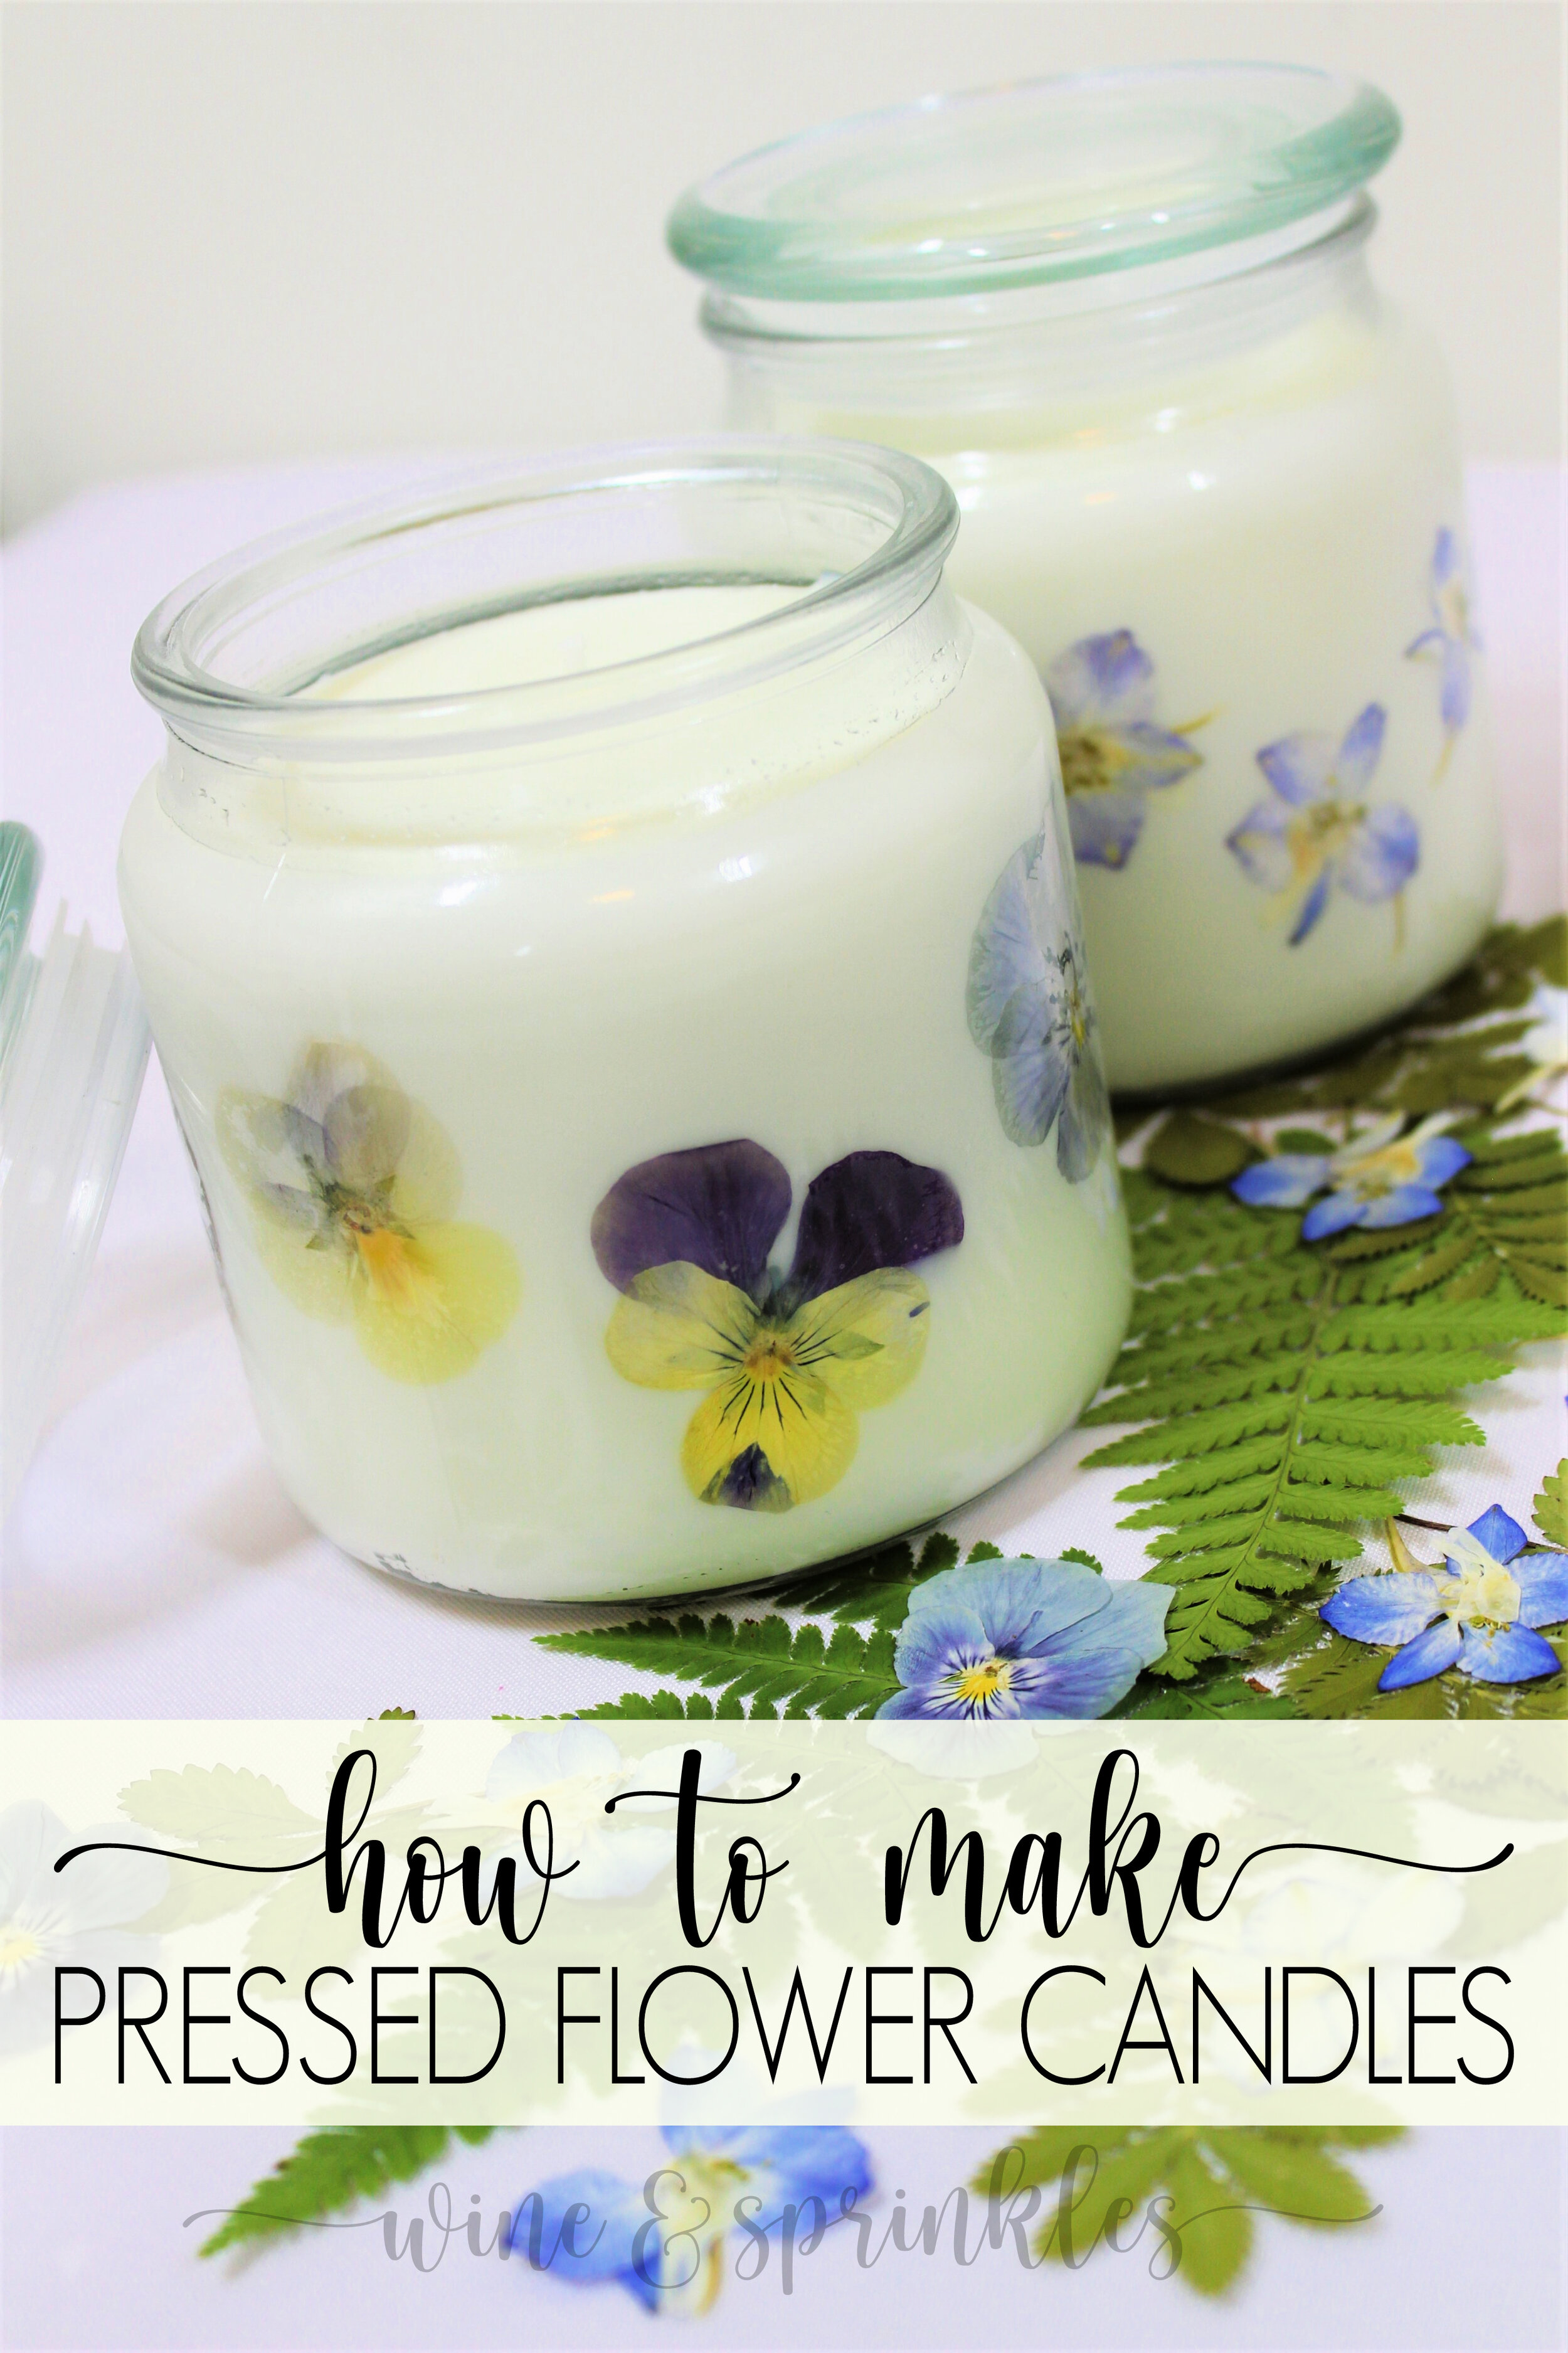
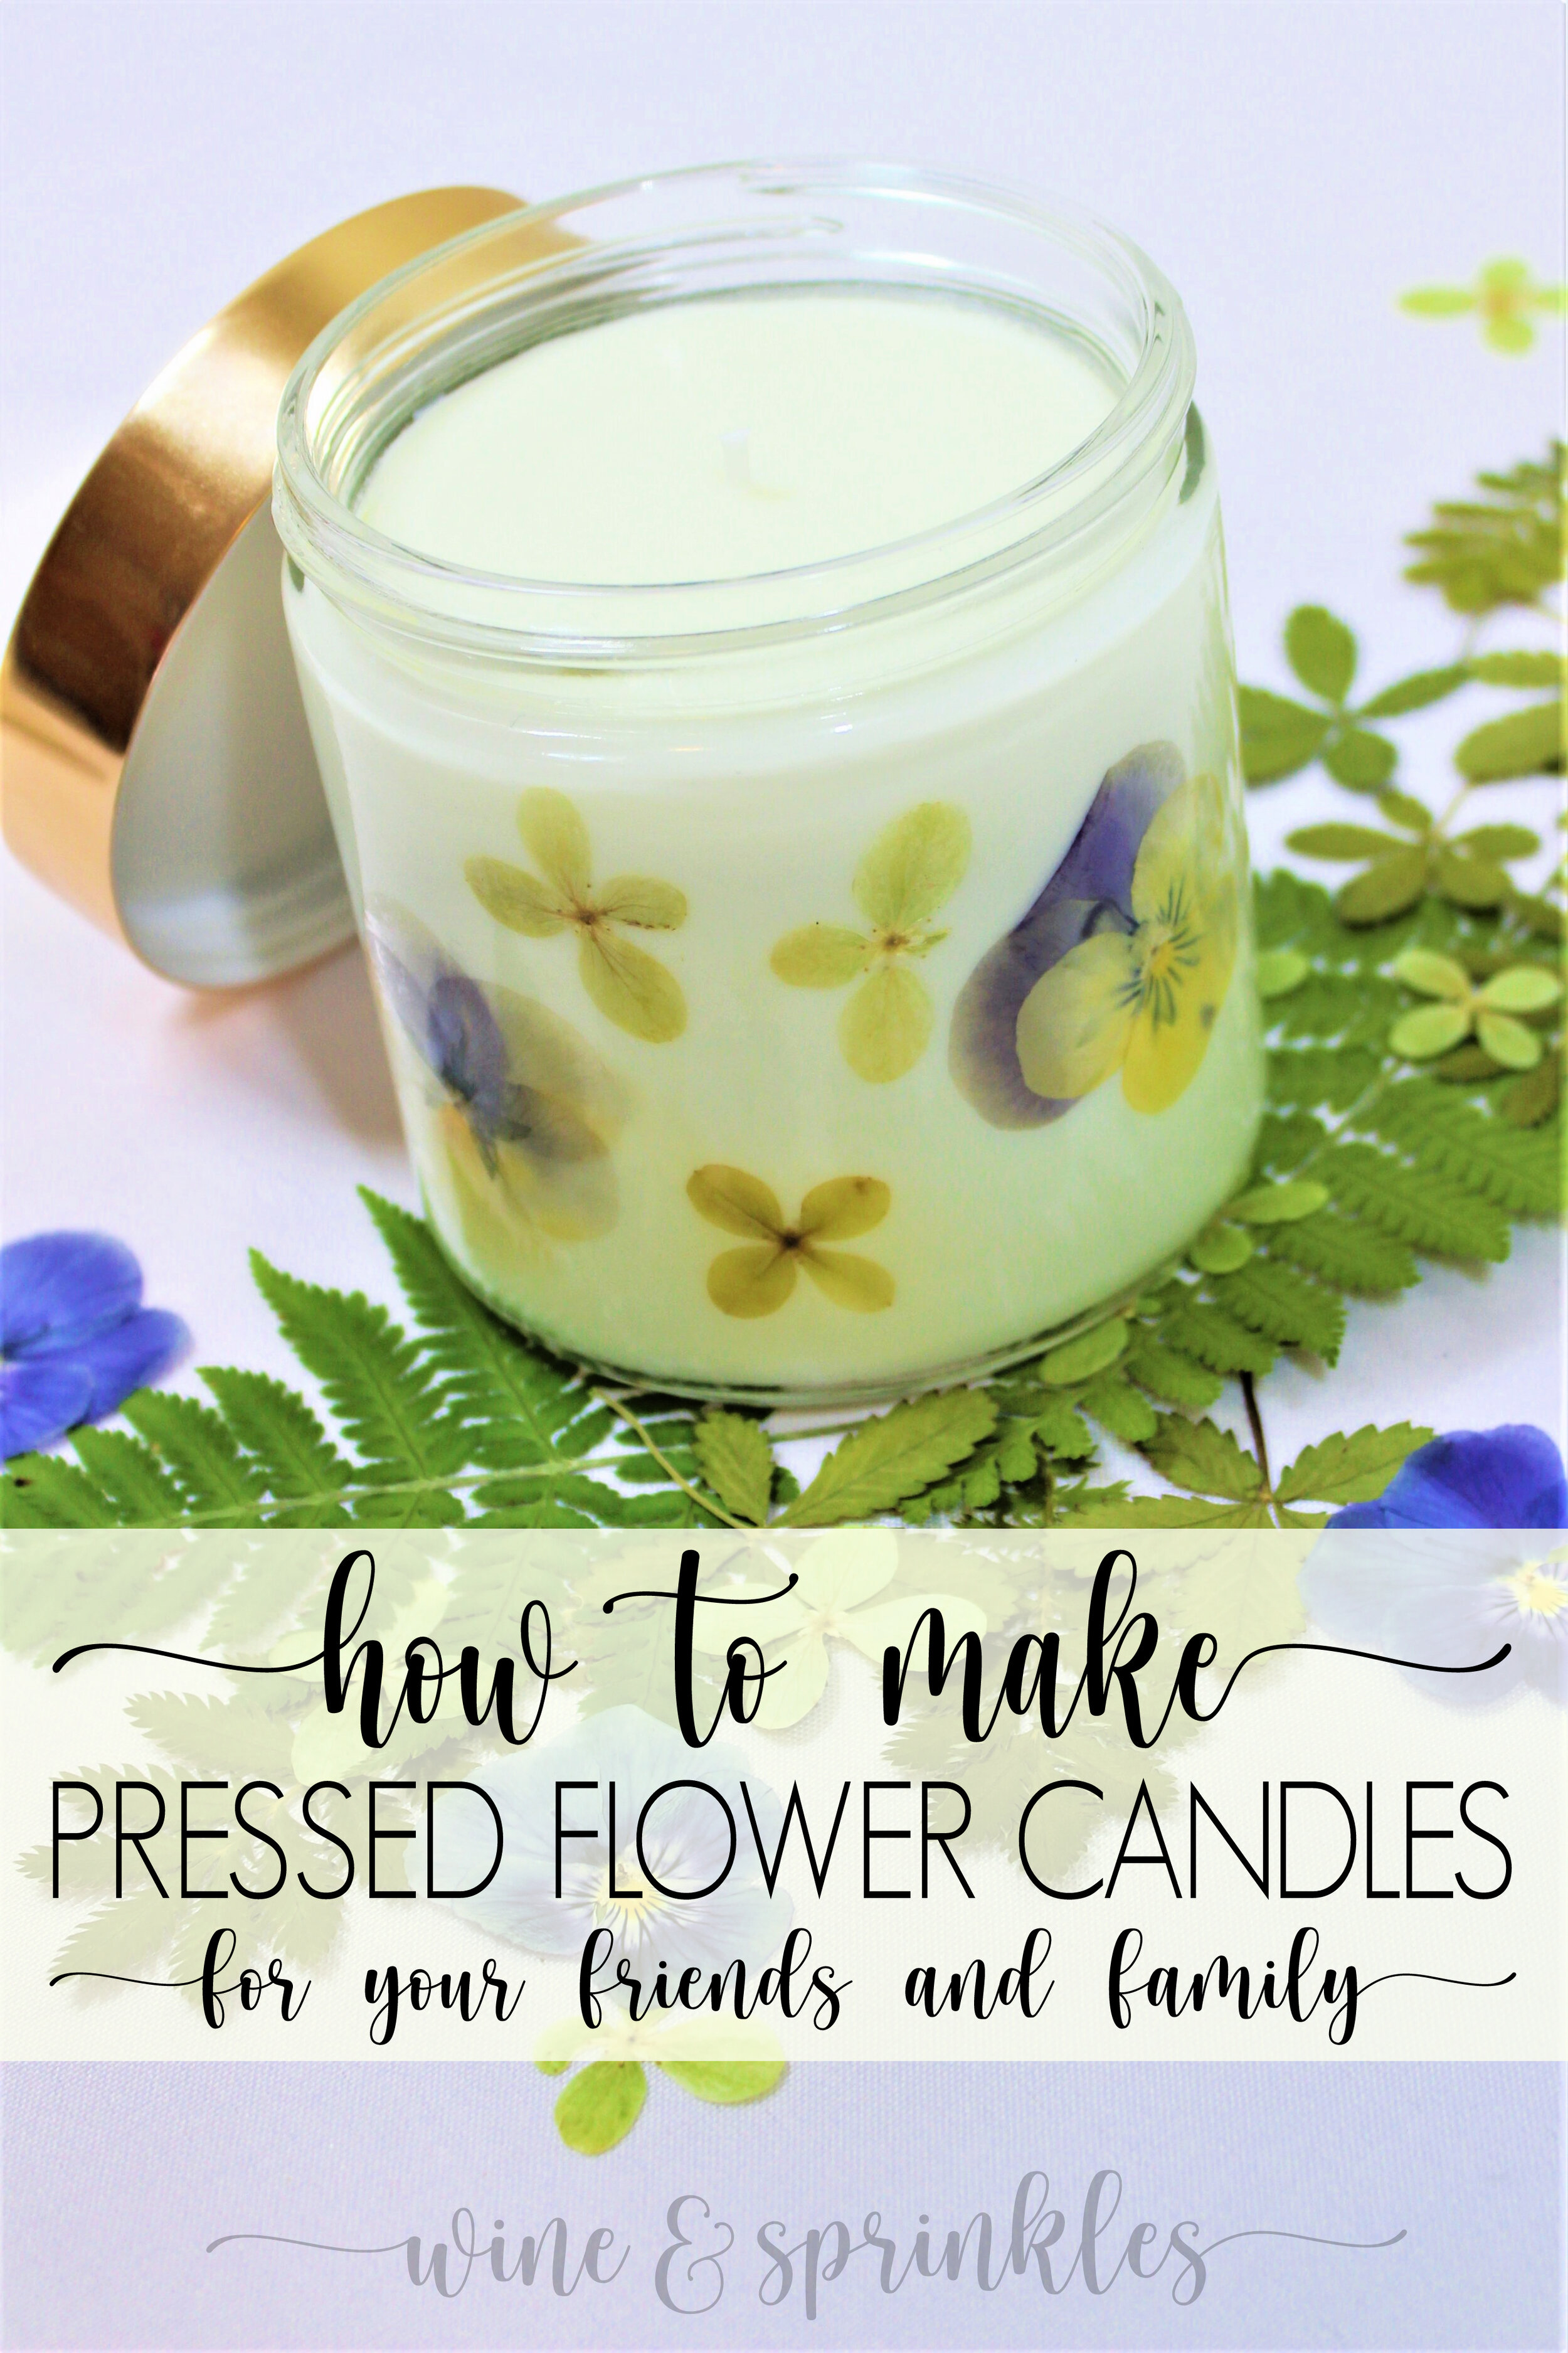
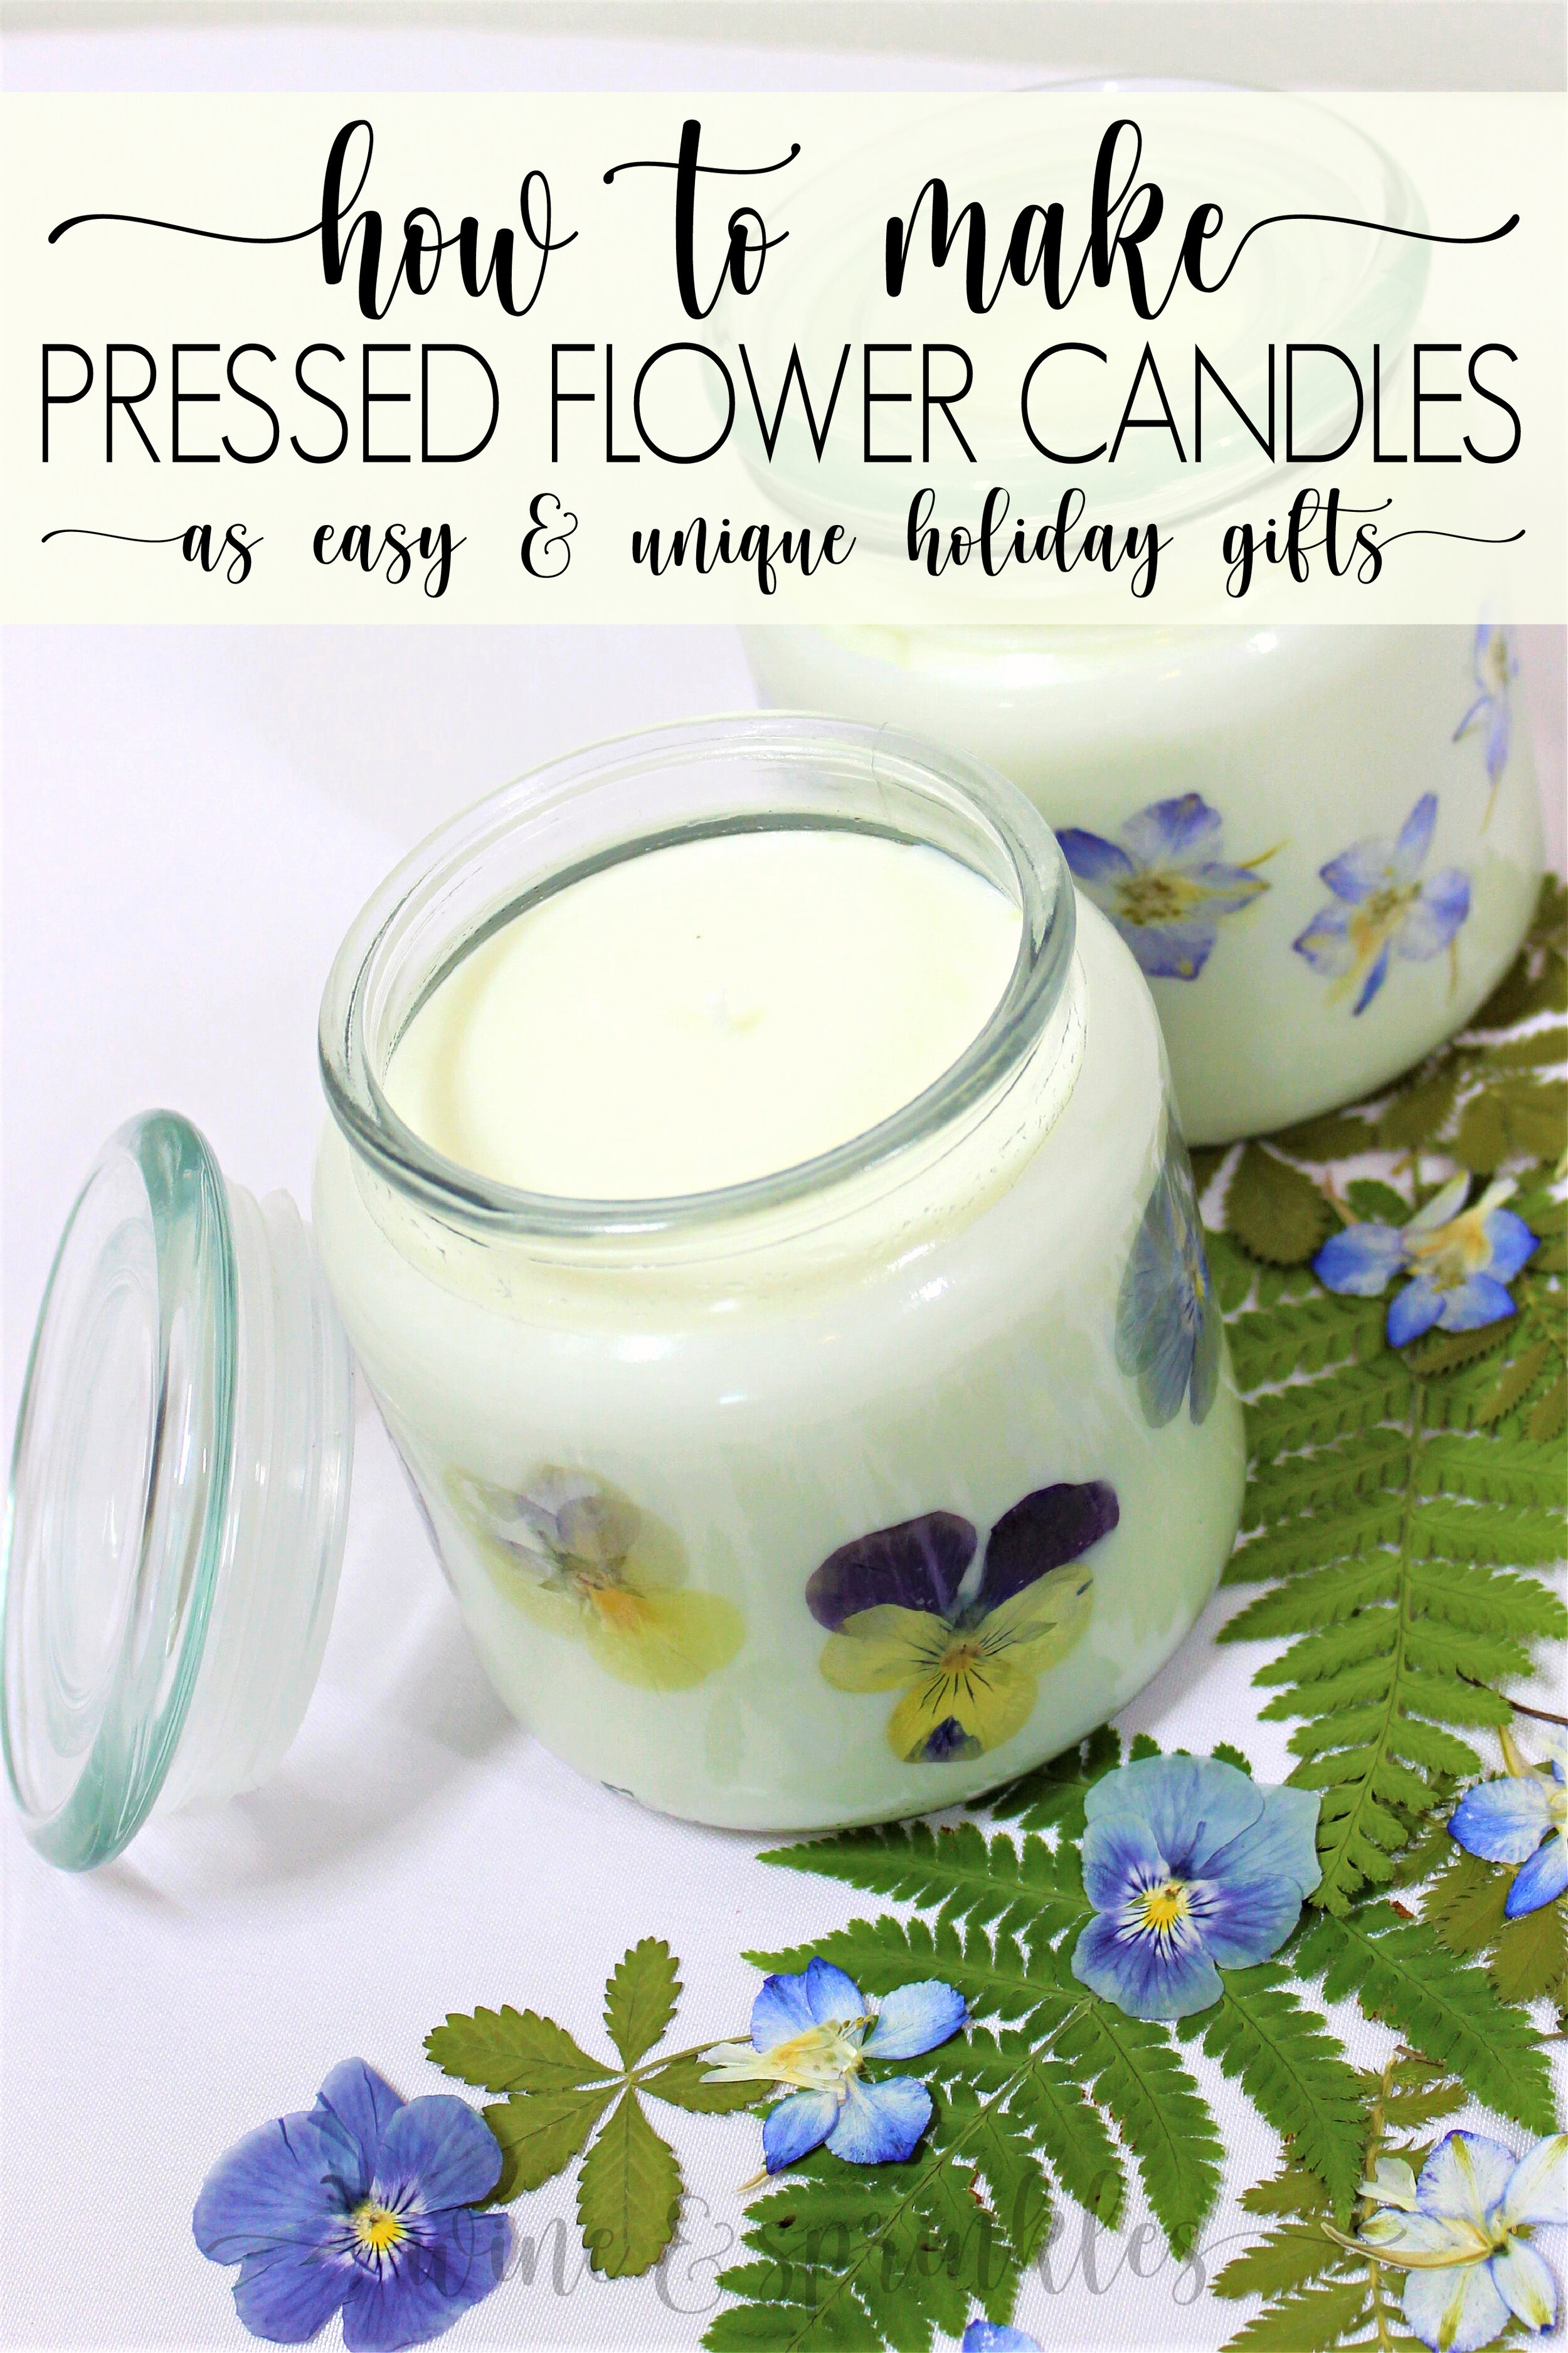
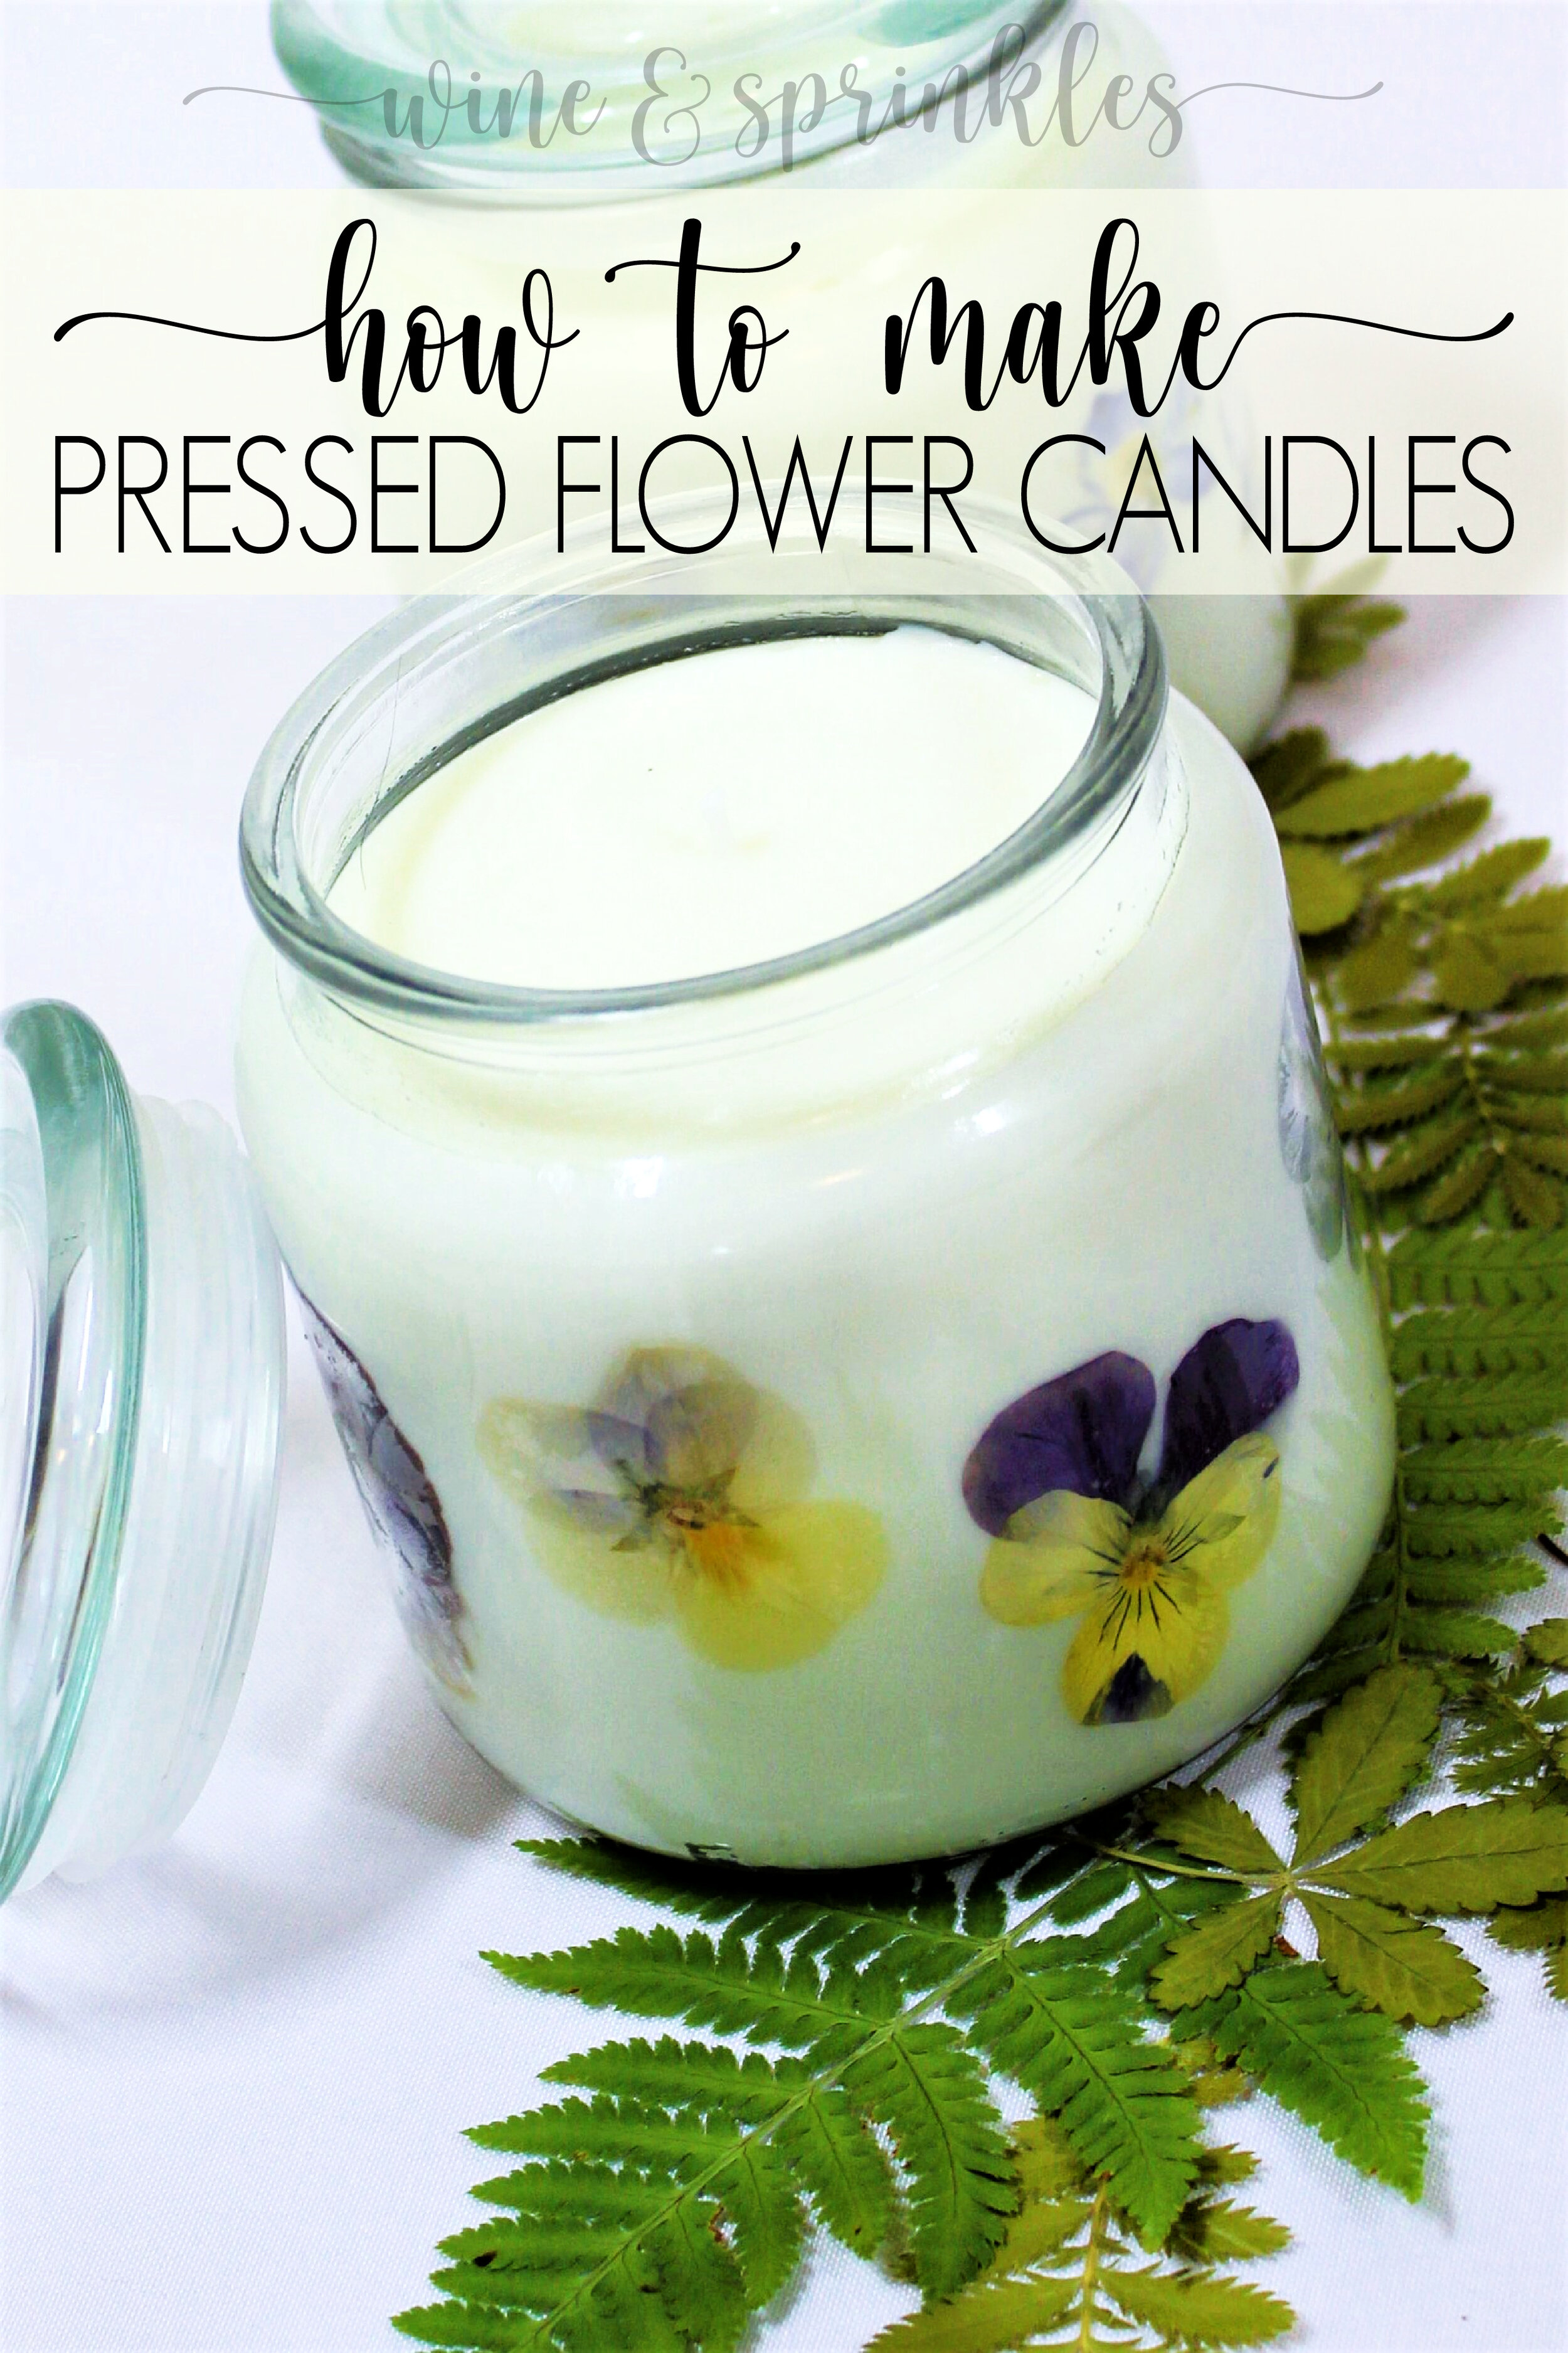
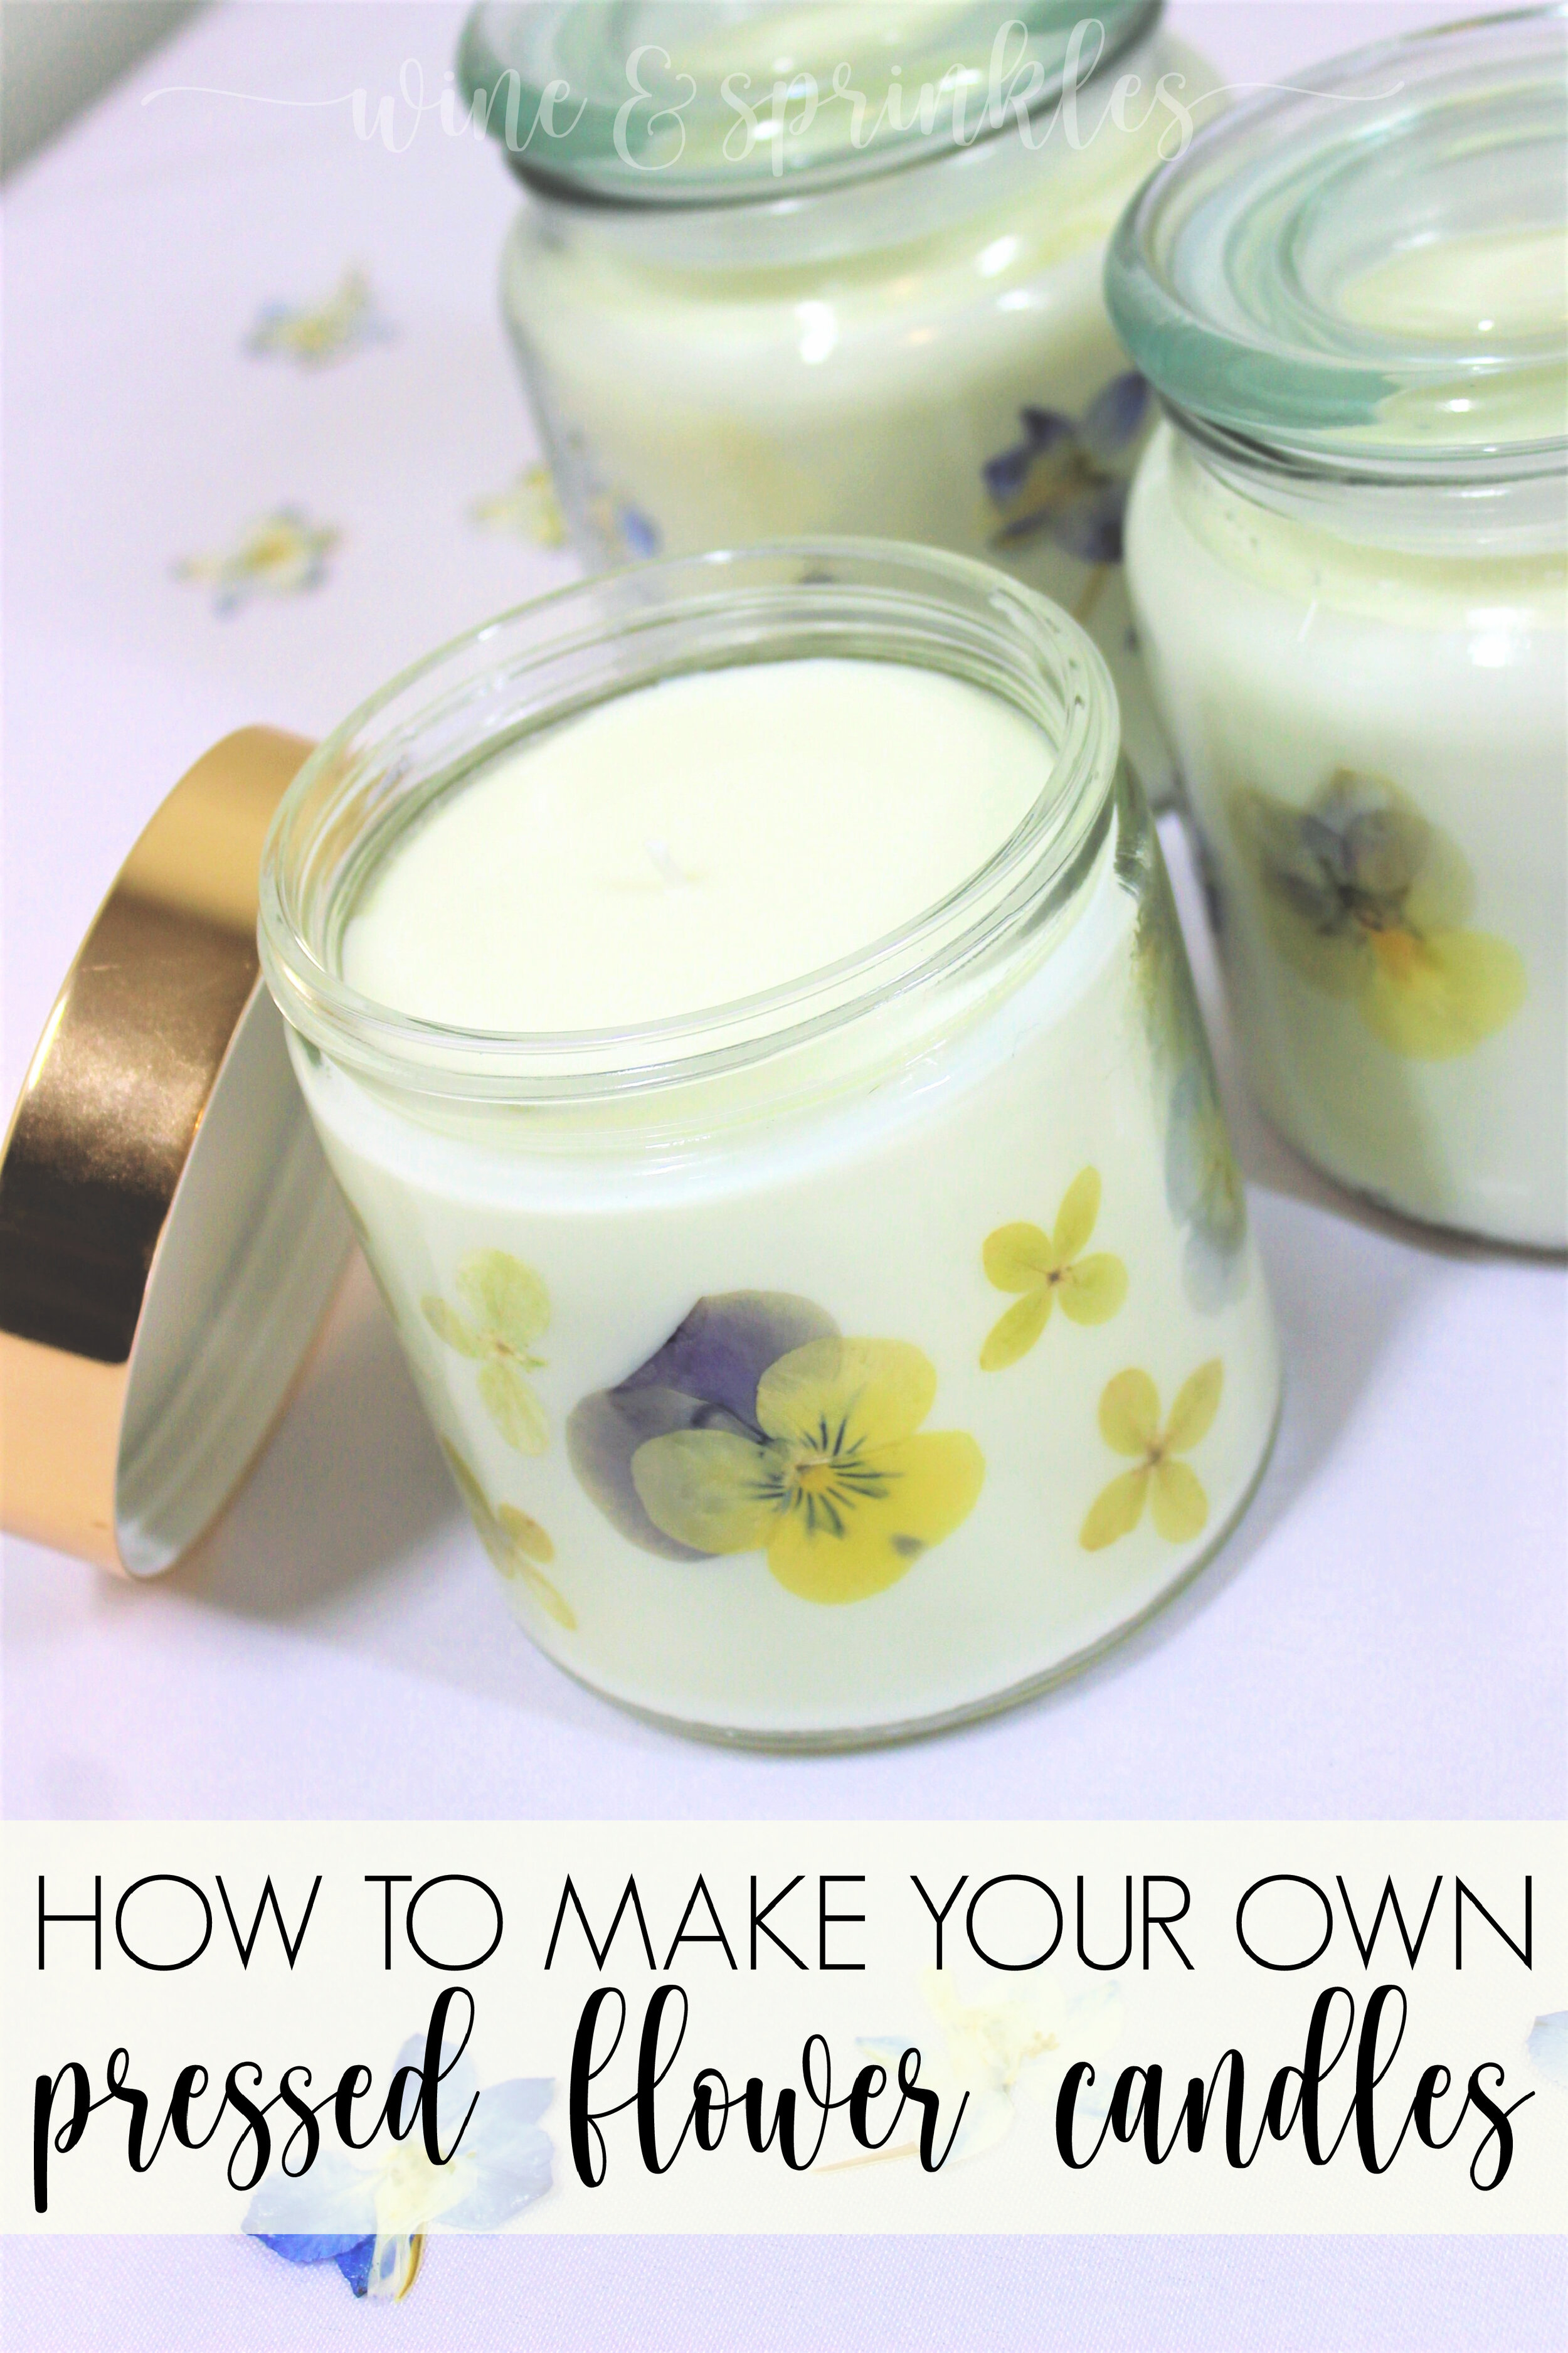
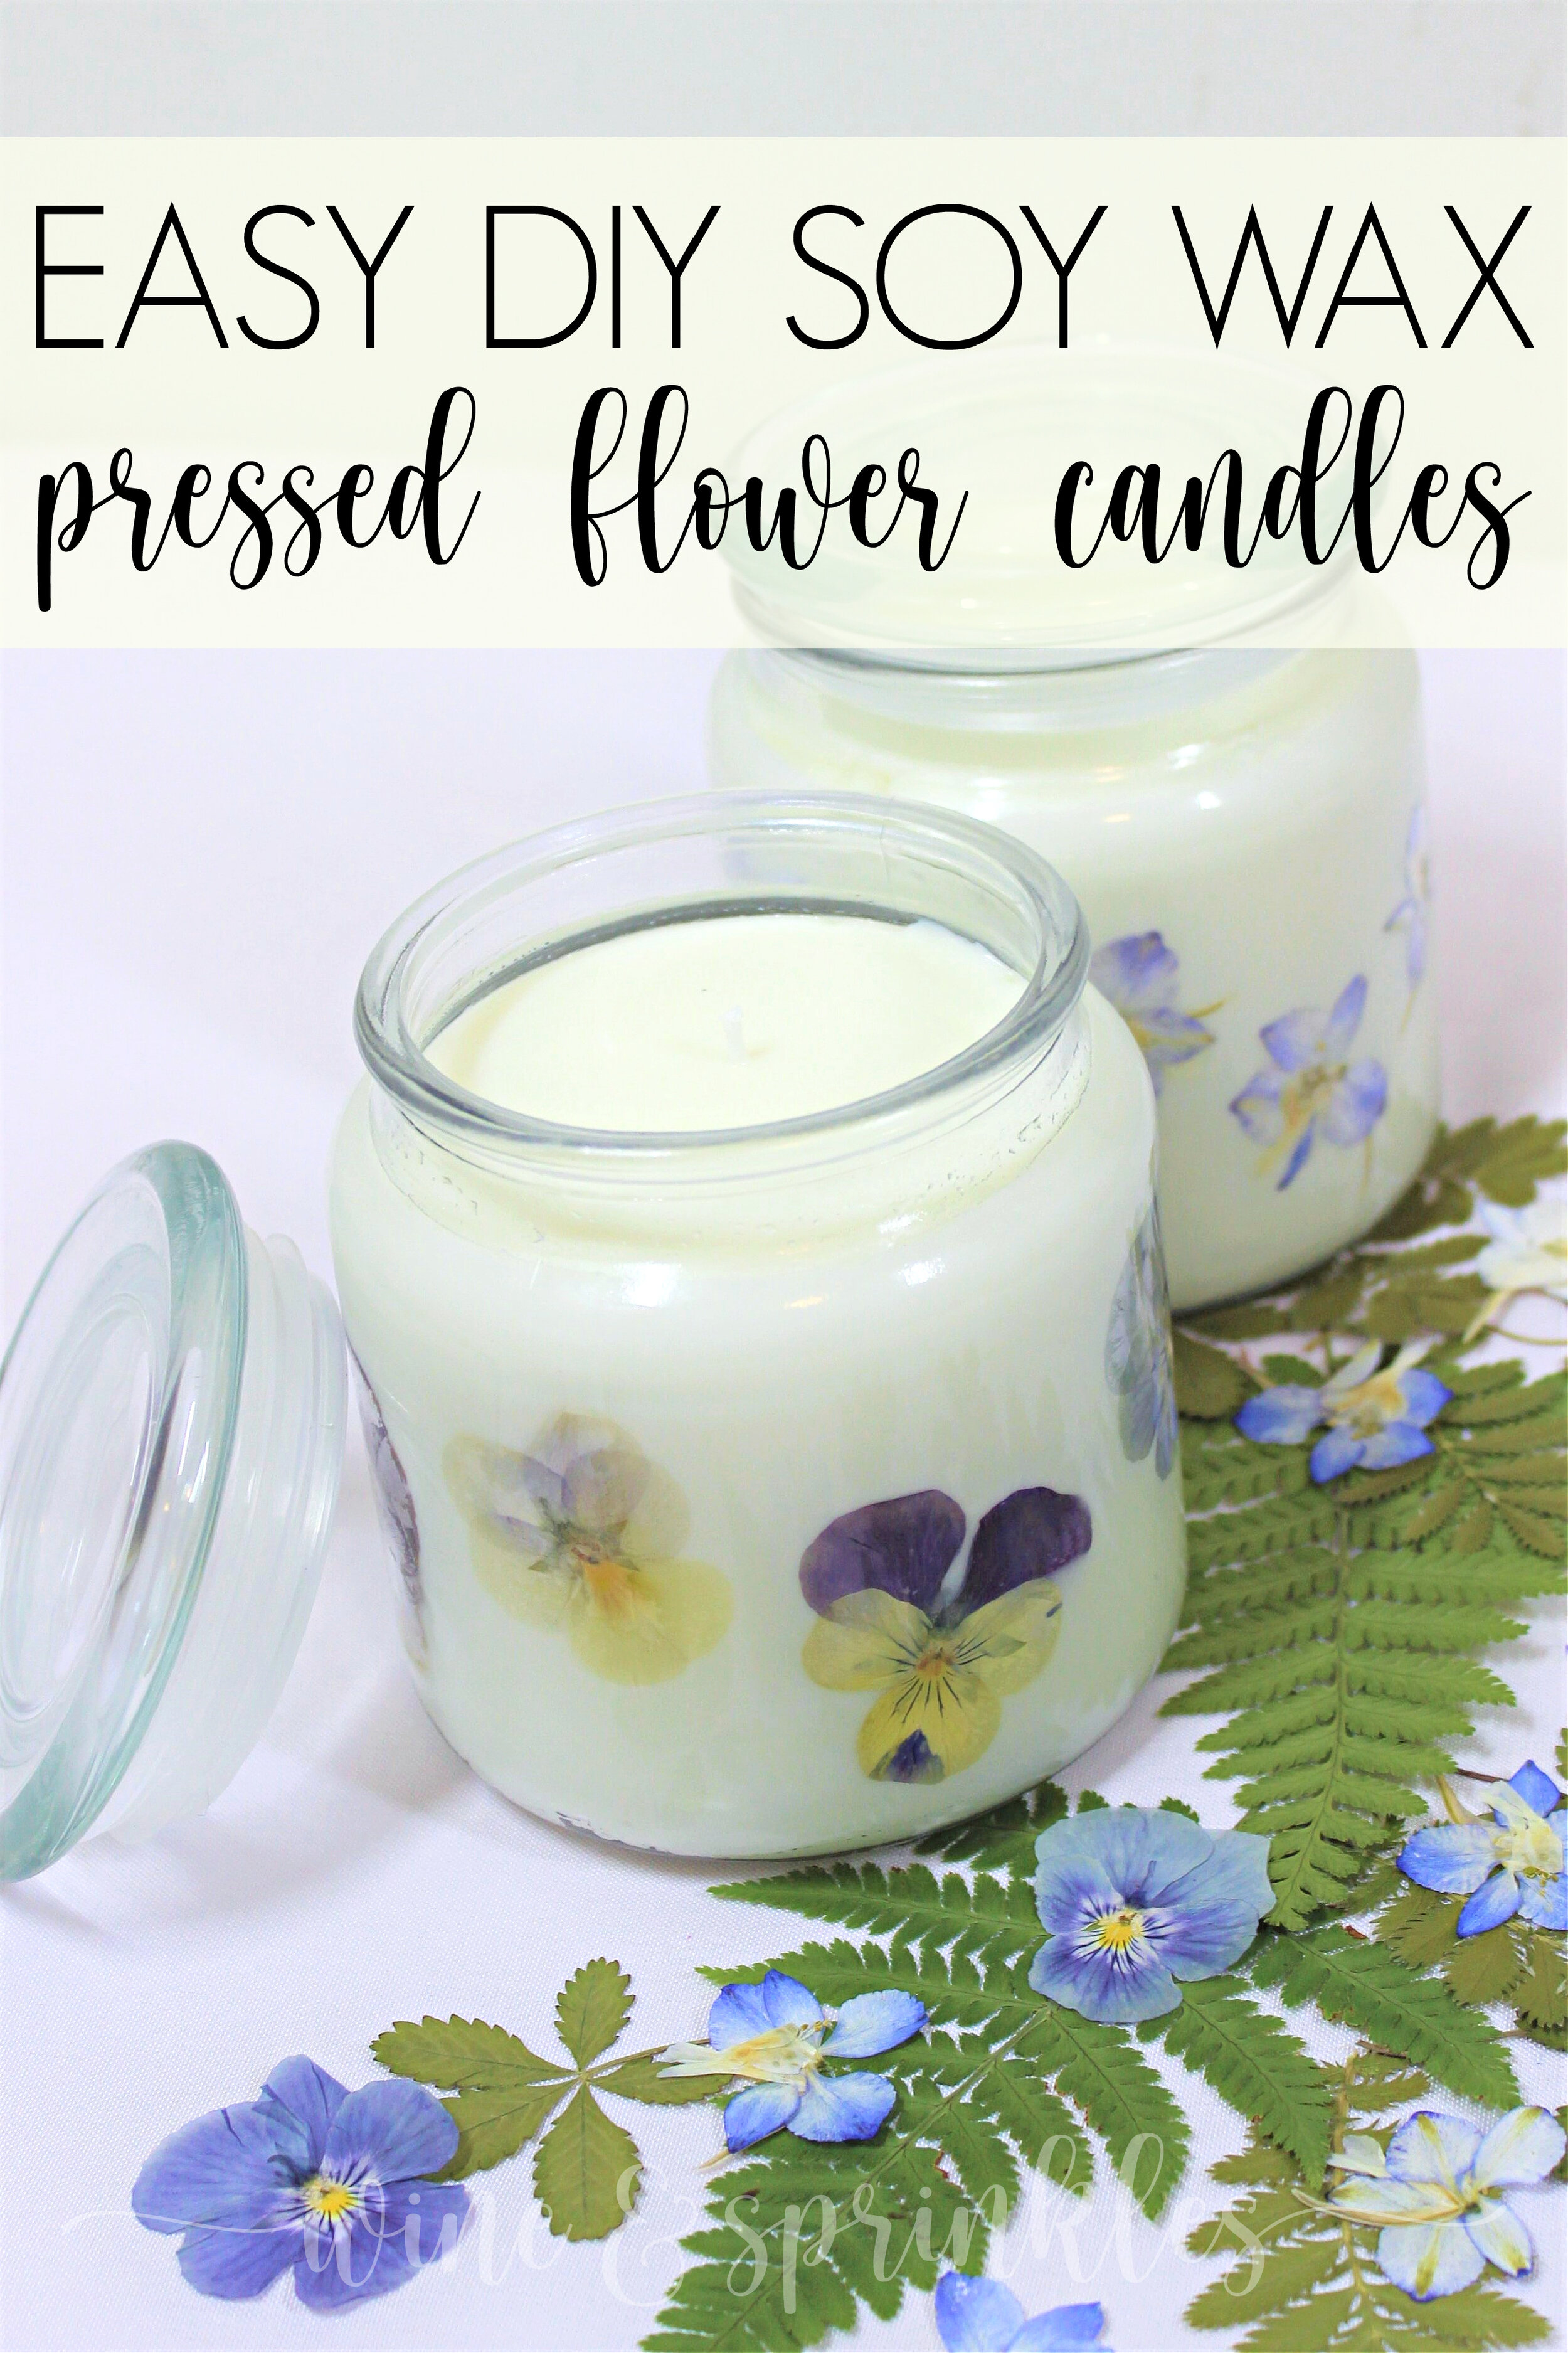
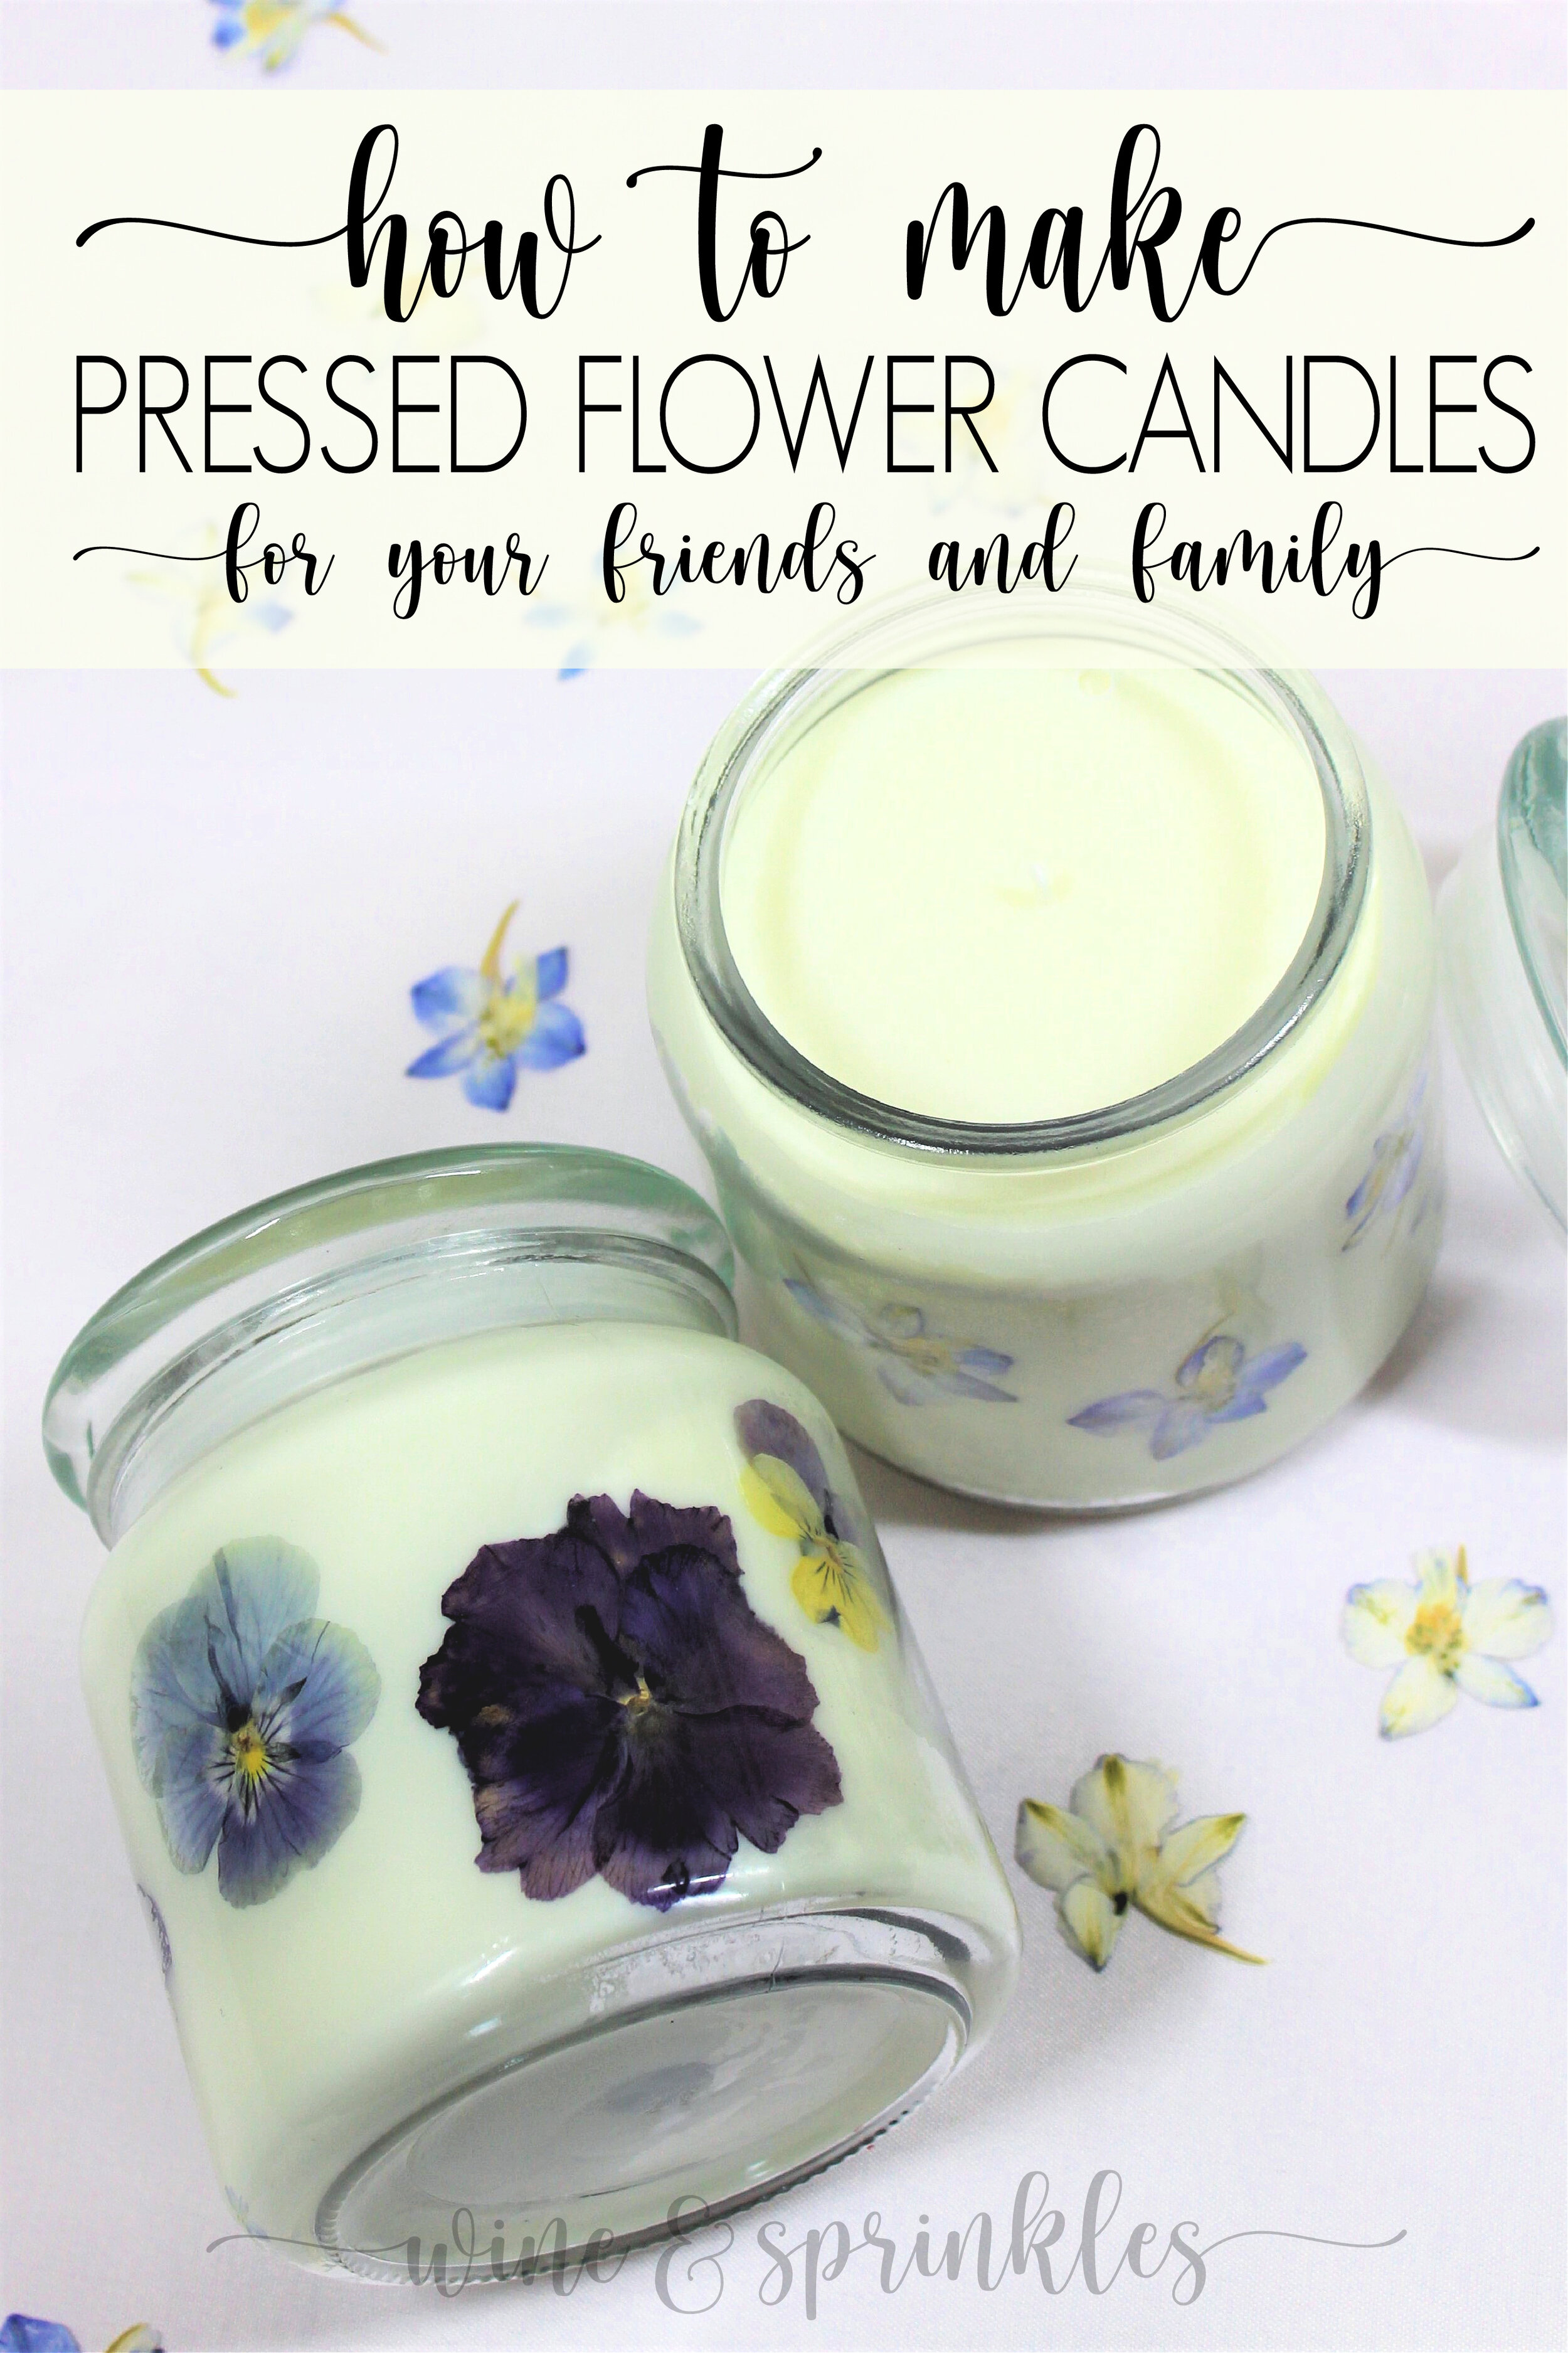
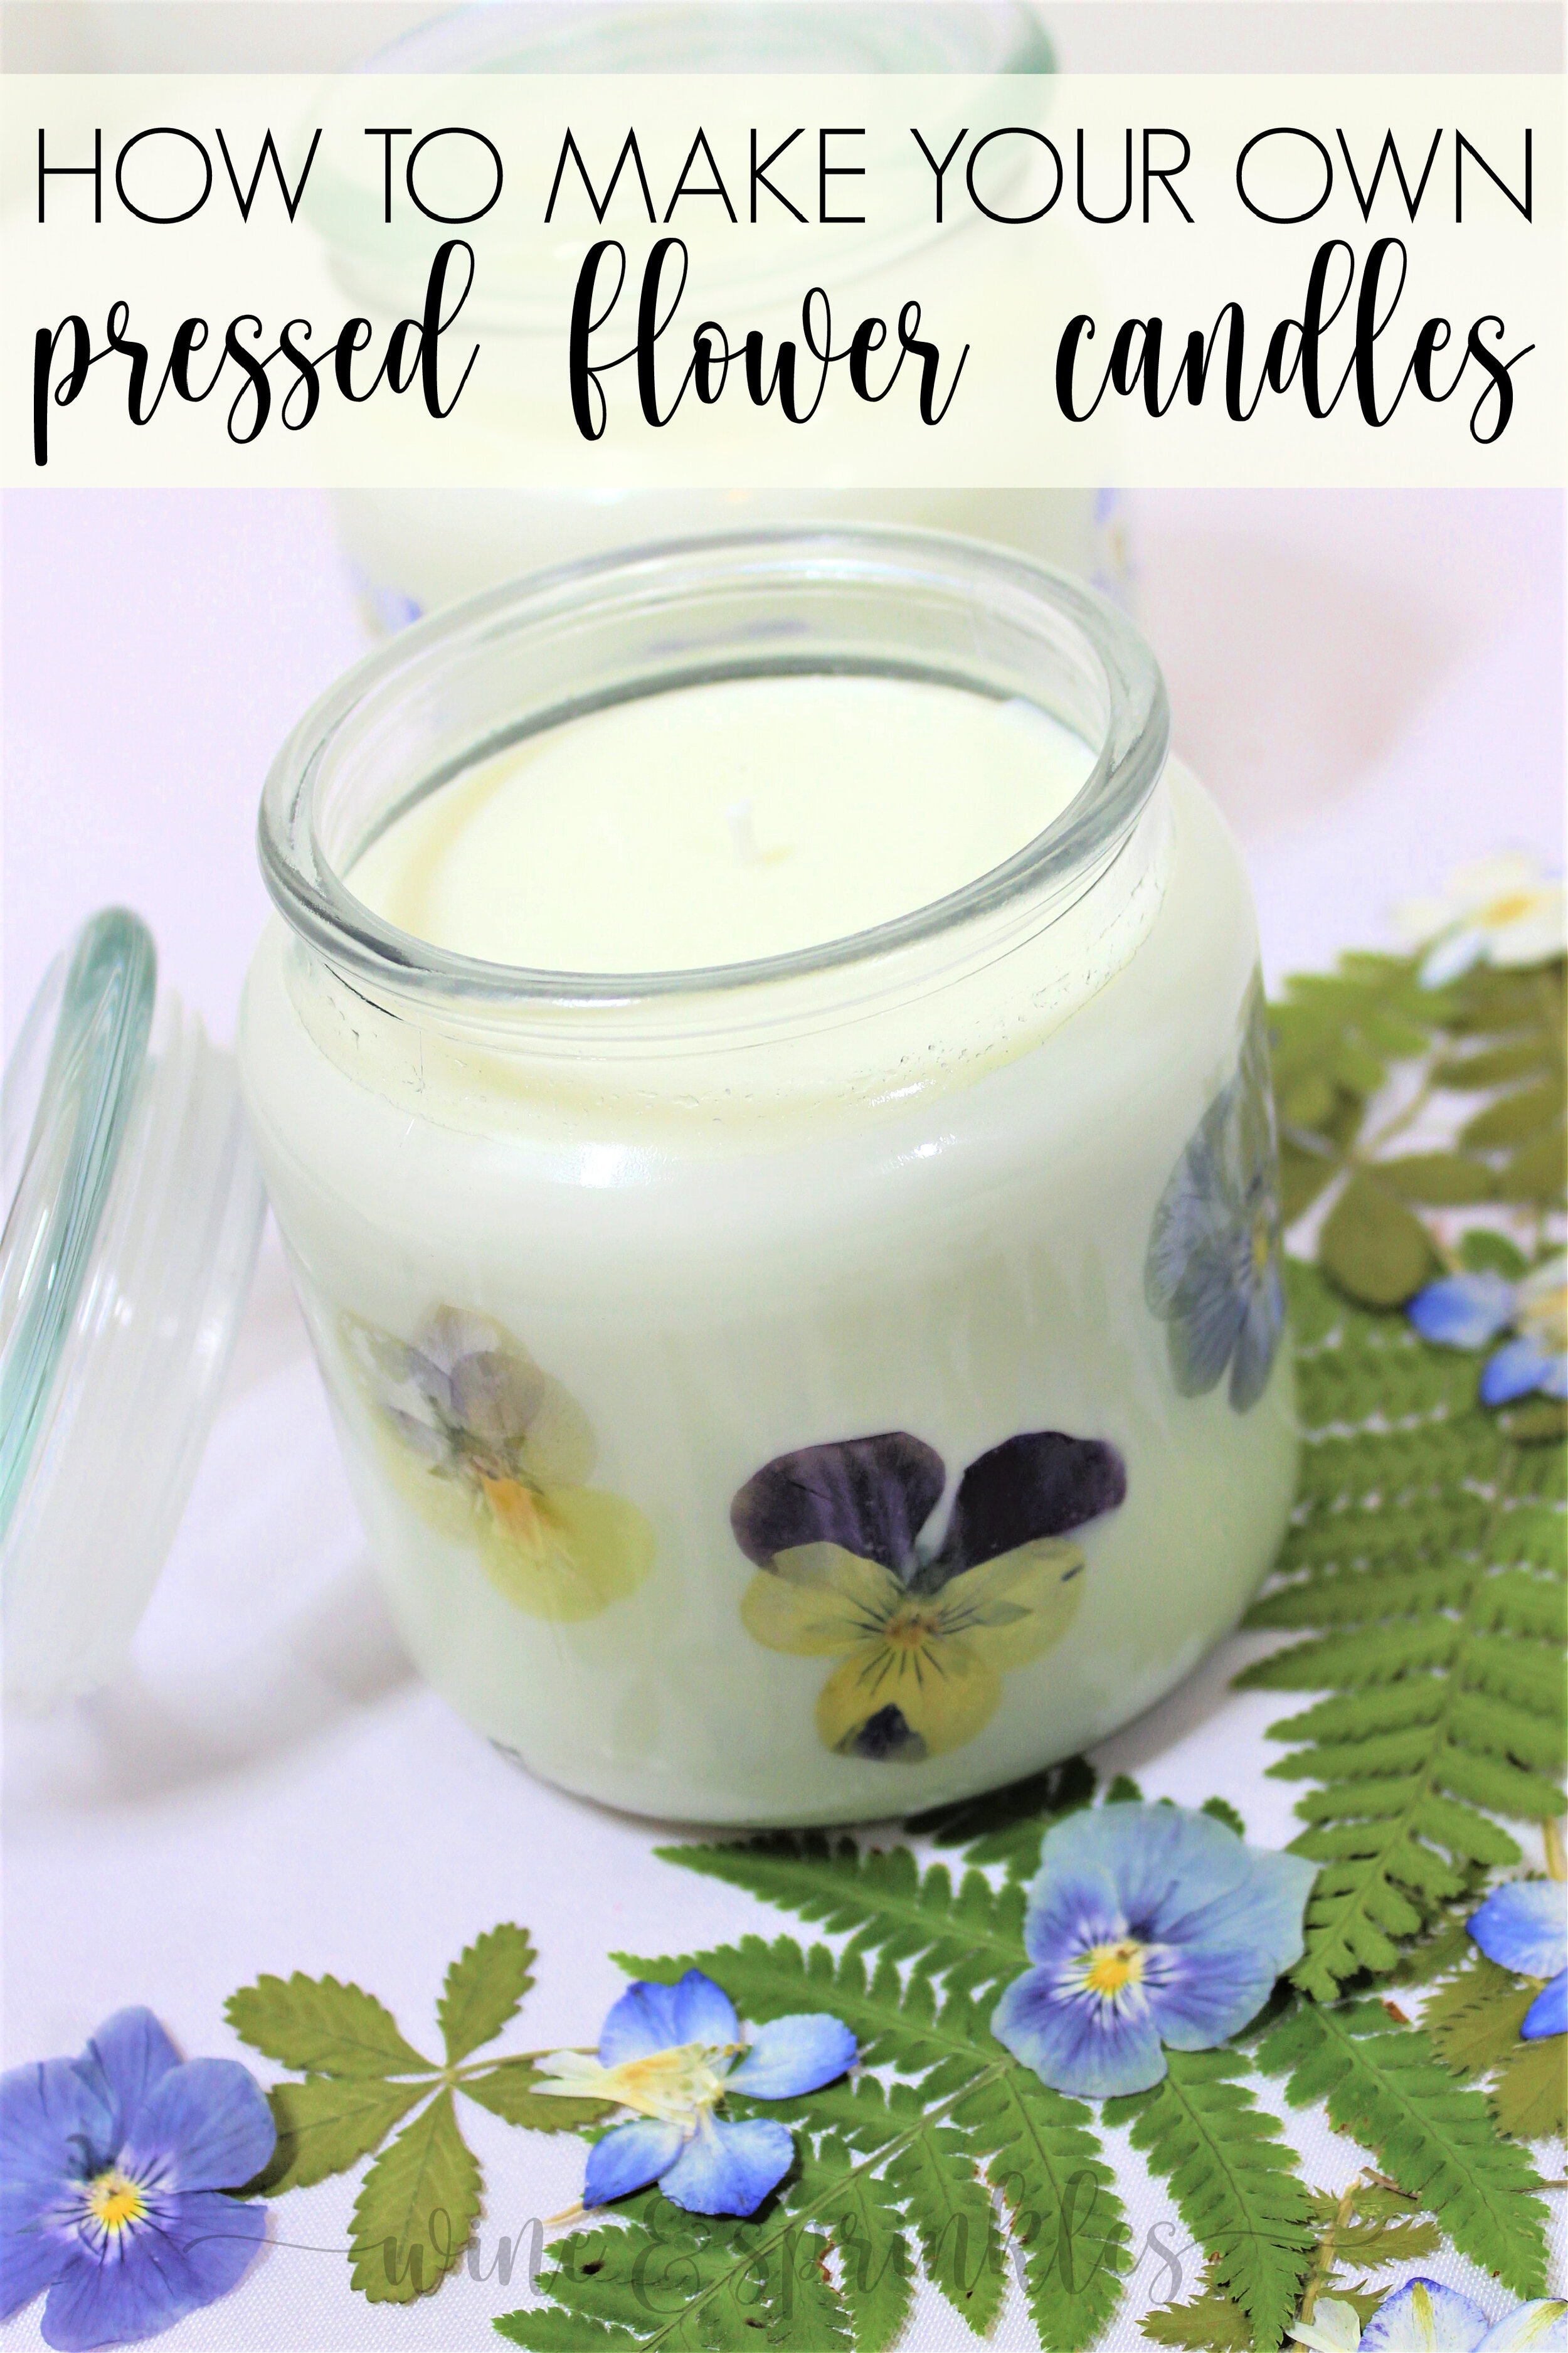
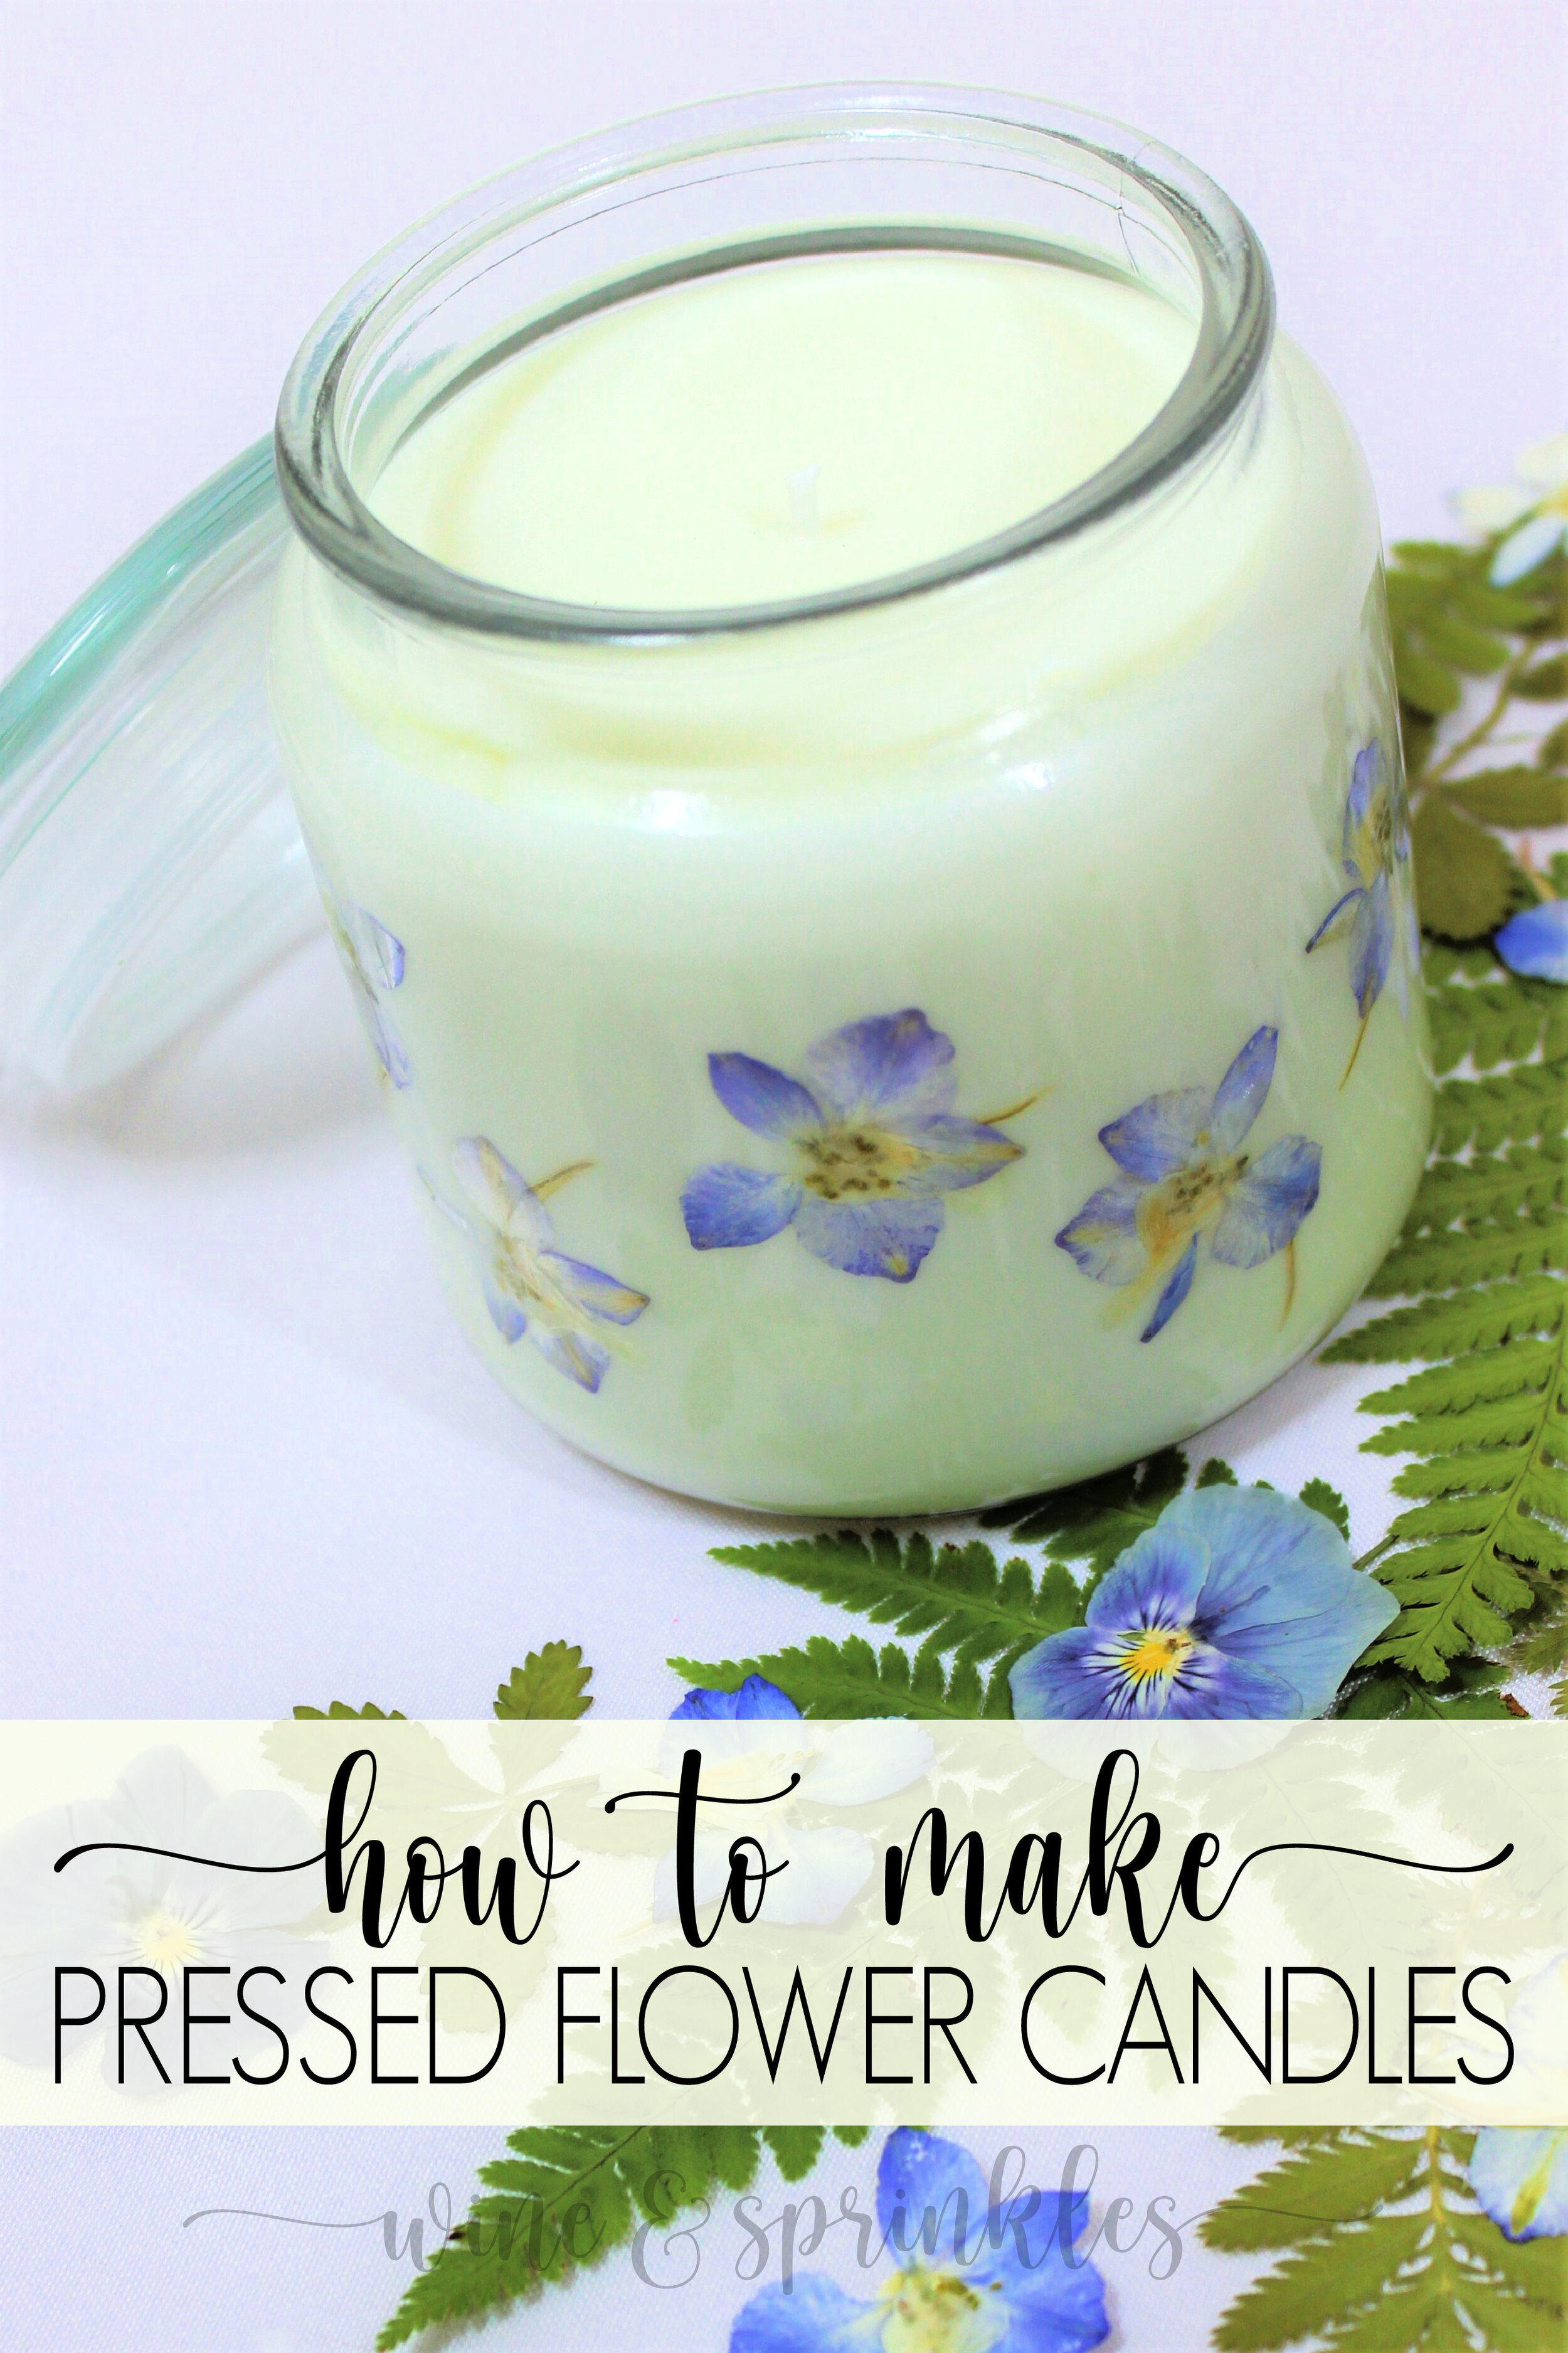
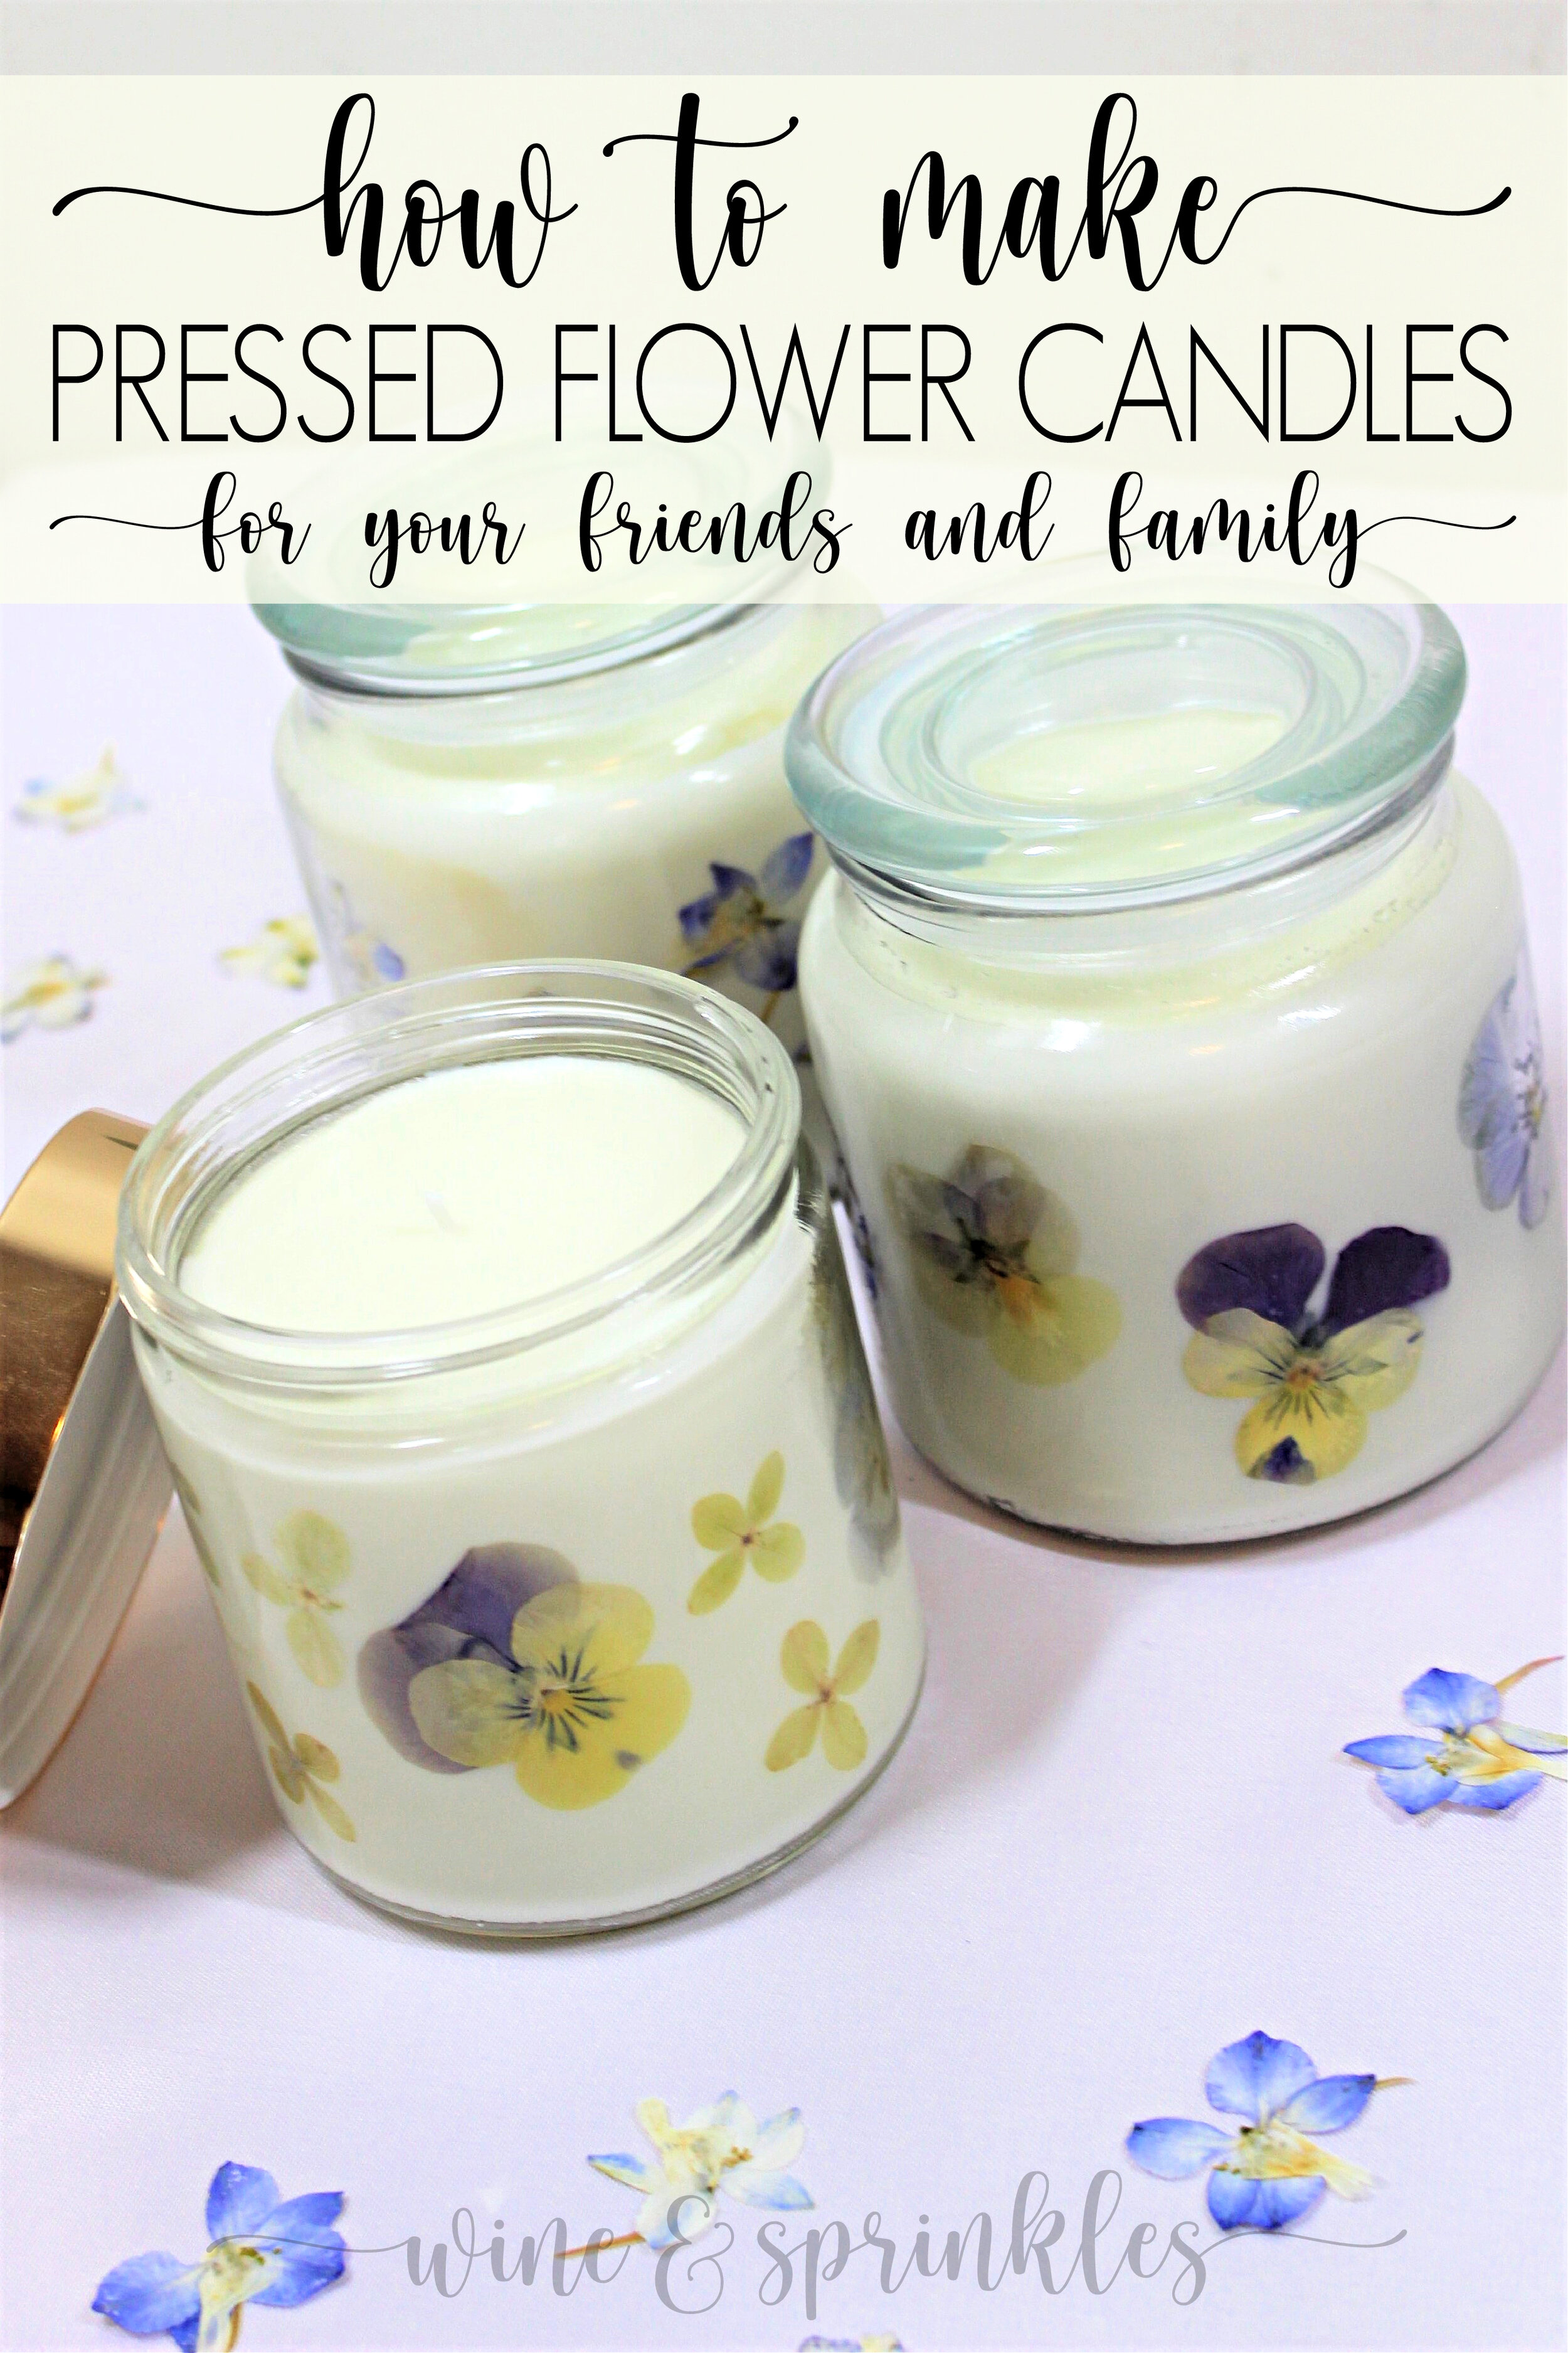
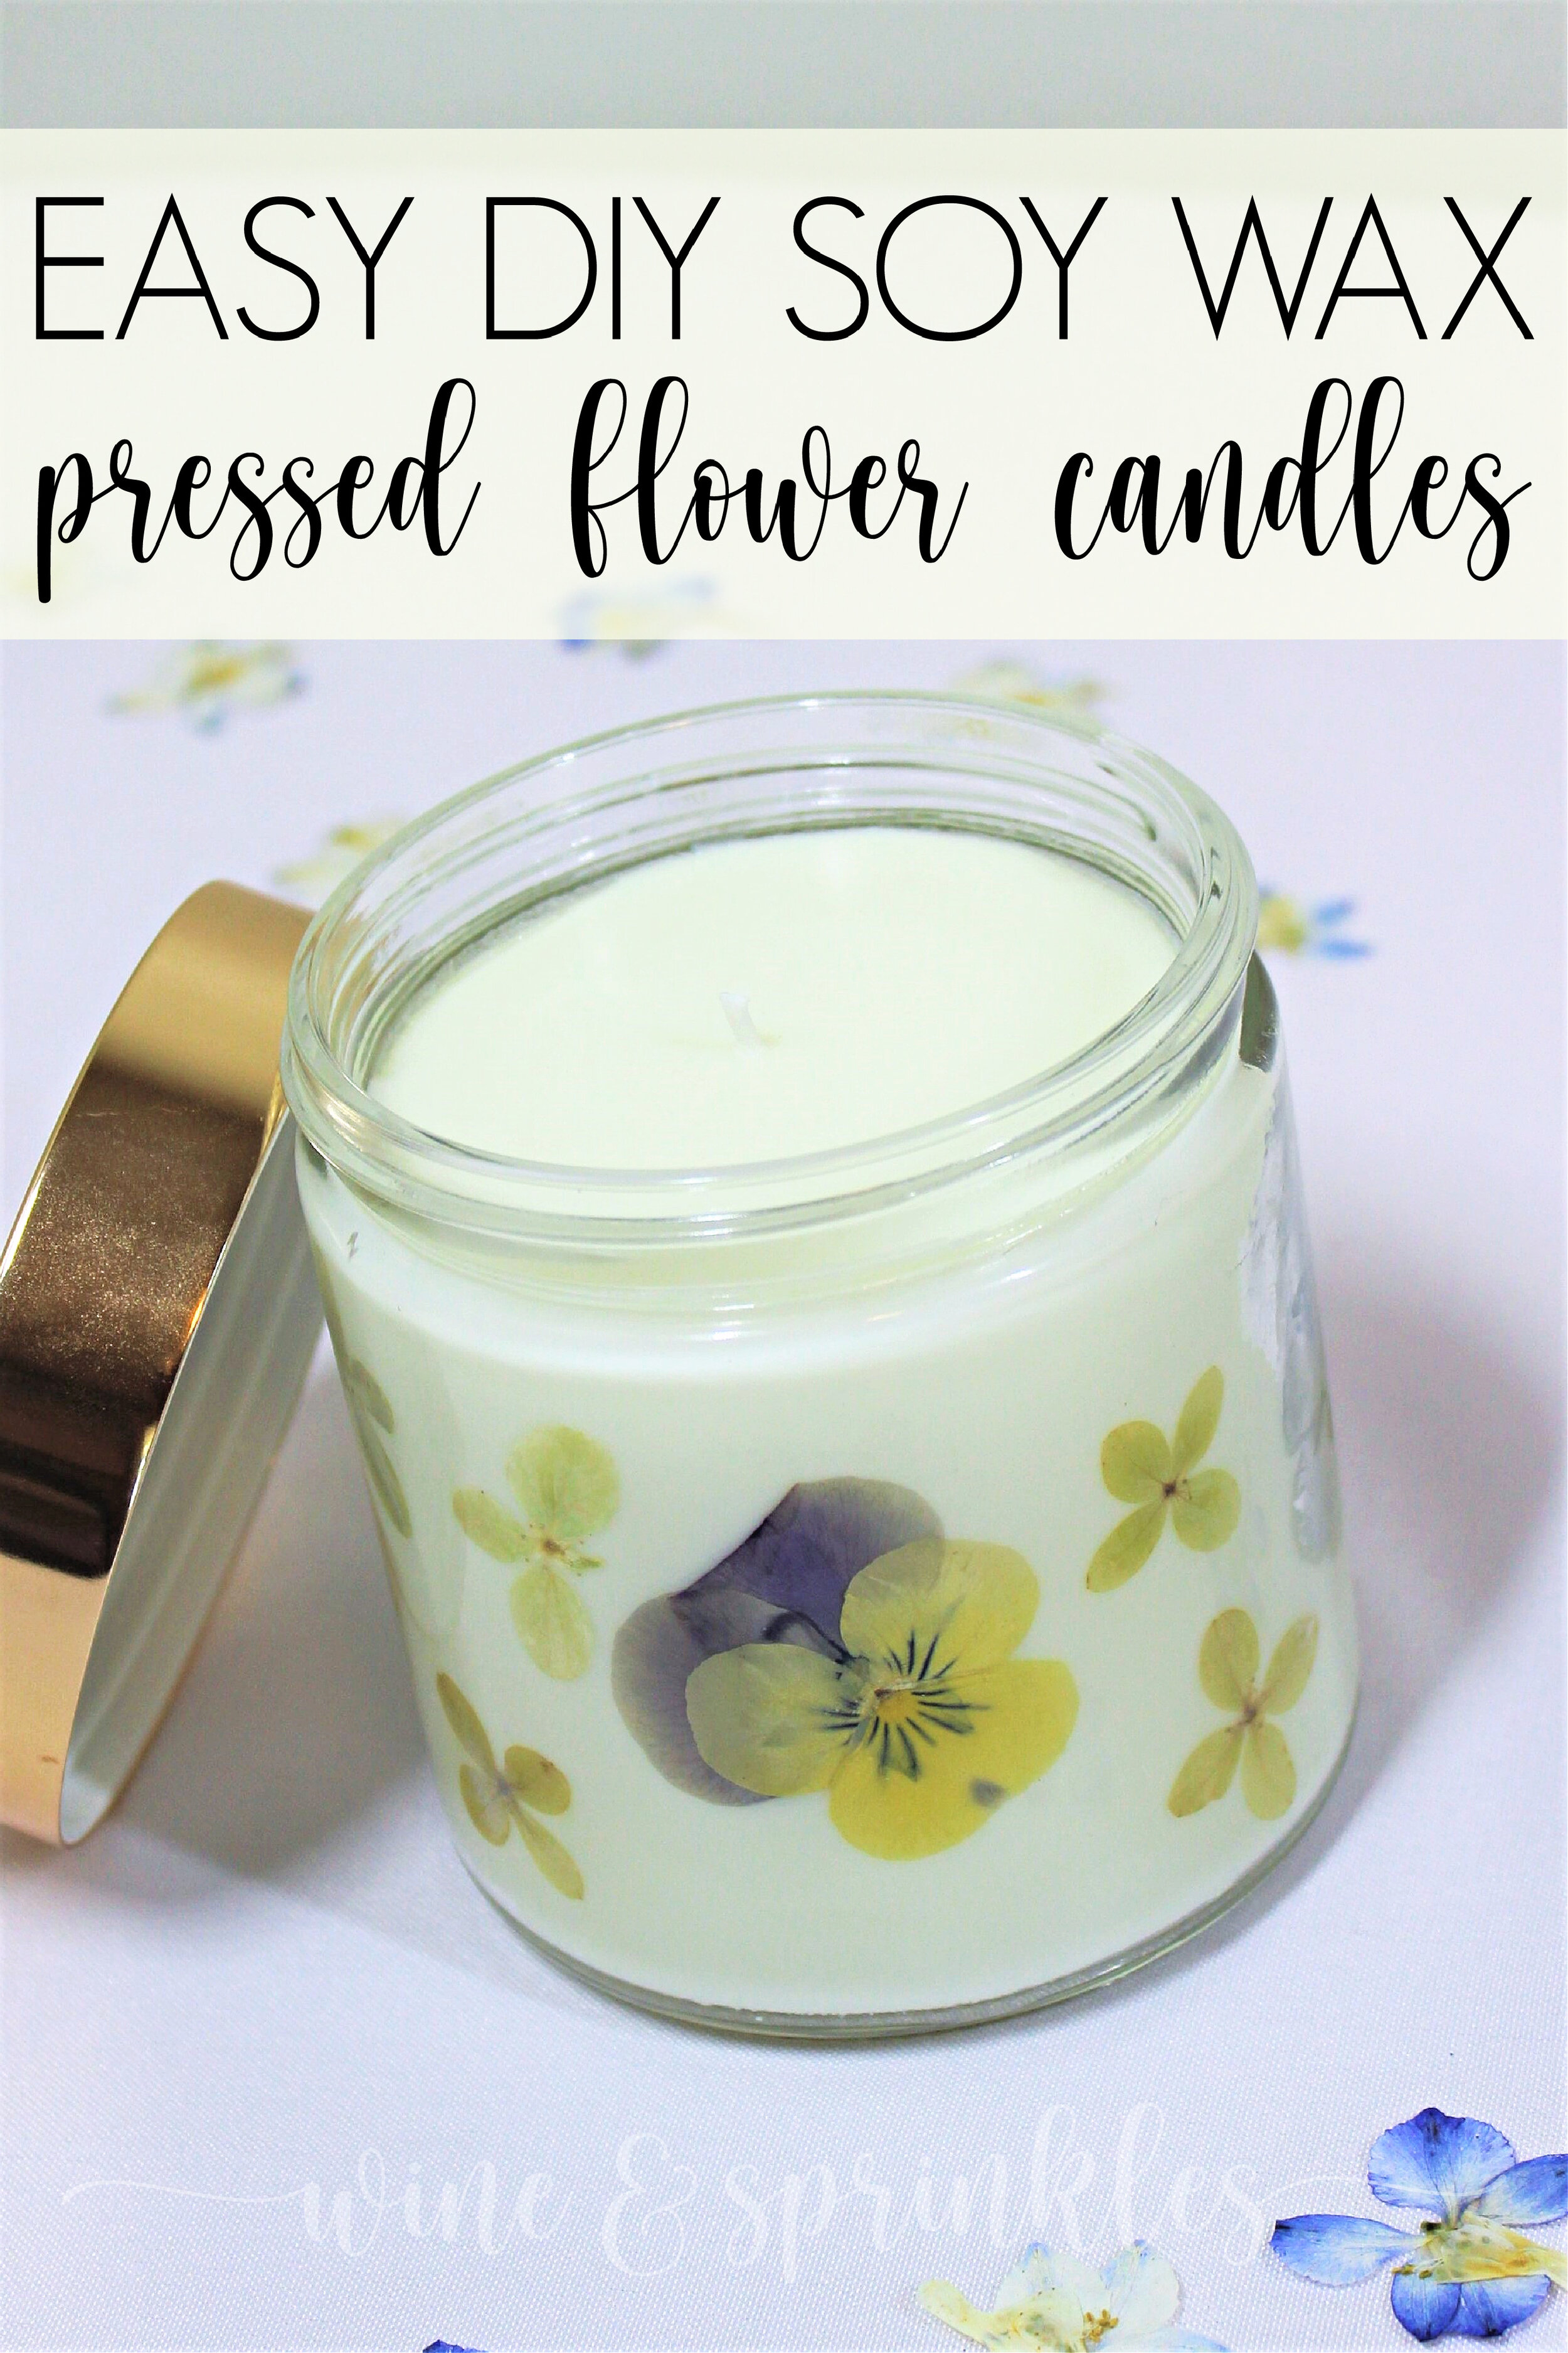
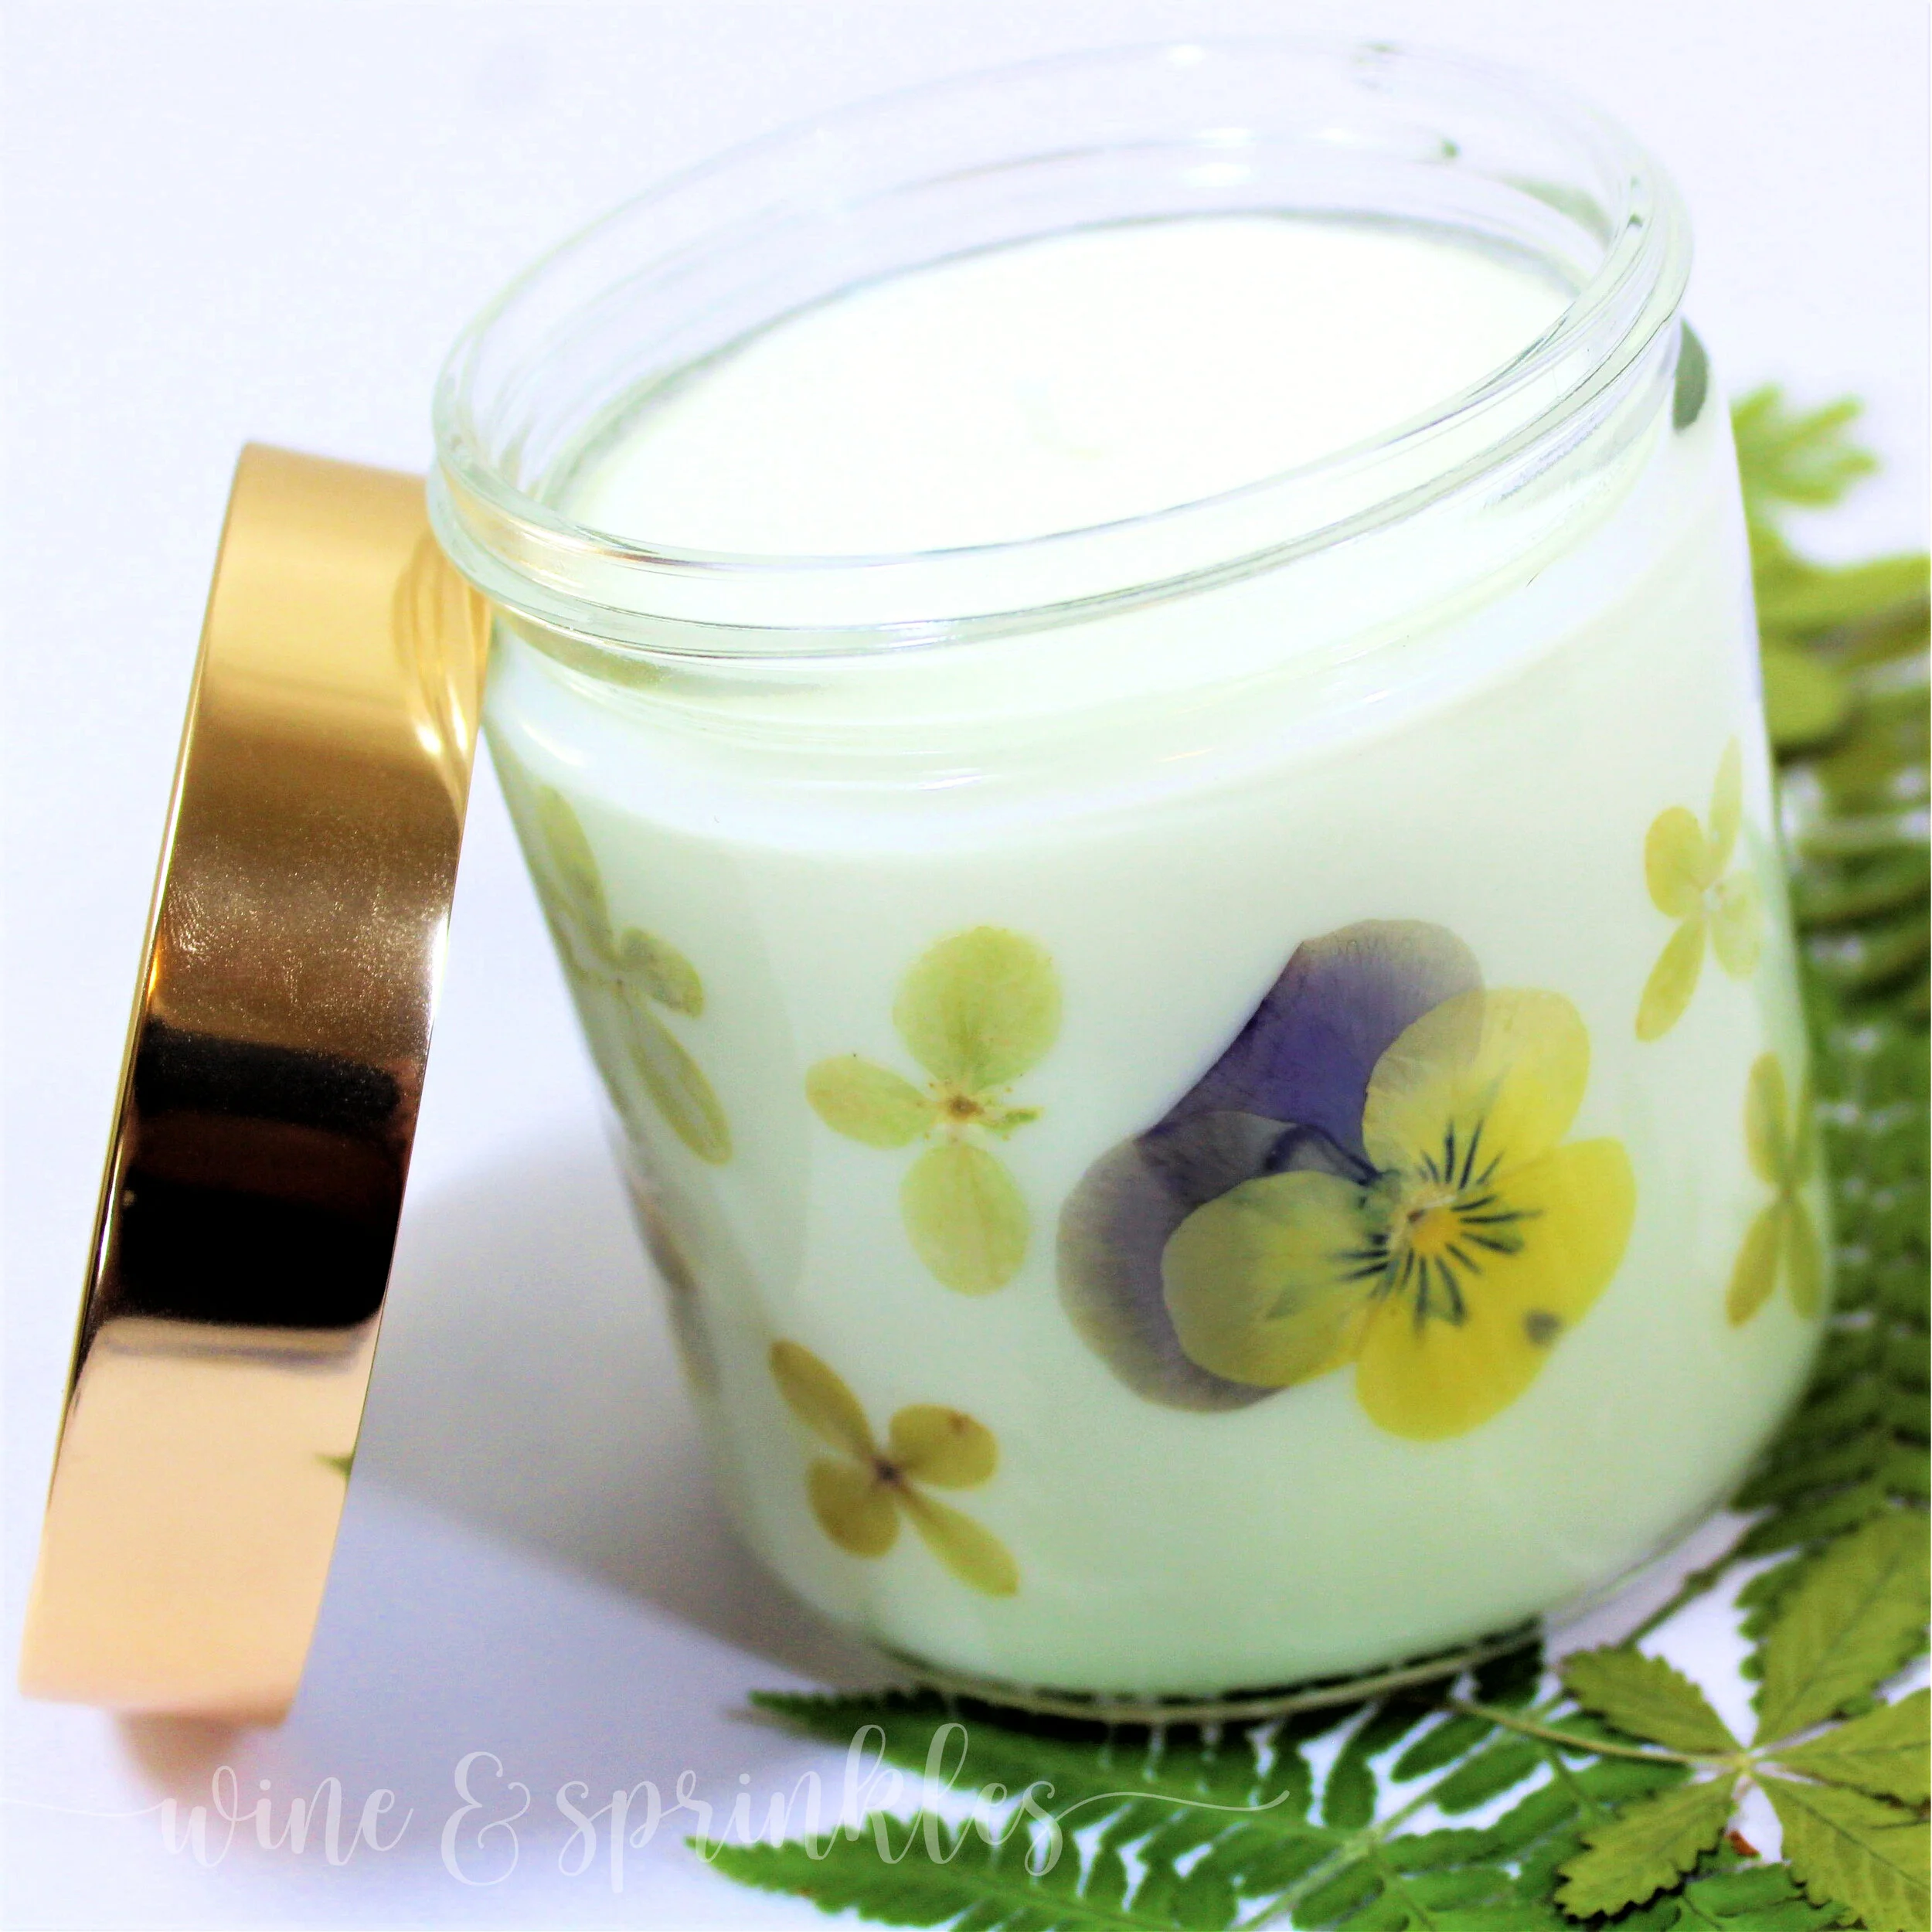
To finish up my Candle DIY Posts for the week, I saved my favorite for last! A couple months ago I ordered a whole slew of different pressed flowers, and when this idea came to me I had to make it happen! I love the look of colorful pressed flowers and, with so many floral candle scents out there, having a Pressed Flower Candle was the perfect feminine way to display their pretty patterns and they came out even better than I could have hoped! These beautiful pressed flower candles were surprisingly super easy to make and are the perfect choice to DIY for holiday gifts, bridesmaid proposals, or bridal shower and baby shower prizes!
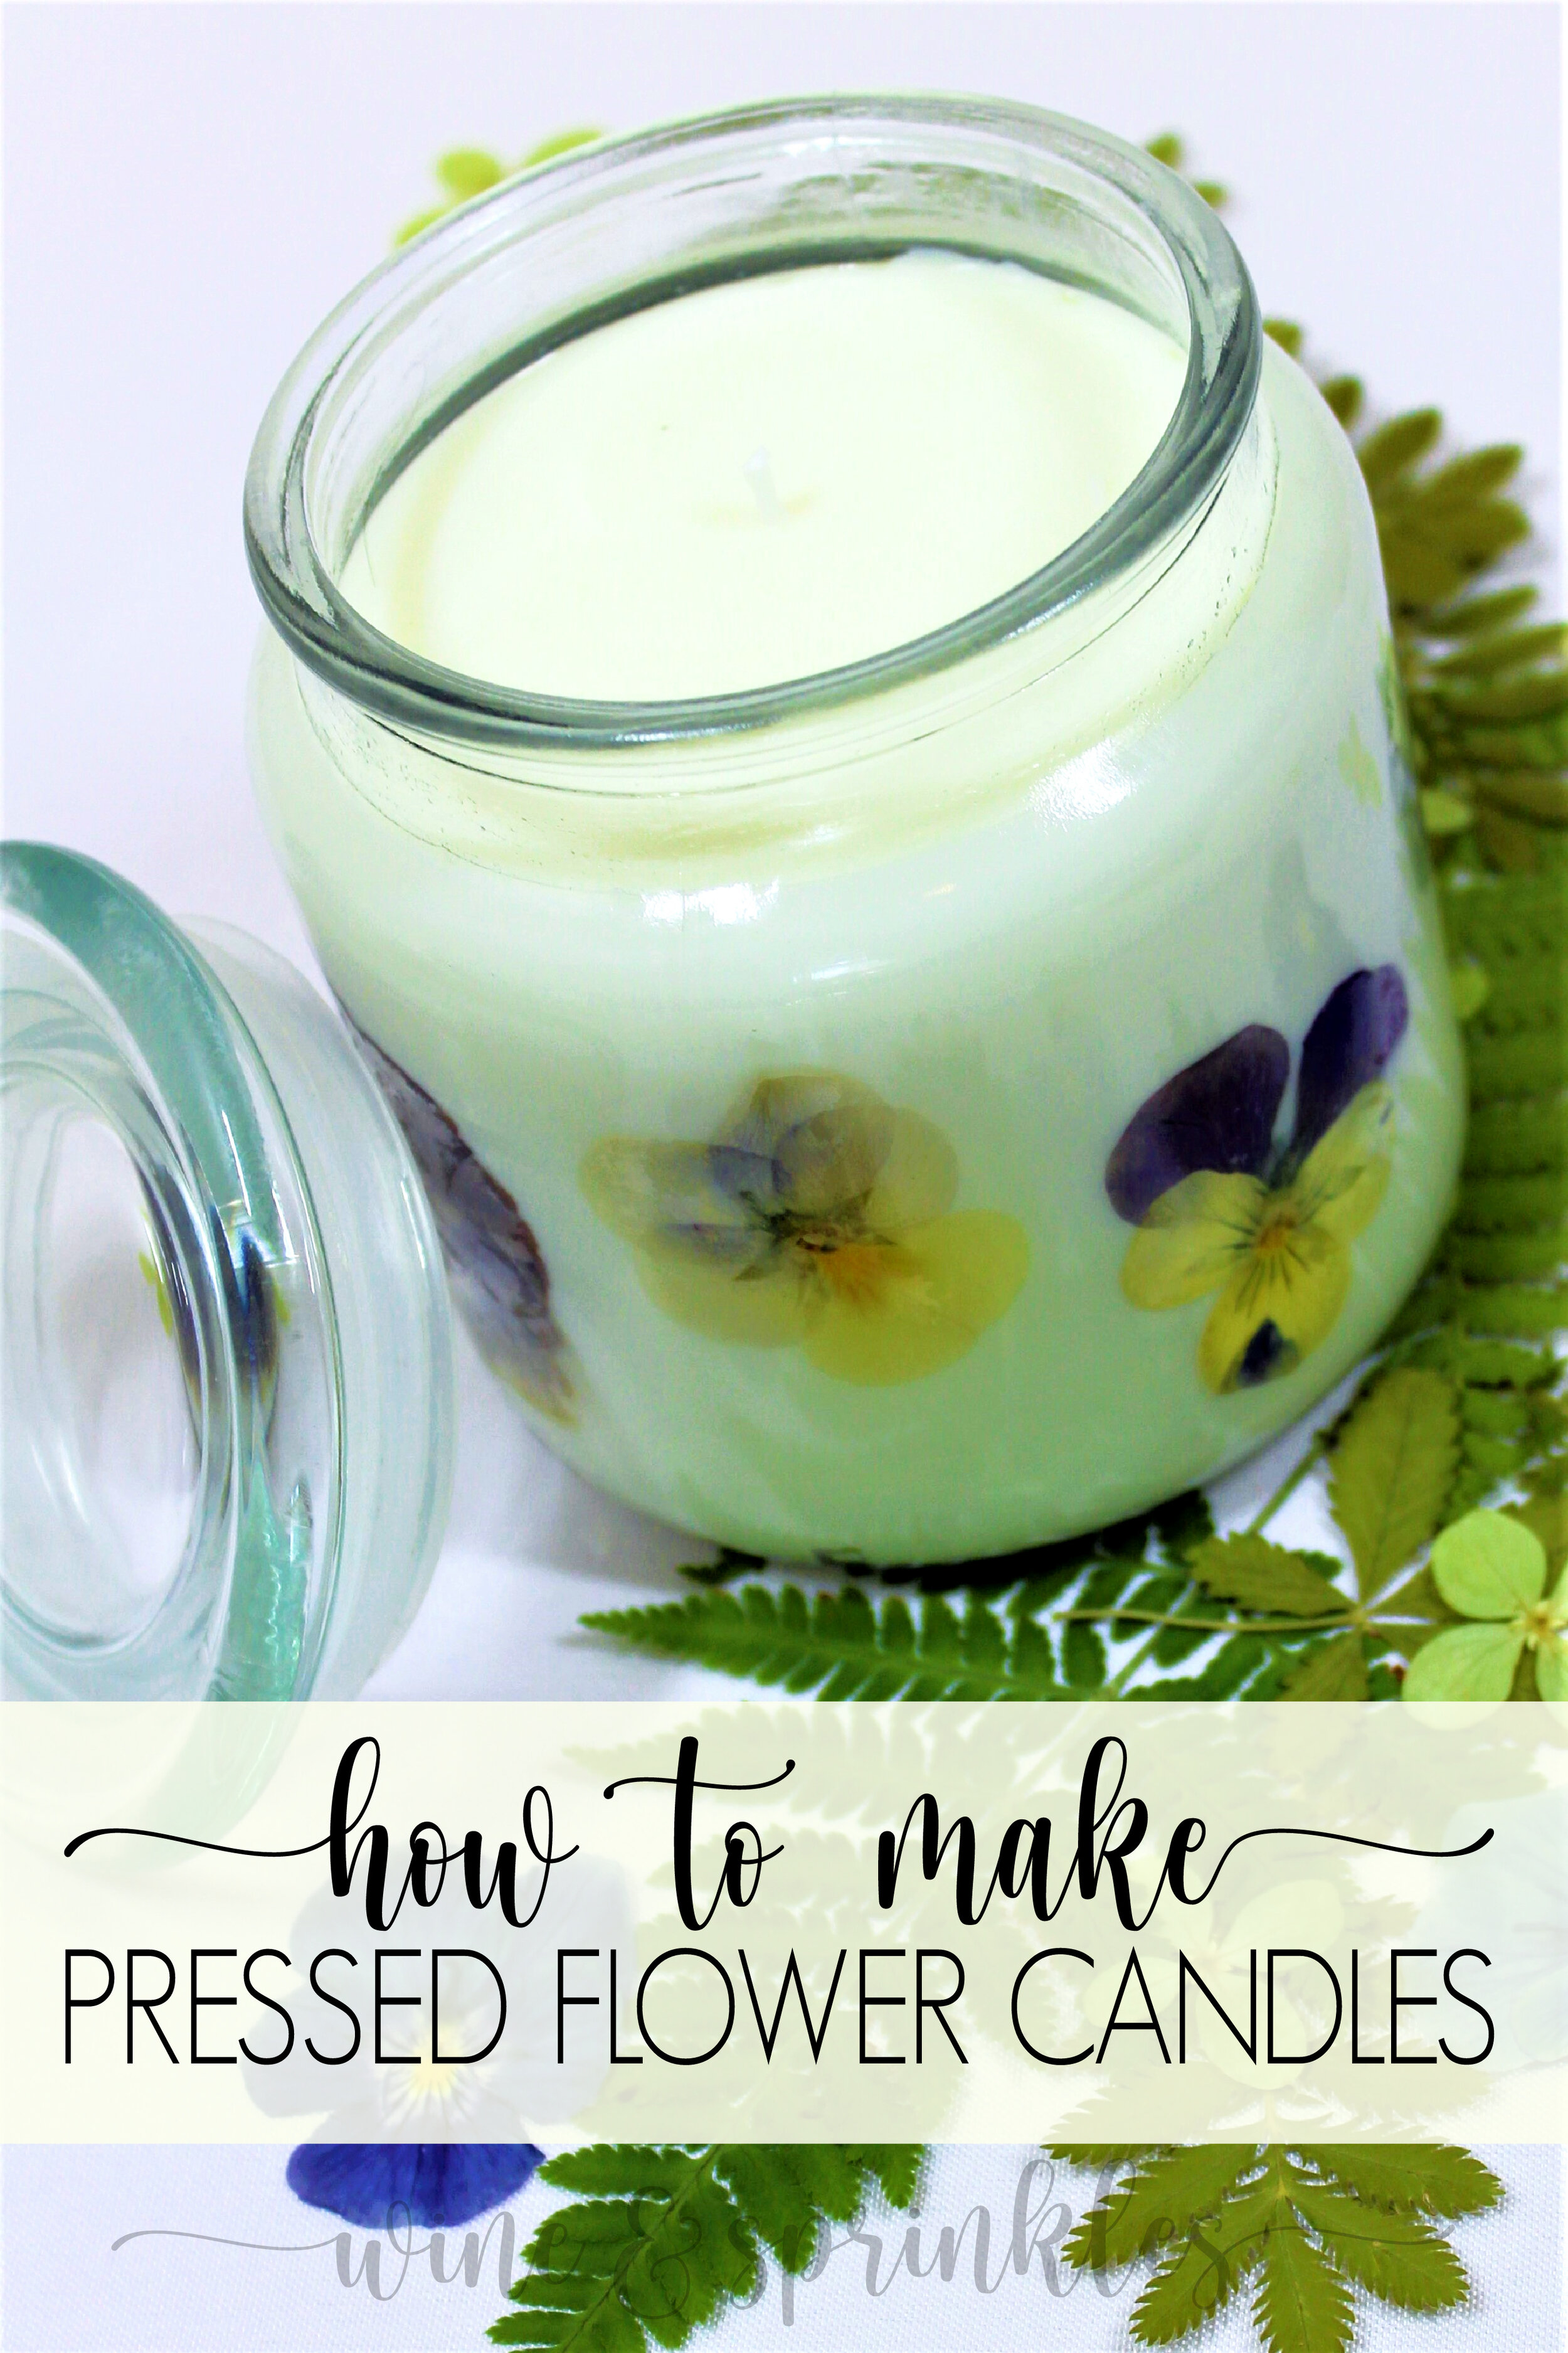
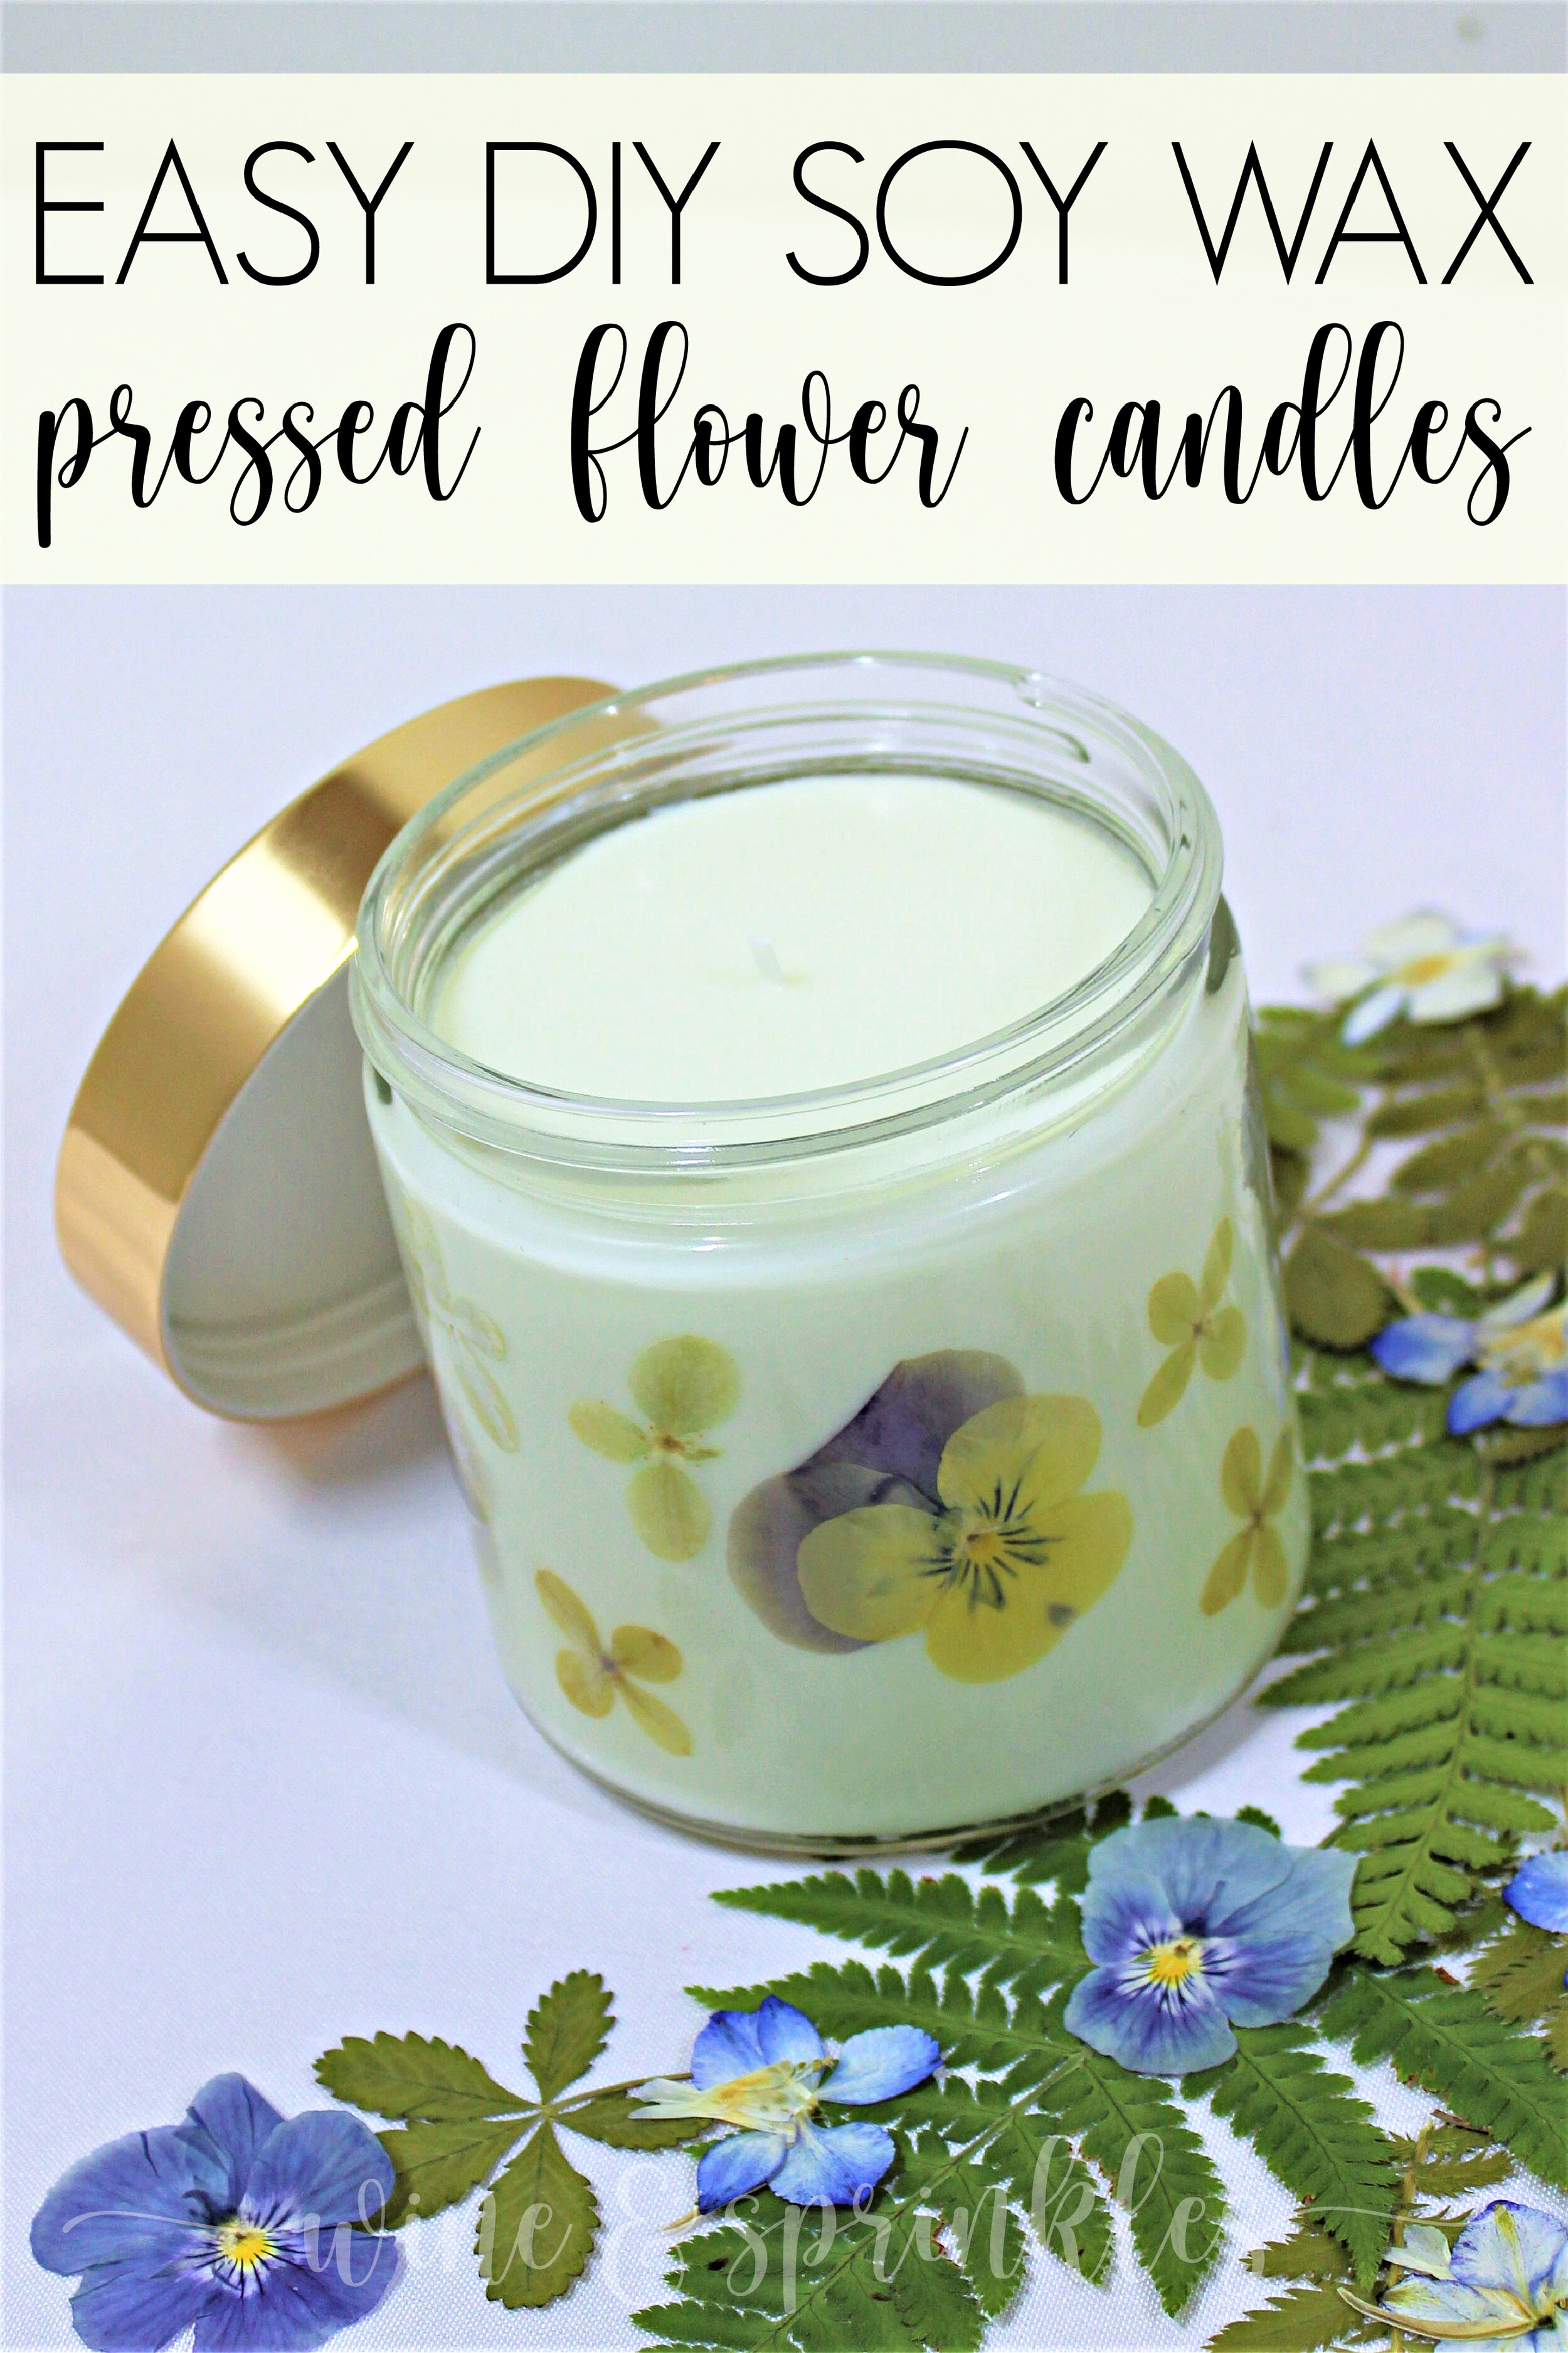
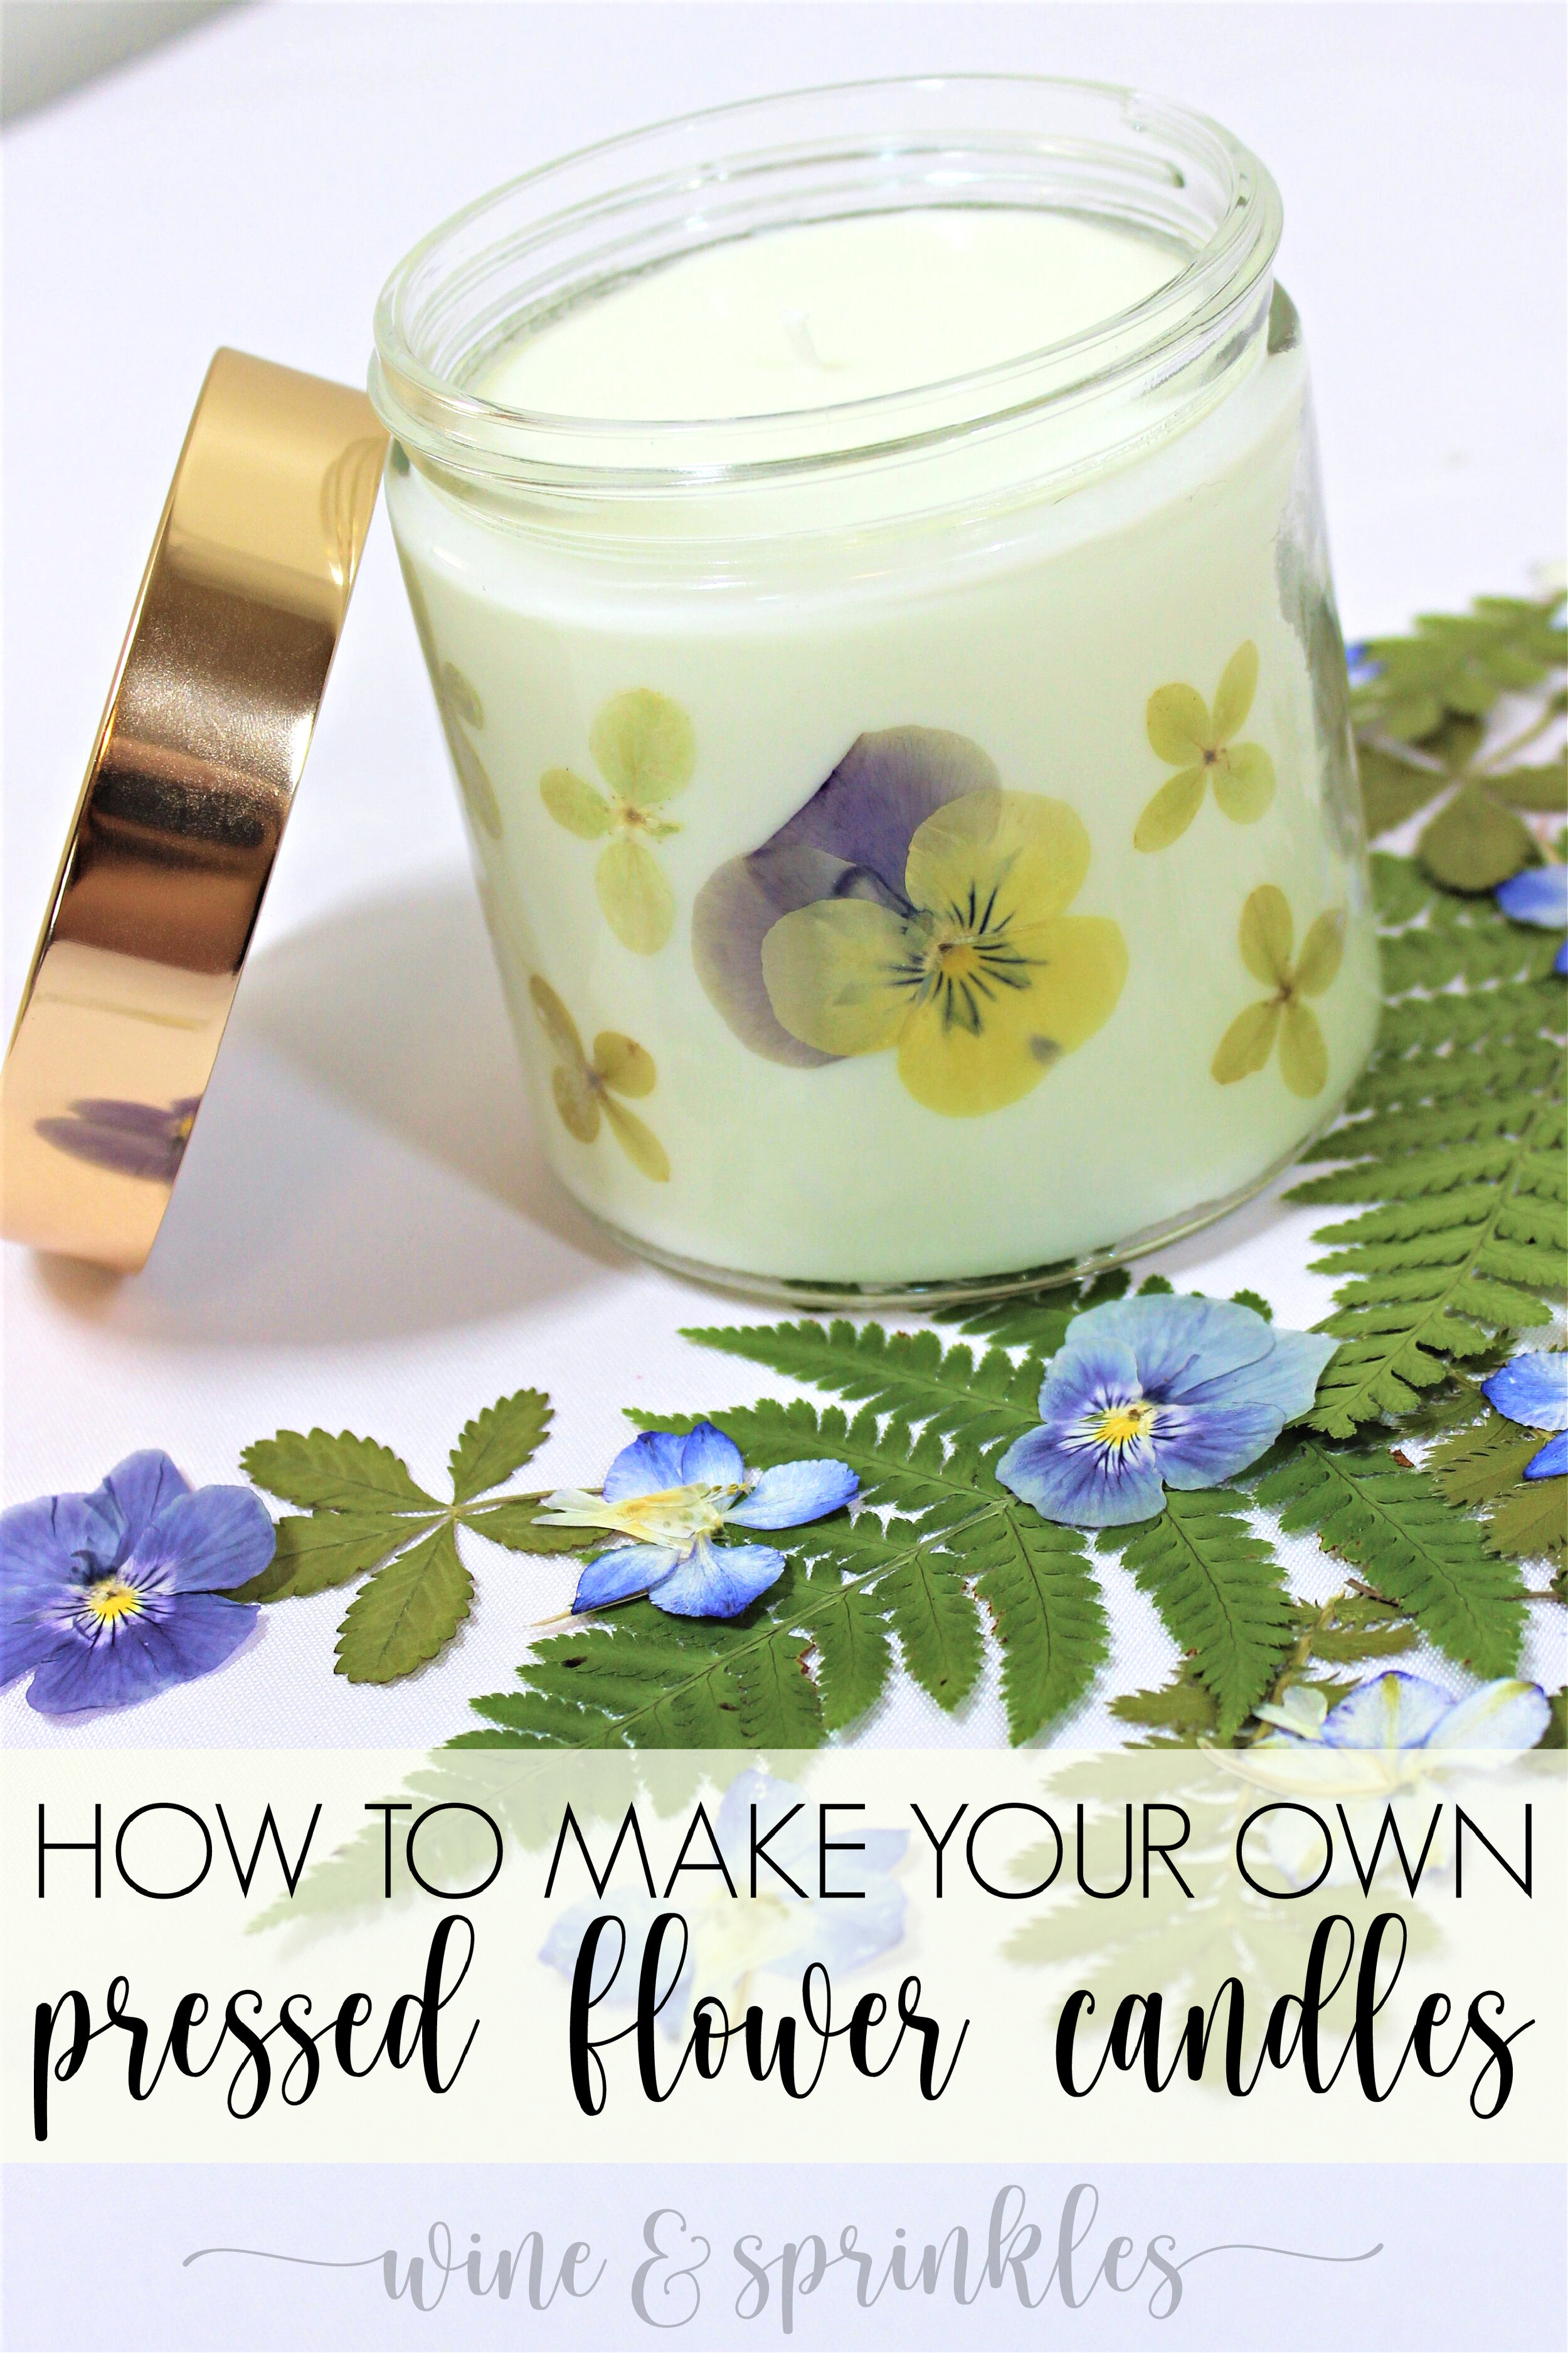
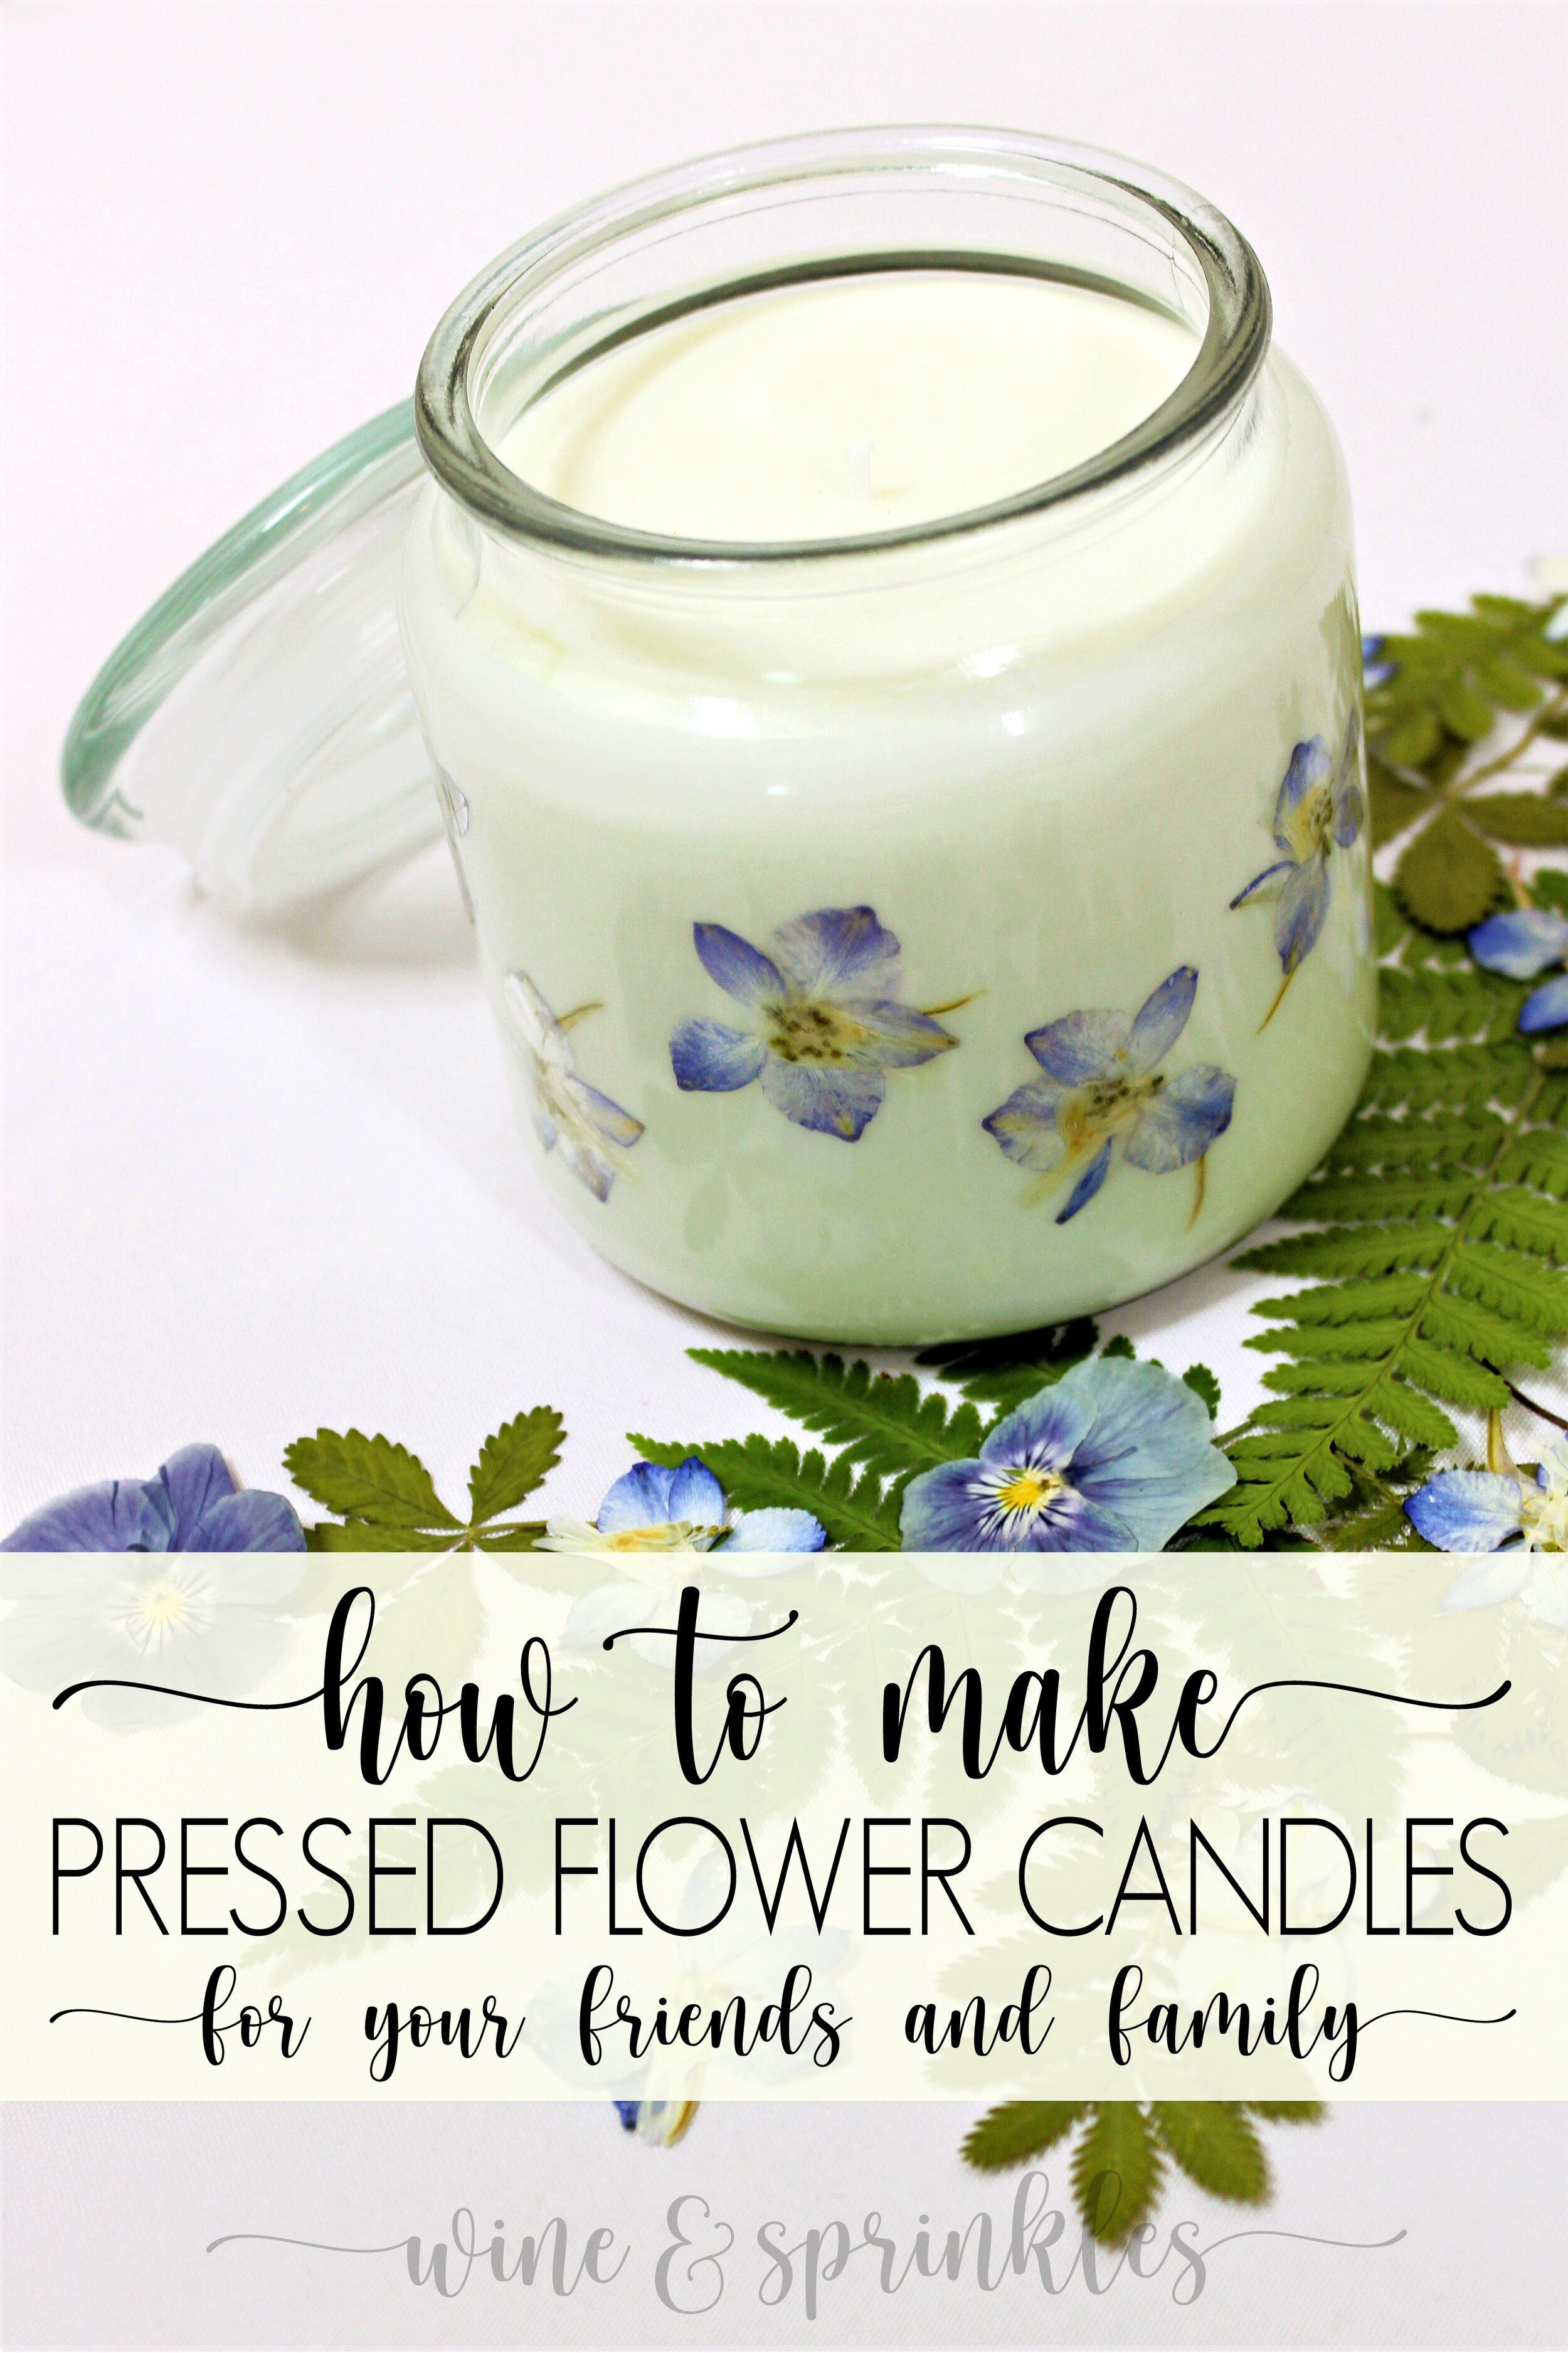
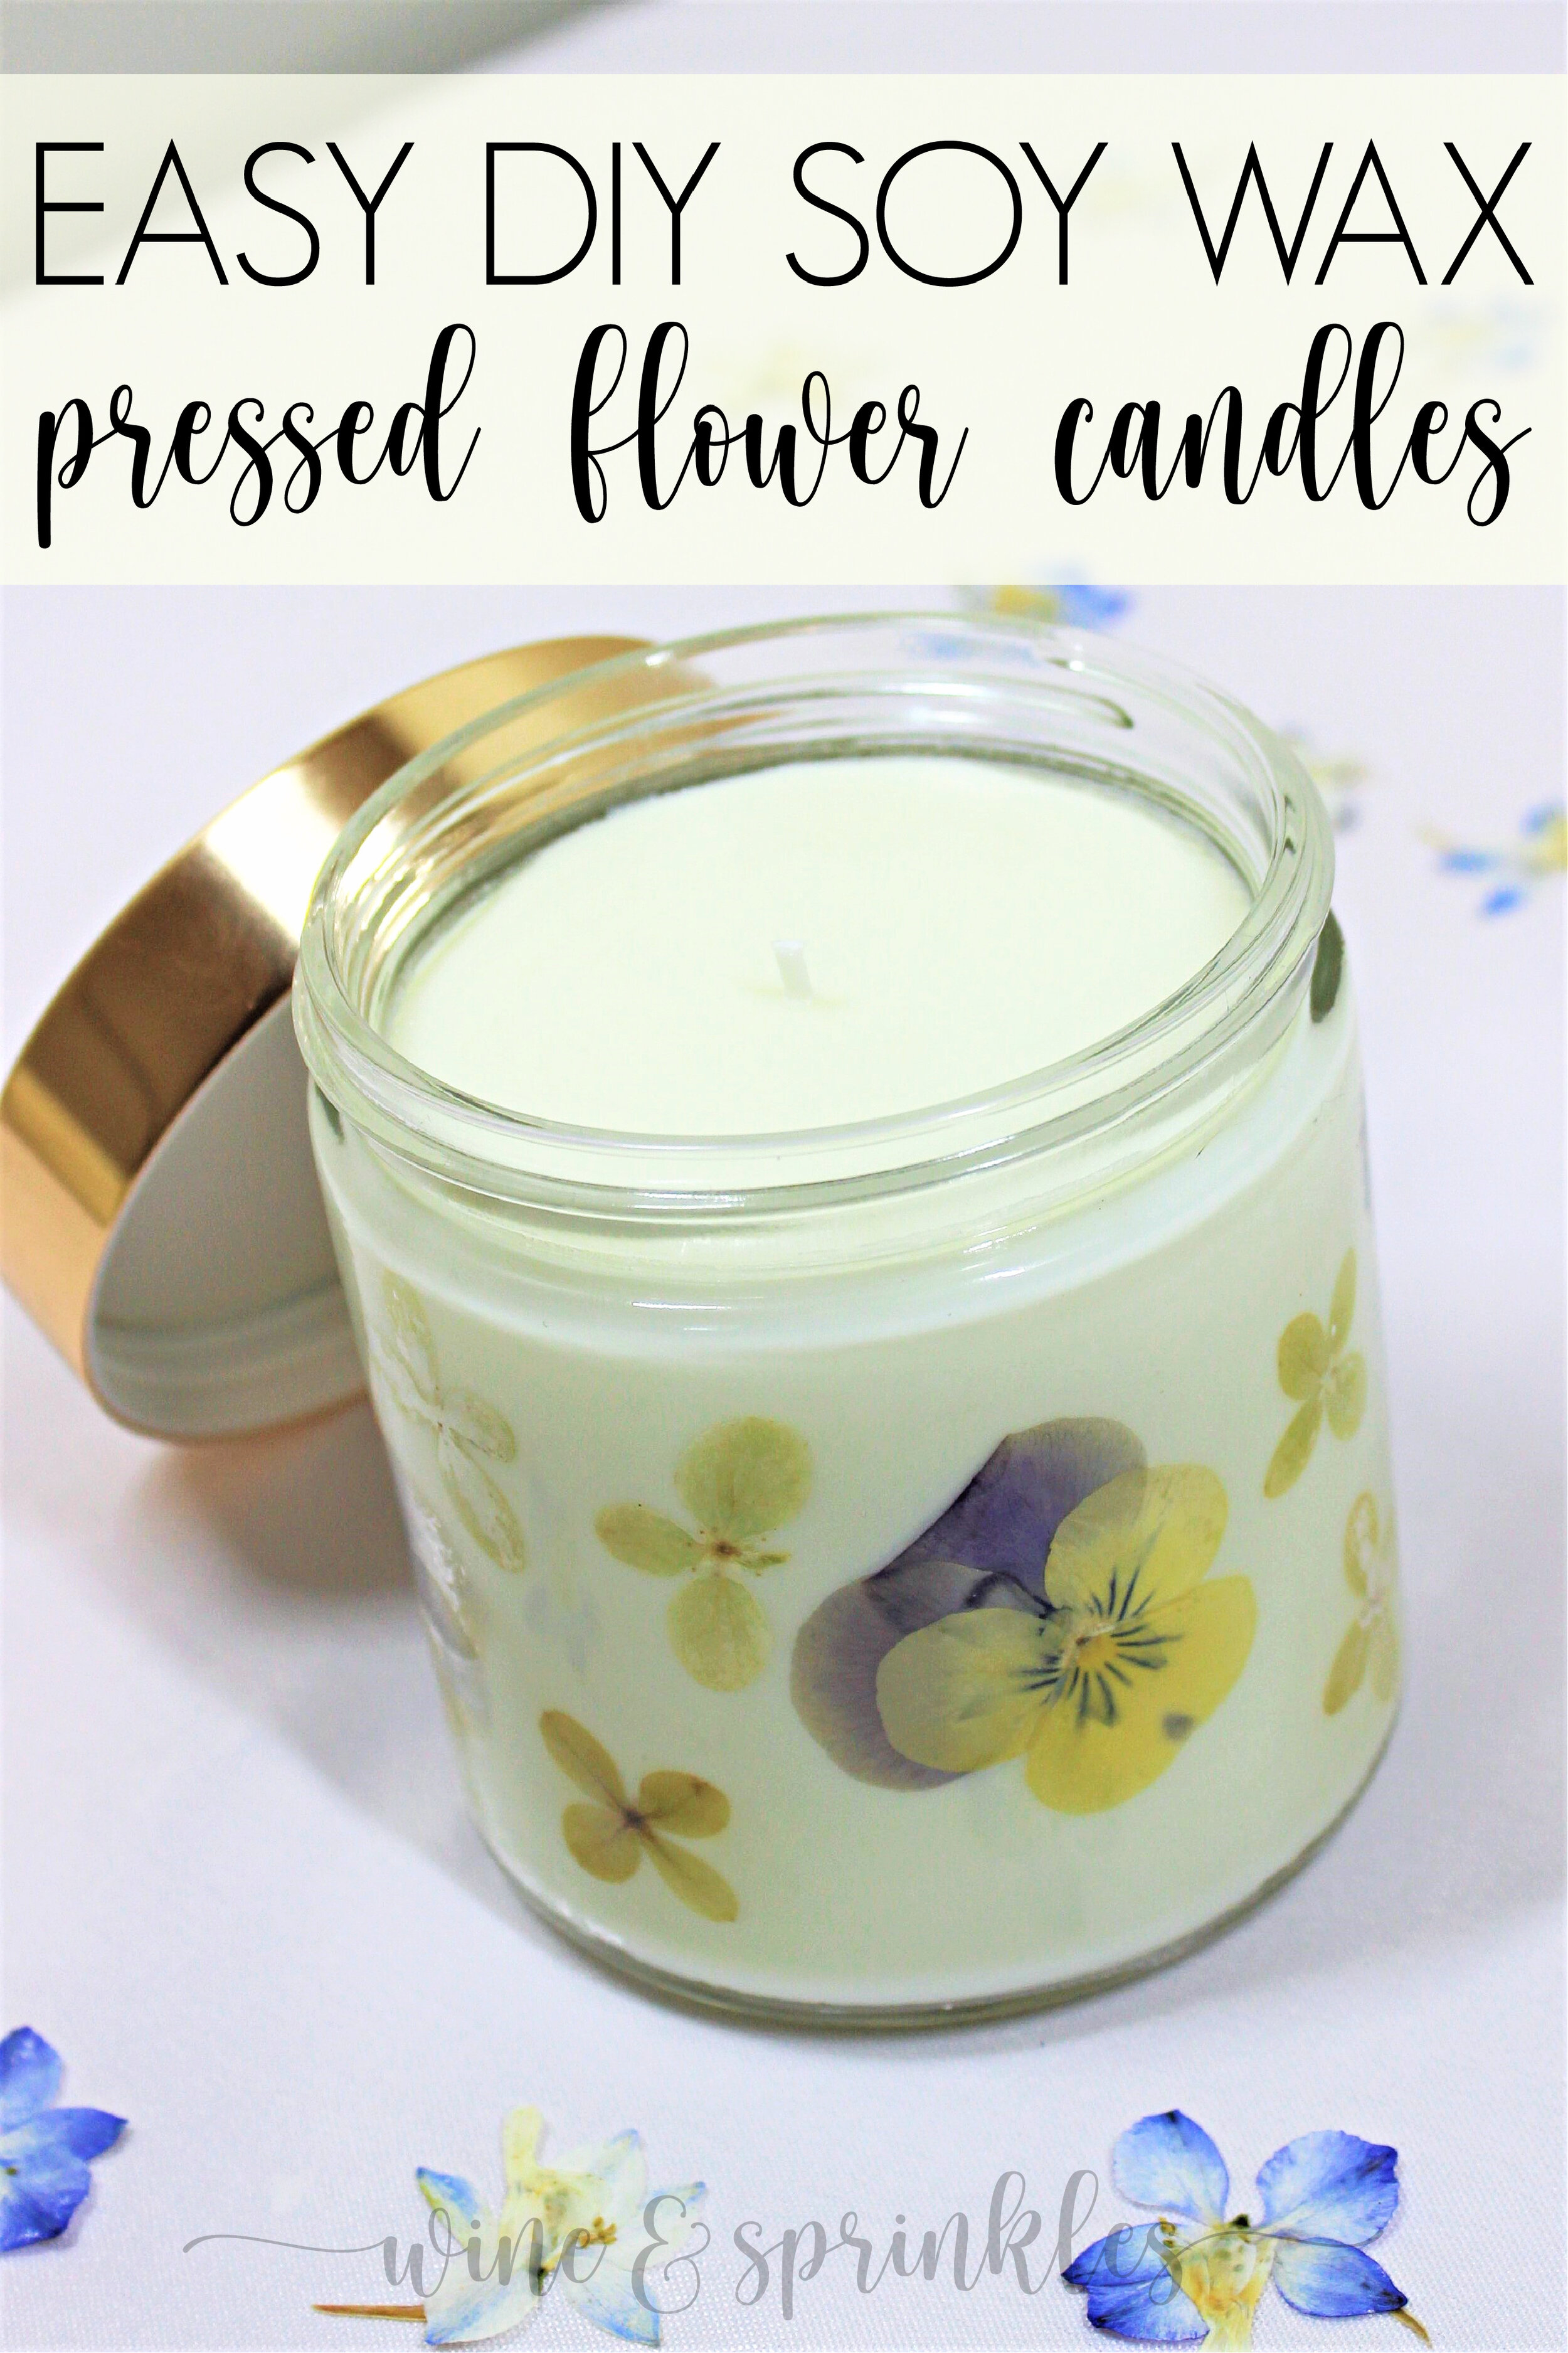
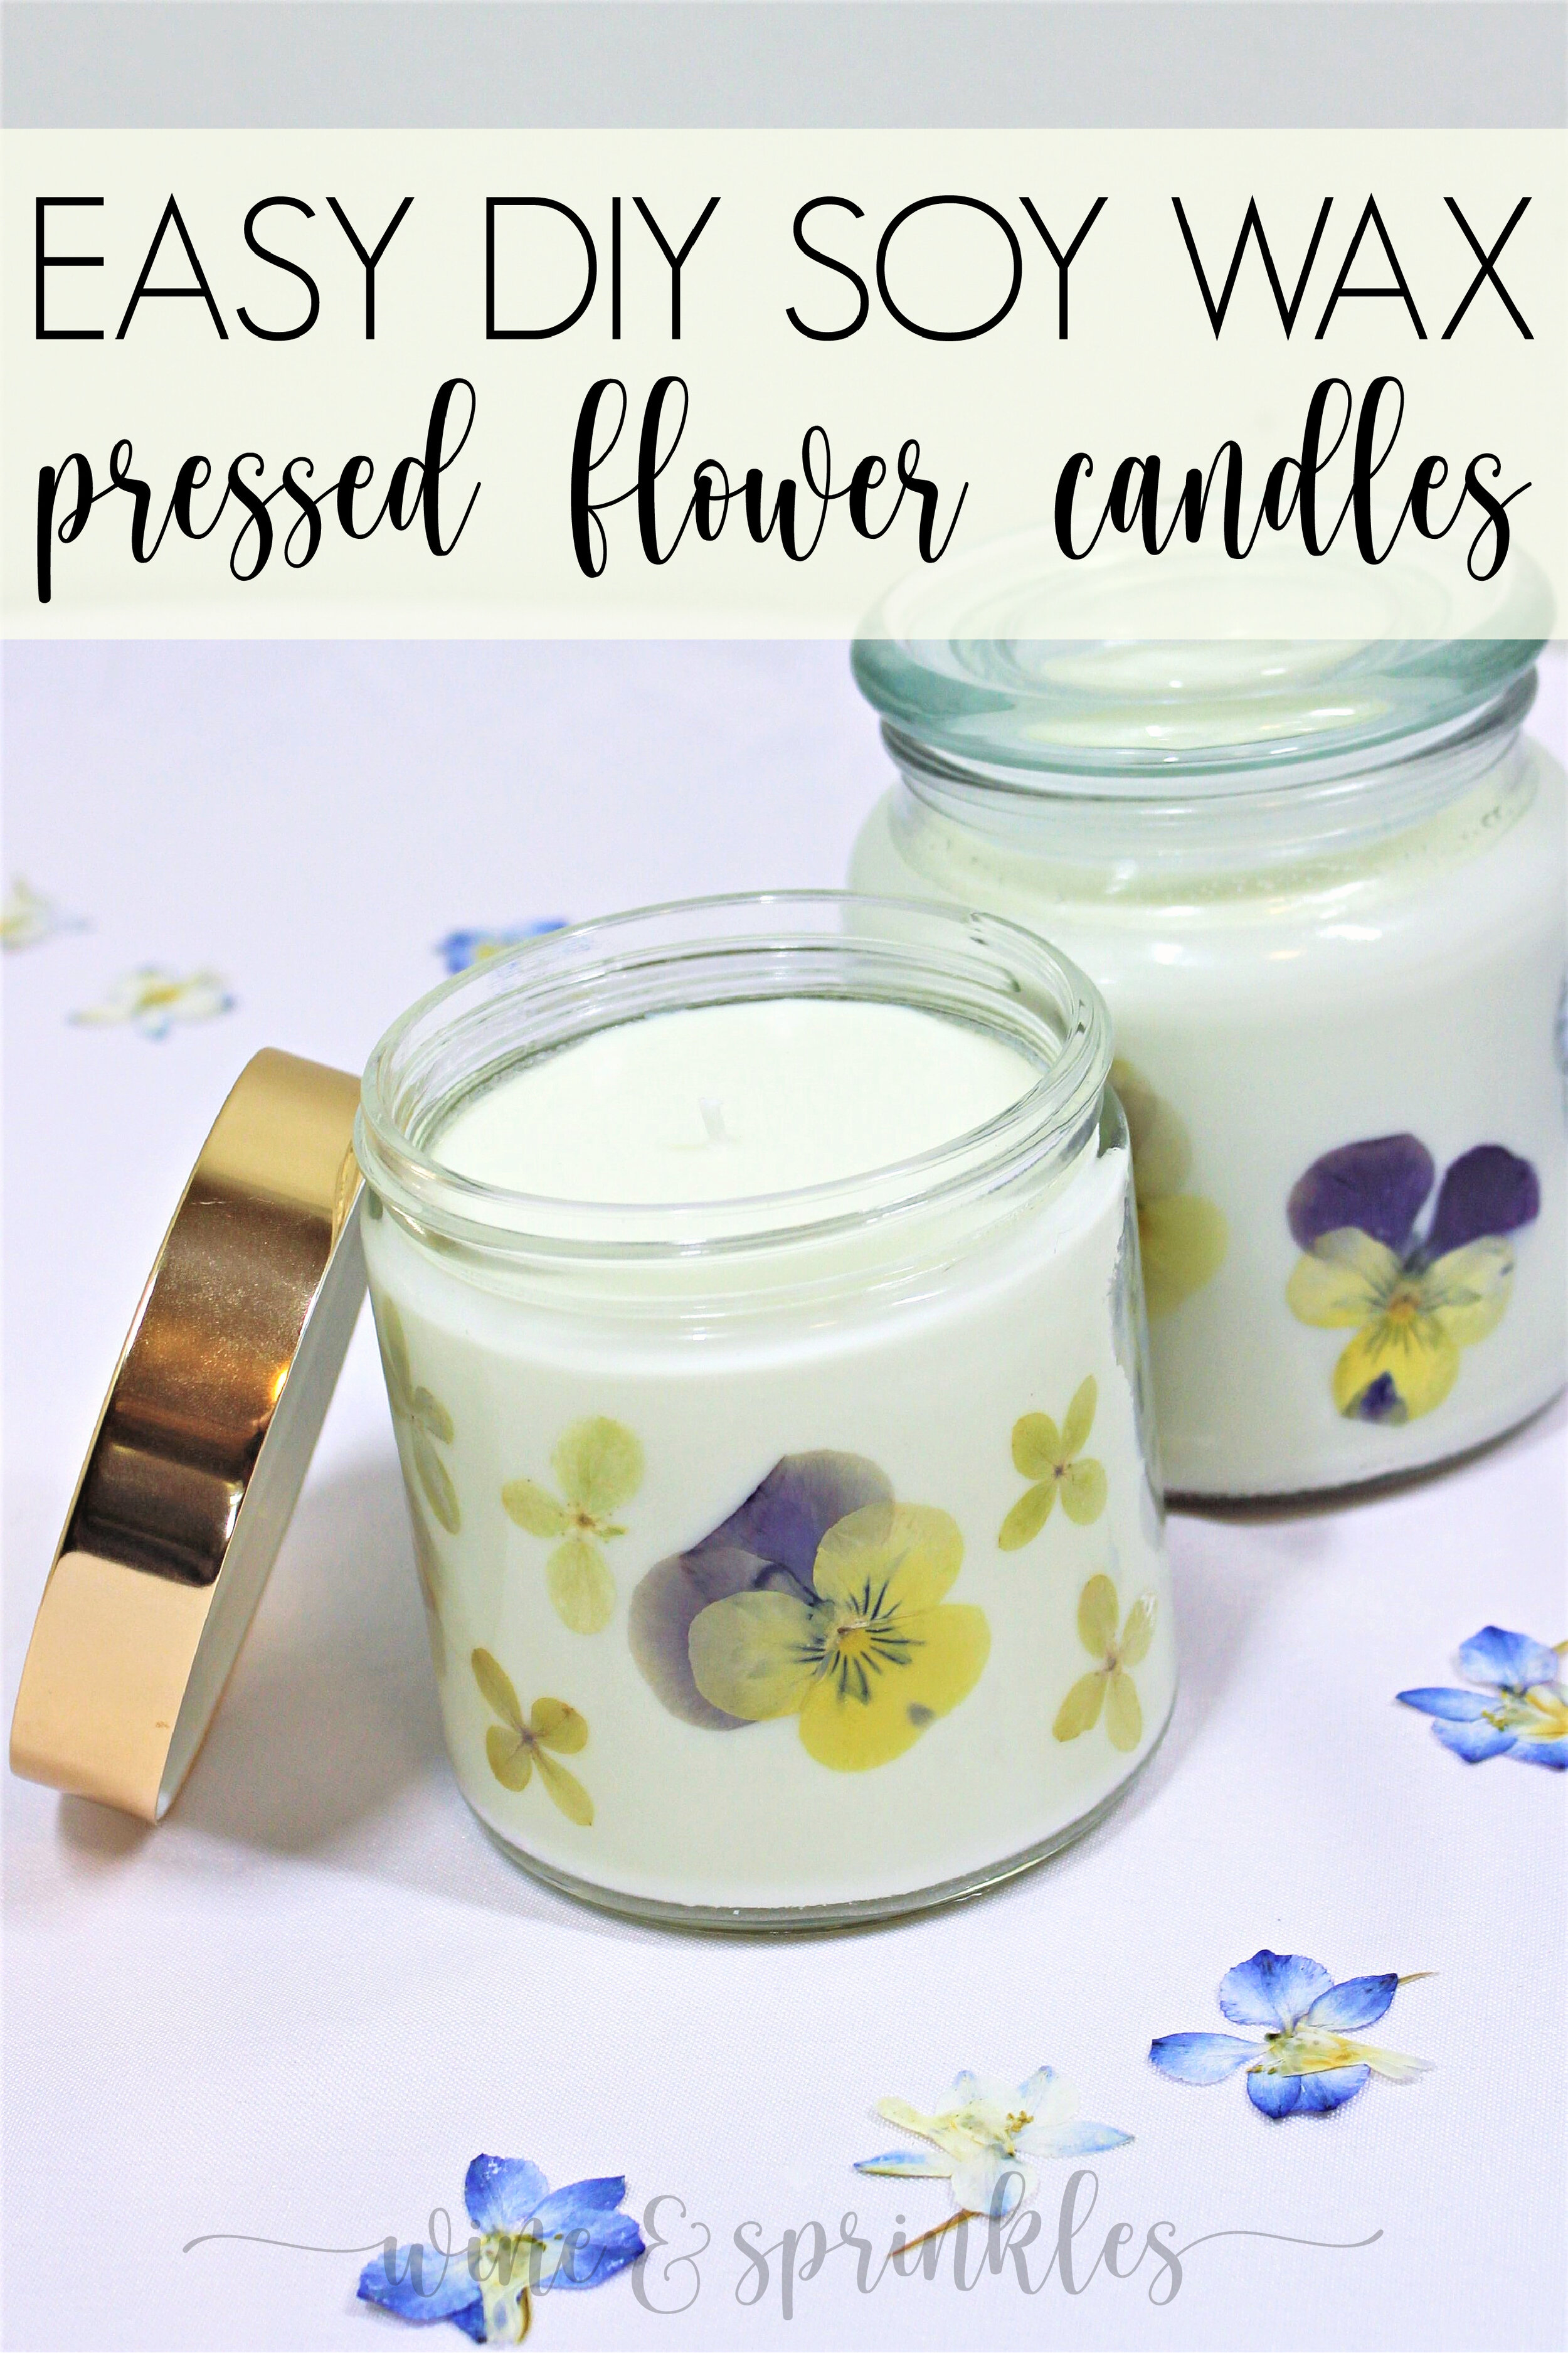
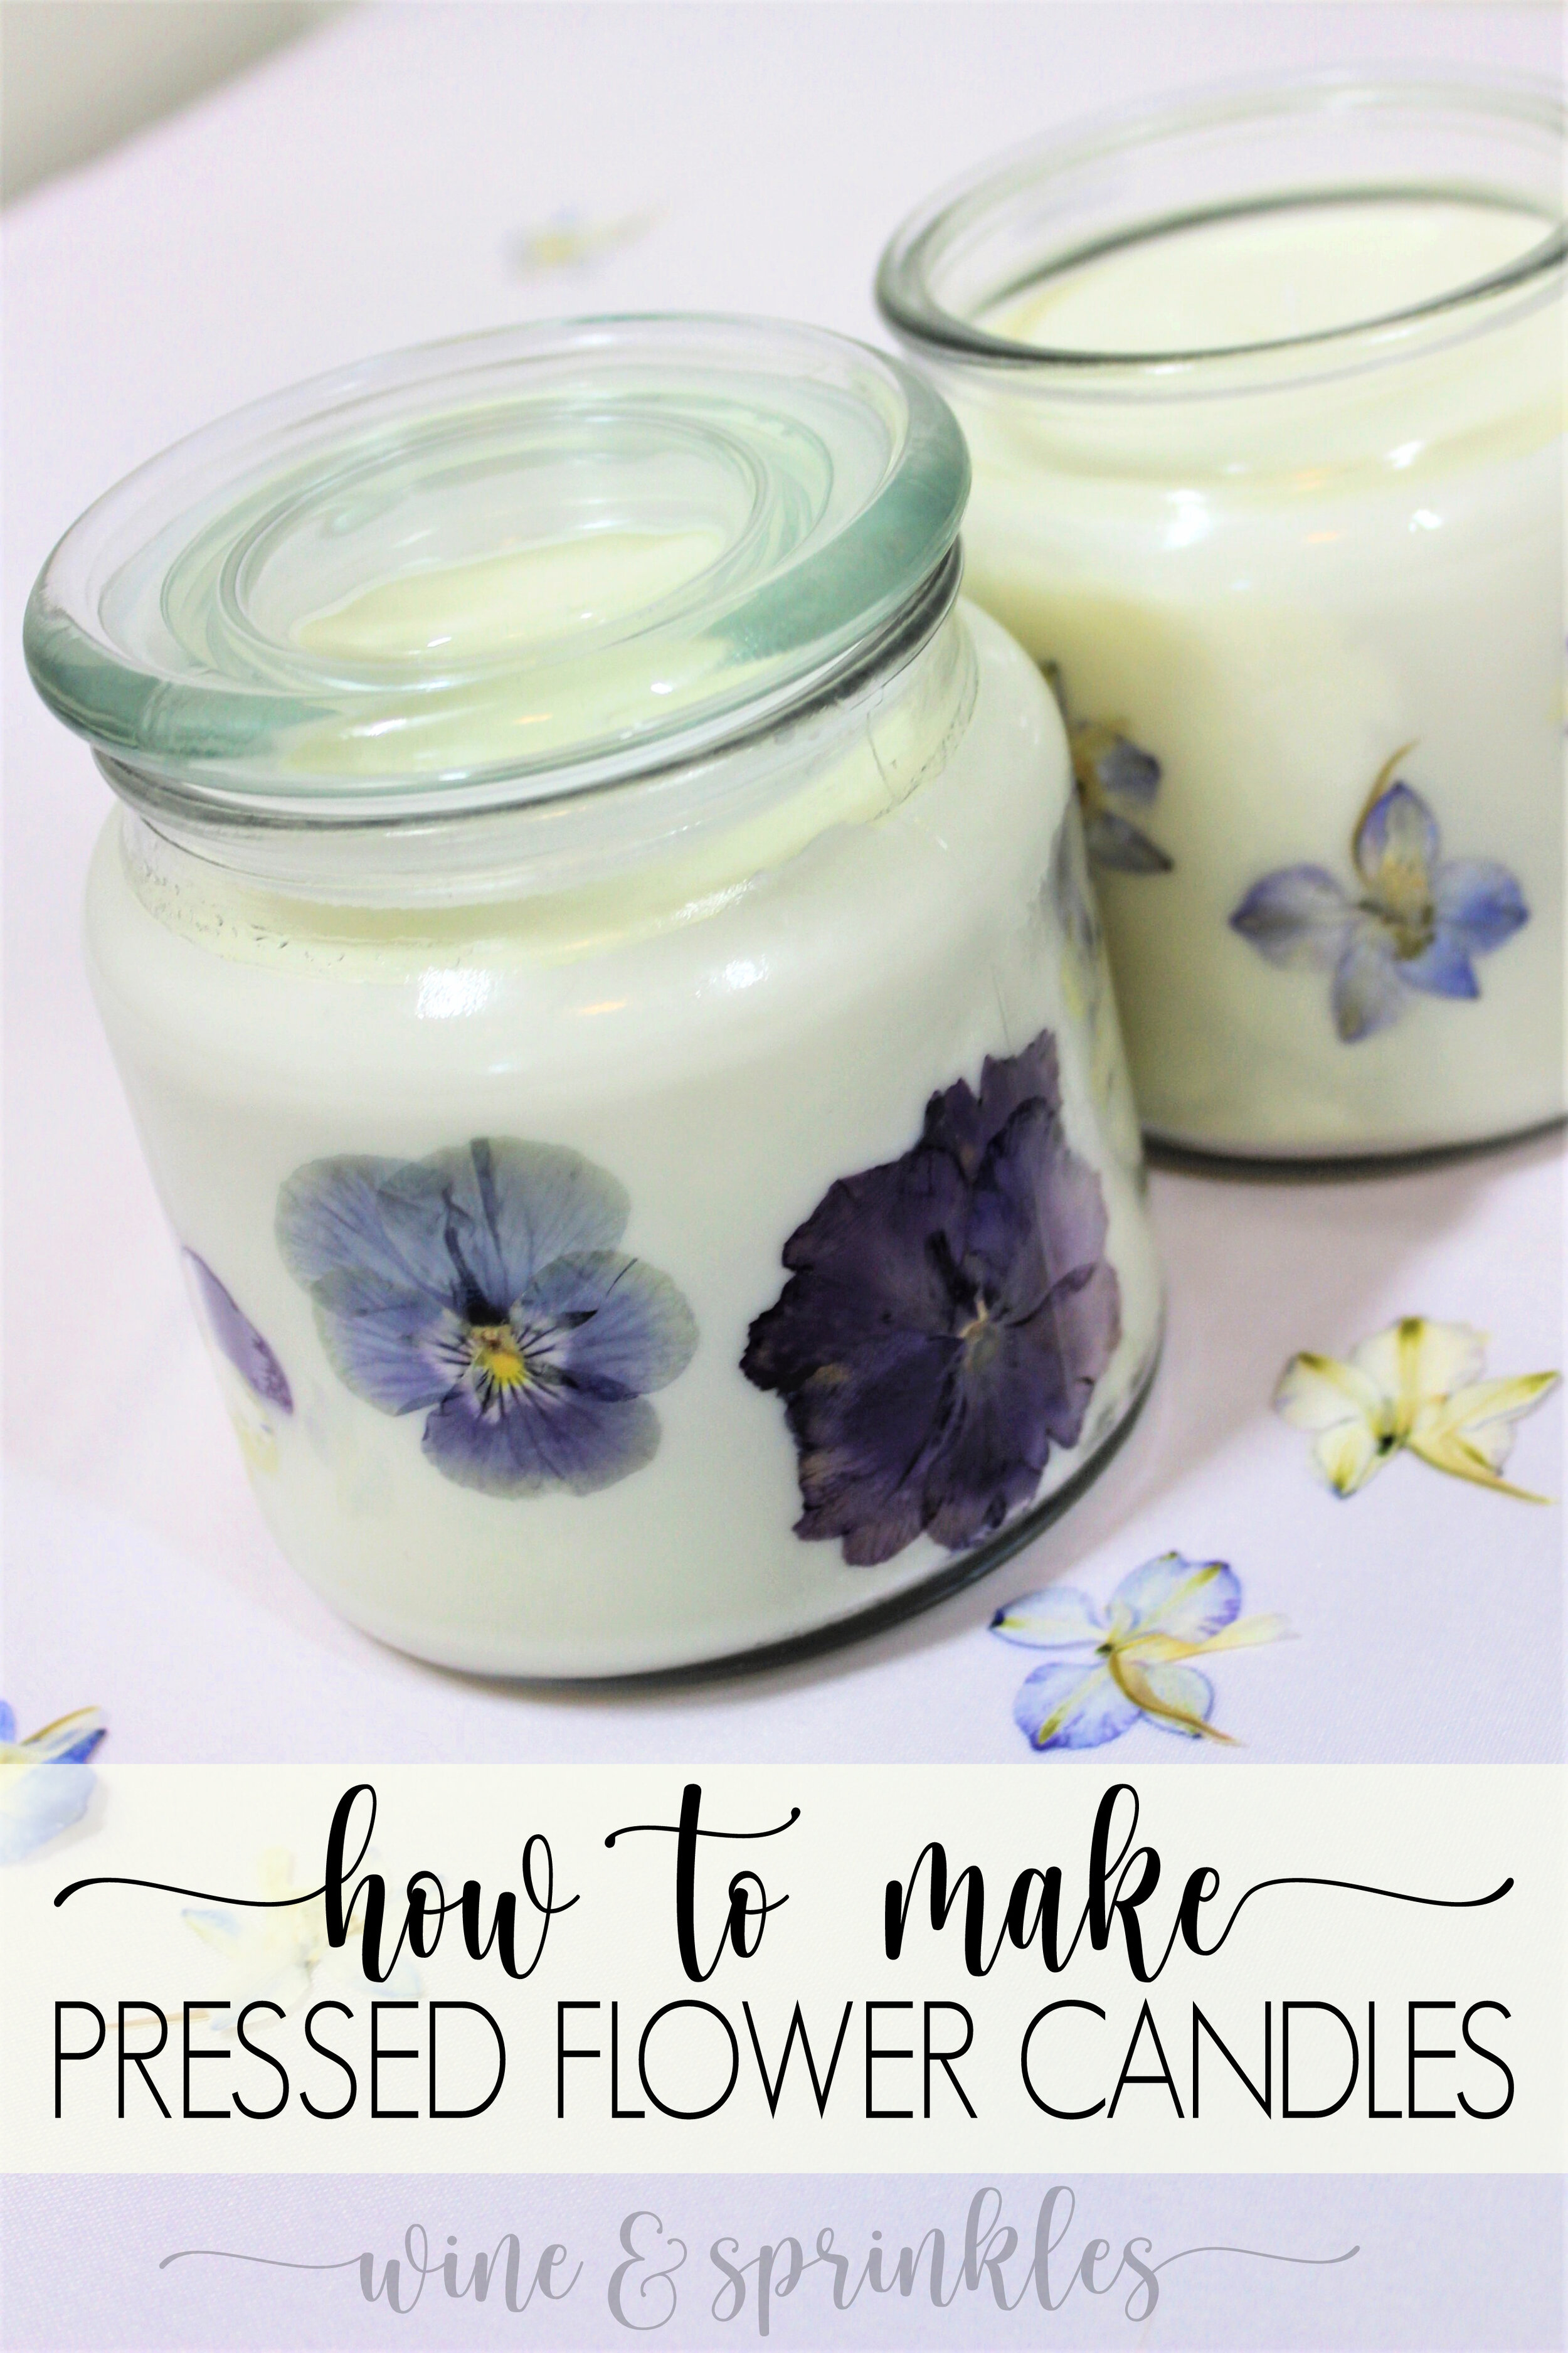
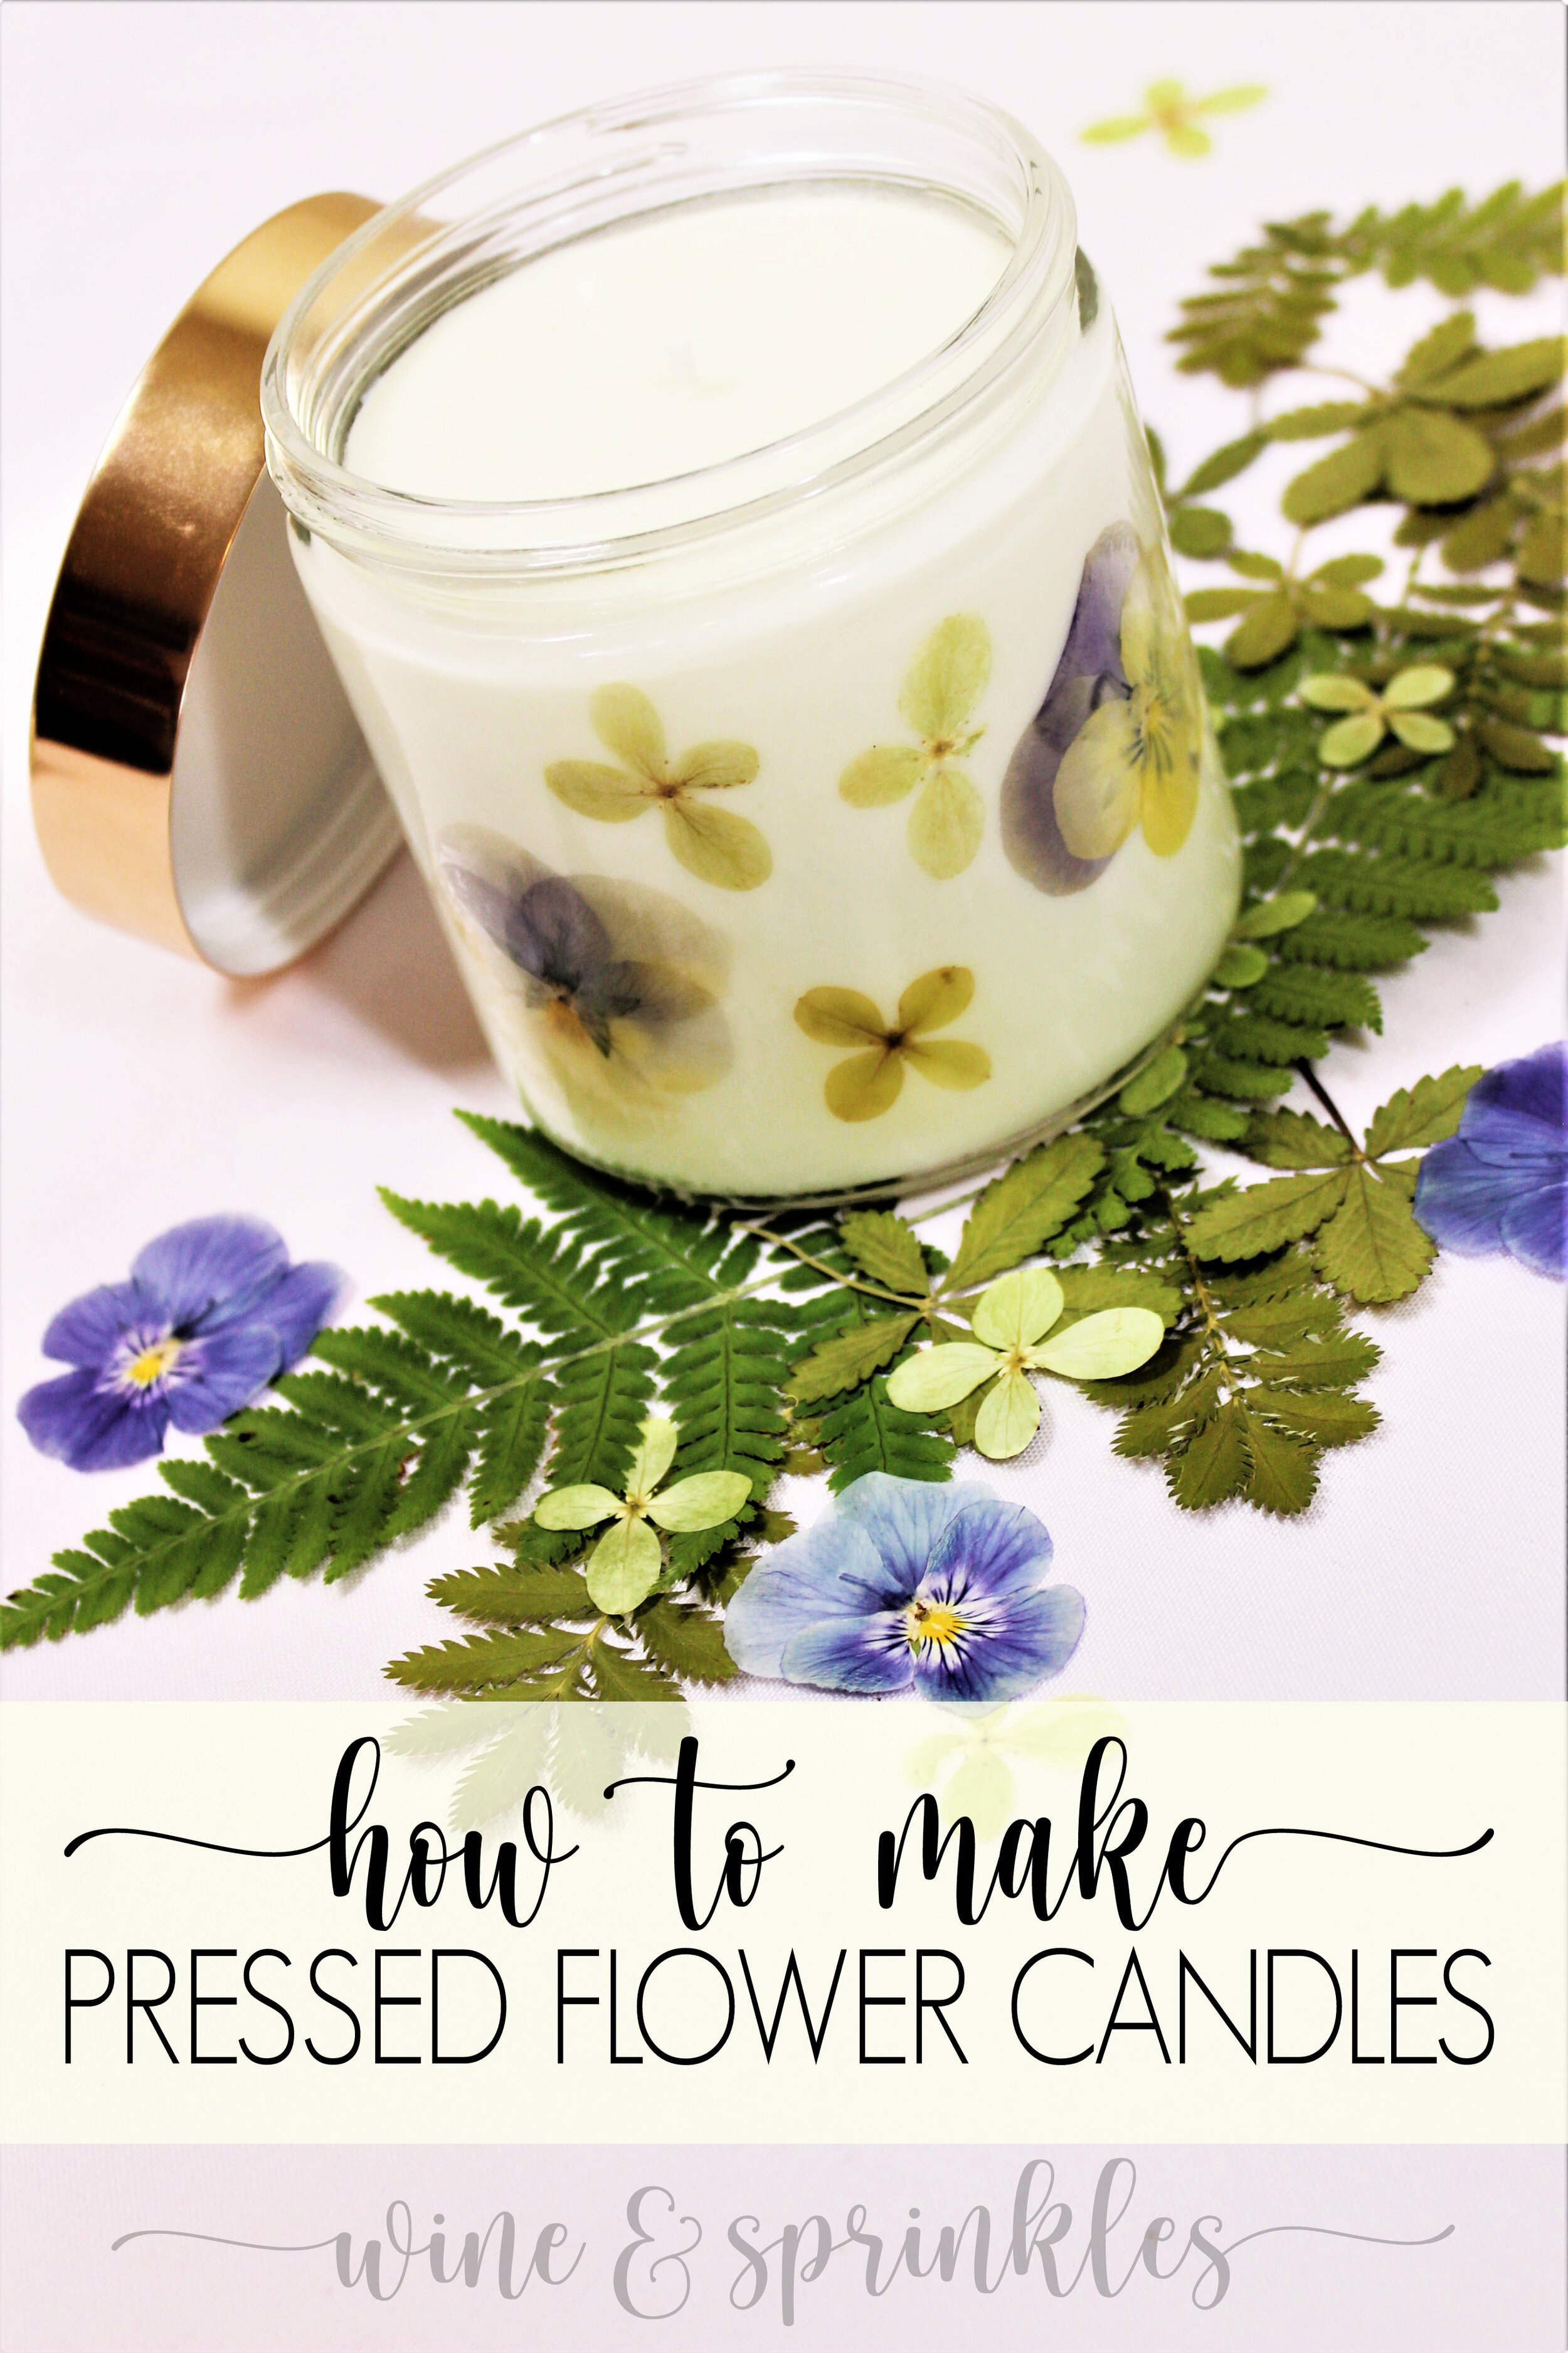
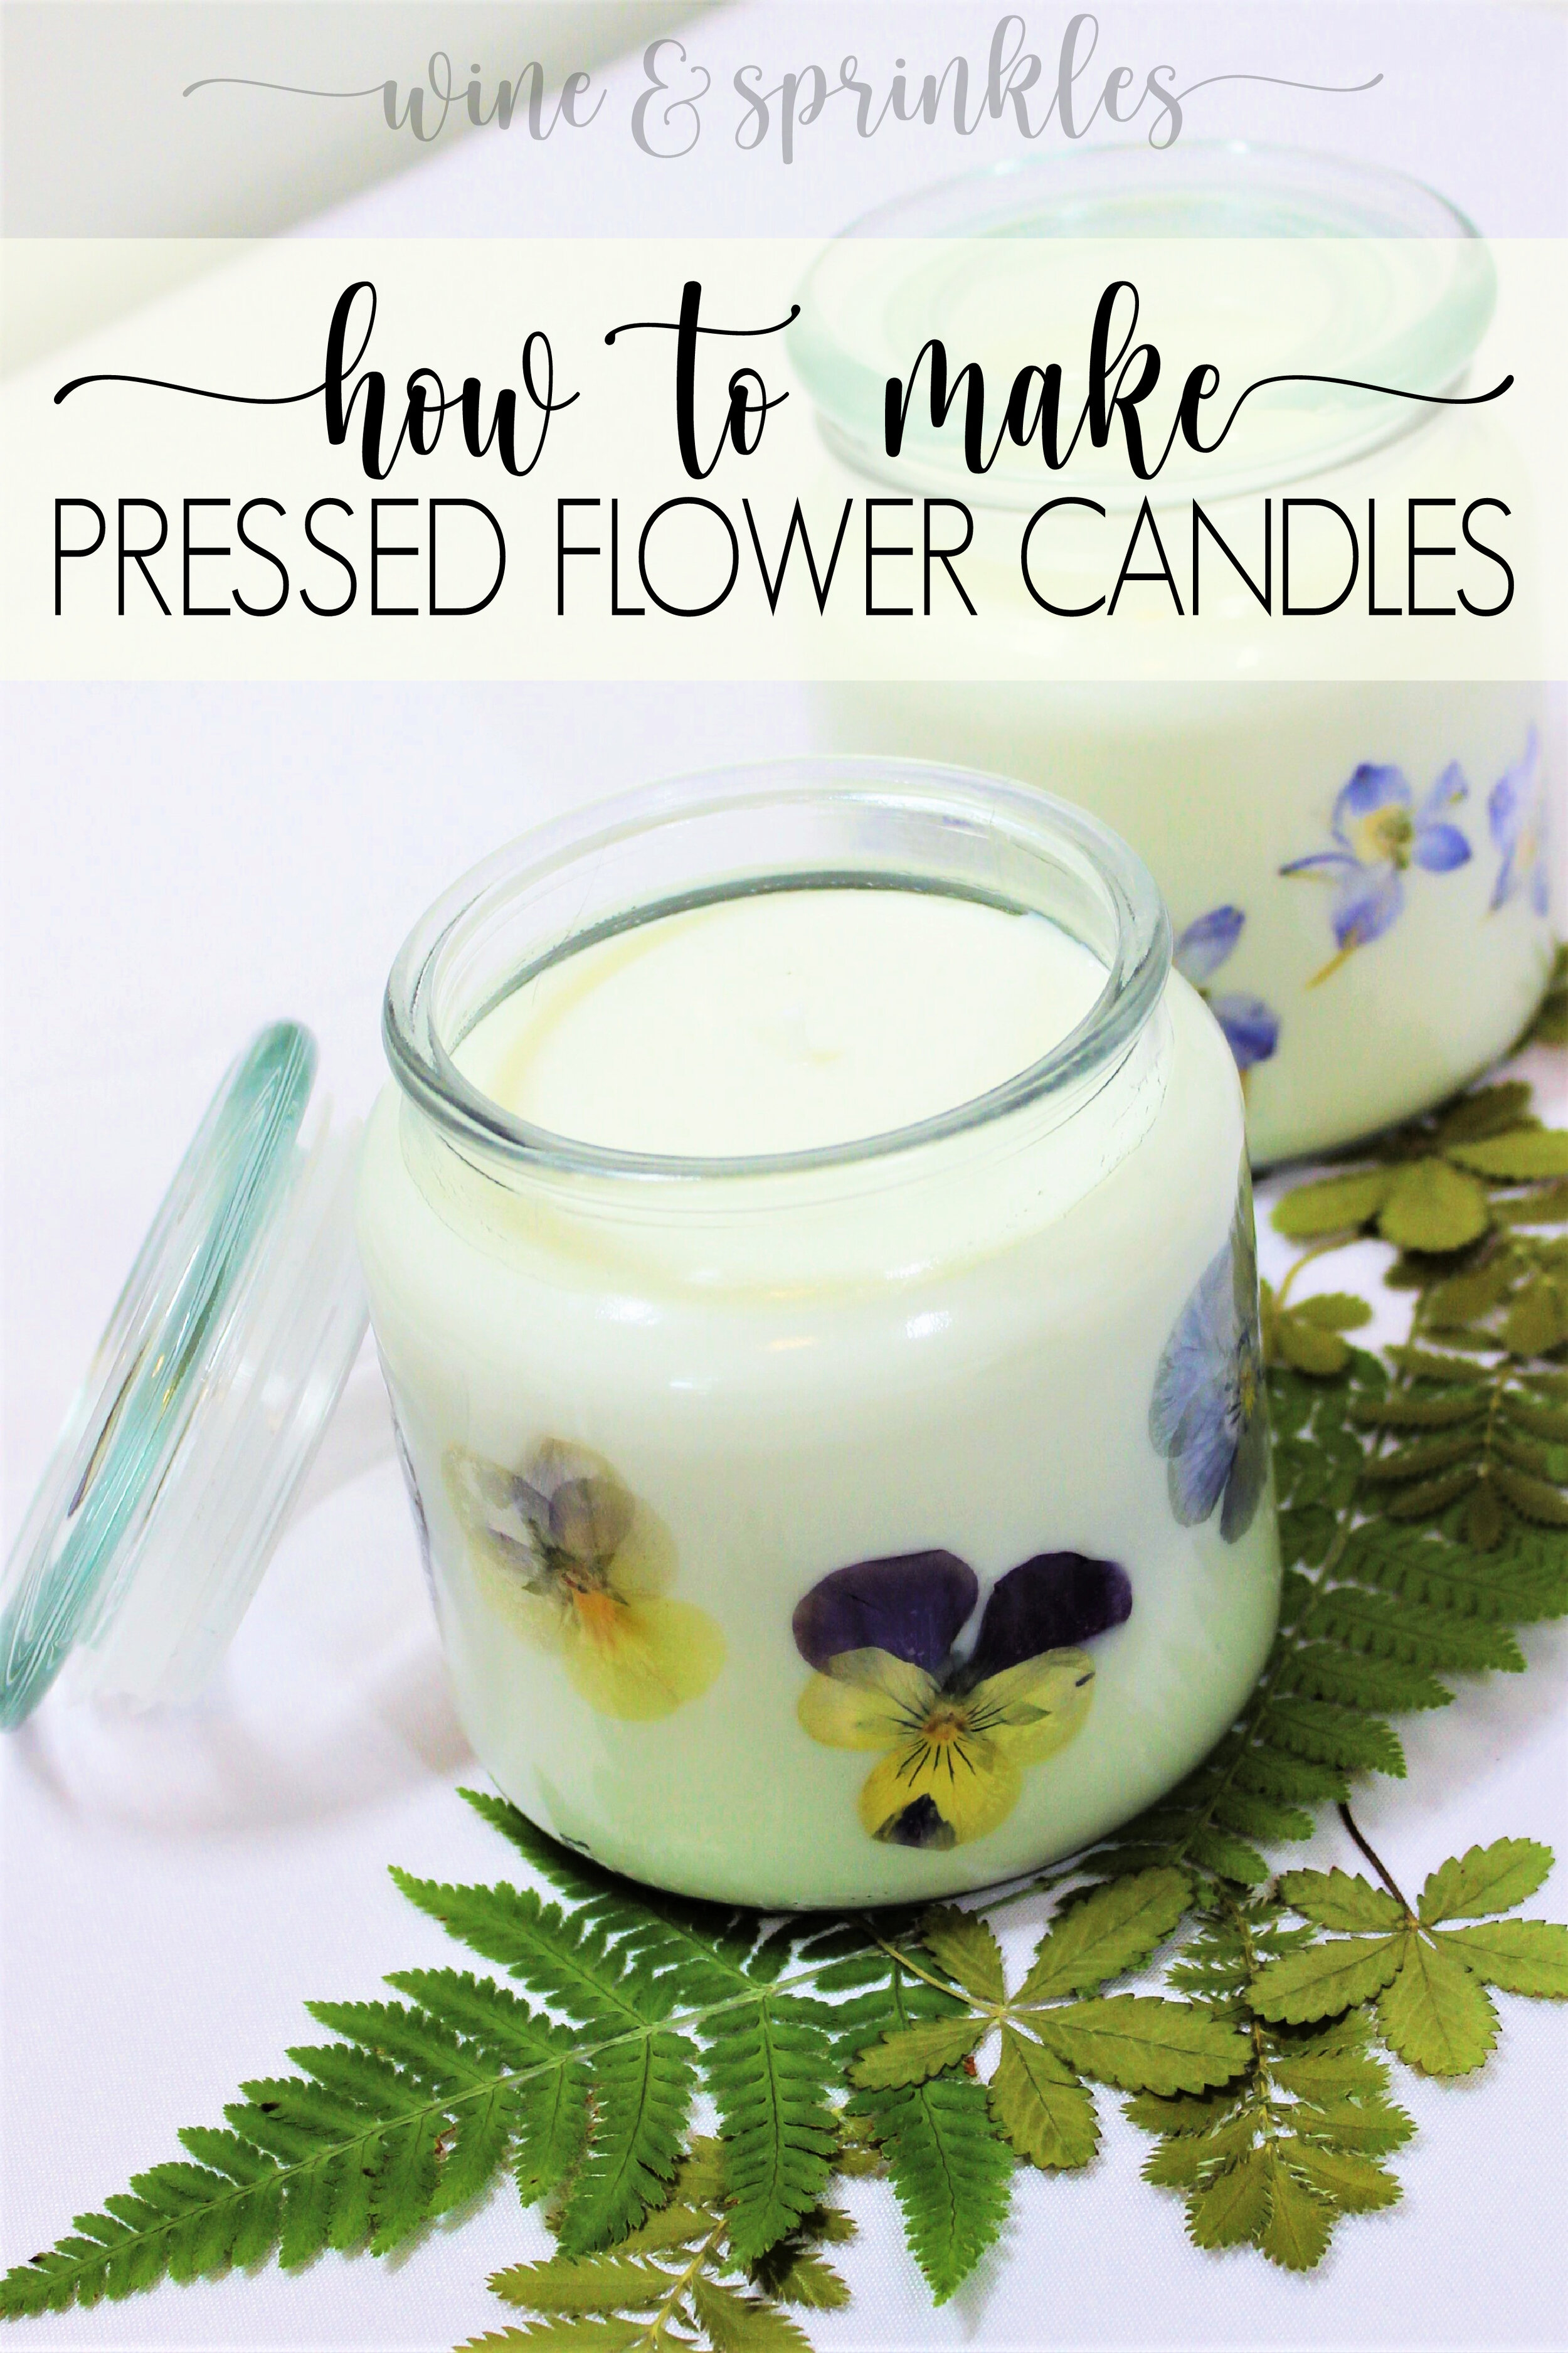
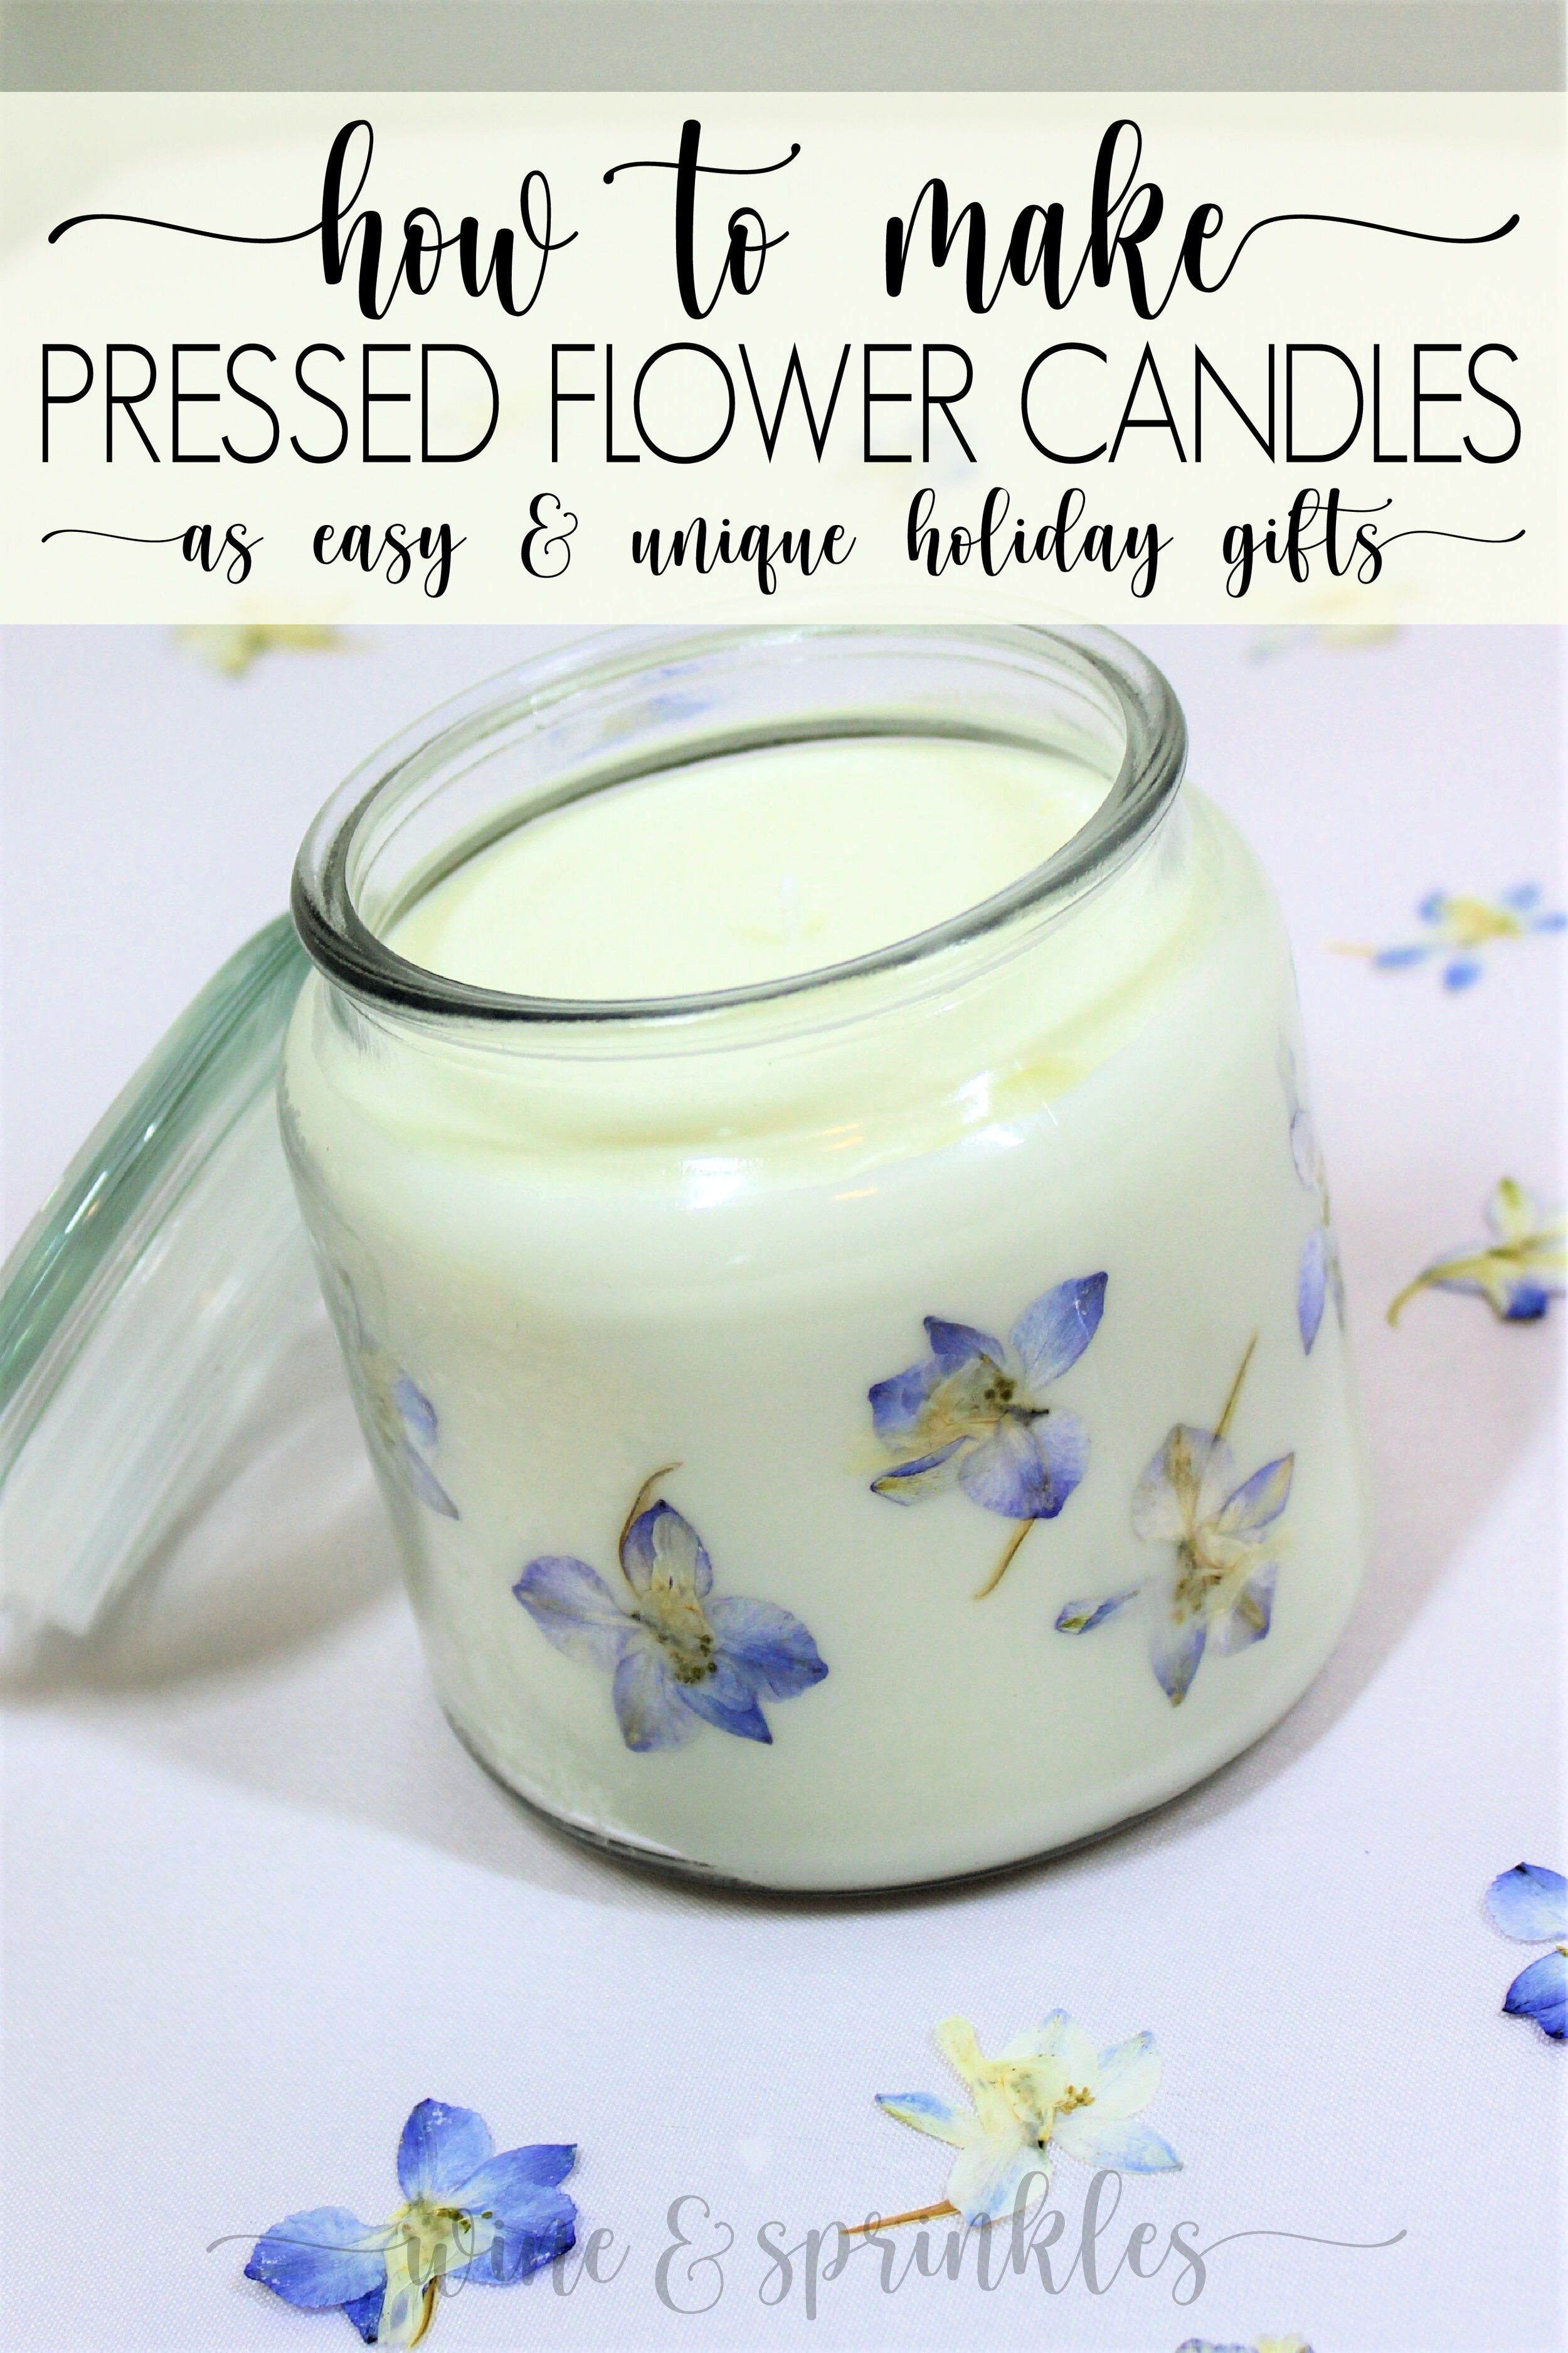
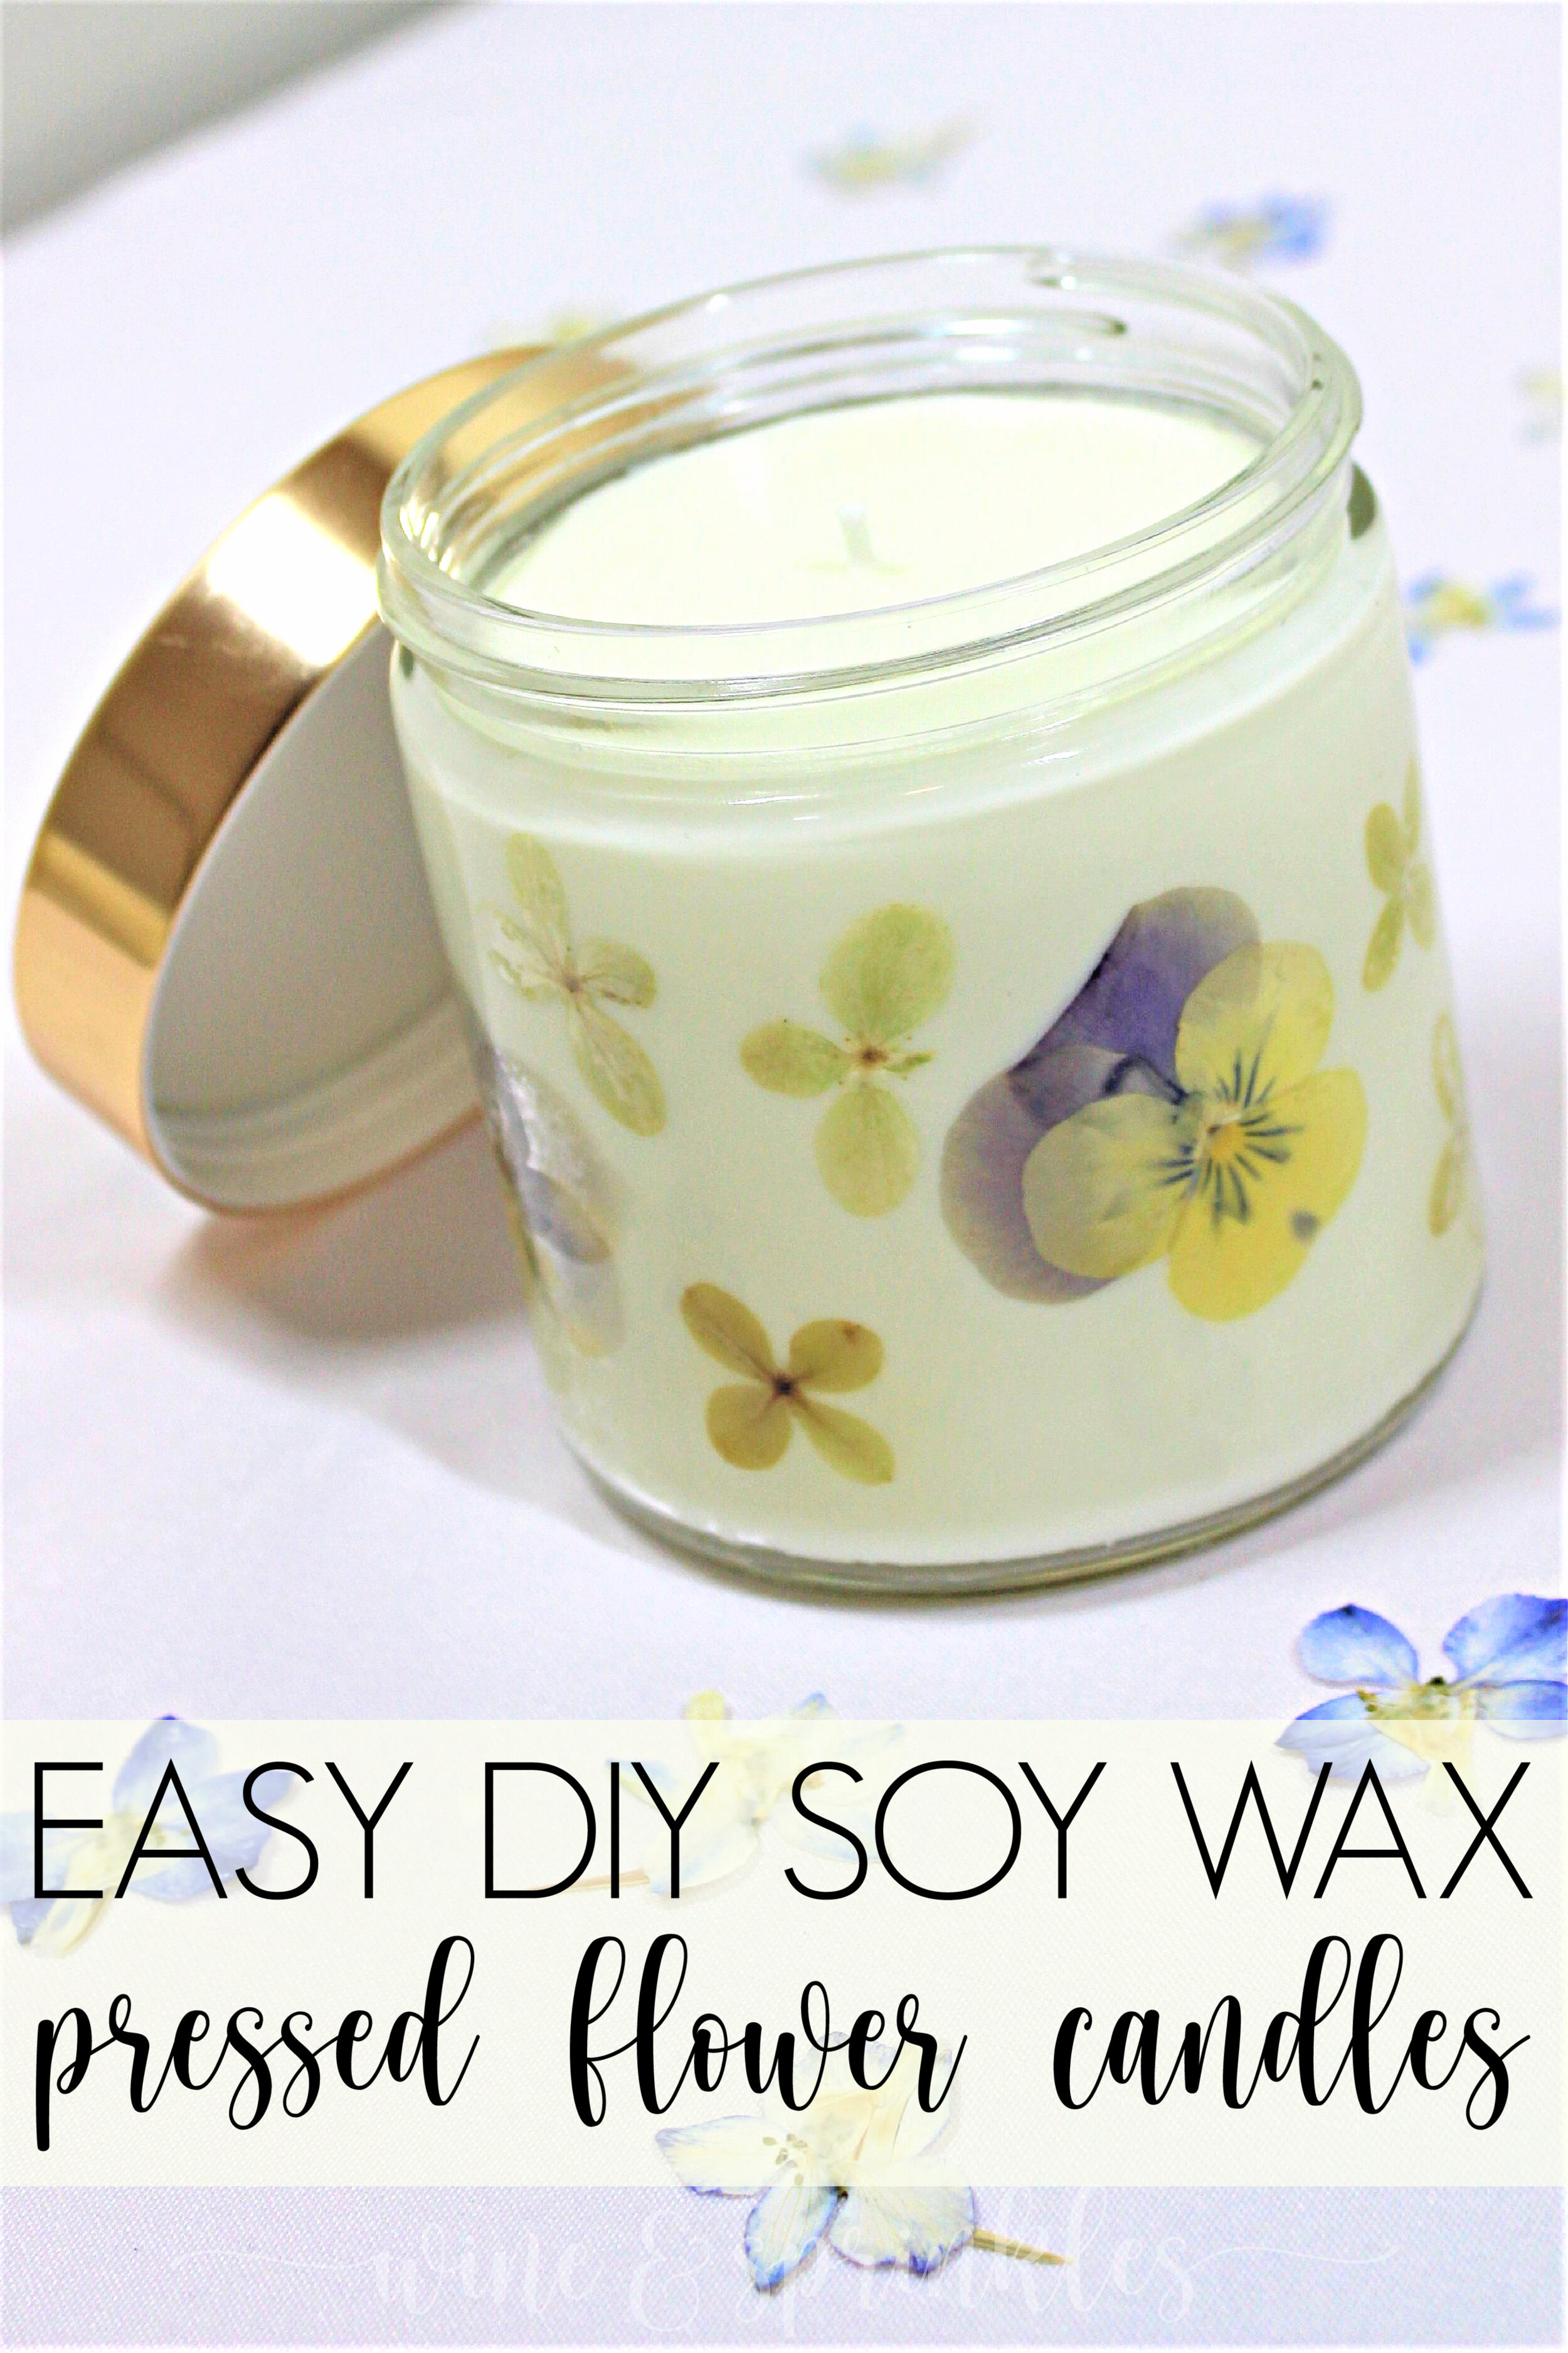
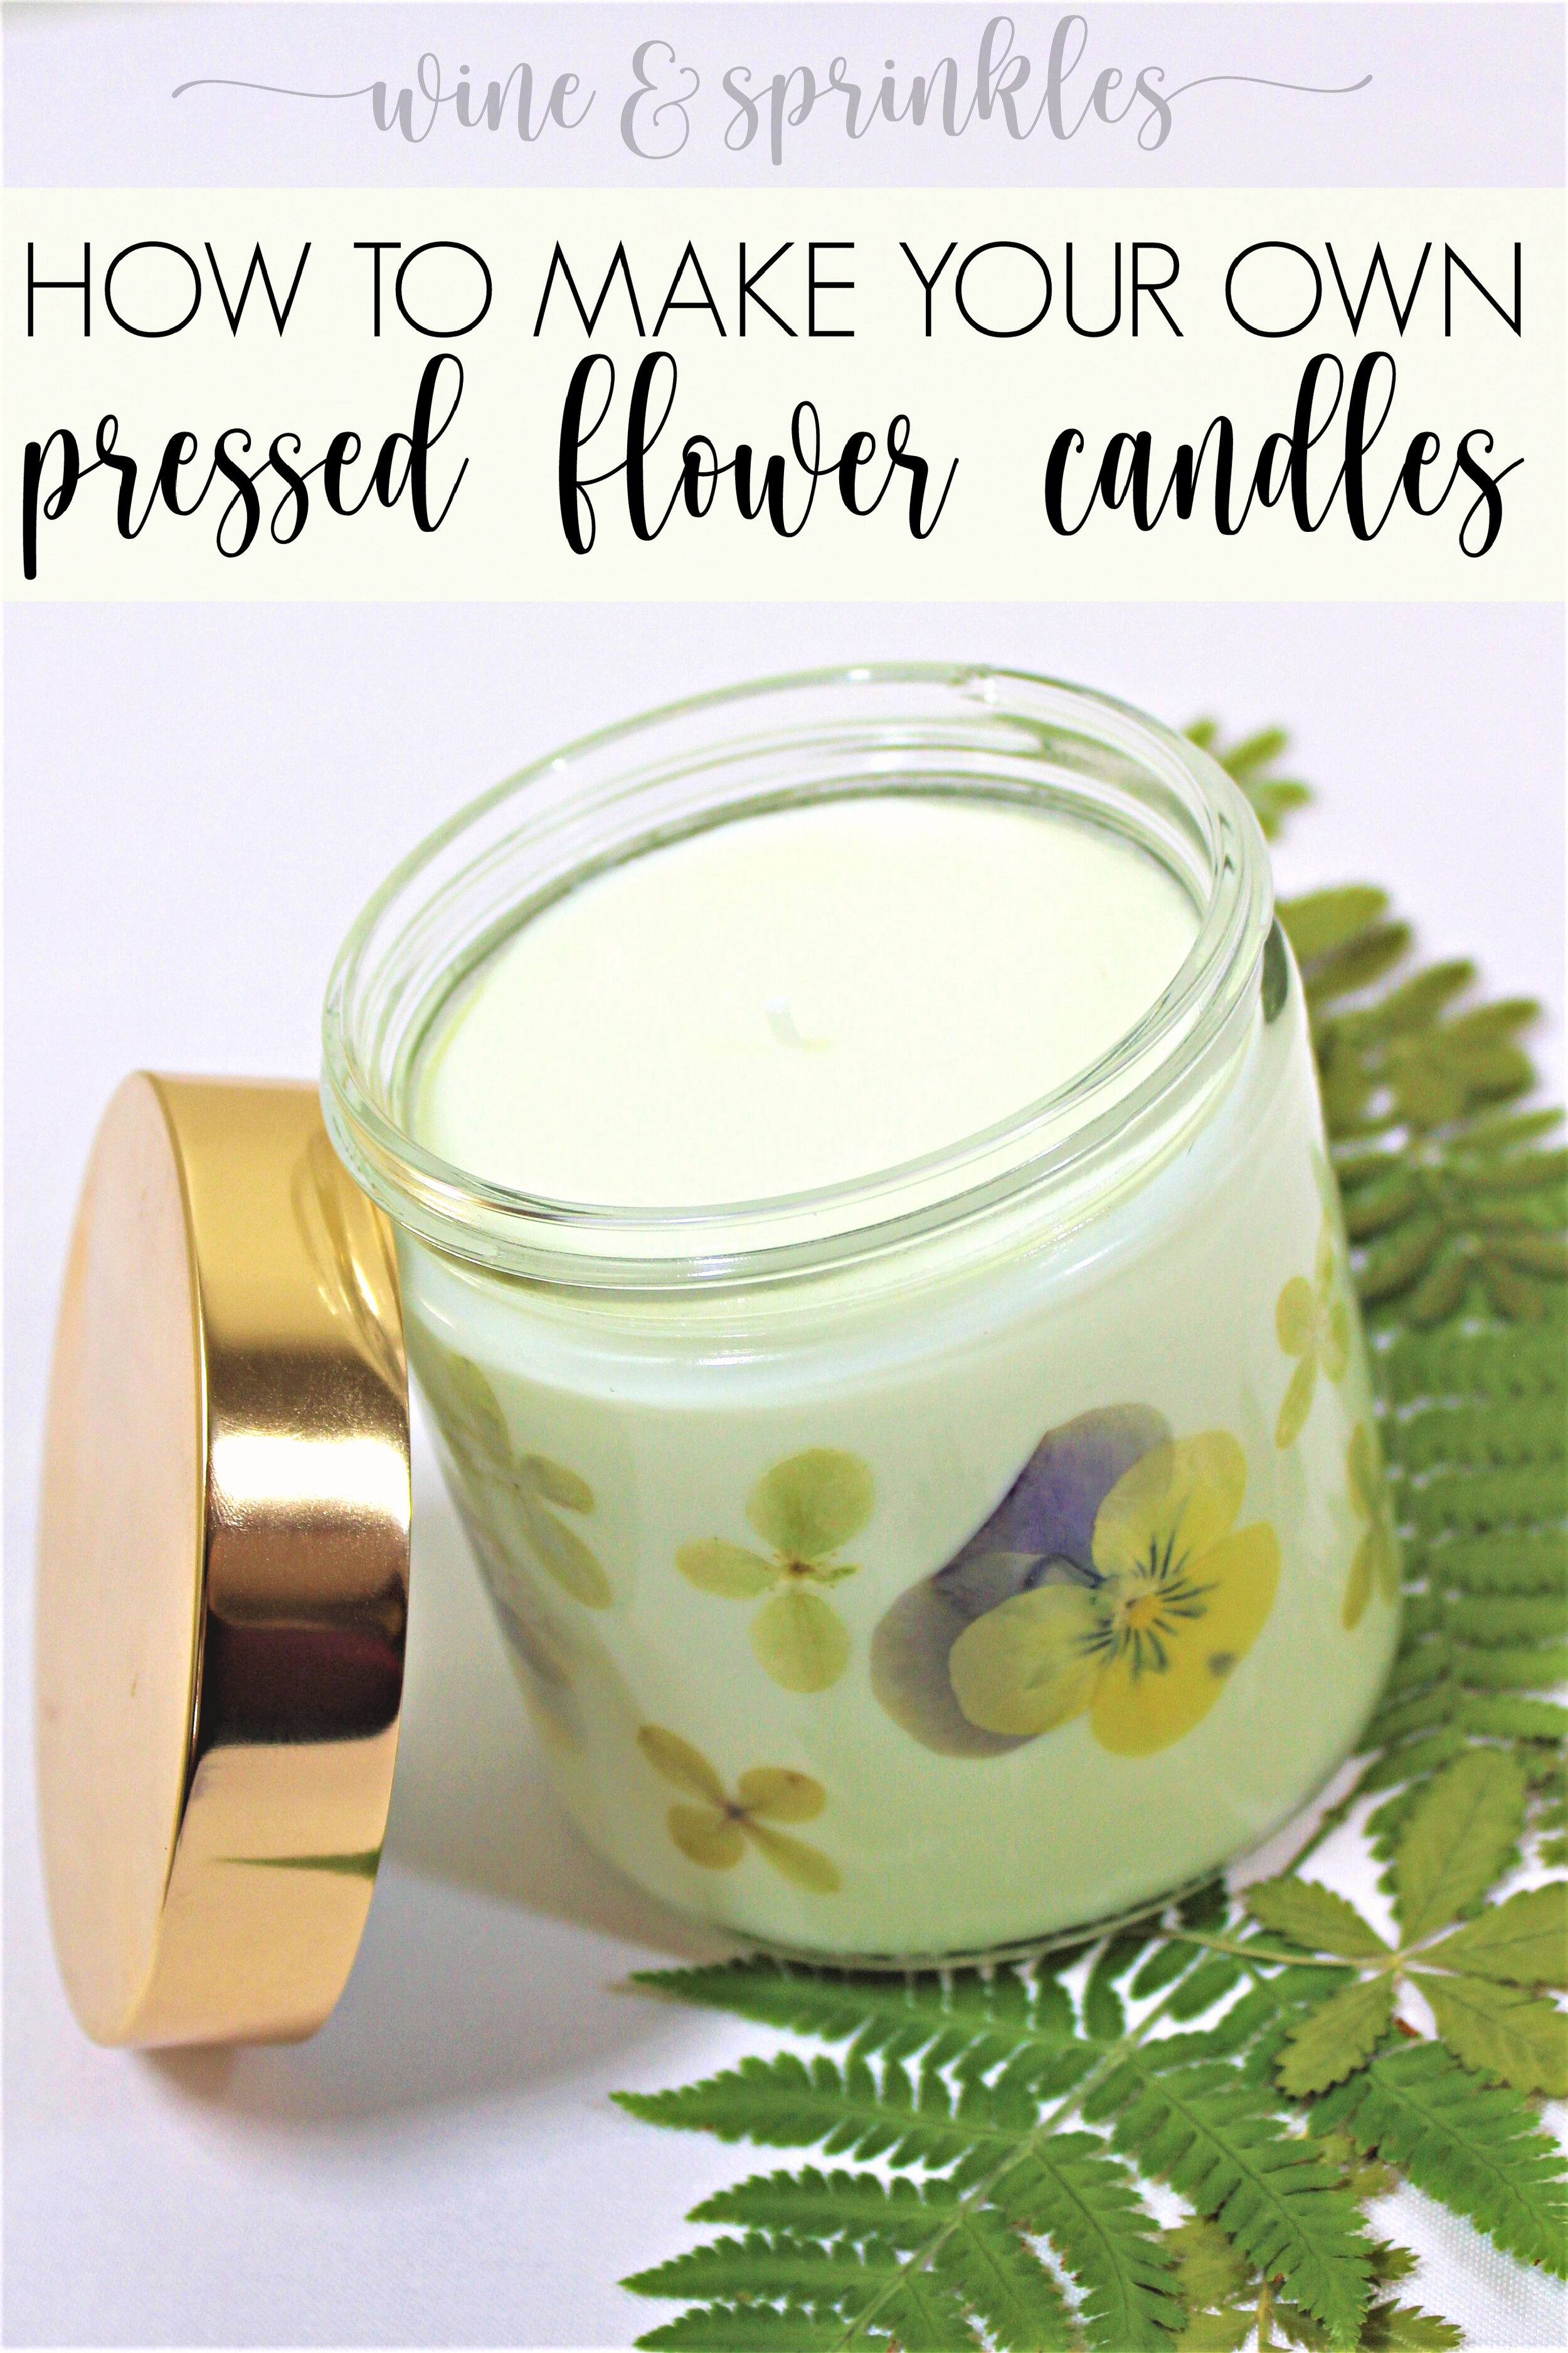
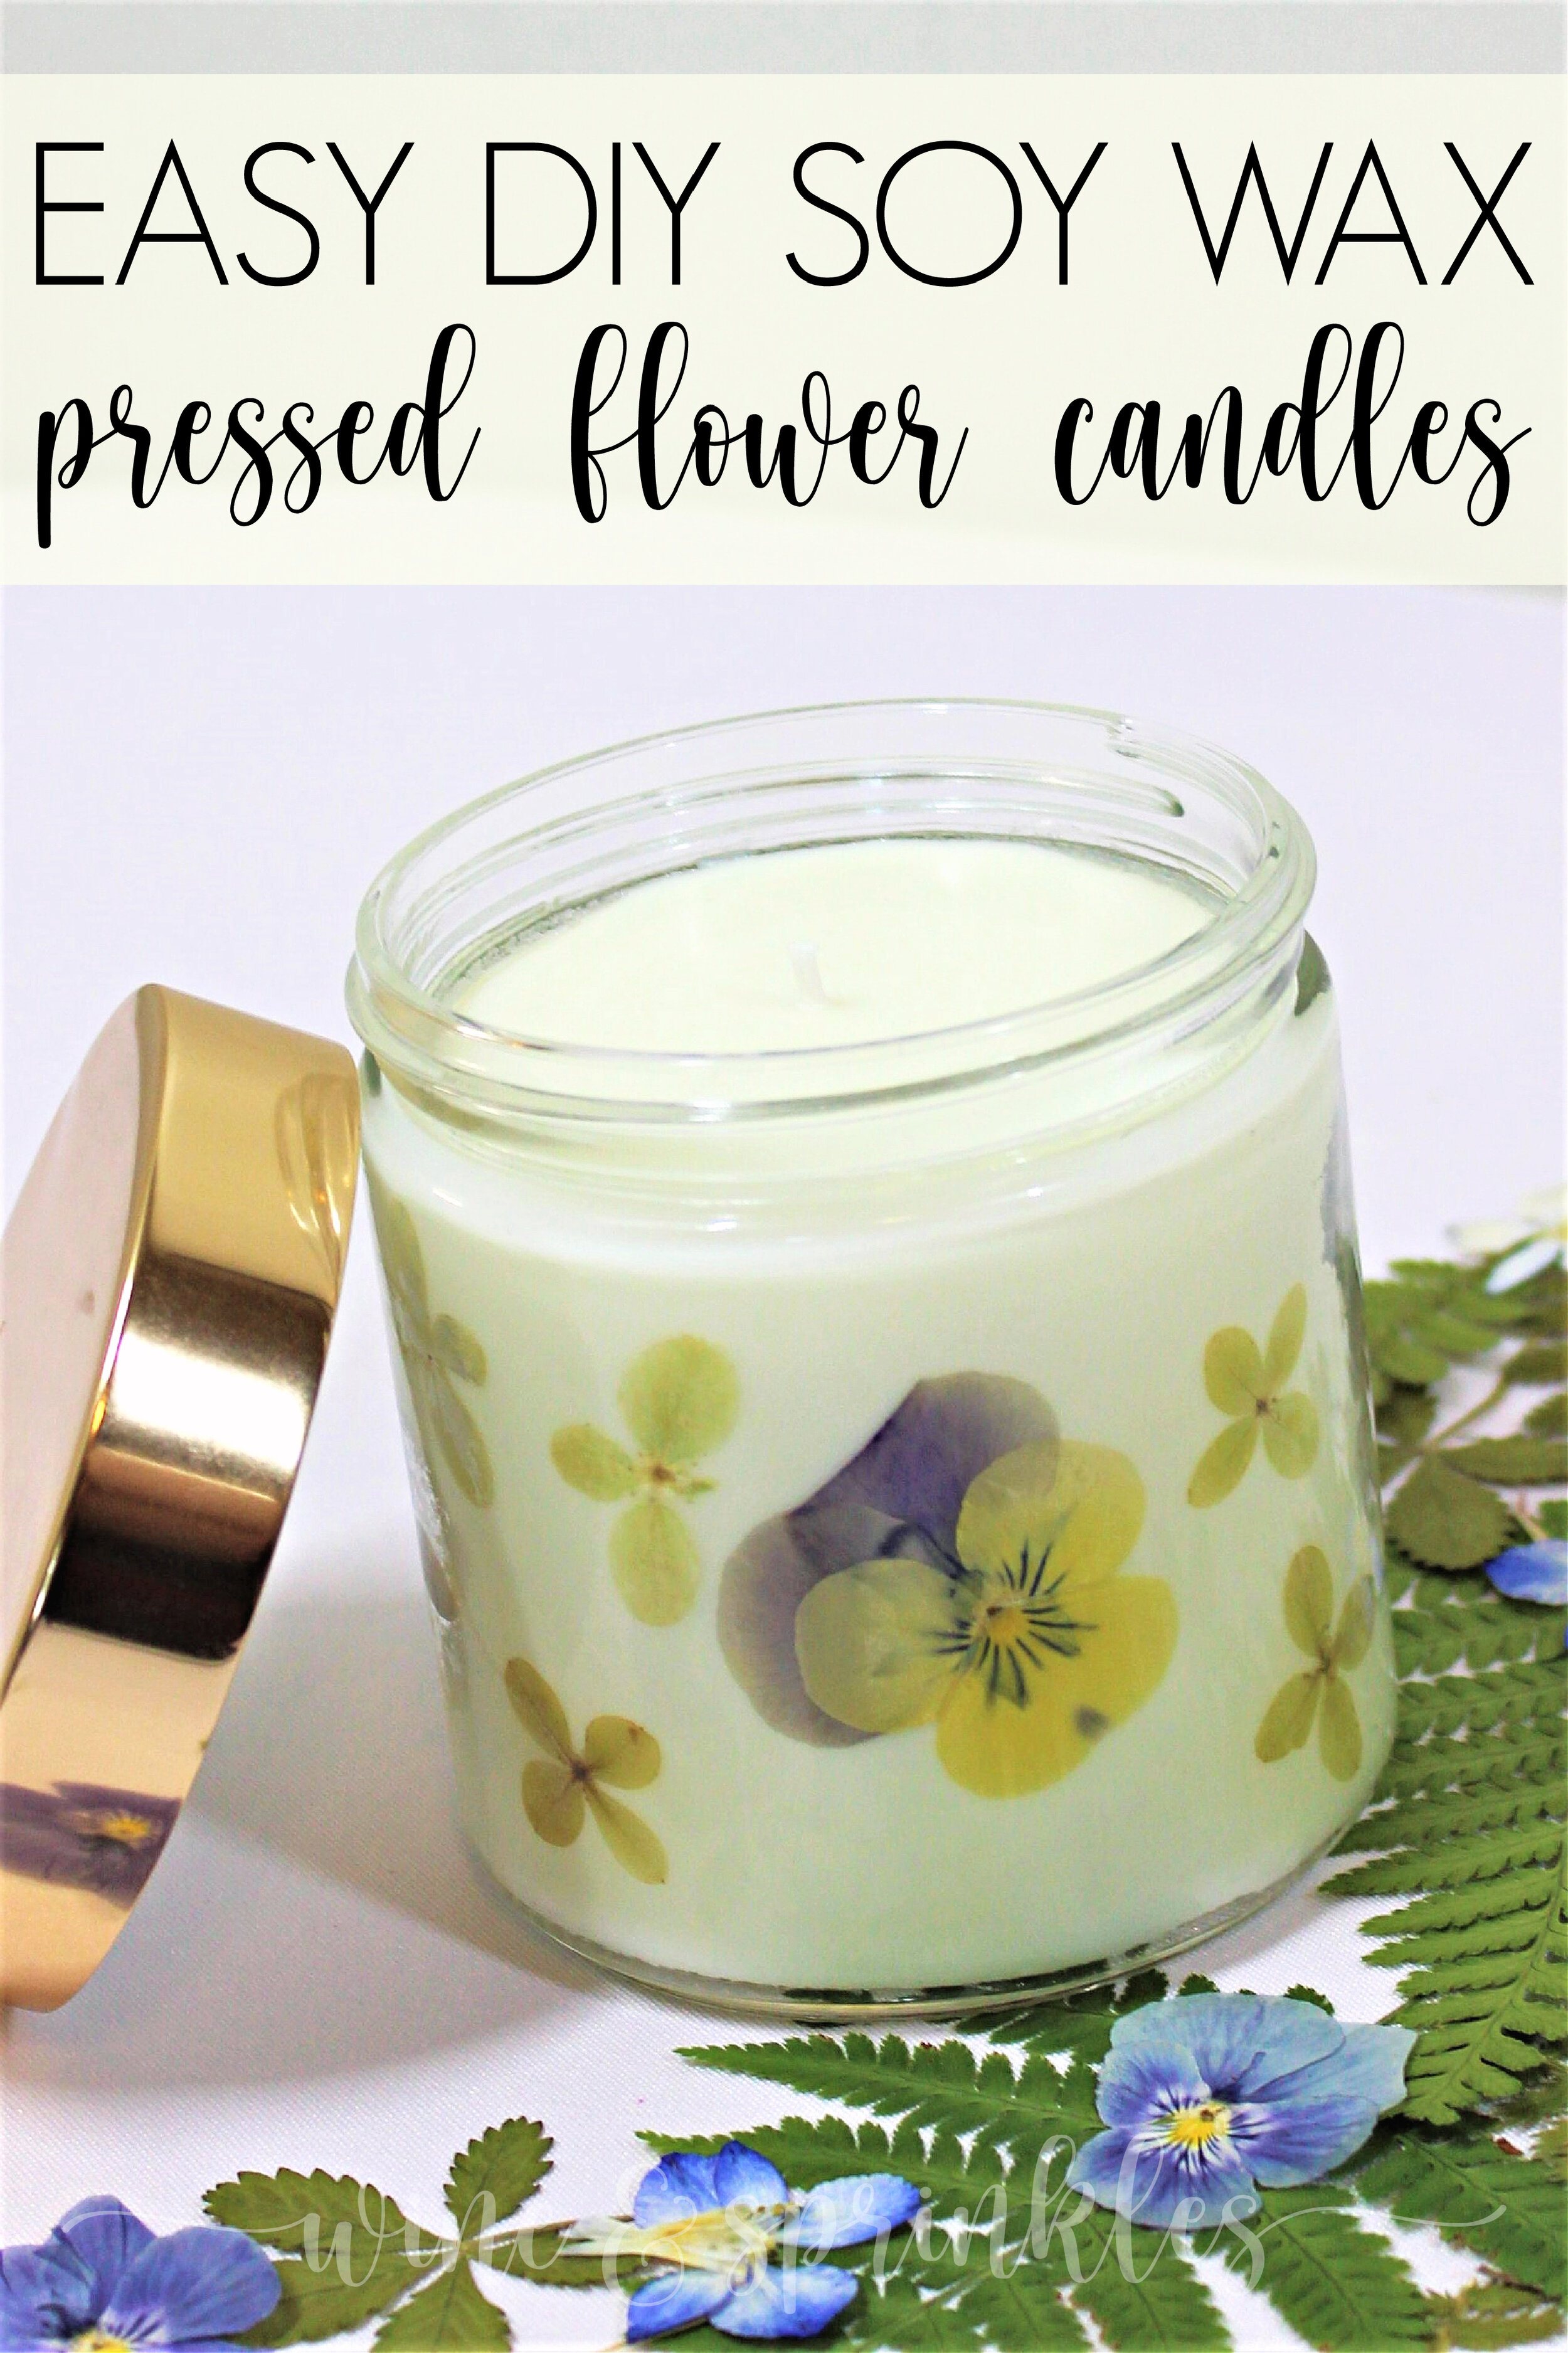
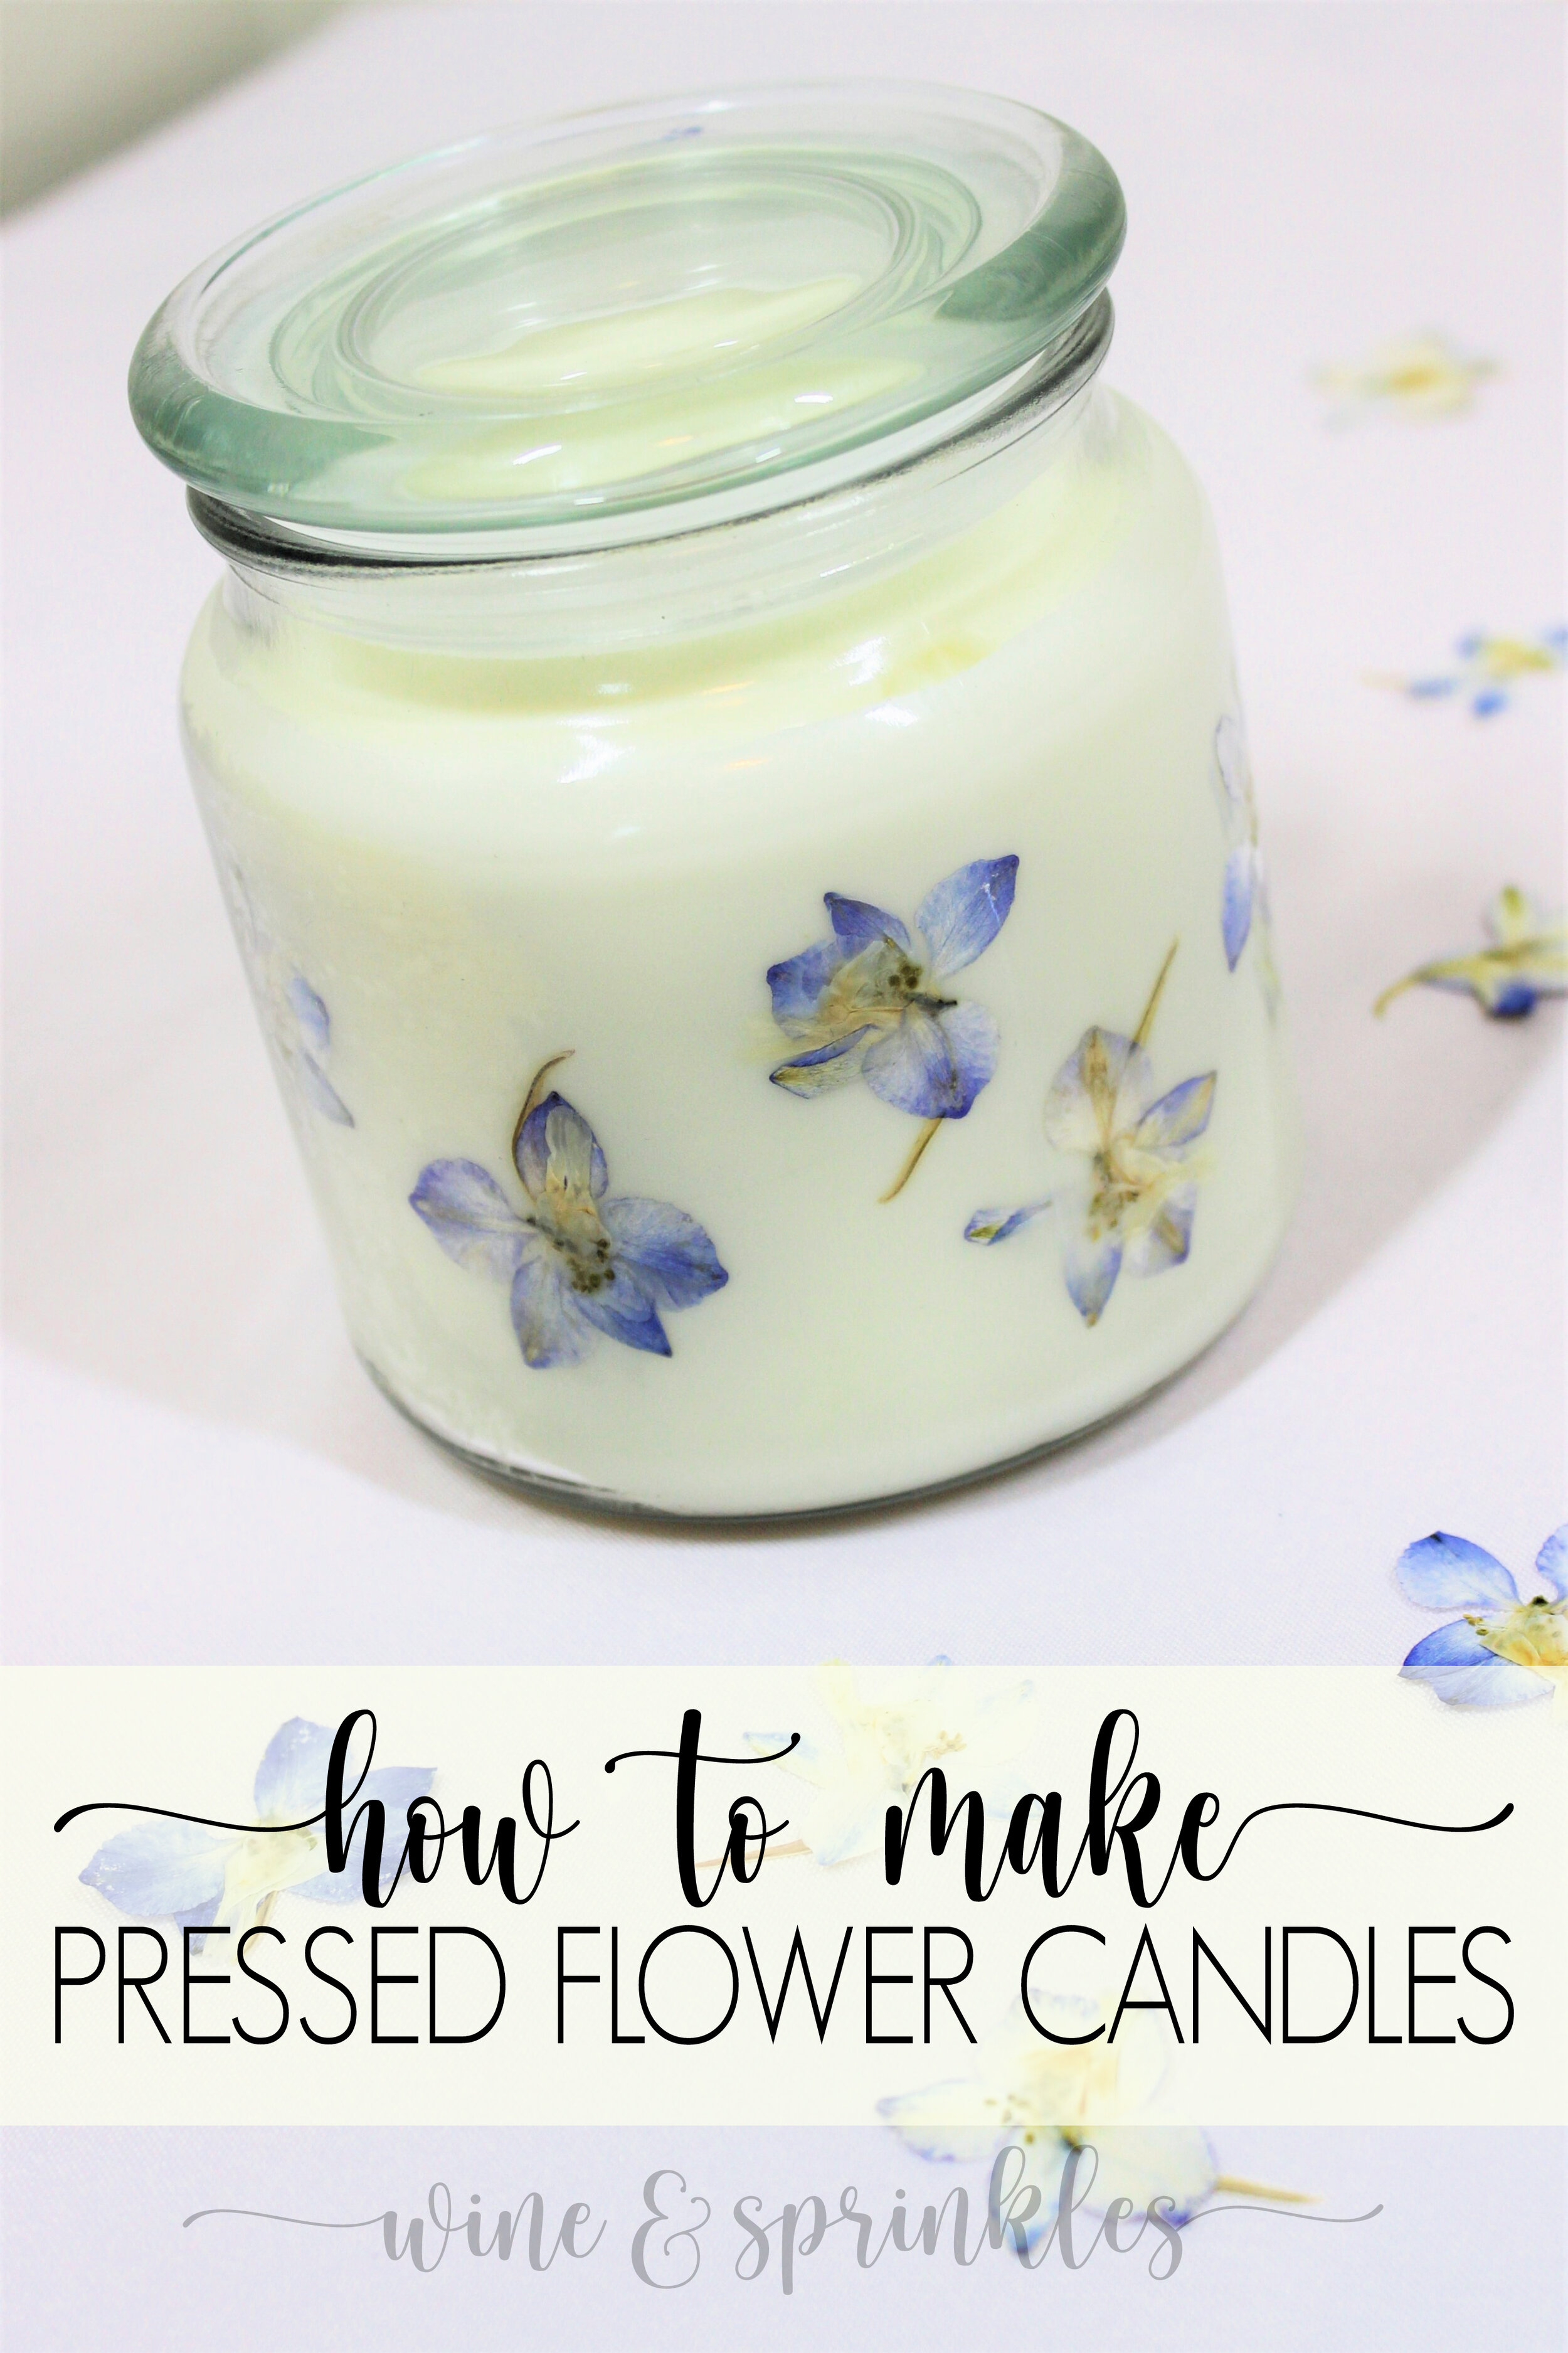
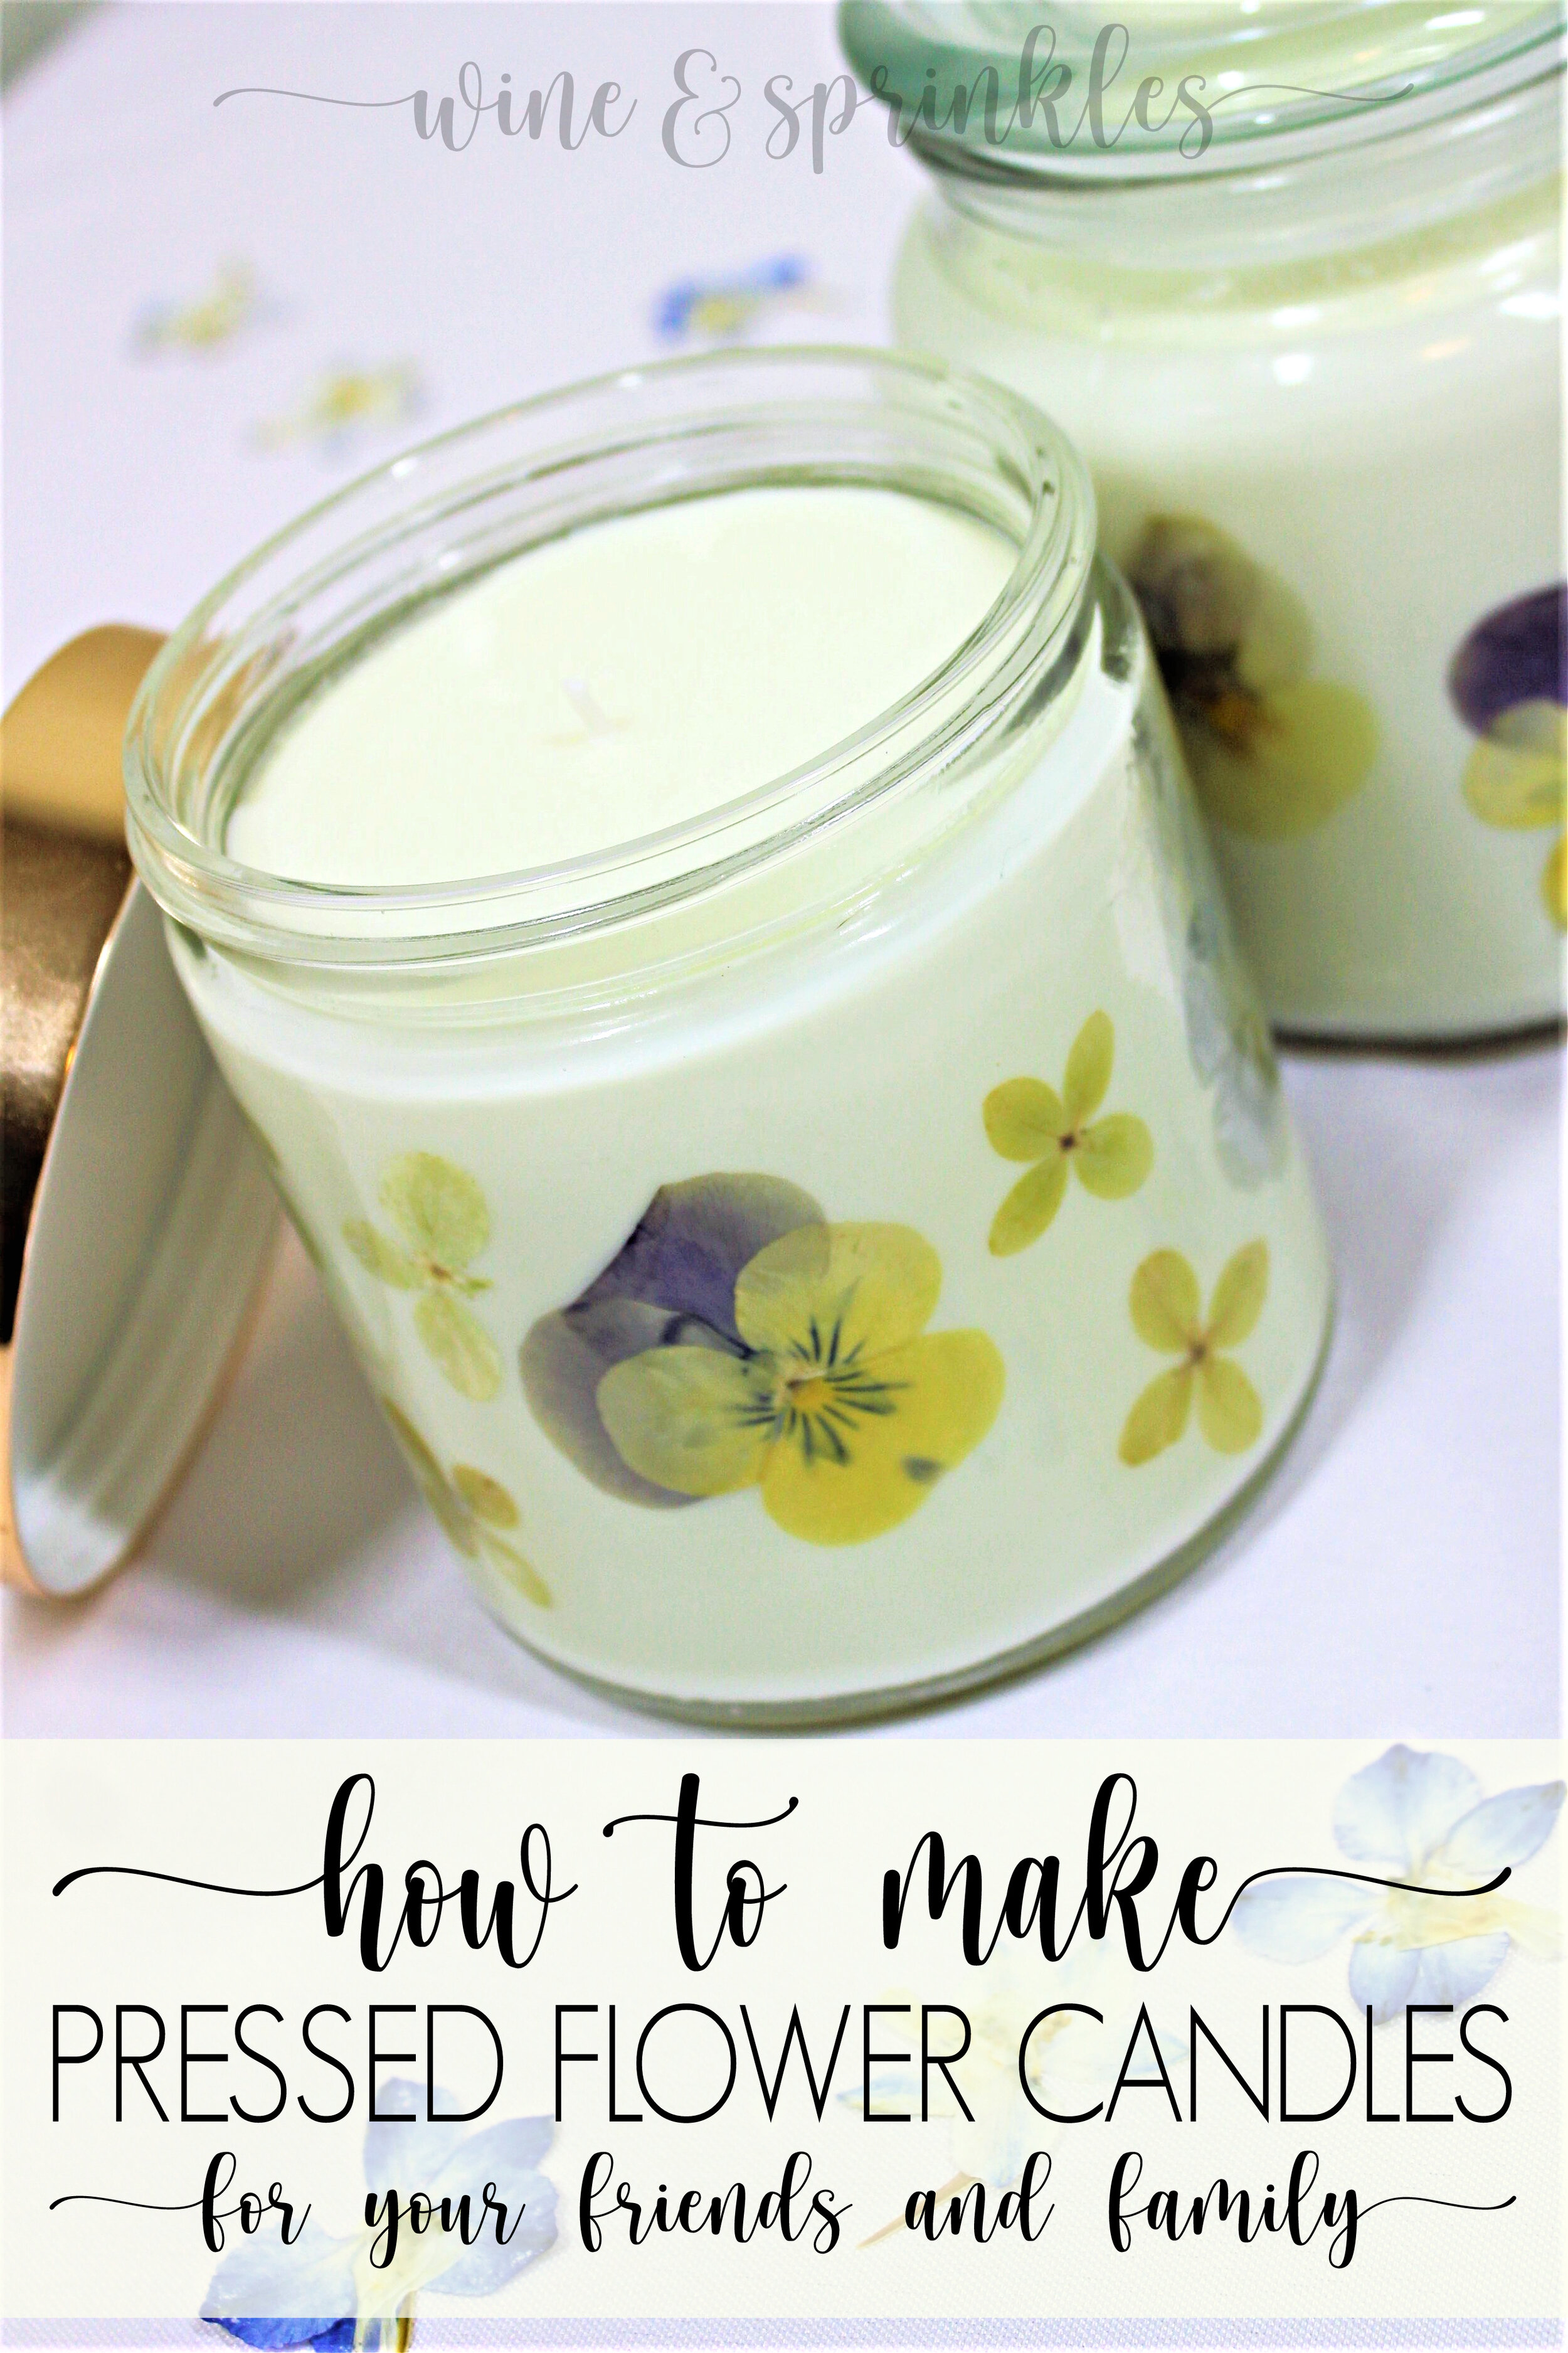
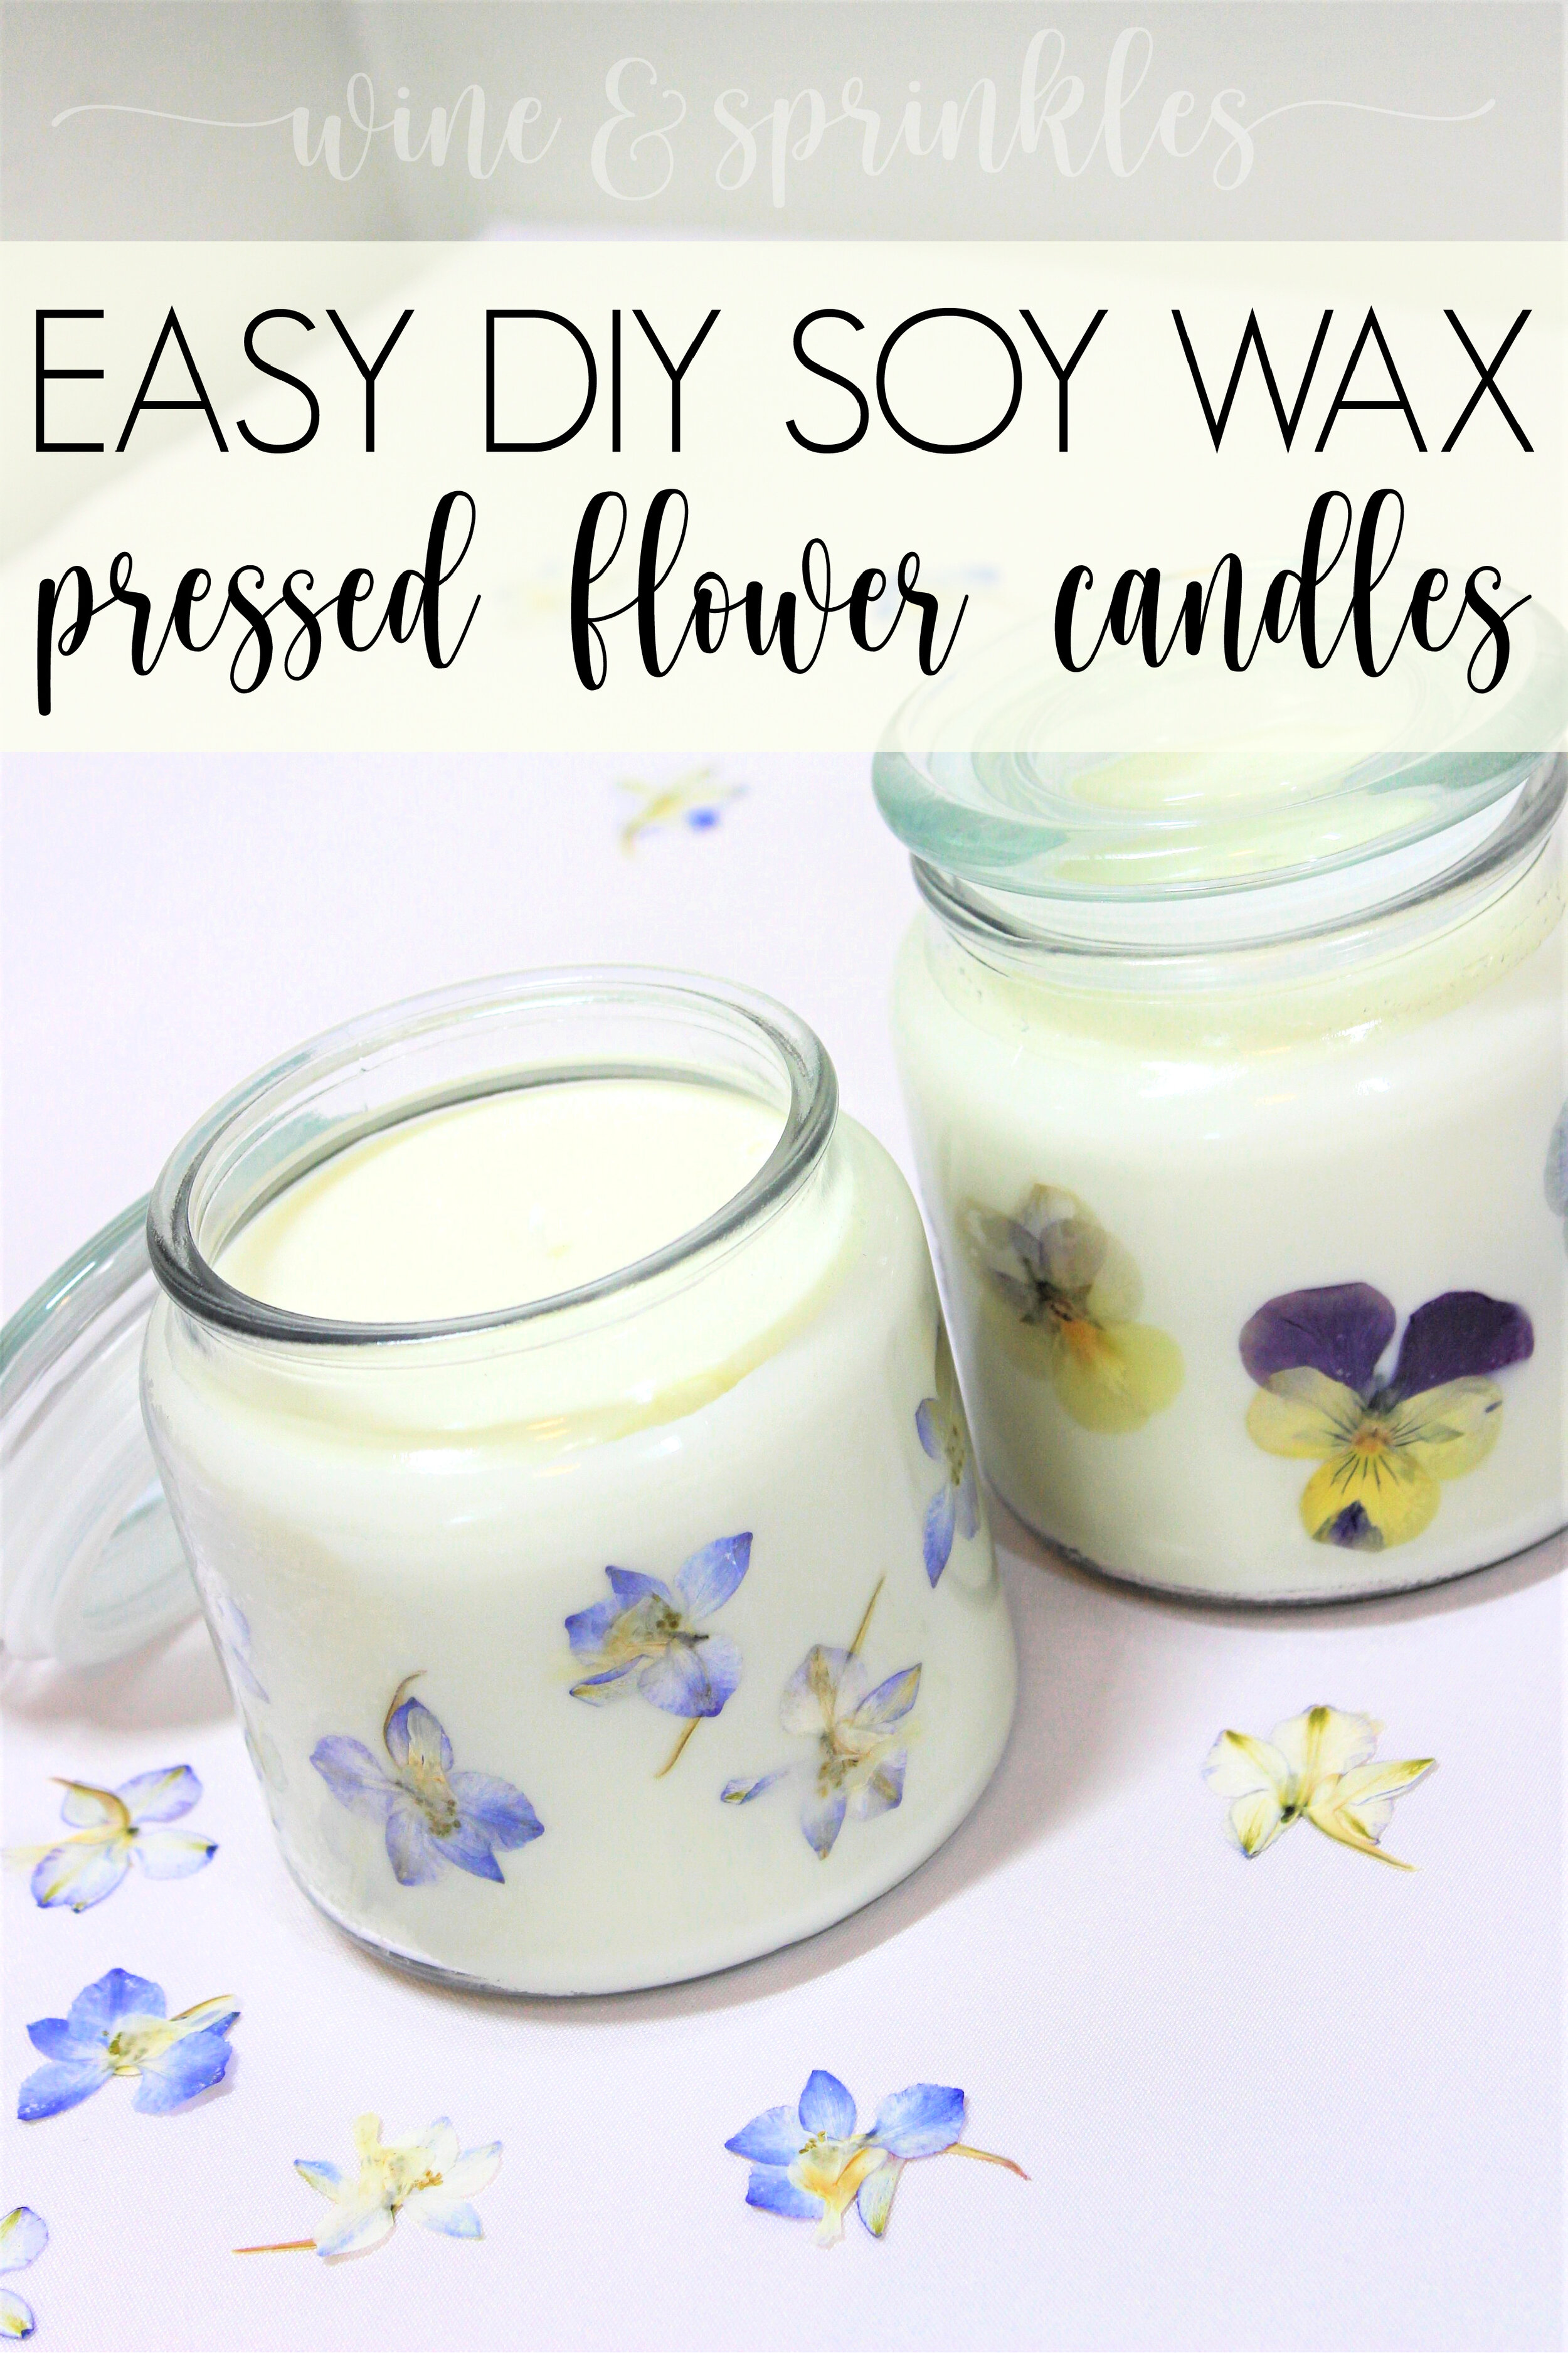
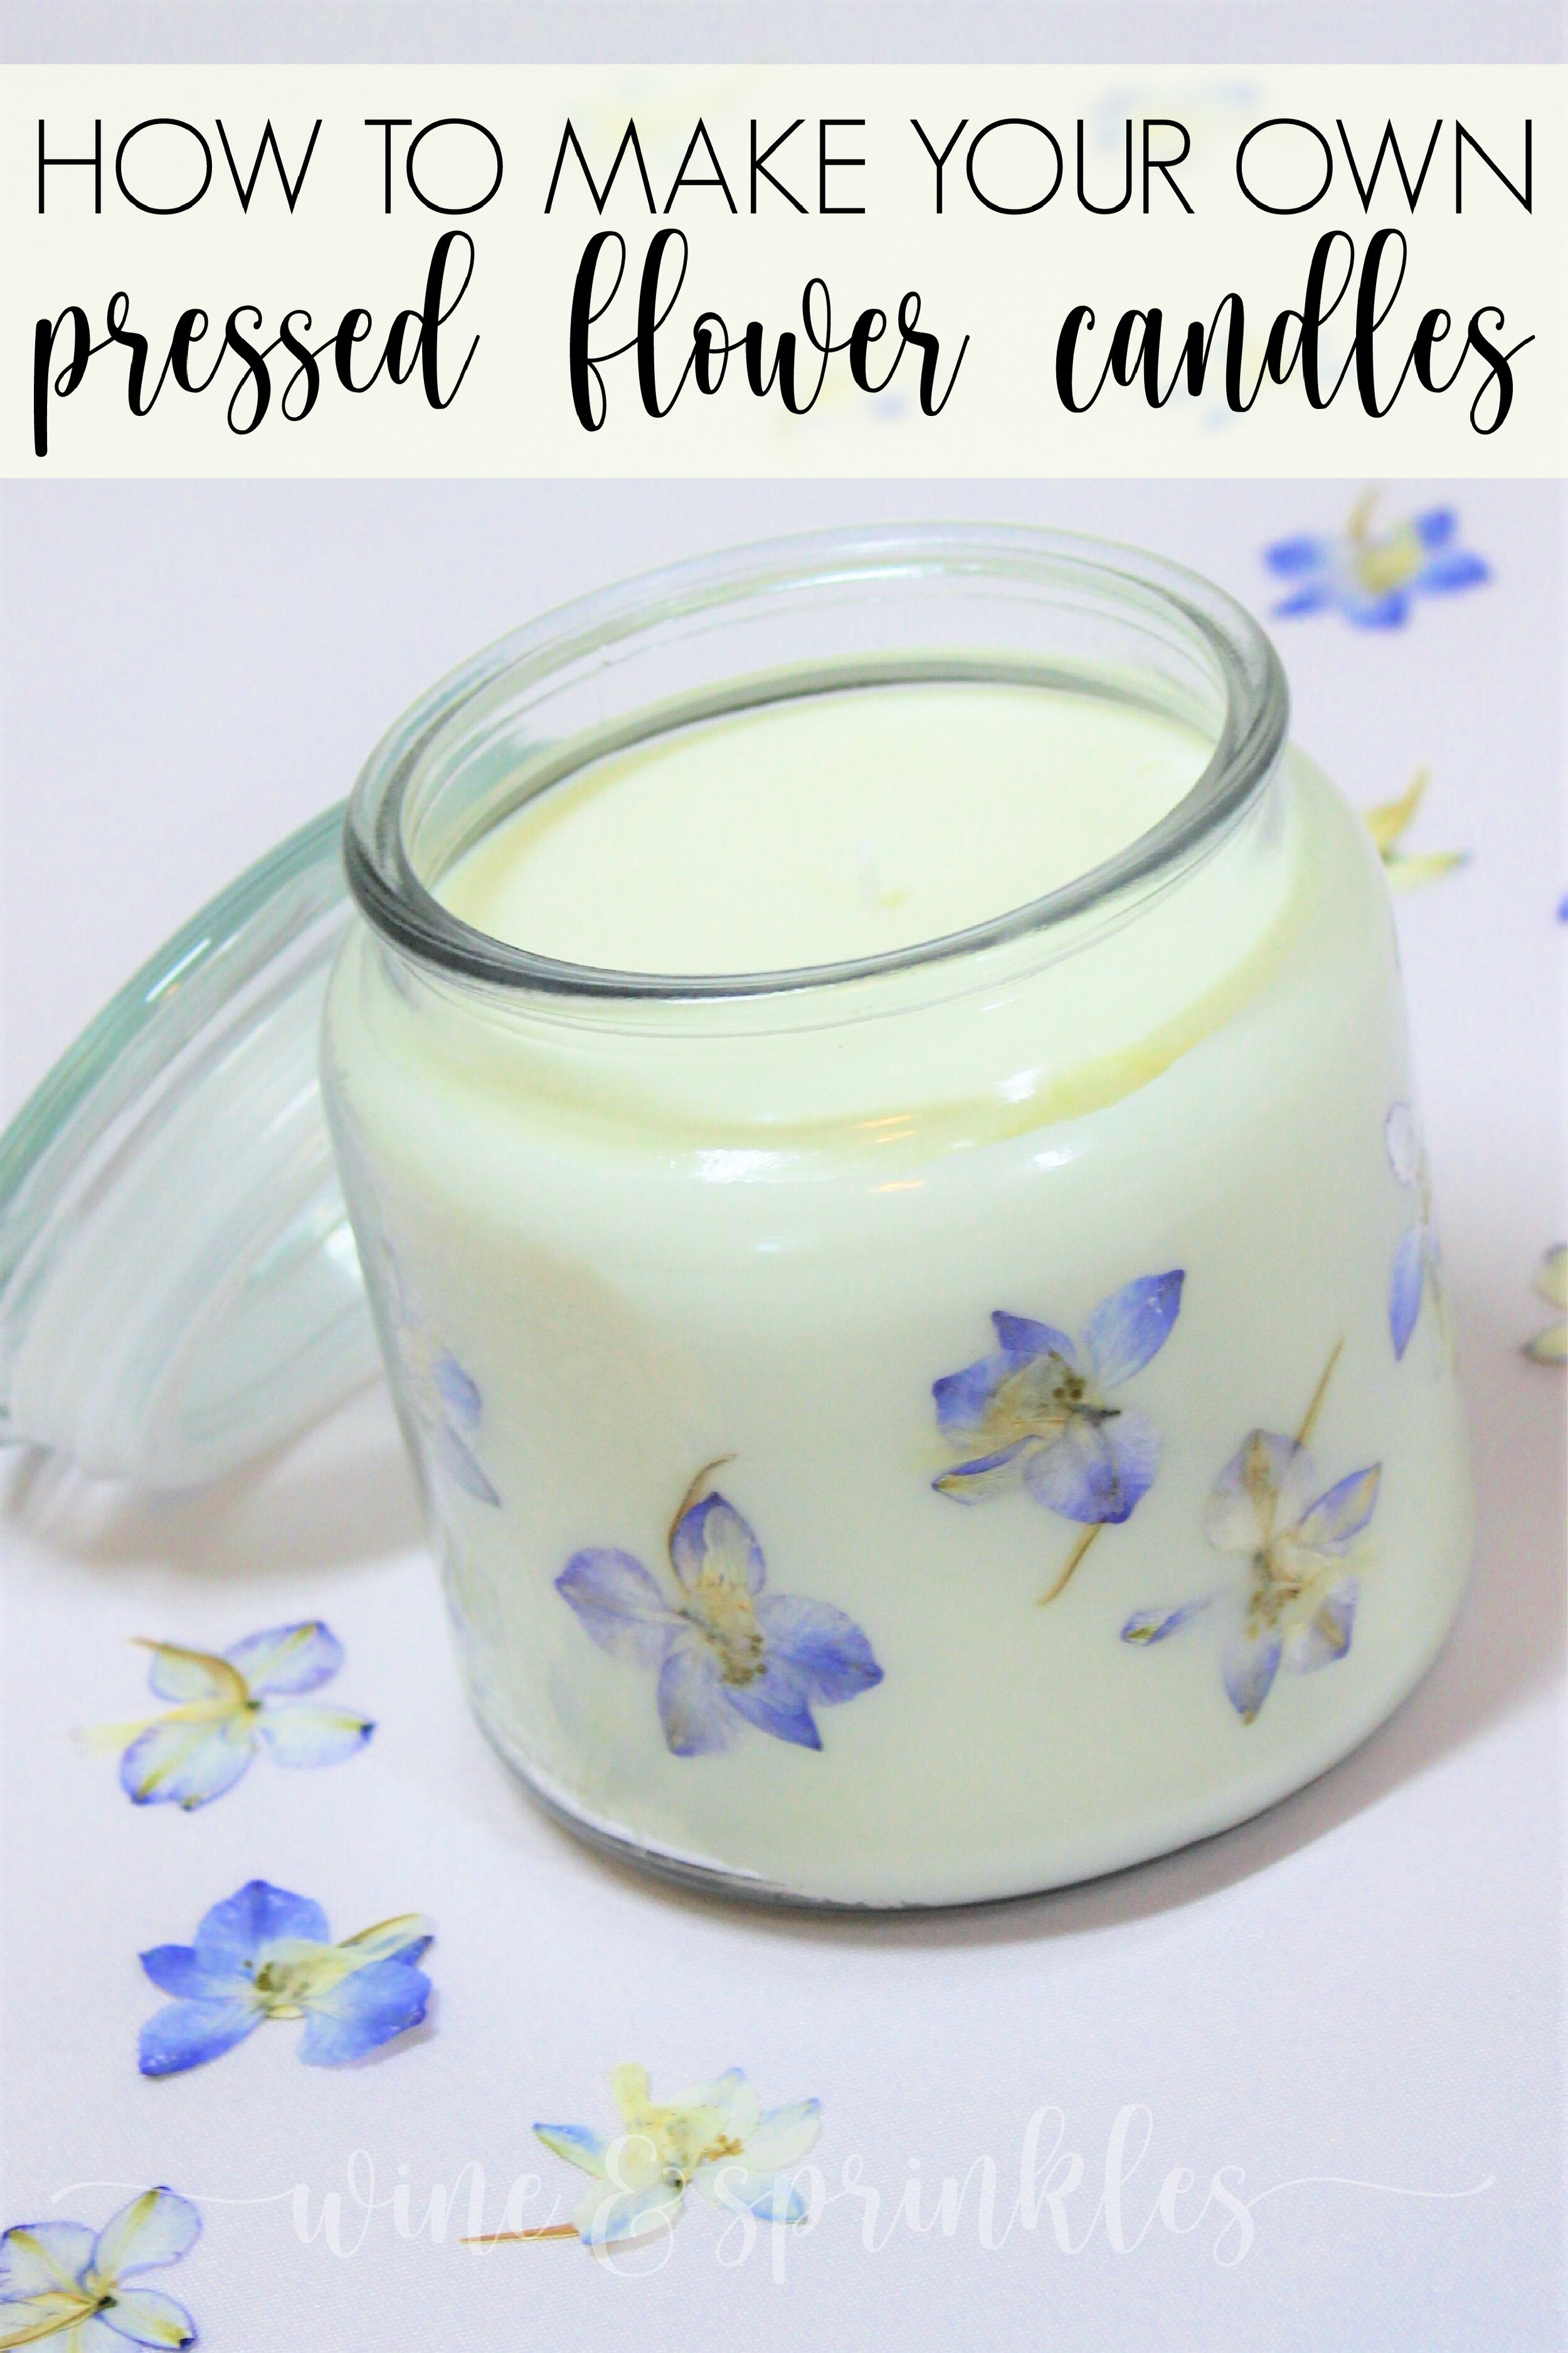
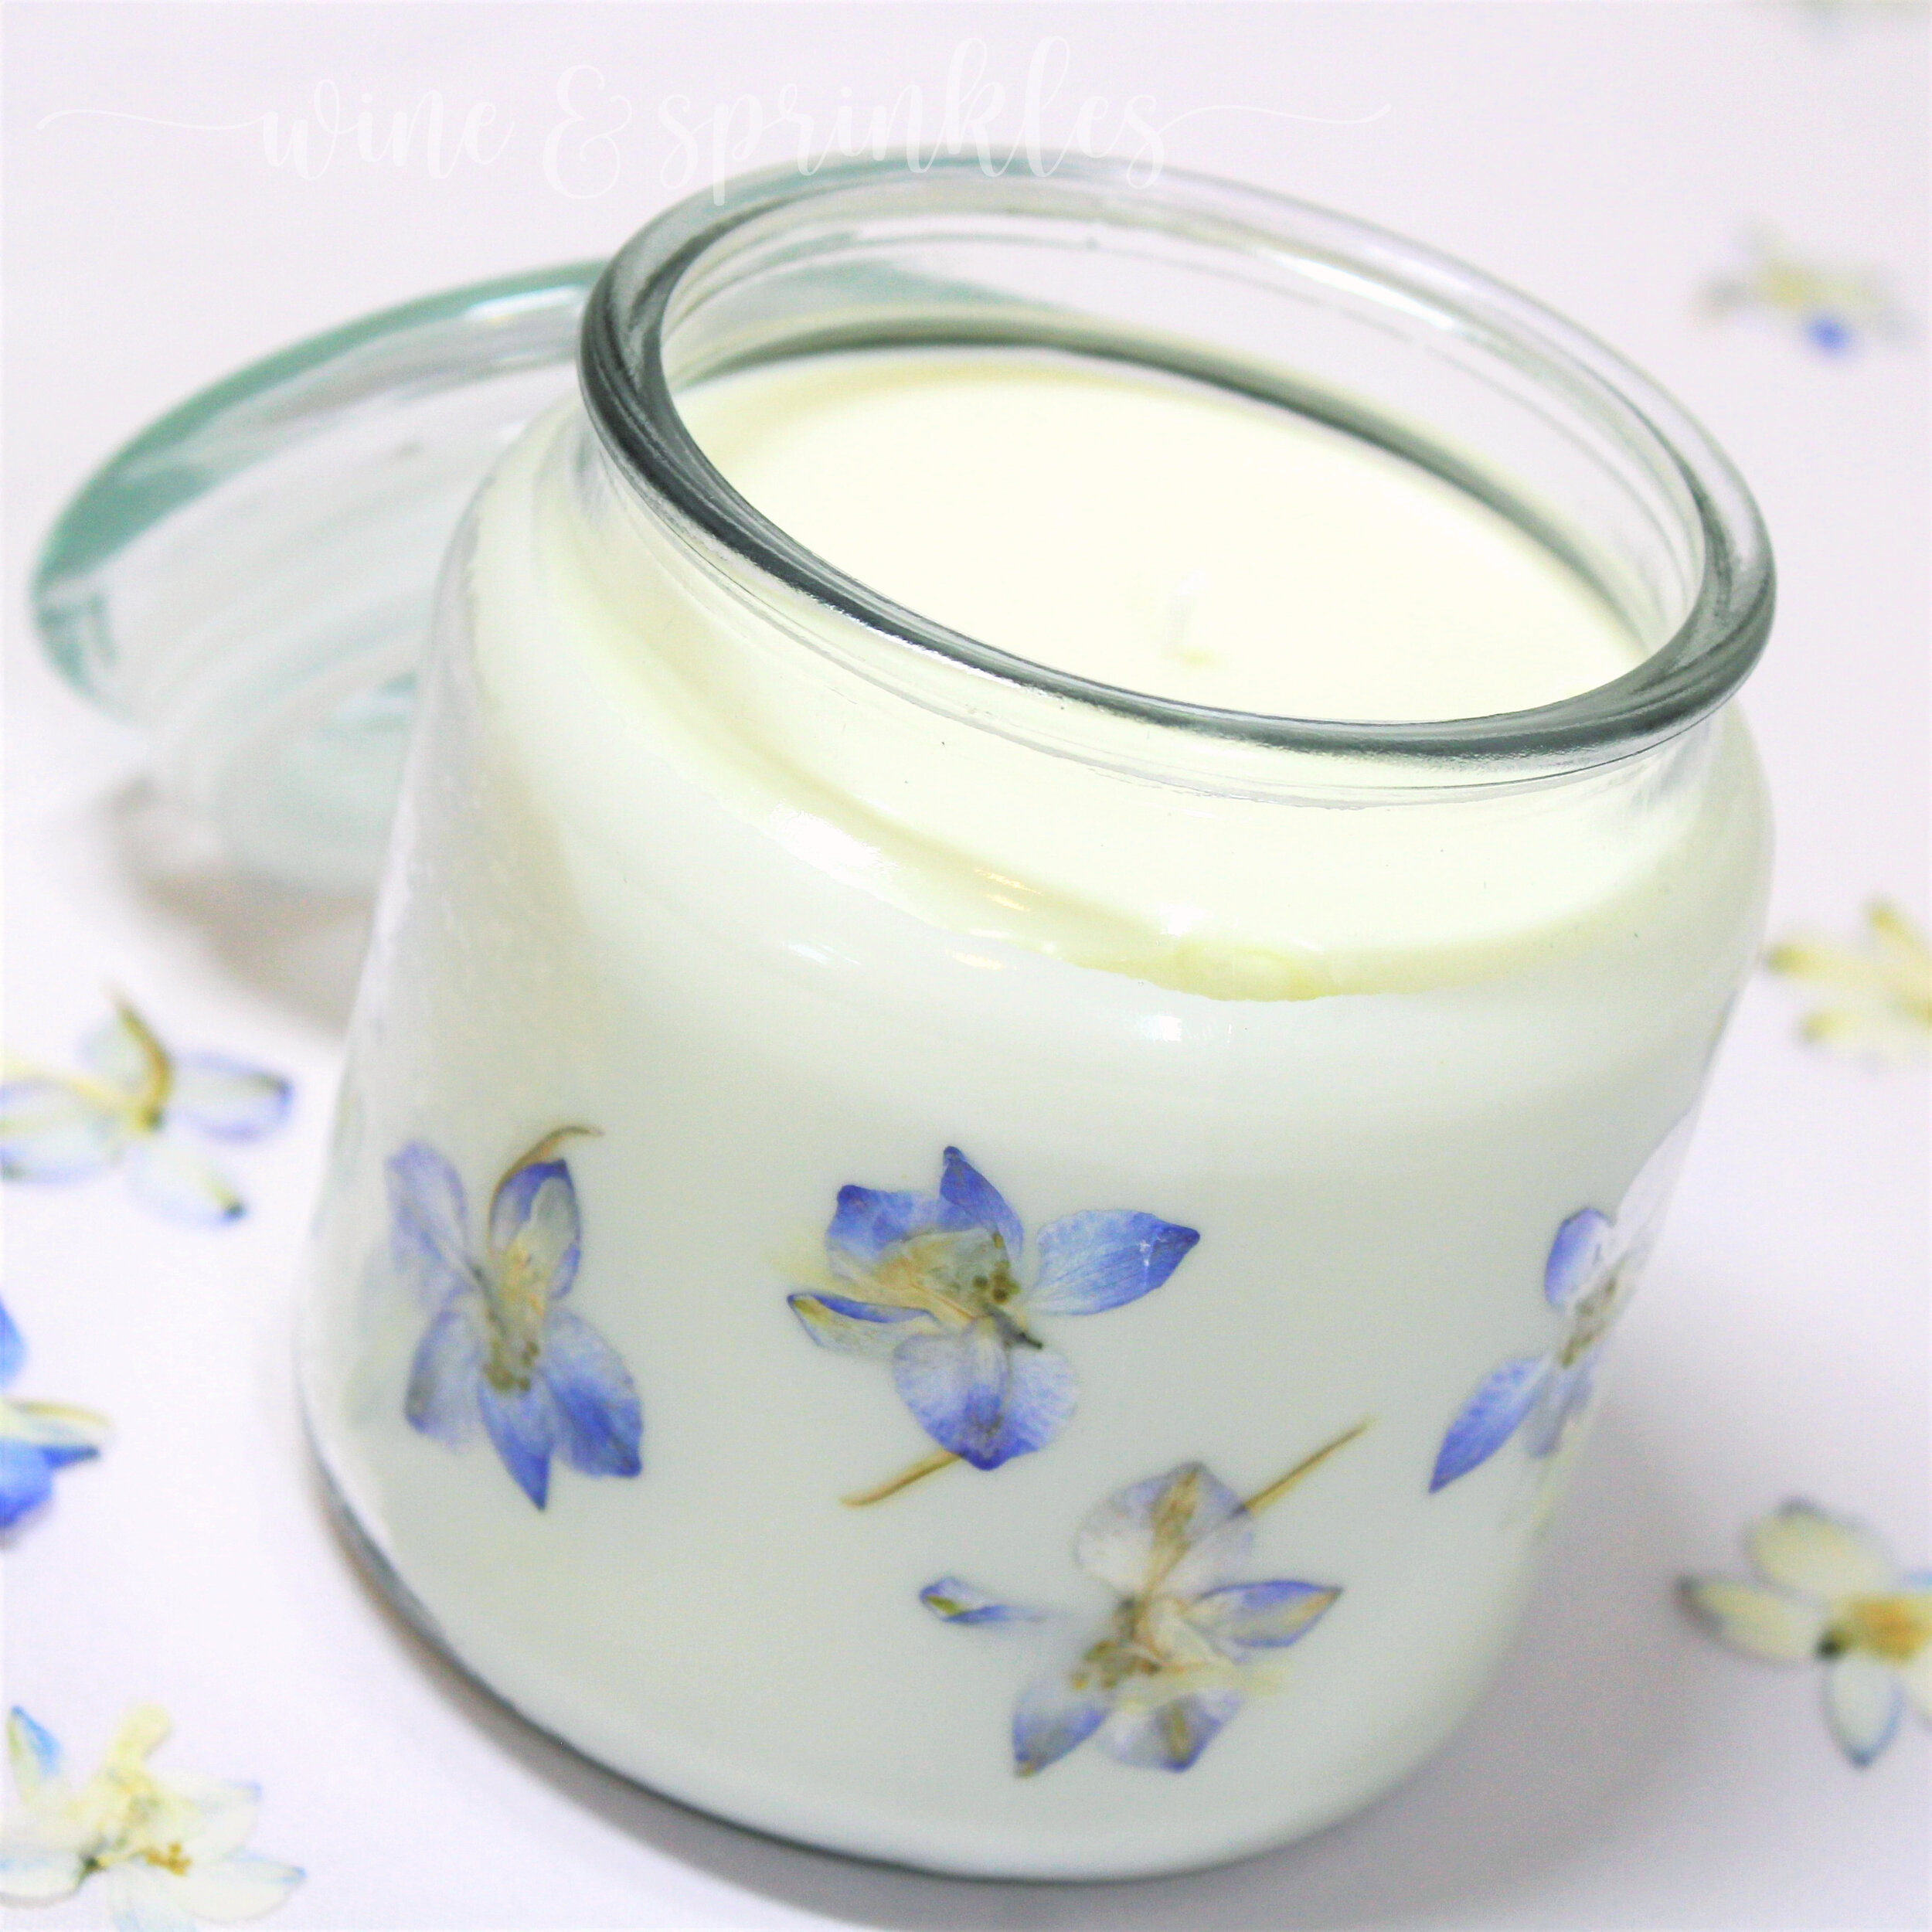
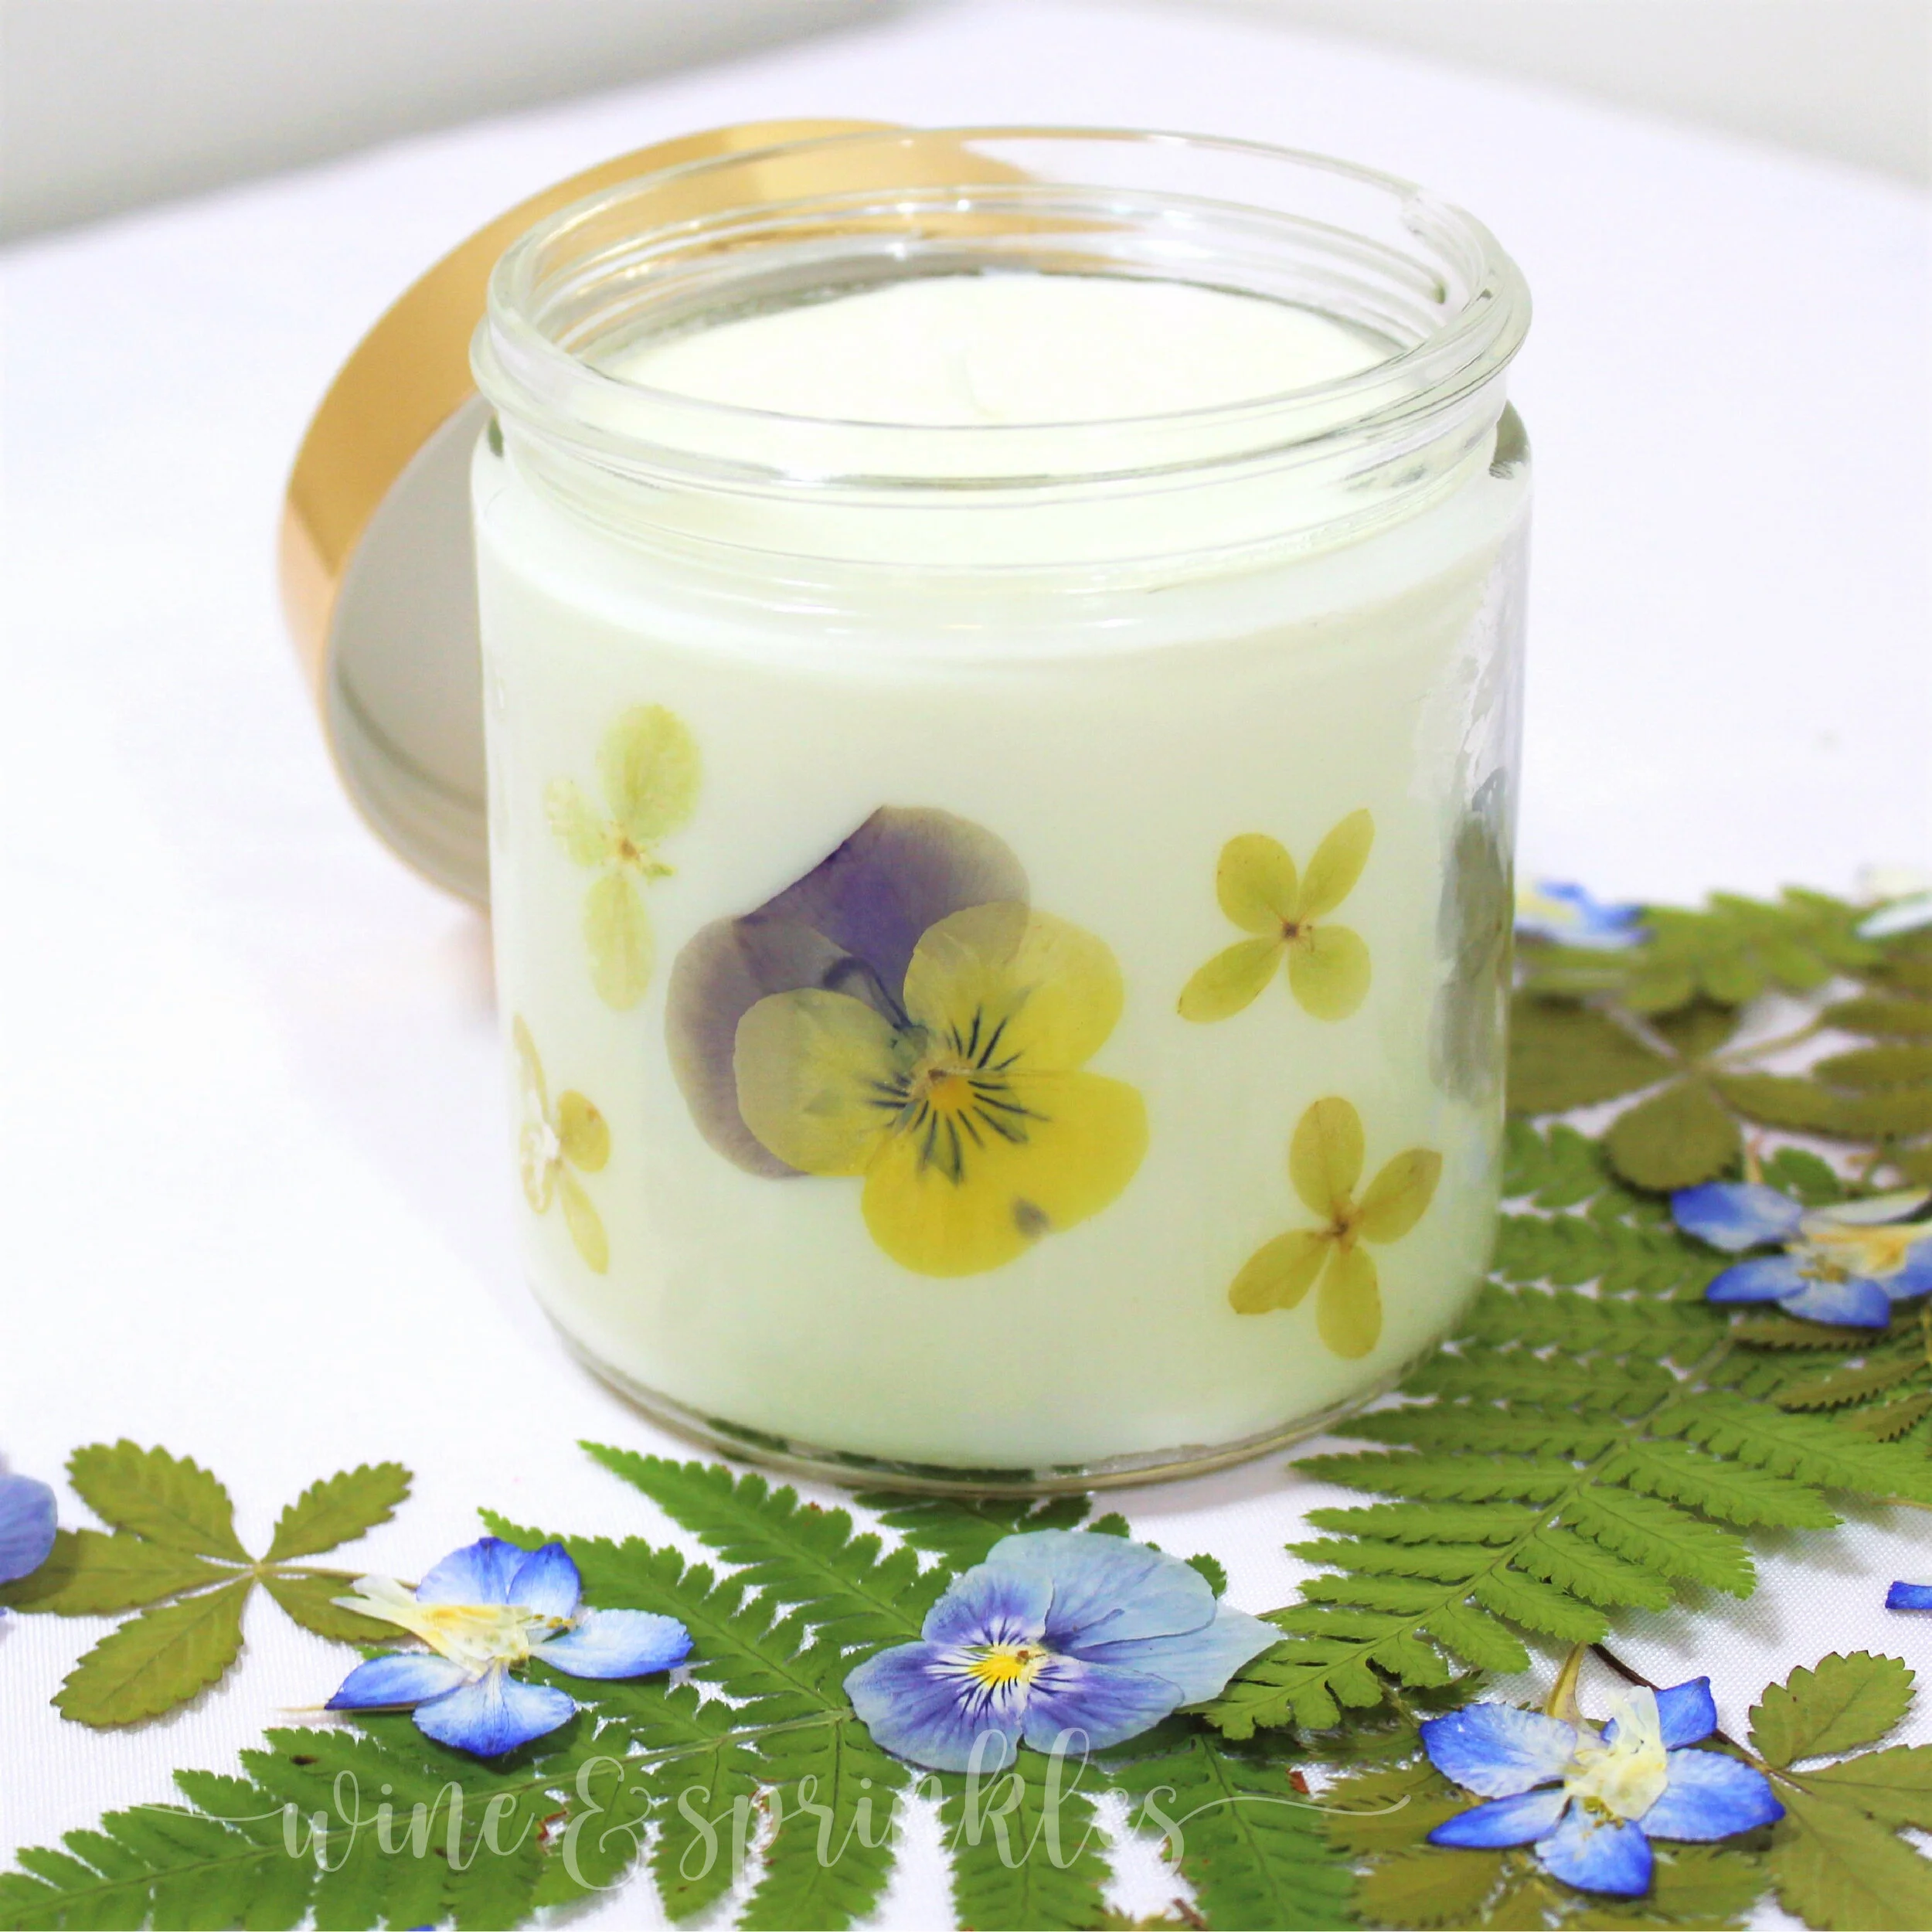
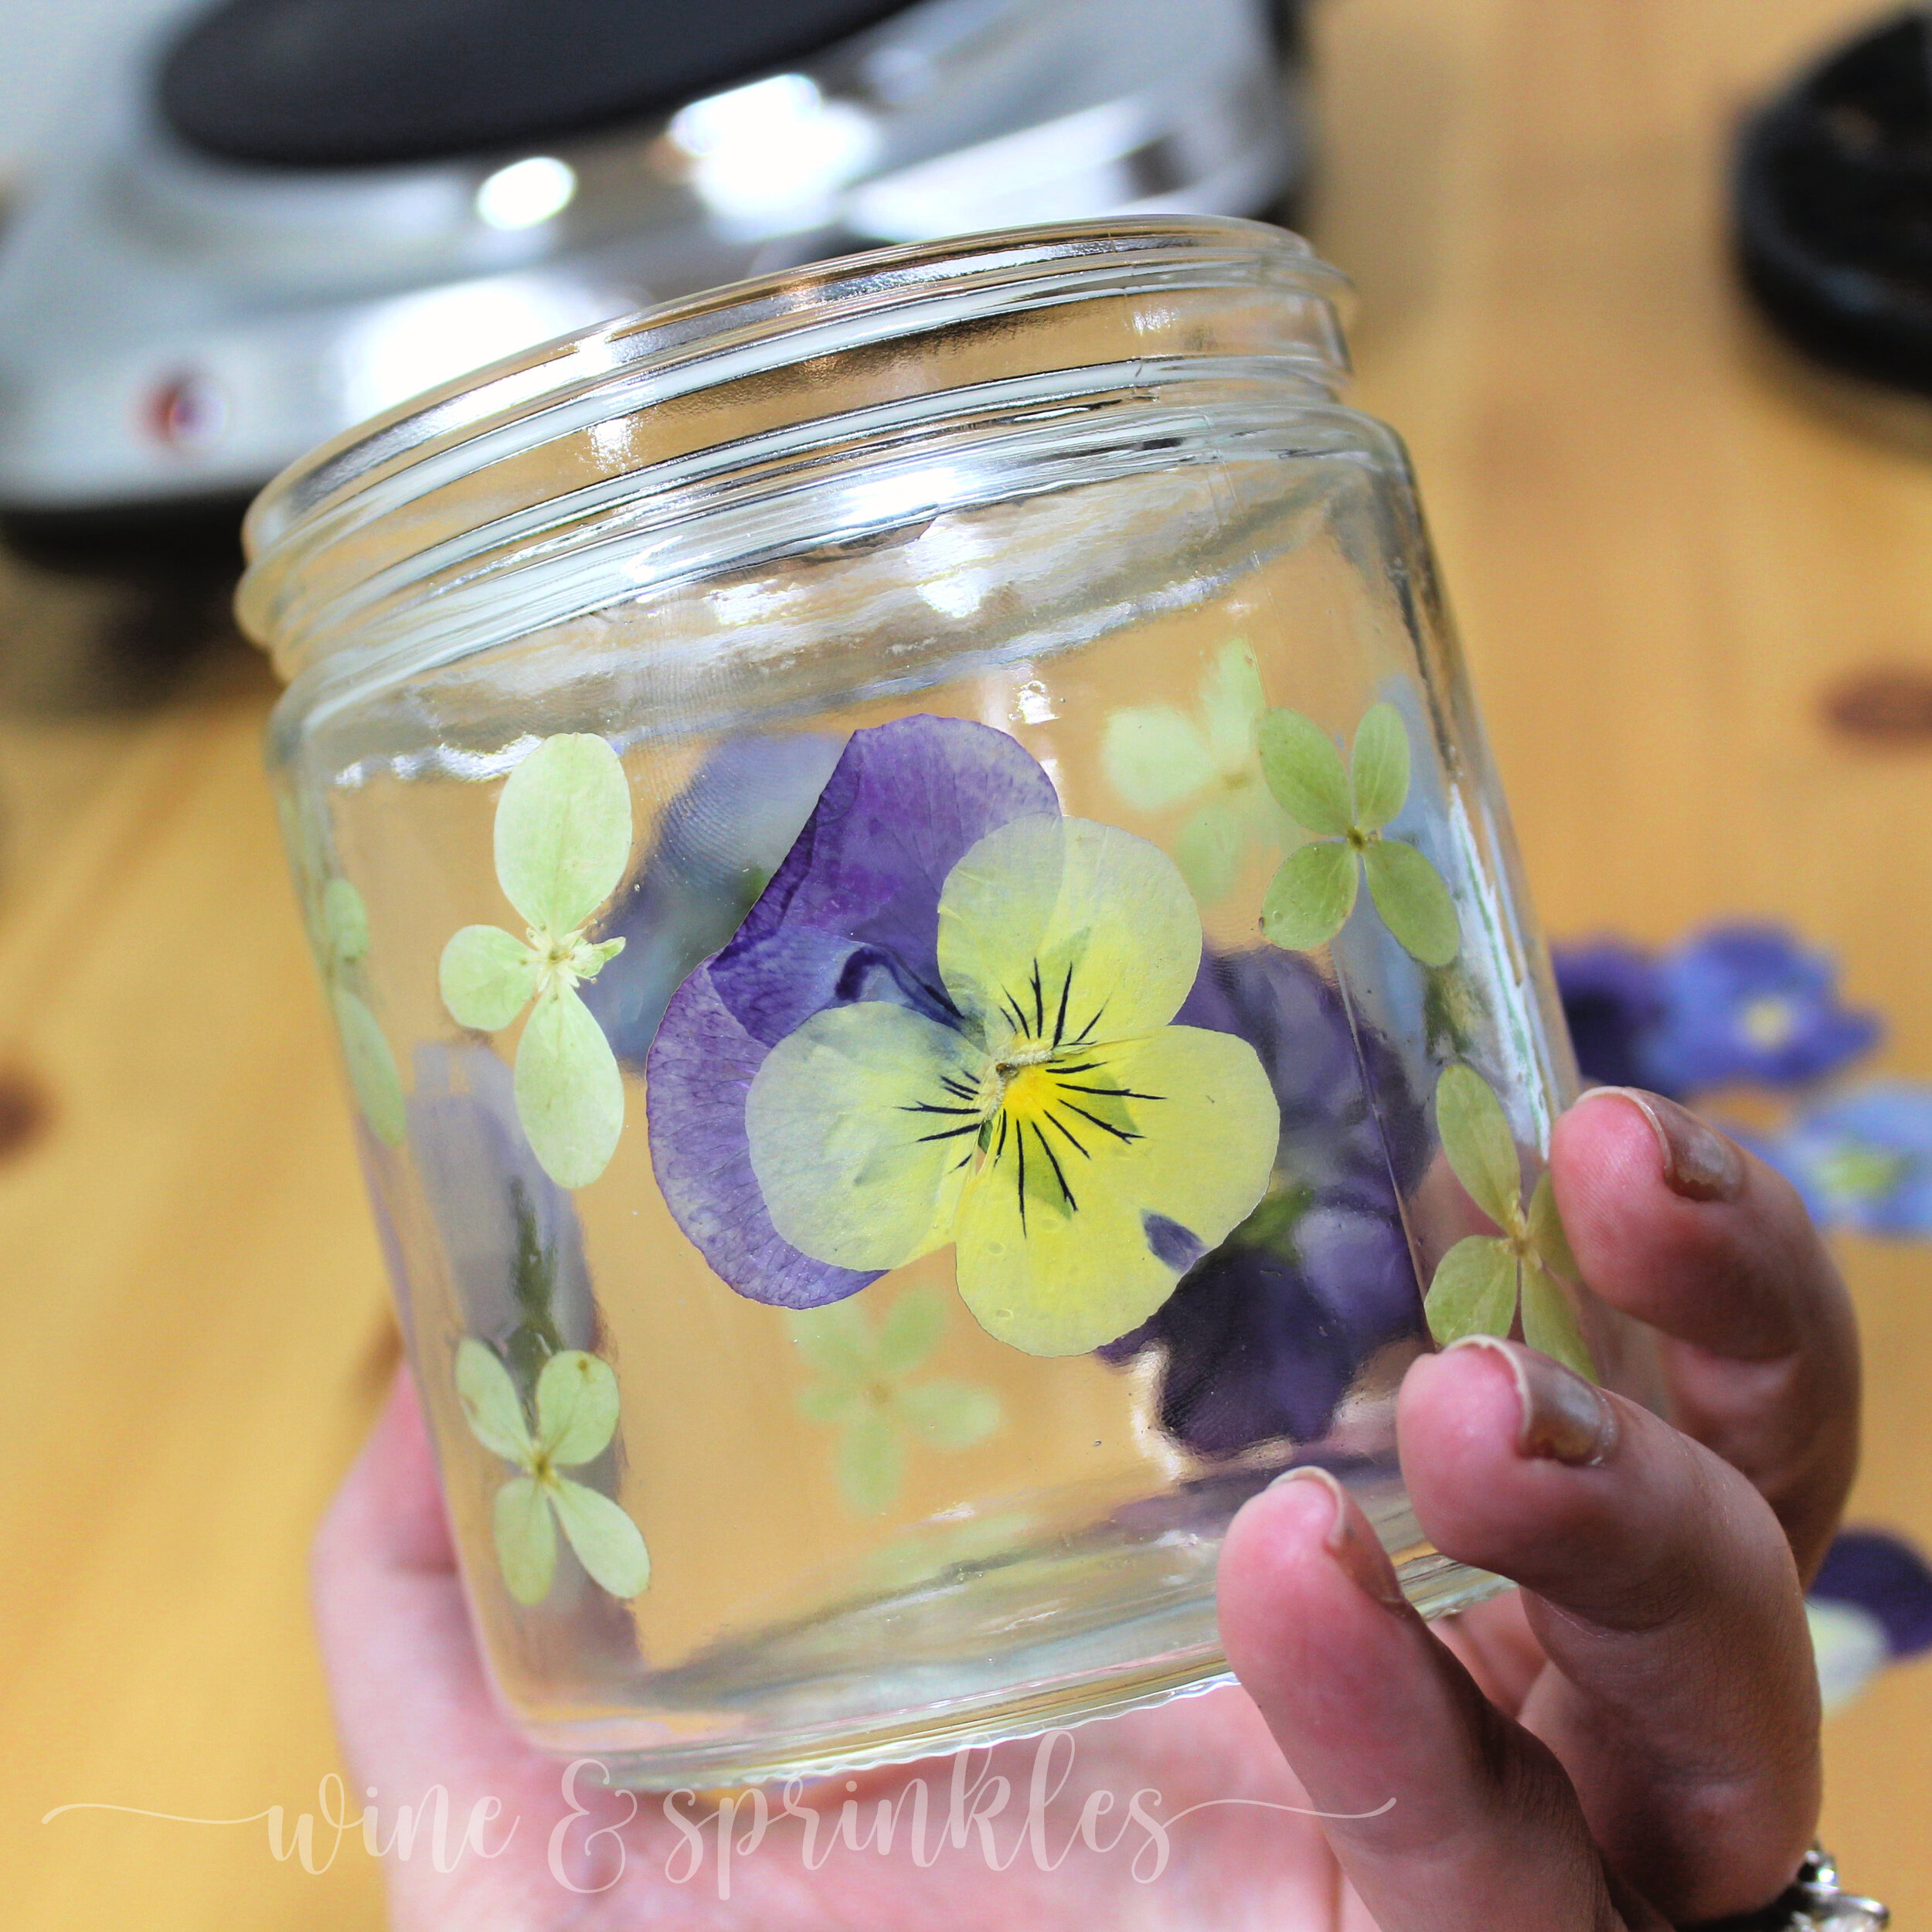
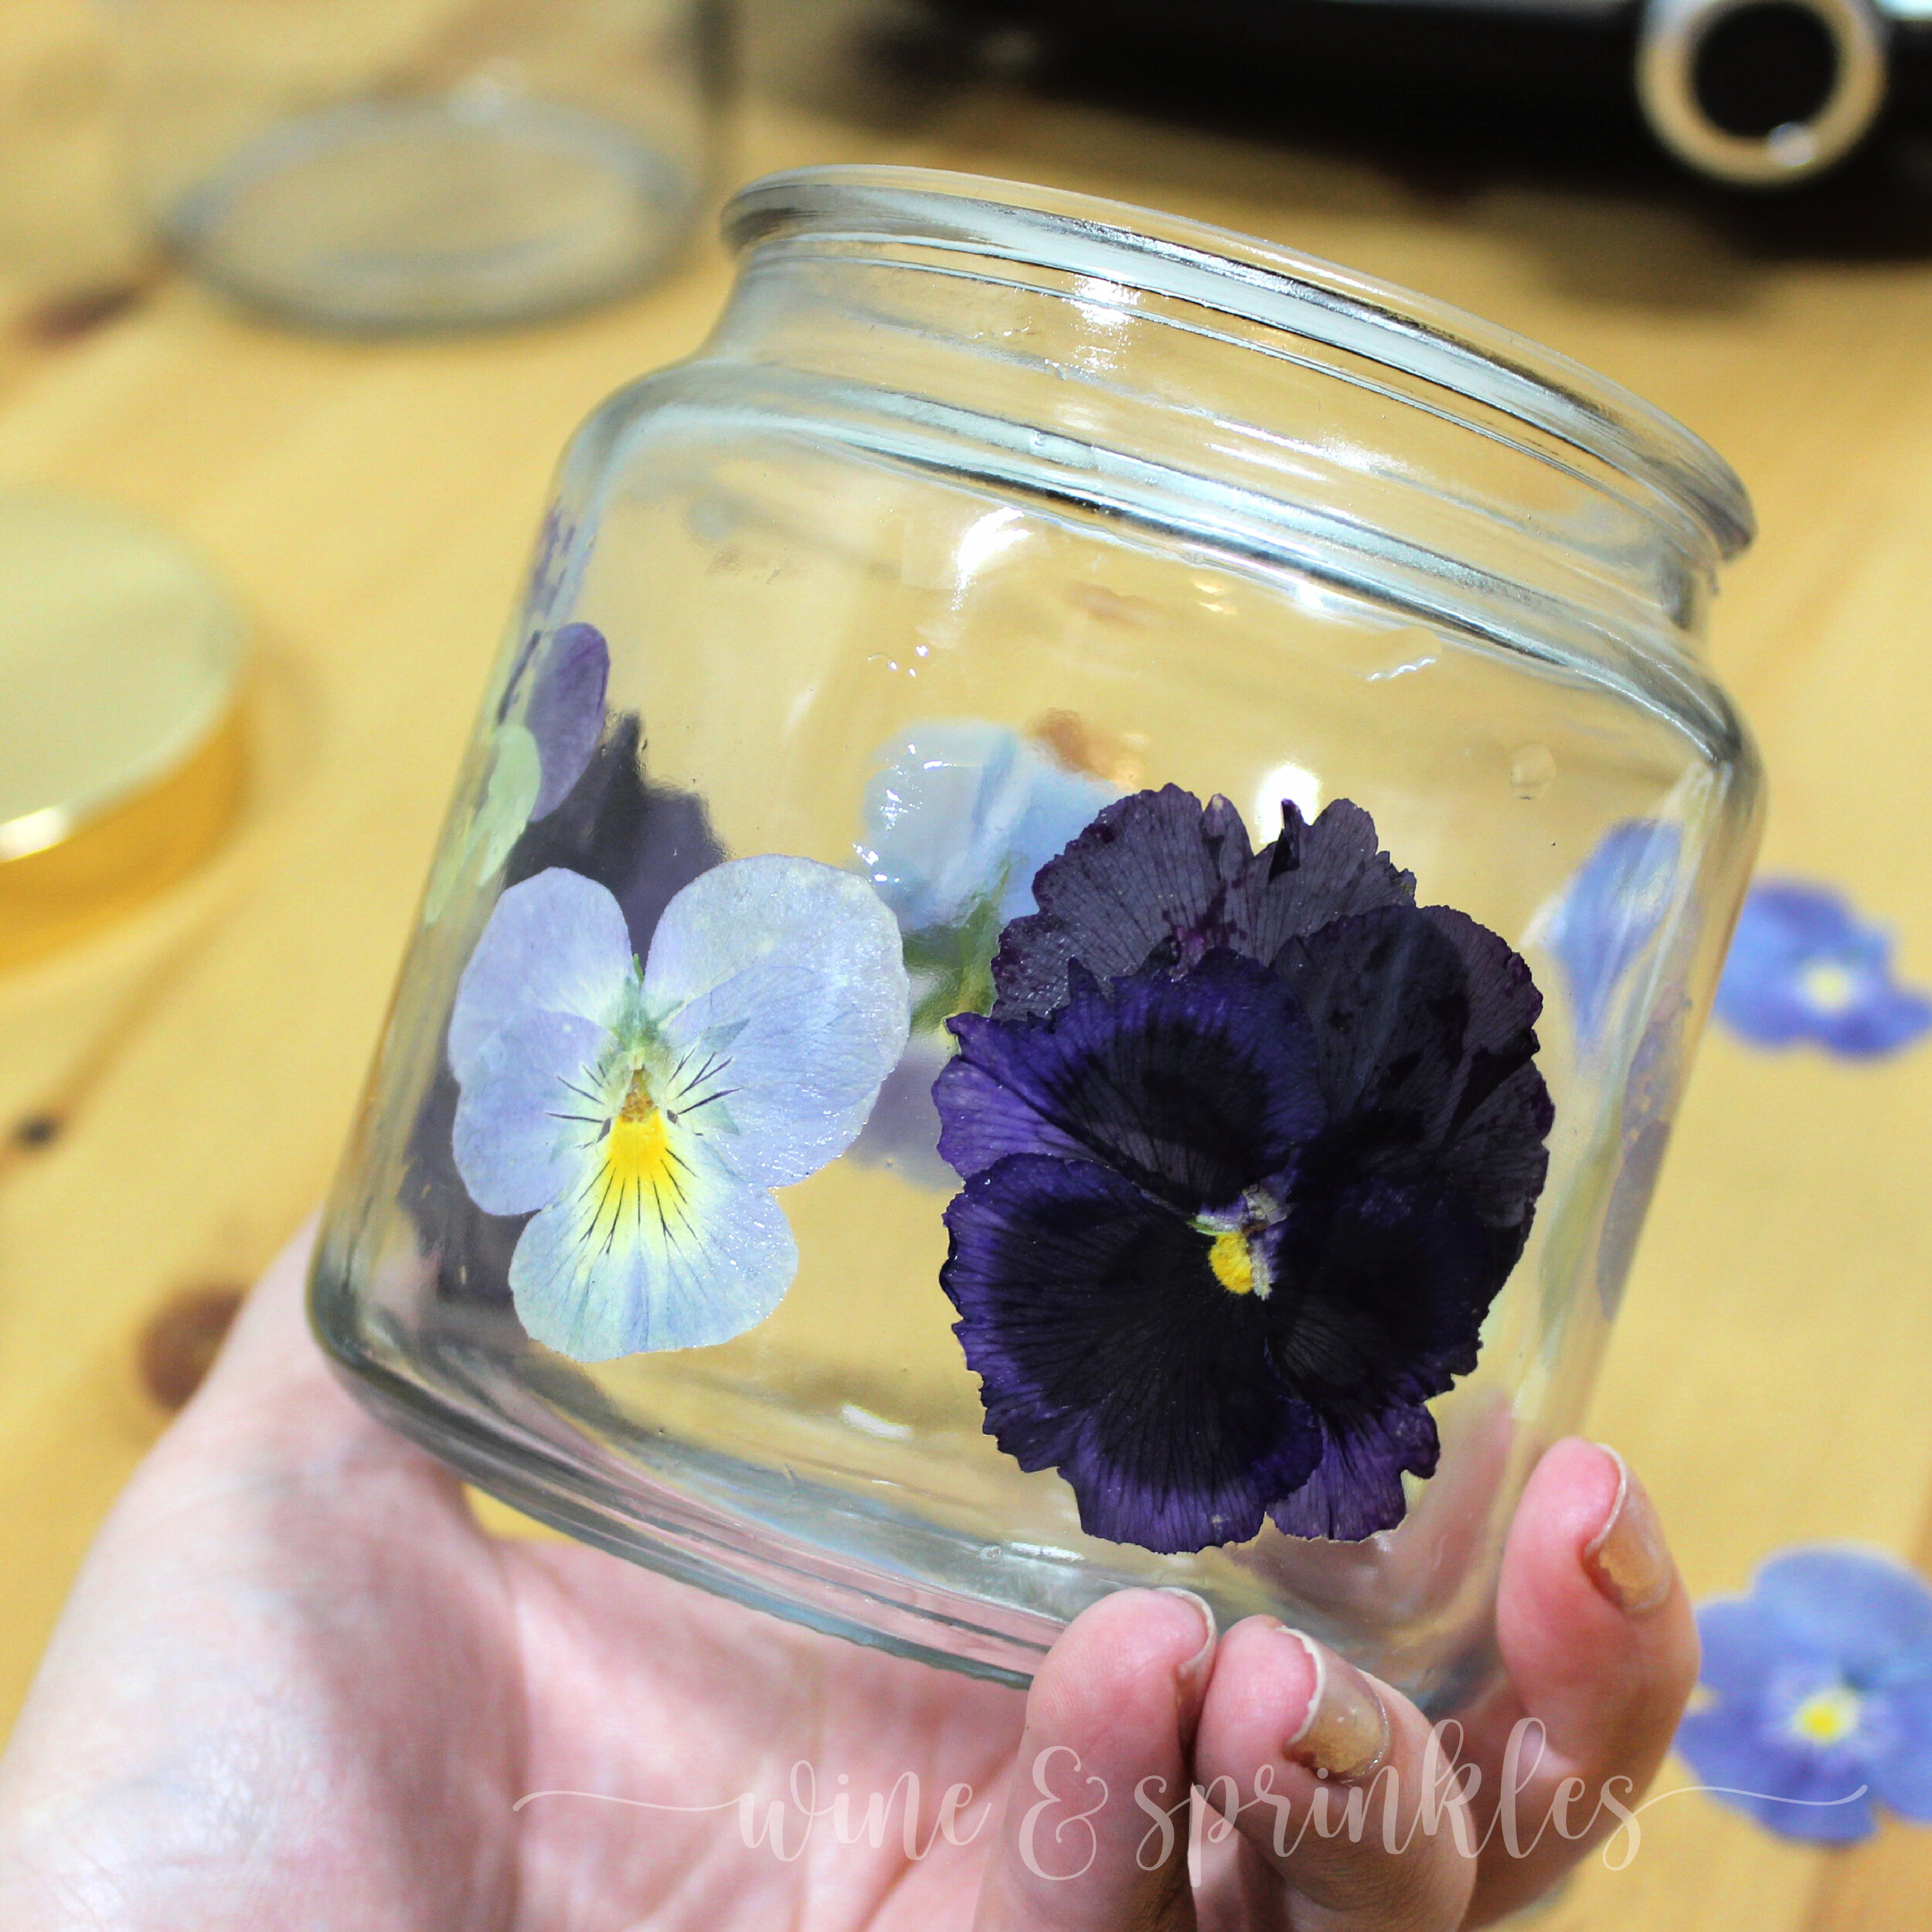
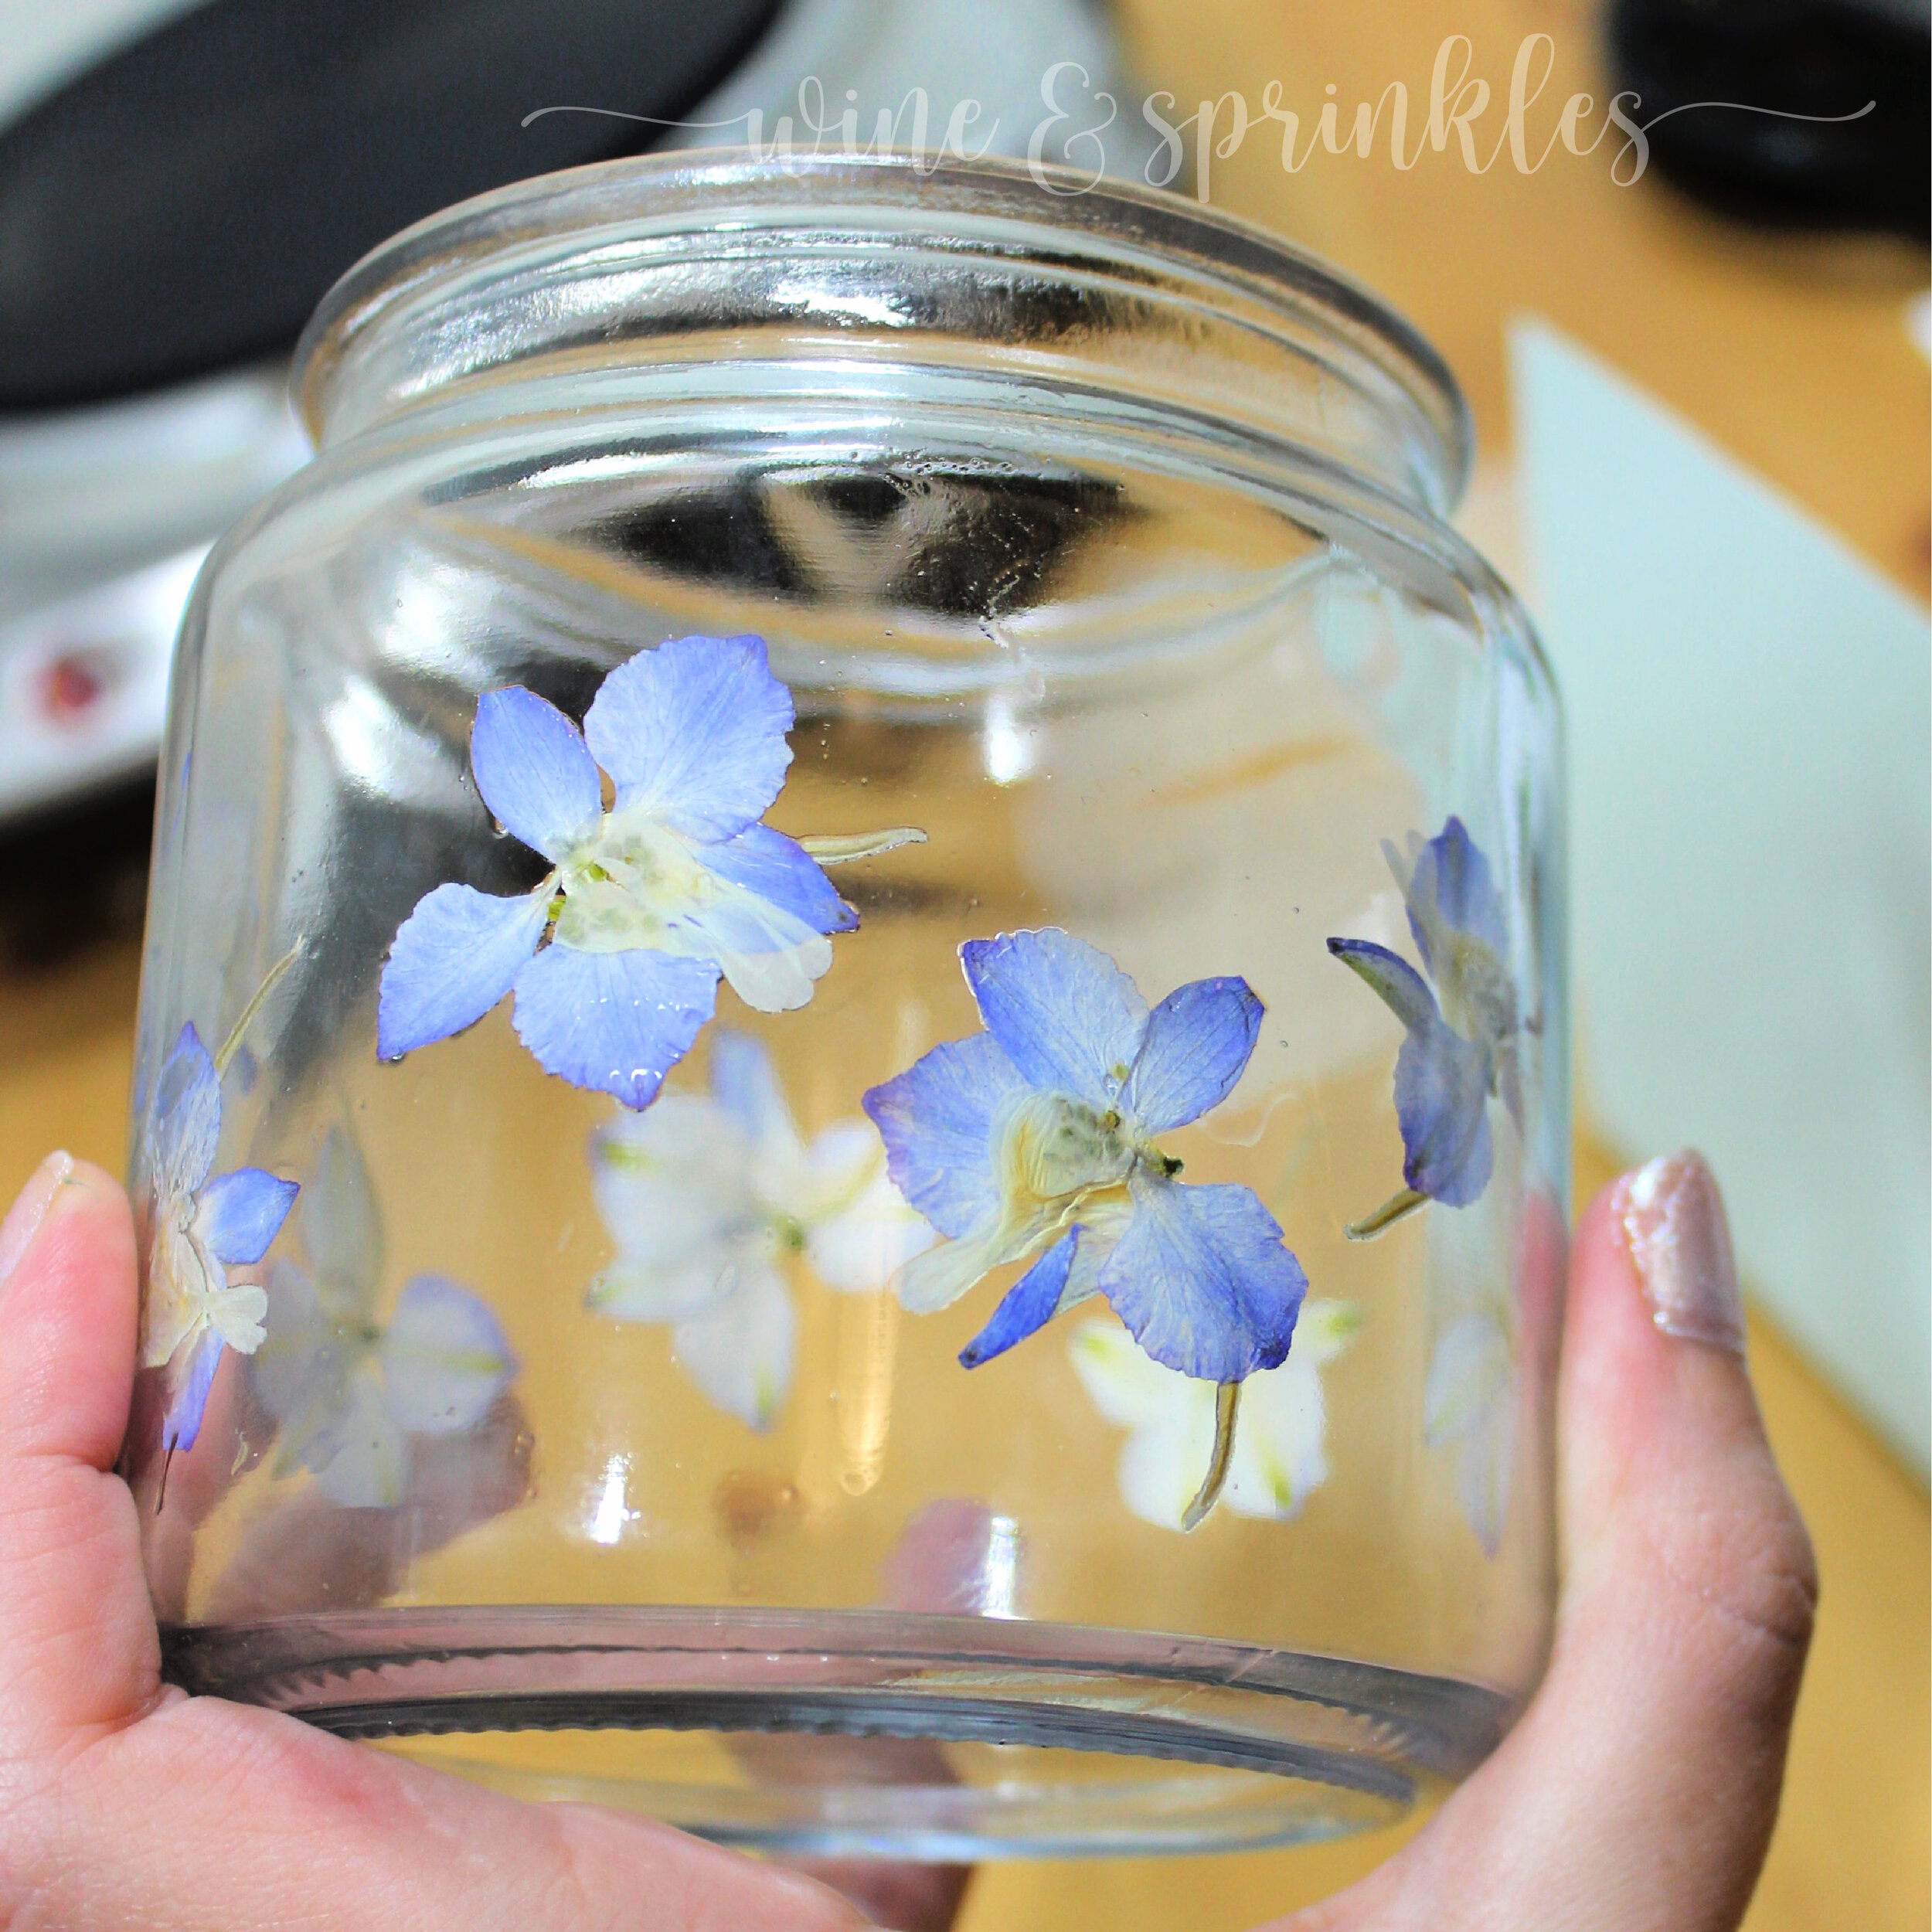
While you can certainly press your own flowers for this project, I bought a whole selection of them for different Pressed Flower DIY Projects from the Etsy Shop My Love Meadow, and they were the perfect choice for me! They have a variety of different pressed flowers that change based on what they have currently, and all the ones I received were both affordable and perfect for all my projects, so I would highly recommend them if you don’t want to press flowers yourself! I used Blue Larkspur Delphinium Flowers for one of my candles and a beautiful set of Multicolored Pansies for my other Candles, which the shop was nice enough to include as a bonus with my other flowers!
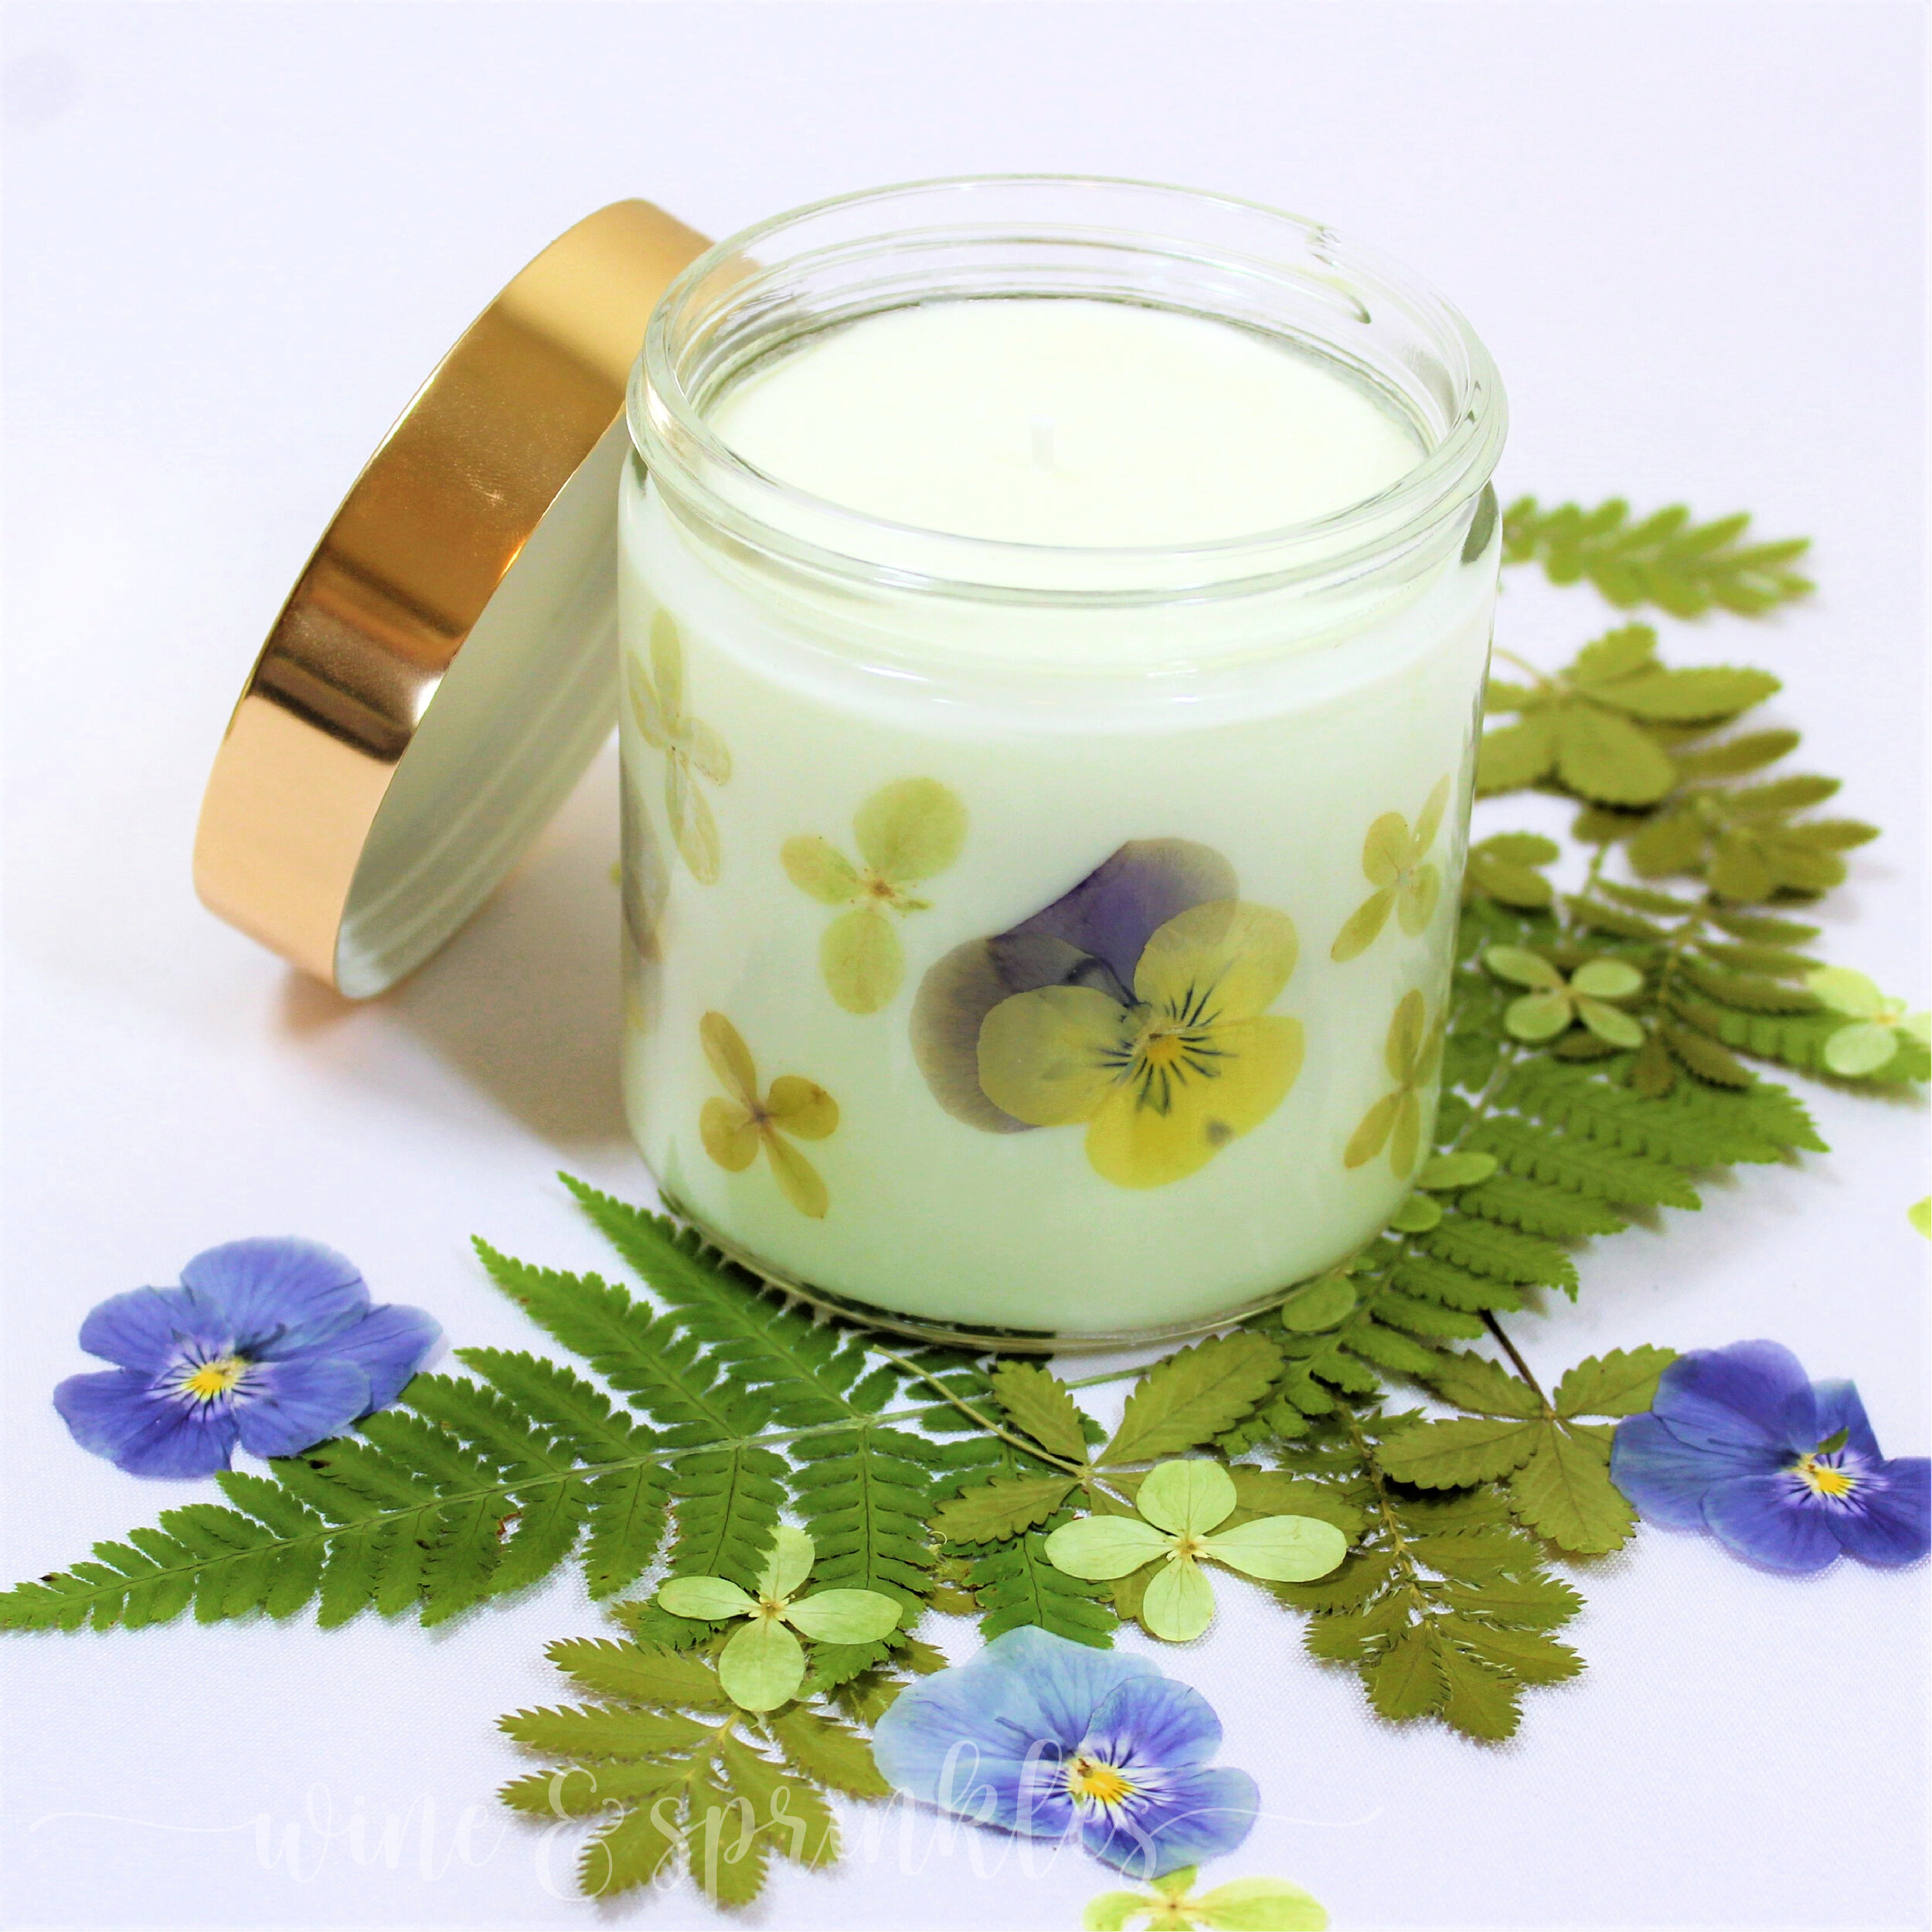
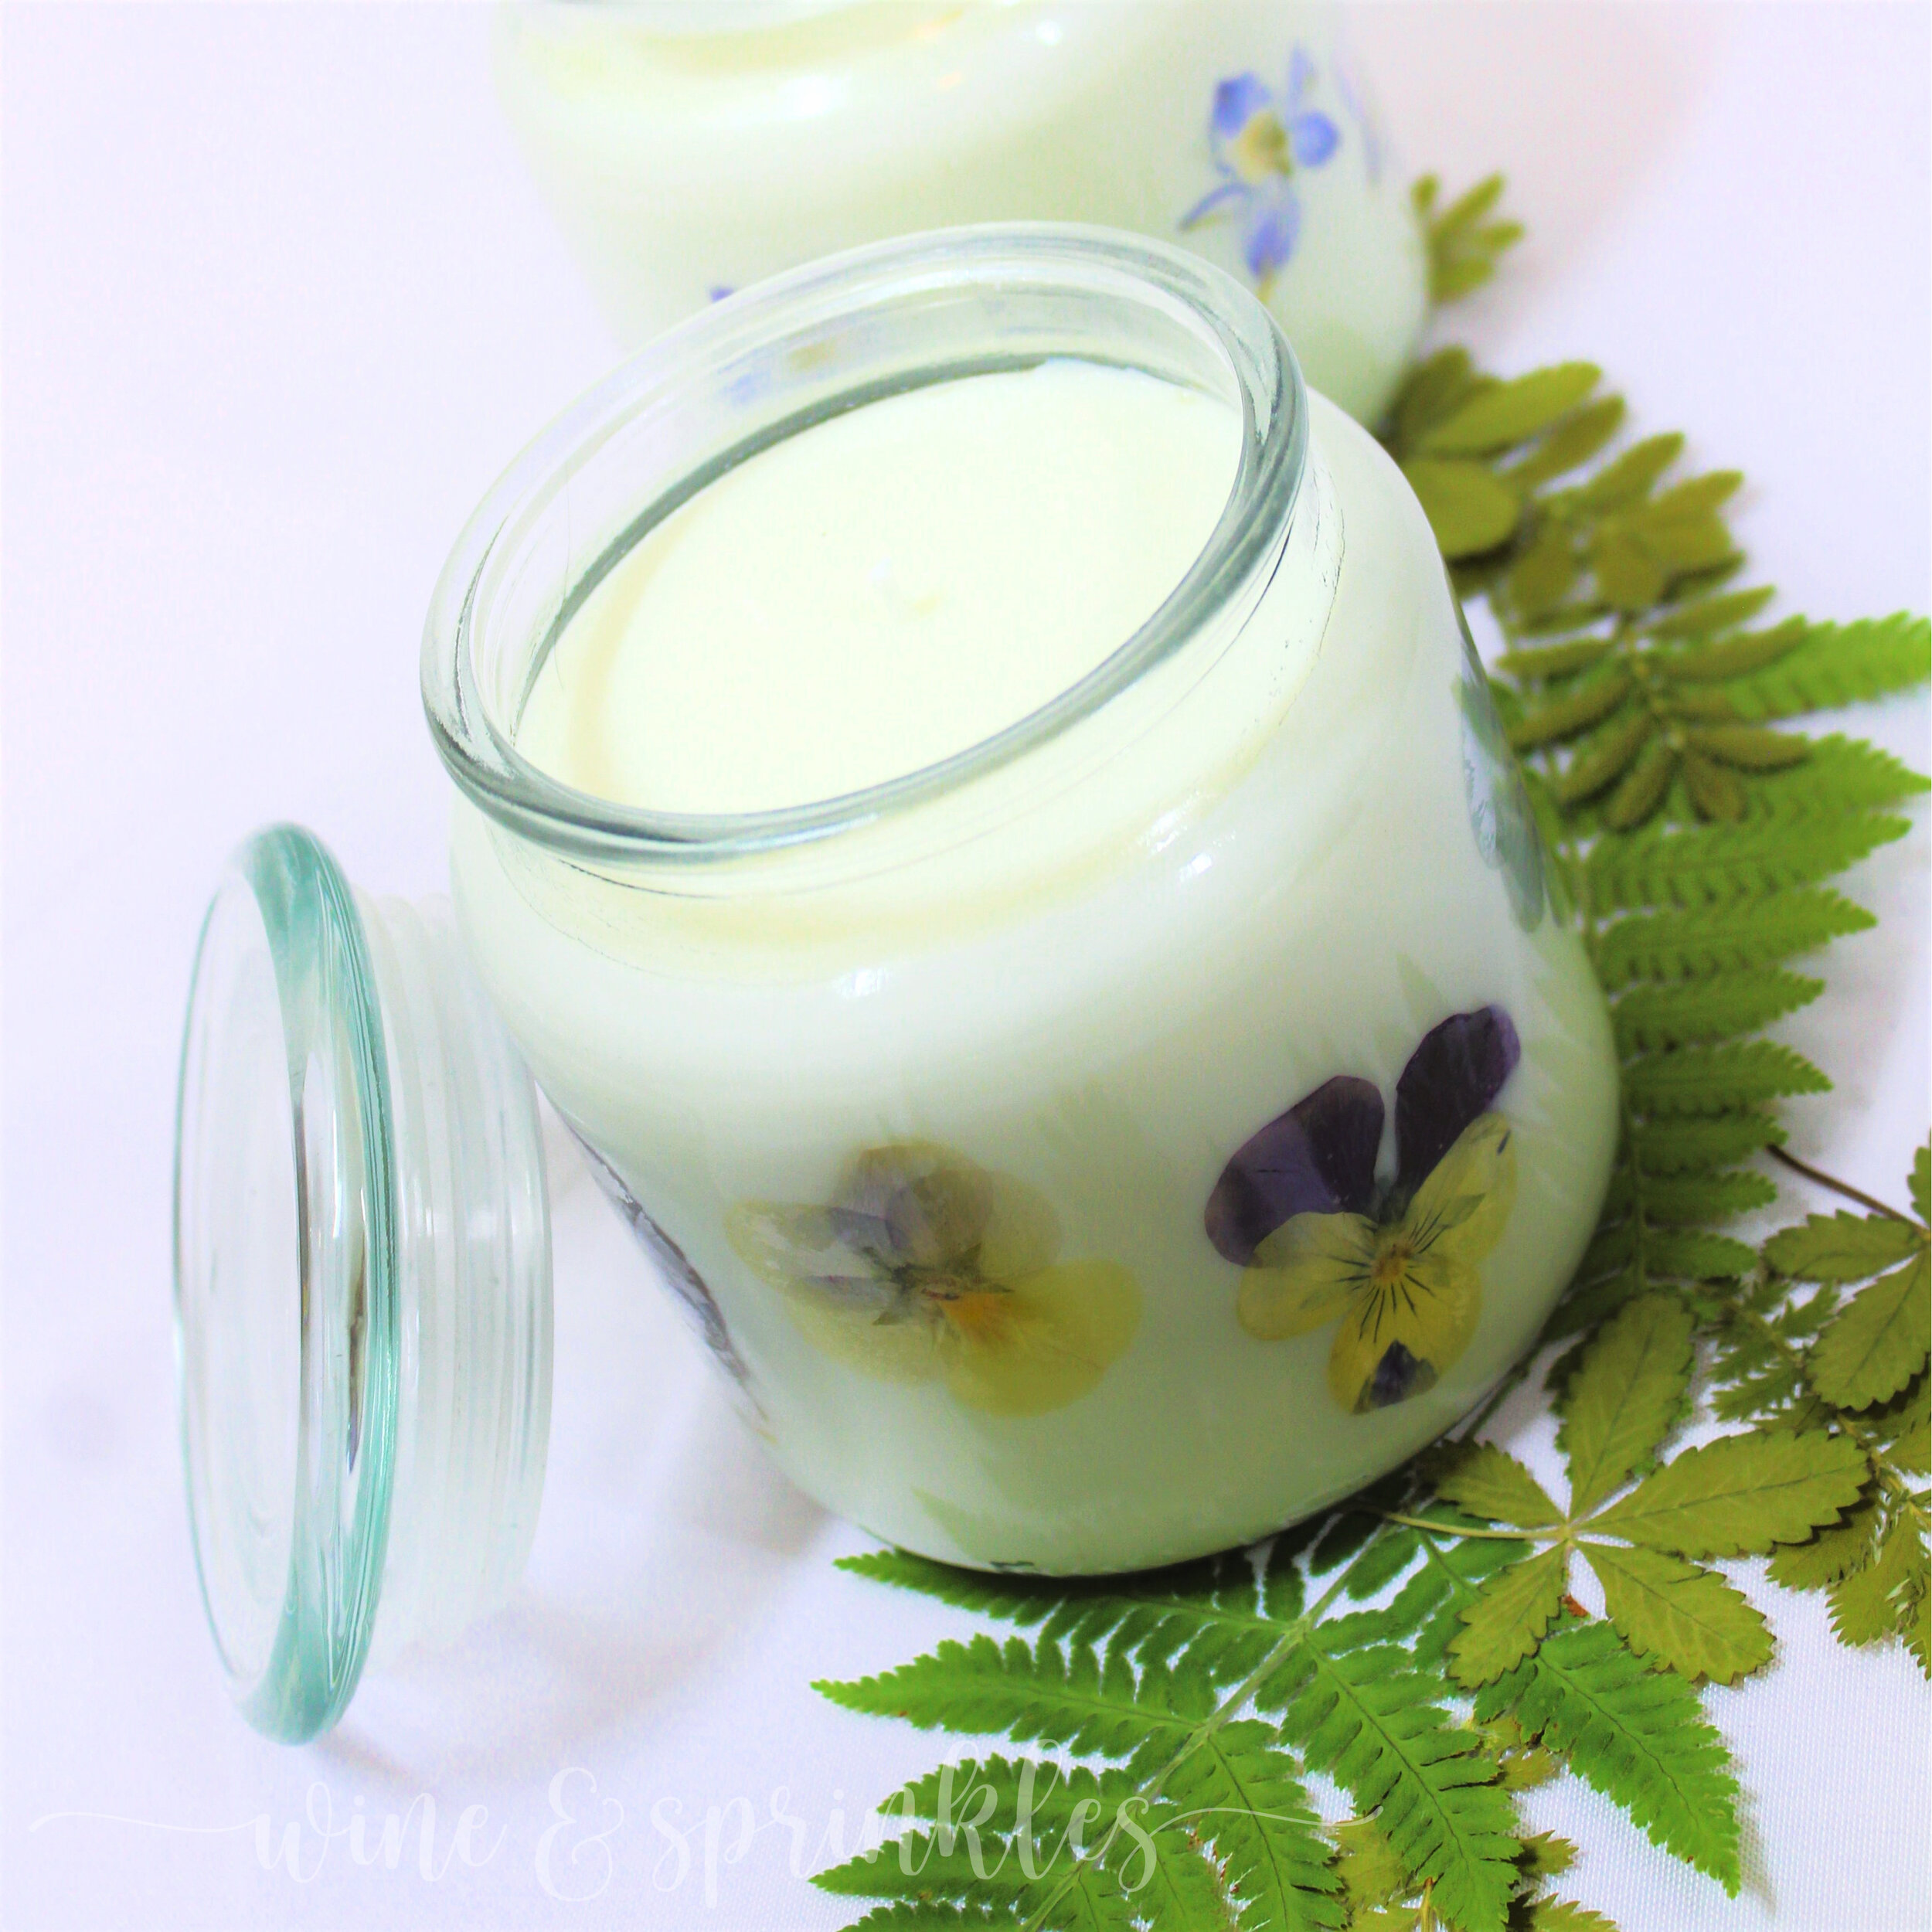
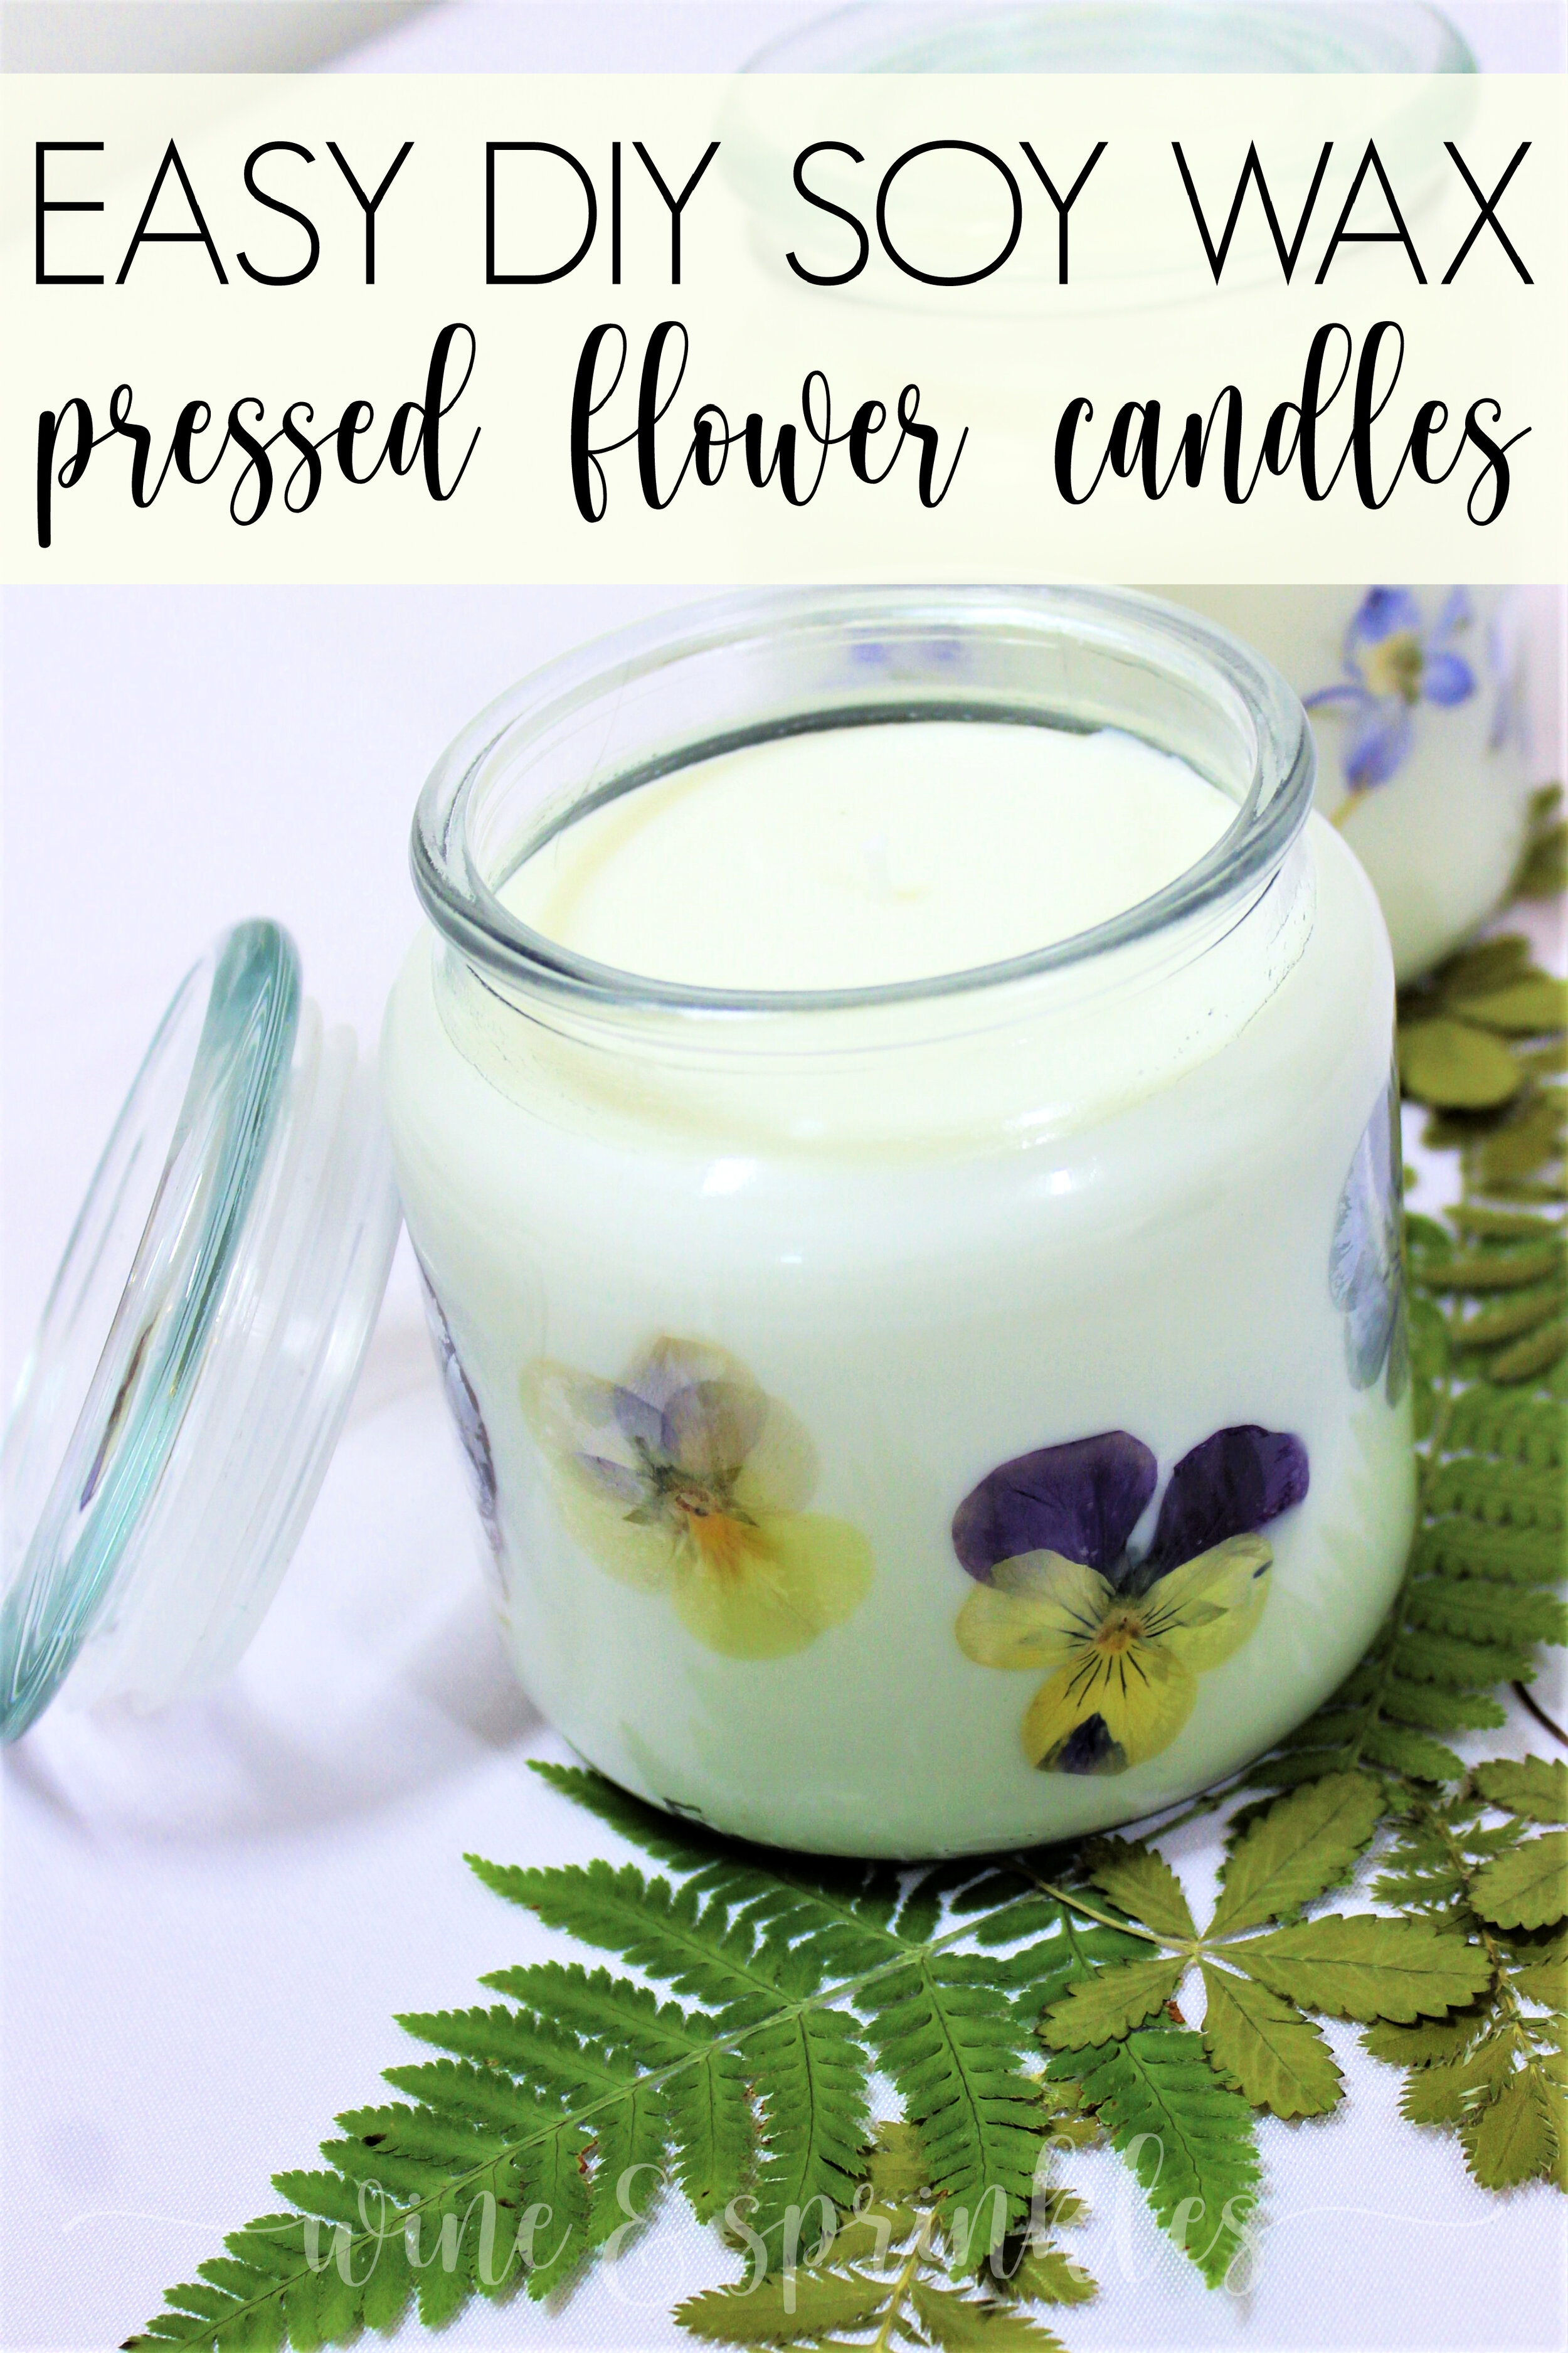
For these fun floral candles, I wanted a light floral scent so I went with a mix of jasmine and lemongrass and they came out smelling and looking gardentastic! I loved the colorful flowers against the natural color of the wax, so I chose not to dye it like I did for my Wooden Wick Candles and Color Striped Candles, but I bet they would look beautiful in different pastel colors too!

Supplies:
- Soy Wax and Cotton Wicks
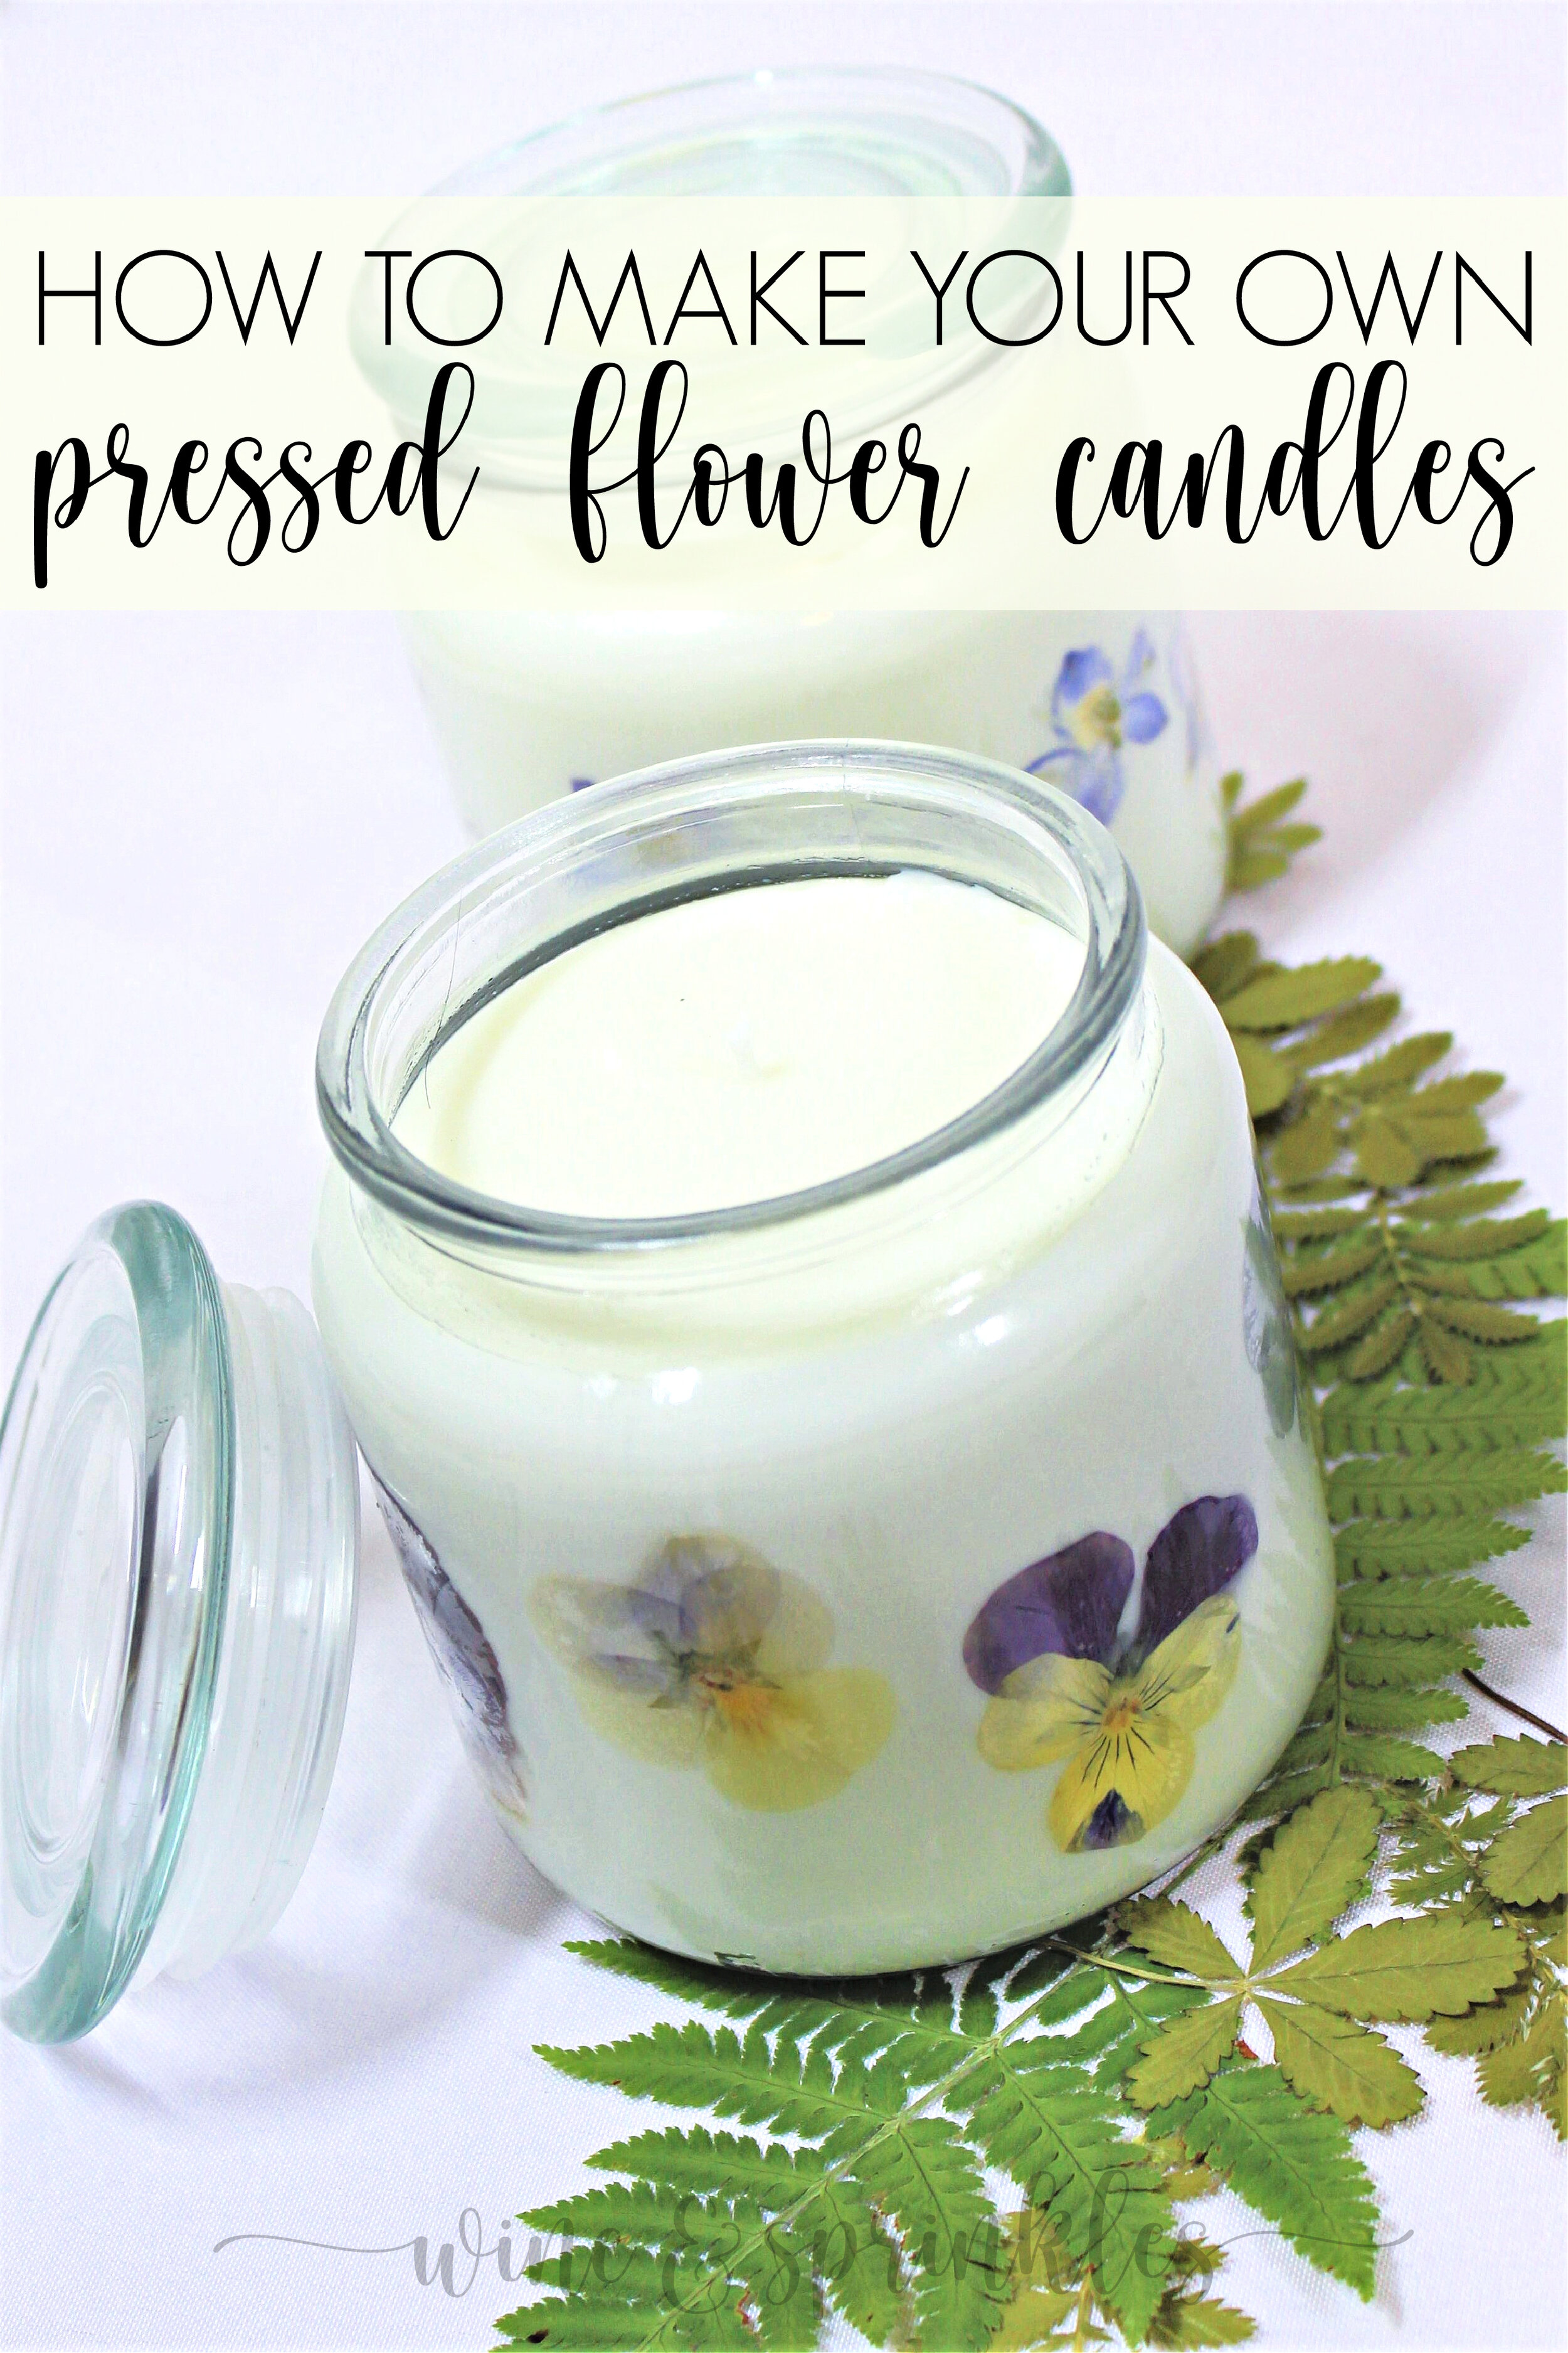
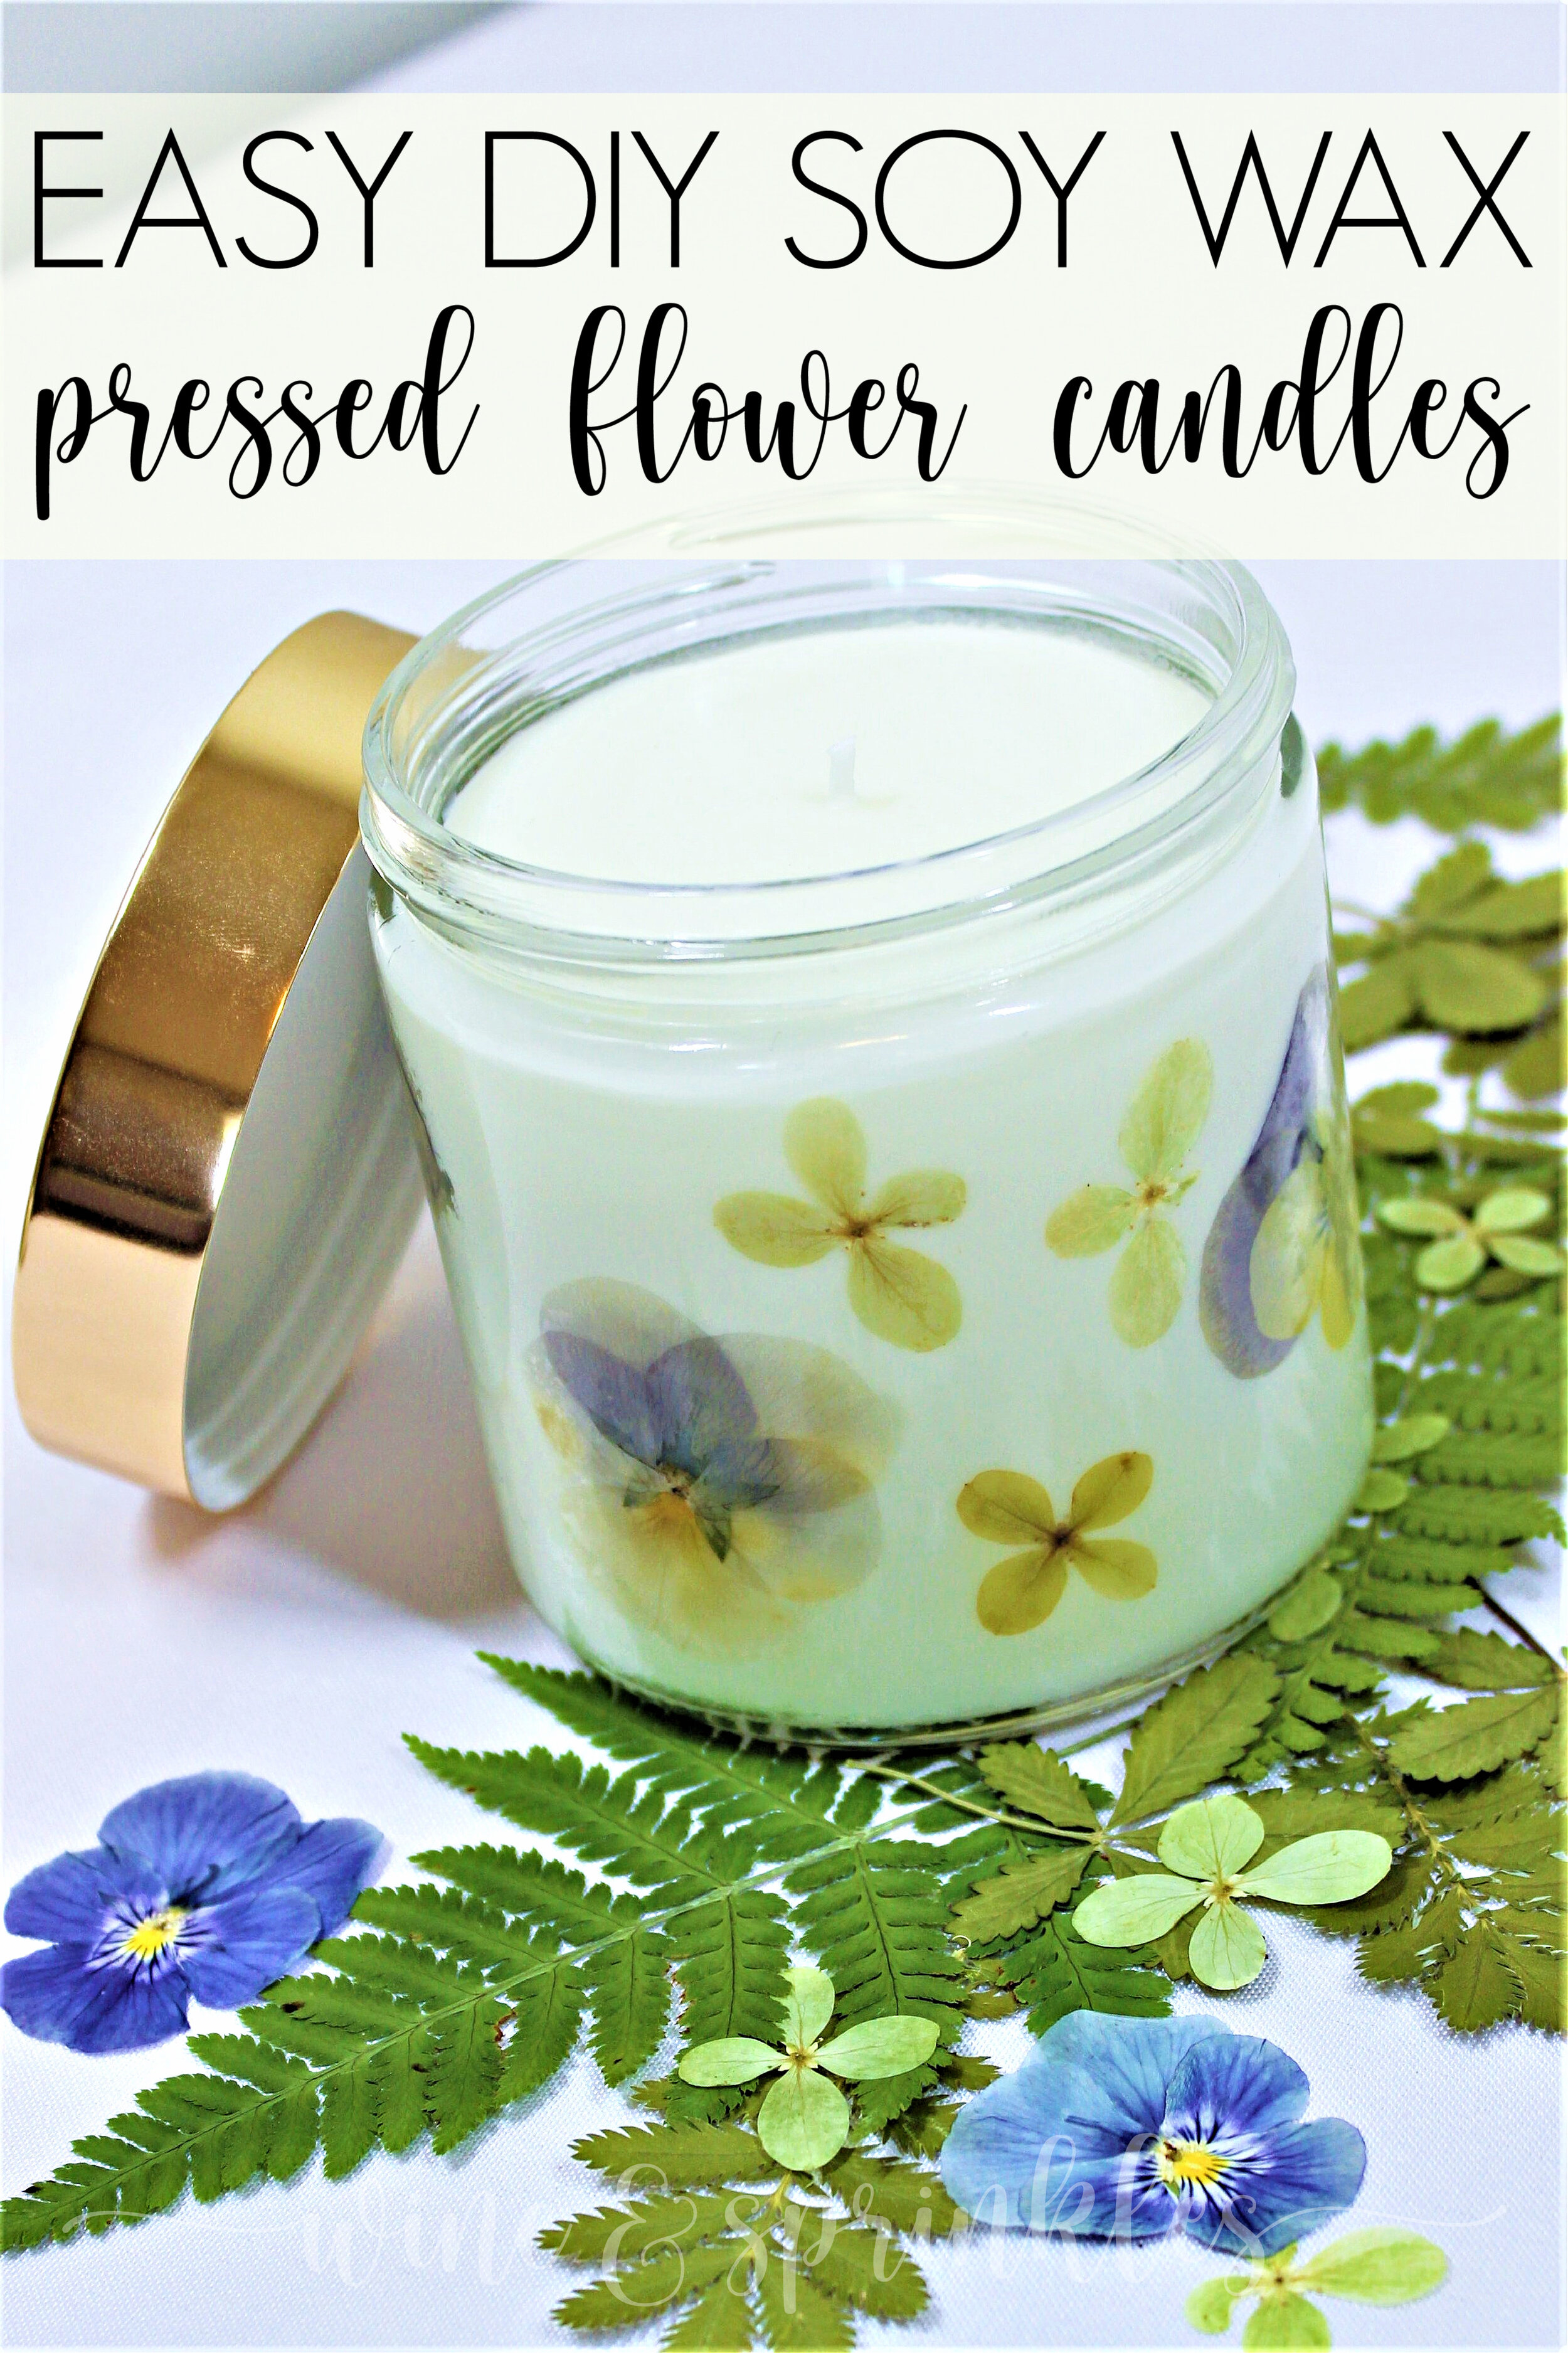
- Lidded Candle Jars or Glass Candle Jars
- Candle Pouring Pot
- Candle Dye
- Fragrance Oils or Essential Oils
- Pressed Flowers
- Paintbrush and Bowl of Water
- Silicone Whisk or Spatula
- Hot Plate or Burner
1. Start by weighing out your candle wax for the candles you wish to make into your pot or candle pouring pot. I used 16 oz per for each candle, the full volume of the jars I used, so that I had a little extra wax to work with and top them with at the end. For the bits of extra wax I used in these projects I made myself a couple of little candle in favor jars to burn in my office! You can make up to four candles if you are using a melting pot like I am, but I liked melting 16 oz at once so I could color and scent each candle uniquely, which is super fun for personalizing them for your friends, bridesmaids, or yourself!


2. Now, prep your jars with the dried flowers. Using a paint brush with water, paint the inside of your jar to create a wet layer to attach the dried flowers to. Using tweezers with the jar on its side, lay the flowers in the design you want inside the jar, using the water to adhere them to the side. Once complete, position your jars upright with their lids removed and prepare the wax.


3. Melt the wax over medium low heat until the wax is 150 F. In this case, I didn’t want to add any dyes to my waxing prior to adding fragrance, because I wanted the dried flowers to be the central focus, but if you want to add dyes, follow the wax dying steps in our Wooden Wick Candles post to see how!
Add the fragrance or essential oil of your choice to the melted wax, continuously stirring with a silicone whisk or spatula to bond the fragrance The fragrance I chose for my candles were:
Per 16 oz of Wax:
Jasmine Essential Oil - 15-20 drops
Lemongrass Essential Oil - 7-10 drops
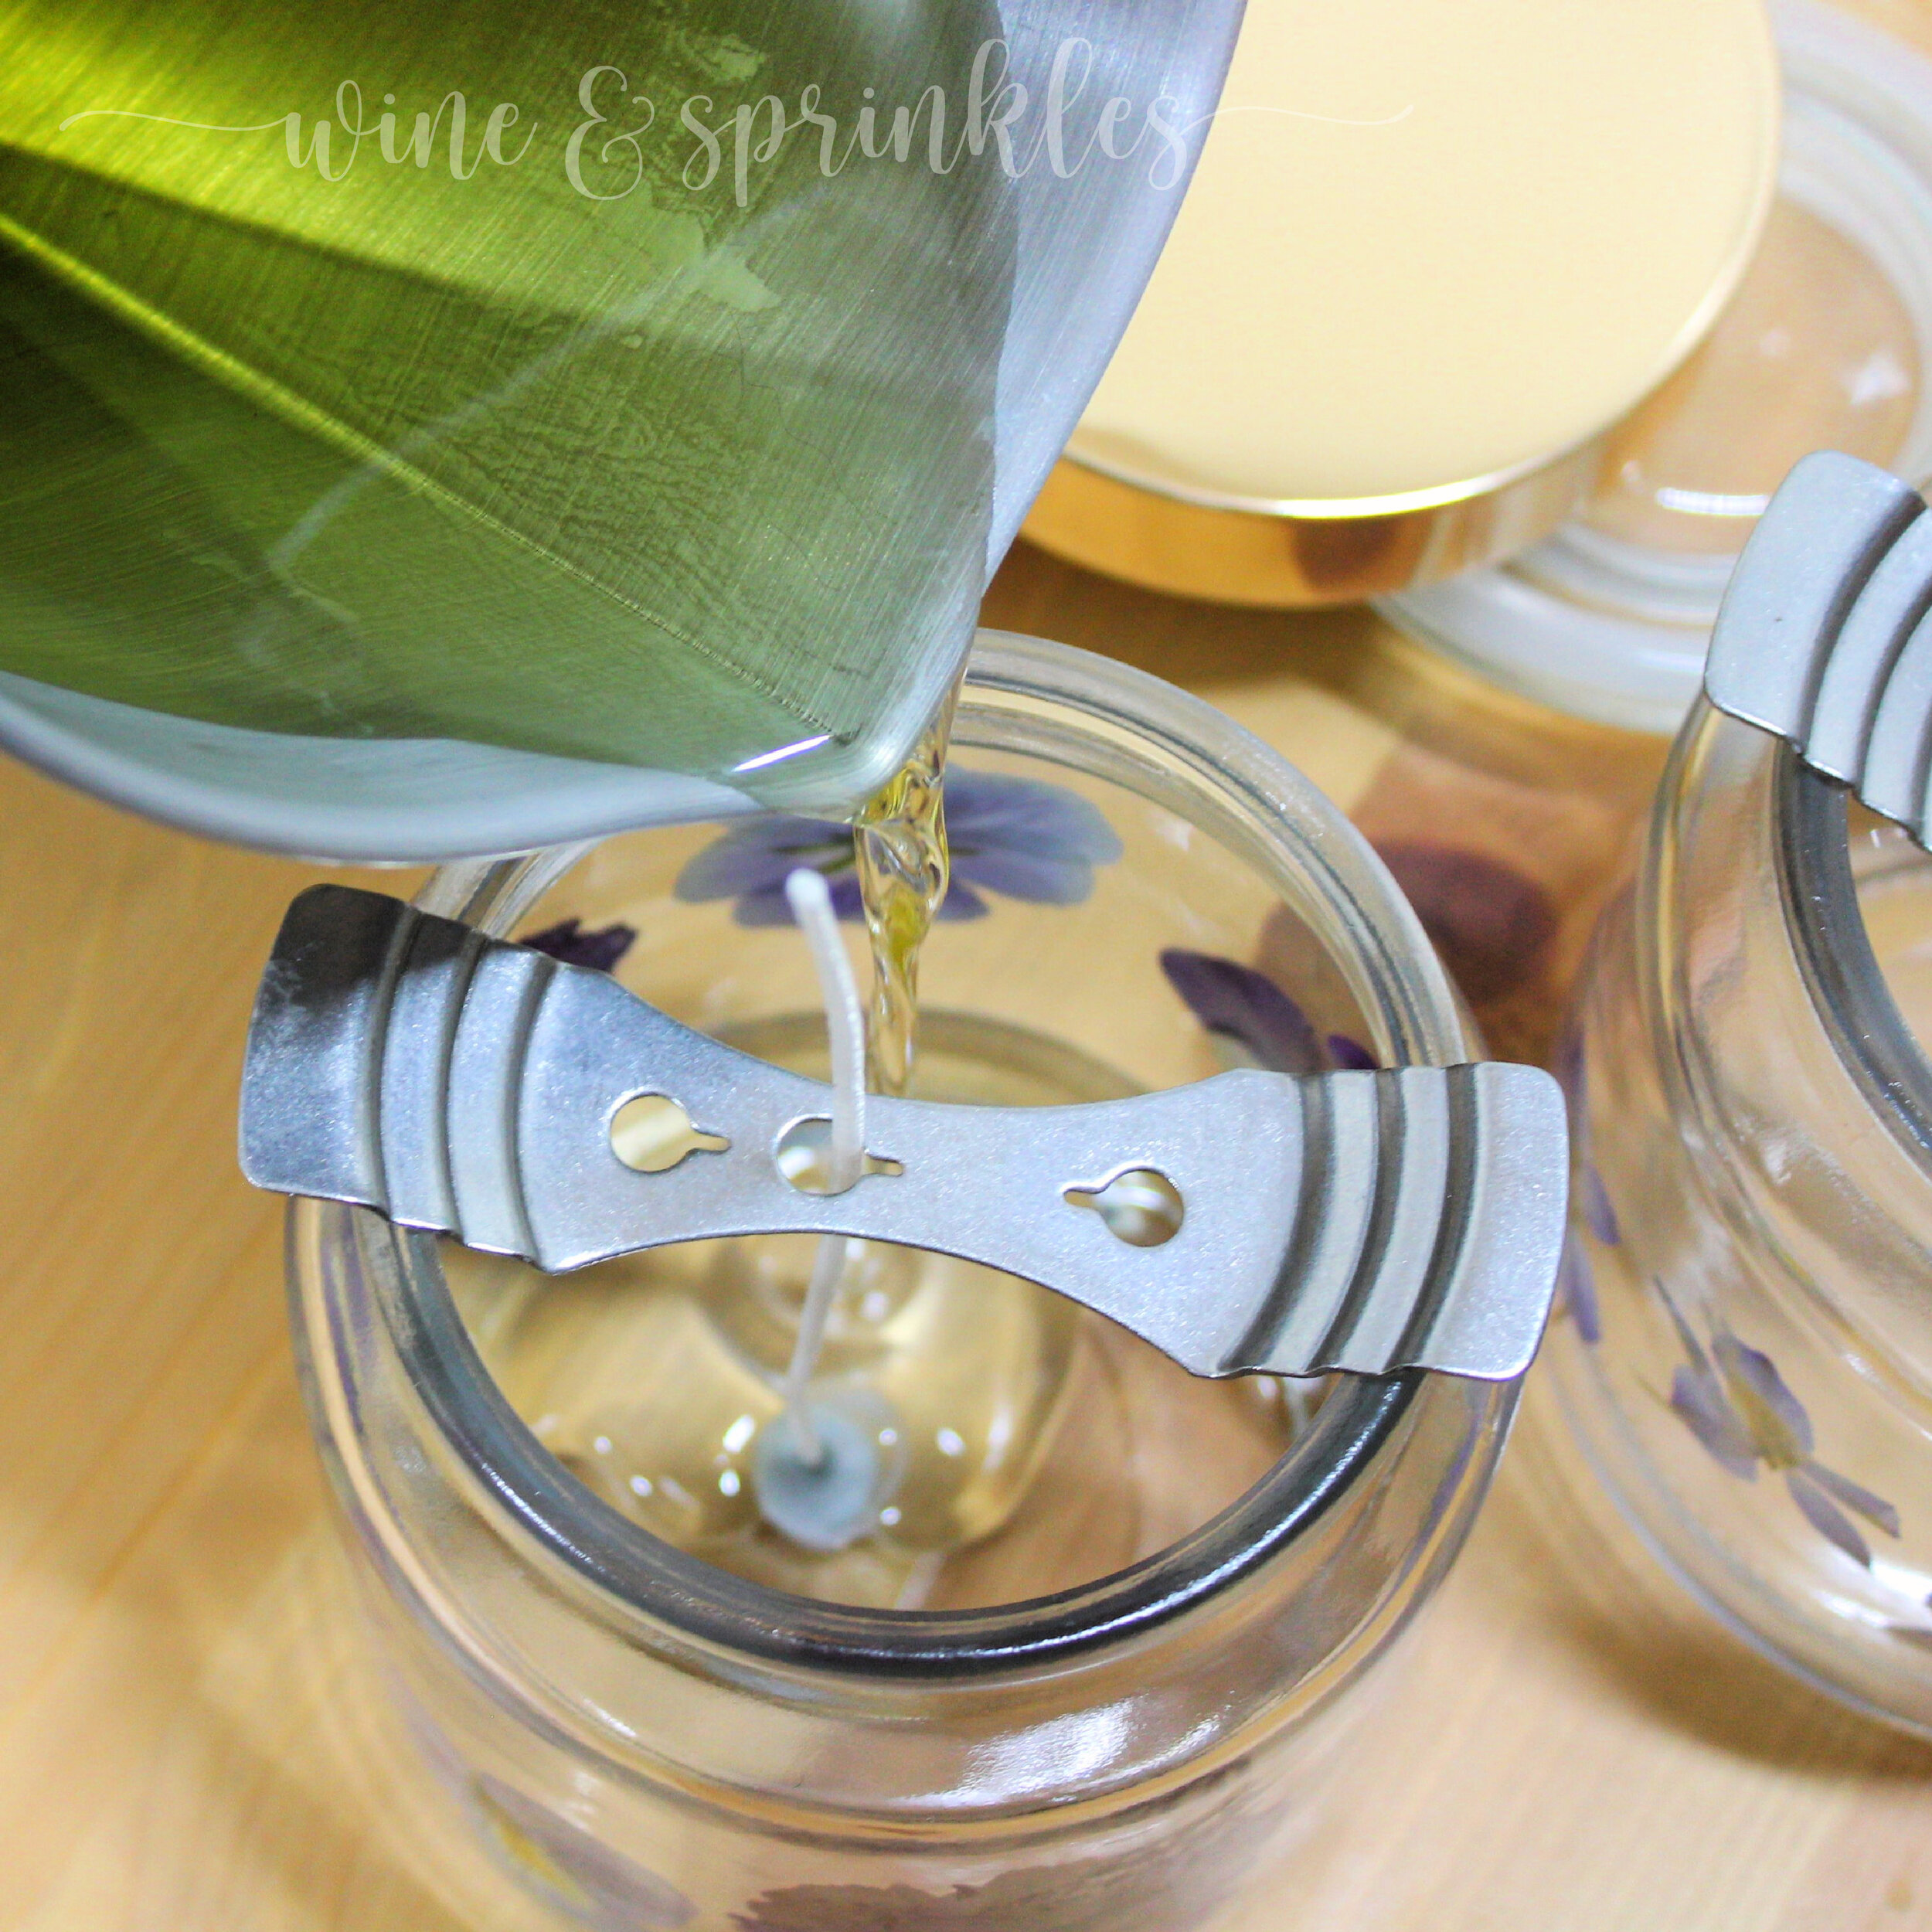
Continue to stir to cool the wax. When it has cooled to about 120 F, it is ready to pour into the jars.


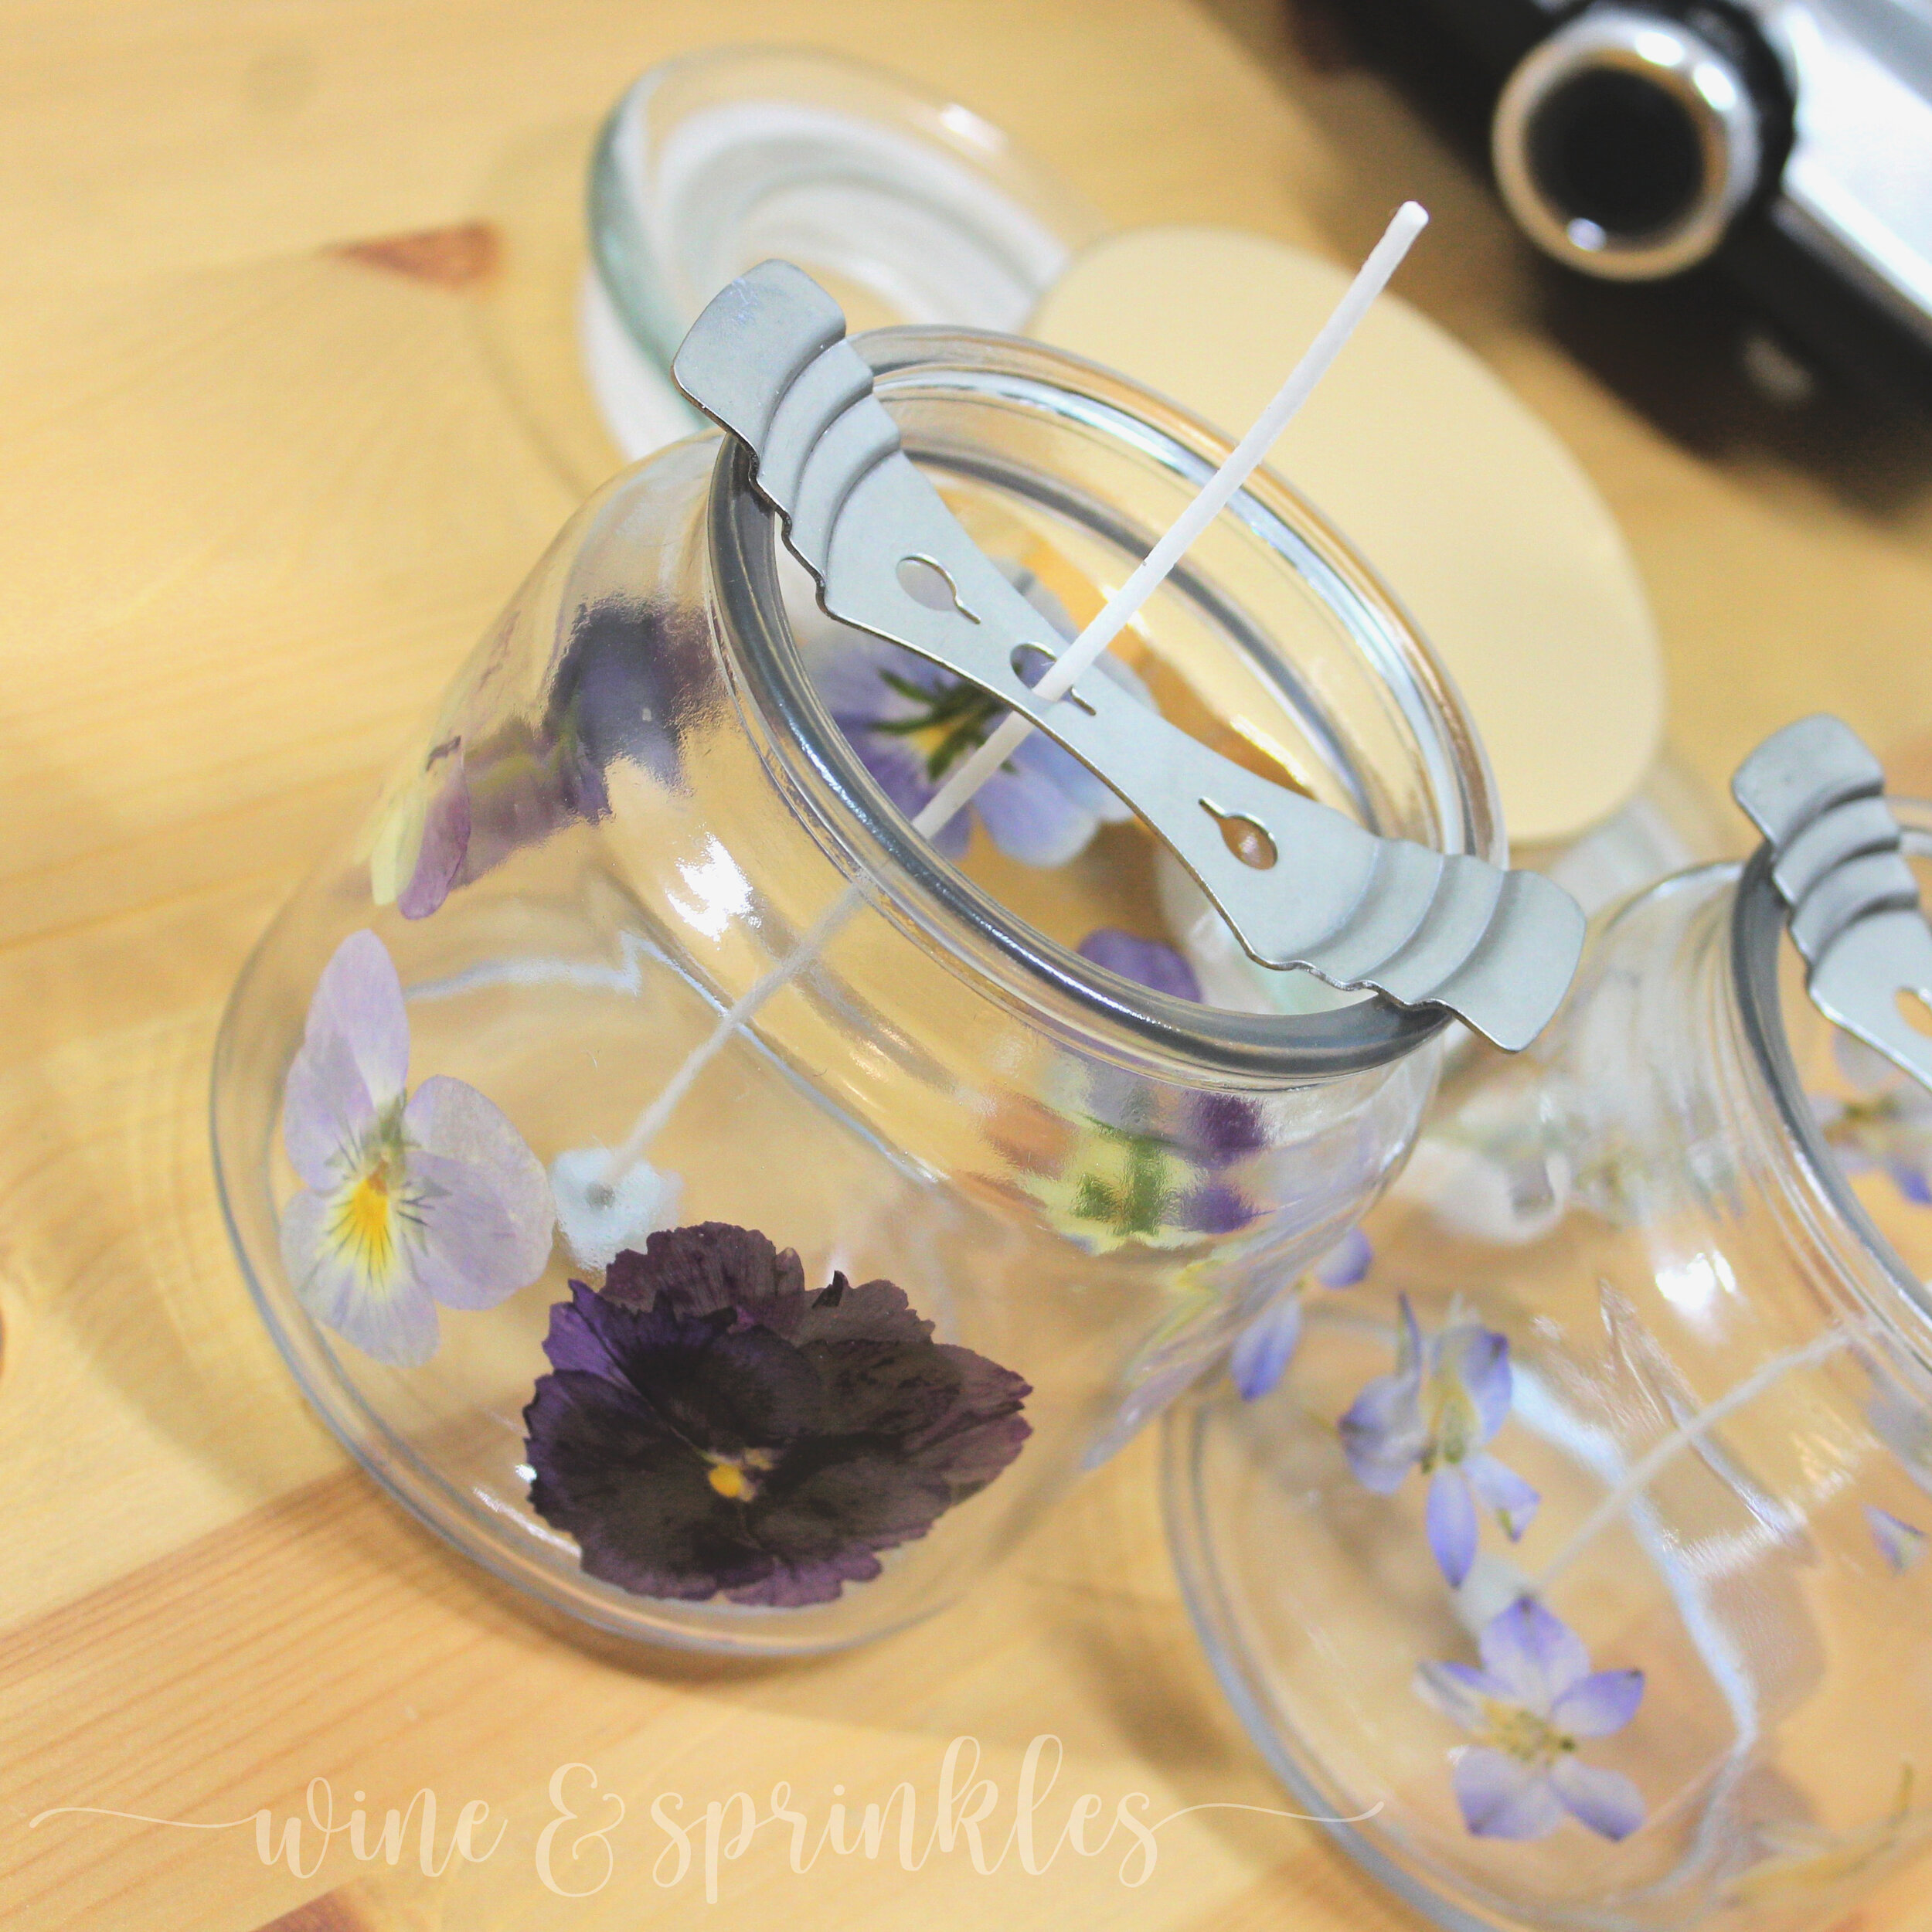
4. While the wax is cooling, prepare your wicks and jars. Taking a cotton wick, dip the stand end into the melted wax and place into the candle jar, using the wax to seal it to the bottom of the jar. Once the wicks are dry, thread the wick through the metal centering device (or a little piece of cardstock with a hole) to secure it in place for wax pouring. Once the wicks are dry, use your candle pourer to fill your candles just below the lip of the jar, reserving any extra wax to finish the candle. Now let the candle cool completely.

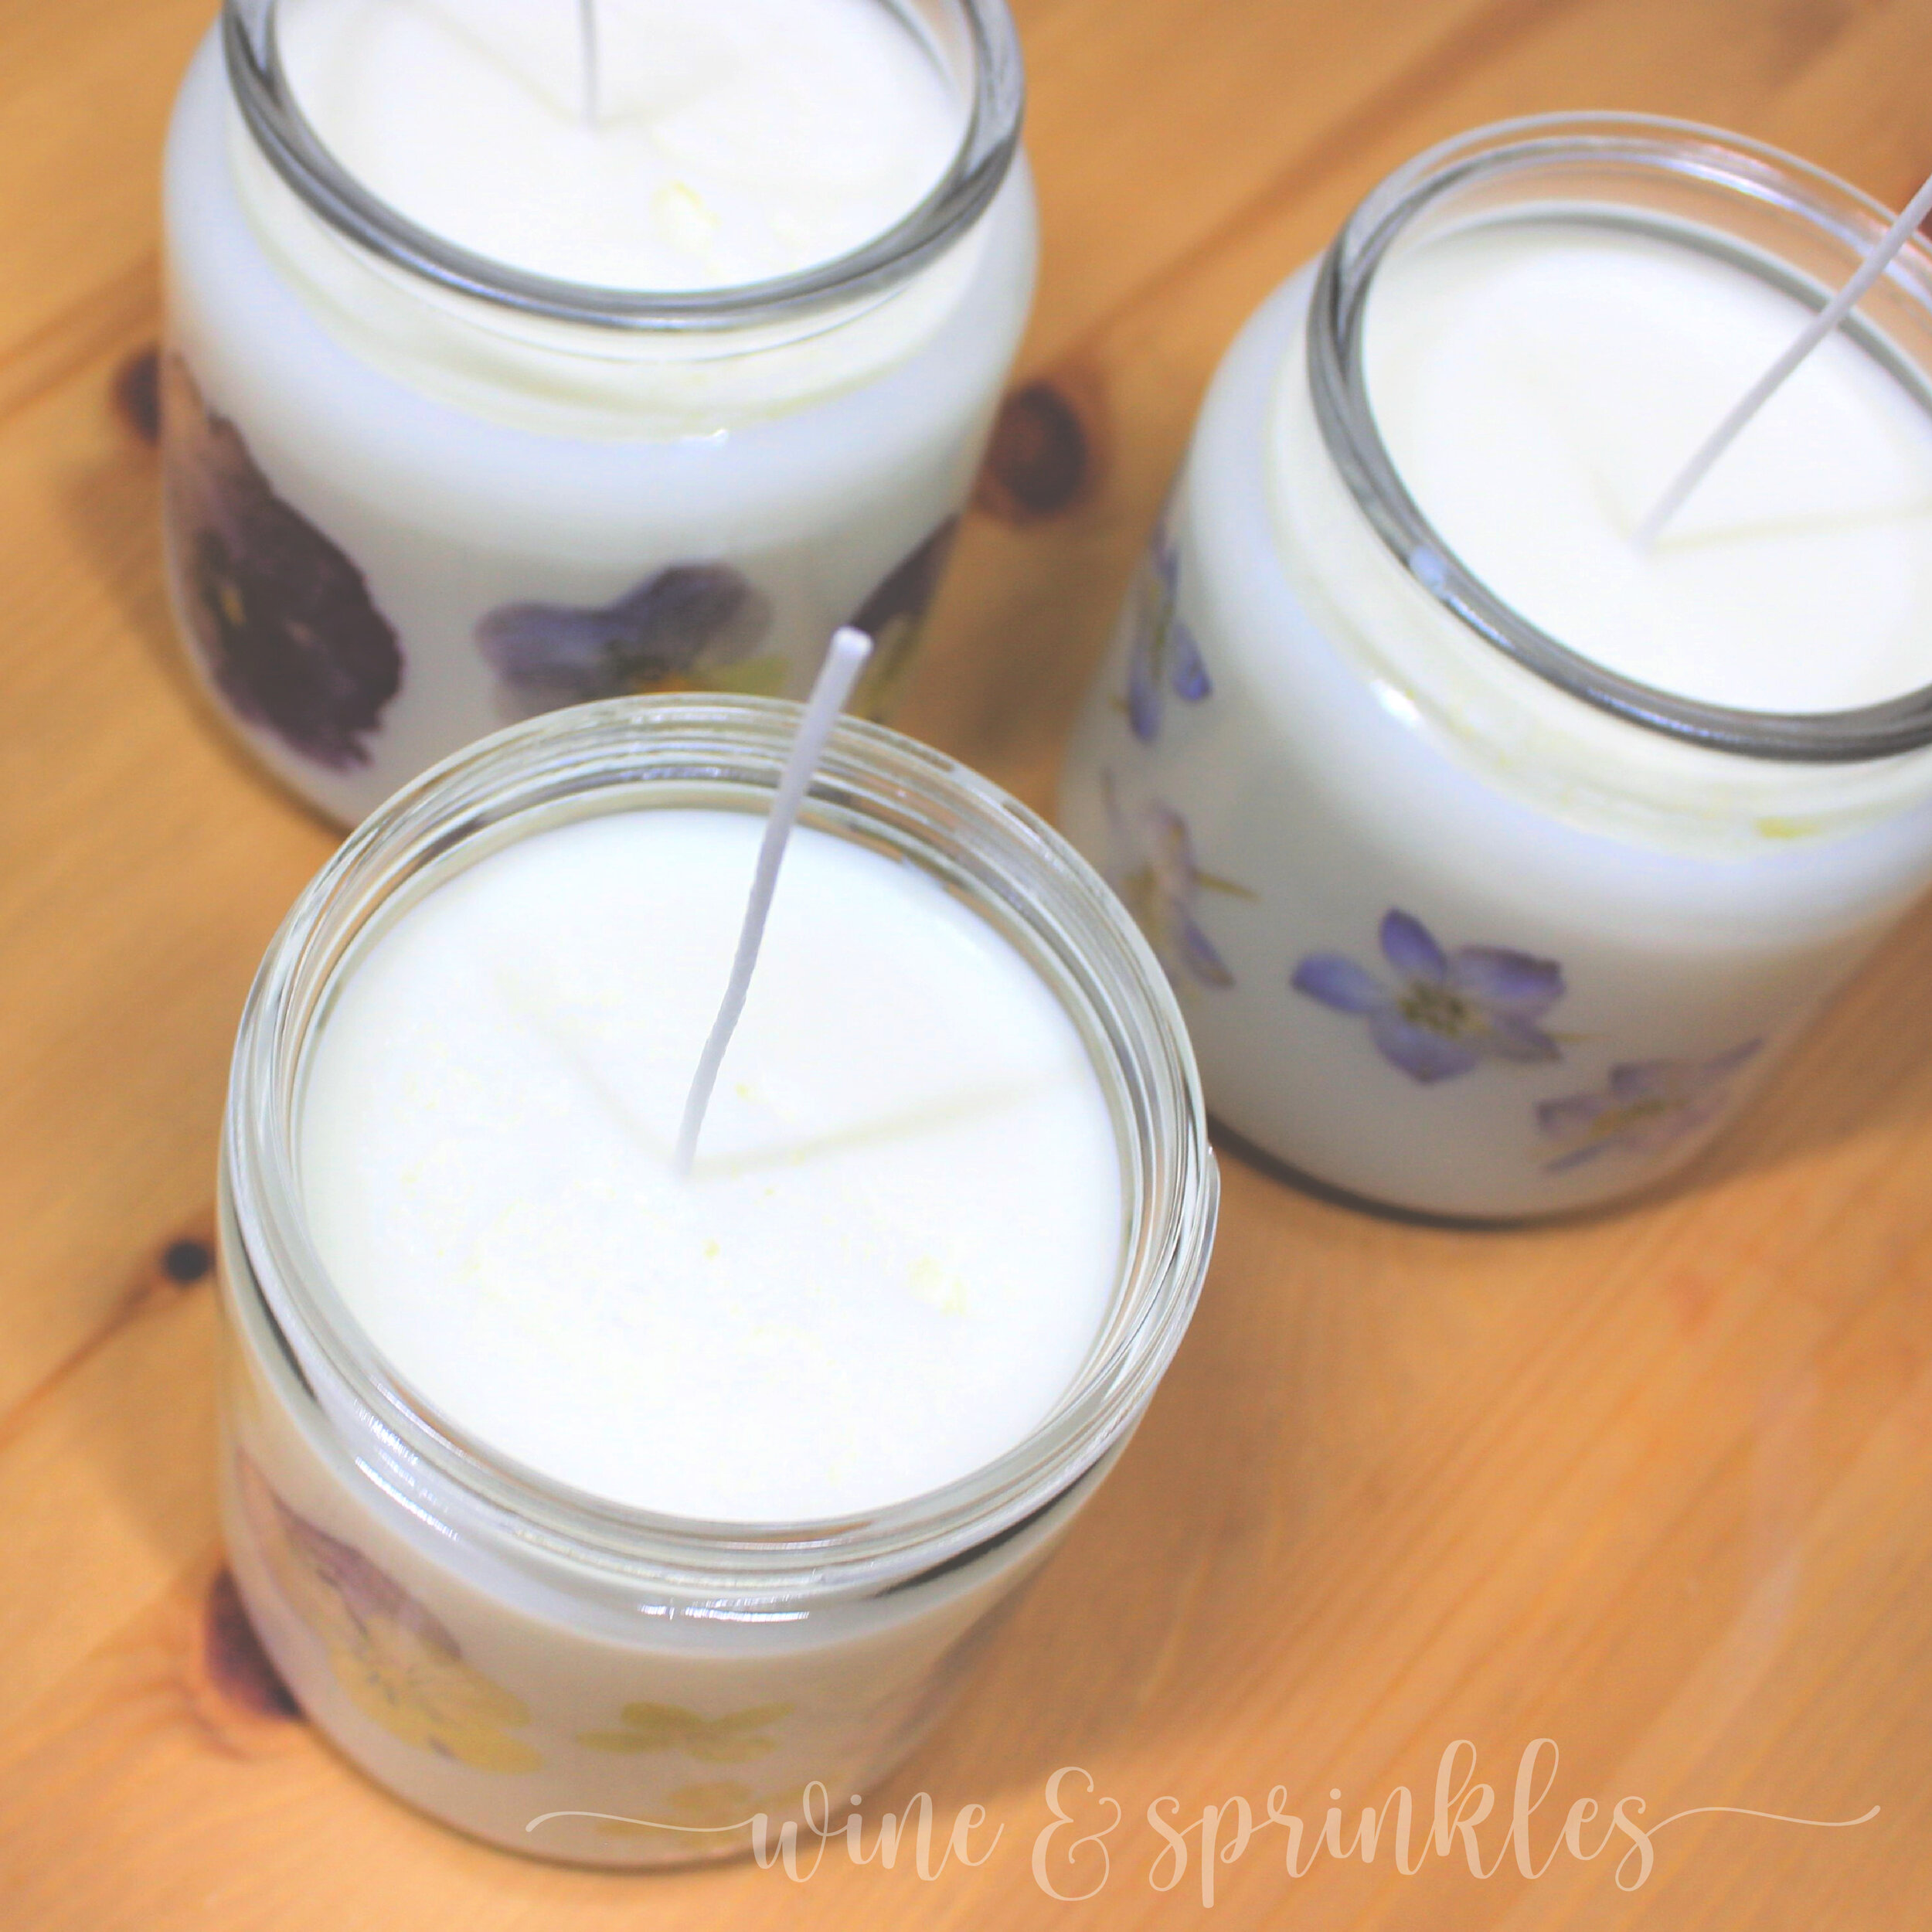

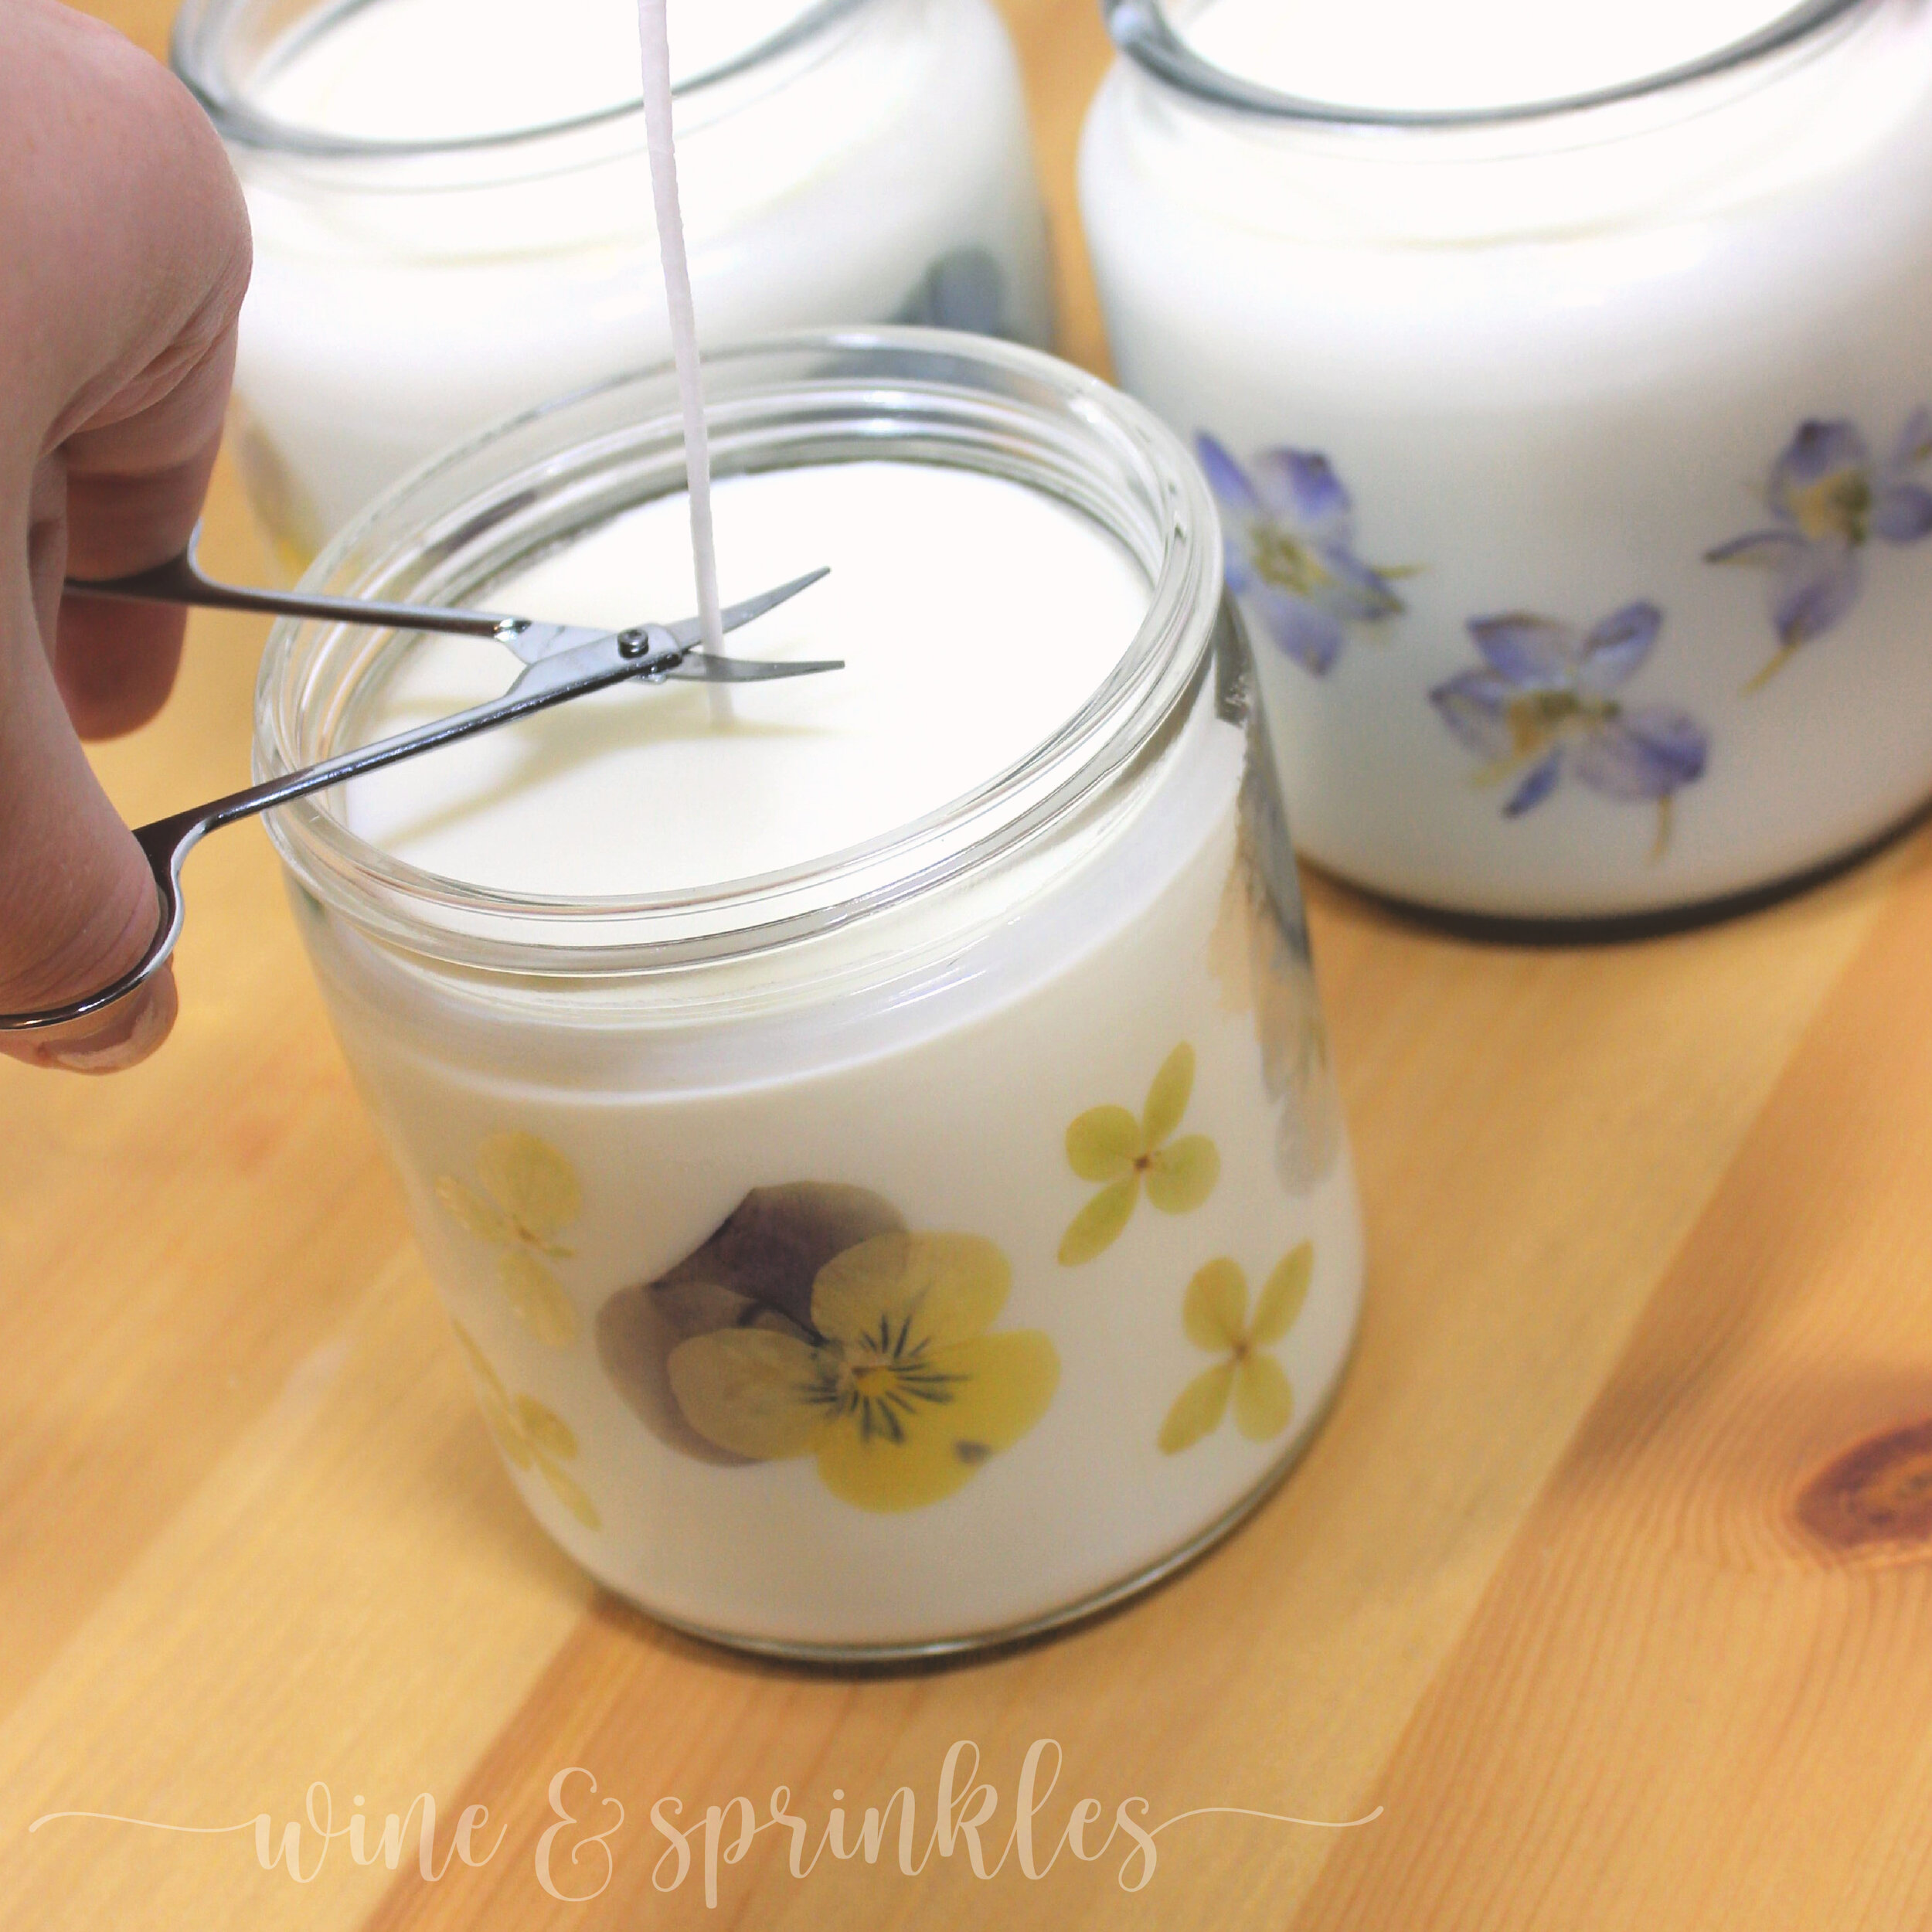
5. Once the candle is cooled, check the top to see if there are any divots or imperfections in the top of the candle, which can happen during cooling. If needed, remelt the remaining wax to 120 F and “top off” any imperfections on the top of the candle, again allowing it to cool completely. Trim the wooden wick with nail clippers, cuticle cutters, or small scissors and you’re done!

Looking for more DIY Candle Inspiration?
SEE MORE CANDLE PROJECTS HERE


OUR PINS FOR THIS POST: