This post contains affiliate links, meaning that if you click on a link I will recieve a small comission. This costs you nothing extra and I only promote products I use and love! You can read our full disclosure here

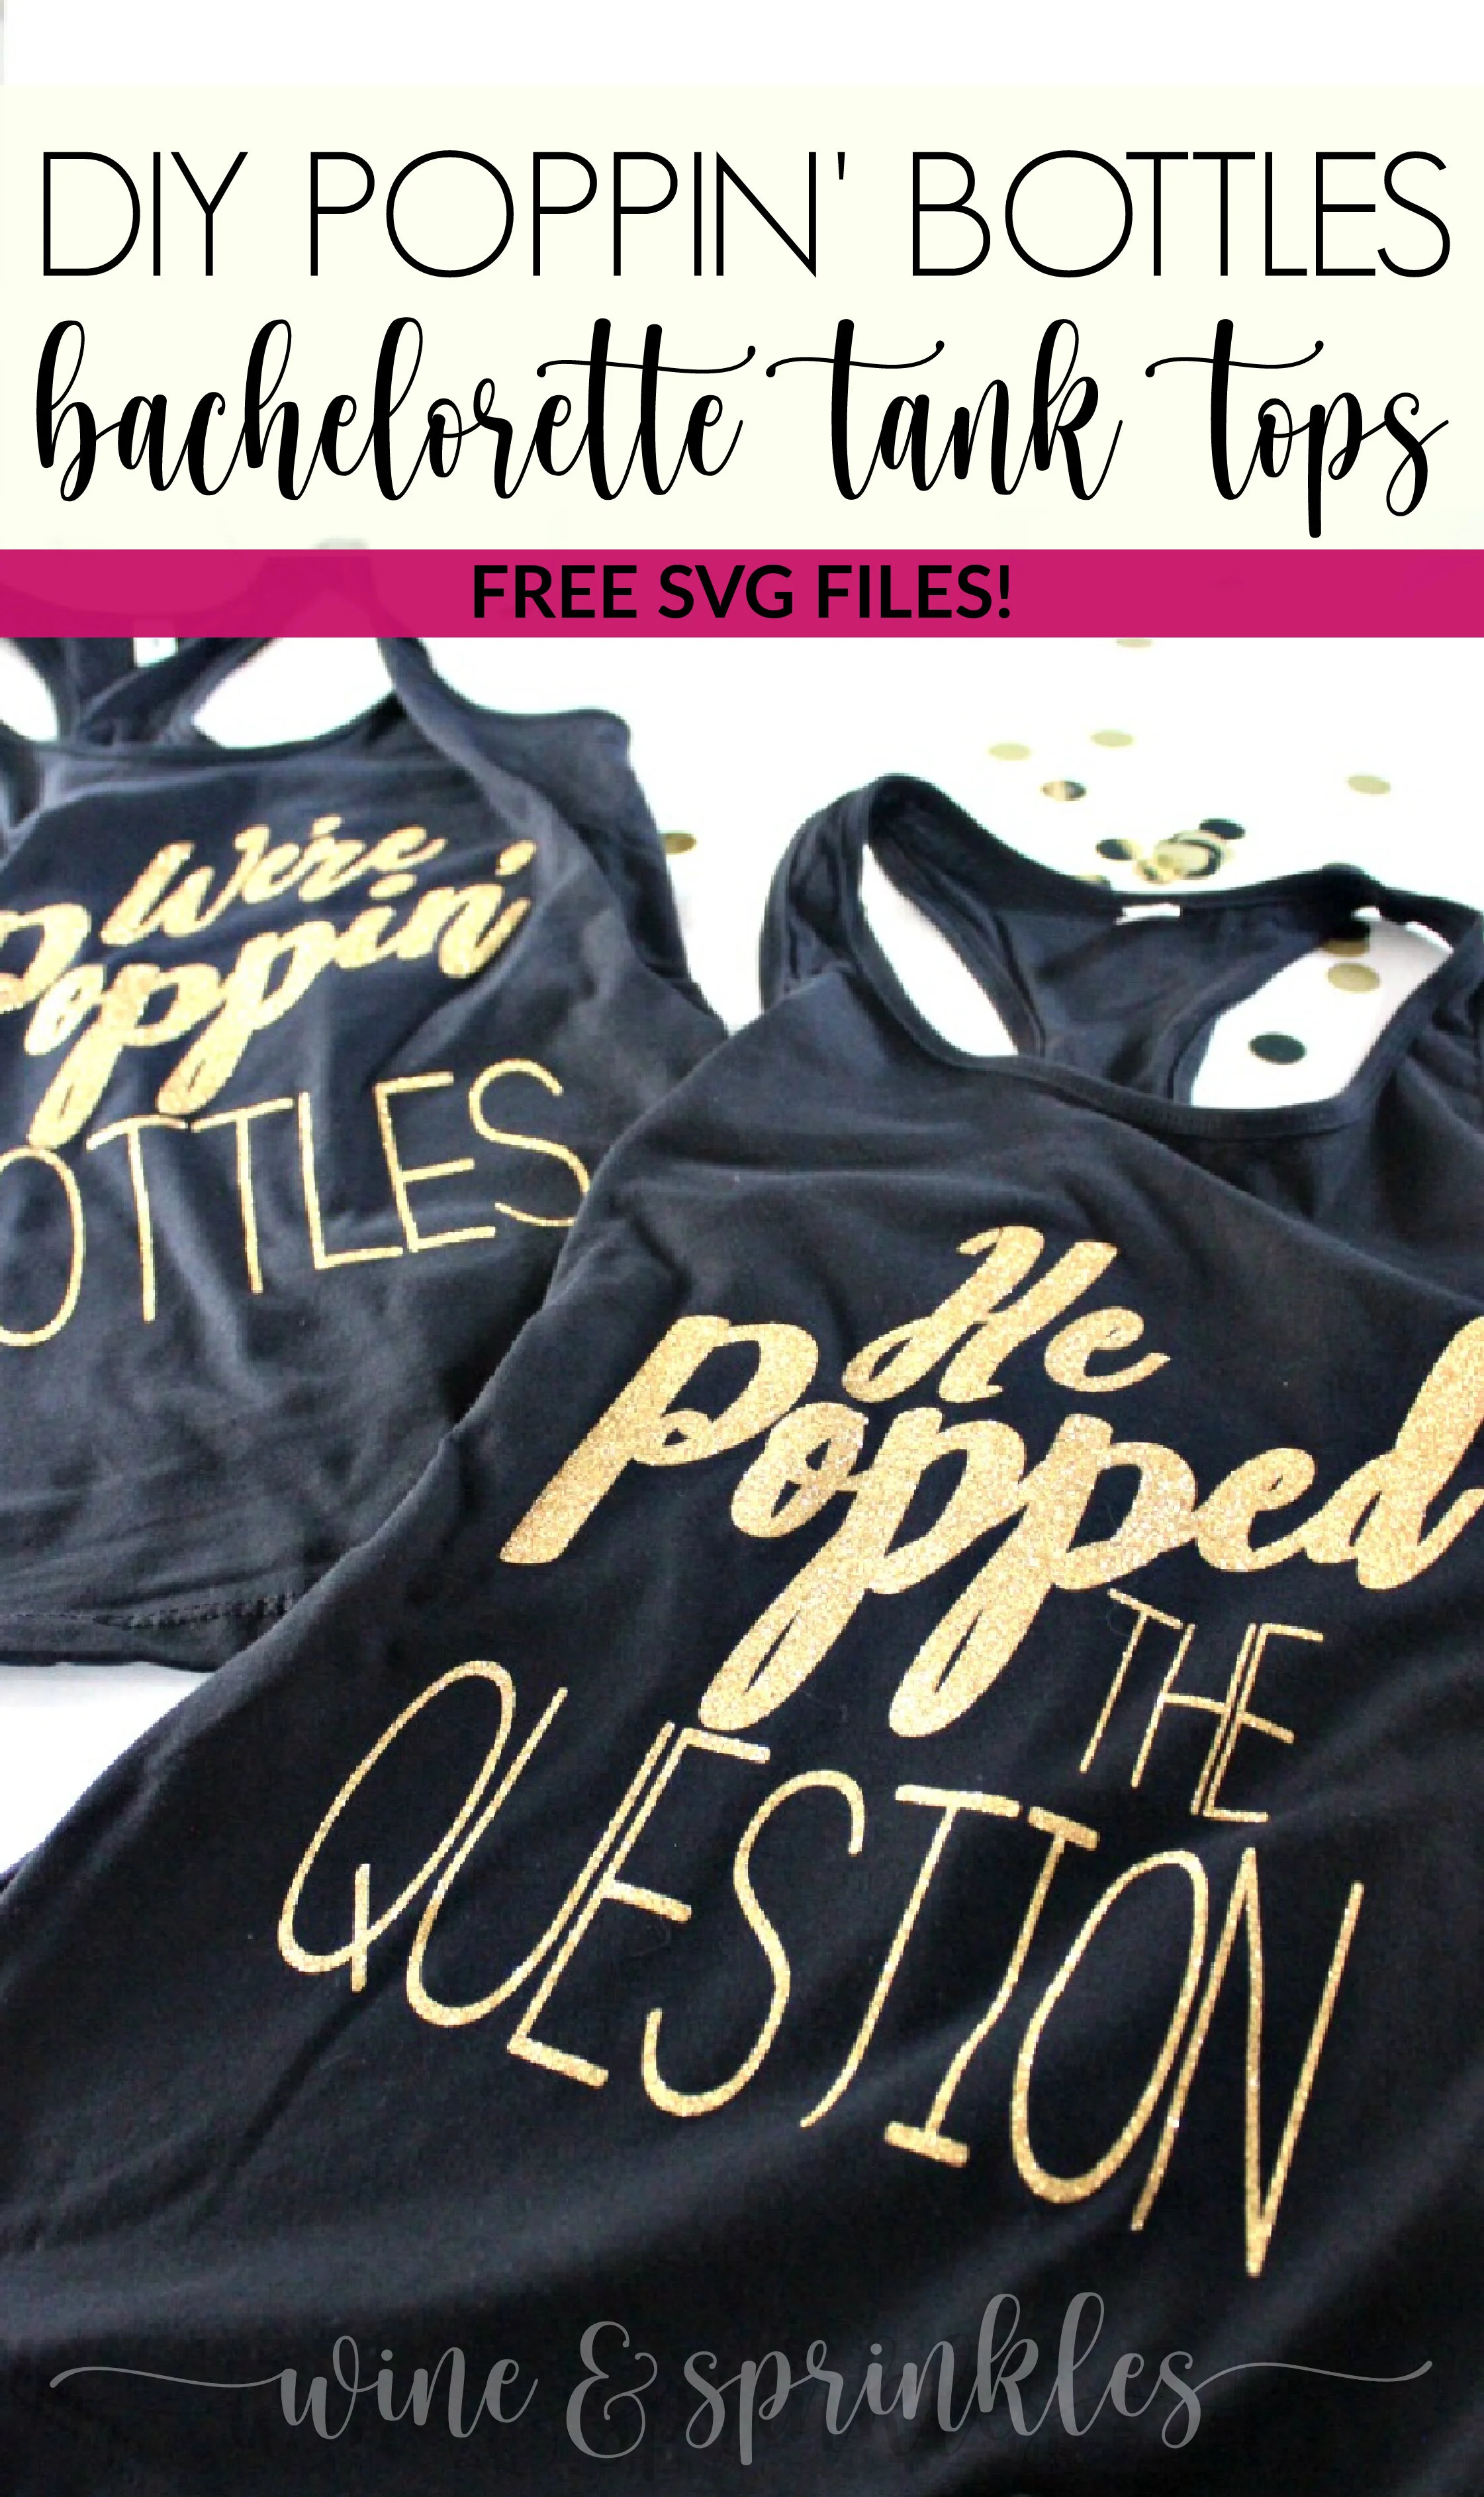
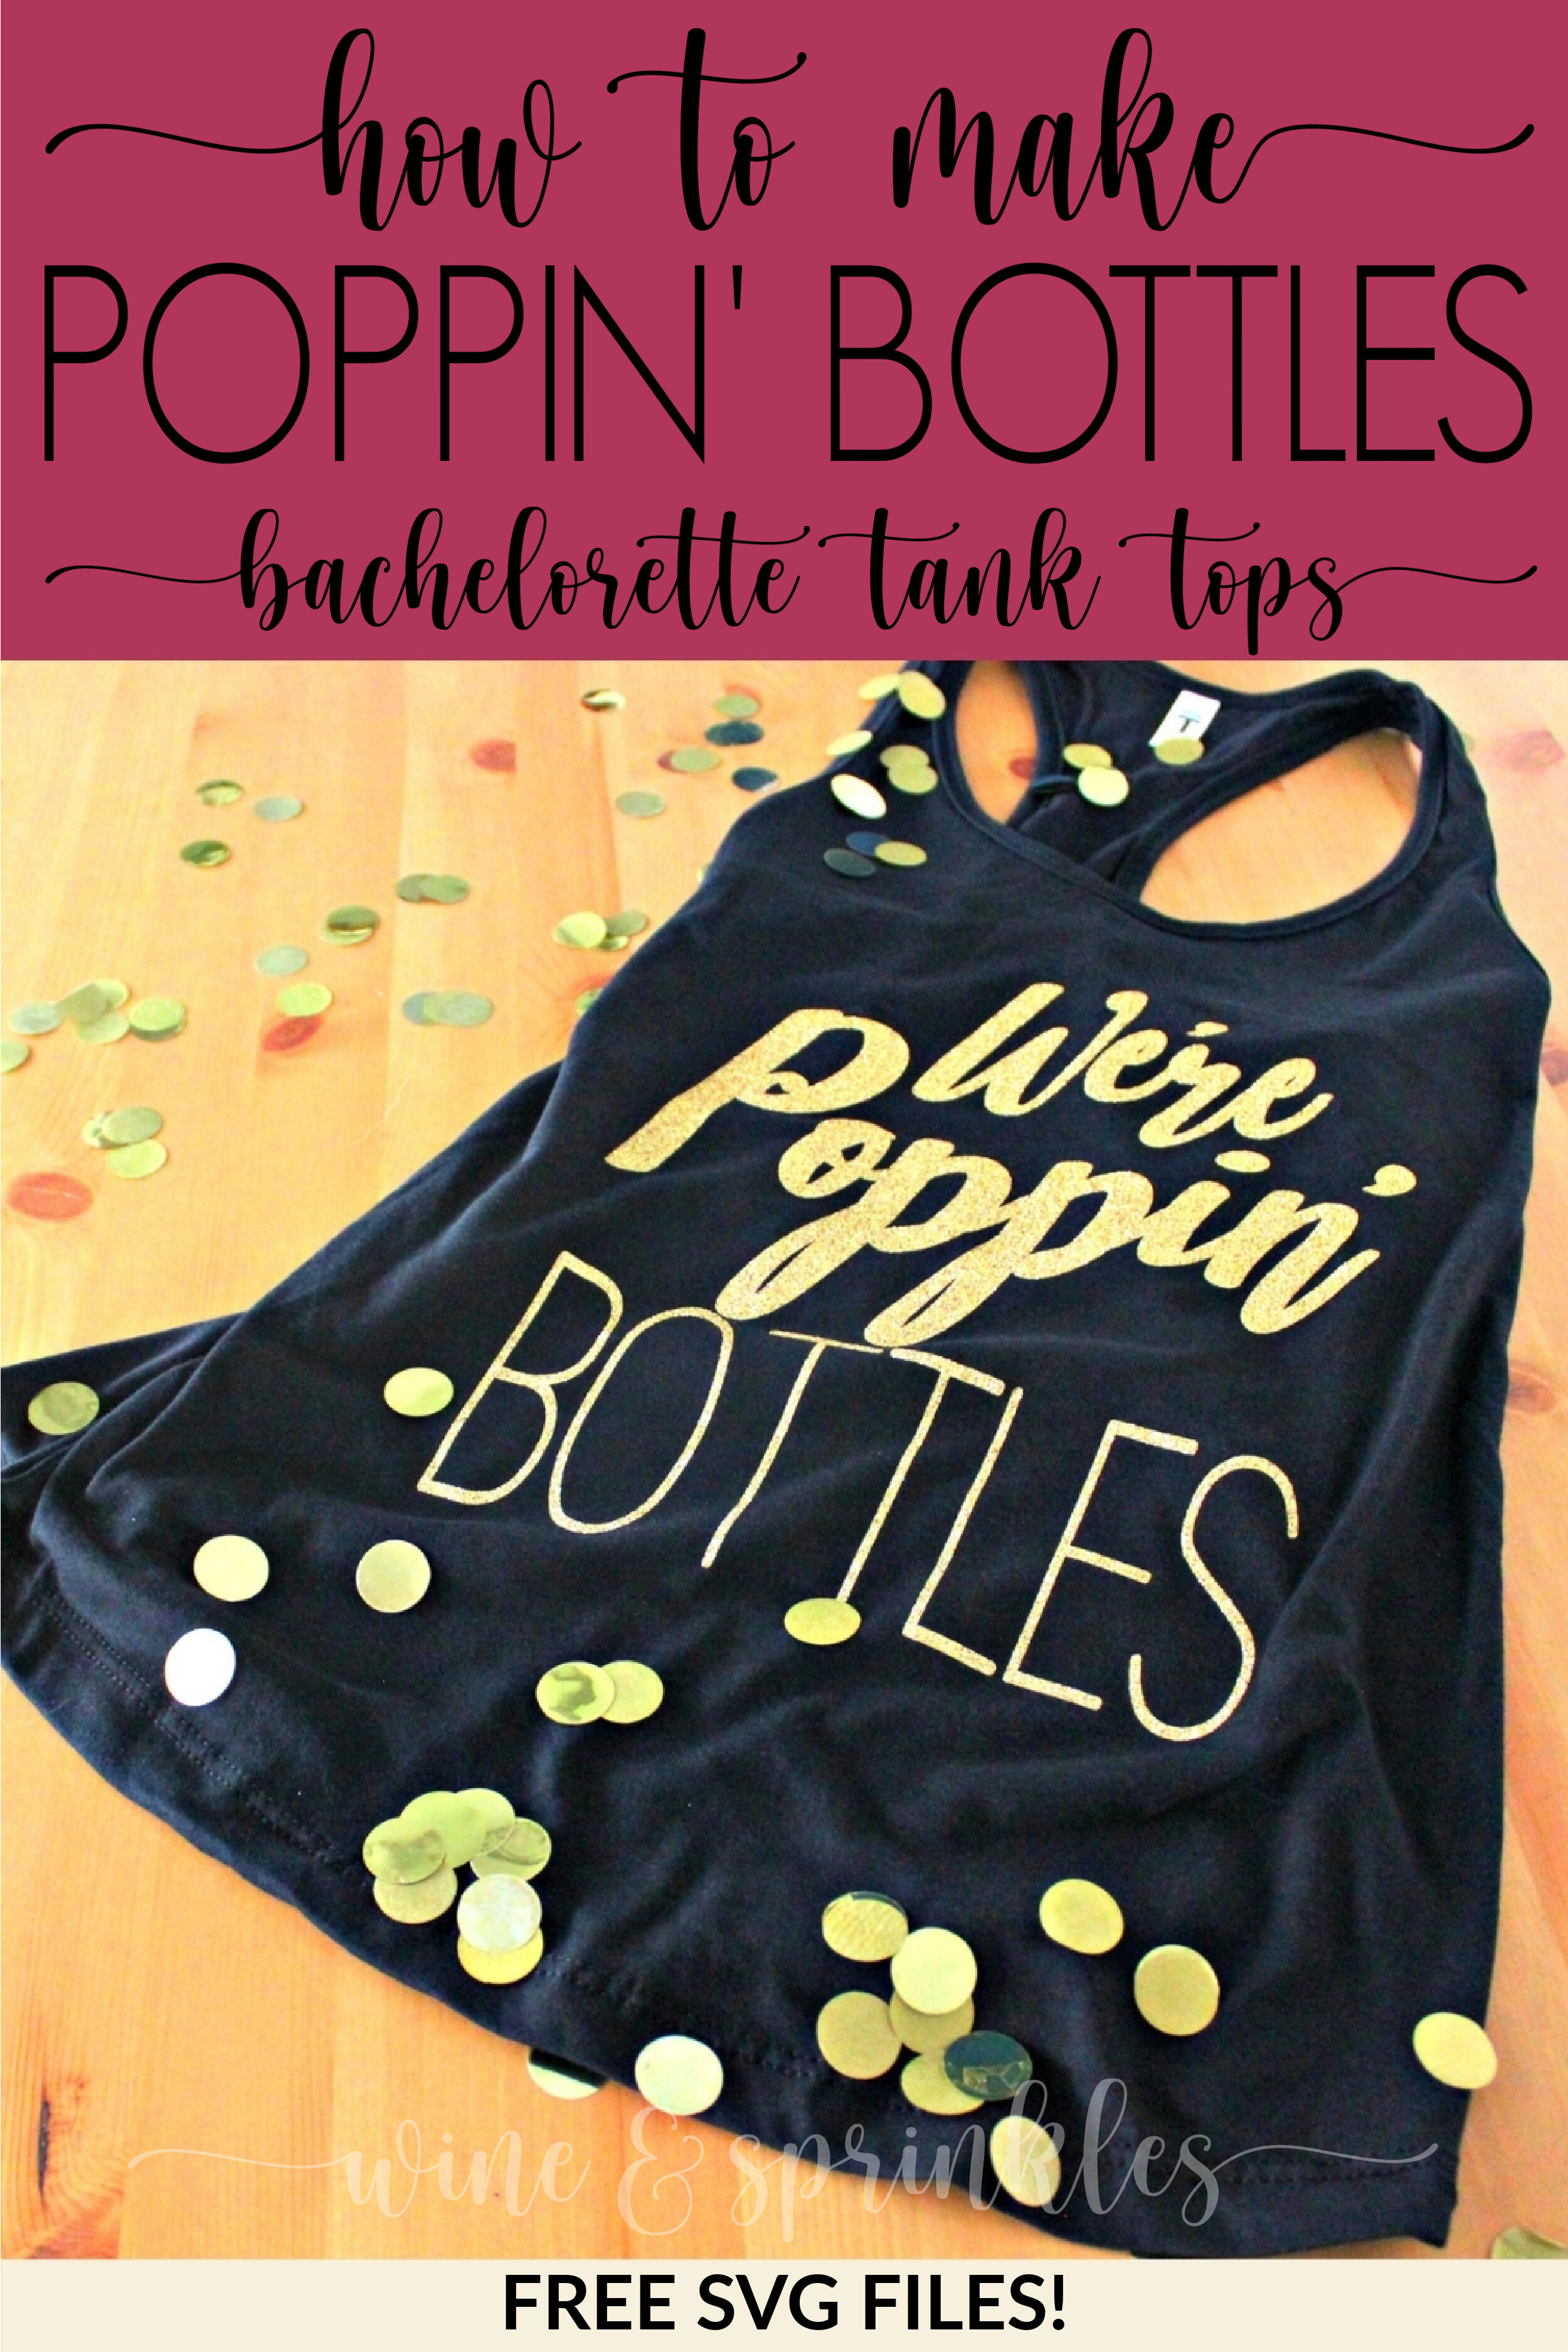
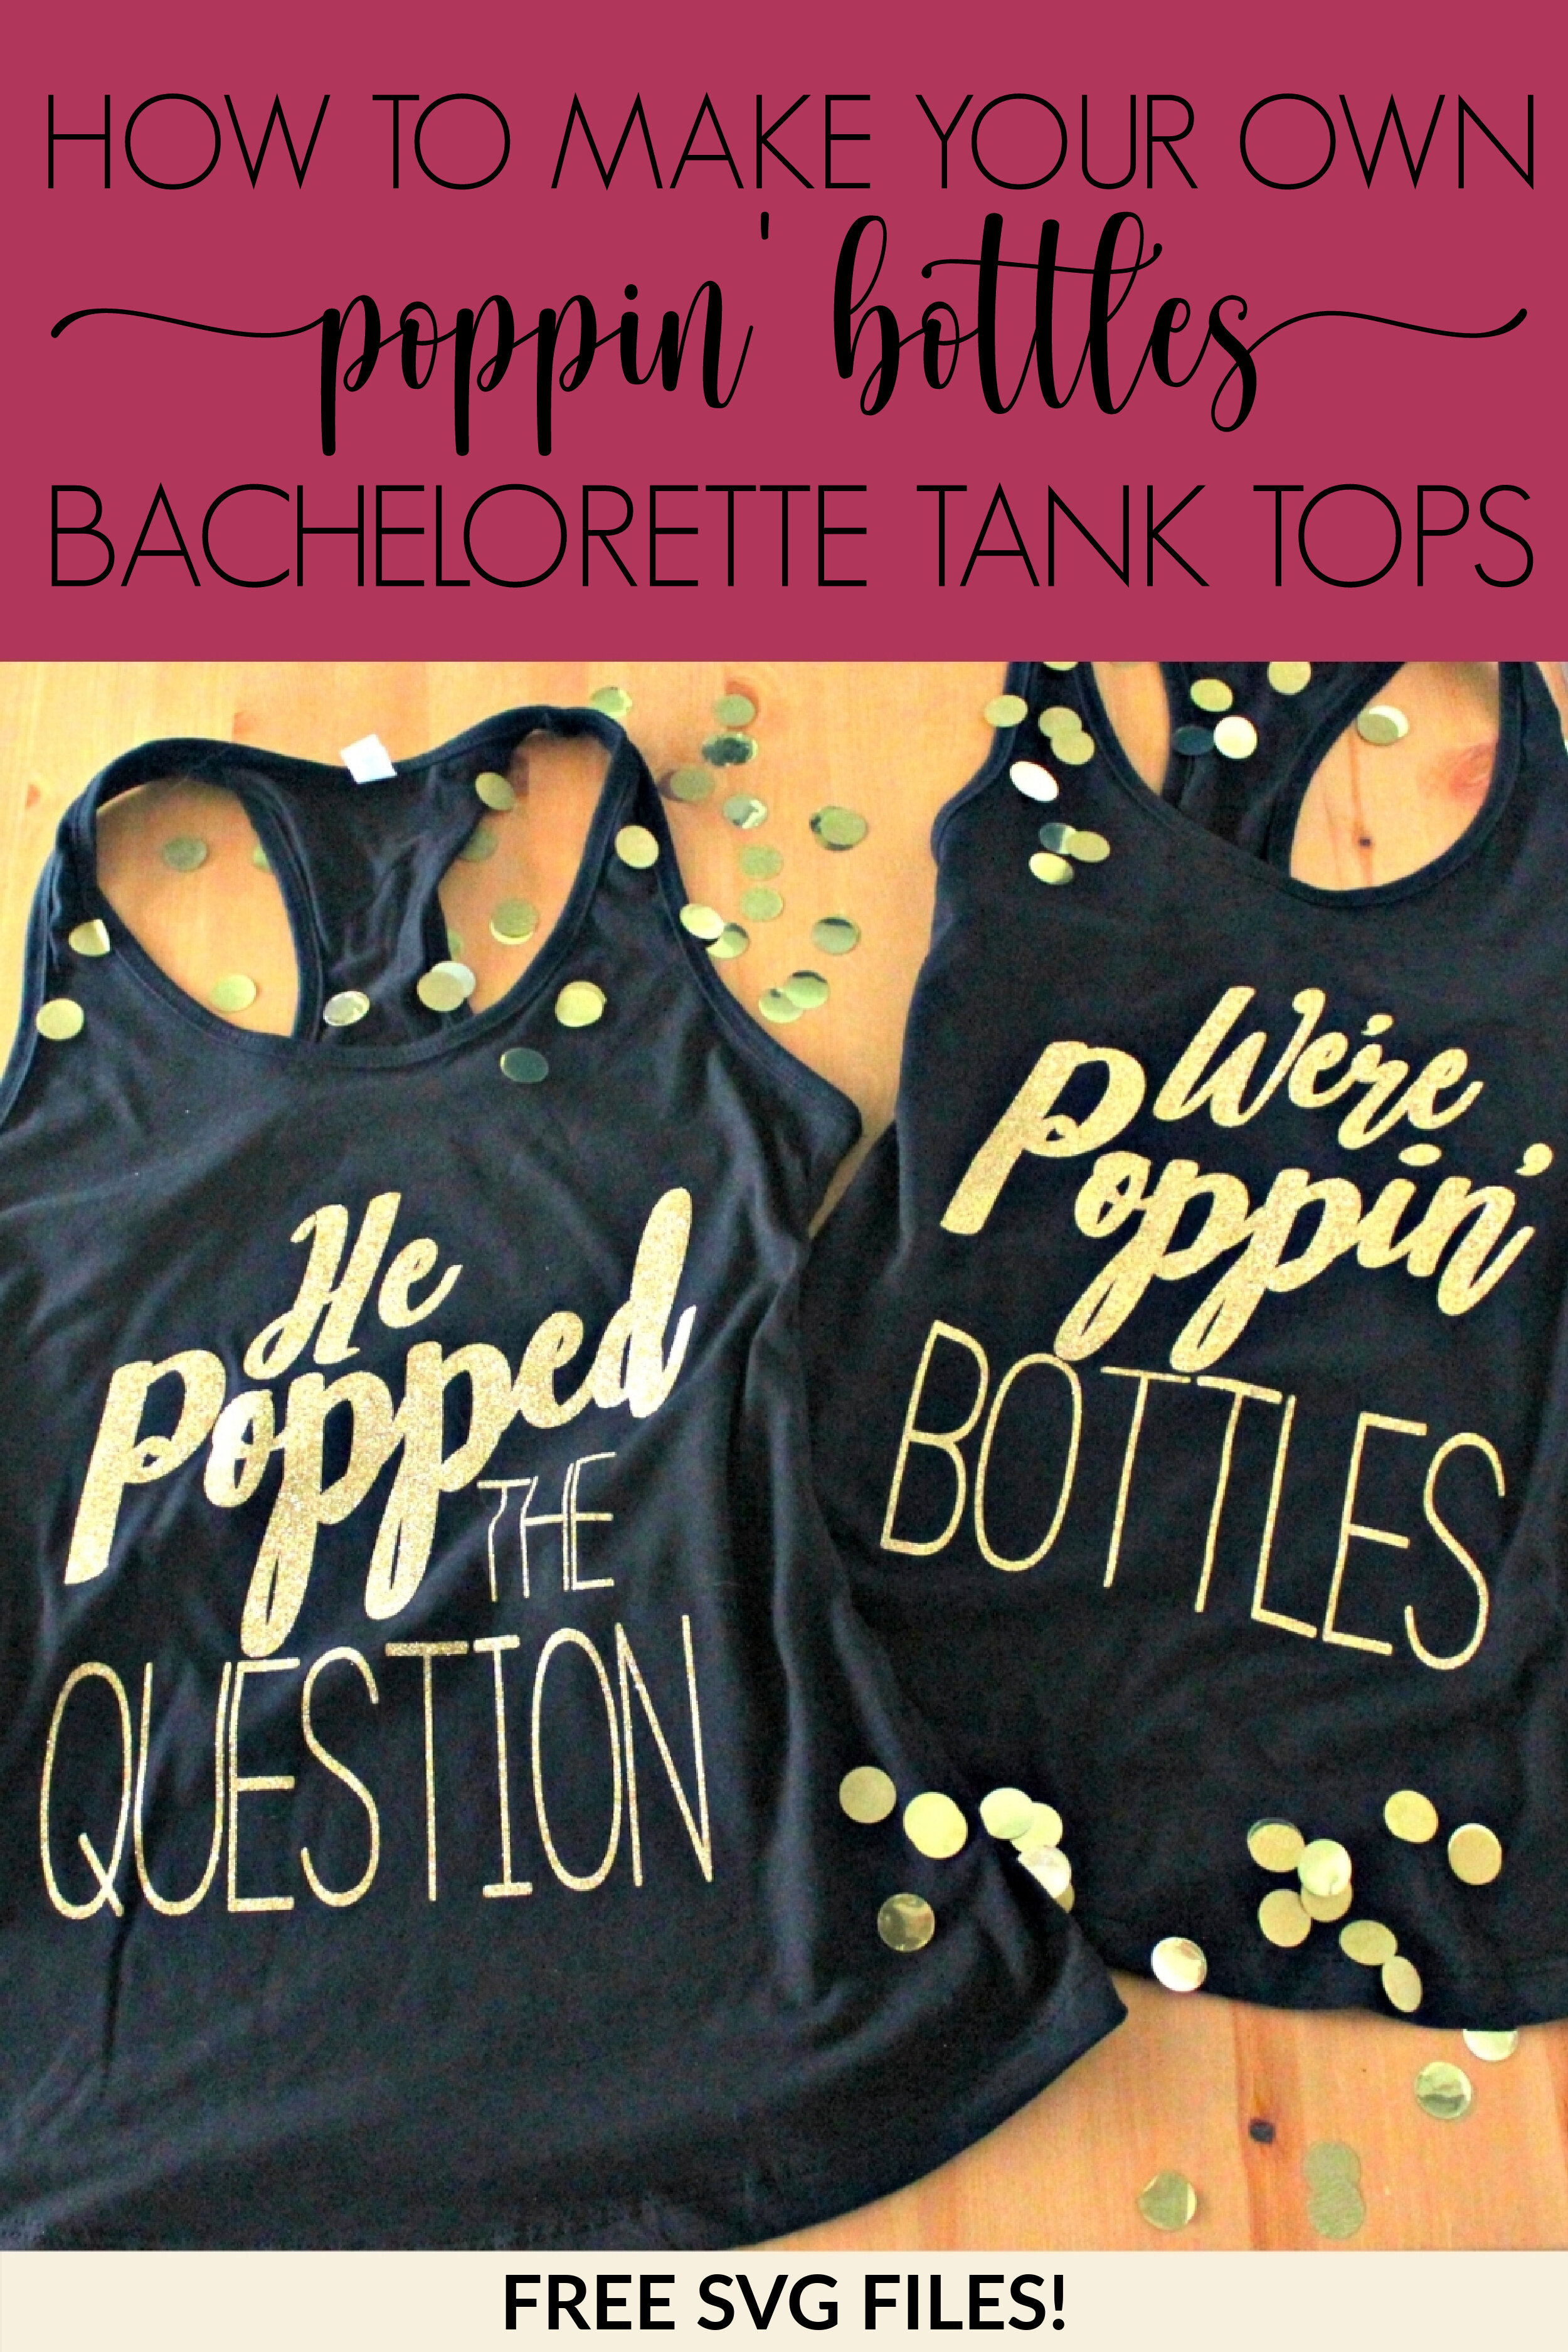
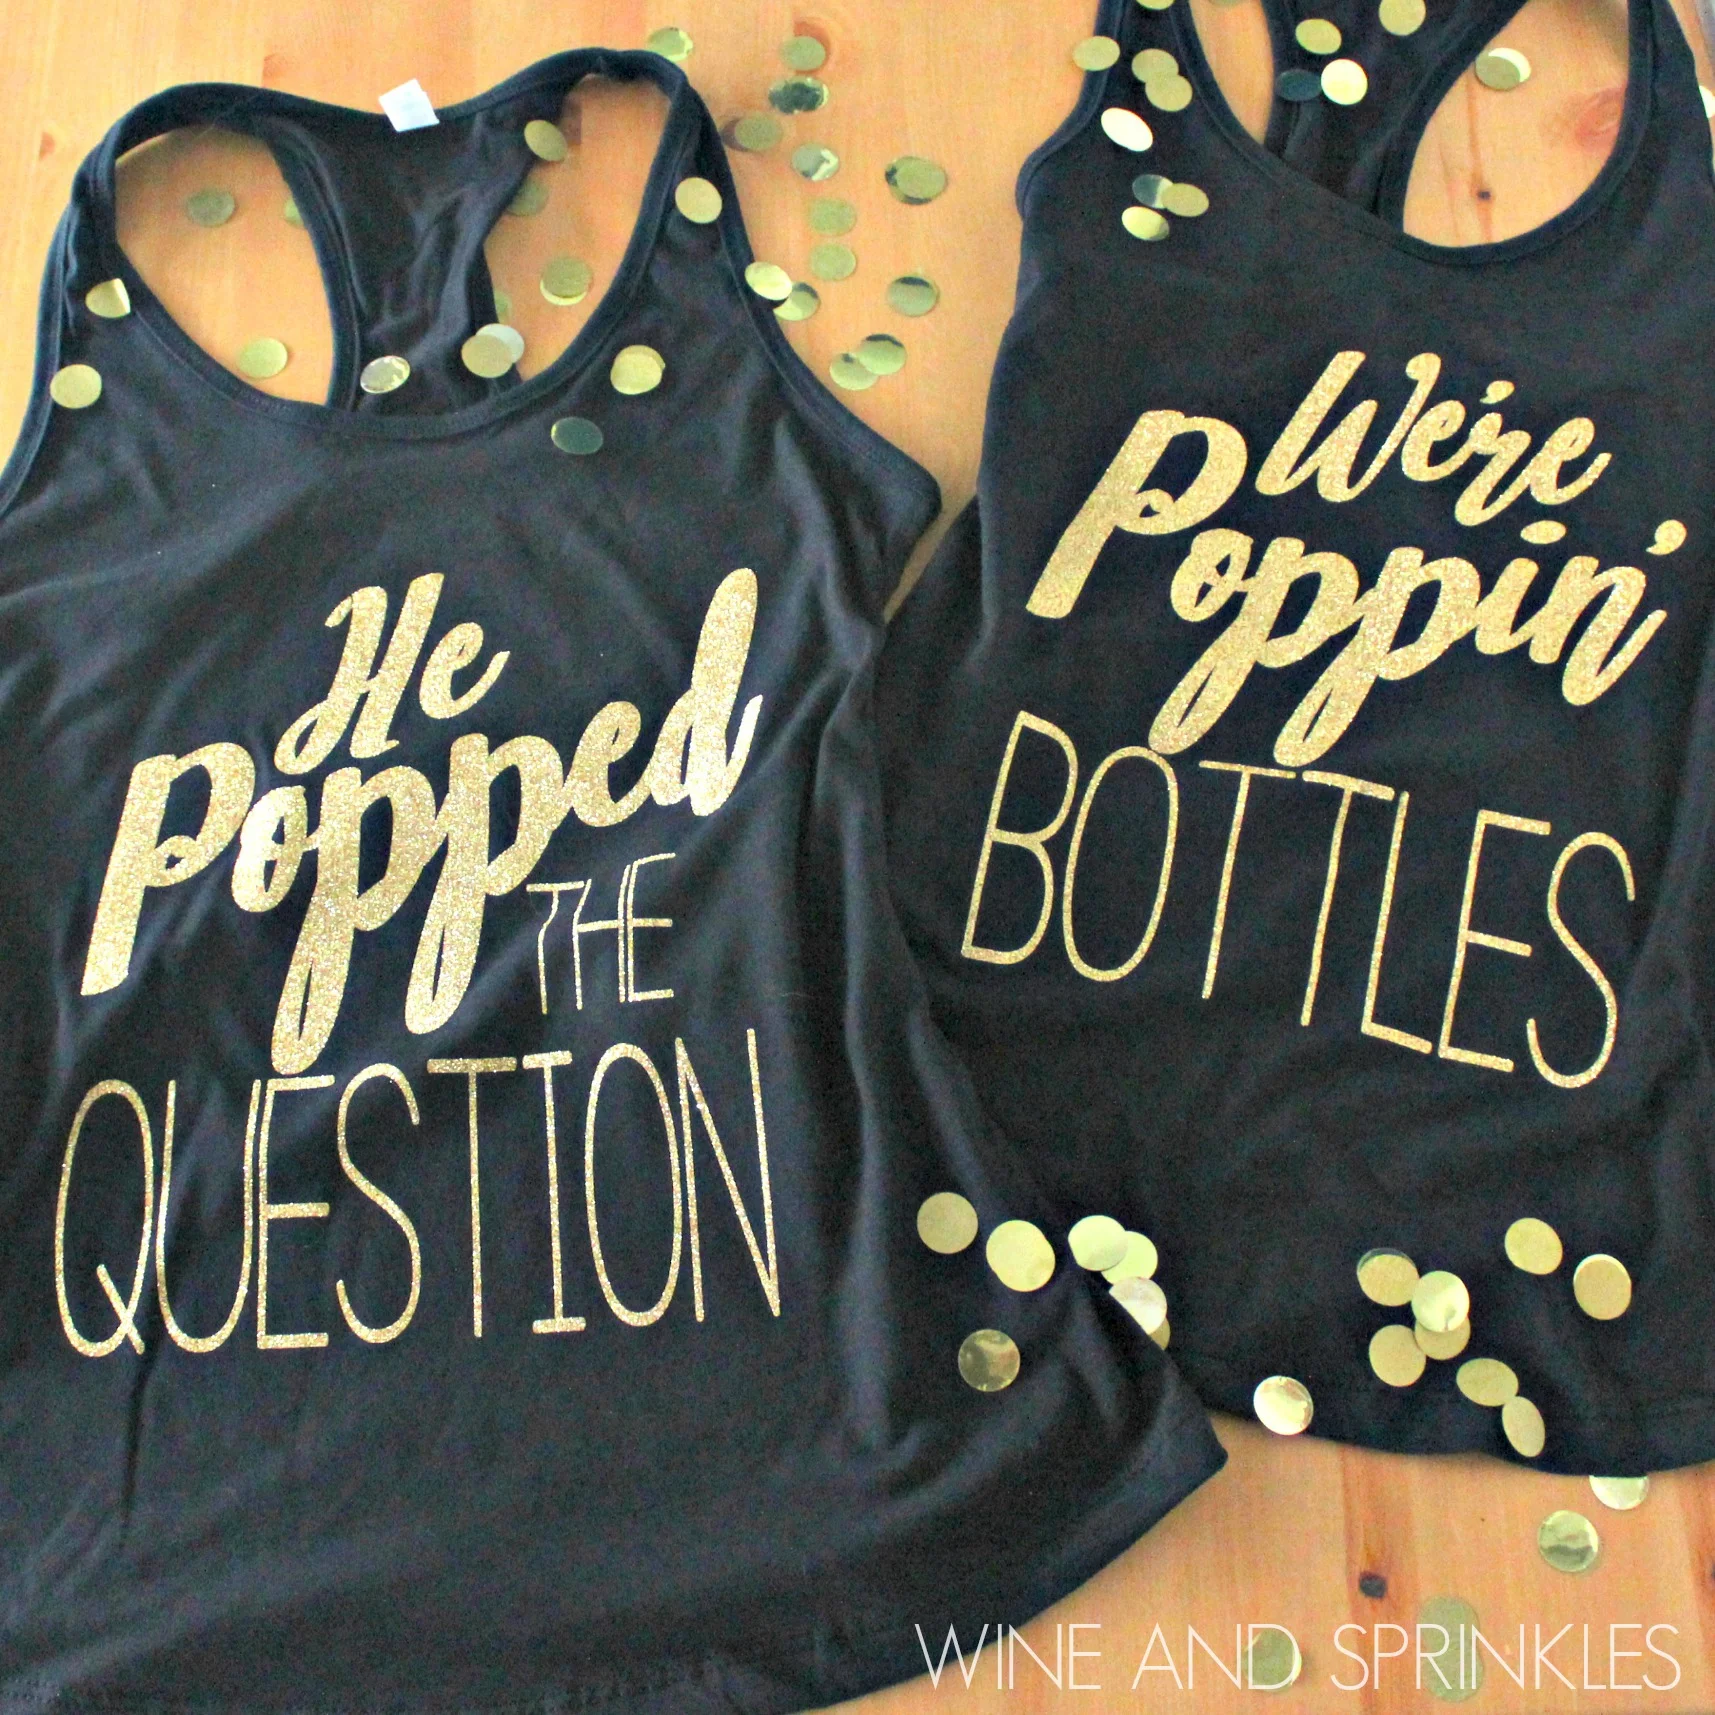
If you are your girls are ready to celebrate your engagement, champagne style, these Poppin’ Bottles Bachelorette Tank Tops are the perfect accessory for your crew! I’m always a fan of bachelorette parties matching, and these black and gold sparkly tank tops are a great choice for a bar crawl or any party hard bachelorette party. I also love the idea of having a New Years Eve Bachelorette, which would go amazingly with these tops as well!
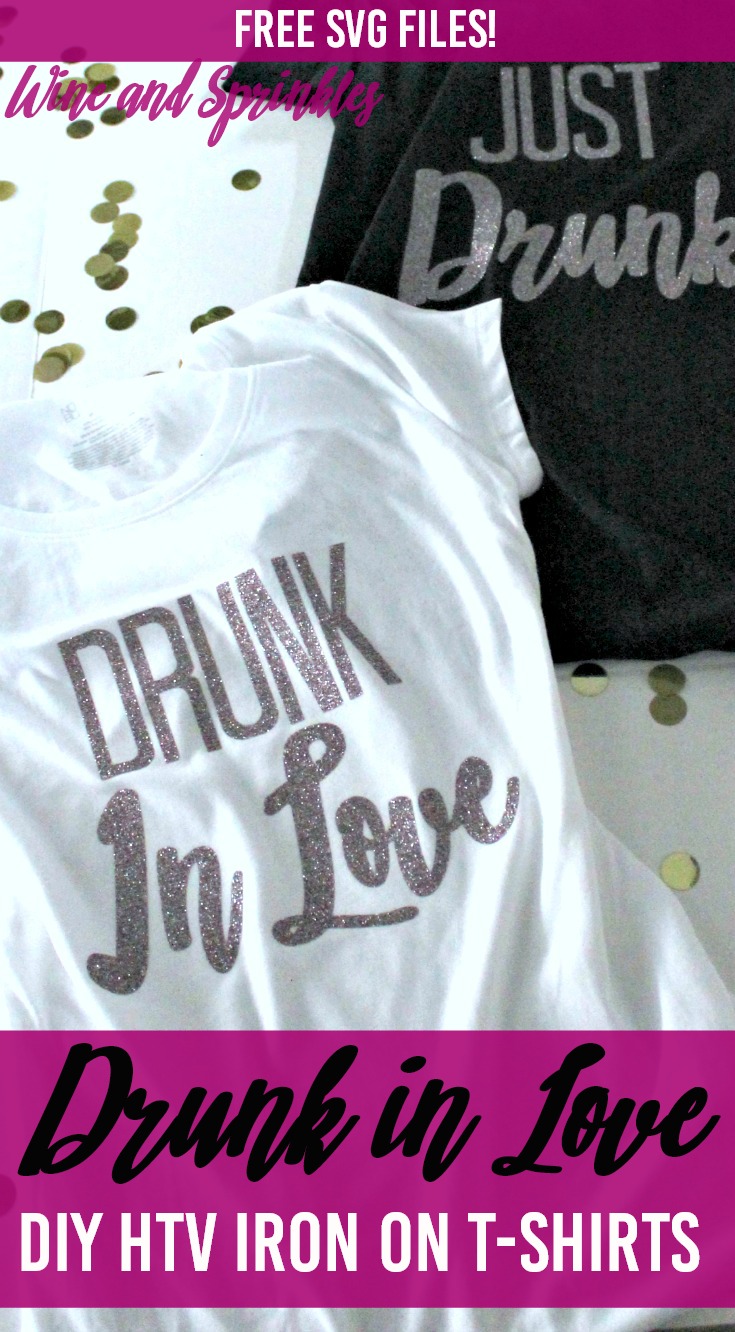
For these designs, I used two different fonts, Philosophy and Generica, which are both available for free for both personal and professional use from DaFont.com! I did have to do some stretching on the Generica Font to give it some height for the decal design though, so keep that in mind if you are designing for other projects.
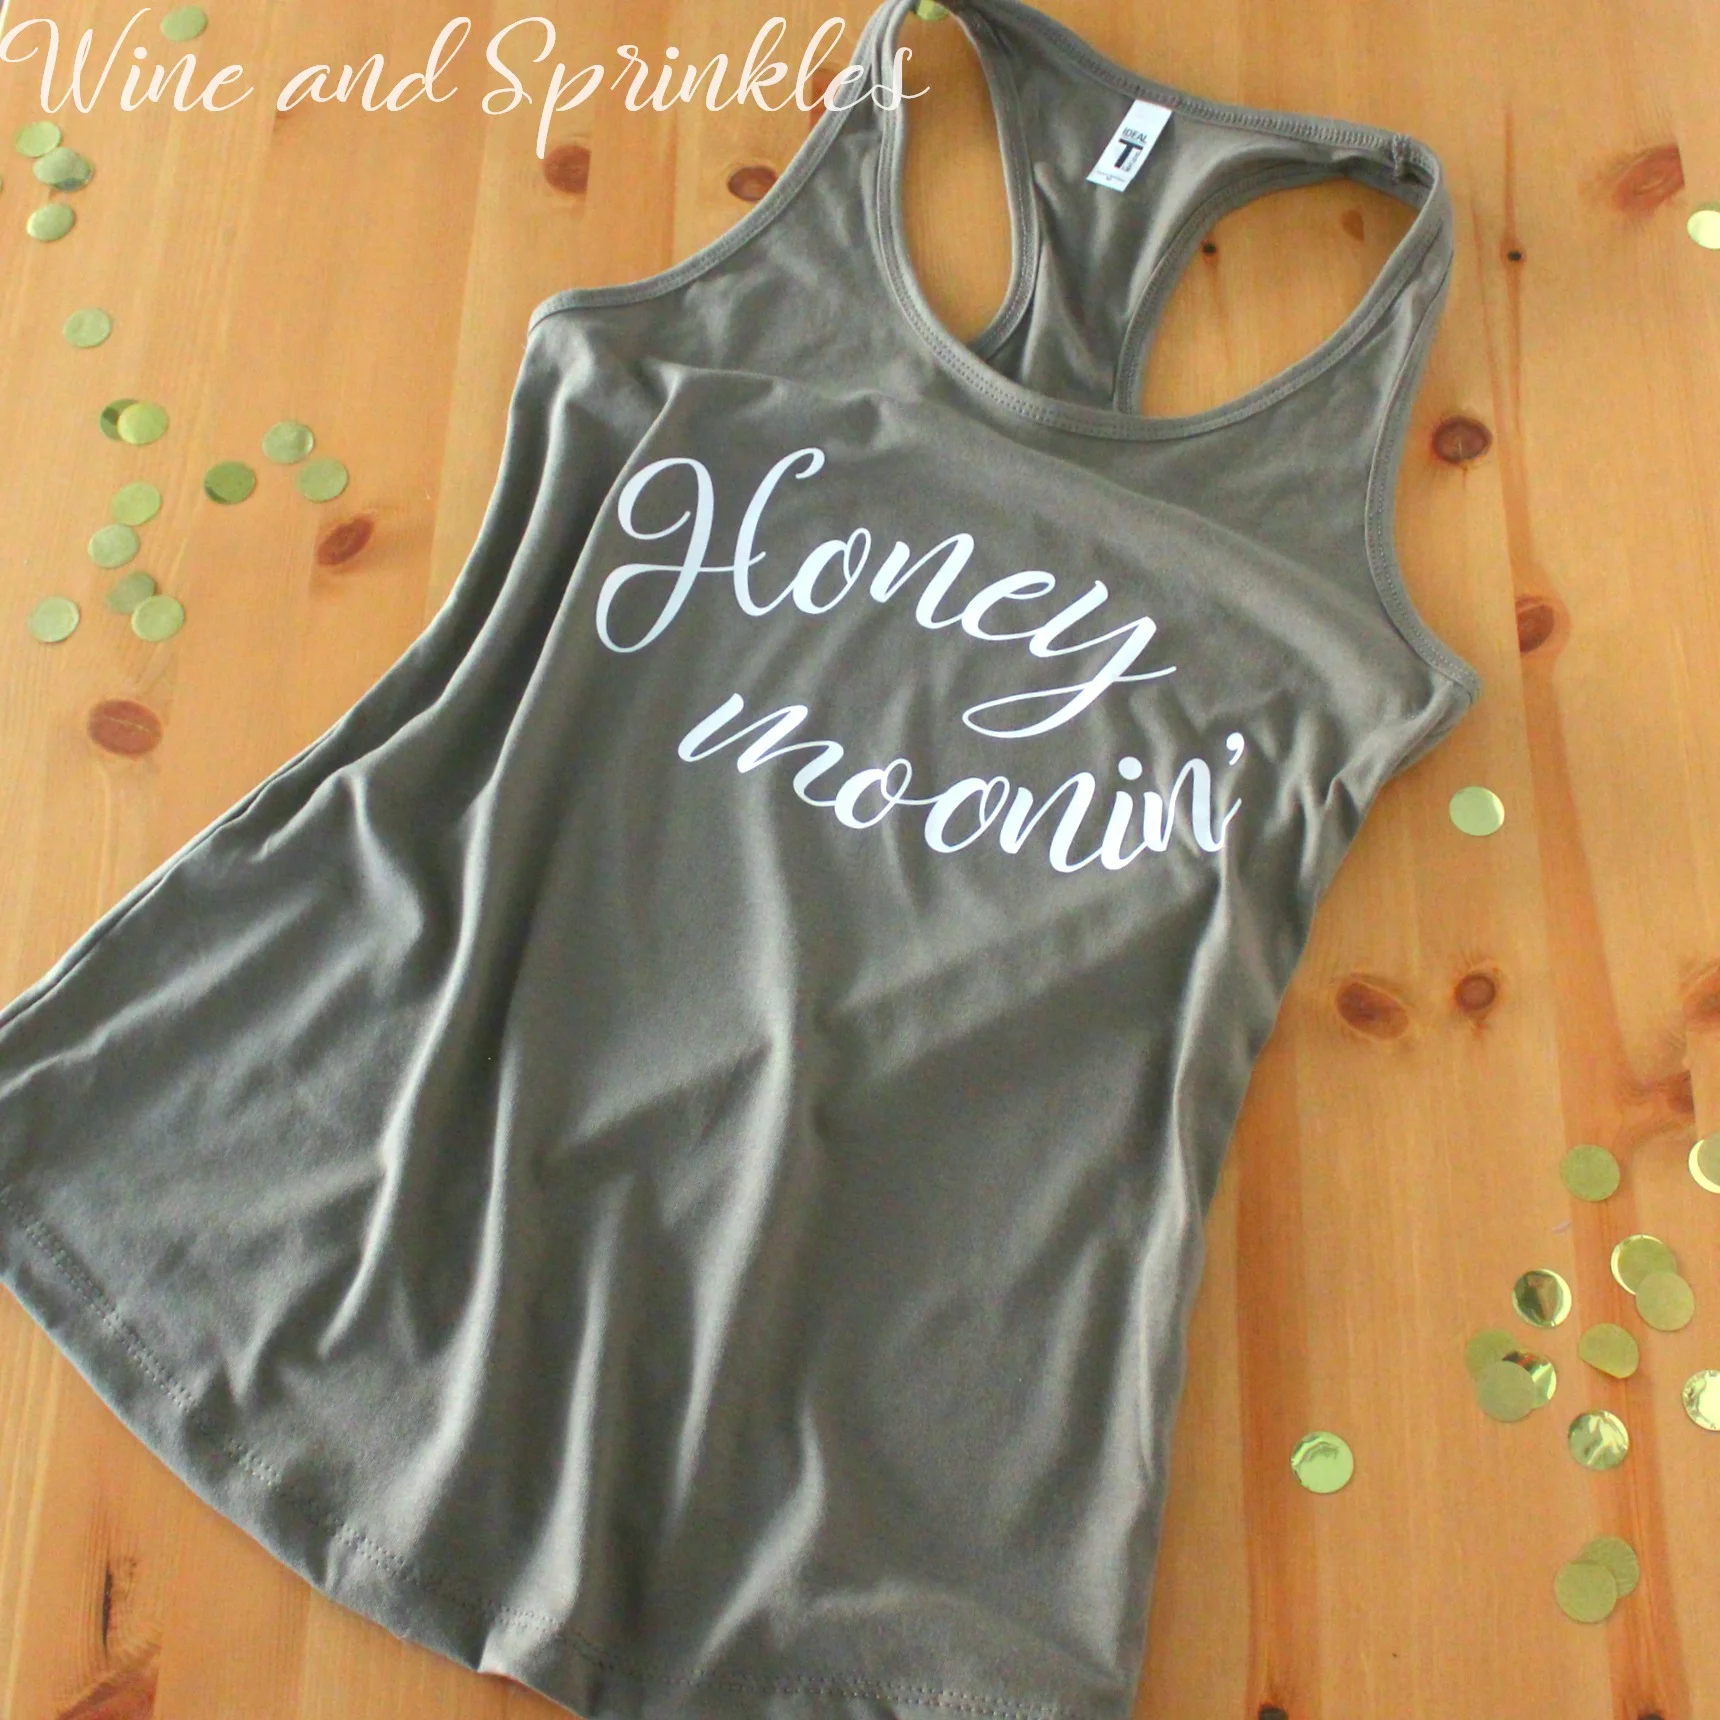
For the Tank Tops, I used a Black Tank top with Old Gold Glitter HTV and I love how they turned out! I was a little worried on how such a thin font would do with weeding and cutting, but I had no problems at all. In fact, it turned out that the entire design was very easy to weed and transfer in general, so its a great project for beginners or masters alike! also easy designs for those who are still beginners to the HTV world.
For more Bachelorette DIY Projects, see our Bachelorette Party Projects & Posts Here!

Supplies:
Blank Tank Tops
Easyweed Heat Transfer Vinyl or Glitter Heat Transfer Vinyl
Craft Cutter and Tool set
Adhesive Mat
Tank Top Design Cut Files


1. After downloading the cut files, import them into the Cricut Software. After creating a new project, select Upload Image. Select the file you wish to upload and it will automatically take you to the final upload screen, where you can name the file the select Save. The SVG Files are sized so that they will automatically cut to the size you see in the photos, but if you want to change the size you can do so to fit the tank tops the way you like.

2. After selecting “Make It” Make sure to select the Mirror Mode on the cutting screen. Cut the design in your choice of heat transfer vinyl with the Iron On (for Easyweed HTV) or Iron On+ (for Glitter HTV) Setting on your Cricut, with the shiny side of the material down.
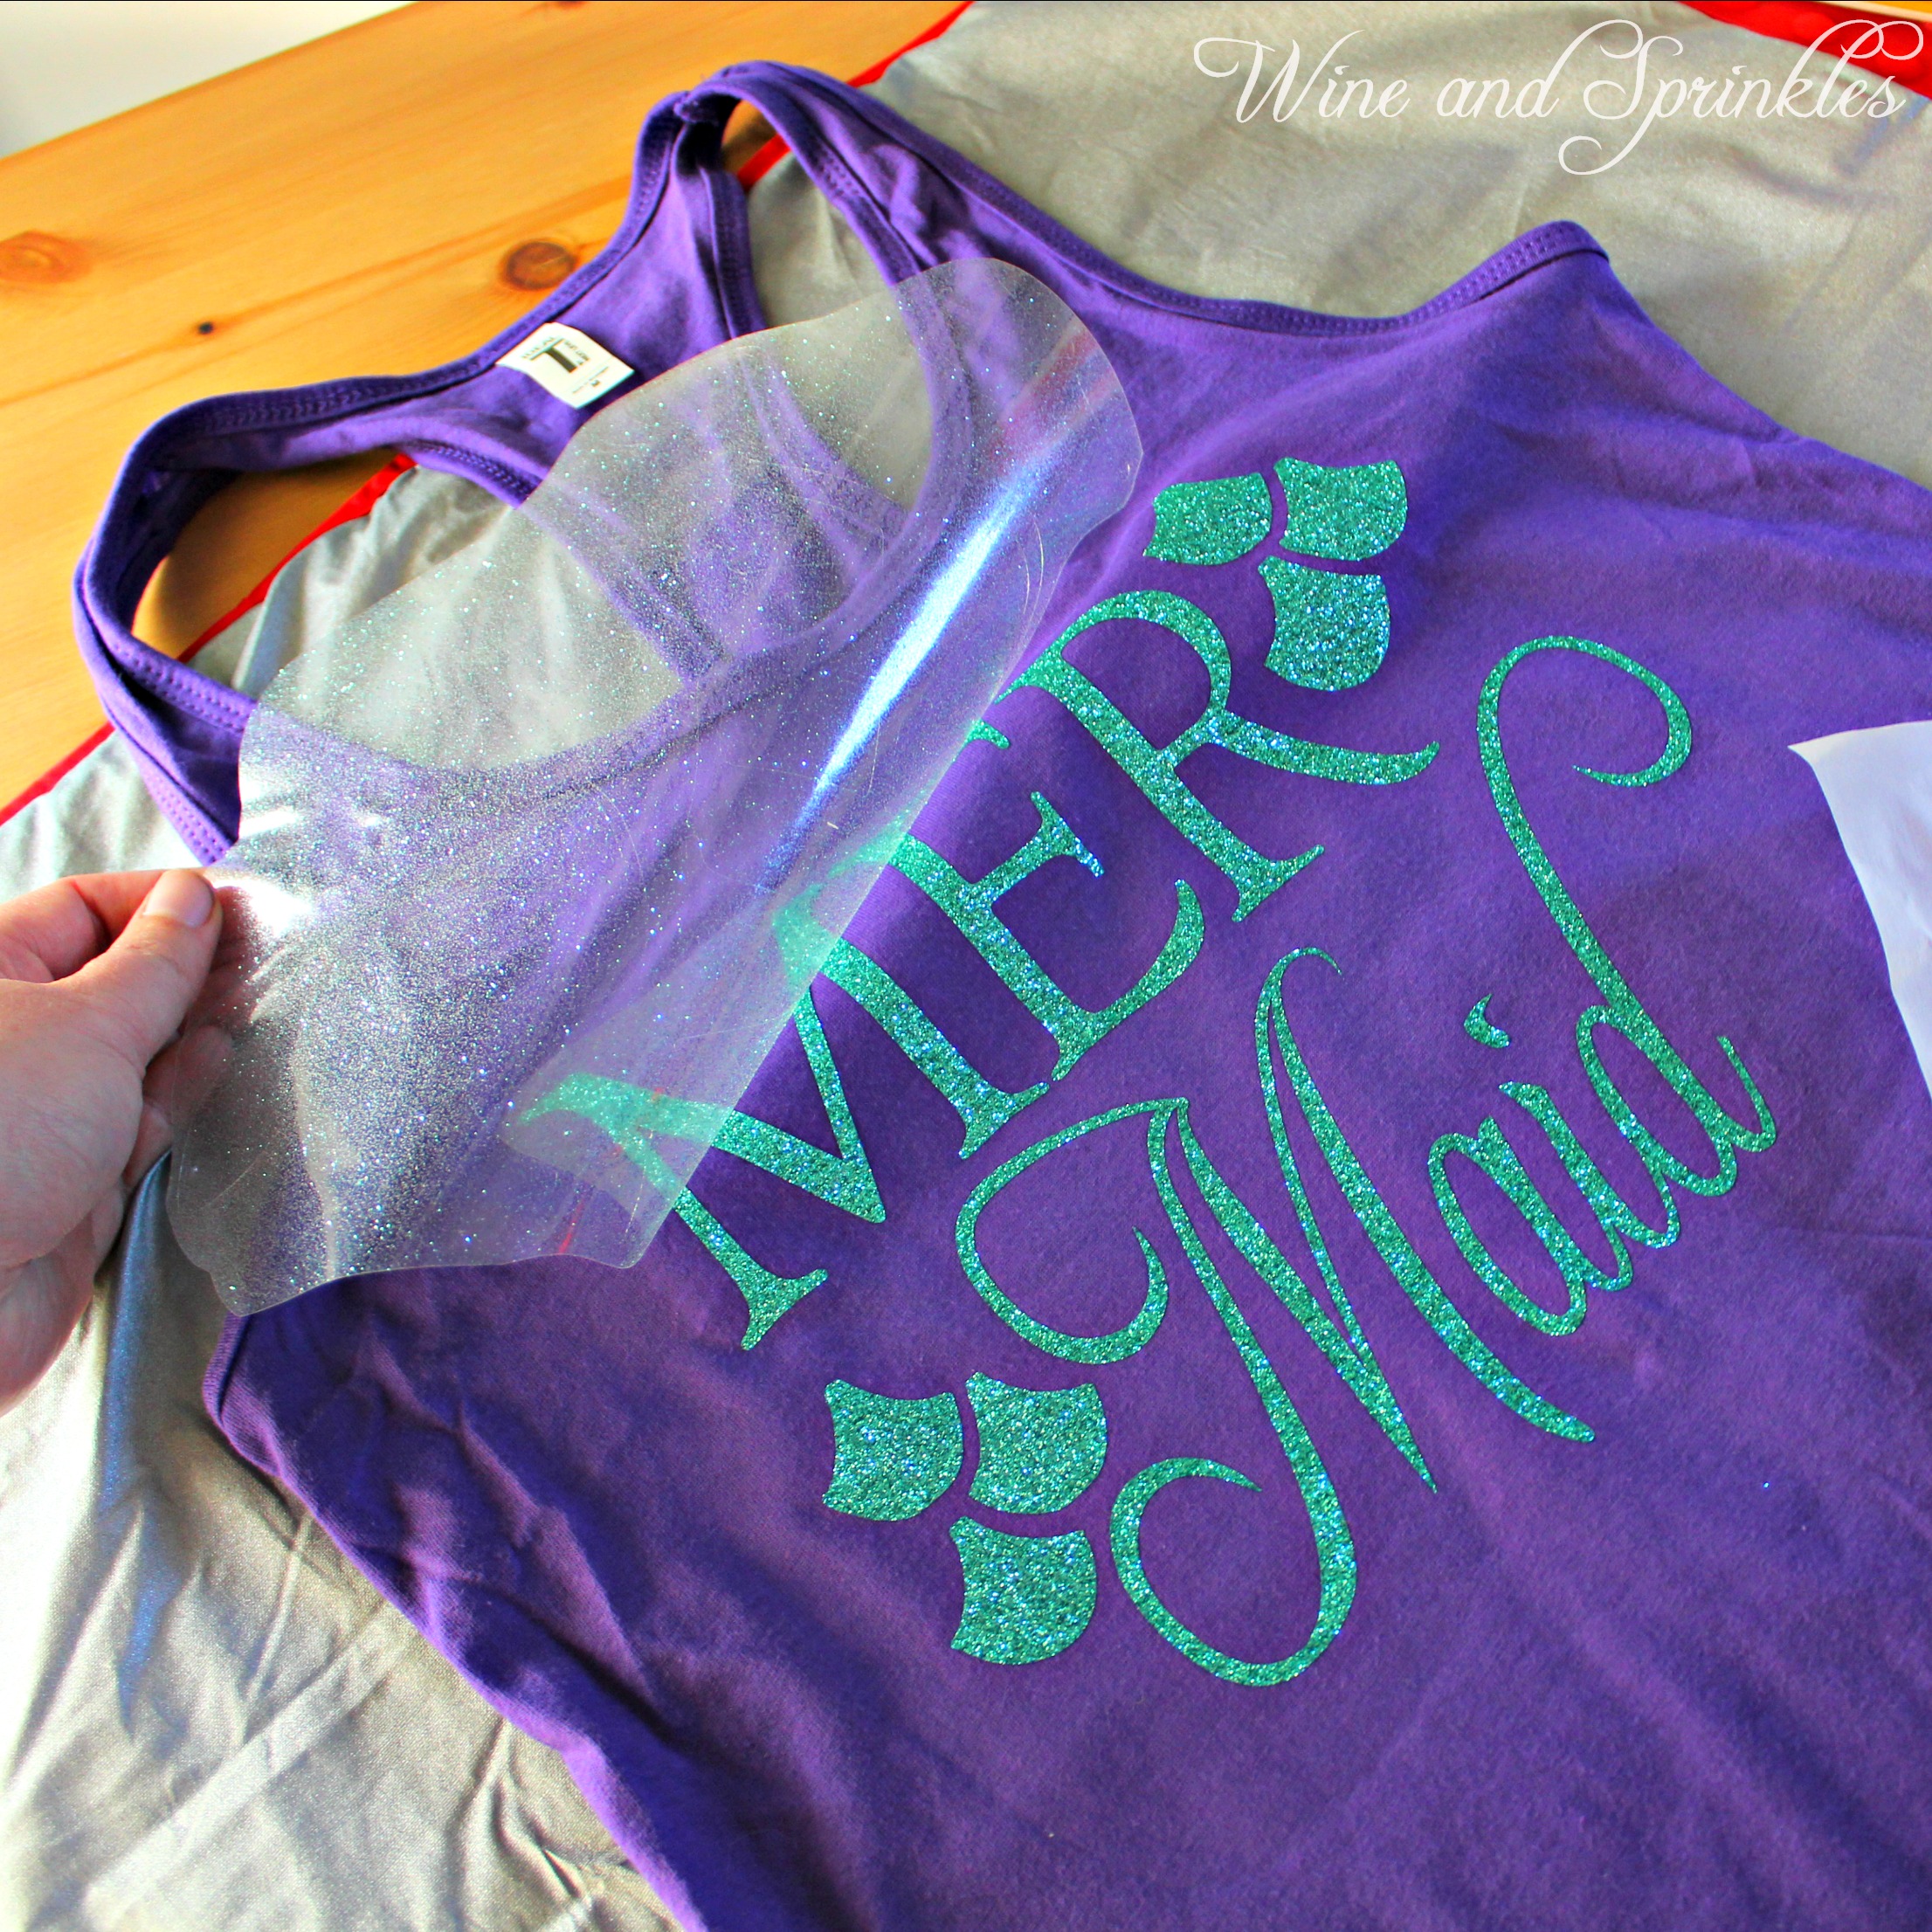
3. Weed the additional material off of the backing material so that, looking down with the shiny side up, you can see your design with the correct orientation.
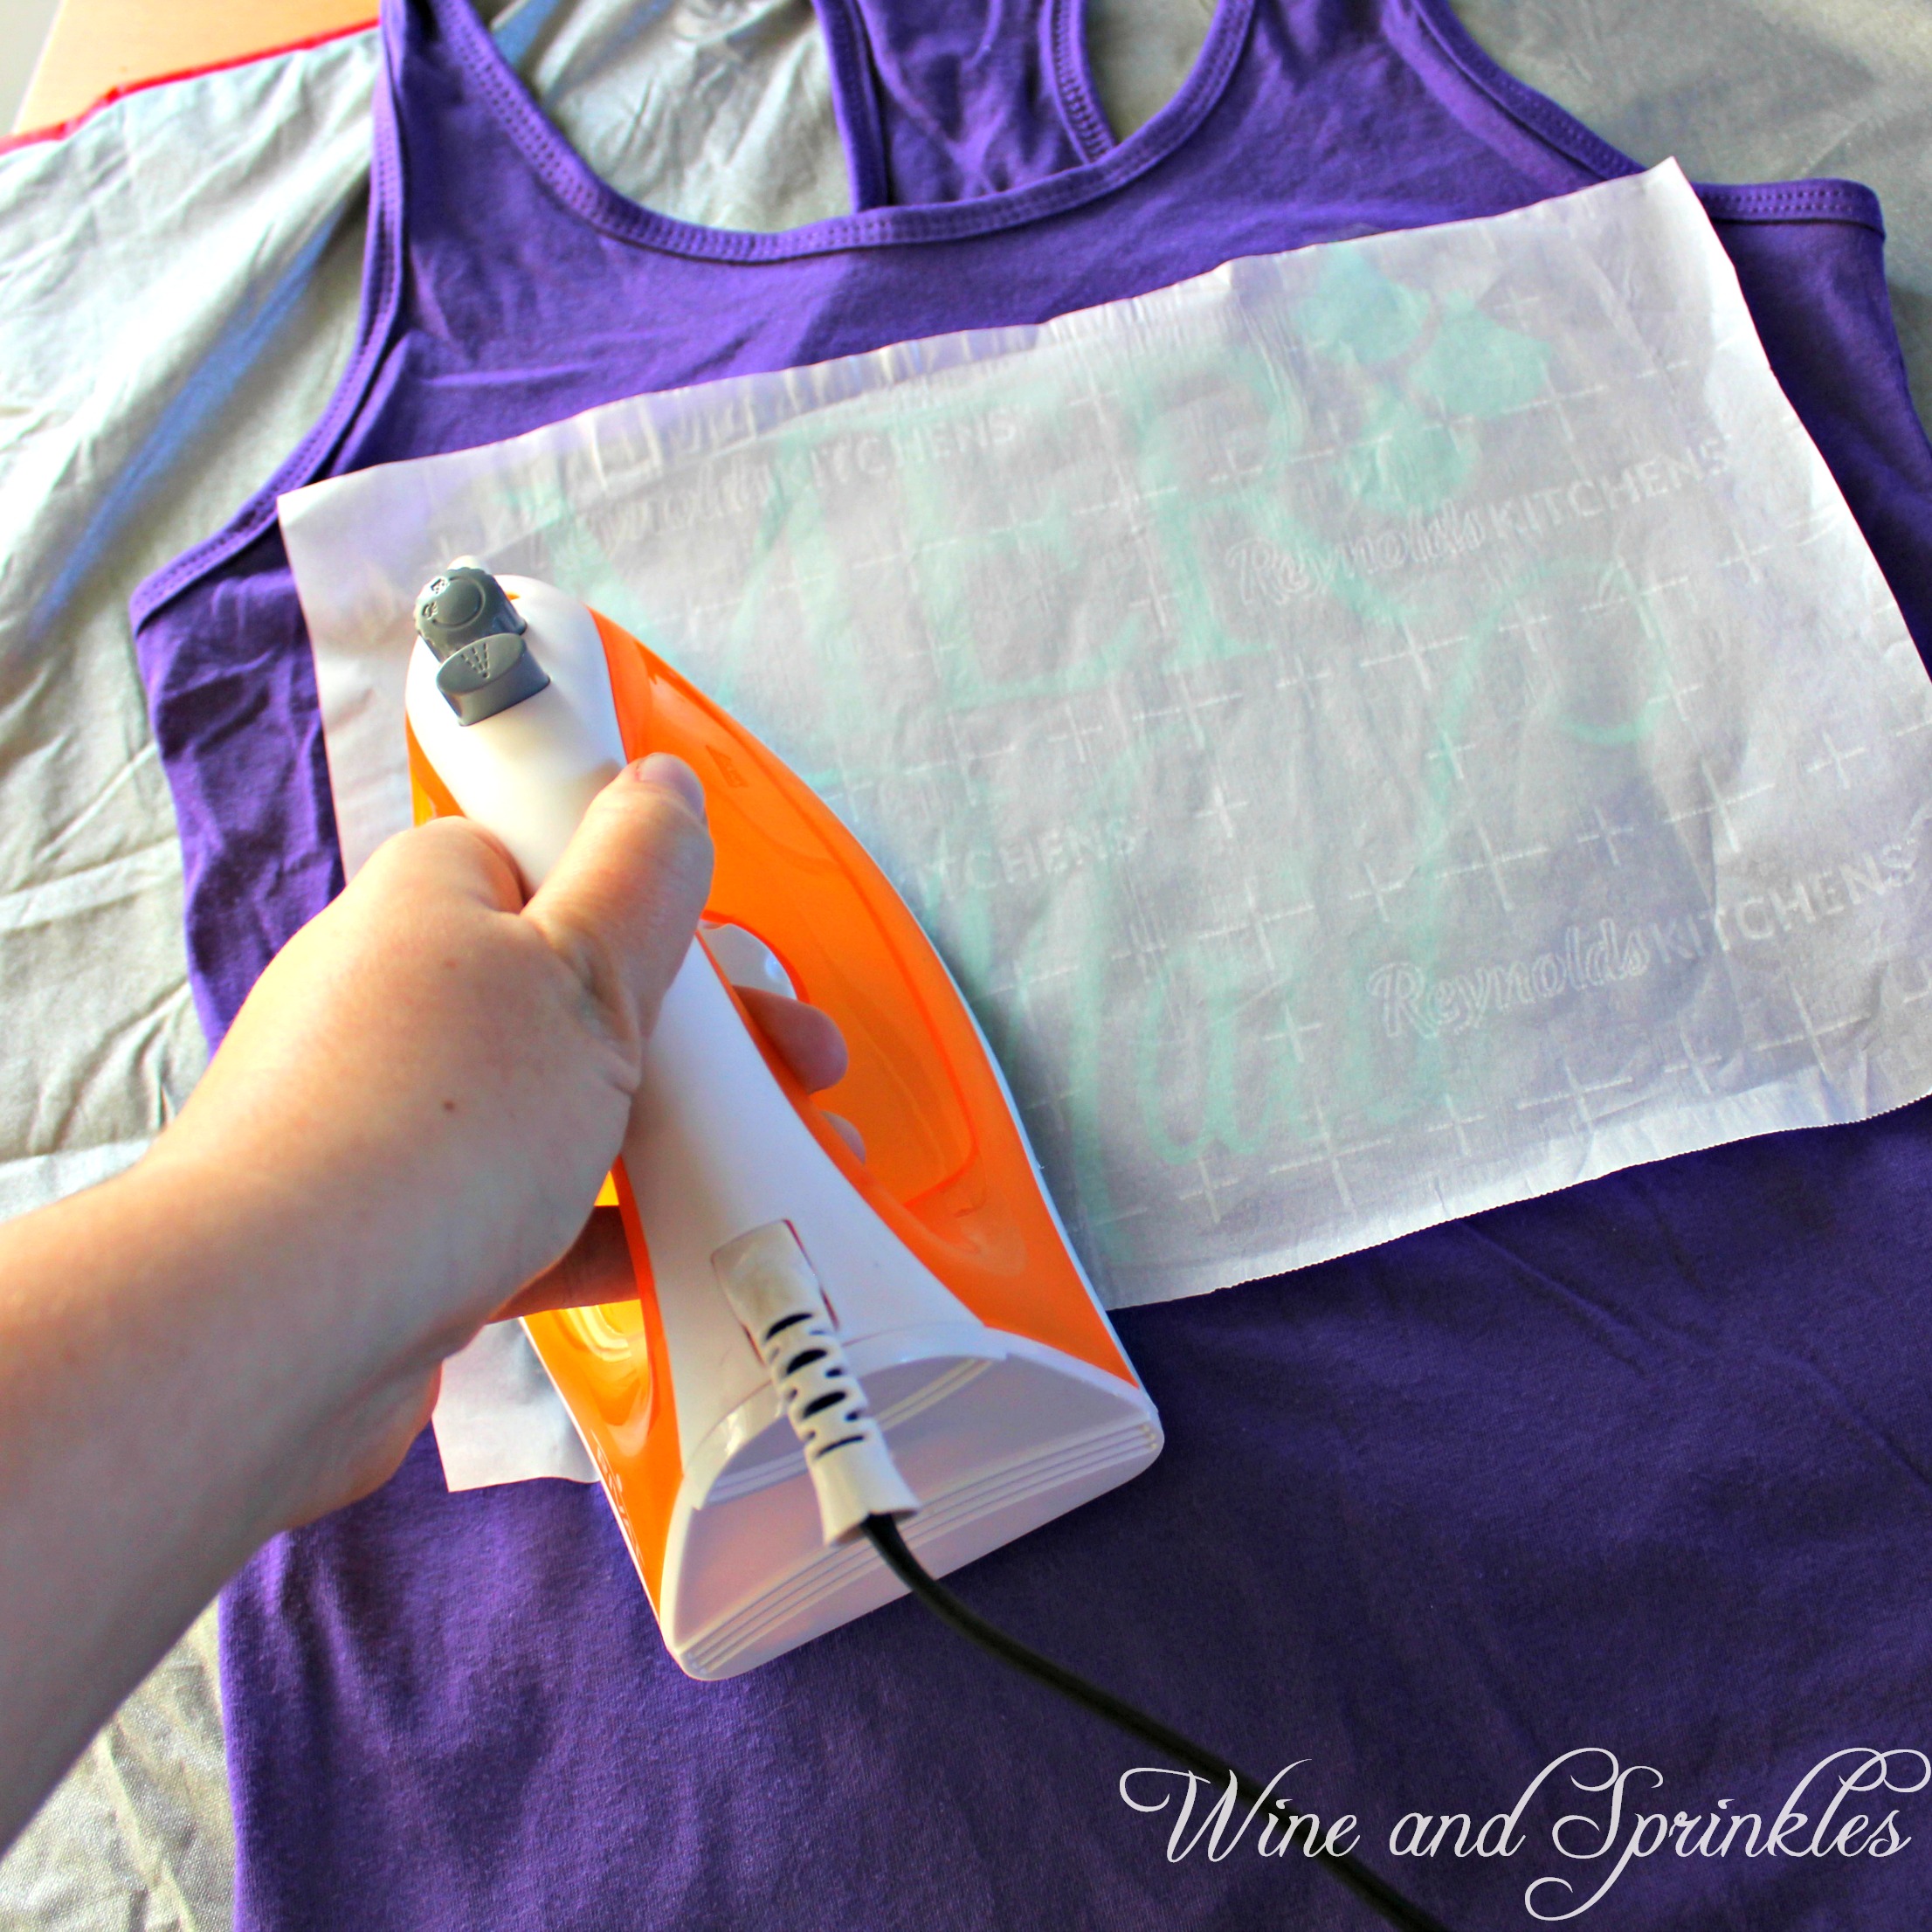
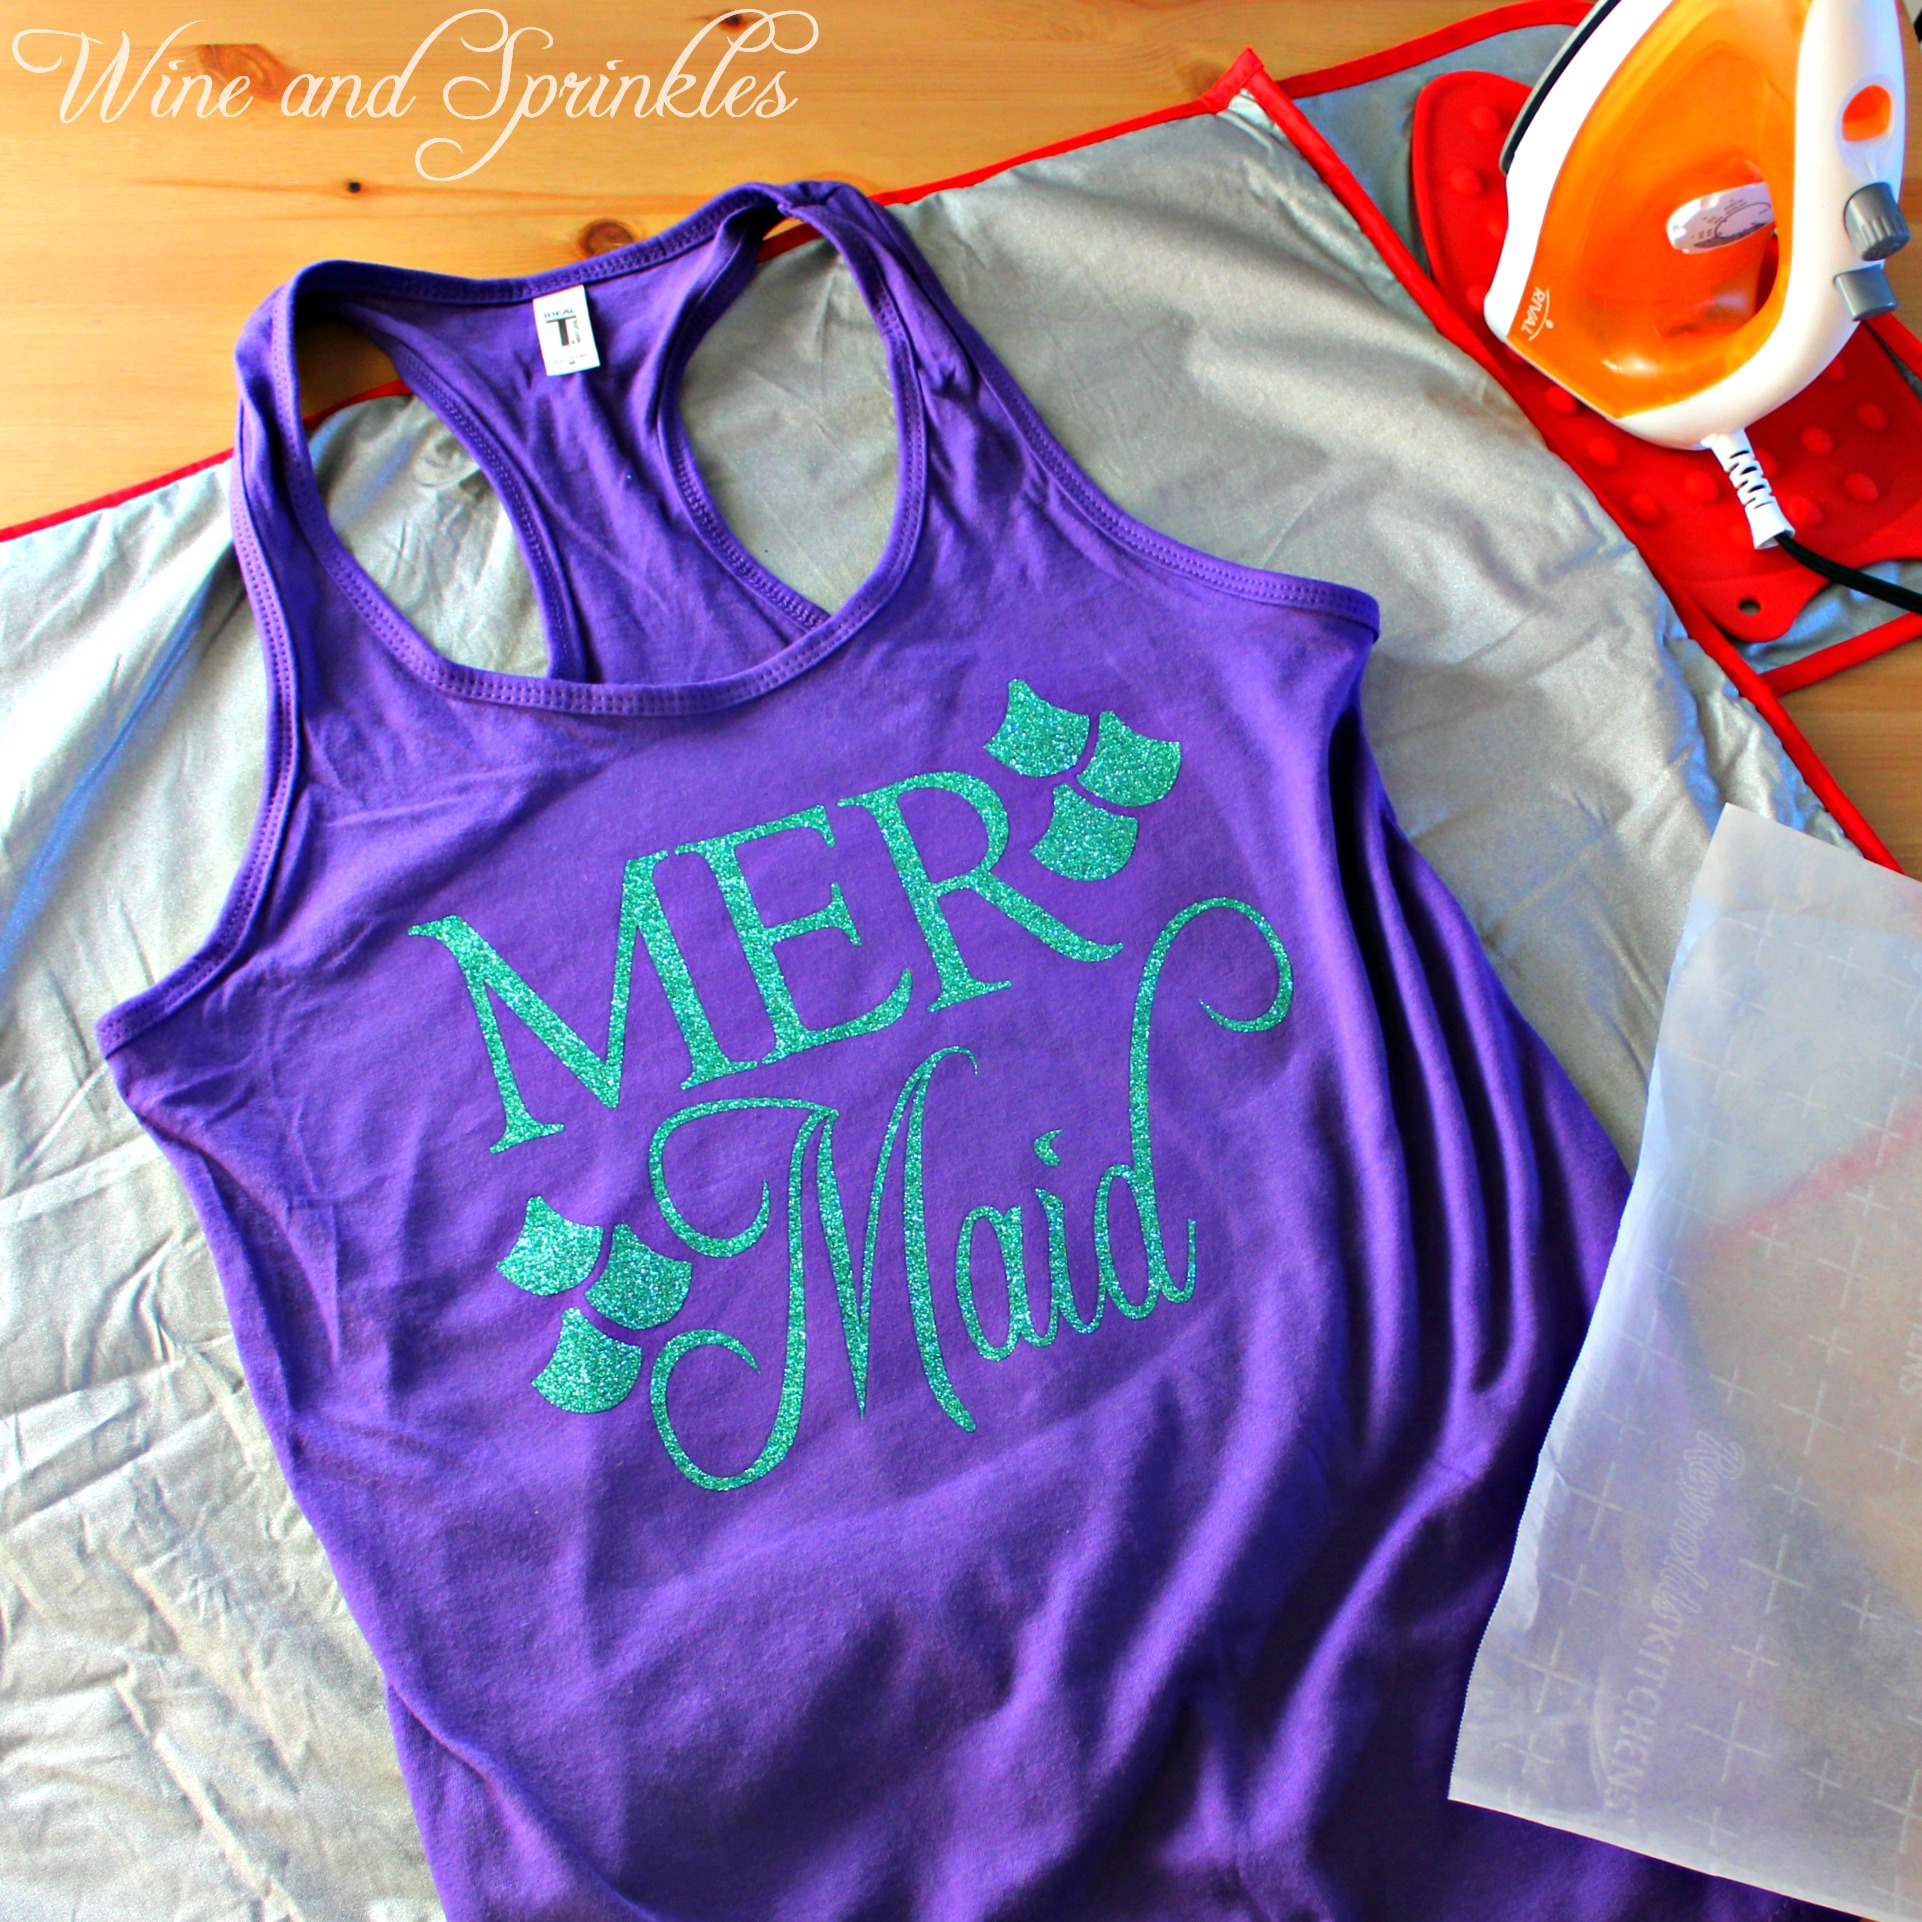
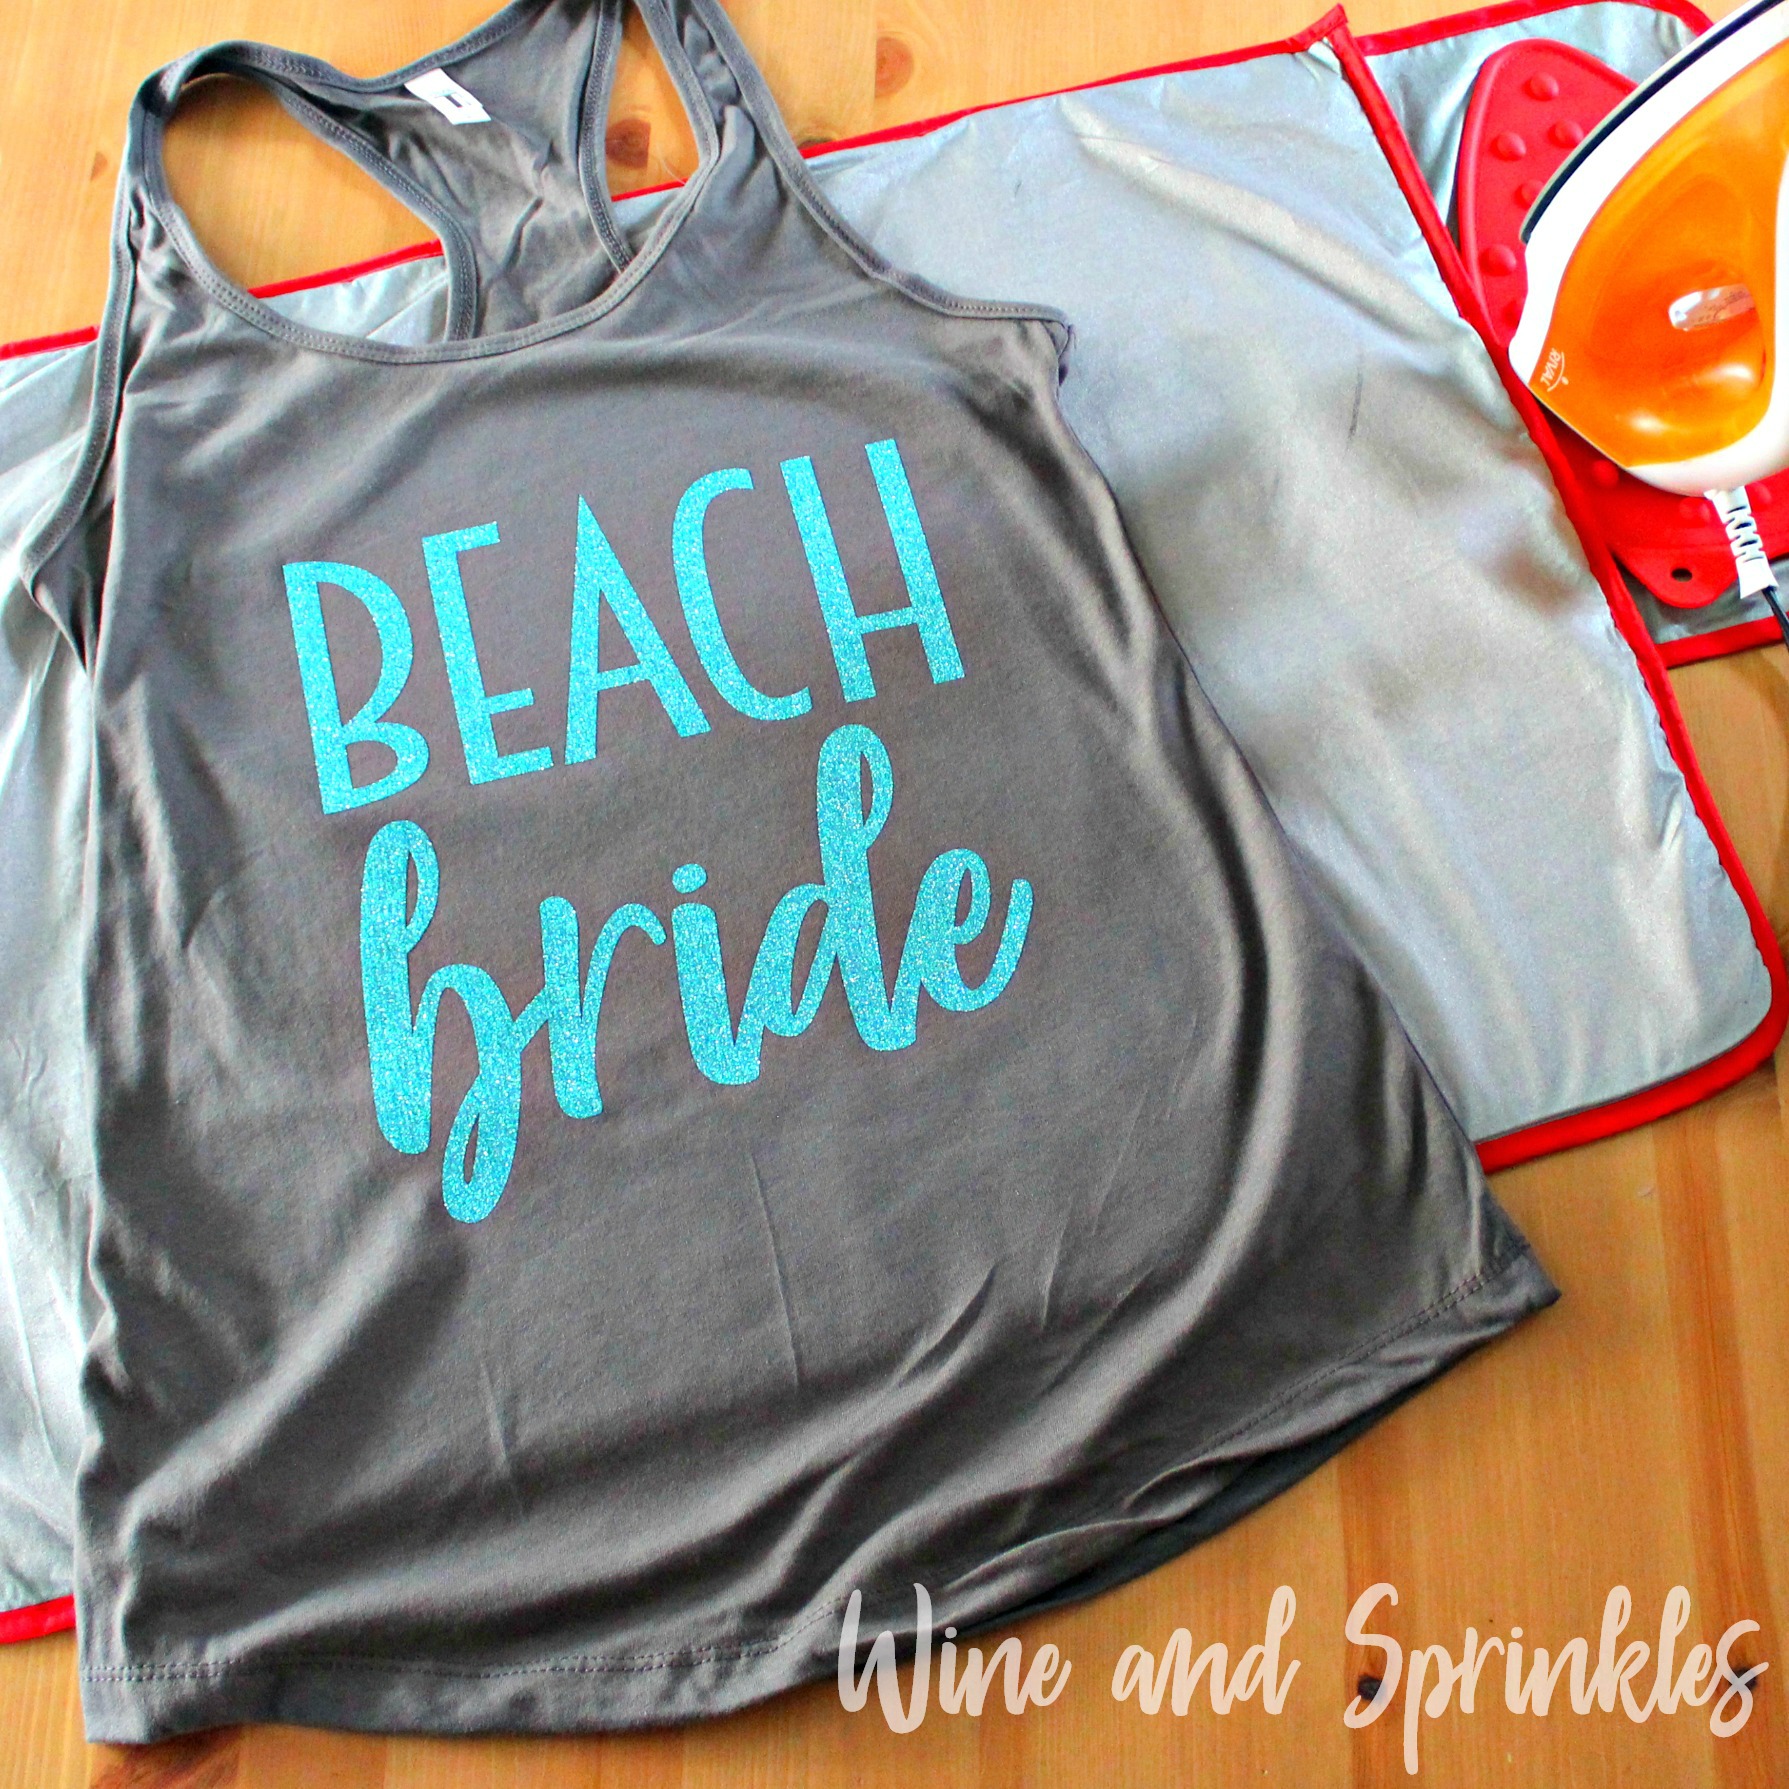
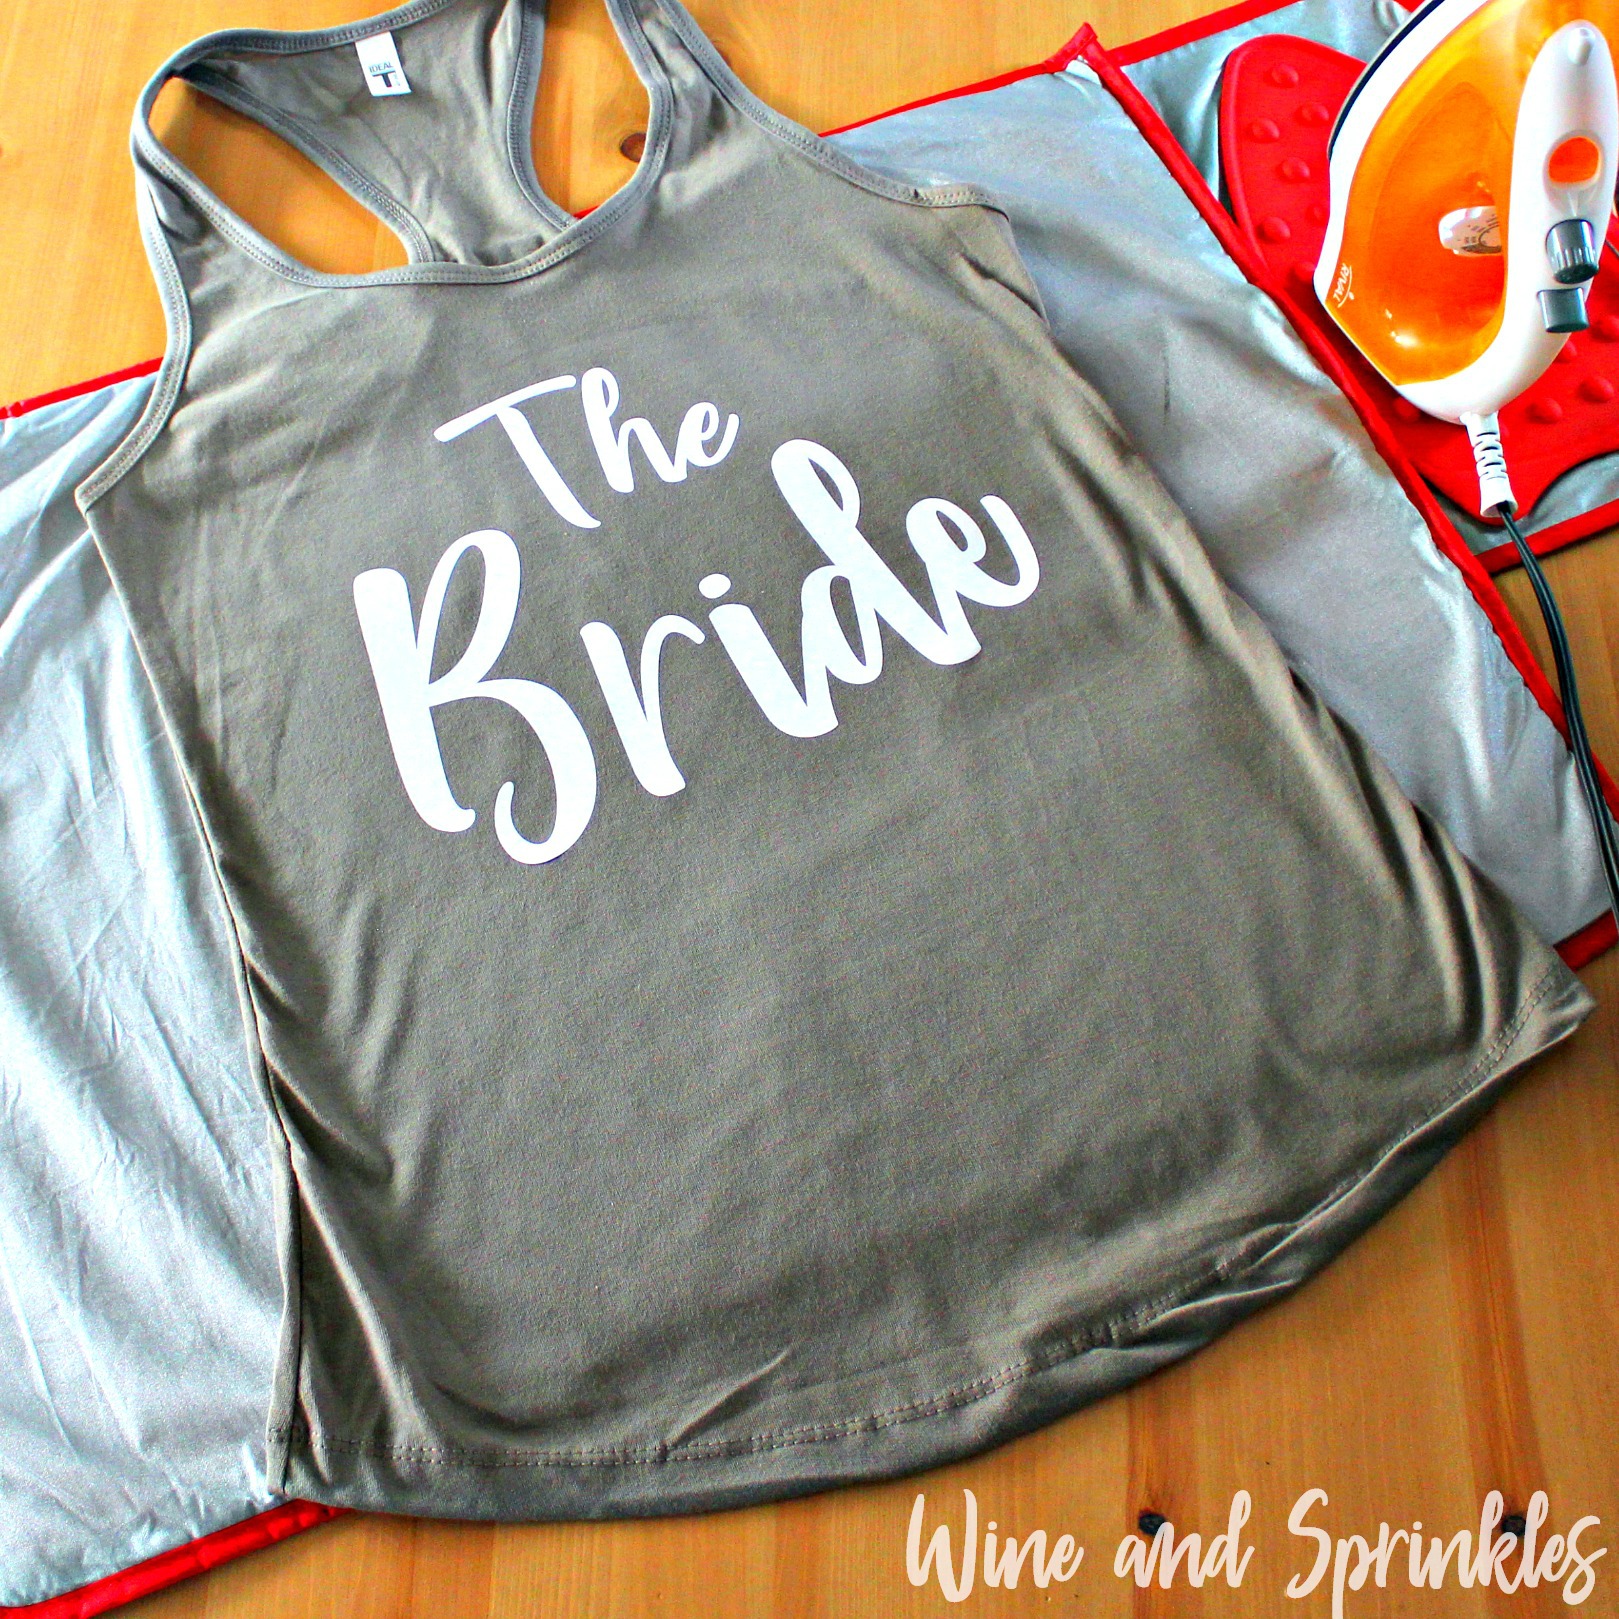
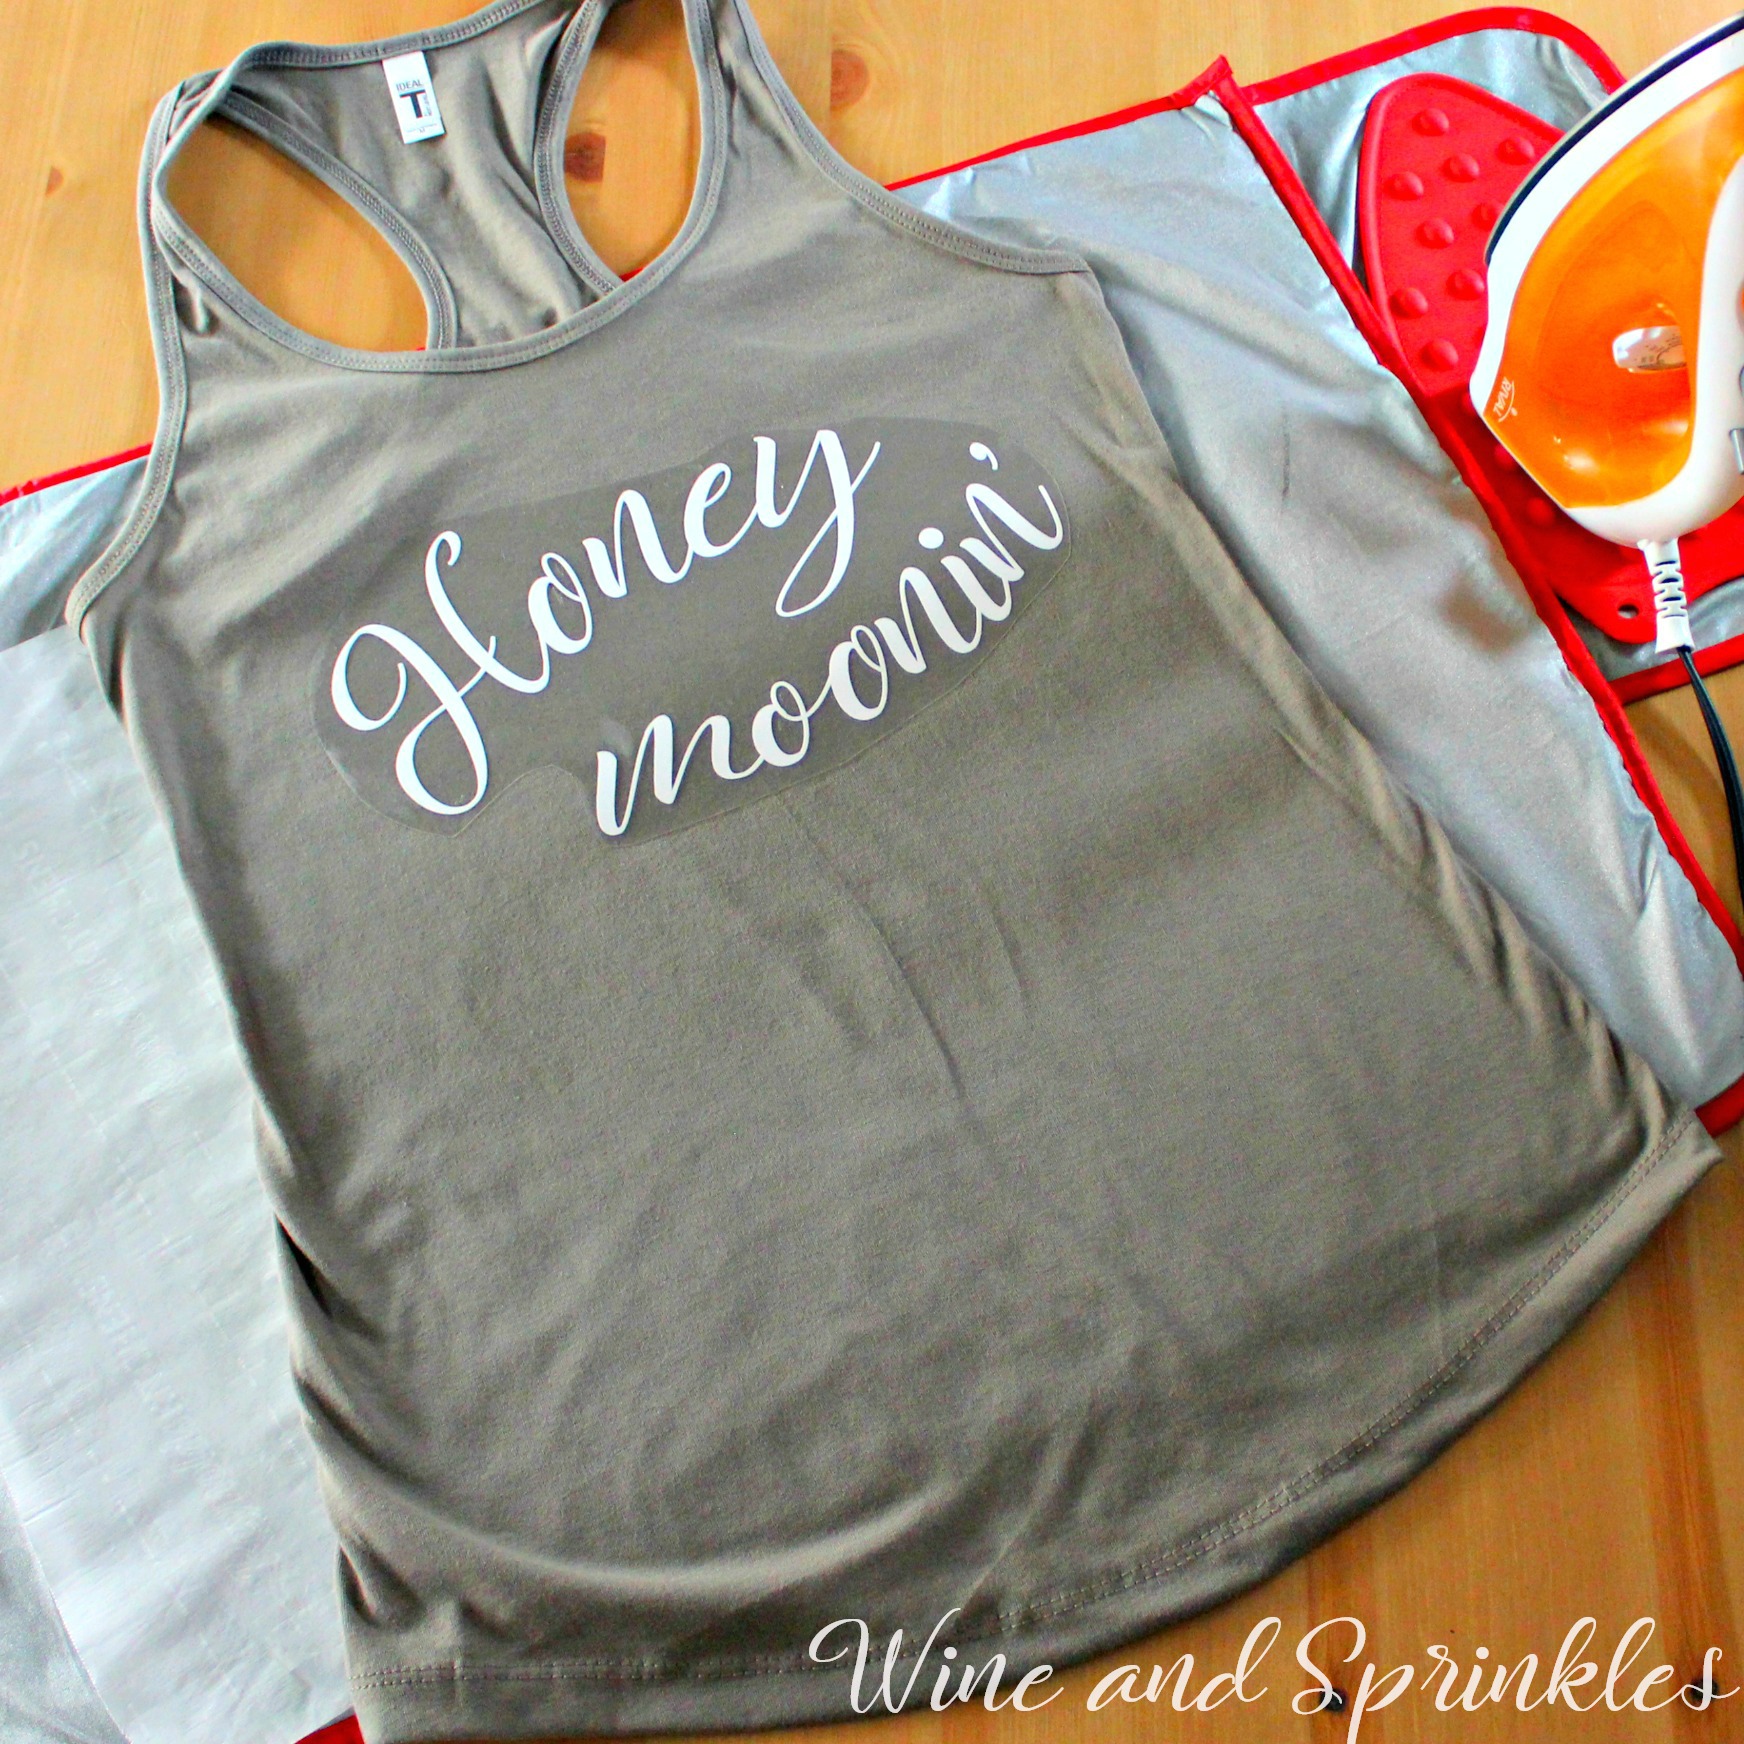
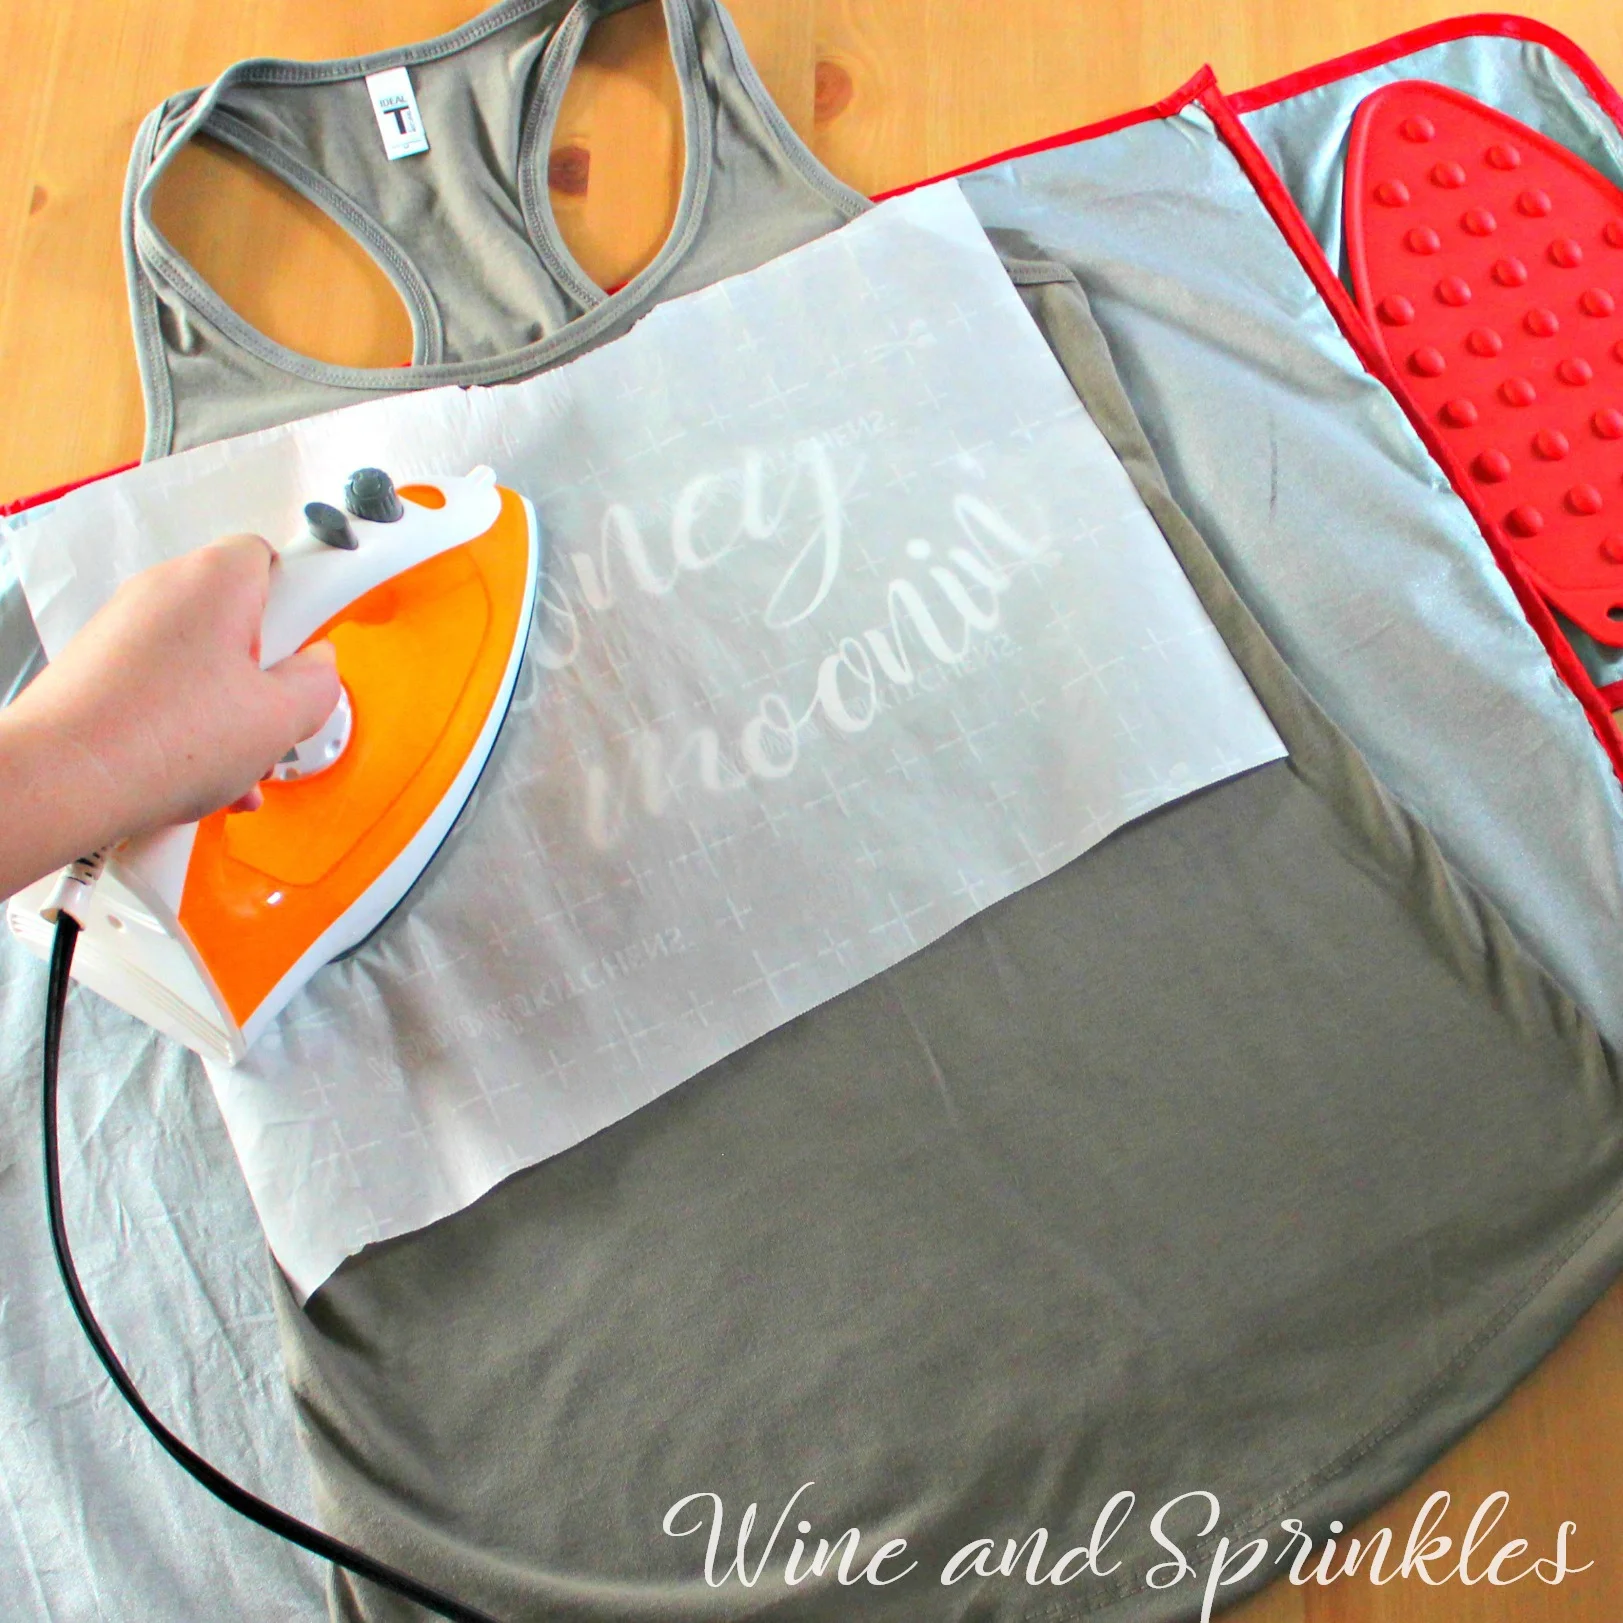
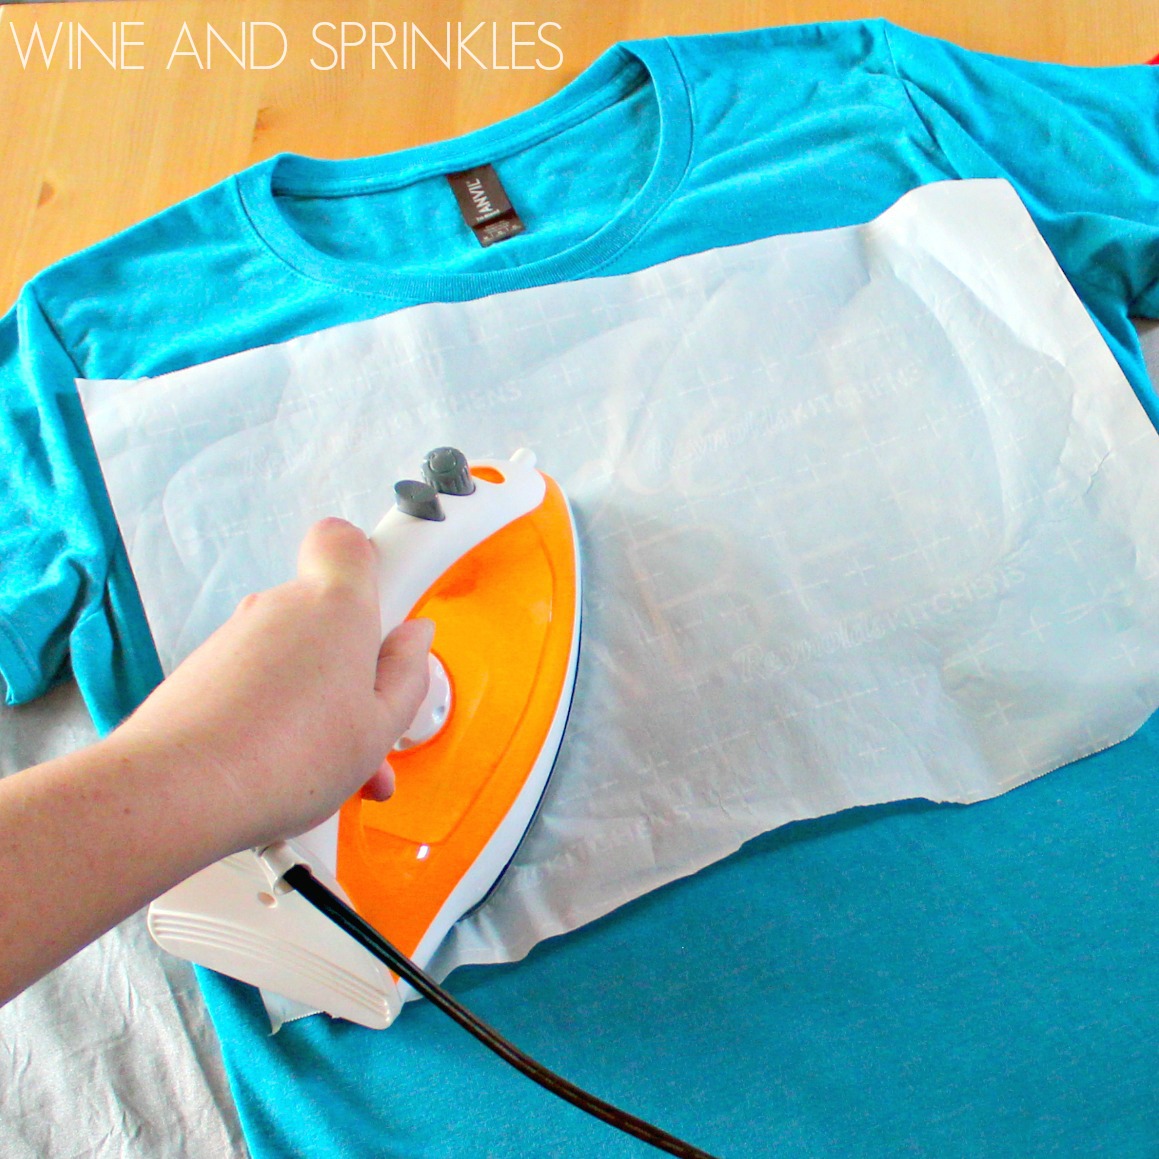
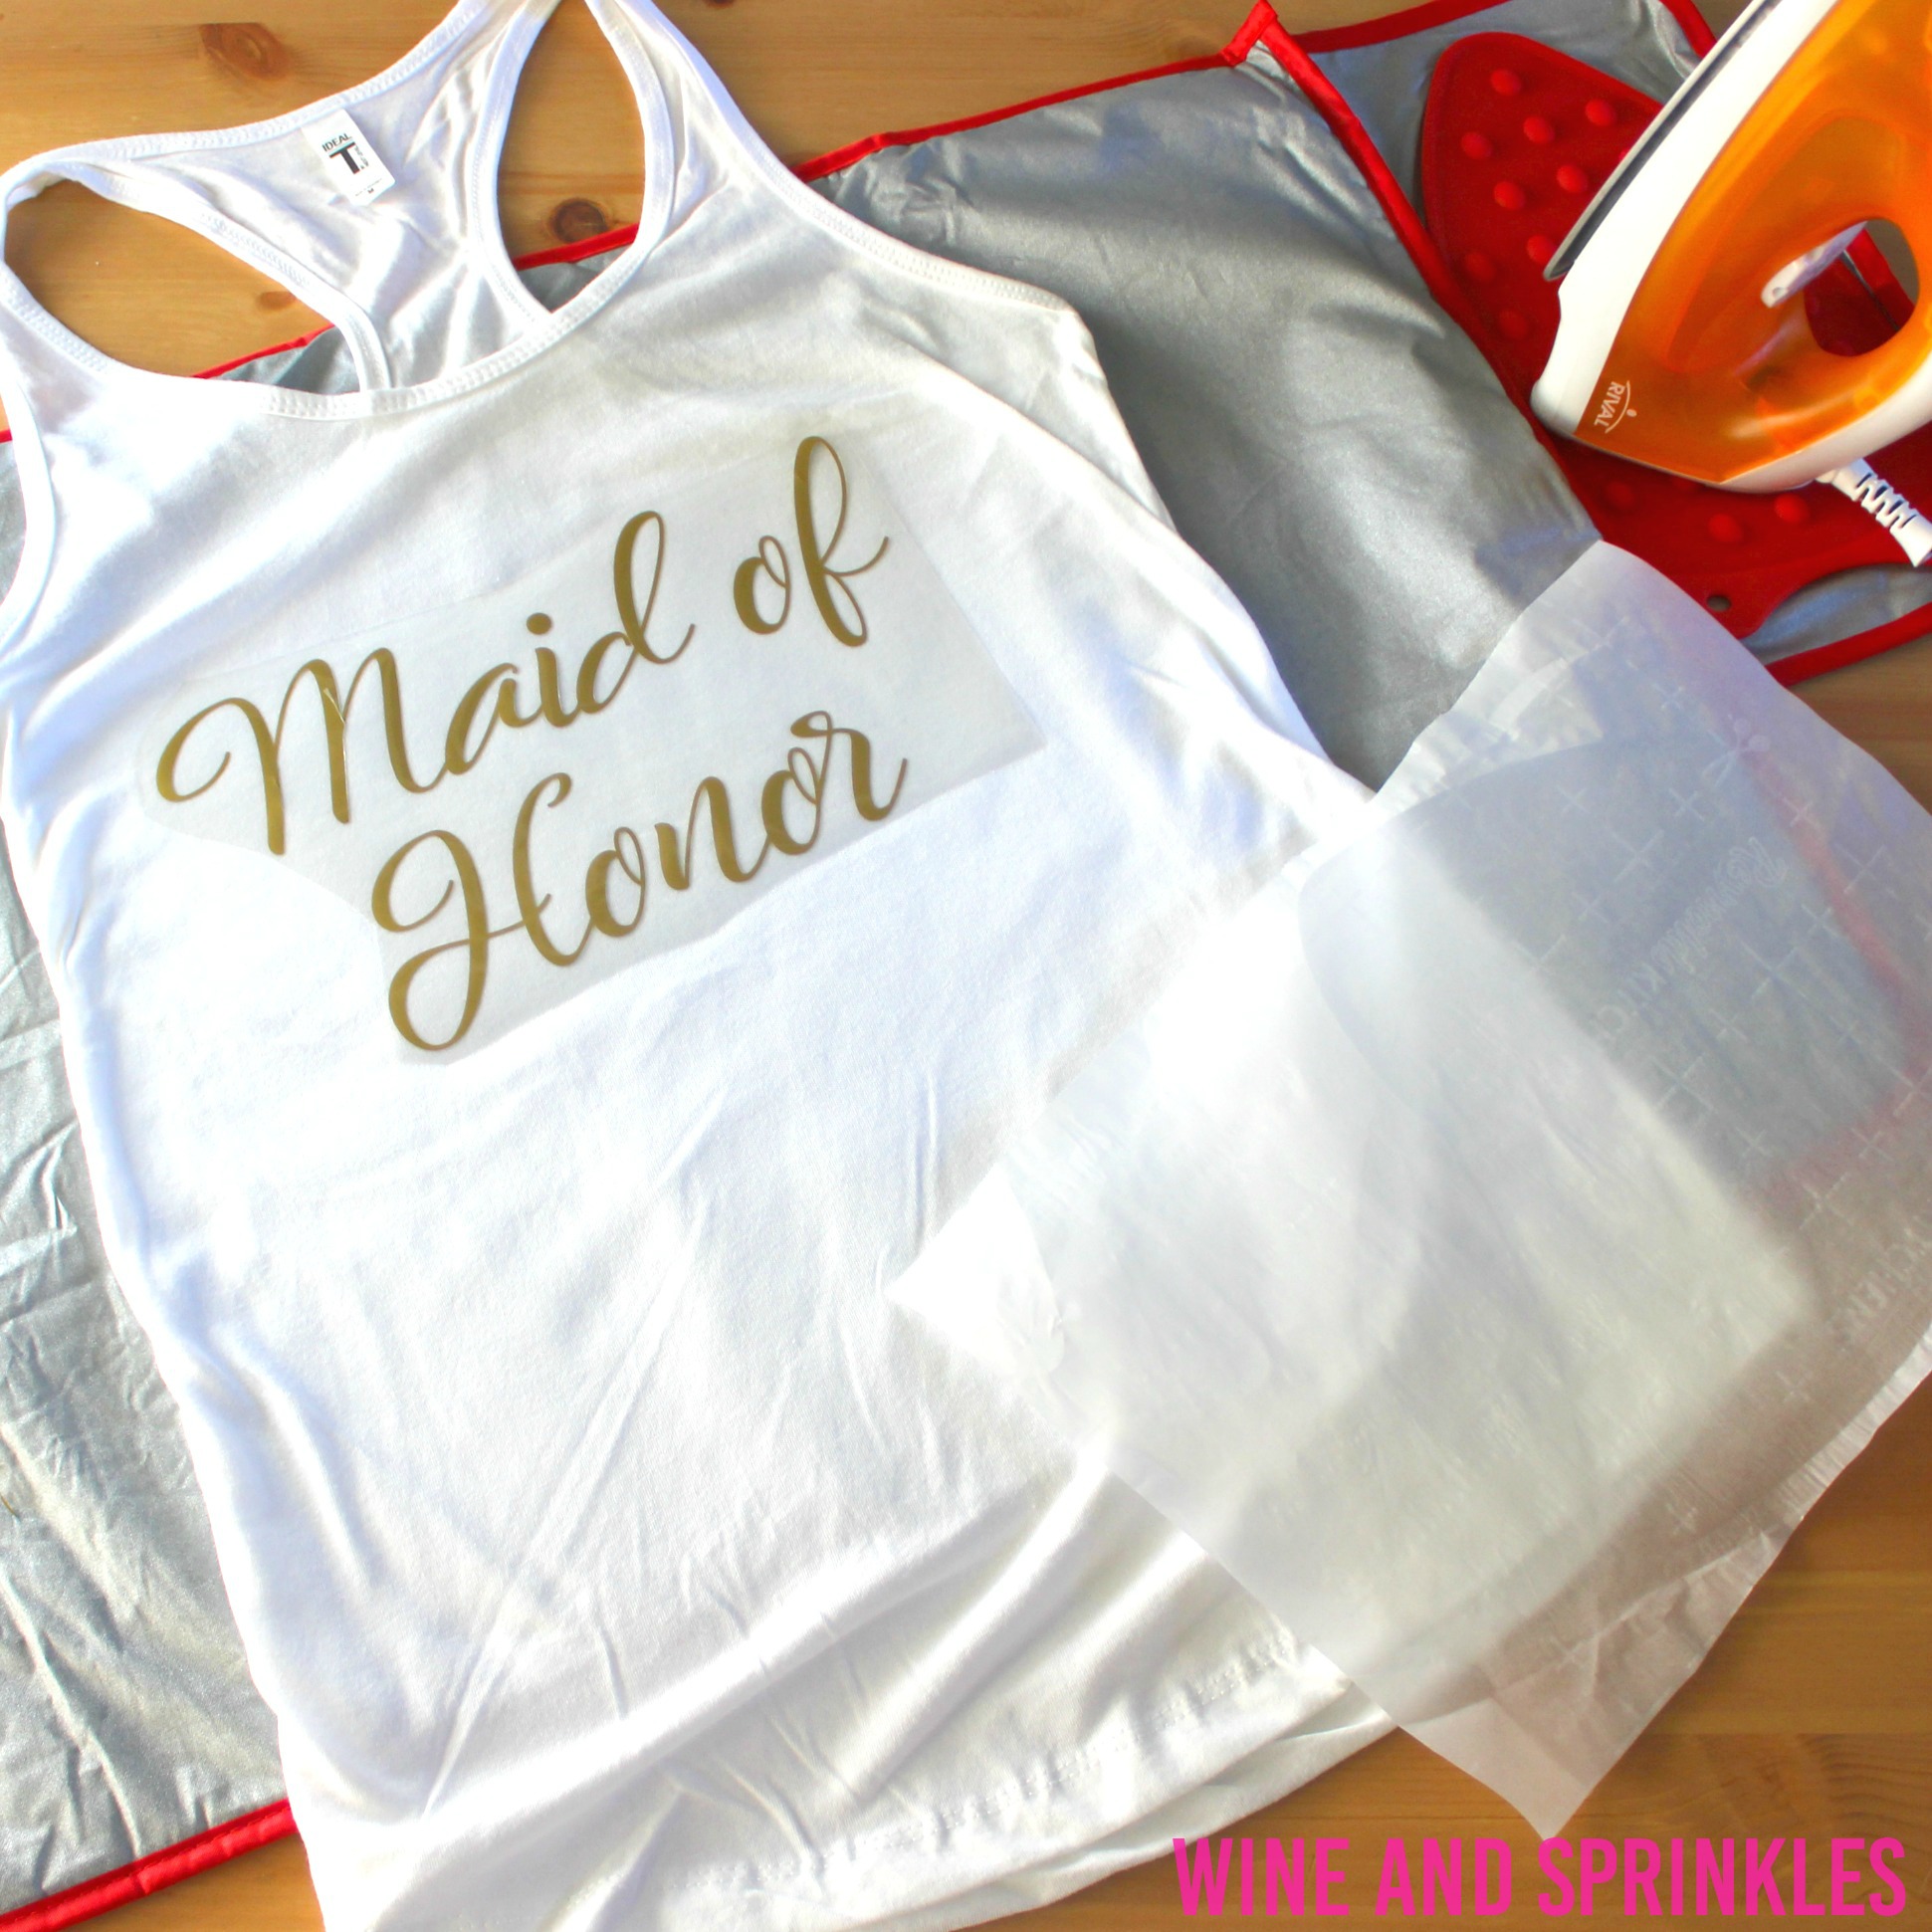
4. Iron your tank top to remove any creases, then center the design over the top half of the tank top. Arrange the design shiny side up, then cover with parchment paper. Make sure to keep the parchment paper between the design and the iron.

5. Set your Iron to the second Highest setting and press the the iron down firmly on the design, not ironing but rather using it as a small heat press. I worked from the upper left to lower right on the design, pressing the iron on each part of the design for at least 20-30 seconds, then overlapping the last position as you move the iron across the design.
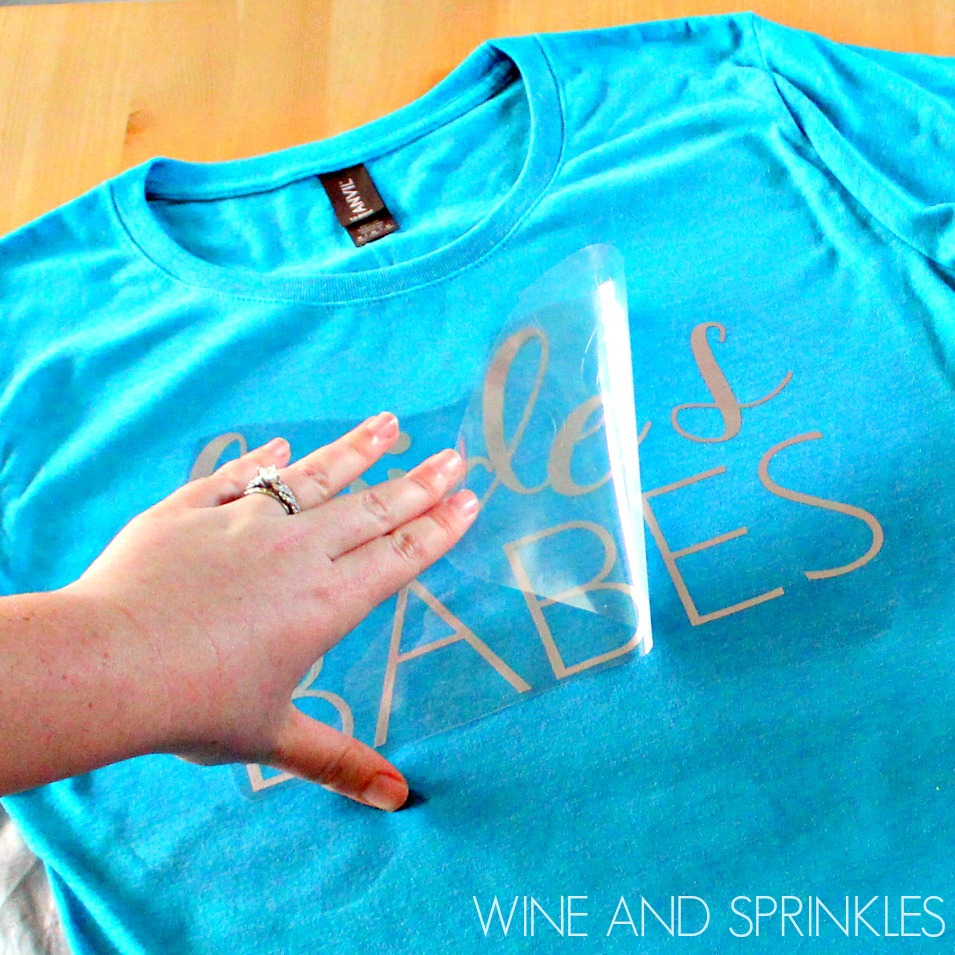
6. Remove the backing from the design, leaving the design on the tank top.
7. Repeat with all remaining tank tops! :) If you are ready to try more tank tops, check out our other tank top projects here!


Looking for more Bachelorette Party Inspiration?
SEE MORE BACHELORETTE TANKS & TOPS HERE:


OUR PINS FOR THIS POST: