This post contains affiliate links, meaning that if you click on a link I will recieve a small comission. This costs you nothing extra and I only promote products I use and love! You can read our full disclosure here
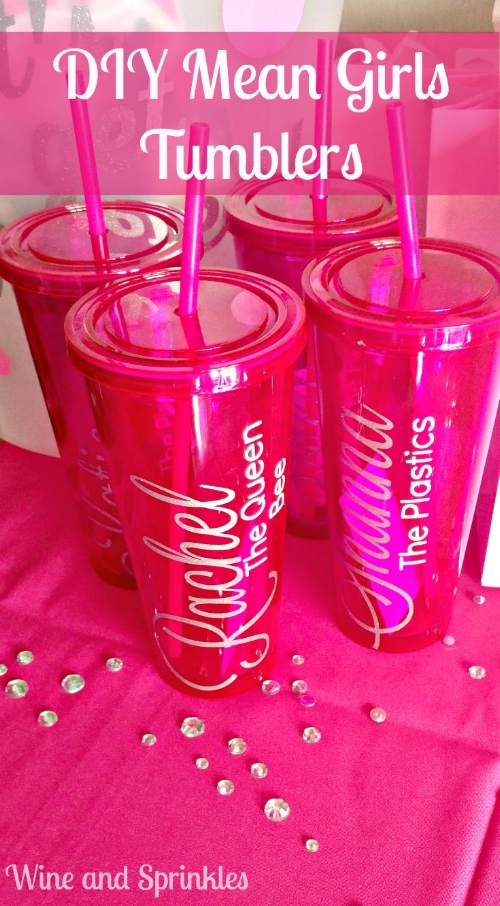
If you’ve ever been on Etsy, there are so many cute and creative tumblers you can get for your bridal party! These tumblers were by far the favorite and most useful item I made for our Mean Girls Bachelorette Party. Since we had it in Las Vegas, we could easily fill them with any drink we wanted from the rooms and take them around with us as we walked the Strip and through all the different hotels and casinos. After the party is long gone, I still use mine all the time for iced coffee for work, so they make an excellent take home favor!
Once again, with a craft cutter this project becomes incredibly simple and can be customized to anything your heart desires! In addition to that, making them yourself will cost you significantly less than ordering them premade. :)
Note: This page may contain affiliate links, meaning that if you click on the link and buy the product, I will receive a small commission. This will not change your cost at all and I only recommend products I use and love!
Supplies:
Pink Tumblers
Silver Glitter Vinyl
White Vinyl
Grid lined Transfer Tape
Craft Cutter and Tool Set
Adhesive Mat
1. Clean and dry the tumblers.
2. Design your names: I used Pic Monkey to make both the names and titles for the Tumblers. The name is made with the Lavanderia font and the title was made with the Didact Gothic font. For the Bride I used the title “The Queen Bee” and the Bridesmaids were called “The Plastics” in true Mean Girls fashion. J You can use the design feature in PicMonkey to place text and save as a picture, which I find to be far easier than using the Cricut Design software to make the text as it tends to make the software run slowly.
Note: The Lavanderia Font is only part of PicMonkey Premium, which I use for some of my party designs and photo editing. You can do both monthly or yearly billing for it, and both are very inexpensive! :)
3. When I made the names and titles, I made all the words the same size and part of the same picture (Names were one picture, titles were another picture). This will help with keeping them all the same size for the cutting phase. Once you have saved your text as pictures, upload them into the Cricut (or other cutter) design software. I made the longest name about 6 inches long. Cut the names out in Silver Glitter Vinyl.

4. Next, import the titles into the design software. Using the names as they are sized, size the titles so that they fit nicely under the names (I did this by feel). Once you have your titles sized, delete the name picture and cut the titles out in white vinyl.
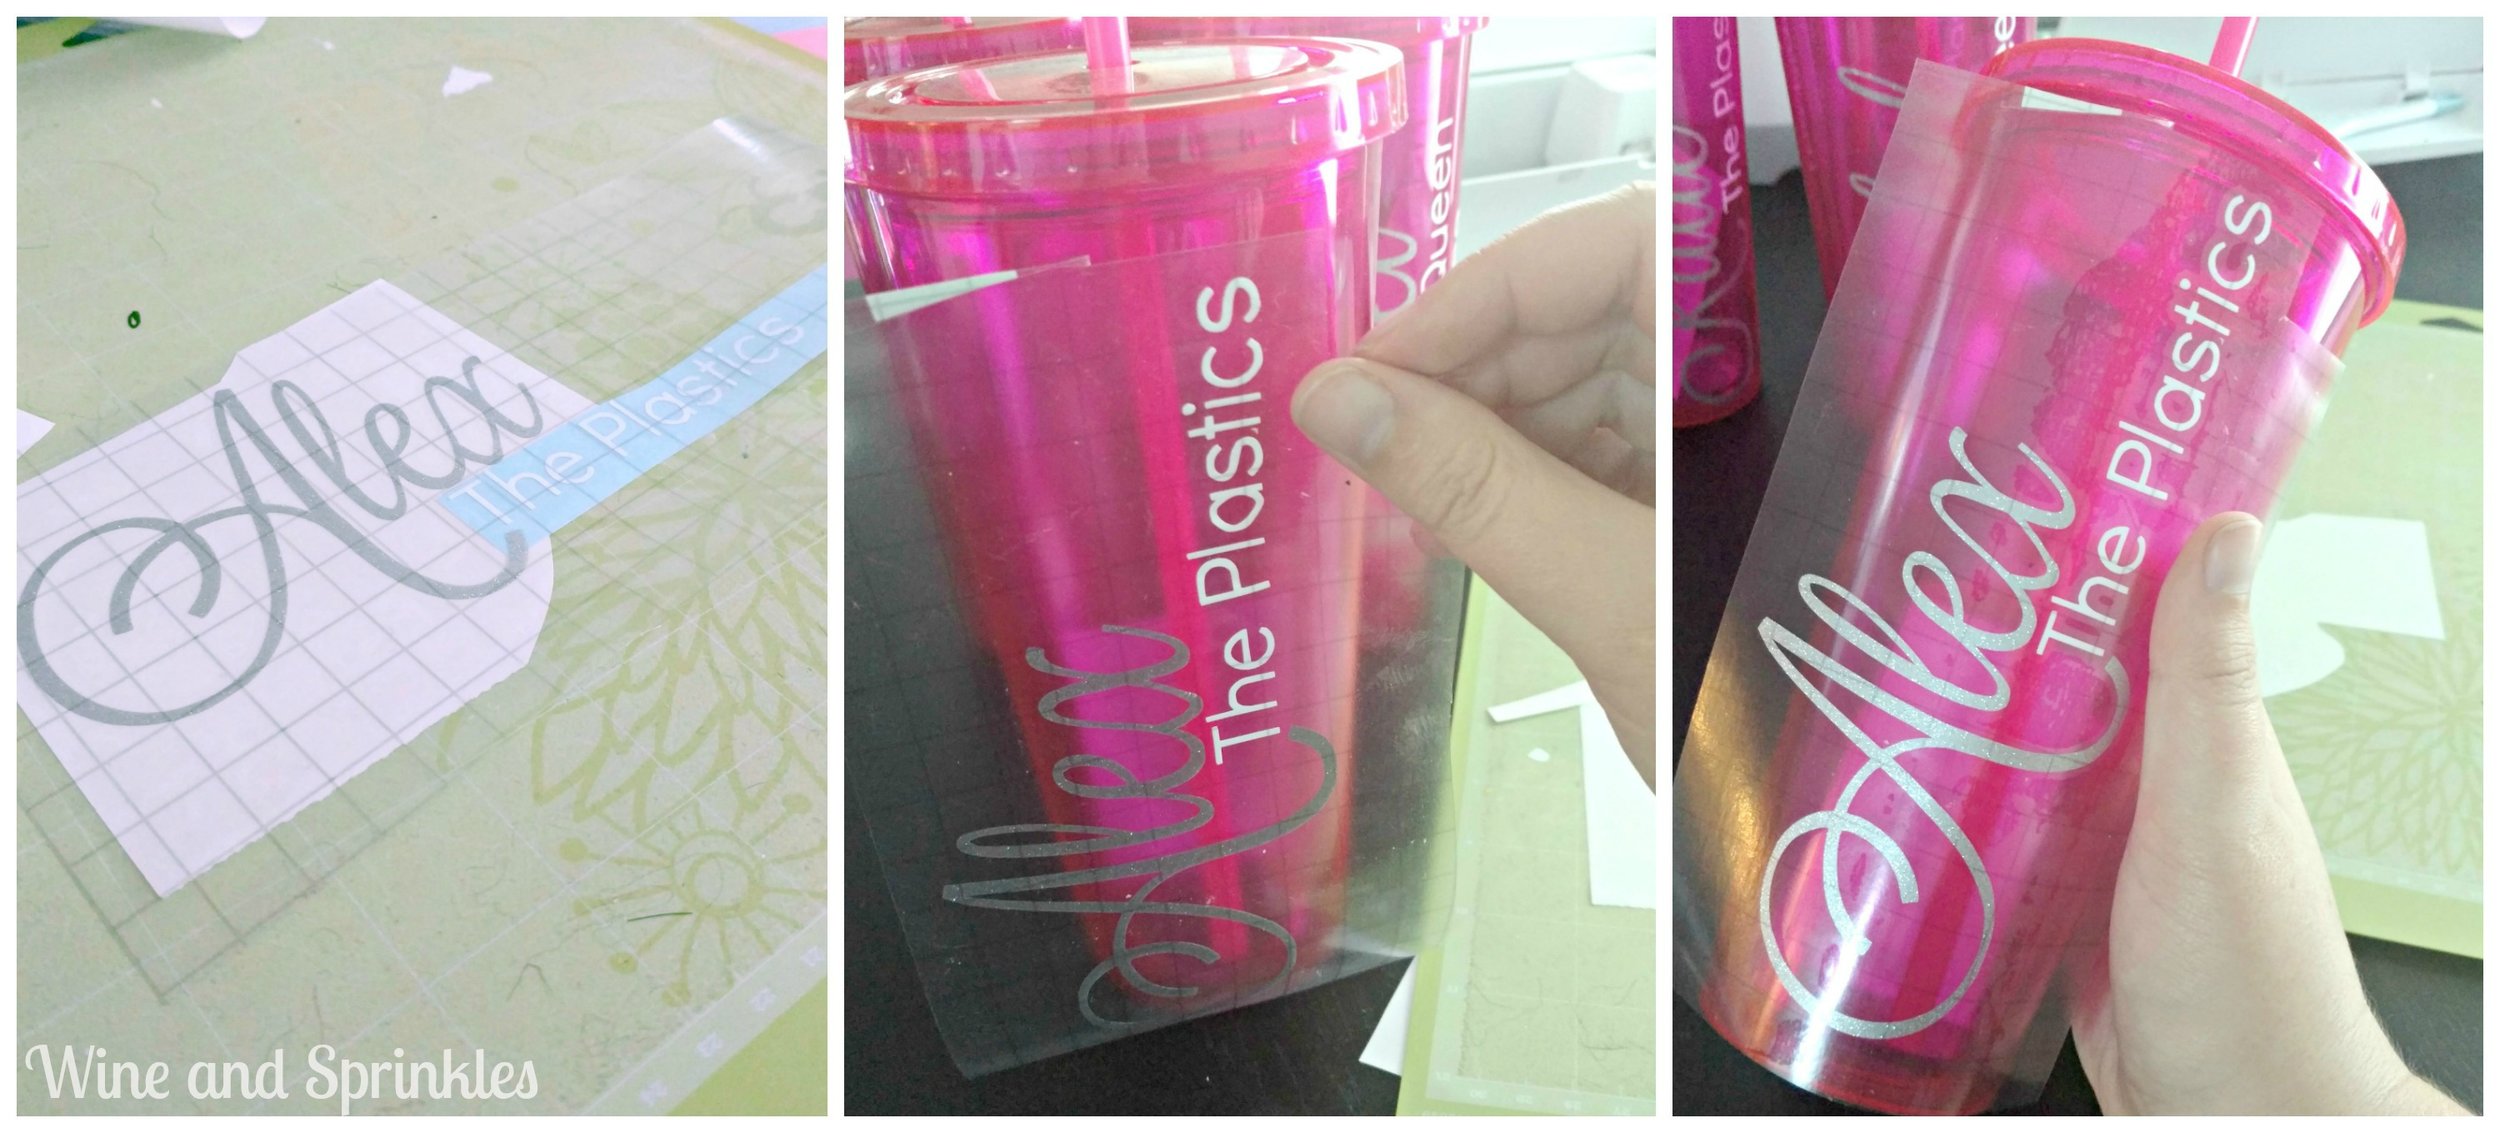
5. After weeding the excess vinyl from the designs, cut the excess backing away from the text as much as possible. Using the sticky mat that goes with your cutter, arrange the white text under the name.
6. Lay transfer tape over the text, aligning the gridlines under the name so that everything stays straight.
7. Transfer the vinyl to the tumbler. Having gridline tape is very helpful here as you can use it to make sure that your text is perpendicular to the bottom of the tumbler. Press the vinyl onto the tumbler and remove the tape, and then you’re done!
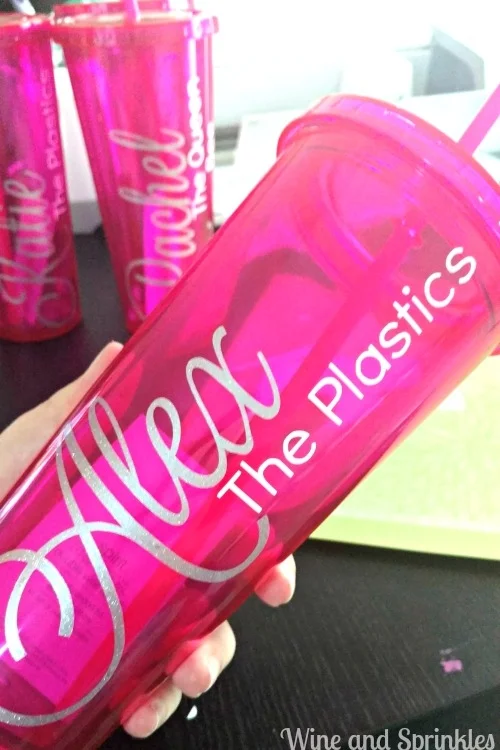
Yes, that does feel like a lot of steps, but once you get the hang of it it takes no time at all! The big time crunch came in picking a font and designing the names, once I had the vinyl cut the transfer process took maybe 5-10 minutes a tumbler. Leave any questions you have in the comments!